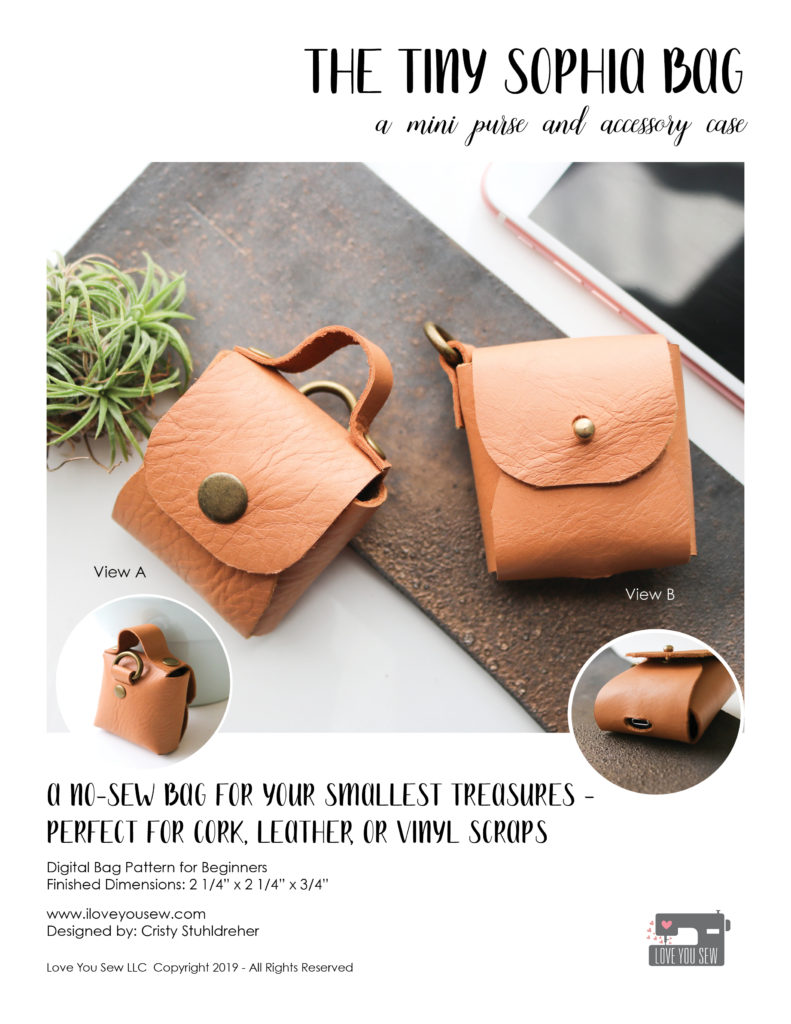
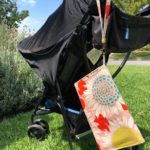
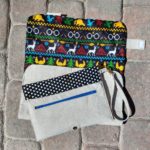
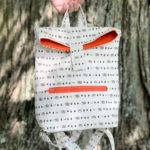
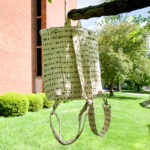
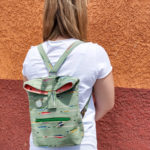
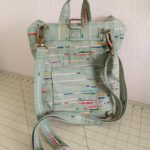
Introducing The Tiny Sophia Bag

We are in the thick of the holiday season and I thought I did some pretty good seasonal planning.  I made gifts for my nieces and nephew early since I went to visit them in November and even got my fancy holiday dress finished by my husband’s birthday a few weeks ago.  But then I shared my Tiny Sophia Bag with all of you on Instagram and my feed (DMs too!) filled up with requests for this pattern.  You caught me in a moment of weakness because I said, “Sure, why not?!  This is probably the time when you would like this pattern the most!”  So why not add another “thing” to the list…famous last words. Lol!

You can purchase the Tiny Sophia Bag here.
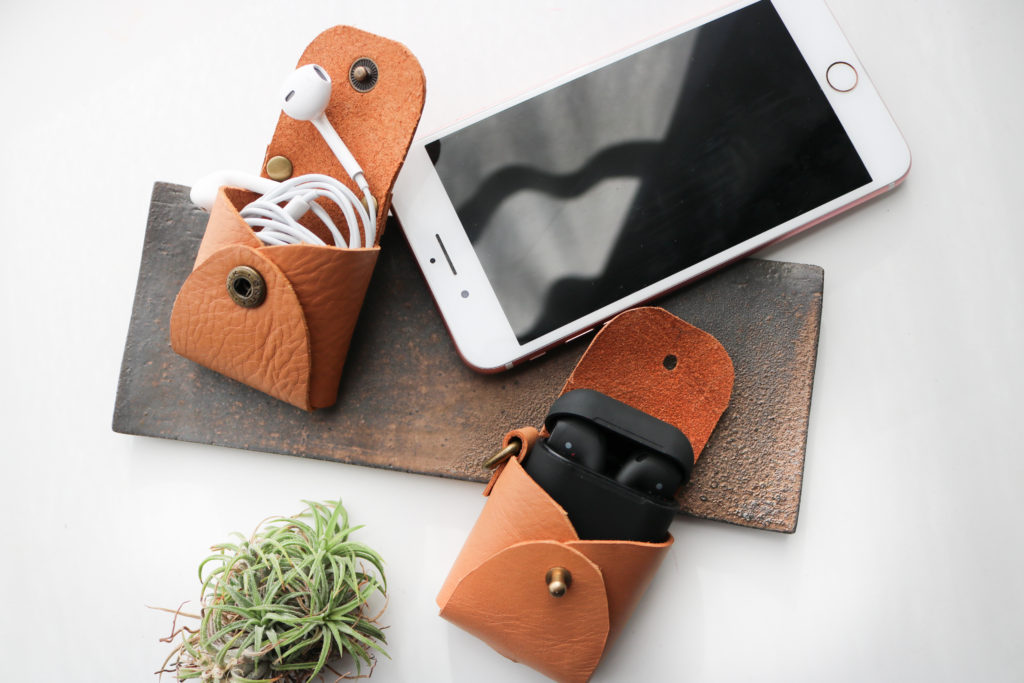
If you have been following my stories on IG, I shared these itty bitty purses by Jaquemus which I’ve been seeing all over the fashion reports.  Although completely useless as an actual purse (and WAY too expensive *eyeroll*) I still wanted one…but of course, in my own DIY way!  Spoiler alert – my way is MUCH more cost effective.
Over the summer, I toyed around with some paper templates to make a tiny bag for fun, but nothing really came out of it.  Then a visit back east to see my family made me really notice the wireless ear pods my brother was wearing.  Shortly after that, Lizzo came out on the red carpet with a tiny Valentino bag!  Combine these events and it made me wonder if the pods had a carrying case…aaaand if that case could also be a purse!

Namesake

As I was developing this pattern and making all of the prototypes, I knew this bag would be named after my niece, Sophia.  (All of my bag patterns are named after one of my nieces.)  Miss Sophia is a petite lil’ lady and the absolute CUTEST…just like this bag!  She is always game for a little fun and adventure, which makes her a great travel companion.  Since her dad was also part of the inspiration, it’s only fitting that this bag is named after her.
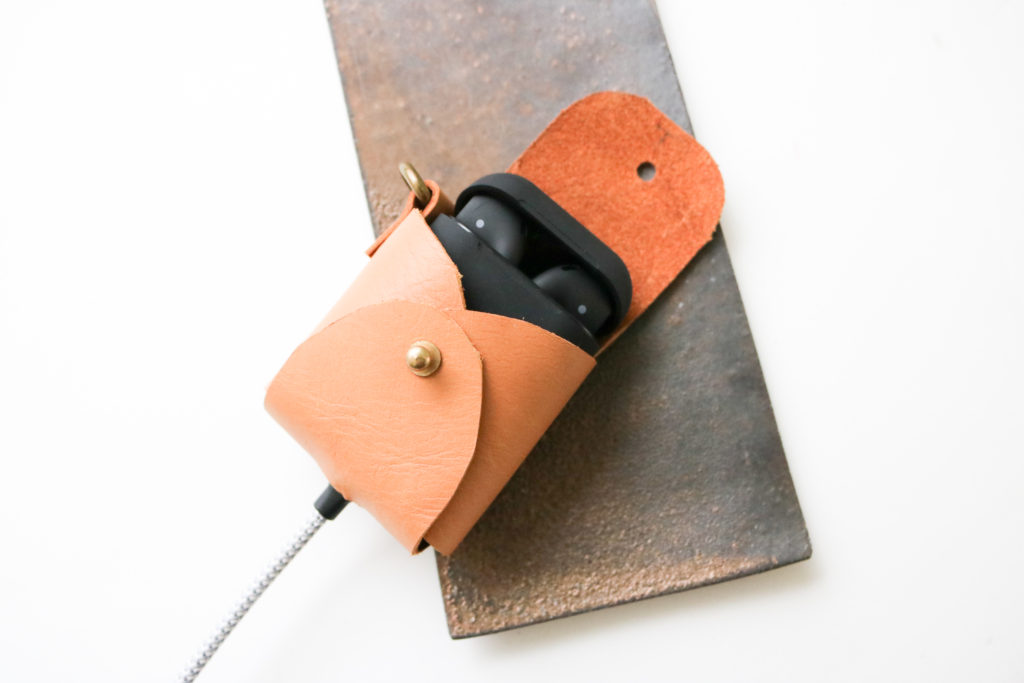
View B

Features

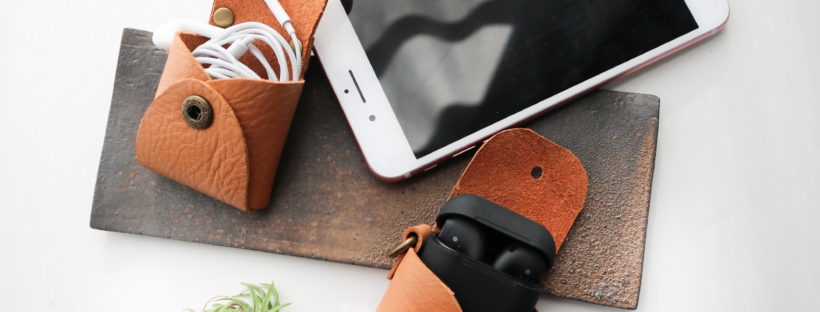
I know there are a ton of aftermarket pod cases out there and I thought a leather one would be chic and beautiful.  After a few hours (with my husband and boys at basketball practice,) I was able to draft a headphone case AND a bag by switching up the options.  This is no-sew pattern with two different views and the features can certainly be mixed and matched!

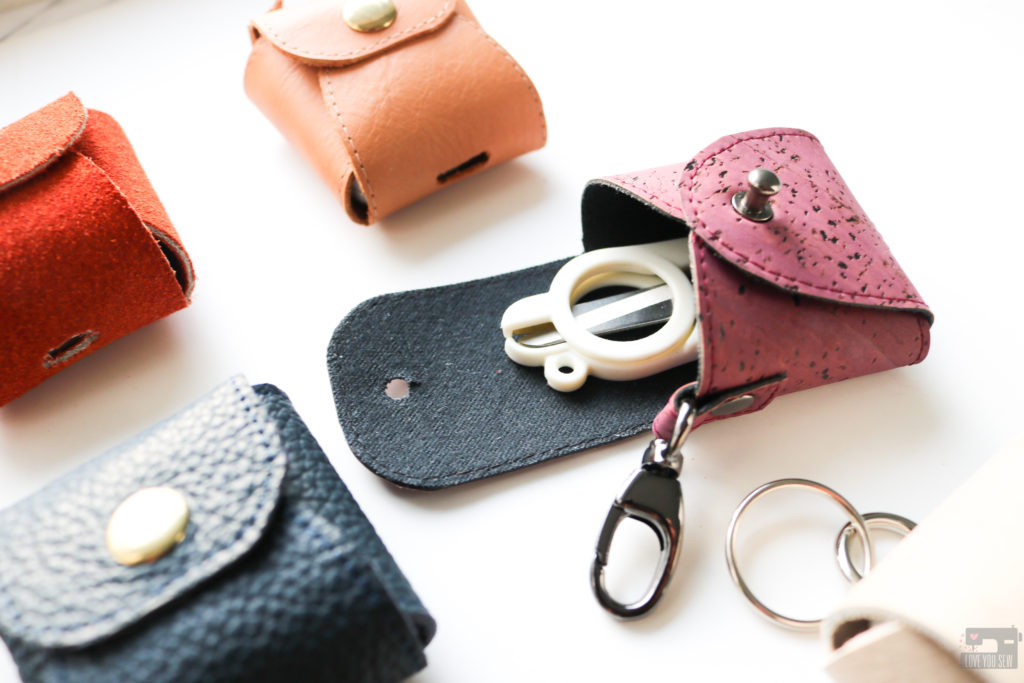
  • View A  “Mini Purse” – This has a strap on the top flap with a D-ring on the back and a snap closure.
  • View B “Accessory Case” – This has a bottom slot opening for a charger and the D-ring is set on the side.  A button stud is used as the closure.
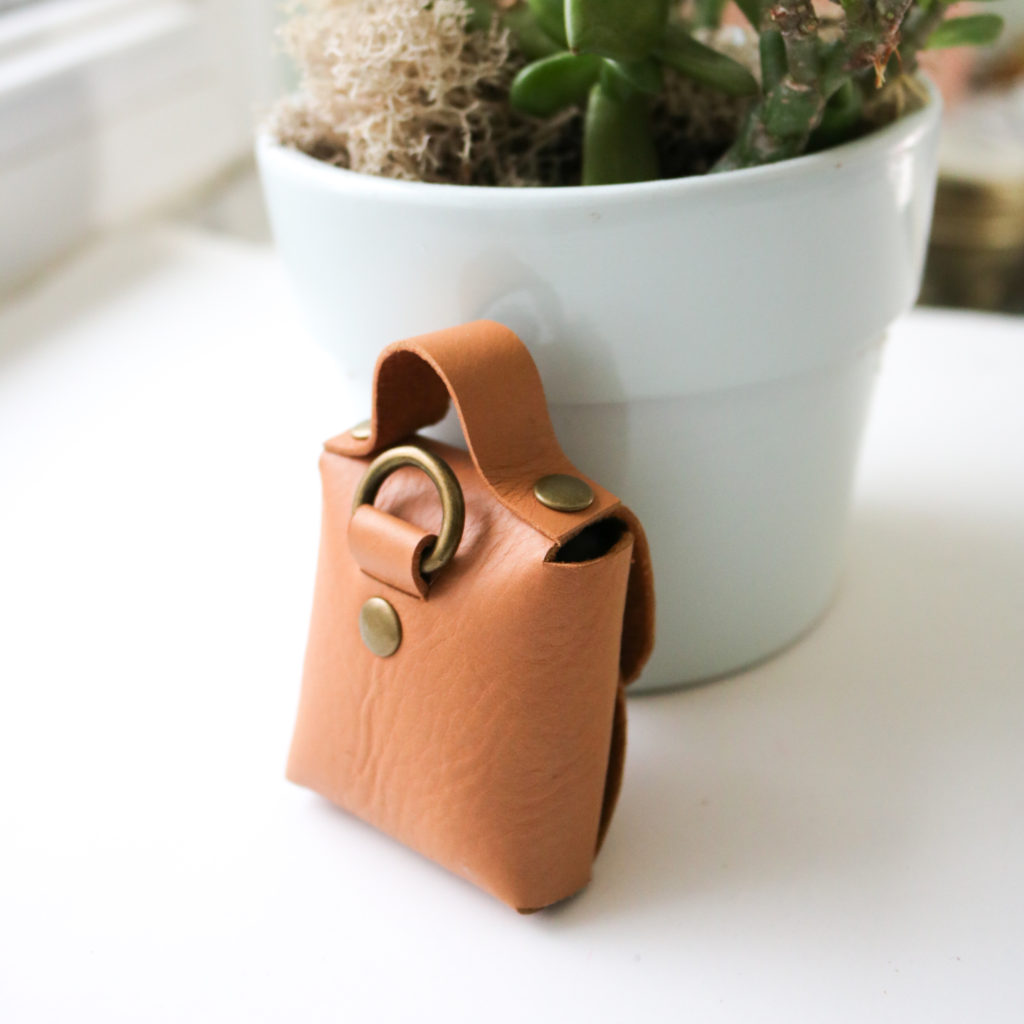
View A

Hardware

The Tiny Sophia Bag requires rivet and snap or button stud installation.  This is assumed in the pattern (and I promise I will add more posts about how I install.)  I want to let you know my favorite suppliers:

  • Rivets:  For a long time, I set these just using just a hammer and anvil.  You can find these tools  in my shop, here.  Emmaline Bags carries a wide variety of sixes in different finishes. (Pictured above are the “small” rivets in Antique brass.)
  • Snaps: I’m a big fan of double-cap spring snaps from Gold Star Tool.  These are the same ones I used for my Kelly Anorak which you can find here. (On the cover photo, I have a size 20 ligne brass snap.)
  • Button Studs (screw on): These are THE best, since there are no special setting tools needed…just a screwdriver.  I grab most of mine from Amazon and I like the Tandy ones (when I’m in a pinch for timing since there is a store nearby.)  I think the 6mm/7mm head ones are a good proportion for this small bag.  (The 8mm head studs are used in my Kelly Waist Bag pattern)
New SVG Files

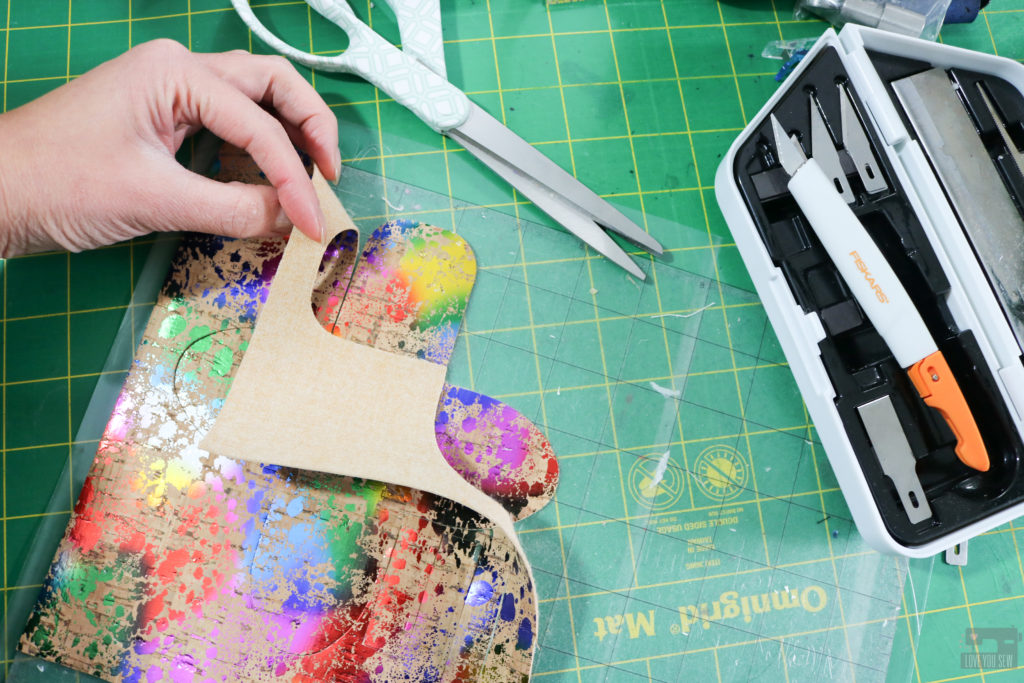
A big addition to this pattern release is the inclusion of SVG (scalable vector graphic) files which you can use with most electronic cutting machines.  I’ve always imported images and traced my own files, but have never created ones from Illustrator before.  So, I was pleasantly surprised to see how this pattern cut on my machine!  I have an old Silhouette Cameo with a straight knife and the cork cut so well on setting #7.  It did not like leather though…I’m hoping the rotary blades do much better.  There are three files for the different views and an extra one to combine all of the features together.  Please let me know what you think about this new feature!
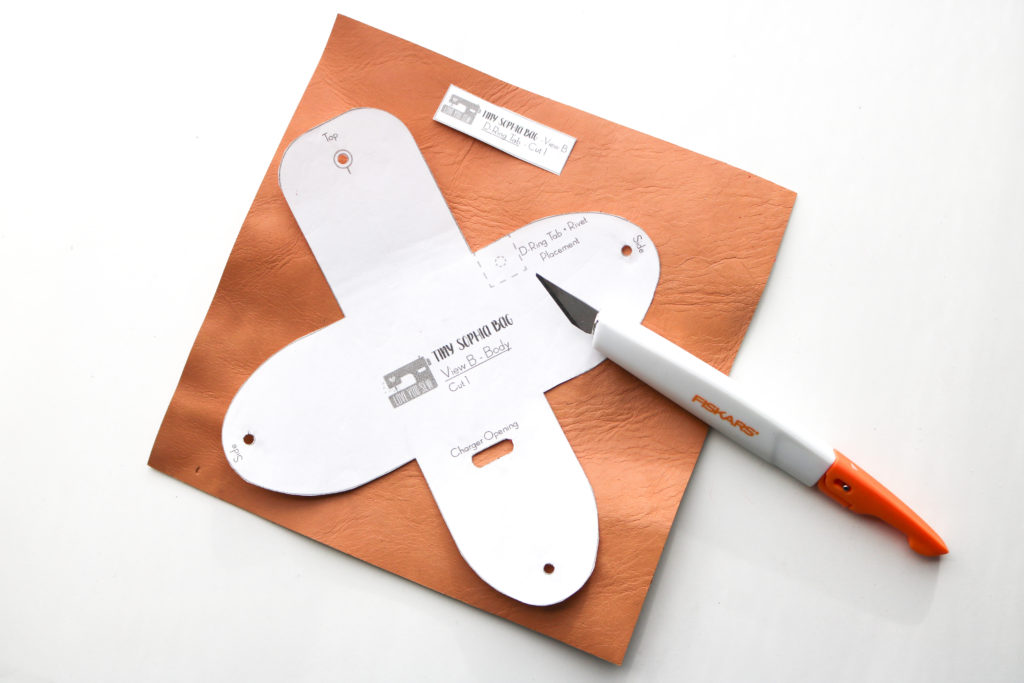
Cutting by Hand

For those who don’t have a cutting machine, please know that I made all of these Tiny Sophia Bags by hand.  After making lots of leather bags and over a dozen of these minis, here are a few tips and tricks that will help you though.

  • I LOVE this heavy duty multi-blade craft knife set by Fiskars.  The different blades are great depending on the type of cut you need to make…my fave is the 1/2″ straight edge one.
  • The pattern essentially looks like a cross, so the edges are right angles.  If you match up the sides with a ruler, you’ll have a smoother (and more accurate) cut.
  • Use a metal ruler with a craft knife for the straight edges.
  • For thicker leather/suede, you might want to use a box cutter for a stronger blade and press down on the ruler so it doesn’t drag.
  • Speaking of blades, remember to use a new one that’s nice and sharp for clean cuts.
  • With the curves, try to find household objects like bowls that match to balance your knife against.
  • For the back D-Ring opening, one of my testers said a button-hole cutter like this one is great for cutting the edges.
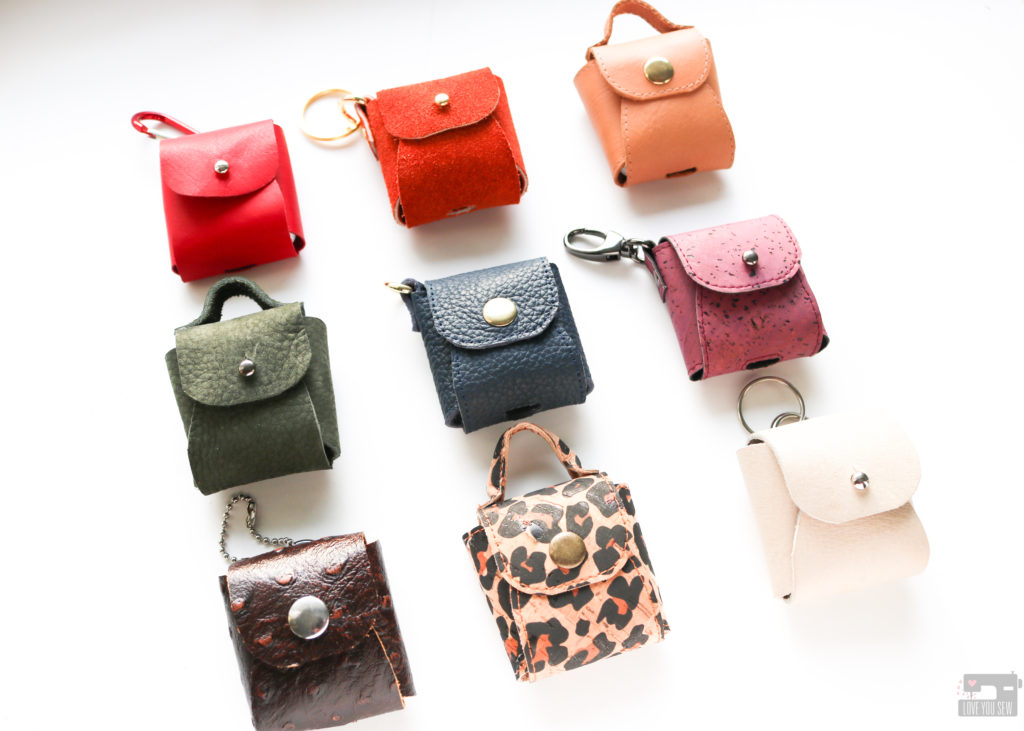
Customize

There are so many different ways to customize your Tiny Sophia Bag.  Luckily, I have a nice stash of leather scraps from thrifting and from friends.  You can use leather, suede, faux leather, and even cork!  Based on the thickness of your substrate, you may have to adjust the position of the holes which is also covered in the the pattern 😉

Check out #TheTinySophiaBag on social media to see all of the different versions.  I like the extra stitching around the edges to make the bag look more polished (don’t forget to use that leather needle and teflon or walking foot!)  Many of my testers used decorative hardware too.  I can’t wait to see what you do!
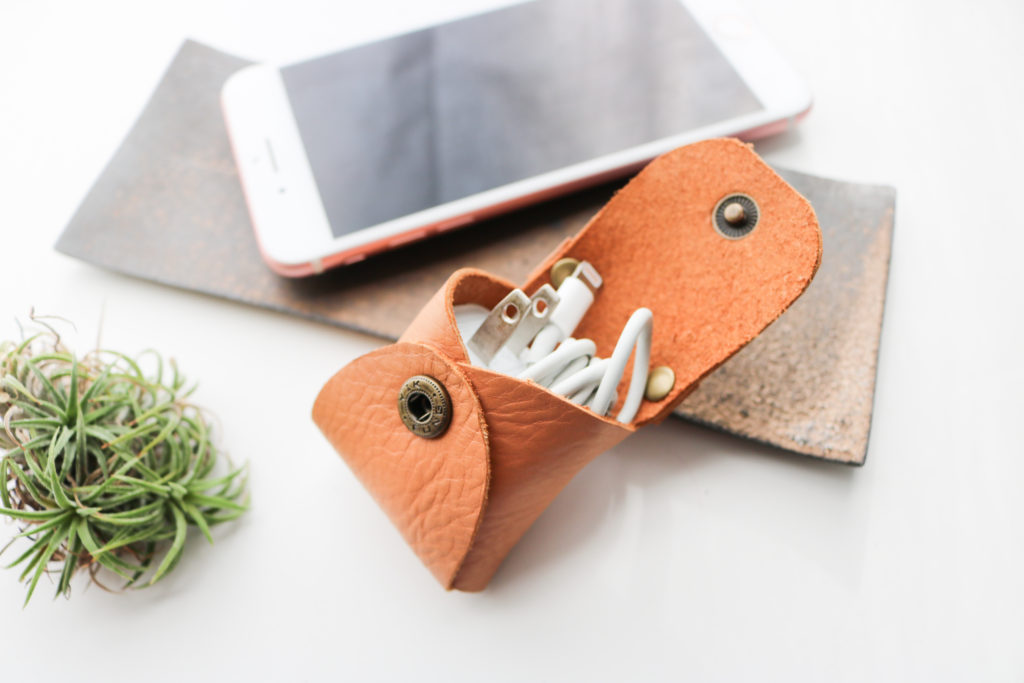
If you are ready for the cutest little purse, you can grab the Tiny Sophia Bag pattern, here.  Use it to carry your trinkets, coins, and all the smartphone accessories.  One of my testers mad bags for her daughters’ dolls!  I’m adding one of these on my Christmas tree and will use it later to hang off my purse for my own headphones.

How would you use your Tiny Sophia Bag?


Happy Sewing!

Cristy


This post may contain affiliate links.  You can read about my Disclosure, here.
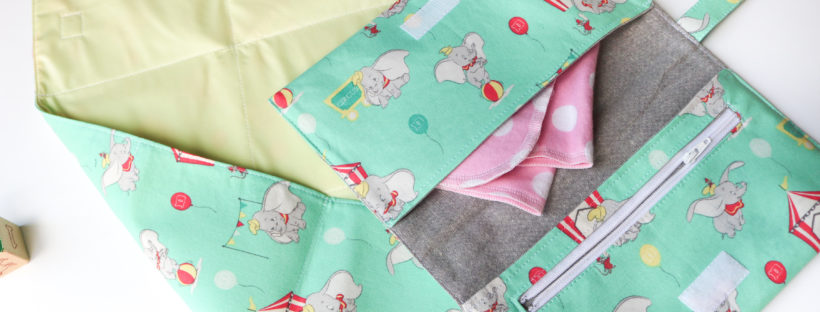
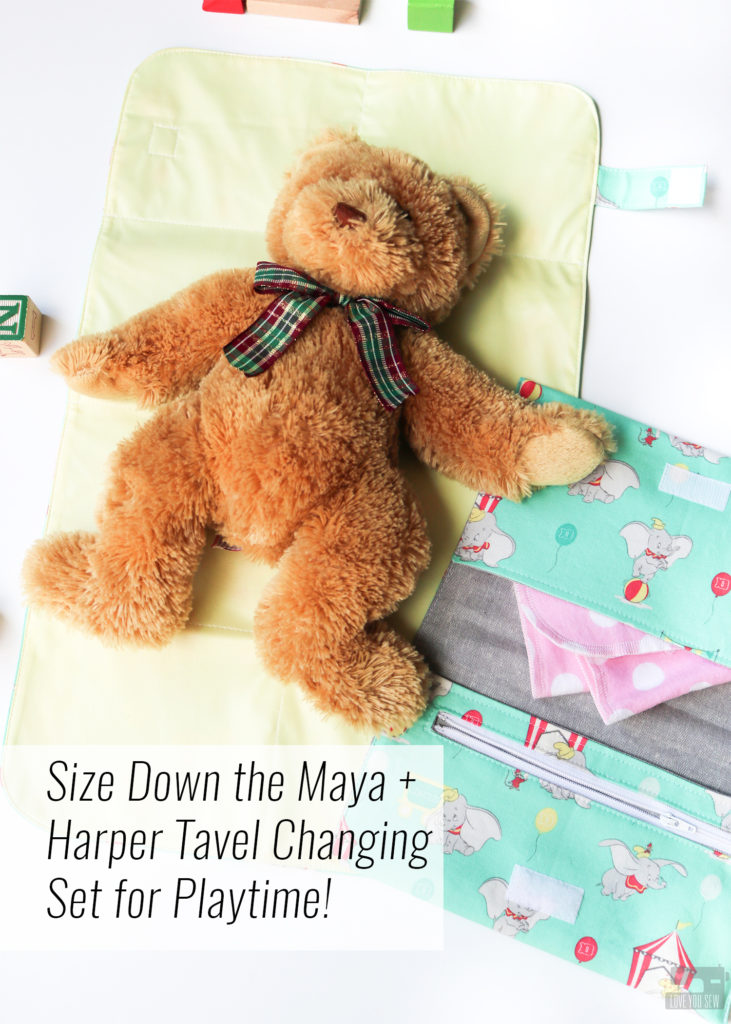
Size Down the Maya + Harper Travel Changing Set for Playtime!

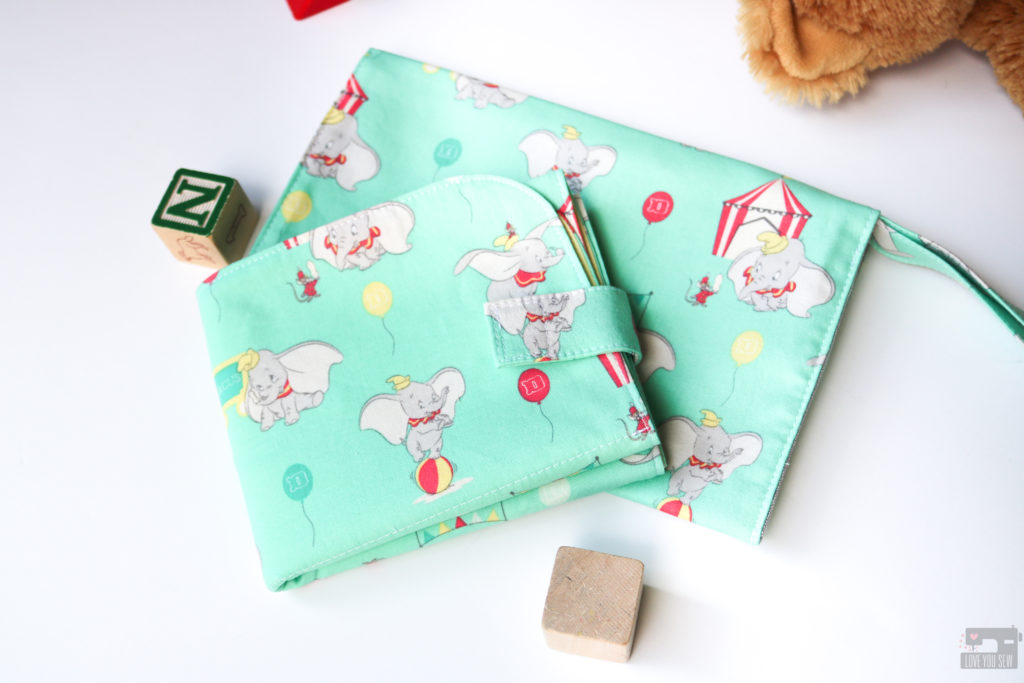
All of my sewing patterns are named after my nieces. Once a pattern releases, the namesake always gets a complimentary bag of her very own. But then, I was in a bit of a predicament when I named the Maya + Harper Travel Changing Set after my 4 and 2 year old nieces. What were were they going to do with full-size diaper changing sets???

I checked with my sister and she assured me there would not be a need for additional sets for her personal use. (Haha – Wishful thinking on my behalf!) But shortly after the pattern’s release, my nieces got their first Bitty Babies and the light bulb went off. I would make Maya and Harper “play” versions for their little babies!

First, you will need the Maya + Harper Travel Changing Set found in my pattern shop here. You will need the instructions for reference and the pattern templates. I highly suggest you make a full Changing Set first to understand the construction and assembly of the Pad and Clutch. Once you get comfortable, you can make the following changes to make this pattern kid-friendly.
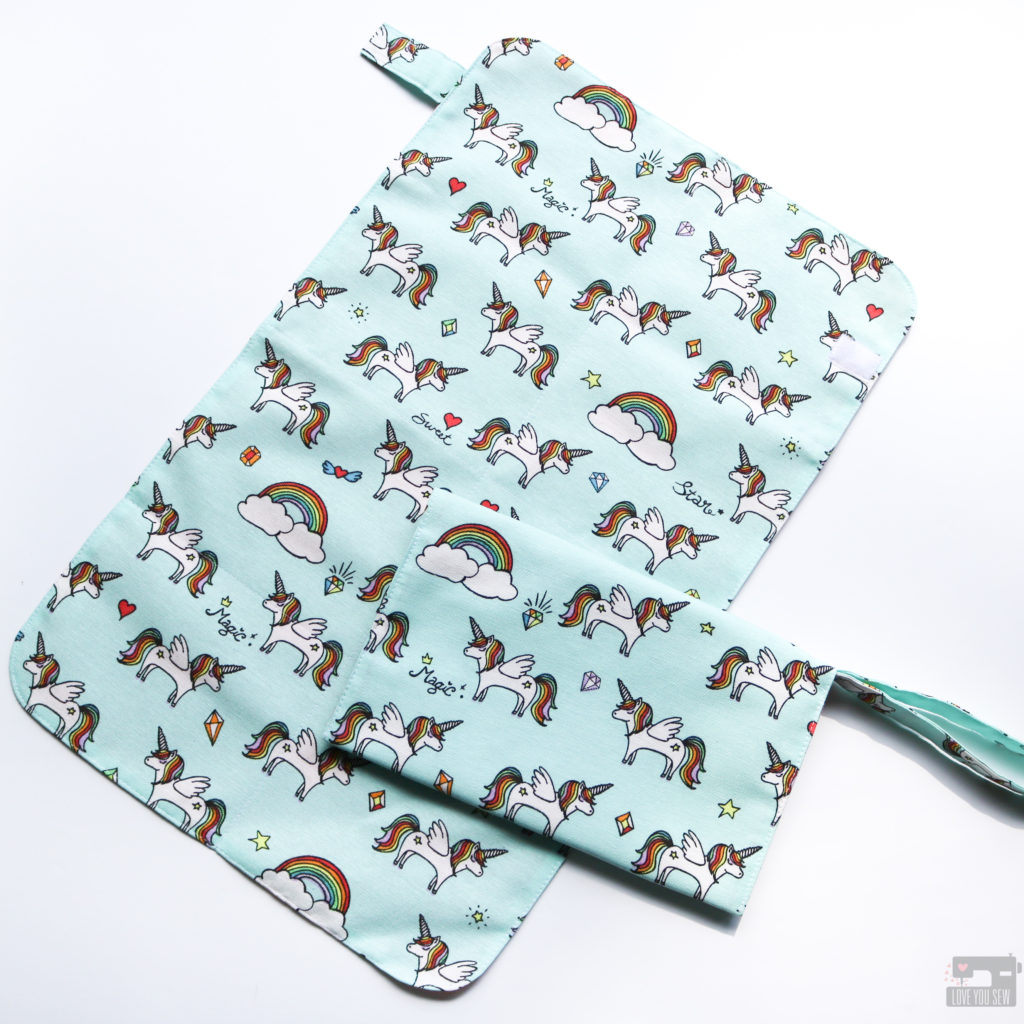
Make the “Play” Changing Pad

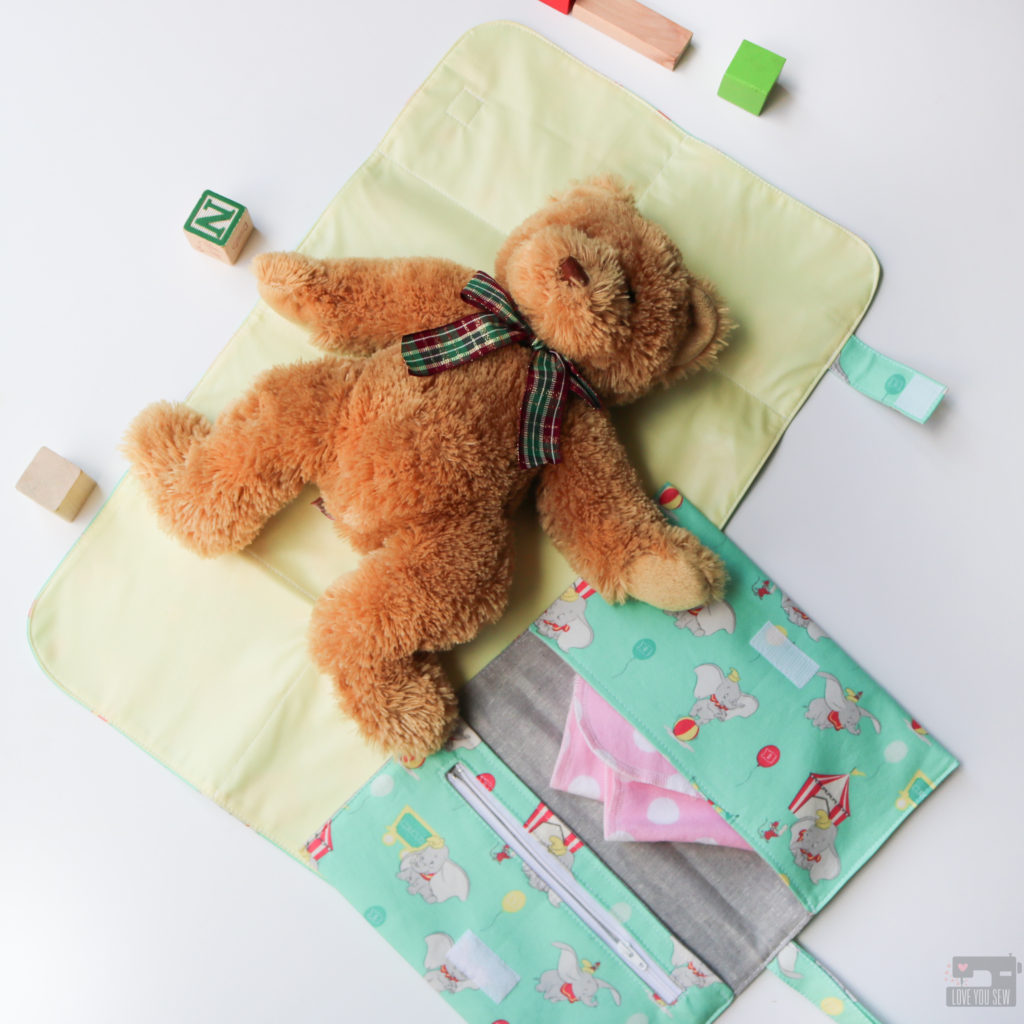
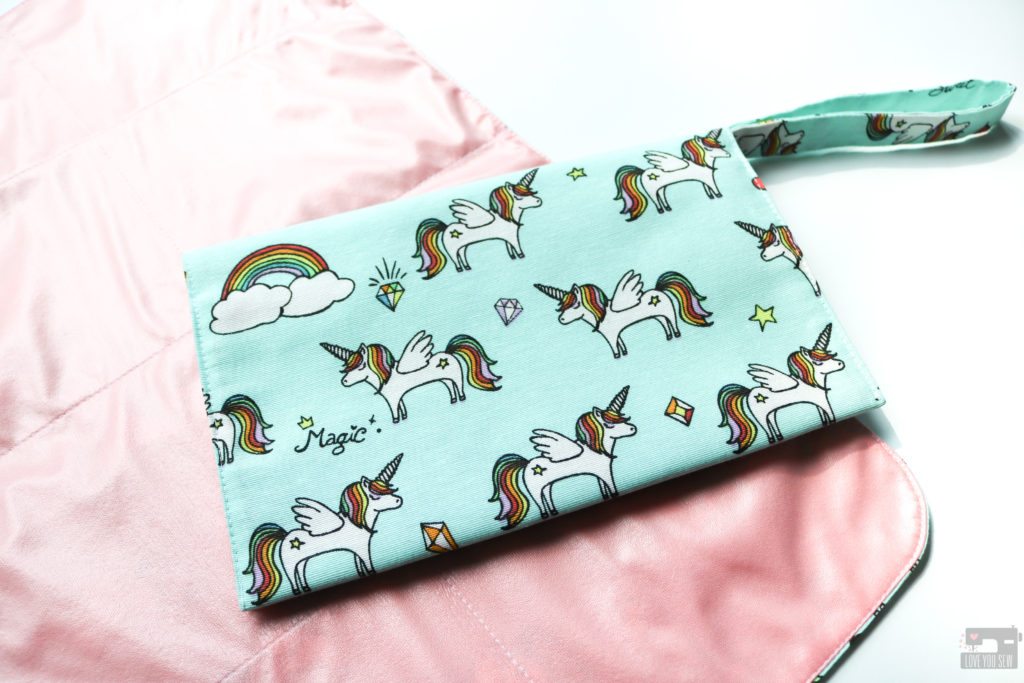
First thing’s first. You will need to print out the pattern templates at 85%. This will shrink down the pattern enough for most typical baby dolls. Unfortunately, my kids were more into stuffies than dolls, so this 12″ bear will need all the diaper changing 😉

All construction steps remain the same. You will align the closure to the bottom line of the “Tab Placement” and cut your hook and loop fastener to match the Tab width. The finished measurements of the Pad should be approximately 20″ x 12″.

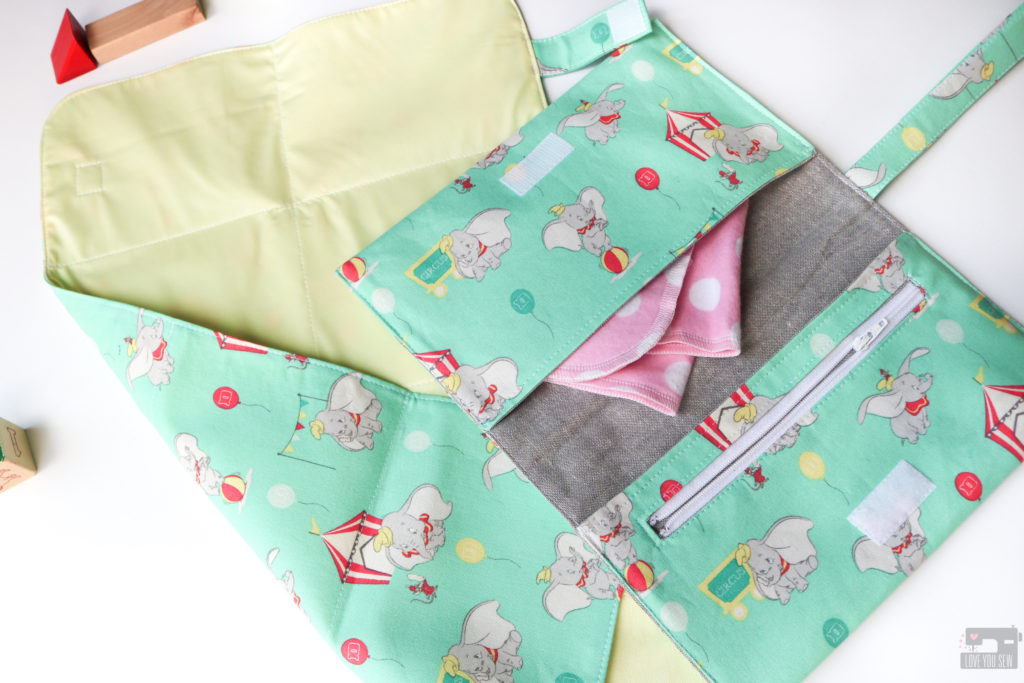
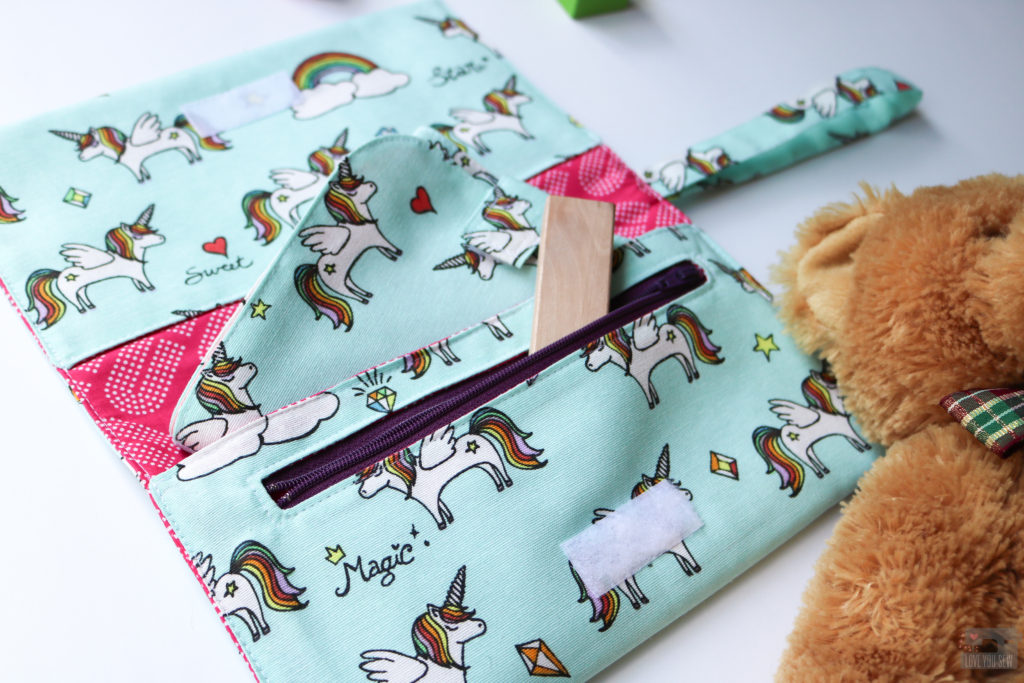
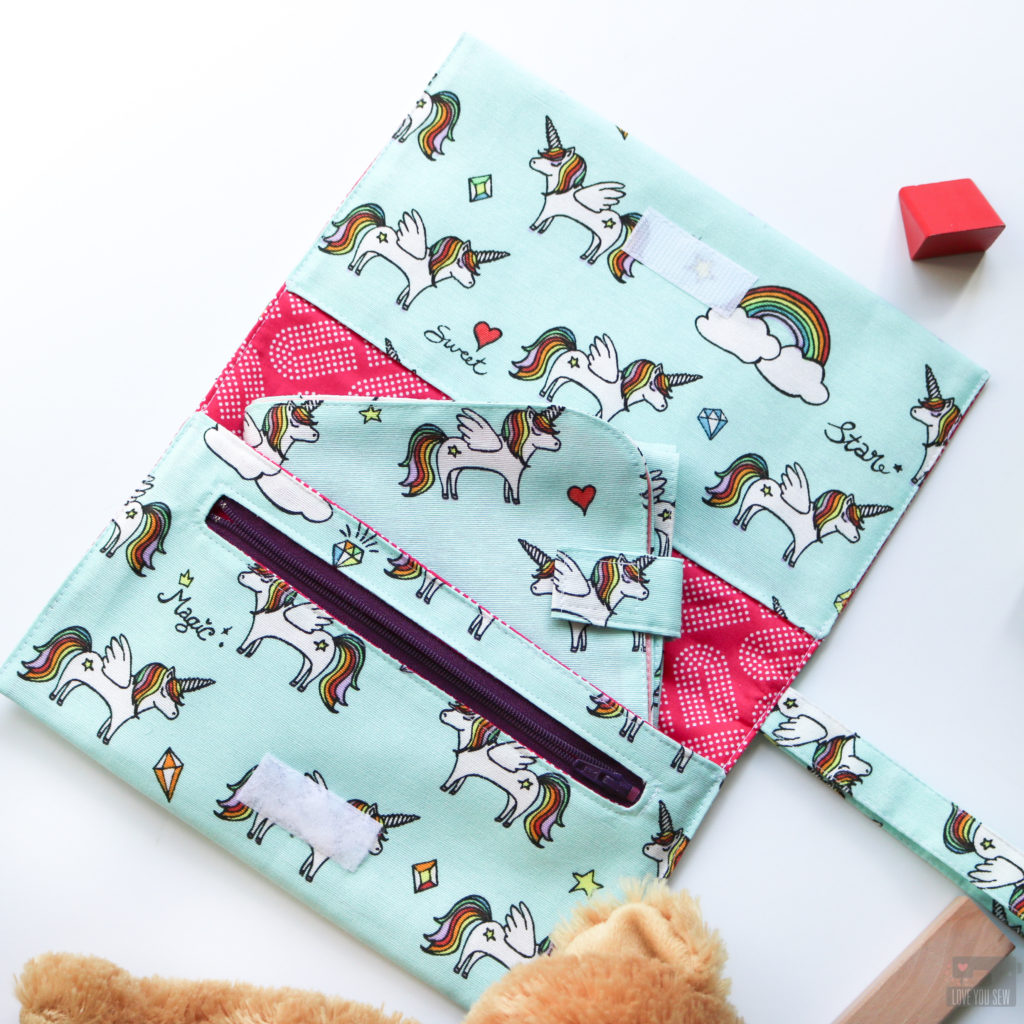
Make the “Play” Diaper Clutch

As with the Changing Pad, you will print out the pattern templates at 85% and cut out all the pieces except for the Strap (you will cut an entirely new piece.)

For Supplies:

  • Use a 7″ Zipper (at least 8″ overall) and omit the 9″ Zipper
  • Omit the D-Ring, Swivel Clasp, and Magnetic Snap (for a less fussy look, but feel free to add them back in for a fancier set!)
  • Add 2″ piece of hook and loop fastener
  • Cut 13″ x 3″ fabric and interfacing for a sew-in Strap

To make the Strap, follow steps #1-5 to double-fold and top-stitch it. Fold it in half with raw edges aligned. Baste ends together at 1/8″ and set aside.

Starting at step #12, make the Welt Pocket as instructed with a 7″ x 1/2″ Zipper opening and use the 7″ Zipper.

Since the Magnetic Snaps have been omitted, start at step #22 to center the hook and loop fasteners at the snap placement points with the length running parallel to the Zipper. Sew 1/16″ all-around the fasteners.

At step #26, replace the Strap with the D-Ring Tab. Keep the raw edges aligned so the Strap will be completely sewn-in later.

Finish the rest of the clutch by folding up each pocket by 4 1/2″ instead of 5 3/4”. Top-stitch, press and you’re little one is ready to practice parental duties!

Although my sister didn’t need another Travel Changing Set, I think this would be a great Mommy and Me set for yourself or for a friend who is expecting her 2nd+ child! I hope you enjoy making Maya and Harper Changing sets for all the kids (and parents) in your life!

Hugs and Stitches,

Cristy


Maya and Harper Travel Changing Set DIY Sewing Pattern

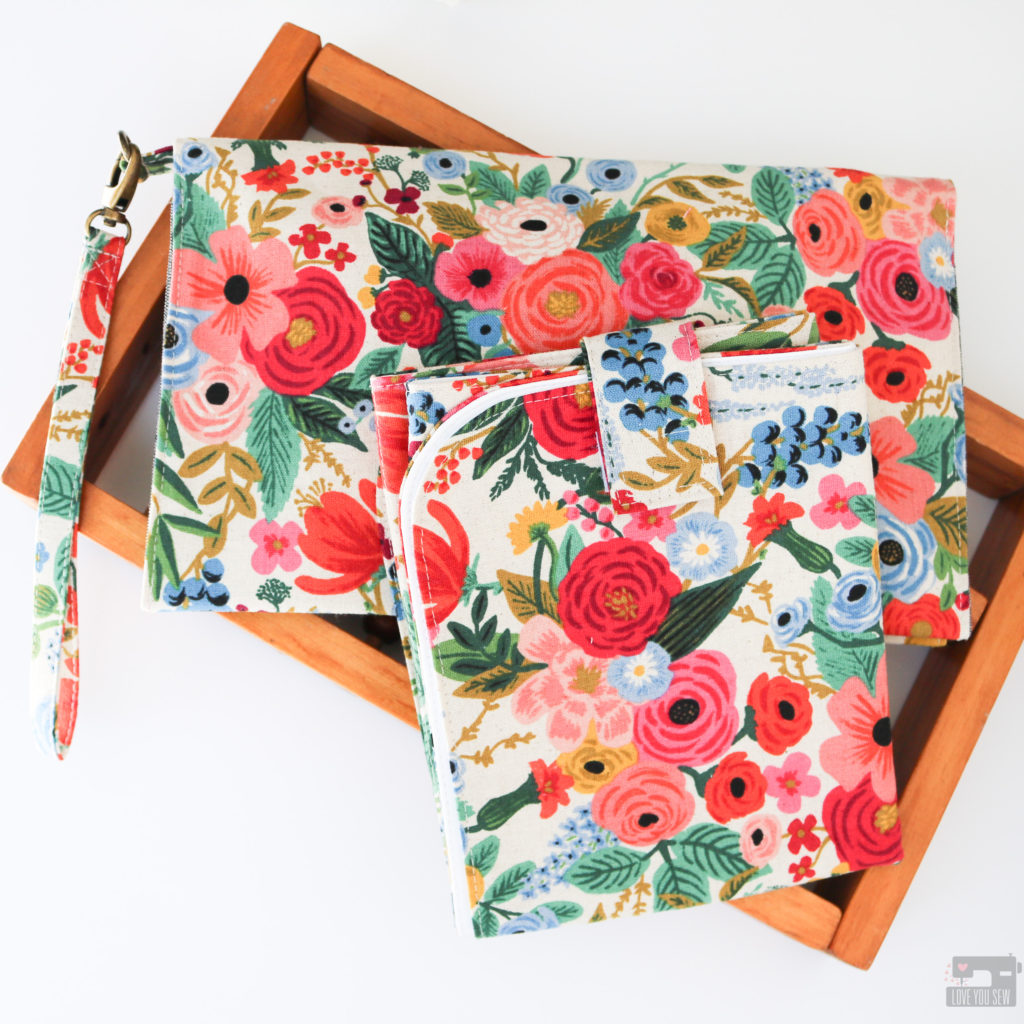
Out of all the sewing patterns I’ve written so far, this Maya and Harper Travel Changing Set is definitely the most sentimental for me.  Long before I had this blog, a sewing business, an even an Instagram account, I made these items just for myself and my babies (who are now 8 and 6 years old!)  It’s been a long time coming, but these patterns are now available to purchase in my shop, here!

Background

As a new mom I was packing SO much stuff in my diaper bag for any type of situation and it was bursting at the seams.  I was digging around for changing supplies and knew I needed some kind of organizer.  But of course, there was nothing modern and slim back in-the-day.  All the retailers had the same cutesy animal prints in the same four pastel colors. (Cue eye-roll.)  With my new found sewing skills, I developed these patterns and they both have gone through MANY revisions over the years.

One of my early designs. The one I first carried had a button and elastic loop closure.

After I made the ones for myself, friends started commenting on them which led me to make them as gifts for awhile. Then after a lot of encouragement, I started to make these baby accessories to sell and opened my Etsy shop  in 2013!  With over 1,000 sales in my shop and countless ones vending at indie craft shows, I knew I had some special accessories.  Now that I’ve retired from selling retail product, it was time for me to share these patterns with you!

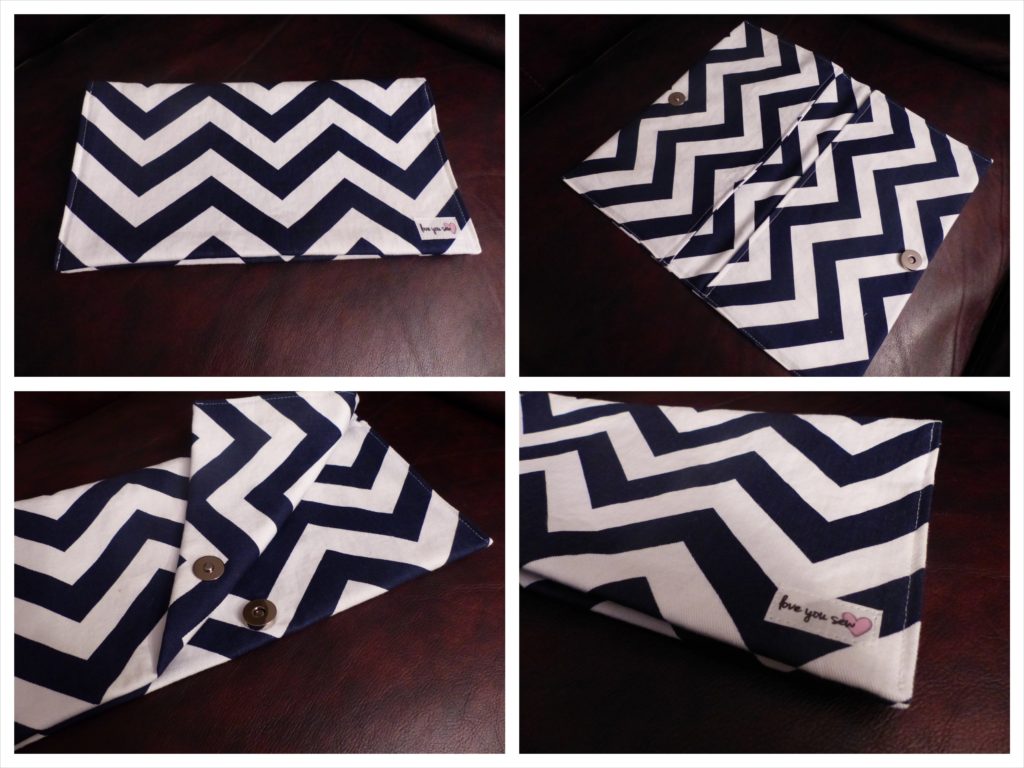
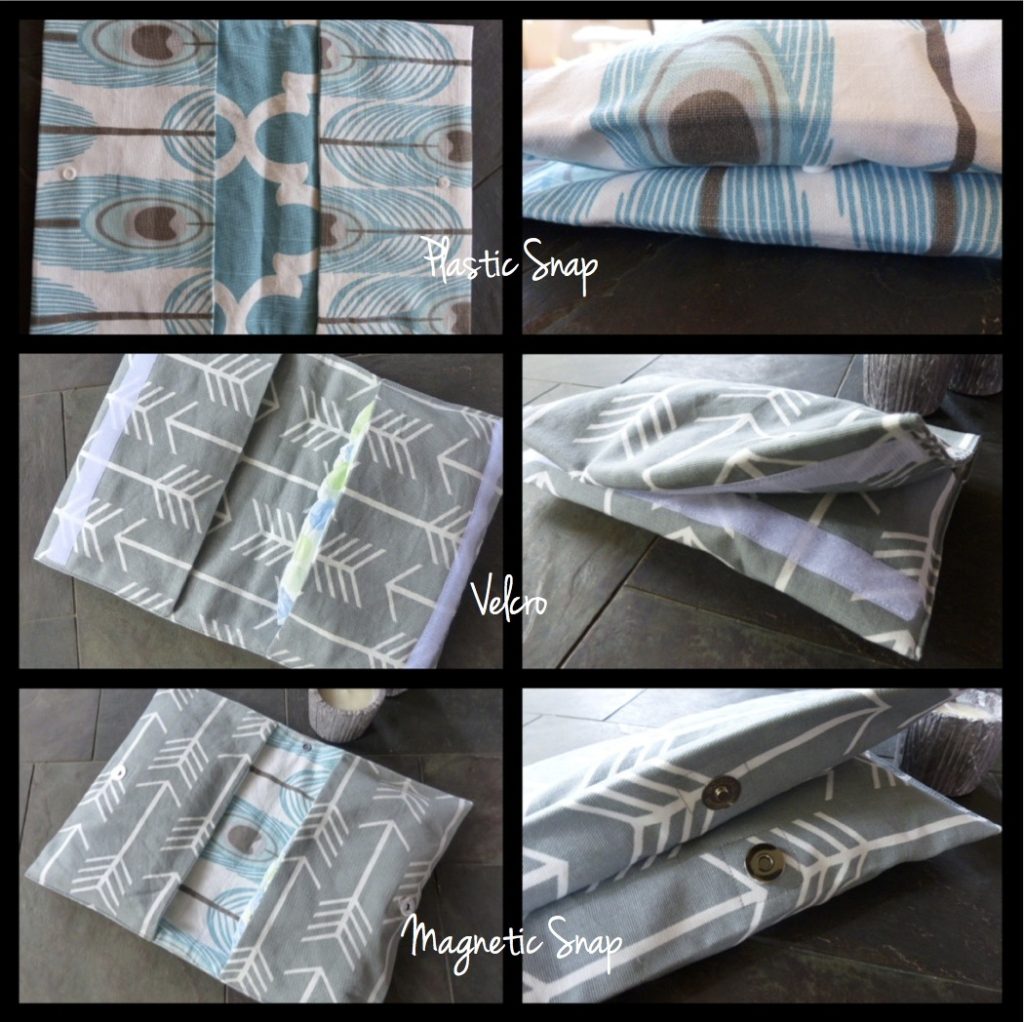
More early designs with different closure options I offered in my shop

With most of my patterns, I name them after my nieces.  Maya and Harper are my sister’s sweet and ridiculously adorable girls.  Since they are quite the pair and are usually decked out in matching outfits, I knew they had to be the namesake for these patterns.  They are two little people that go together just like how the Travel Changing Pad and Diaper Clutch go together!

Maya Diaper Clutch

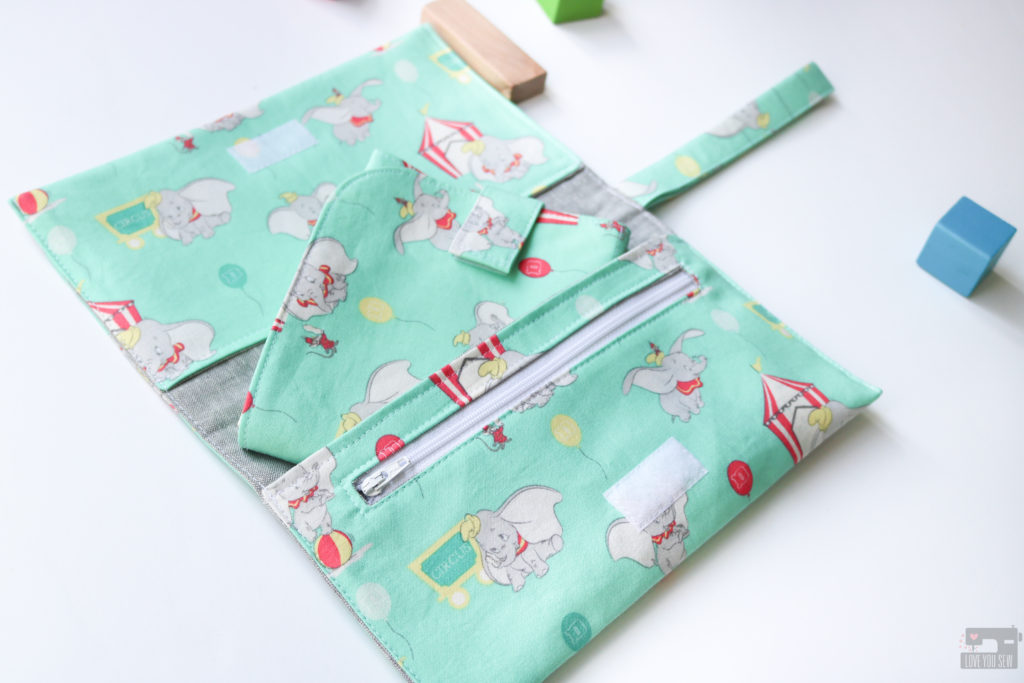
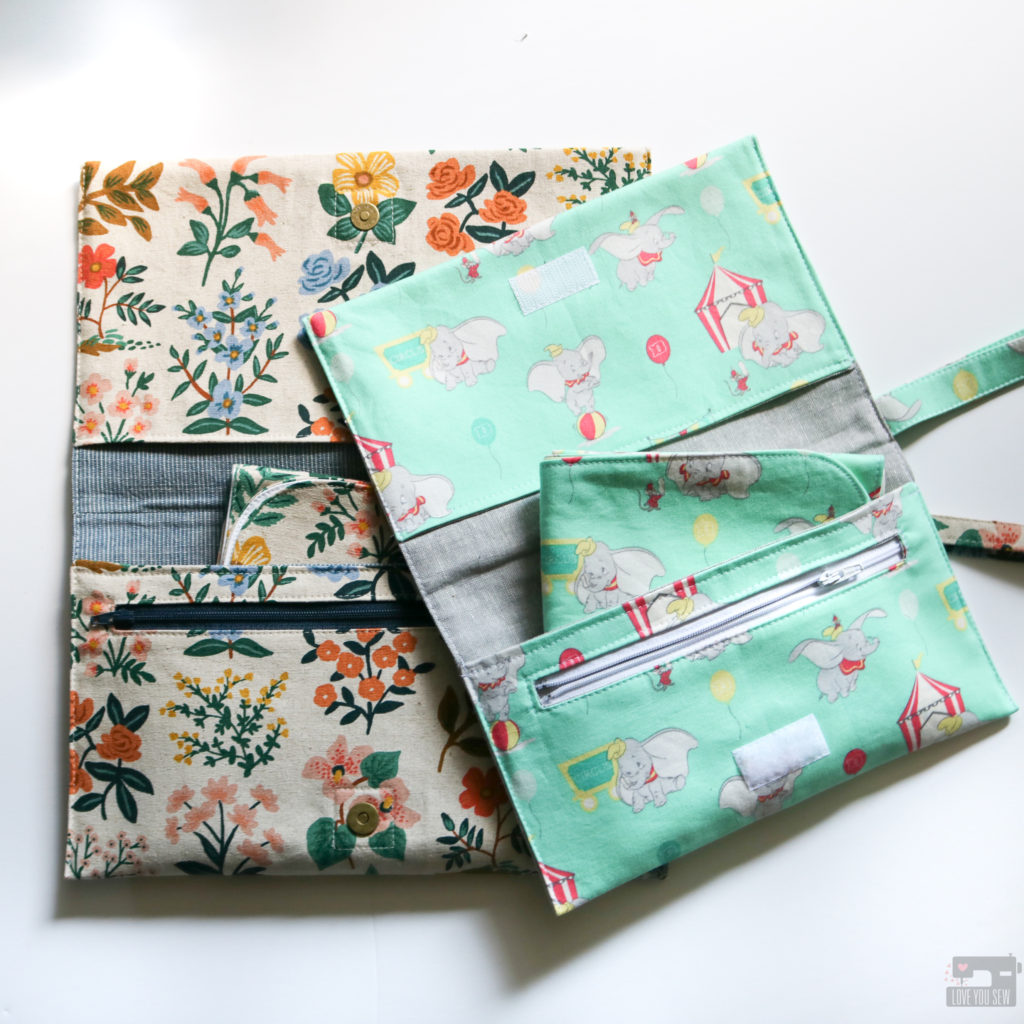
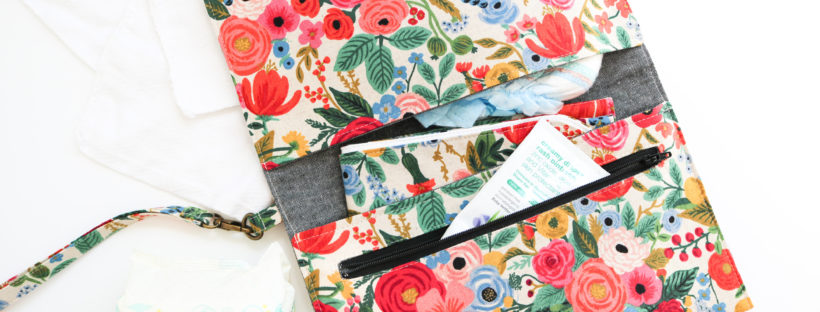
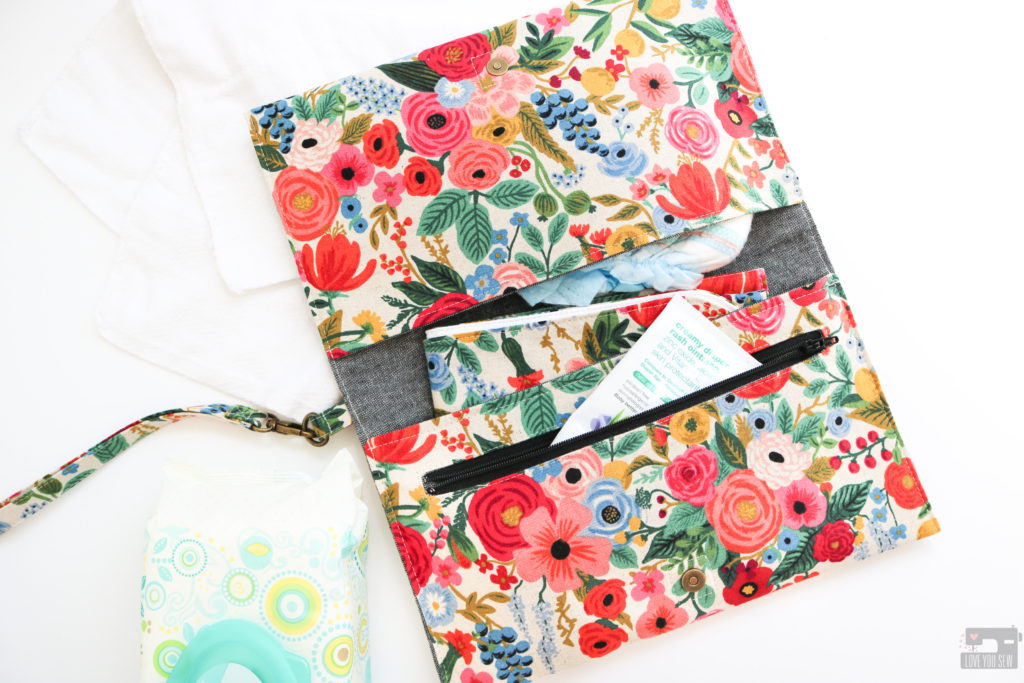
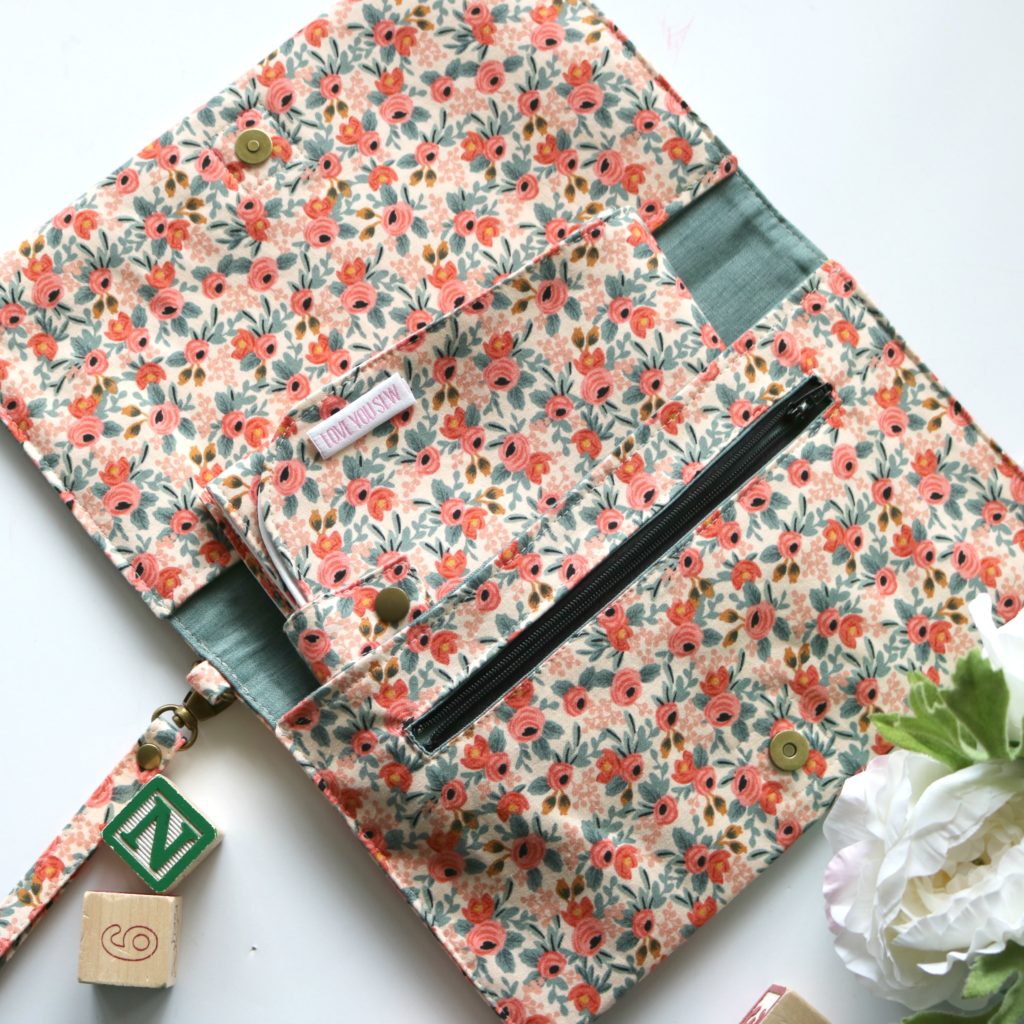
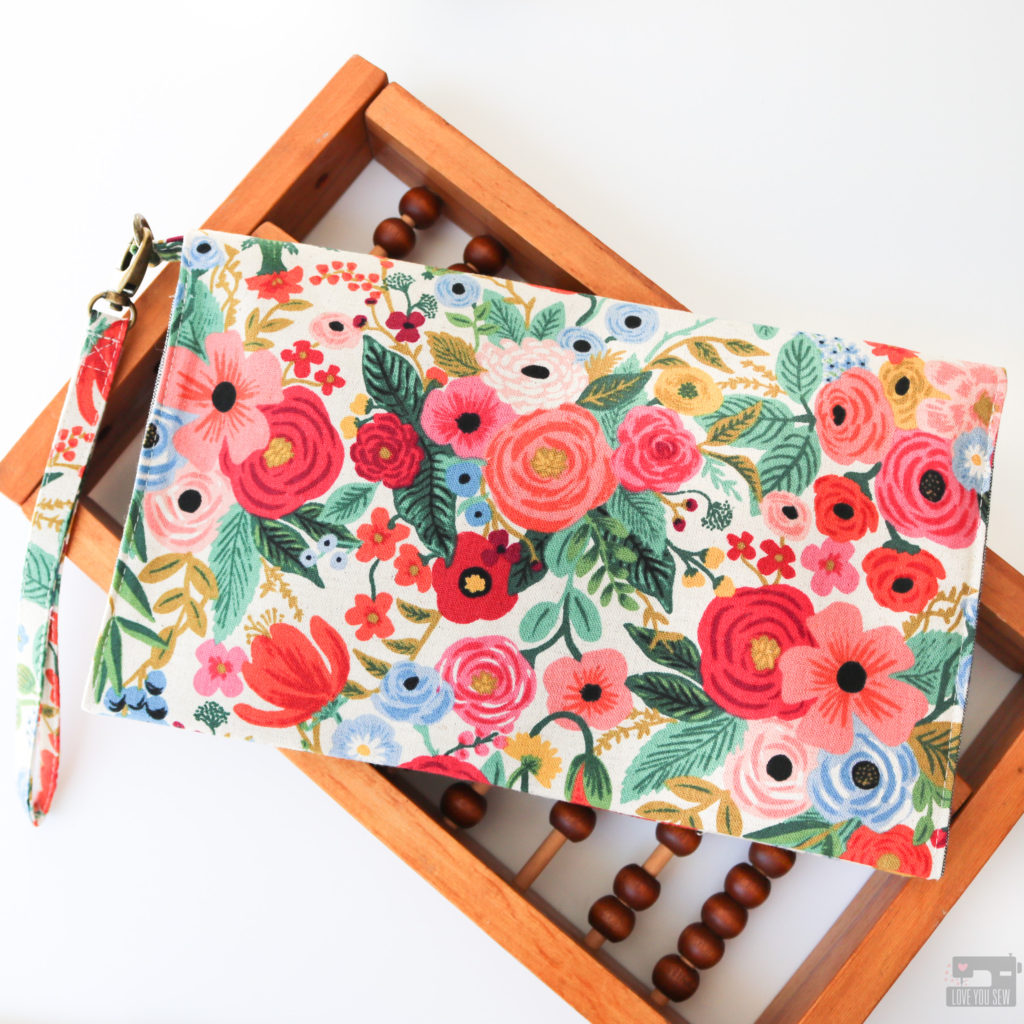
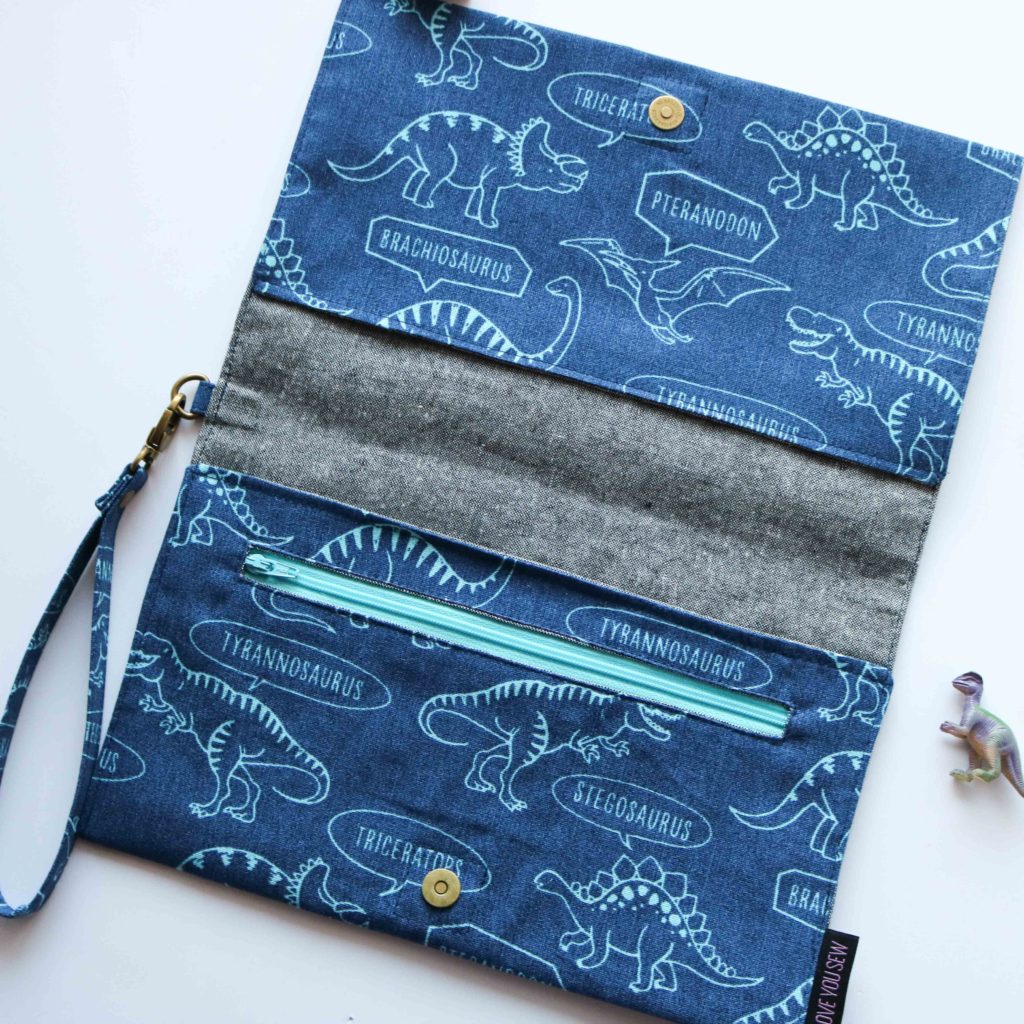
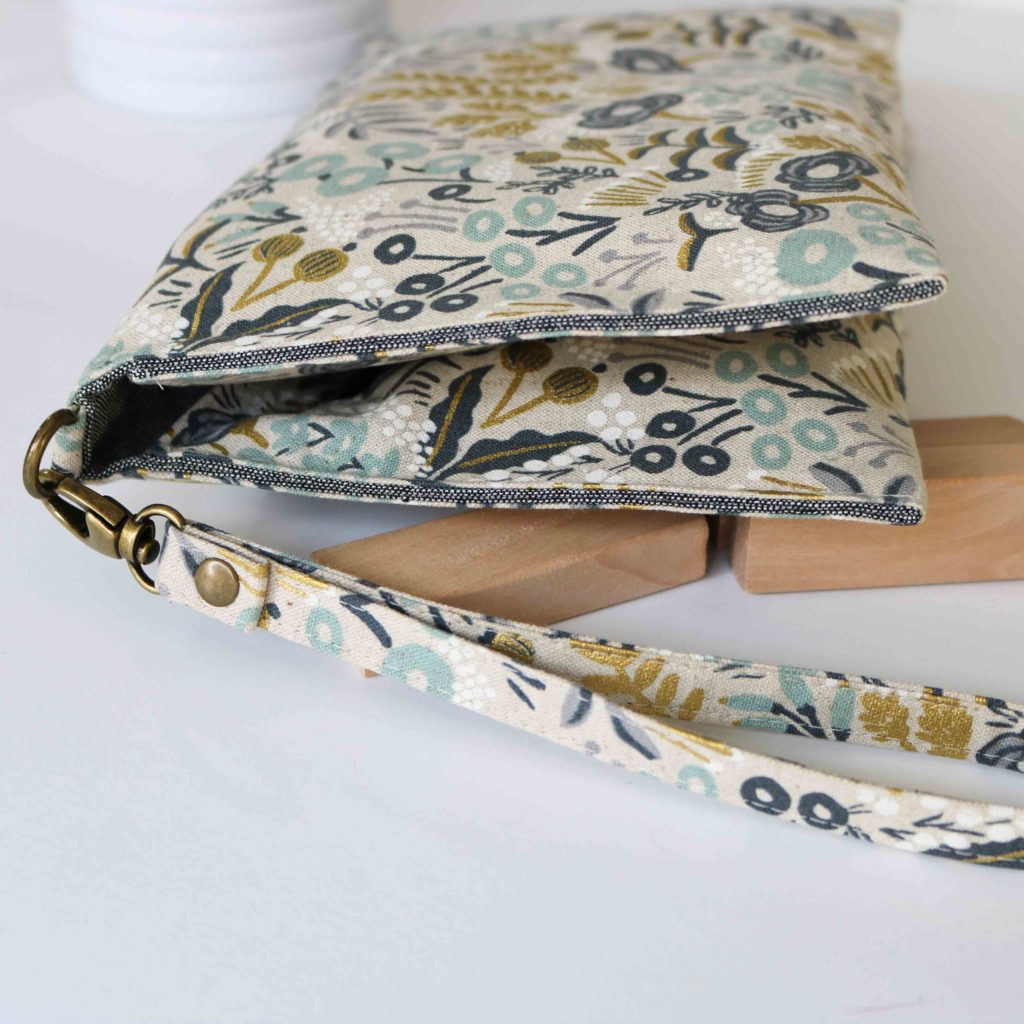
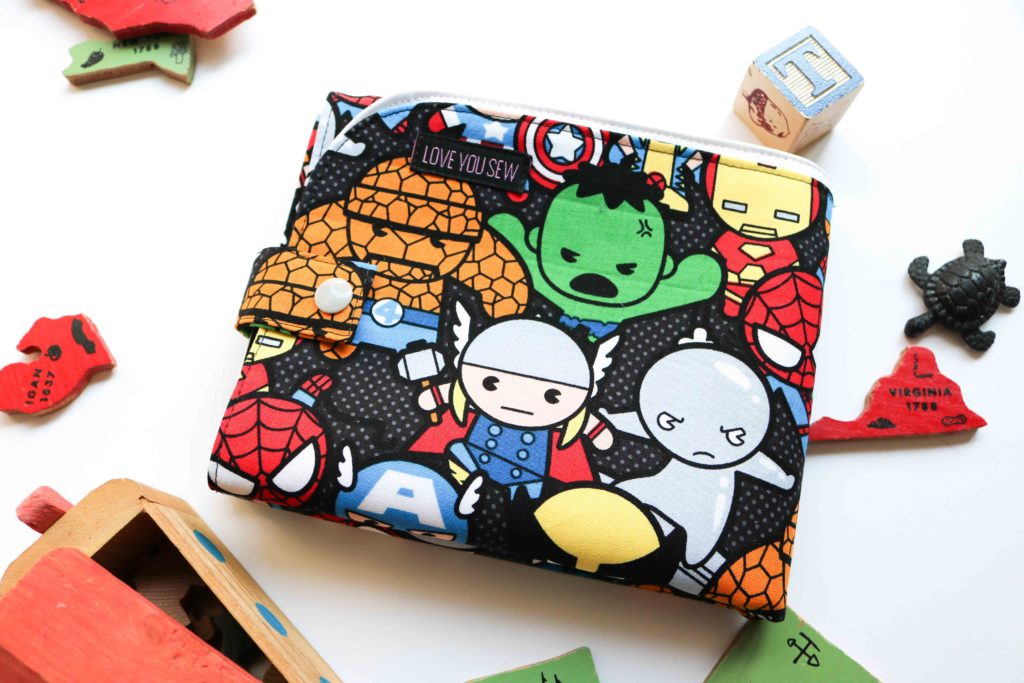
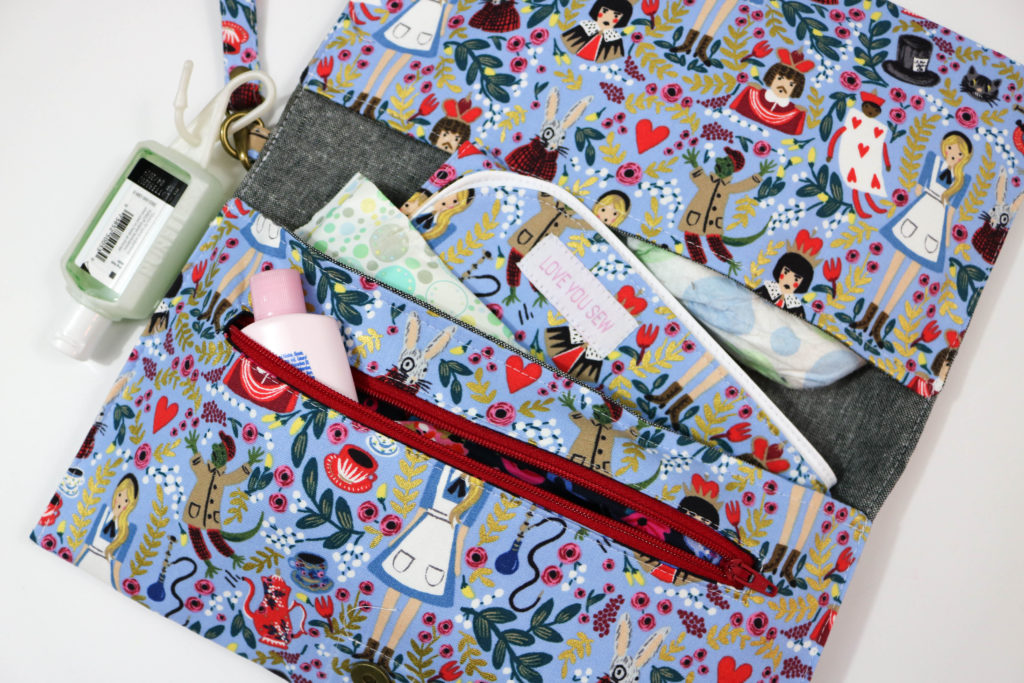
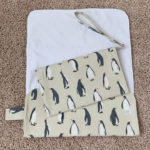
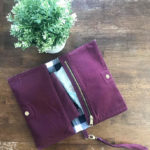
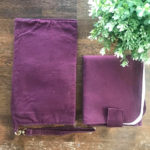
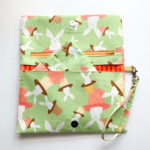
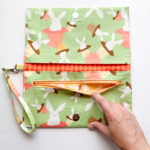
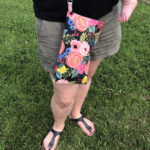
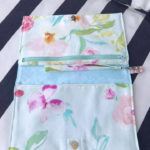
The Diaper Clutch was designed to hold diapers, wipes, bibs and large enough to also hold the Harper Changing Pad.  It has a slim design which will expand with your needs.  It has the following features:

  • Two Large Slip Pockets for diapers, wipes, bibs, etc
  • One Zipper pocket for ointments and creams
  • Detachable Wristlet strap for easy carrying
  • D-Ring which can be hooked onto diaper bags or backpacks
  • Metal Snap for one-handed opening and closing

This is a great project as a beginner sewist. You will learn how to use heavier fabrics, create a welt  zipper pocket and install a magnetic snap.  You also will learn how to make a wristlet strap.  This same technique can be used across other pouches and accessories whenever you want that extra feature!

Harper Travel Diaper Changing Pad

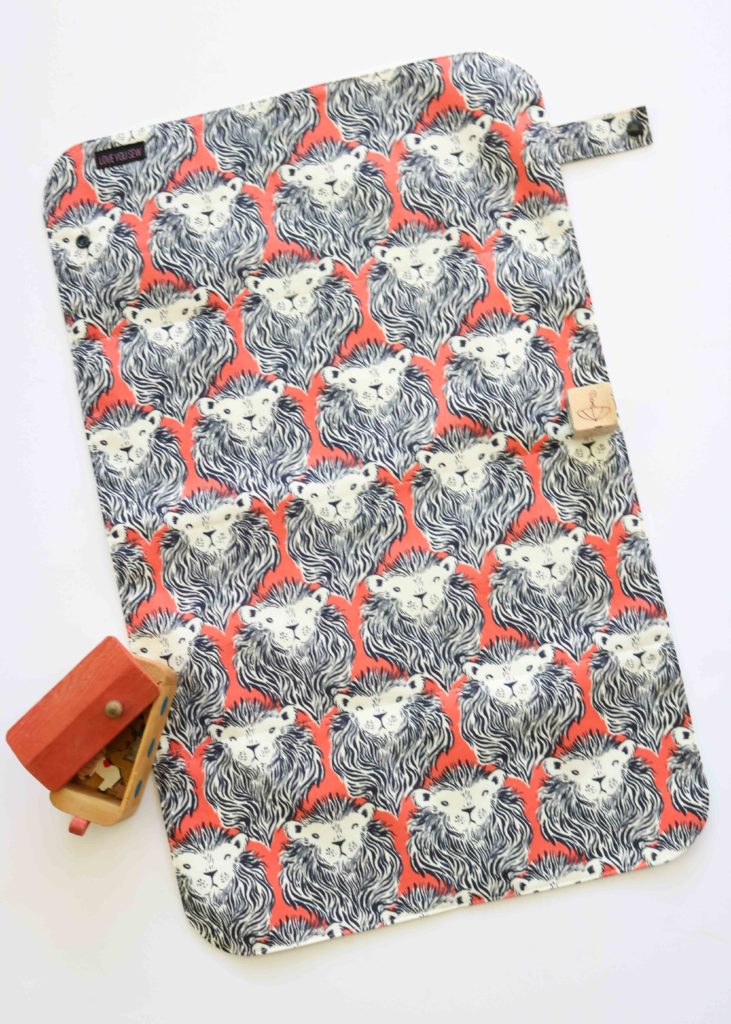
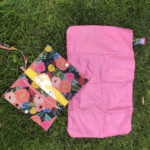
The Changing Pad was designed to have a waterproof surface for changing, while being able to use beautiful fabrics to match your personality.  Let’s face it, changing diapers is not glamorous at all, but you might as well look good doing in!  Making the pad in a pretty fabric helps to lessen the pain…LOL.  The pad features:

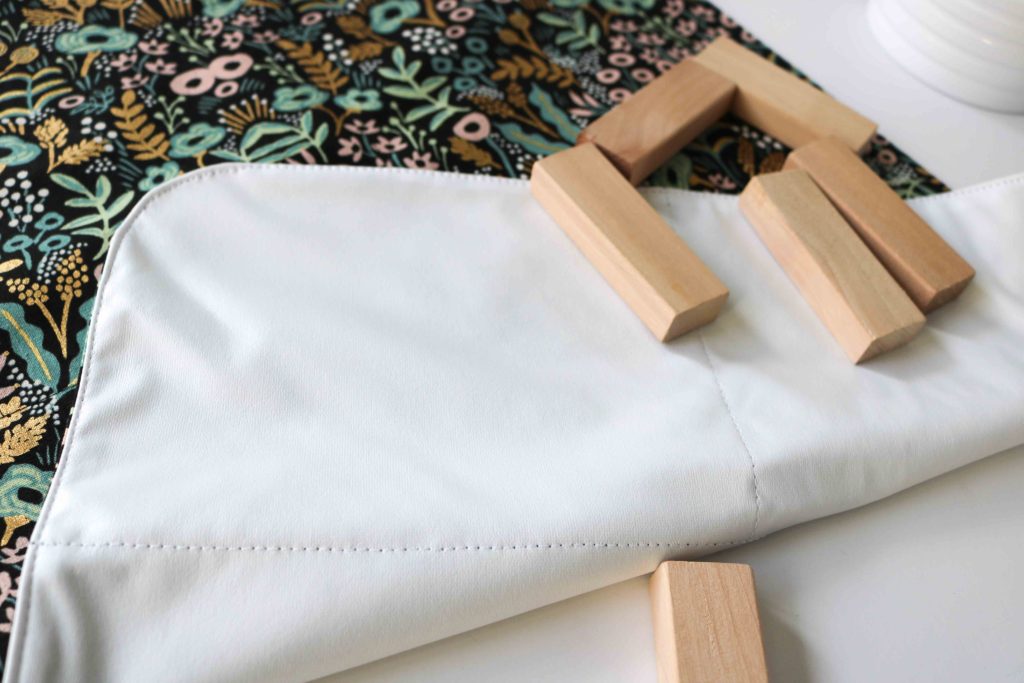
  • A Slim profile to help you better utilize that diaper bag real estate.  I was not into the incredibly thick mats that came with many diaper bags…There was no reason to carry around a sleeping mat IMO!
  • Waterproof side for changing
  • Fabric side to show off your favorite fabric
  • Hook and Loop Closure for one-handed accessibility
  • Quilted design to make folding easy

The Harper is another pattern perfect for a beginner sewist.  It is a very quick and satisfying project while you learn how to use laminate and/or other waterproof fabrics.

Material Sourcing

  • D-Ring, Swivel Clasps and Magnetic Snaps – I’m a loyal fan of Emmaline Bags (I carry their products in my other bag kits,) but also love the quality of Ning Bags on Etsy (aff link)
  • Zippers – Like most of you, I grab mine from ZipIt Zippers on Etsy (aff link) or I grab them from Wawak when they’re on sale.
  • CanvasFabric.com (aff link) always has a steady selection of different canvases…from organic to solid, to other great modern prints. It’s a great spot for the most selection, especially when making a gift 😉
  • PUL (Polyurethane Laminate) – You can find a lot of great prints in PUL, but my pattern uses the smooth laminate side as the “right” side.  The designs are usually printed on the soft knit side of the fabric which would be hidden.  So make sure you read the fine print when ordering!  Joann’s carries the Babyville line of PUL which is thicker than other brands.  I like how the white is fully opaque and is available 60″ wide.  Diaper Sewing Supplies is a great spot for Eco-PUL which is more environmentally friendly, but is slightly transparent and thinner.  I like DSS for the solid color selection, but would stay away from the light colors or because you’ll see the seam allowances through the Harper Changing Pad. You can also find great waterproof oxford at DSS which is heavier and you can find fun prints to use.

Project Inspiration

Enjoy all of these incredible versions of the Maya and Harper Travel Changing Set by my tester group.  Click through each image to the maker’s IG feed if you would like to follow them on their sewing journey!

Please note, the position of the magnetic snaps were adjusted after testing on the final pattern templates.


I hope you enjoy making sewing baby gifts as much as me!  Please don’t forget to tag your projects with #MayaAndHarperTravelChangingSet and #LoveYouSewPatterns so I can see your fantastic makes on social media!


Hugs and Stitches!

Cristy


There are affiliate links in this post and you can read up about my disclosures here.
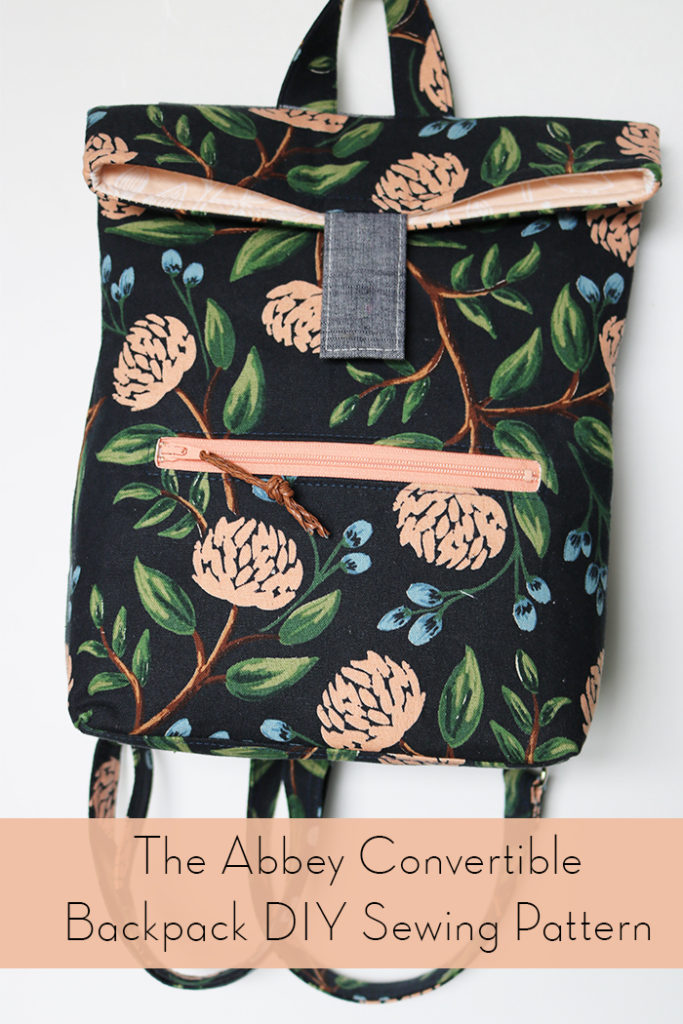
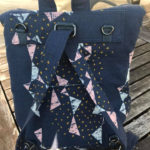
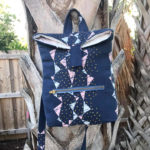
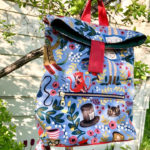
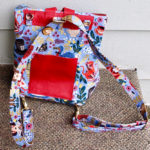
Abbey Convertible Backpack DIY Sewing Pattern

I’ve been on a long pattern writing break and look at me….I have two out in less than a month!  It might be all the inspiration I’m feeling or maybe it’s the fact that I’ve learned quite a bit more about designing now 🙂  It really is a combination of all the above along with clearing my plate of other sewing commitments so I can focus!  You can check out the FREE Kelly Waist Bag pattern  just released a few weeks ago here and keep on reading for the long awaited Abbey Convertible Backpack

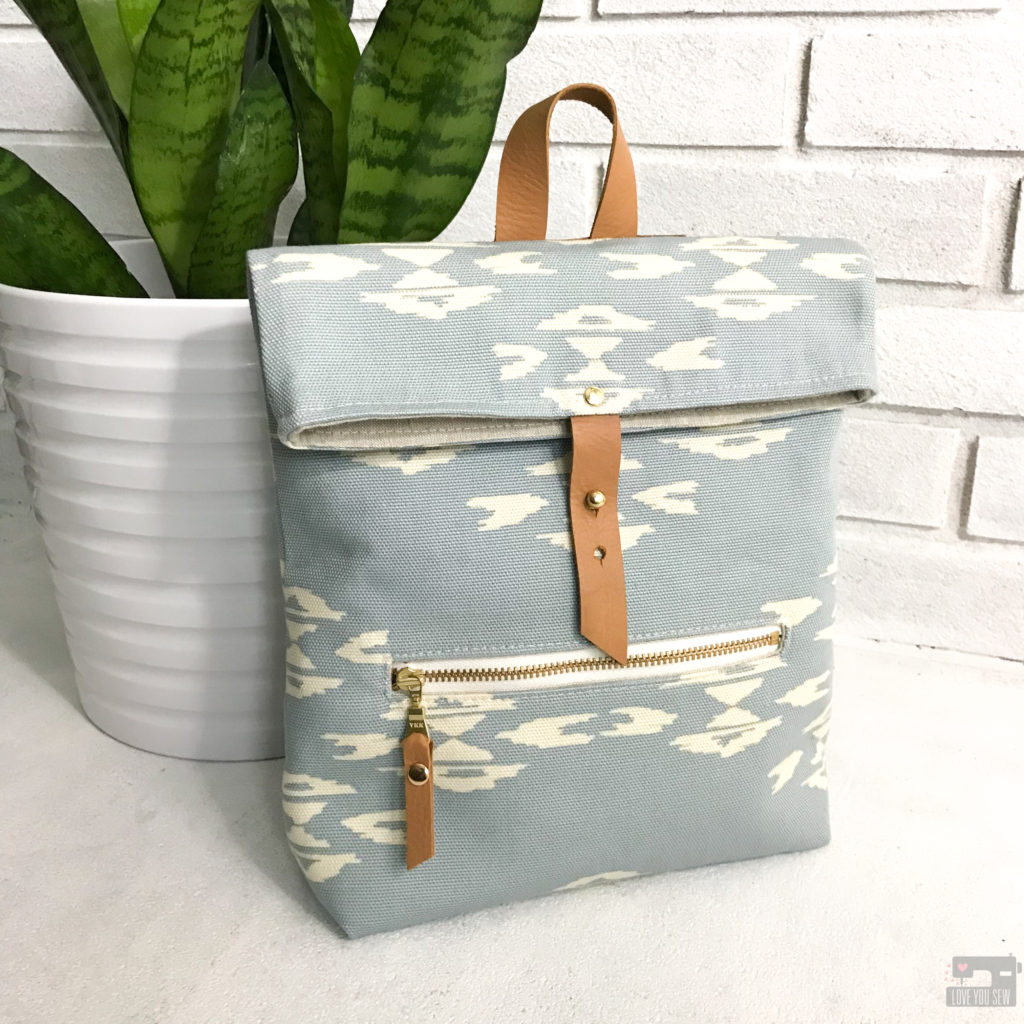
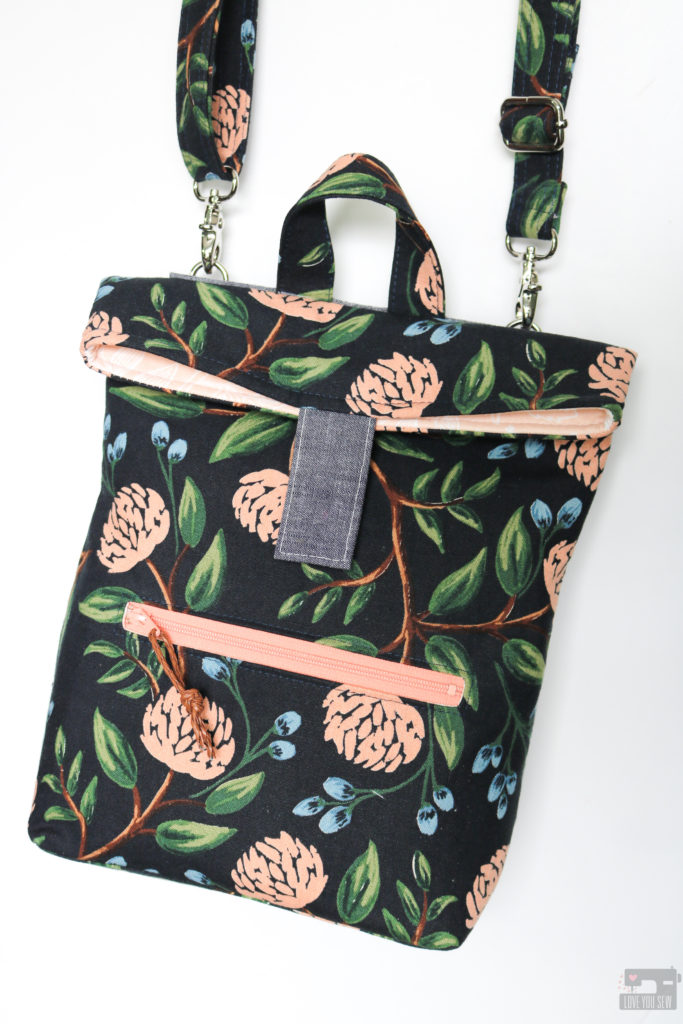
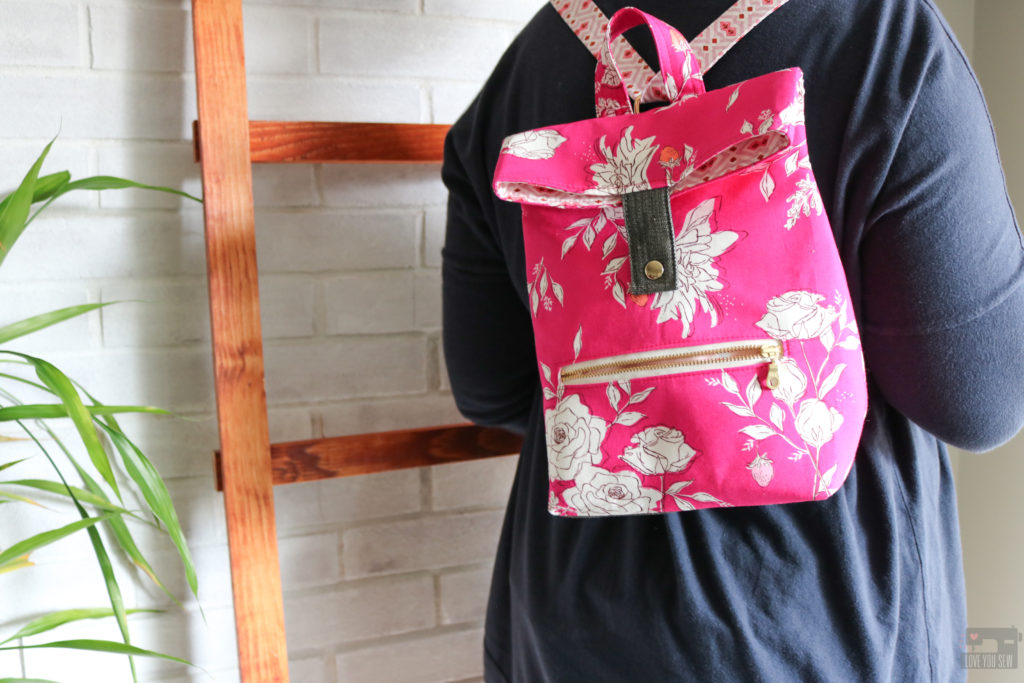
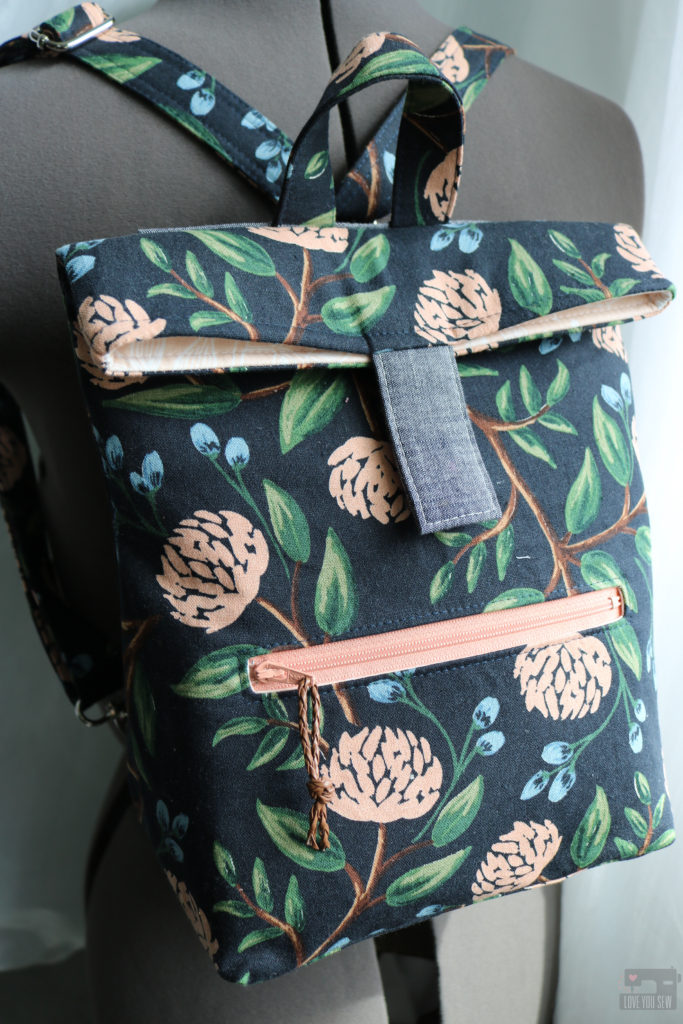
Abbey Backpack by Love You Sew

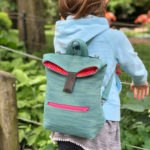
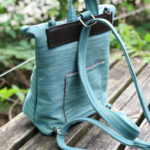
At the end of 2017,  I was looking for a fun bag idea for my toddler niece.  But since she’s a little fashionista, I wanted to make her a “non-kid bag” and more of an “adult-bag”….just in a miniature size. With boho style hot at that minute, I remember seeing so many hiker style backpacks around with southwestern prints.  I had this great canvas fabric in my stash from April Rhodes and knew it would be perfect for my niece.

I made this little backpack just thinking it would be a one-off project — that was until I posted it on my Instagram.  That’s when all the comments and inquiries flooded in.  I had at least half a dozen people wanting to buy it.  But no, it was only for my niece. <3  Although I didn’t want to sell the actual bag, I knew I had a great design…especially as a kid-size bag that’s modern and something an adult might like….

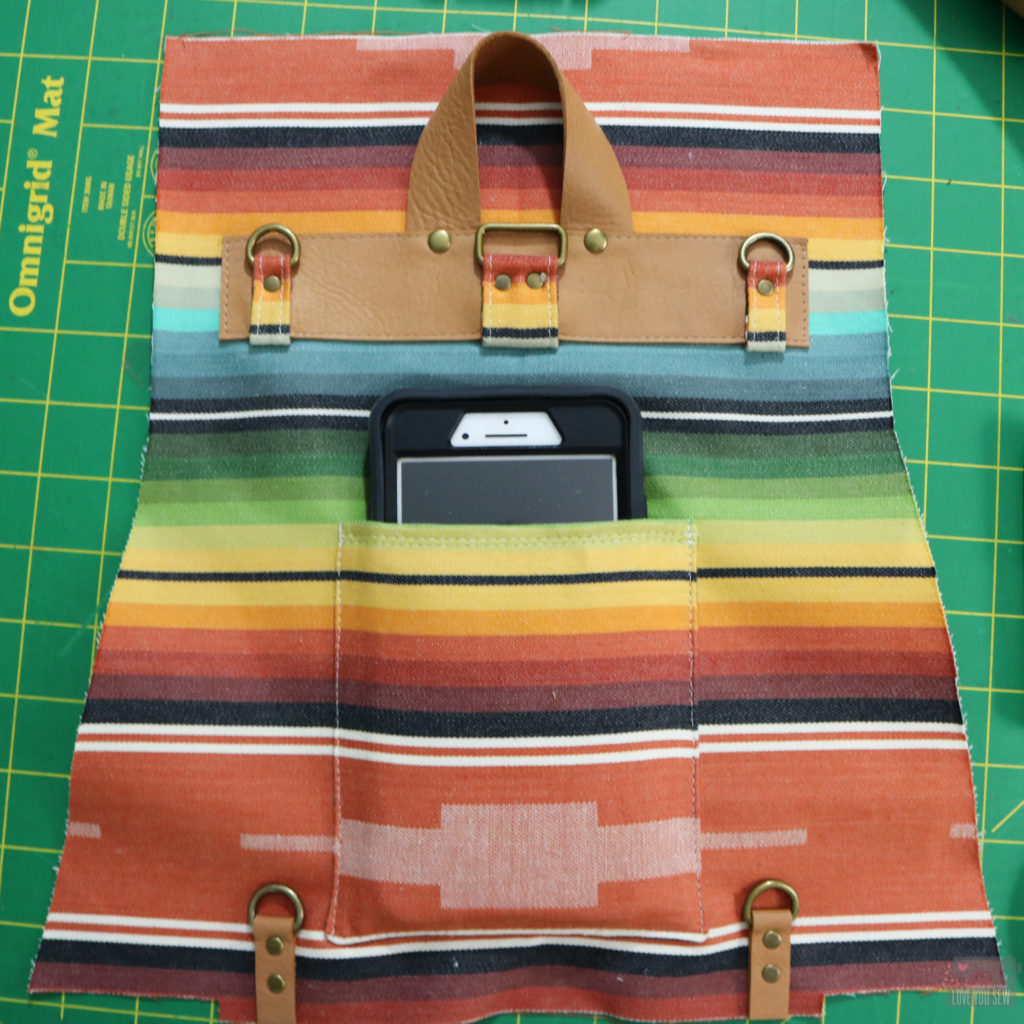
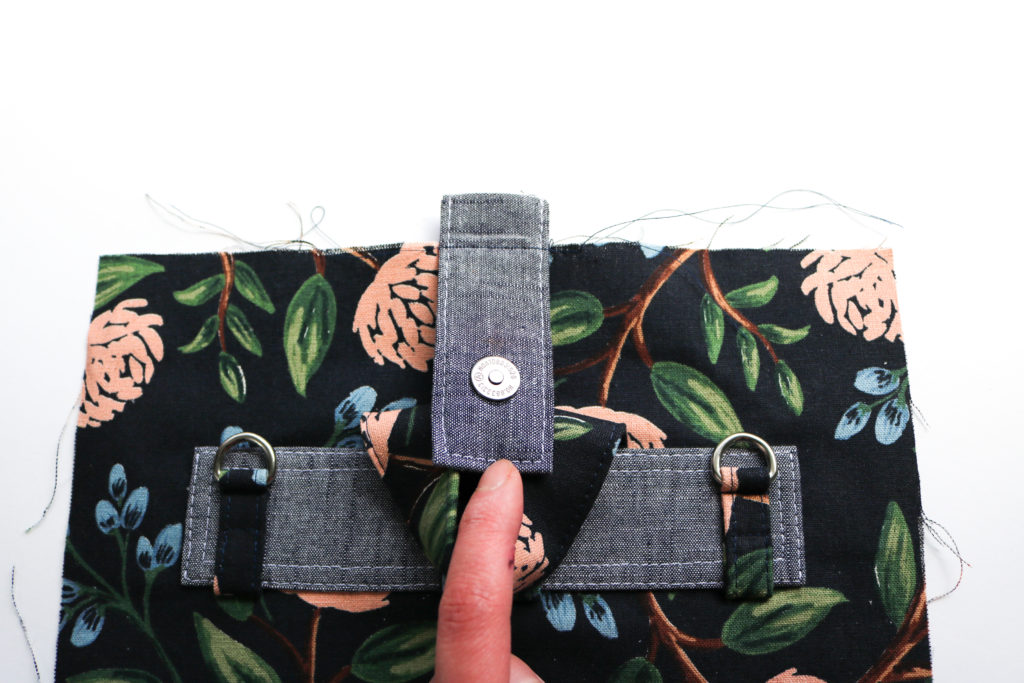
Fast forward a year after learning to use some proper drafting software and I was set to tackle the longest and most involved bag I’ve written to date.  From the first design, much has changed.  The body is slightly larger and more pockets have been added inside and on the back. The most significant change is the additional hardware to make the Abbey a completely convertible adult bag too!

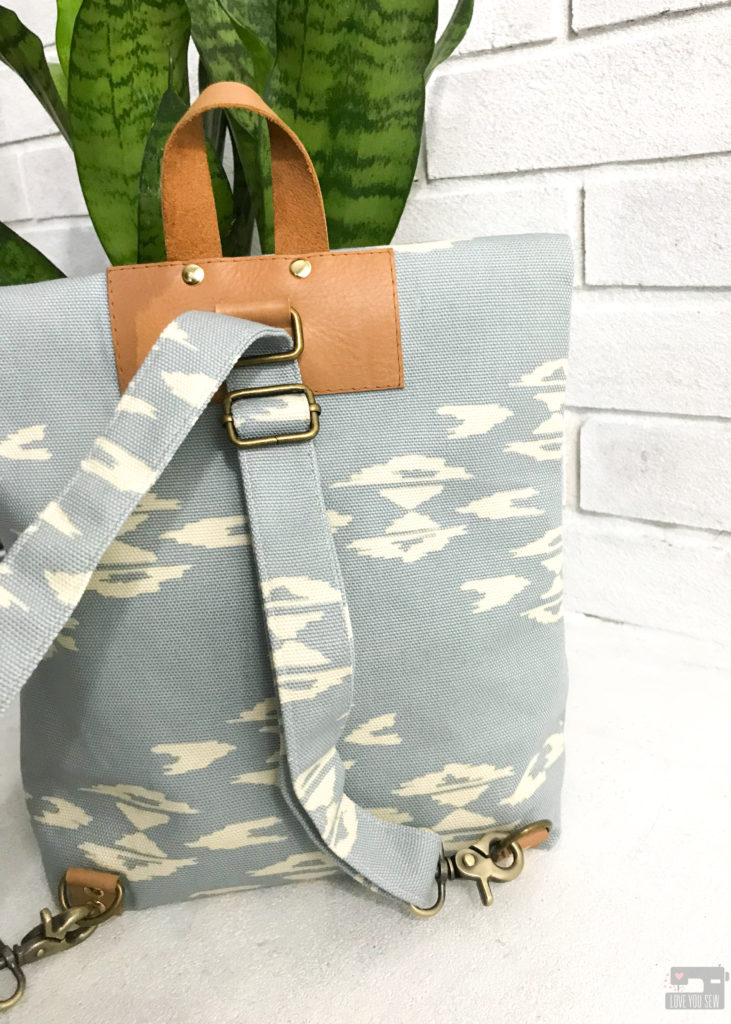
Abbey Crossbody by Love You Sew

With a quick switch of the swivel clasps from the lower connectors up to the top ones, the backpack changes to a cross-body!  This allows the Abbey to be such a versatile bag and can change with you depending on the situation.  ‘Sometimes you just want your bag out of the way and sometimes you need all the access to it — I get it!  Additionally, the Abbey also has these features:

  • Convenient front zipper pocket for keys, chapstick or change
  • Magnetic snap tab closure for easy access to the main compartment
  • Back slip pocket – perfect for your phone, boarding passes or concert tickets
  • Interior zipper pocket to keep valuables safe
  • A generously sized adjustable strap which can be used for the backpack or crossbody

As a bag-maker, you will love having this unique design which you can (of course) keep, but also gift to friends and family, both young and mature.  I’m thinking some mommy and me versions would be so cute!  You will also learn some great techniques such as:

  • Installing magnetic snaps (with my tips to prevent the prongs from wearing through your fabric!)
  • Using three different types of interfacing for a structured, yet pliable bag
  • Creating zipper welt pockets
  • Making an adjustable strap
  • Construction style which leaves a clean and seamless base.
  • And I’m already working on some hacks to leave you with more options and ways to customize each bag you make 😉

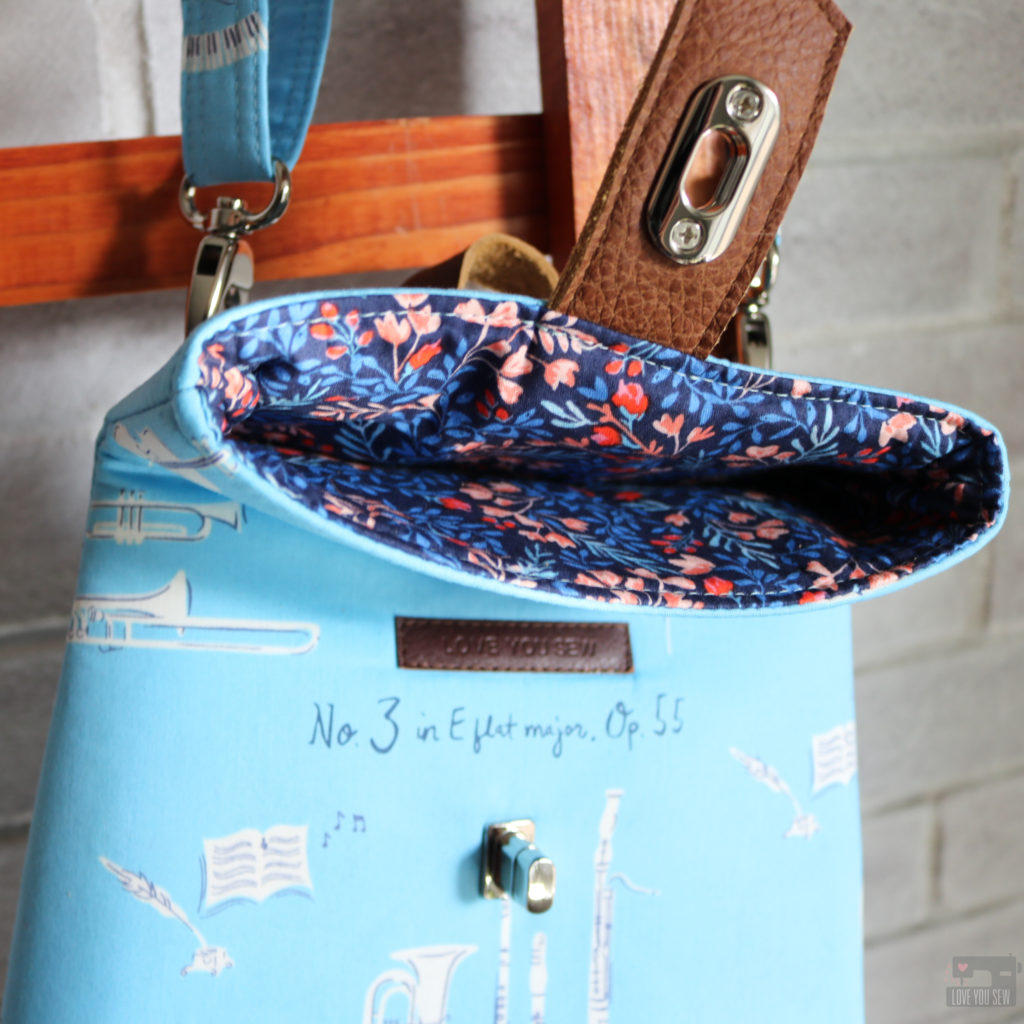
Sonata Abbey Backpack

For some inspiration, you can check out my Sonata Fabric Showcase Tour here.  These were both prototypes as I was testing out interfacing combinations and still checking out which features to keep in the pattern.
  • The blue bag used foam interfacing which I thought was just too much.  The bag was not able to fold very well.  However, it uses leather accents which I do include in the cutting table.  (I will write a blog post for the zipper frame soon!)
  • For the pink bag, this was a test to see how quilt cotton would hold versus the recommended canvas.  It still had great shape and pliability, but some structure is lost.  Once the bag is filled up, it’s not that noticeable though.  This version is the lightest weight and great for using all of those cute quilt cotton prints for little ones.

If you need even more inspiration, you have to check out all of these amazing creations from my tester group.  These ladies are absolutely amazing and I could not make this pattern without all of their help!  You can click through each image below to direct you to the maker.

Pattern Summary:

I hope you enjoy this pattern as much I do!  Happy Sewing!


Cristy


Disco Double Zip by Love You Sew

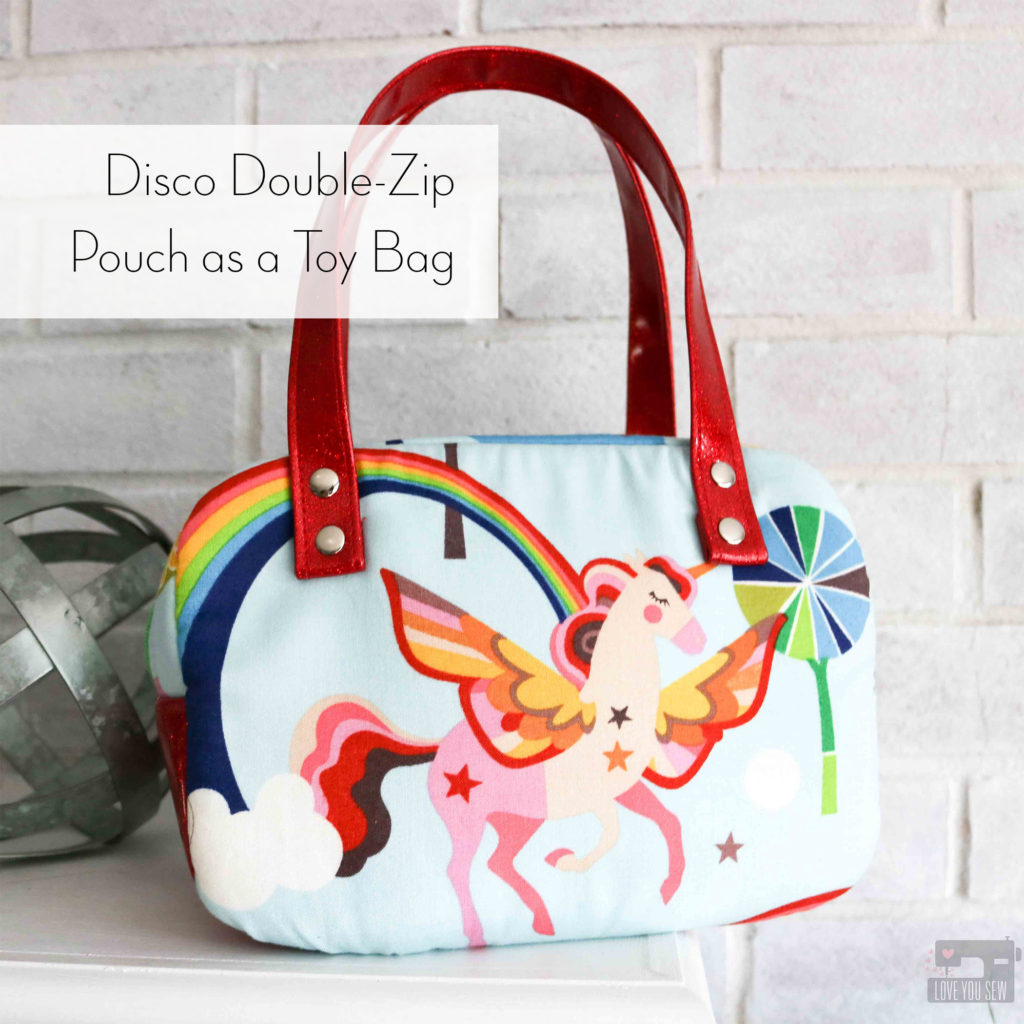
Gift Idea: Disco Double-Zip Pouch as a Toy Bag

It’s holiday gift-giving season already and I’ve been thinking about my handmade line-up for awhile now.  I don’t know if I’m just getting better at planning or if the consumer marketing seems to be pushing earlier.  It’s probably the latter, right?!?  So, I’m going to try to show you some of my favorite handmade gift ideas through the blog and on Instagram (without leading to any spoilers for my family!) to help inspire handmade for the holidays!

Fortunately, Sew Sweetness just released Season 2 of her Minikin patterns.  This collection includes 13 patterns (many with multiple sizes) and accompanying videos.  If you didn’t know already, I’m a huge fan of these patterns and love how unique they are.  (You can check out my Sidewinder from Season One here.)  The Minikins offer such a great variety of patterns and I love having the library of patterns available when I need a gift.
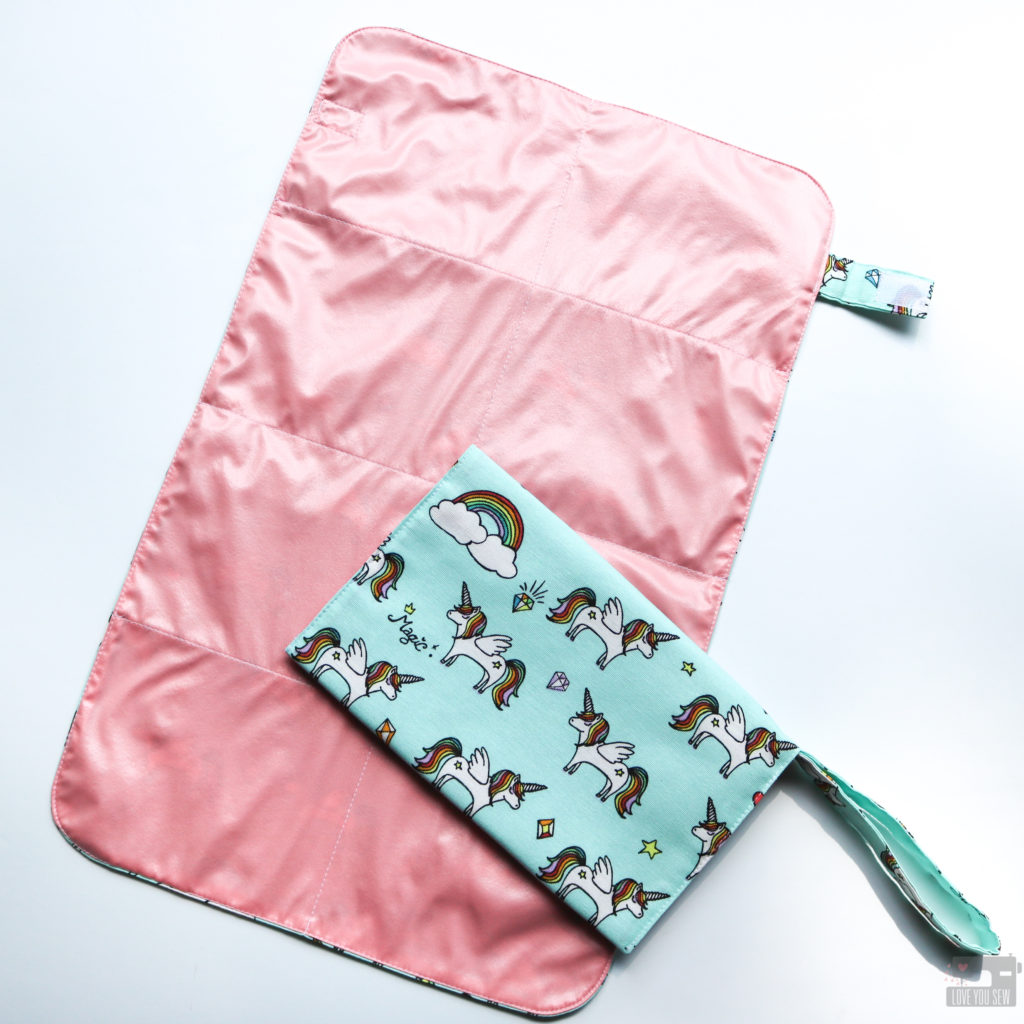
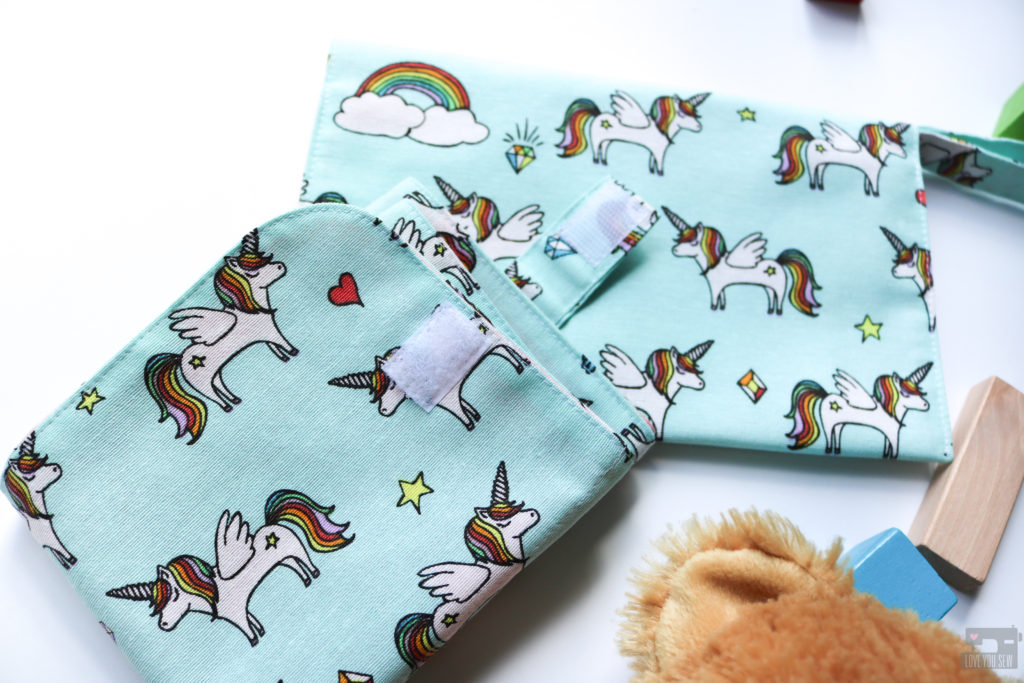
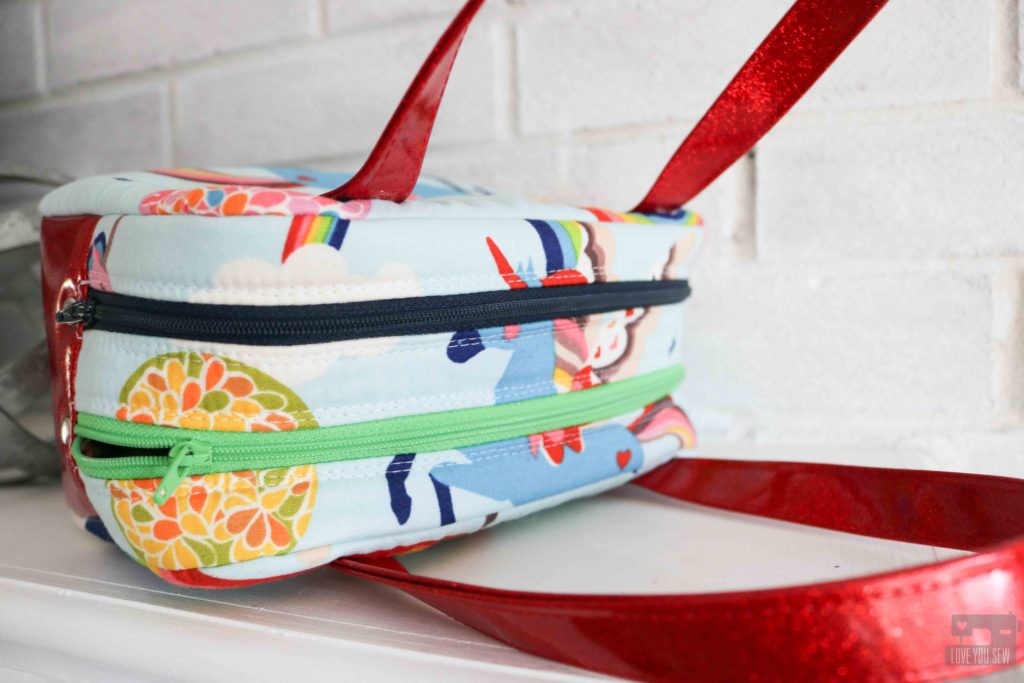
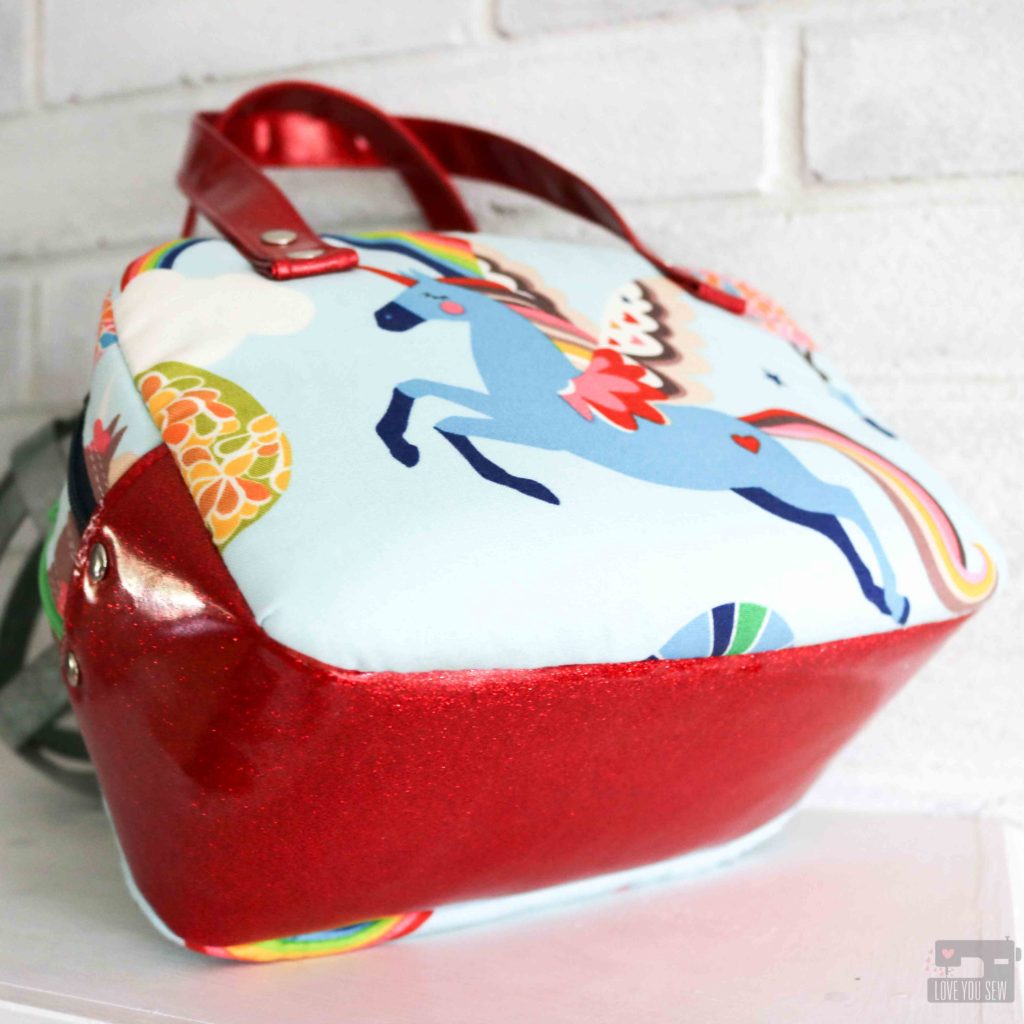
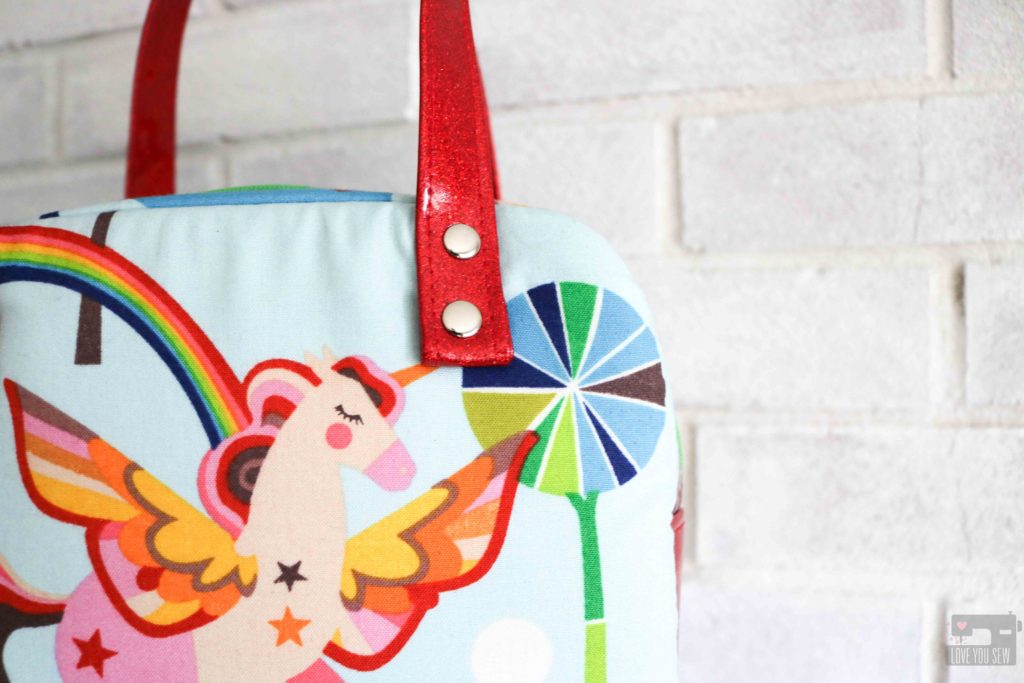
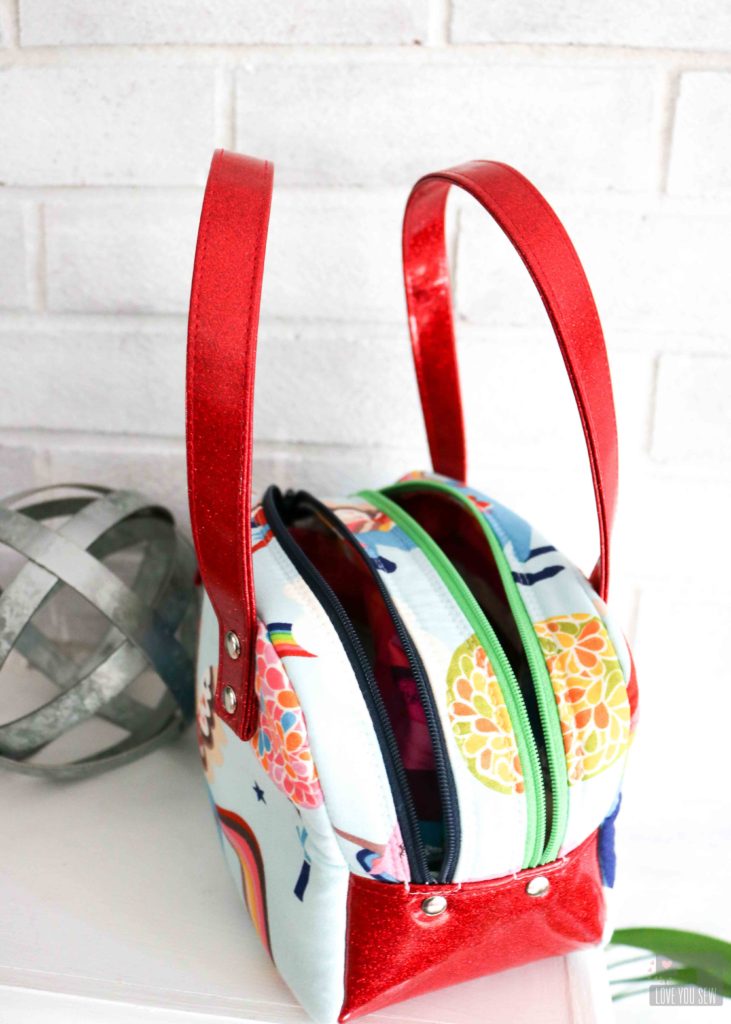
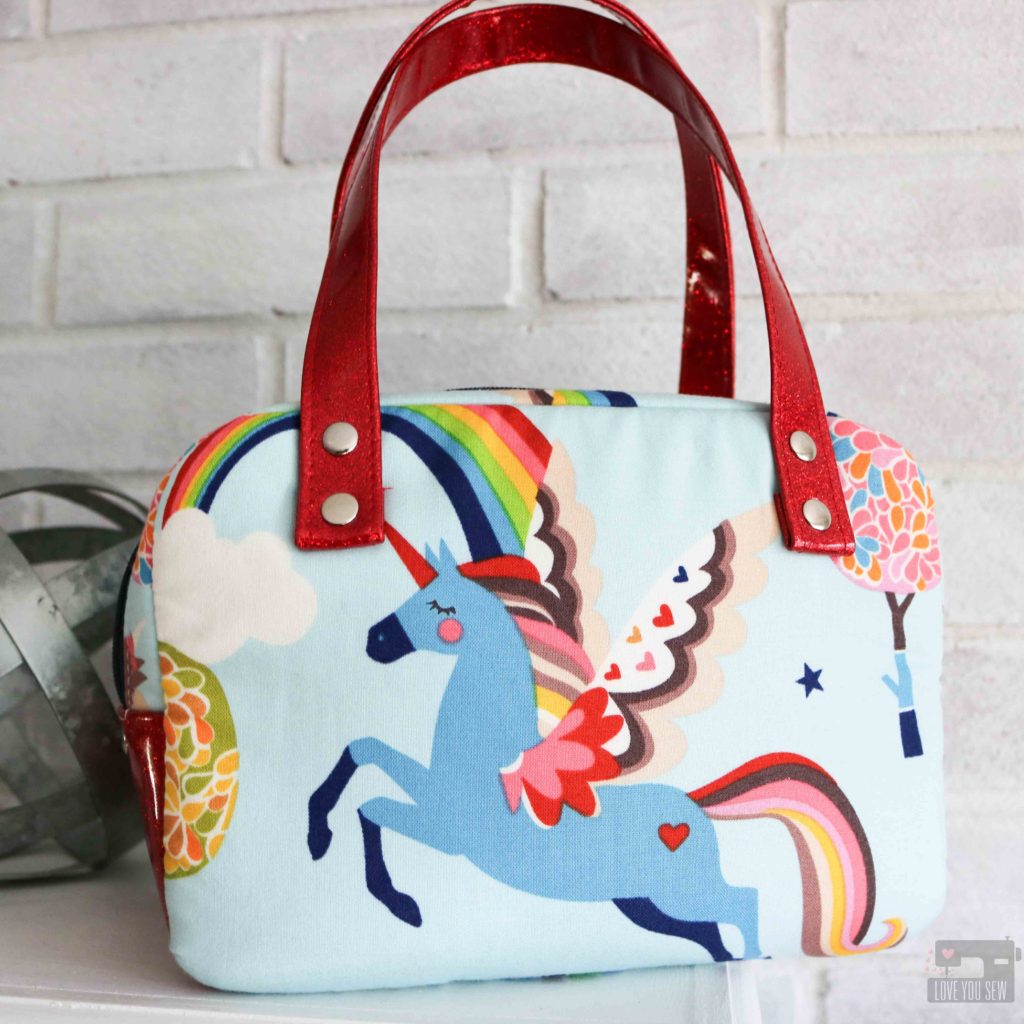
My youngest son was invited to birthday party for a little girl about a month ago.  It’s hard as a boy-mom trying to figure out what’s popular, so I figured handmade is the best way to never have the same gift as another guest.  Luckily, I had this great Alexander Henry Unicorn fabric already in my stash, because we know ALL girls (young and old) love Unicorns 😉  The Disco Double-Zip Pouch, even in the small size, provided great side panels to show off these magical creatures.

To really make this bag special, I used Red Glitter Vinyl on the bottom gusset to add some sparkle.  Although the vinyl is thin, it is still stiff and required a bit of wrestling along with a lot of clips.  You will need to make quite a few extra cuts into the seam allowance to sew around the curve of the side panels.  But, it’s all worth it!
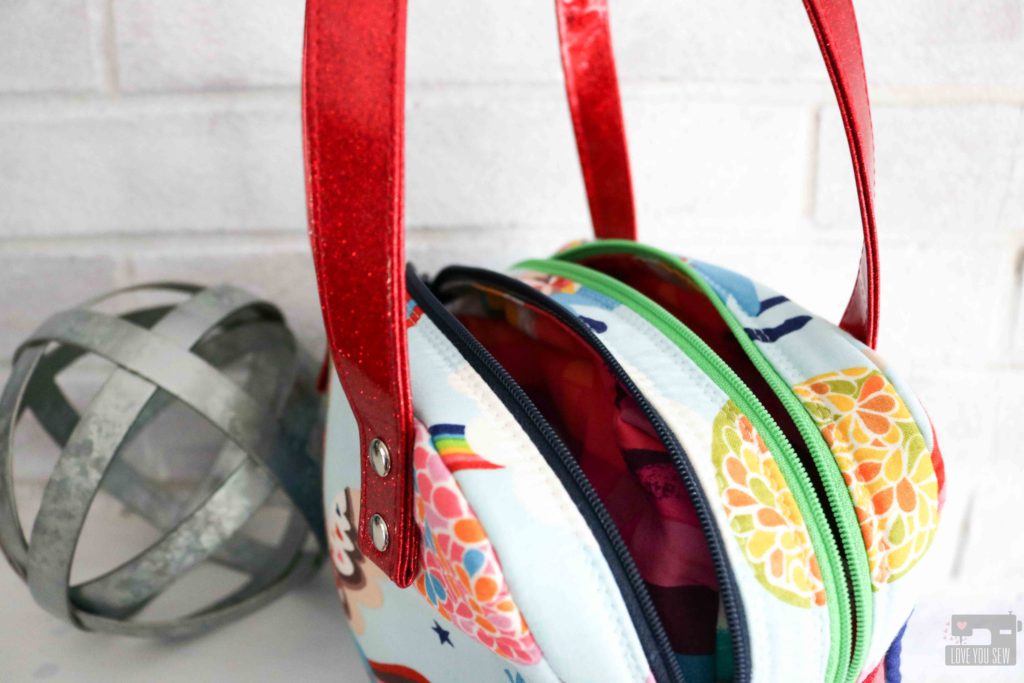
When I first decide on this pattern, I figured this pouch would be great to carry little knick-knacks and maybe some markers.  But I quickly realized the compartments were bigger than what I imagined in my head.  My son’s friend could carry a lot of her toys in these generous pockets.  So, I thought adding straps would make the Disco Double-Zip more like a little carry-all.

I omitted the side handle and cut (2) 3′ x 18″ strips of the vinyl,  folded them lengthwise into fourths and sewed up both sides to create the straps.  Each short end was folded up by 1/2″, placed 1 1/2″ down from the top edge and 1 1/2″ in from the left/right of each side panel.   Tip: Use a Teflon foot and a larger needle to get through the layers of vinyl.

Since the straps were an afterthought, I used rivets to attach them to the bag.  But you could sew them on before attaching the zipper gusset to the side panels.  I also used the rivets on the Glitter Vinyl at the end of each zipper to give the bag a more professional look.

Disco Double Zip by Love You Sew

The mom of the birthday girl told me this bag was such a hit and her daughter carries it around everywhere!  My son’s friend loved the Unicorns mixed with all the sparkle and she is so happy that she can put so much in her own little bag.  I call that a success and hope you have someone who could appreciate a Disco Double-Zip Pouch just as much!

Project Stats:


Happy Holiday Sewing!

Cristy


This post may contain affiliate links for which I may receive compensation after a purchase has been made.  This helps fund the website and keeps the content rolling.  Thank you always for the support!