It’s holiday gift-giving season already and I’ve been thinking about my handmade line-up for awhile now. I don’t know if I’m just getting better at planning or if the consumer marketing seems to be pushing earlier. It’s probably the latter, right?!? So, I’m going to try to show you some of my favorite handmade gift ideas through the blog and on Instagram (without leading to any spoilers for my family!) to help inspire handmade for the holidays!
Fortunately, Sew Sweetness just released Season 2 of her Minikin patterns. This collection includes 13 patterns (many with multiple sizes) and accompanying videos. If you didn’t know already, I’m a huge fan of these patterns and love how unique they are. (You can check out my Sidewinder from Season One here.) The Minikins offer such a great variety of patterns and I love having the library of patterns available when I need a gift.
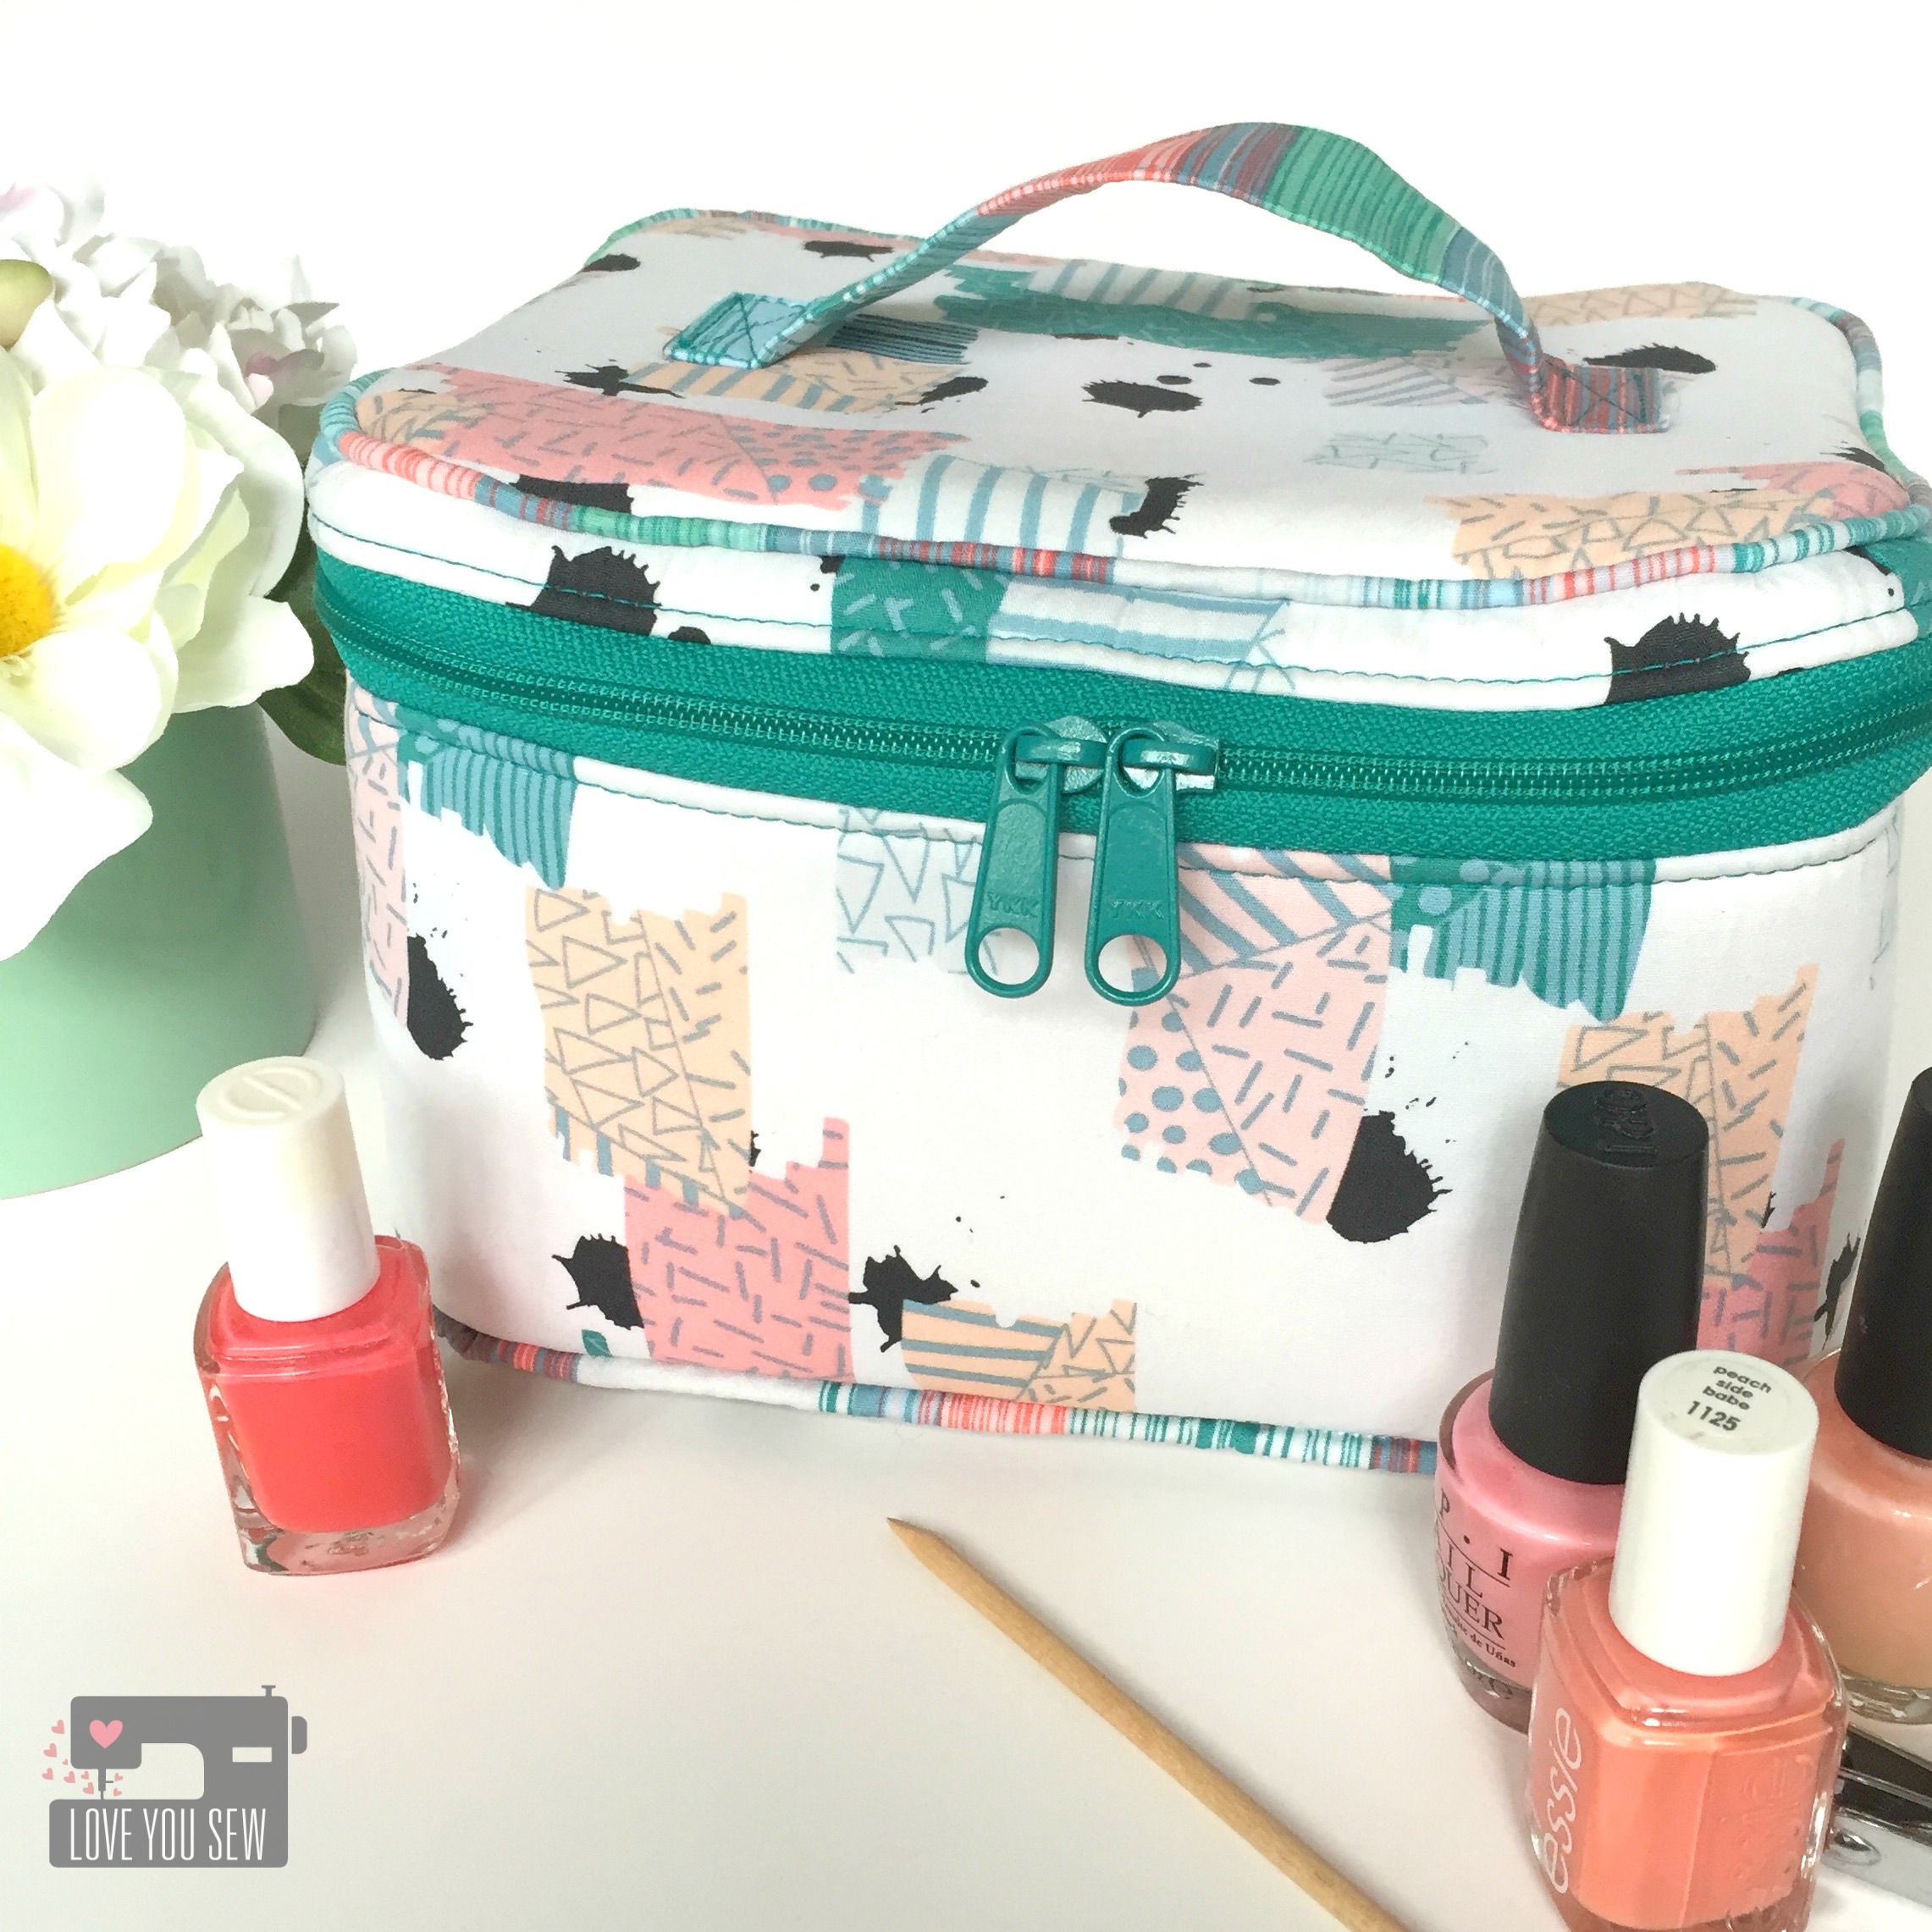
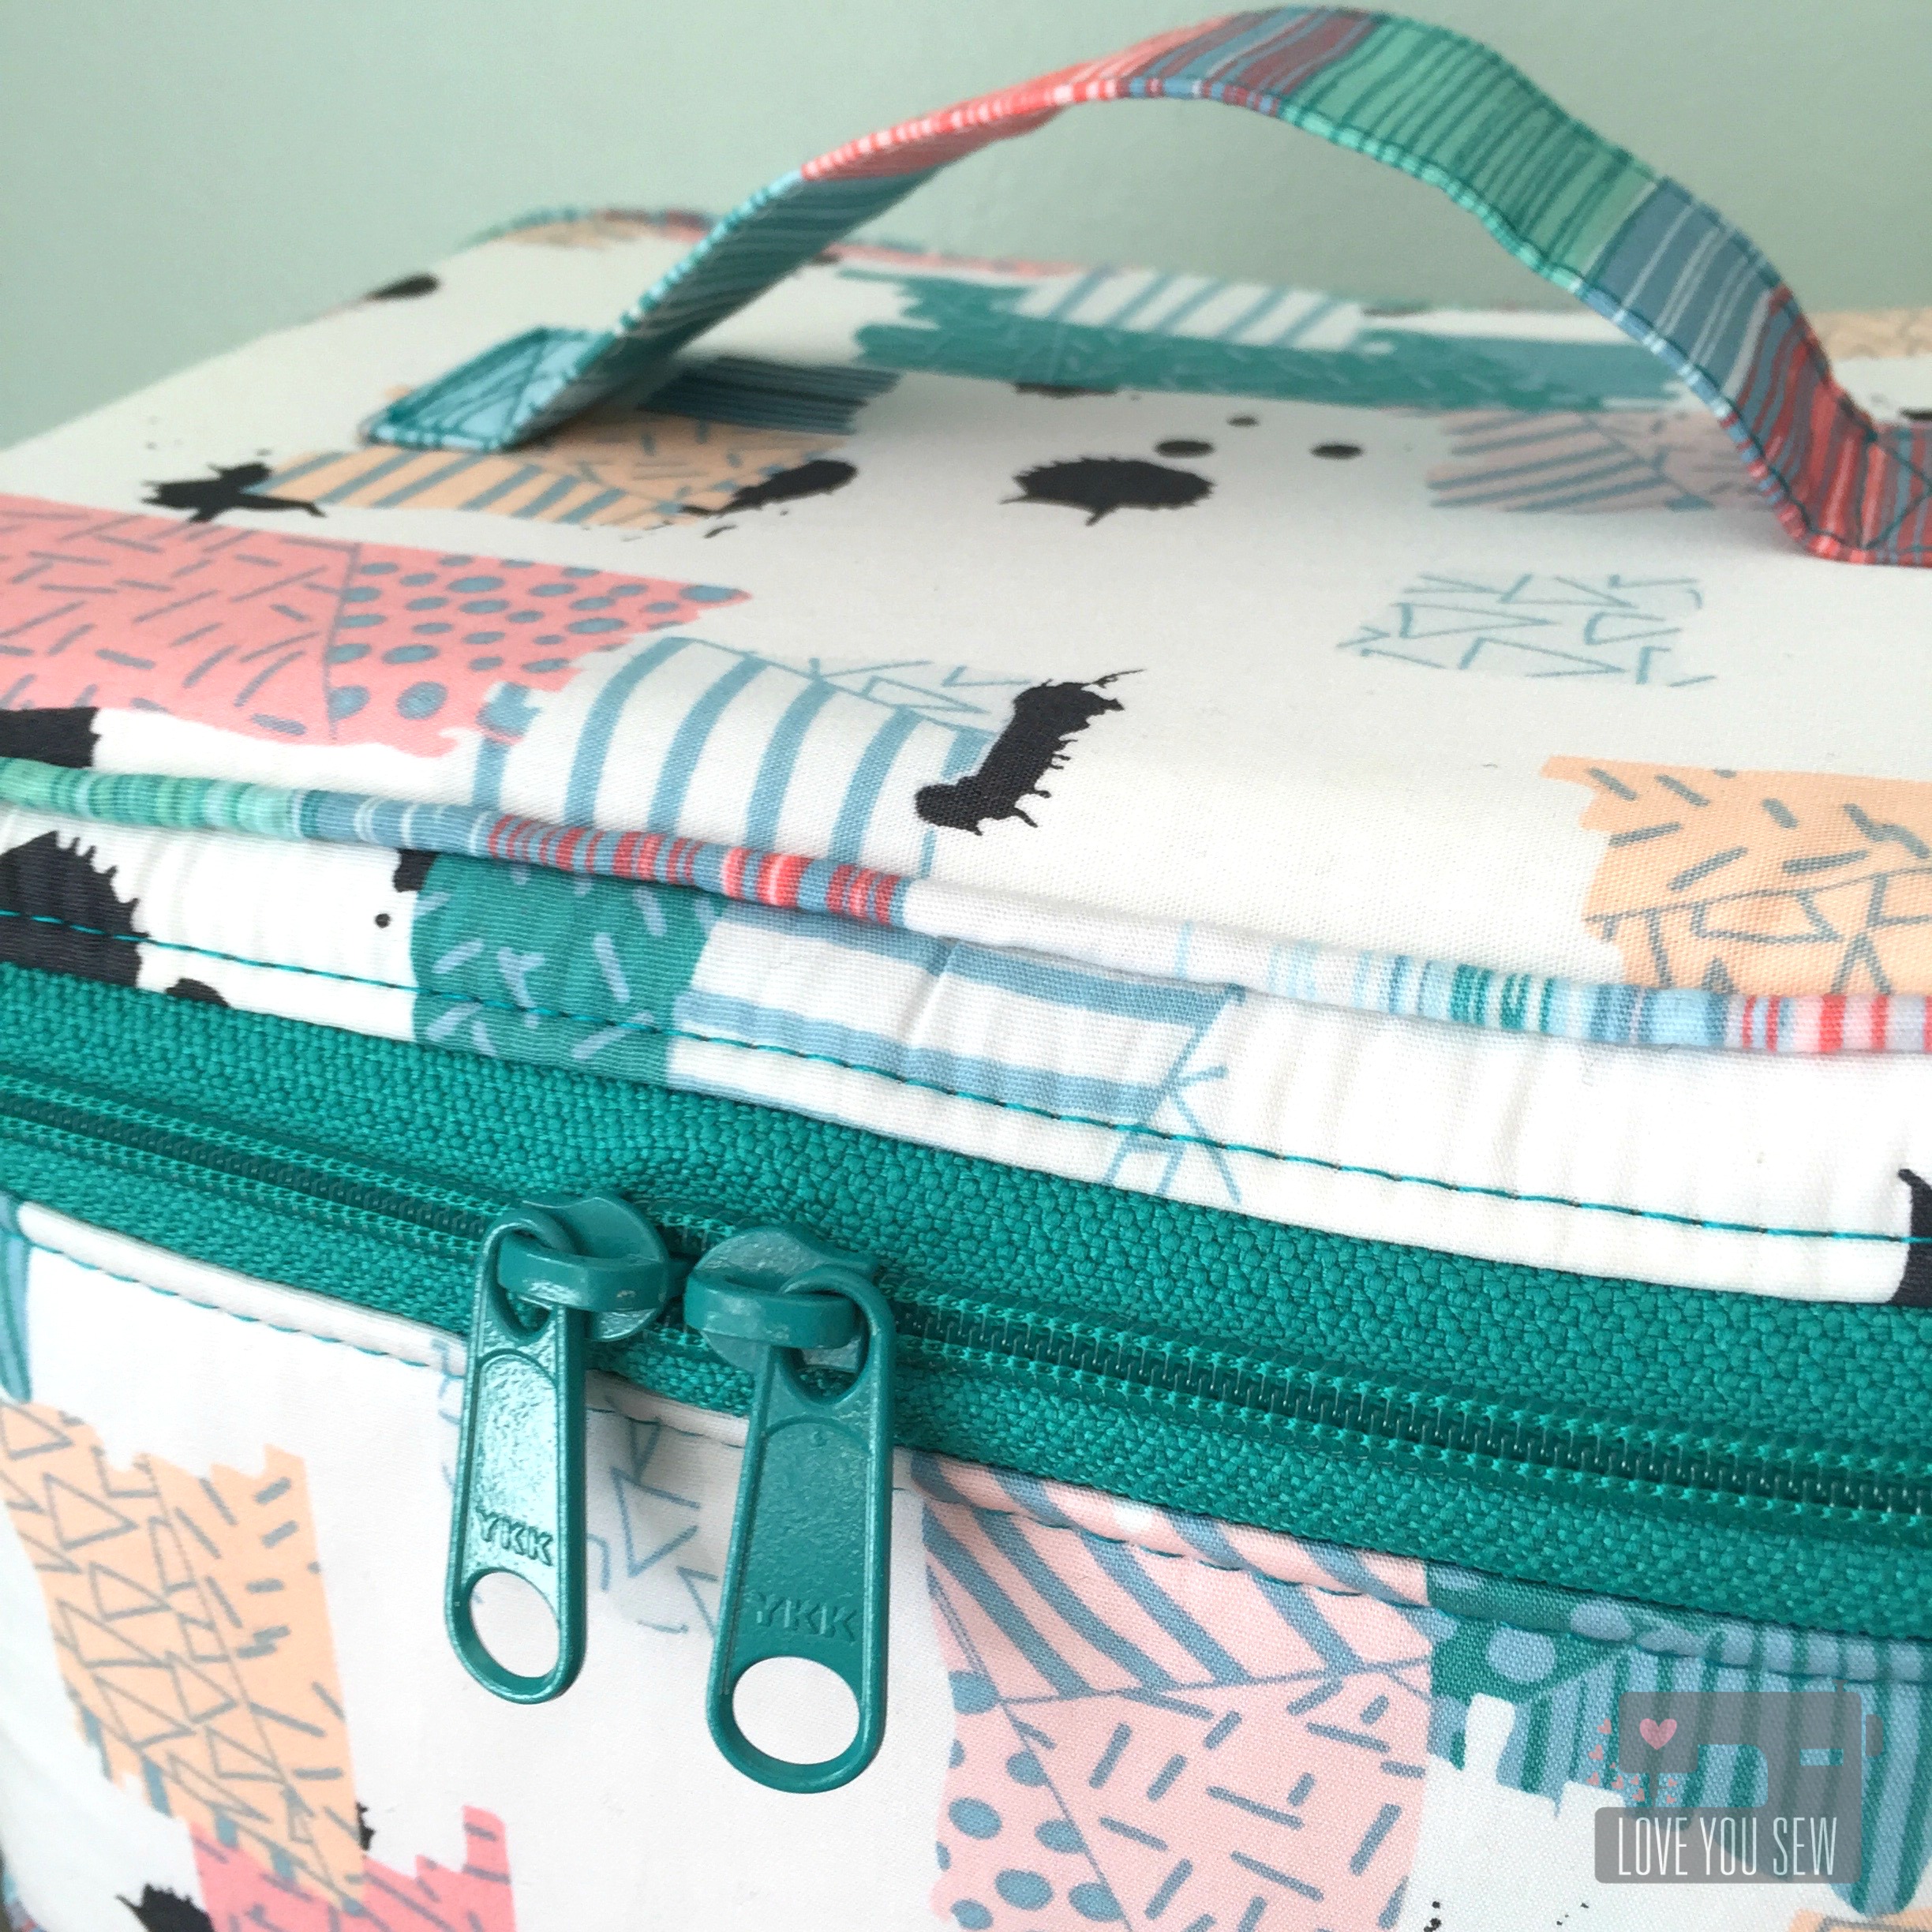
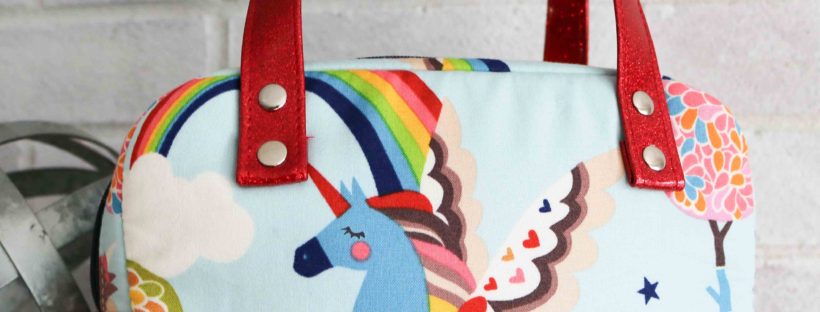
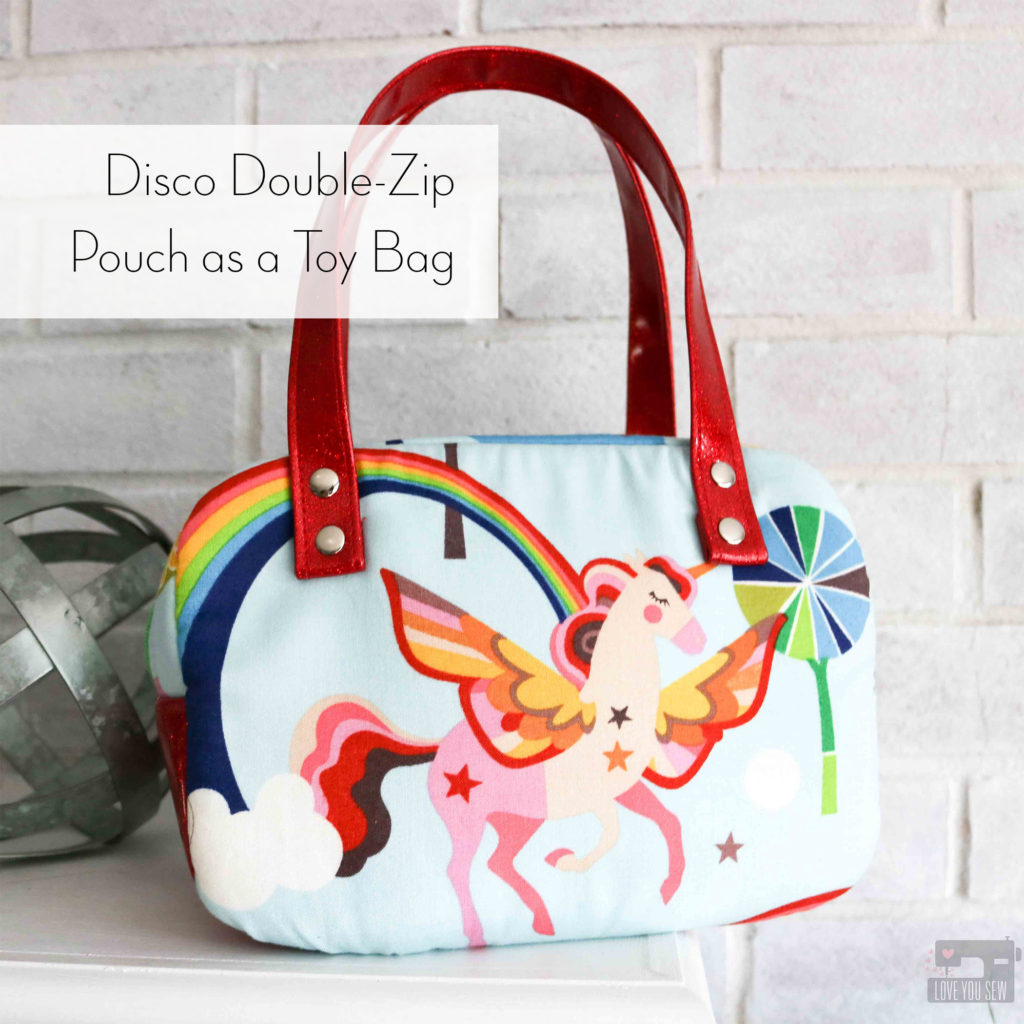
My youngest son was invited to birthday party for a little girl about a month ago. It’s hard as a boy-mom trying to figure out what’s popular, so I figured handmade is the best way to never have the same gift as another guest. Luckily, I had this great Alexander Henry Unicorn fabric already in my stash, because we know ALL girls (young and old) love Unicorns 😉 The Disco Double-Zip Pouch, even in the small size, provided great side panels to show off these magical creatures.
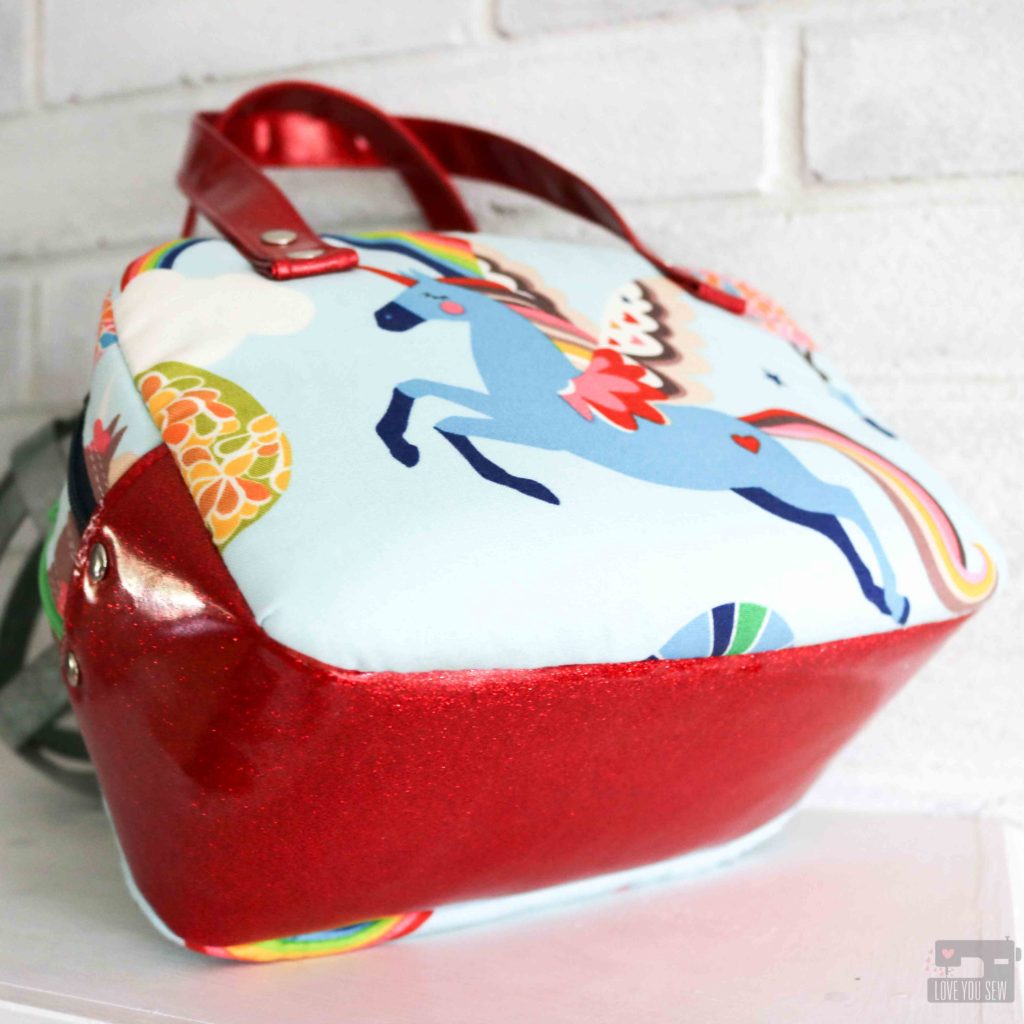
To really make this bag special, I used Red Glitter Vinyl on the bottom gusset to add some sparkle. Although the vinyl is thin, it is still stiff and required a bit of wrestling along with a lot of clips. You will need to make quite a few extra cuts into the seam allowance to sew around the curve of the side panels. But, it’s all worth it!

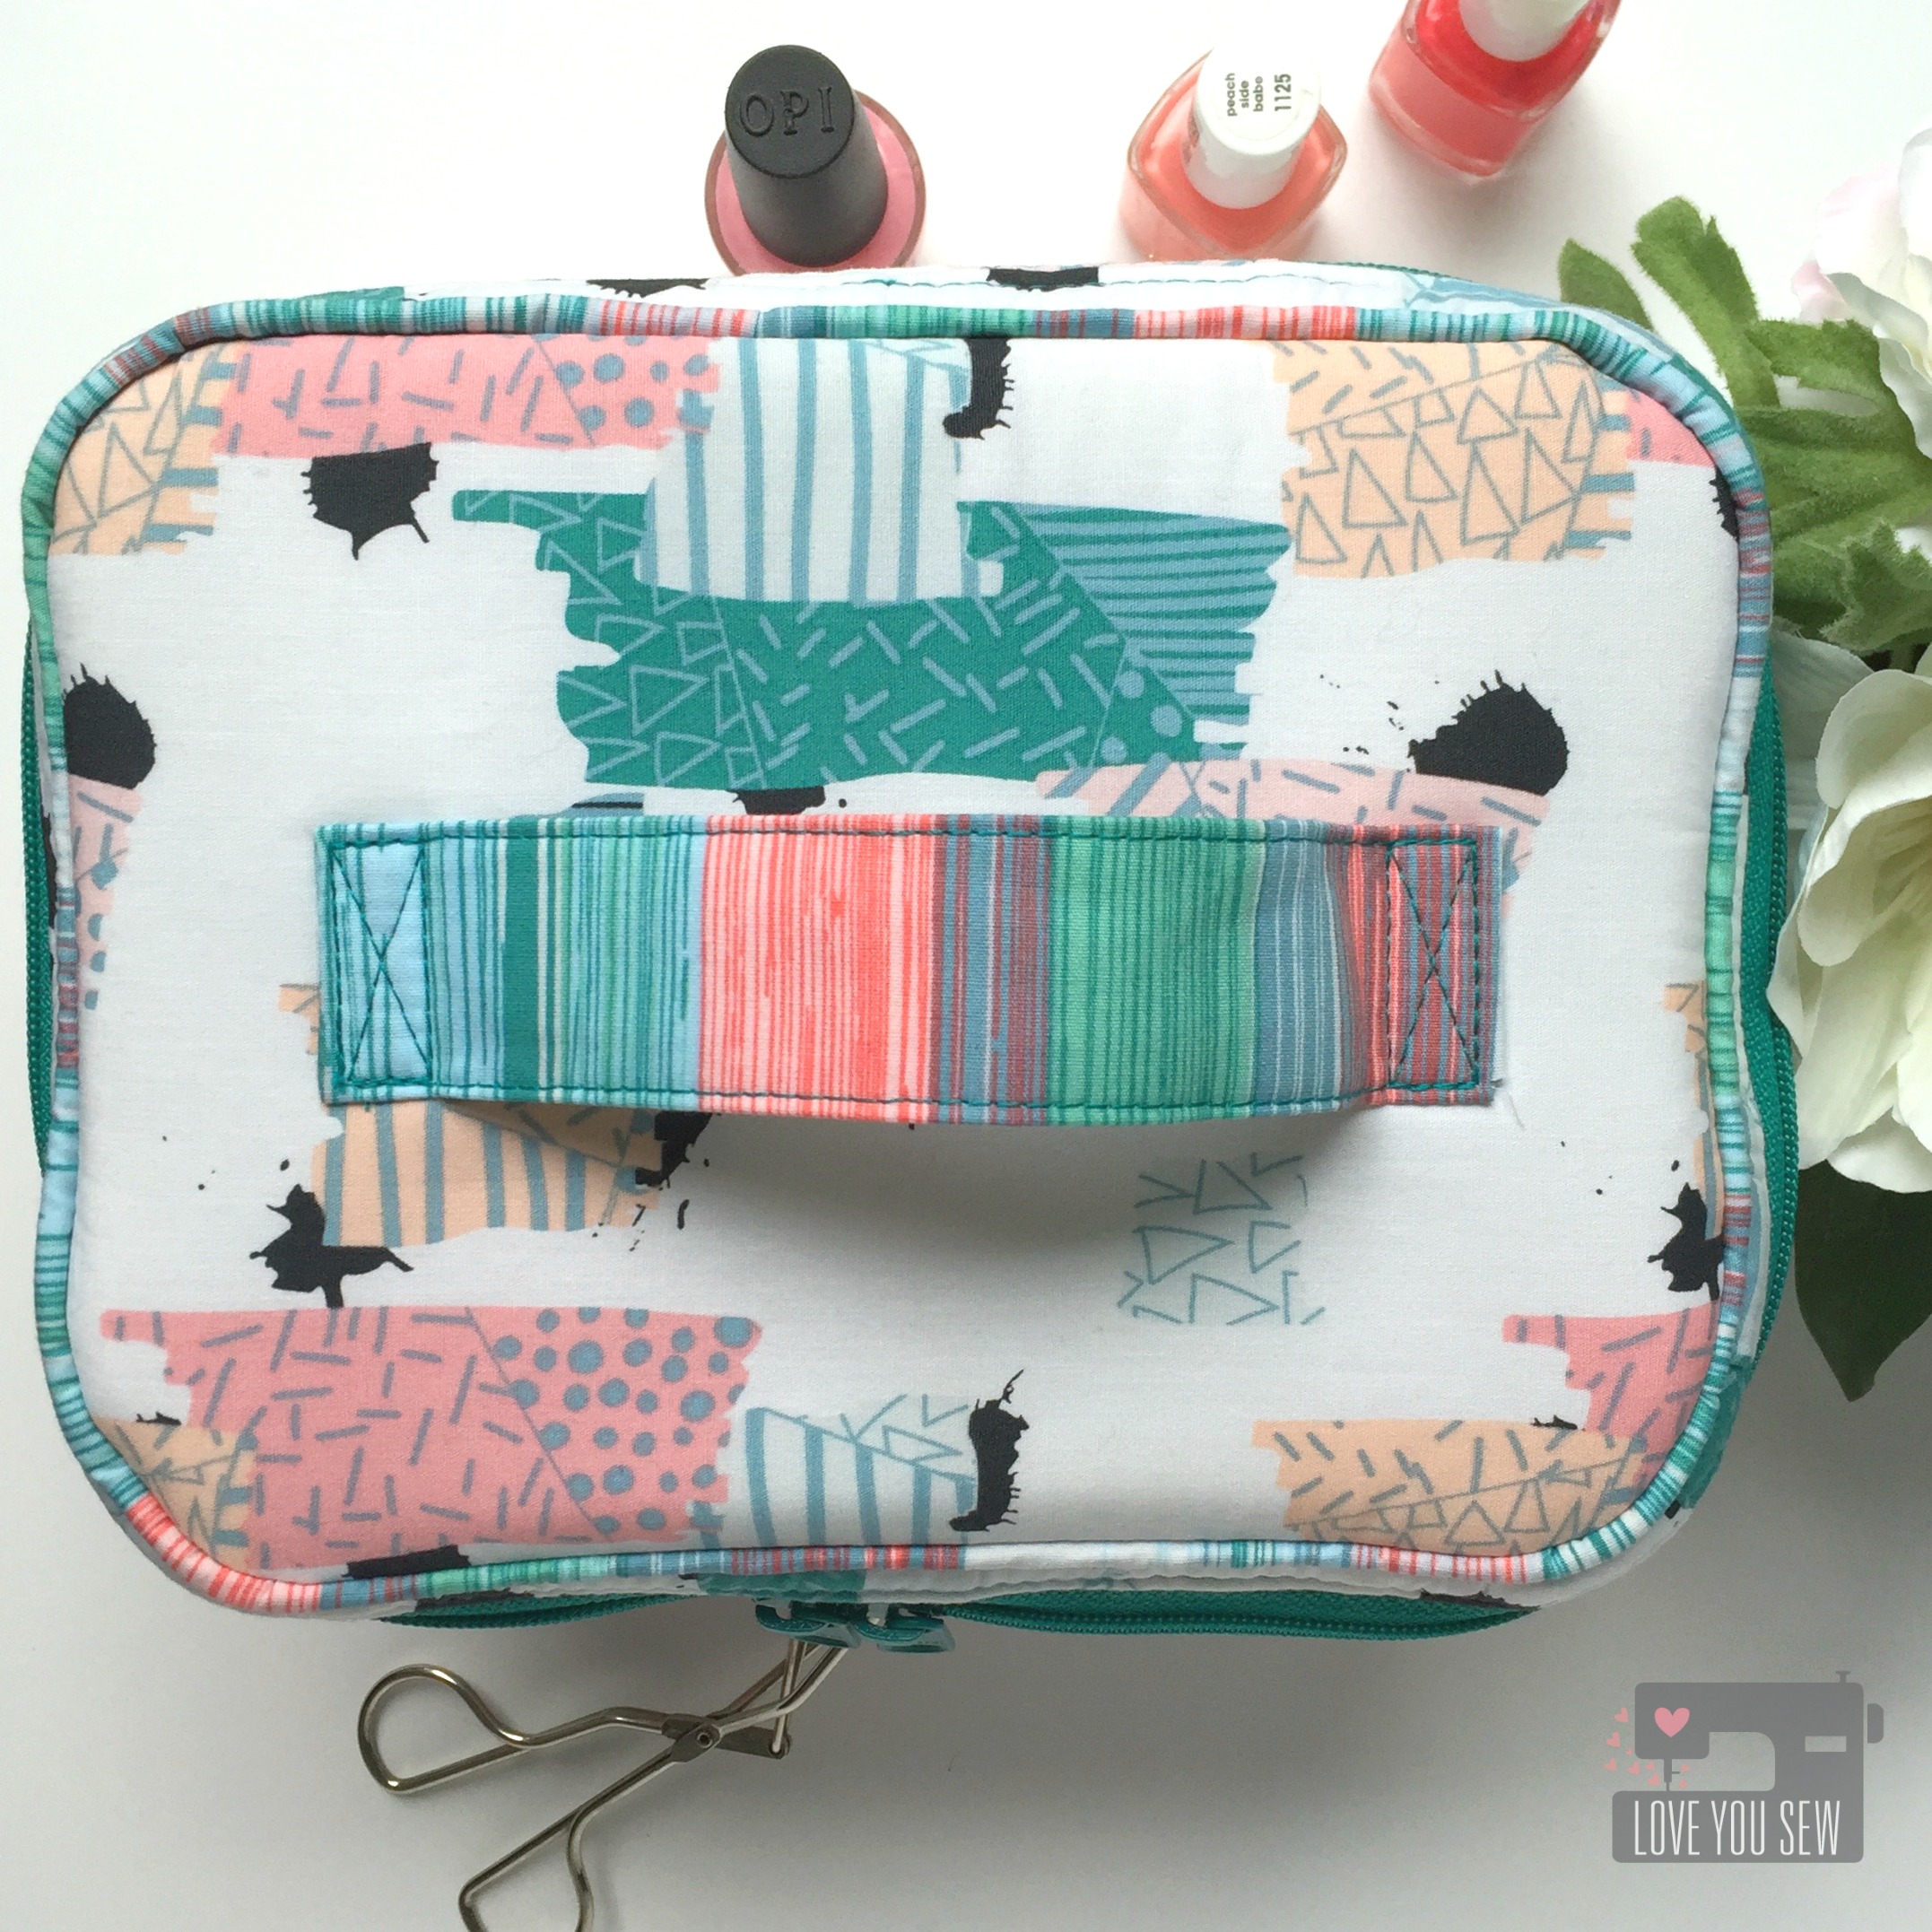
When I first decide on this pattern, I figured this pouch would be great to carry little knick-knacks and maybe some markers. But I quickly realized the compartments were bigger than what I imagined in my head. My son’s friend could carry a lot of her toys in these generous pockets. So, I thought adding straps would make the Disco Double-Zip more like a little carry-all.
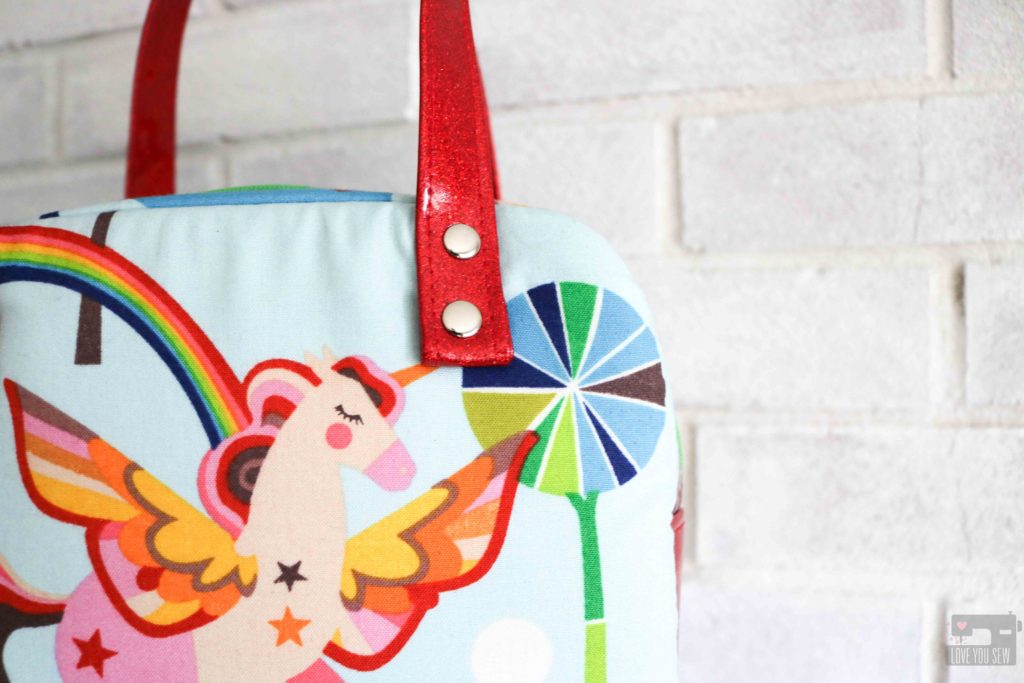
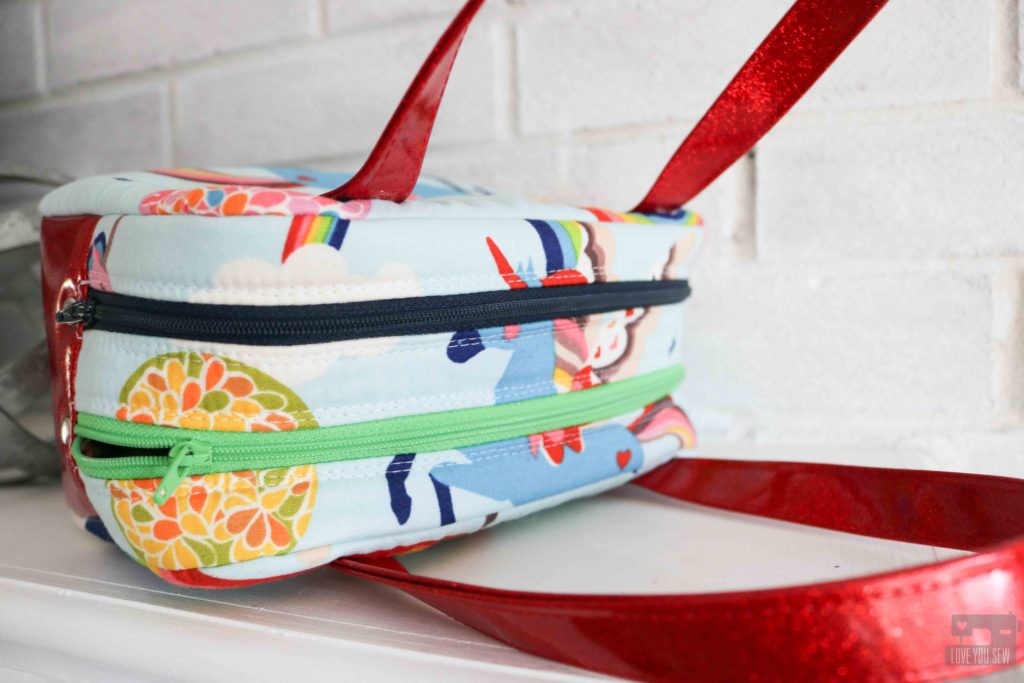
I omitted the side handle and cut (2) 3′ x 18″ strips of the vinyl, folded them lengthwise into fourths and sewed up both sides to create the straps. Each short end was folded up by 1/2″, placed 1 1/2″ down from the top edge and 1 1/2″ in from the left/right of each side panel. Tip: Use a Teflon foot and a larger needle to get through the layers of vinyl.
![]()
Since the straps were an afterthought, I used rivets to attach them to the bag. But you could sew them on before attaching the zipper gusset to the side panels. I also used the rivets on the Glitter Vinyl at the end of each zipper to give the bag a more professional look.
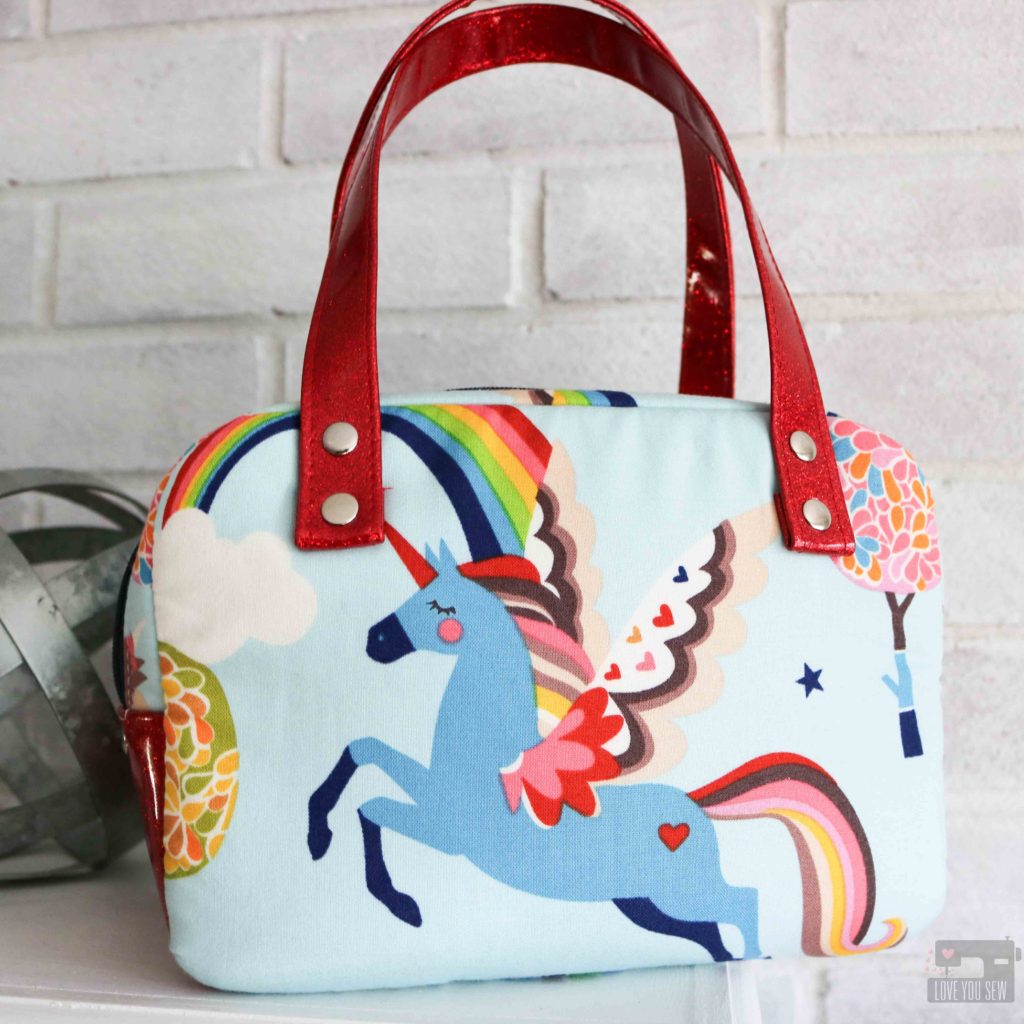
The mom of the birthday girl told me this bag was such a hit and her daughter carries it around everywhere! My son’s friend loved the Unicorns mixed with all the sparkle and she is so happy that she can put so much in her own little bag. I call that a success and hope you have someone who could appreciate a Disco Double-Zip Pouch just as much!
Project Stats:
- Pattern: Disco Double-Zip Pouch available as part of Minikins: Season 2 collection.
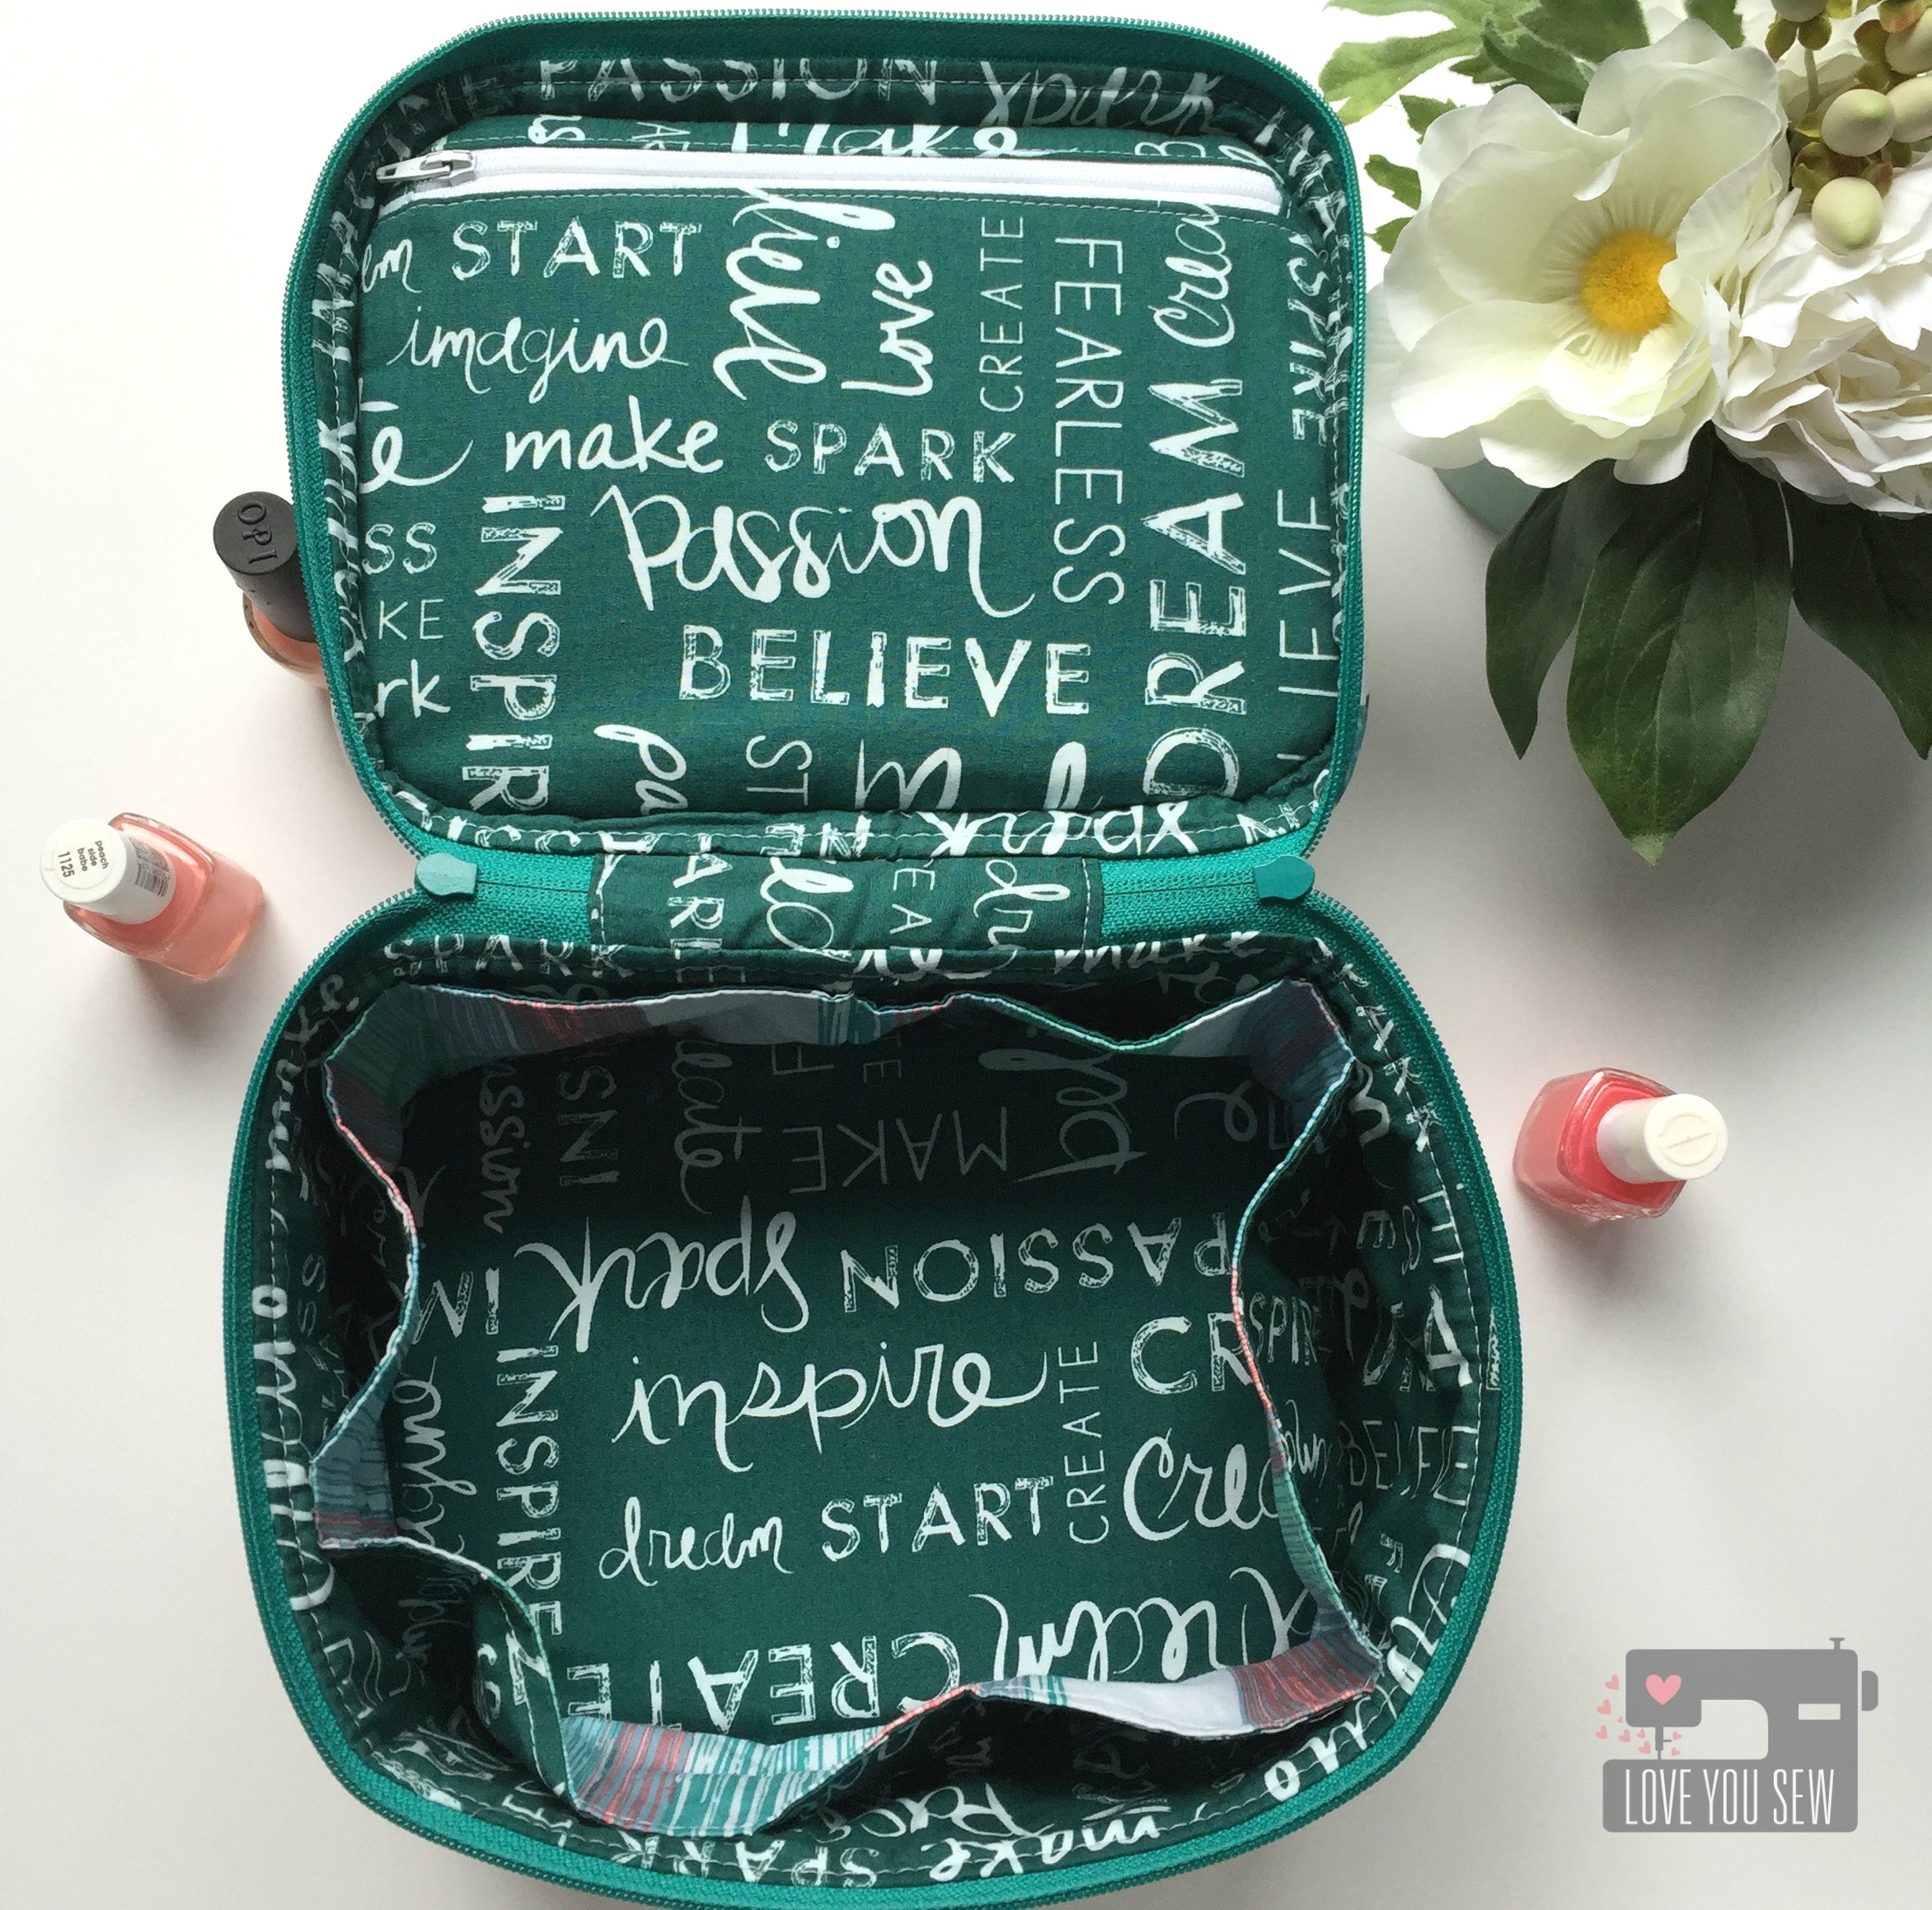
- Fabrics: Alexander Henry Unicorn fabric for the main body, Red Glitter Vinyl for the bottom gusset and straps, Art Gallery Avantgarde fabric for the lining (not pictured)
- Hardware: Rivets from Emmaline Bags and set with a press from Gold Star Tool
- Machine: Juki TL-2010Q
Happy Holiday Sewing!
Cristy
This post may contain affiliate links for which I may receive compensation after a purchase has been made. This helps fund the website and keeps the content rolling. Thank you always for the support!