Colleen Tote Bag Gemology Tour

Gemology Blog Tour with the Colleen Tote

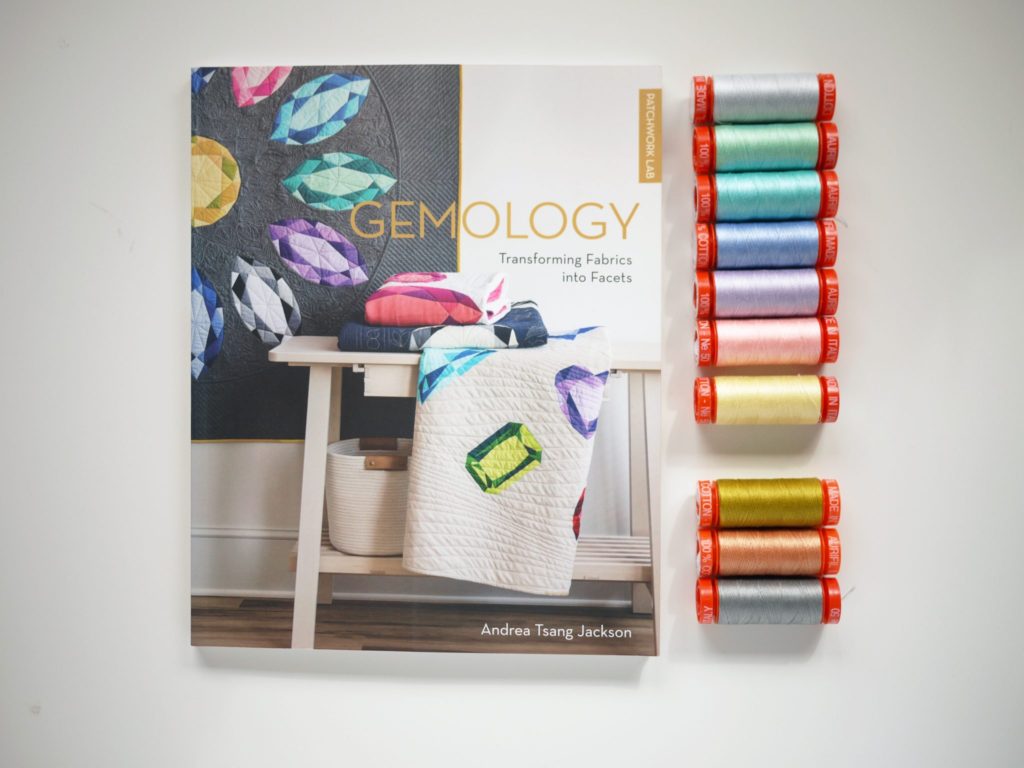
Today is my day on the Gemology Blog Tour supporting my friend, Andrea Tsang Jackson and her new quilting book, Patchwork Lab – Gemology. I had the absolute pleasure of meeting Andrea earlier this year at QuiltCon – Nashville after following her on Instagram with her amazing quilt art for so long.  We met over coffee and had SUCH a great conversation about building businesses in the fiber arts world and also being immigrants in North America.  Our stories are very similar and one of the reasons why I was thrilled when she asked me to be a part of this tour!!!
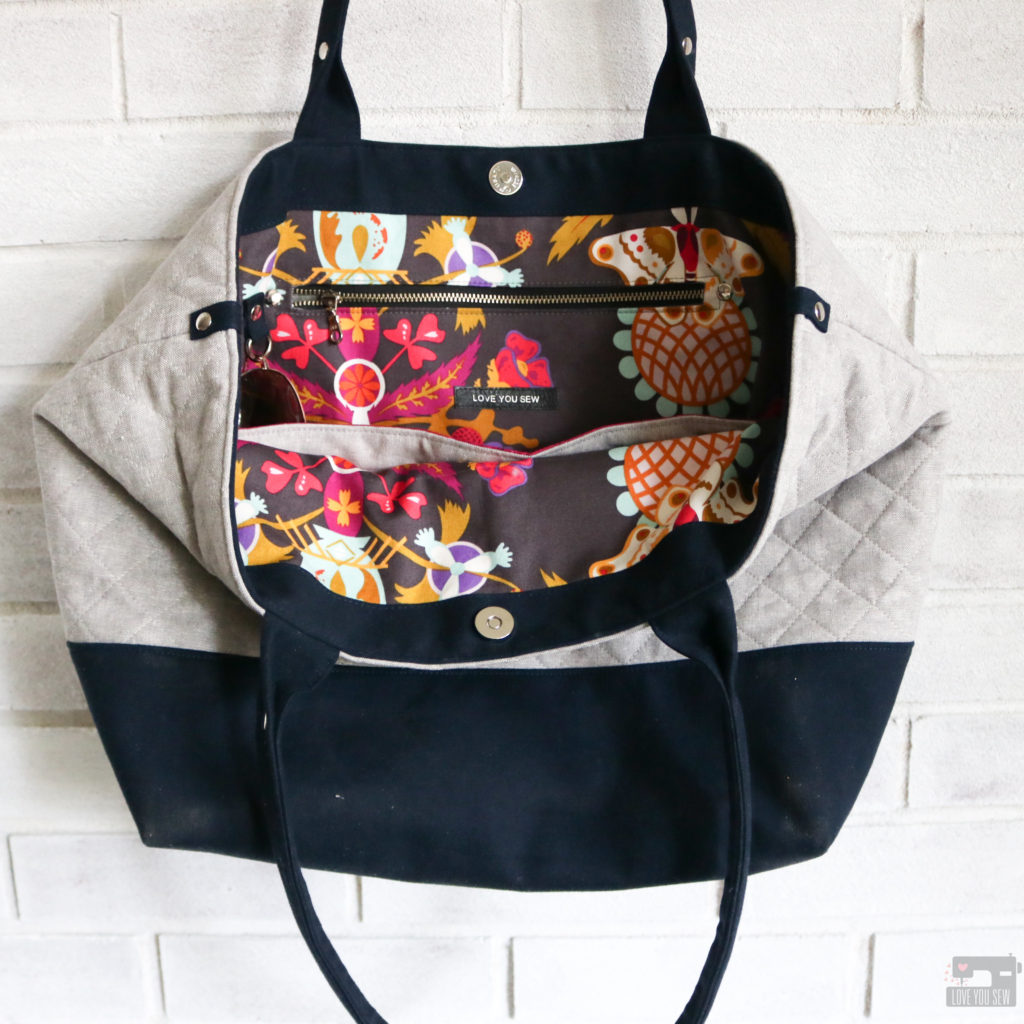
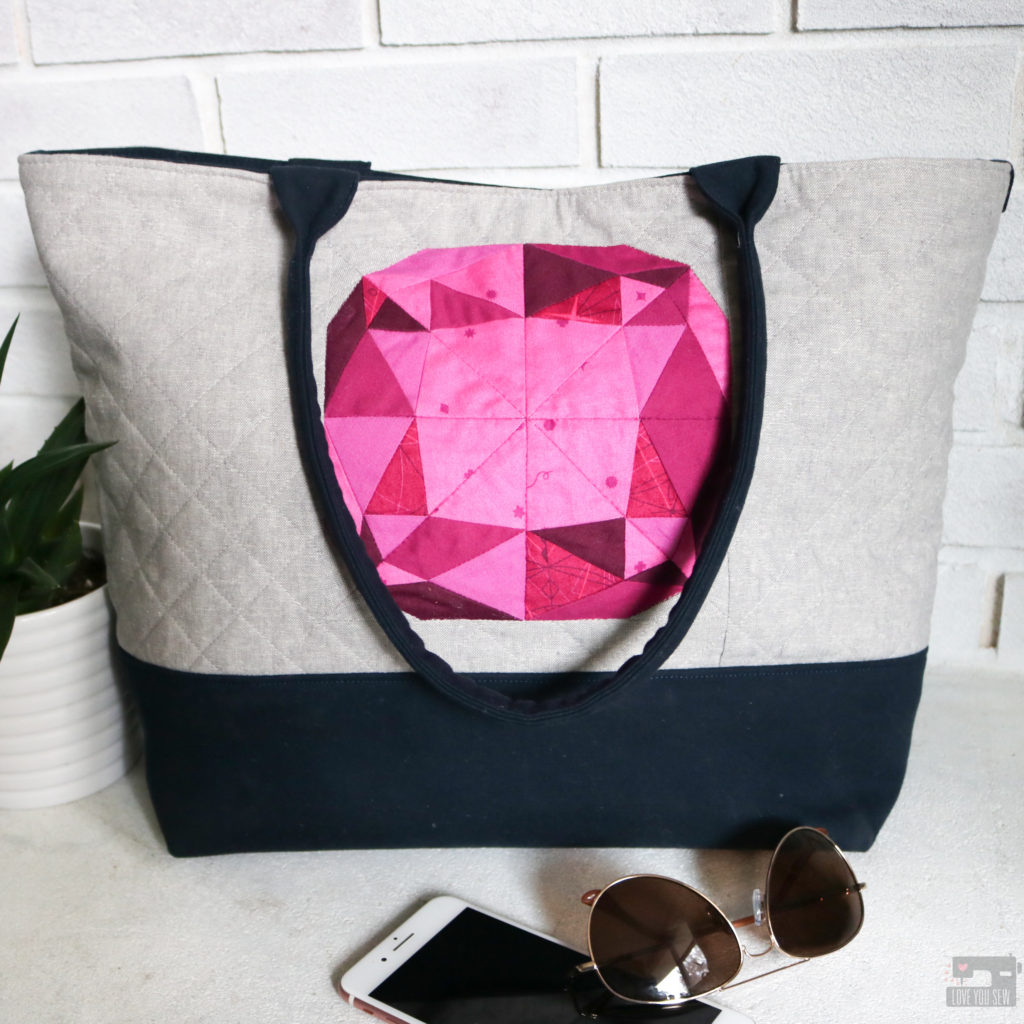
Colleen Tote Bag Gemology Tour

This new Patchwork Lab – Gemology book is absolutely beautiful and jam-packed with designs featuring nine different gem shapes which you can adjust into four different sizes ranging from a 6″ to a 24″ square block. There are additional instructions to make 5 quilts and a sweet little coin purse. The great thing about the book is that it is not just another quilting book. There is SO much additional information about how light hits the facets producing different colors and info about birthstones themselves.  It really gives you extra appreciation of the blocks as you construct them.
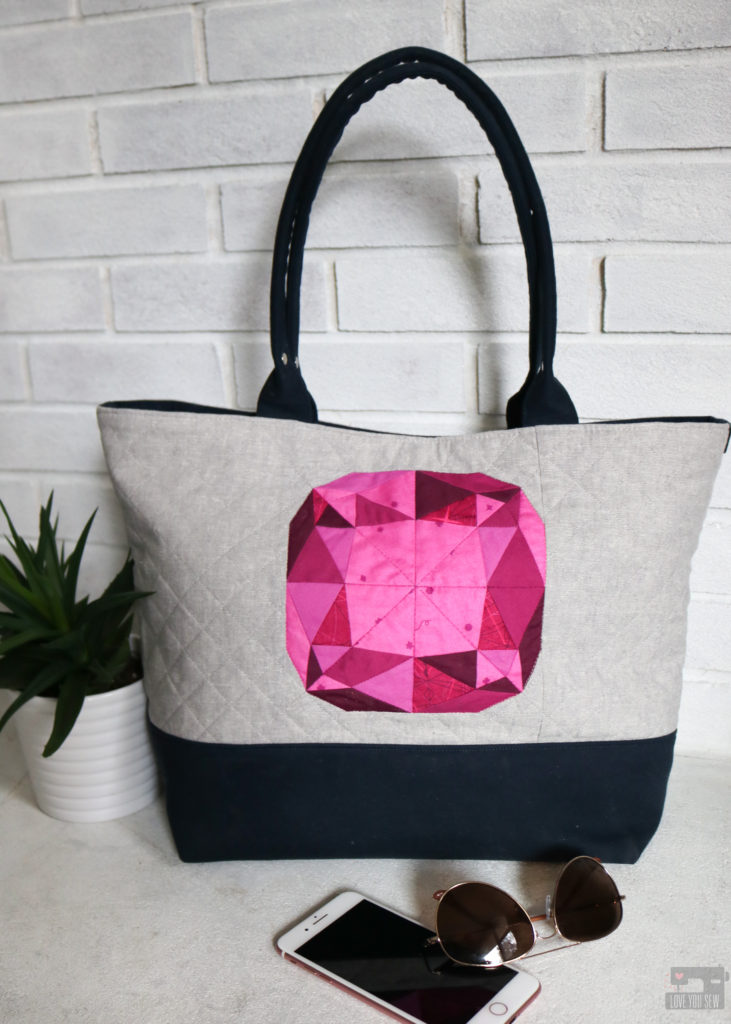
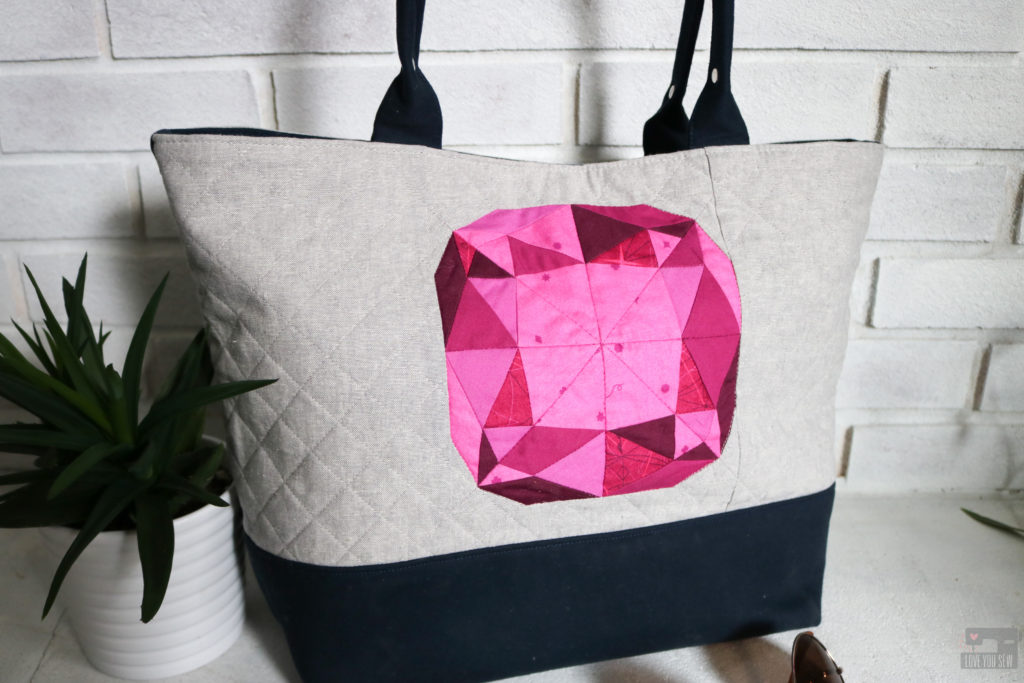
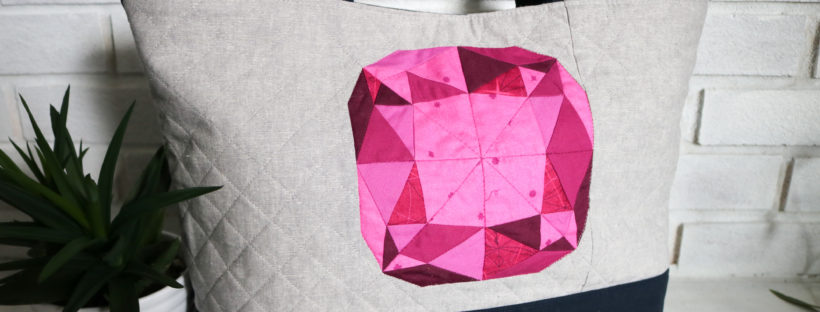
I knew after seeing the book, I would use the  6″ block for the exterior of my Colleen Tote Bag pattern.  When I first designed this bag, the quilter in me wanted enough open space on the exterior to eventually use quilt blocks to add some fun flair to the outside.  I’m so glad I finally got a chance to make this happen with the Cushion cut pattern.
Fabric

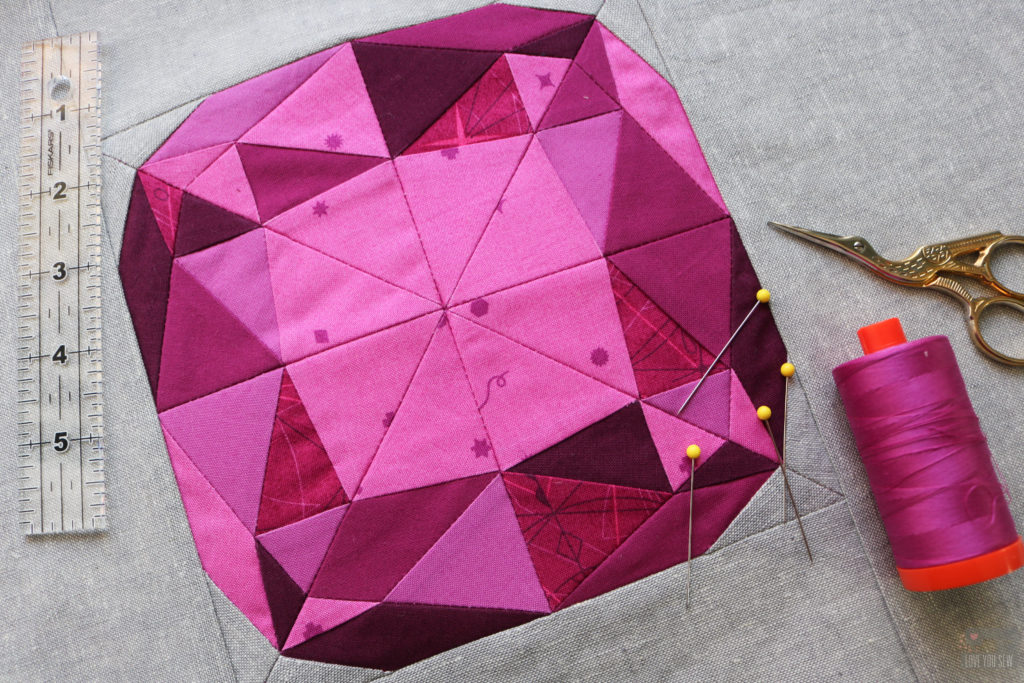
There are great fabric suggestions in the book for many of the birthstones, but I decided to use my own stash and make up my own gem. The Swatch Chart reference sheet is definitely a must IMO. It helped me sort out my fabrics and was a great visual reference as I was piecing the block together.
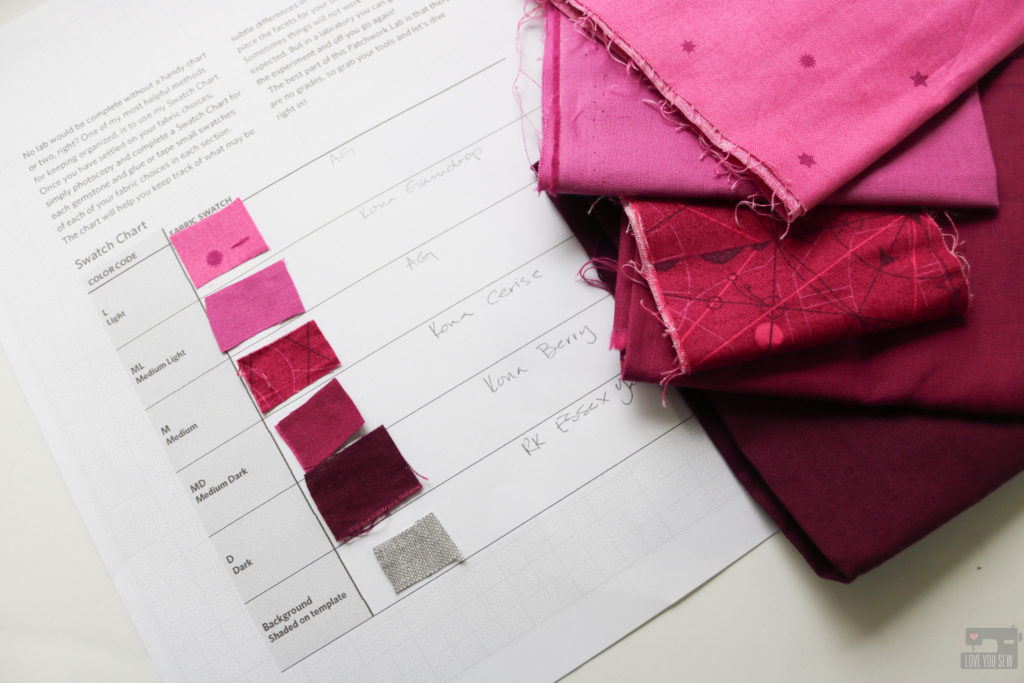
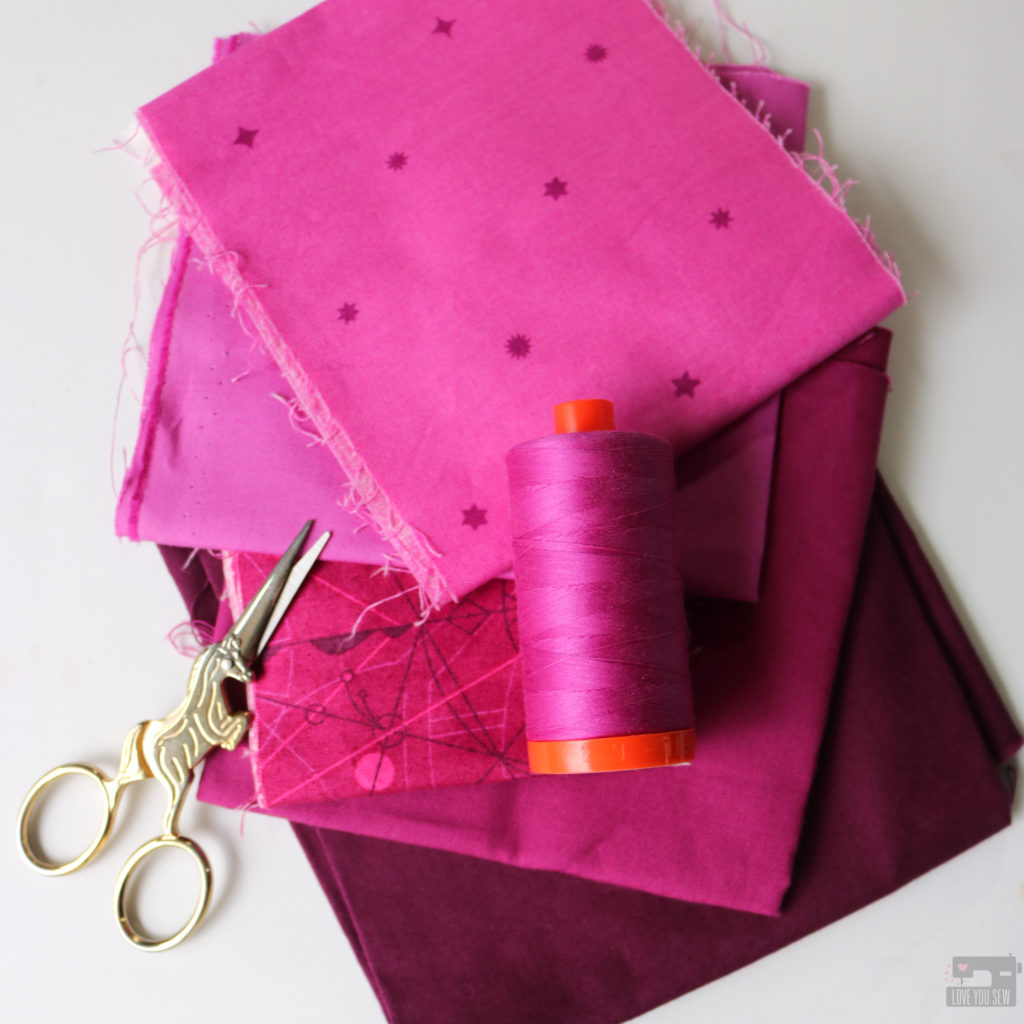
I really wanted the gem to pop on a bag so I used the following in the magenta family: (aff links)

For the rest of the bag, I used:

To Make the Side Panel with Gem Block

With this bag, I knew I wanted the exterior to be quilted for the texture and also to help secure the block to the interfacing. When doing this for a bag, it is always important to cut the fabric larger than what is needed, quilt it, THEN come back and cut it to size. Quilting will always shrink down a block and can become pretty significant difference if you are using more lofty batting or interfacing.
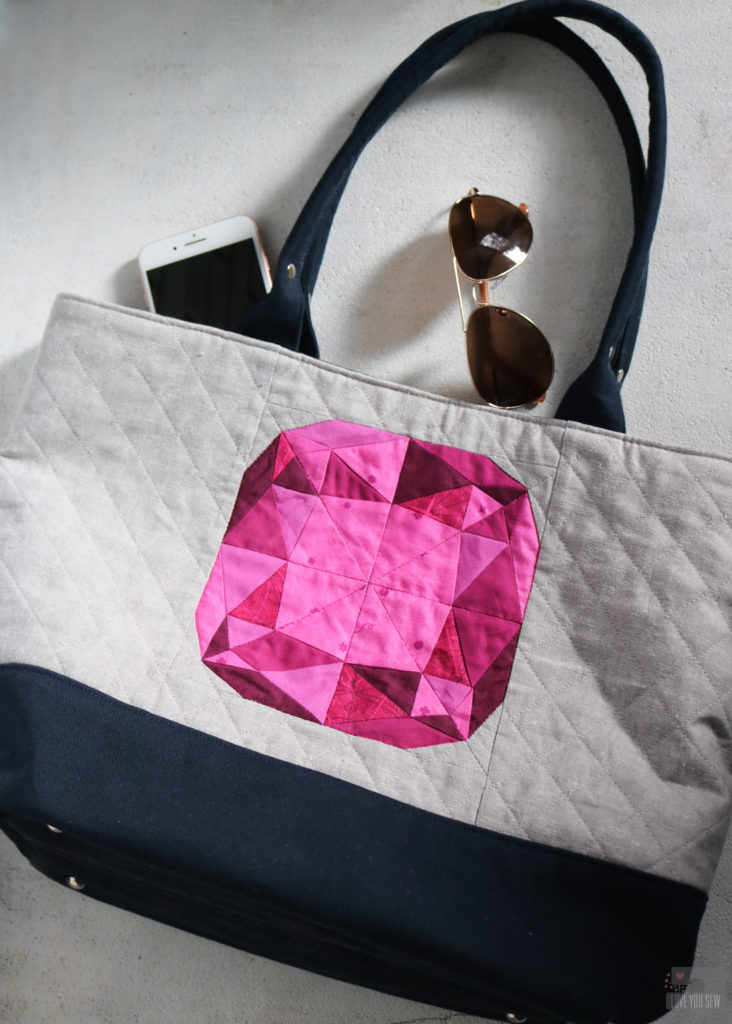
Since the finished panel would be 20 1/2″ x 10″, I added 3″ wide borders to the top and bottom (referred to as the “sides” in the book) and then 12 1/2″ x 7″ to the sides.  Instead of using fusible fleece as the interfacing, I swapped it out with Pellon 988 Sew-in Fleece.
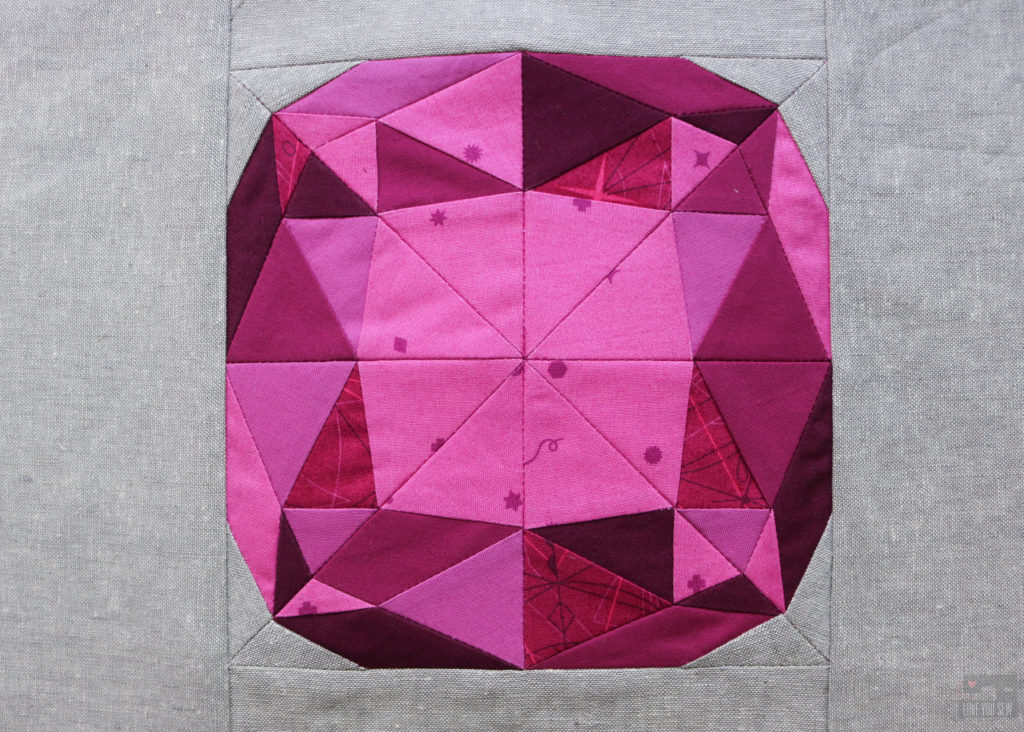
I used matching Aurifil 2535 to stitch-in-the-ditch around the gem and then on all the intersecting seams that ran completely across the the pattern.  For the background, I used Aurifil 2615 to sew 1″ blocks at a 45* angle, stopping when I hit the gem. The nice part about quilting a bag panel is that you can leave the thread tails and just tie them off without having to bury any of them!
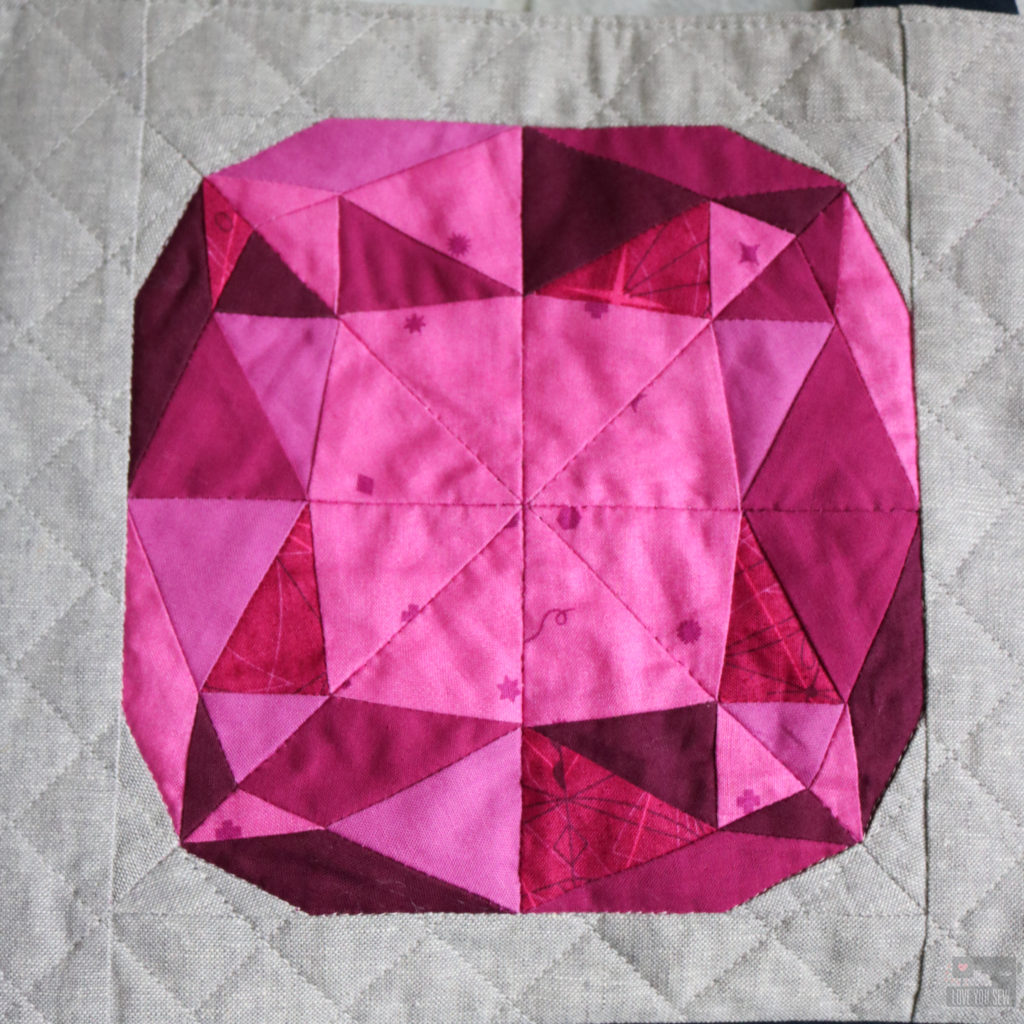
To cut the panel and create equal spacing above and below the block, you find the center horizontally and cut 4 3/4″ below the line and then 5 1/4″ above the line. The measurements are not equal to account for the different seam allowances as written in the Colleen Tote pattern.

Other Modifications
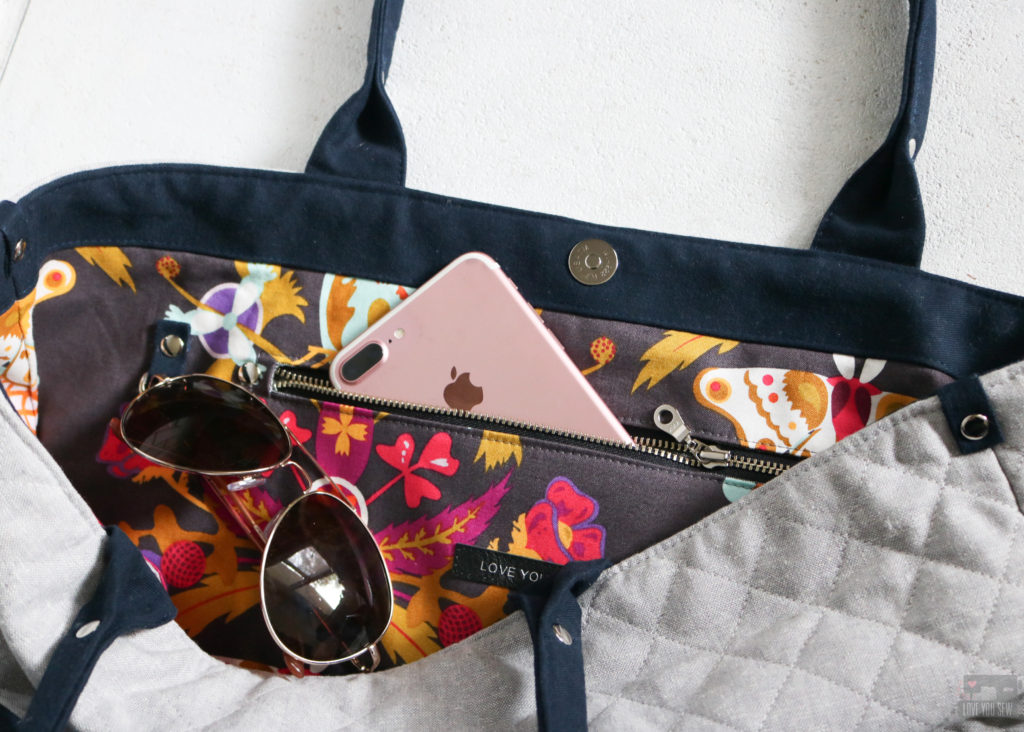
Every time I make a pattern (whether my own or someone else’s) I can’t help but add some different features so each one is unique.  I believe that every bag has it’s own personality and calls out for different features. I made the following changes to this Colleen:

  • Extended the key fob to 16″ in total length
  • Added a interior D-ring
  • Added a magnetic snap to the interior band
  • Pieced the line with some of the Sangria Compass to bring some of the Gem colors to the interior
  • Added Purse Feet following the add-on instructions here.
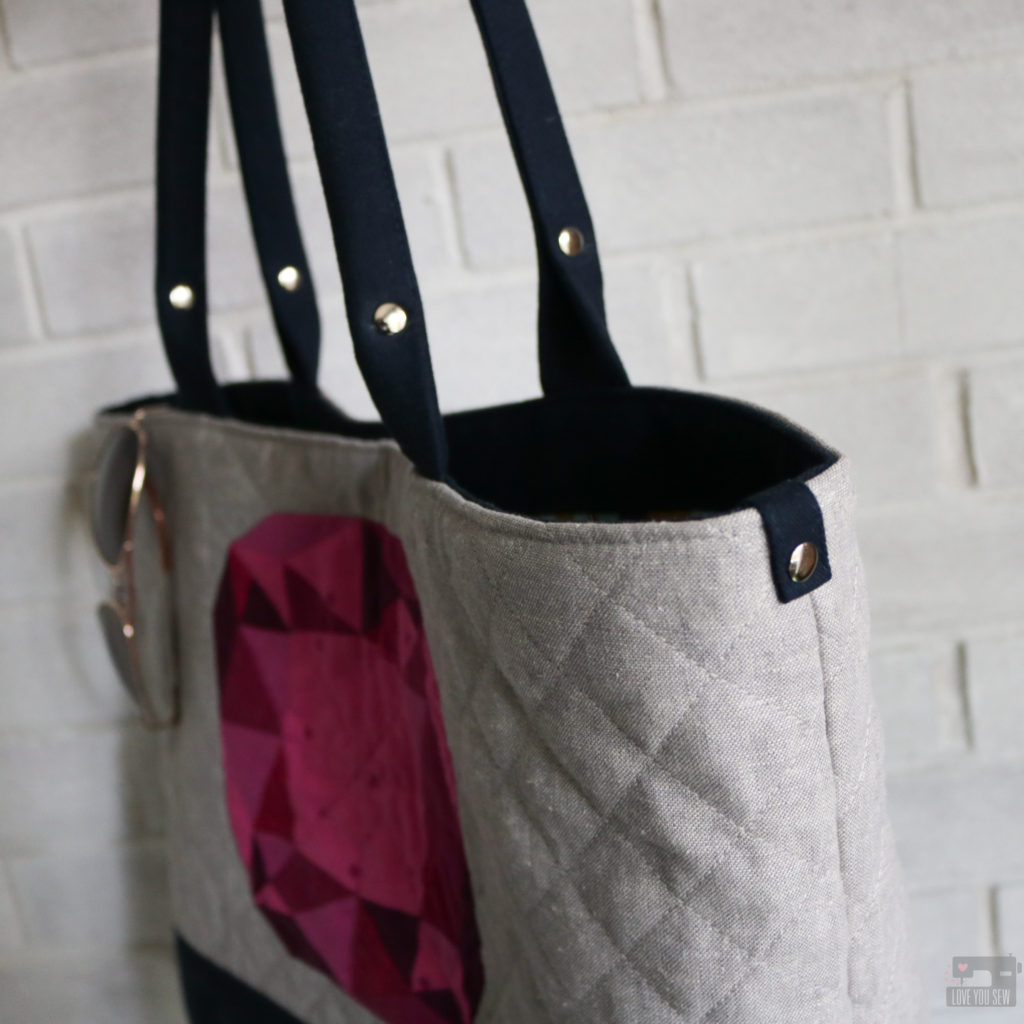
  • Broke up the gray a little more on the exterior with some accent tabs and rivets.
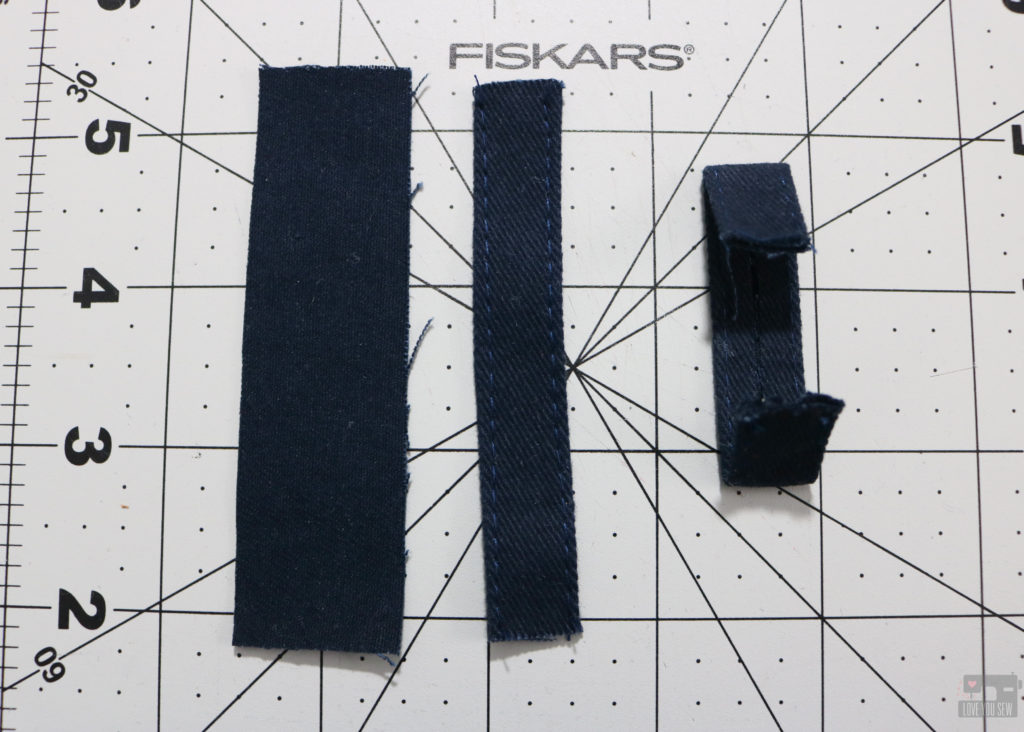
I did this by using the scraps I cut out of the bottom accent fabric.  You will need (2) 3 1/2 x 1″ strips.  Fold each long side to the center creating a single-fold tape and top-stitch 1/16″ along each side.  Fold down each short end by 3/4″ with wrong sides together.
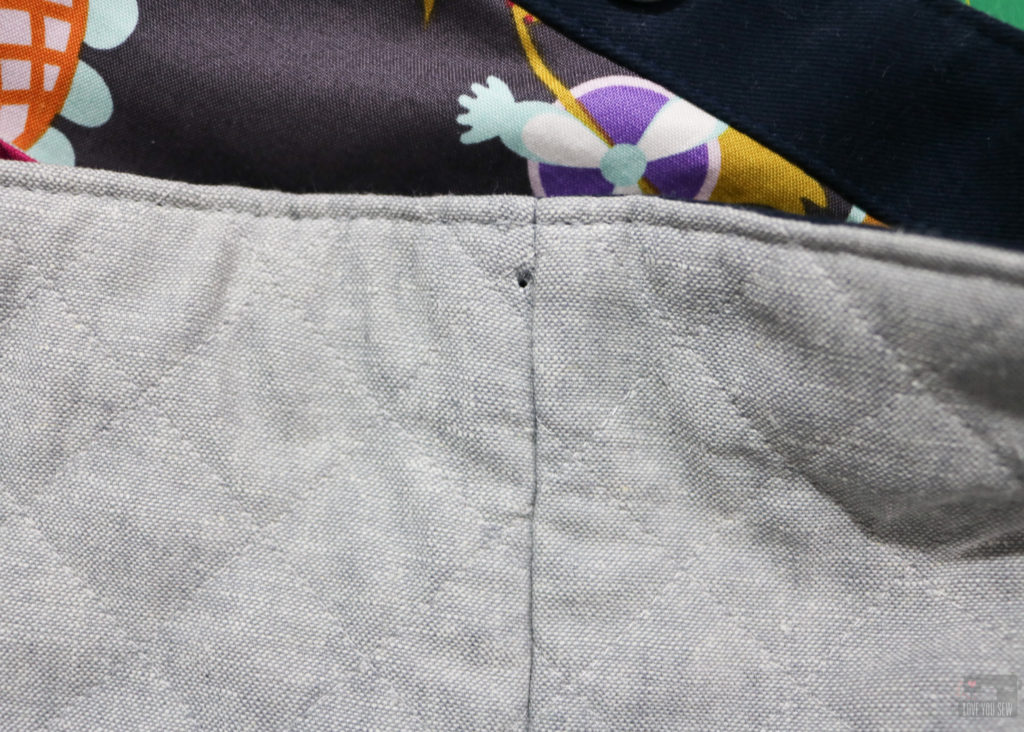
The trick to adding these tabs over the top of the bag is to fold the tab and cut those holes first.  Then place it over the edge of the bag and mark it just to the left of the side seam and cut the hole in the bag.  By moving the hole you won’t cut into the side seam but it will appear that the tab is centered from far away!  Add the rivet and now you have a cute tab that makes this look more high-end.
Please make sure you follow Andrea @3rdstoryworshop to keep up with the rest of the Gemology Blog Tour.  You can find her blog and shop her book here.

Tomorrow, Rebecca Makas is up with her Gemology Project.  Click to find her here.
I hope you enjoyed the new spin on the Colleen Tote Bag and all of the gemstone inspiration from Patchwork Lab – Gemology!


Hugs and Stitches,

Cristy


This post is in collaboration with Andrea Tsang Jackson for which I received a complimentary copy of her book.  //  This post may also contain affiliate links and you can read all the details in my Disclosures here.
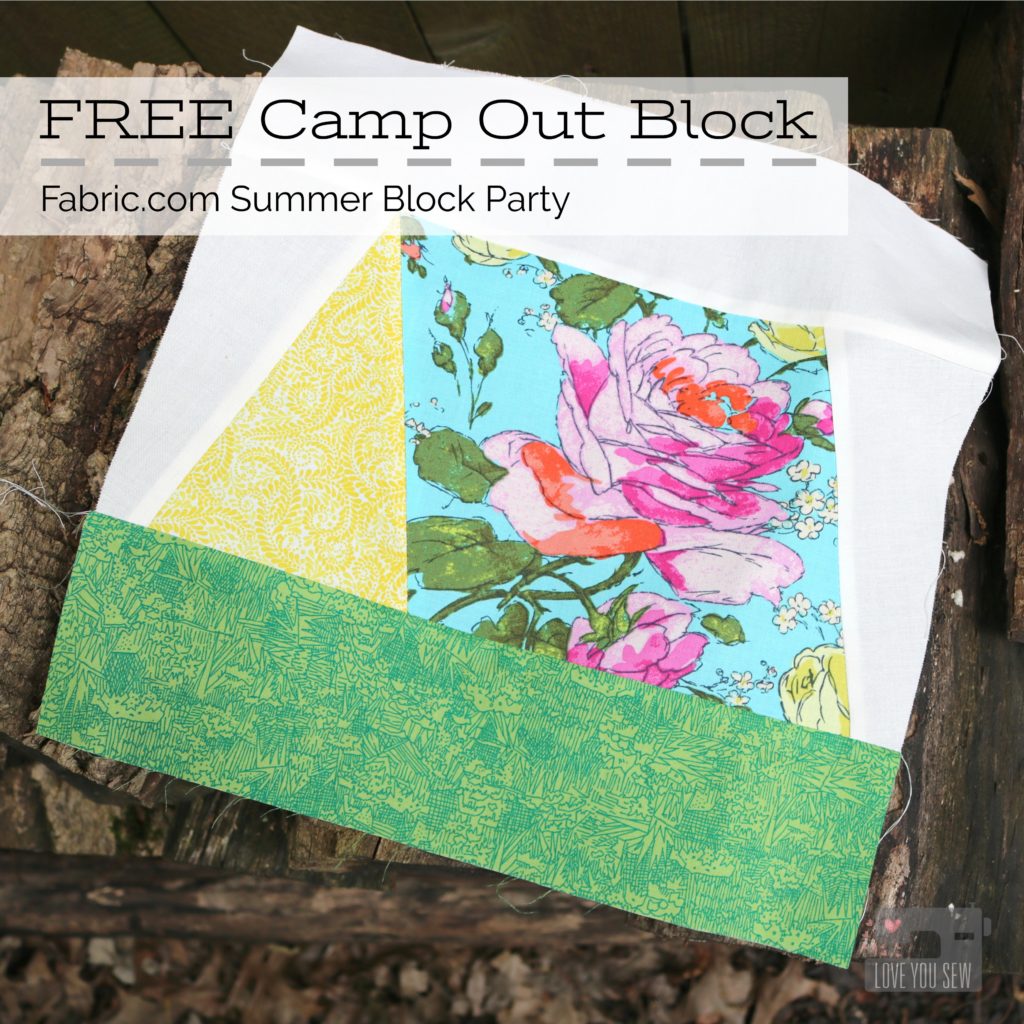
FREE Camp Out Quilt Block – Fabric.com Summer Block Party


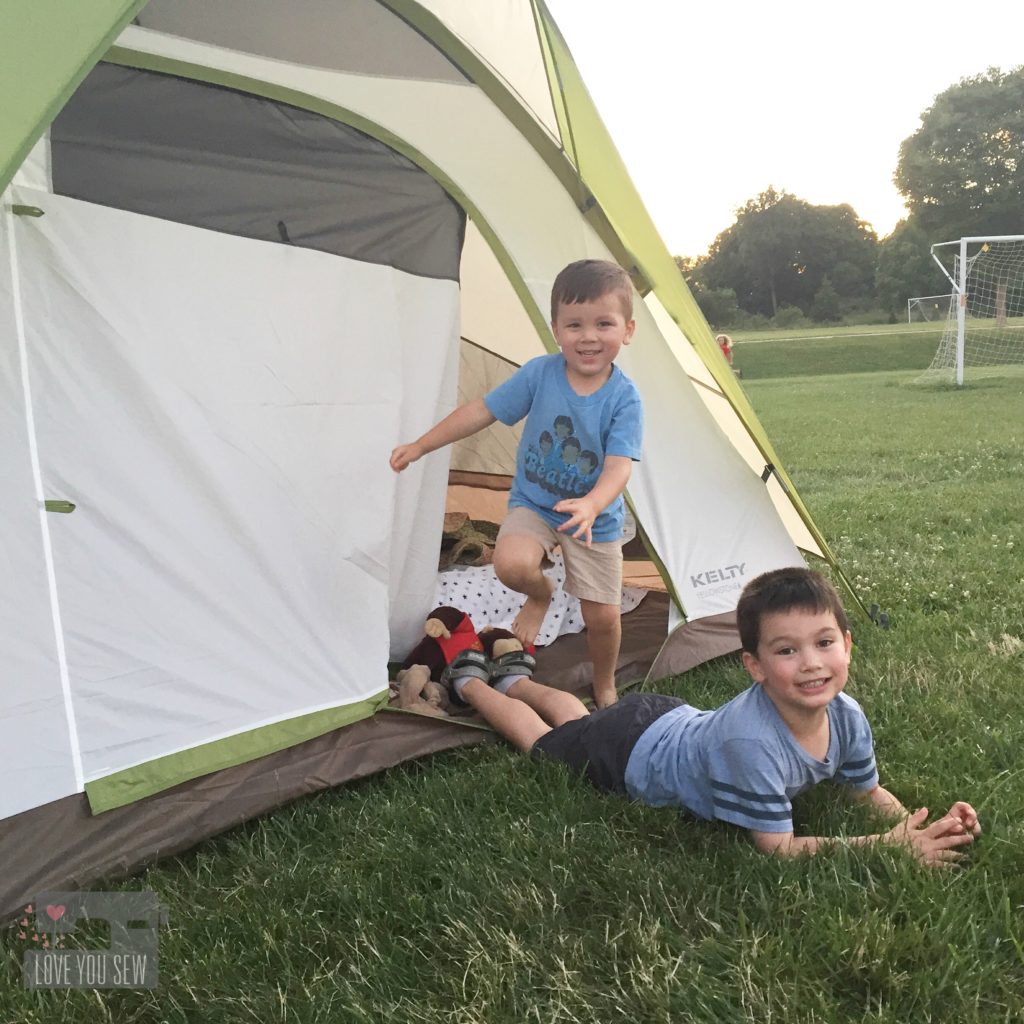
This past winter, my husband and I bought a pop-up camper.  When we made the purchase we had below zero temperatures and  snow on the ground here in Ohio, so…we got a pretty great deal.  With the camper stored in our garage for months, there has been a ton of day-dreaming and camping talk, especially since I have a young Boy Scout and Indian Guide now.  The weather has really been gearing up and so has our excitement for all the adventures ahead.

With the new camper, we need to do a good bit of outfitting while adding our own personality to our investment.  I’m *hoping* to reupholster some of the cushions and add a little flare to our curtains…over the winter, of course 😉  It maybe a bit ambitious…but I’m always up for a challenge.  Up until then, I’m going to deal with the “vanilla” stock interior.  That’s where this “Camp Out” block comes in.

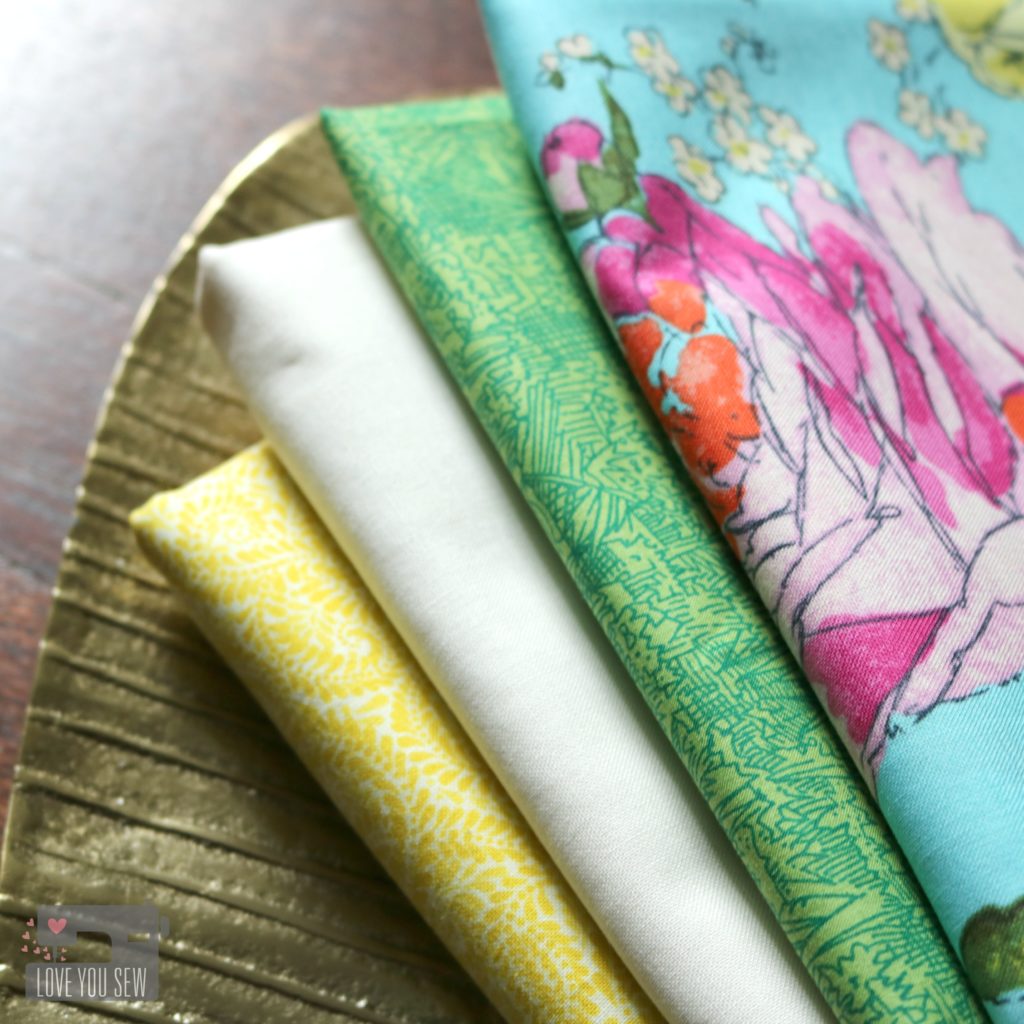
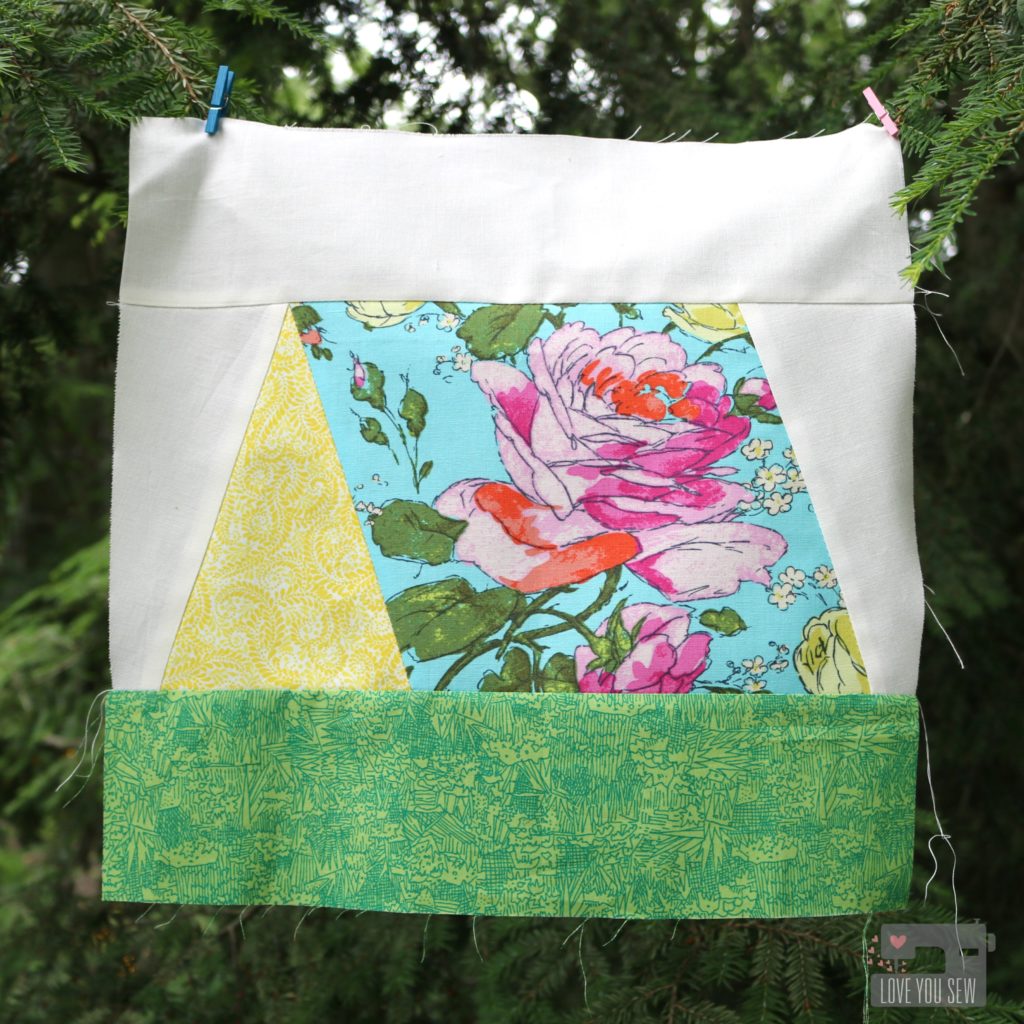
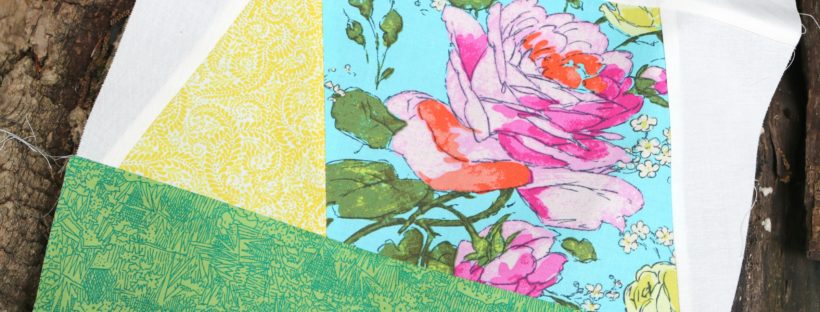
The Tent design is a simple foundation paper-pieced block which can be found here.  I pulled these bright and  cheery fabrics from Fabric.com‘s extensive collection.  It was easy to do with their great search capabilities.  I wanted the grass and interior of the tent to use near solid designs and just by searching by color, I found these:
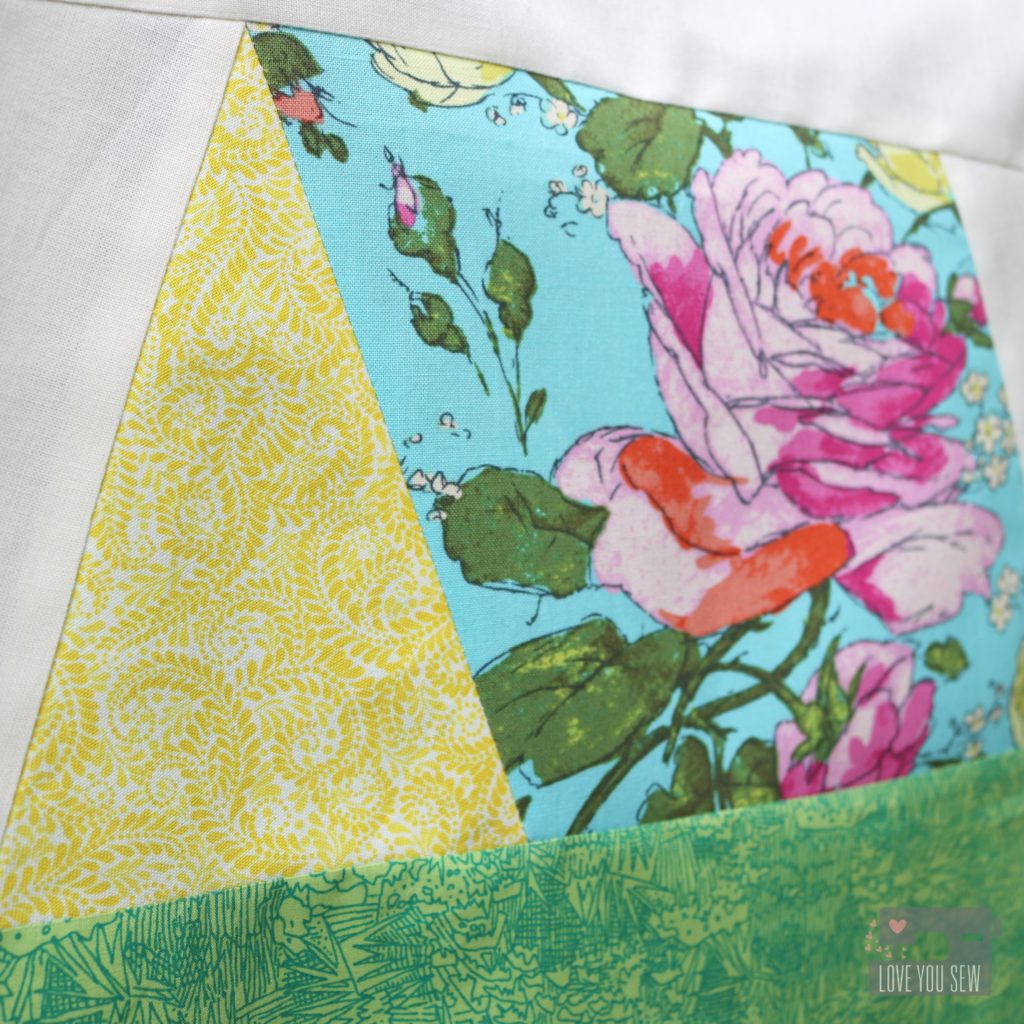
For the exterior of the tent, I designed the block to show off a large-scale print. (I hate to see good ones all hacked up!)  Fabric-wise, I wanted one that was very “girly.”   With two sons and my husband, I am always outnumbered and everything needs a feminine touch, right?  I was able to find this great floral (listed below) which is an older print I’ve used before.  As I was looking through all the swatches, I was so pleased to know Fabric.com still carries it.  For the background, I opted to keep it all nice and clean and choose one of my stand-by solids in an off-white.  The large-scale floral doesn’t need to compete with a busy background IMO.

I’m still debating on what this block will become.  Maybe a small pillow for my side of the camper or maybe a hanging pouch to hold some of my supplies?  I want to be able to see this while camping for a little dose of girliness 😉 What do you think?  I need suggestions!

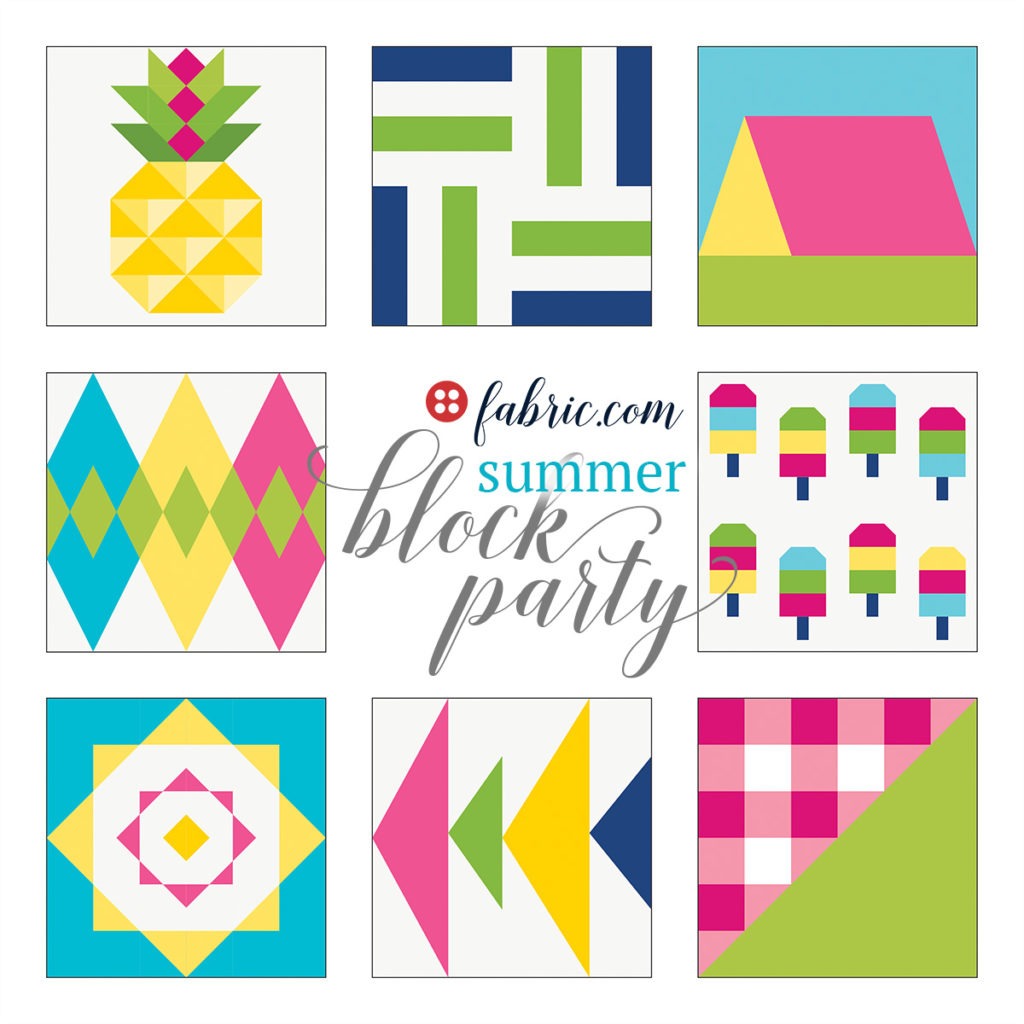
Don’t forget to visit all of the other seven amazingly talented bloggers at the Summer Block Party!  You can download a total of eight FREE quilt blocks throughout the entire month of June.

June 5 – “Candied Pineapple” – Anneliese Johnson – Eye Candy Quilts – eyecandyquilts.com
June 8 – “Nautical Stripes” – Kristi Schroeder – Initial K Studio – initialkstudio.com
June 12 – “Camp Out” – Cristy Stuhldreher – Love You Sew – iloveyousew.com
June 19 – “Argyle” – Shayla & Kristy Wolf – Sassafras Lane Designs – sassafras-lane.com
June 22 – “Popsicle Party” – Elise Baek – Elise & Emelie – Eliseandemelie.com
June 26 –“Sunshine Days” – Haley Anderson – @happinessinthemaking – Happinessinthemakingblog.wordpress.com
June 29 – “Fishy Fish” – Christopher Thompson – the tattooed quilter – thetattooedquilter.com
July 5 – “Half Square Gingham” – Sarah Thomas & Nicole Young – SARIELLA – sariella.com

Happy Sewing with all of these blocks!

Cristy


* This post was sponsored by Fabric.com as part of the Summer Block Party.  The “Camp Out” block  pattern and post are completely original and are my own words and design.  This post DOES contain affiliate links which when a purchase is made, helps to fund this site.


Observer Fabrics Preview

ObserverPreviewTitle

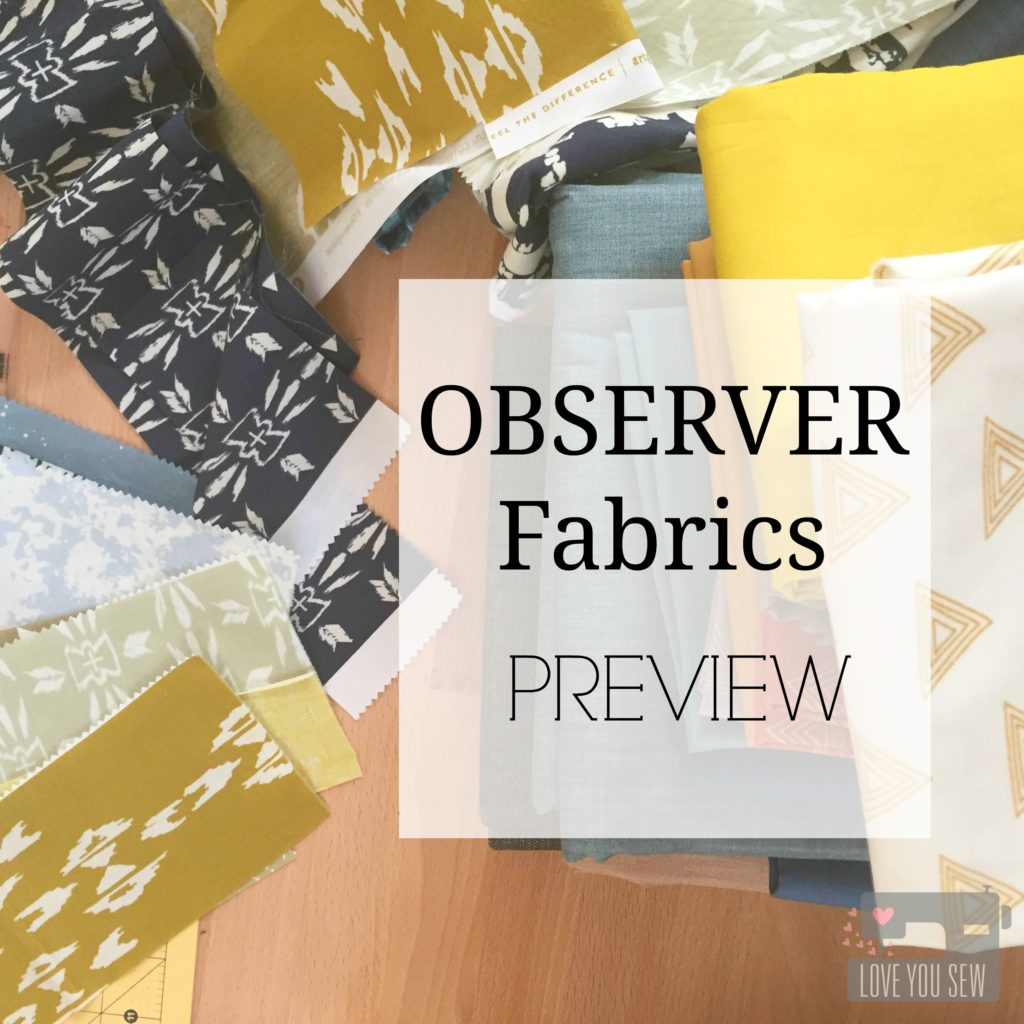
Have you ever seen something out in the wild, and wondered how pretty it would be to freeze that shot and frame it forever?  It’s that moment that is just SO good, you take in that extra long gaze and lose yourself a little…  Well when you’re April Rhodes, you take that extra step into permanence and create Observer fabrics.  It’s a collection of patterns seen out in the world…through the eyes of Miss April, herself.

IMG_4615

It is such an honor to sew with an unreleased collection.  The initial reveal is always exciting, but I love to hear about the inspiration.  That’s why it’s so wonderful to work with April…as we collaborate together, I get to hear the story behind every pattern and every color.  With all of that information, it then allows me to dig a bit deeper in my design wheel well.

IMG_4716

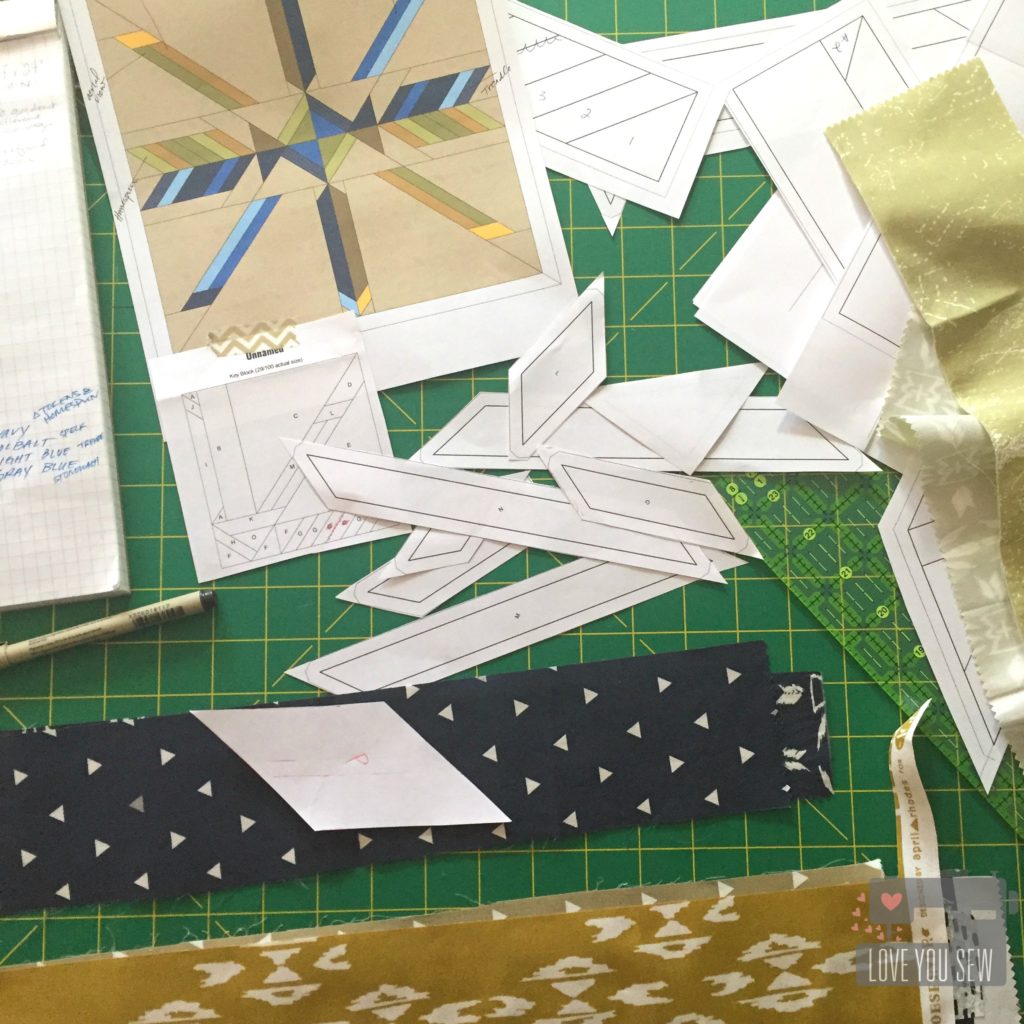
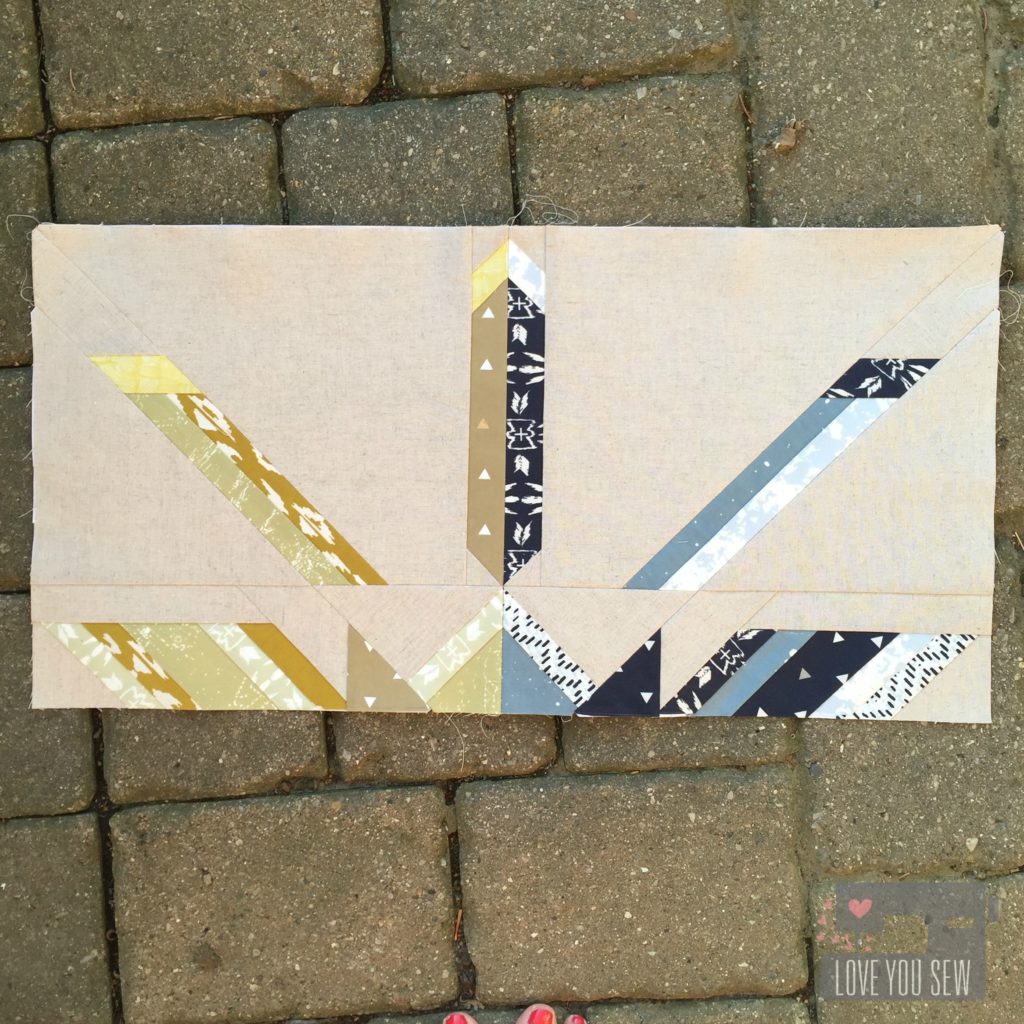
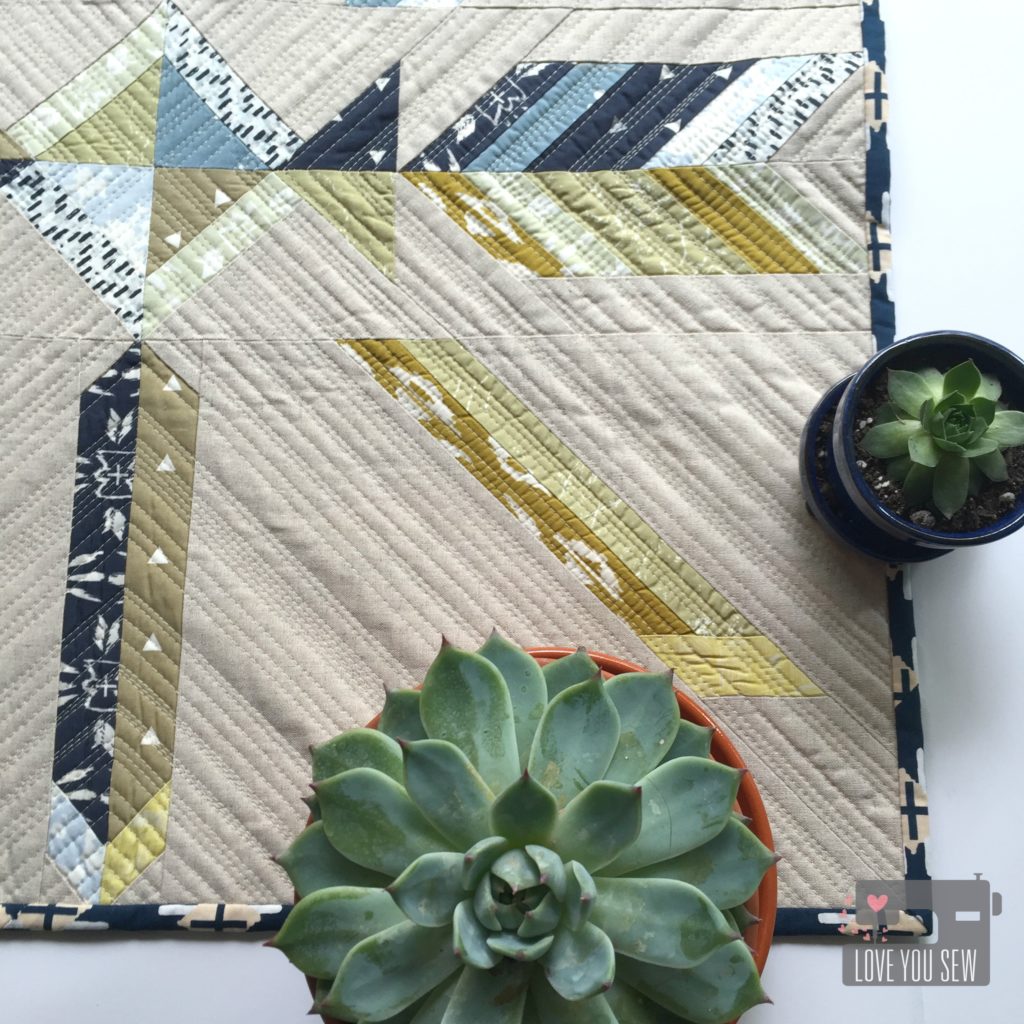
I was immediately inspired by the Homespun print.  It is based off of April’s love of weaving and fiber arts.  The 24″ x 24″ (finished) quilt is paper-pieced  to make every angle and line as sharp as can be. It utilizes mainly 1.5″ strips, making it very scrap friendly.

IMG_4656

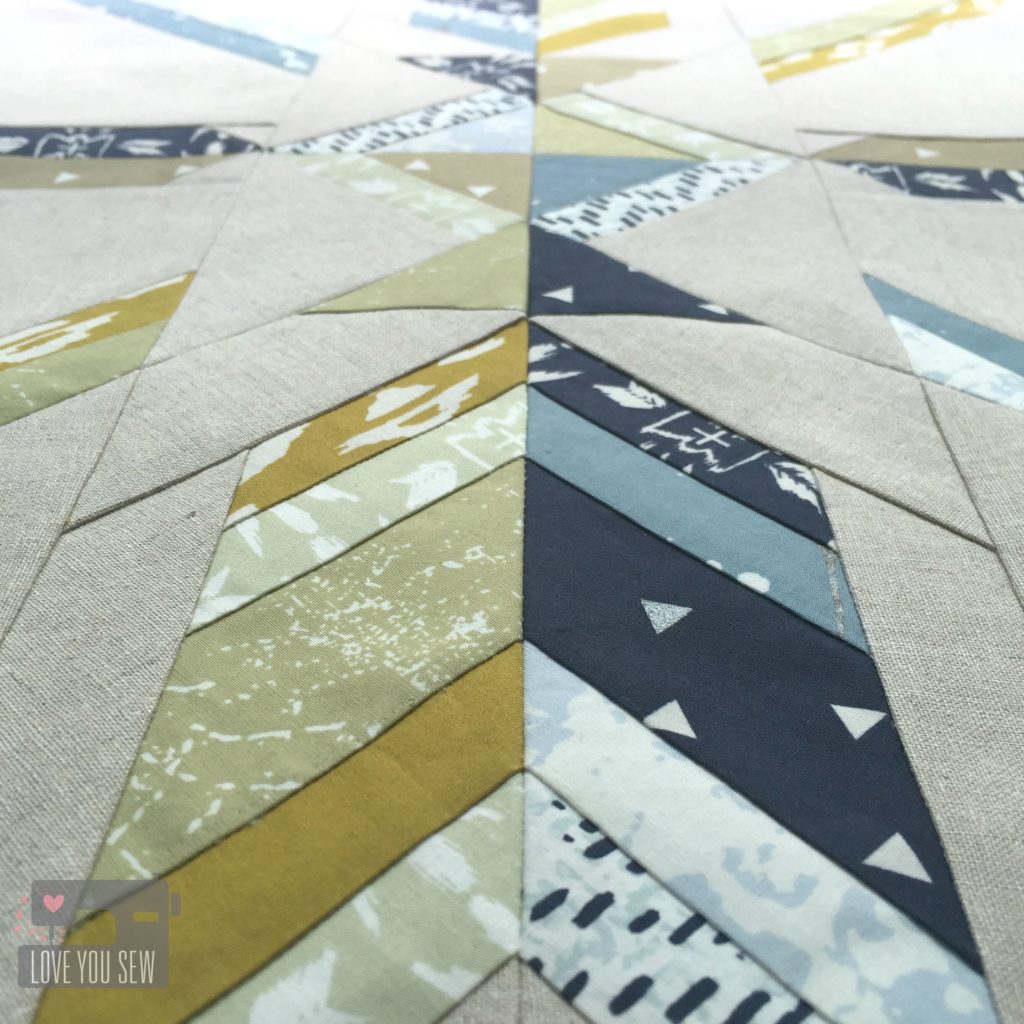
With Observer, the prints are either monochromatic or duotone and this quilt was designed to really show off the contrast by using the colorways, exclusively, in each quadrant.

IMG_4655

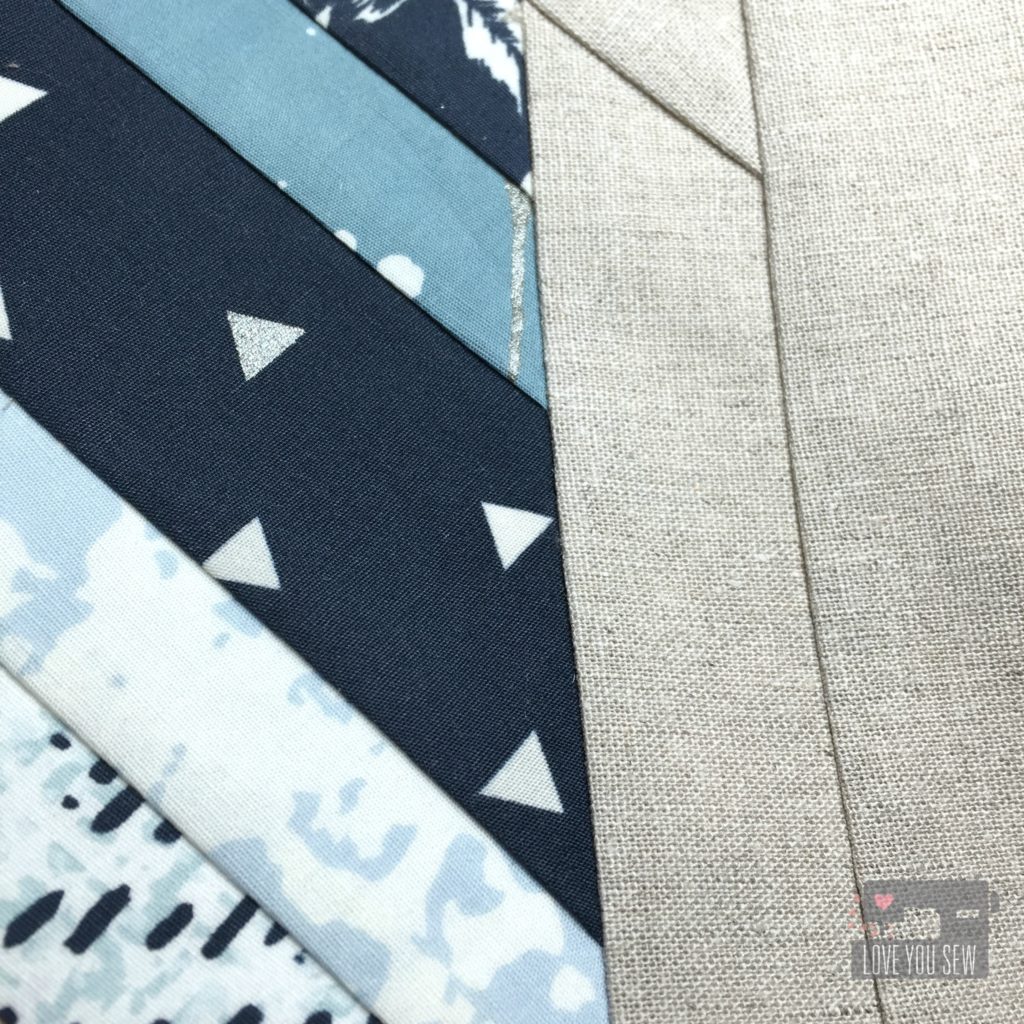
As you get closer to the fabrics, you can see the little hints of metallic (yaaas!)  With this collection, April incorporated silver which looks amazing against the deep blues.  It’s always hard to photograph metallic, but you can see it in Triangle Tokens and on the Speck Stardust.

IMG_4930

The background is Art Gallery Fabric’s Premium Linen Blend in Soft Sand.  It is such a great texture and color to make the design and colors pop.

IMG_4898

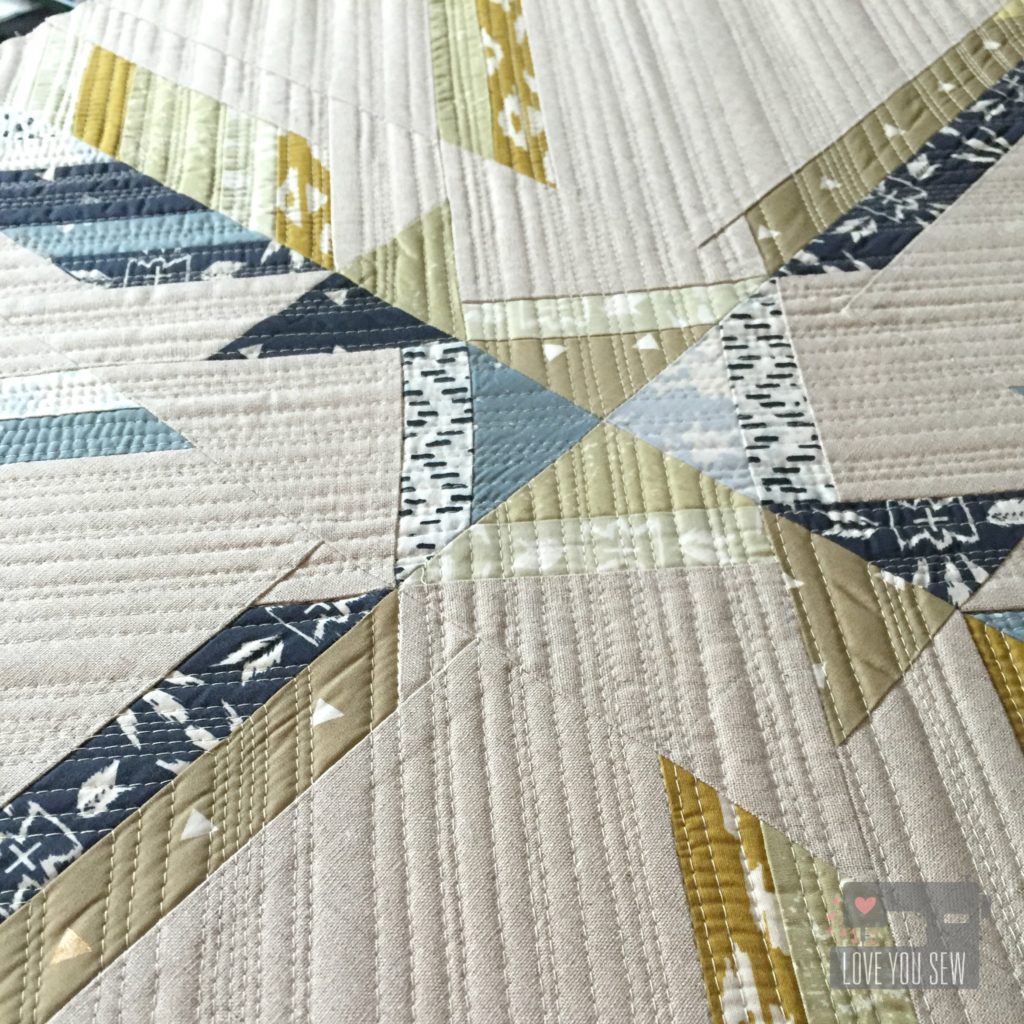
With so much negative space in the piecing, a random application of matchstick quilting was in order using Aurifil 2310. The areas were split into quadrants, like the quilt design, itself.

IMG_4899

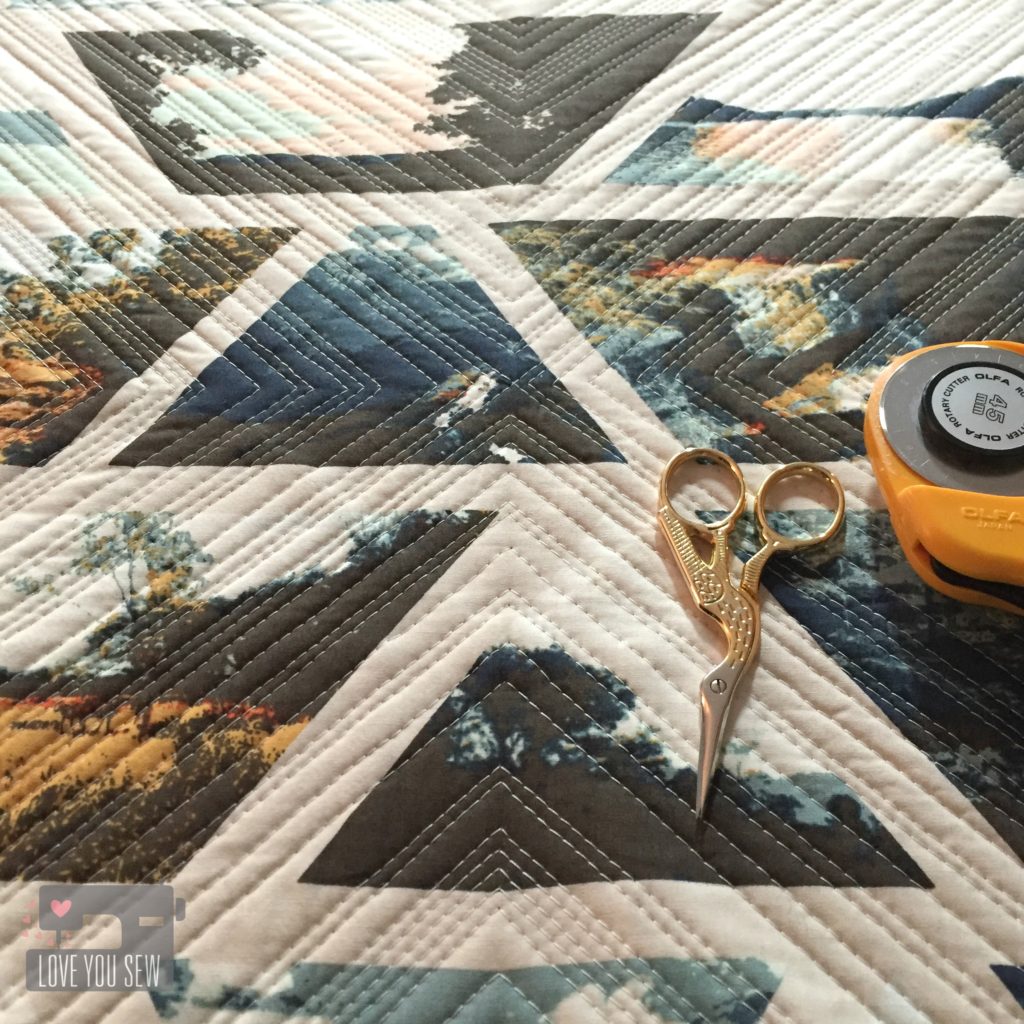
The backing was pulled from April’s Wanderer collection.  Wandering Lands Mineral was the perfect print which really complimented all the tones in Observer and it shows off the quilting beautifully.

Stay tuned…this quilt pattern will be available closer to Observer‘s release in August!!!


IMG_4715

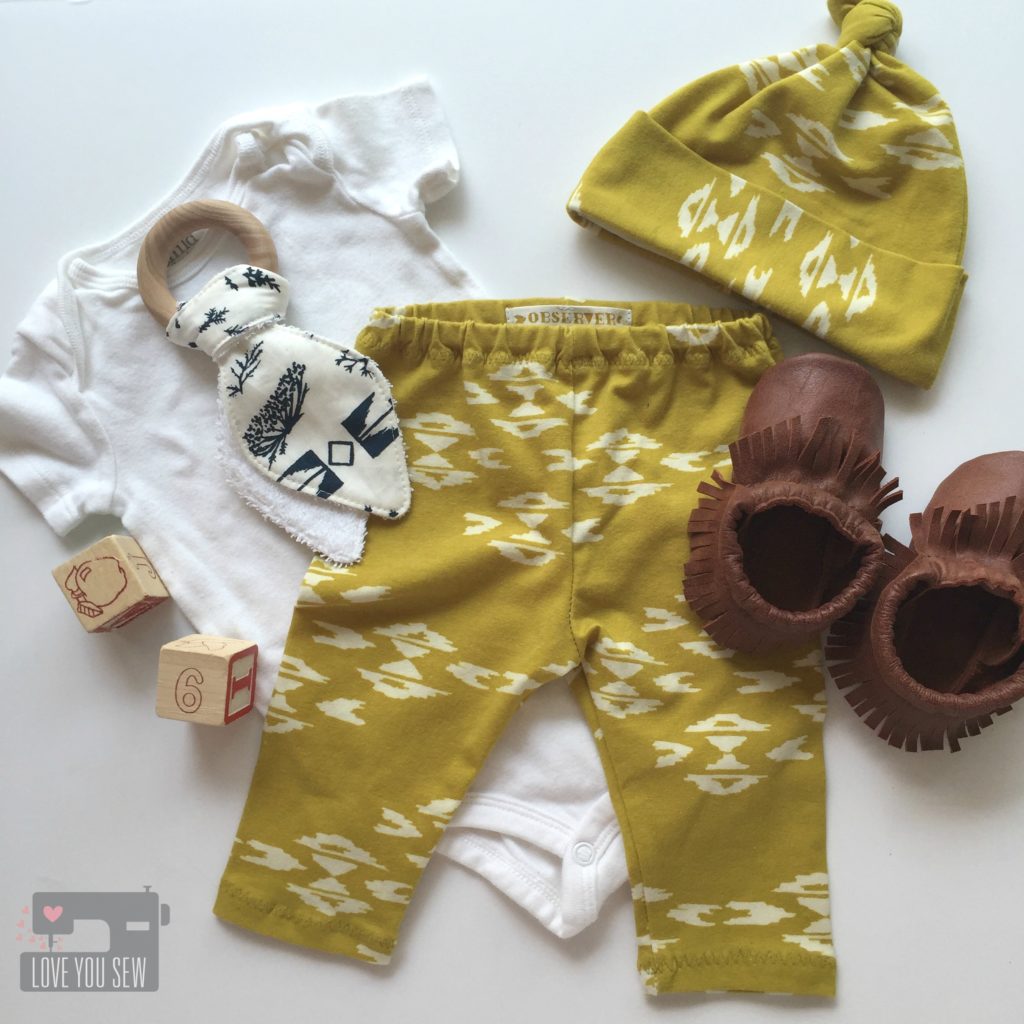
April asked if I would help make some baby leggings as well and how could I not?!?  Ya’ll know babies are my business and LOVE the opportunity to make itty bitty gear.  These leggings are made with Overshot Gold in knit and they are so amazingly soft.  The pattern for the pants are from My Childhood Treasures.

IMG_4711

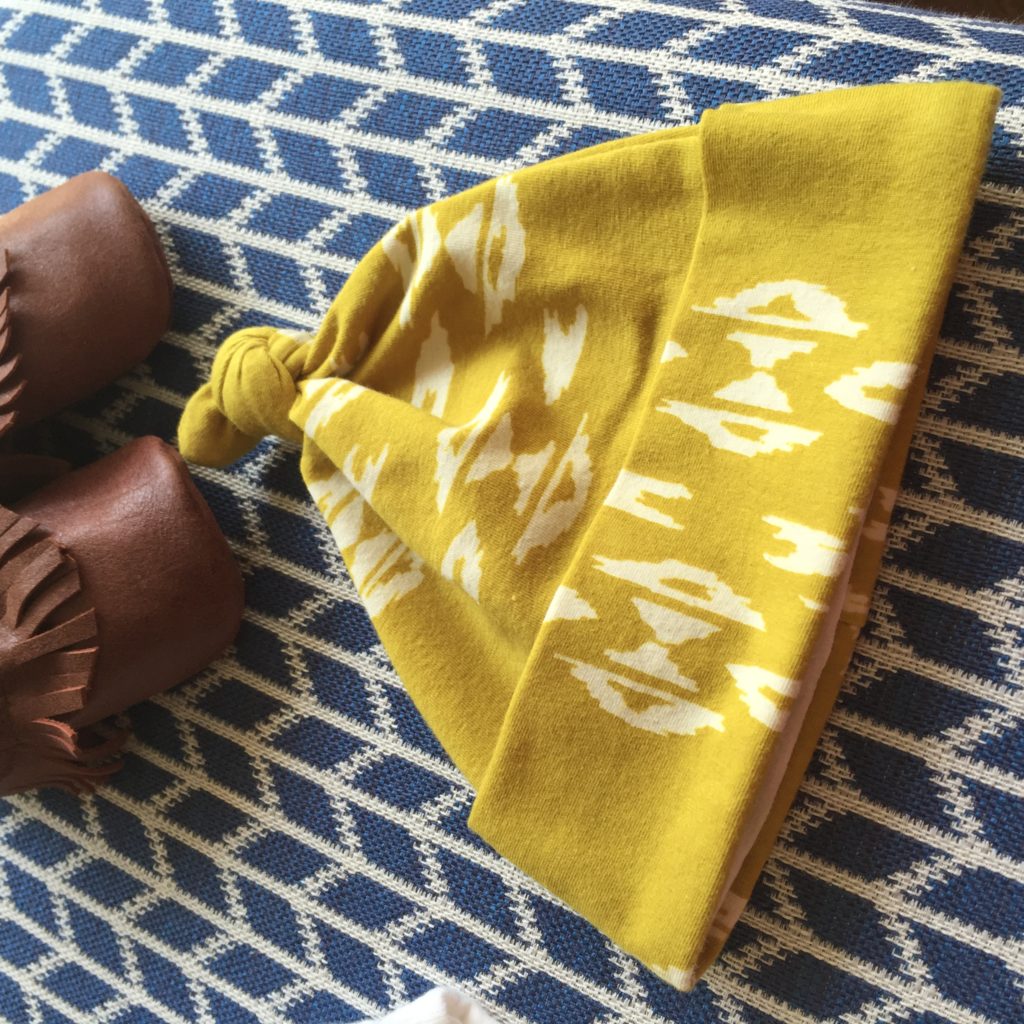
I drafted a pattern for the hat from an old one I have.  Make it Love it has a great tutorial and pattern which is similar.

IMG_4657

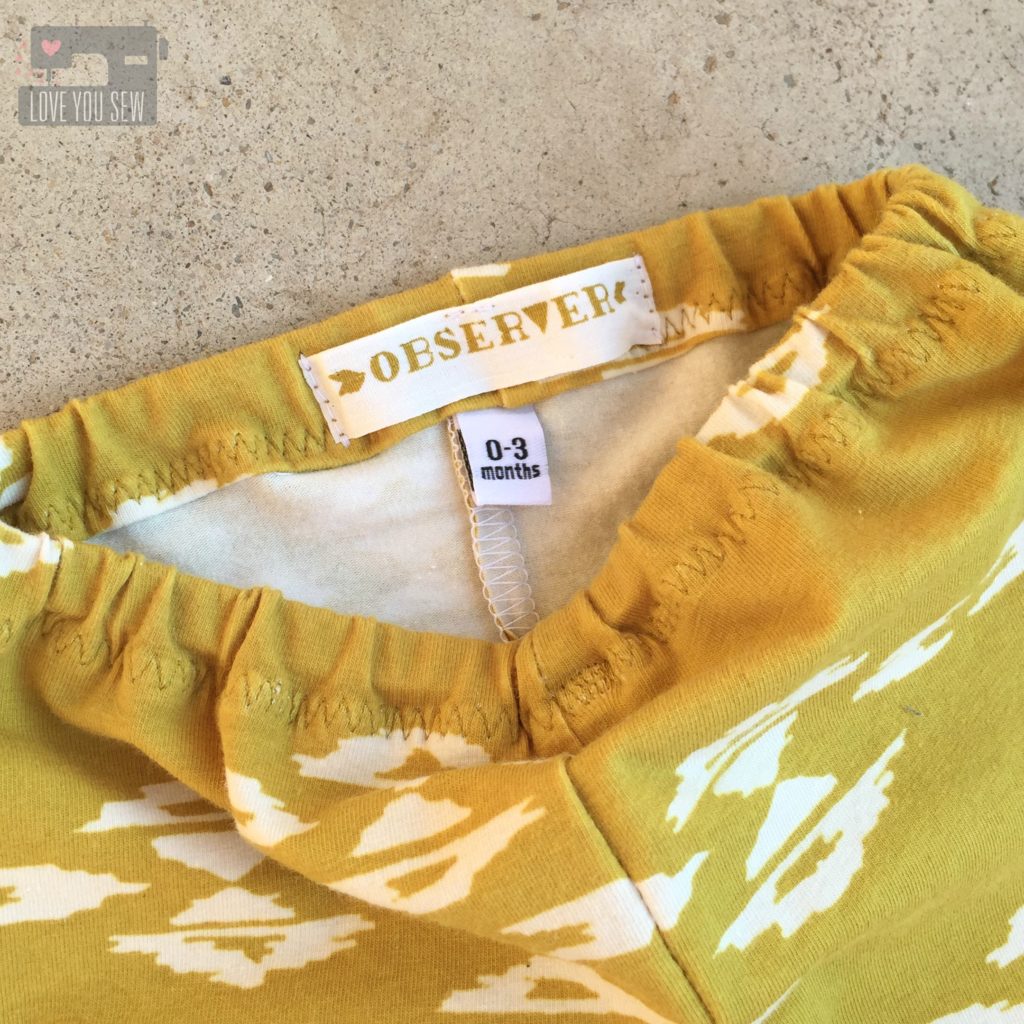
As an added detail, I used the selvage from a woven print on the back of the leggings.  It’s a great way to make a little tag so you know the direction of your hand-made garments.

Aren’t these clothes just perfect for the little bohemian in your life?


IMG_4940

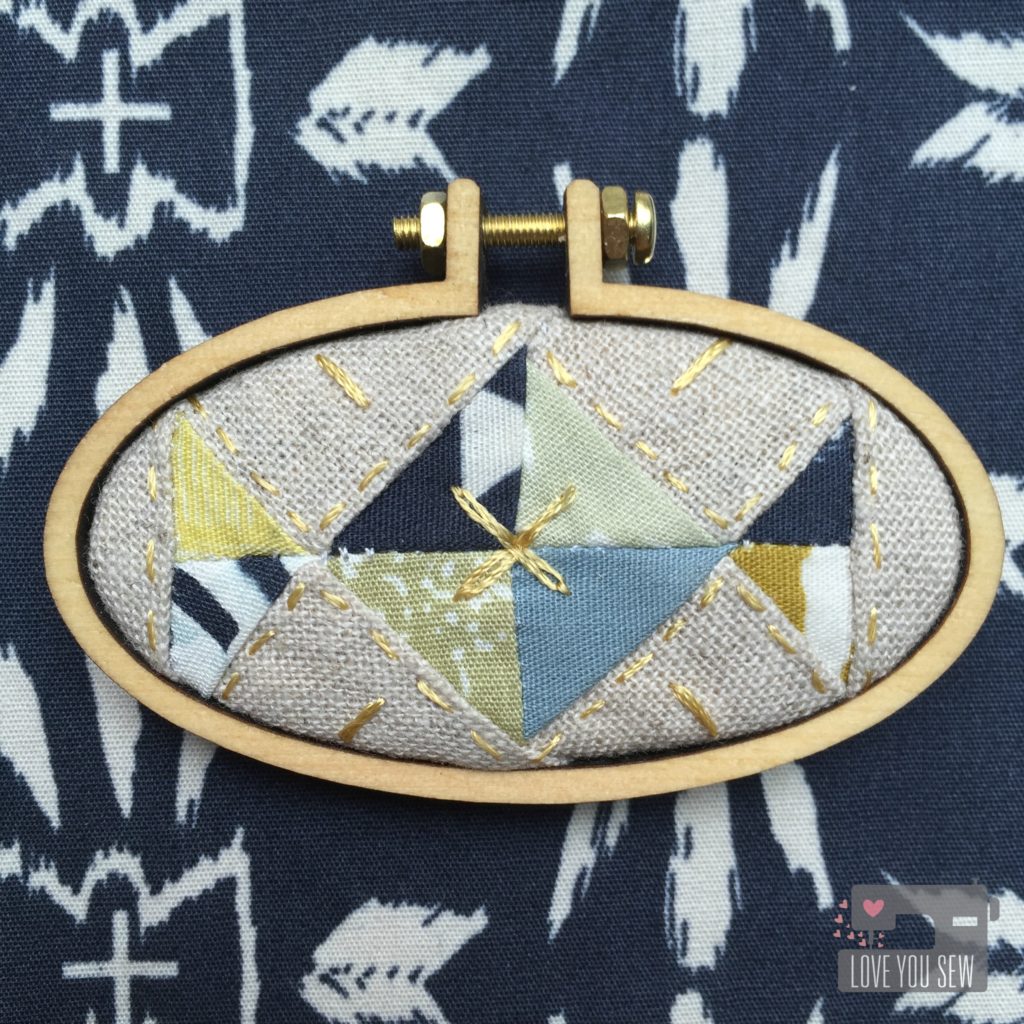
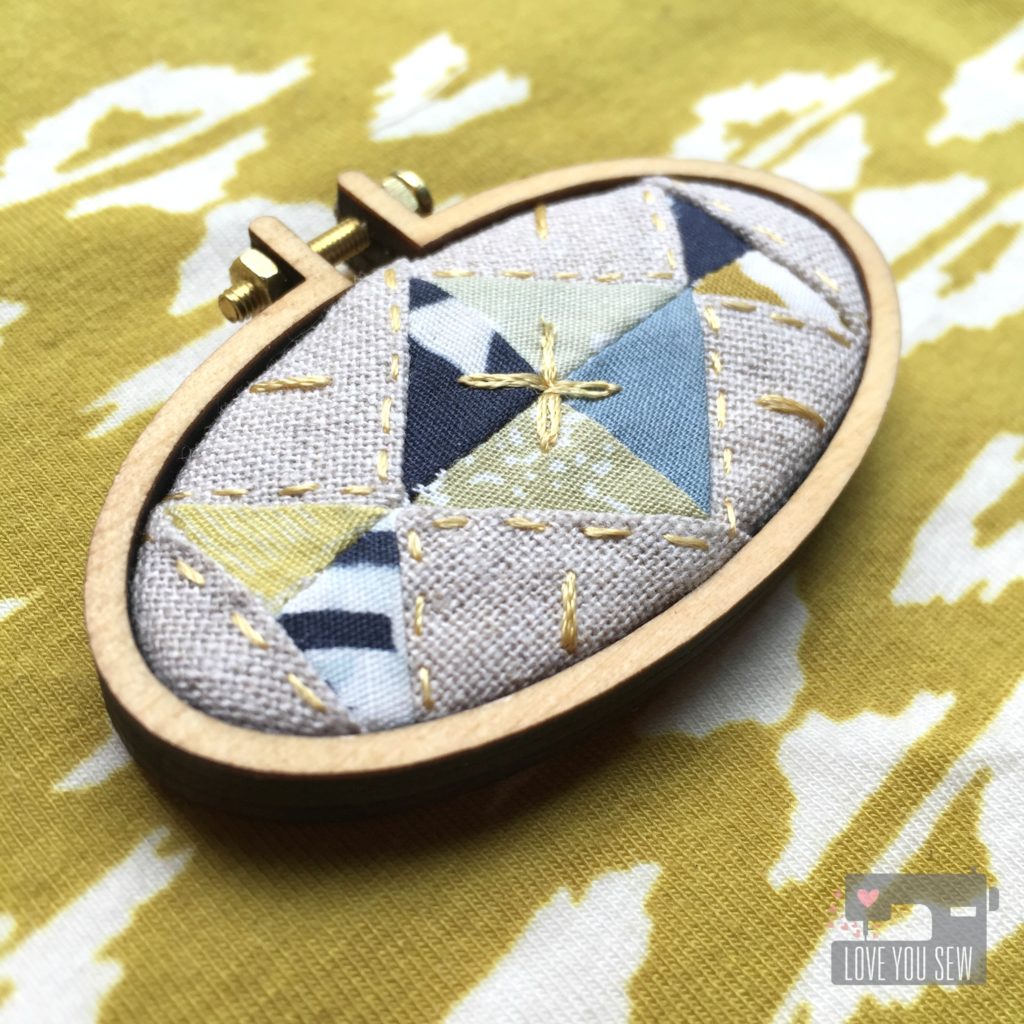
Last, but surely not least, is my mini quilt hoop (measuring about 2.5″ lengthwise.)  Making these quilt hoops has become one of my favorite projects and I cannot help myself when I have such amazing fabric laying around.  I love tiny (who doesn’t?) and love being able to use up every little scrap.

IMG_4943

Of course, I used Dandelyne hoops and chose an oval to make a piece based of the main quilt I designed at the top of the post.  A little gold embroidery thread made this hoop extra special and I love how it turned out.


I hope you enjoyed my little preview of Observer which is due out in August.  Make sure to check out the full collection here.
Do you have any plans for these fabrics?  Please let me know!  I have a few already planned….maybe an envelope clutch, dresses for my nieces, shirts for my boys, and dresses for myself….I could go on and on!


Happy Stitching, Friends!

Cristy

Fundraiser Sewing

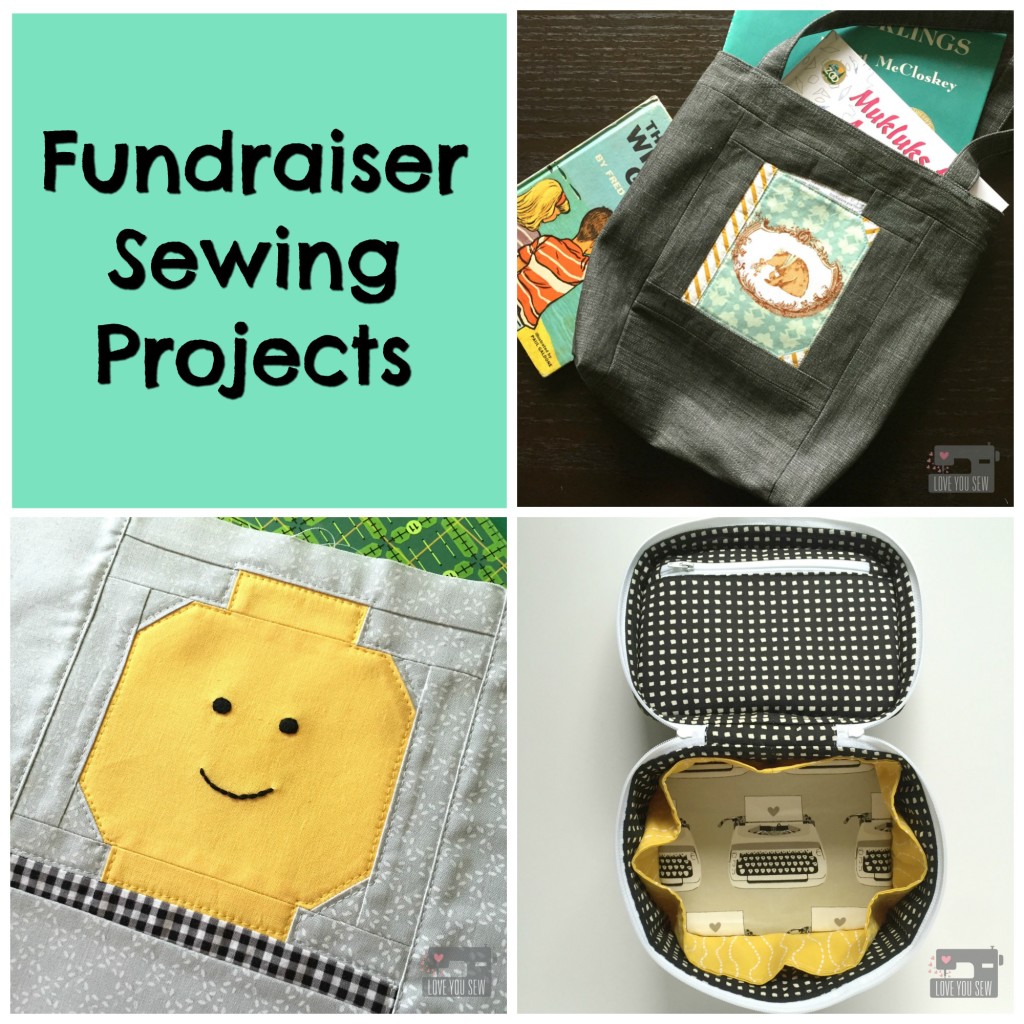
Fundraiser Sewing Projects

Whether you sew for hobby, for business, or for necessity, it’s always nice to sew for a cause.  I’m a stay-at-home-mom who has to continually stretch a buck, so I like to help how I can…and that means through sewing.  These past few weeks have provided me a few opportunities to use these skills to help some great local organizations.

My boys go to the same preschool and the Parent-Teacher Organization (PTO) asked me to contribute a few items for a big auction event.  Of course, I said yes. I love this school and am so happy my boys do too.  Although I know I won’t generate a ton of money, I know every little bit helps. I get to help the PTO and get a little local publicity so it’s win-win for me.

Last year I donated gift certificates to my Etsy shop and this year I decided to make a few items to possibly generate more money once the bidders can touch and feel what they are receiving.  With a GC, there is a finite value, but with custom made, hand-sewn products, there is more more perceived worth…at least I hope!

UA Open Wide Pouch

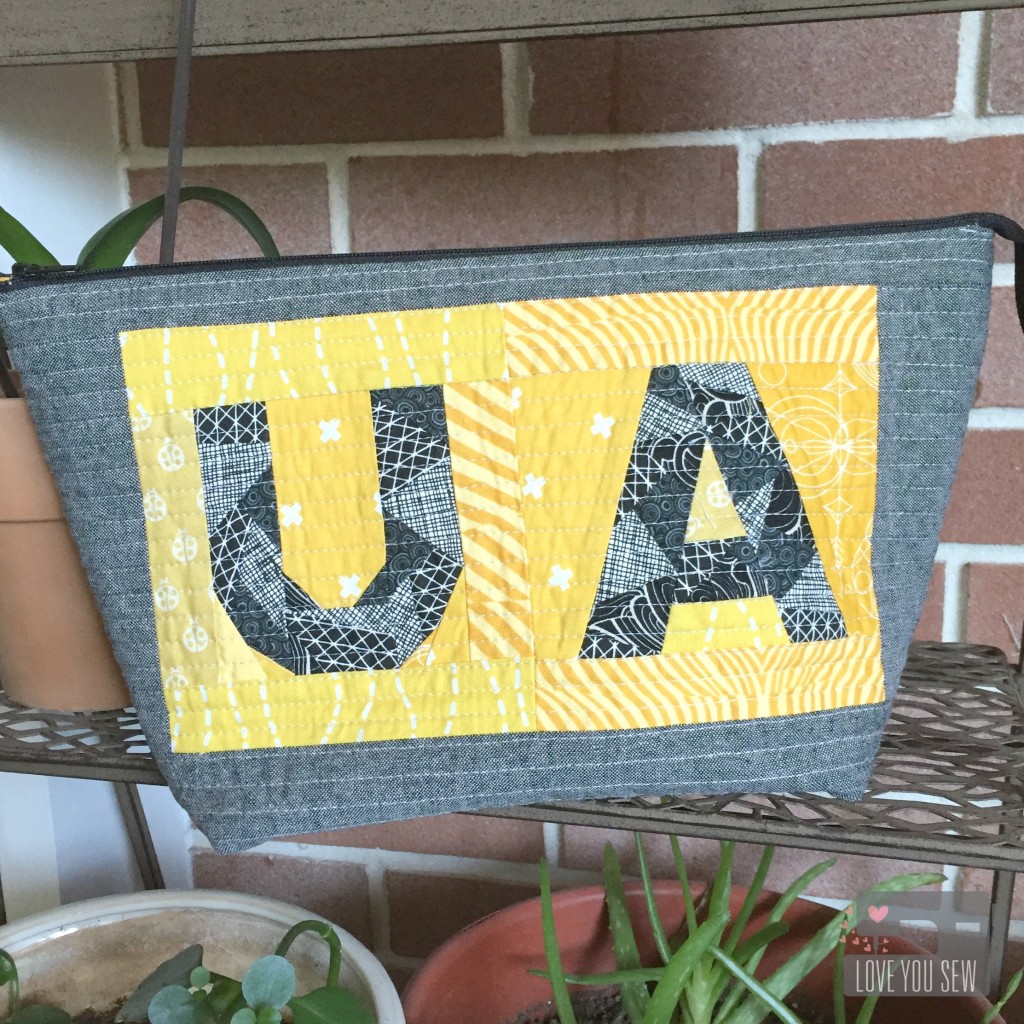
It’s always so hard to choose fabrics for someone, never mind someone you don’t know.  But since this is a school fundraiser, you can’t go wrong with simple patterns in the school colors…so yellow and black it is.  I used Quiet Play’s Geometric letter pattern and Noodlehead’s Wide Open pouch pattern to show some hometown love.

Traincase Outside

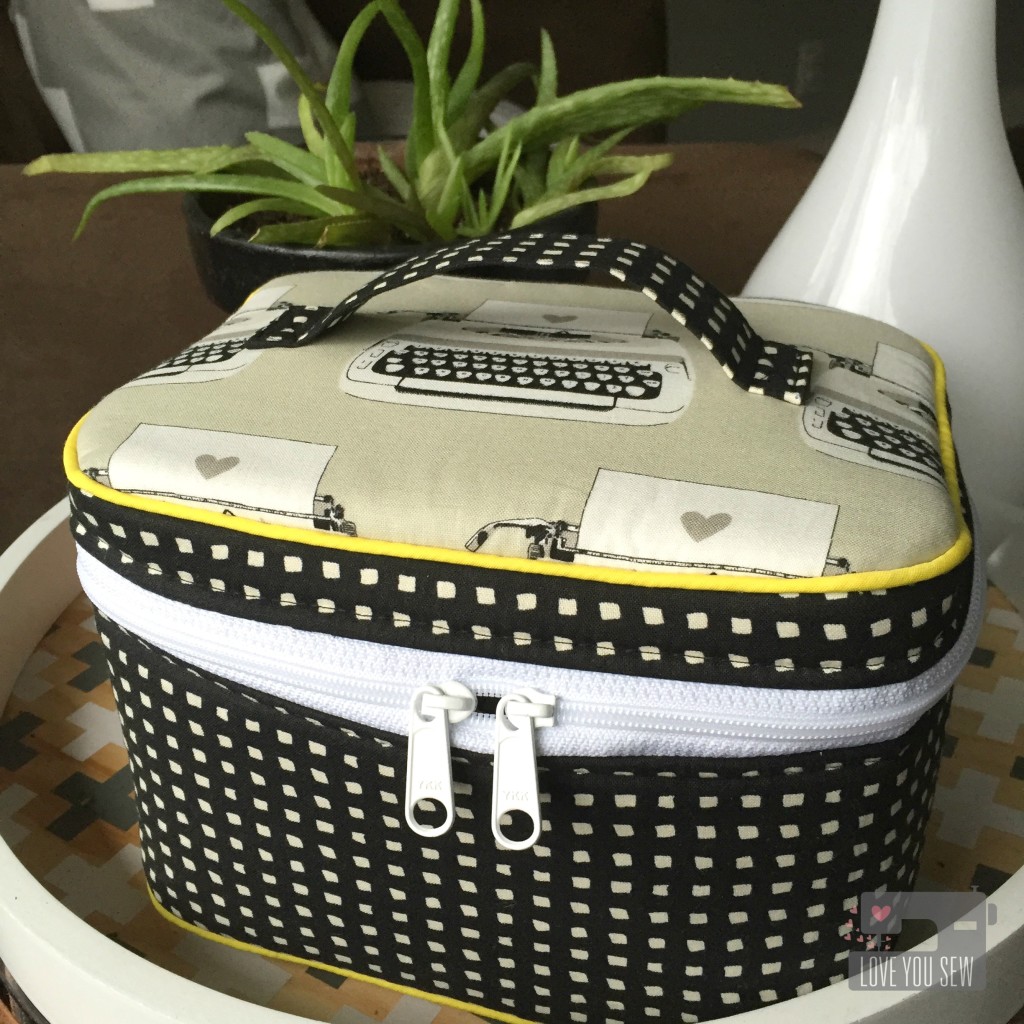
The Crimson and Clover Train Case by Sew Sweetness is one of my favorite patterns. Its so versatile in it’s usage….whether to hold makeup, toys, or other treasures.  I used Cotton and Steel Black and White fabrics with the typewriters being  a play on the school and added little yellow accents.  The shot of yellow piping is definitely my favorite.

Each of my son’s classes is also responsible for putting a large basket together. There is a theme and the point is to have all the families contribute a little something in order to make a sizable basket worth buying. One class has a “Lego” theme and the other has “Books.”

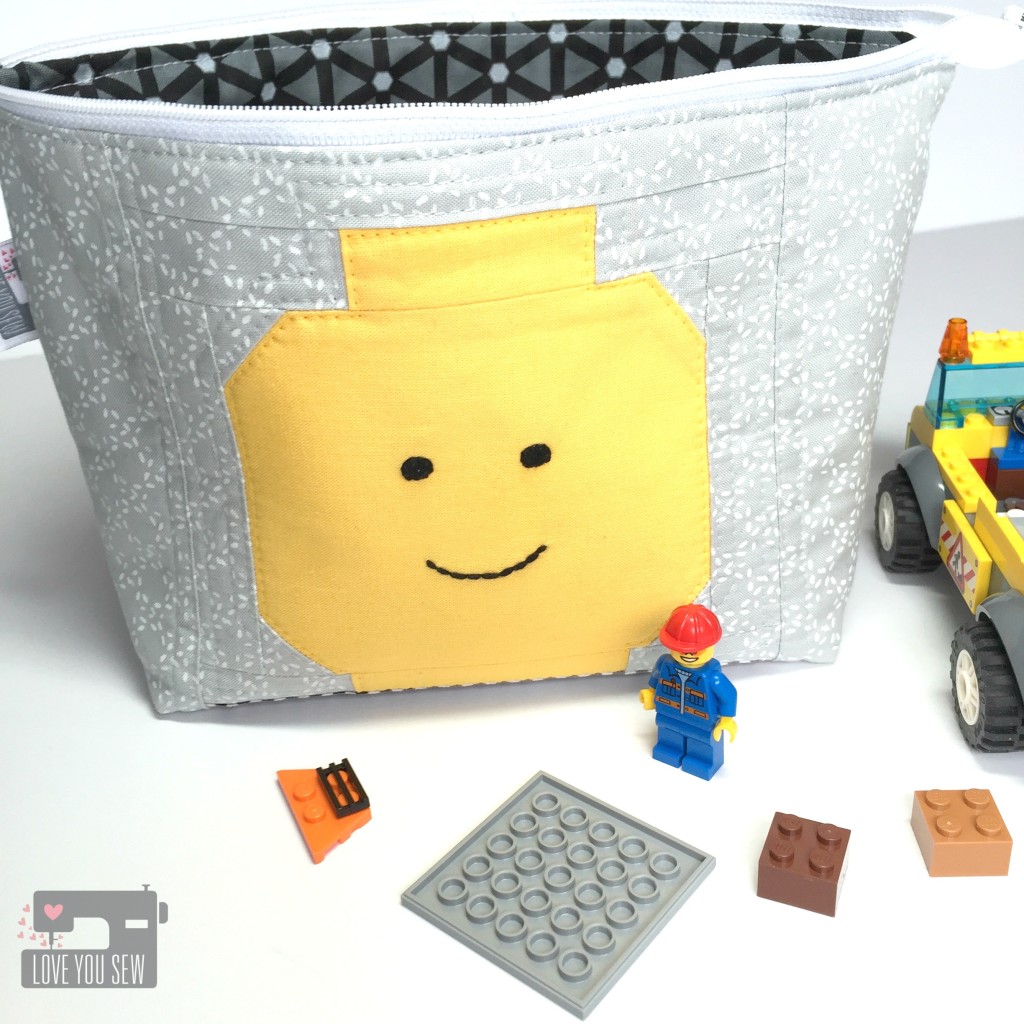
Lego Open Wide Pouch Outside

Instead of just buying a box of Legos, I knew I wanted to sew something to hold all the toys. I’m constantly stepping over Legos in my own house and I made some see-through vinyl drawstring bags to combat the mess.  I thought I would make one for the basket but then after browsing Quiet Play’s Craftsy shop, I saw the Lego man. Hello!

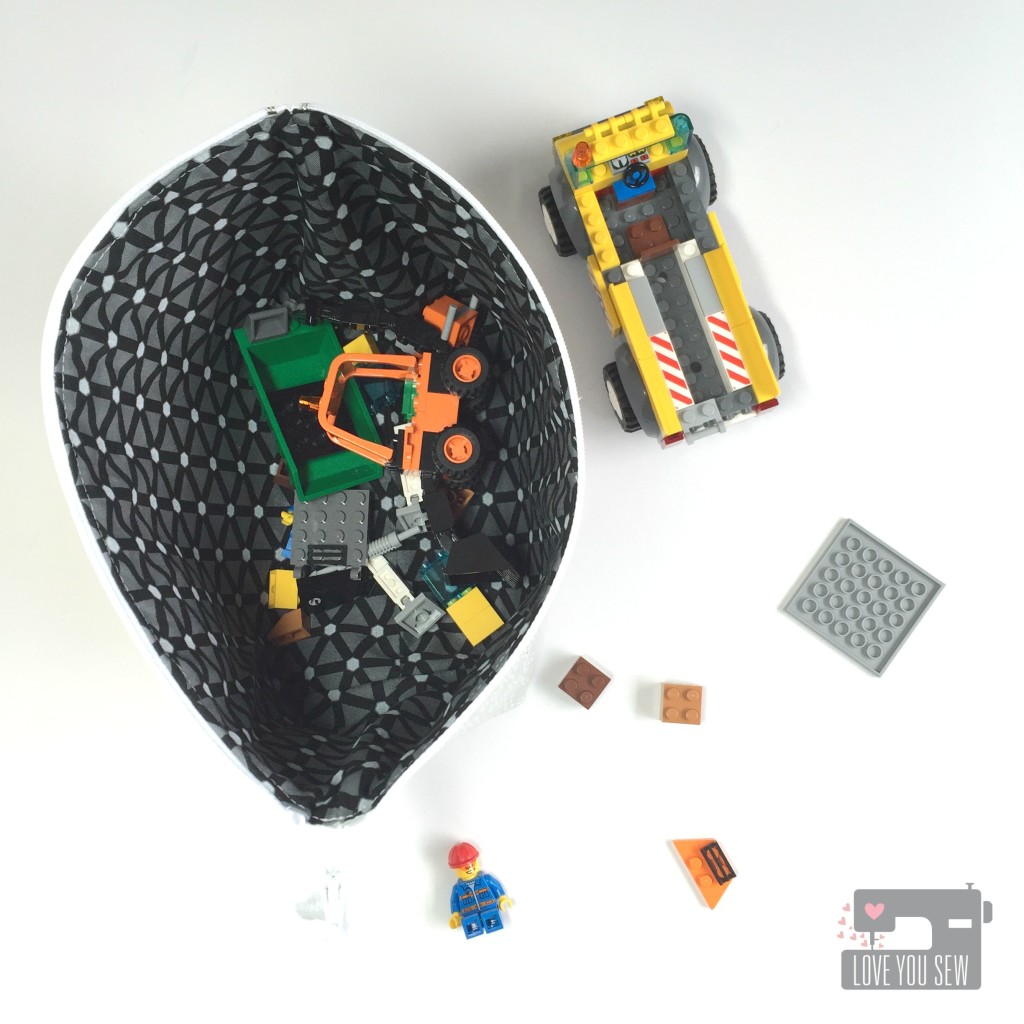
Lego Open Wide Pouch Inside

The Lego head pattern is free (yay!) and I used Noodlehead’s Open Wide Pouch again.  It’s design is so perfect for little hands to reach in and out easily.   I added a little embroidery to make the Lego Man’s face and (hopefully) this bag will help keep all of these little pieces off the floor.

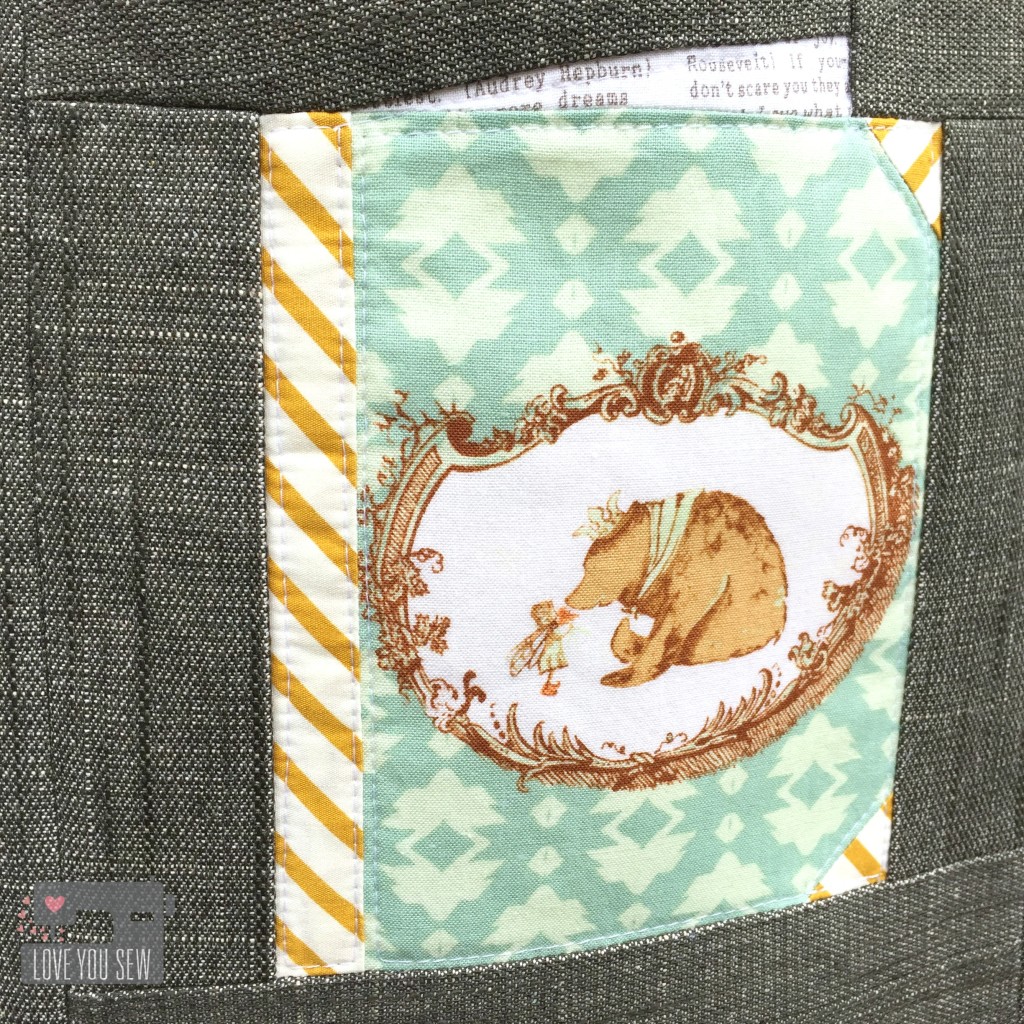
Library Bag Closeup

For the “Books” theme basket, I knew right away I would make a library bag. My boys have cute canvas ones they love to fill up and I figured one of their schoolmates would too.

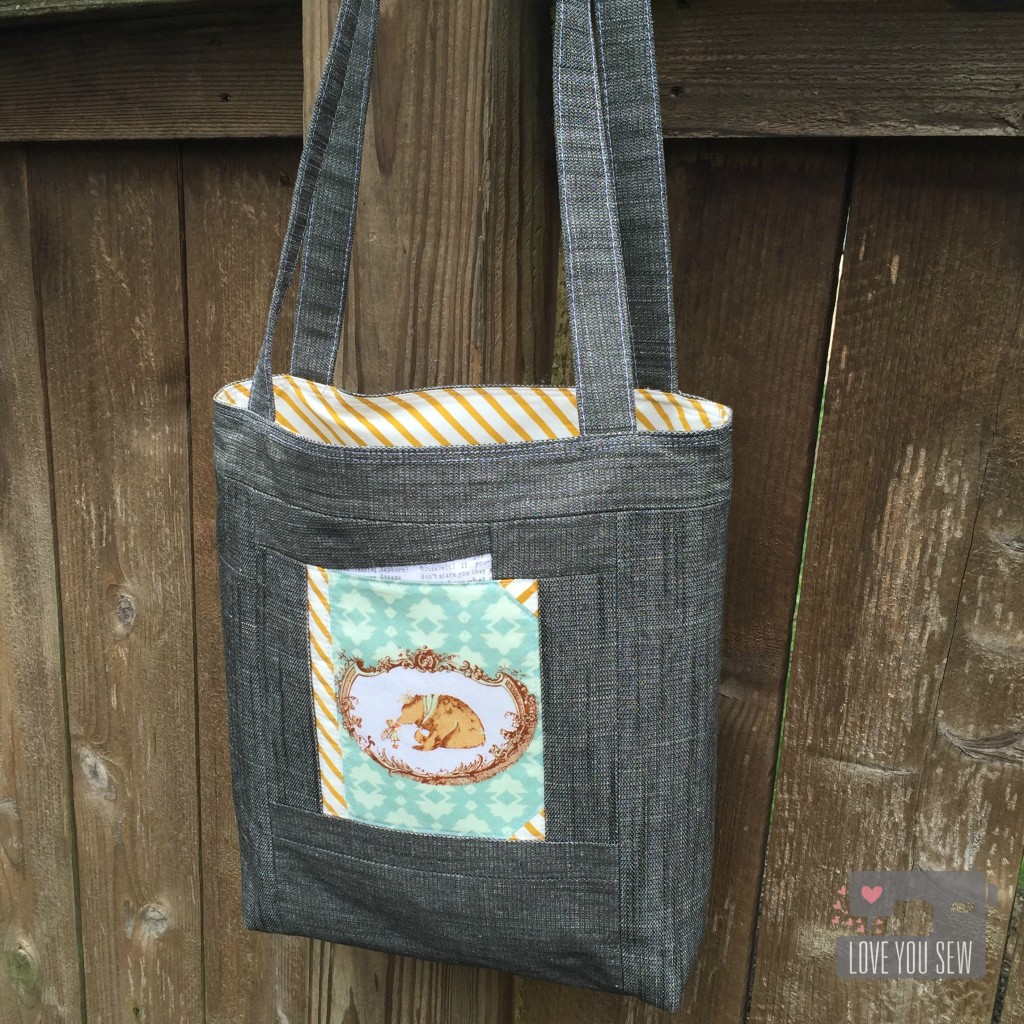
Library Bag

The bag is made with Art Gallery Fabrics Denim Studio so I didn’t need any interfacing to give it structure. I used a very simple tutorial from Skip to my Lou and altered it so I could incorporate this super cute book paper-piece pattern from Patchwork Please! by Ayumi Takahashi.

Besides all these PTO donations, I was asked to contribute some items from my Etsy shop for a Pelatonia fundraiser. This is one of the largest bike races in Columbus and generates millions of dollars…all which toward cancer research.  Some large companies have donated money to cover administrative expenses so that 100% of rider fundraising will go to charity.  How awesome is that?

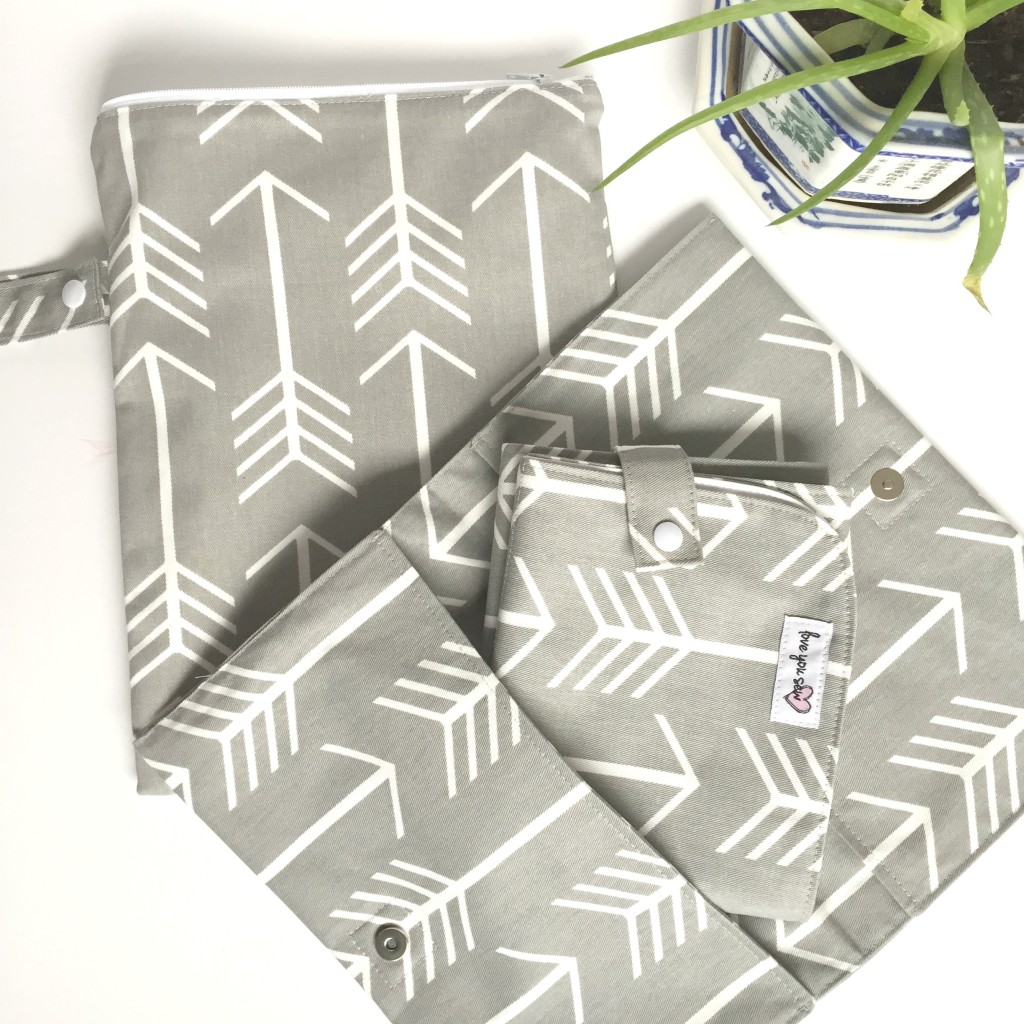
Baby Travel Set

I donated a full set of baby travel items with arrow fabric since the Pelatonia logo is also an arrow. The group I’m assisting is bringing in a whole cross-section of items and I’m crossing my fingers that these pull in lots of money!

Have you donated some sewn items for fundraising?  How did they do?


Happy Stitching,

Cristy


***This post may contain affiliate links which help me on the back end to fund this site.  Compensation is only through your own purchase. 

Love Story {Pattern Testing}

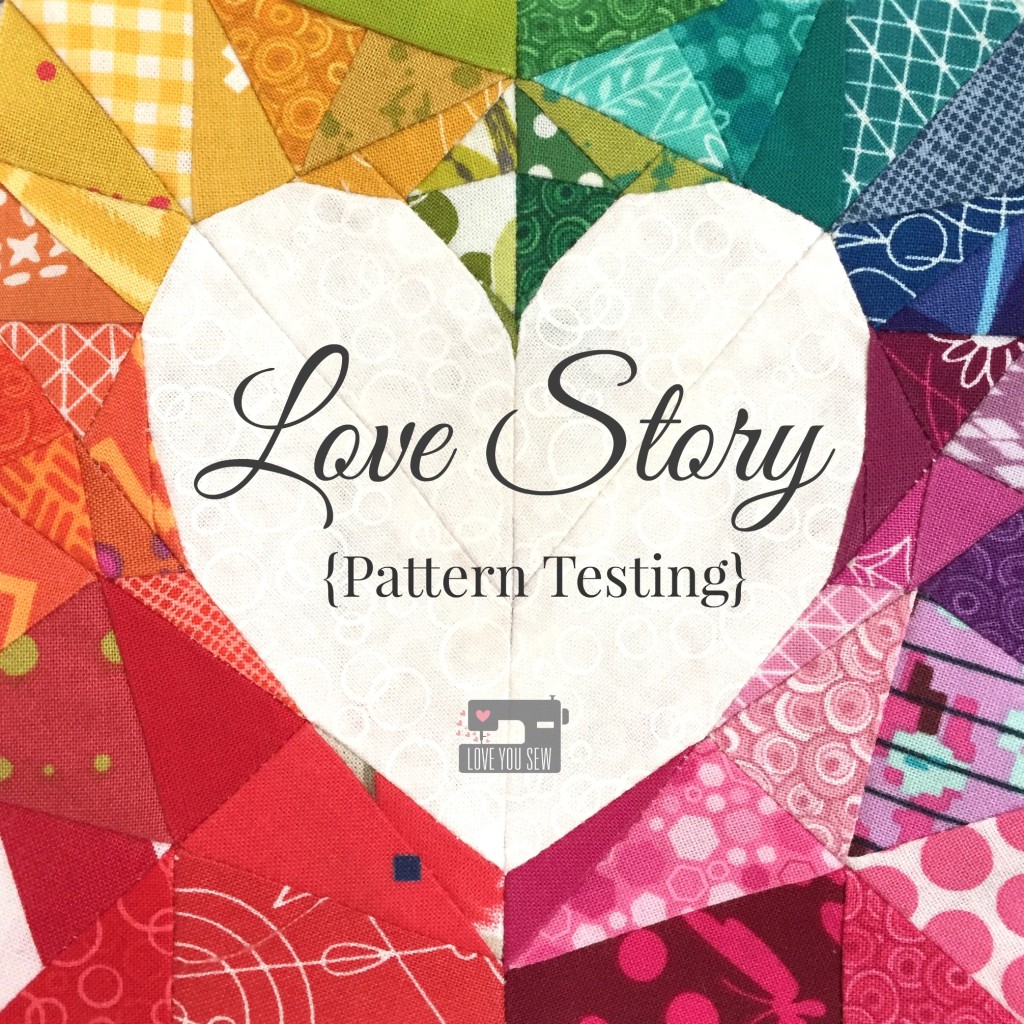
LoveStoryTitleI love Lilly Ella Stitchery‘s paper-pieced patterns ever since I tried her Butterfly Charm Blocks.  When Nicole sent out the request for testers of her new patterns, I seriously could not say no.  I didn’t even know what I was going to sew….all that I knew was that it was gonna be good!

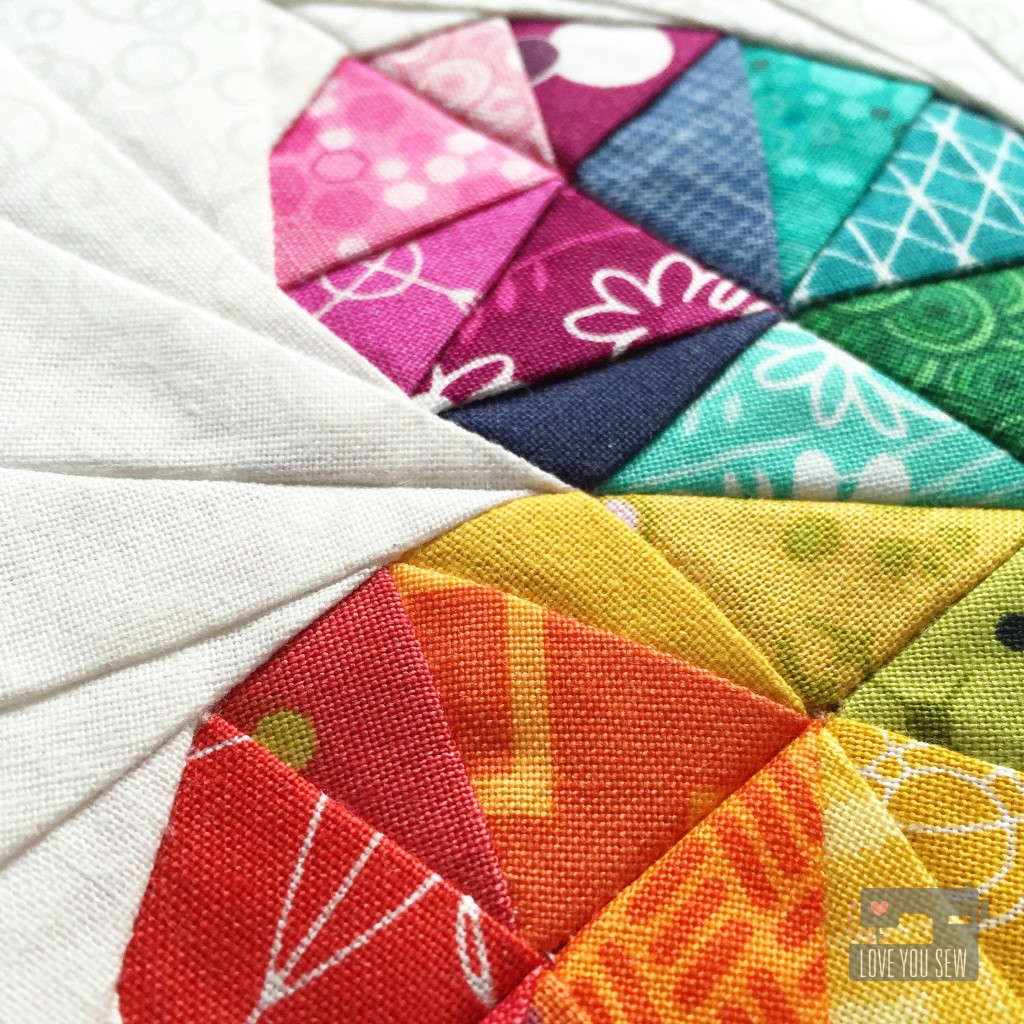
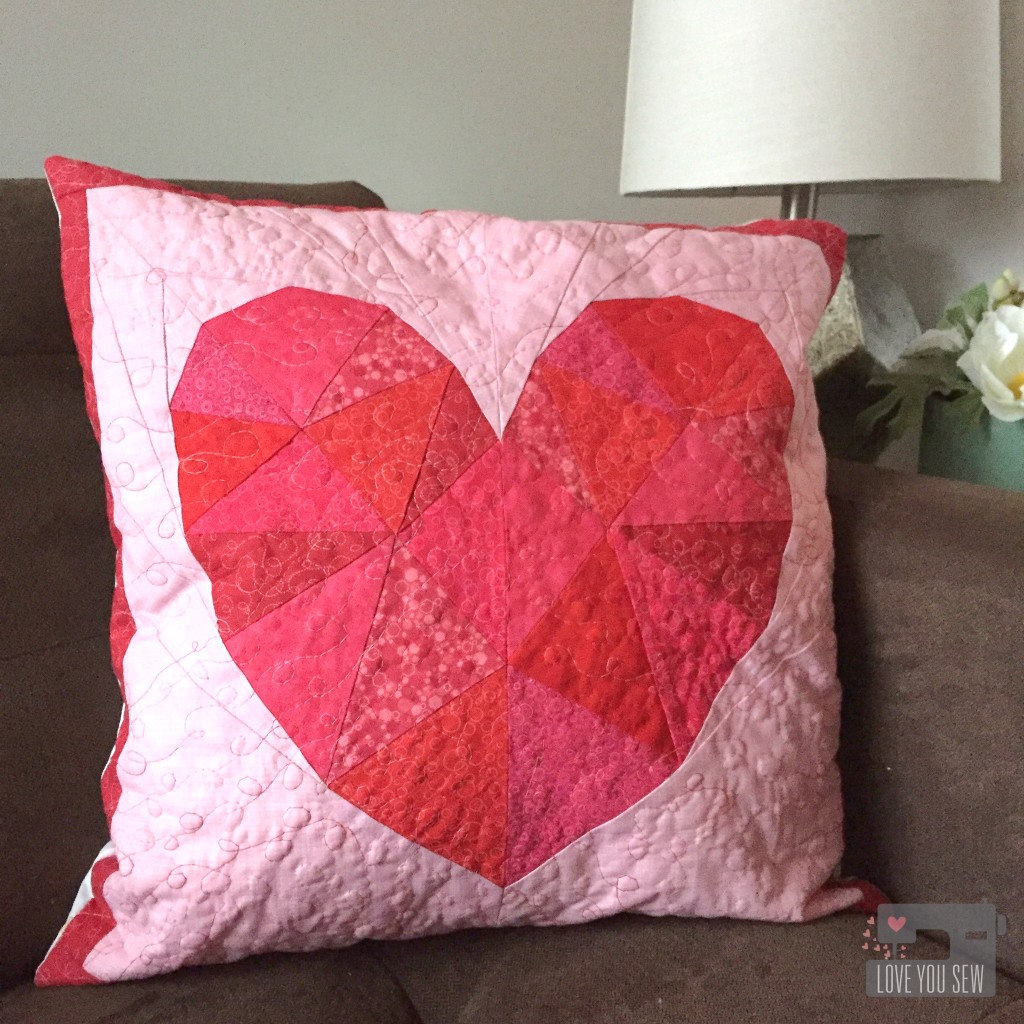
PoetryCloseUpThen these beautiful hearts from Love Story appeared in my email….Oh my mercy!  How gorgeous, right?  The pack includes two patterns – Poetry (as shown above and below) and Prose (as shown in the title pic.)  Both square patterns come in 5″, 10″ and 16″ (finished) sizes.  You can find them over here.

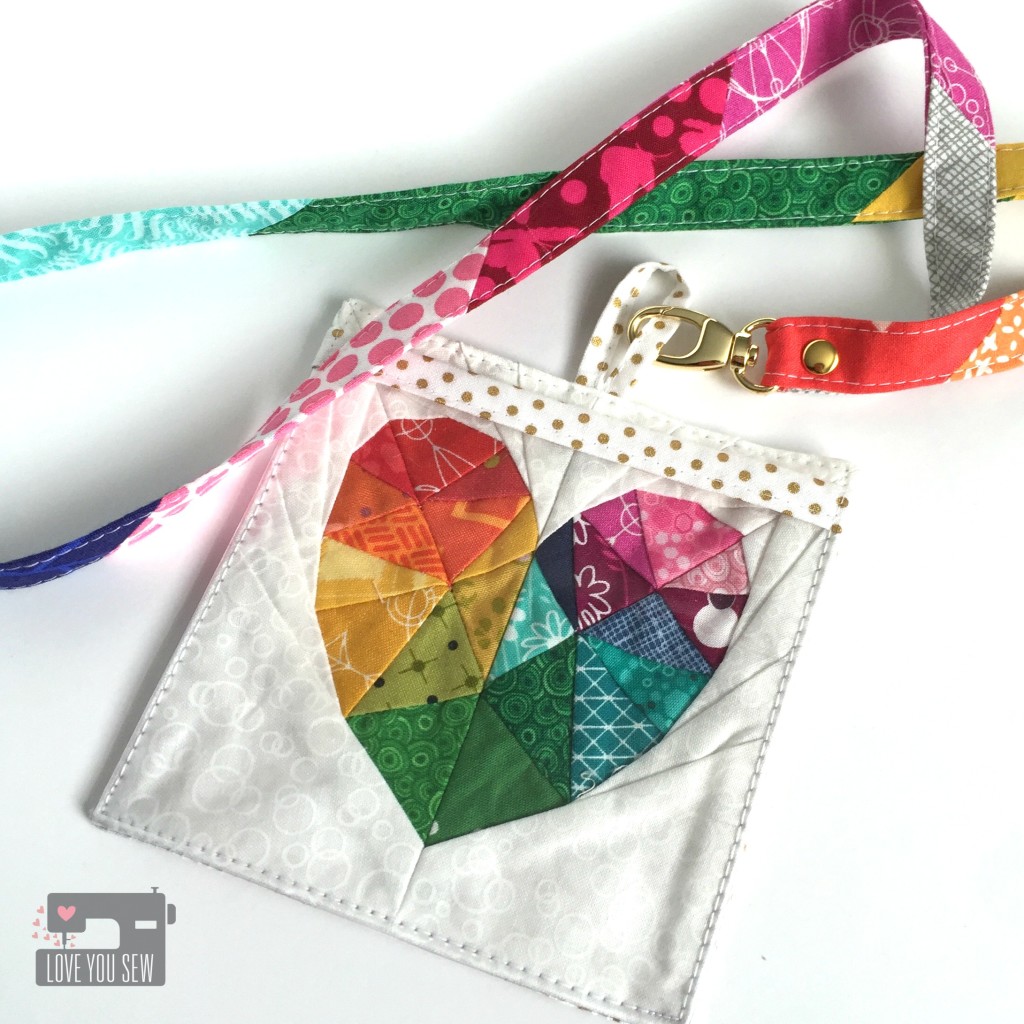
NameTagLanyardMy first attempt was to make this 5″ version of the Poetry pattern.  The piecing in the heart was just screaming for a rainbow color palette.  The pattern and size were perfect for the Name Tag Lanyard Swap for my Central Ohio Modern Quilt Guild.  I used the Swapaholics tutorial and just raised the vinyl window up so the heart would not be obstructed.

ProseCloseUpNext, I tried out the 5″ Prose version.  Now this was a bit more difficult given the number and size of the paper-piecing.  There are more corners to match up and some bulk to contend with, but it’s all worth it!

LoveStoryPillowLastly, I used the 16″ Poetry pattern to make a special pillow for Valentine’s Day.  My house is lacking in the home decor department so I’ve been trying to add more handcrafted items in between all the ones I sell or giveaway.  I practiced my free-motion quilting by using some variegated red Aurifil 4668 in a simple loopy pattern.

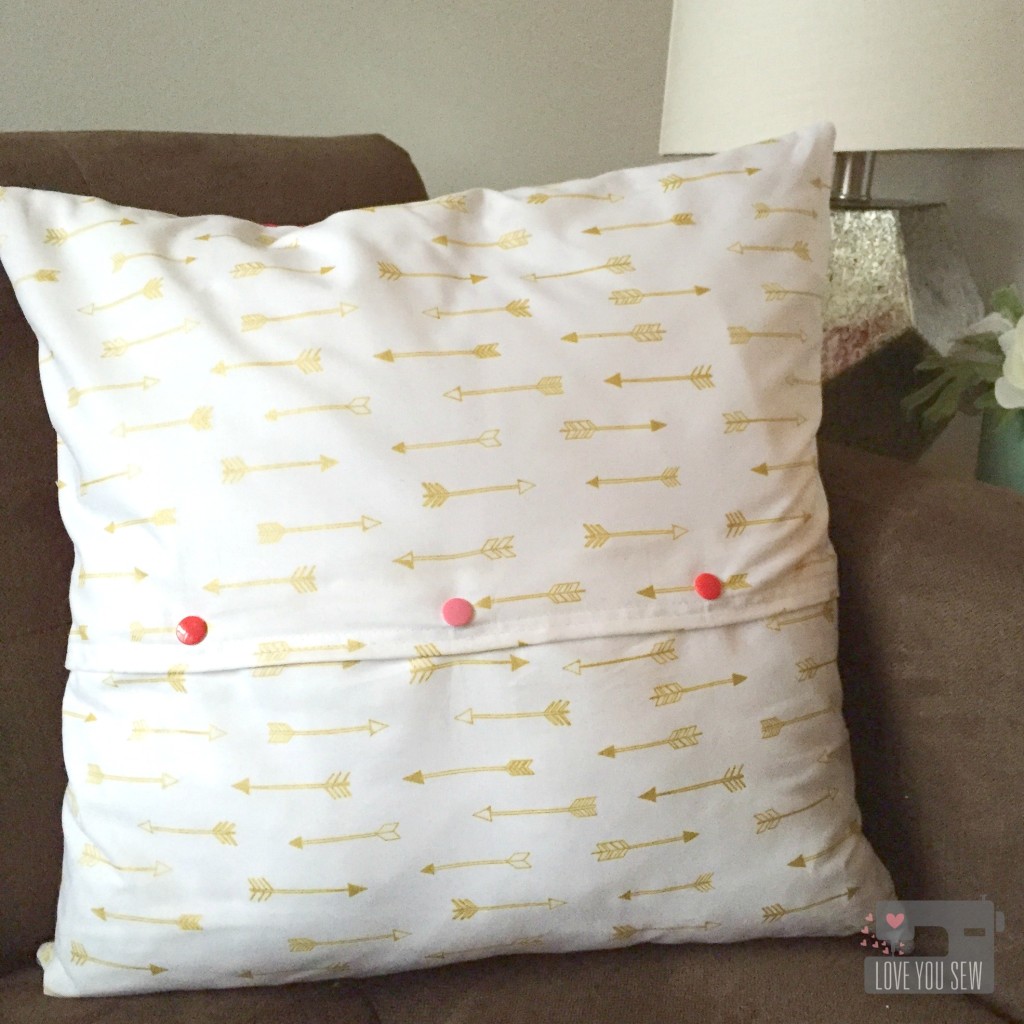
LoveStoryPillowBackA border all around the pattern was added to fit the 18″ pillow form I had on-hand. For the back, I used Arrow Flight from Michael Miller to complement the V-day heart.  Having this in my stash paid off 😉  Since this is intended as seasonal decor, I made the pillow back in two pieces with a 2″ overlap and added KAM snaps to keep the pillow in place.  I’m set for Valentine’s Day now!

What would you make with these patterns?


Hugs and Stitches,

Cristy


Pattern was provided by Lillyella Stitchery for testing but you know projects, thoughts and opinions are my very own.