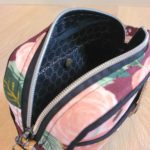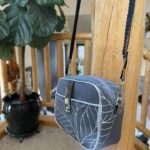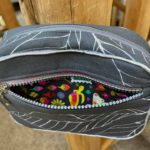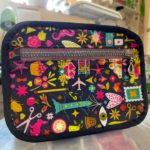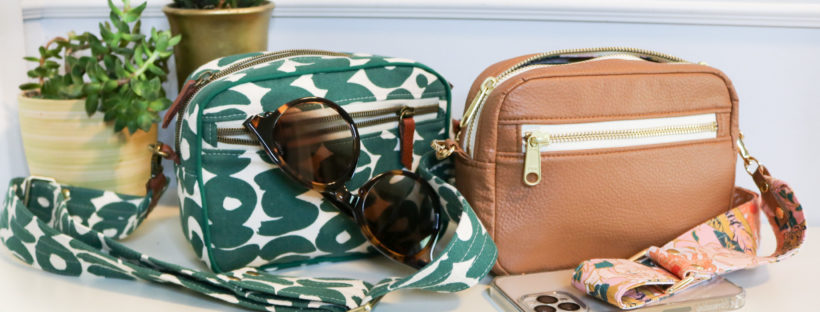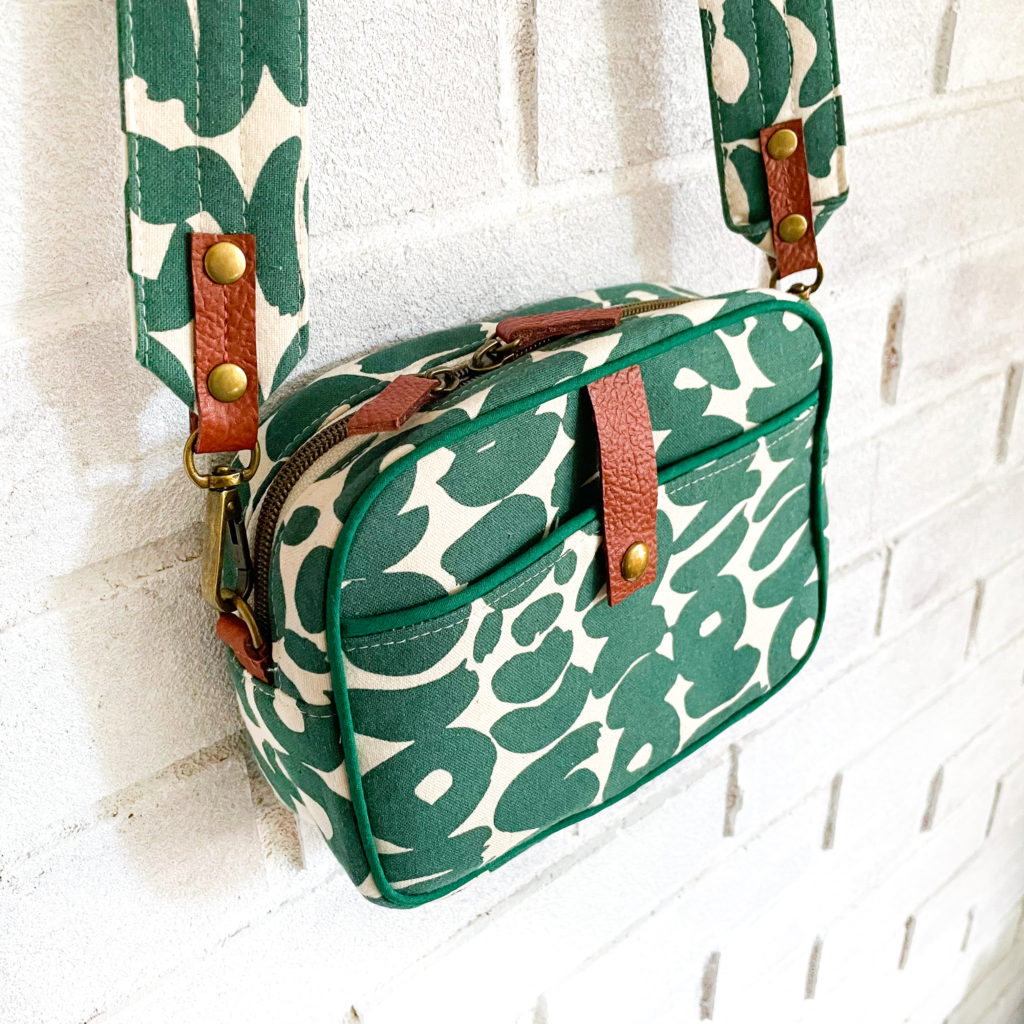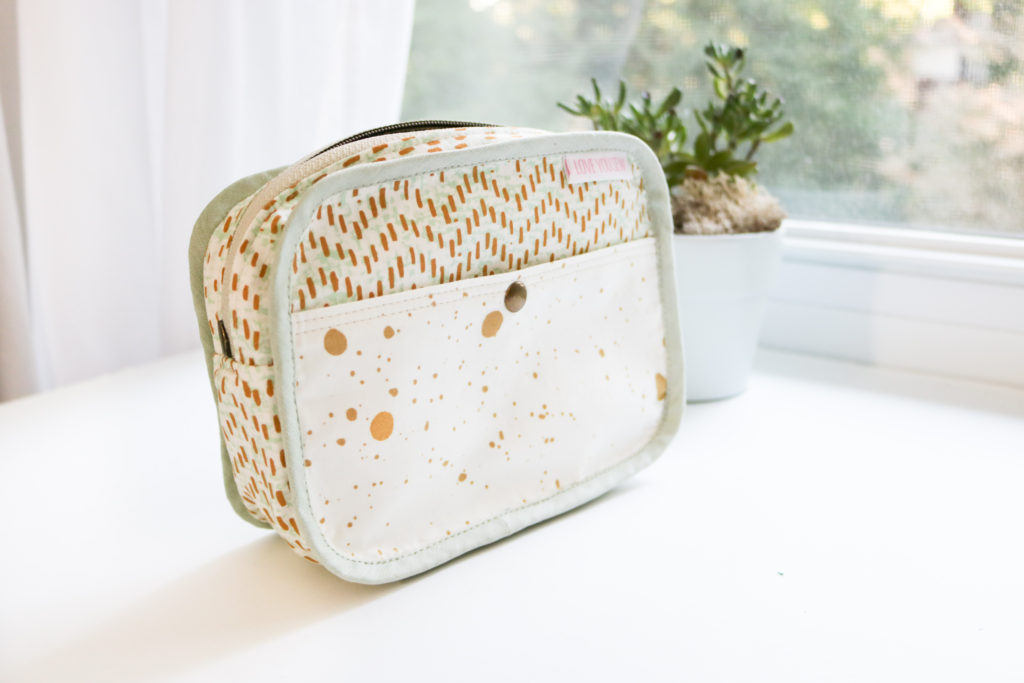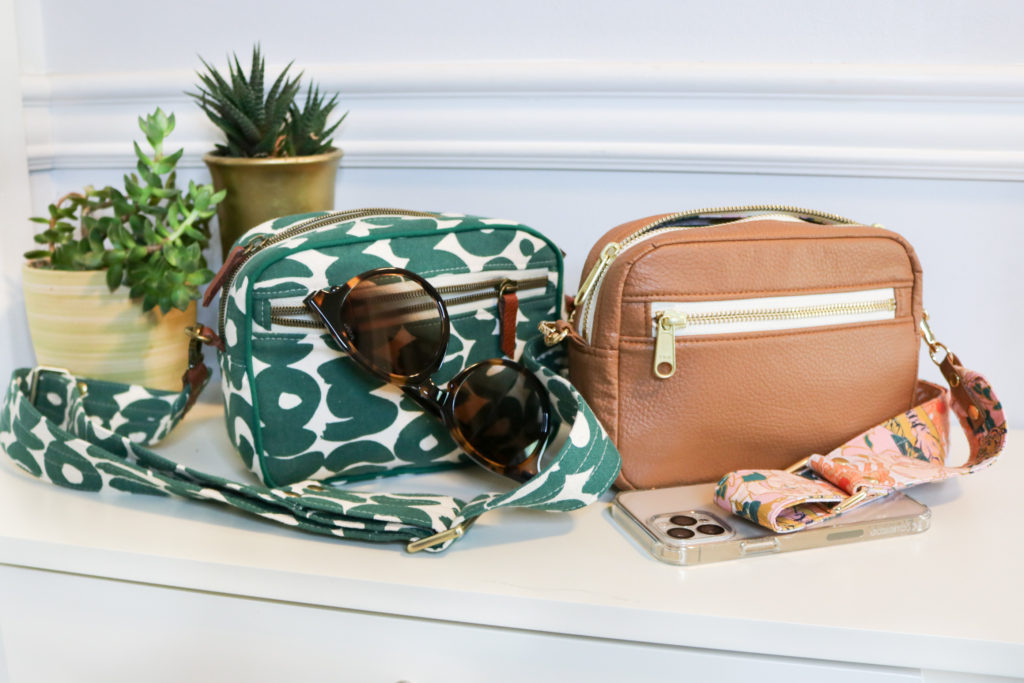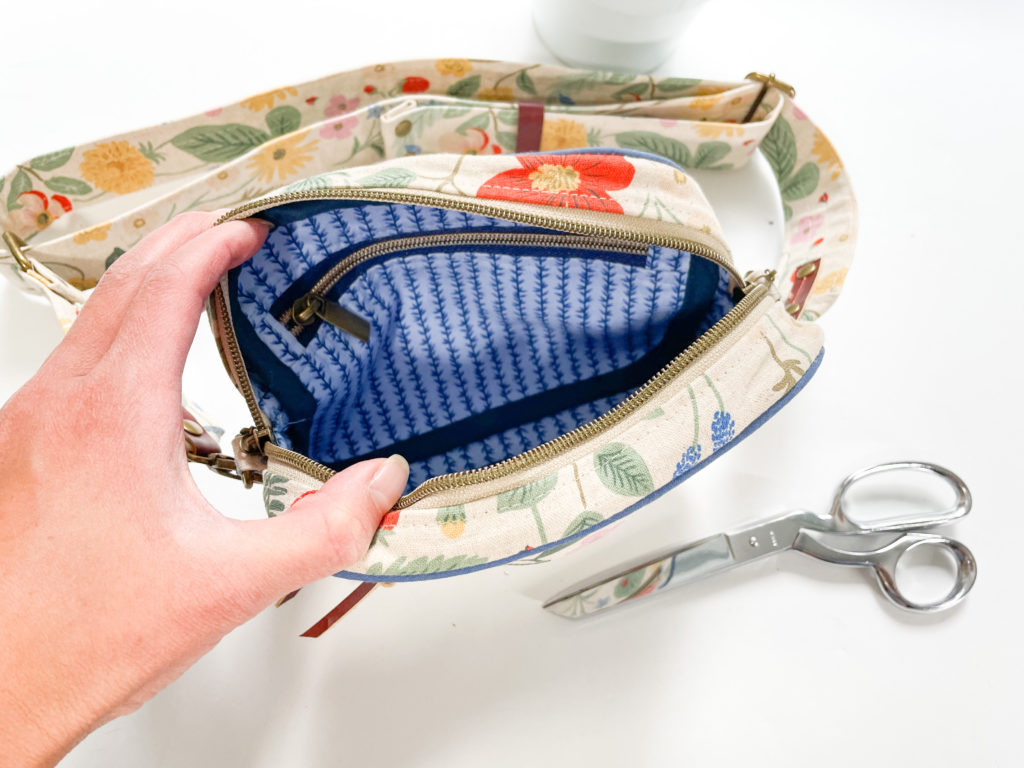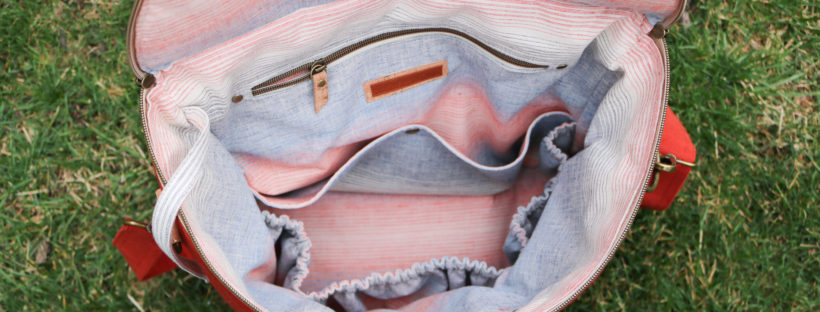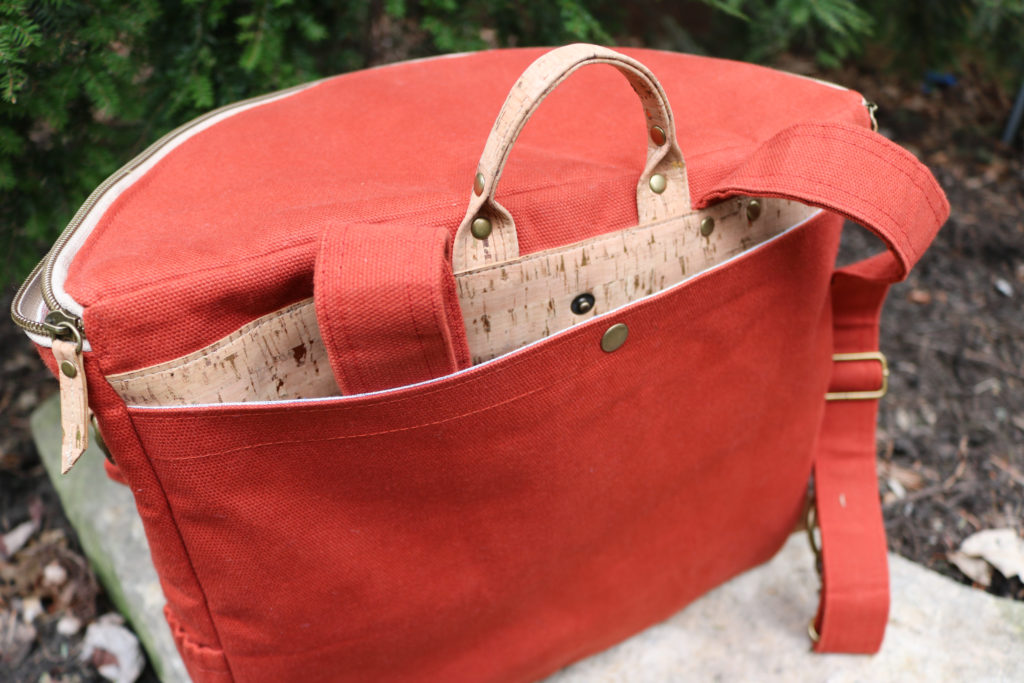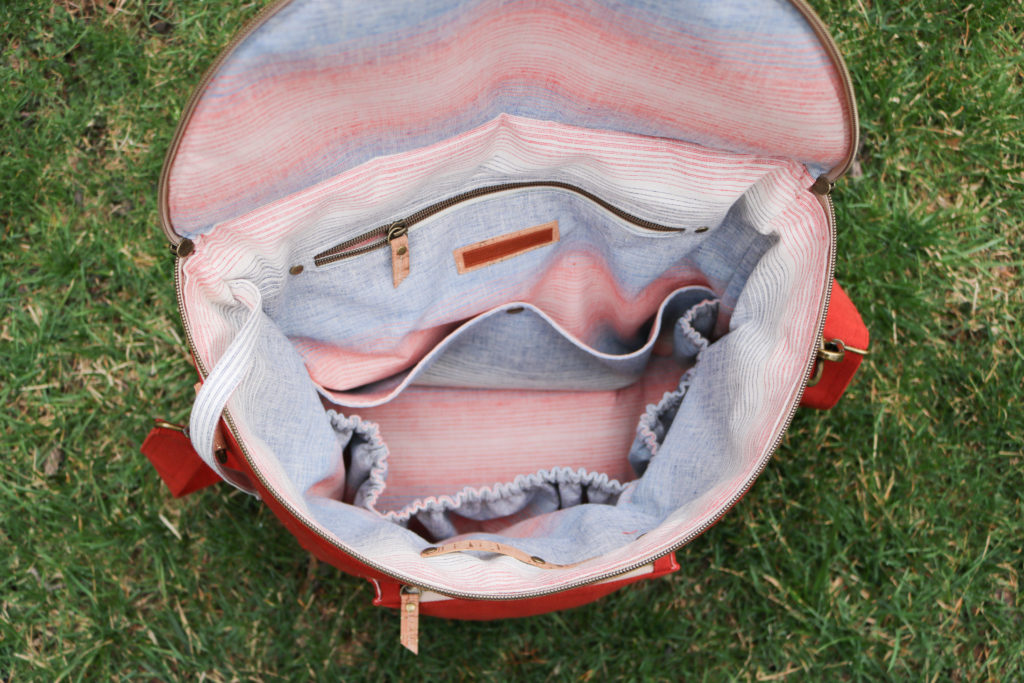
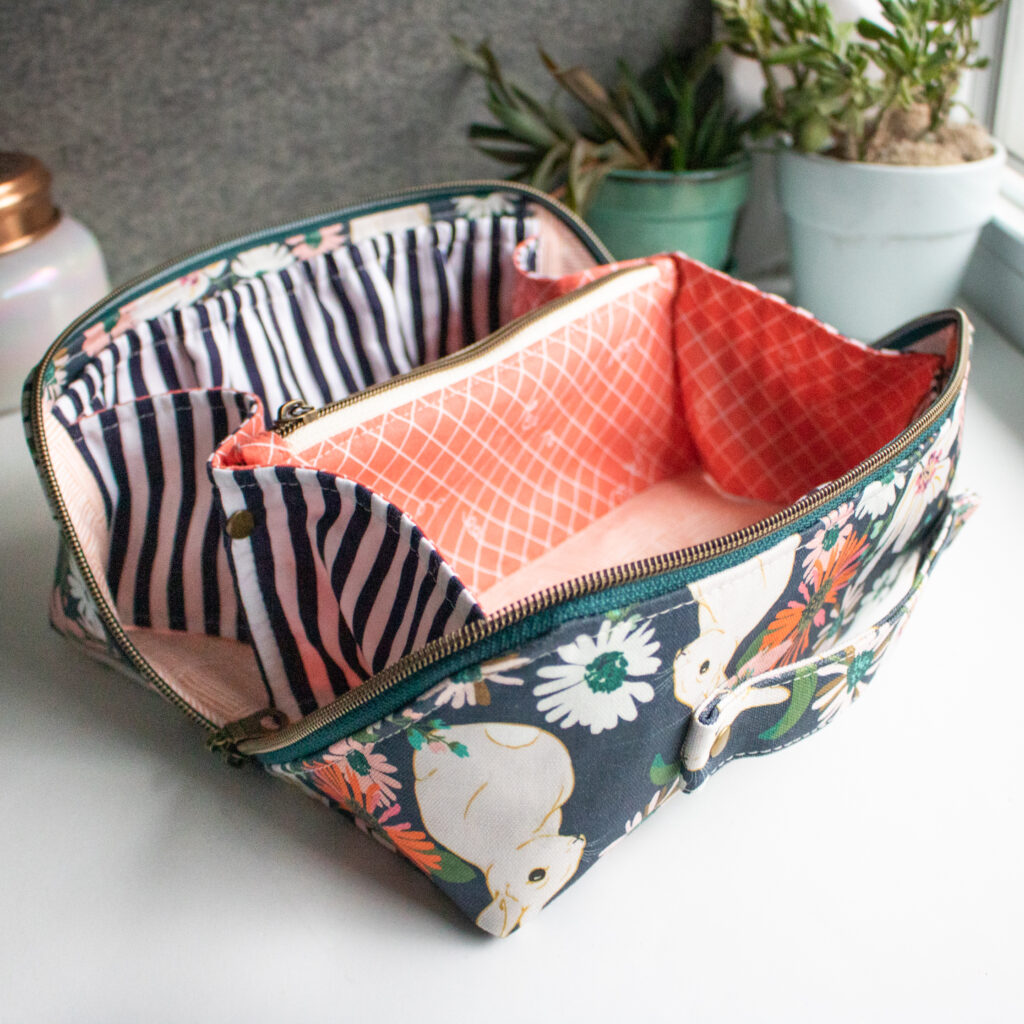
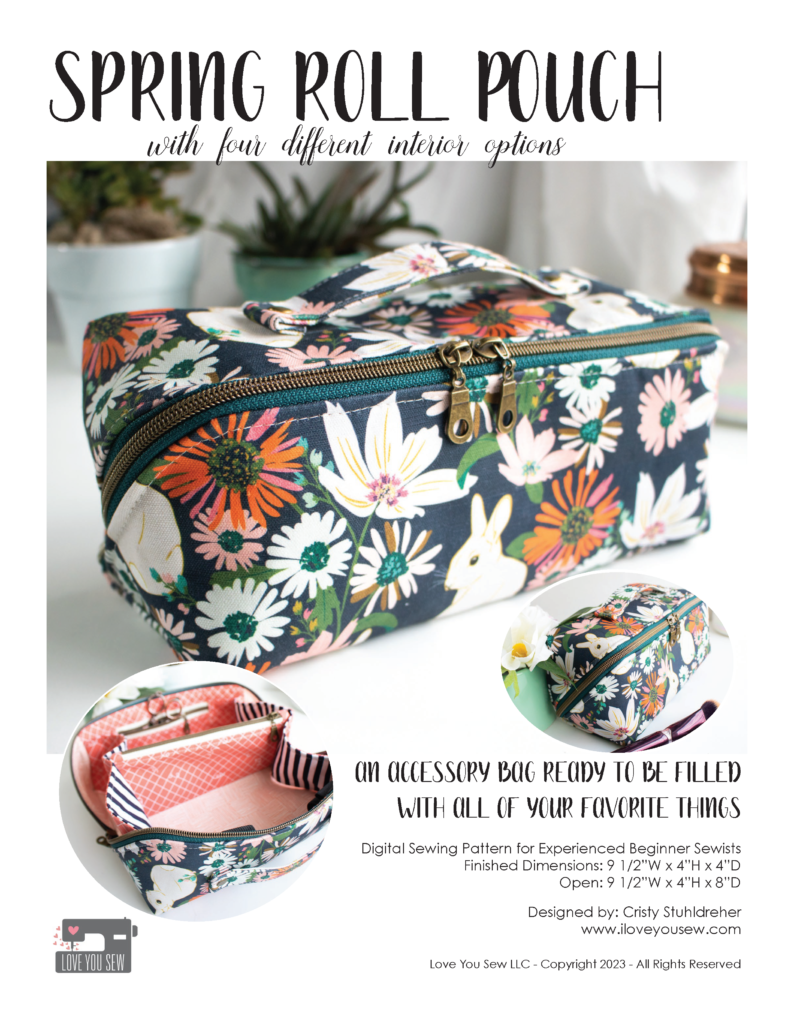
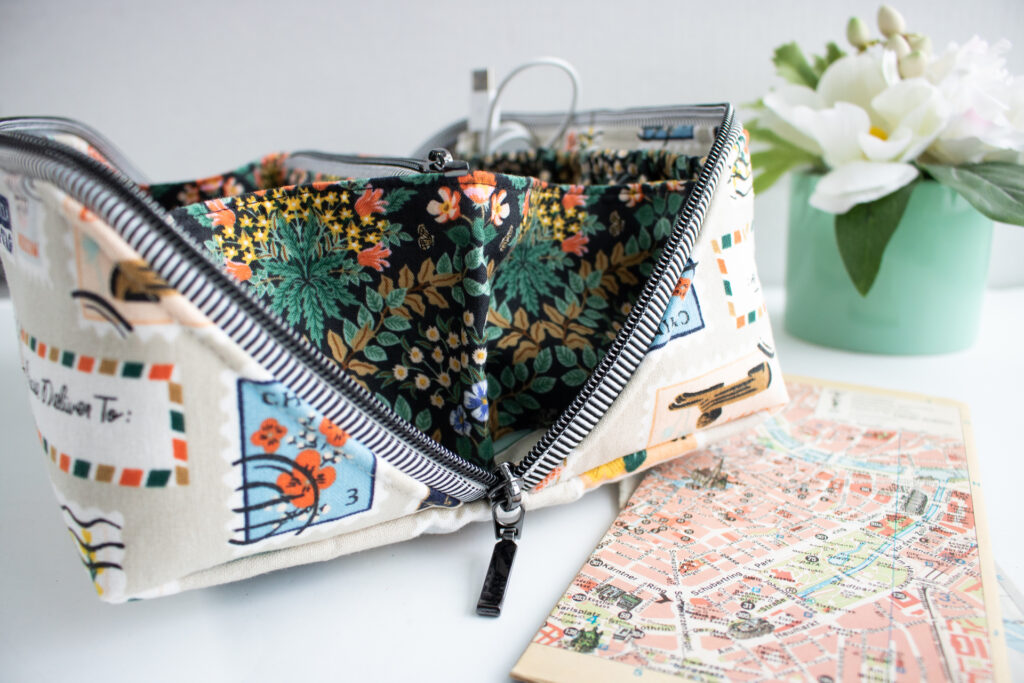
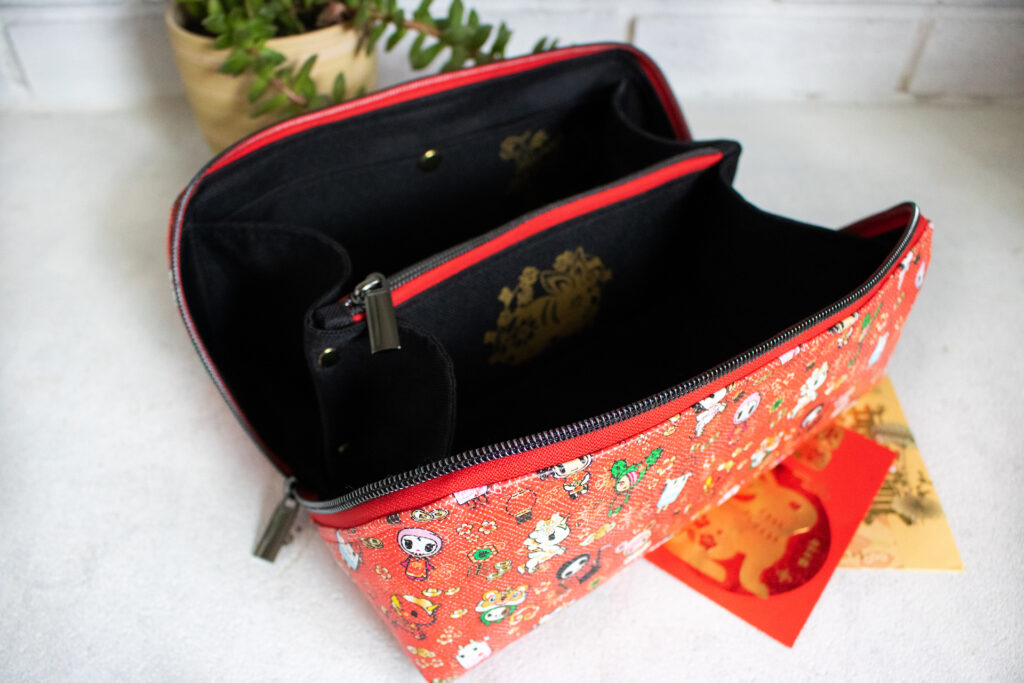
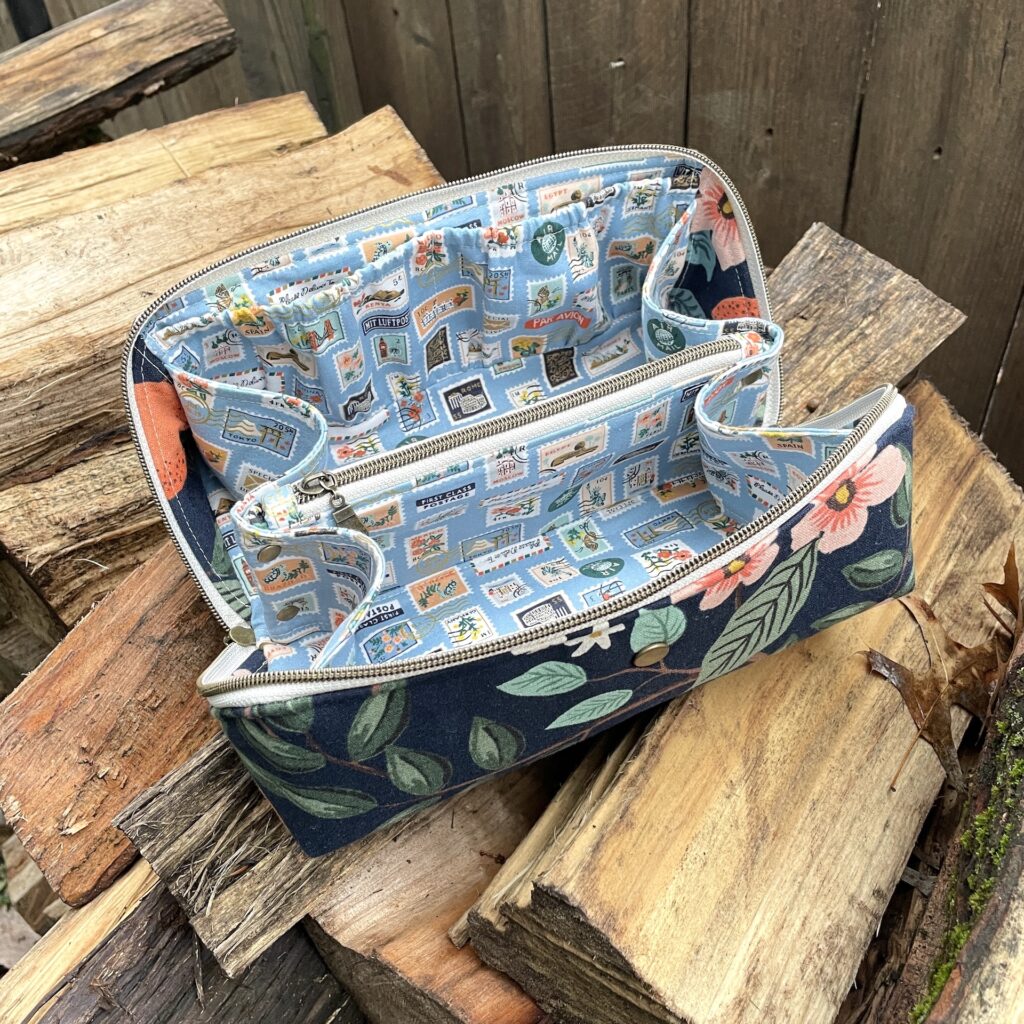
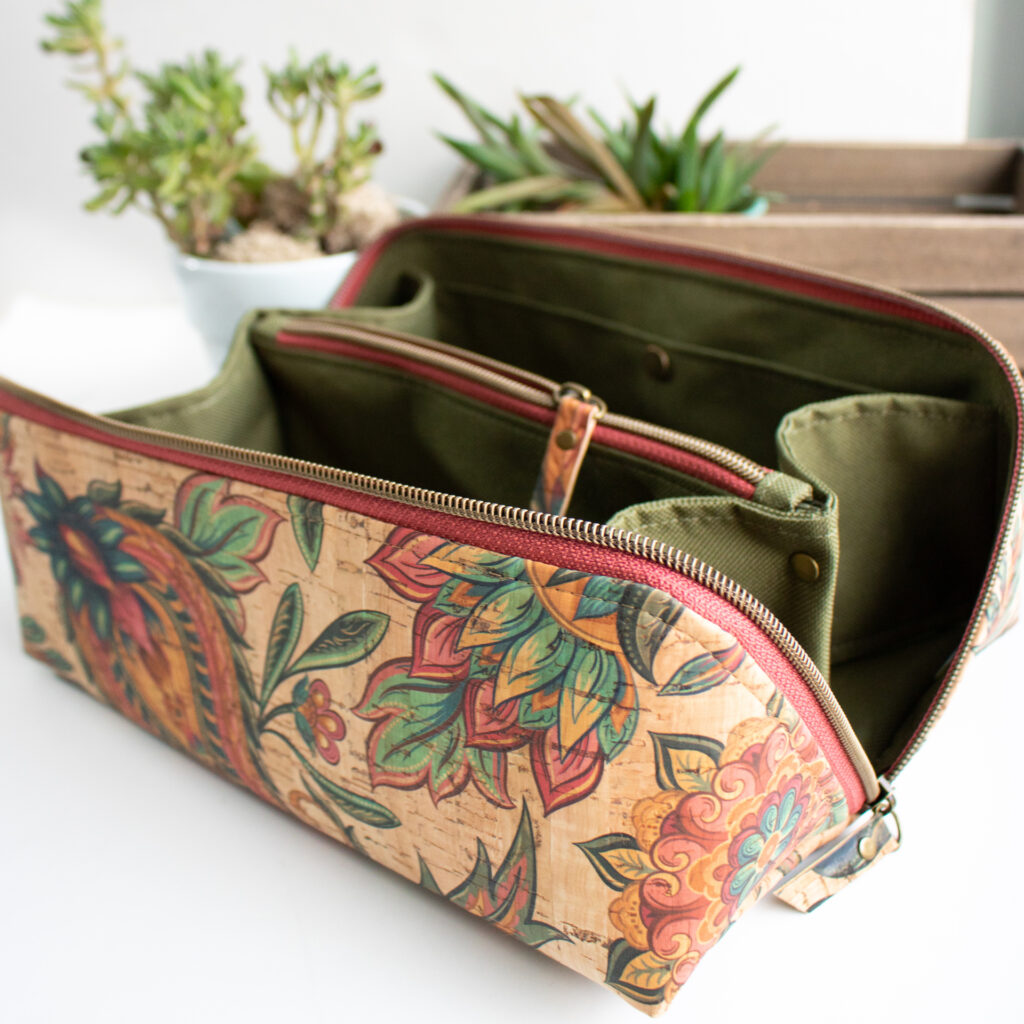
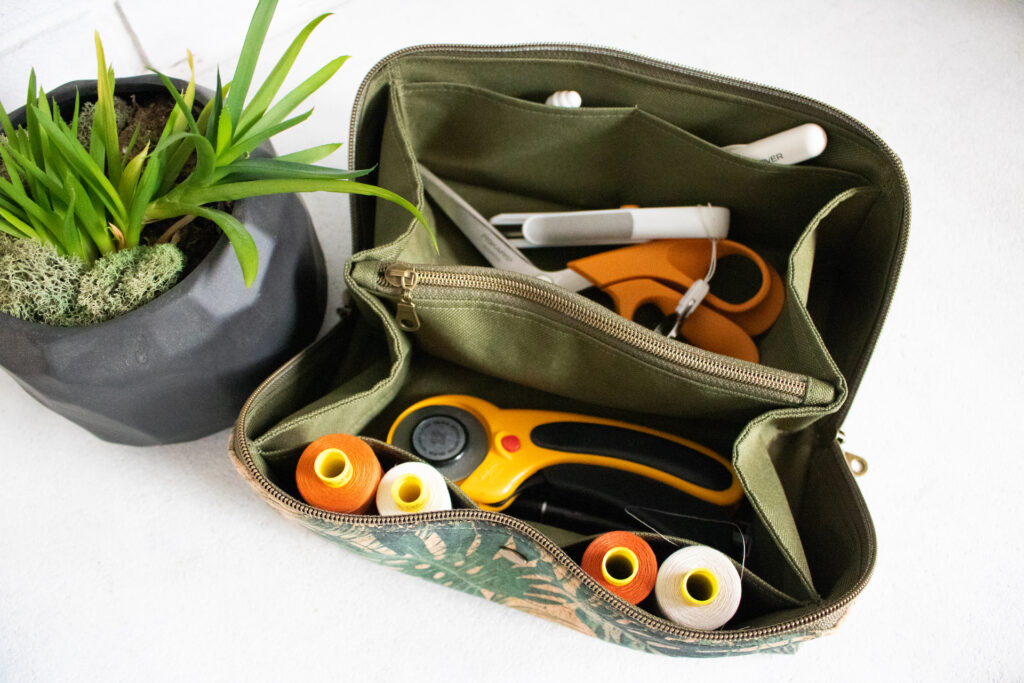
It’s been quite awhile since I’ve released a bag pattern, but I’m back with the Spring Roll Pouch! Just like my favorite food, the Spring Roll Pouch wraps up so much goodness in one little package. This multi-purpose accessory bag has a great rectangular shape and an angled zipper at the side, making the pouch open to twice its footprint! The main zipper opens to reveal a divided compartment with ample room for all of your craft supplies, cords, skin care and even toys!
With a single piece exterior, this bag has been simplified with sleek style and minimal seams. There are four different inside options of the bag for you to mix and match for your needs. If you want to keep things basic, you can even leave them all off for a streamline version of the pouch. Best of all, the lining finishes with hidden seams for a clean and polished look.
In this bag you will learn how to sew Y-seams (Dots are your friends!) This is when three seams will join together and its definitely needed in the lining. You will also use nylon zipper tape and learn several finishing techniques. This pattern shows how to make a divided compartment pocket and how to make other pocket styles.
Inspiration
When I saw this unique angled zipper and how it can be used to open a pouch to twice its initial footprint, I was intrigued! But of course, I wanted to make the design better than the cheap version I saw in the wild. This meant making it more sleek and most importantly, compatible for a domestic sewing machine.
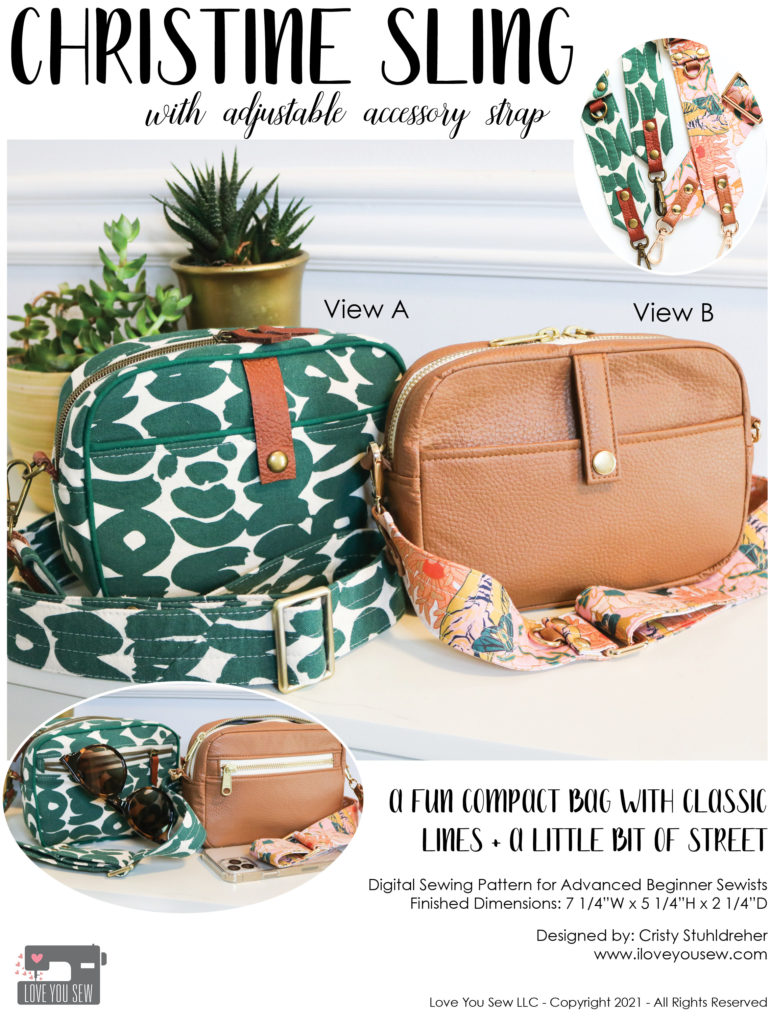
As I was playing around with ideas, I wondered if it was possible to have a one-piece exterior….and it was! This keeps the Spring Roll Pouch streamline and with less seams, means less sewing. And less sewing, means some saved time! My other main objective was to have a clean finish. This means NO binding (I think you all suffered enough with the Christine Sling) and I wanted to make sure my next release was traditionally “birthed.” 😉
Even after figuring out the design and construction, the name is always the hardest part. But since the Lunar New Year was quickly approaching and I was thinking about all my favorite foods, this pouch reminded me of the yummy Spring Roll. With the bag opening wide and how it “rolls” back up, Spring Roll had to be the name.
Bag Features
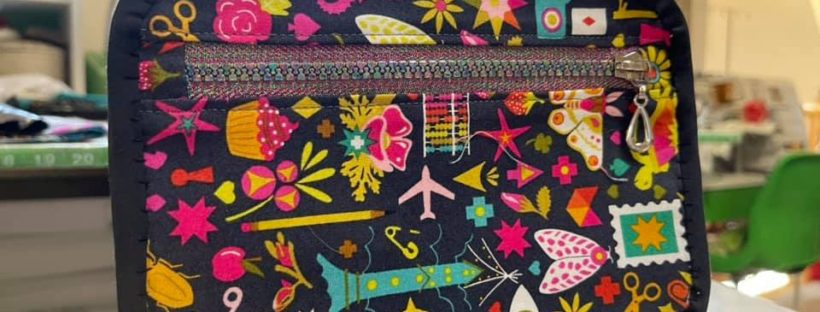
- Large Zipper Opening
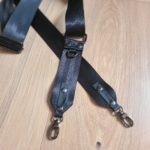
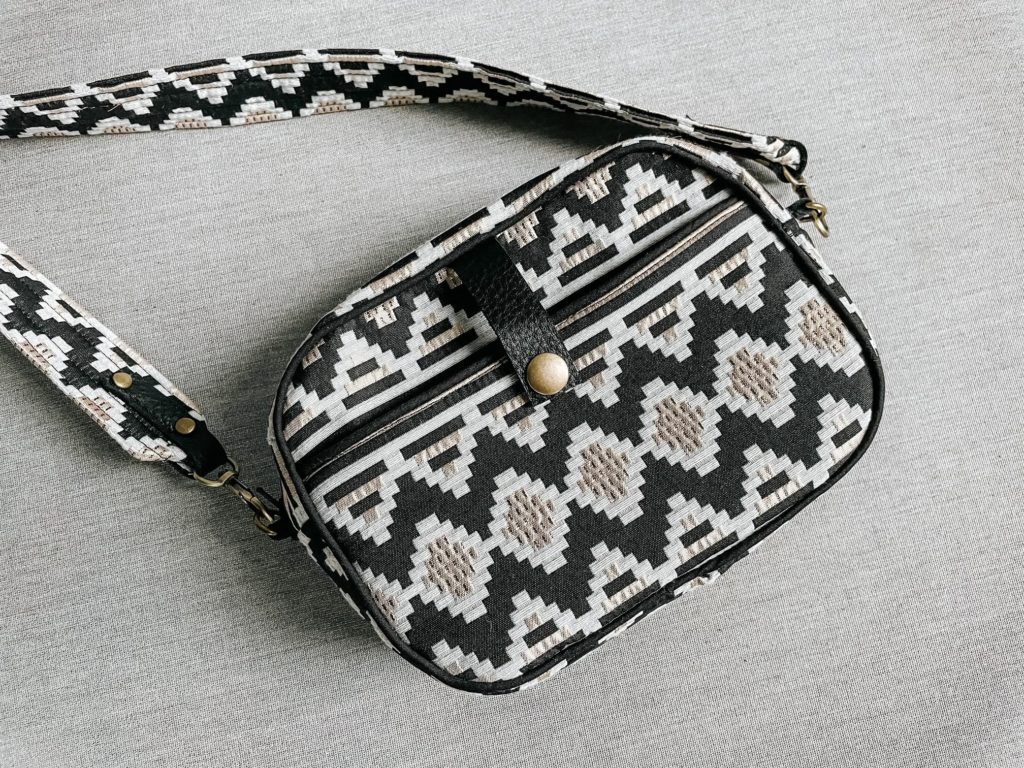
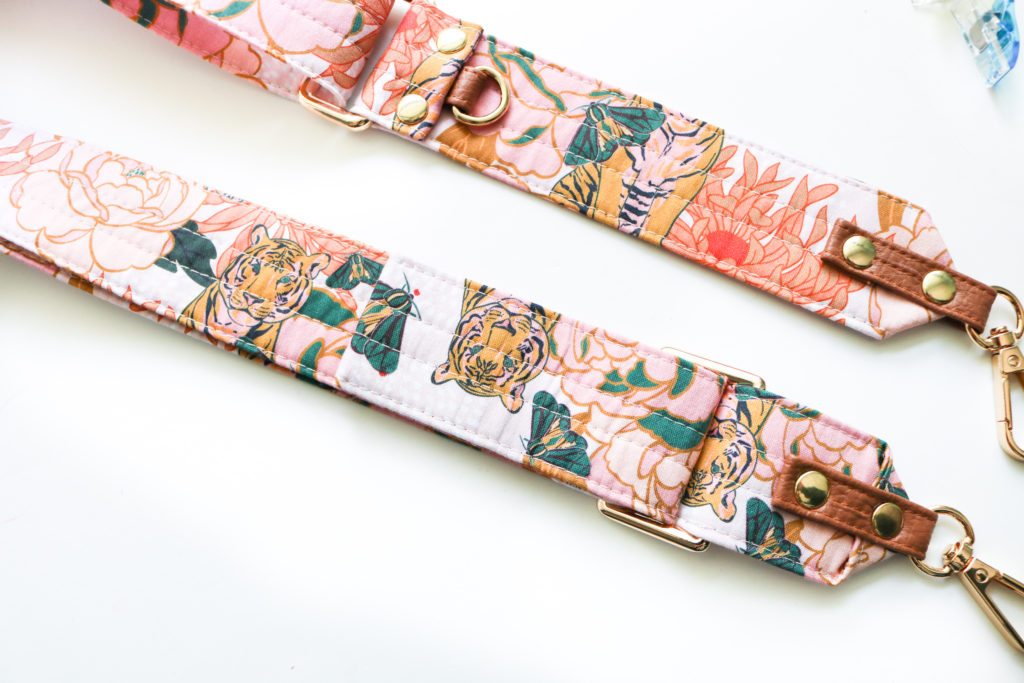
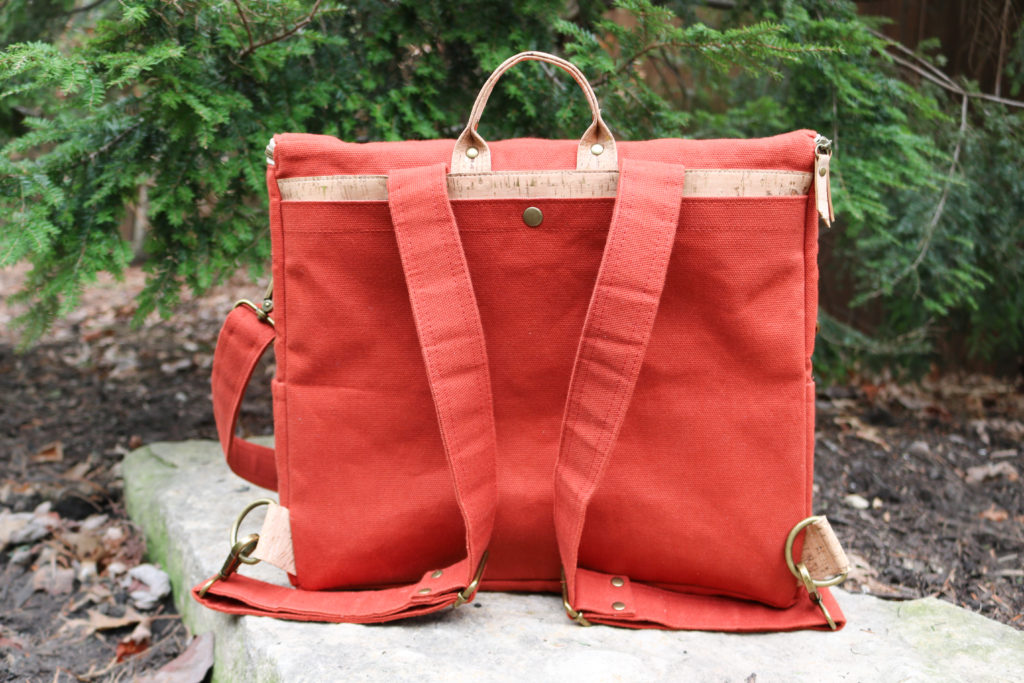
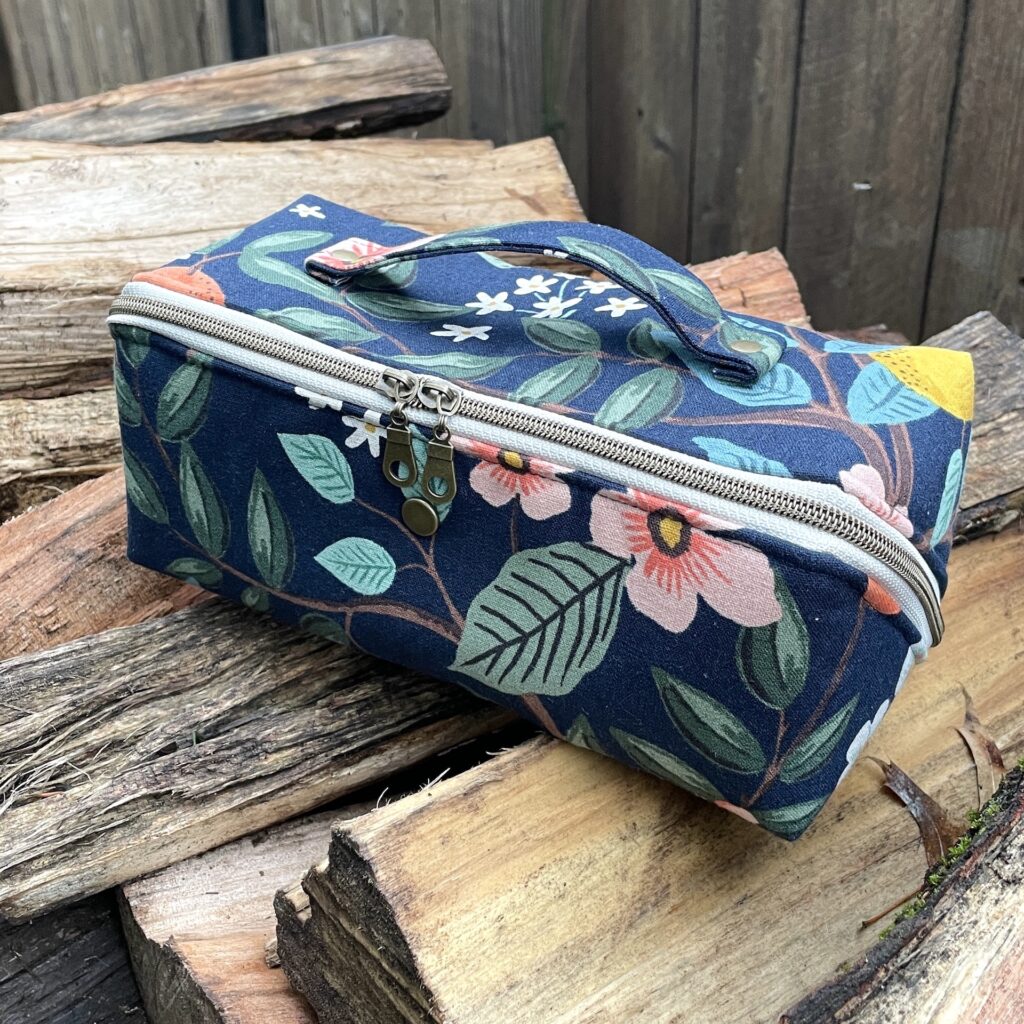
- Wide Handle
- Divided Zipper Compartment
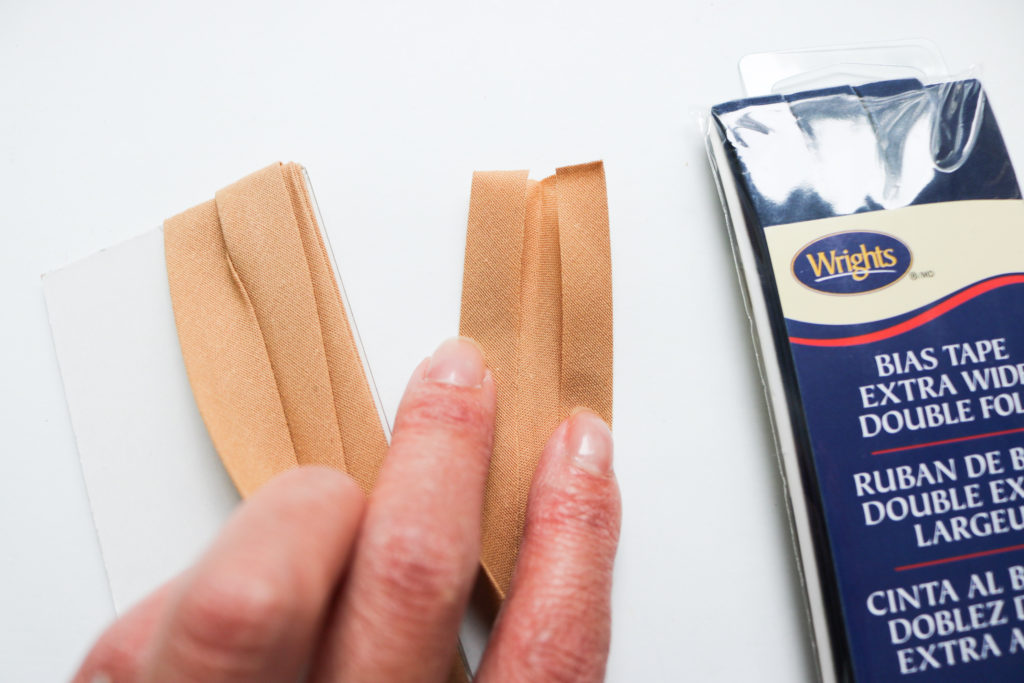
- Clean Finish – No Bias Tape
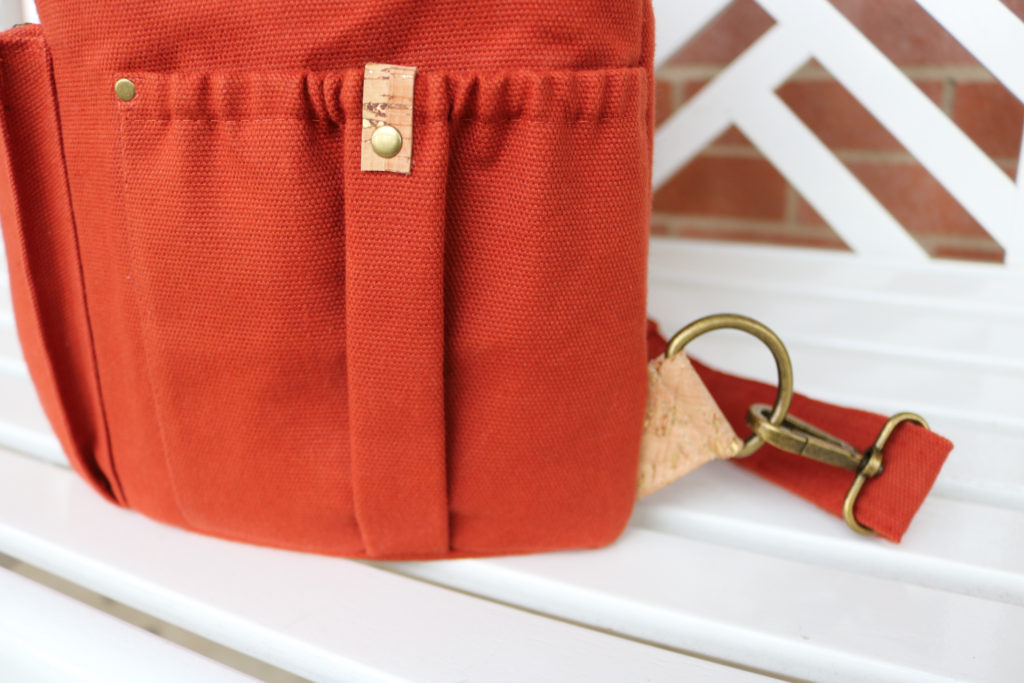
- Different Interior Options: Slip Pocket, Elastic Pocket, Flat Zipper Pocket, Elastic Slots
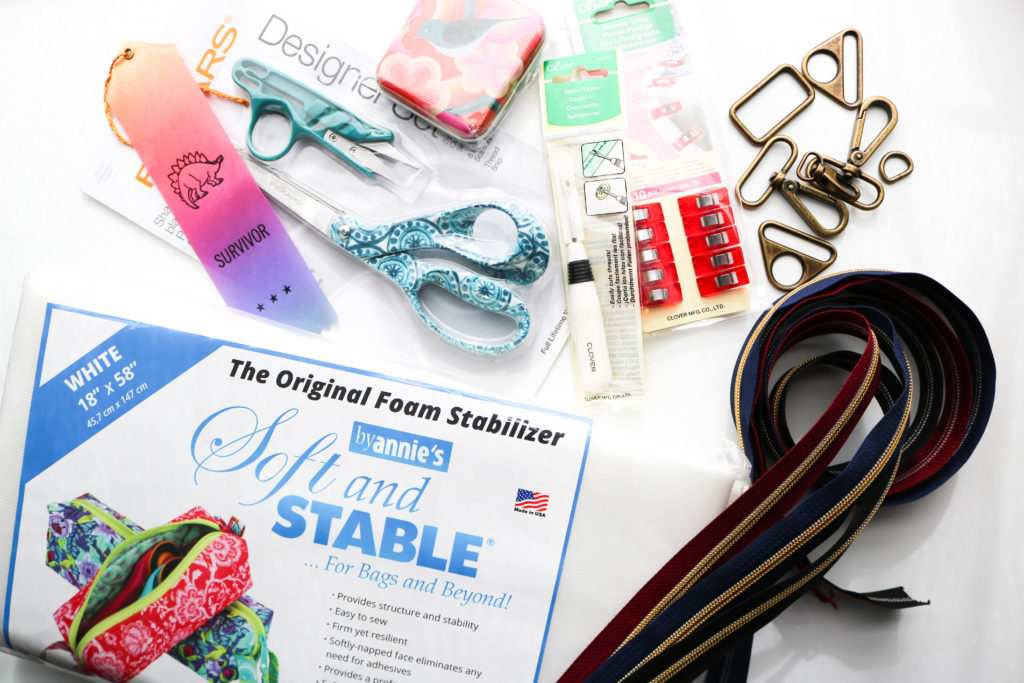
Materials Needed
FABRIC
- 1/2 yd Main Fabric (Canvas, Denim)
- 1/2 yd Lining Fabric (Quilt Cotton, Cotton Laminate)
- 2 yd Woven Interfacing (e.g. SewFuse, Vilene G700, Pellon SF101)
- 1/2 yd Sew-In Fleece (Pellon 988,) Foam (Soft & Stable, Pellon FF77,) or Batting (quilt batting)
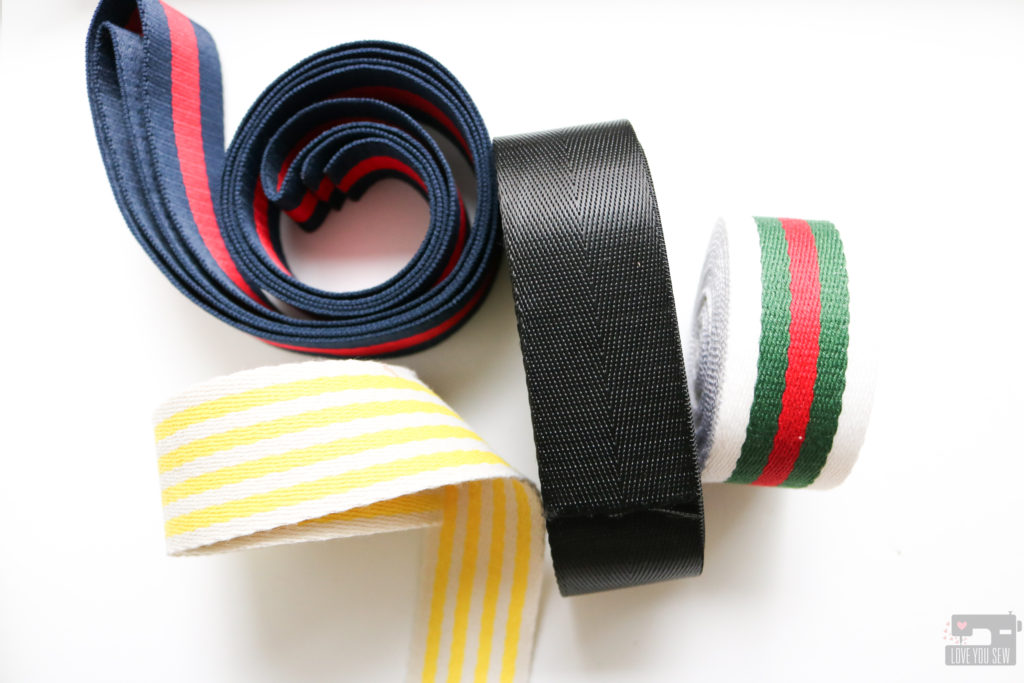
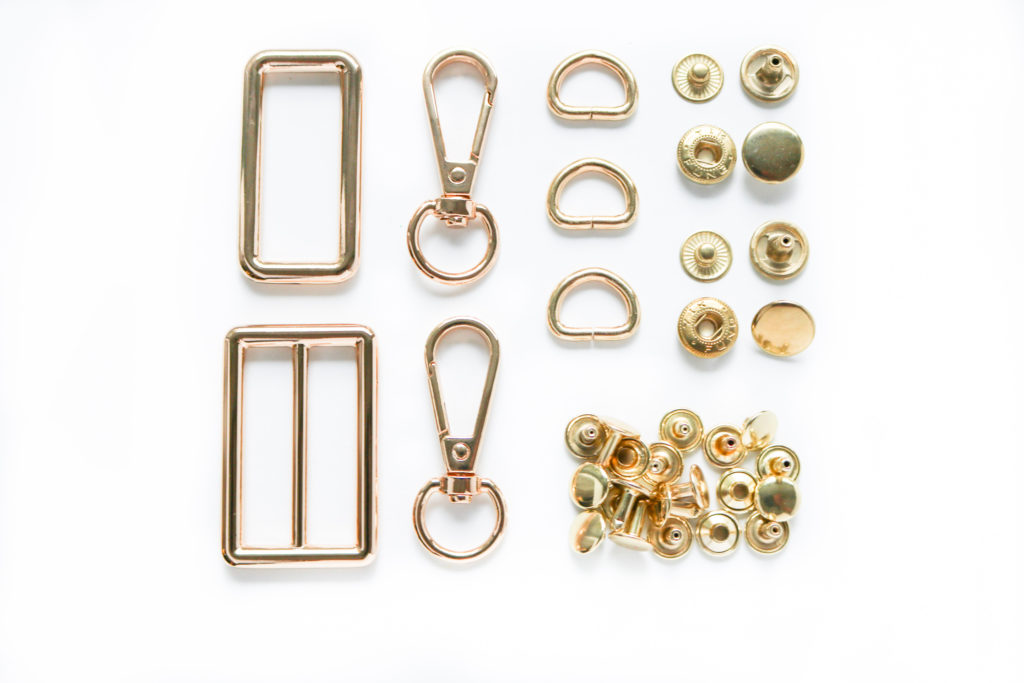
HARDWARE
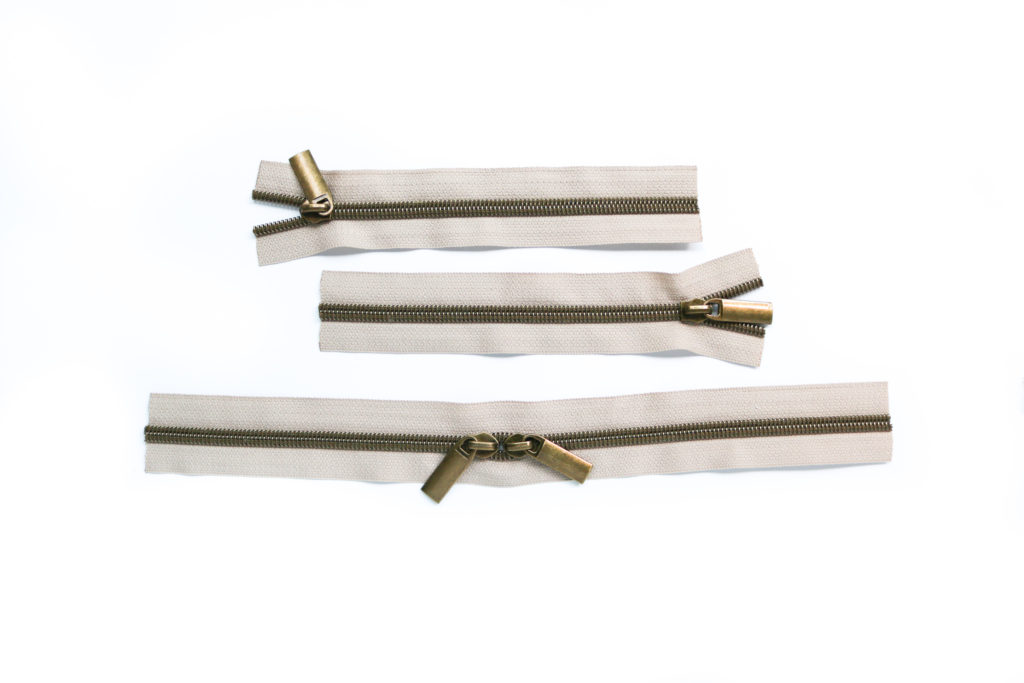
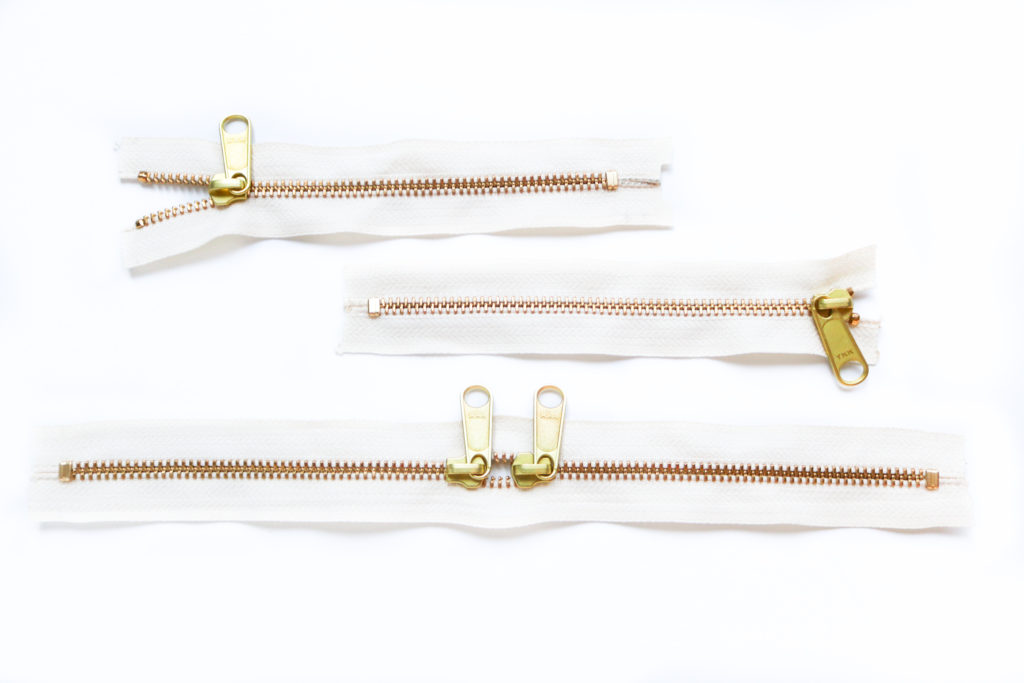
- (1) 22” #5 Nylon Zipper Tape with (2) pulls (Idle Blooms, Wawak, Amazon, By Annie)
- (1) 8” #5 Nylon Zipper Tape with (1) pull
- (6) Sets of Rivets (8 mm post length) (optional)
The Spring Roll Pouch uses exactly 1 yd of zipper tape, if you choose the Flat Zipper Pocket option. Otherwise, you just need 30″ to complete the bag. I love using nylon zipper tape because of it’s versatility, color and finish options, and how I, personally, don’t need to switch out presser feet for the #5 width. Due to the trickiness of the zipper installation, I used nylon zipper so that it could easily be sewn across and not have to be mindful of ends and stoppers.
FRONT/BACK OPTIONS
- Elastic Pocket – (1) 10” length of 1/4” Elastic
- Slip Pocket- (1) 12.5mm (or smaller) Snap Set
- Zipper Pocket- (1) 6” #5 Nylon Zipper Tape with (1 pull)
- Elastic Slots- (2) 6” length of 1/2”-1” wide Elastic
Based on your selection for the Front and Back of the Spring Roll Pouch, you’ll need these optional notions.
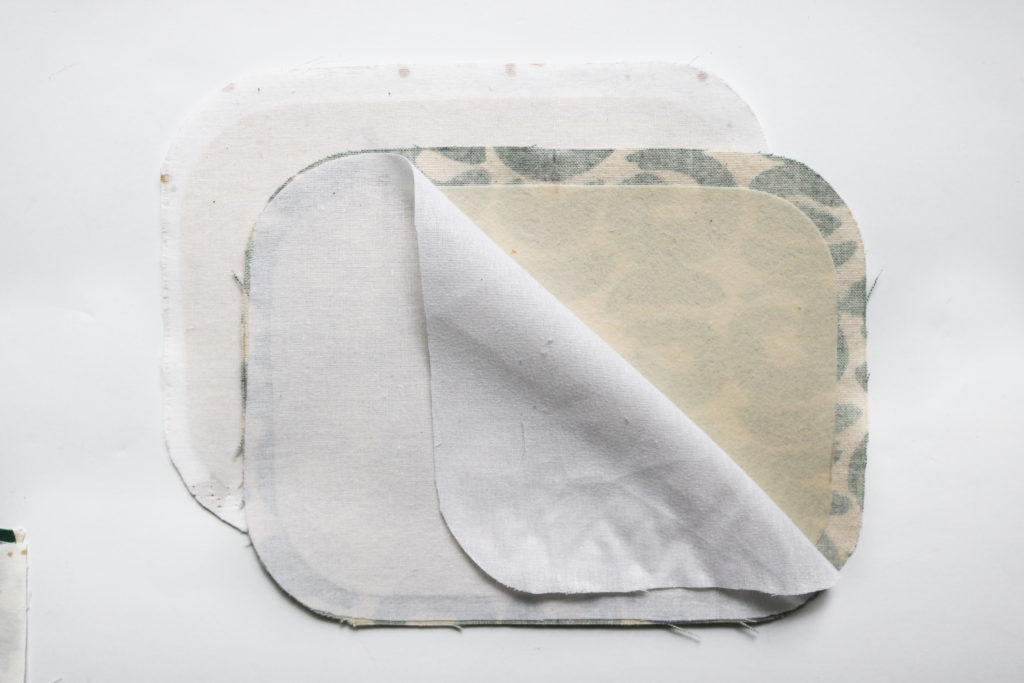
Fabric Recommendations
It’s important to know that this pattern was written for canvas and quilt cotton fabrics. The bag making world is huge and there are SO many different fabrics out there. With that number of fabrics combined with all the different types of interfacing, I always have to have some constraint or else the instructions would go on forever. As you select your fabrics, keep in mind the weight, structure and feel with the intended finished bag. Home decor and/or bottom-weight fabrics such as cotton or linen blend canvas, duck cloth, and denim with weights of ~ 6-8 oz/sq yard would be great for the Main Fabric. The Lining is based on quilt cotton and woven fabric with similar weights of ~4 oz/sq yard, such as linen or chambray.
You can use quilt batting, sew-in fleece, or foam with the Main fabric. The quilt batting/sew-In fleece will you a softer, pliable feel while helping to cover the feel of the inside seams. The foam will provide more structure and loft, with more of that “plump” look. If you are using foam, the interior can be made completely with Lining fabric. But if you opt to use batting or sew-in fleece, use Main Fabric for the Base and Front/Back pieces to get added stability.
If you decide to use vinyl, cork, leather or other fabrics with a heavier hand, you may be able to omit interfacing, but still optionally use batting for soft structure. You can also possibly omit interfacing on the interior of the bag if using waterproof canvas, oilcloth, and other coated fabrics with a heavier hand. Due to the angled zipper and the trickiness of closing the pouch, it is recommended to NOT use vinyl, cork or leather as your Base or Front/Back pieces.
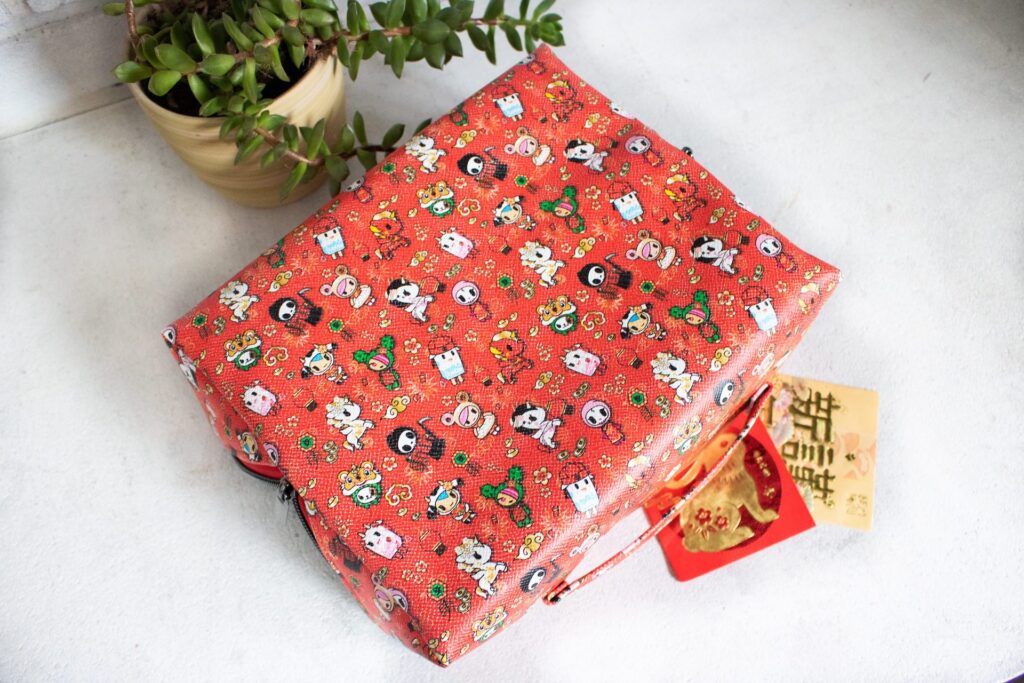
With the dimensions I used, I’m very proud that you can use 1/2 yards of fabric and if you want to get scrappy, the interior can be made from fat quarters. The Lunar New Year custom vinyl and cork fabrics I used were sold as 18″ long rolls and the exterior fits right on…even with a little room to spare!
As I was working on this pattern, you KNOW I had to use plenty of other substrates to see how they would look and handle with the Spring Roll Pouch…all in the name of research, right?!? The cork and vinyl versions definitely come together quickly with the omission of interfacing. However, if you are new(er) to bag making, I HIGHLY recommend making your first bag with the canvas/quilt cotton combo.
I’ve included lots of different versions in this post and the following are my favorite combinations as you select your fabrics:
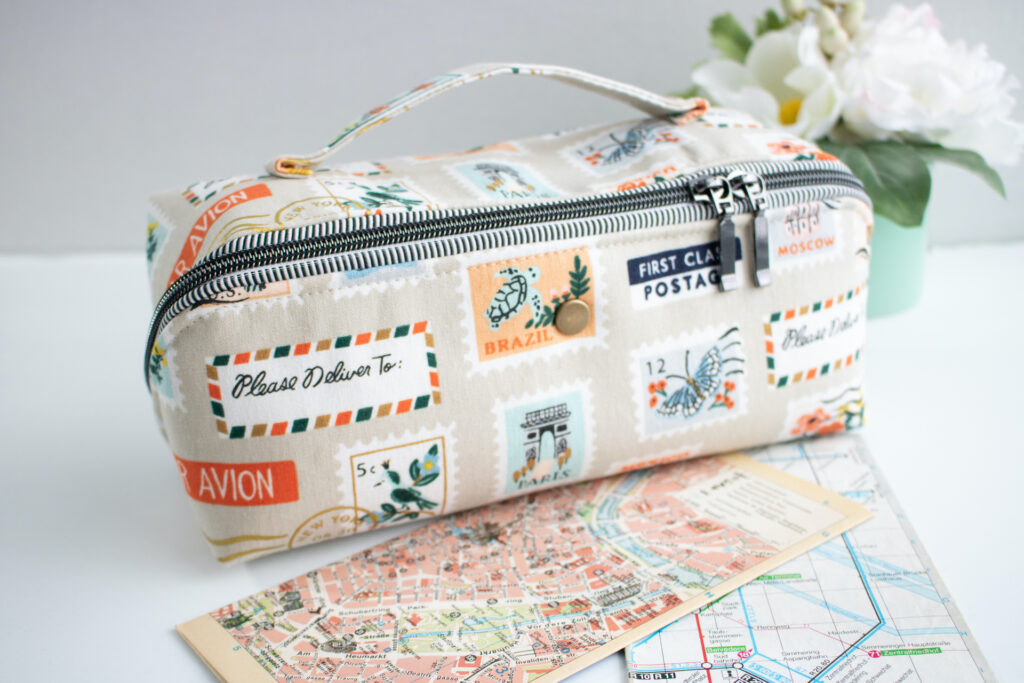
- Stamps Version
- Main = Cotton/Linen Canvas with Soft & Stable Foam
- Lining = Quilt Cotton with Canvas for Front/Back and Bases
- Interfacing = Woven
- Bunnies Version
- Main = Cotton/Linen Canvas with Cotton Quilt Batting
- Lining = Quilt Cotton with Canvas for Front/Back and Bases
- Interfacing = Woven
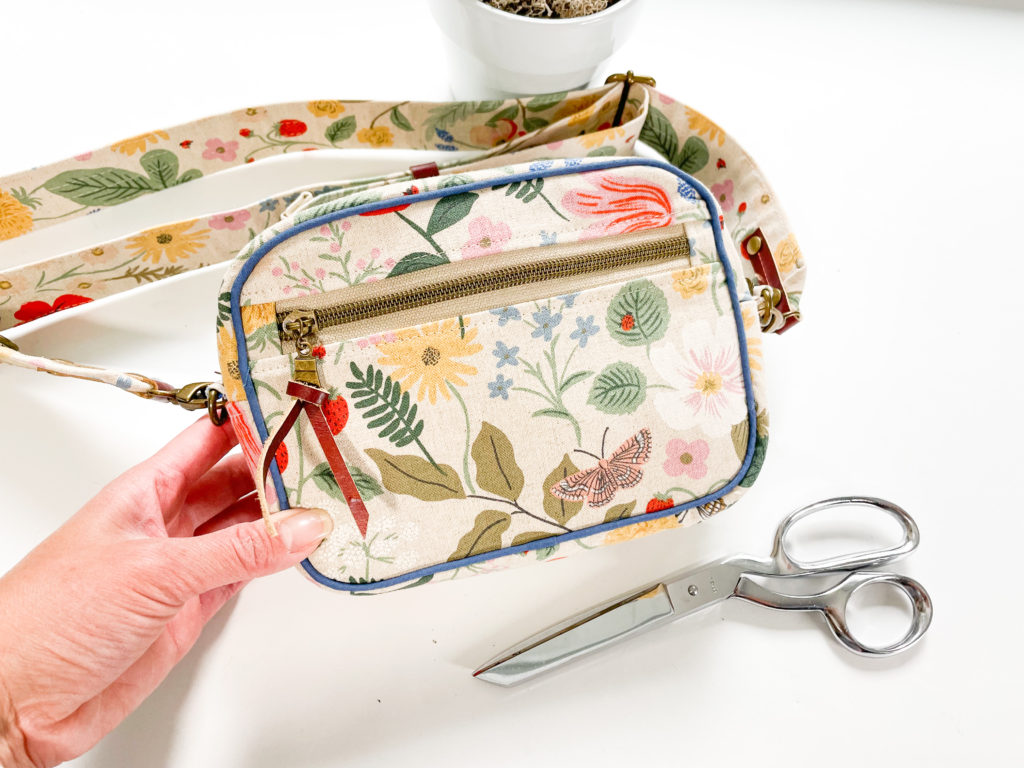
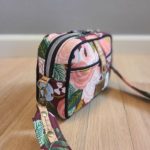
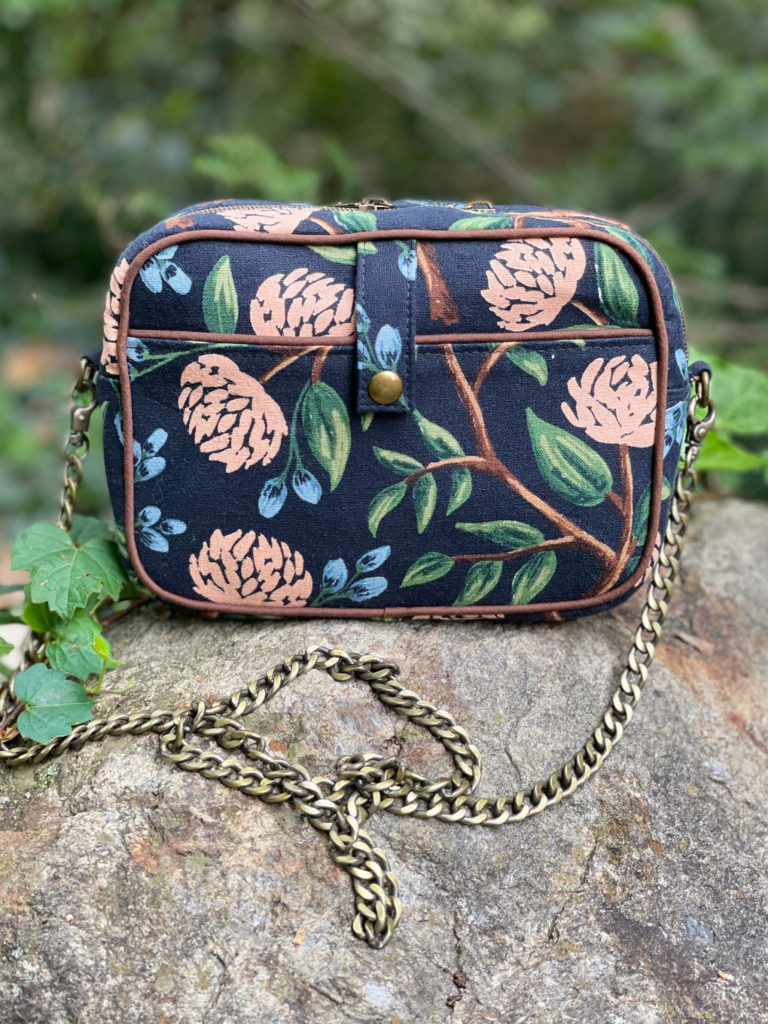
- Navy Floral Version
- Main = Cotton/Linen Canvas with Soft & Stable Foam
- Lining = Quilt Cotton
- Interfacing = Woven
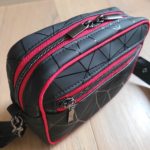
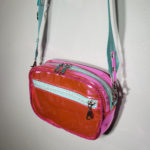
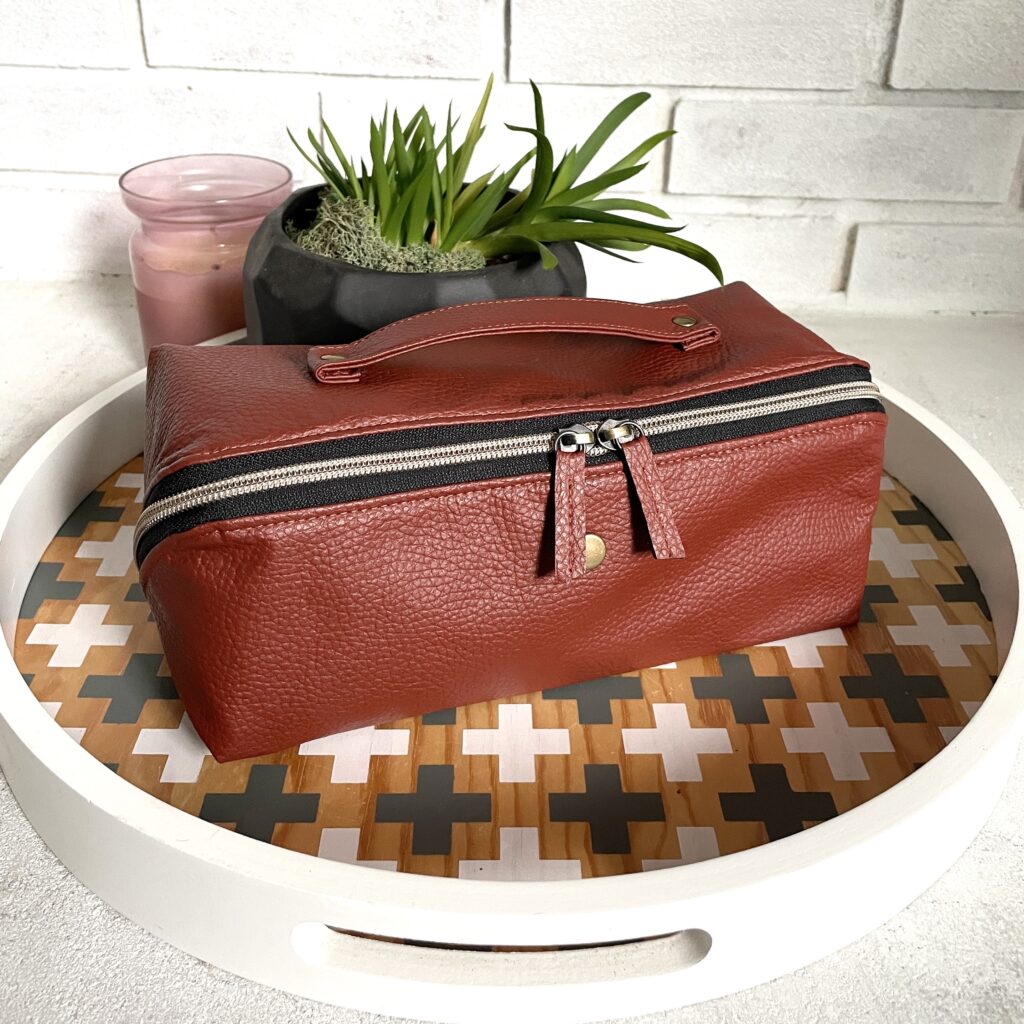
- Cranberry Vinyl Version
- Main = Light Faux Leather
- Lining = Ottertex Waterproof Canvas with Faux Leather
- omitted inner lining of Divider Pocket, inner lining of Slip Pocket and inner Gussets
- Interfacing = none
- Handle = made with single fold
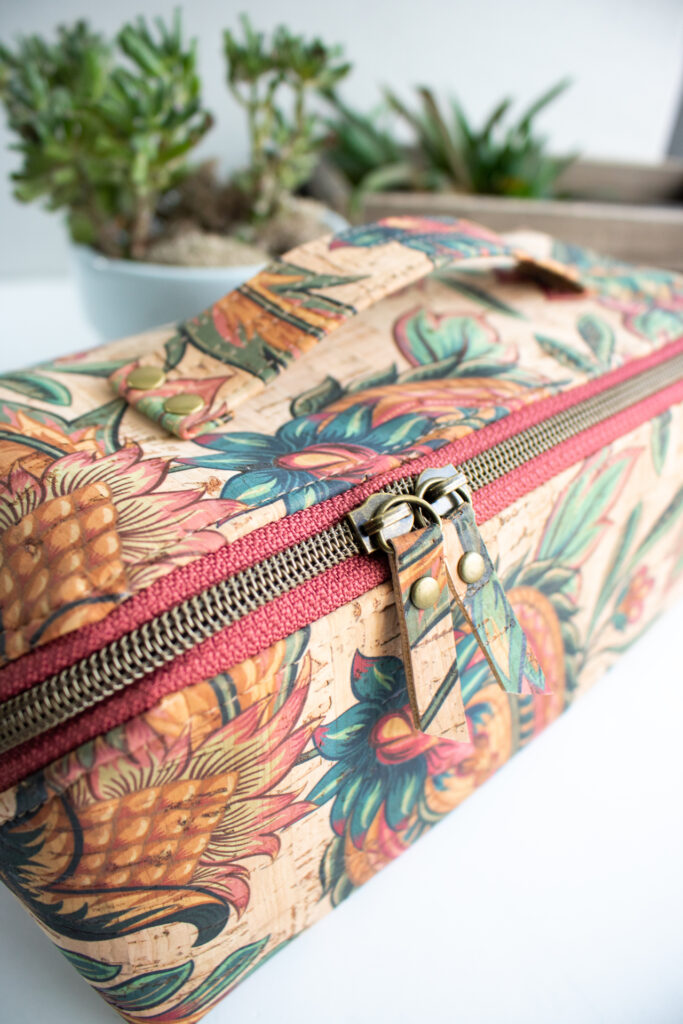
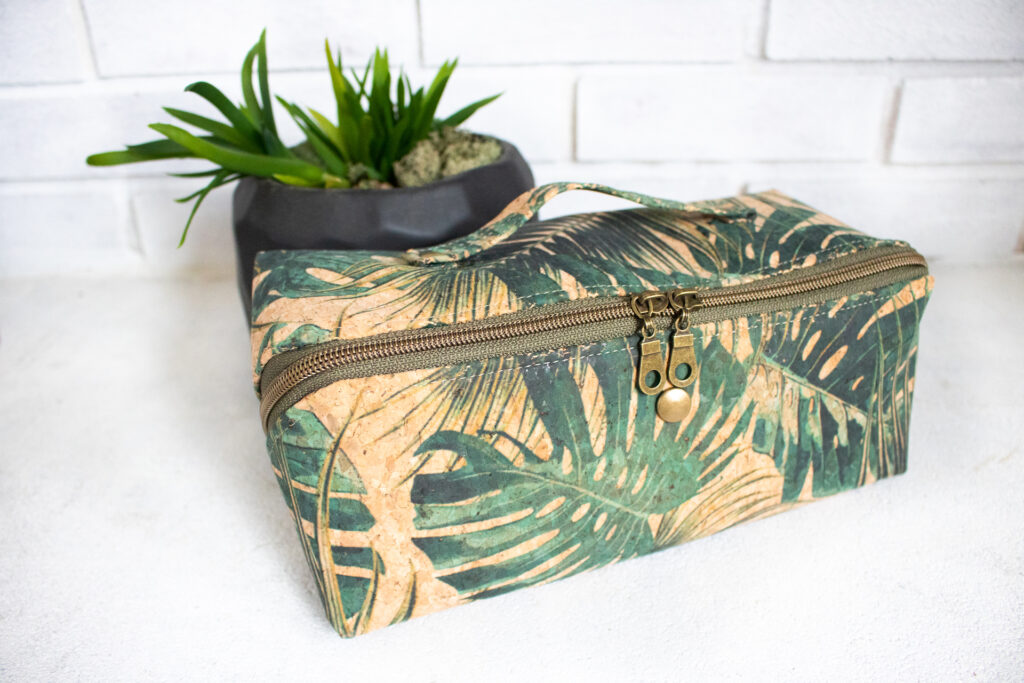
- Cork Floral and Palm Versions
- Main = Cork only (Portuguese made from Cork and Cloth)
- Lining = Ottertex Waterproof Canvas
- omitted inner lining of Divider Pocket, inner lining of Slip Pockets
- Interfacing = none
- Handle = made with single fold
- Lunar New Year Version
- Main = Vinyl only (custom printed from Sewful Therapy)
- Lining = Ottertex Waterproof Canvas
- omitted inner lining of Divider Pocket, Slip Pocket, and Flat Zipper Pocket
- Interfacing = none
- Handle = made with single fold
Construction
This bag was designed with a domestic sewing machine (I use a Juki 2010Q,) so a home machine with some heavier needles will do the trick. It is for an experienced beginner who is familiar with sewing zippers, basting, and y-seams. Although this bag looks complicated, the steps are more simple that you would imagine!
Currently, there is one video on my Love You Sew YouTube Channel that takes you through the most difficult parts of closing the Spring Roll Pouch, but I WILL make a full tutorial soon. Honestly, I didn’t think this pattern would be as popular as it has been and I try to direct my time and resources toward patterns that have a bigger customer base. Well, you definitely let me know and I’ll be working on it this upcoming week.
I hope all of you love the Spring Roll Pouch as much as I have loved writing and designing the pattern for you! Don’t forget to tag your social media posts with #springrollpouch and #loveyousew patterns so I can see your beautiful makes!
Happy Sewing,
Cristy
*This post may contain affiliate links for which I may receive a small commission that helps me run this website. I appreciate all of your support.