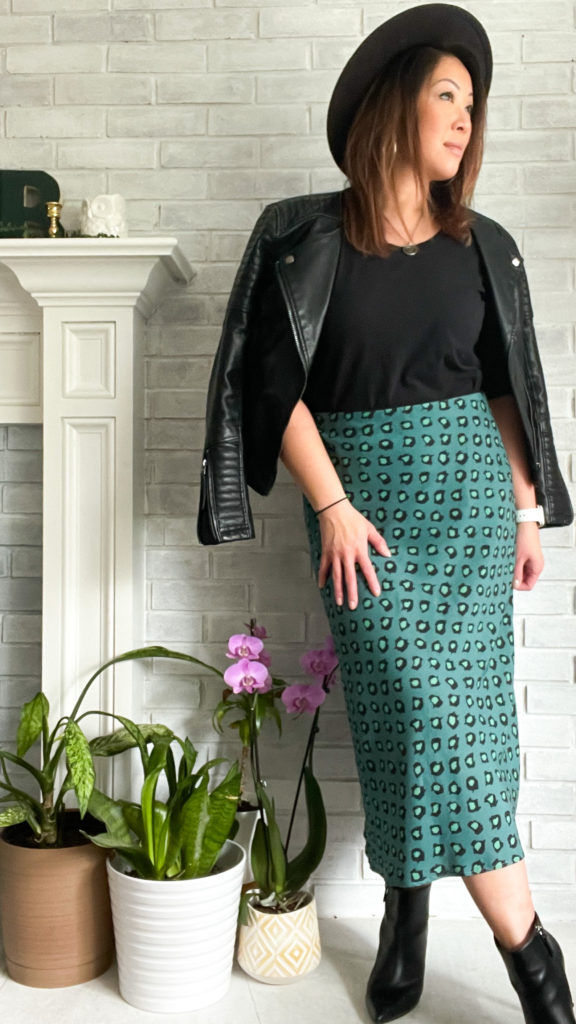
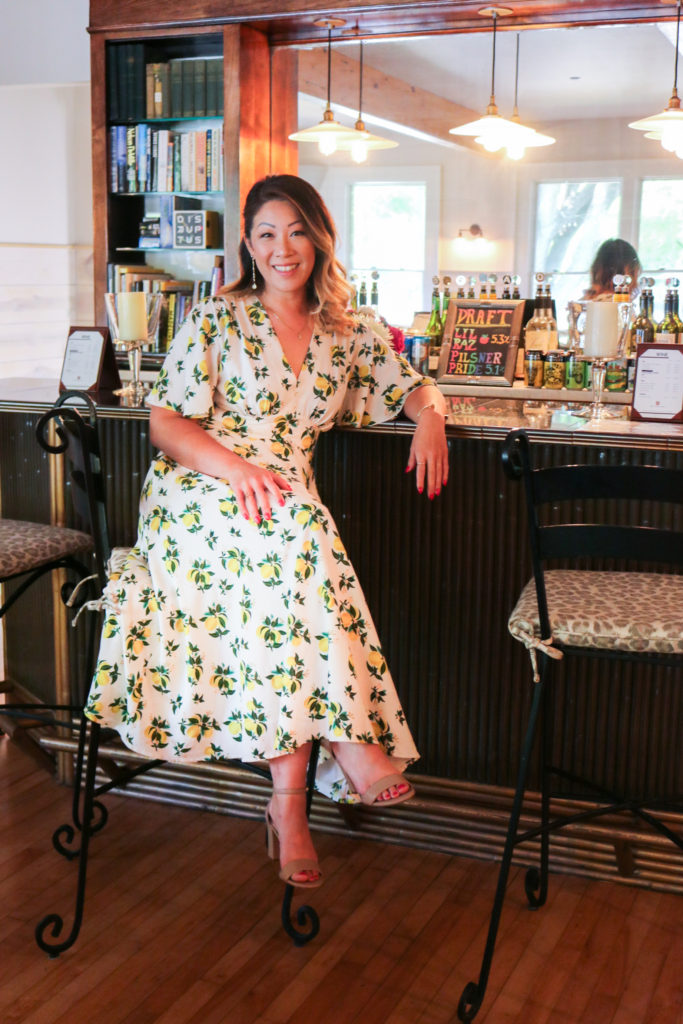
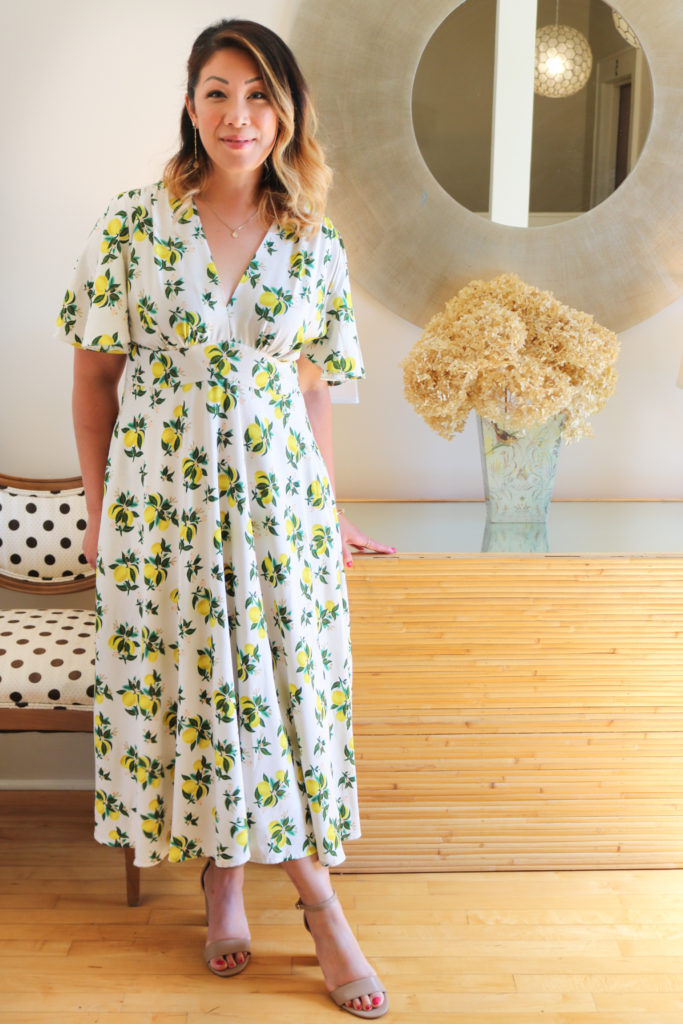
I’ve been wanting to make a bias skirt for awhile now. The simple slip dress has made a comeback from the 90s and is not just a piece of lingerie any longer. The look is more modern layered with big oversized blazers and sweaters. Instead of heels, they are being paired with boots and sneakers for easy streetwear…I’m here for all of it! The bias cut of these dresses are great on any body and provide more fluidity and stretch in woven fabrics. I don’t think I would wear a slinky slip dress as much as a skirt and found the Sati Skirt.

Pattern
This is my very first time sewing a pattern from Russian based designer, Viki Sews. Since I bought the pattern based off a simple Google search (very late at night,) I didn’t realize that she sells her patterns by a SINGLE size and doesn’t include a range! I didn’t even realize it until I was ready to make the skirt and saw there was only one pattern drawing in the file. Of course, it was the wrong size, since I clicked directly through a Google ad….and had to contact the company through Etsy. It took a few days, but customer service was VERY kind and resent me the correct size even though it was completely my own fault for not reading through all of the details. (As an Etsy seller, I’m mad at myself for doing what so many customers do to me! #lessonlearned)
With bottoms, I span about 2 (sometimes 3) different sizes and like to see the drafting lines in order to make the appropriate adjustments for my body. So, I almost always stay away from companies that sell their patterns by a single size (Style Arc is another brand that does this.) Of course, these companies have fantastic patterns I would LOVE to make, but I’m not a formally trained pattern maker and don’t want to make my life harder than I have to! So, it wasn’t surprising to me that I fall into 2 sizes in Viki’s range. Since I already purchased the pattern, I asked for euro size 44 (even though I fell between 42-44.) It’s easier to take in fabric than to add fabric later 😉
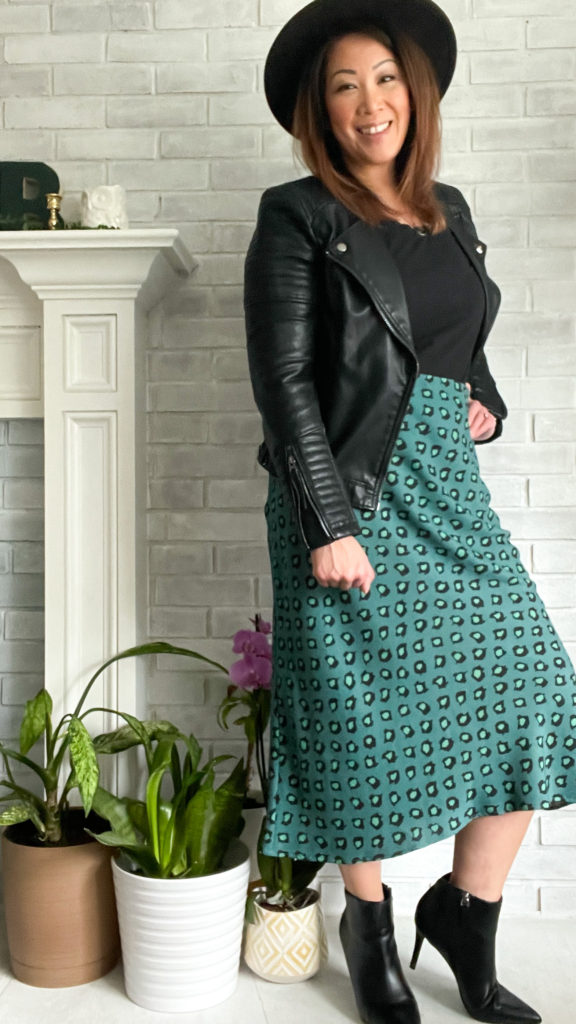
The construction of the skirt was pretty simple. I basted the back darts and side seams for fit and did adjust the waist by pulling it in 3/8″ on each side seam (1.5″ total.) Many times, I have to readjust darts, but I think the bias cut helped to settle them smoothly on my back-side. The most difficult part was all in the cutting of the pattern. Although I have a pretty big cutting table, I made sure to cut on the floor to keep the fabric as flat and properly squared off as possible. This helped to keep the fabric design aligned and get a true 45* bias cut.
For the length, I do like how each size comes with 4 different options. Since I’m 5’3″, I chose the shortest version which brought me to a pretty good midi length. I’m sure all of you taller sewists can appreciate accommodations for being up to 6′ tall.
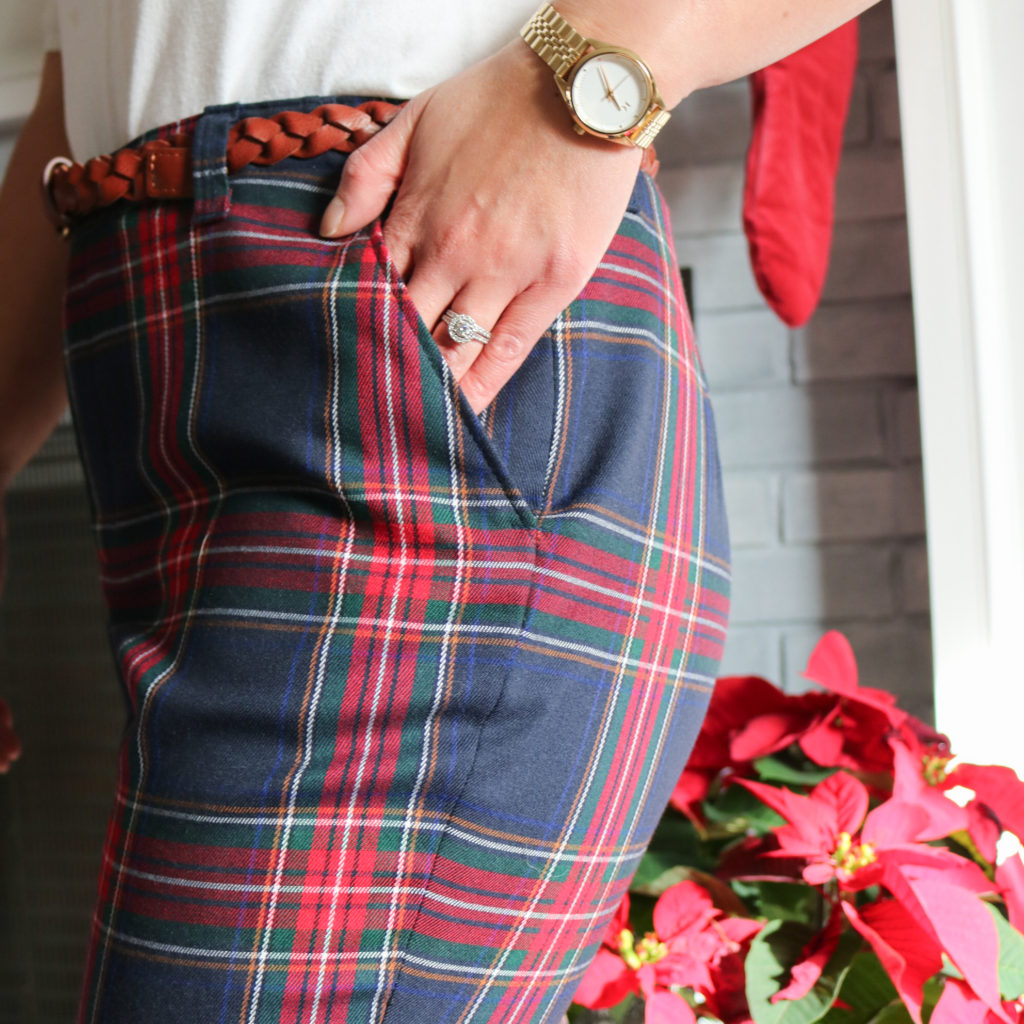
The only real change I made to the pattern was omitting 1 out of the 2 elastics for the waistband. Honestly, I don’t know why the instructions have you sew two together…maybe for more strength? But if you have a good quality waistband knit (that is soft against the skin,) you only need one.
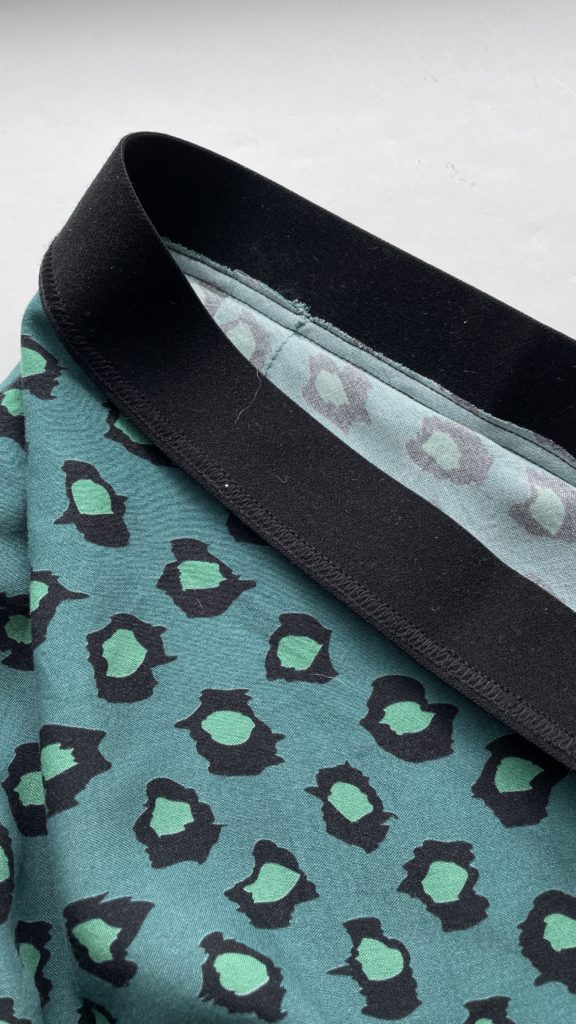
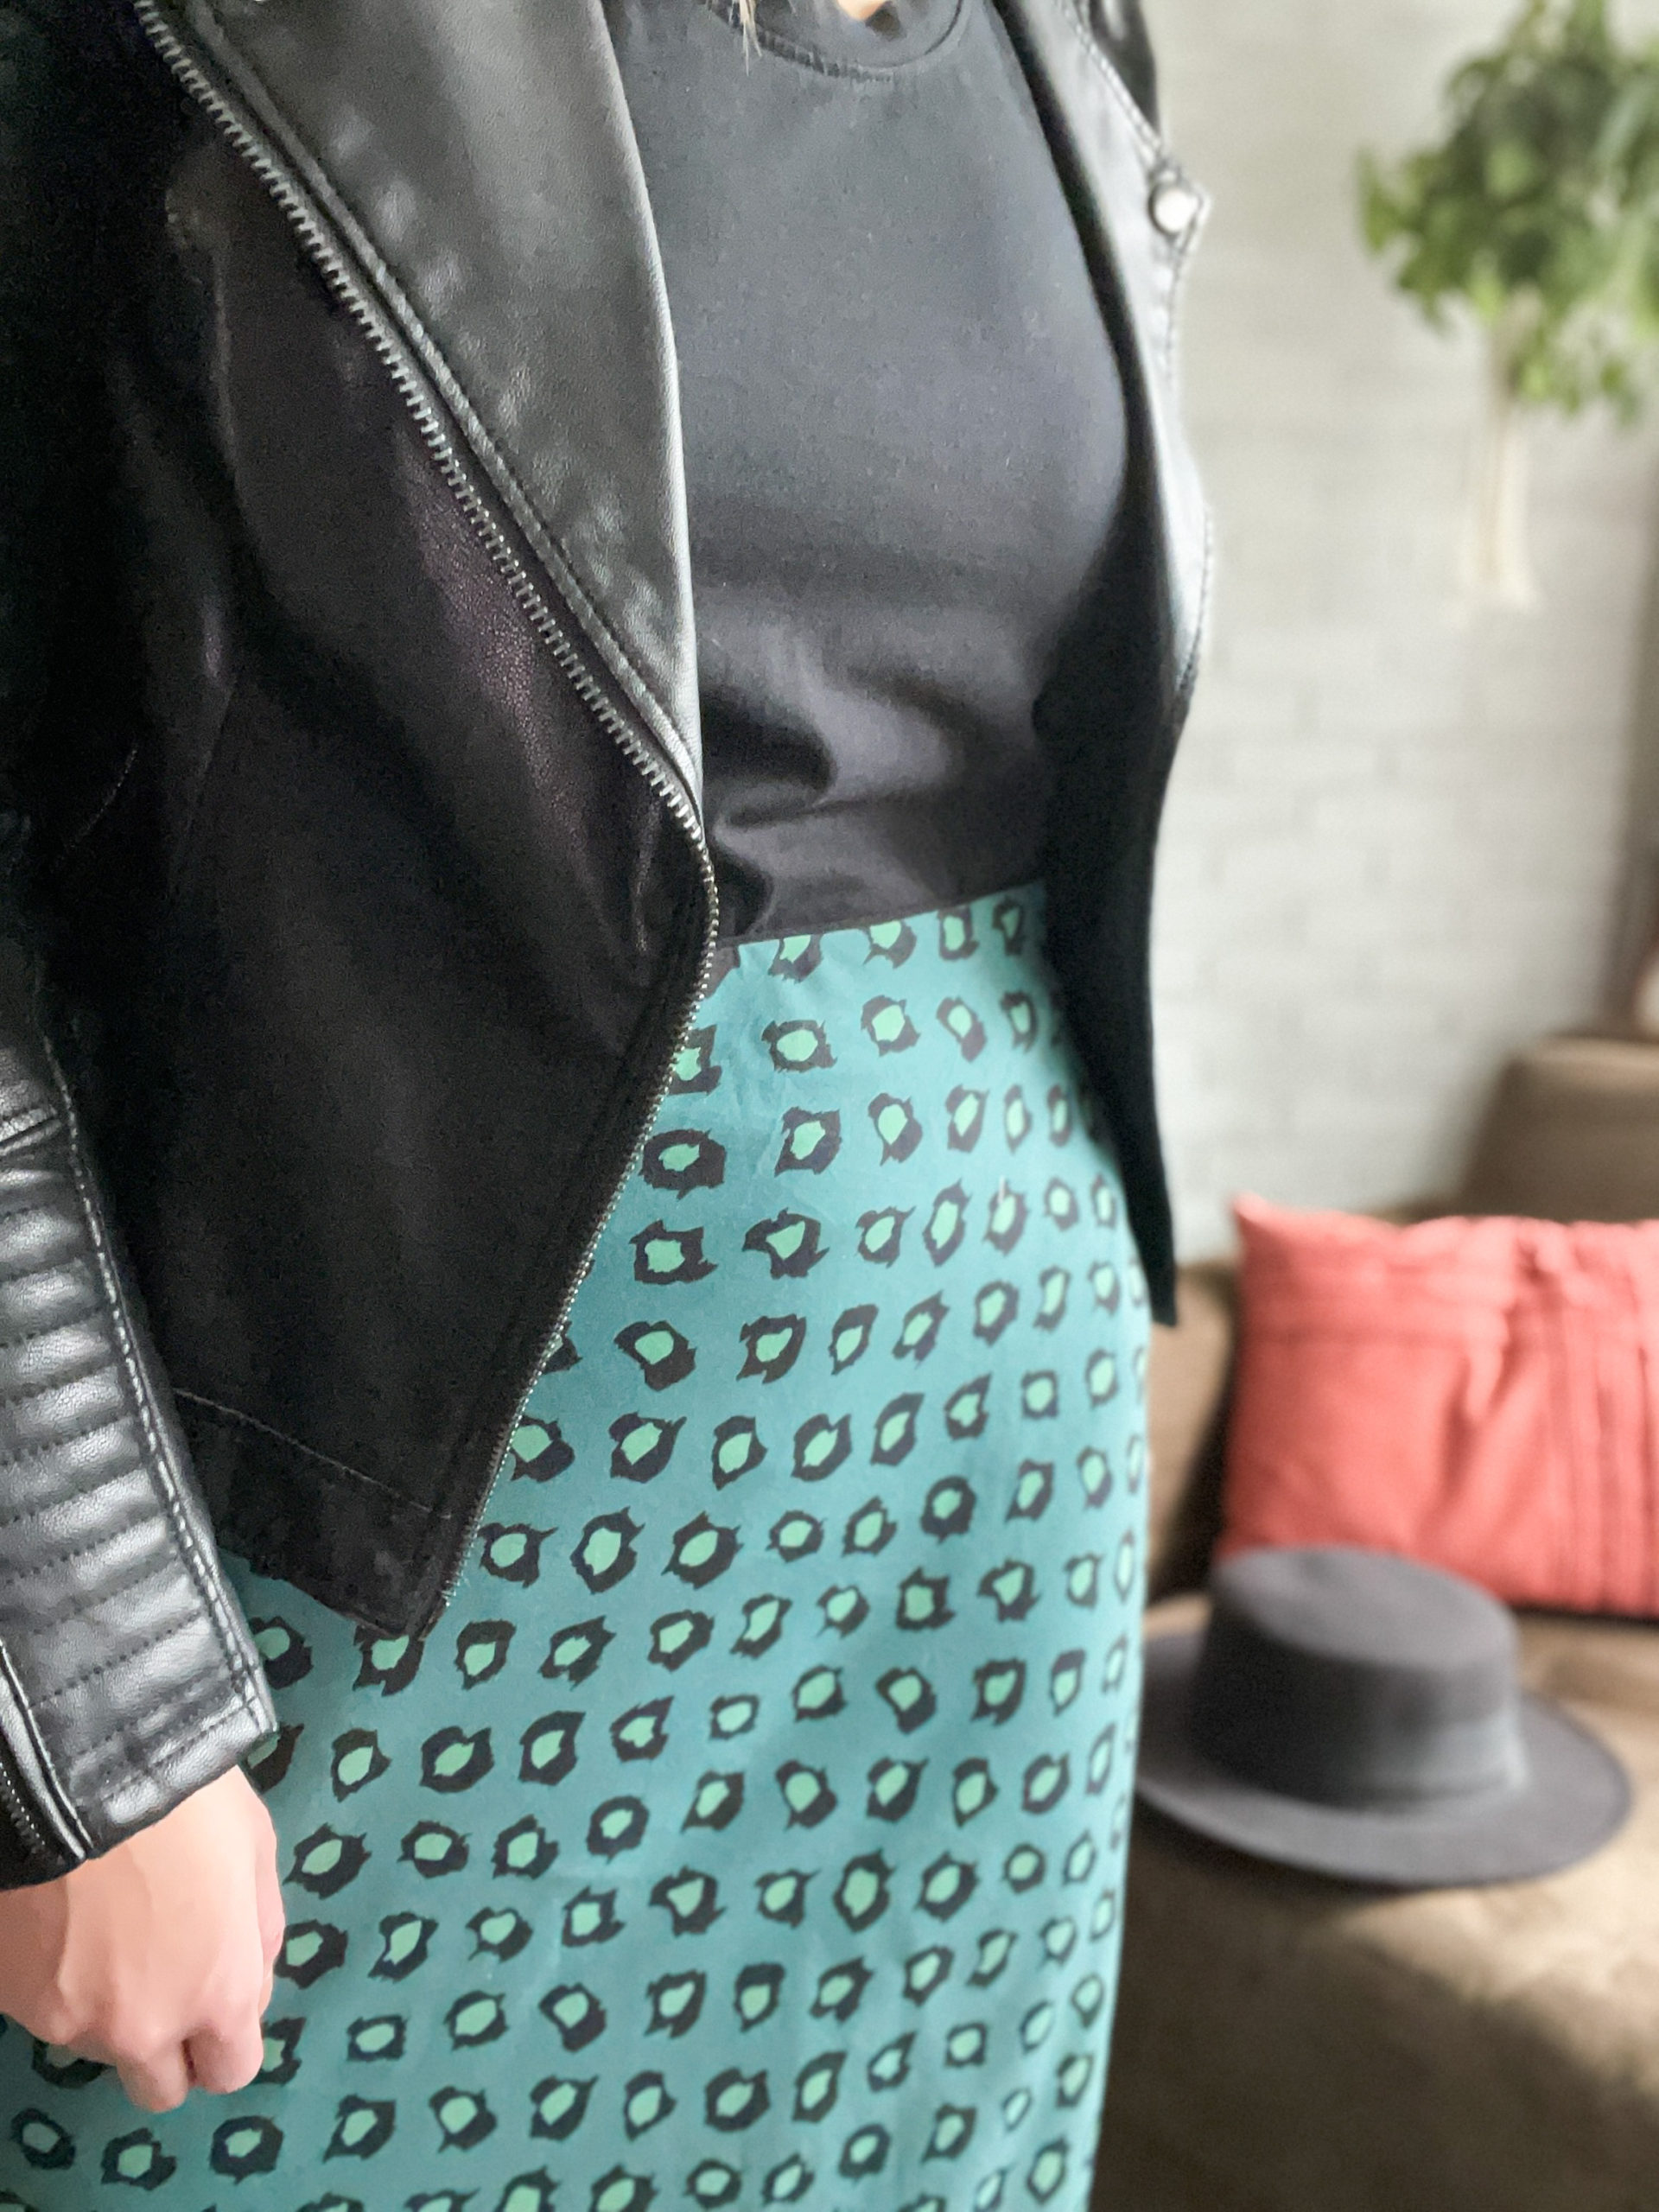
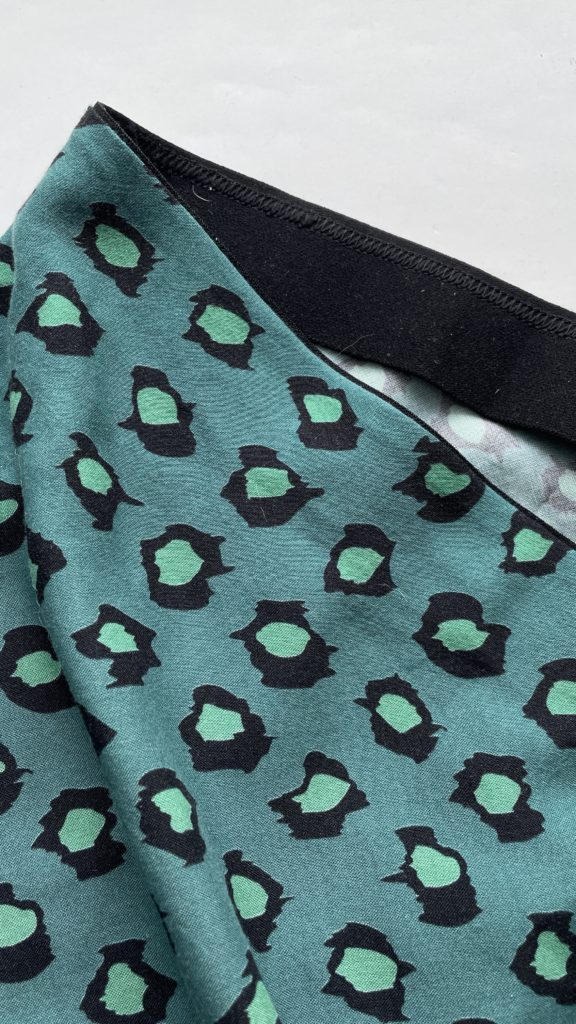
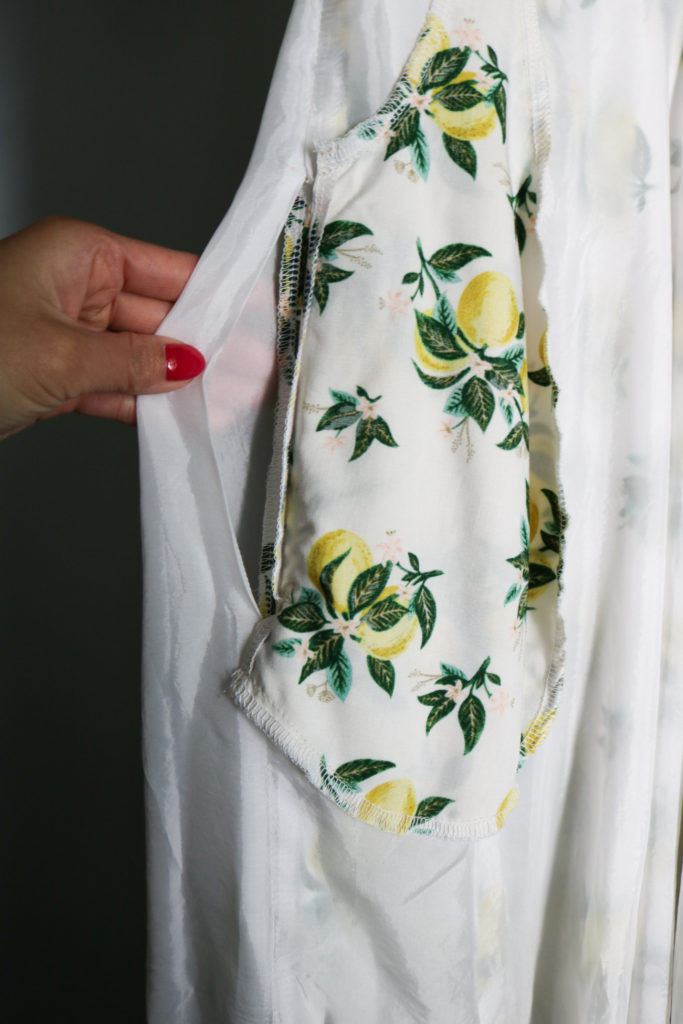
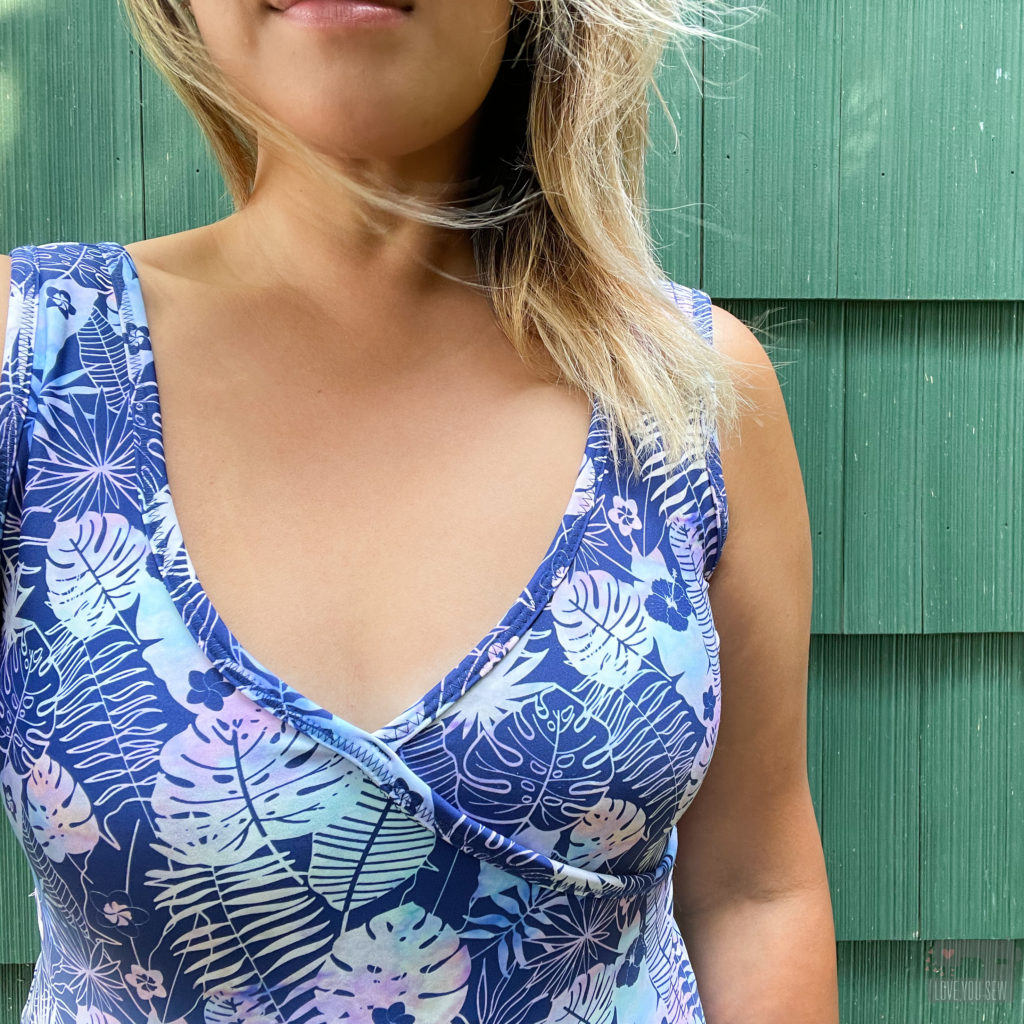
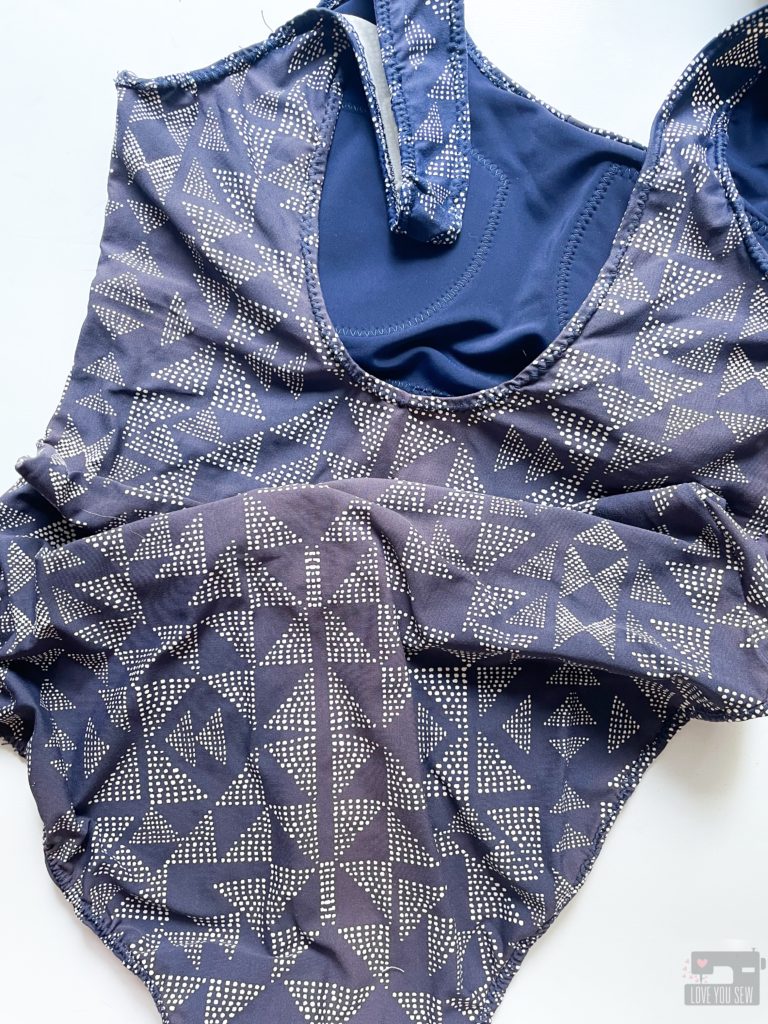
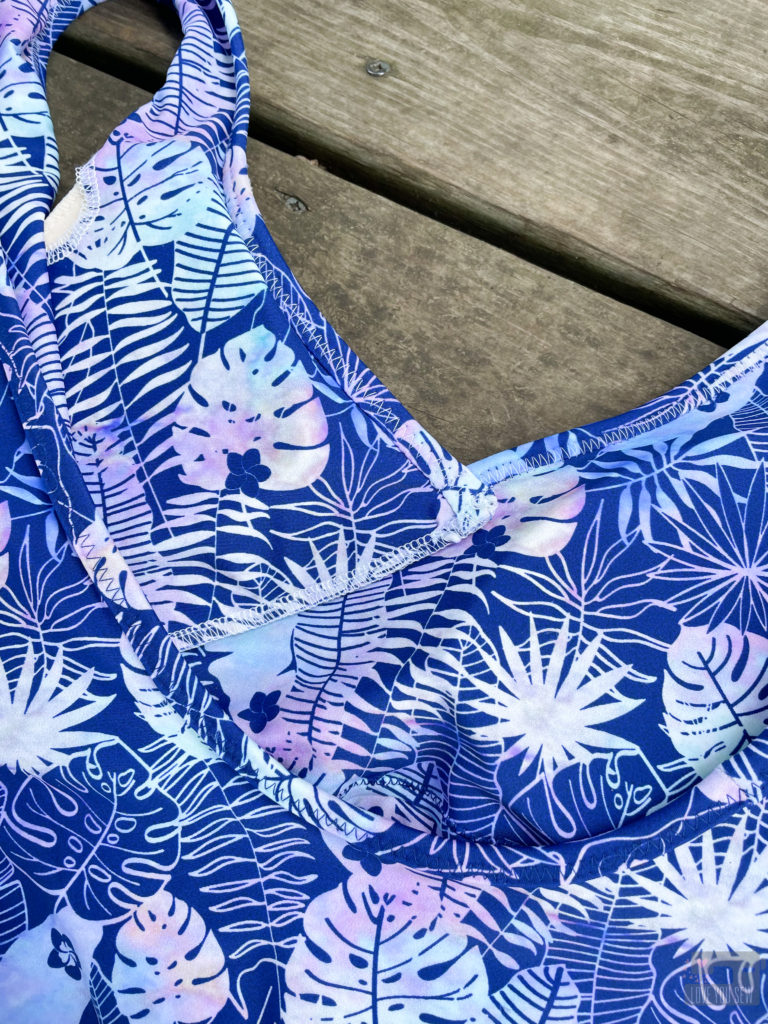
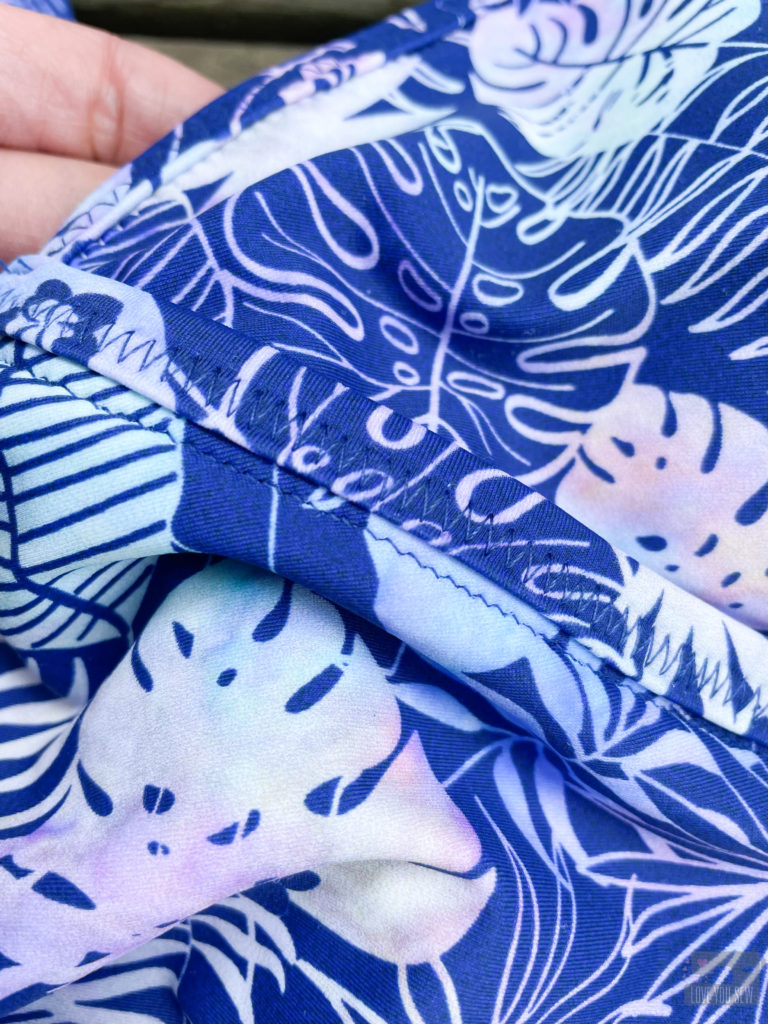
As seen in the pictures, the band is sewn to the right side of the skirt and then folded to the inside where it’s hidden. I used my coverstitch machine, but this could easily be done with just a zig-zag stitch. I adjusted the length on the waistband and also sewed the short ends together on an angle to follow my waistline that goes out rather than just straight.
FABRIC
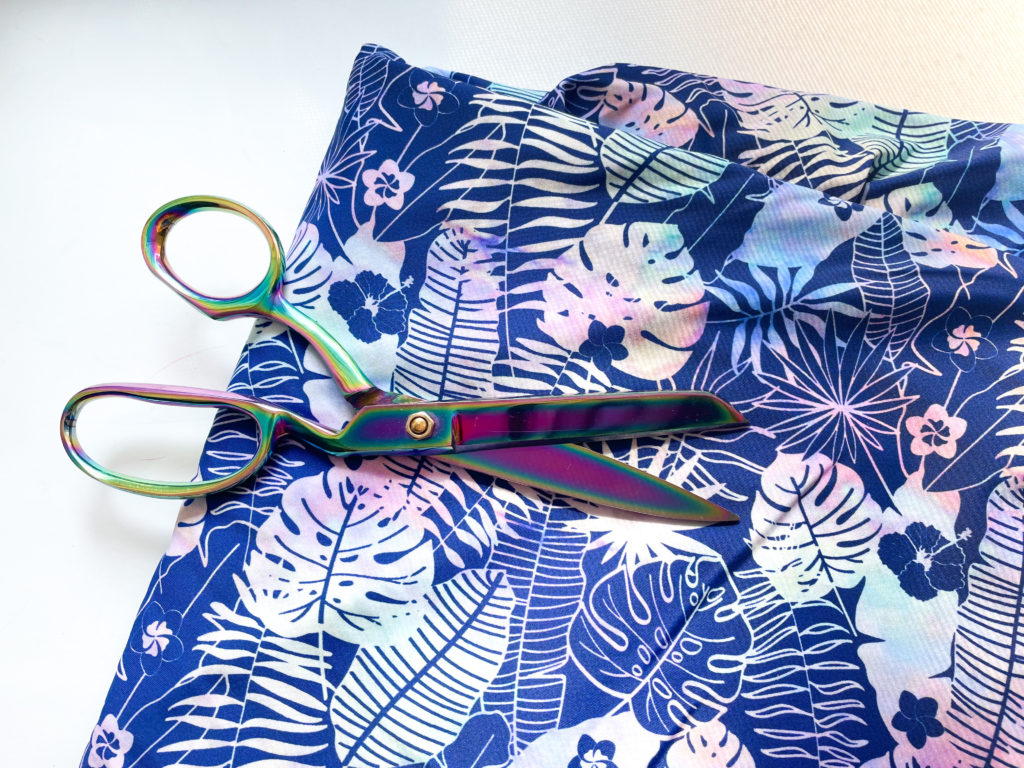
Speaking of firsts, this is also my first time using rayon from Mimi G for Riley Blake Fabrics. I know RB from quilting and know their woven cotton and jersey knits well. It’s nice that they have expanded out to fashion substrates. With a bias skirt, you want a nice opaque fabric since lining it would defeat a bias skirt’s flowy and body gliding nature. This rayon has a white base cloth with printing on top which definitely works! I purchased this from Melanated Fabrics, but you can always check out Etsy or Amazon for more.
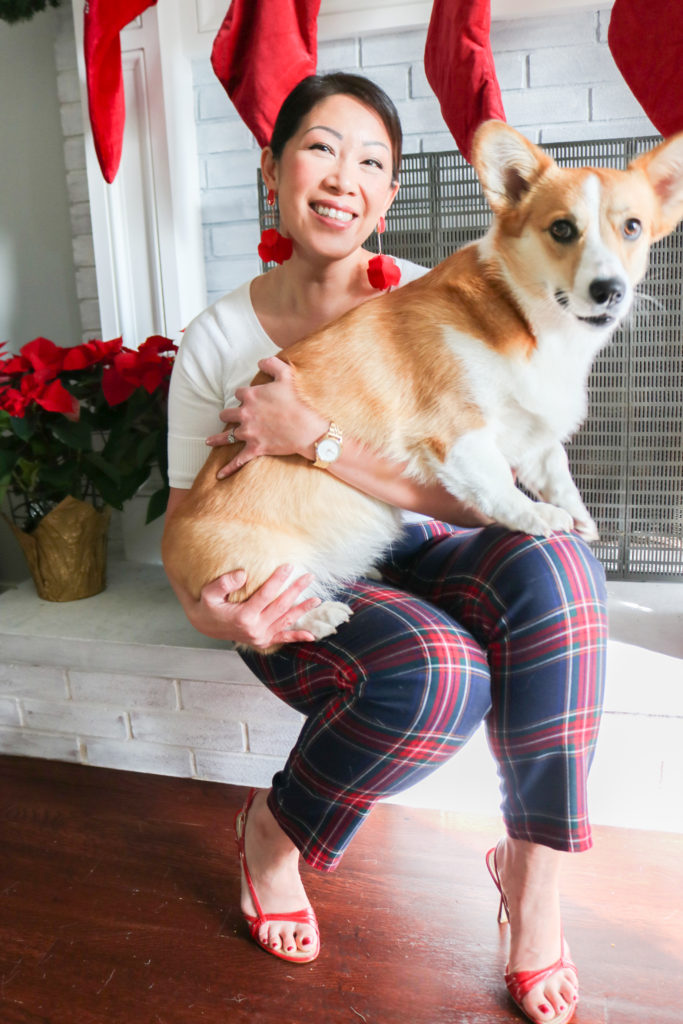
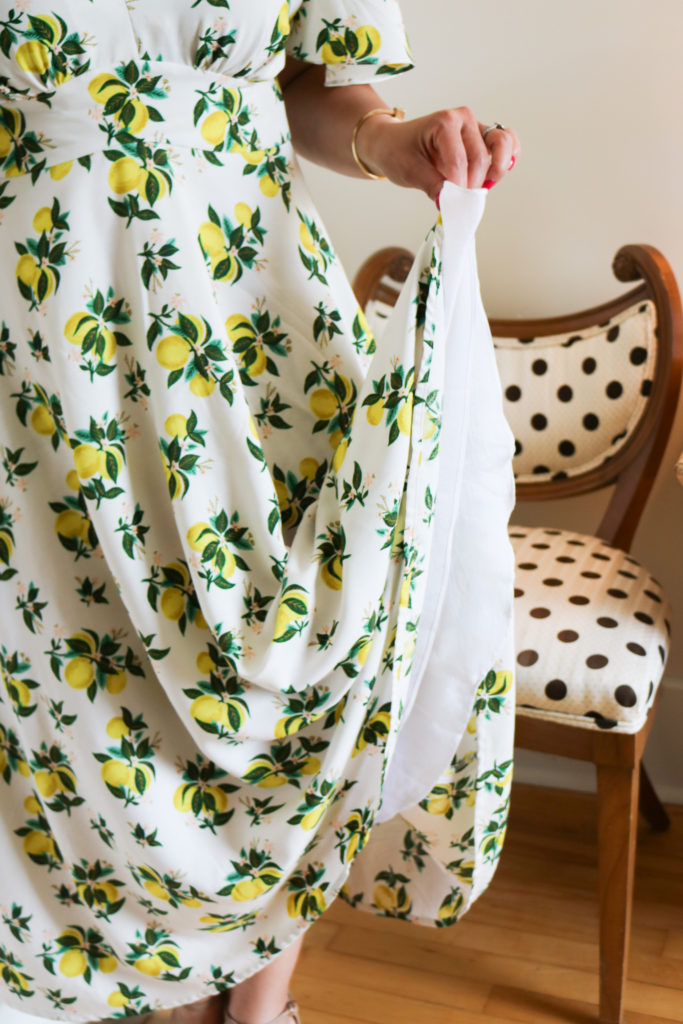
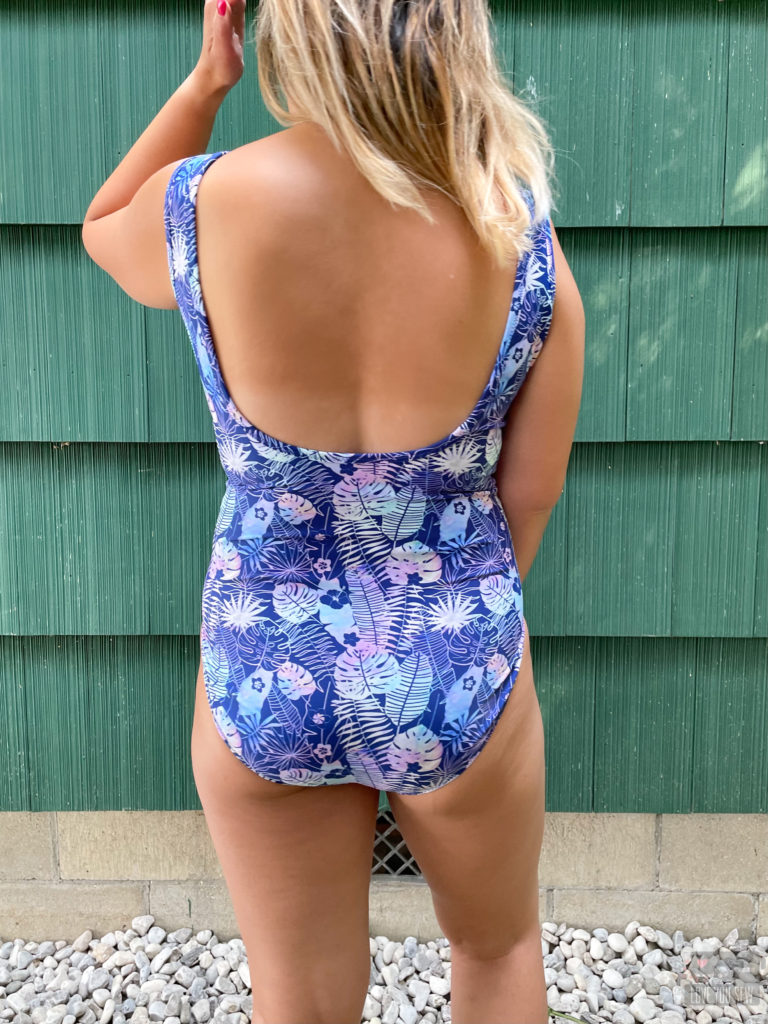
You can check out the skirt’s movement below or on my Instagram here.
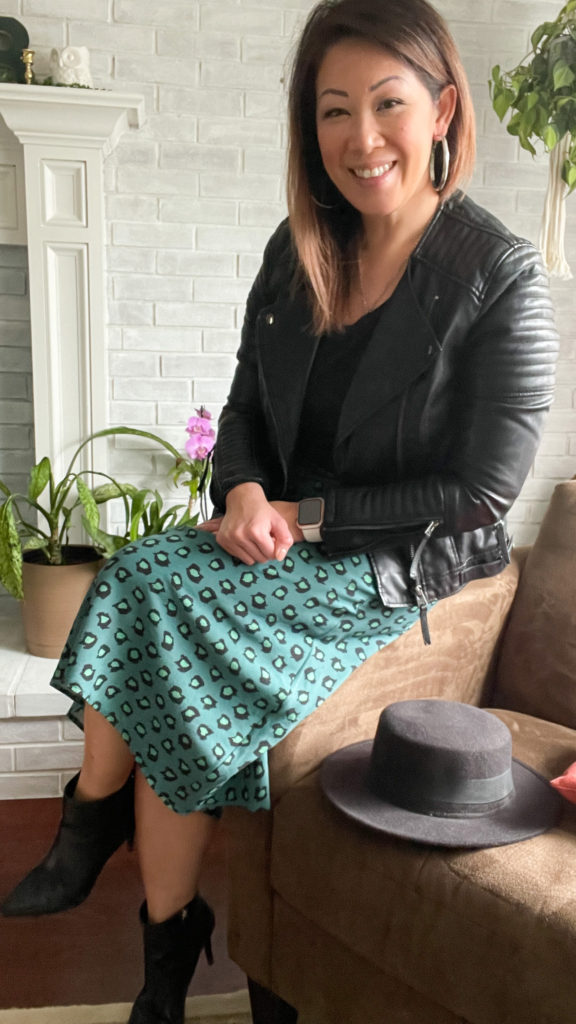
As you can see, despite the beginning hurdles, I LOVE my skirt now. The waist adjustments were simple enough that I would recommend this pattern, but I’m hesitant to try out any others from this company which would require more adjustments. The fabric is fantastic and I just love the feel and movement. I just need the weather to warm up a little bit so I can wear it out!
Happy Sewing,
Cristy
I personally bought all of the fabric and patterns for this project. This post may contain affiliate links. You can read about my Disclosures, here.
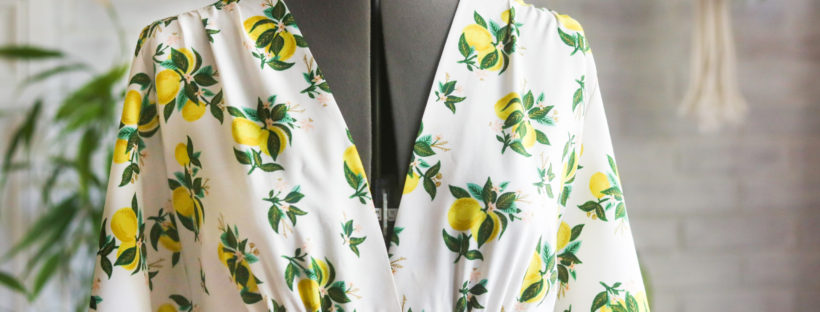


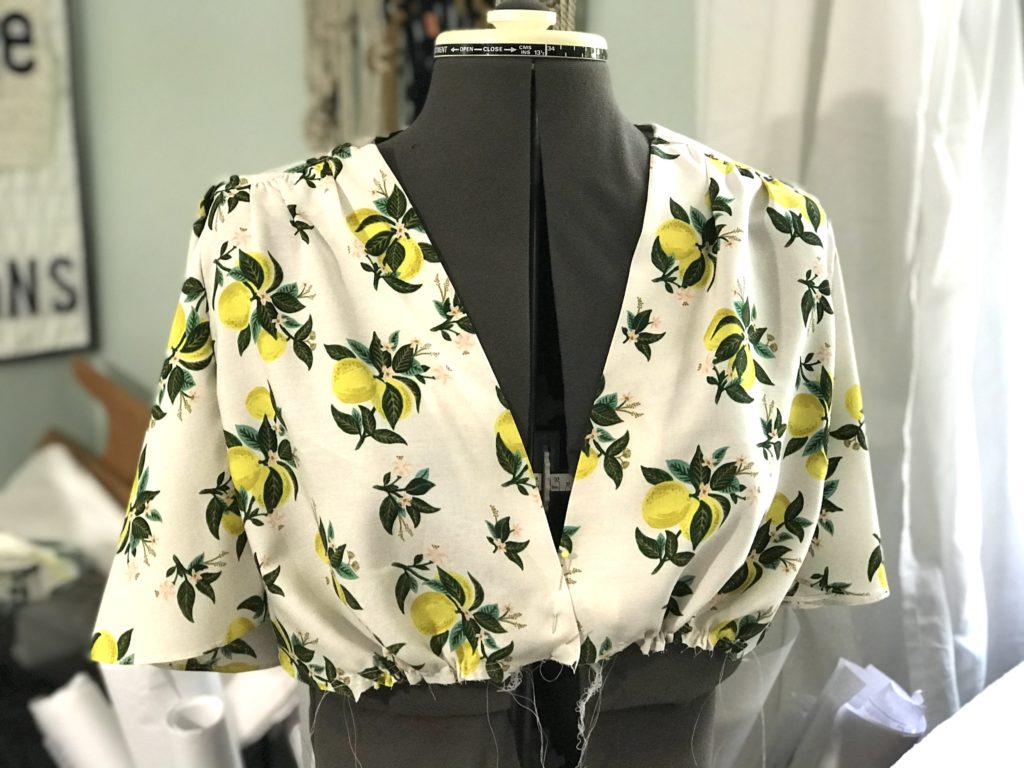


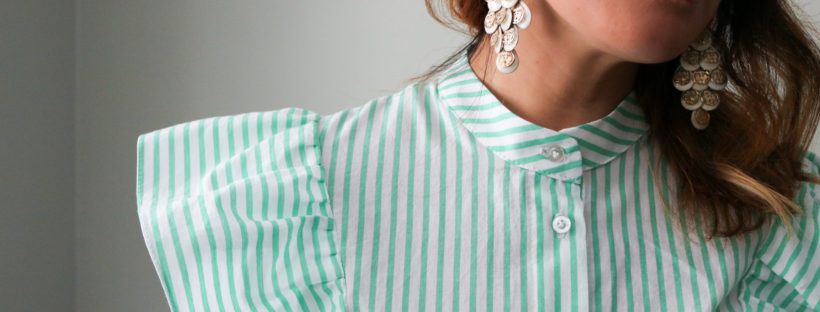
 We’re still in a life of Zoom calls, so statement blouses are all on trend. That means the prairie influence of last year is hanging around even a little longer than trends generally go — YAY! I know not everyone is into that “cottage-core” style, so updating it with the right fabric can make the look last a little longer than the all-out trend.
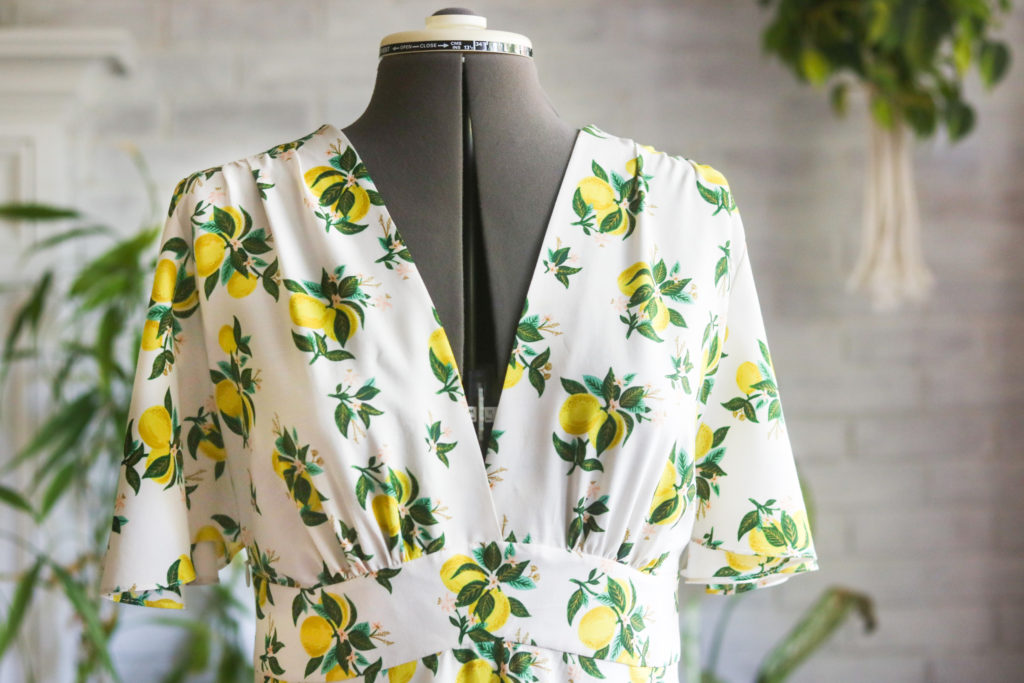
 While in the middle of deep Ohio snow, I knew I needed to start thinking about warm weather and spring clothes. This cheerful
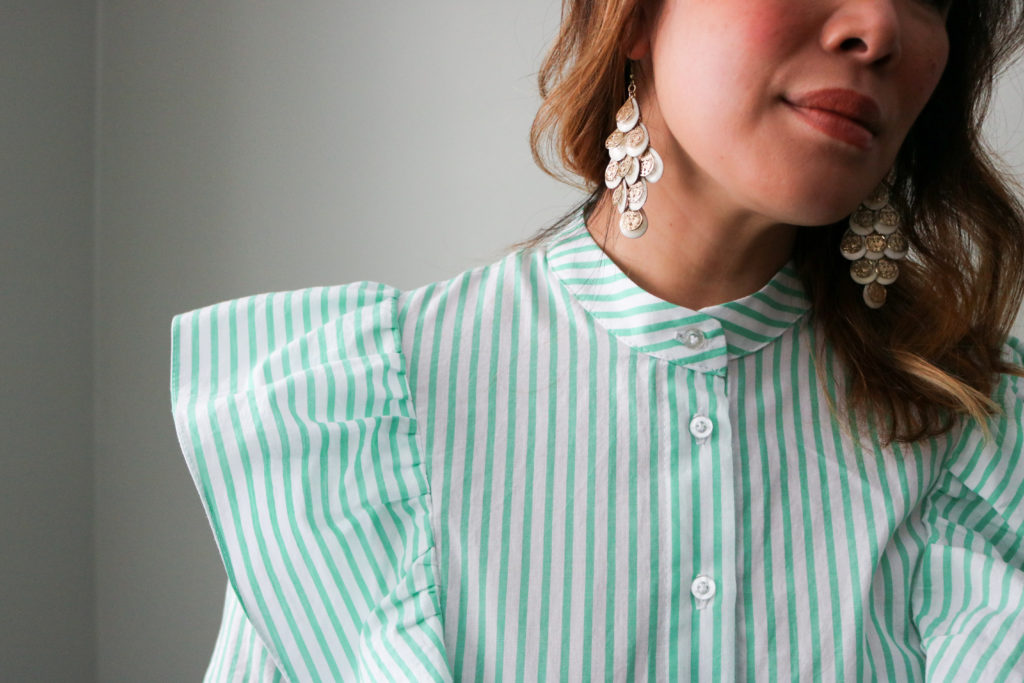
 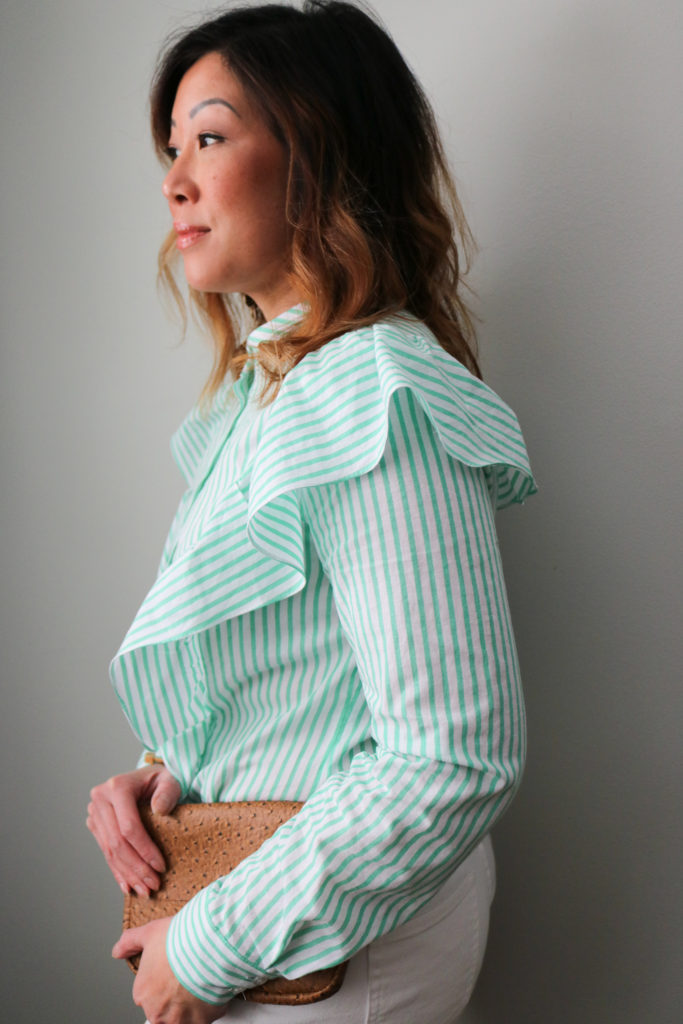 This fabric purchase was made on a whim since I loved the green and white stripes. And…I’m happy to report I would definitely buy it again. It washes and dries well since the fabric is 100% cotton (and I do NOT like to line dry if I don’t have to!) It sews up easily without shifting issues like your typical quilt cotton. Since the fabric is lightweight, I did drop my regular needle size down to 70, but used my normal all-purpose Gutermann white thread for construction.
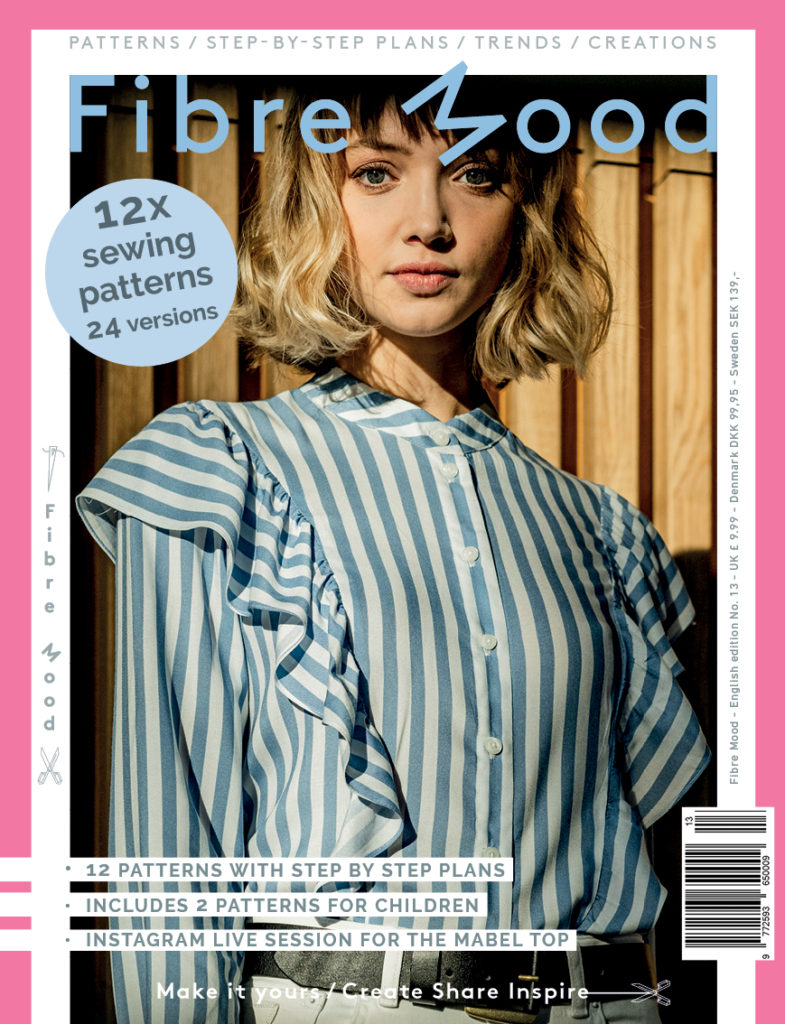
 I printed the
 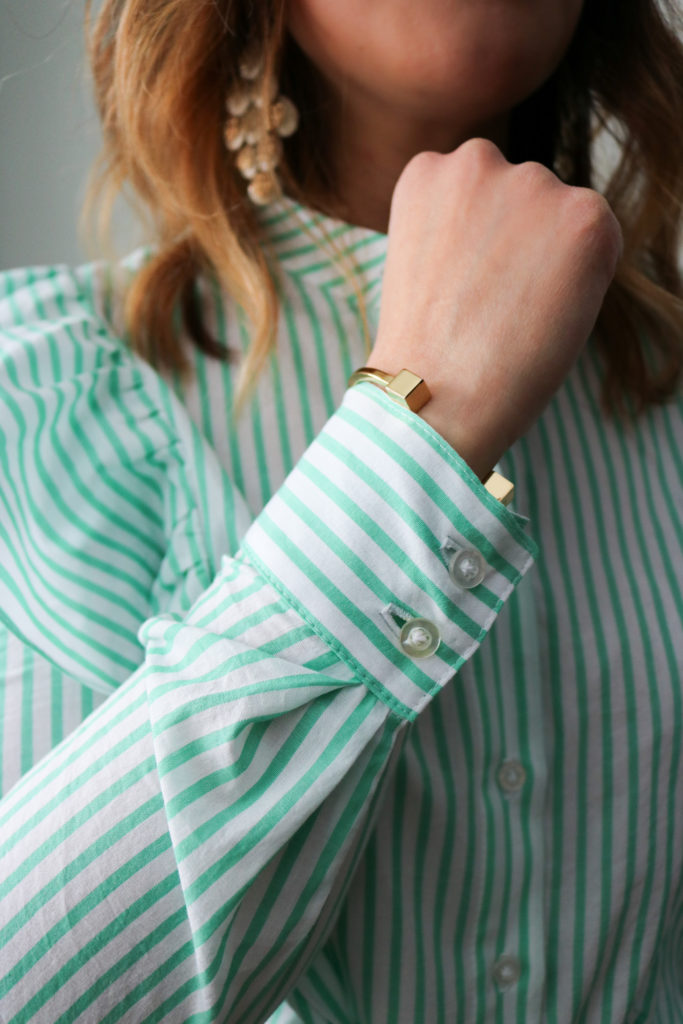 For this