Introducing the Audrey Envelope Wallet

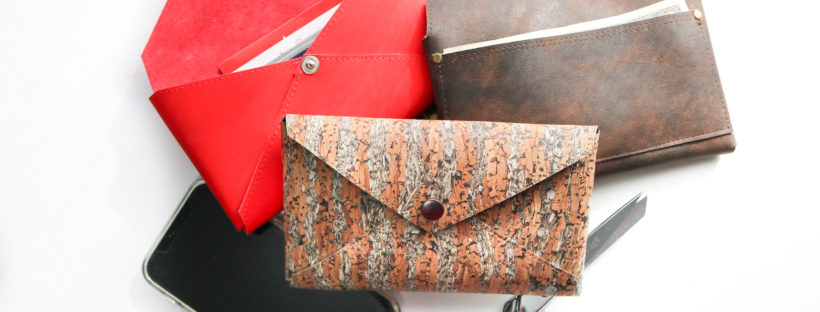
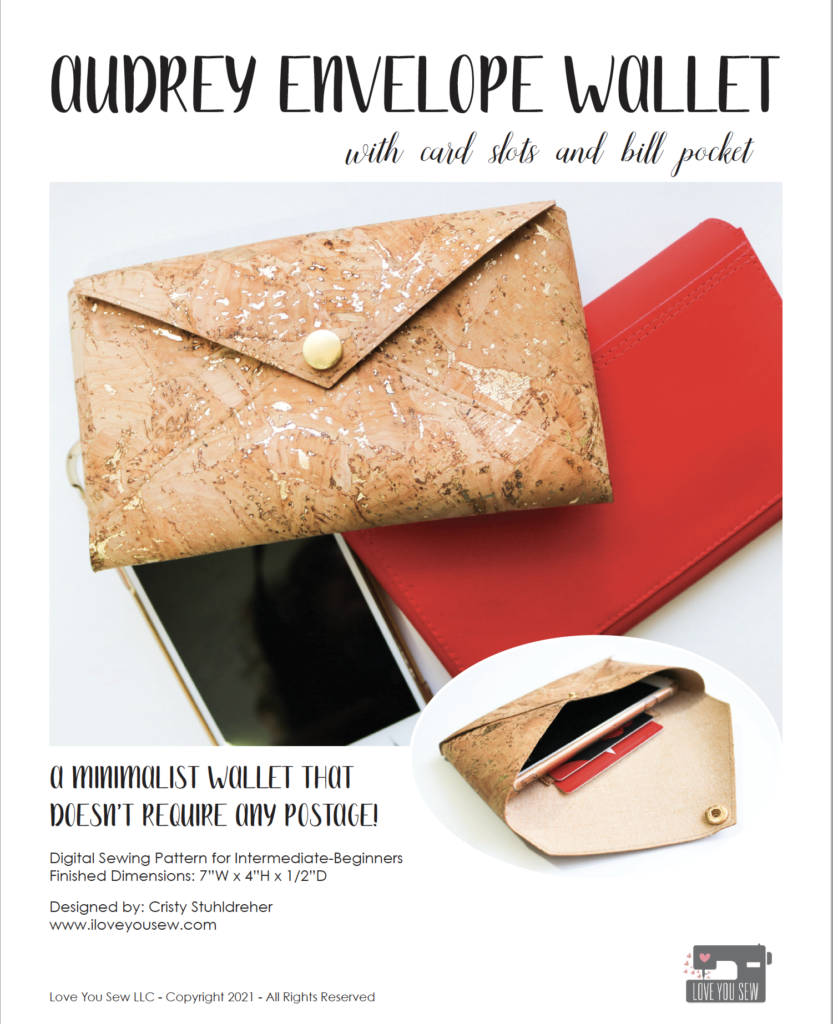
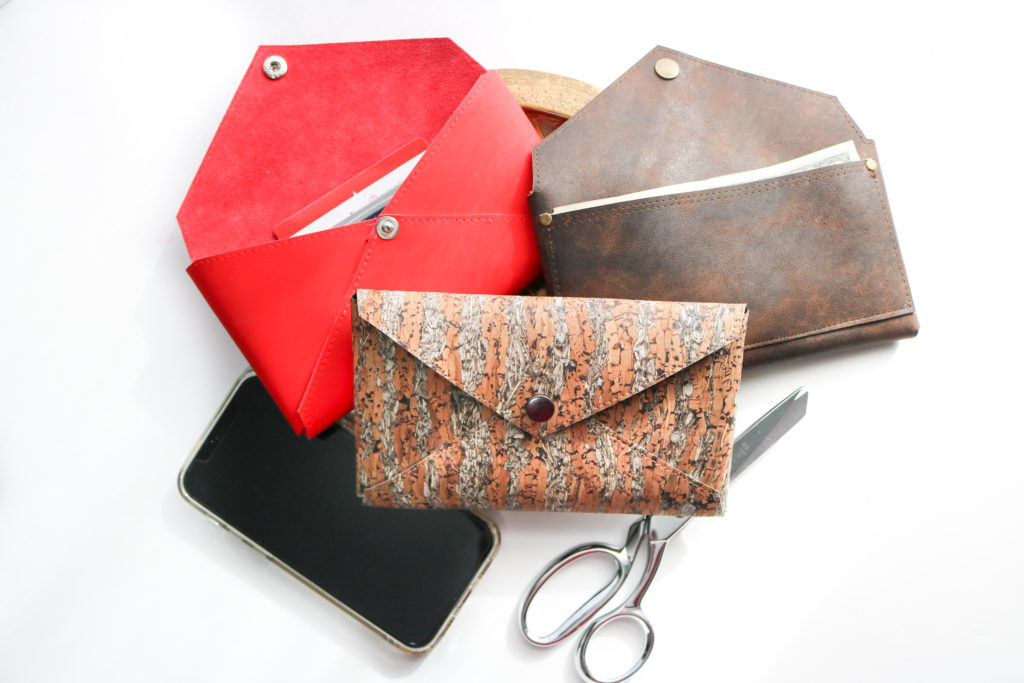
The Audrey Envelope Wallet is a quick and easy project with minimal sewing and tons of style! It has the your classic envelope shape, but also features three card slots and a large slip pocket for bills (which also doubles to hide your stitching.) 

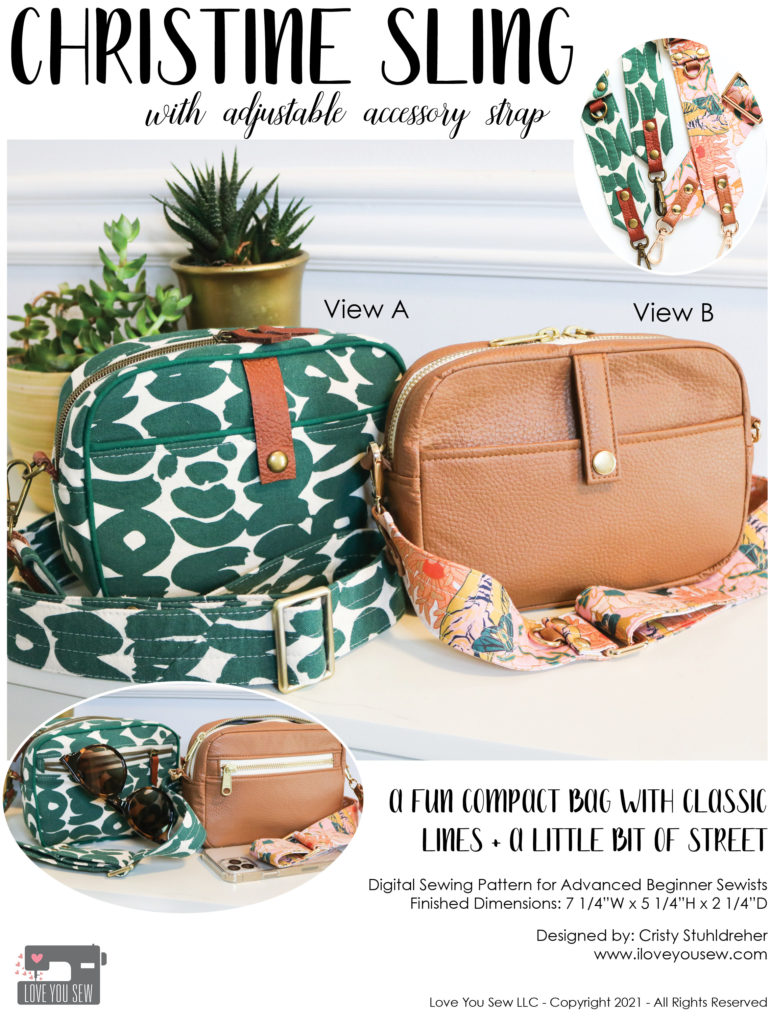
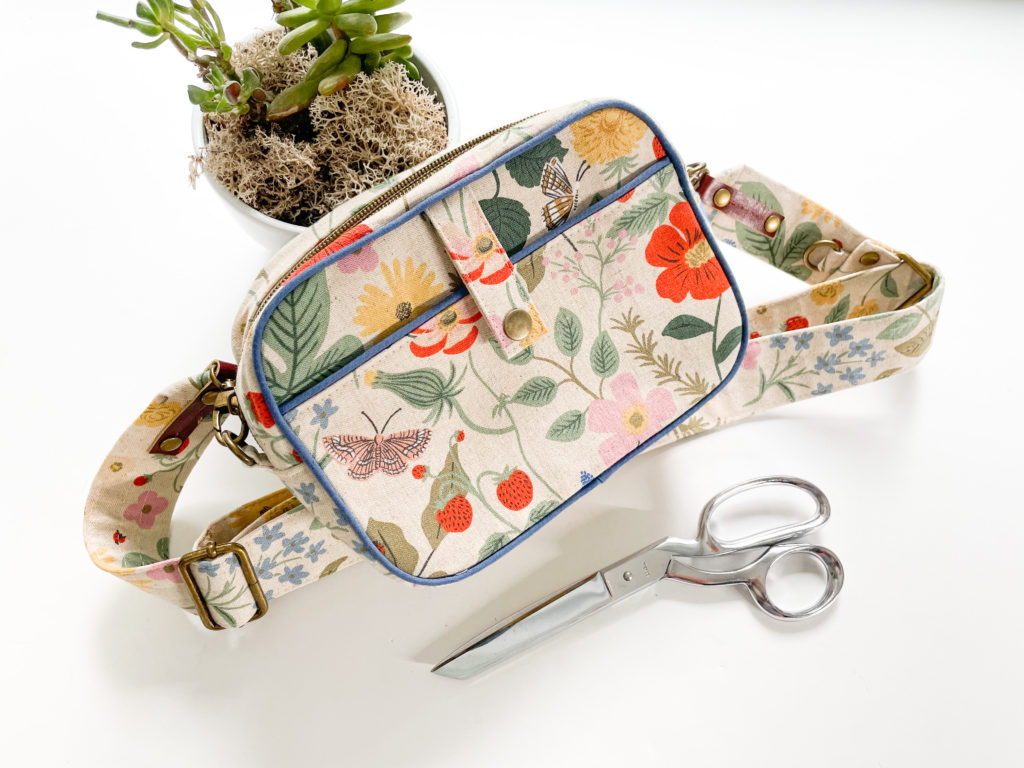
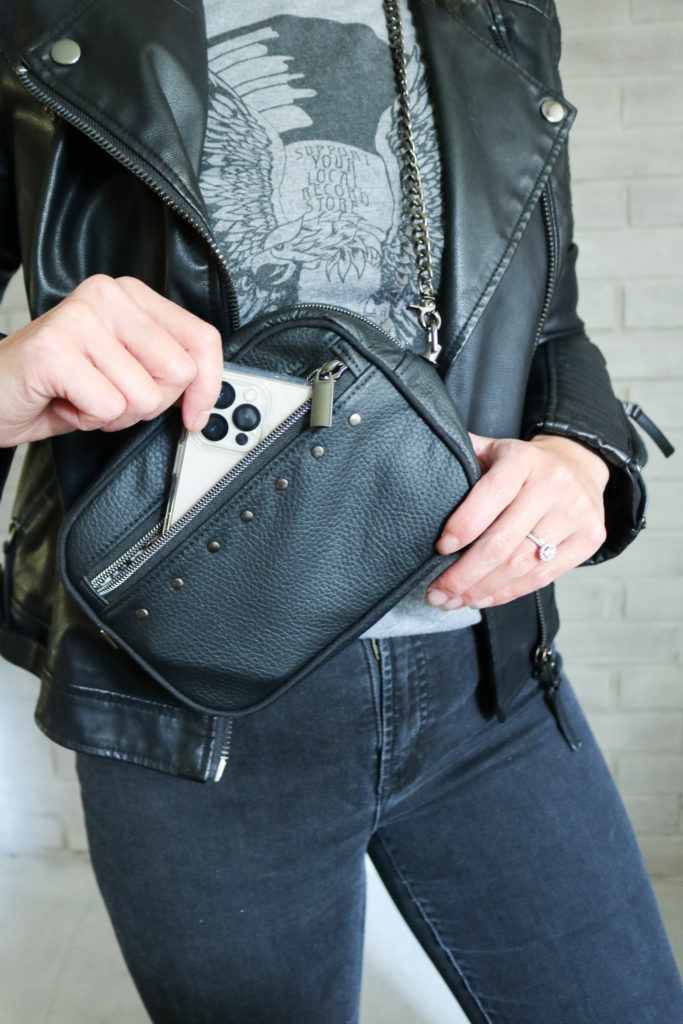
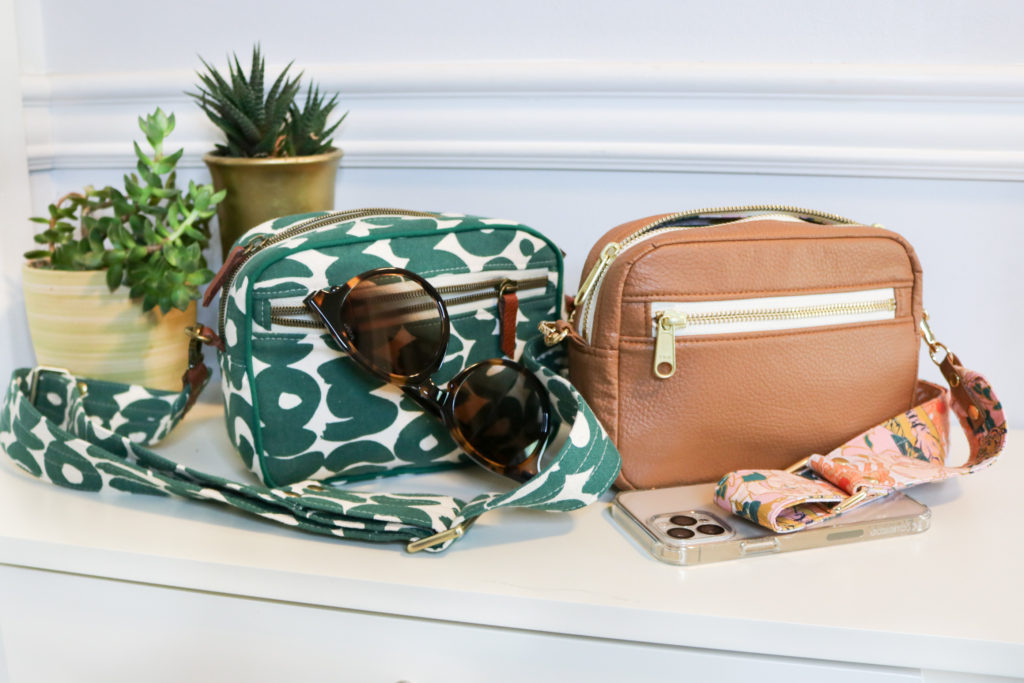
After designing the Christine Sling, I found myself using that bag almost all the time (which also happens after every bag launch…I can’t help it!)  While my “regular” full wallet could fit, it didn’t leave much room for anything else.  I was able to get away with the Shuffle Cardholder for a long time.  But in some recent situations at sporting events, I felt like I could lose the small cardholder since I was constantly in and out of the bag.  So I needed something in between.

Inspiration

I taught a leather stamping class years ago at a local art studio as a social night out…but with hammers!  I used a smaller envelope design and had the students stamp words onto the wallet and onto the wristlet strap we created together.  The wristlet was pretty cute, but too small for my needs.  I knew back then, the envelope design needed to be bigger for more functionality and adding basic wallet card slots and a pocket for bank notes was needed.

As you know, I really like clean lines and classic styling to most of my bags.  I was really drawn into the simplicity of the envelope shape and how something so functional could be made with limited materials — HELLO stash buster!  With the holidays approaching, I love having a gift that can have an impact (especially in some gorgeous leather) but not take a whole week to make.  Time is precious right now!

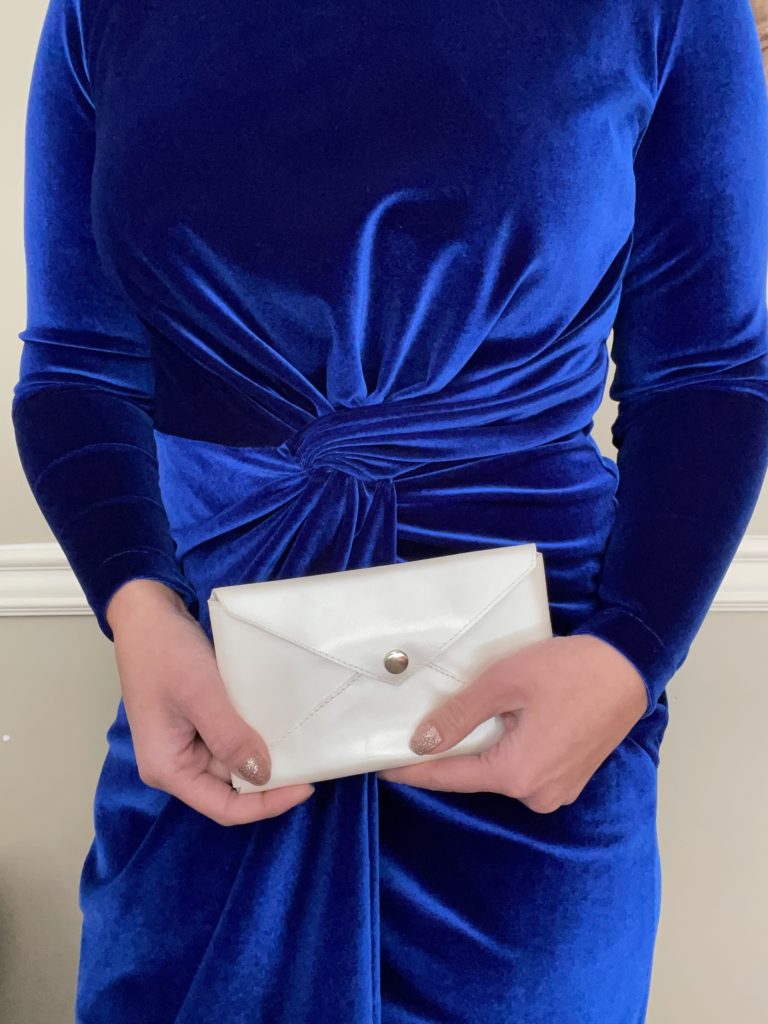
It only seems proper that this chic compact wallet be named after my niece, Audrey.  She is a vibrant young woman is likes to be out on the town and is definitely game to join any adventure.  Audrey is lots of fun to be with and to always have around.  She lives all the way out on the west coast, so I definitely miss her a lot!  She also happens to be engaged with a wedding planned for next summer.  I already know I will HAVE to make a clutch with this design just for the occasion!.
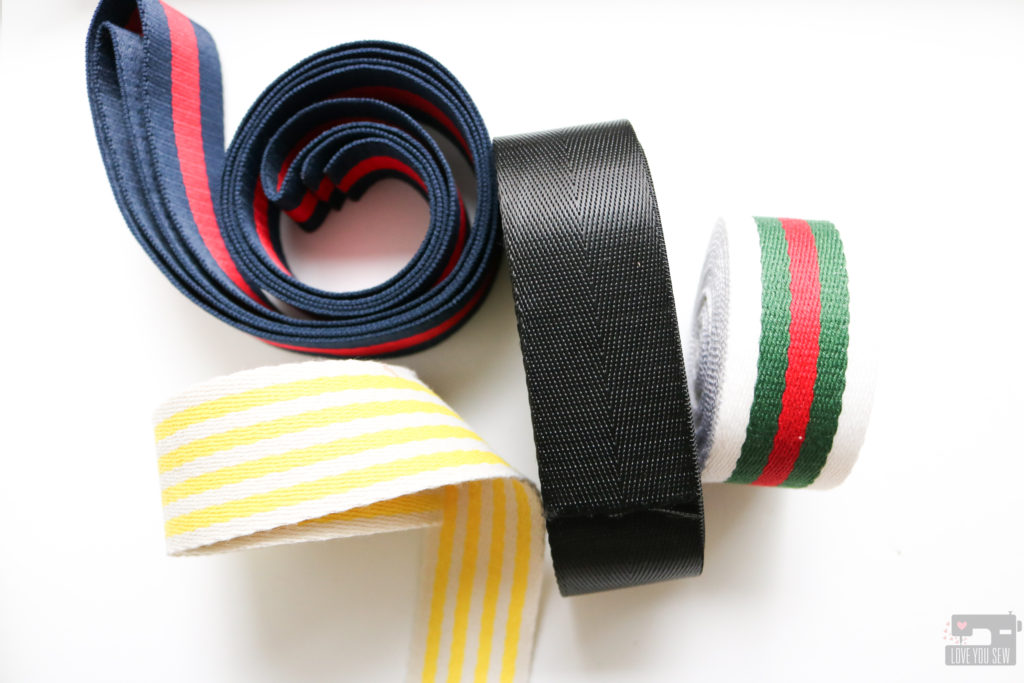
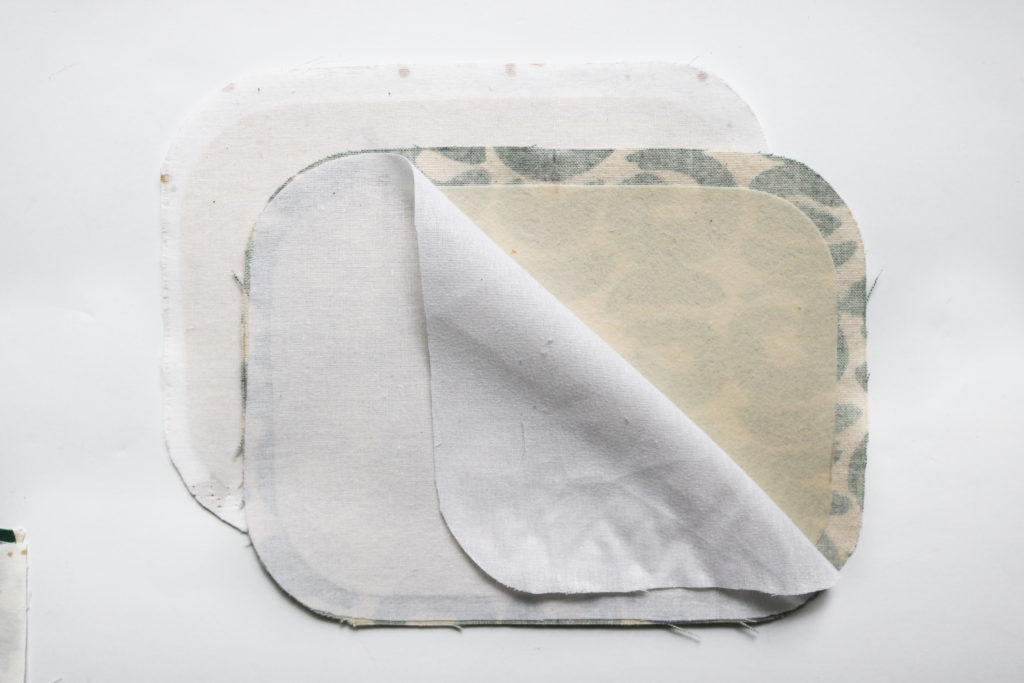
Fabric

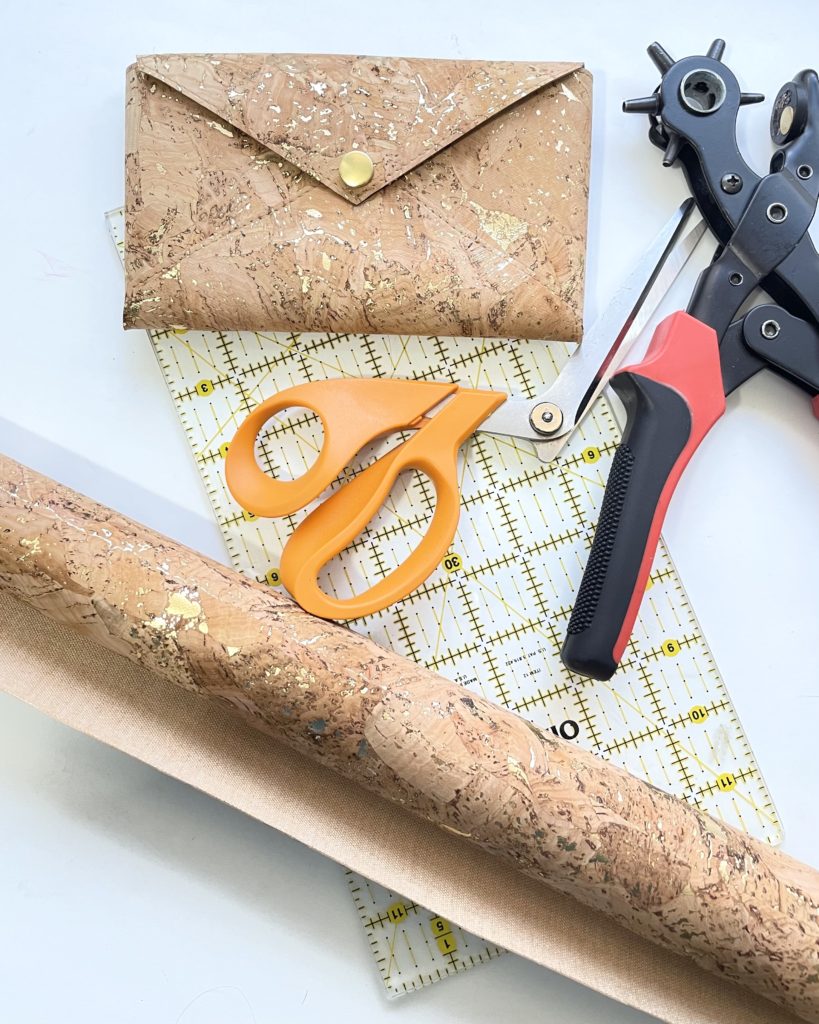
This pattern is written for fabrics which can be left with a raw edge without any additional finishing required. This includes leather, vinyl and cork.  While these substrates can be on the pricey side, the Audrey Envelope Wallet requires very little in material.  If there is no direction to your print or grain, you just need over 1 sq ft of fabric.  This makes it SO great for using up old scraps or upcycling from an old jacket.

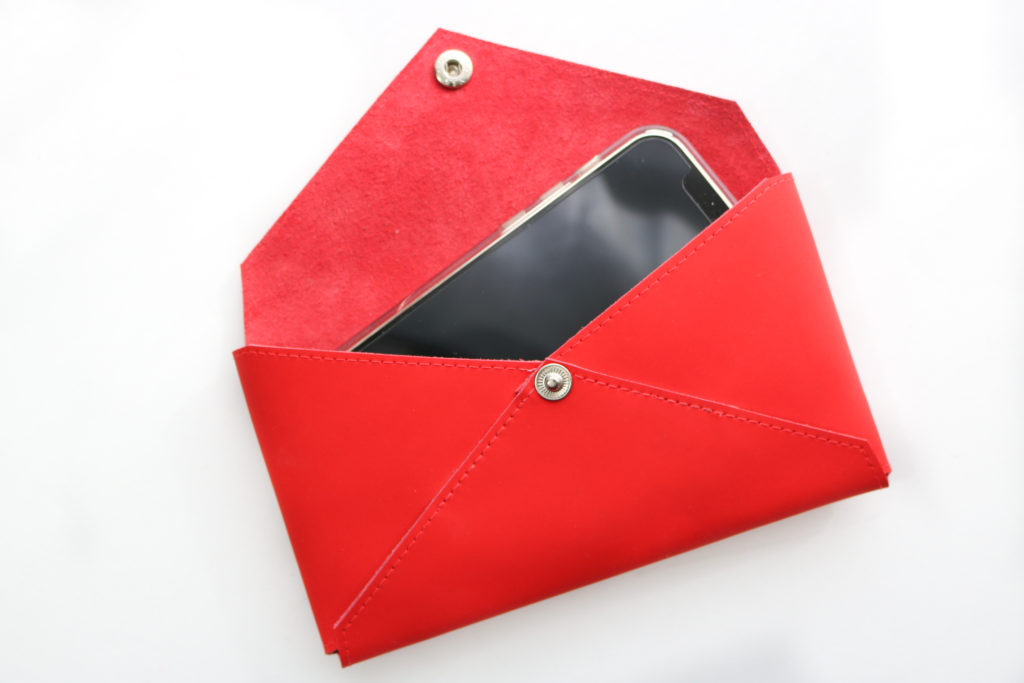
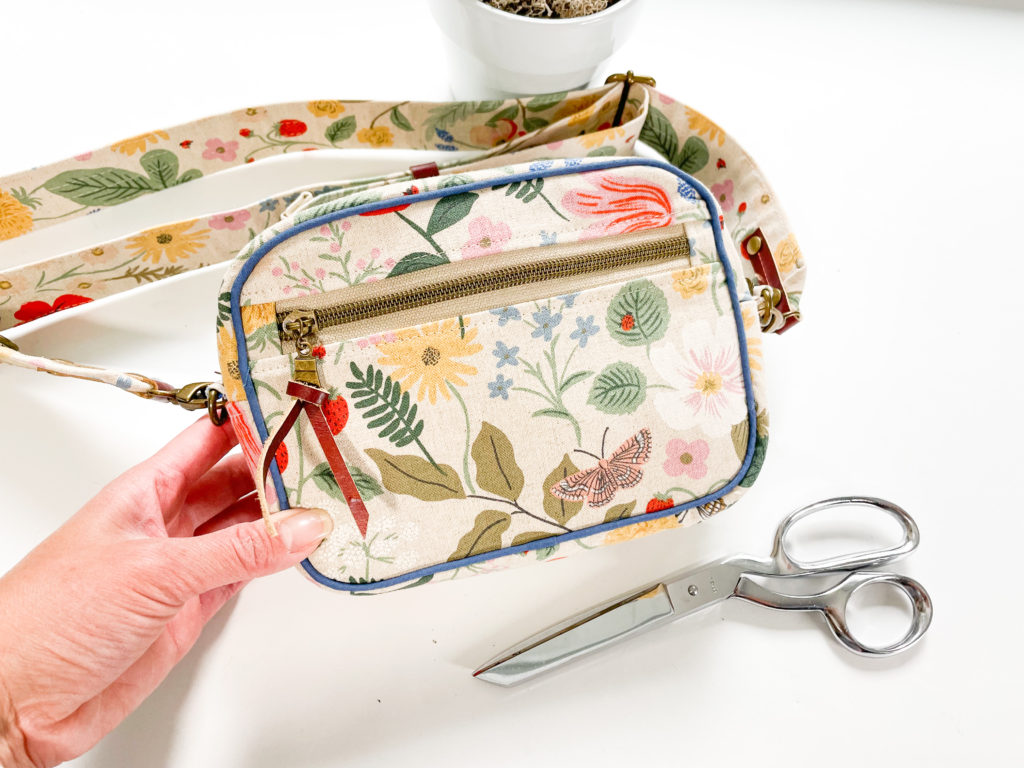
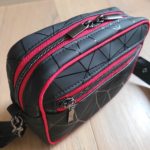
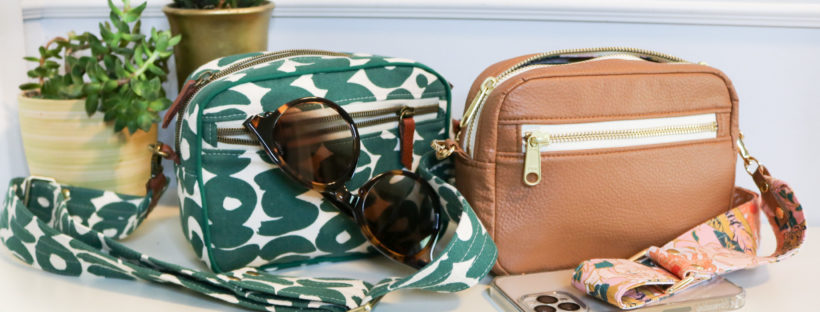
On the cover page, I used a fun Gold-Fleck Cork from Cork and Cloth.  It’s a great high-quality Portuguese cork…I would recommend staying away from any of the cheaper imitations you find at the big box stores.  They tend to flake more than the ones from Portugal.  The other wallet on the cover page (and the one featured in the instructional video) features a Red Matte Firm Temper Leather from Measure Fabrics.  As of the publication of this post, the red version is sold out, but there is a gorgeous cobalt blue hide that’s ready for a maker.  I really loved working with this leather given it’s super smooth finish and firm hand.  It gives the wallet such a nice shape, even when completely empty!
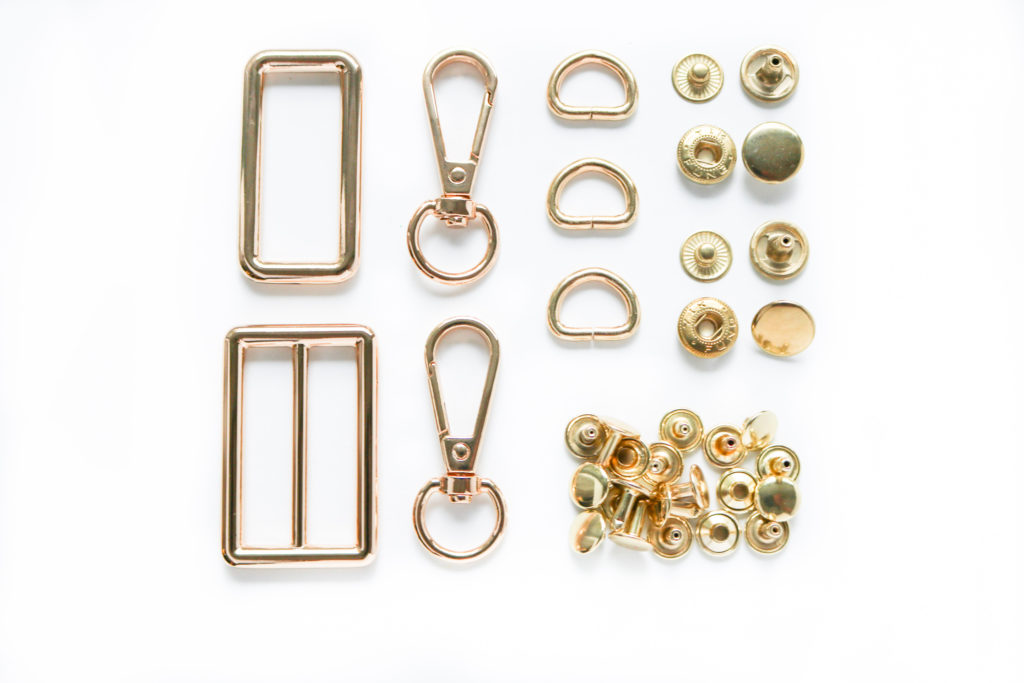
HARDWARE

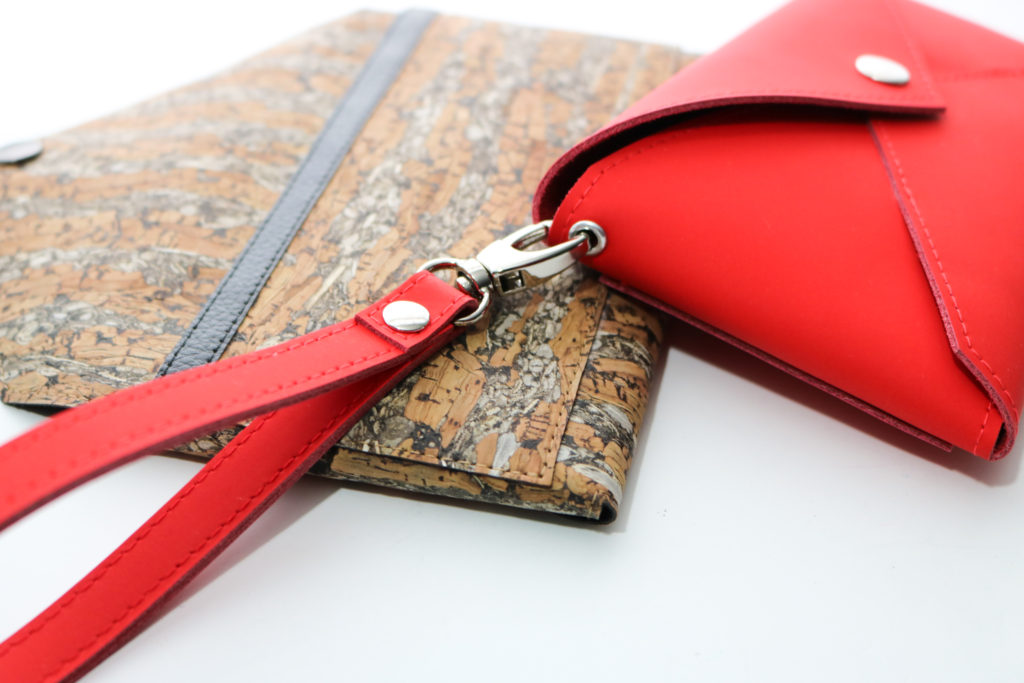
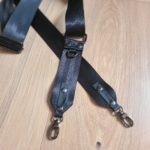
Hacking Ideas: Add a wristlet strap or a contrasting strip to the back pocket

Besides using little material, you only need one fastener for the whole wallet.  In the video and the pattern instructions, I used a set of snaps, but you can easily substitute them for something you have on-hand.  A small turn lock or even button studs would look great with this bag.

As I was playing with the wallet, you can also add an eyelet for a wristlet strap as well.  These are not part of the pattern, but can be easily added for more versatility as a wristlet.  You can even change the card slots with a contrasting fabric or add rivets to help secure the pockets.  There are so many ways hardware can change up the look of Audrey.

Supplemental Video

Since this is a pretty simple pattern of just 6 pages, I already filmed a video to help with construction.  Since the video is for public viewing, you will still need the pattern template for cutting and the instructions for specific measurements.  I hope you enjoy the extra resource to help you through sewing!


I hope all of you enjoy this quick and easy pattern as much I had in developing it!  Who would you gift an Audrey Envelope Wallet to this holiday season?


Happy Sewing!

Cristy


This post may contain affiliate links.  You can read my disclosure here.

Christine Sling Tester Inspiration

The Christine Sling pattern pulls together a classic camera bag silhouette with a modern wide statement strap. The possibilities of fabric combinations are truly endless.  For a full rundown of pattern specifics, including features and where to source materials, check out the Christine Sling Intro here.

TESTER BAGS

As I develop a pattern, there are so many considerations that have to take place.  My first priority is to always make a bag approachable for beginning sewists who have basic domestic machines.  That’s why I like to always like to have full fabric versions of a pattern, but I also like to show more complex versions with other substrates for more advanced bag-makers.  My testing group runs the gambit of experience and I am so appreciative of their knowledge and different skillsets.

Carrie (@carriedwithyou) made not one, but TWO tester versions of the Christine Sling.  Her first make was this sweet floral version with natural cork accents and metal-look nylon zippers.  Then…Carrie went to the other side of the spectrum for a dark and sleek version of the bag using some webbed matte vinyl and incredible red accents. She used seatbelt webbing for the strap giving the whole look some chic vibes!  You can find out her patterns and finished bags for sale at www.carriedwithyou.com.

Maggie (@ms.maggiemakes) is an incredible bag-maker and I love her use of different fabric patterns and color.  Her version of the Christine Sling did not disappoint my expectations at all!  She used this great pink mirror-effect vinyl along with a mix of donut quilt cotton for her bag.  I love the way she using upholstery trim for the piping instead of the “plain” stuff I used.  It makes her bag SO much fun!  Follow her instagram to see her makes…many are for sale too 😉

Mallory (@malloryhillmakes) is a local friend and also my copy-editor.  She makes incredible bags and clothes, which makes her invaluable with technical knowledge.  Her boho version of the Christine is just perfect for everyday!  The leather accents and piping, help to give more depth and framing to the bag.  It will make a statement with any outfit!  You can follow her blog at www.malloryhill.com.

Robbin (@sewfarmquilter) is the newest team member of the testing group.  I have been following her since my quilting days and was so happy to know she wanted to test the Christine! Her version of the bag is very classy and demure on the outside, but pure party on the inside.  I’m a sucker for a wild bag lining (since RTW ones are always boring!) and this one is perfect.  If you can see, Robbin scalloped the edges of her leather accents to add more texture and appeal.  It is such a great look!  Check out all of Robbin’s makes on her instagram.


I’ve said it before and I’ll say it again, but NOTHING is more heart-warming than it is to see my patterns sewn up by all of YOU!  For a full-range of different takes on the Christine Sling, check out the hashtag, #christinesling, on Instagram.  You know I follow it 😉 and LOVE being tagged in all of your makes.

These pictures are so inspirational and I hope you are able to get some ideas when you make your Christine Sling.  Pattern available here.


Happy Sewing,

Cristy

#SewPink 2021 Blog Hop with the Christine Sling

It’s October again and I’m so pleased to be a part of By Annie’s Annual #SewPink Initiative for Breast Cancer Awareness Month.  This is my second year in a row participating in the blog hop to help bring attention to this initiative within the sewing community.  If you want to check out what I made last year, you can find my 2020 post here.

With this past year, I feel that the effects of Breast Cancer are hitting even closer to home ever than before.  I made the milestone birthday of 40 years and made sure to get an appointment for a screening.  But the harsh reality of getting older is also seeing more friends diagnosed with breast cancer and then seeing them go through treatment.  The story that hit closest to me this year was hearing about my “big sister” from my college sorority start her fight to battle breast cancer.  We are the same age and she has four young children to care for.  She is such a strong and beautiful person inside and out who is staying so positive through her care.  It’s truly amazing to see what she is overcoming.


For the #SewPINK blog hop, I wanted to make my latest pattern, the Christine Sling (which was released just less than a month ago!)  You can read up all about her features here.  And of course, I couldn’t help but pick out some fun PINK fabric for the project!  I found this gorgeous Crane fabric by Teresa Chan and it’s symbolism really spoke to me.  In Chinese culture, the crane is the prince of all feathered birds only second to the Pheonix.  It symbolizes longevity and peace – which is what everyone is searching for when struggling through cancer.  They want a long peaceful life and these cranes will hopefully bring that to my “big sister.”

Since I’m using quilt cotton (and NOT following my very own fabric recommendations) for the bag,  I had to make some construction adjustments.  Luckily, I knew I could use some Soft & Stable foam to help build in some pliable structure to the Christine Sling.  I fused woven interfacing on all the quilt cotton before basting it onto Soft & Stable, and then cut out my pattern pieces.  In addition to Soft & Stable, I used the following By Annie products in my bag:

I love all of the black accents to contrast with this soft pink fabric.  The strapping is wonderful to speed up the making process and is durable for everyday wear.  Who doesn’t love how easy nylon is to keep clean as well?!  The antique hardware helps to bring out that ochre outline of the cranes and brings depth to the bag.  I think these elements all help to keep the Christine Sling fresh and modern.  What do you think?

The Christine can be worn over-the-shoulder and across the body.  But for those whose chests maybe tender post surgery, it can also be worn as a fanny pack!  The strap just needs to be adjusted to reflect your waist size when you make it.  I love wearing the Christine this way and the wide strap makes it so comfortable!

The Christine Sling is a great compact bag to carry all of the essentials — especially for doctor appointments and running errands.  In addition to the use of Soft & Stable foam and using the nylon webbing for the strap, I also omitted the back zipper pocket since I knew this bag would be worn more around the waist.  But to add visual interest, I added a 3/4″ accent stripe with faux leather on the front and the back of the Christine.  I also used the same faux leather to bind the front slip pocket.  With the use of quilt cotton, these little additions help to keep the bag elevated.  What’s your favorite detail from this bag?


Don’t forget to check  out all of the other #SewPINK Blog Post participants listed below:

✂ Oct. 1 (Fri):Fat Quarter Shop – The Jolly Jabber

✂ Oct. 2 (Sat):Sallie Tomato

✂ Oct. 4 (Mon): Hugs ‘N Kisses

✂ Oct. 6 (Wed): Sewfinity

✂ Oct. 11 (Mon):Beyond the Reef

✂ Oct. 13 (Wed): Great Heron Thread Co.

✂ Oct. 15 (Fri): Love You Sew [You are here!]

✂ Oct. 15 (Fri): Emmaline Bags

✂ Oct. 16 (Sat): Meadow Mist Designs

✂ Oct. 18 (Mon): OklaRoots

✂ Oct. 20 (Wed): Suzn Quilts

✂ Oct. 20 (Wed): Teresa Coates

✂ Oct. 22 (Fri): Knot and Thread Design

✂ Oct. 23 (Sat): Shannon’s Studio

✂ Oct. 25 (Mon): The Littlest Thistle

✂ Oct. 27 (Thur): Mister Domestic

✂ Oct. 27 (Wed): Sookie Sews 

The #SewPink Initiative was created by ByAnnie.com LLC to raise awareness for breast cancer throughout the year. Our efforts culminate in an annual blog hop during October’s Breast Cancer Awareness Month to promote self-care, awareness, early detection, and support for those affected by breast cancer. 

To learn more and see the calendar of events visit: https://www.ByAnnie.com/SewPINK

To find screenings available near you: 

In addition to participating in the #SewPINK Initiative, Fat Quarter Shop invites you to support the National Breast Cancer Foundation with the goal of raising $10,000. 

To find the Fat Quarter Shop fundraiser visit: https://fundraise.nbcf.org/FatQuarterShop

To learn more about the Breast Cancer Research Foundation visit: https://www.bcrf.org/ 

I hope you all take the time to check out these links and check into your own health.


Happy Sewing,

Cristy


All By Annie’s products used were gifted as part of participation in this blog hop.


Introducing The Christine Sling Pattern

The Christine Sling is definitely the bag I’ve worked on for the longest time.  For many reasons, the development would keep getting pushed, but I always knew it would have some kind of compact cross-body silhouette.  This bag first started off as a very slim phone holder, but with the passing of time, phones kept getting bigger and styles kept changing.  But when bags were being worn more across the chest and mid-back, I knew the sling had to be re-tooled a bit.  I made her a little larger than just a phone holder but still small enough for life on the go.

View B with added Piping

Inspiration

View A with rivet embellishments

With the slowly world opening back up with COVID-19, I knew I still wanted to have a small bag  to run in and out of stores quickly.  But now, our essentials of keys-wallet-cell phones have expanded to include masks and lots of sanitizer.  The depth of the bag had to expand with our needs.

View A with angled tab

On top of this, belt bags are definitely sticking around and I just love the sling look — especially with the accessory strap.  All of my bag patterns teach a different way to make/use a strap and this pattern is no exception.  With everyone using their phones and earbuds, I wanted to keep a quick pocket to hold a phone and the accessory strap to hold a Tiny Sophia Bag with either earbuds or that sanitizer!

Namesake

View A

As with all of my bags designs, they are named after my nieces.  Early on, I knew that Christine’s bag would always be a sling.  One – because it works with her name so well!  And two – when I started designing her bag, she was still in college.  I wanted to design a bag that could be a part of that care-free lifestyle while still being modern and on-trend.  That bag would also HAVE to  work with a busy lifestyle (Christine is also a nurse!) yet, would always be fun and cute like her <3  This bag is a perfect representation of my super funny and incredibly caring Christine.

Features

View A with chain strap

The Christine Sling is a small compact bag perfect for everyday.  It follows what I love in bag design — simple, clean lines with versatile styling and a modern twist.  As the “Sling” part of the name entails, this bag is meant to be worn across the chest or swung around the mid-back.  However, with a quick change of the accessory strap, the Christine can go to a full cross-body or even as a belt bag with adjusted length.  I am ALL about bag versatility!

  • Two Views – This bag includes instructions for two separate views.  View A includes piping and accent fabric for some fun raw-edge contrasting looks.  View B uses the same main fabric throughout for a sleeker look and comes together very quickly without the piping. 
  • Pockets – Both views have zipper and slip pockets which are the same for the exterior and the lining.  They are the perfect size to keep your phone or keys accessible. You can even omit the pockets altogether on the exterior for a classic look or double up the zipper pockets for extra security. 

View A inside out

  • Lining –  The lining uses bias tape to keep seams clean while also providing extra structure.

View B Strap

  • Strap -Both views also include a wide accessory strap for comfort and a D-ring to hold your ear pods or sunglasses. Use contrasting fabric or even some pre-made webbing for a fashionable statement strap!

Assorted Webbings


Fabric

View A + View B

Fabric Requirements:

  • 3/4 yd Main Fabric
  • 1/2 yd  Lining Fabric 
  • Scrap Accent Fabric
  • 2 1/2 yd  Woven Interfacing (e.g. Pellon SF101)  
  • 1/2 yd  Firm Stabilizer (e.g. Vilene or Pellon Decovil light)

This pattern is written for home decor and/or bottom-weight fabrics such as canvas, duck cloth, and denim with weights of ~ 6 oz per square yard or more. The lining is based on quilt cotton and any other fabric with the same weight (~4 oz) can be used such as linen, chambray and twill.  The accent fabric in View A is intended to be left with a raw edge, allowing you to use leather, suede, vinyl, cork or another non-fraying substrate.  This allows you to add some high-end details to elevate your bag.

In my samples bags for the pattern, I used Kokka canvas and Art Gallery Fabrics quilt cottons as my lining and bias tape for View A.  For View B, I used faux leather from BigZ Fabrics.  I like the thickness of this for bag making with pliability and it’s the same product I used for the Megan Bucket Bag.  The interior lining for View B is from Teresa Chan and I’m a big fan of her designs. Be on the lookout for many future projects with her fabrics 😉

I feel a little behind on the times, but I finally got the chance to try out some interfacing I bought from a little while ago*.  Let me tell you, this stuff is A-MAZING.  I used Vilene Decovil light (which is similar to Pellon Decovil.)  Let me tell you, the quality and adhesion is really nice.  I’m definitely a fan from the jump-off and have already ordered more!  But if you can only get material from the big box stores, Pellon products are fine but they won’t have as much structure and strong fusing as these other interfacings.  I say all of this, but it’s all to your own preference.   Always make sure to test other interfacing mixes with fabric swatches to see what you like before cutting.

*You know I always love to share where I source products, but it has recently come to light (11/2021) that this interfacing business has some polarizing views which I do not support in any way.  I have deleted mention of them from this post.

Hardware

Requirements:

  • (2) 1/2” Swivel Clasp
  • (3) 1/2” D-Rings
  • (1) 1 1/2” Slider
  • (1) 1 1/2” Rectangle Ring
  • (10) Sets of Rivets (8 mm post length) + Setting Tools
  • (2) Sets of 12.5 mm Snaps + Setting Tools

The pattern requires the following hardware listed above.  You can grab full kits in my shop here.

If you need help setting rivets, check out my video here.

If you need help setting the snaps, you can head over here.

View A with strap connectors

As a BONUS add-on to my Christine hardware kits, I’m also offering these incredible screw-in strap connectors.  I found them when I was ordering hardware for myself and thought they would be a great thing to introduce to you!  A video to install will follow, but essentially you completely finish the bag minus the (2) D-ring tabs at the zipper.  Once you turn out the bag, you punch holes right below the side gusset stitching and screw on these connectors, adding a little glue to the bolt.  That’s it!  This is a great way to have a professional looking bag.

Notions

View A uses piping which I think really finishes a bag nicely and instantly takes a bag up a level.  Although it take a little more time and patience to sew it in, it’s worth the effort, especially if you can just purchase it.  These ready-made packs are great from your big box stores or from my favorite place for notions, Wawak.

With the Christine, the lining is finished with bias binding which is a first for my bag patterns.  I went through several construction techniques and this is the best way IMO for this type of bag.  With the piping, you want to sew each side separately to feel where you are sewing.  A drop-in lining is possible (I tried it!) but it’s very difficult given how small the bag opening is.  I want you to have a good experience making this bag and I’ll save you the pain!  While sewing the binding takes longer, it is the easier method overall.  The pattern calls for 3/8″ bias tape and you definitely need to use this size because anything bigger will obstruct your zipper opening.  However, you can still purchase the ready-made 1/2″ double-fold packages seen above.  The beauty of this manufacturer is that not all parts of the folds are 1/2″,  so you can open up the tape and re-press so the long sides meet at the center crease.  This will give you 3/8″ double-fold bias tape!

Zippers

I am a HUGE fan of metal-look nylon zippers.  They have the high-end look fo metal teeth, but have all the ease of nylon –which means you can easily cut and sew right over the teeth!   My Handmade Space is one of my favorite spots for zipper kits and Wawak just started carrying them as well, but not with as many color and zipper pull options.

But the only finish I don’t like in nylon is brass.  (For some reason, it’s just way too bright yellow for me.)  I always go back to metal and like these long pull zipper from Wawak.  To make the double pull zipper,  you do need to buy a coverall zipper (that zips in both directions) and I replaced the pulls to match.

I hope you enjoy making and wearing the Christine Sling as much as I had designing it!  Please tag me on Instagram with your makes and post with #ChristineSling so we can enjoy all of these bags!


Happy Sewing!

Cristy

Summer Swimsuit with Pinecrest Fabrics

Right before we leave for vacation, what do we, as sewists, always do?  Pack???  Nah, that makes too much sense….we just sew more clothes!  Isn’t there always one more garment we desperately need to have or else it’ll ruin our trip?  😛  Okay, it may not be that dramatic, but I still wanted a new swimsuit for the family vacation this summer.  There was some extra motivation too, since I received my package from Pine Crest Fabrics riiiight before we were about to leave.  Who can leave gorgeous fabric just sitting there!


FABRIC

I am very fortunate to have worked with Pine Crest Fabrics before with some Athleisurewear and with other swimwear fabrics.  With every make, I’ve been incredibly impressed with these high-quality stretch fabrics.  They are durable, silky smooth and have great recovery with the stretch.  This Pastel Tie-Dye Jungle print is no exception.  It’s a departure from what I would normally wear, but swimsuits are meant to be fun, right?  PCF has an incredible library of prints and can even do custom prints for wholesalers.  I love this indigo-purple color and that tie-dye is SO on trend right now. The scale of the print is perfect for form-fitting apparel…I absolutely love it and can’t wait to make a few extra separates from the scraps I have!

As a repeat maker, testing the feel of all the different base cloths they manufacture is a special honor, especially those which are more sustainable like with this fabric that uses  80% recycled Greenlon (TM) Nylon.  I love to thrift, upcycle and use sustainable fabrics when I’m making new garments, and knowing that Greenlon (TM) uses recycled plastics using in the fibers is just amazing!  On top of that, PCF also meets the following to be eco-friendly:

  • Global Responsibility Standards (GRS) –  This means recycled materials are verified and the production process meets responsible practices.  You can read more here.
  • OEKO-TEX certified to test for harmful substances to human health.  You can read more here.
  • HIGG Index – This is part of the Sustainable Apparel Coalition for moe standardized measurements in the the textile and apparel industries.  You can read more here.

On top of feeling good about all of these certifications, this fabric is STILL absolutely amazing in its weight, hand and feel.  The four-way stretch is strong which allows for full movement, but also has great recovery and compression.  The fabric is completely opaque, so if you wanted to make leggings or bike shorts, they would be squat-proof too.  I like the cool feel from this base cloth and it’s silky enough that I don’t worry about chafing…especially during a long day in a wet suit!

Mystery deadstock fabric with Pine Crest Fabrics solid lining

I’ve sewed with a lot of spandex fabrics with good experiences and some that didn’t live up to my expectations.  I made a swimsuit (picture above) using some deadstock fabric I purchased a few years back, so origin and content is a mystery.  I loved the print and was happy to buy something that was overstock from a manufacturer.  However, I did a lot of indoor swimming over the winter and my lap suit was ravaged by the chlorine.  You can see that It went from navy to orange in the center of the print!  But if you check out that solid navy lining — it’s Pine Crest!  The navy blue is still as saturated as day one.  This is a true testament to the quality and high chlorine resistance!  It’s just a bummer that I have to toss this suit before the construction and/or fit deteriorated…


PATTERN

After having my babies, I mostly wear full bathing suits during the hot months.  It keeps me covered where I like to be covered, but still allows me to easily play and swim with my kids.  After finding the Violet Swimsuit by Laela Jeyne Patterns, I knew I wanted to try it out first with the plain V-neck (and then later with a ruffle.)  I used this suit as my wearable muslin/toile while I tried out this pattern for the very first time.

The Violet Swimsuit has two views featuring a faux crossover neckline with and without a ruffle.  There is also a cut out variation at the side of waistline for some extra style.  All edges are bound and the suit is fully lined.  You can select from a high or low scooped back and I opted for the lower style…Can you tell I don’t usually wear one with that tan line???  I love the construction technique for removable pads and love that this suit has different templates going from A-E cups.  The pattern fits up to a 49.5″ bust and up to a 47″ high hip.

Details and Modifications:

  • I measured 10 in the Bust and Waist; 12 in the Hips – graded out the pattern to fit
  • Used the same fabric as the lining
  • Raised each leg opening by 2″ – Since I’m short, I prefer suits to not cut off my leg at it’s widest point (making me look even shorter.)   So, I prefer a higher leg to give an illusion of extra length.
  • Added 1″ to each leg elastic since the leg opening was now larger
  • Increased the seam allowance  1/8″ at the shoulders and at the crotch for a more secure fit
  • For the binding, I sew it to the lining side of the suit first and then flipped it over to the main fabric so I could better control the placement of the topstitch.
  • You will notice in the flat-lay of the suit that I inserted the elastic the wrong way but didn’t catch it until it was too late.  Instead of picking out the seams I let it be and the suit still wears wonderfully!

All of the other swimsuits I’ve made before used elastic to secure the edges and I was so happy to try out this binding method.  Like most suits, you do NOT need a coverstitch machine and can sew one with the basic stitches (and a ball-point needle!) on your domestic machine.  I used a zig-zag stitch and some washable Wonder Tape (aff link)  to help hold the binding evenly as sewed.  *’Just remember that you have to then wash the garment prior to the final fit since it inhibits the stretch.

The faux crossover feature of the suit does require top-stitching to hold it in place and I was pretty stoked to use my “lightning” stitch for the first time.  Yes, I do own a coverstitch, but I certainly don’t always want to spend the time setting it up for 8″ of stitching!  This is a great low-profile stretch stitch and I’m so pleased with how it looks and holds up.

Overall, I’m very pleased with this make.  The fabric and print are phenomenal and I appreciated the cool hand and quick drying after a long day on the lake with my kids.  With new makes, I appreciate lots of notches and that’s the one thing I wish the pattern had….especially with the binding not centered at the back as you would intuitively think would happen.  I also wish the pads sat more evenly in the suit, but once on, it does stay in place.  Buuuut, these little things won’t stop me from making another!  I’ll post up my ruffle version soon!  Have you made any new swimsuits this year?


Happy sewing!

Cristy


These fabrics were gifted to me by Pinecrest Fabrics in exchange for this blog post.  I purchased this pattern to use with the fabric.  All opinions are my own.  

There maybe affiliate links used in this post.  You can read about my disclosures here.