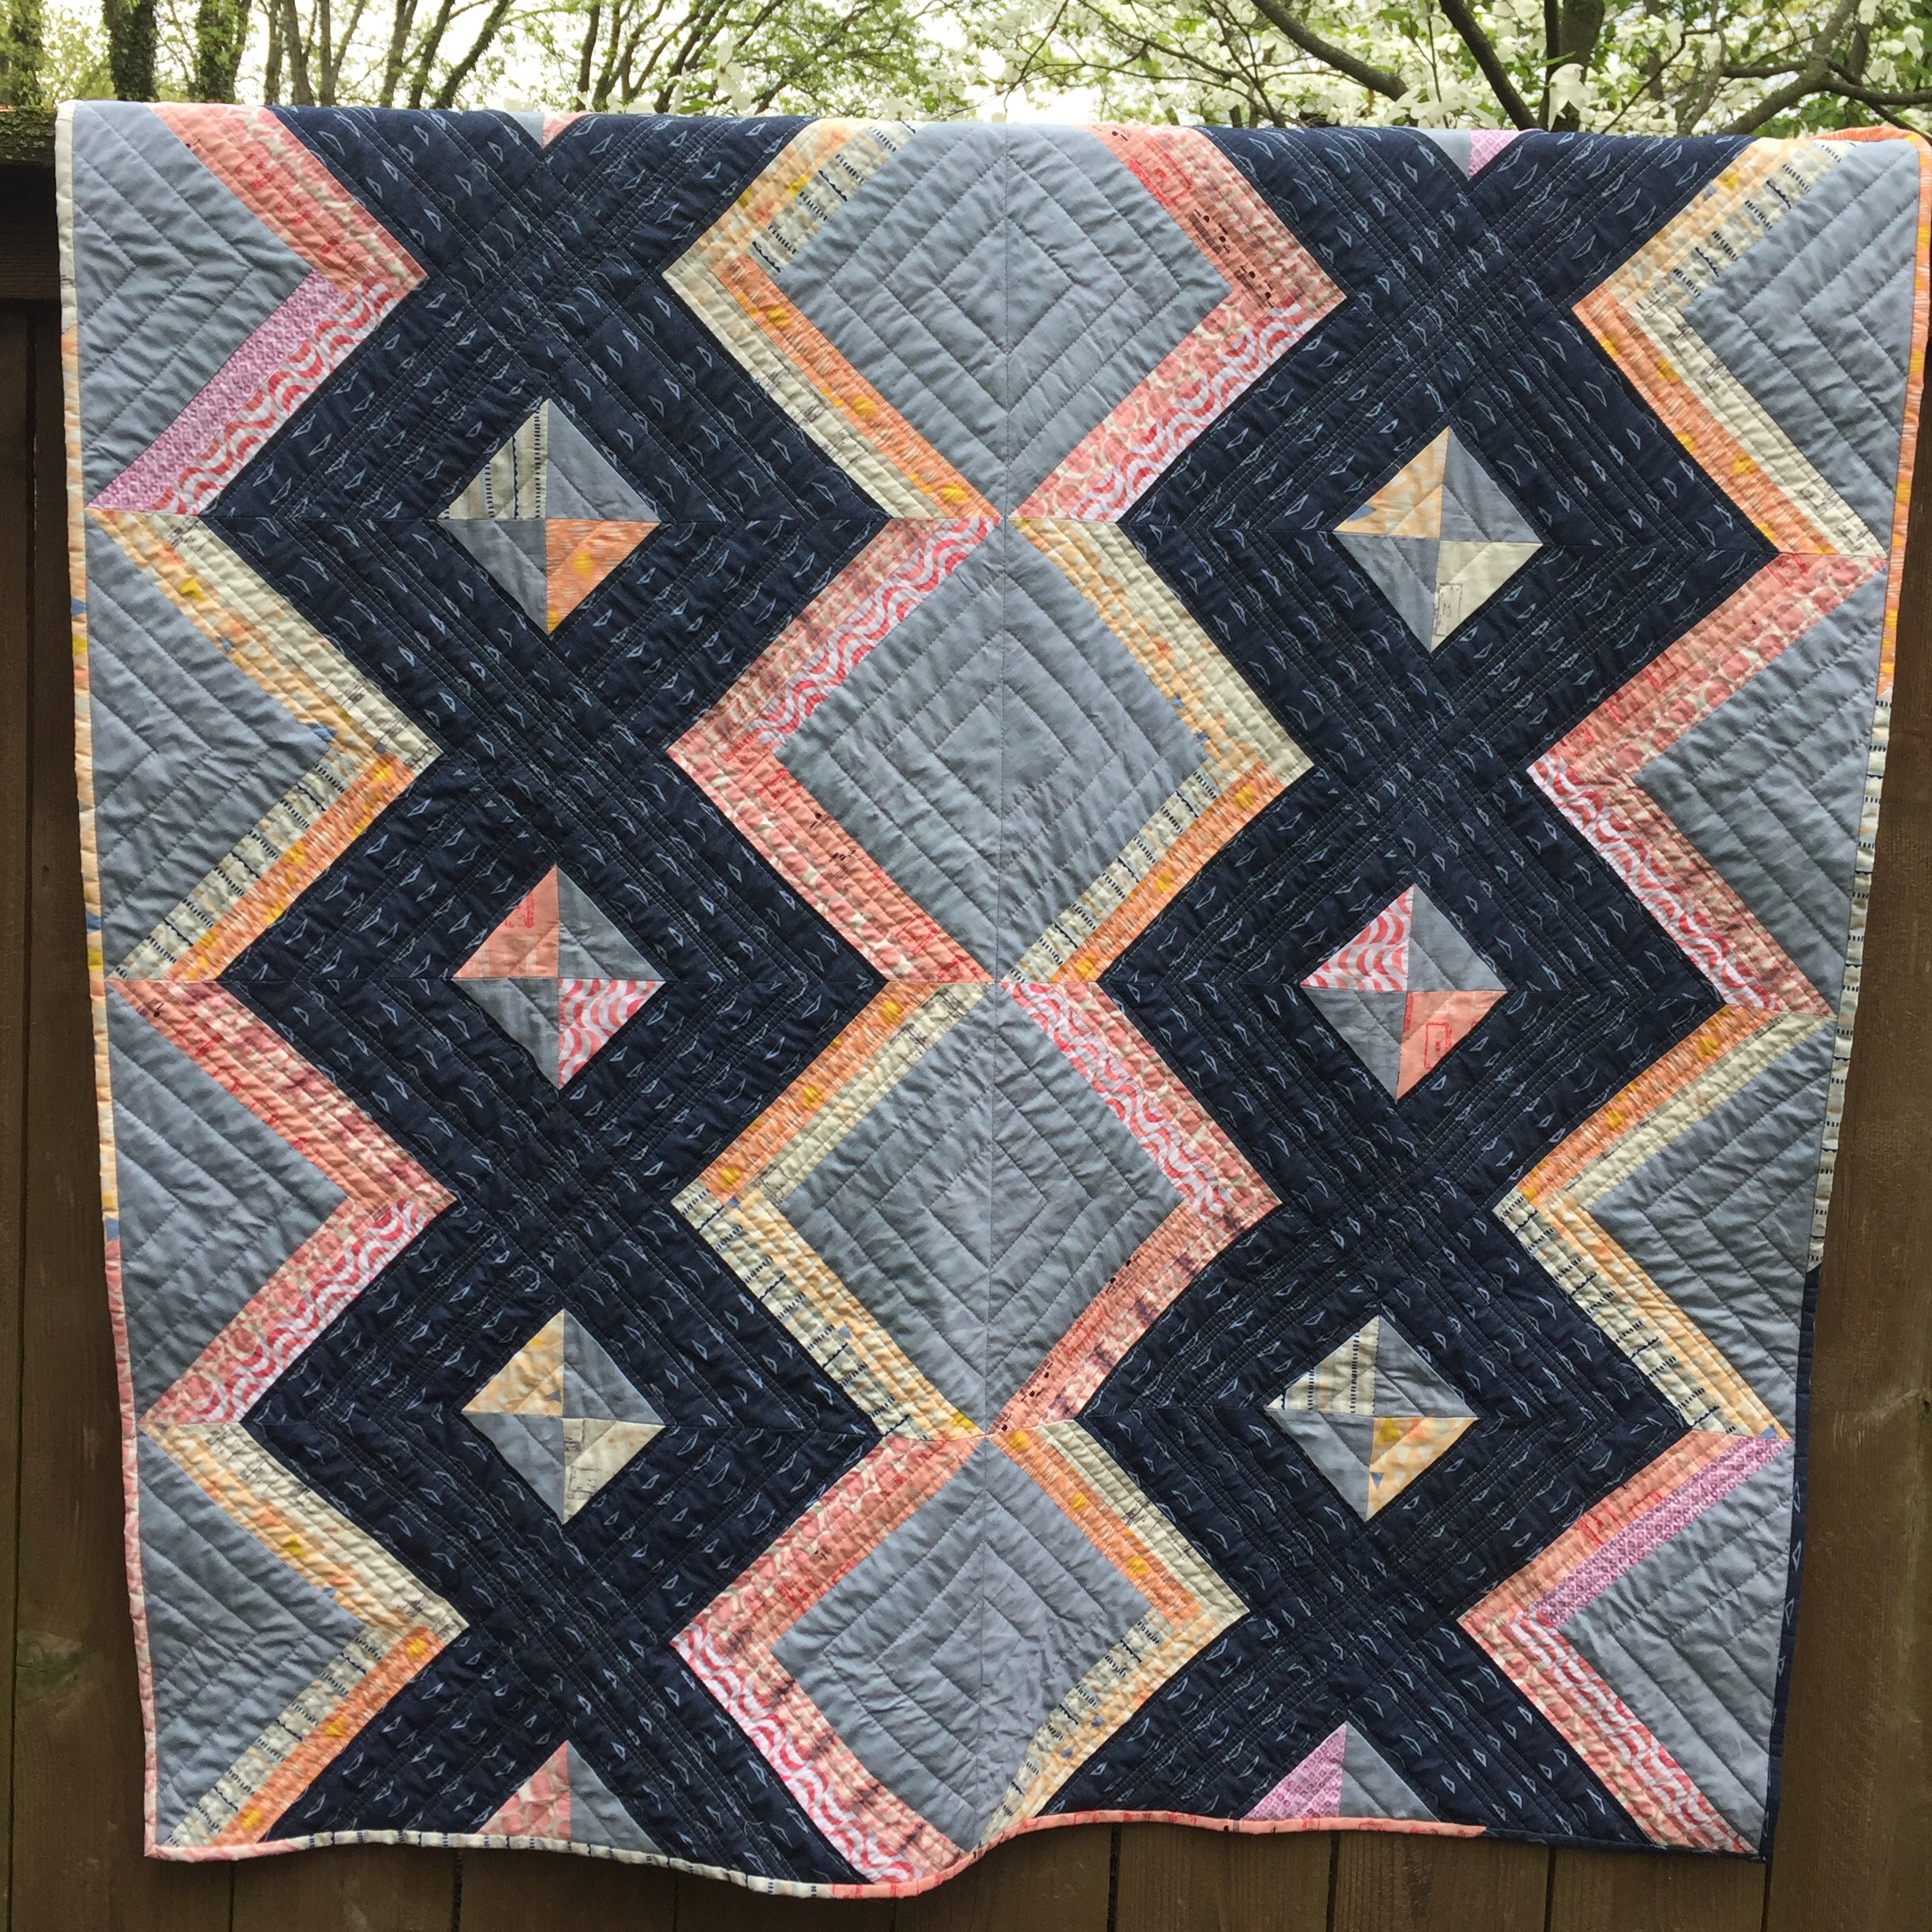
Mountain View Quilt

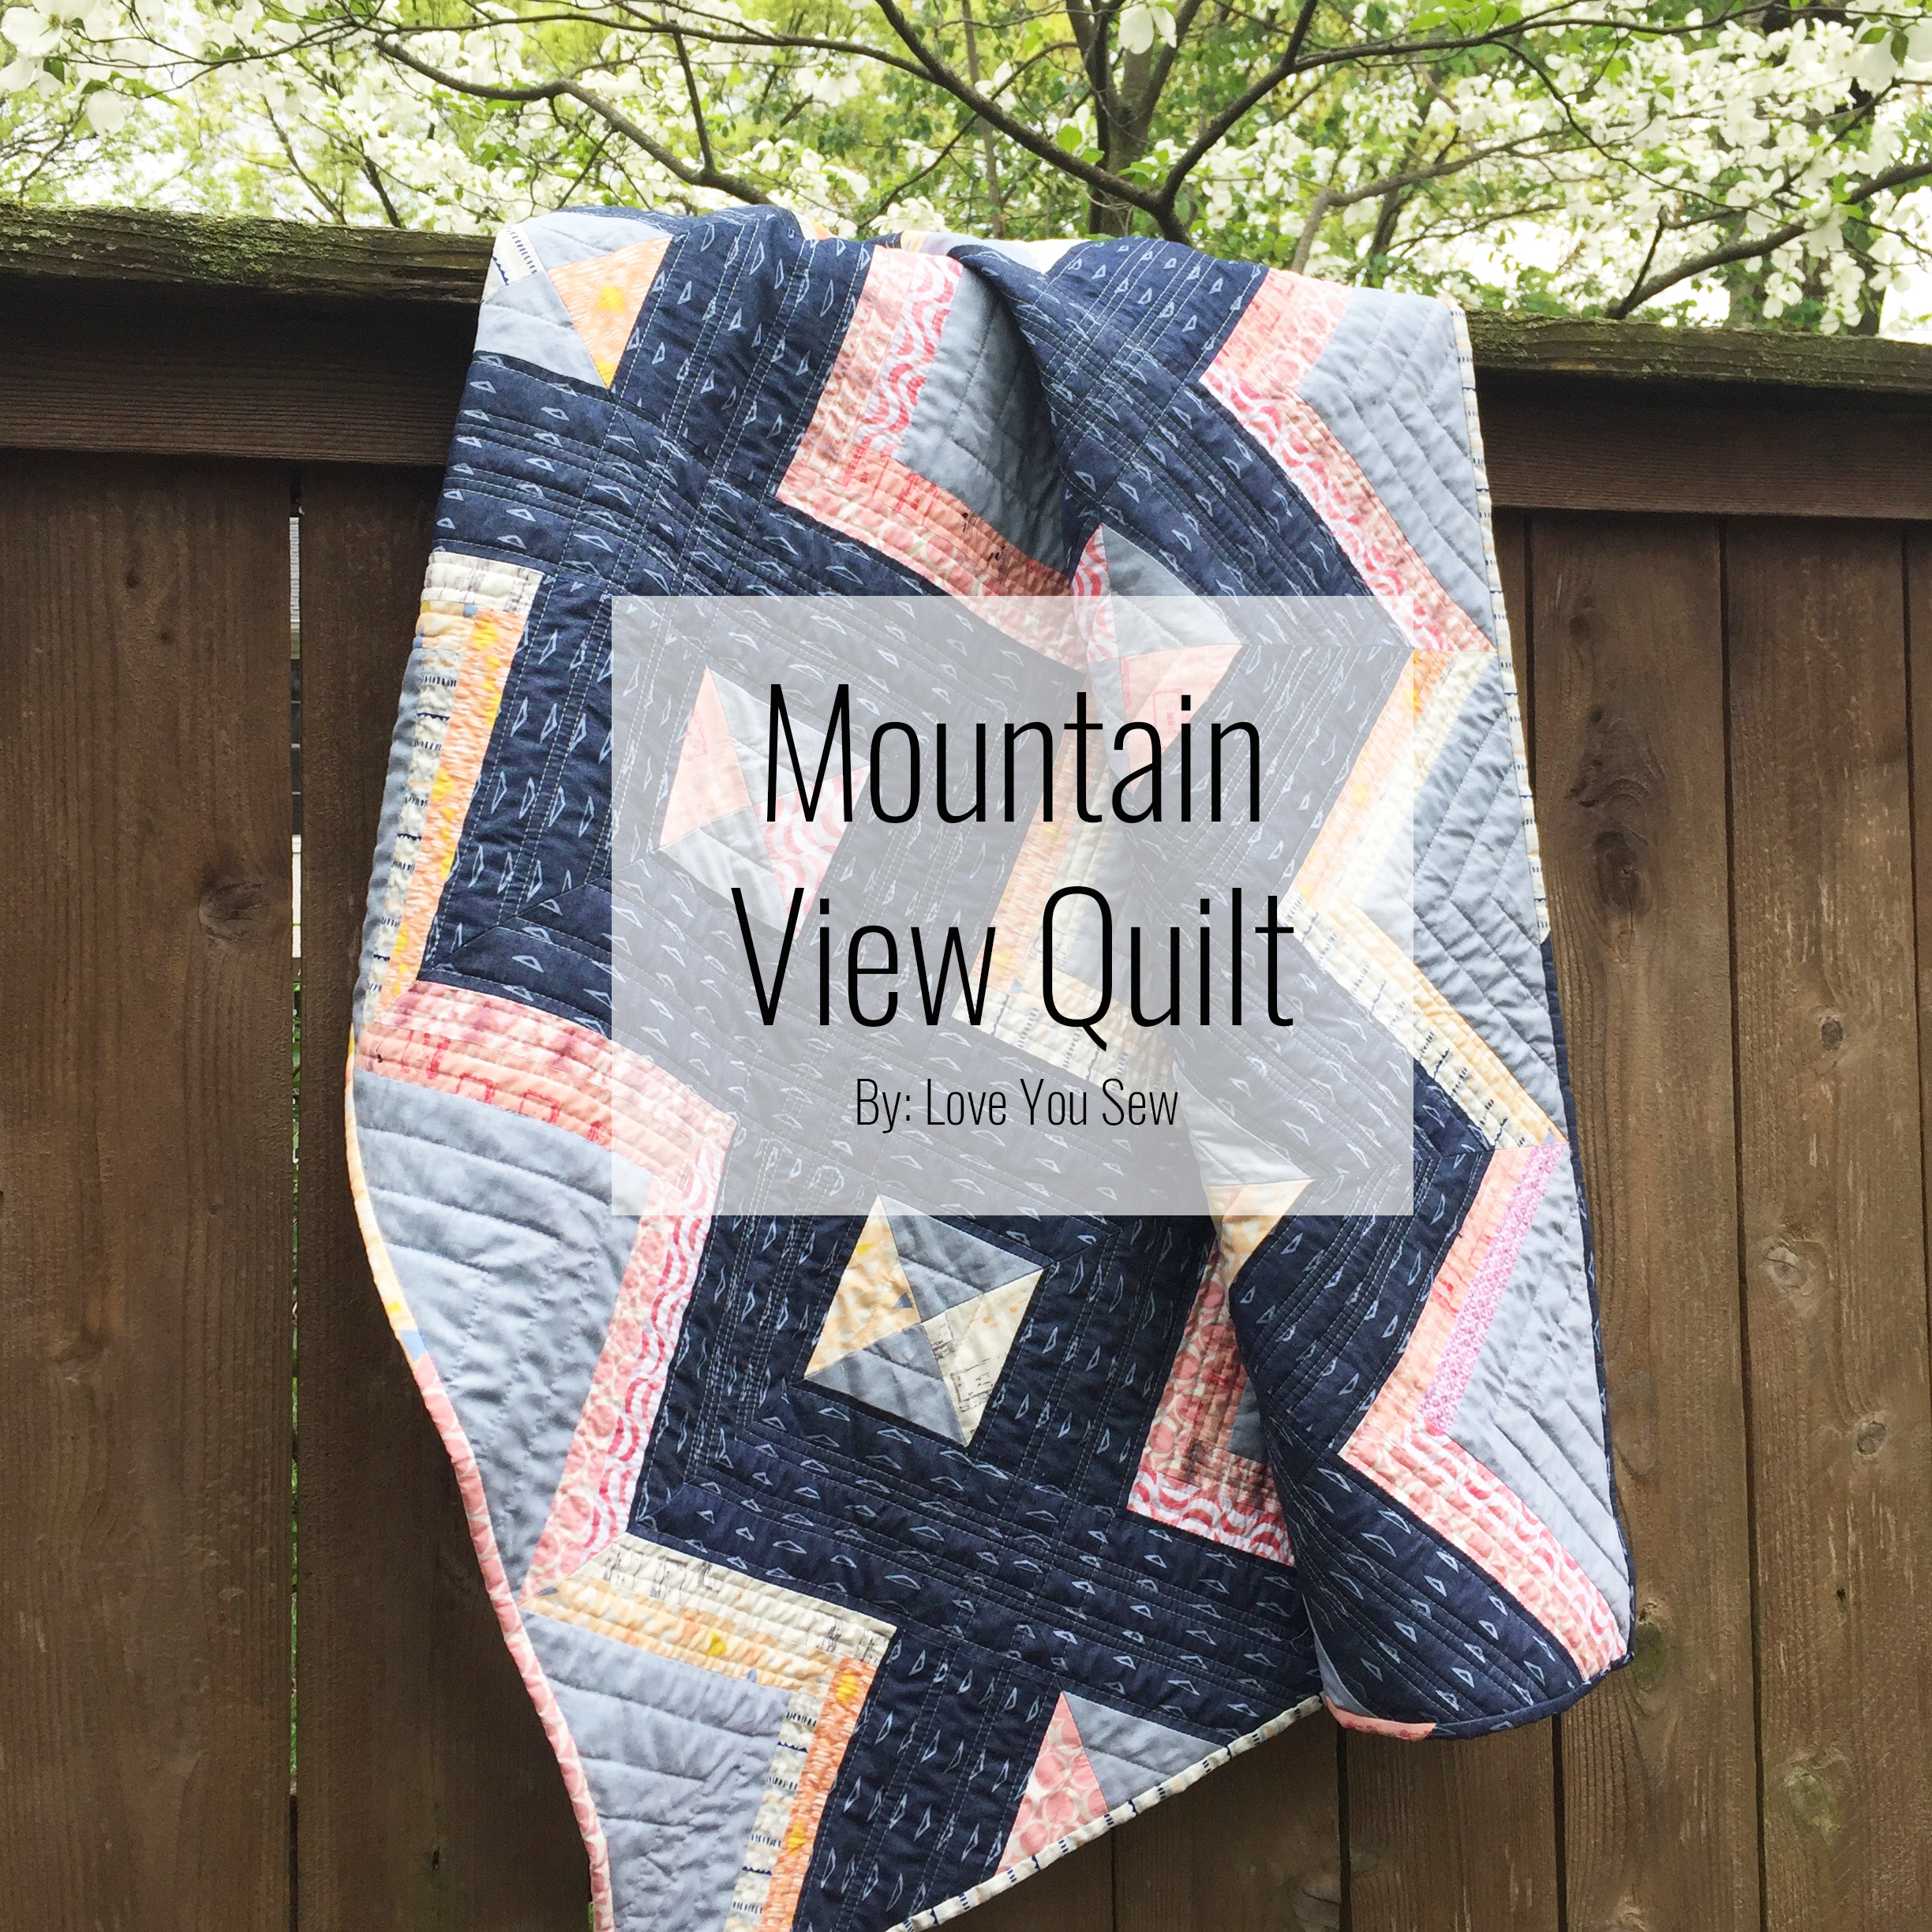
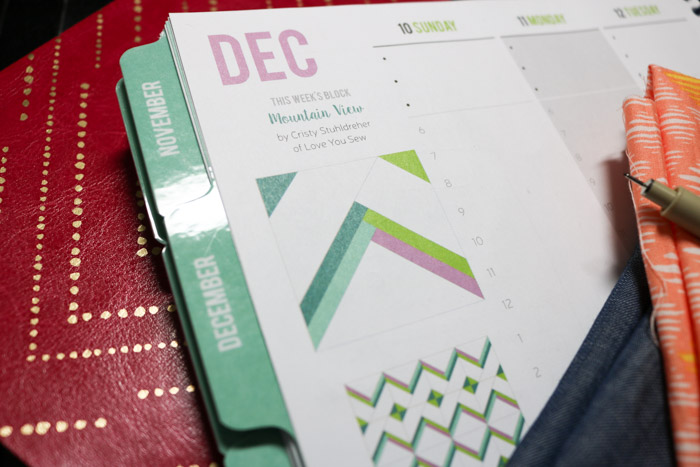
If you are the lucky holder of a 2017 Quilter’s Planner, you might know this is my block week with  “Mountain View.”   If you happened to miss out on the planner, you can still find the instructions to my block here to make your very own Mountain View Quilt and read about the block inspiration.

The Quilter’s planner really helped me organize all my plans with the Project Planner sections.  It’s nice to have a written outline instead of trying to cram everything in my head!  Space is limited there nowadays 🙂

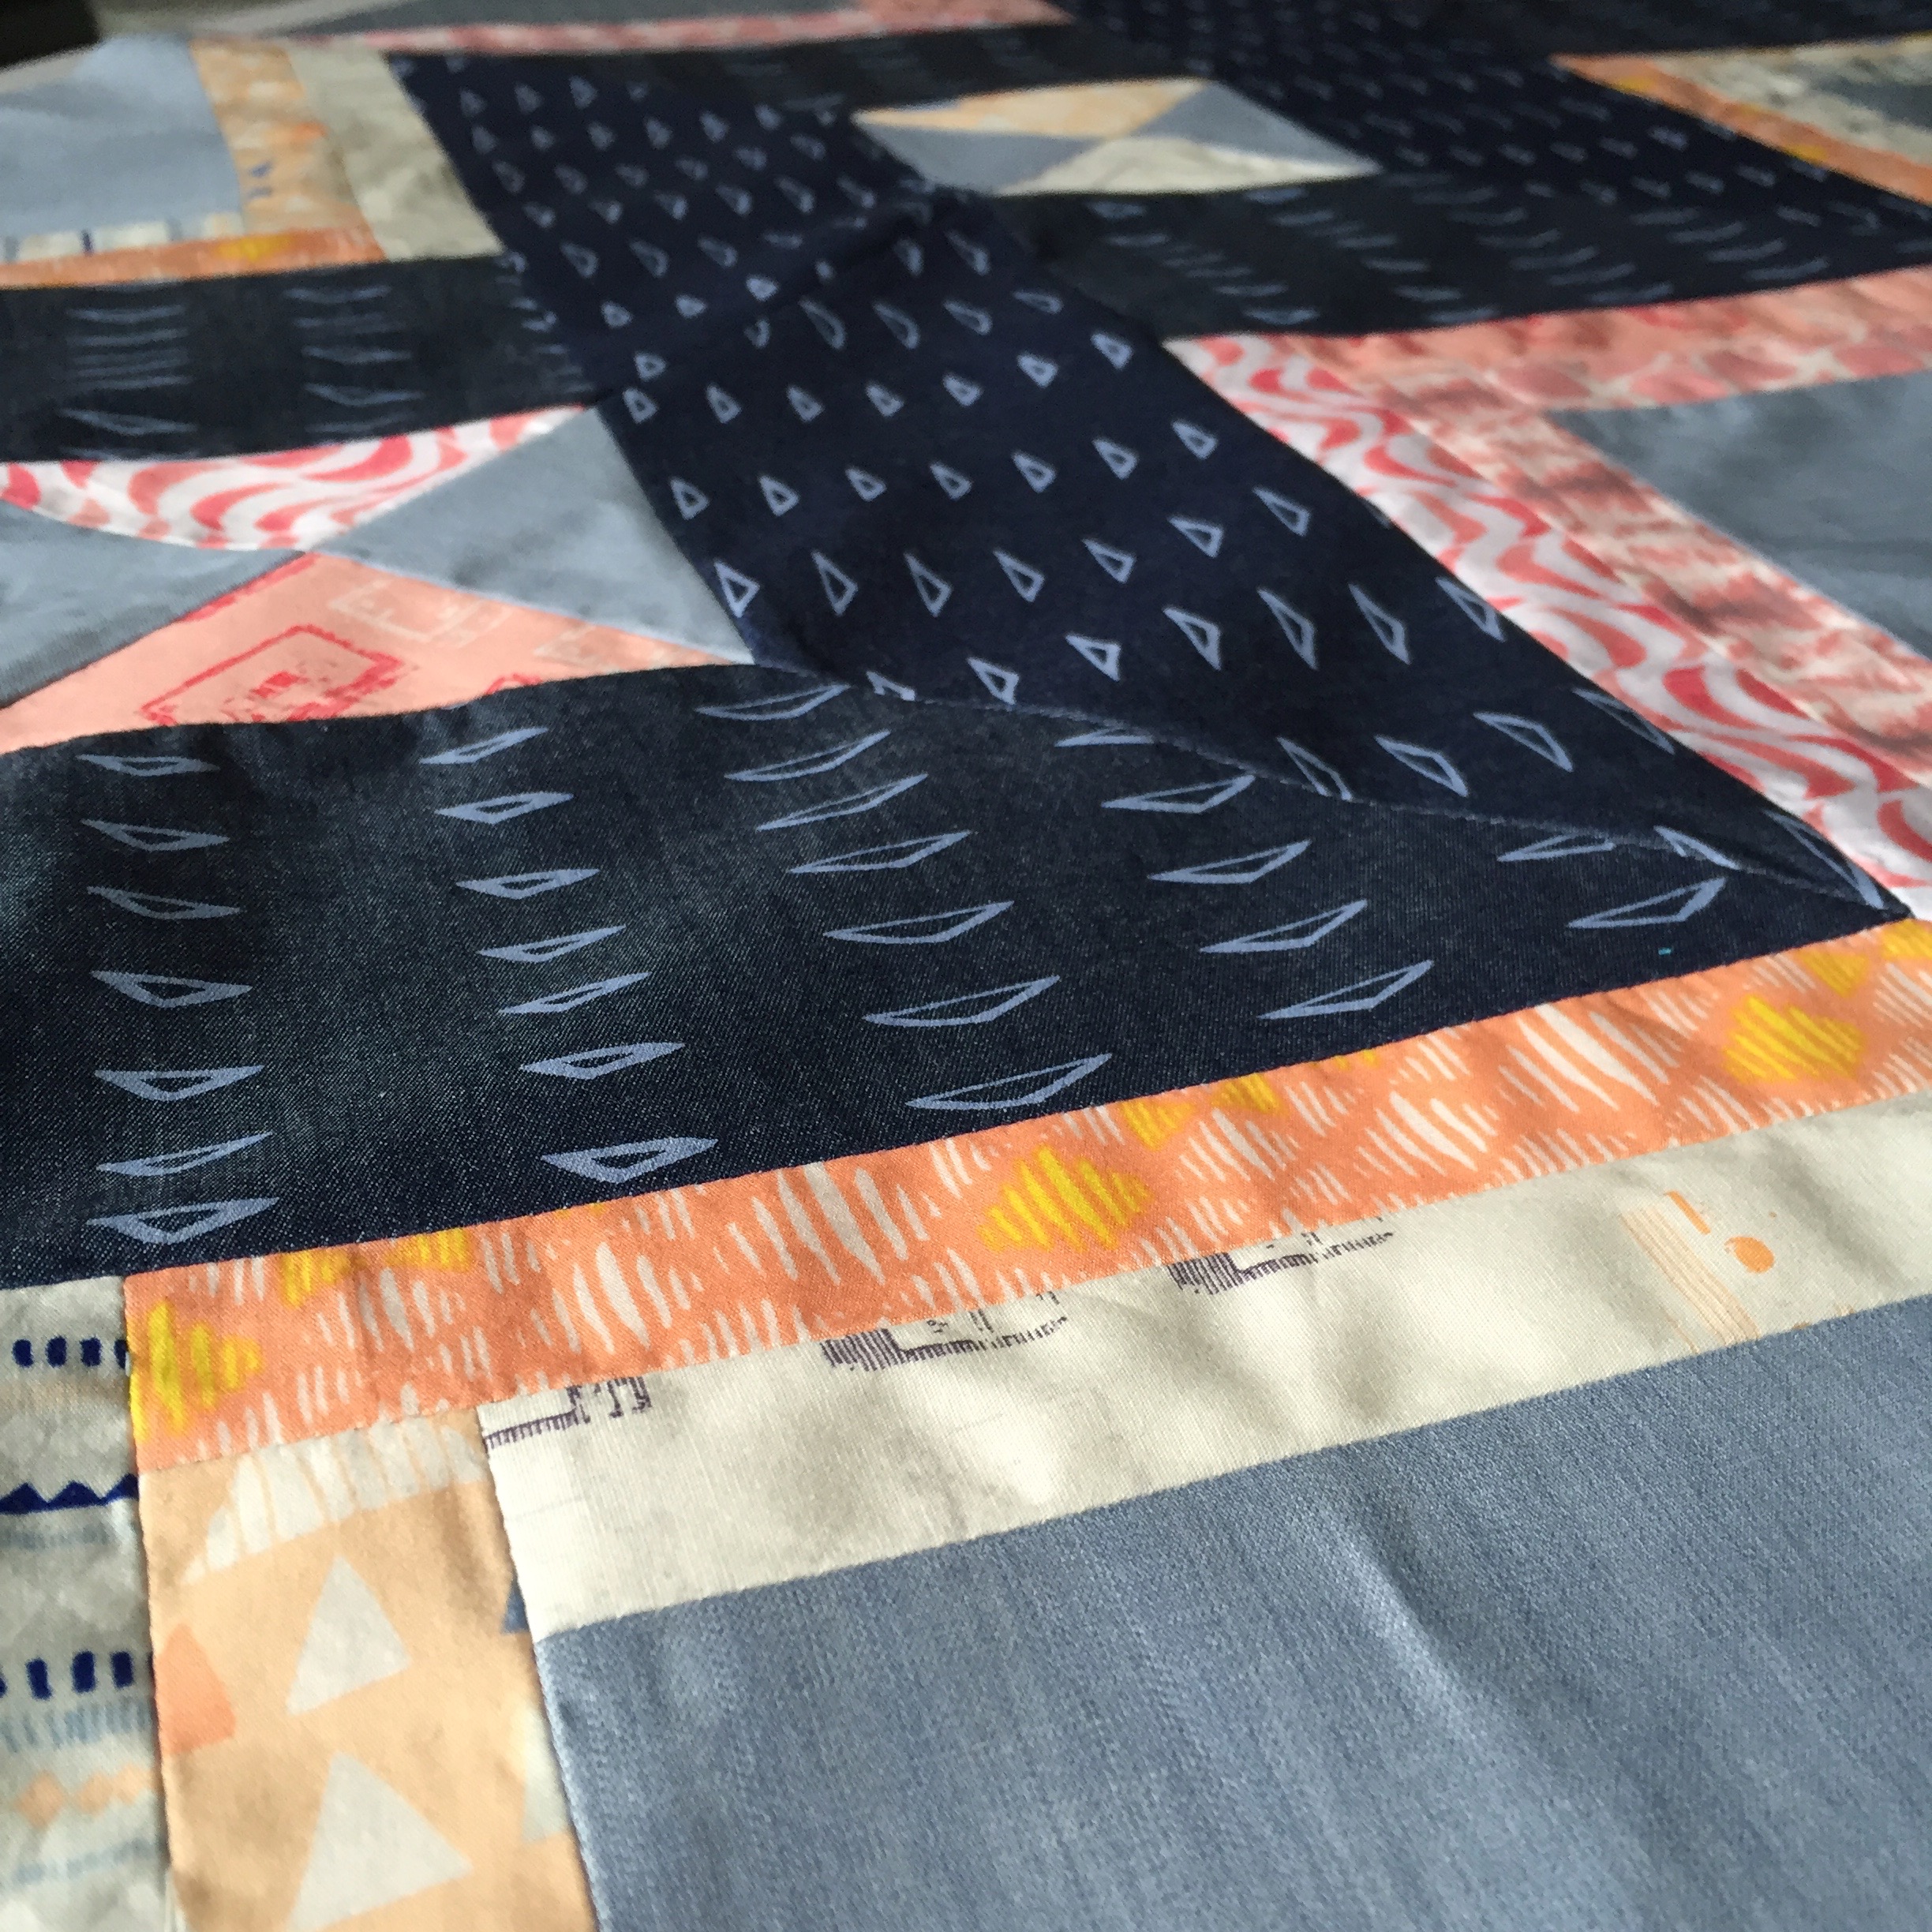
I was lucky to play with some Art Gallery Smooth Denim when it was first released and thought it was perfect for my quilt.  I used the lightweight denim along with some other great assorted Art Gallery prints in peach and pink.


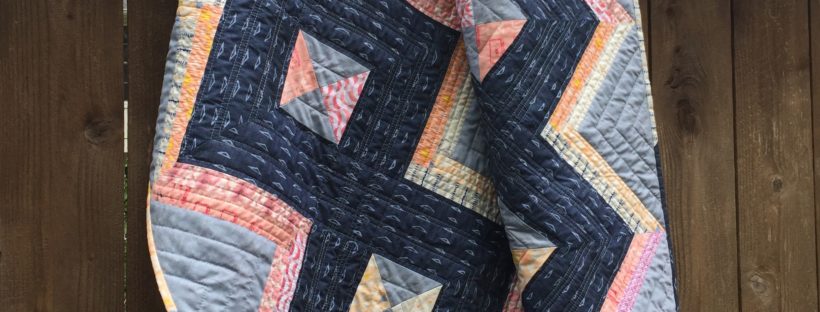
As a lap quilt, the secondary design really comes through and you can see how the profile view (of the single block) becomes an aerial view of the Mountains.  The light blue denim looks like water running through the range and I love how it turned out.

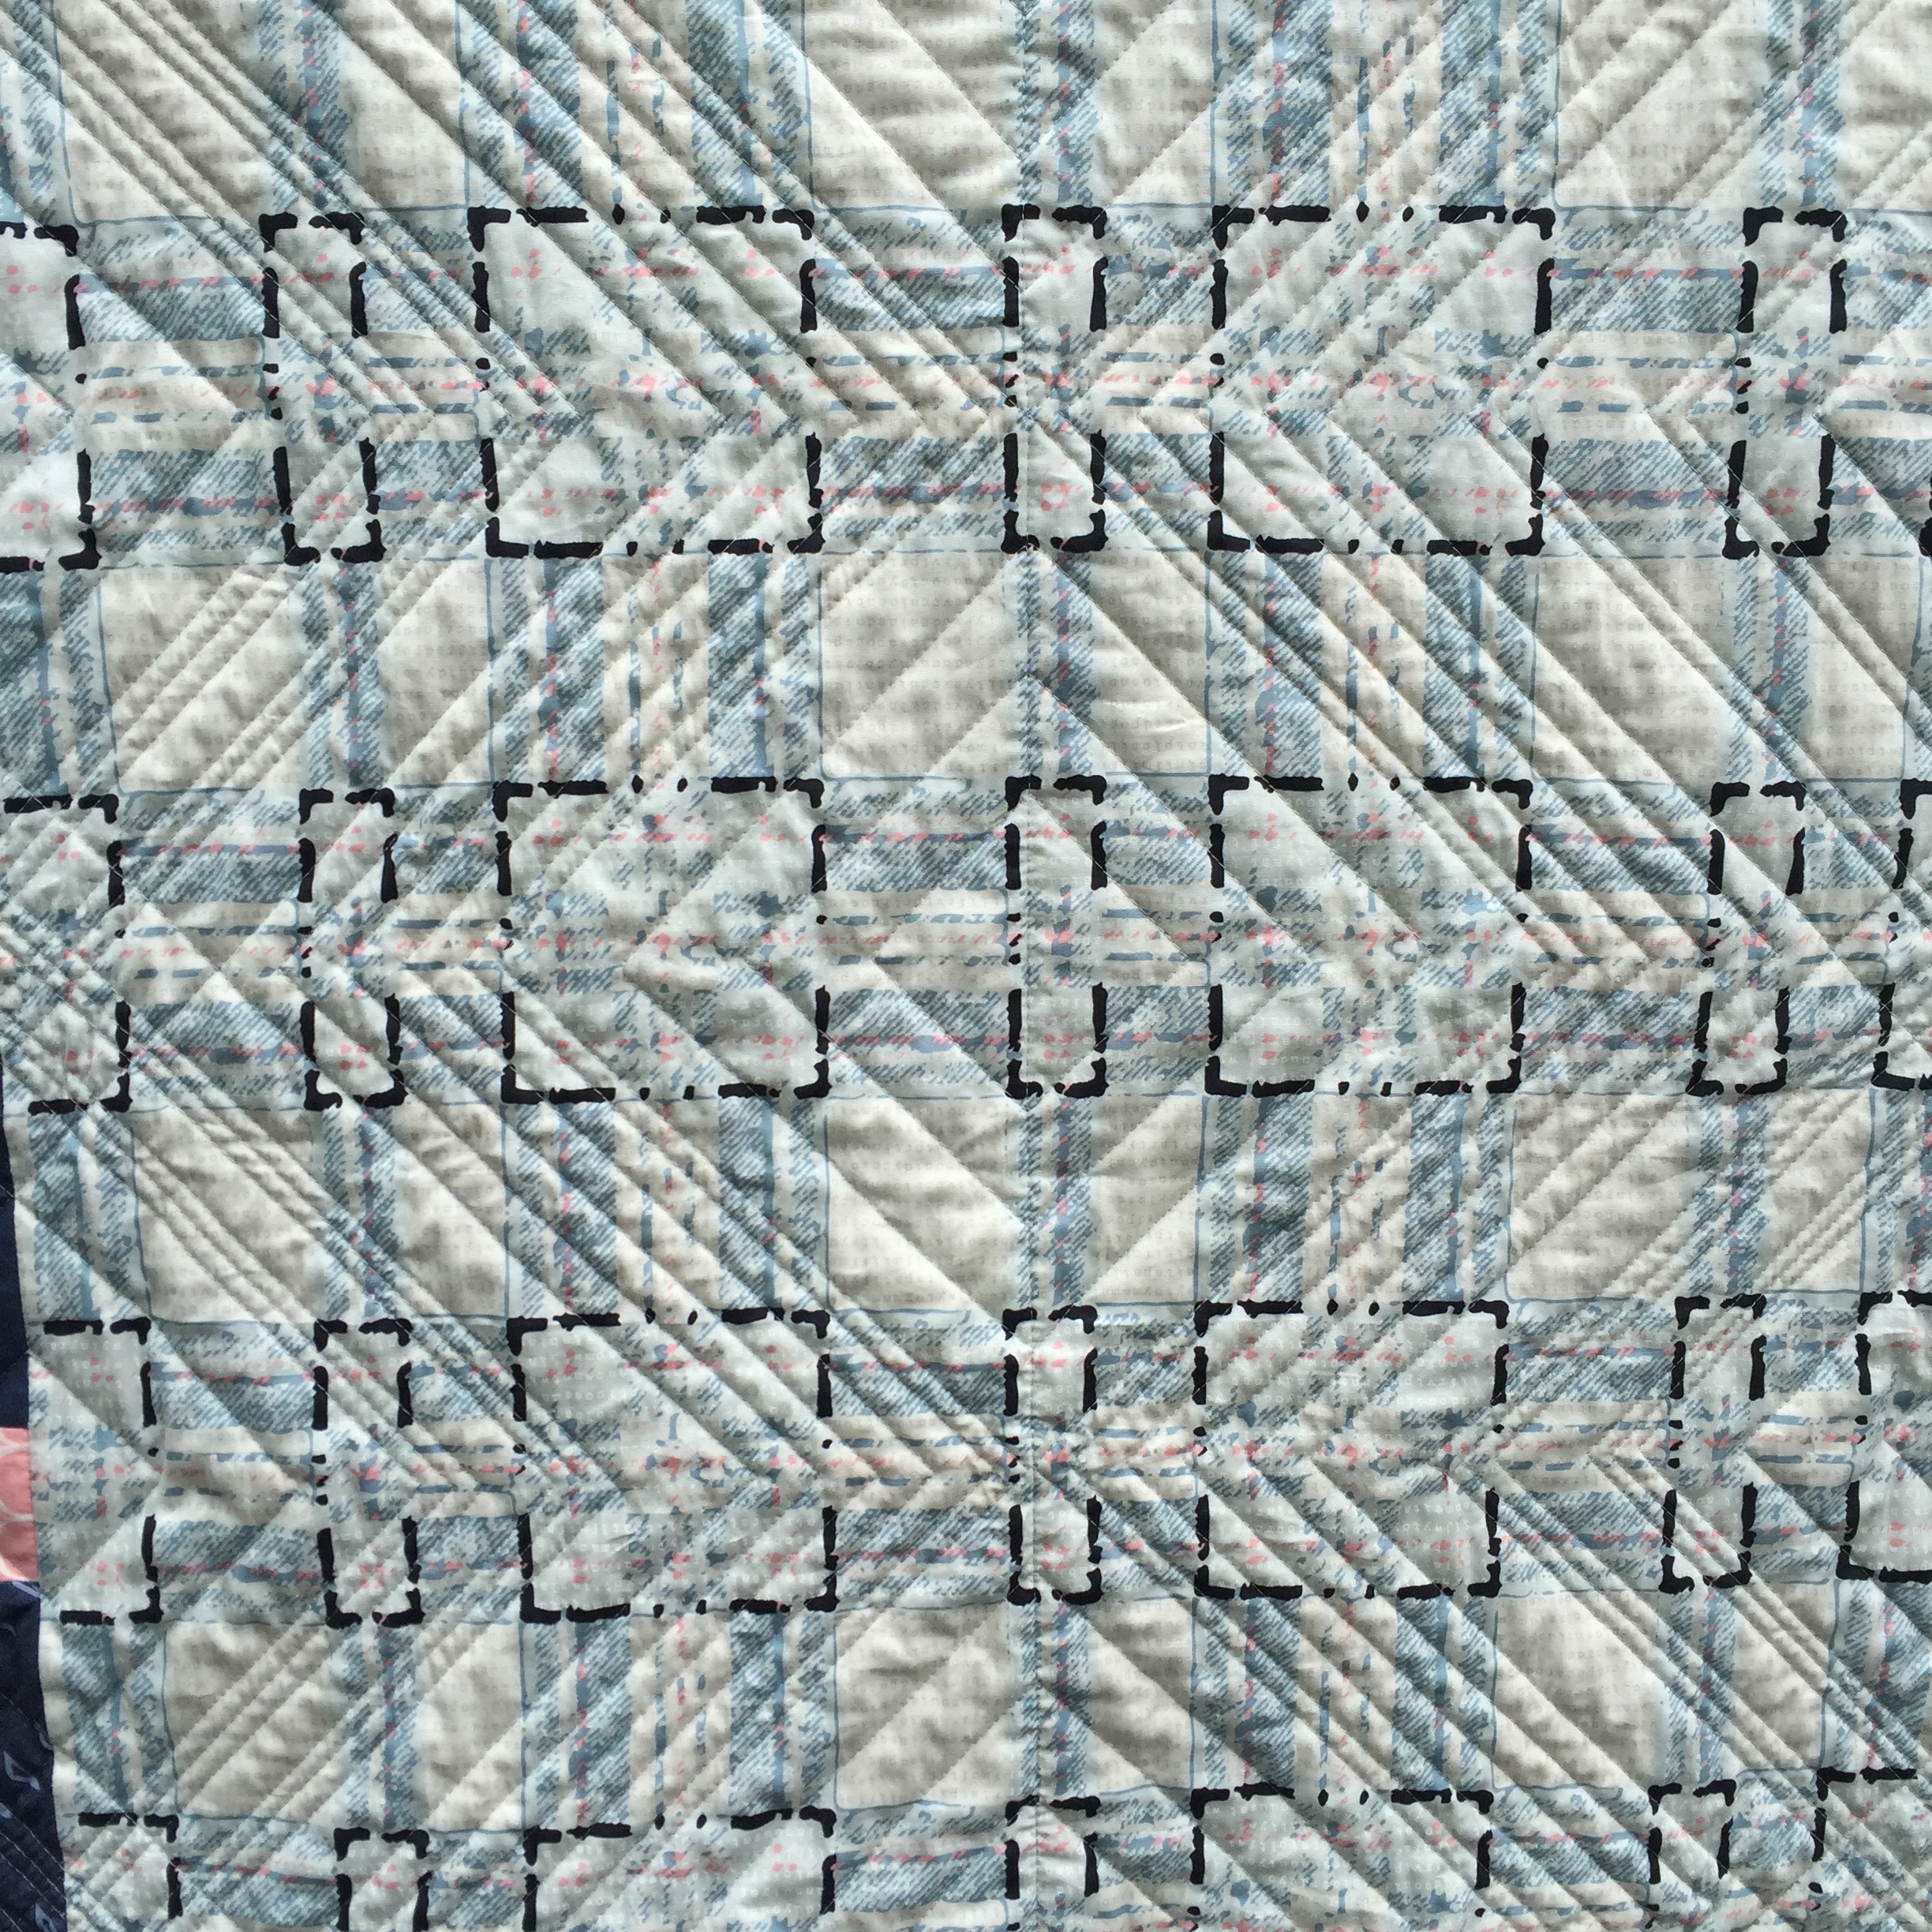
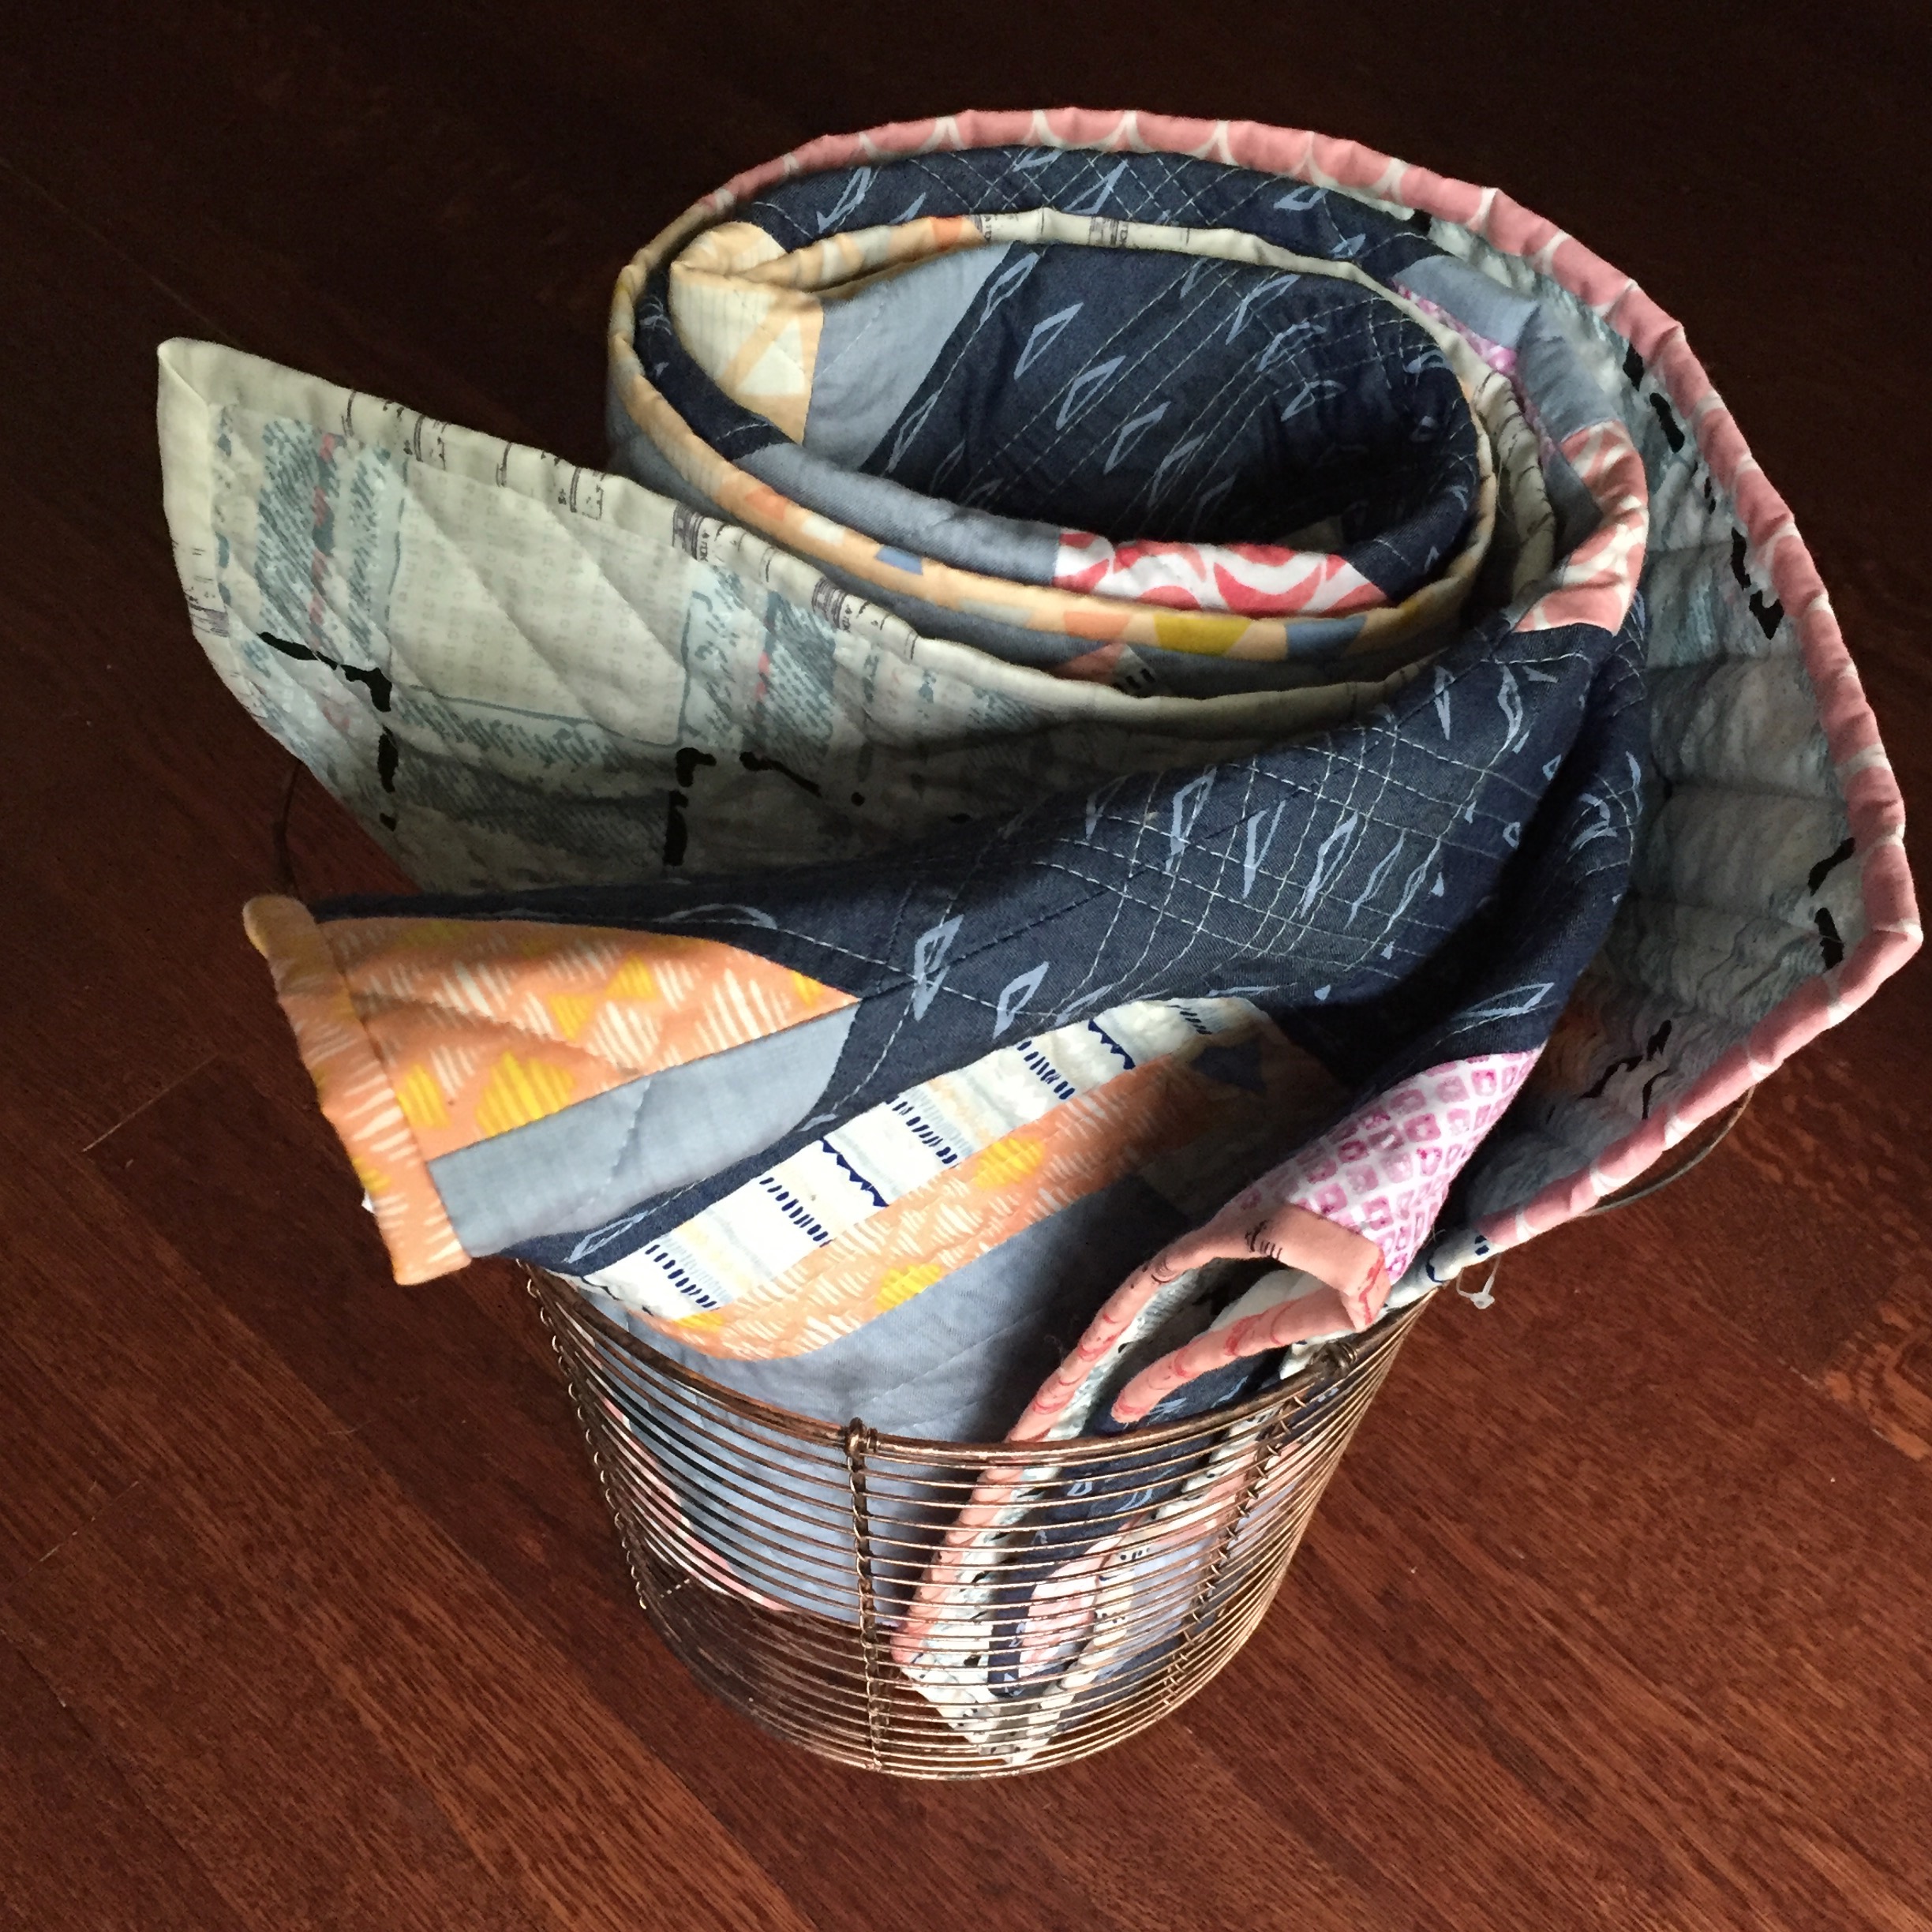
The backing had to be pieced together and I figured it should have some added interest as well.  The extra panel was improvved using scraps and follows the same geometric angles as the front. It’s a nice pop of color against the main backing print.

Look at that texture!  Quilting was done on my domestic machine using my walking foot and favorite Aurifil 2021.  I followed the shapes of the piecing and added more density in the darker blue denim.  This backing really shows all the lines.


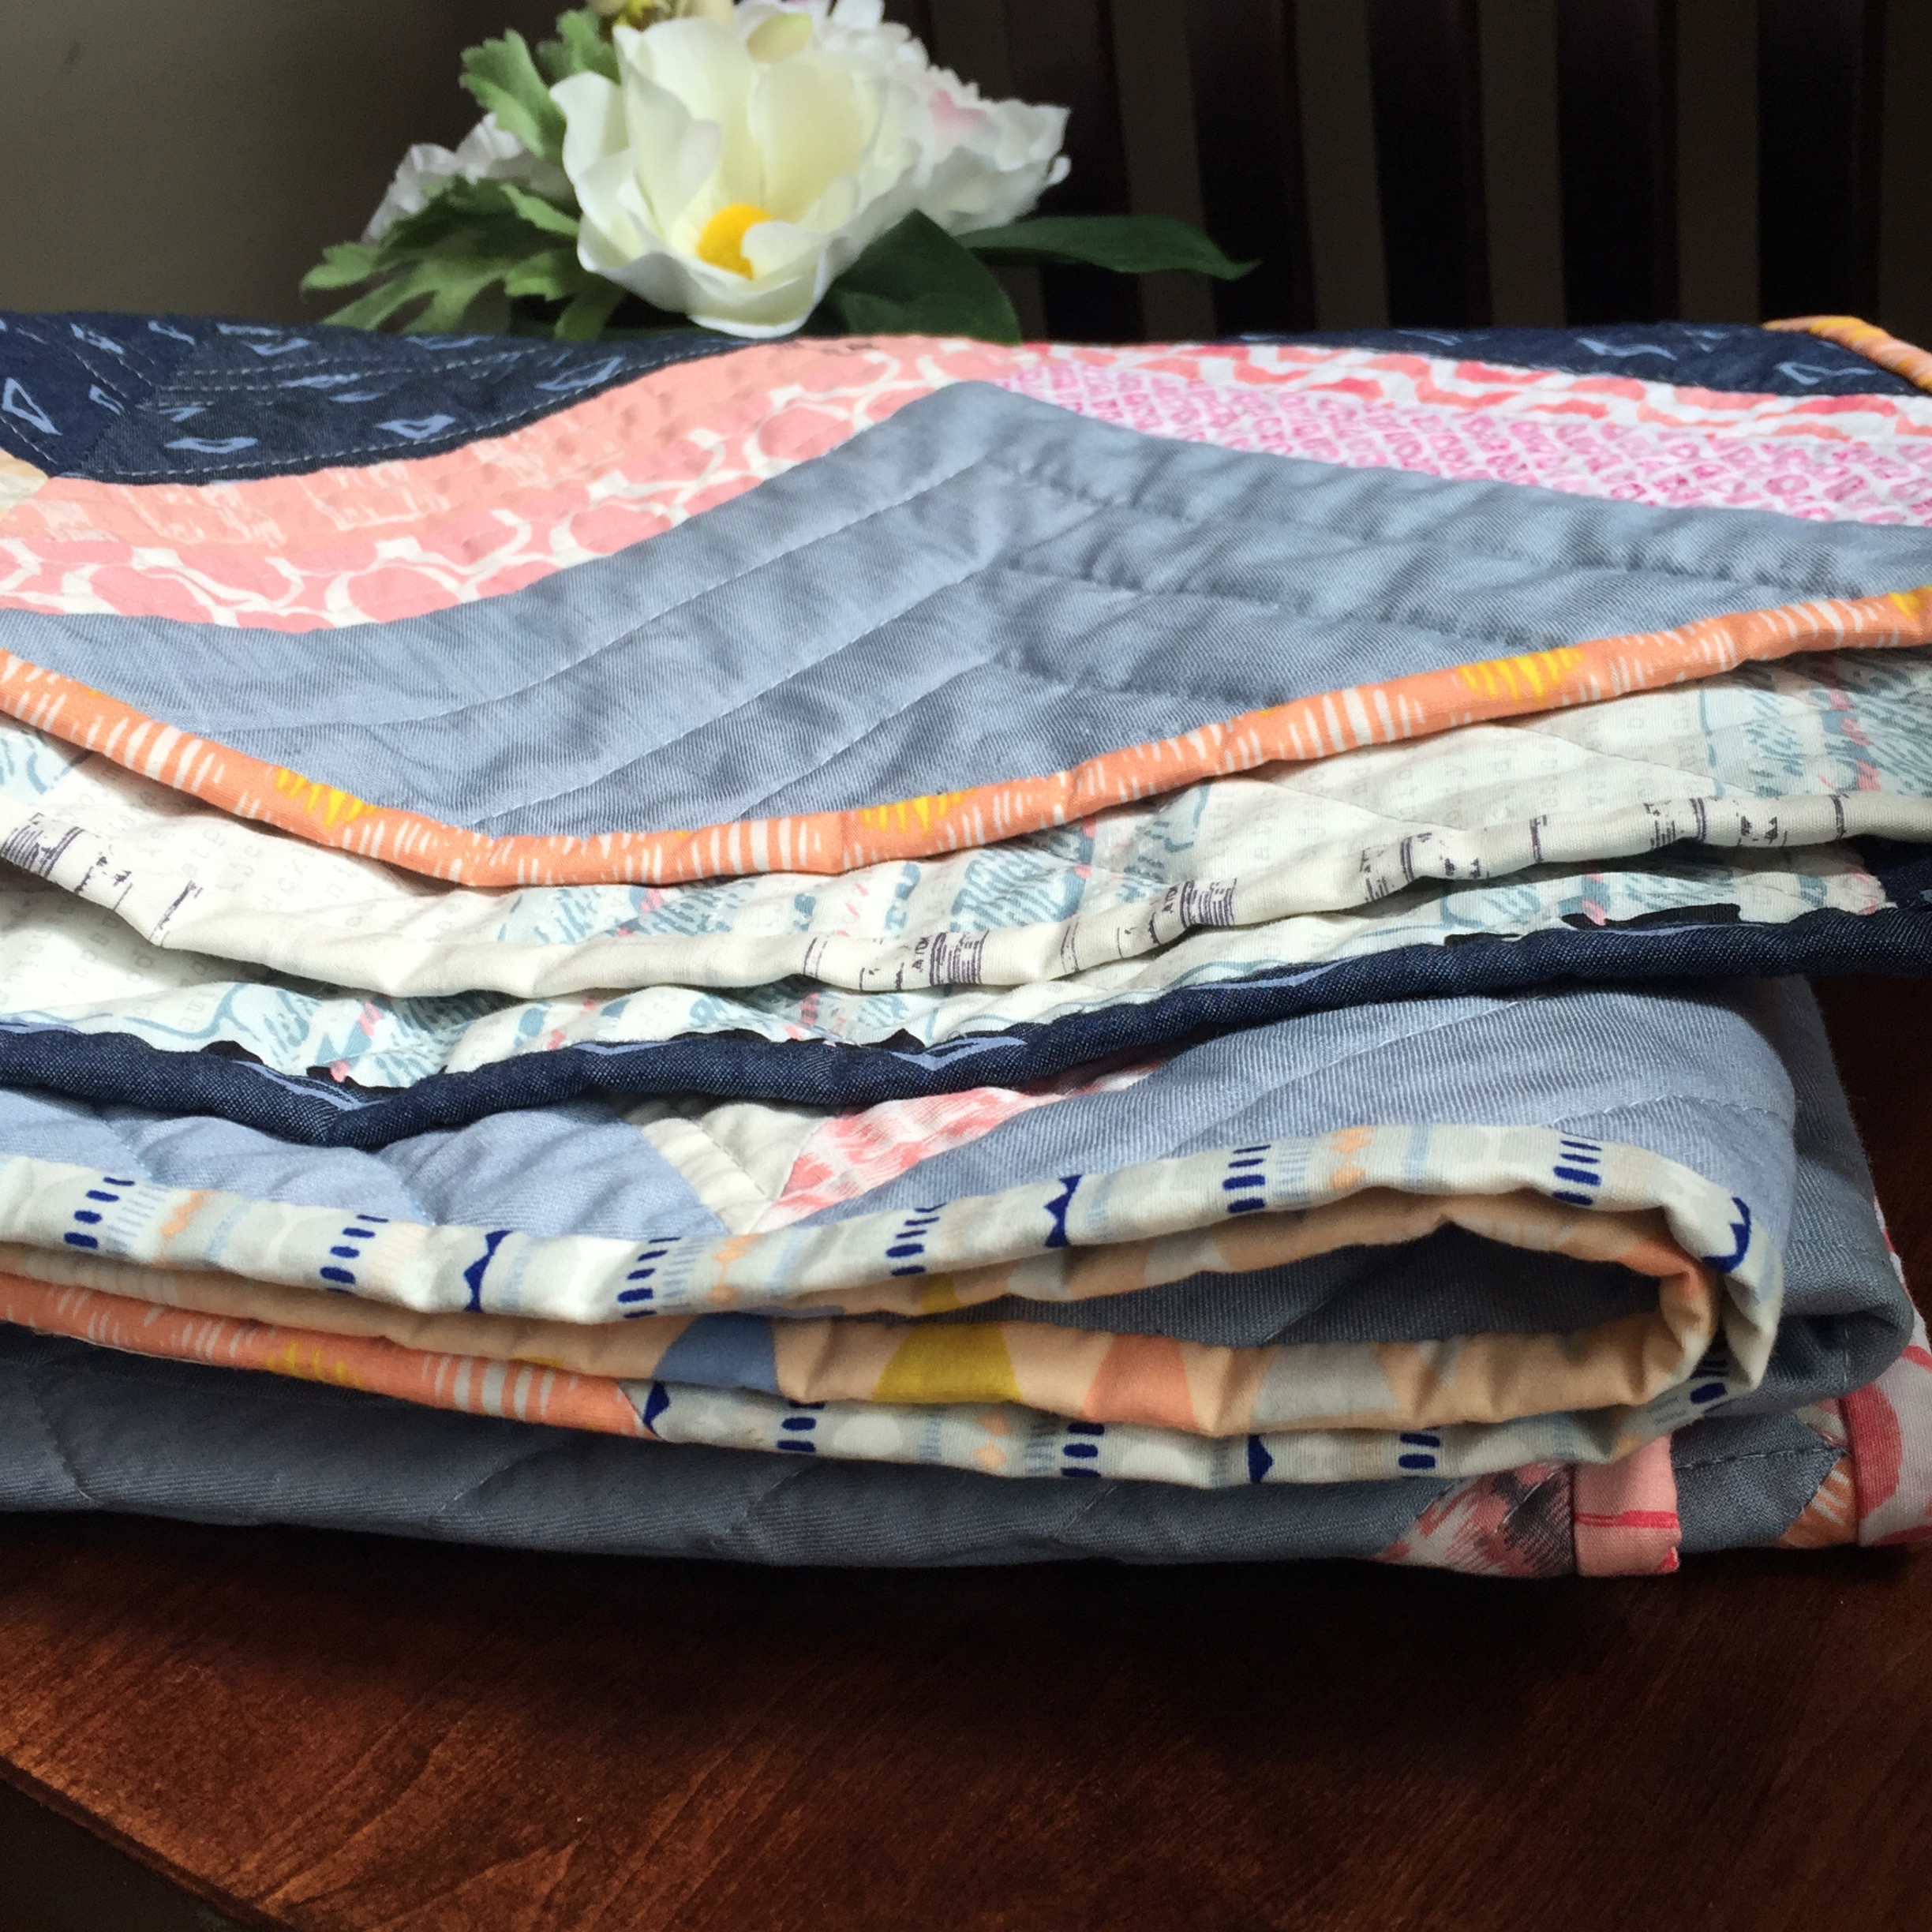
The binding was also scrappy and pieced together.   As always, I machine attach my binding to the front and spend some couch time with my husband which hand-stitching it to the back.  The colors really complement the denim.

Project  Stats:

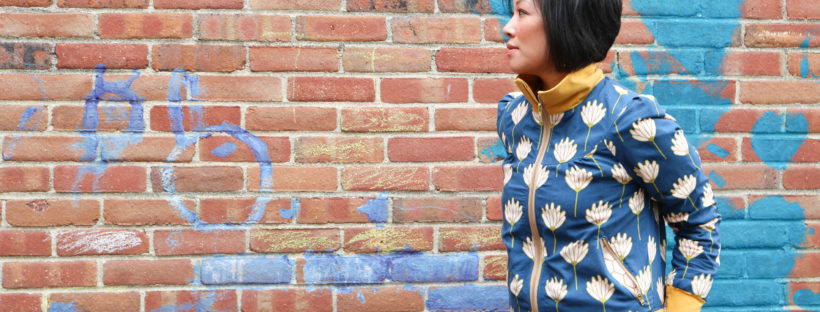
Art Gallery Rayon :: Cookie Blouson Jacket

I’m kicking things off with Art Gallery Fabric‘s Rayon Blog Hop today!  Rayon is their newest substrate and I can’t even tell you how much I luuuurve it.  I was lucky enough to get an advanced preview when April Rhodes release her Heritage Fabrics and I just am obsessed with the drape and feel of this fabric.  You can read more about it here.

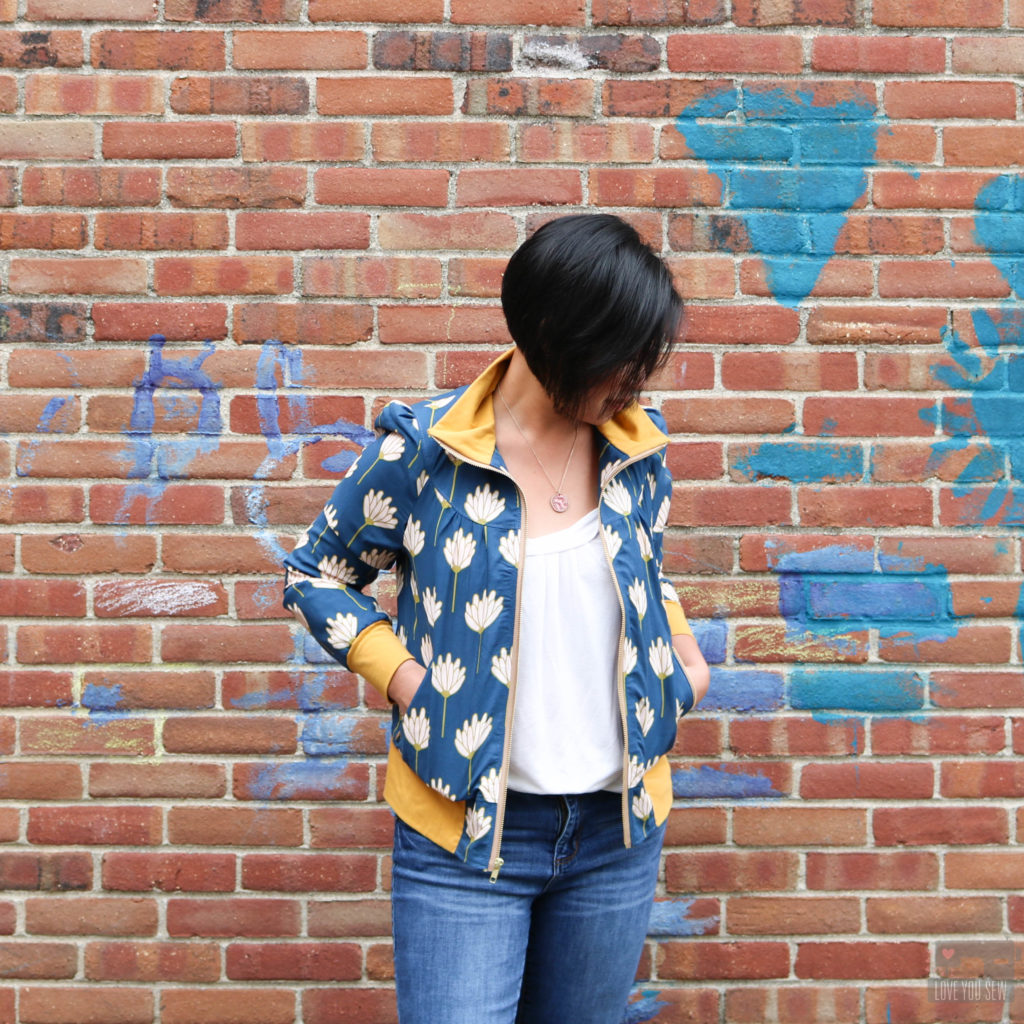
When most people hear “Rayon,” they think of summery dresses or slippery nightgowns.  But in this blog hop, we were tasked to come up with other ways to use the fabric.  As fall was approaching and while I was looking through the fashion blogs, the maker light bulb went off when I started to see bomber jackets.  The 90s fashion trends are back (some I’d rather not relive…) and I thought a fun bomber made of rayon would be perfect to ride the satin and army green trends showing up on the streets right now.  Check out my Pinterest Board here to see my inspirations.

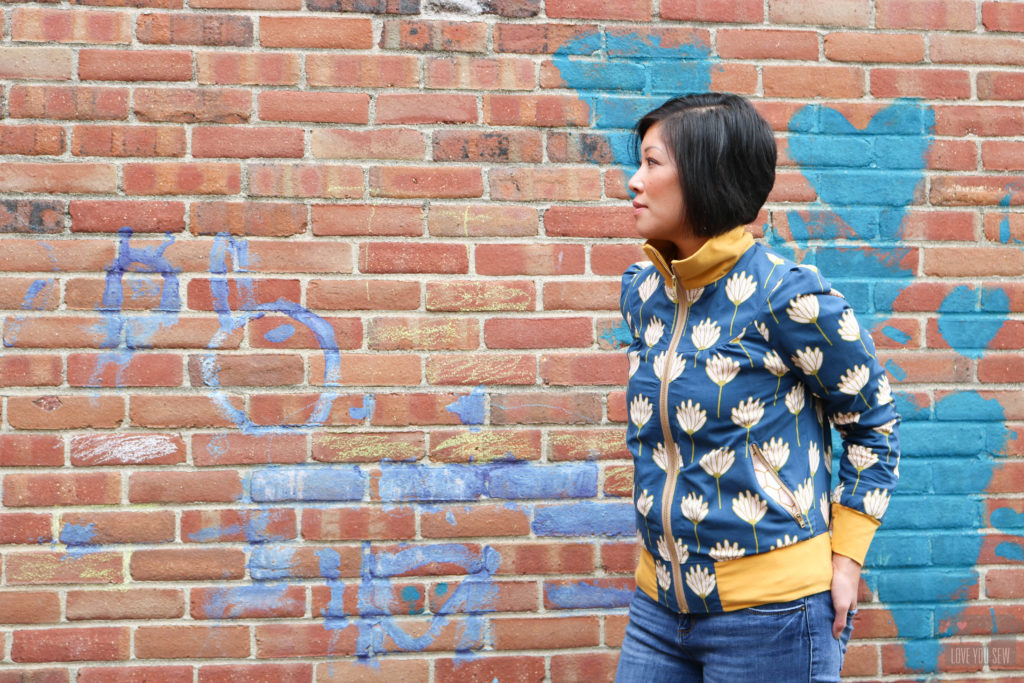
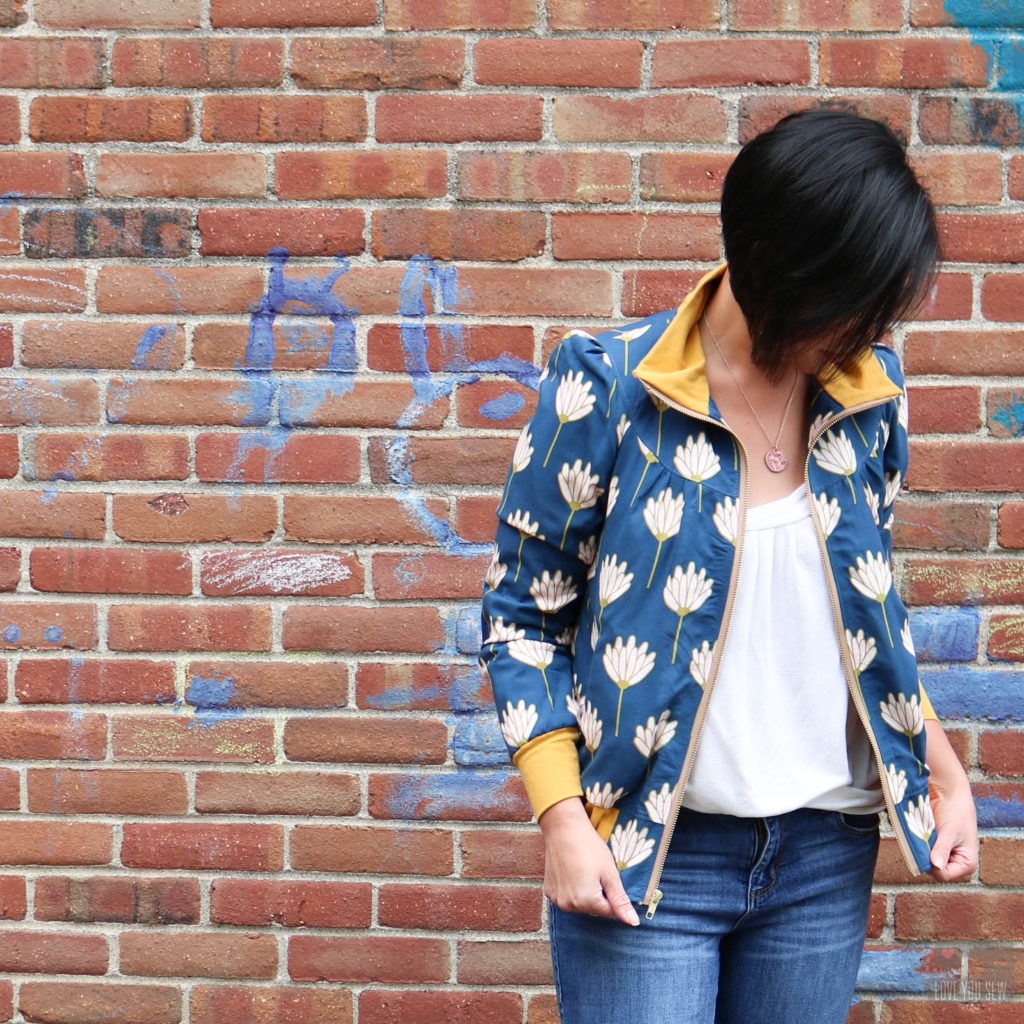
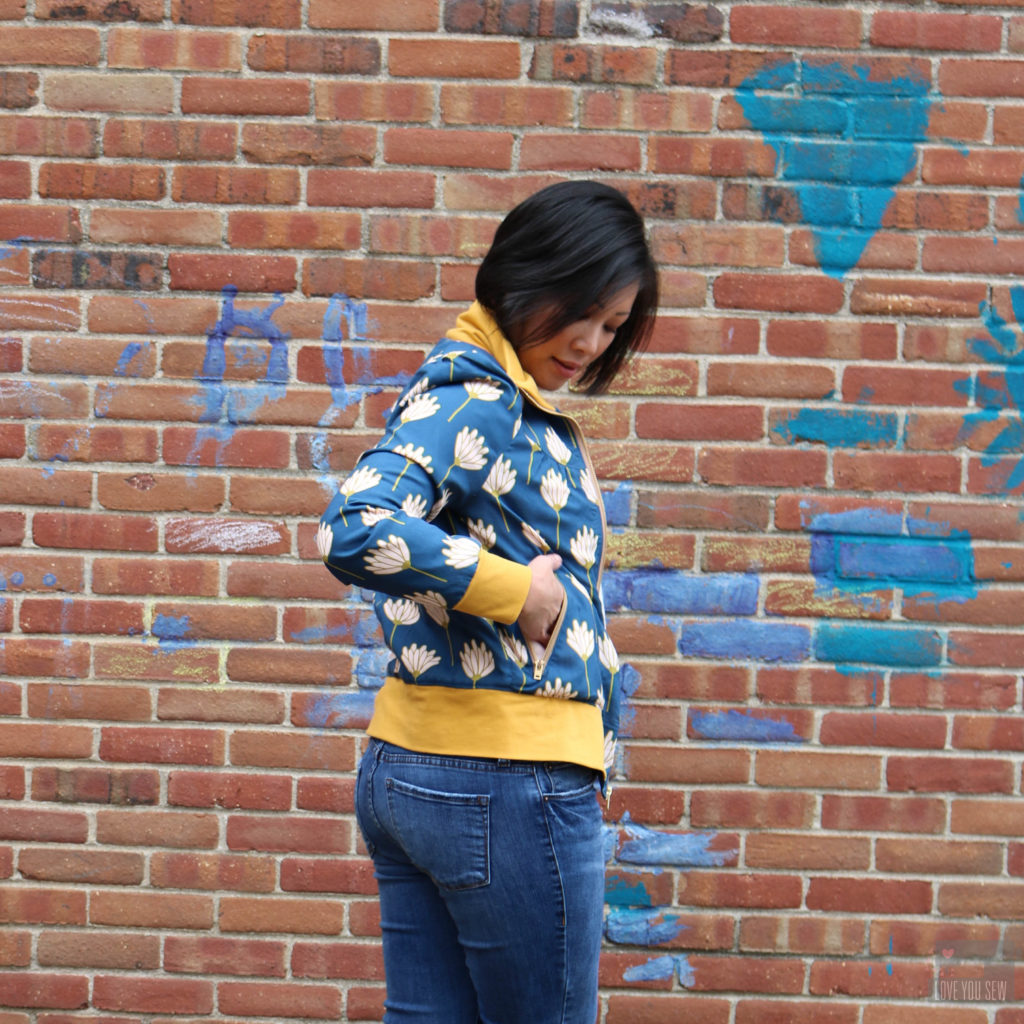
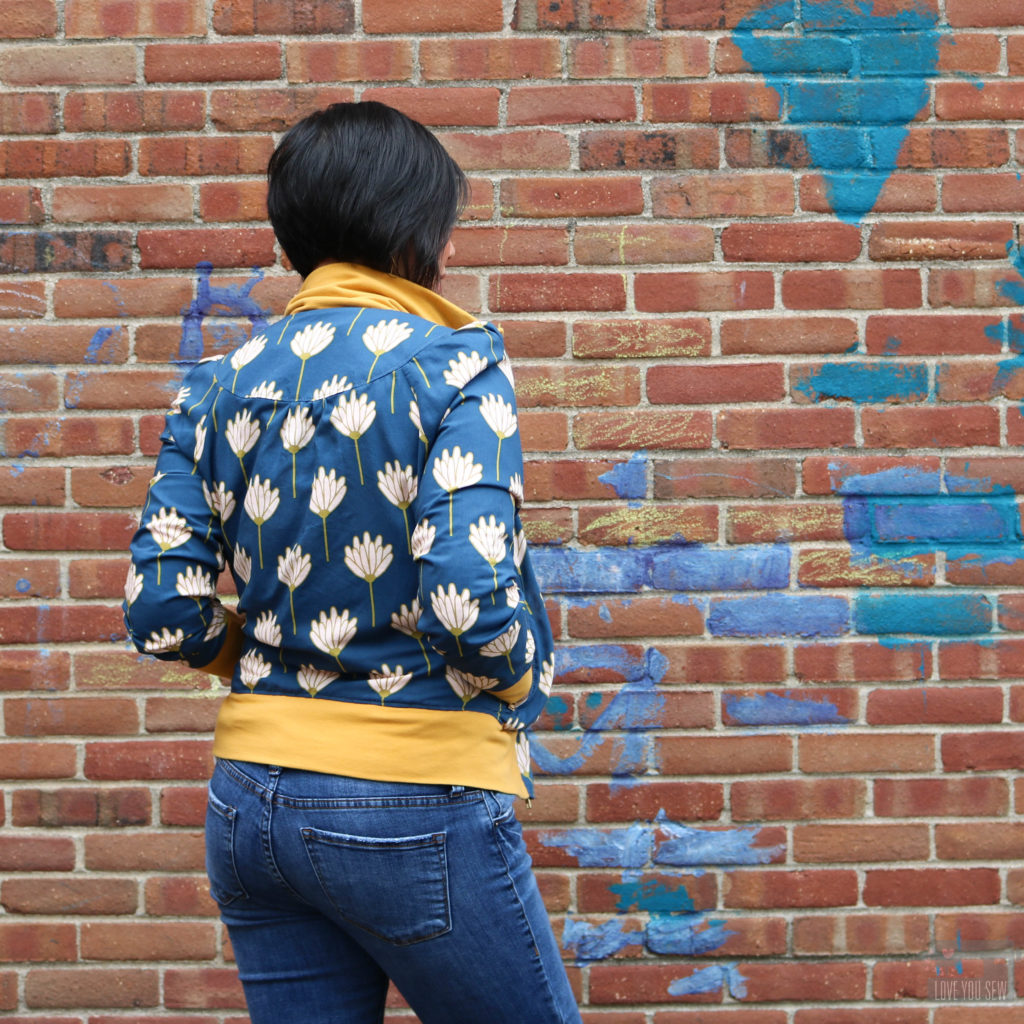
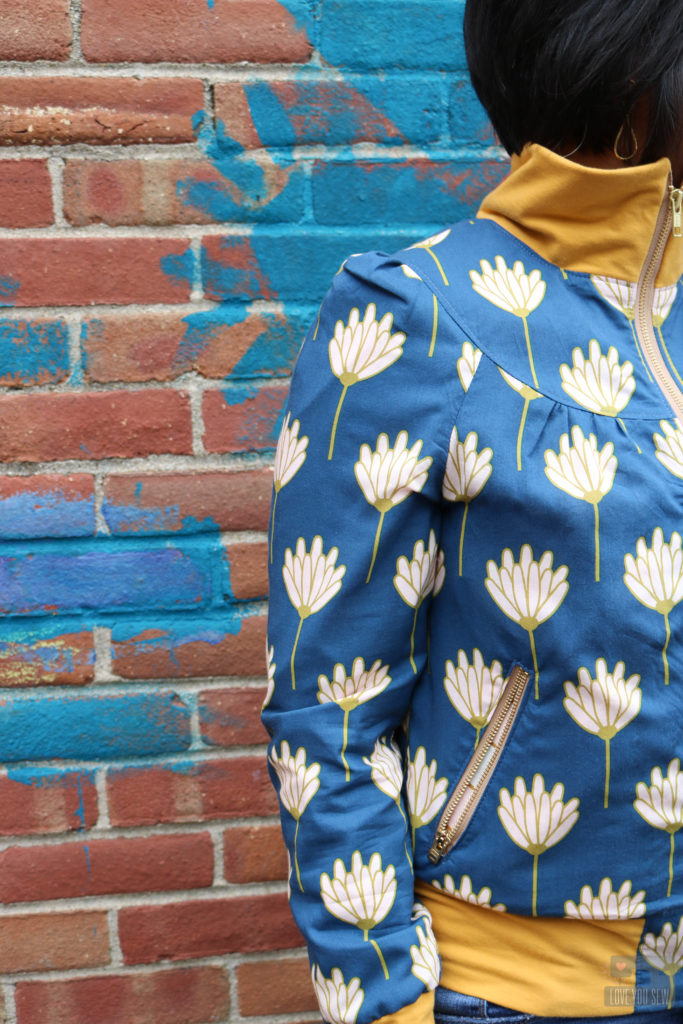
I’ve had my eye on the Cookie Blouson by Waffle Patterns for awhile now.  The design is a great feminine take  on a track jacket with the gathered sleeves and gathered body around the yokes.  Even though it’s a track style versus a bomber, I knew this pattern would give me the same feel…The only difference  is the collar.

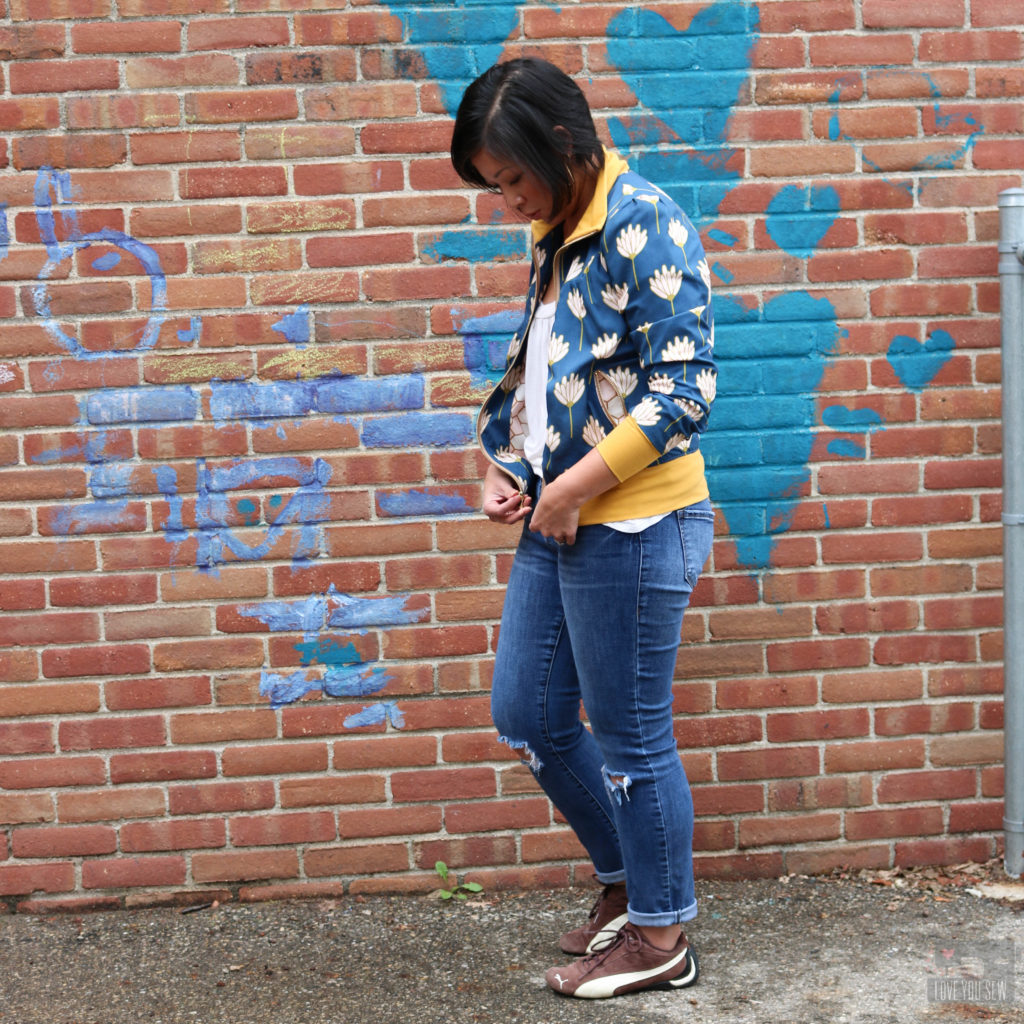
I was in-between sizes per the measurements, but after reviewing the finished measurements, I decided to size down for a more fitted look.  With the fabric and bold pattern, this jacket would look great in heels as much as in sneakers 🙂 I wanted to make sure it would be a great jacket to wear indoors and out.

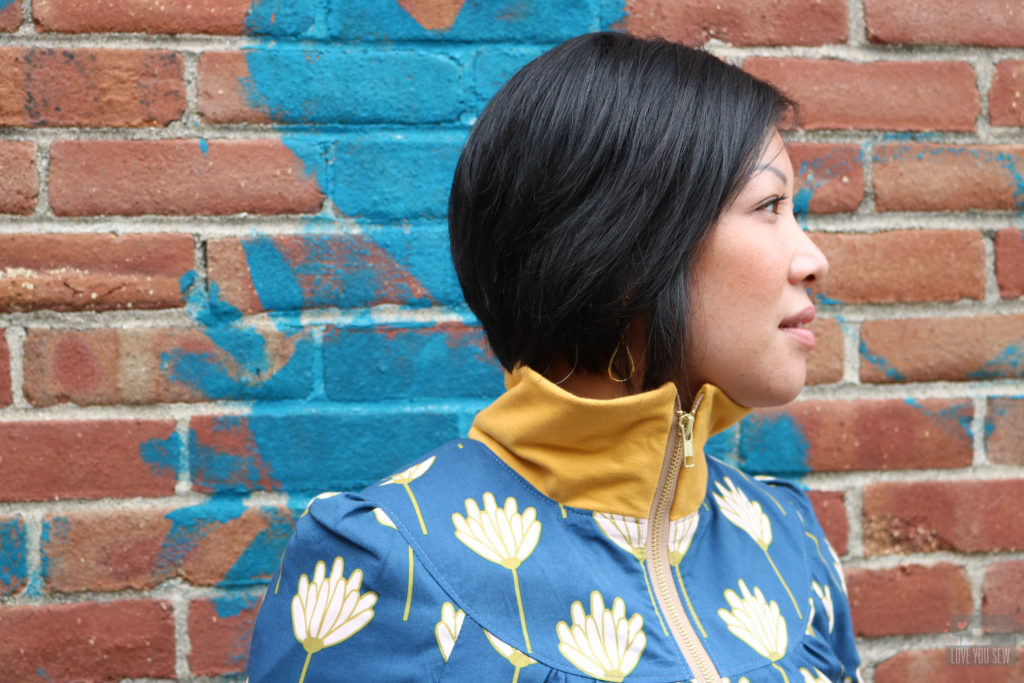
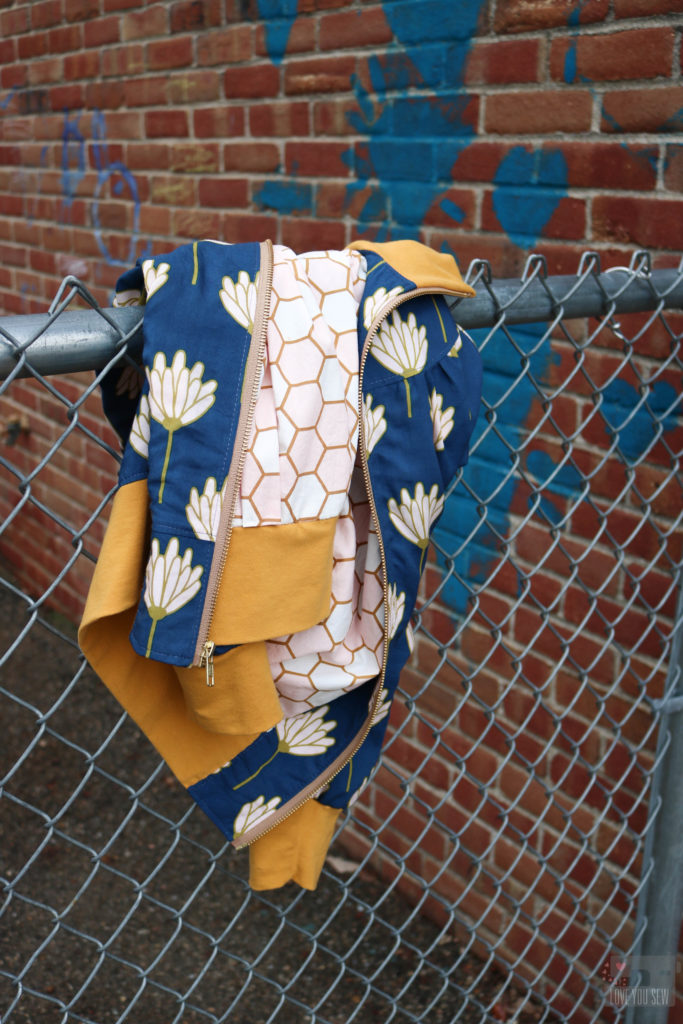
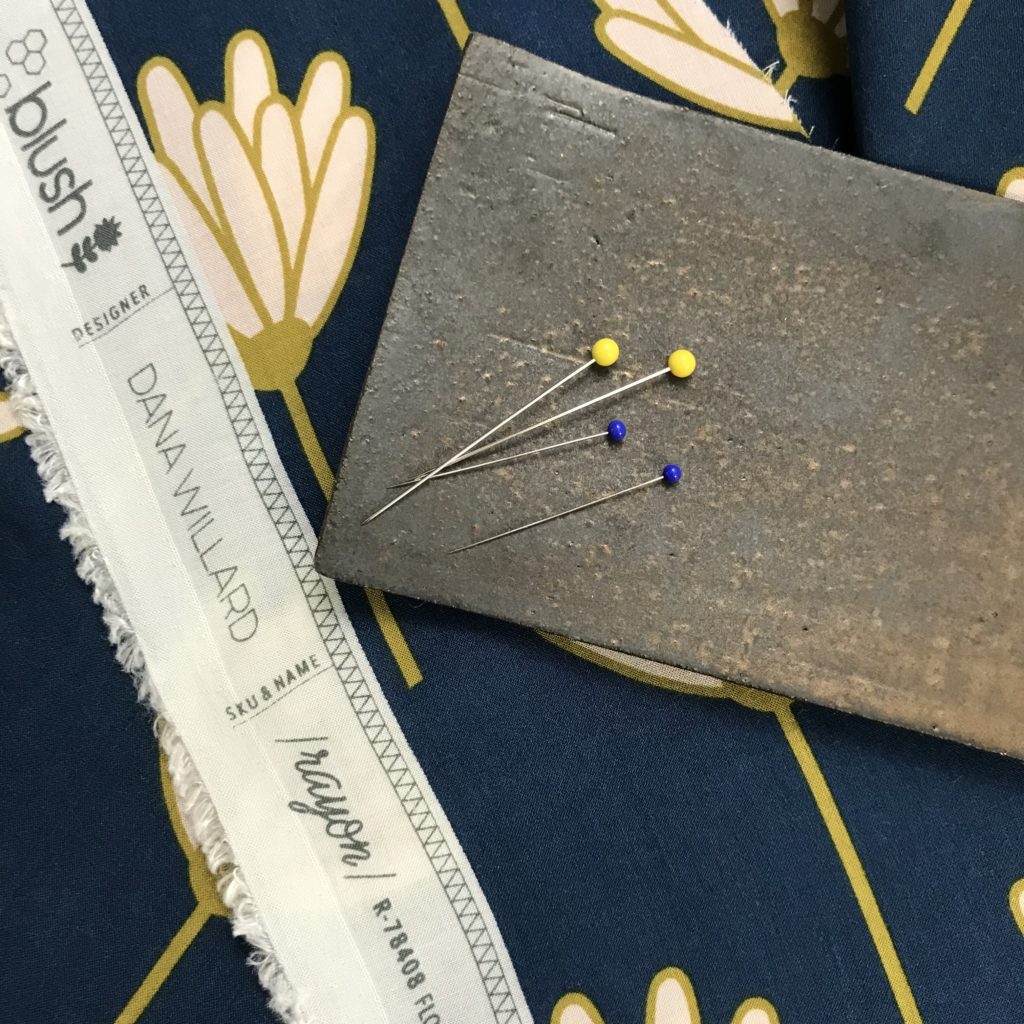
For the right statement fabric, I chose Floret Sunkissed from the Blush fabrics collection by Dana Willard as the shell.  For the interior, I used Hex Rose from the same collection, but in quilting cotton.  AGF Solid Knit in Sahara Sun was a great complementary color to really make this jacket pop and add some fun!

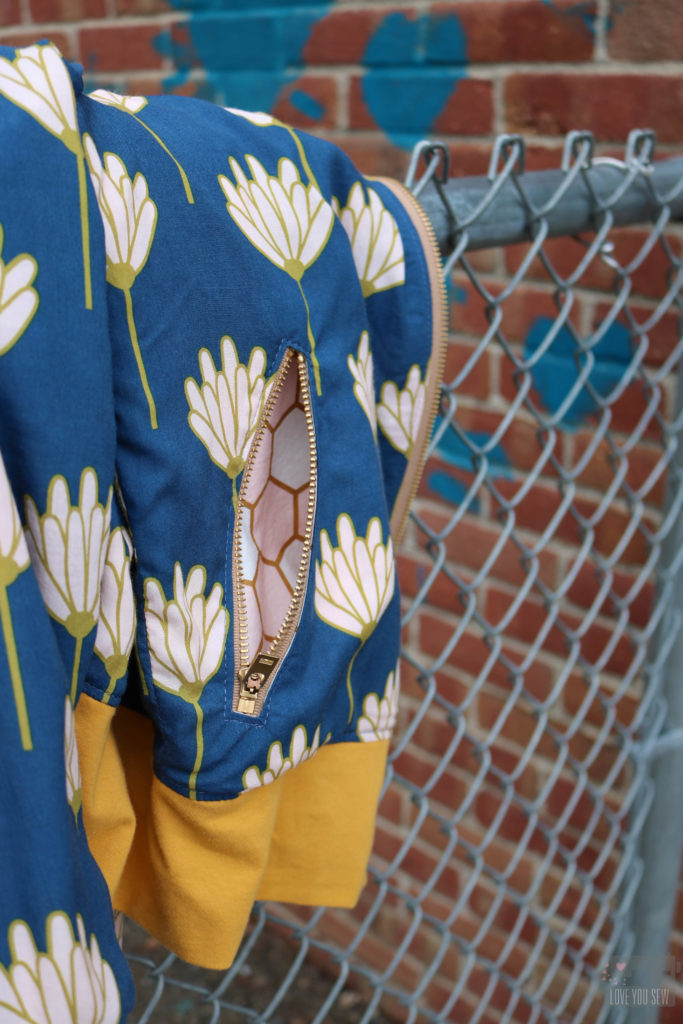
While working through the jacket, it was very important to reinforce the high stress areas since rayon is so delicate.  I used Pellon 906F interfacing around all the metal zippers (due to their extra weight) and even on the exterior yokes to provide some additional structure as well.

These zipper pockets are such a great detail.  However, the pattern called for a 5″ zipper opening.  After taking 1/2″ allowance away for the zipper head and stopper, I would be left with a 4.5″ opening….which is pretty tight (and I have small hands!)  I increased the opening to 6″ for a little more room to maneuver because I HAVE to use pockets if they are there.

With the track collar, I wanted it to stand up when zipped, but it also needed to handle the weight of the metal zipper.  So I doubled up the layers of the Solid Knit jersey.  Not only does the collar stand up (mission accomplished,) but it keeps my neck extra warm!

For the construction of this jacket, I used Polyester thread throughout for the strength.  A jacket is going to experience a good bit of wear and this thread allows for a bit more give and movement.  However, I used matching Sulky Rayon Thread for all of the top-stitching to match the sheen of the fabric.  I’m pretty hooked on the look of rayon thread….it’s so beautiful!

The Cookie Blouson pattern itself, was not too difficult.  Even with the zippers, I would rate this as advanced beginner.  But then came the lining…   It was a free add-on via a few blog posts by Waffle Patterns.  The pattern designer’s first language is not English, so the translations were a bit rough.   I was pretty frustrated at some points, but made it work.  I would consider the lining at an intermediate level because you are essentially drafting your own pattern pieces.  If I would’ve known this beforehand, I probably would’ve skipped the pattern altogether because I needed a lining with a rayon shell.  But, of course, I love the final product 🙂


I’ve made a handful of Rayon garments, and have a few tips I’d like to share:

  • For accurate cuts, I cut on the floor for an even cutting surface…especially if you are pattern matching.  Any fabric hanging off the edge of a cutting table can pull and distort your cut.
  • Don’t be shy with fabric weights.  This points to the slippery and shifty nature of rayon.  You want an even and accurate cut.  Iron and smooth out your fabric with your fabric aligned and then set the weights down.
  • A small rotary cutter is great to cut out patterns because scissors can cause movement and shifts in your fabric as you cut.  (This doesn’t matter as much if you aren’t pattern matching.)
  • I use ultra fine pins (with the blue heads, shown above) for construction.  The traditional quilting pins (with the yellow heads) are a bit larger and can cause pulls in the fabric.  With the slippery rayon, I also use a lot more pins that I would with cotton – probably twice as many to keep my fabrics aligned together.

Project Summary:

  • Exterior Shell Fabric:  Floret Sunkissed Rayon by Dana Willard for Art Gallery Fabrics
  • Lining Fabric: Hex Rose Quilting Cotton by Dana Willard for Art Gallery Fabrics
  • Accent Knit: Sahara Sun Solid Knit by Art Gallery Fabrics
  • Pattern:  Cookie Blouson by Waffle Patterns
  • Piecing Thread:  Gutermann Polyester
  • Top-Stitching Thread: Sulky Rayon 50 wt
  • Zippers: YKK Brass separating and jeans zippers in Camel by Wawak Sewing Supplies

Don’t forget to stick around all this AND next week for the rest of the #AGFrayonbloghop.  I’m so excited to check out all of the projects alongside you!

Monday, October 9 – Cristy @loveyousew_ (you are here!)

Tuesday, October 10– Nicole @modernhandcraft

Wednesday, October 11 – Sarah @sariditty

Thursday, October 12 – Jesy @needle_ink_and_thread

Friday, October 13 – Danyella @madesewmodern

Monday, October 16 – Nichole @wildboho

Tuesday, October 17 – Cynthia @cnytz51

Wednesday, October 18 – Vicki @orchidowlquilts

Thursday, October 19 – Amanda @pinkmandarinhandmade

Friday, October 20 – Jenn @jennrossotti


I hope you have found some inspiration or just enjoy some fabric eye-candy!  Do you have a rayon project lined up or on the wishlist?  I’d love to hear what you would make.


Happy Sewing Friends!

Cristy


***This post was sponsored by Art Gallery Fabrics.  While the fabric was provided for the post, the ideas, execution and post are all my own work and words.  Please also note there are affiliate links which help run this blog.  Thanks for your support!

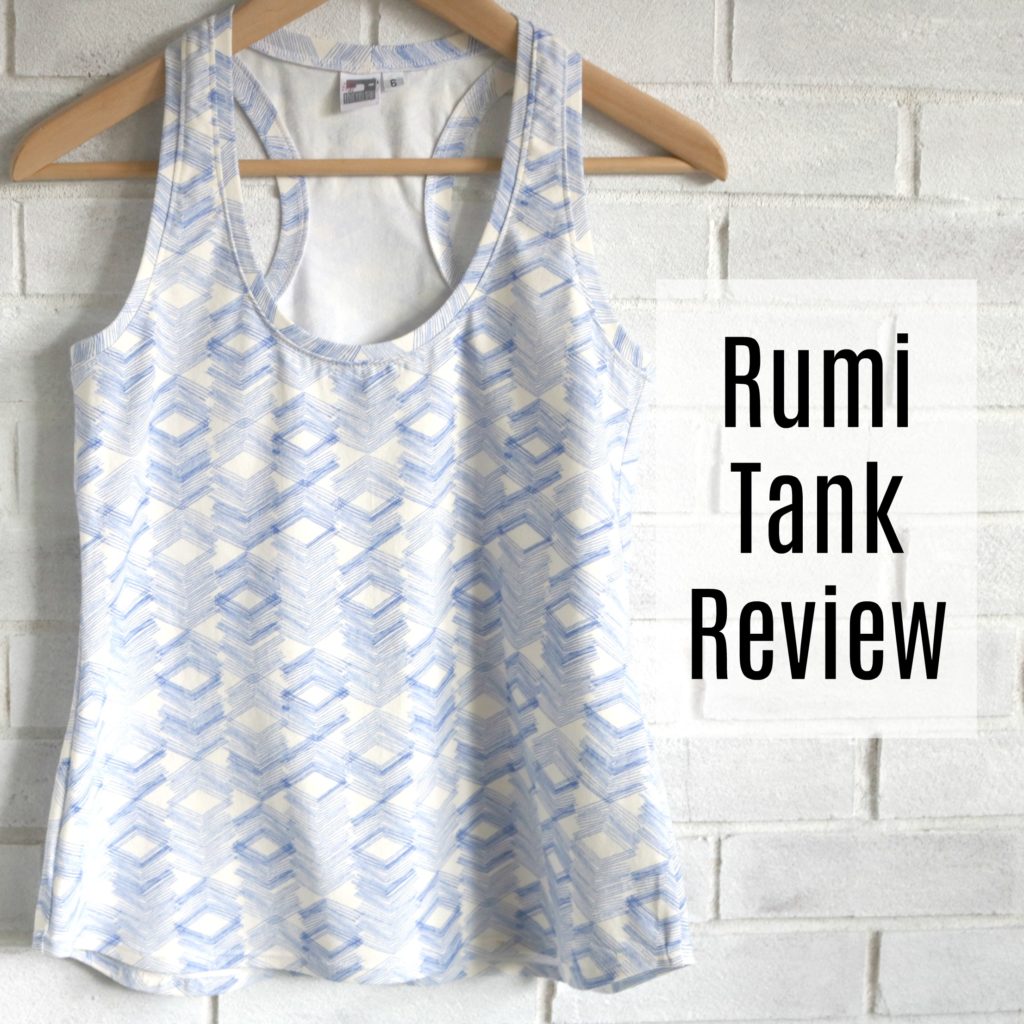
Rumi Tank Review

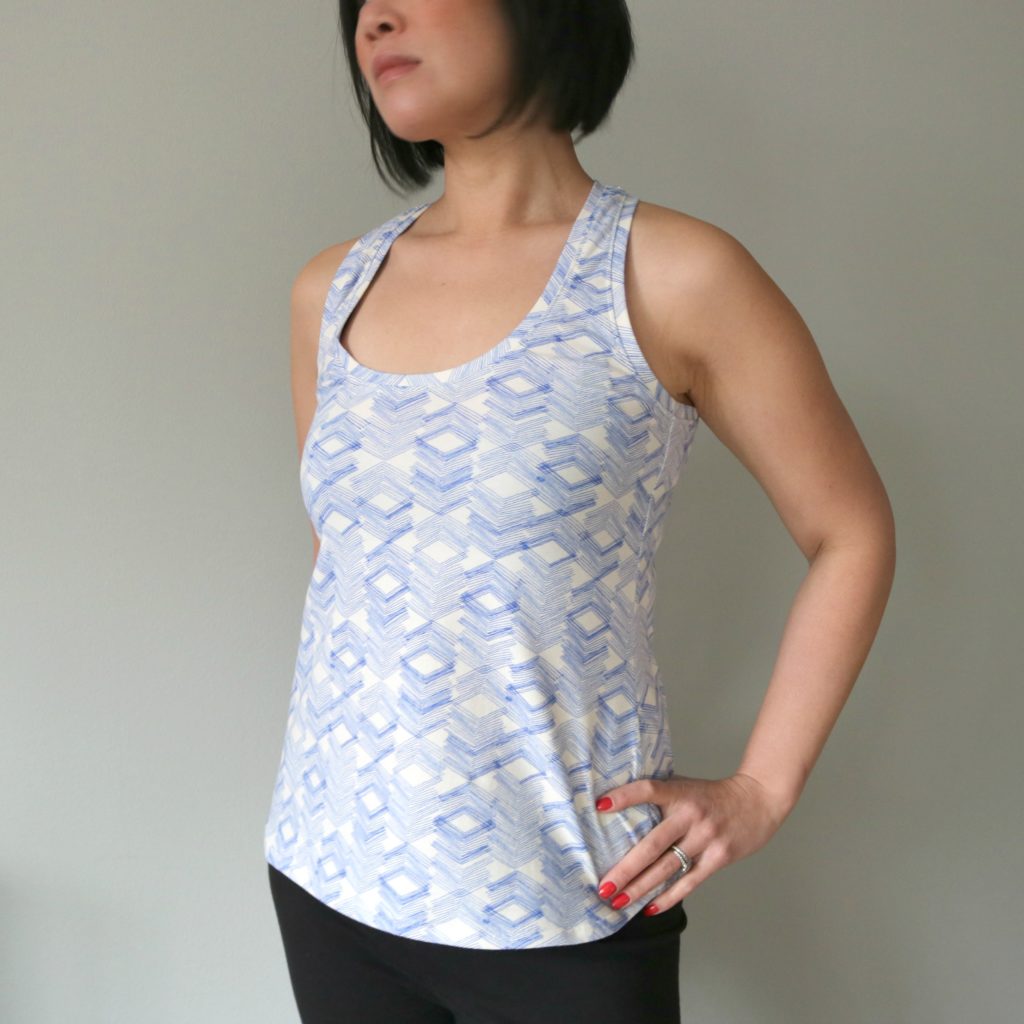
I’m a huge fan of racerback tops. I don’t know if I just have weird sloping shoulders or maybe the wrong bras, but any kind of spaghetti strap I wear, always falls down.  Over the years, its become pretty annoying having to constantly pull the straps back up.  I started to wear mainly racerback bras to combat my issue and then had to find new tank tops that would cover the new strap configuration.

So when Christine Haynes came out with the Rumi Tank pattern, I knew instantly, it was for me.  It’s designed for knits, has a classic versatile shape and is stash friendly. I can get a tank out of less than a yard and have made two tanks that out of pure scraps.  This pattern is a PDF with printing options for a personal printer and copy shop.  I decided to send this pattern to my local big box office supply store (because I had a coupon) for the first time.  Let me say, if given the option, I will always choose copy shop printing.  Taping PDF patterns is just not what I want to spend my time doing.

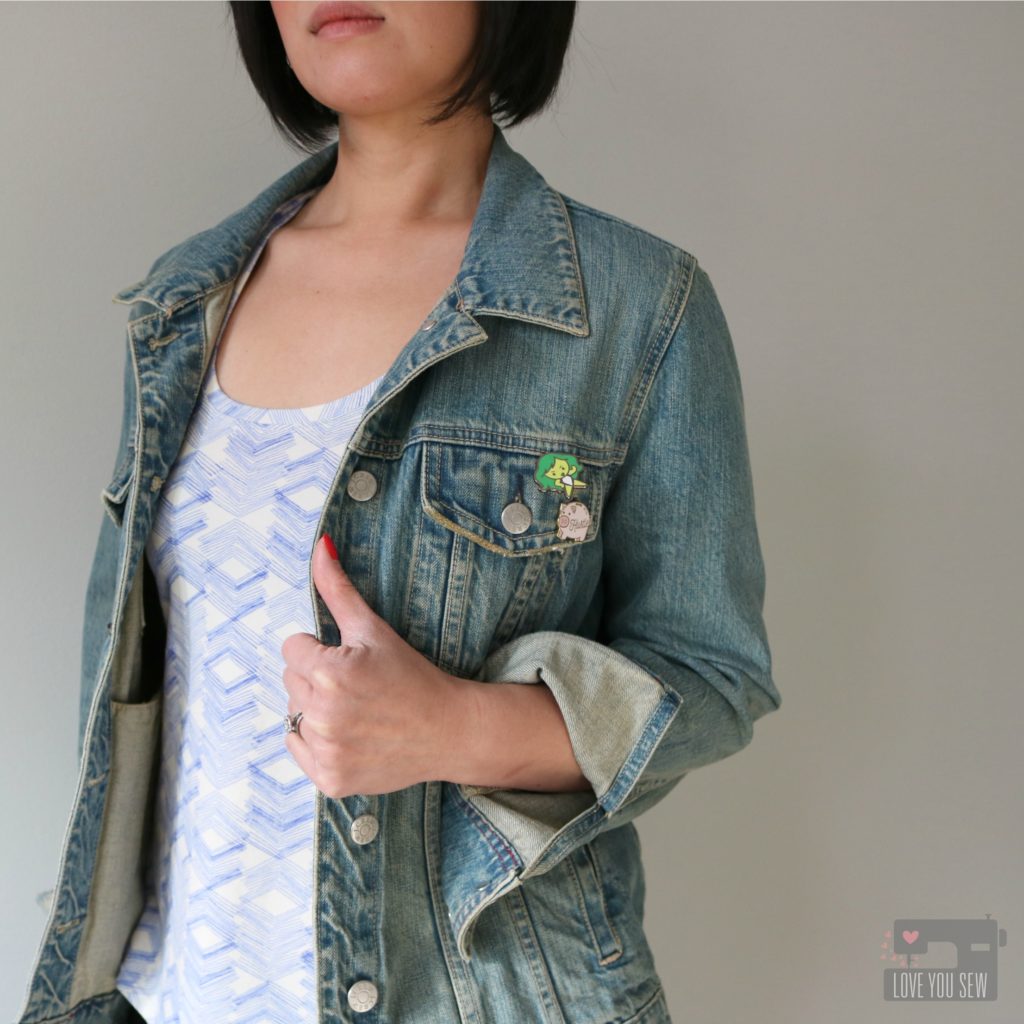
My first project was just the tank version and I used the Limestone Feel knit by Leah Duncan . I’m between a 6 and an 8 and also a B cup. From the waist up, I cut a 6 and then graded out to the 8 around the hip (to account for my larger rear) and used a 10 in length.

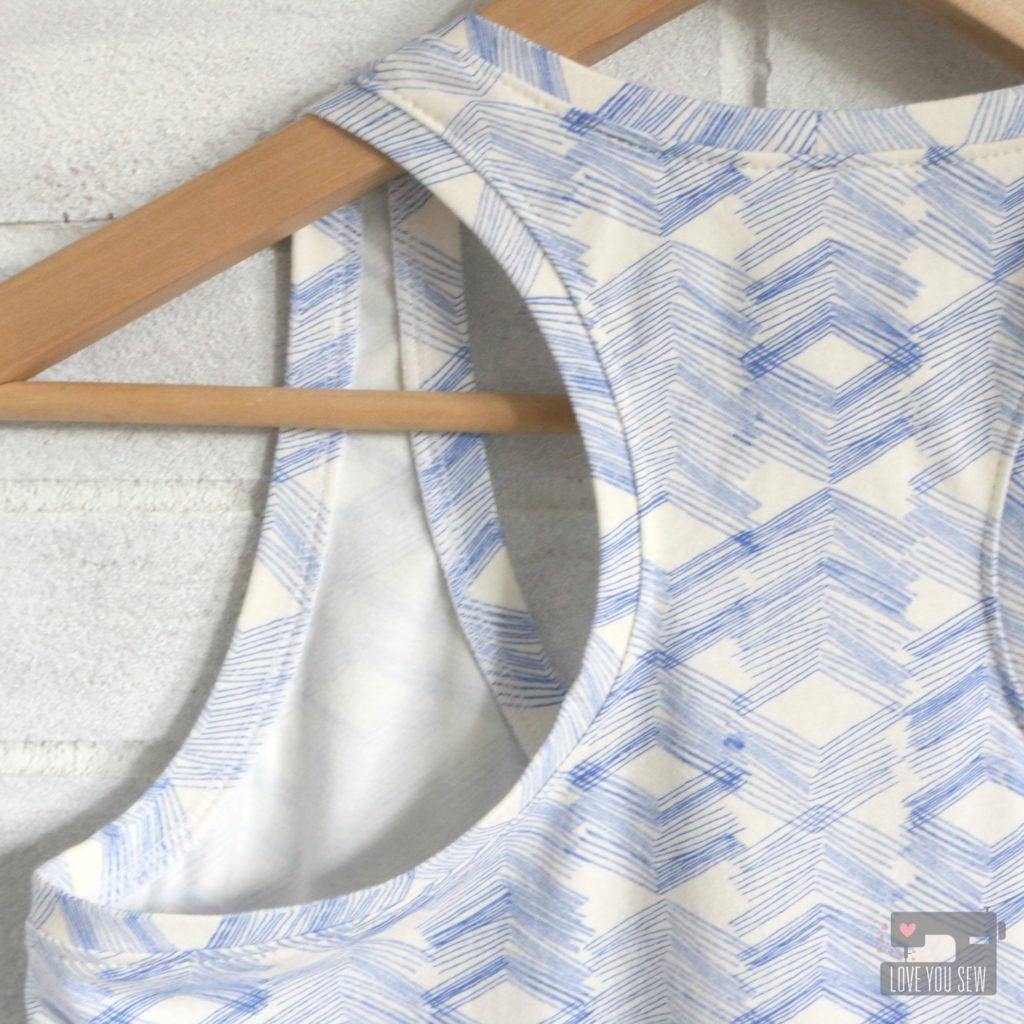
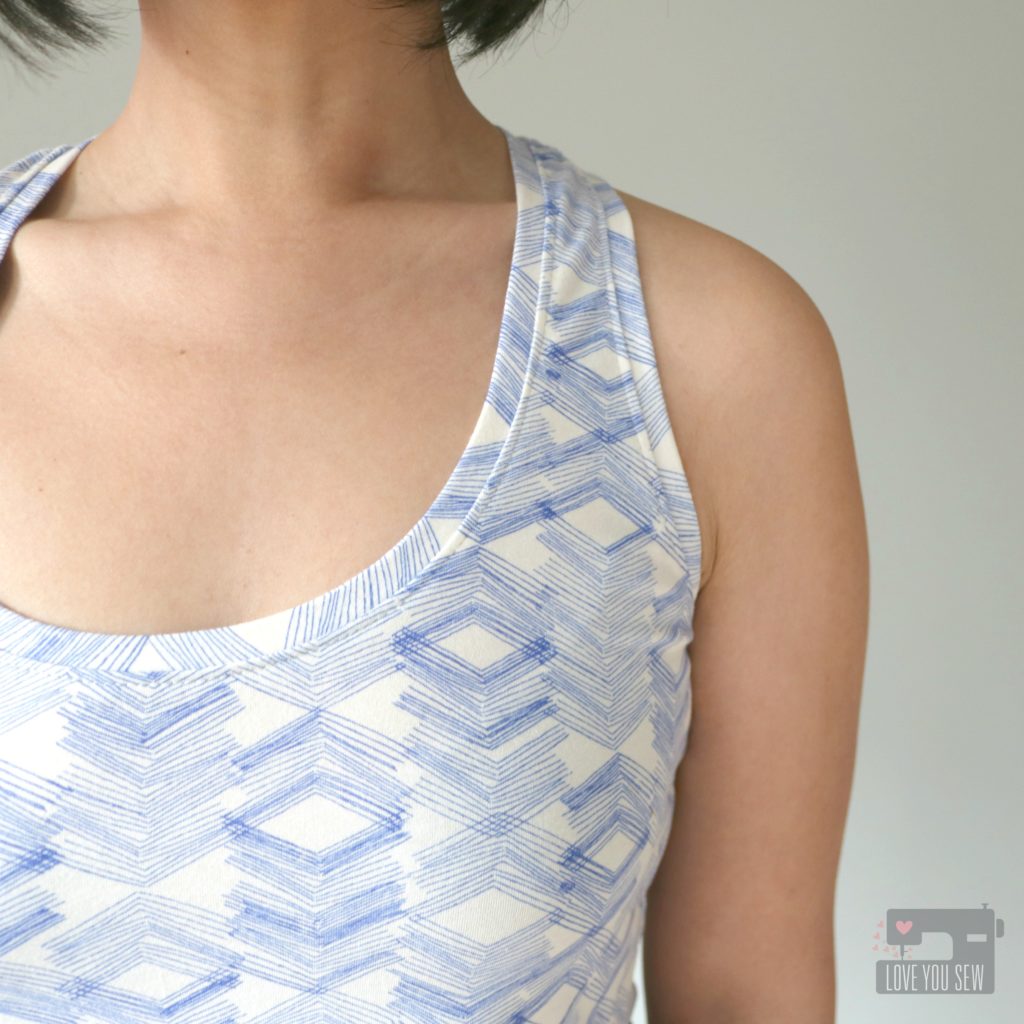
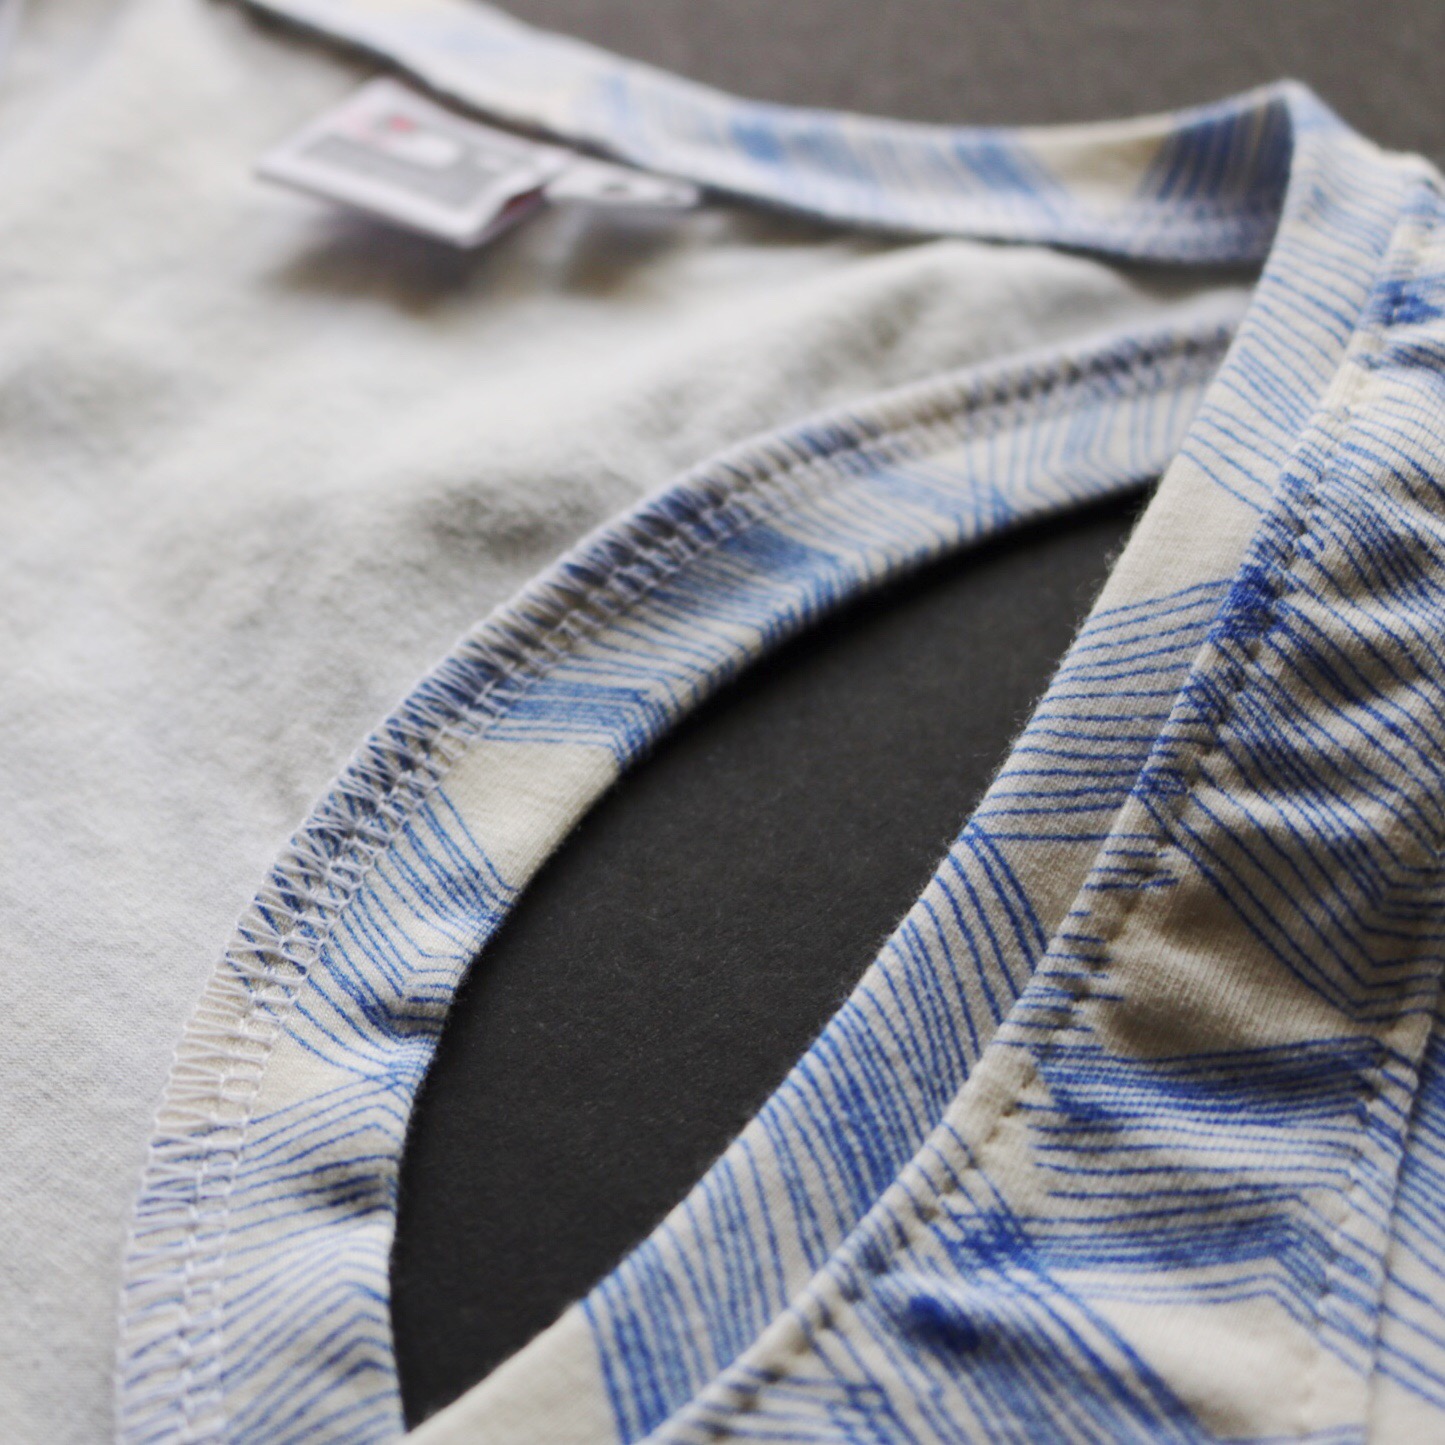
With a serger, the construction of the Rumi Tank was very quick.  However, I made sure to take the time to evenly distribute and pin the neck and armbands for a nice smooth finish. Although not necessary, I do top-stitch (with a ball-point needle!) around the neck and armholes for a professional look and to keep the seam allowance in place.

TIP: I like my garments to even be pretty on a hanger. So, I start and stop all my serging at inconspicuous spots…usually off to one side.

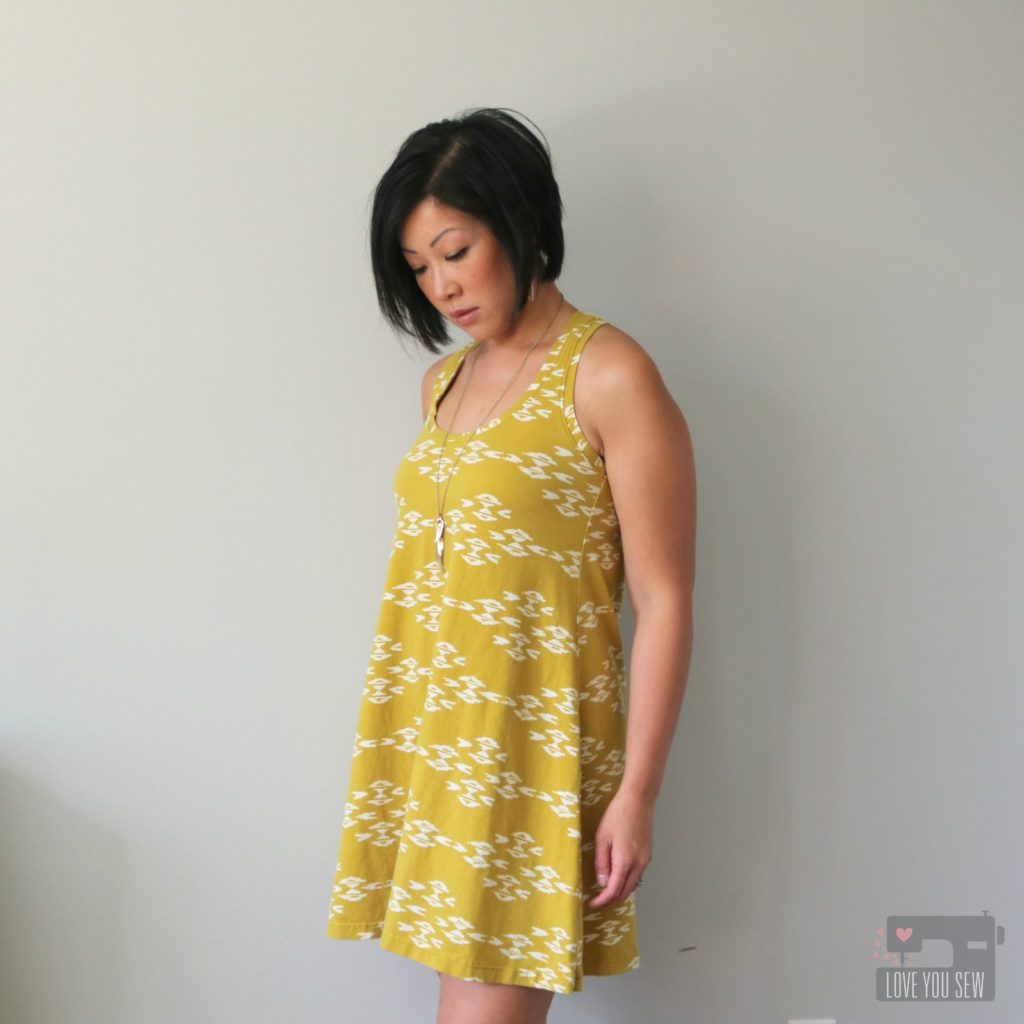
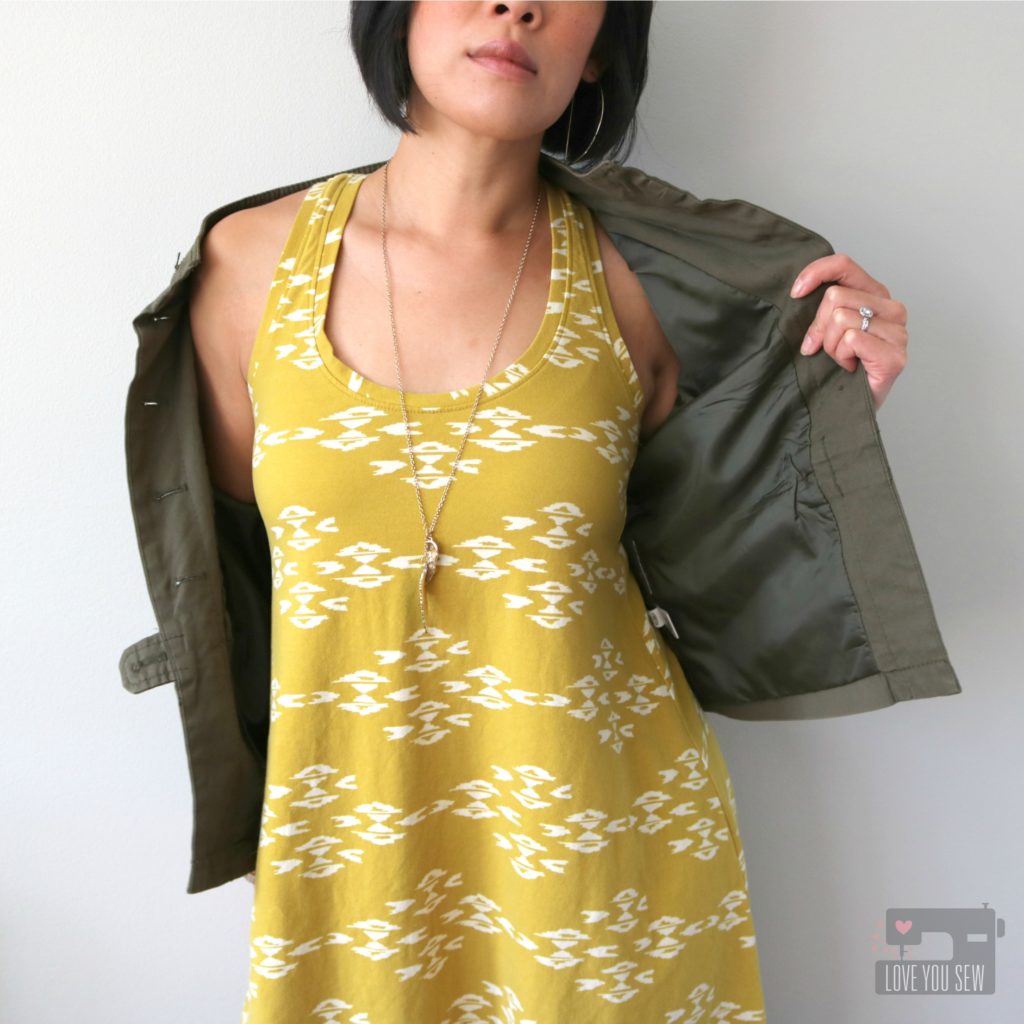
For my second Rumi project, I made the dress version. My family had spring break plans down on Florida and I could use a casual dress to throw over a bathing suit, if needed. April Rhodes’ Observer knit was perfect! I wore it to the beach and back.

Bonus – This dress can be worn with a jacket and layered over leggings.

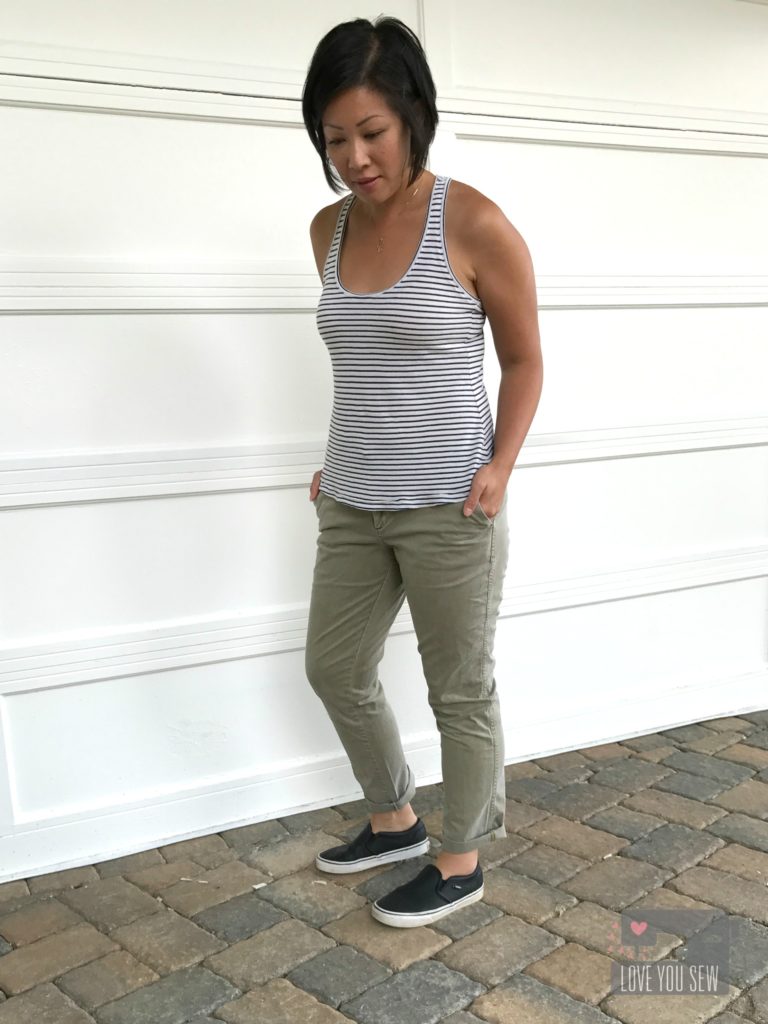
I’ve made two more Rumi tanks to fill in my summer wardrobe. One with a navy and cream skinny stripe I got from a destash and then another in the same Observer knit because I love the print and color so much 🙂 The ease and comfortability with these makes are awesome. I’ve been wearing them with jeans and skirts all summer long.

As we near the autumn and winter months, I plan on sewing a few more tanks and dresses. These will make nice layering pieces under my cocoon cardigans and with some fun tights.  All in all, I think this is a great beginner knit pattern. It’s also perfect if you are working on a handmade capsule. The silhouette is classic and you don’t have to deal with pesky falling straps!


Happy Sewing!

Cristy


This post may contain affiliate links.

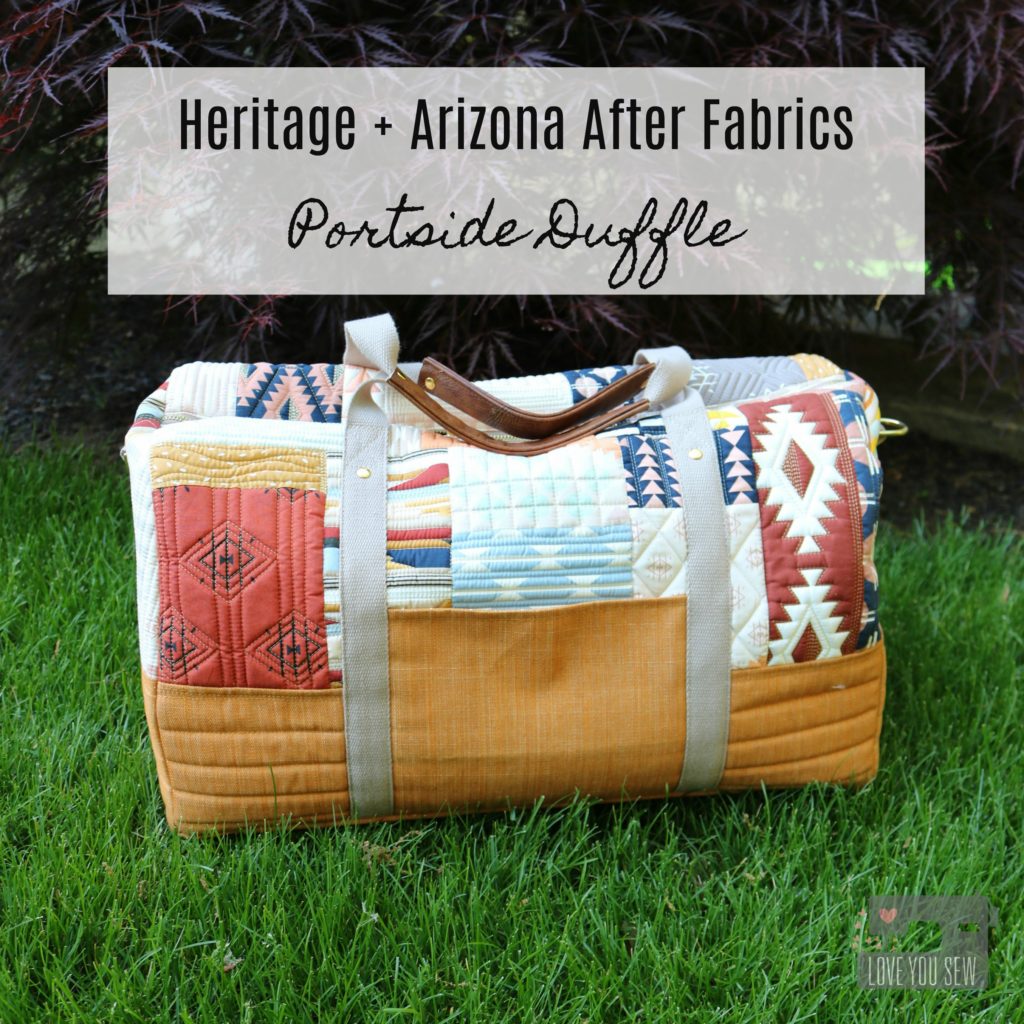
Heritage and Arizona After Fabrics :: Portside Duffle

April Rhodes has done it again.  She has just dropped not one, but TWO new fabric collections with Art Gallery Fabrics.  Arizona After is a gorgeous extension of April’s inaugural Arizona line with some new prints and some recolored with soft dusty pink and blues along with some deep rust and mustard.  The color combos she puts together are always so striking.  Heritage fabrics consists of garment focused substrates…including the new RAYON.  With April’s clothing patterns, she has always been a designer who knows scale for the quilters and the garment sewist alike.  It’s the perfect collection for the me-made makers!

Beyond the fabrics, April’s inspiration for the collections is just so touching.  The way she talks about her family and memories of her father and grandmother is just pure love.  Truly awesome. I love how a lot of the designs were just a part of April’s everyday life and over time, have been permanently imprinted in her head.  To bring these images to life brings so much light to her eyes and it’s been amazing to witness it all. These fabrics are just gorgeous and I’m happy she’s shared them with all of us….because whoa, right?!?

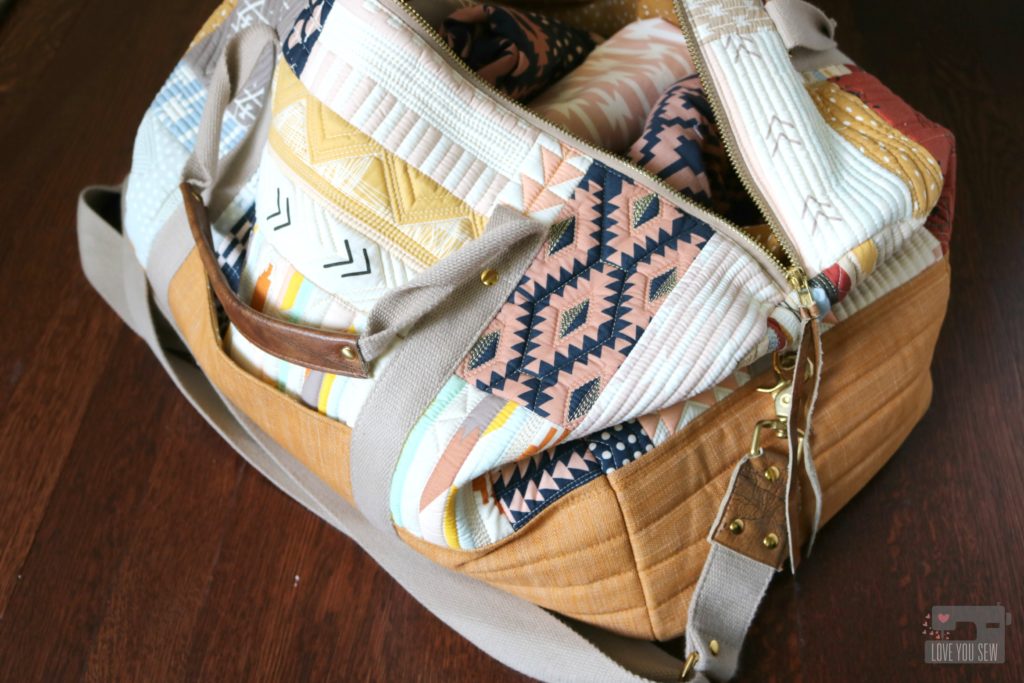
When I was asked to make a bag for April’s Spring Quilt Market Booth, I (of course) agreed.  She has become a dear friend and I will always help her, as she has helped me in so many ways.  April asked me to make a larger duffle and suggested a quilt-as-you-go method for easy patchwork because with Market…comes some tight deadlines.  I got to immediate work, but quickly realized I had to Turn. It. Up.

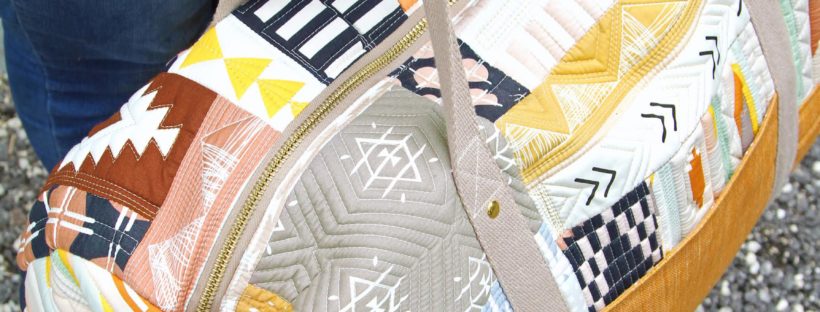
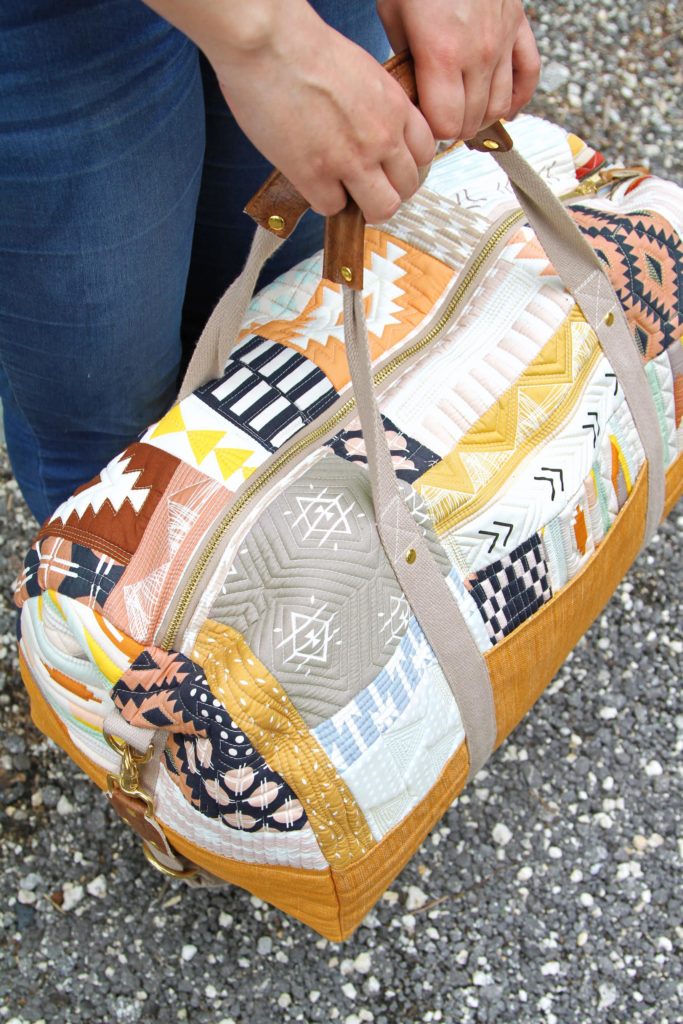
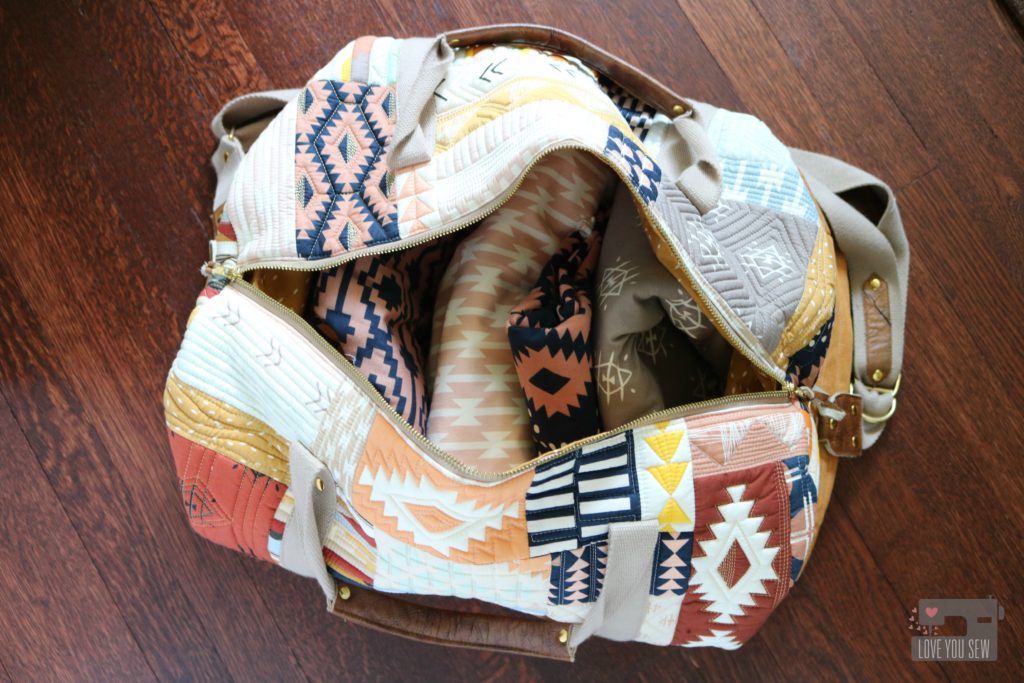
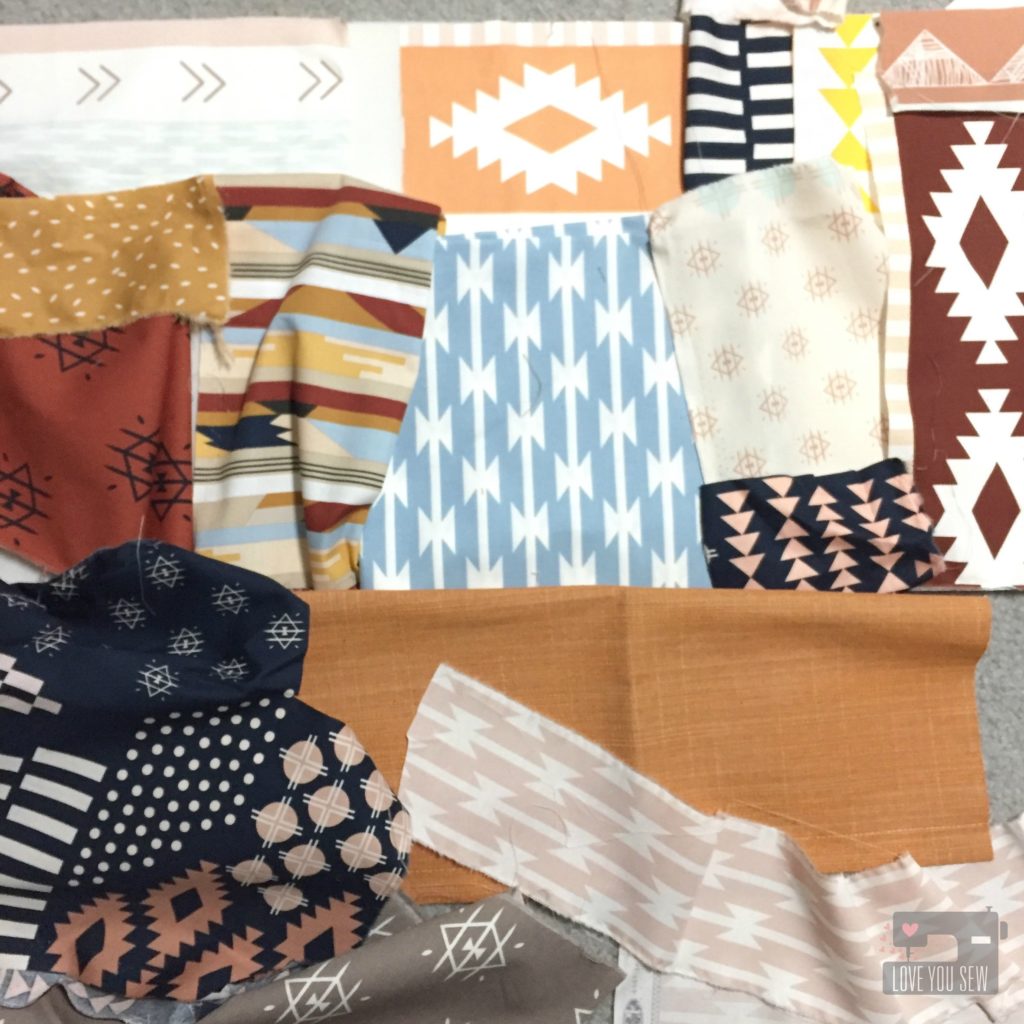
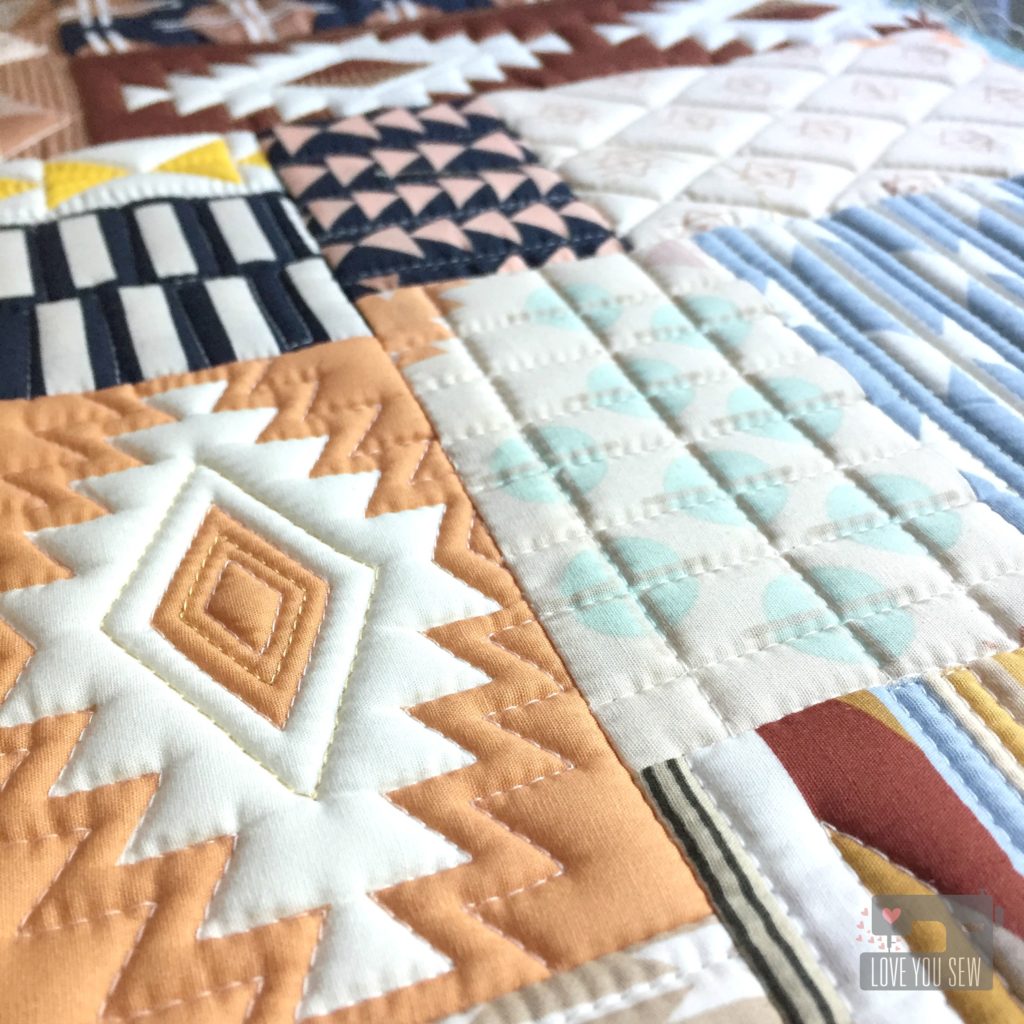
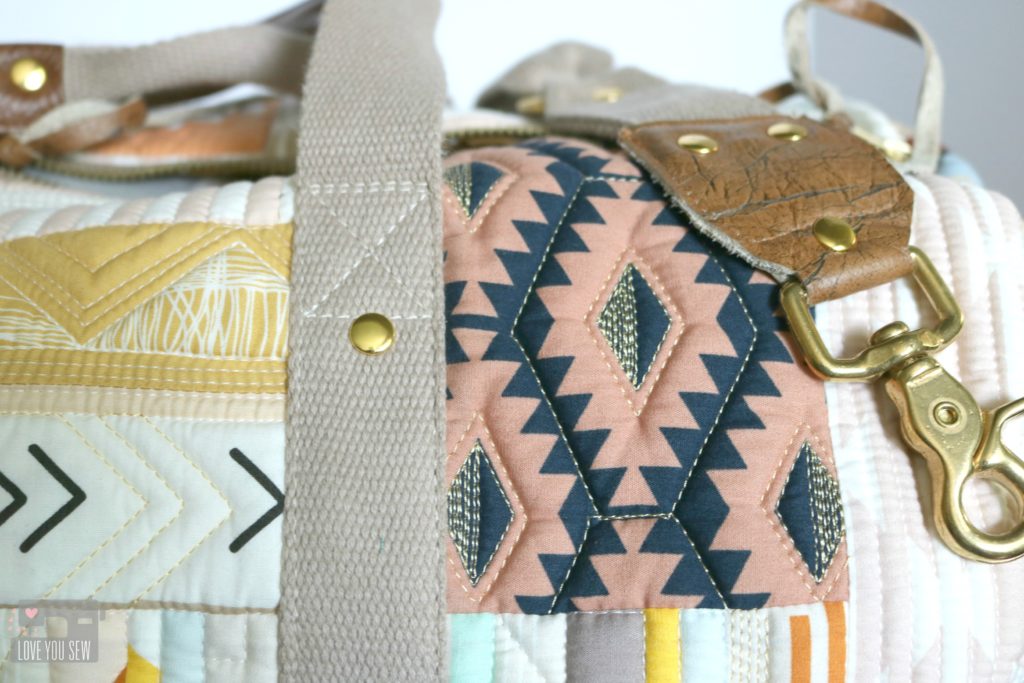
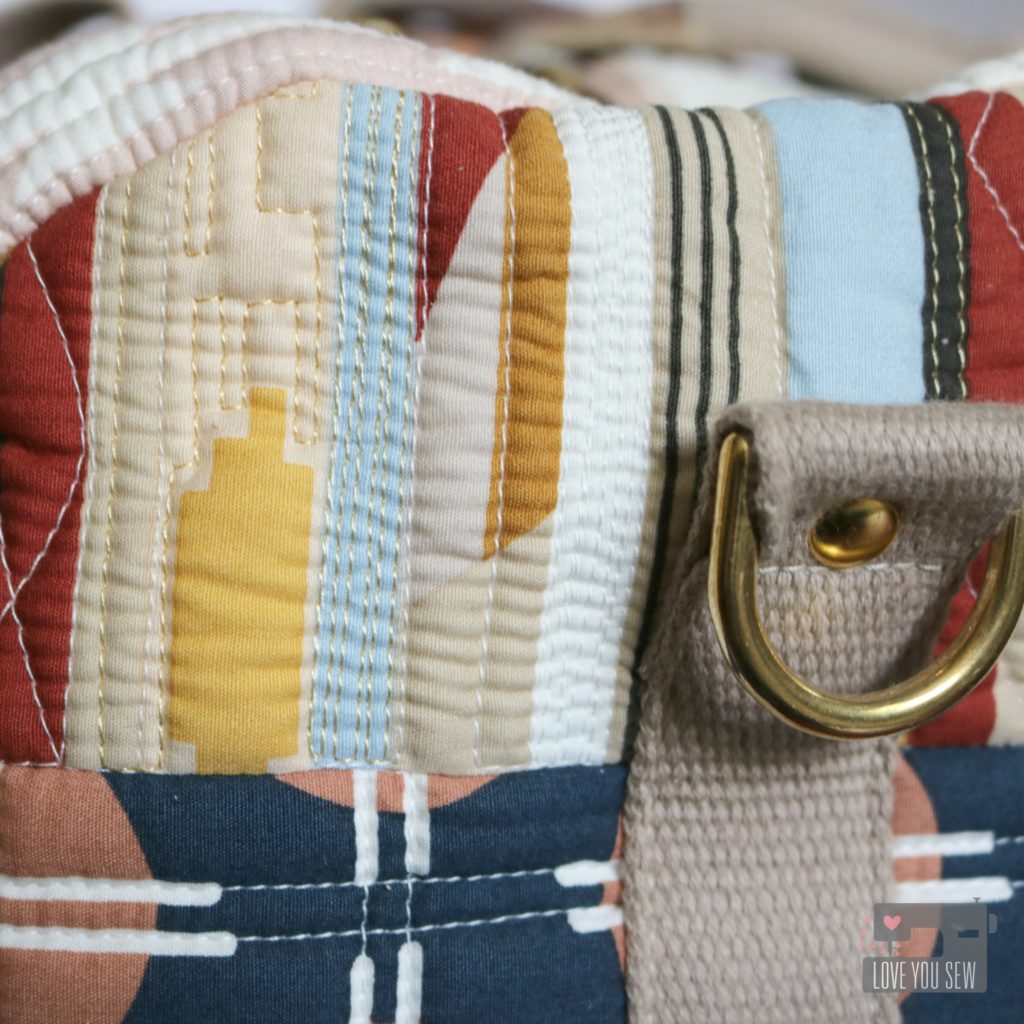
All 14 quilt cottons in the Arizona After collection was used to make the Portside Duffle Bag by Grainline Studios.  It’s the perfect bag to showcase these fabrics with all that surface area.  I loved playing with all the color combos while mixing and even deconstructing, some of the prints.

Once I started to quilt with my walking-foot on the Soft and Stable, that texture just got me.  I knew I had to add more and more quilting…and change up the designs with each print. Then it dawned on me….ooooh, metallic thread would be A-mazing with this palette.  The gold really brings out the colors and I’m so happy with how it turned out. TIP: Cut a larger piece of soft and stable than the pattern requires. Quilt and then cut to size. Don’t forget to baste those edges!

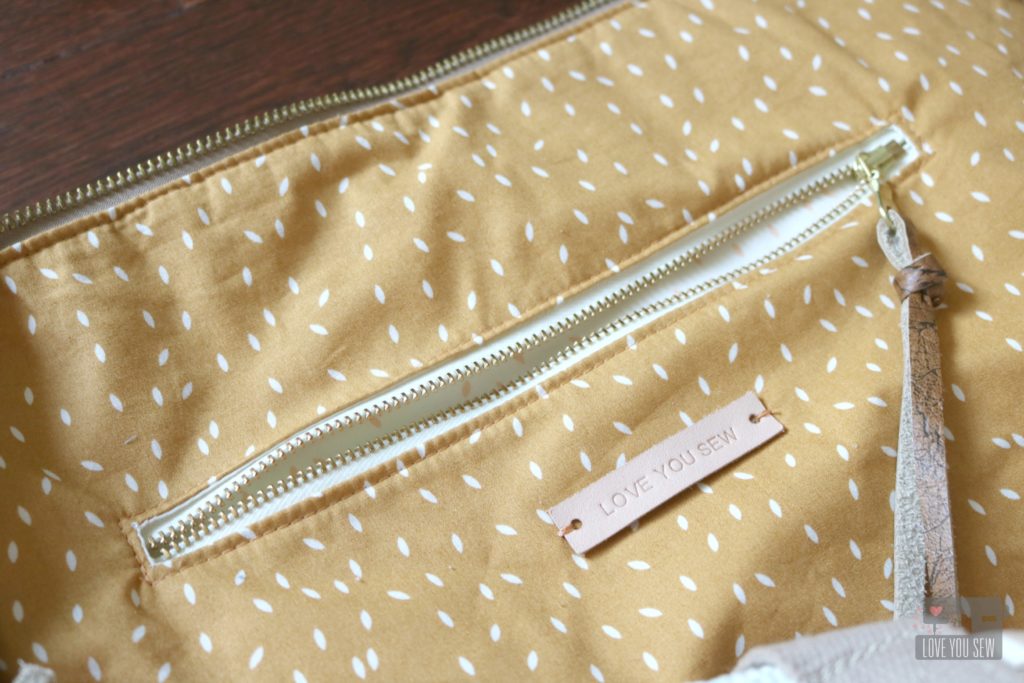
Art Gallery’s textured denim in Canyon Sunset was the perfect complement to Arizona After and is a nice durable fabric for the bottom accent of the duffle bag.  On the inside, I used the Scattered Wood print and added an additional zip pocket…because we can always use some extra pockets.  I love the look of brass zippers and with the gold thread, this combo obviously had to happen.

For more texture and to turn this bag up another notch, I used hardware from ARmercantile combined with some leather from my sacred stash.  Guitar-inspired bag straps are popping up all-over the place and I just had to add that look to this duffle.  The added rivets bring out more of the brass and help round out the look.  Who says a quilted bag can’t be modern and on-trend?  I love being able to combine my love of quilting with my love of bag-making….and the gorgeous fabric definitely helps.  Thank you Arizona After for the inspo!

Make sure to check back on April’s blog and Instagram all throughout July for the up-to-date info on the Blog Tour.  Next up will be an Instagram loop on July 5th and I heard there maybe prizes involved 😉

Last, but not least, don’t forget to tag #heritagefabrics and #arizonaafterfabrics with all of your makes.  I can’t wait to see all of them!

Project Summary:


Fabric and pattern for the Arizona After + Heritage Blog Tour was provided.  There are affiliate links in the Project Summary.


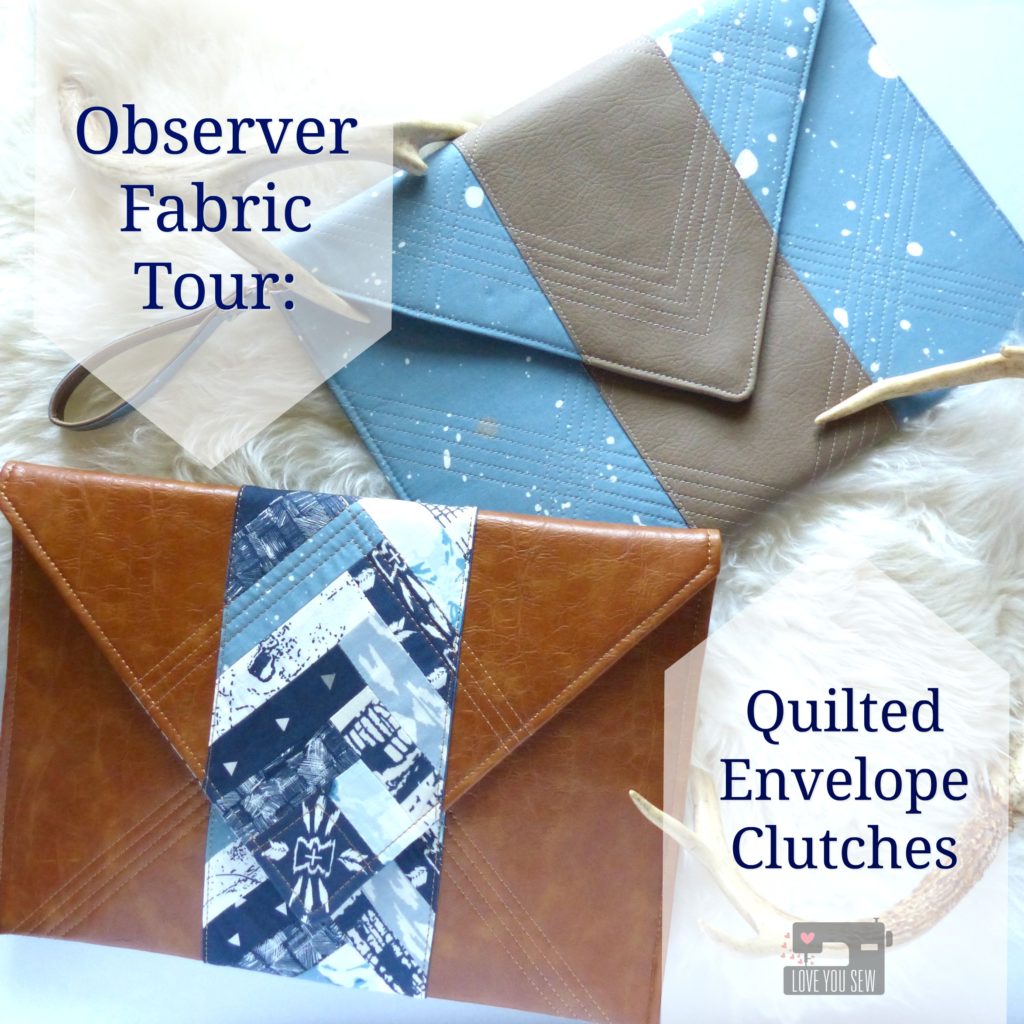
 Observer Fabric Tour >> Quilted Envelope Clutches

ObserverBlogTour_Title

It’s here!  It’s here!  The Observer collection by April Rhodes for Art Gallery Fabrics has finally made it way to shops and I’m so happy to show you my projects on the #OBSERVERfabrictour.  In true fashion, April does not disappoint.  These designs come from her own eyes and what she has seen both physically and mentally.  My favorite print is Aerial View…mainly because it was inspired by Columbus, OH (where we both live) and just shows how little we are in such a big world…

Observer-Fabric-Tour

I was very fortunate to play with the early strike-offs for this line, and you can view my other projects in this previous post.
P1060647

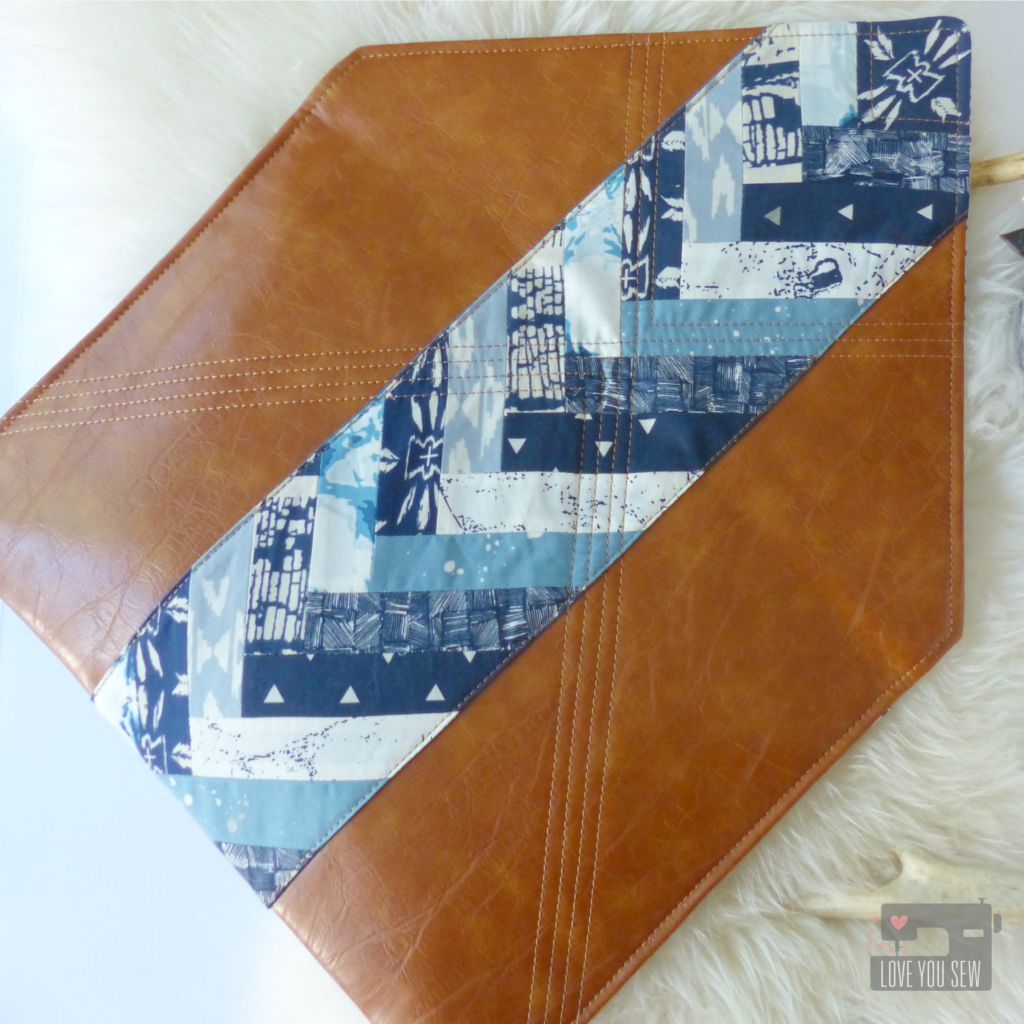
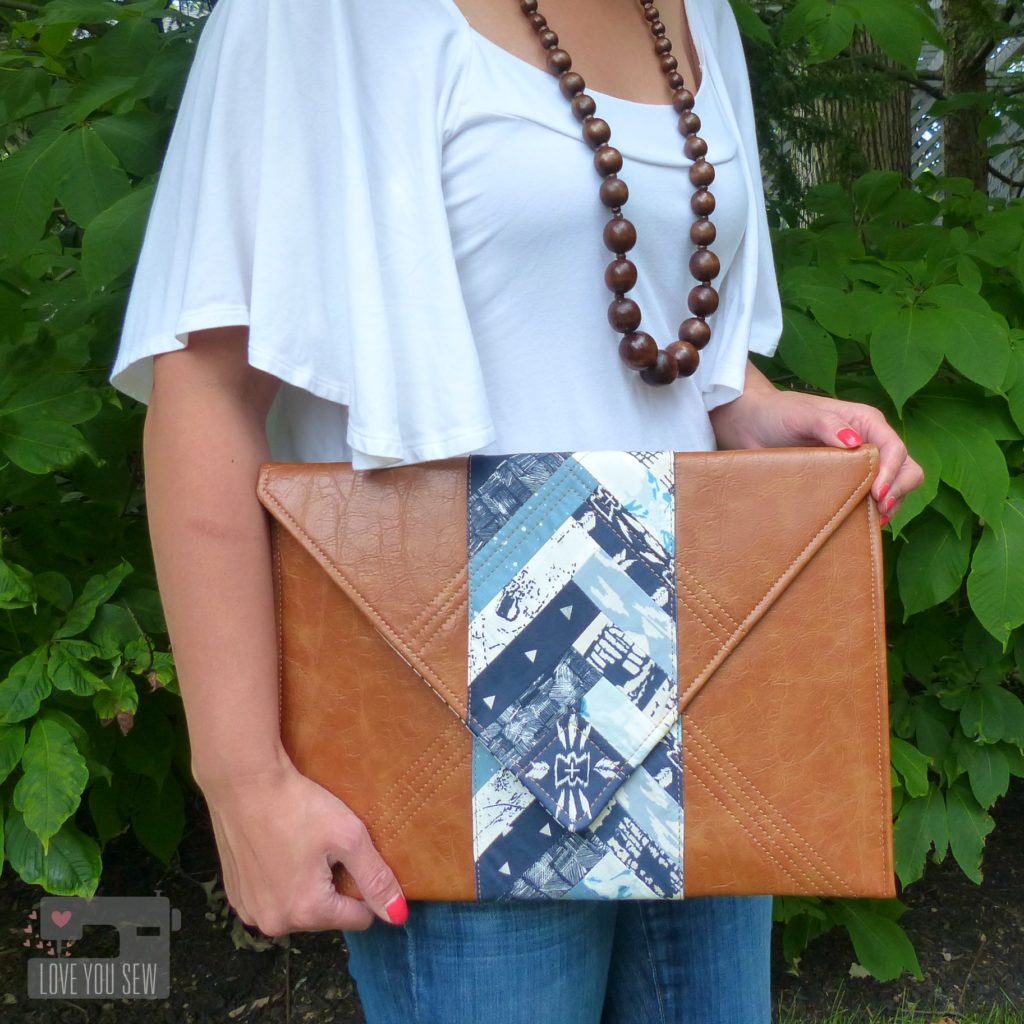
I’m kicking the tour off with these fabulous oversized Envelope Clutches.  Ever since I had swatches of these fabrics in my studio, I was trying to think of what I wanted to make as a personal project.  These curry and sulfur colors mixed with sand and copper play SO well with the indigos, grey-blues and navy.  I fell head-over-heels with this palette and have plans for a dress in Overshot Gold.  With that in mind, I thought a trendy Envelope Clutch would be perfect in the Shard colorway.
P1060617

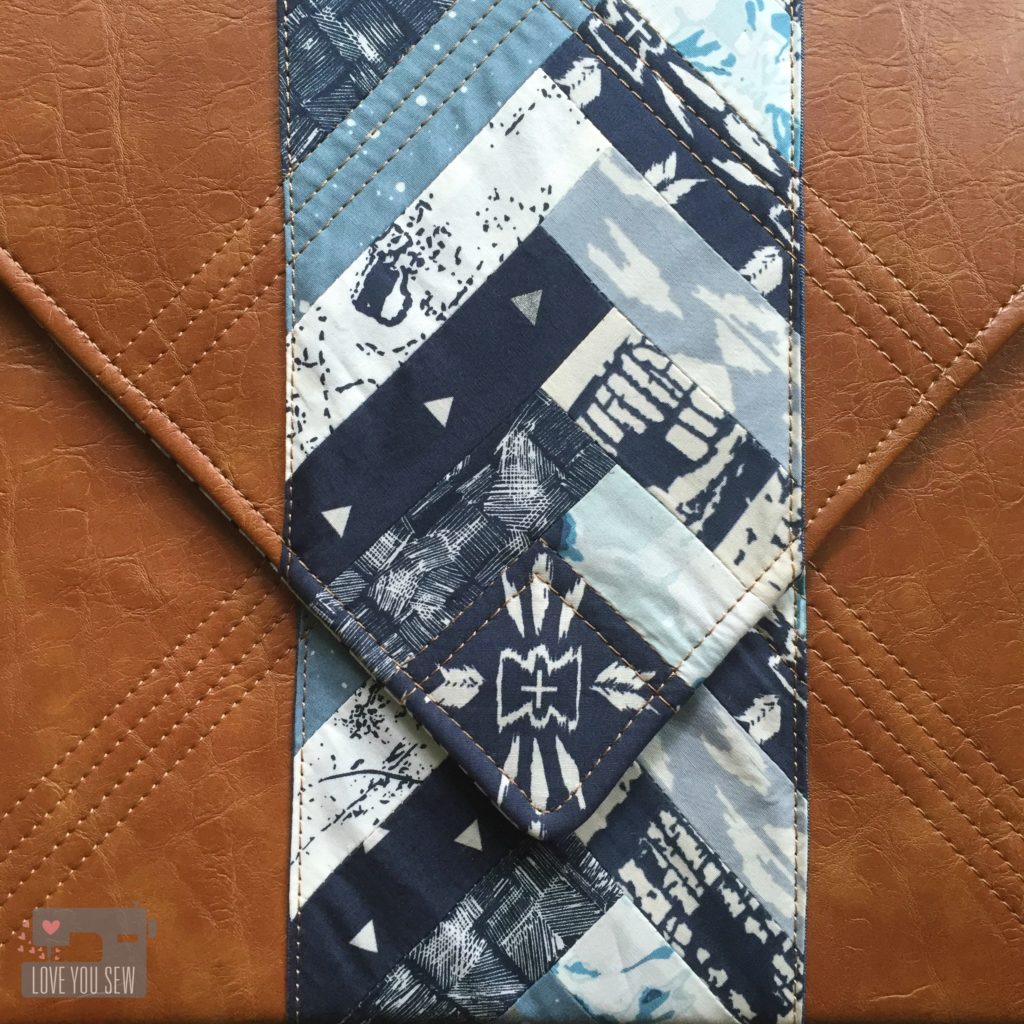
As a modern quilter, I continually try to show the rest of the world that patchwork and sewing are still “cool.”  Sound familiar, friends???  I thought combining the sophistication of (faux) leather with a simple block would be the perfect marriage of current Boho-Gypsy love and traditional quilting.
IMG_6780

This was initially going to be a one-off creation just for myself, but the sneak peeks on Instagram created such positive feedback, that I knew I HAD to write a pattern for all of you. EDIT:  Tutorial can now be found HERE. 
IMG_6770

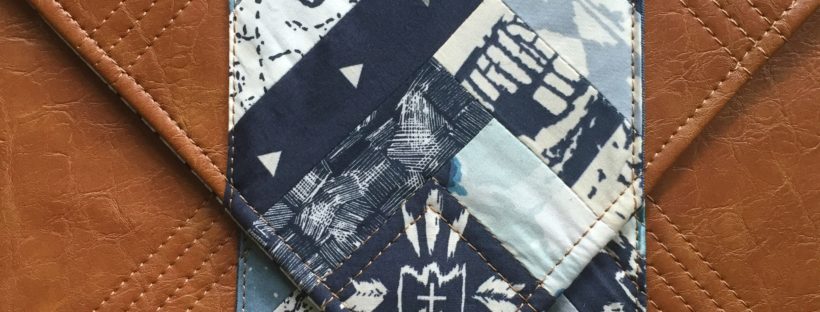
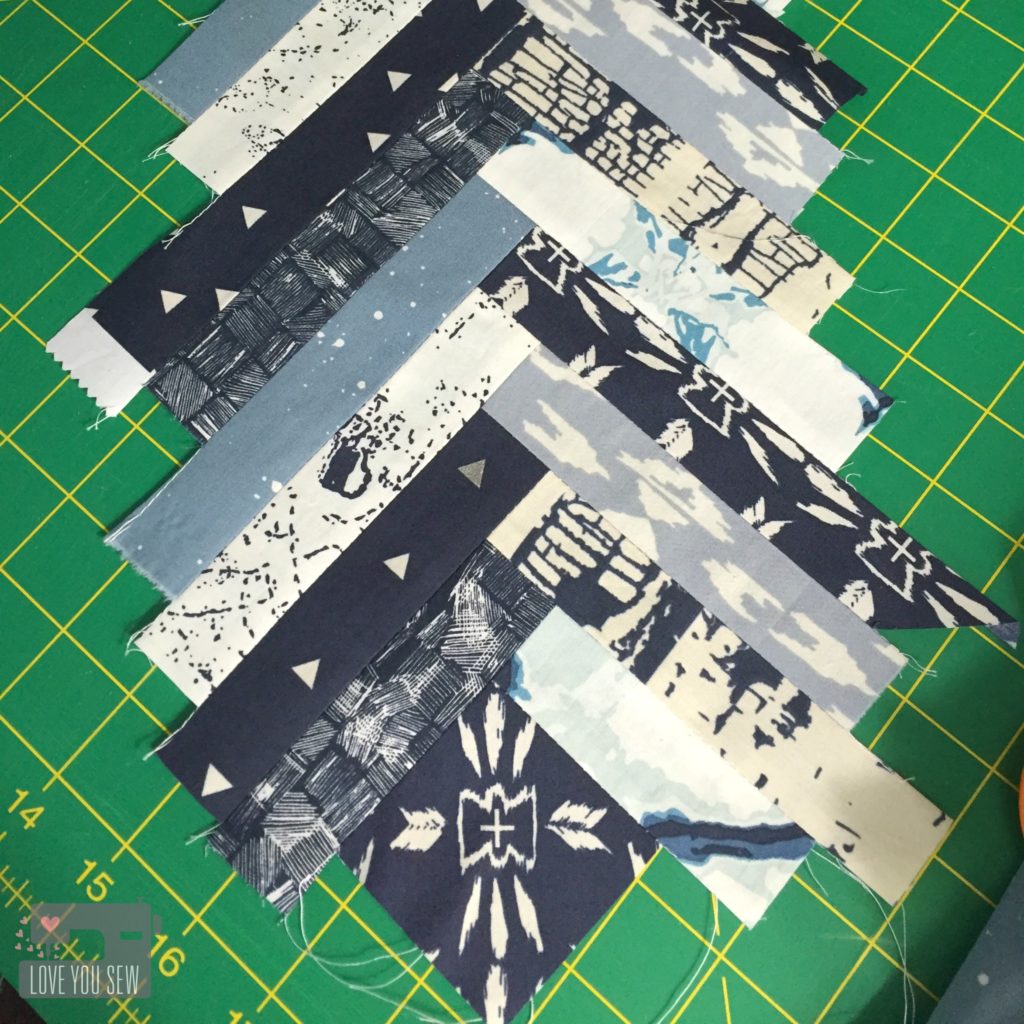
Working with the envelope design, I used a simple half log-cabin pattern to work with the flap’s 90 degree angle.  I used a 2.5″ fussy-cut square from the Homespun Praxis and used various 5″ (or longer) x 1.5″ strips to make a 28″ panel.  The panel was then trimmed to 5.5″ wide.
IMG_6772

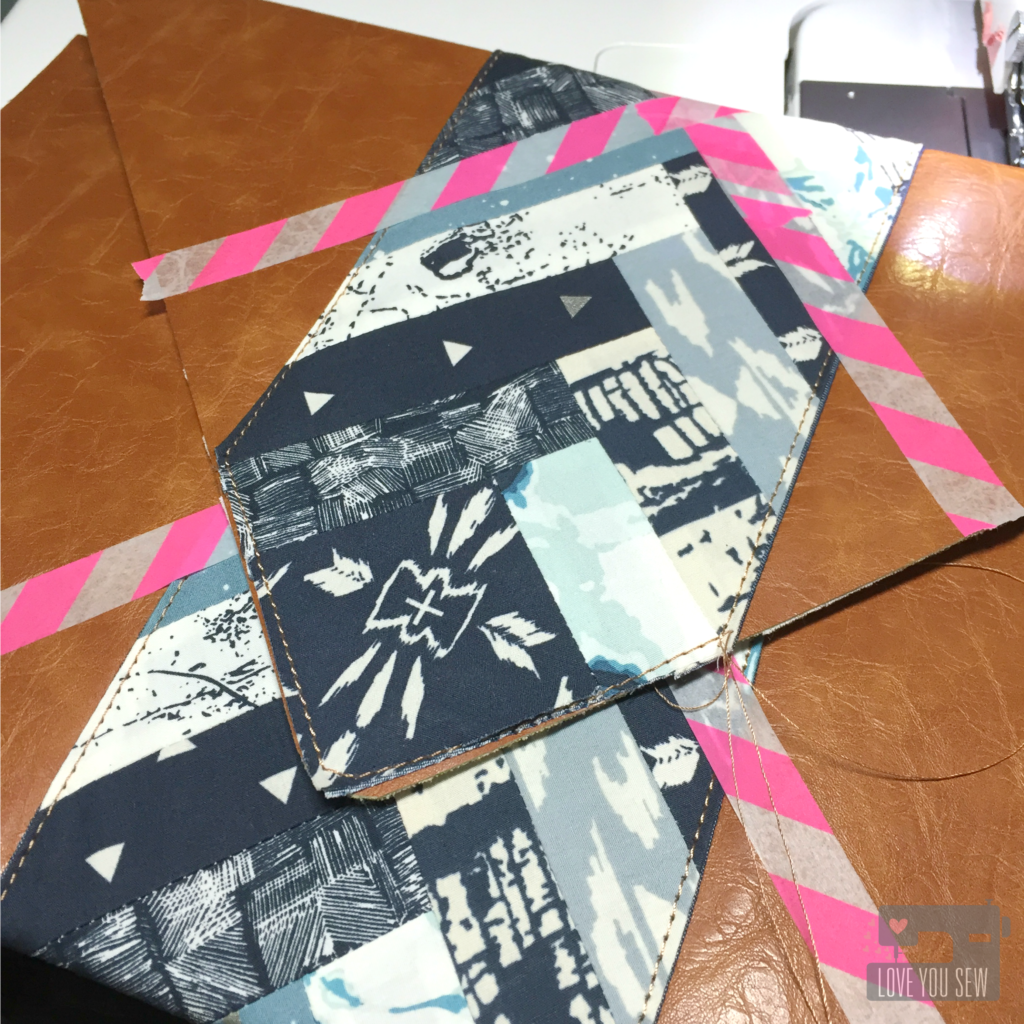
The pieced panel was then sewn onto a coordinating AGF Solid Smooth Denim with right sides together. They were turned out and pressed.  The results are clean even edges which are then top-stitched down onto the (faux) leather.  I used Gütermann upholstery thread which provides a nice raised look and slides well through the leather.  Washi tape was used as the quilting guidelines since pen and chalk can smear.  I followed the lines of the piecing  to create additional texture and add more design detail onto the clutch.
P1060621

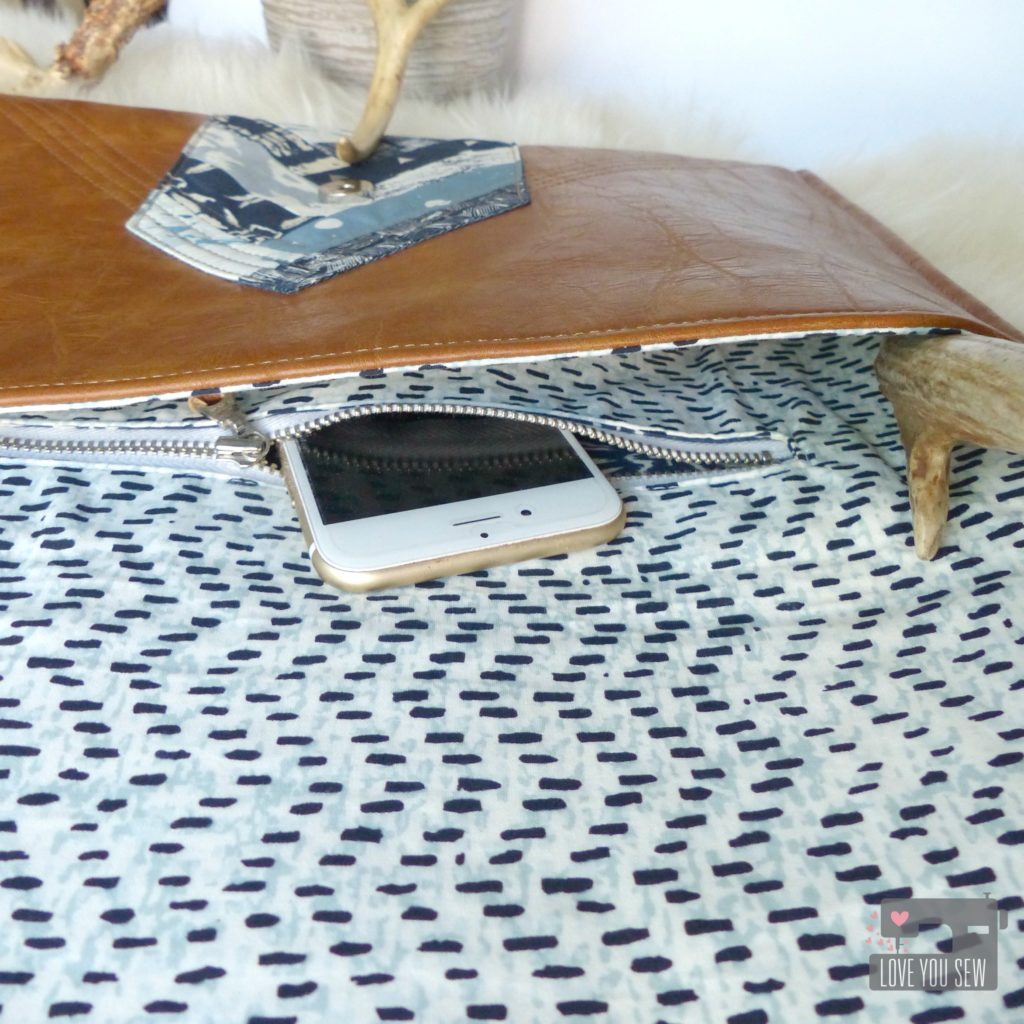
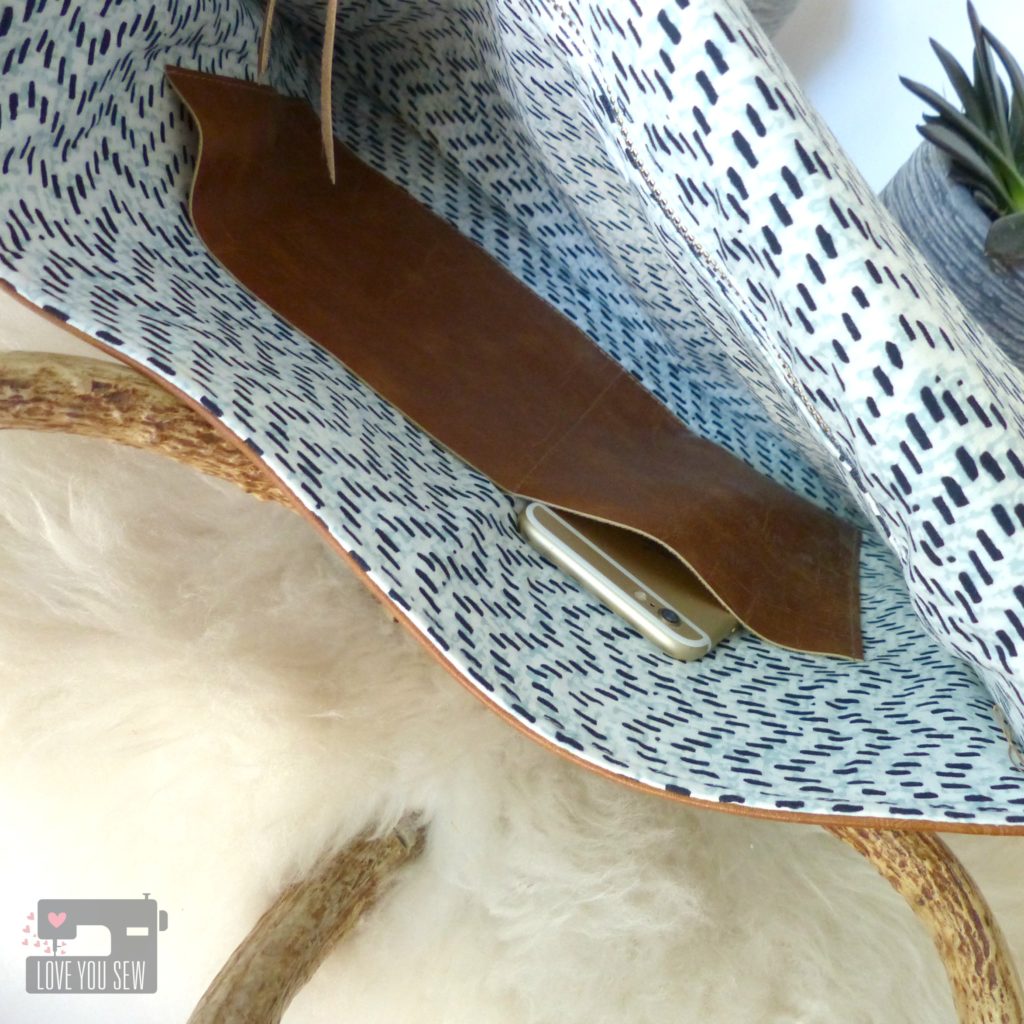
This Envelope Clutch, although oversized to carry a lot of stuff, still needs the basic features of any bag.  The lining is made out of Treadle Tradition with a generous sized pocket using a 9″ metal zipper from Zip It Zippers.  Metal zippers add that extra professional look I just love.
P1060620

On the opposite side of the lining, I added simple slip pockets.  These are unlined, using leftover leather so there is no fraying.  They were sewn down with unfinished edges.  I just made sure one pocket was the proper size for my cell-phone…priorities, right? 😉
P1060649

Metal snaps were added and now I’m ready to hit the town with my chic boho clutch!
IMG_6880

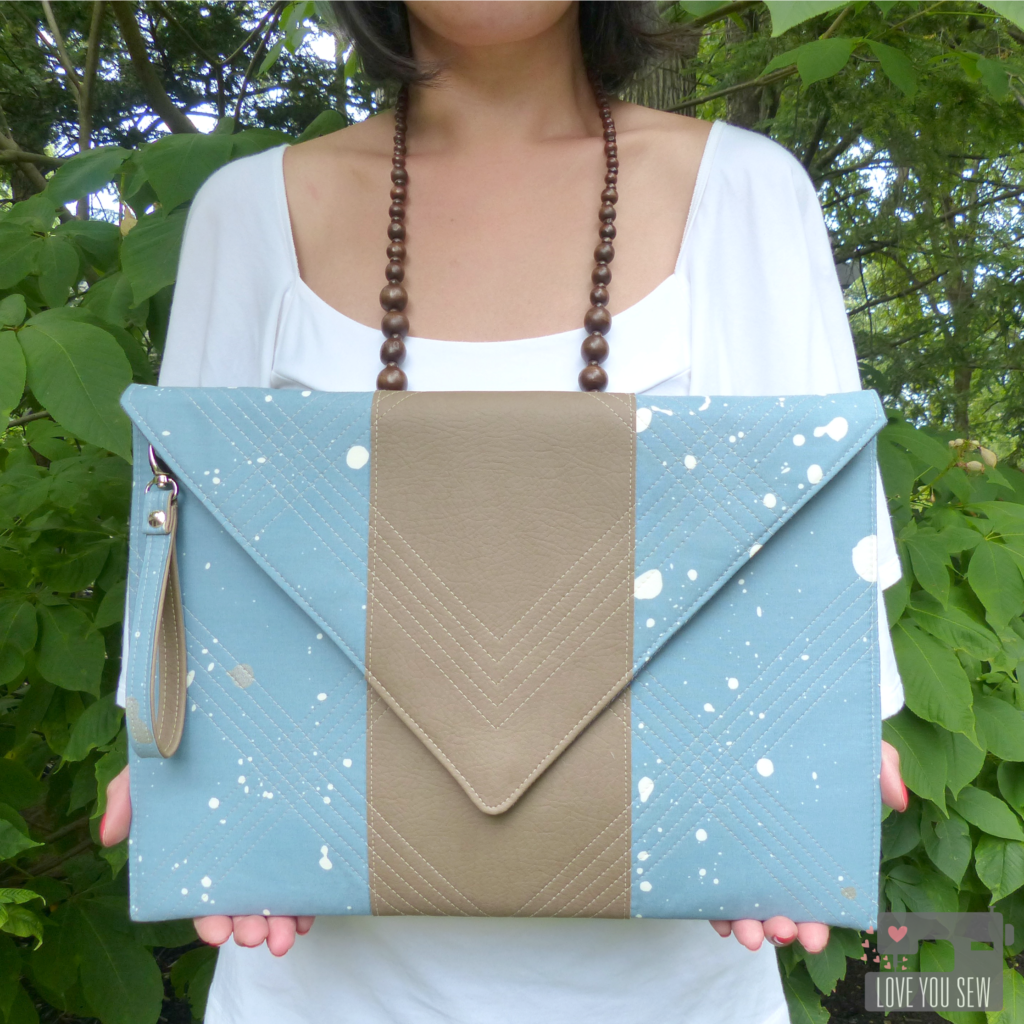
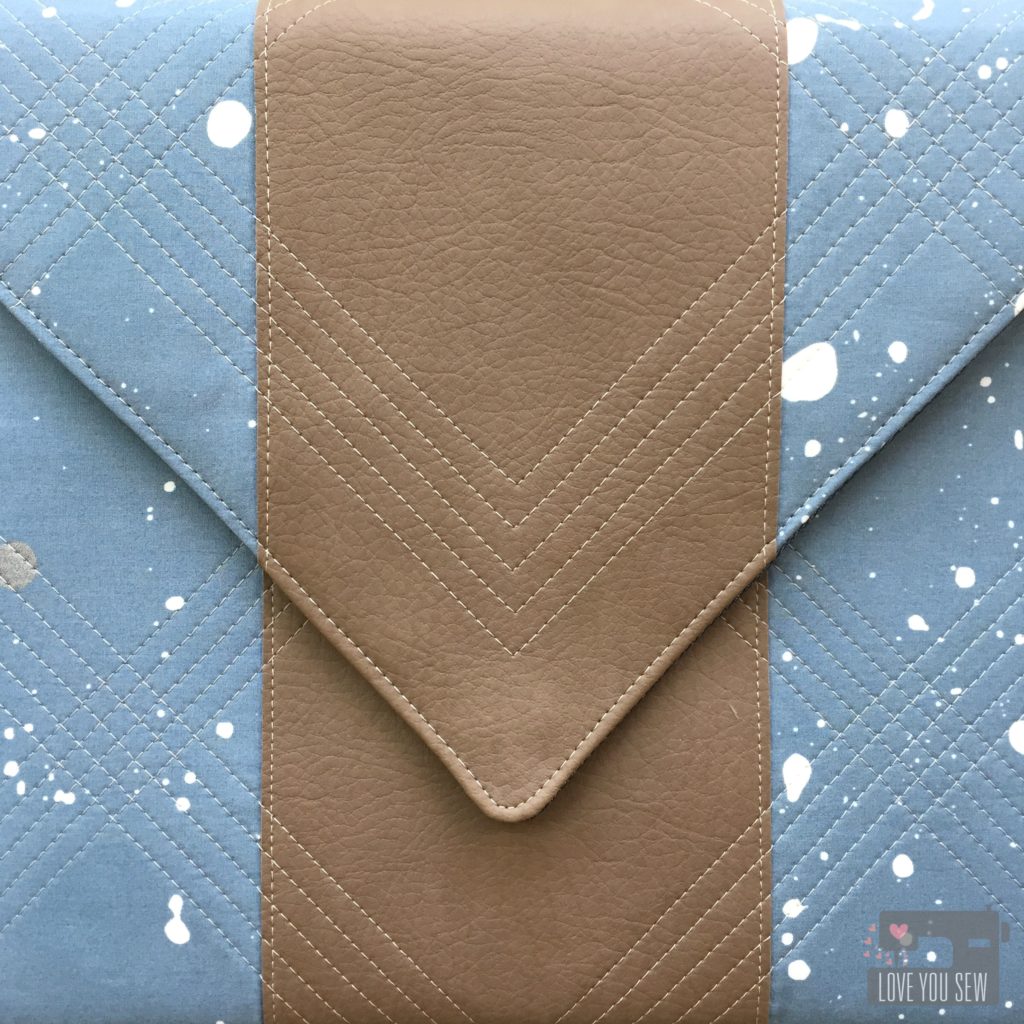
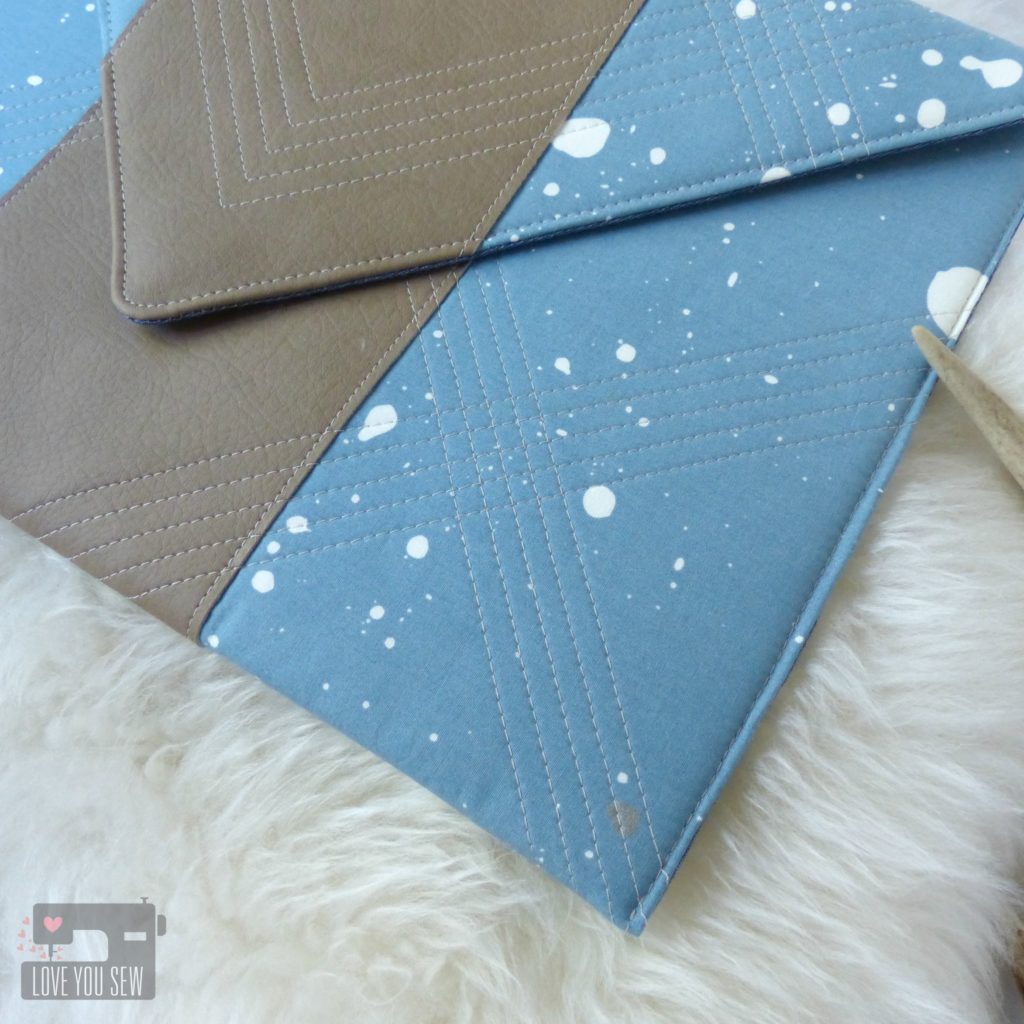
Sewing through faux leather can be a challenge on many domestic machines.  So I wanted to come up with a similar style Envelope Clutch which is MUCH easier to sew.  This design is shown in Speck Stardust and utilizes some fusible fleece with just a single panel of raw-edge faux leather.  I love how this print color reminds me of a perfectly worn pair of jeans and the leather match my favorite fall booties.
P1060626

I wasn’t able to find upholstery thread to match this vinyl, so I used Gütermann Sew-All polyester.  This slides through the faux leather really well and still provides a great look and quilting texture.  I changed up this quilting design to make some fun cross-hatching.  ‘Slow and steady with the walking foot kept the lines straight and even.
P1060628

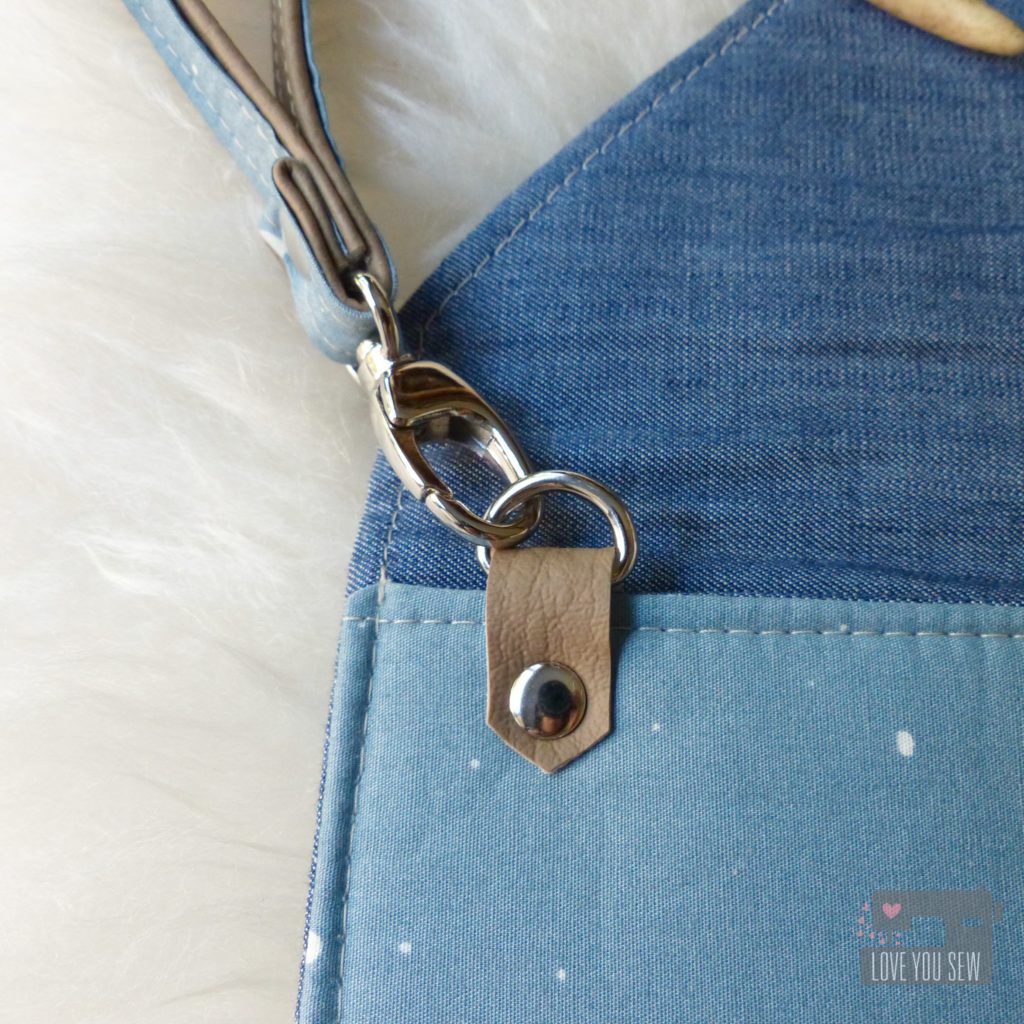
With this version, I added a wrist strap using hardware from Emmaline Bags and scraps of both the (faux) leather and Speck Stardust.  Using half fabric and half leather is easier to work with rather than trying to sew through multiple layers of leather.
P1060629

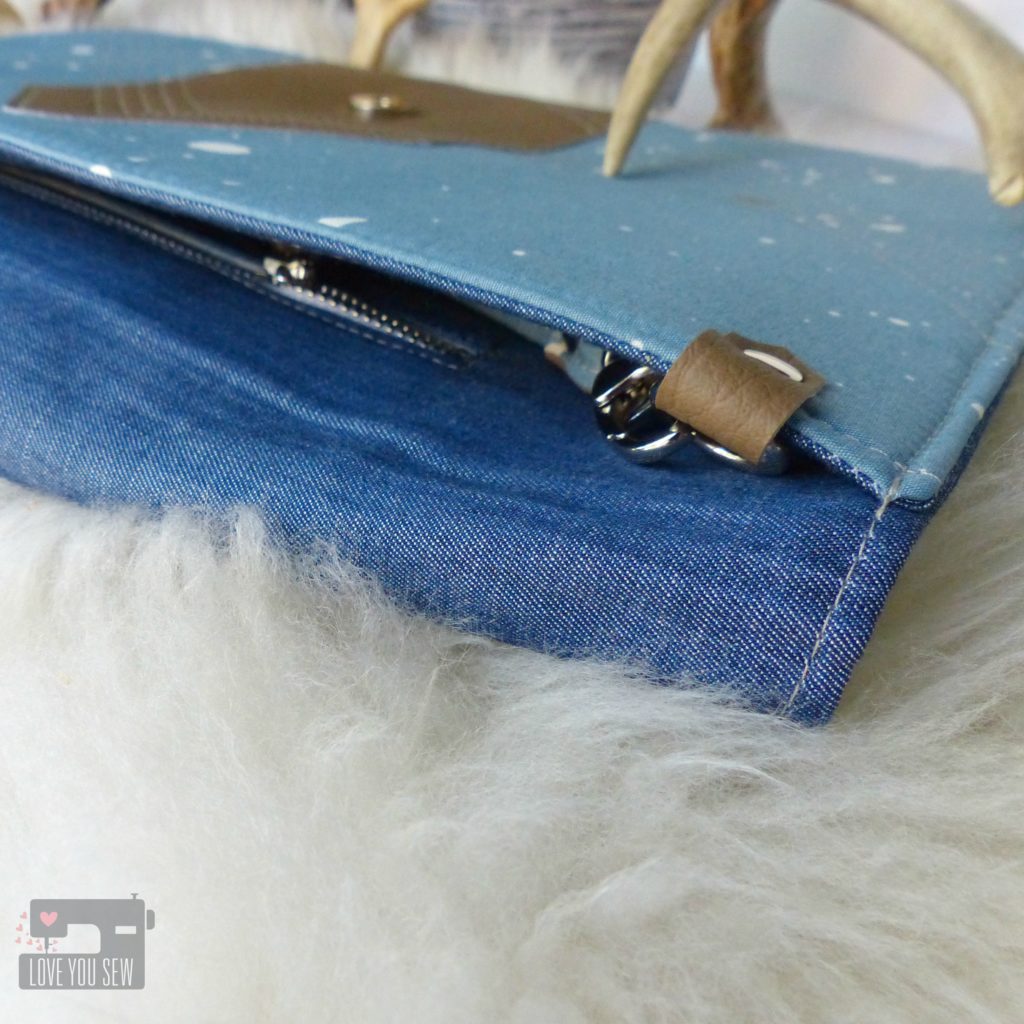
The D-ring was added to the front of the clutch rather than sewn into the side.  This provides the option to be hidden.  It also doubles as a spot to hook your keys.  The lining was made from Indigo Shadow Solid Smooth denim and I created the same zipper pocket one side and two slip pockets on the other.
P1060638

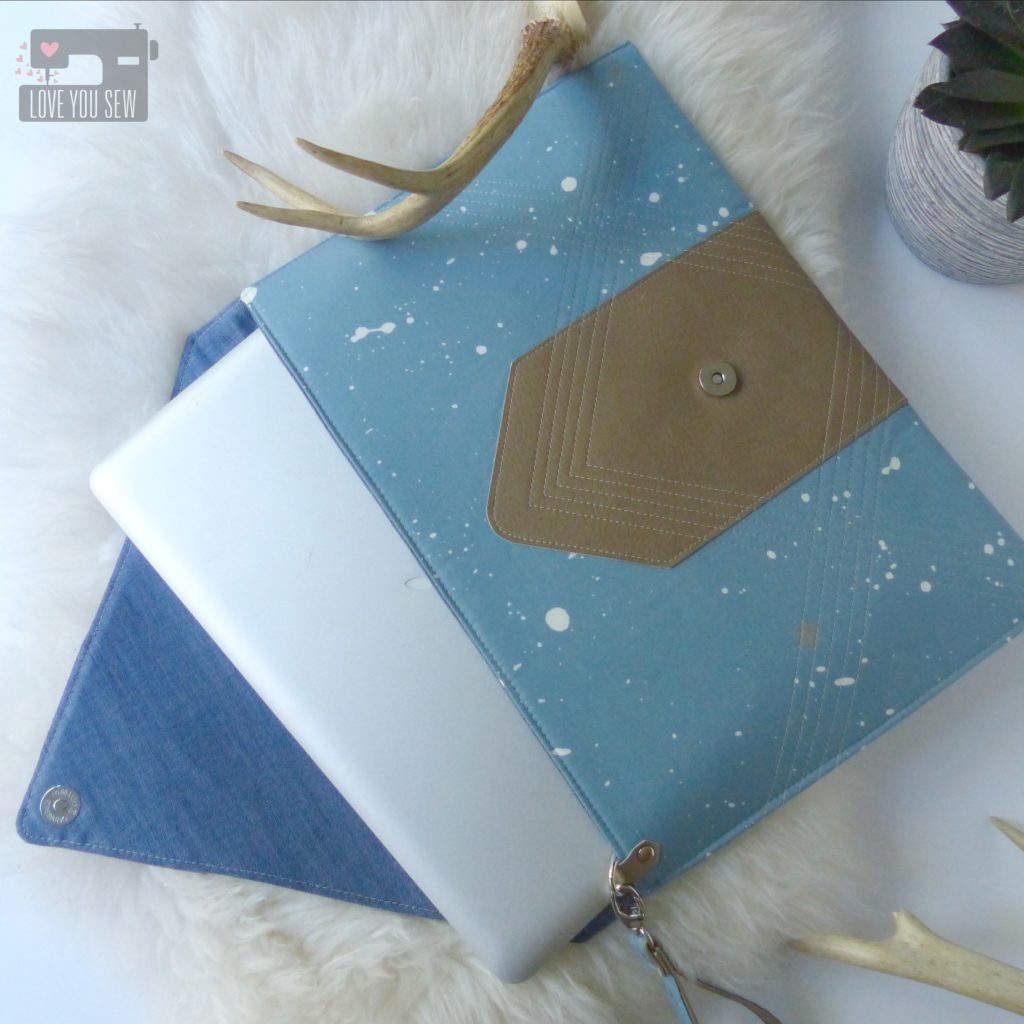
Ironically, this design also fits my laptop.  So with the fusible fleece, this Envelope Clutch can be used as a laptop cover.  The pockets are great for cords and small headphones.
P1060648

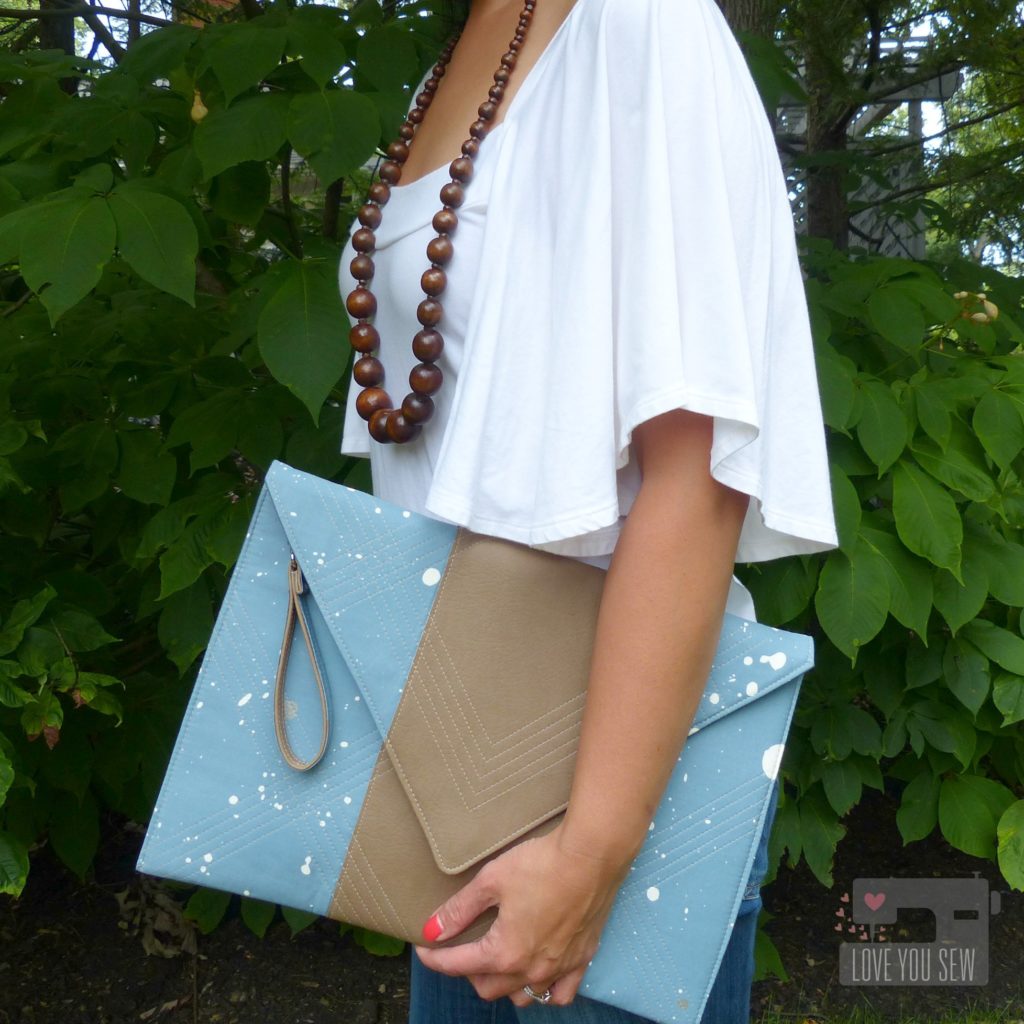
I know I’ll be rocking this clutch out on the town with the girls though….

What’s on your project list with Observer?


Make sure to stop by April’s blog to get the up-to-date schedule with 6 weeks full of dreamy inspiration.  The line-up of bloggers is quite impressive 😉  If you need even more ideas, head to Art Gallery Fabric’s Observer Lookbook….you might even recognize someone’s name in there 😉
#ObserverFabrics #ObserverFabricTour #ArtGalleryFabrics #WeAreFabrics


Sew On,

Cristy