Spring Roll Pouch Launch

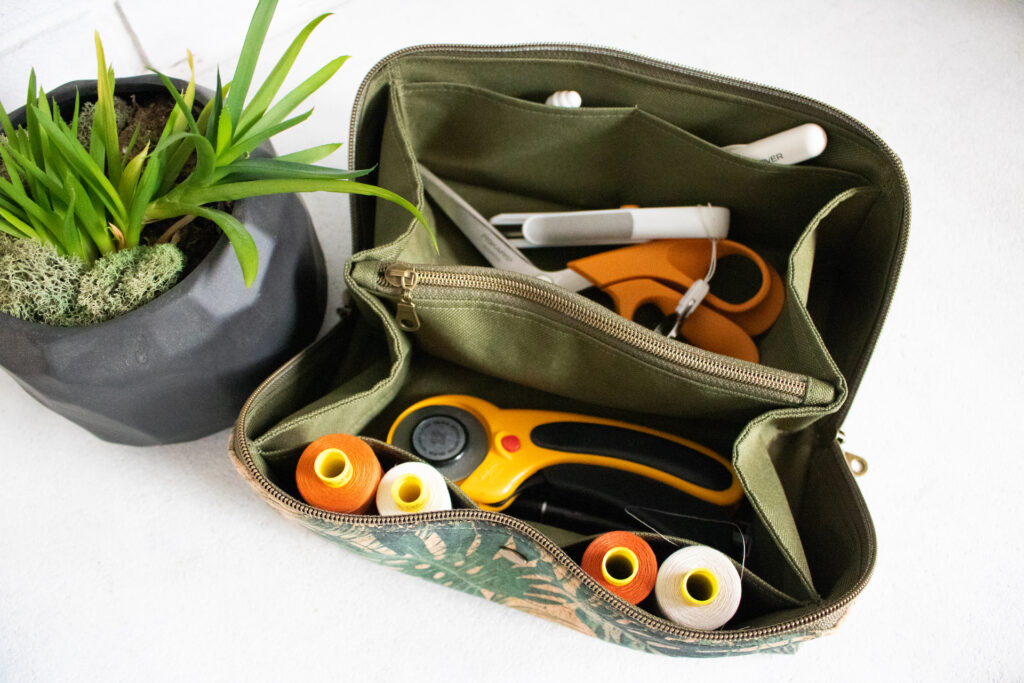
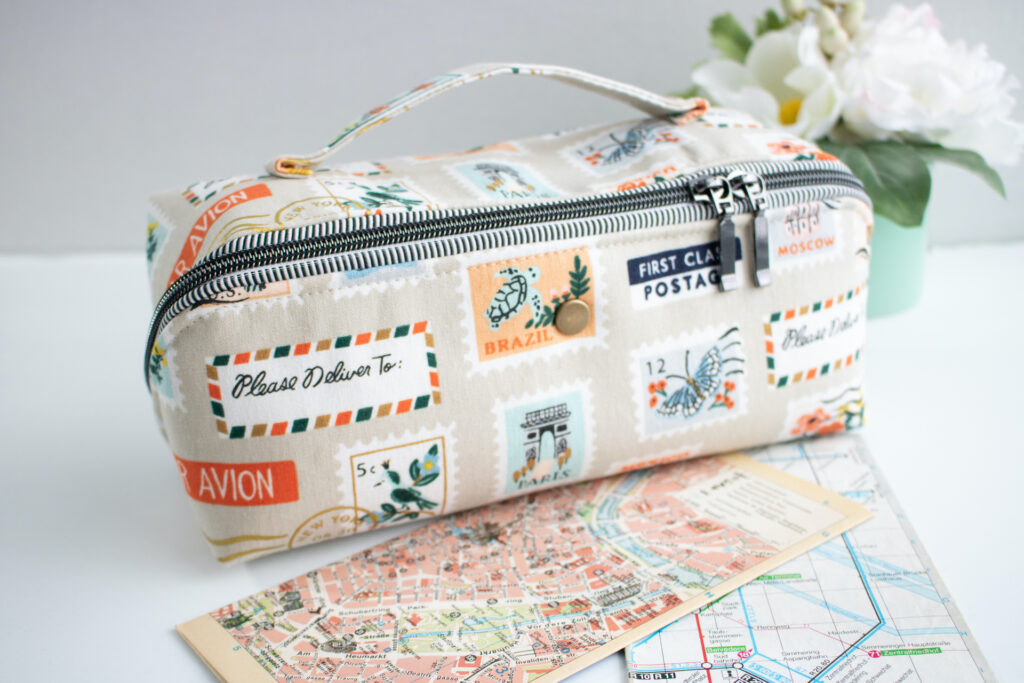
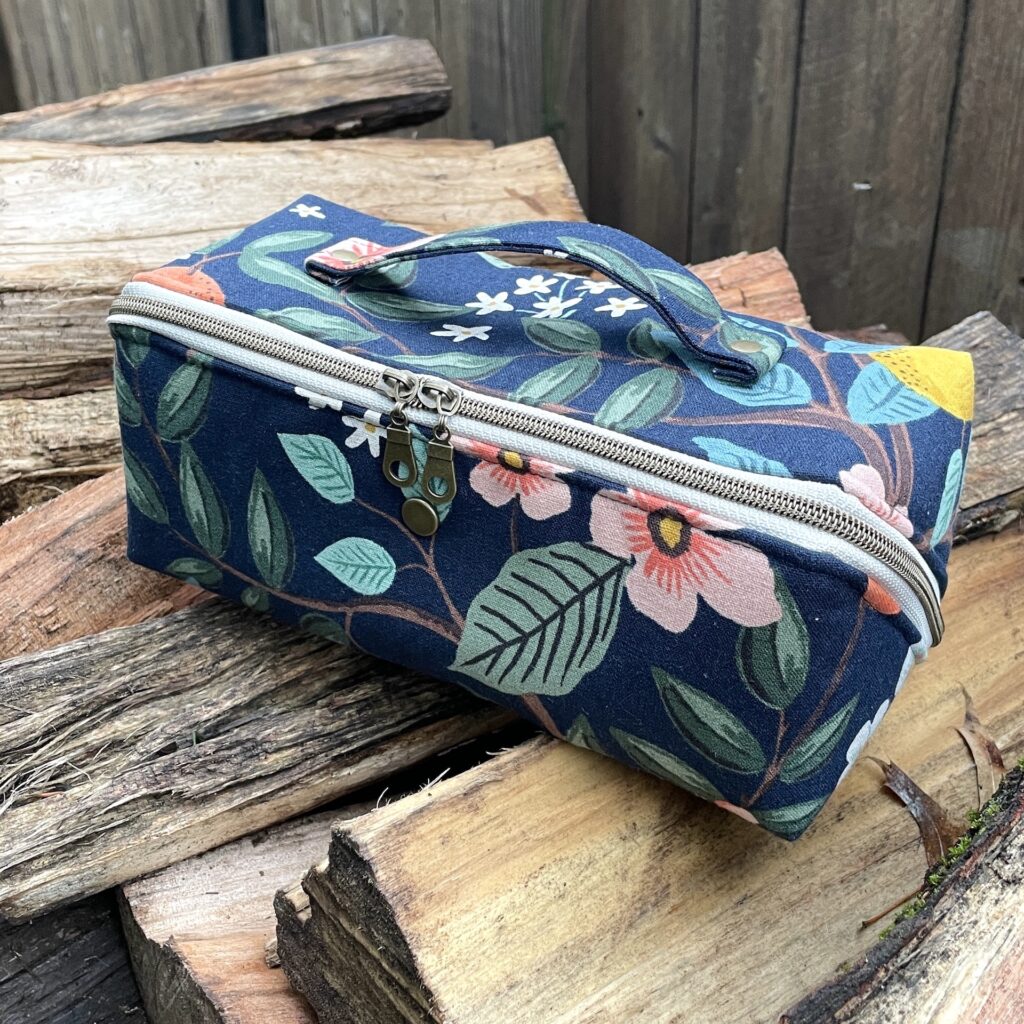
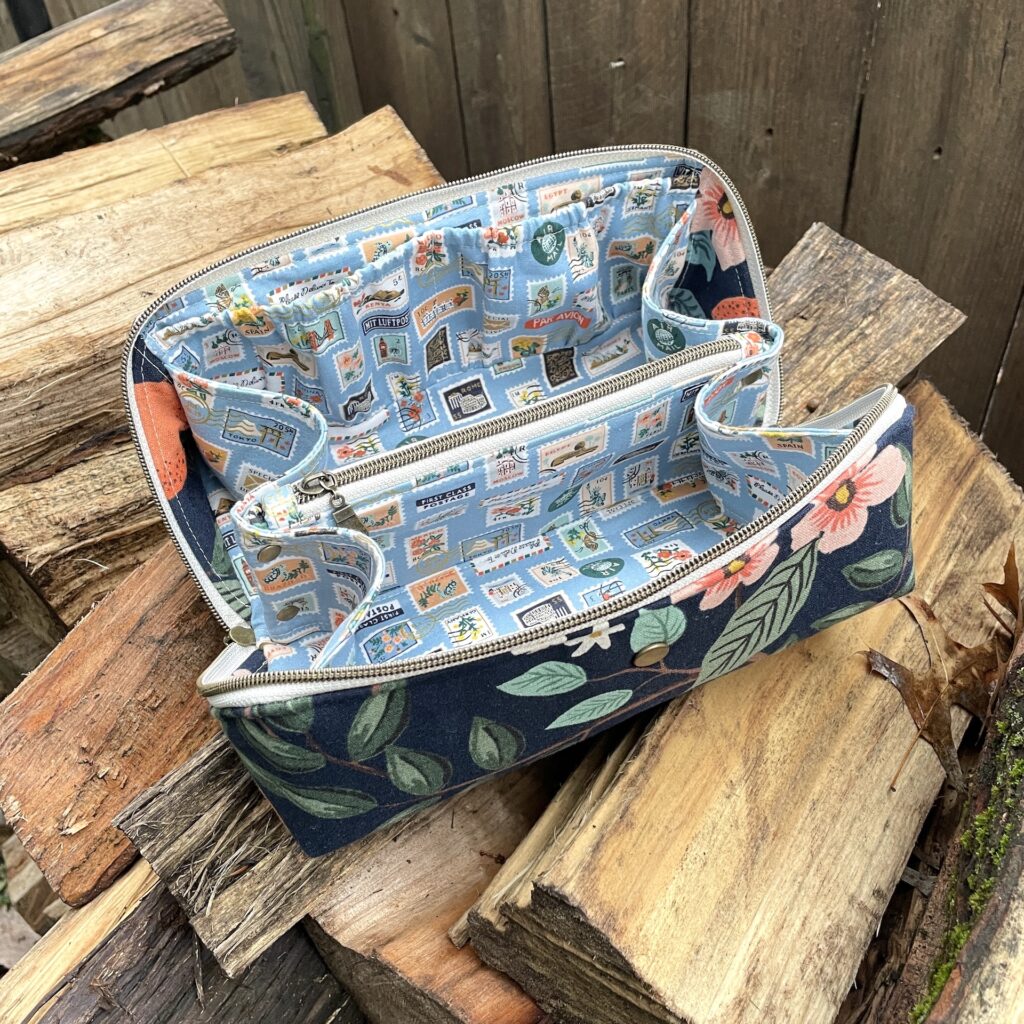
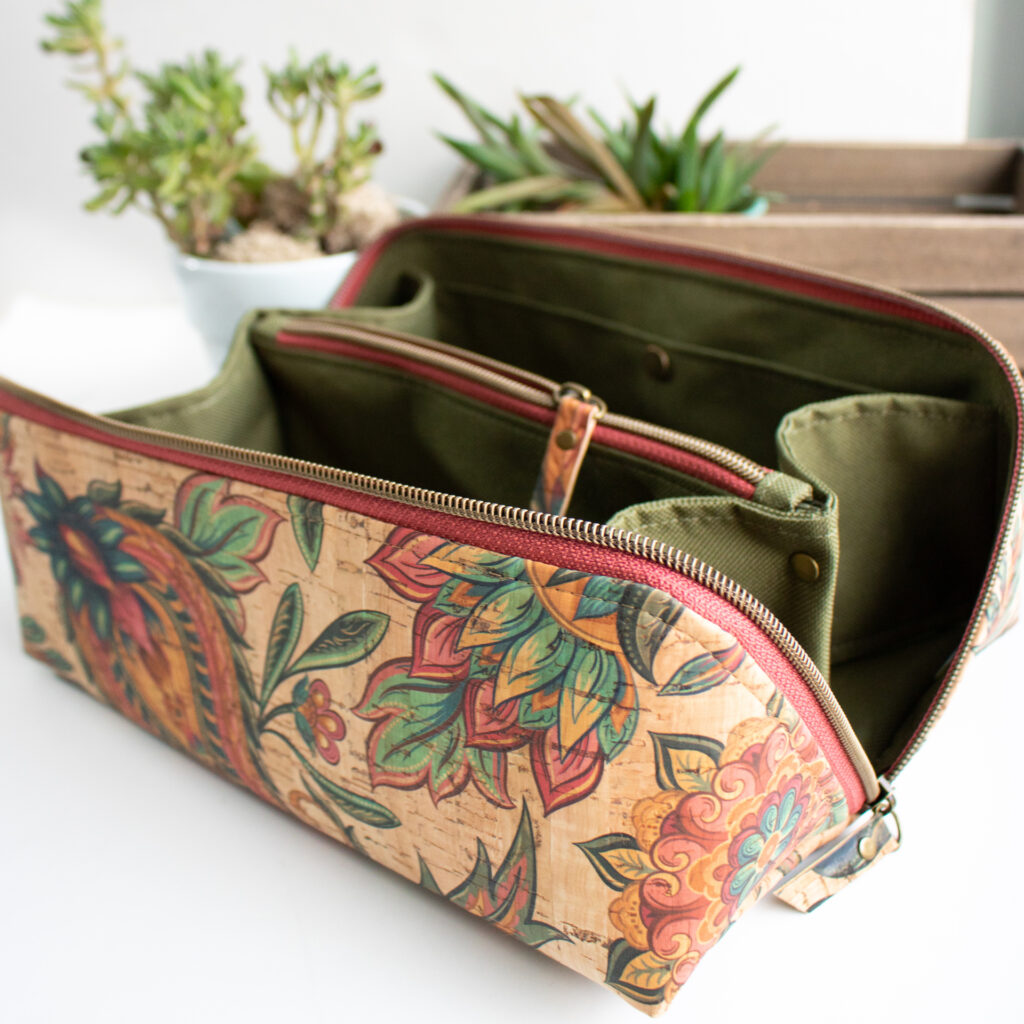
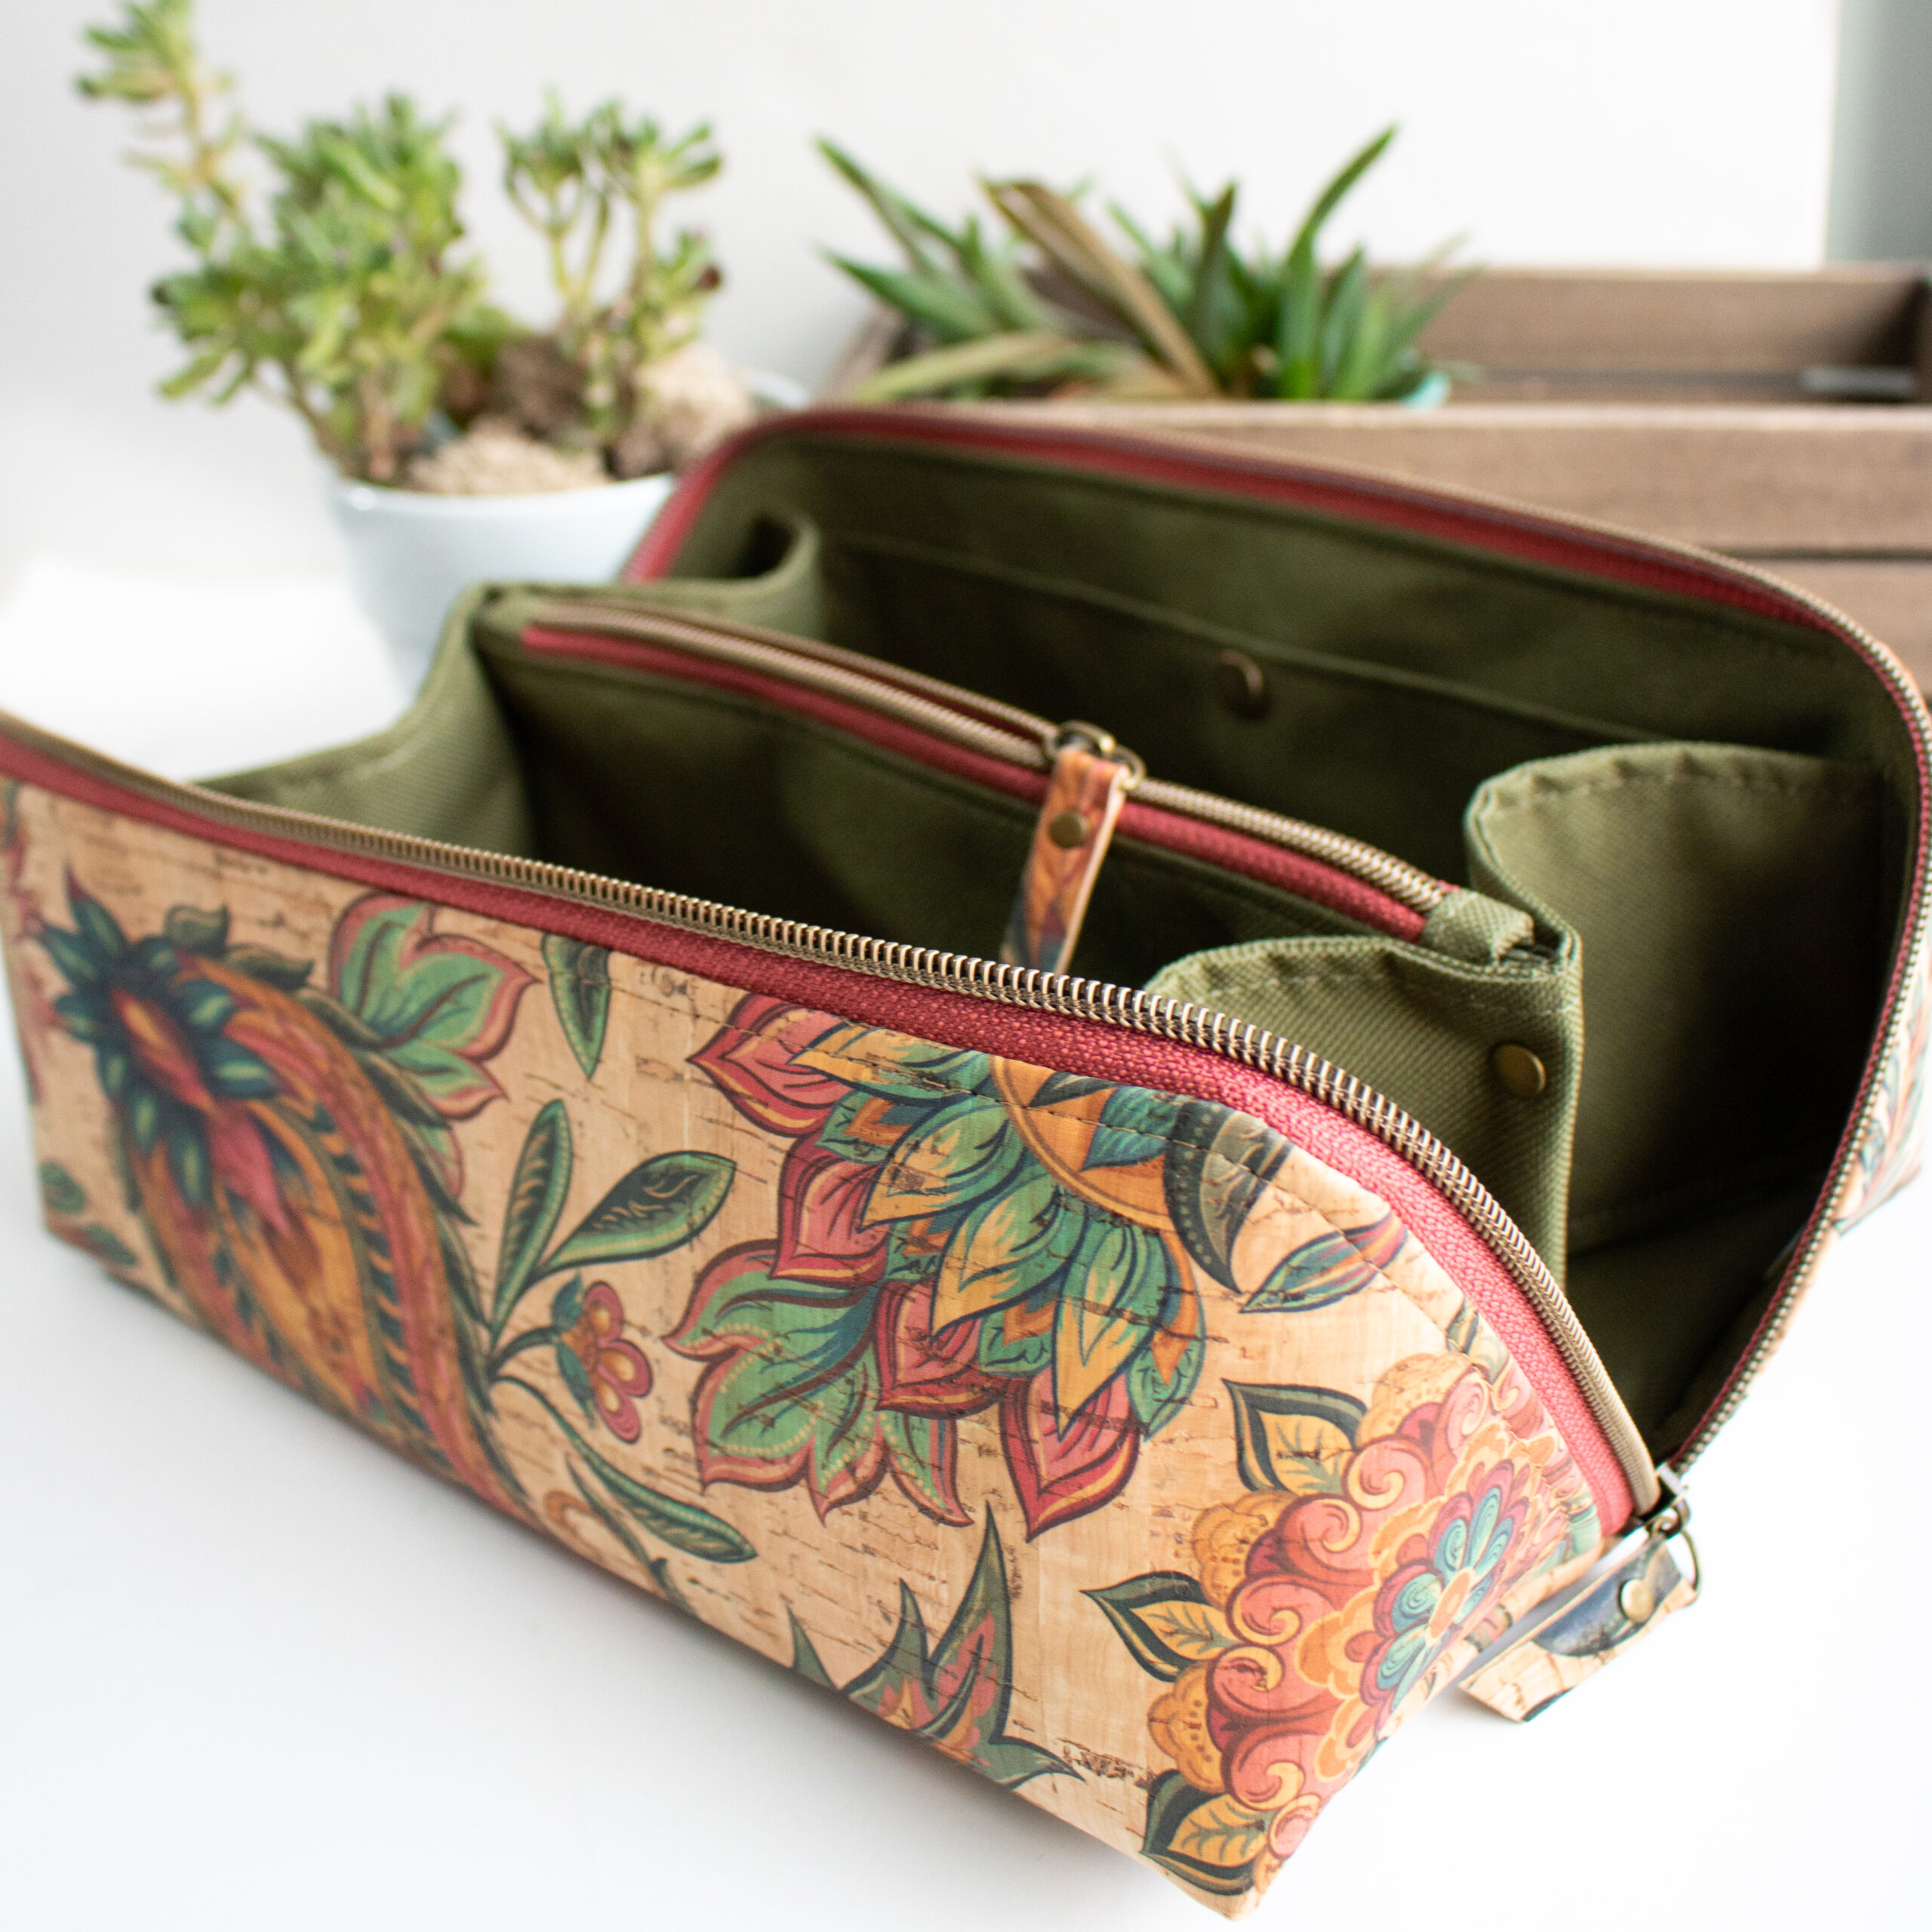
It’s been quite awhile since I’ve released a bag pattern, but I’m back with the Spring Roll Pouch! Just like my favorite food, the Spring Roll Pouch wraps up so much goodness in one little package. This multi-purpose accessory bag has a great rectangular shape and an angled zipper at the side, making the pouch open to twice its footprint! The main zipper opens to reveal a divided compartment with ample room for all of your craft supplies, cords, skin care and even toys!
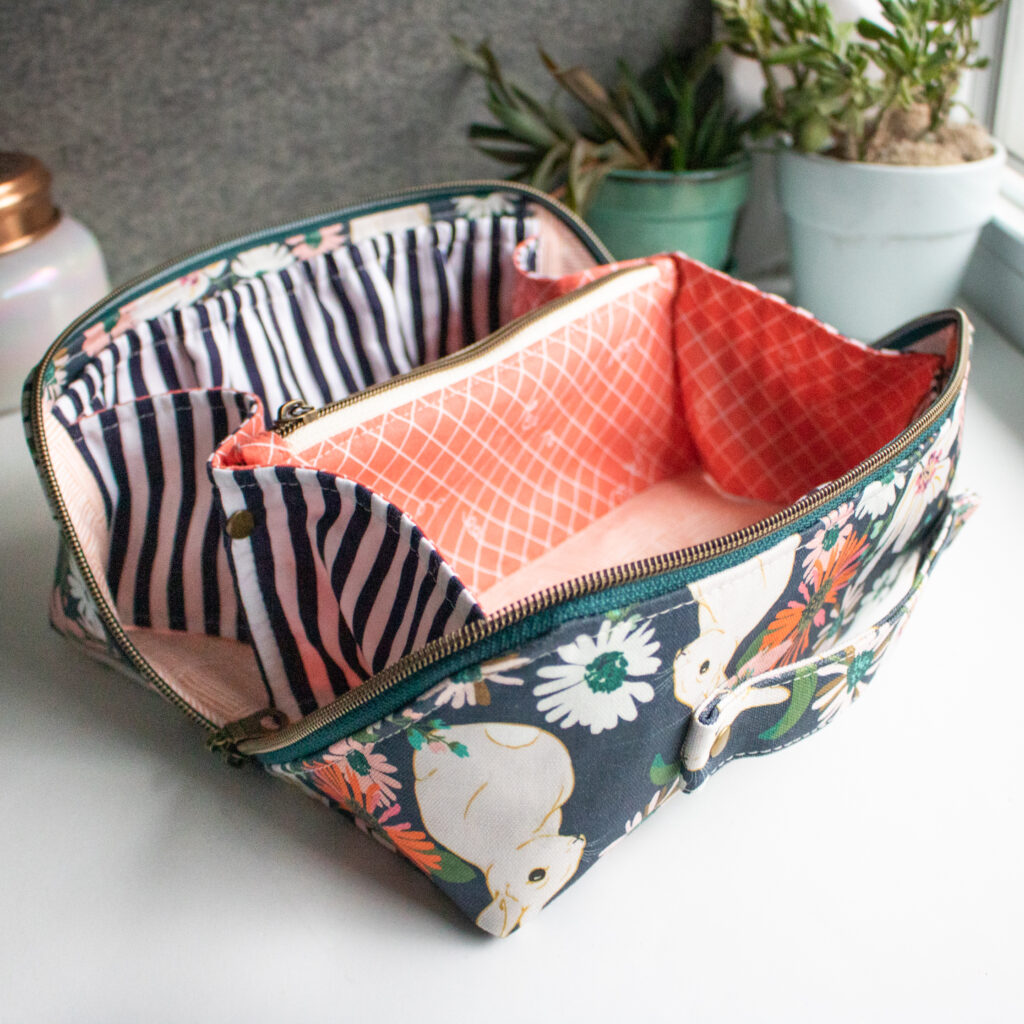
With a single piece exterior, this bag has been simplified with sleek style and minimal seams. There are four different inside options of the bag for you to mix and match for your needs. If you want to keep things basic, you can even leave them all off for a streamline version of the pouch. Best of all, the lining finishes with hidden seams for a clean and polished look.
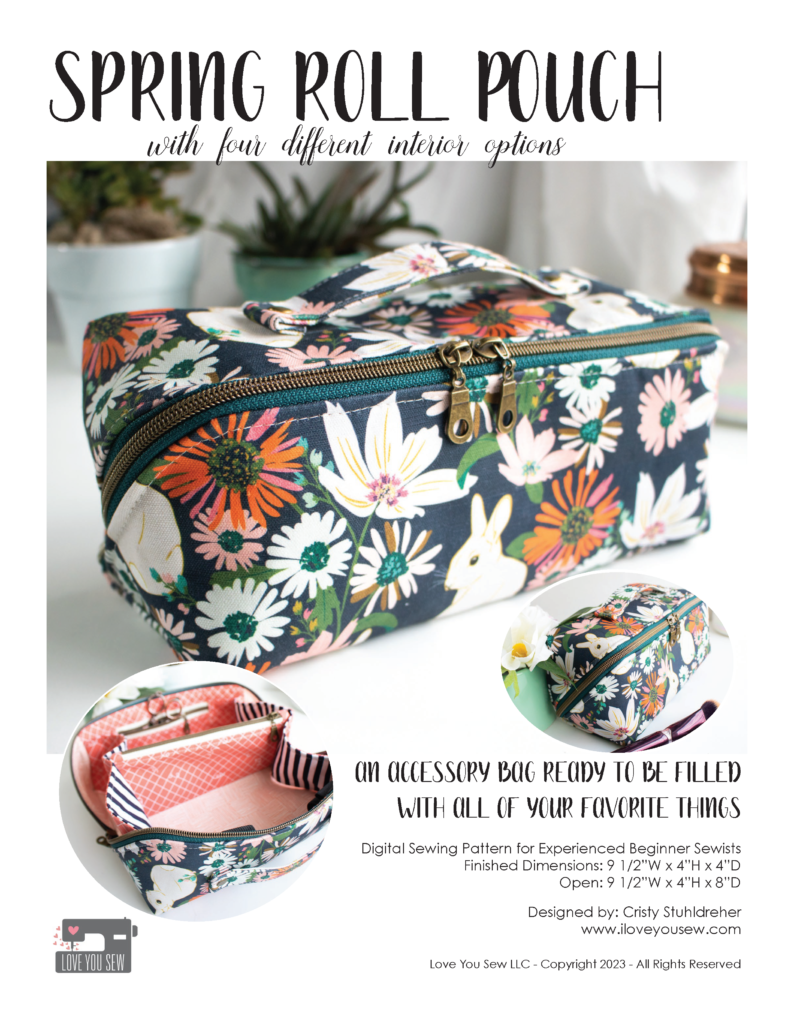
In this bag you will learn how to sew Y-seams (Dots are your friends!) This is when three seams will join together and its definitely needed in the lining. You will also use nylon zipper tape and learn several finishing techniques. This pattern shows how to make a divided compartment pocket and how to make other pocket styles.
Inspiration

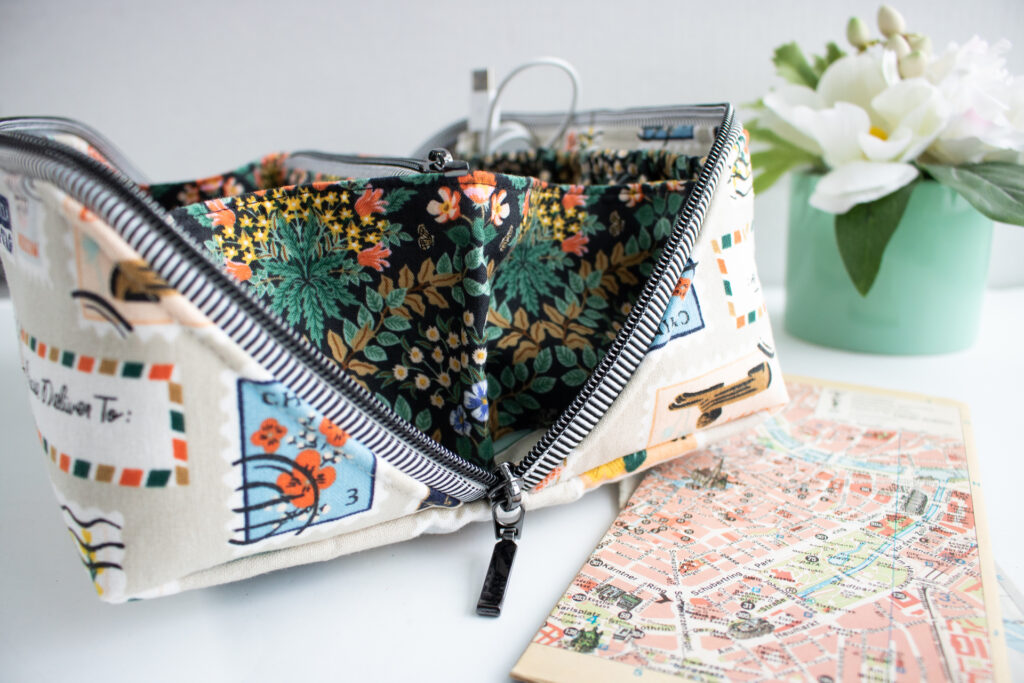
When I saw this unique angled zipper and how it can be used to open a pouch to twice its initial footprint, I was intrigued! But of course, I wanted to make the design better than the cheap version I saw in the wild. This meant making it more sleek and most importantly, compatible for a domestic sewing machine.

As I was playing around with ideas, I wondered if it was possible to have a one-piece exterior….and it was! This keeps the Spring Roll Pouch streamline and with less seams, means less sewing. And less sewing, means some saved time! My other main objective was to have a clean finish. This means NO binding (I think you all suffered enough with the Christine Sling) and I wanted to make sure my next release was traditionally “birthed.” 😉
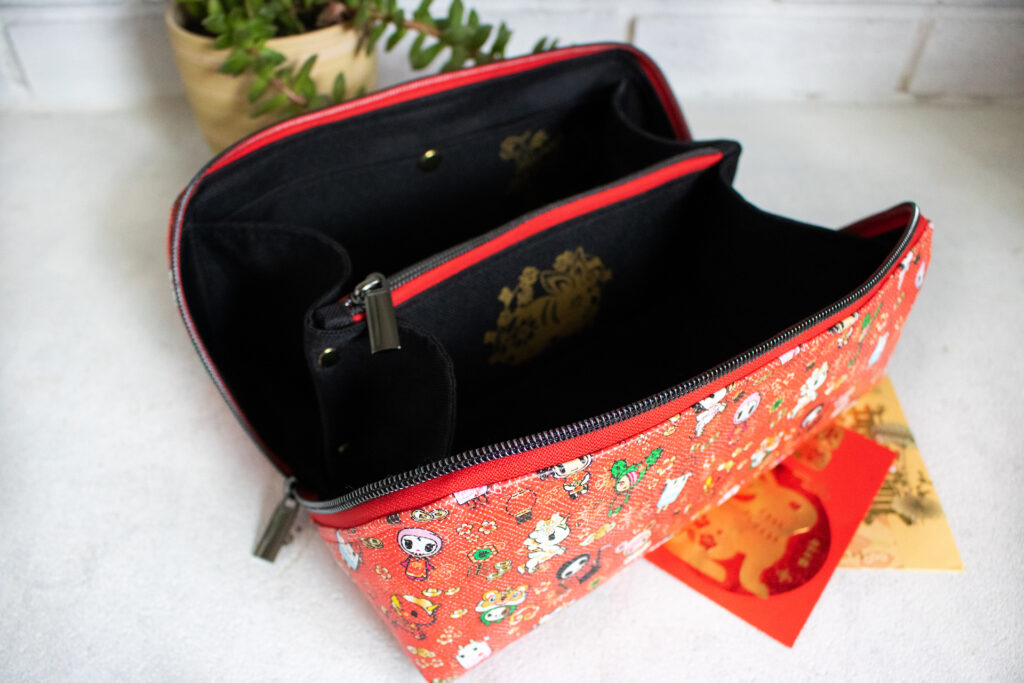
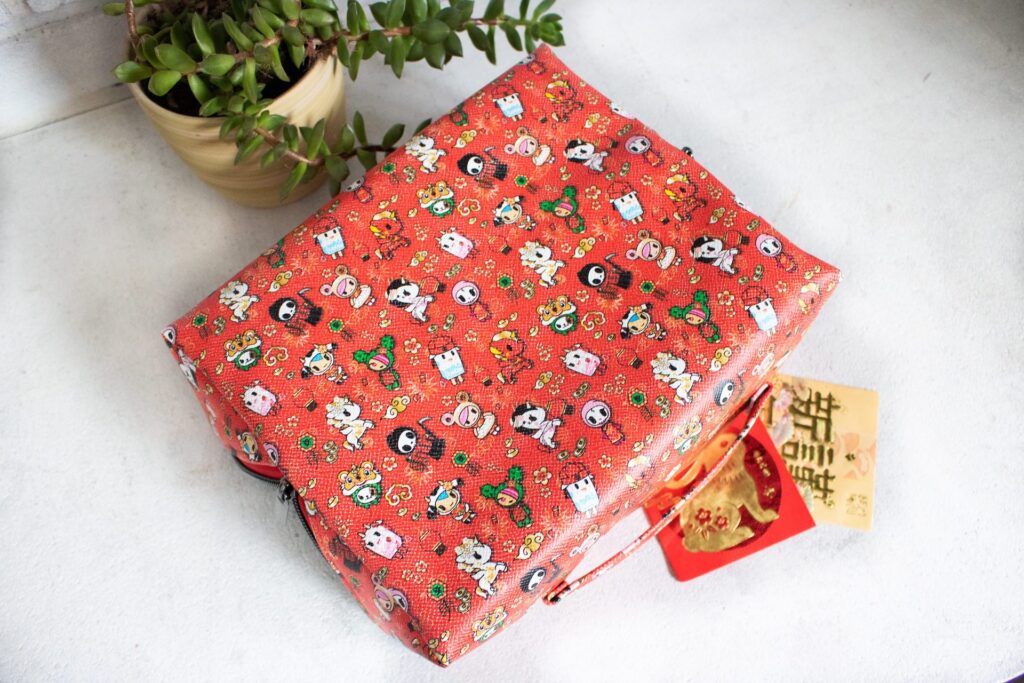
Even after figuring out the design and construction, the name is always the hardest part. But since the Lunar New Year was quickly approaching and I was thinking about all my favorite foods, this pouch reminded me of the yummy Spring Roll. With the bag opening wide and how it “rolls” back up, Spring Roll had to be the name.
Bag Features

  • Large Zipper Opening
  • Wide Handle
  • Divided Zipper Compartment
  • Clean Finish – No Bias Tape
  • Different Interior Options: Slip Pocket, Elastic Pocket, Flat Zipper Pocket, Elastic Slots
Materials Needed

FABRIC

HARDWARE

  • (1) 22” #5 Nylon Zipper Tape with (2) pulls (Idle Blooms, Wawak, Amazon, By Annie)
  • (1) 8” #5 Nylon Zipper Tape with (1) pull
  • (6) Sets of Rivets (8 mm post length) (optional)

The Spring Roll Pouch uses exactly 1 yd of zipper tape, if you choose the Flat Zipper Pocket option. Otherwise, you just need 30″ to complete the bag. I love using nylon zipper tape because of it’s versatility, color and finish options, and how I, personally, don’t need to switch out presser feet for the #5 width. Due to the trickiness of the zipper installation, I used nylon zipper so that it could easily be sewn across and not have to be mindful of ends and stoppers.

FRONT/BACK OPTIONS

  • Elastic Pocket – (1) 10” length of 1/4” Elastic
  • Slip Pocket- (1) 12.5mm (or smaller) Snap Set 
  • Zipper Pocket- (1) 6” #5 Nylon Zipper Tape with (1 pull)
  • Elastic Slots- (2) 6” length of 1/2”-1” wide Elastic

Based on your selection for the Front and Back of the Spring Roll Pouch, you’ll need these optional notions.
Fabric Recommendations

It’s important to know that this pattern was written for canvas and quilt cotton fabrics. The bag making world is huge and there are SO many different fabrics out there. With that number of fabrics combined with all the different types of interfacing, I always have to have some constraint or else the instructions would go on forever. As you select your fabrics, keep in mind the weight, structure and feel with the intended finished bag. Home decor and/or bottom-weight fabrics such as cotton or linen blend canvas, duck cloth, and denim with weights of ~ 6-8 oz/sq yard would be great for the Main Fabric. The Lining is based on quilt cotton and woven fabric with similar weights of ~4 oz/sq yard, such as linen or chambray.

You can use quilt batting, sew-in fleece, or foam with the Main fabric. The quilt batting/sew-In fleece will you a softer, pliable feel while helping to cover the feel of the inside seams. The foam will provide more structure and loft, with more of that “plump” look. If you are using foam, the interior can be made completely with Lining fabric. But if you opt to use batting or sew-in fleece, use Main Fabric for the Base and Front/Back pieces to get added stability.
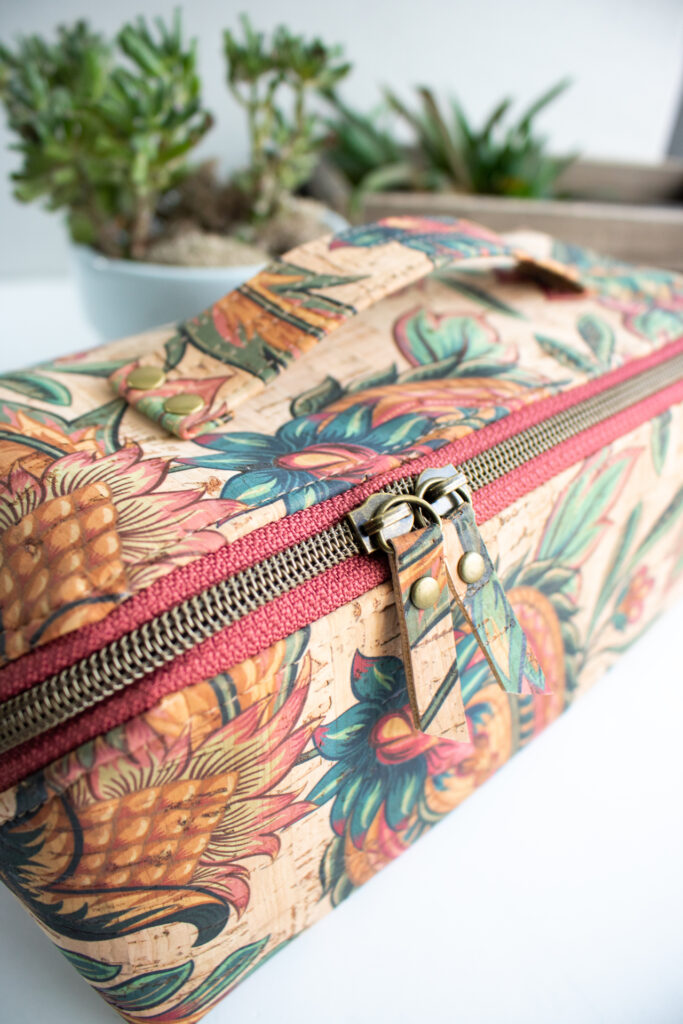
If you decide to use vinyl, cork, leather or other fabrics with a heavier hand, you may be able to omit interfacing, but still optionally use batting for soft structure. You can also possibly omit interfacing on the interior of the bag if using waterproof canvas, oilcloth, and other coated fabrics with a heavier hand. Due to the angled zipper and the trickiness of closing the pouch, it is recommended to NOT use vinyl, cork or leather as your Base or Front/Back pieces.

With the dimensions I used, I’m very proud that you can use 1/2 yards of fabric and if you want to get scrappy, the interior can be made from fat quarters. The Lunar New Year custom vinyl and cork fabrics I used were sold as 18″ long rolls and the exterior fits right on…even with a little room to spare!

As I was working on this pattern, you KNOW I had to use plenty of other substrates to see how they would look and handle with the Spring Roll Pouch…all in the name of research, right?!? The cork and vinyl versions definitely come together quickly with the omission of interfacing. However, if you are new(er) to bag making, I HIGHLY recommend making your first bag with the canvas/quilt cotton combo.
I’ve included lots of different versions in this post and the following are my favorite combinations as you select your fabrics:

  • Stamps Version
    • Main = Cotton/Linen Canvas with Soft & Stable Foam
    • Lining = Quilt Cotton with Canvas for Front/Back and Bases
    • Interfacing = Woven
  • Bunnies Version
    • Main = Cotton/Linen Canvas with Cotton Quilt Batting
    • Lining = Quilt Cotton with Canvas for Front/Back and Bases
    • Interfacing = Woven
  • Navy Floral Version
    • Main = Cotton/Linen Canvas with Soft & Stable Foam
    • Lining = Quilt Cotton
    • Interfacing = Woven
  • Cranberry Vinyl Version
    • Main = Light Faux Leather
    • Lining = Ottertex Waterproof Canvas with Faux Leather
      • omitted inner lining of Divider Pocket, inner lining of Slip Pocket and inner Gussets
    • Interfacing = none
    • Handle = made with single fold
  • Cork Floral and Palm Versions
    • Main = Cork only (Portuguese made from Cork and Cloth)
    • Lining = Ottertex Waterproof Canvas
      • omitted inner lining of Divider Pocket, inner lining of Slip Pockets
    • Interfacing = none
    • Handle = made with single fold
  • Lunar New Year Version
    • Main = Vinyl only (custom printed from Sewful Therapy)
    • Lining = Ottertex Waterproof Canvas
      • omitted inner lining of Divider Pocket, Slip Pocket, and Flat Zipper Pocket
    • Interfacing = none
    • Handle = made with single fold

Construction

This bag was designed with a domestic sewing machine (I use a Juki 2010Q,) so a home machine with some heavier needles will do the trick. It is for an experienced beginner who is familiar with sewing zippers, basting, and y-seams. Although this bag looks complicated, the steps are more simple that you would imagine!
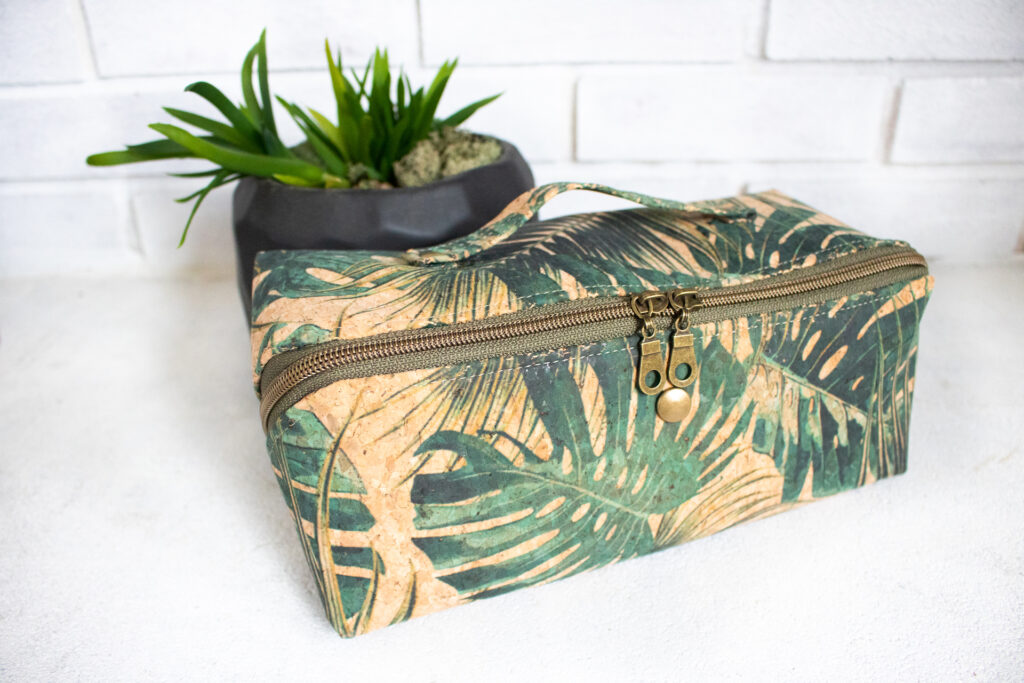
Currently, there is one video on my Love You Sew YouTube Channel that takes you through the most difficult parts of closing the Spring Roll Pouch, but I WILL make a full tutorial soon. Honestly, I didn’t think this pattern would be as popular as it has been and I try to direct my time and resources toward patterns that have a bigger customer base. Well, you definitely let me know and I’ll be working on it this upcoming week.
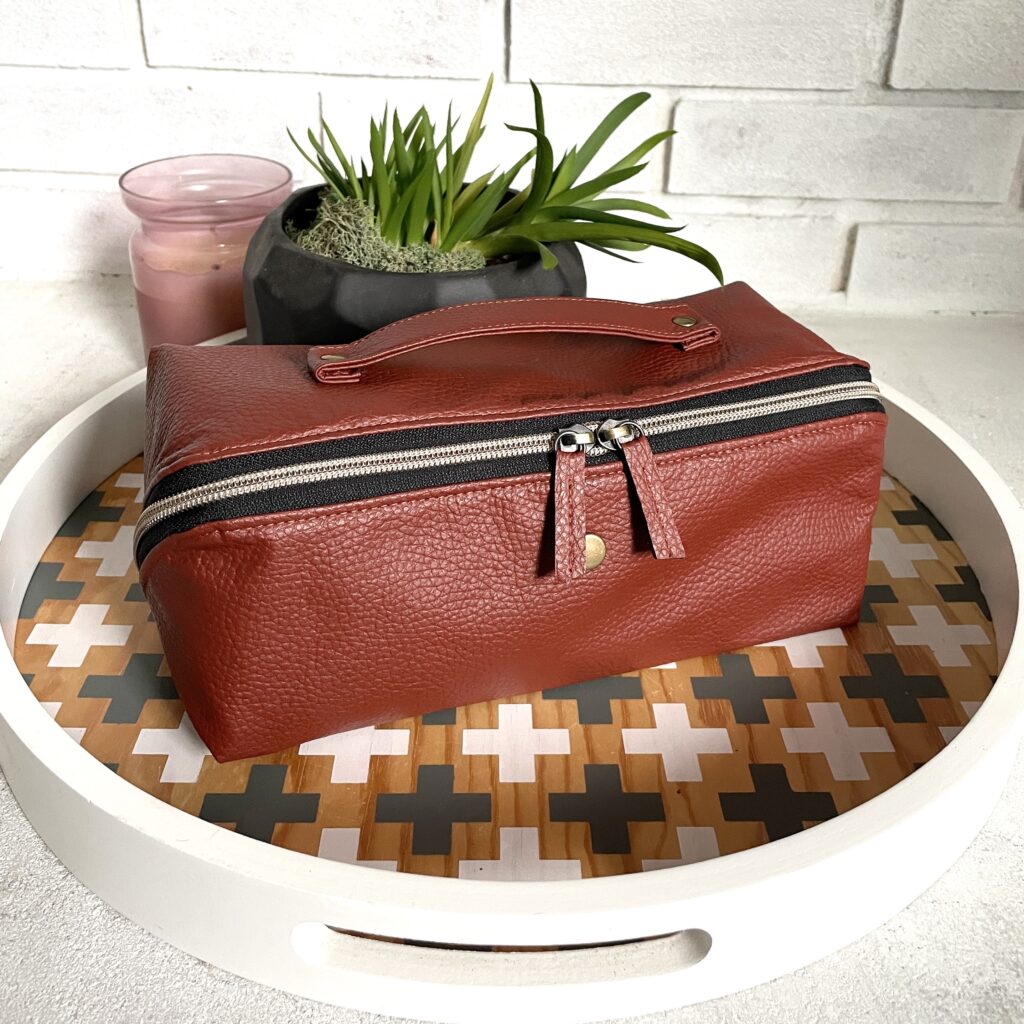
I hope all of you love the Spring Roll Pouch as much as I have loved writing and designing the pattern for you! Don’t forget to tag your social media posts with #springrollpouch and #loveyousew patterns so I can see your beautiful makes!

Happy Sewing,

Cristy

*This post may contain affiliate links for which I may receive a small commission that helps me run this website. I appreciate all of your support.
Emma Stadium Bag Hacks with Twill Tape

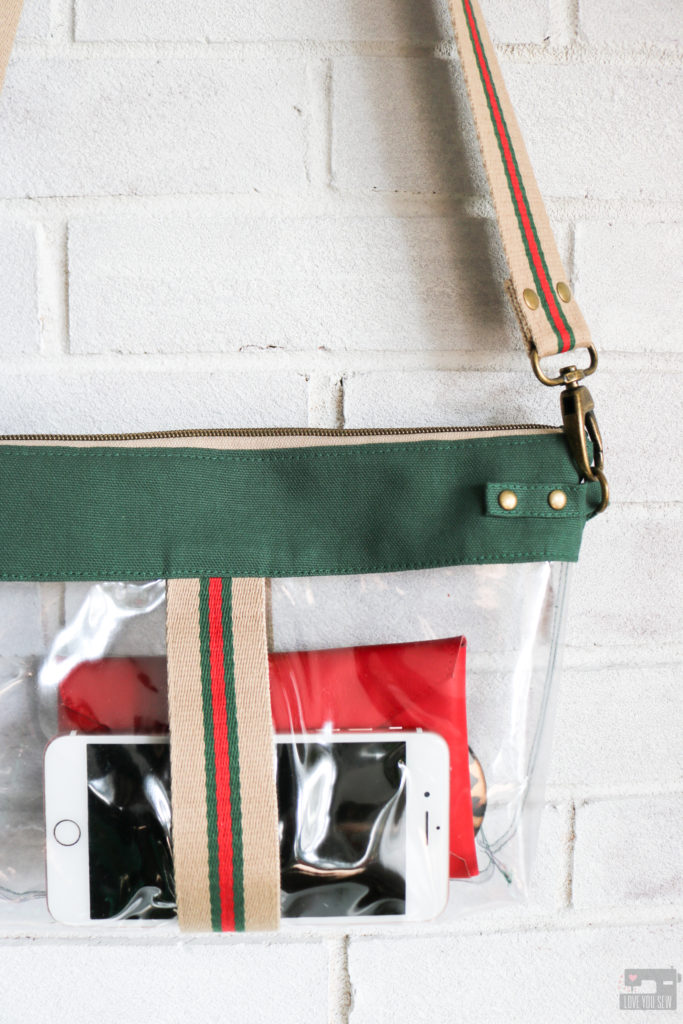
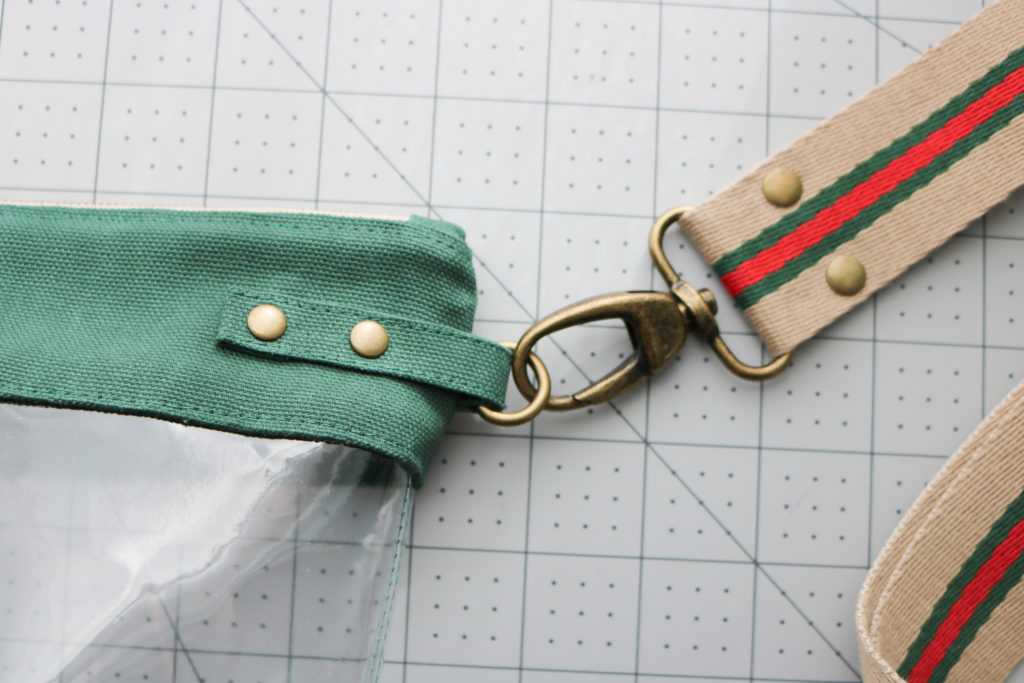
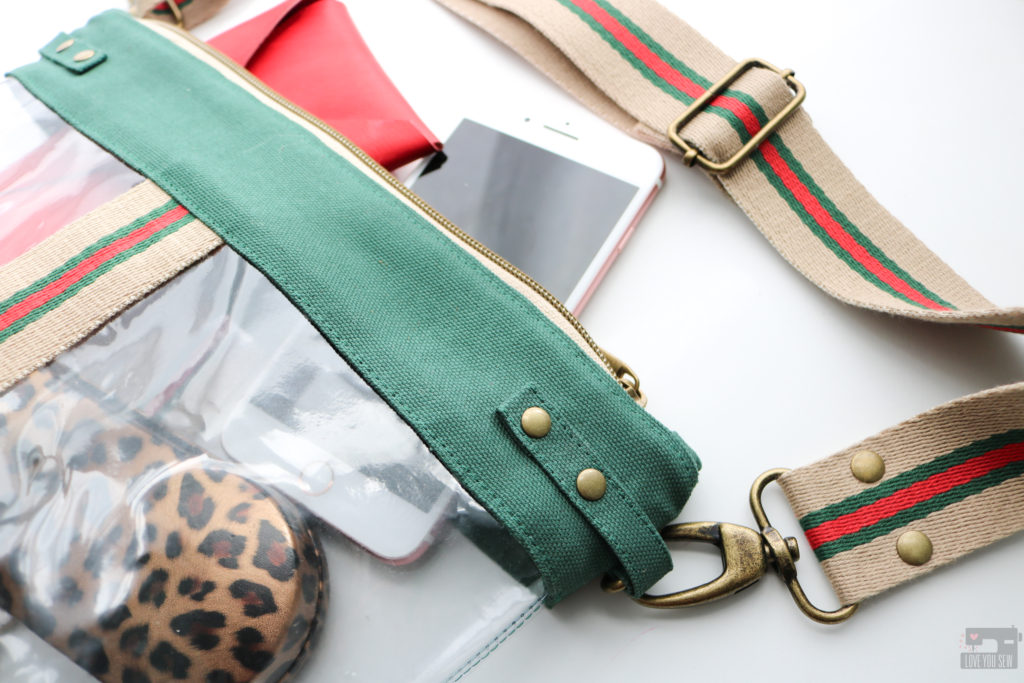
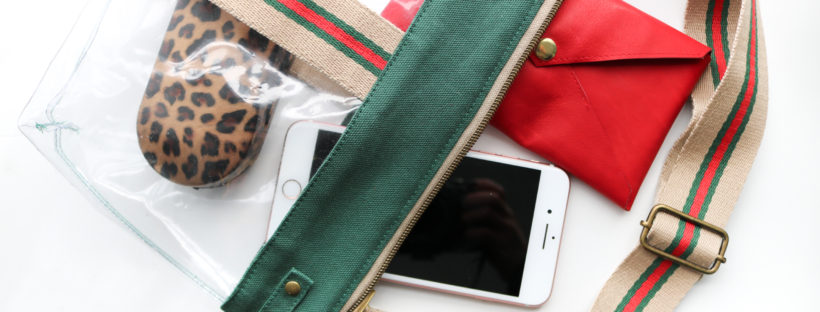
The best part about writing patterns is coming back and hacking them! I’m constantly inspired by the runways and the latest fashion trends. When I wrote this Emma Stadium Bag hack for Sewn Magazine (April 2020,) I noticed how straps were becoming the main focus on bags. They were produced in different fabric from the main bodies and were made in all sorts of distinctive colors and contrasting patterns…making the straps REALLY stand out.  Many brands were  offering customization with mix and match options which help to make a bag feel like it was made for you. I love a good statement strap as seen with my Guitar Strap Tutorial here and my play on a fringed Festival Bag here.  Needless to say, I couldn’t resist making my own designer inspired version.  Can you guess the high-fashion label that was my muse?  Now, you can really make a full personalized bag with the Twill Tape hack below!
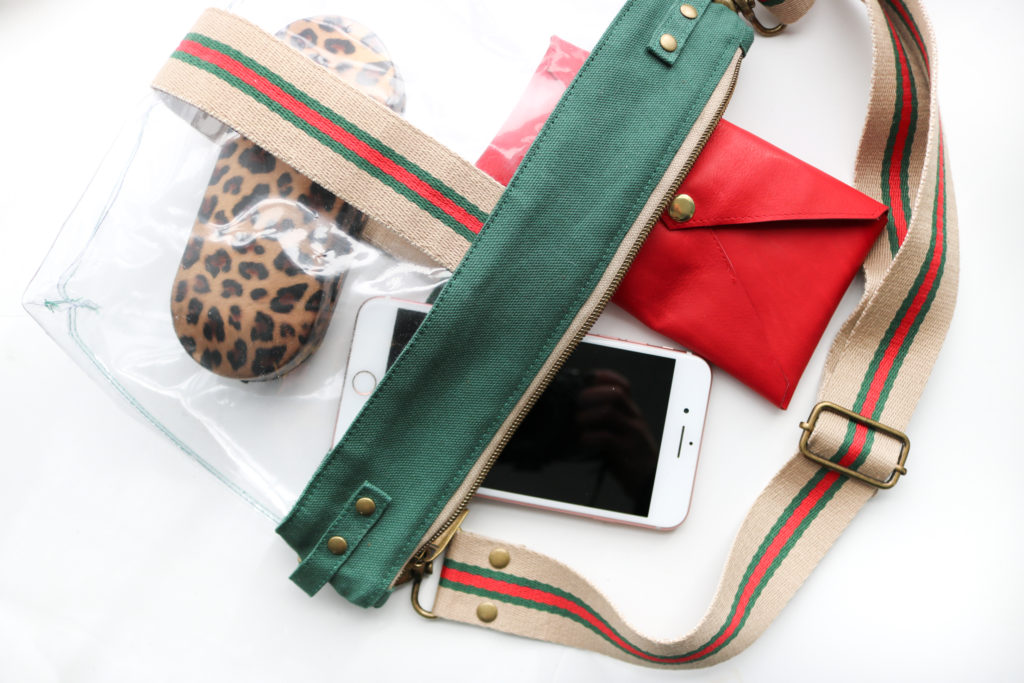
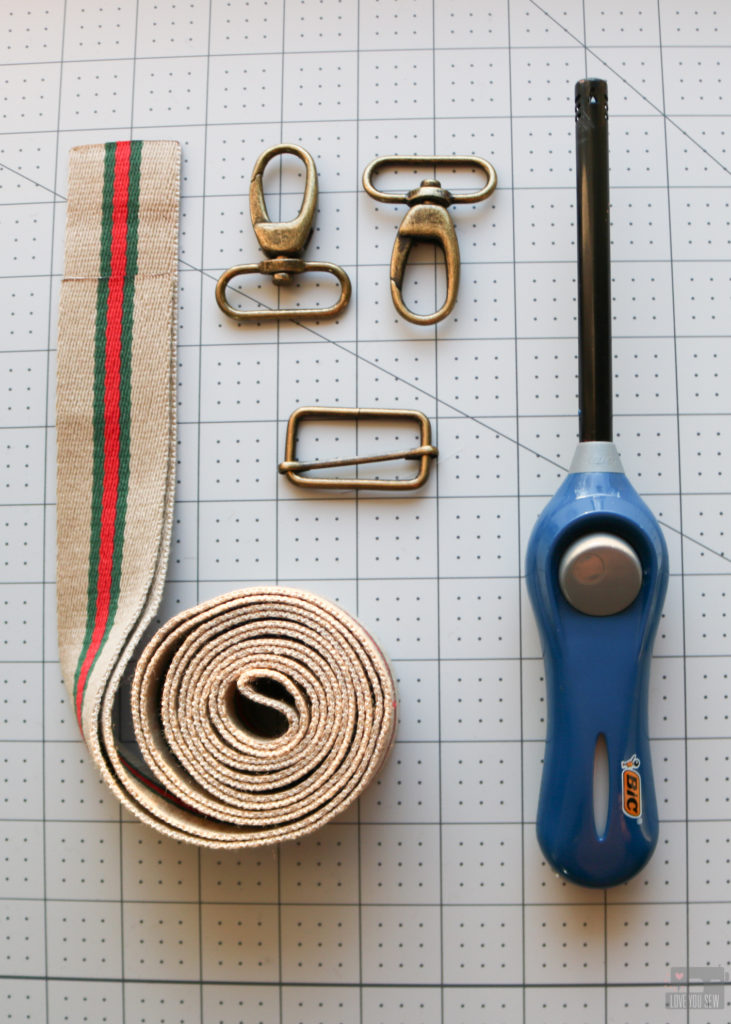
Materials Required

Cutting

  • Cut fabric and vinyl per instructions minus the strap pieces.
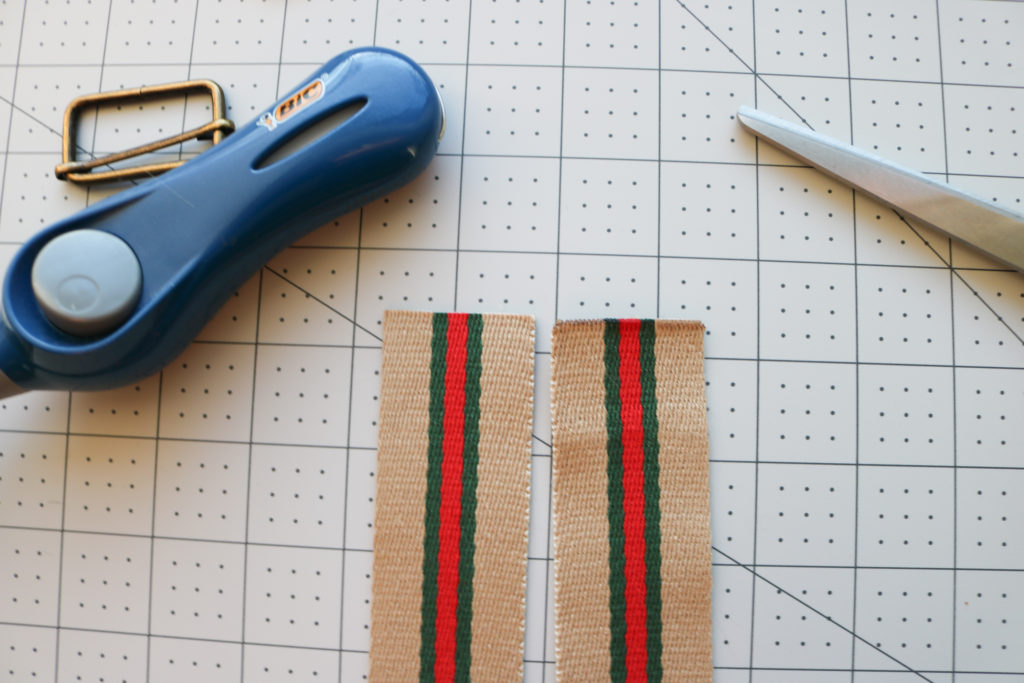
  • Cut (2) 7 1/2” lengths of the Twill Tape. Heat seal each end of the tape with the lighter. Set Aside.

Strap

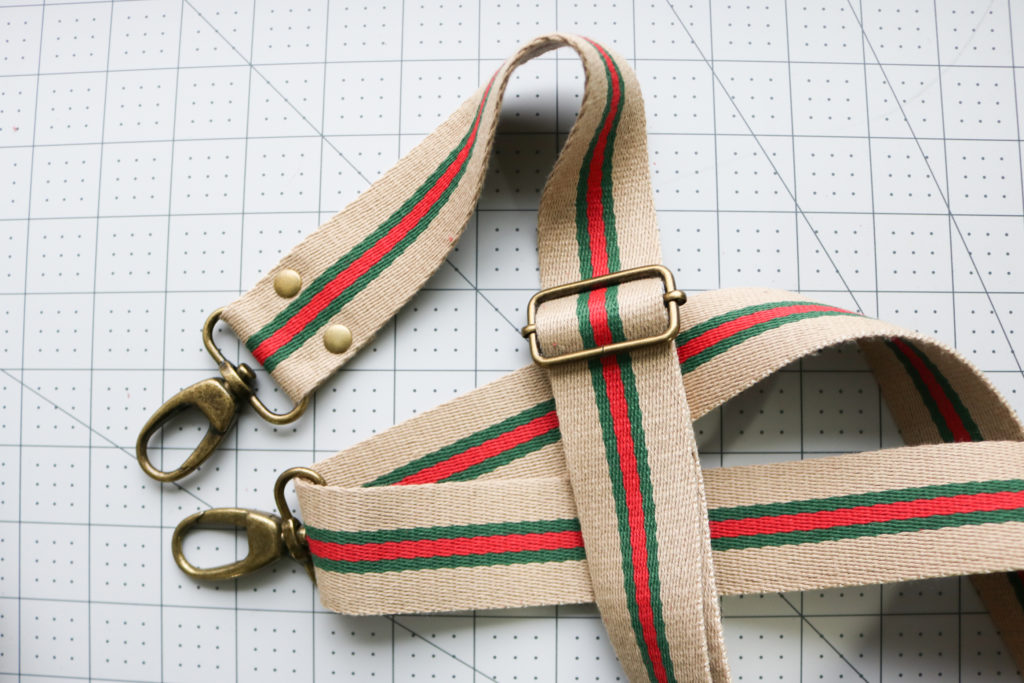
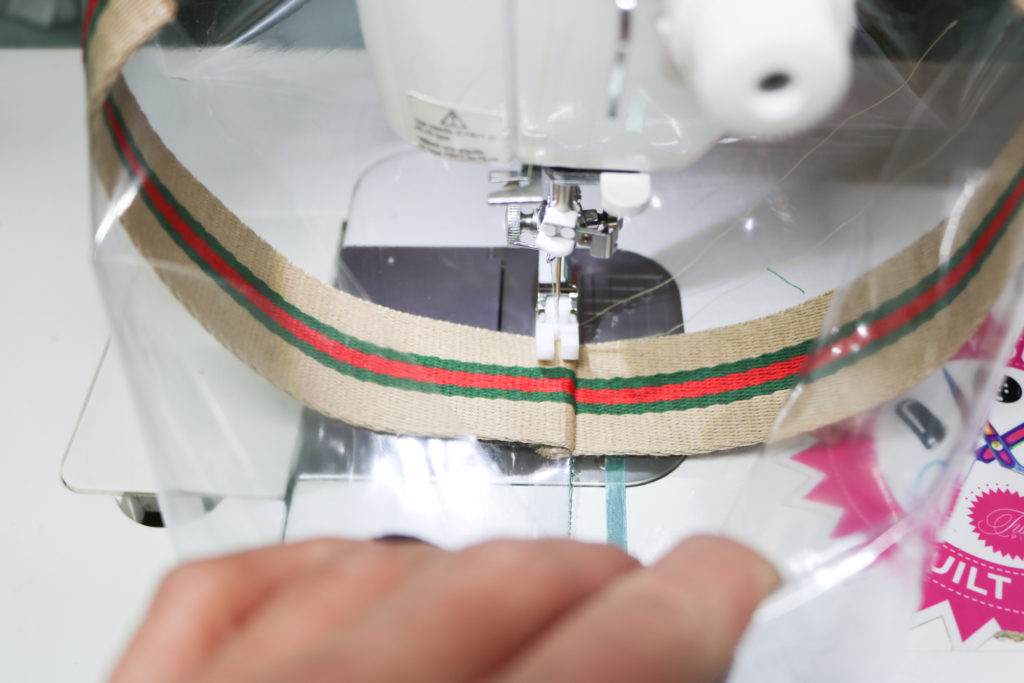
  • With the remaining Twill Tape, heat seal each end of the tape with the lighter.  *If you are using a 100% cotton tape, you won’t be able to heat seal.  Sew 1/8″ at each raw edge to keep it from unraveling.  Back-stitch well.
  • Follow the instructions in the pattern to thread the strap through the 1 1/2” slider and (2) 1 1/2” Swivel Clasps.
  • Use (2) Rivets to secure each end of the strap (4 rivets total) or sew into place.  This video can help you through adding rivets.

Pocket

  • This was omitted to let the twill tape stand on its own and not detract from the overall look.

Zipper Top

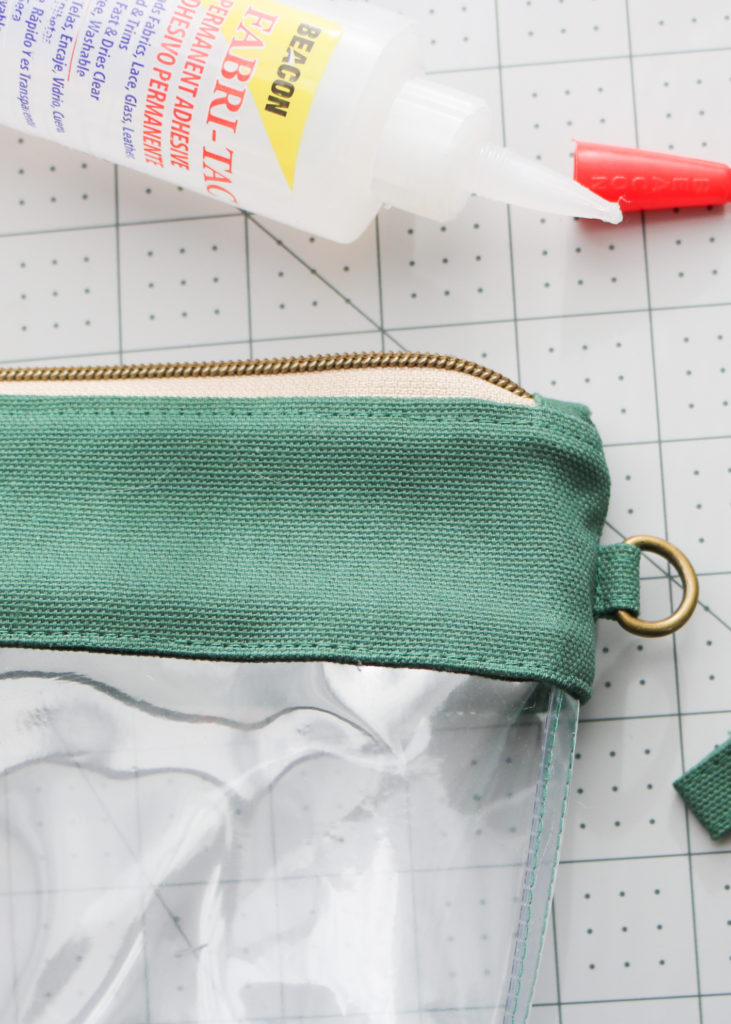
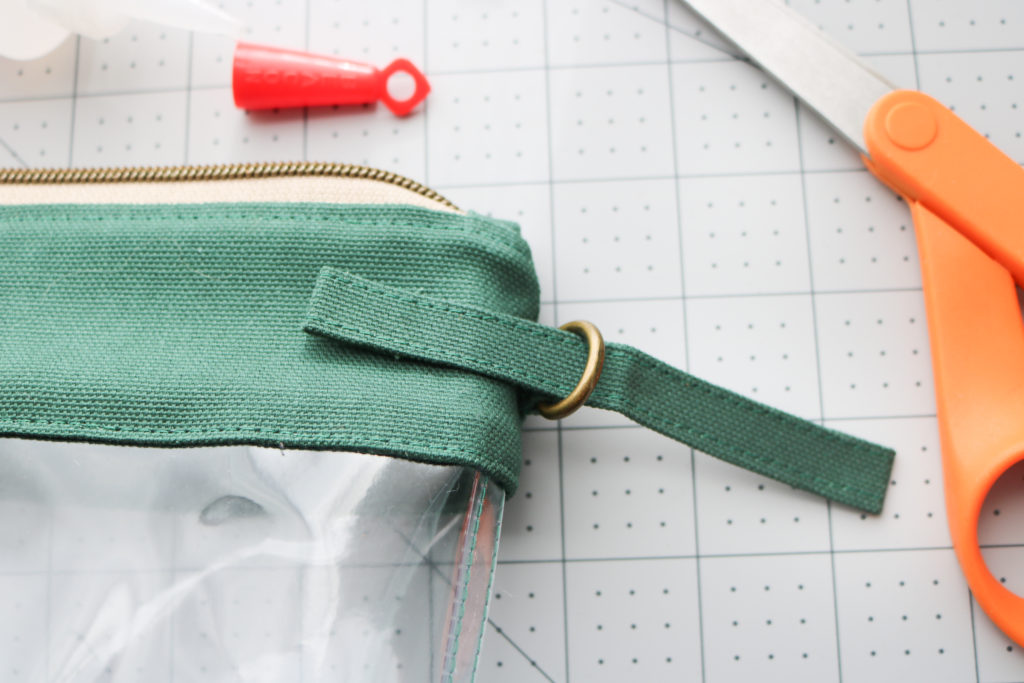
  • Make with the SHORT D-Ring tab option.  Although the photo shows the vinyl already attached, you will only have the Zipper Top completed at this point.

Vinyl Bottom

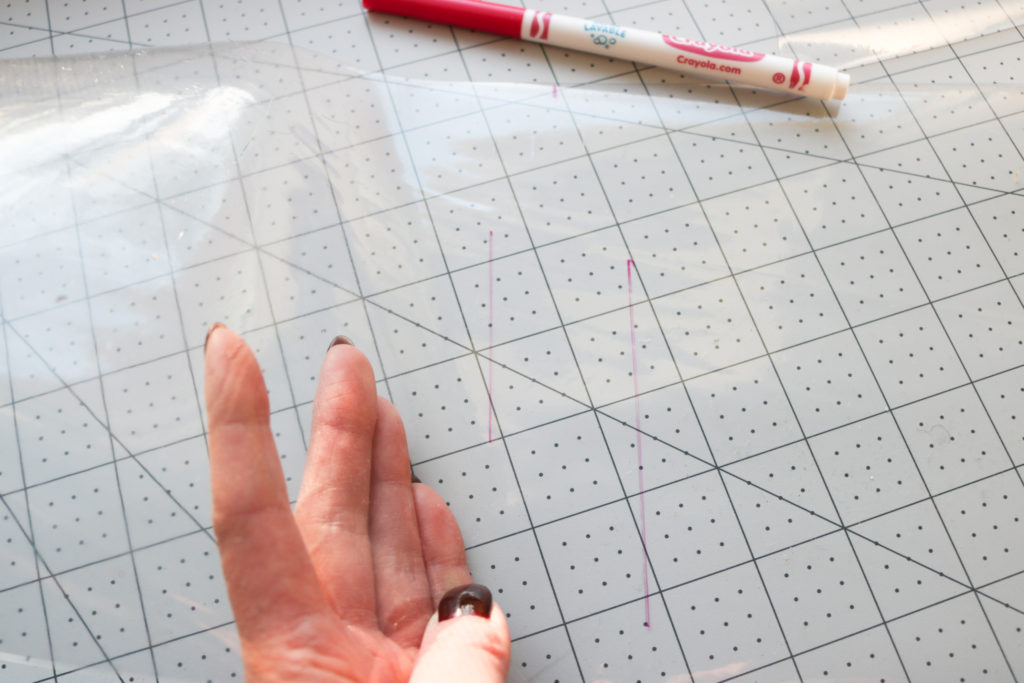
  • After marking the center of the vinyl bottom on the wrong side of the vinyl, mark 3/4” out on either side of the center. These lines will be used as sides for the Twill Tape.
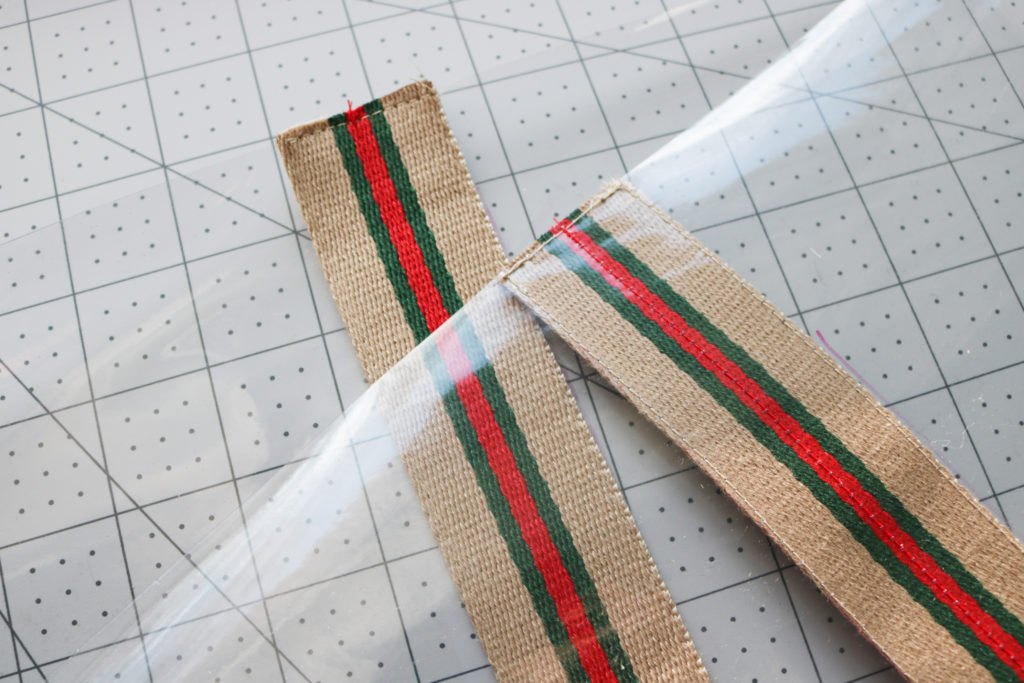
  • Flip the vinyl over and line up Twill Tape within the markings. Top-stitch along the Twill Tape 1/16” into place. Optional – Add another row of stitching down the center of the Twill Tape. Repeat on other side of the body.
    • TIP: Sew down the sides of the Twill Tape in the same direction to avoid possible shifting.
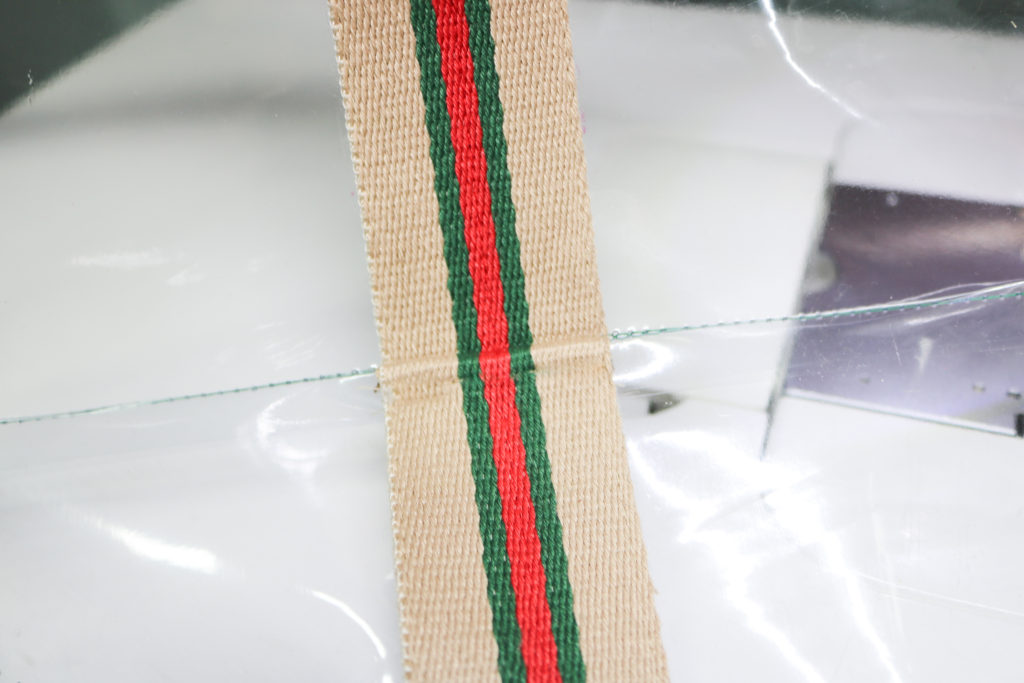
  • Finish sewing the rest of the vinyl bottom, making sure to align the Twill tape when sewing the bottom seam.
  • With the Twill Tape facing up, sew the seam allowance to the body between 1/8″ – 1/4″ from the seam.
  • Finish the bag and wipe away any markings on the vinyl.

D-Ring Accent Tabs

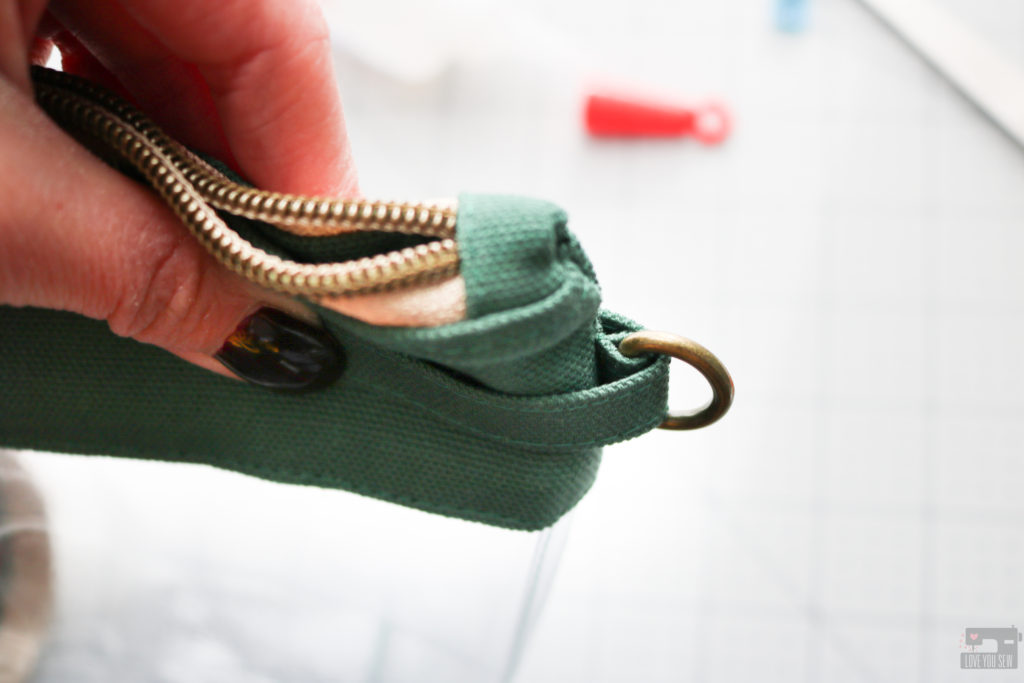
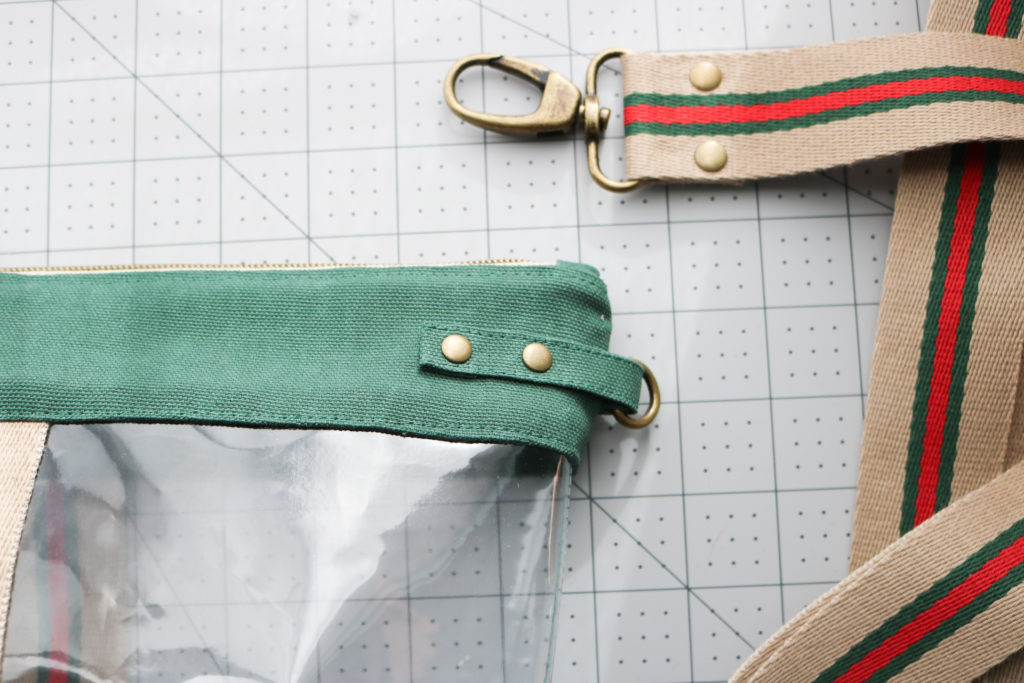
I love the look of extra texture on the Zipper Top and these tabs provide such nice details…especially with the addition of rivets.  However, if you tried to make only these long tabs with fabric, they would pull and go vertical when worn.   The D-ring would also be sliding all across the tab and the weight distribution on the strap would definitely be off.  So when I was trying to decide how I could I could have the look, it dawned on me, that I could literally combine the techniques of the short tab and these riveted accent one.   I developed this “double D-ring” method to have the visual appeal AND have the security of a shorter tab.
  • To make, take the 13”x1” strip of fabric –
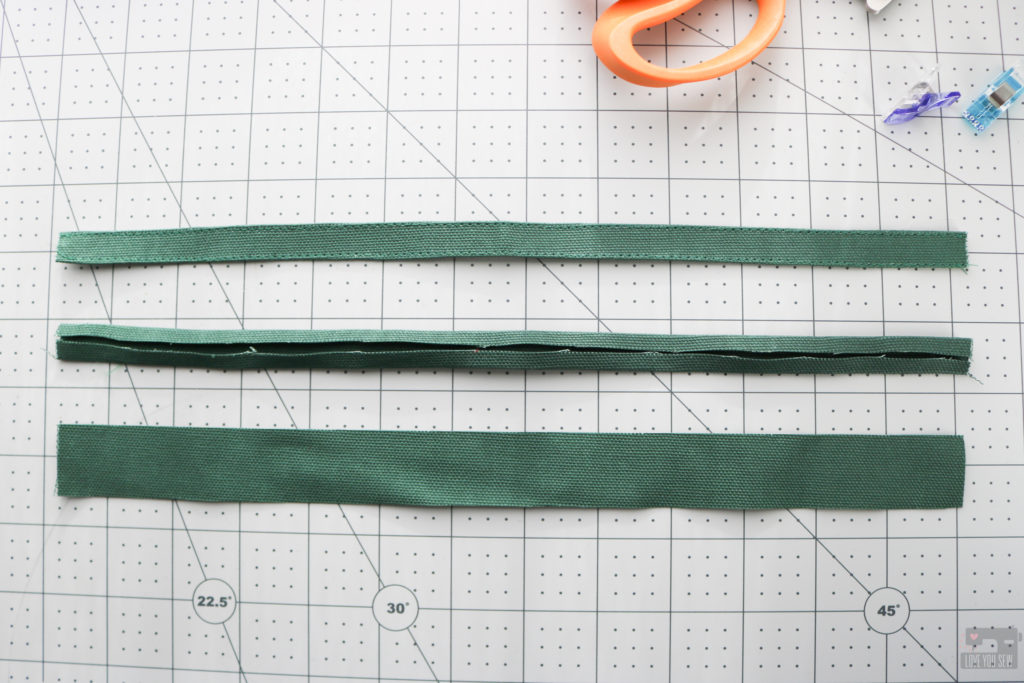
    • (Bottom and middle strips) Fold each long side toward the center, wrong-sides together making 1/2” single-fold tape.  Press well
    • (Top strip) Top-stitch 1/16” along each long edge
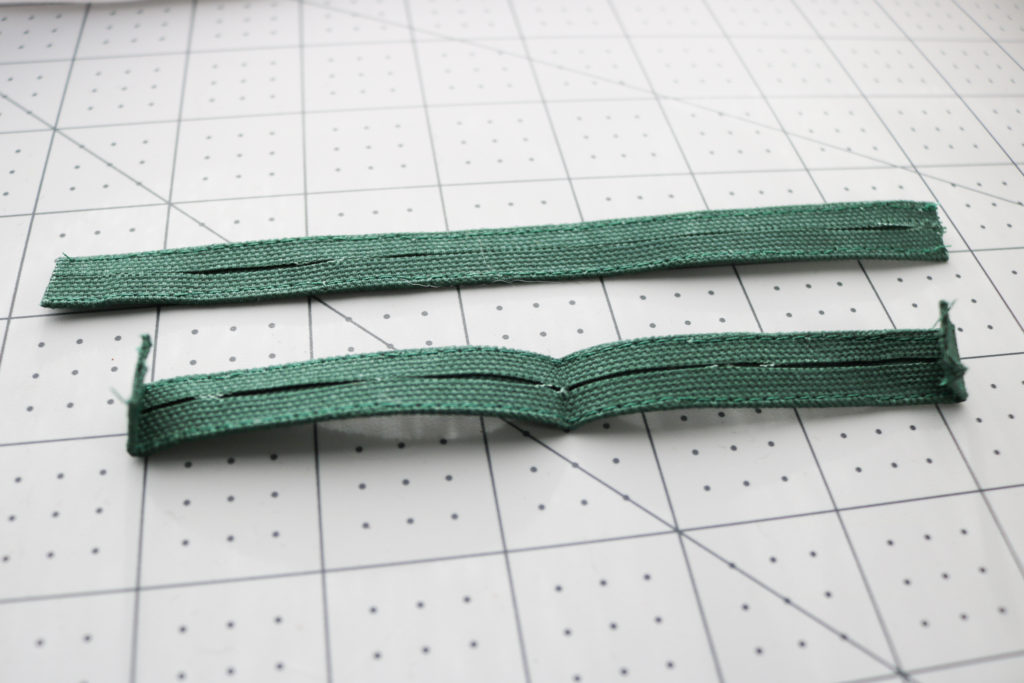
  • Cut in half length-wise so there are (2) 6 1/2” tabs. With each tab, fold each short end inward with wrong sides together by 1/2”.   Press.
  • Fold the entire tab in half, wrong sides together.  Press.
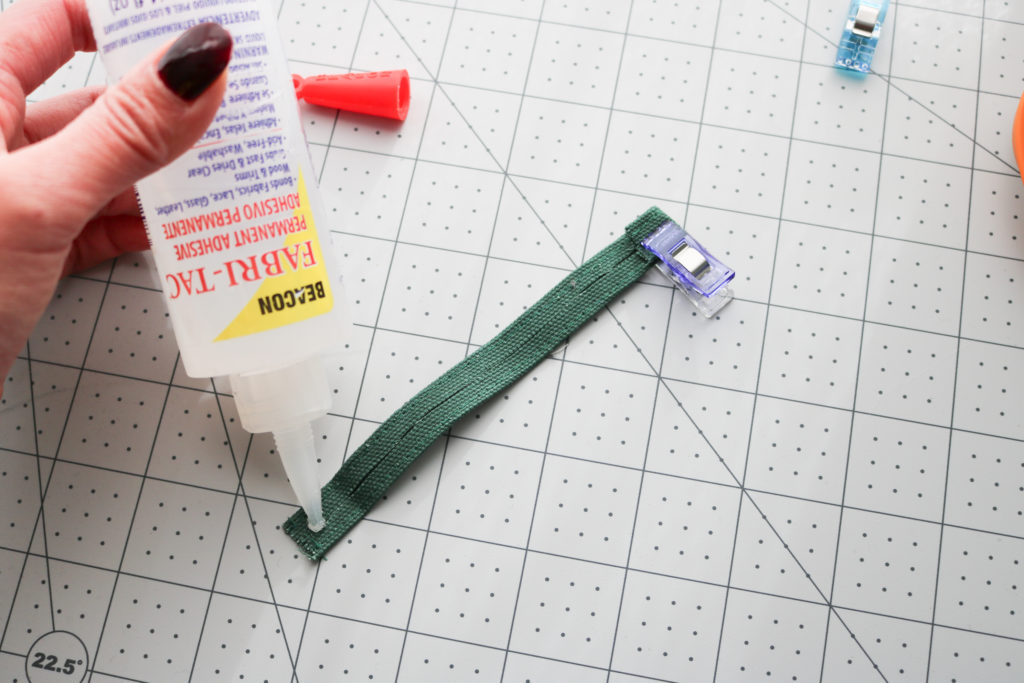
  • Glue down each 1/2” folded end.
  • Slide the Accent Tab equally through the 1/2” D-Ring with right side facing out.
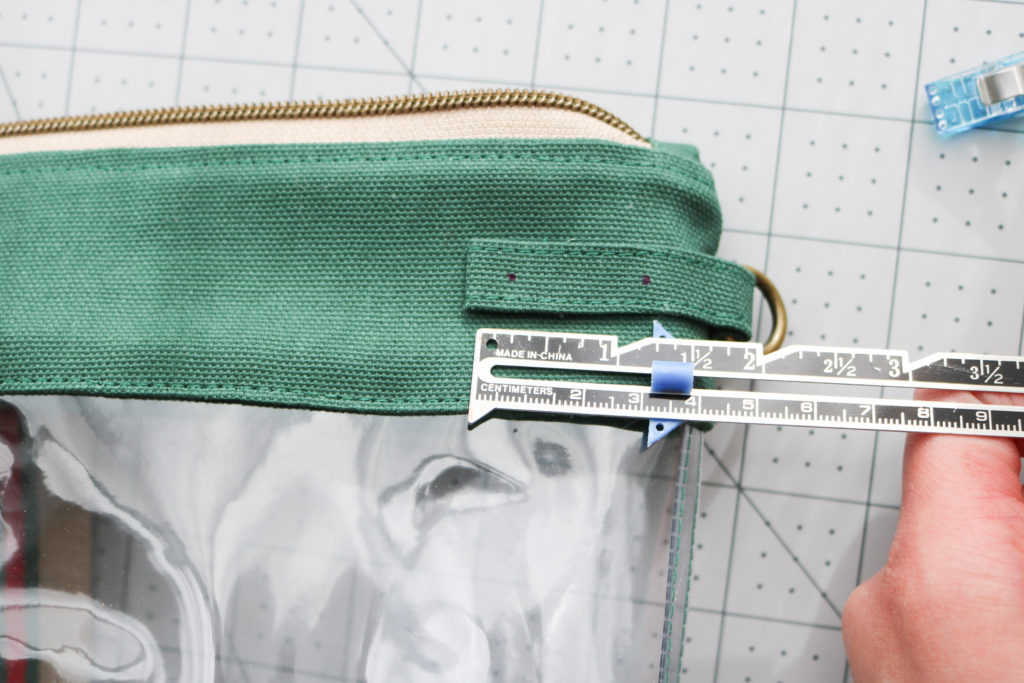
  • With the D-Ring tab fully extended, mark the Accent Tab placement so it is parallel to the zipper and next to, but not pushing into the D-Ring.  Glue the Accent Tab into place.
  • From the edge of the tab, mark at 3/8” and 1 1/4” for rivet placement.
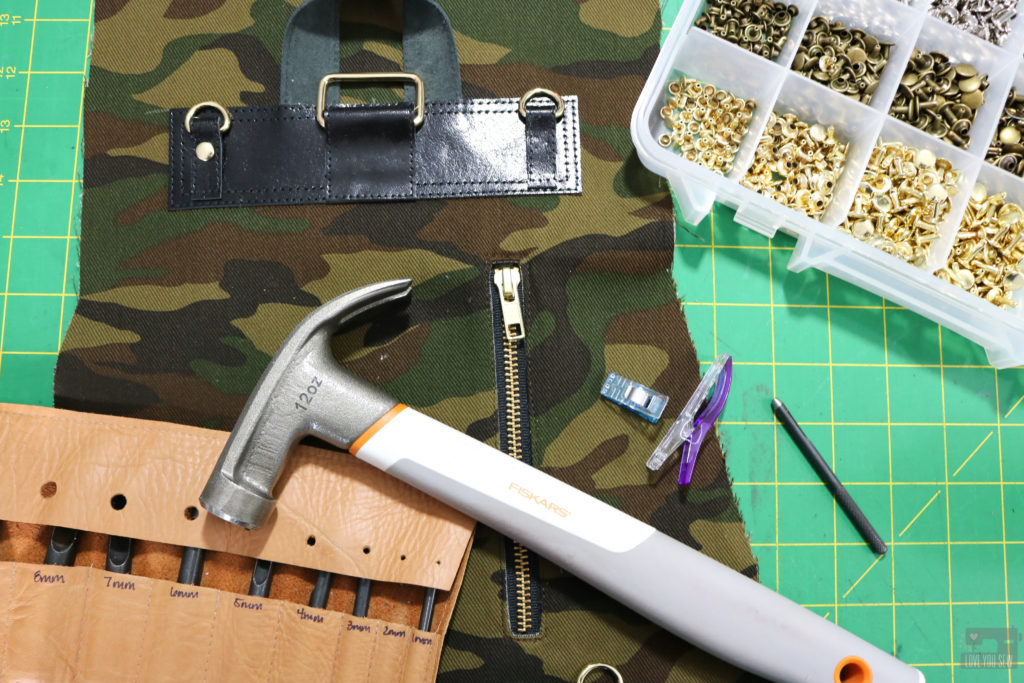
  • Use the fabric hole punch to cut through the Accent Tab, Main Fabric, and Lining.  Attach rivets using your preferred method.  You can check out this hand application video here.
  • Repeat on the other side of the same Accent Tab. Then repeat for the second Accent Tab. You will attach 8 rivets altogether on the Accent Tabs.
  • Attach the Strap to the D-Rings and you are ready to rock out in style!  How do you like the D-ring illusion?
If you are looking for other ideas to get the most out of your Emma Stadium Bag pattern, check out this post on how to add a leather hook and the Intro post here with tester versions.   Happy Sewing! Cristy  
This post may contain affiliate links which help keep this website and content rolling.  You can read about all of my Disclosures here.

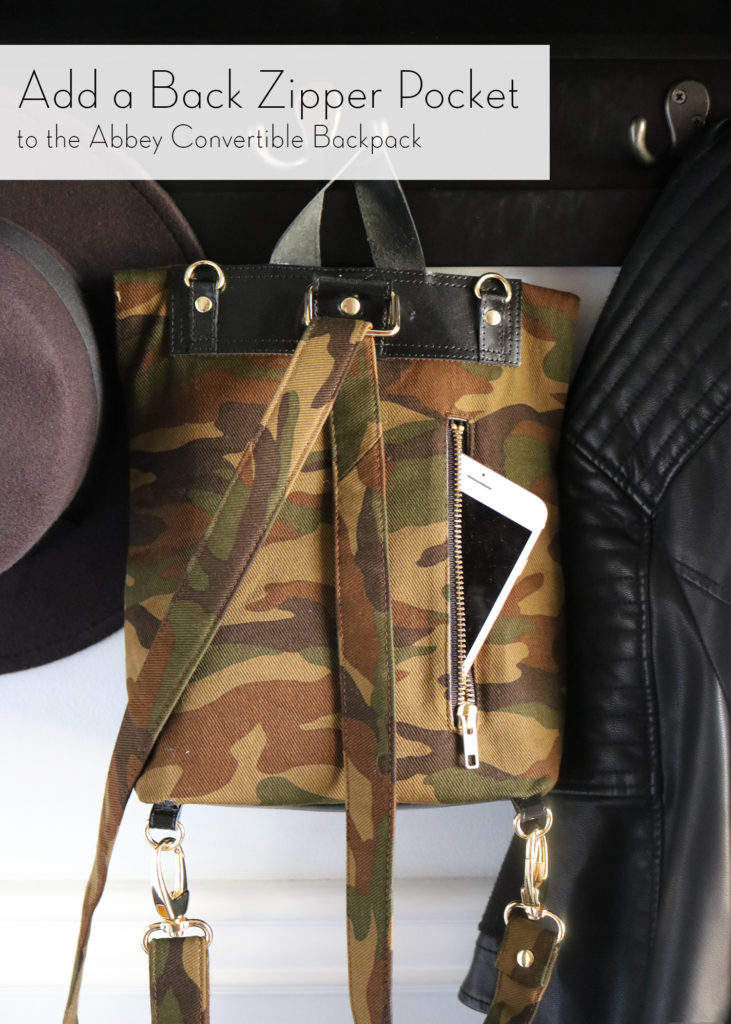
Add a Phone Zipper Pocket to the Abbey Convertible Backpack

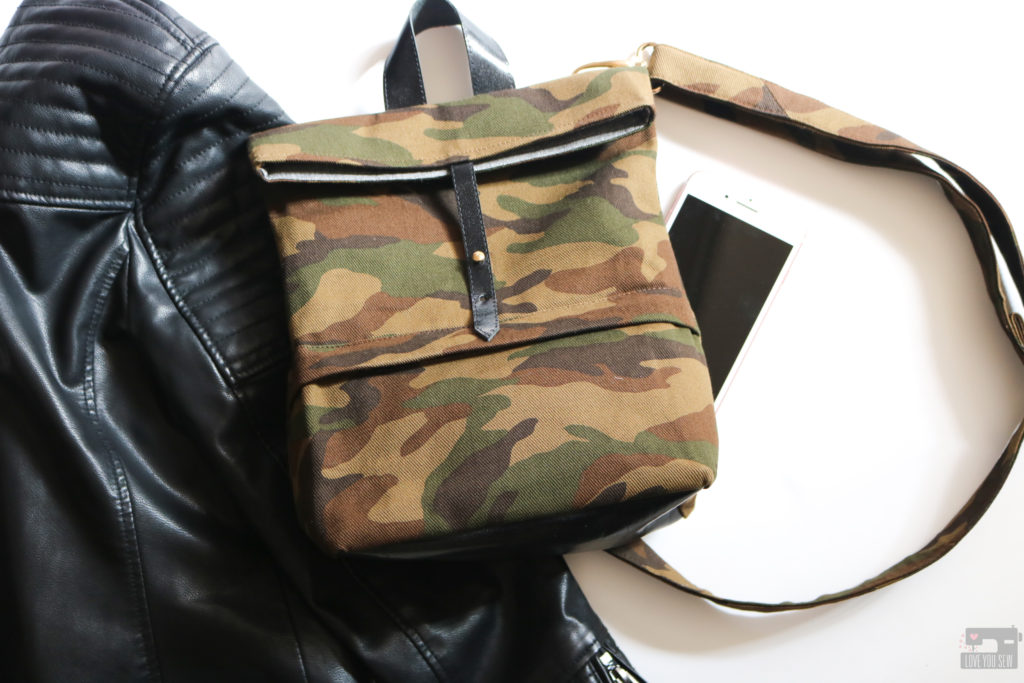
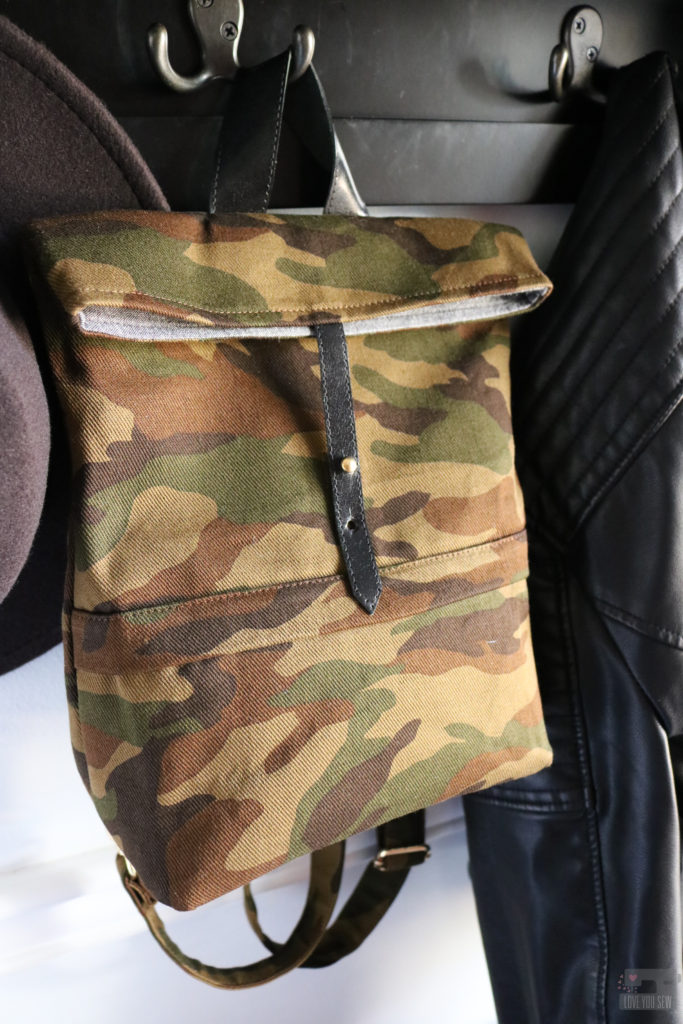
The Abbey Convertible Backpack is my go-to bag when taking day-trips with my kids. I like having it out of the way but still being able to hold the essentials. But being a designer, I constantly have new ideas and wish there were different features with every bag I own.

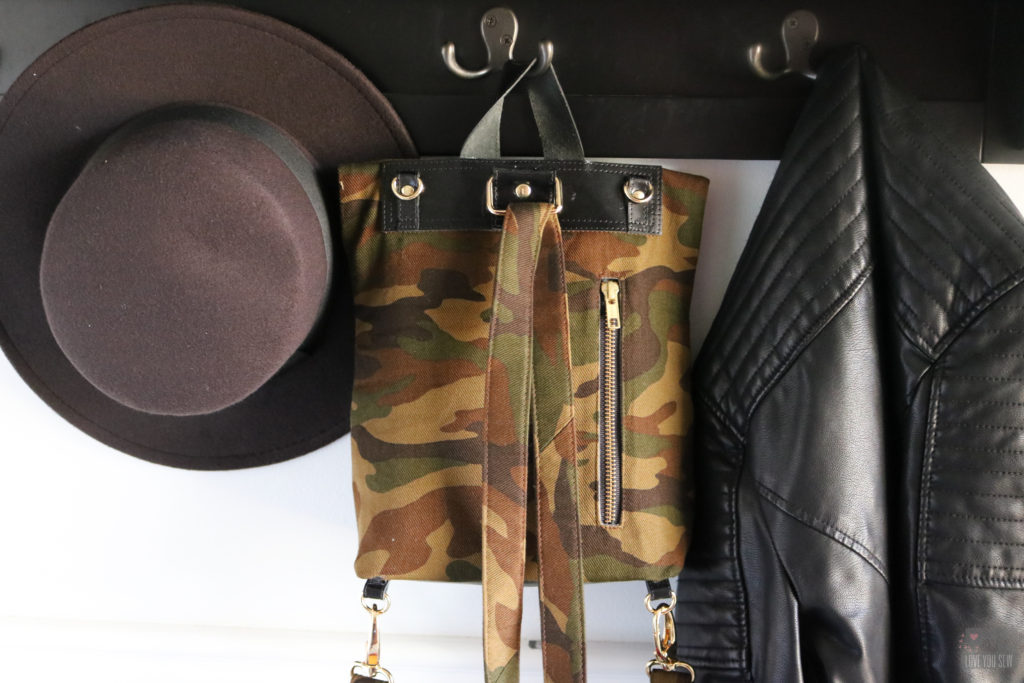
On the back of the Abbey, there is a slip pocket. I added the feature with the intention that it would be a quick spot to hold your phone or keys without having to open the main compartment as frequently. But since I happen to wear my bag more as a backpack, I have to swing it around to access the pocket and felt that a slip pocket just isn’t as secure for an expensive smartphone — and BOOM, I have the idea for the back welt pocket hack.

Back Welt Pocket Tutorial

You will need the original instructions and templates for the Abbey Convertible Backpack which you can find here. Additionally you will need:

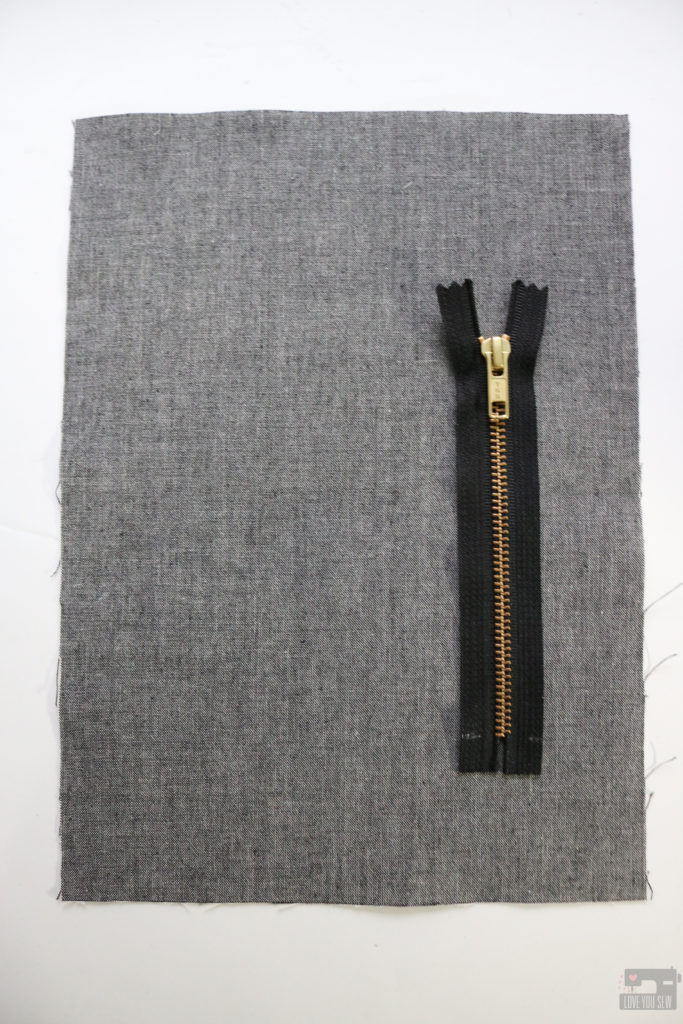
  • 6″ Zipper
  • 8 3/4″ x 12″ Lining Fabric + Interfacing (this is large enough to fit an iPhone 7+ with a thick Otterbox case.)

To make the Back Zipper pocket, you will omit all of the fabric and interfacing for the Slip Pocket and move through Step #41. (Please note I don’t have connectors added to my handle base at this point since I used leather and added them later.)

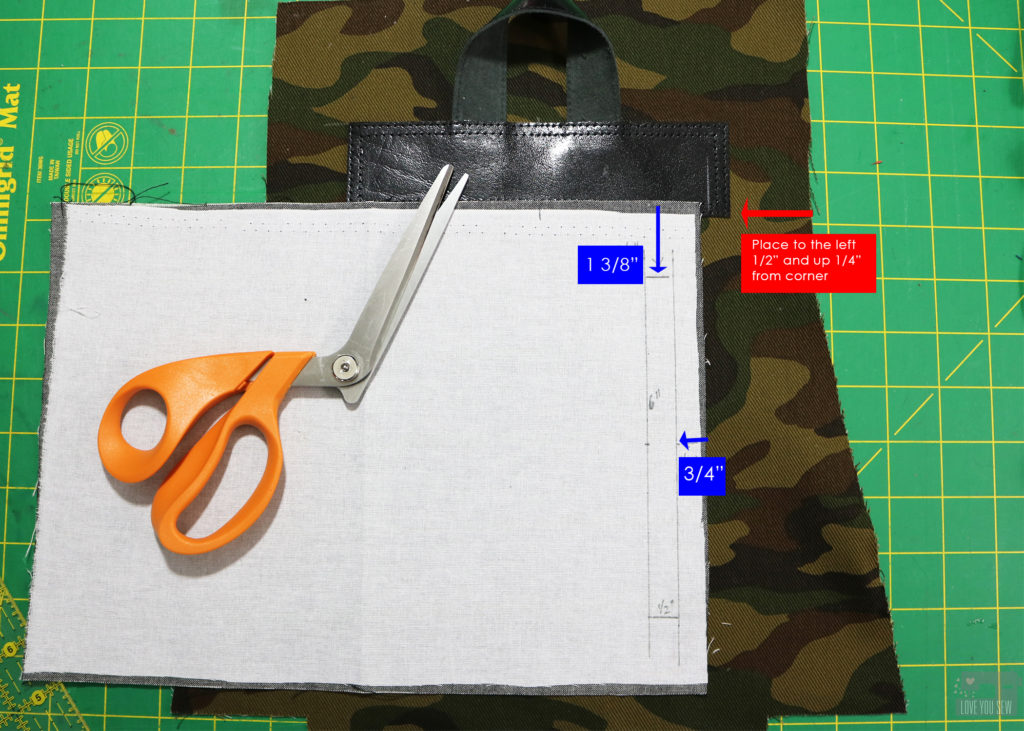
Draw a rectangle measuring 6″ x 1/2″on the wrong side of the Pocket Lining centered and parallel to the short side as shown. The Zipper will run vertically.  There should be 1 3/8″ above and below the rectangle and 3/4″ space to the right. 

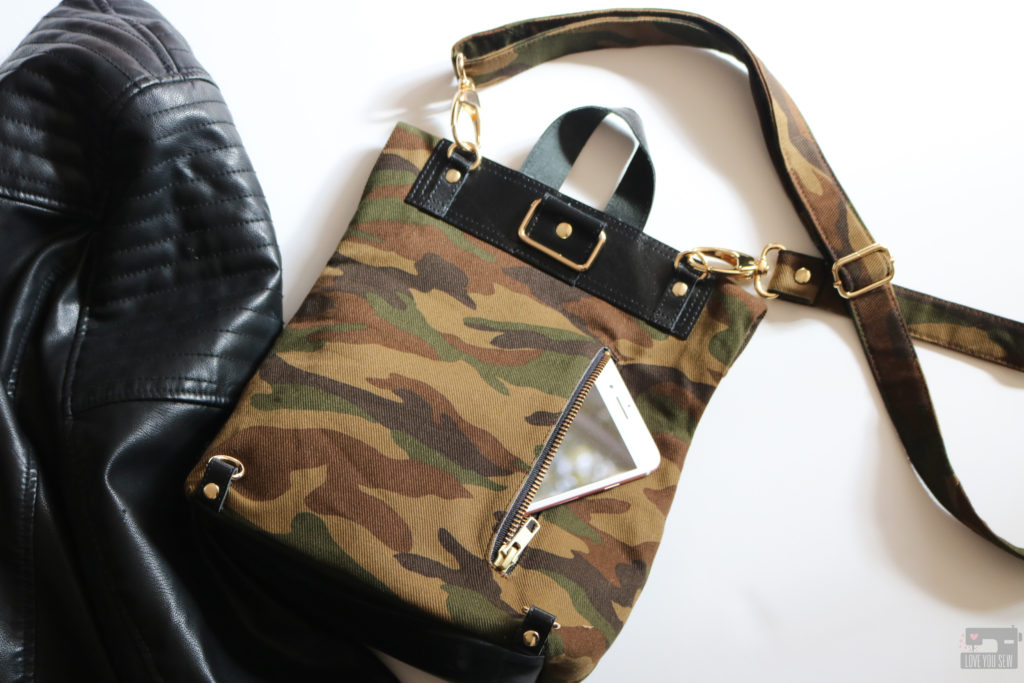
Line up the Pocket Lining as shown with the right edge 1/2″ in and up 1/4″ from the sides of the Handle Base. Pin the Pocket Lining in place. Go back and follow Steps #21-28 to finish the pocket! Voila – a chic looking vertical zipper pocket to keep your phone or other valuables a little more safe as you sling the backpack around.

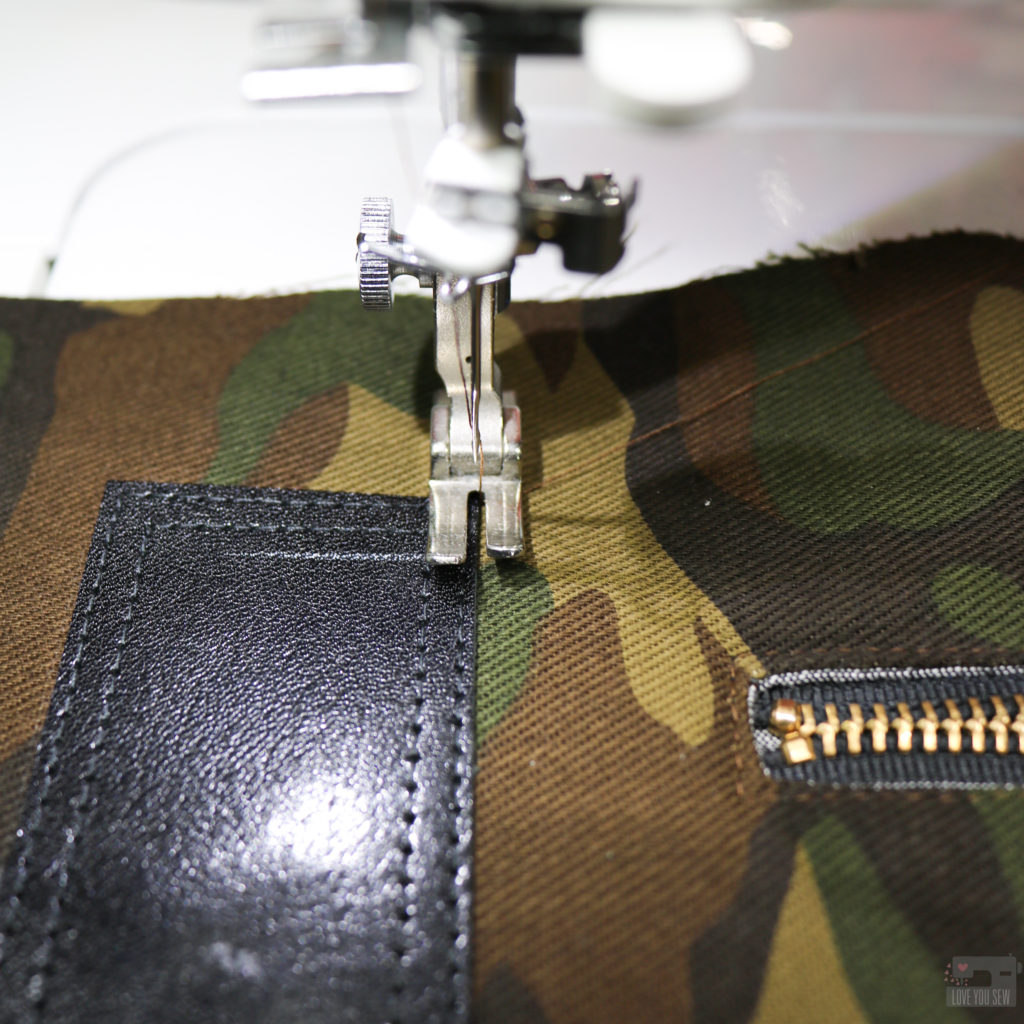
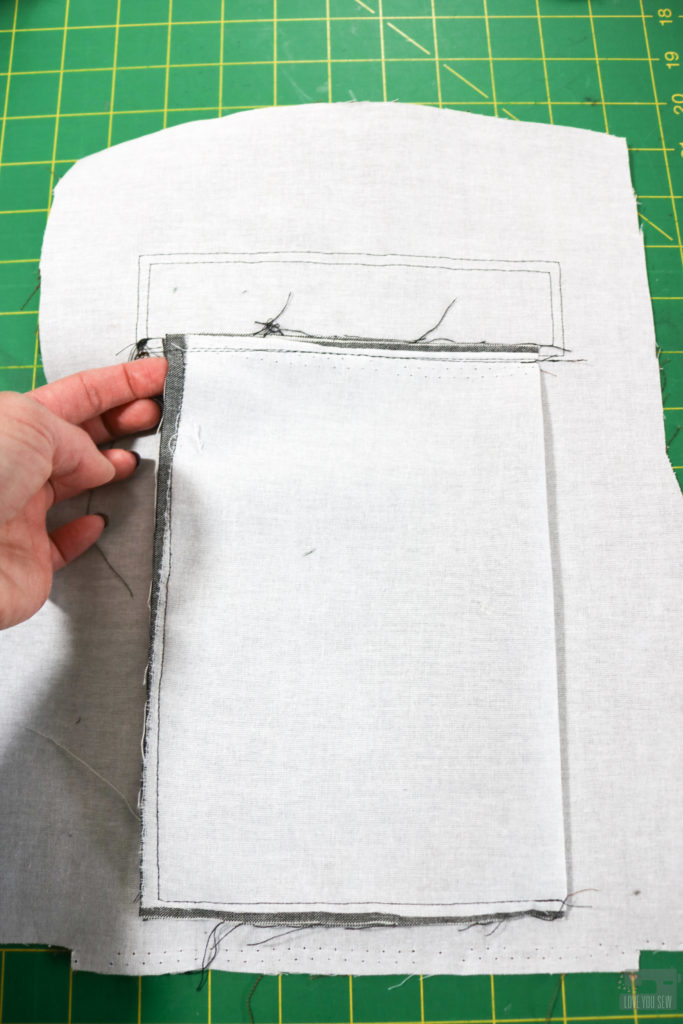
Since the Pocket Lining hangs vertically instead of horizontally, the weight of a phone would make it drag awkwardly and pull on the zipper.  So, the Pocket Lining needs to be anchored horizontally so the weight can hang straight down naturally.  To do this, flip the back of the bag right side up and sew directly below the Handle Base from corner to corner catching the Pocket Lining.  Back-stitch well.

This is the wrong side after securing the Pocket Lining.  The weight of the phone is evenly distributed and won’t distort the structure of the bag.

Additional Modifications

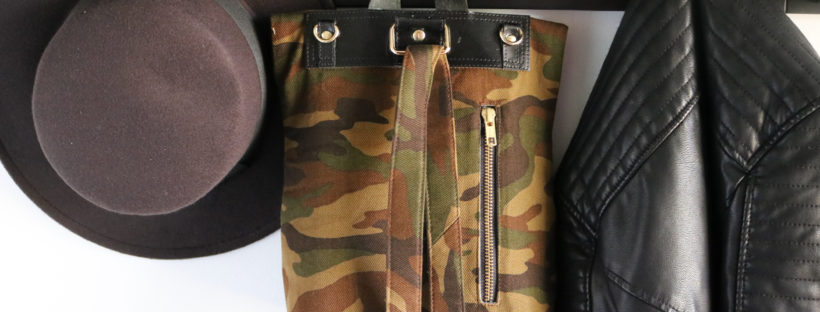
You know I cannot resist using leather in my personal bags!  I had this great glazed black upholstery leather I got from Tandy which I used to make a few Kelly Waist Bags.  The scraps are great for all of Abbey’s accents like the connectors, handle and closure tab.

I also used my other Abbey Backpack Zipper Cover and Button Stud Hacks which you can find here.  I like the clean look from the front and just love using button studs with leather.

Project Details

I hope you enjoy this hack and even use it for other projects!  Don’t forget to use #abbeyconvertiblebackpack and #loveyousewpatterns on social media so everyone can see your fabulous makes!

Hugs and Stitches,

Cristy


This post may contain affiliate links which I use to keep this website pumping along.  Please visit my Disclosures page for all  the info on my affiliate relationships.

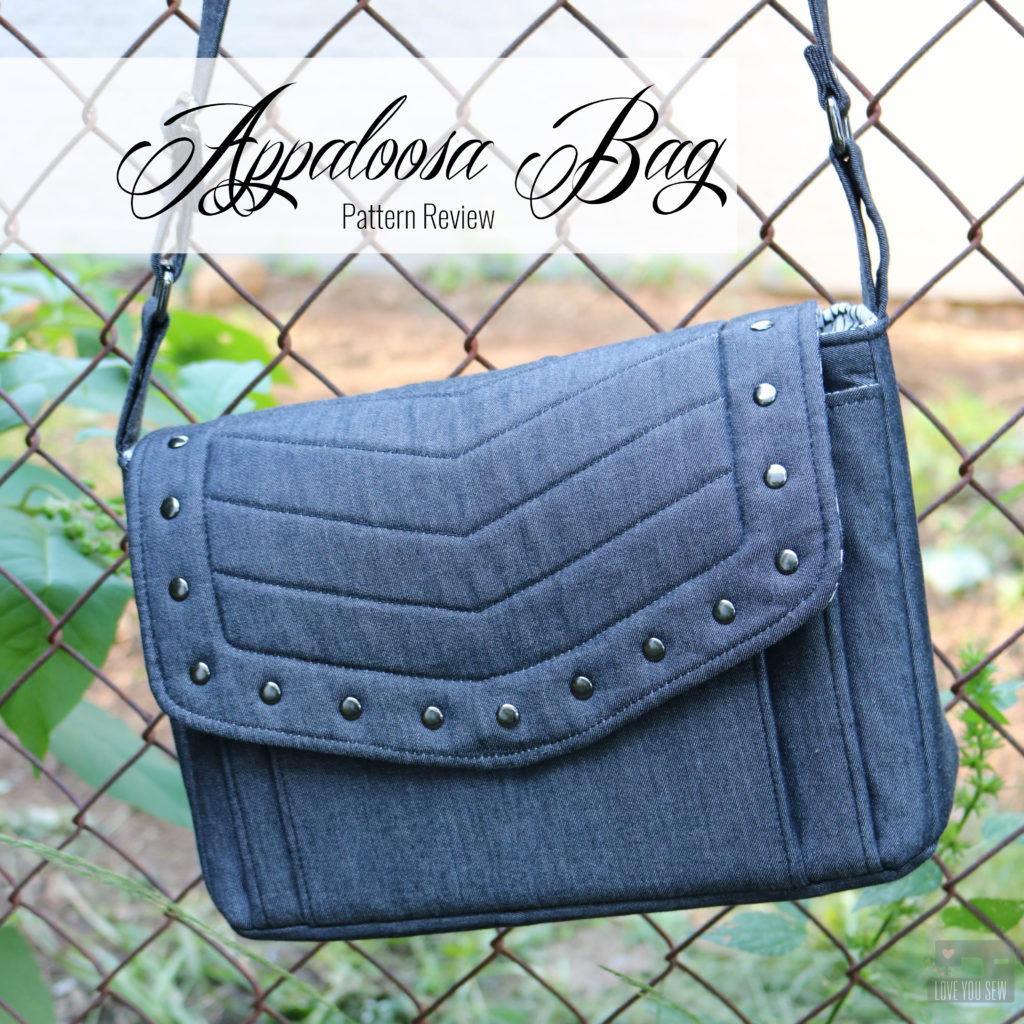
Appaloosa Bag – Pattern Review

A few months ago, I had the amazing opportunity of taking one of Sara Lawson’s bag-making classes…at my local quilt shop!  I’ve been trying to attend one of her retreats for awhile and was so glad she came to Columbus. Sara designs some pretty fantastic bags and accessories through her business, Sew Sweetness.  The Aeroplane bag was one of my first names and you can read about it here.

We have worked together in the past and I have a few guest posts on her blog.  There is one from Purse-Palooza which you can read about here.  I also wrote a review on a Craftsy Tailoring class which you can read about here. Sara is such a sweet and humble person but she’s such a rockstar to us bagineers!

I have to admit, the Appaloosa bag (aff link) would not have been my choice for a class with Sara.  But I completely understand the bag we make has to be done in the time allotted, which was about 6 hrs.  However, I found it as my own personal challenge to try to make this pattern, more “me.”

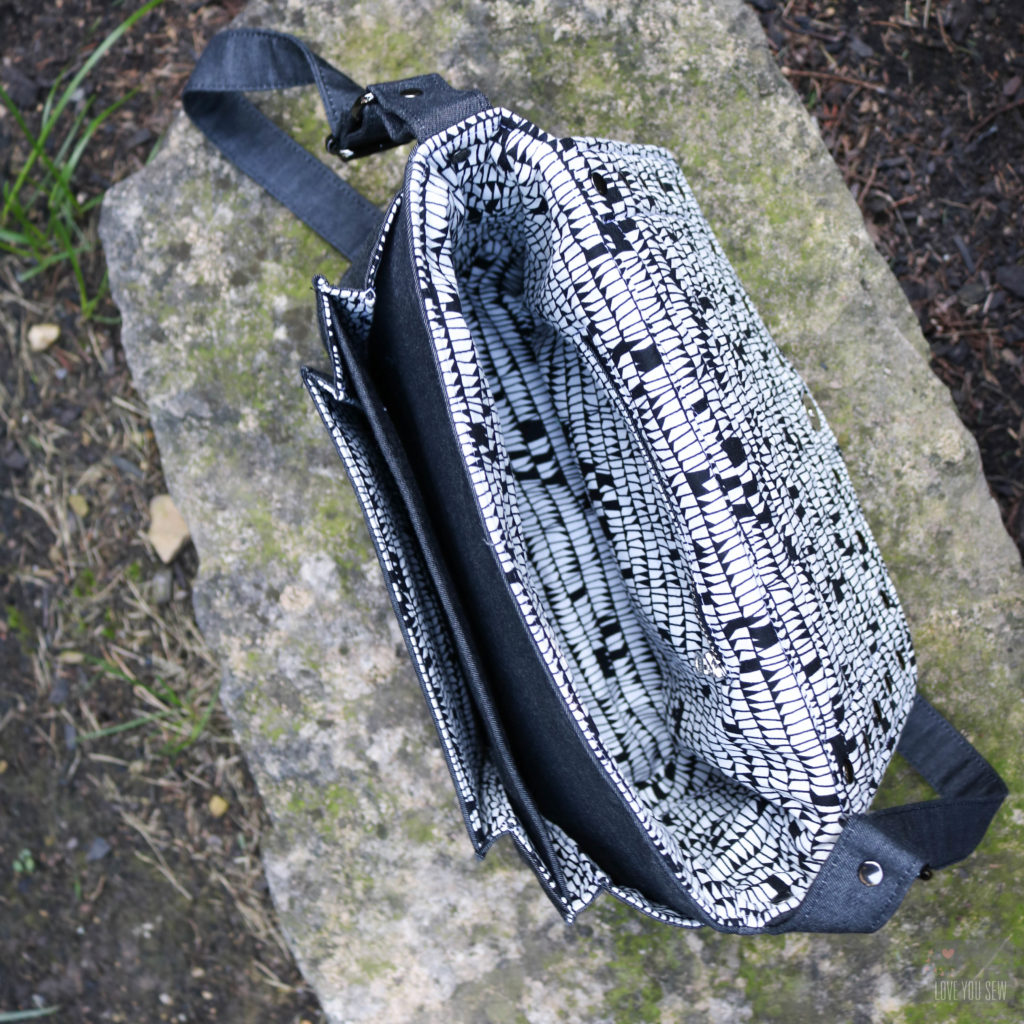
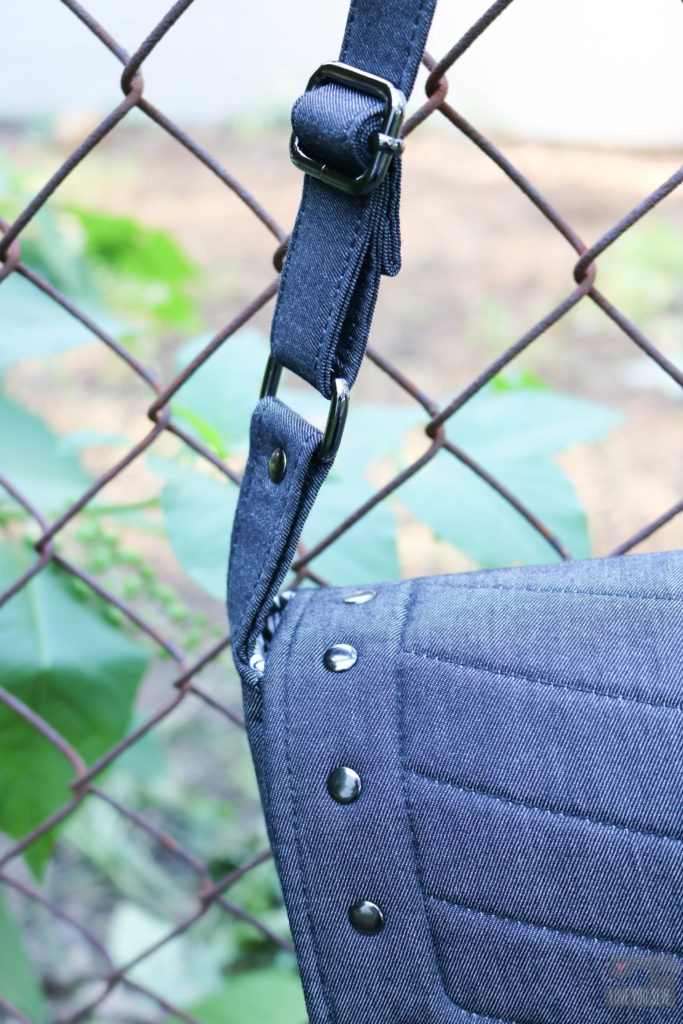
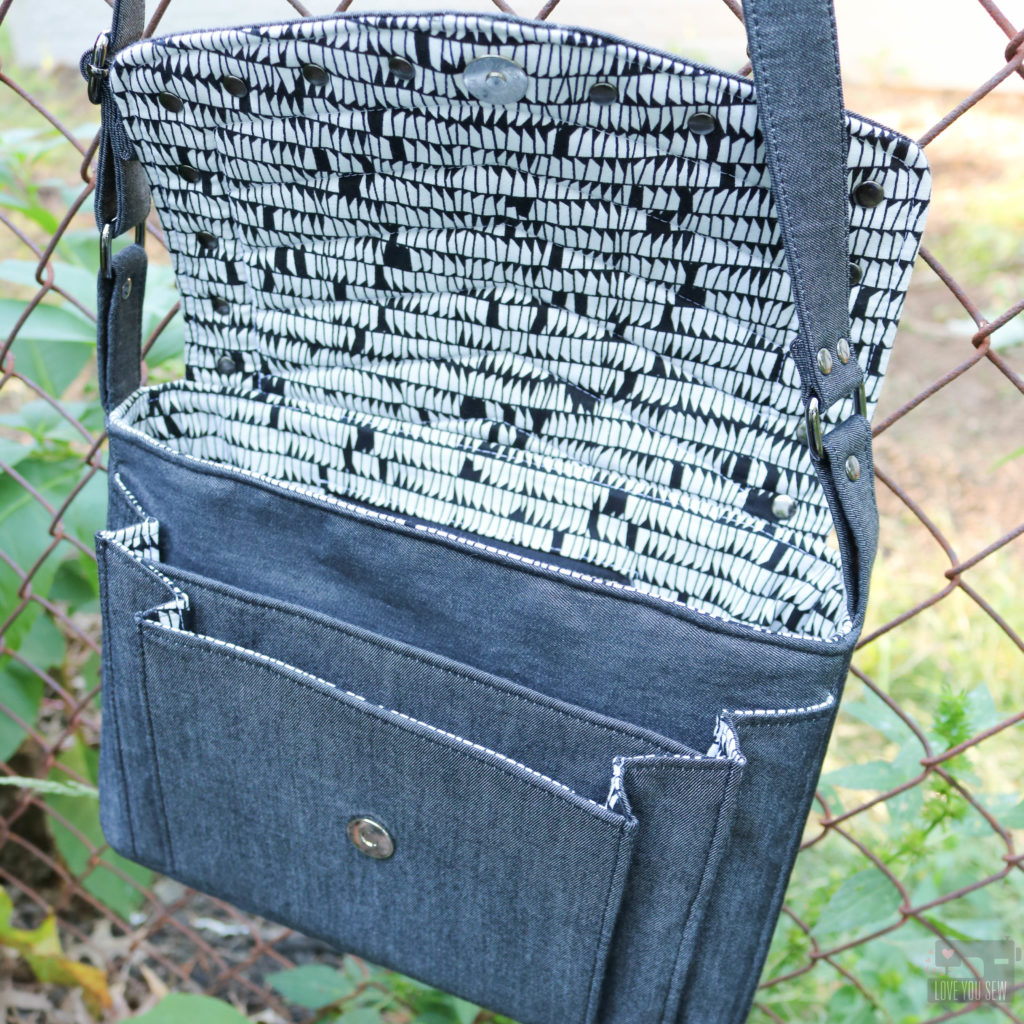
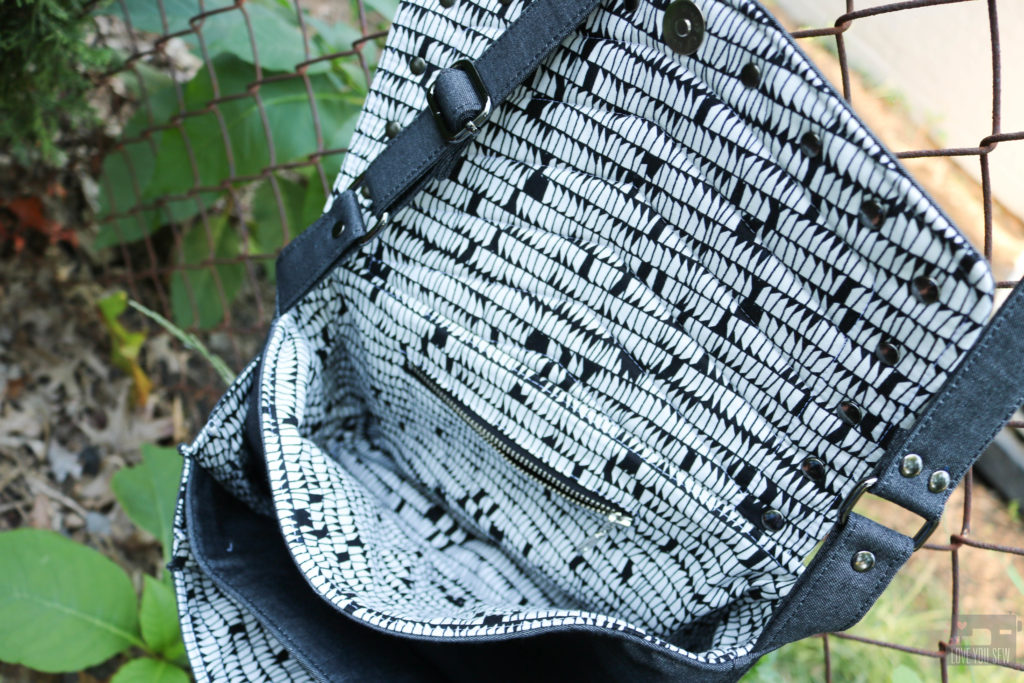
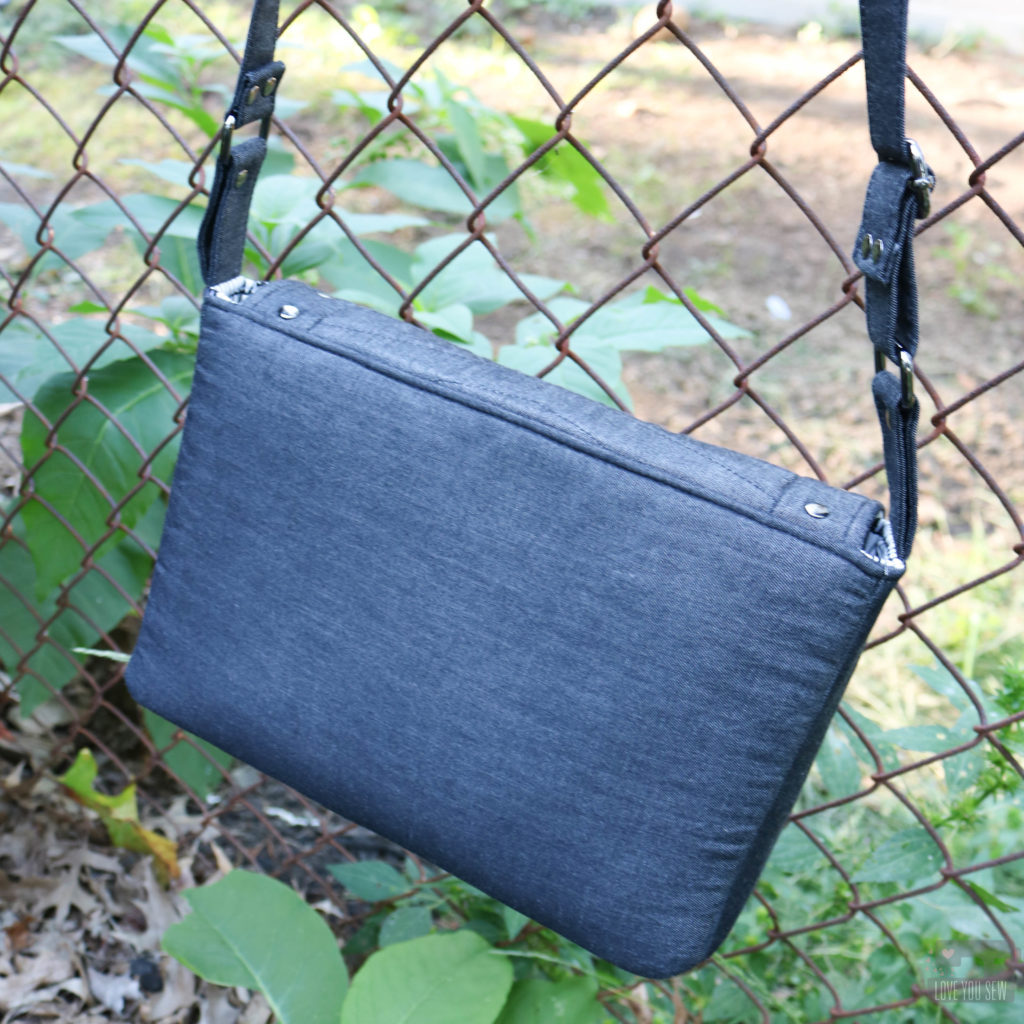
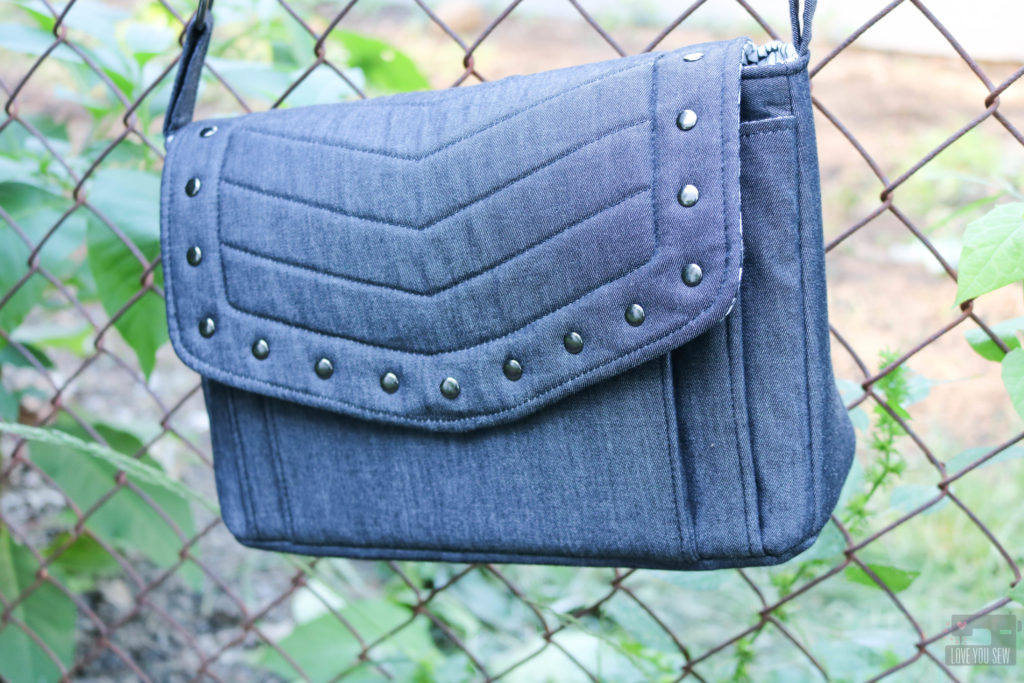
I used a light weight black denim by Robert Kaufman as my main fabric with Carolyn Friedlander’s Euclid as the lining.  This would keep the bag modern and pretty versatile with any wardrobe.  And since I was using the black denim, I made sure to use black Soft and Stable in the construction of the bag.  Otherwise, you run the risk of the natural colored foam peeking though the needle holes.

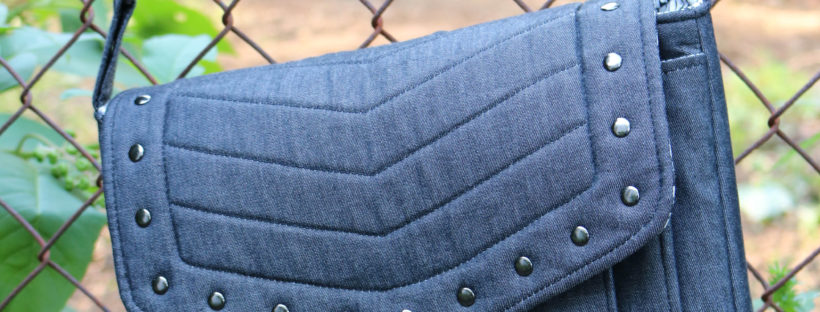
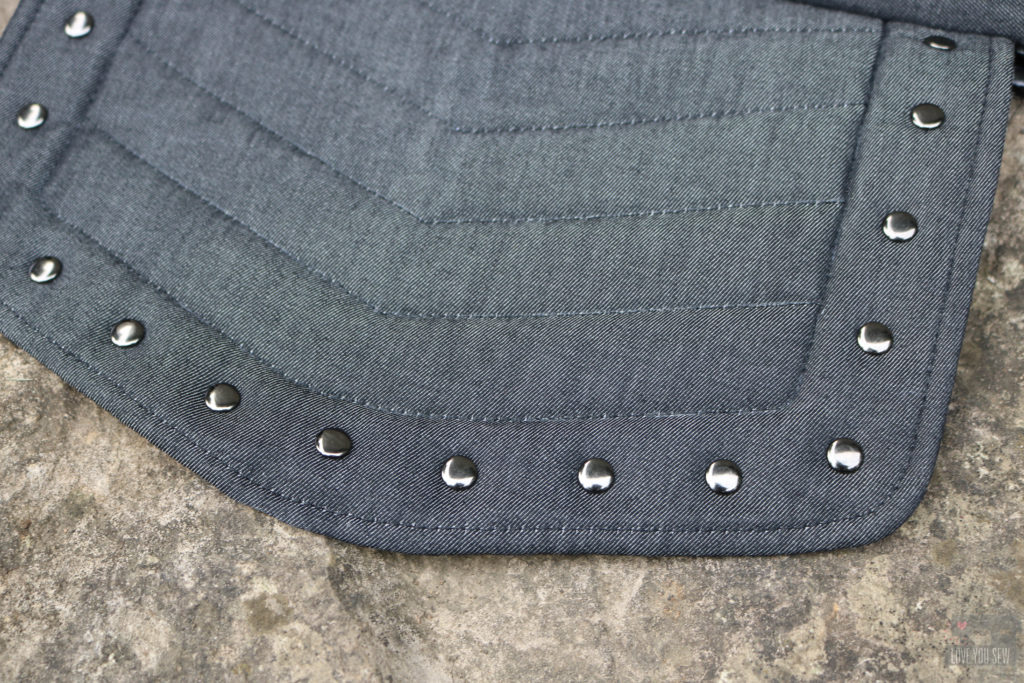
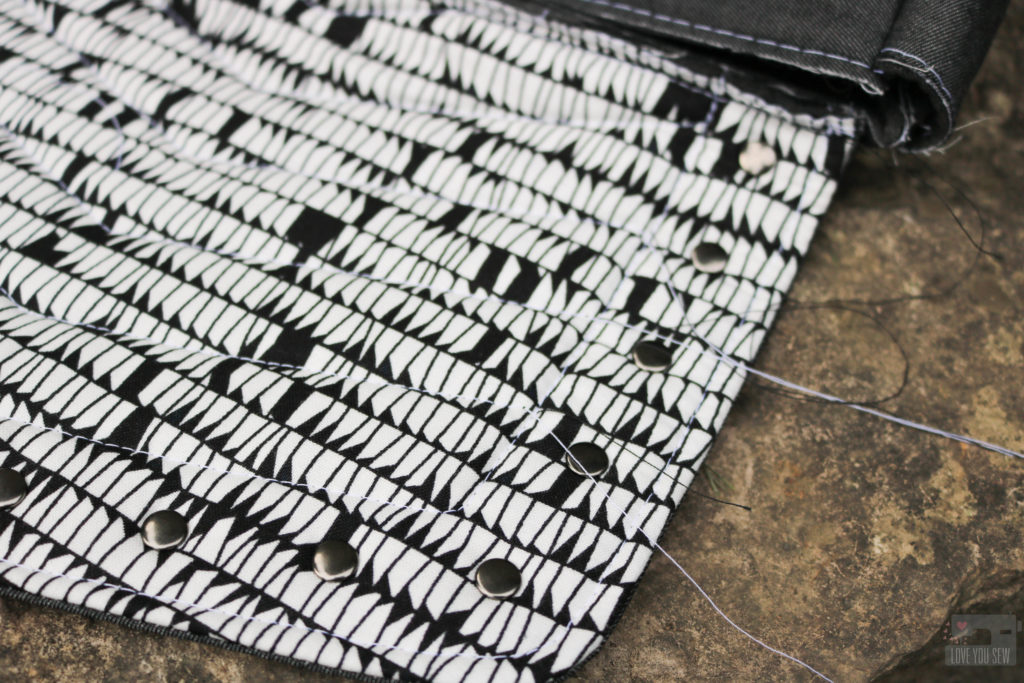
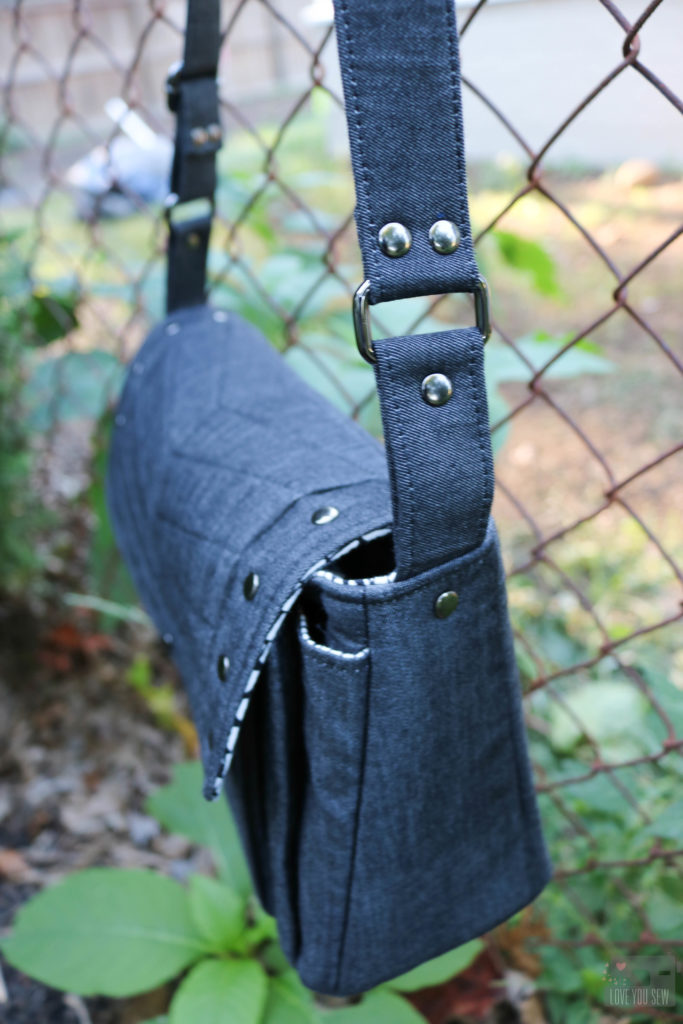
With the black denim being pretty plain, I just had to do a little bag quilting. (You know me!) I took some inspiration from current Rebecca Minkoff bags to try to pull off something very modern and on-trend.  With the pattern calling for all of the Soft and Stable, I knew the texture would be perfect on this bag.  I made a simple herringbone design using my favorite Chalk-pencil.  You can still see the marks on the picture above.  The lines just erase right off when you are finished.

Like most other quilting, I made sure to use my walking foot and created long thread tails to hide later on.  I used all Gutermann polyester thread.

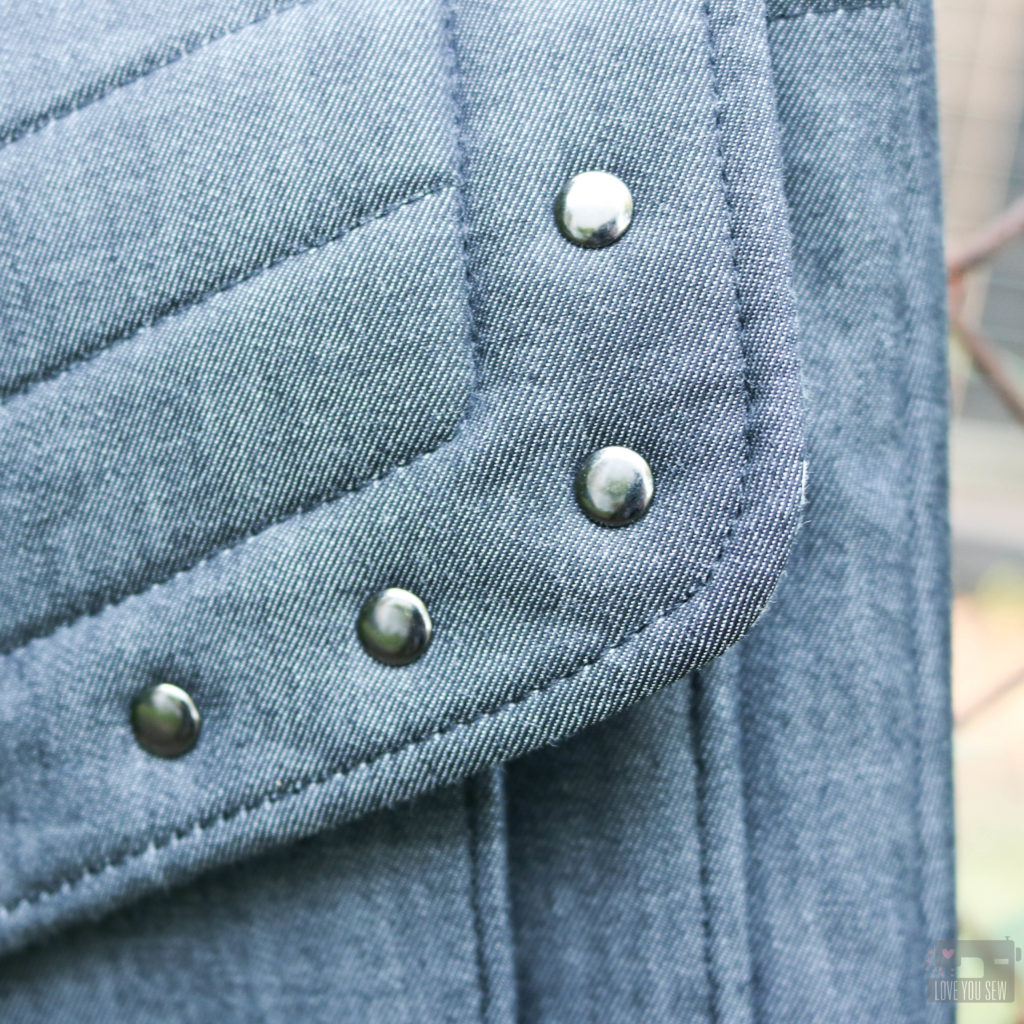
I used rivets all around the border of the flap to add the extra “edge” on this bag.  Initially, I was going to use nickel hardware (because that’s what I had on-hand,) but Sara helped me decide on the gunmetal and just wait to finish my bag later.  Yeah…that was a pretty good decision.

The slider and rectangle rings were quickly ordered and boy…do they make the bag.  🙂  The gunmetal really works with the feel I was going for with this bag.

So….of course, I added a few extra rivets around to balance out the front flap.  Also, I made two strap extenders instead of just one.  After having the bag sit around waiting for the hardware, I thought I would use this more as a cross-body than an under-the-arm bag.  It just works more with my lifestyle with active young kids.

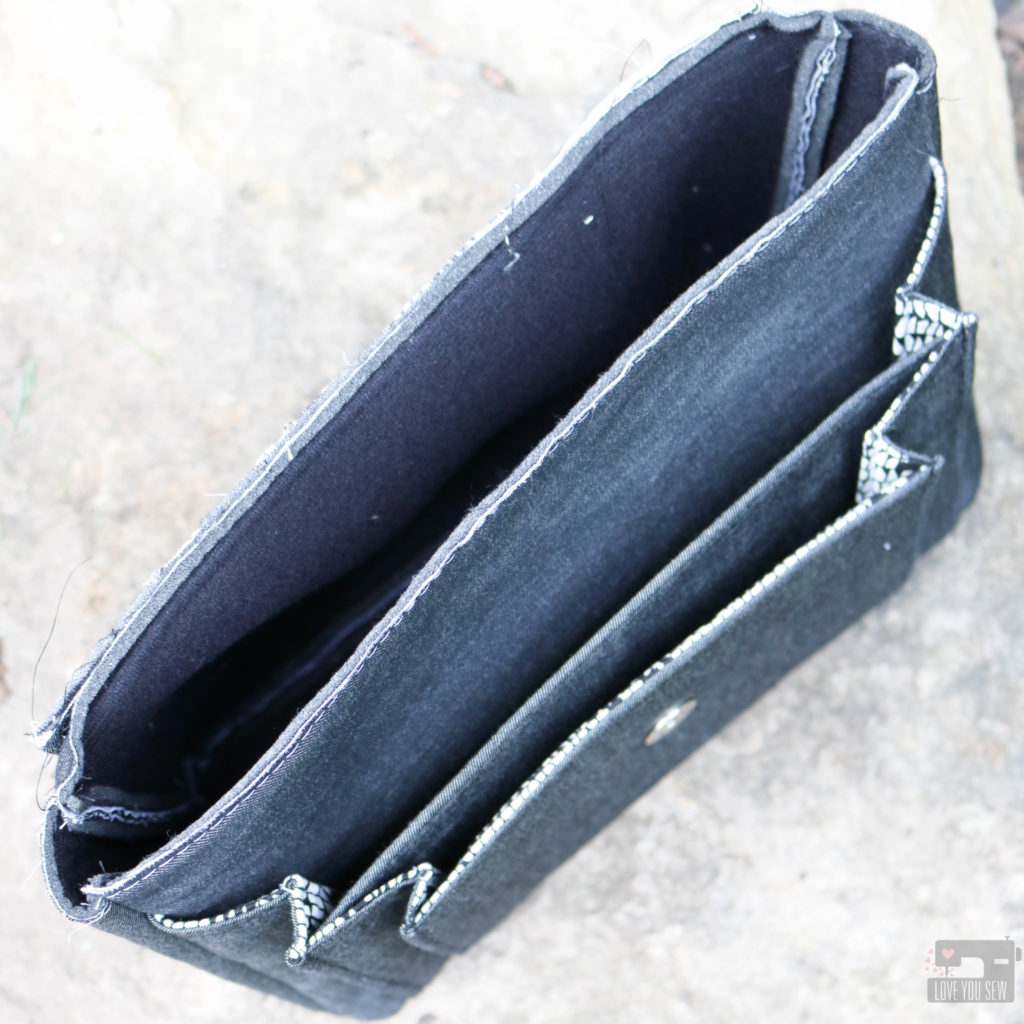
Having Sara around to instruct and so many nice bagineers to assist, the Appaloosa came together so quickly.  We definitely didn’t need the full 6 hours at all.  The most challenging part was just sewing through all the layers of the front accordion pockets to the sides of the bag.  I would definitely recommend some large needles and to hand-crank it if needed.

I love the multiple pockets in the front of the bag…and there is still another zip pocket in the main compartment.  Since I used a metal zipper, I did run into the issue of having to shorten and adjust the one had even though it was a 9″ as called for in the pattern.

The back of the Appaloosa is nice and smooth.  With all the pockets on the front, you really don’t need anything on the back.  Although….once I get my new black leather labels, this bag will definitely get one toward the top-center of the back.

Verdict – I love this design!  Initially, it wasn’t for me, but I made it my own.  It made me think out of the box a little bit and now I want to go through all the patterns I own and take a look at each one differently and how I can own each one.  It’s amazing what the fabric and some hardware can do to completely change up a bag.

For the Appaloosa bag, you can purchase the pattern and/or the instructional video here.


Please note there are affiliate links in this post.  I will only ever link to products I have used myself  and as always give you the real deal in my opinions and experiences.

Claire Fold-over Clutch :: Pattern Release

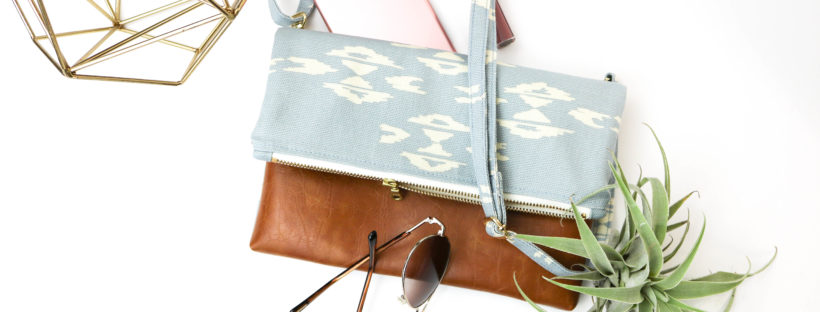
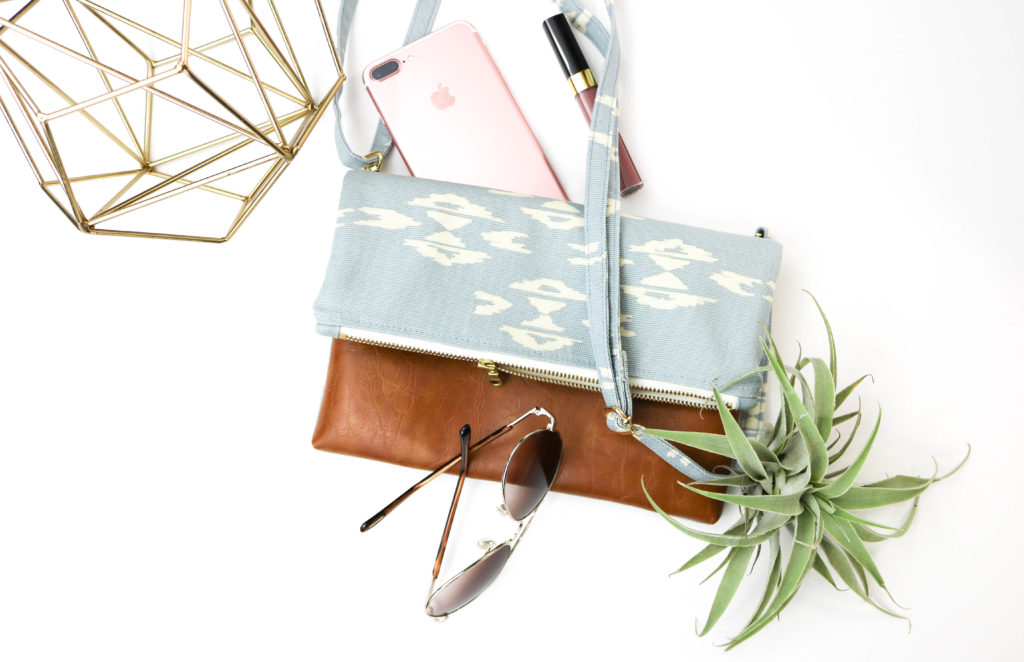
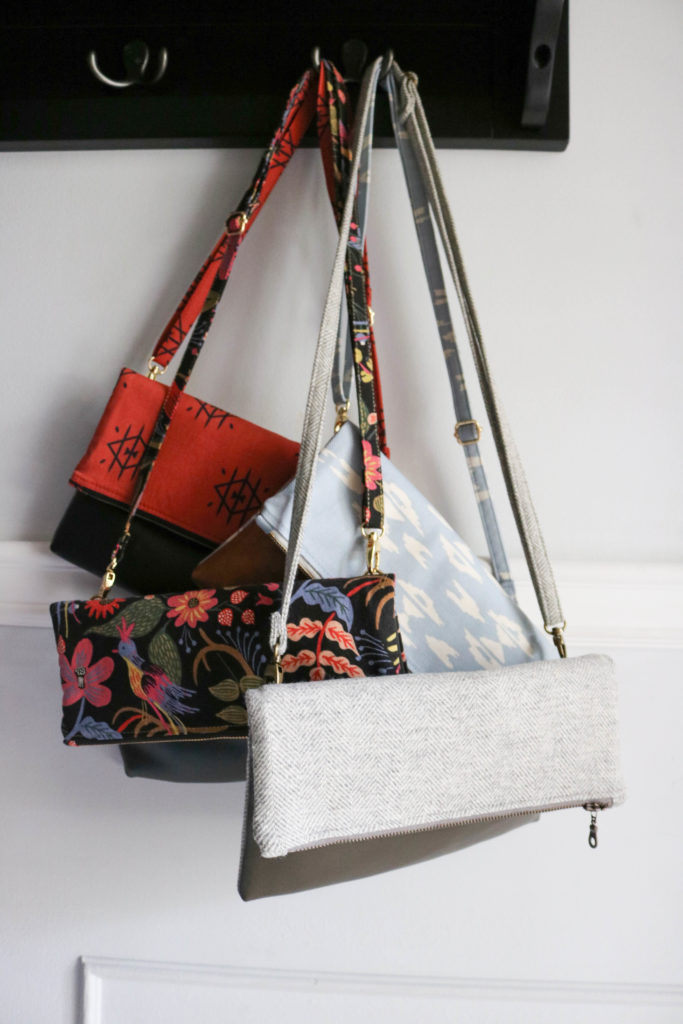
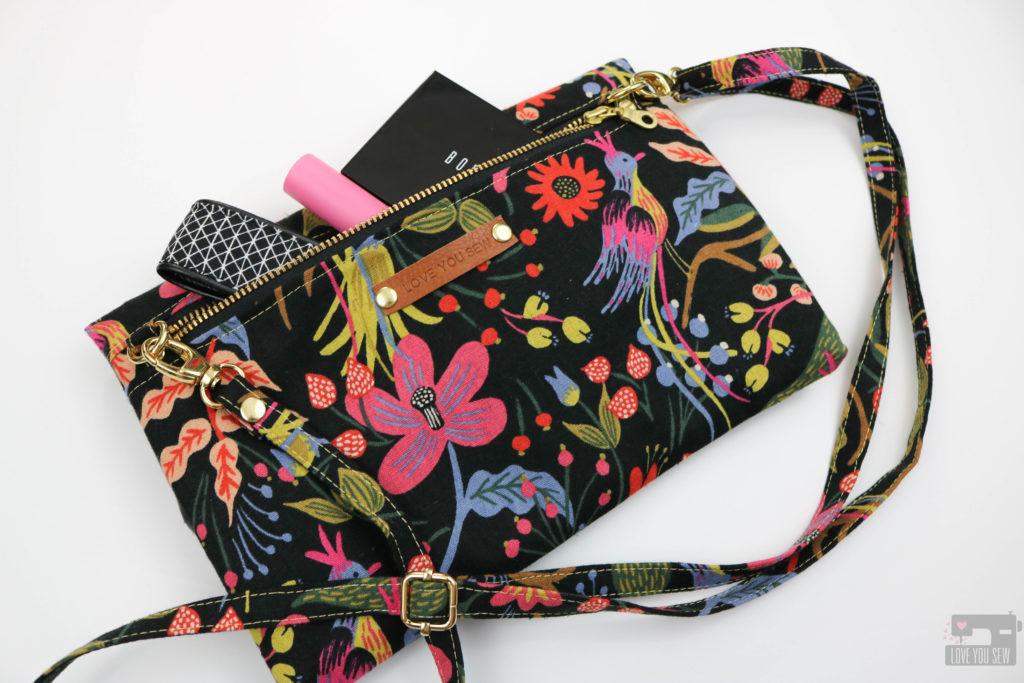
The Claire Fold-over Clutch with cross-body strap is my very first bag pattern release.  ‘Talk about  all the feelings right now!  There is so much to say about this bag, both in it’s functionality and how it just came to be.  If you can bear with me, I’ll dive into both 🙂
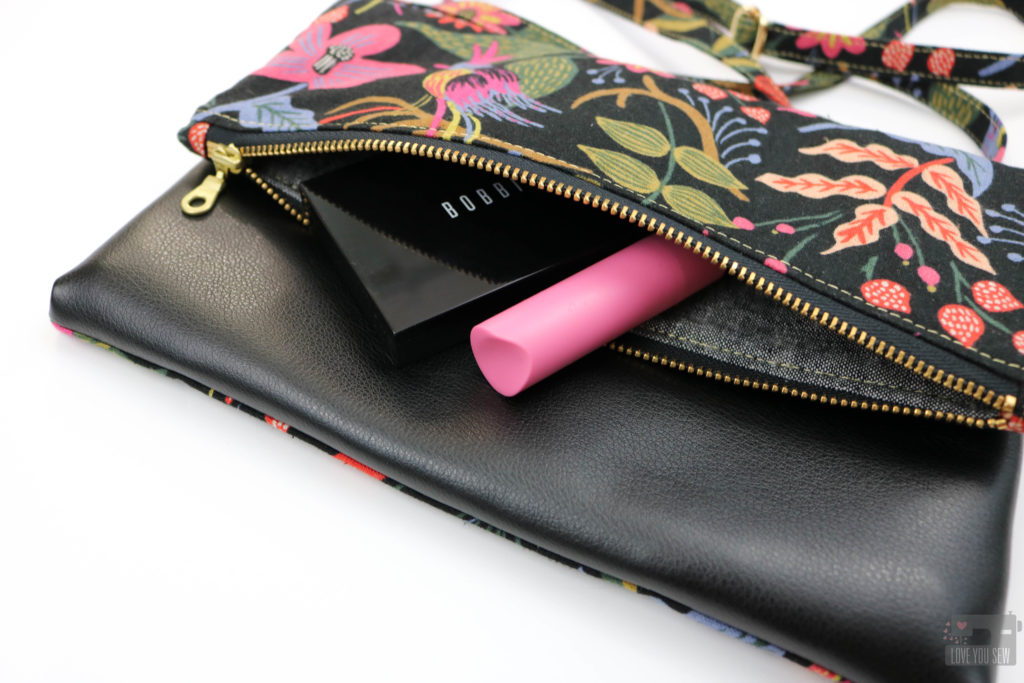
Many of you know that I’ve been selling on Etsy for awhile and broke out into local Indie Craft shows just a few years ago.  With the shows, I started to sell more bags to complement my baby accessories and noticed how my wristlets and fold-over clutches were selling over my larger bags.  To differentiate myself from other bag-makers, I had to add some features and finishes to elevate my product…which in turn, became the Claire.

The following are those key features:

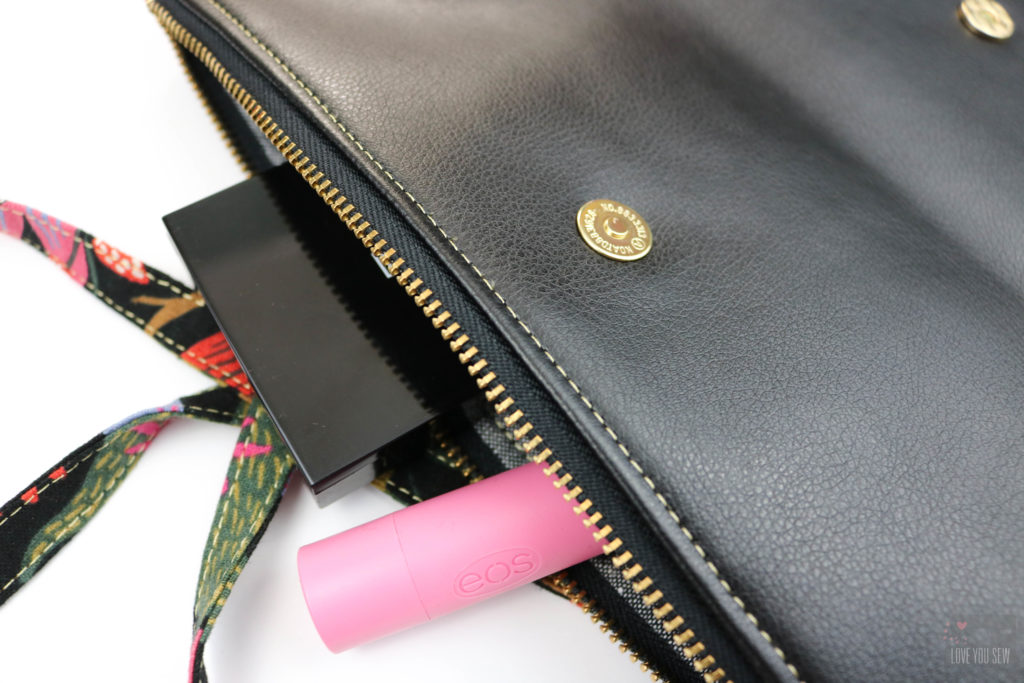
  • Back Pocket – I knew I had to make more of these bags and then a friend came to visit during my holiday sale season.  She had a similar fold-over style bag, but with a front pocket for her phone.  When she reached down and had that immediate accessibility to her phone, the light bulbs were going off.  It seems like we’re all glued to our phones and they just keep getting bigger and bigger…so our back pant pockets are no longer enough.  Since my friend’s bag was by a national manufacturer, there was no easy way I could replicate the front pocket style, but that didn’t mean I couldn’t make a back pocket!

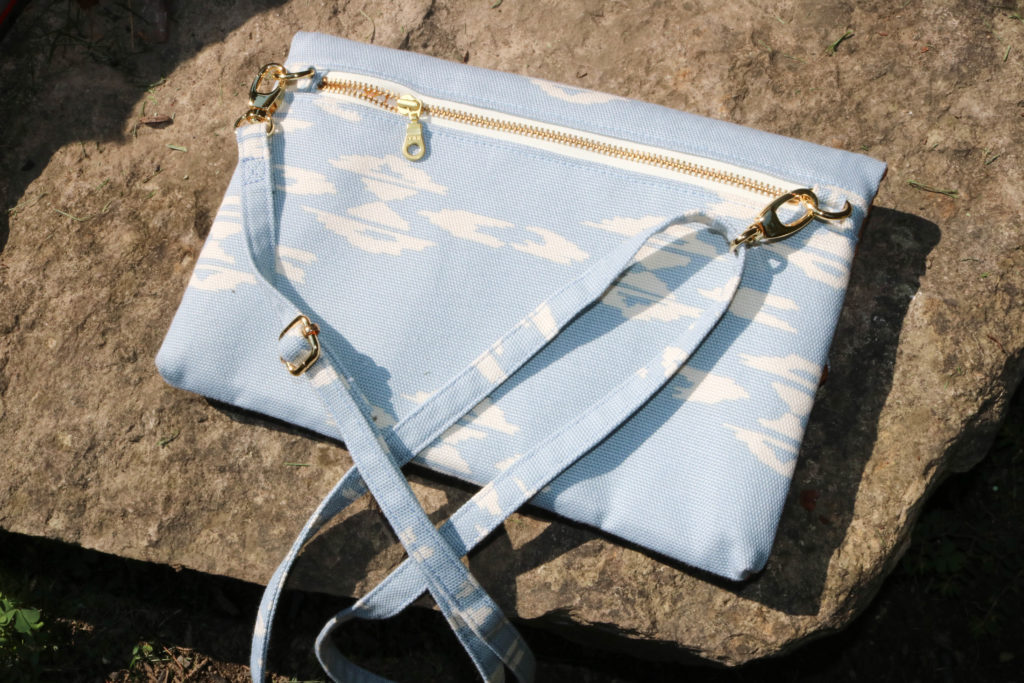
  • Cross-body Strap – I look to my nieces and popular brands for inspiration and I continually see the long straps for the on-the-go millennial and of course, us  busy moms too!  I wanted to make sure it was adjustable and the 60″ strap works for many different body types and all the different occasions in our lives.

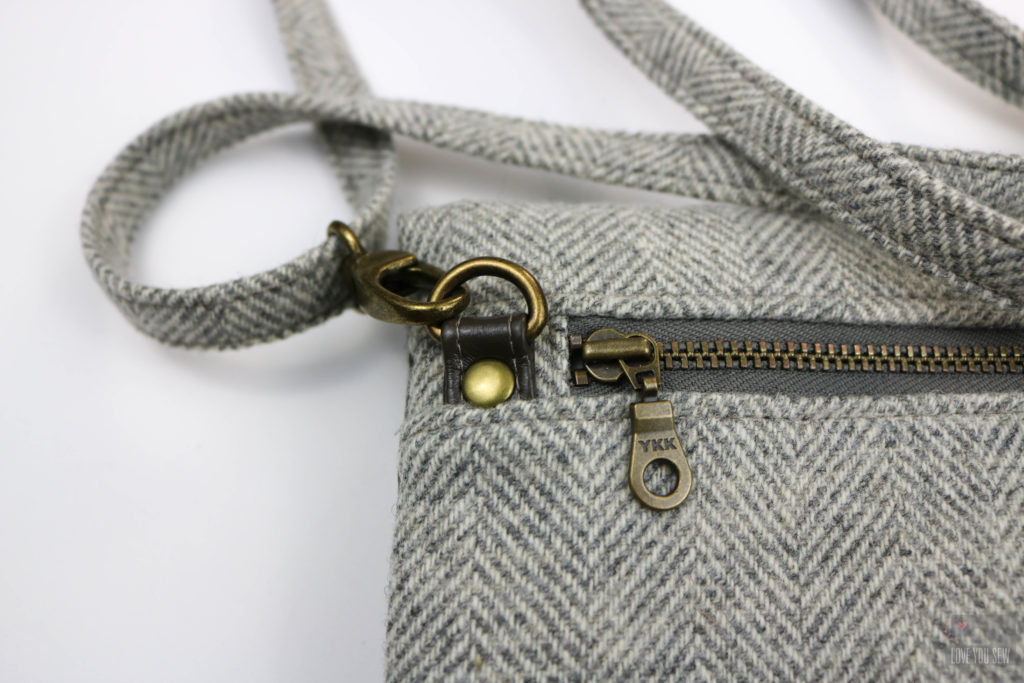
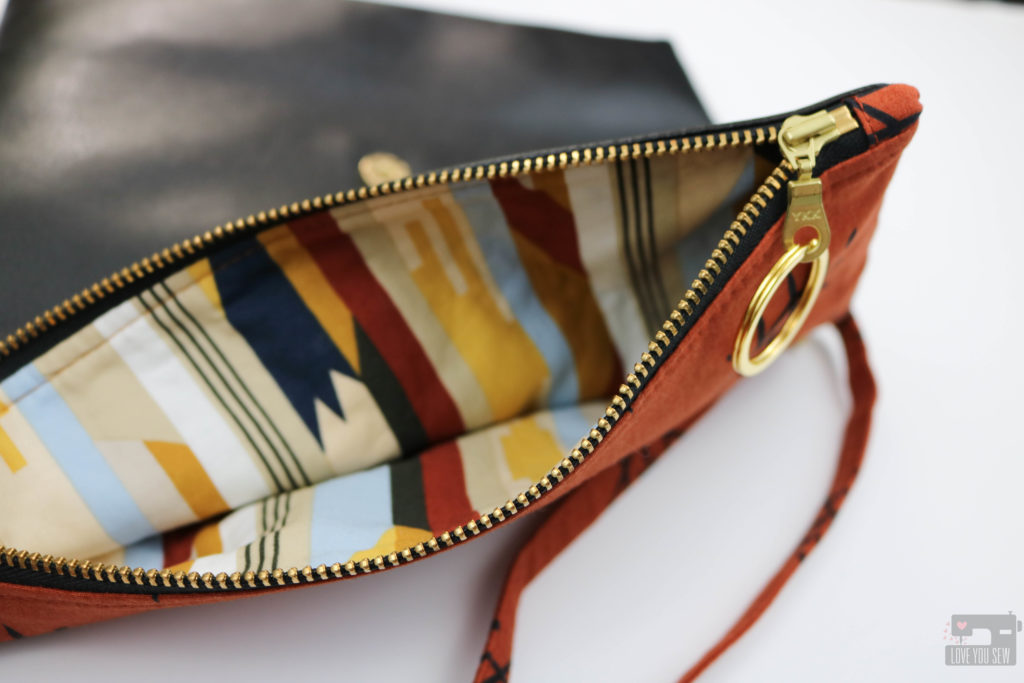
  • Bag to Clutch Versatility – As a clutch, the fold-over style is so cute and I didn’t want hanging side “ears” to get in the way of that classic silhouette.  So the D-rings are set in the back of the bag.

  • Modern and Sleek look – The faux leather panel adds the extra bit of class and style to this bag.  It immediately heightens the looks and your friends will never think you made this bag.

  • Easy to Sew – By keeping the front panel for your accent substrates with either faux leather, cork, or vinyl, you are sewing through the fabric and one layer of the accent.  In other patterns, you can be sewing through 4 layers in addition to the fabric and interfacings.  Not all domestic machines can handle that and I want as many sewists with all different types of machines to be able to make this bag.

  • Interfacing  – I’ve made probably 30 of these bags already…so I’ve played with numerous interfacing combinations.  You want enough structure in the bag, but not too much that it will not fold-over properly.  And most people are like me, we like to use different fabrics and I’ve tried to take the guessing game out when you do decide to switch up.  The interfacing cuts are calculated so you have the strength and structure without having to sew through all of the extra bulk. I’m still looking out for all of my novice sewists 🙂

If you would like to make your own Claire Fold-over Clutch, you can find the pattern in my Etsy and/or my Craftsy shops.

Don’t forget to share your makes on Instagram with #clairefoldoverclutch and #loveyousewpatterns. (Hashtags are the only way I can see your makes if you have a private account!)  I love seeing all of the different versions!


Happy Sewing!

Cristy