![]()
After making a number of practical everyday garments likes jeans and sweatshirts, it feels good to make something that’s a little extra special. I’ve been dying to make a Boho maxi dress for the days I want some statement style but still have a light relaxed feel. Then Télio asked me to collaborate and I already adore their fashion-forward garment fabrics. How could I refuse an opportunity after seeing this gorgeous border print? The fabric along with By Hand London’s Alix dress pattern were going to be THE perfect match!
Fabric
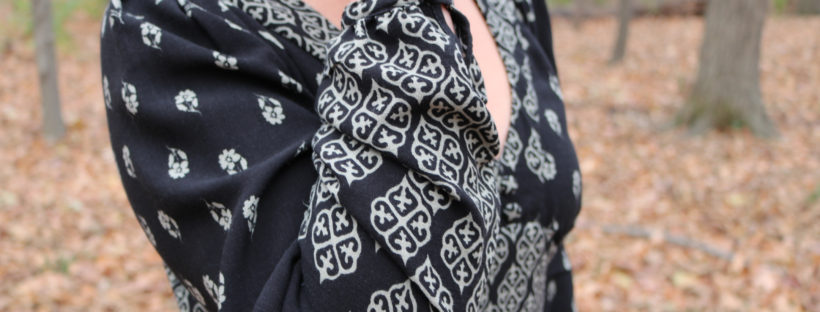
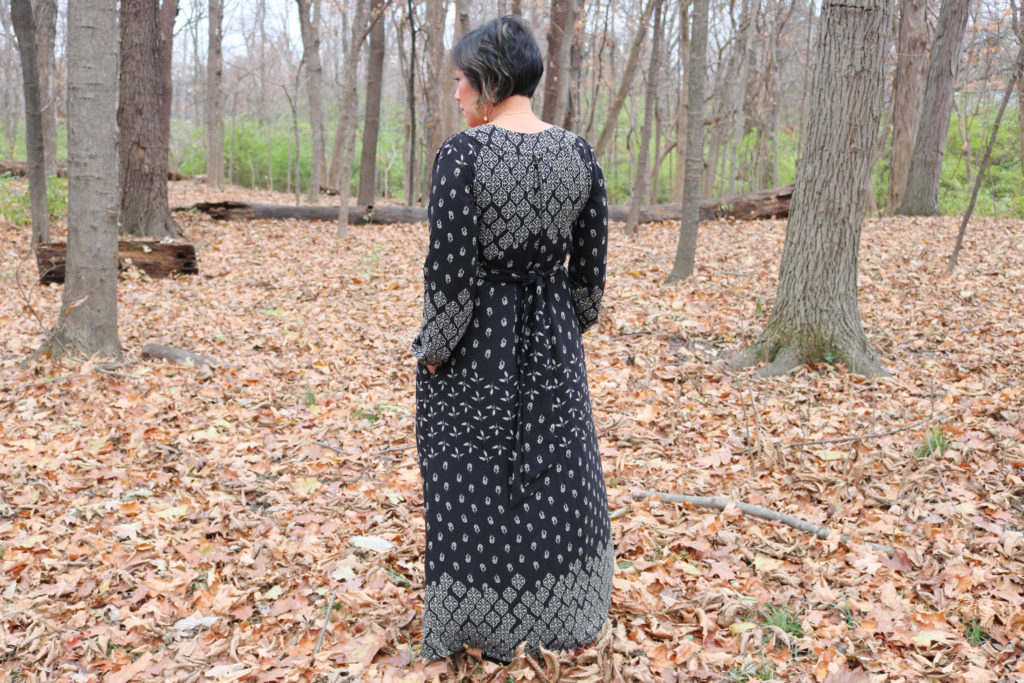
The first time I used Télio fabric was here. I was impressed with the high quality and how the fabric washes well. So, it’s no wonder I fell in love with this Télio Kahlo Rayon (#39801) for its gorgeous double-border print. Look how the three different patterns are layered to give an impression of a tiered dress without having to actually sew one! It gives so much visual interest and I was able to play with the design with my fussy cuts of the dress pattern.
The fabric is 100% rayon with an incredible slub texture. The feel of the natural fiber knobs adds to the character of the Alix Dress and Boho vibe. As with all rayon, the fabric is still lightweight with beautiful drape and movement. It is also completely opaque. After adding linings to my last few makes, I’m happy to leave that step out!
Pattern
Initially when I chose this fabric, I wanted to make a long shirtdress. But when I received it, I knew I wanted something else to show off this print. After going through dozens of other patterns, I remembered how the Alix Dress caught my eye awhile back. I’ve sewn up the Holly Trousers before and By Hand London writes up a great pattern.
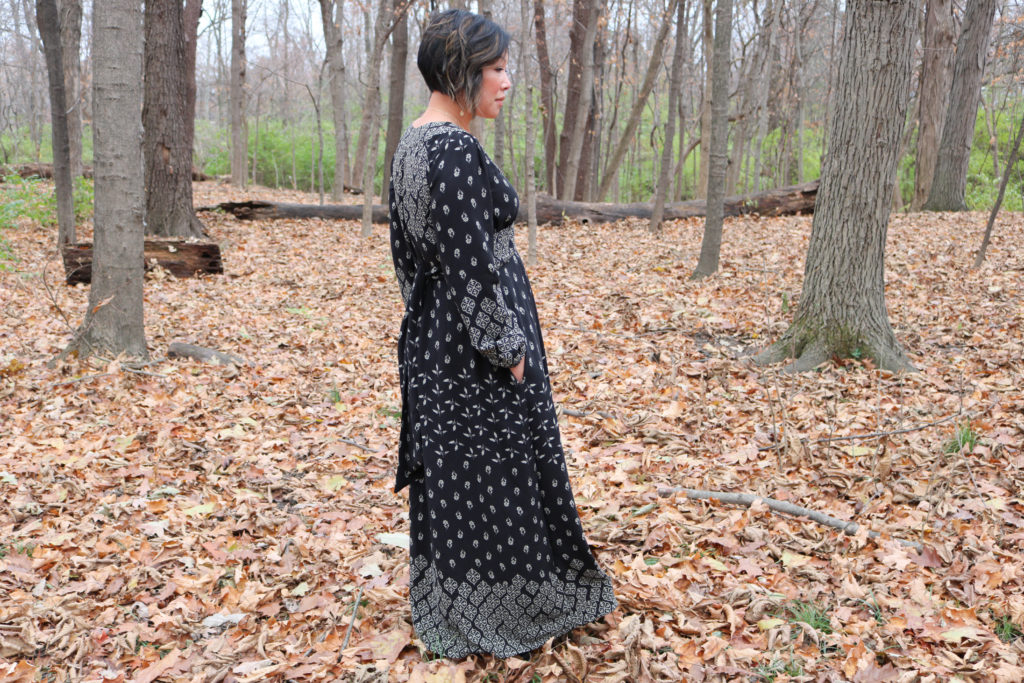
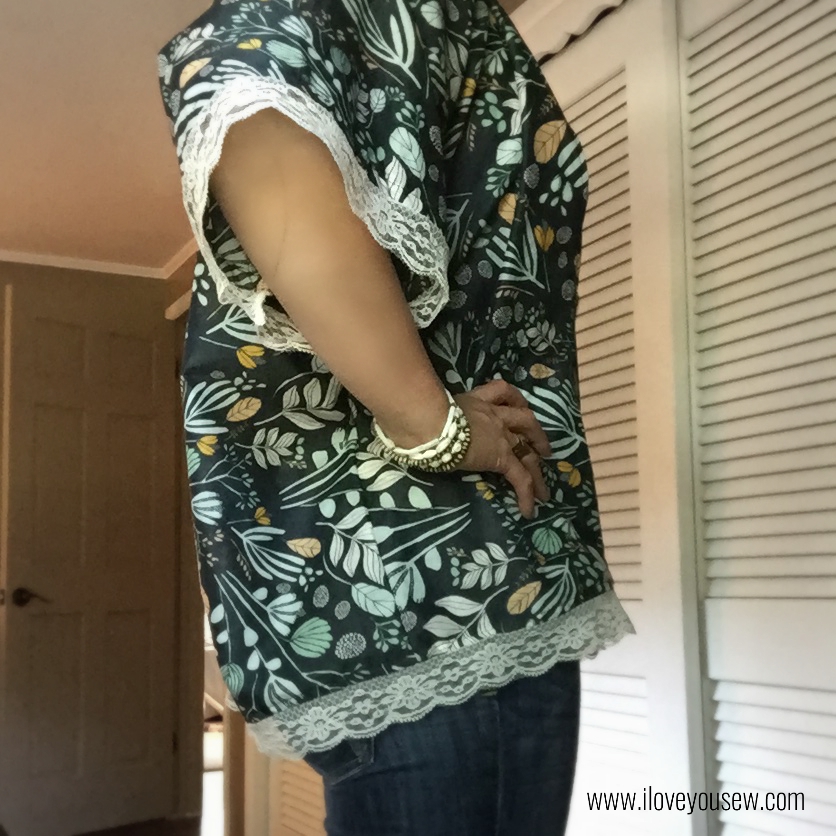
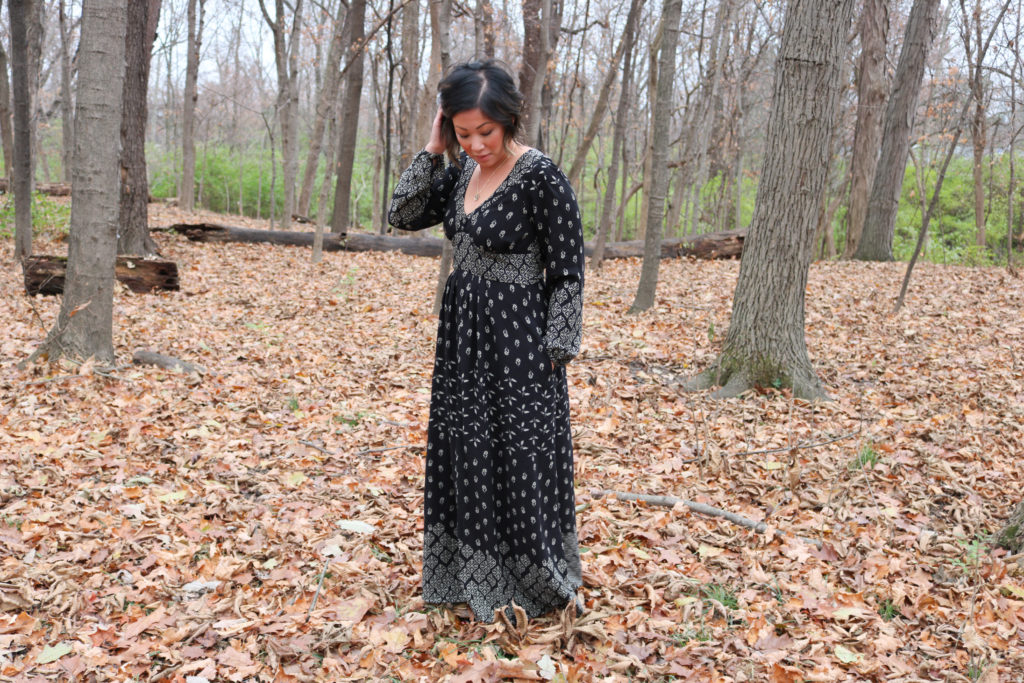
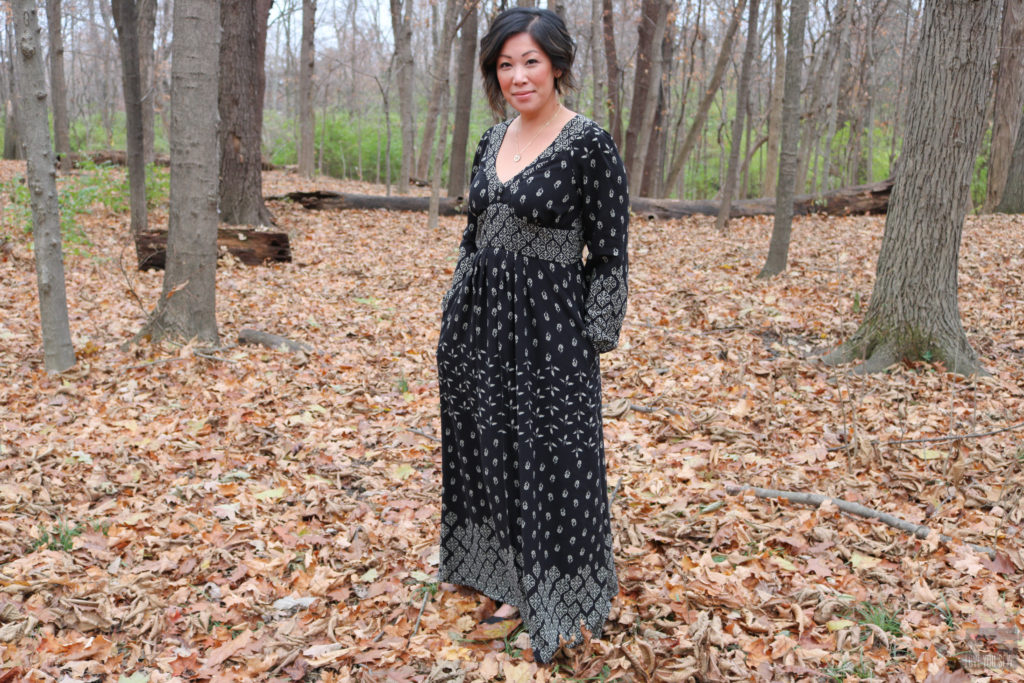
I really love this dress silhouette. It’s relaxed all over with a beautiful tie-back to show off the waist. This allows a nice shape without having me look like I’m drowning in fabric….especially, when I’m petite. The tie-back also allows for weight fluctuations, which is VERY much appreciated in a handmade wardrobe.
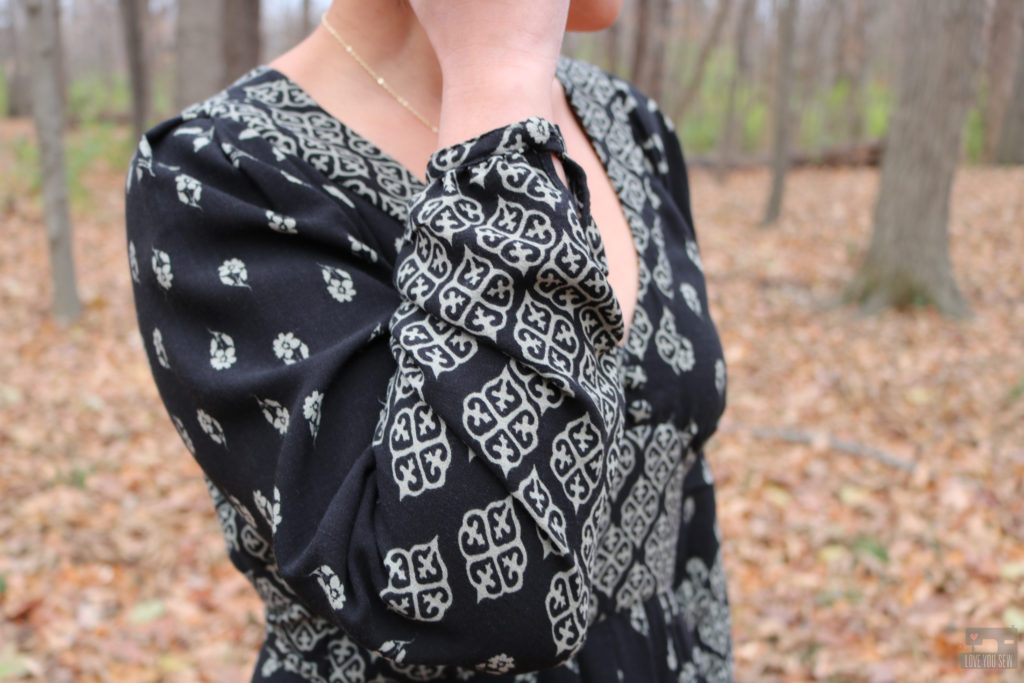
One of the features that drew me into this pattern were the peasant sleeves. I have heavy arms and usually have to make a bicep adjustment with woven patterns, so the ease in the sleeves looked pretty attractive. I ended up not having to make any adjustments to the sleeve pattern. The darts at the top of the shoulder allow full range of motion.
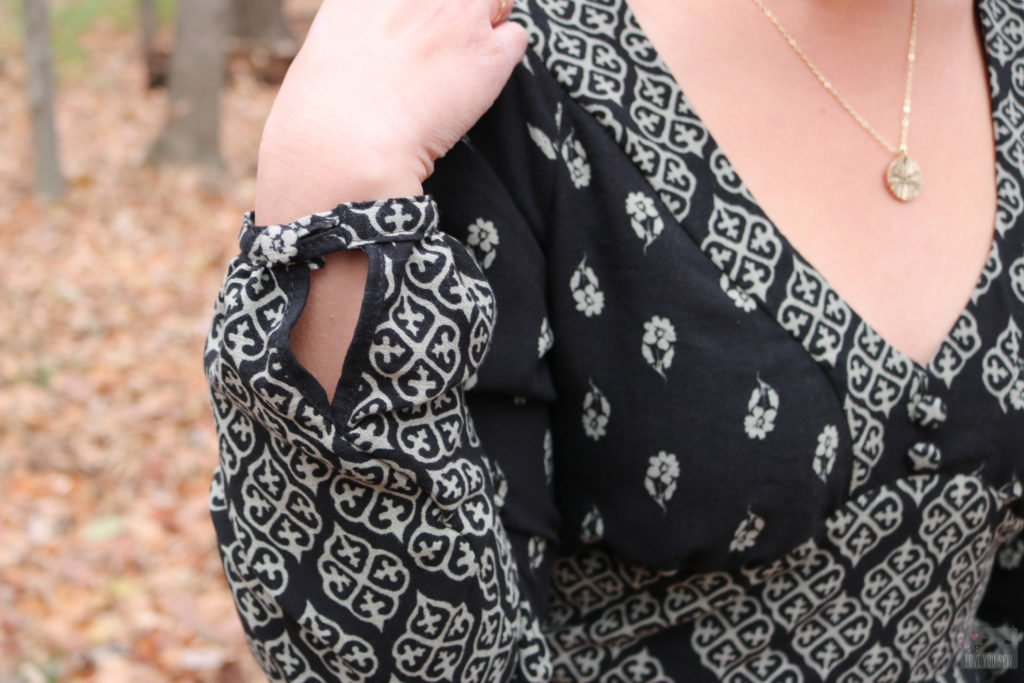
However, I still did hack into the sleeve to change out the elastic casings. I wanted a clean look and went for a slim button cuff with a 2″ long placket made with 1/4″ bias tape. Since the cuff is only 1/2″ wide, I didn’t want to make a buttonhole and opted for a loop with my fabric covered button. This a small detail, but I love being able to make my own custom buttons.
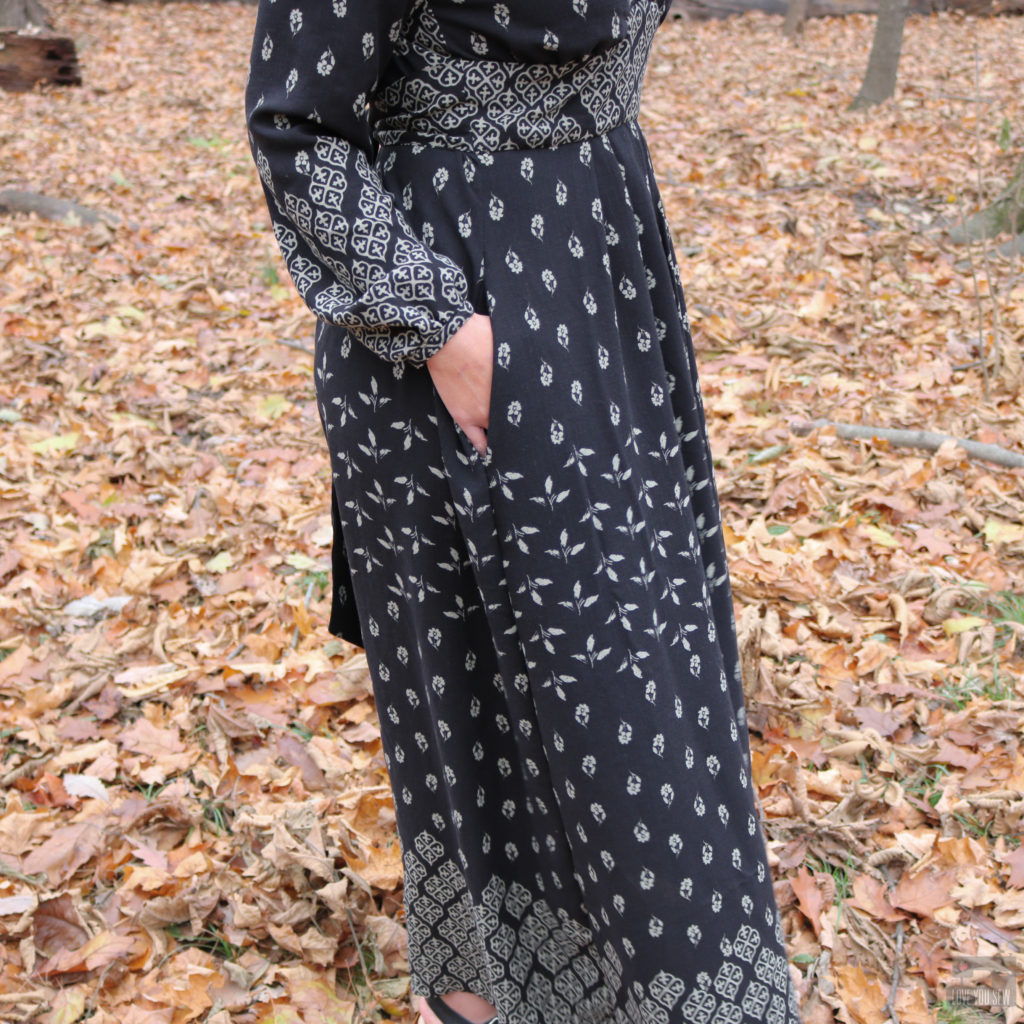
The other change I made to the Alix dress is the addition of pockets….because all dresses need pockets! Amirite? I used the in-seam pocket pattern from Christine Hayne’s Derby Dress (it’s my go-to pocket) and marked them about 4″ down from the top of the skirt. If you ever wonder if you should add pockets, do it! You won’t regret the extra work 🙂
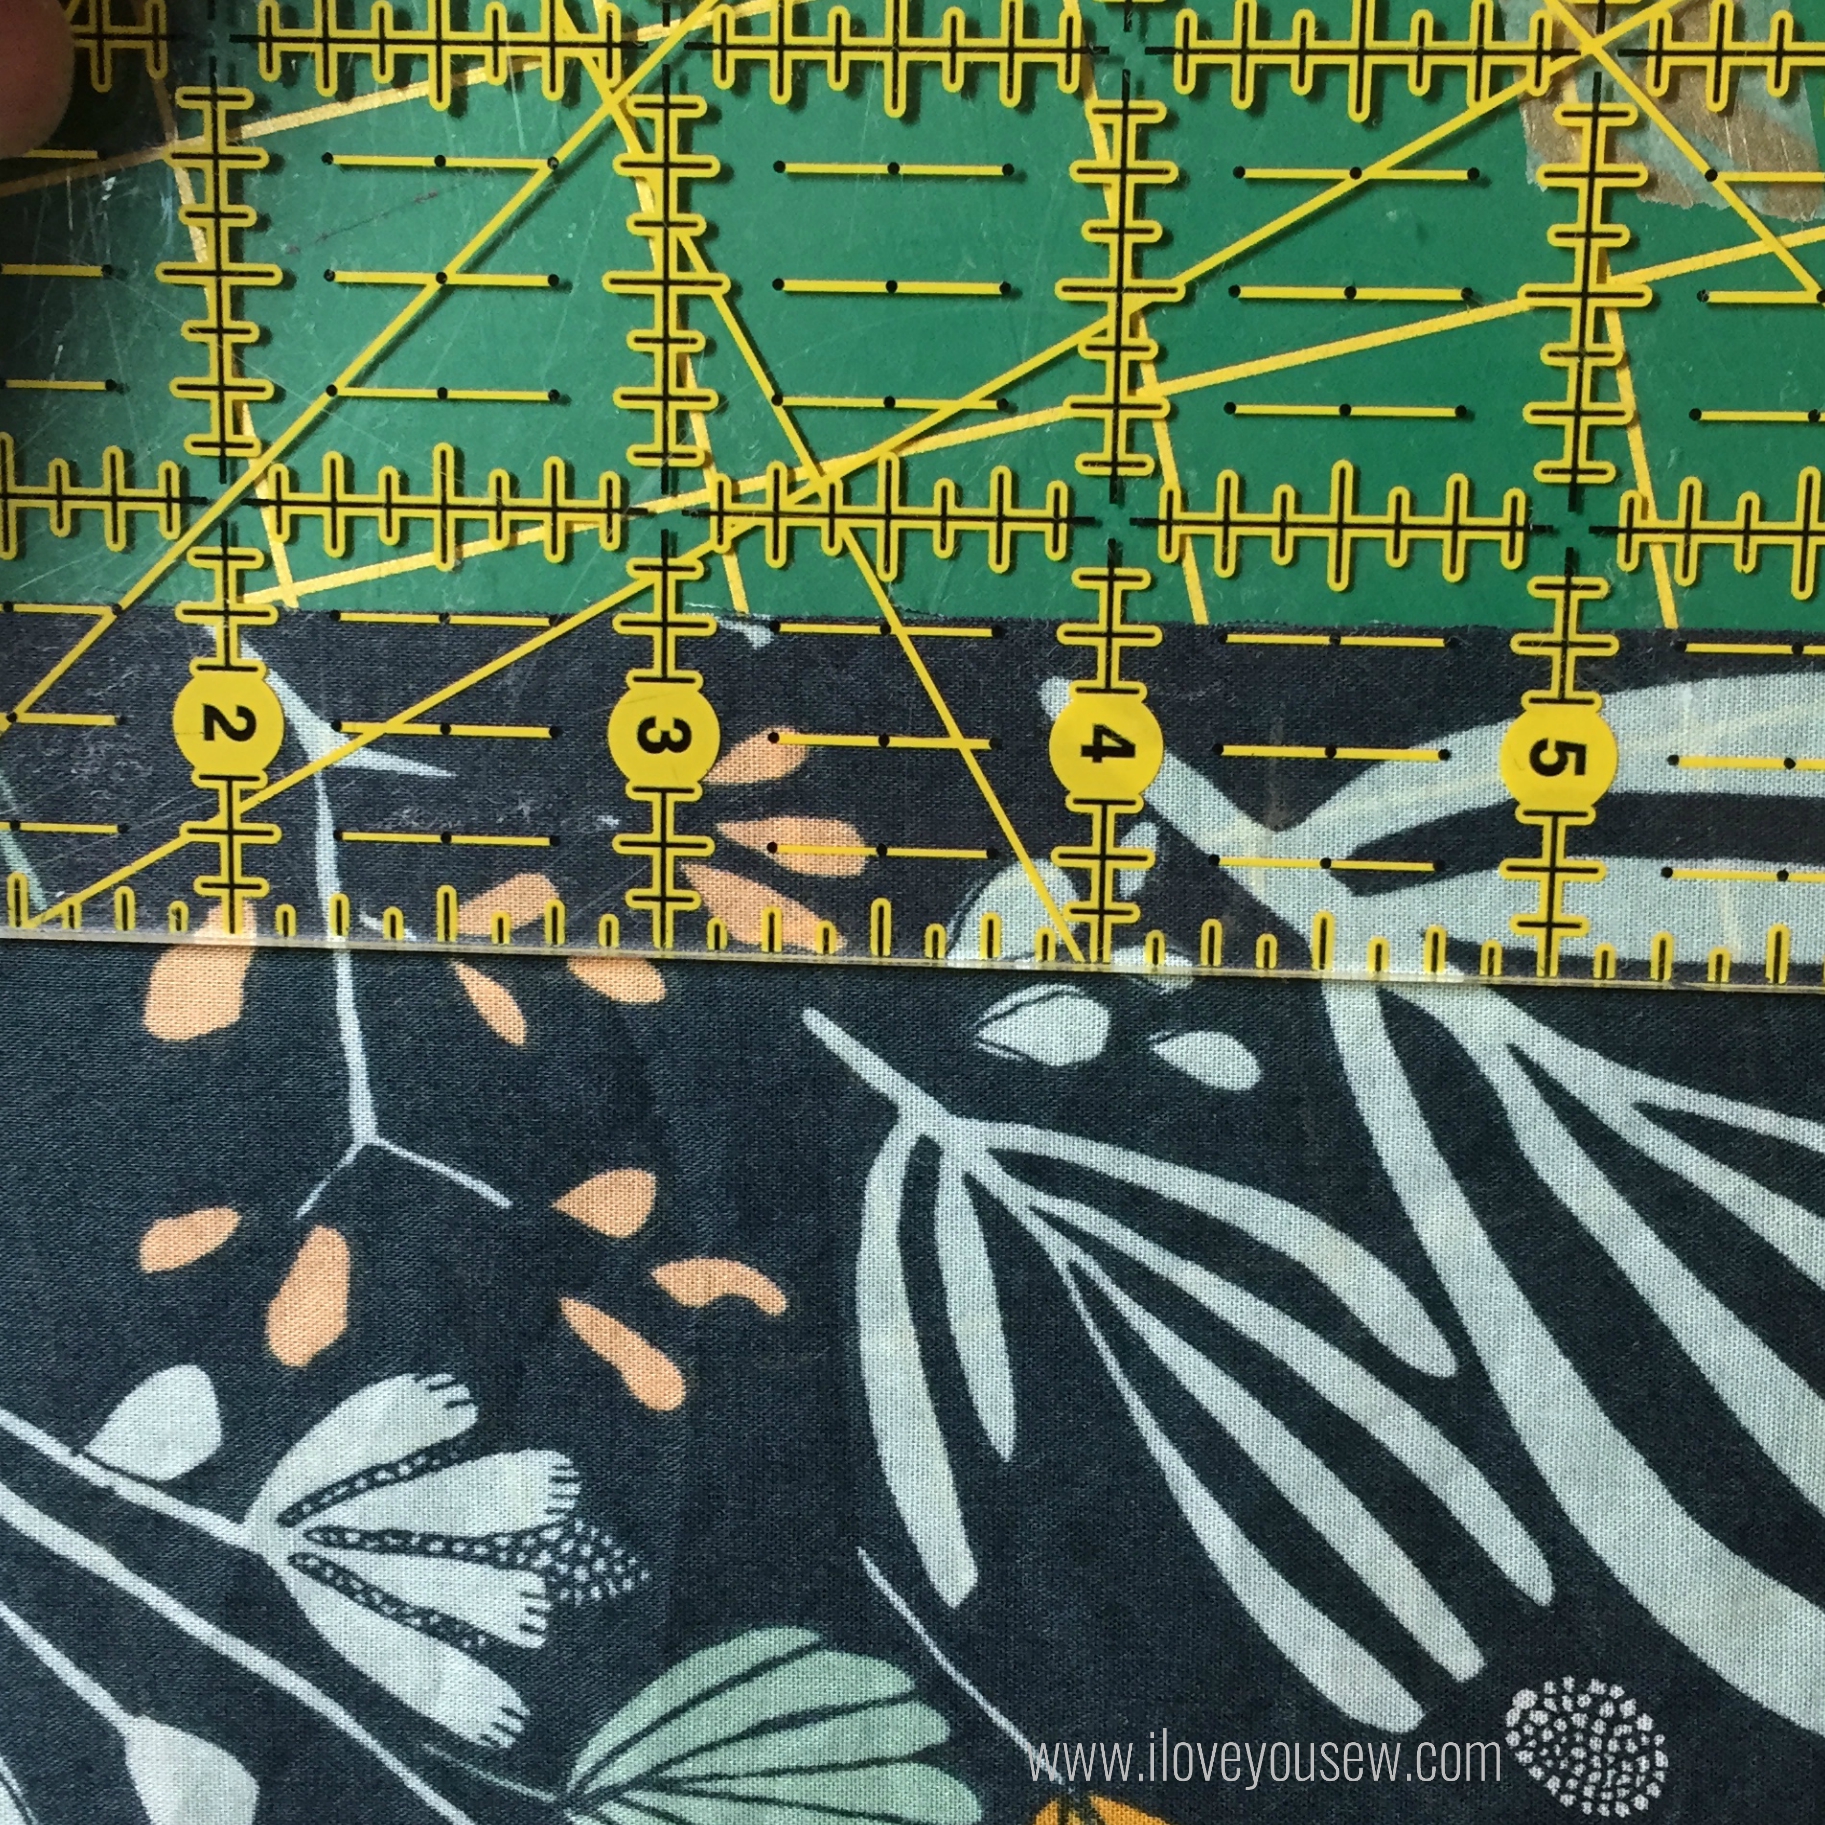
Since I was working with a border print, I was limited to the 56″ wof and had to cut off 5.5″ from the skirt just to fit the pattern piece onto the fabric. I was worried this would have to turn into an ankle or midi-length dress, but it was worth the sacrifice to show off the design. For once, I was thankful for being 5’3″ because the dress turned out to be just long enough! I created a 1 1/2″ hem and it just hits the top of my foot. Phew!
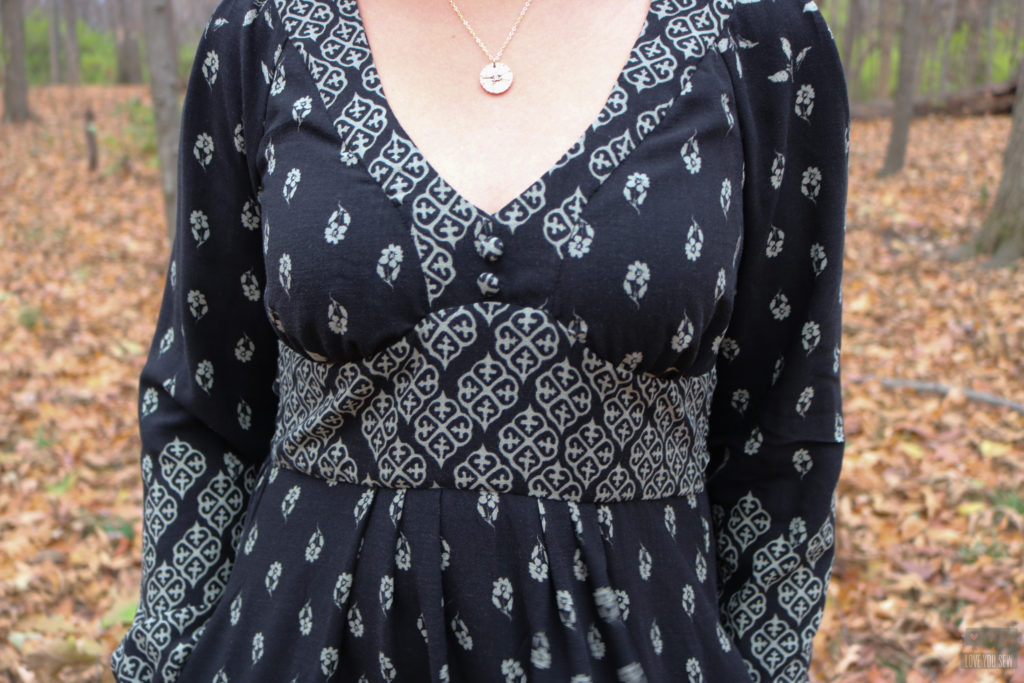
There were two choices to either make a dart or gather the fabric under the bust. I opted for the gathers and made sure to push them more toward the center of each breast. This helped eliminate any sagging fabric around the sides into the bodice.
It maybe hard to see (which is good,) but I also added two fabric covered buttons to the front yoke. My fussy cutting into the border left me with too much negative space right at the bottom of the V-neck. Unfortunately, I didn’t have much fabric left and couldn’t cut out another piece. So I made due with what I had and added the buttons to balance out the print a bit more. Do you think it works?

I’m in LOVE with this make and it’s the perfect relaxed statement dress. I can wear it with clogs (shown here,) flat booties and then sandals in the spring. I’m thinking this may come with me to Thanksgiving….
Project Summary:
- Fabric: Telio Kahlo Rayon Slub #39801 (You can find it at Stone Mountain & Daughters Fabric here or see similar prints on Fabric.com here.)
- Interfacing: Pro-Sheer Elegance Light (Black)
- Pattern: Alix Dress – By Hand London
- Thread: Gutermann Mara 100
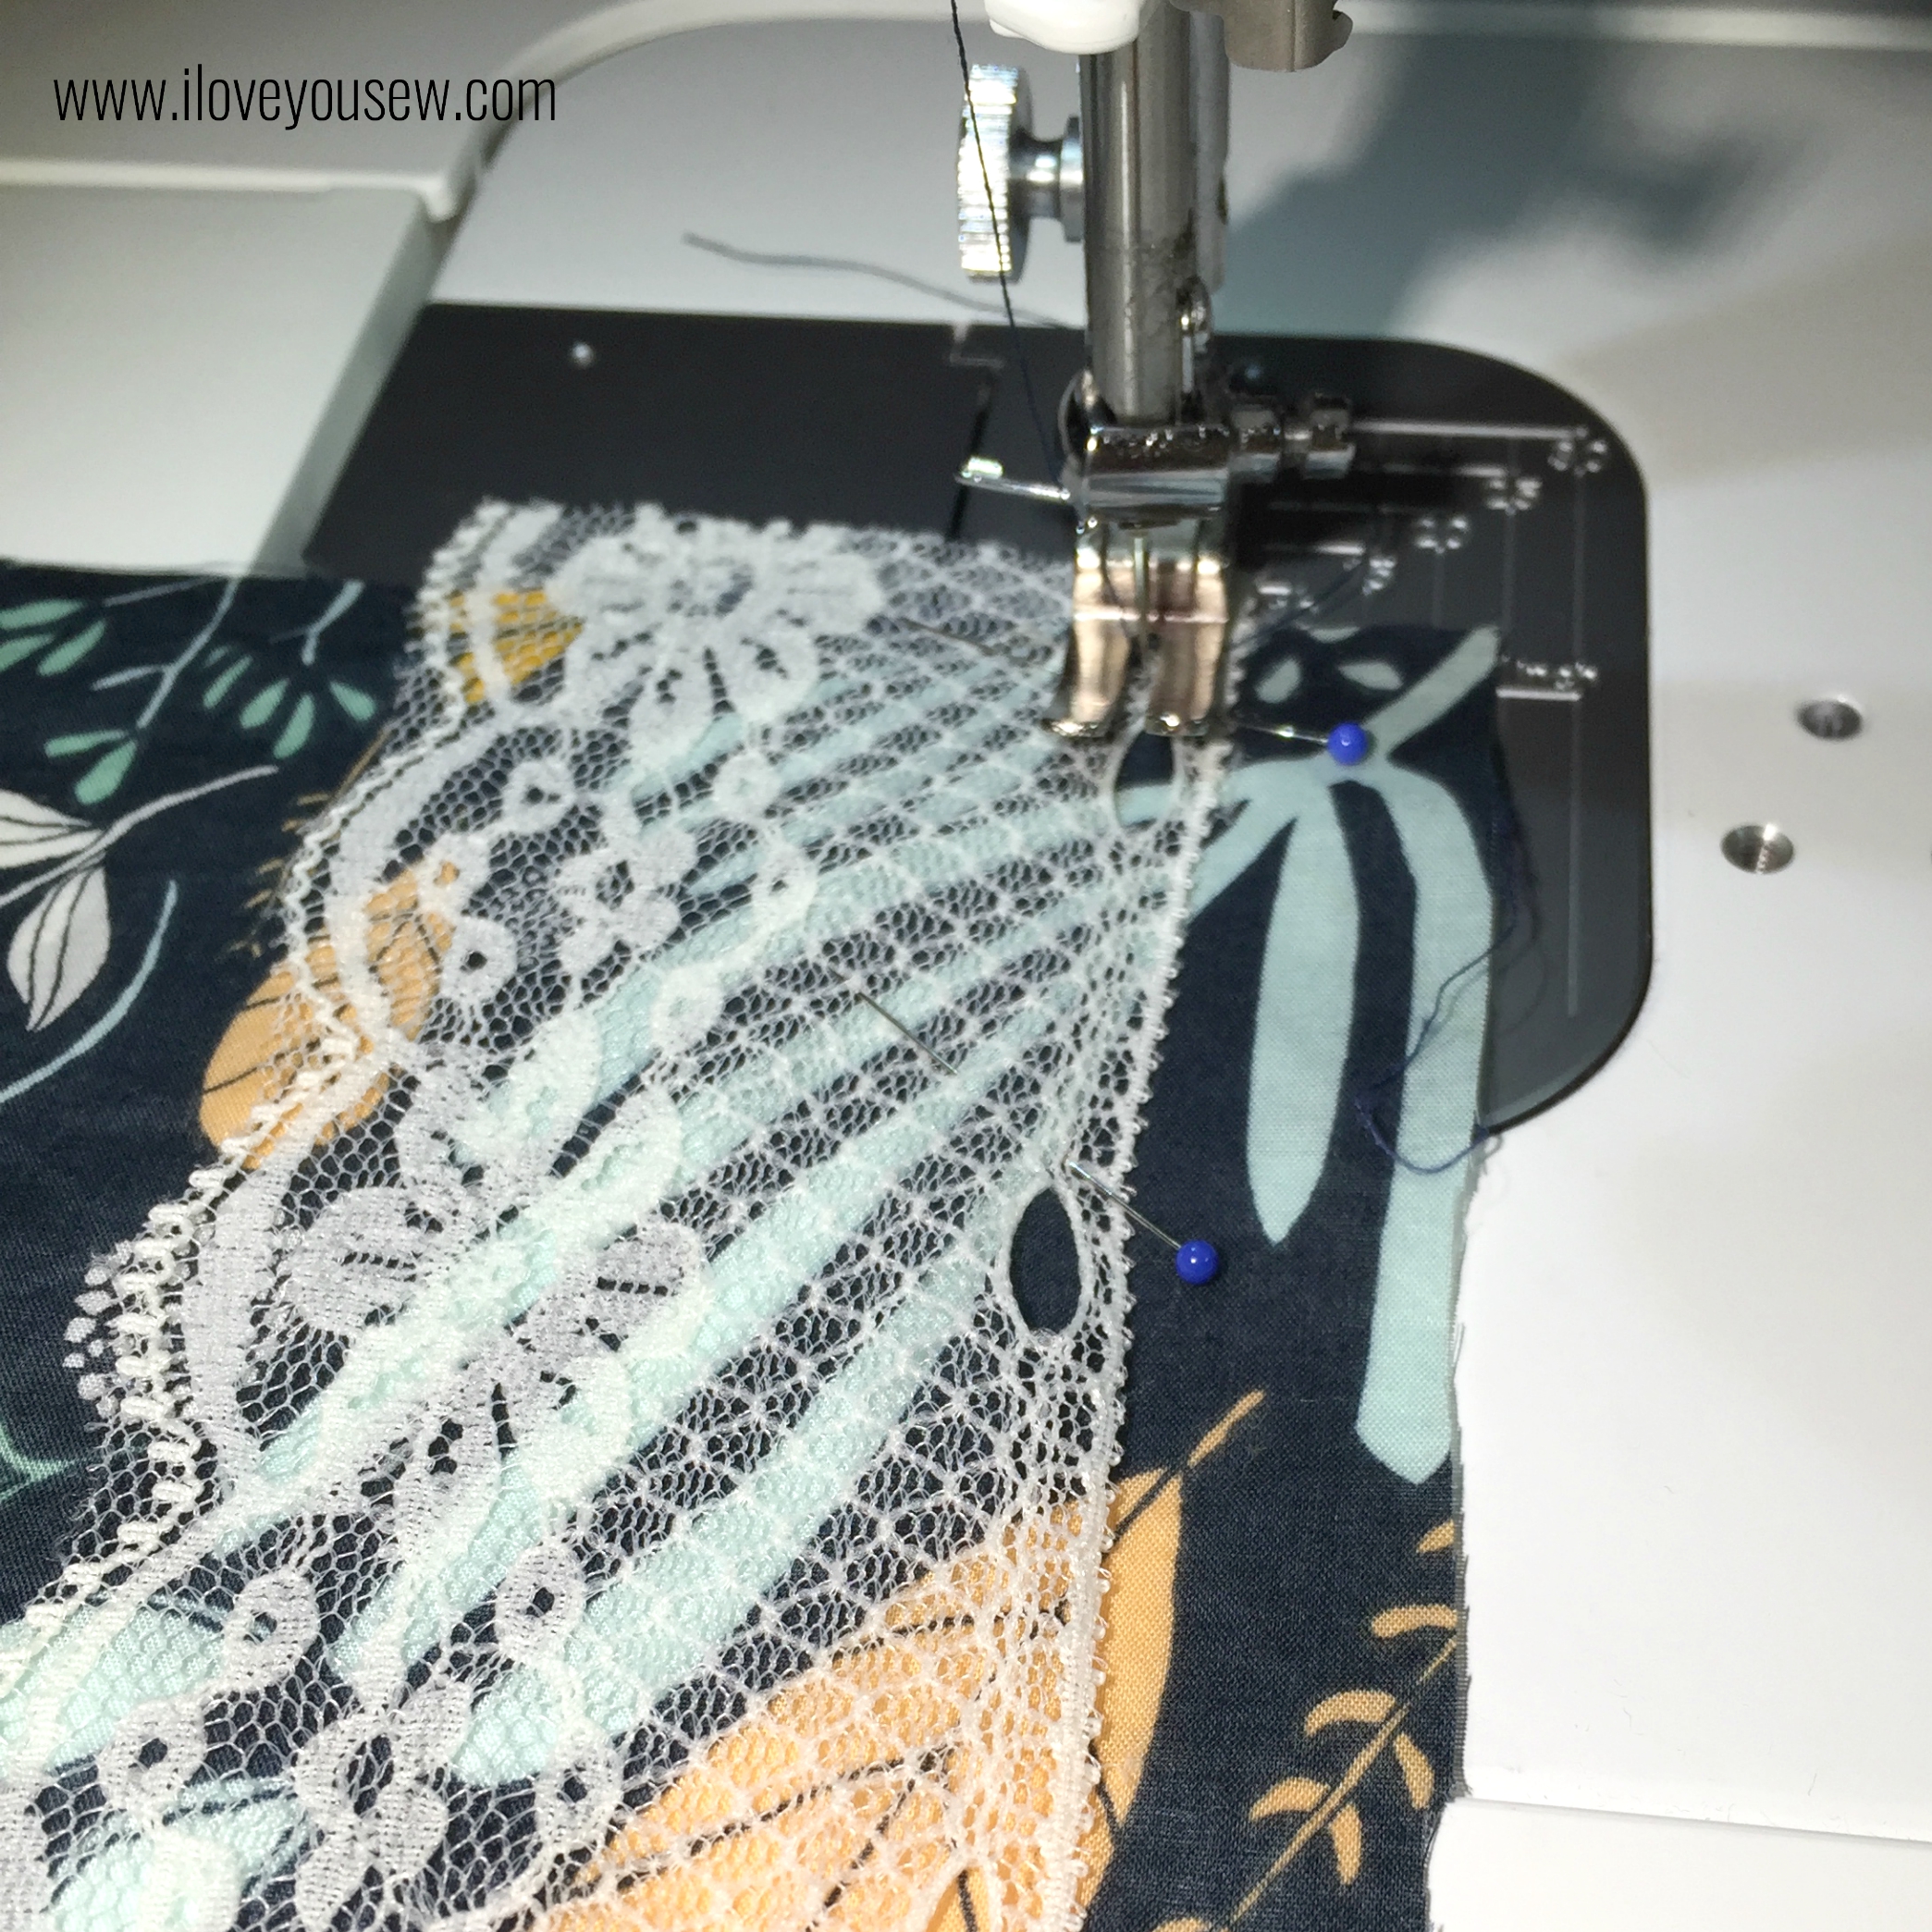
- Machine: Juki 2010Q with 80/12 Organ Needle
Happy Sewing Friends!
Cristy
Fabric was provided by Télio Fashion Fabrics for this blog post. Pattern was purchased by myself and as always, all opinions are my own. There maybe affiliate links in the post.