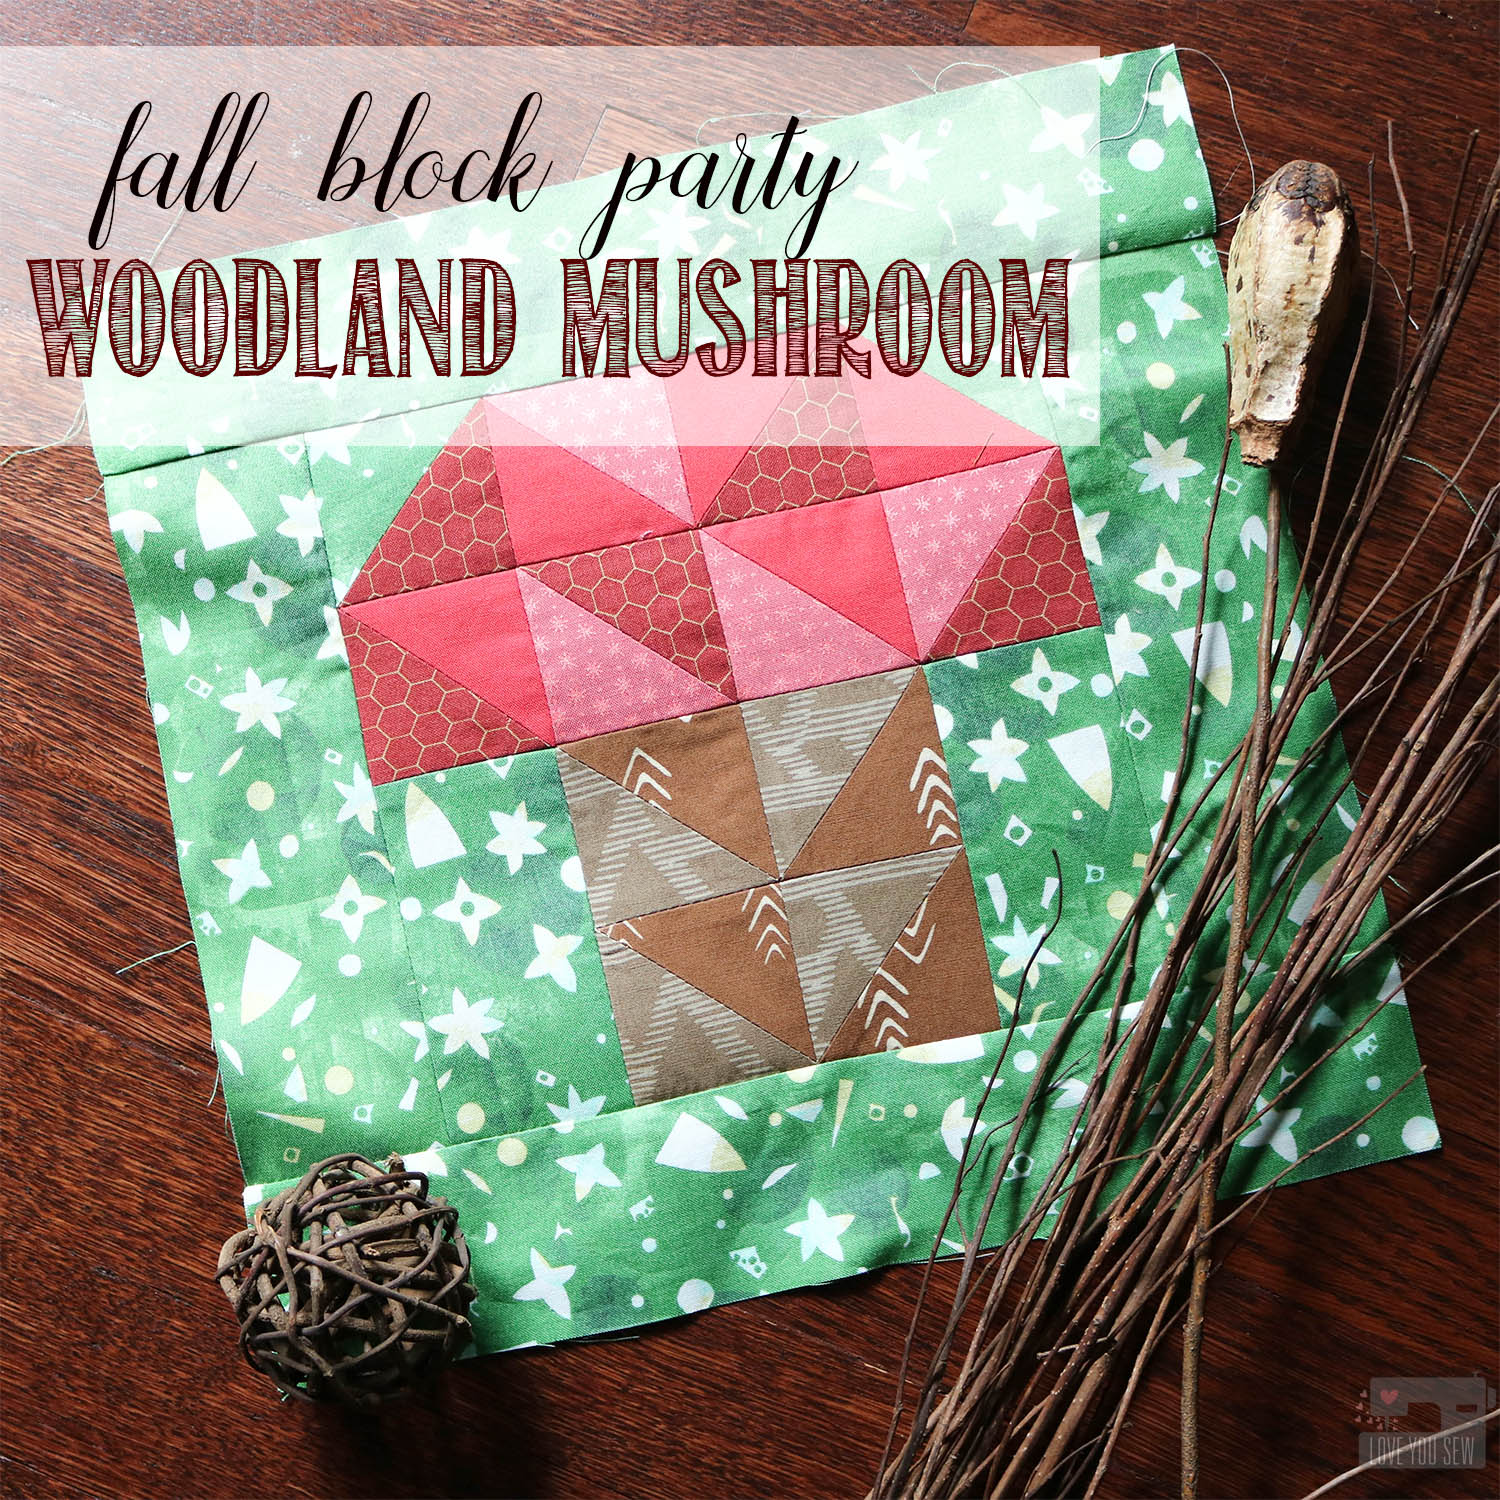
It’s Week #2 of the 9-week Fabric.com Fall Block Party and I’m ready to take you into the deep woods… I just love this season with the air getting crisp, the foliage changing colors, and the weather is cool enough for a good long hike. It’s so much fun to explore the wilderness, especially with my young boys. We find so many little critters, unique leaves, and lots of different plant-life. Our own discoveries made me think of the quintessential Woodland Mushroom.
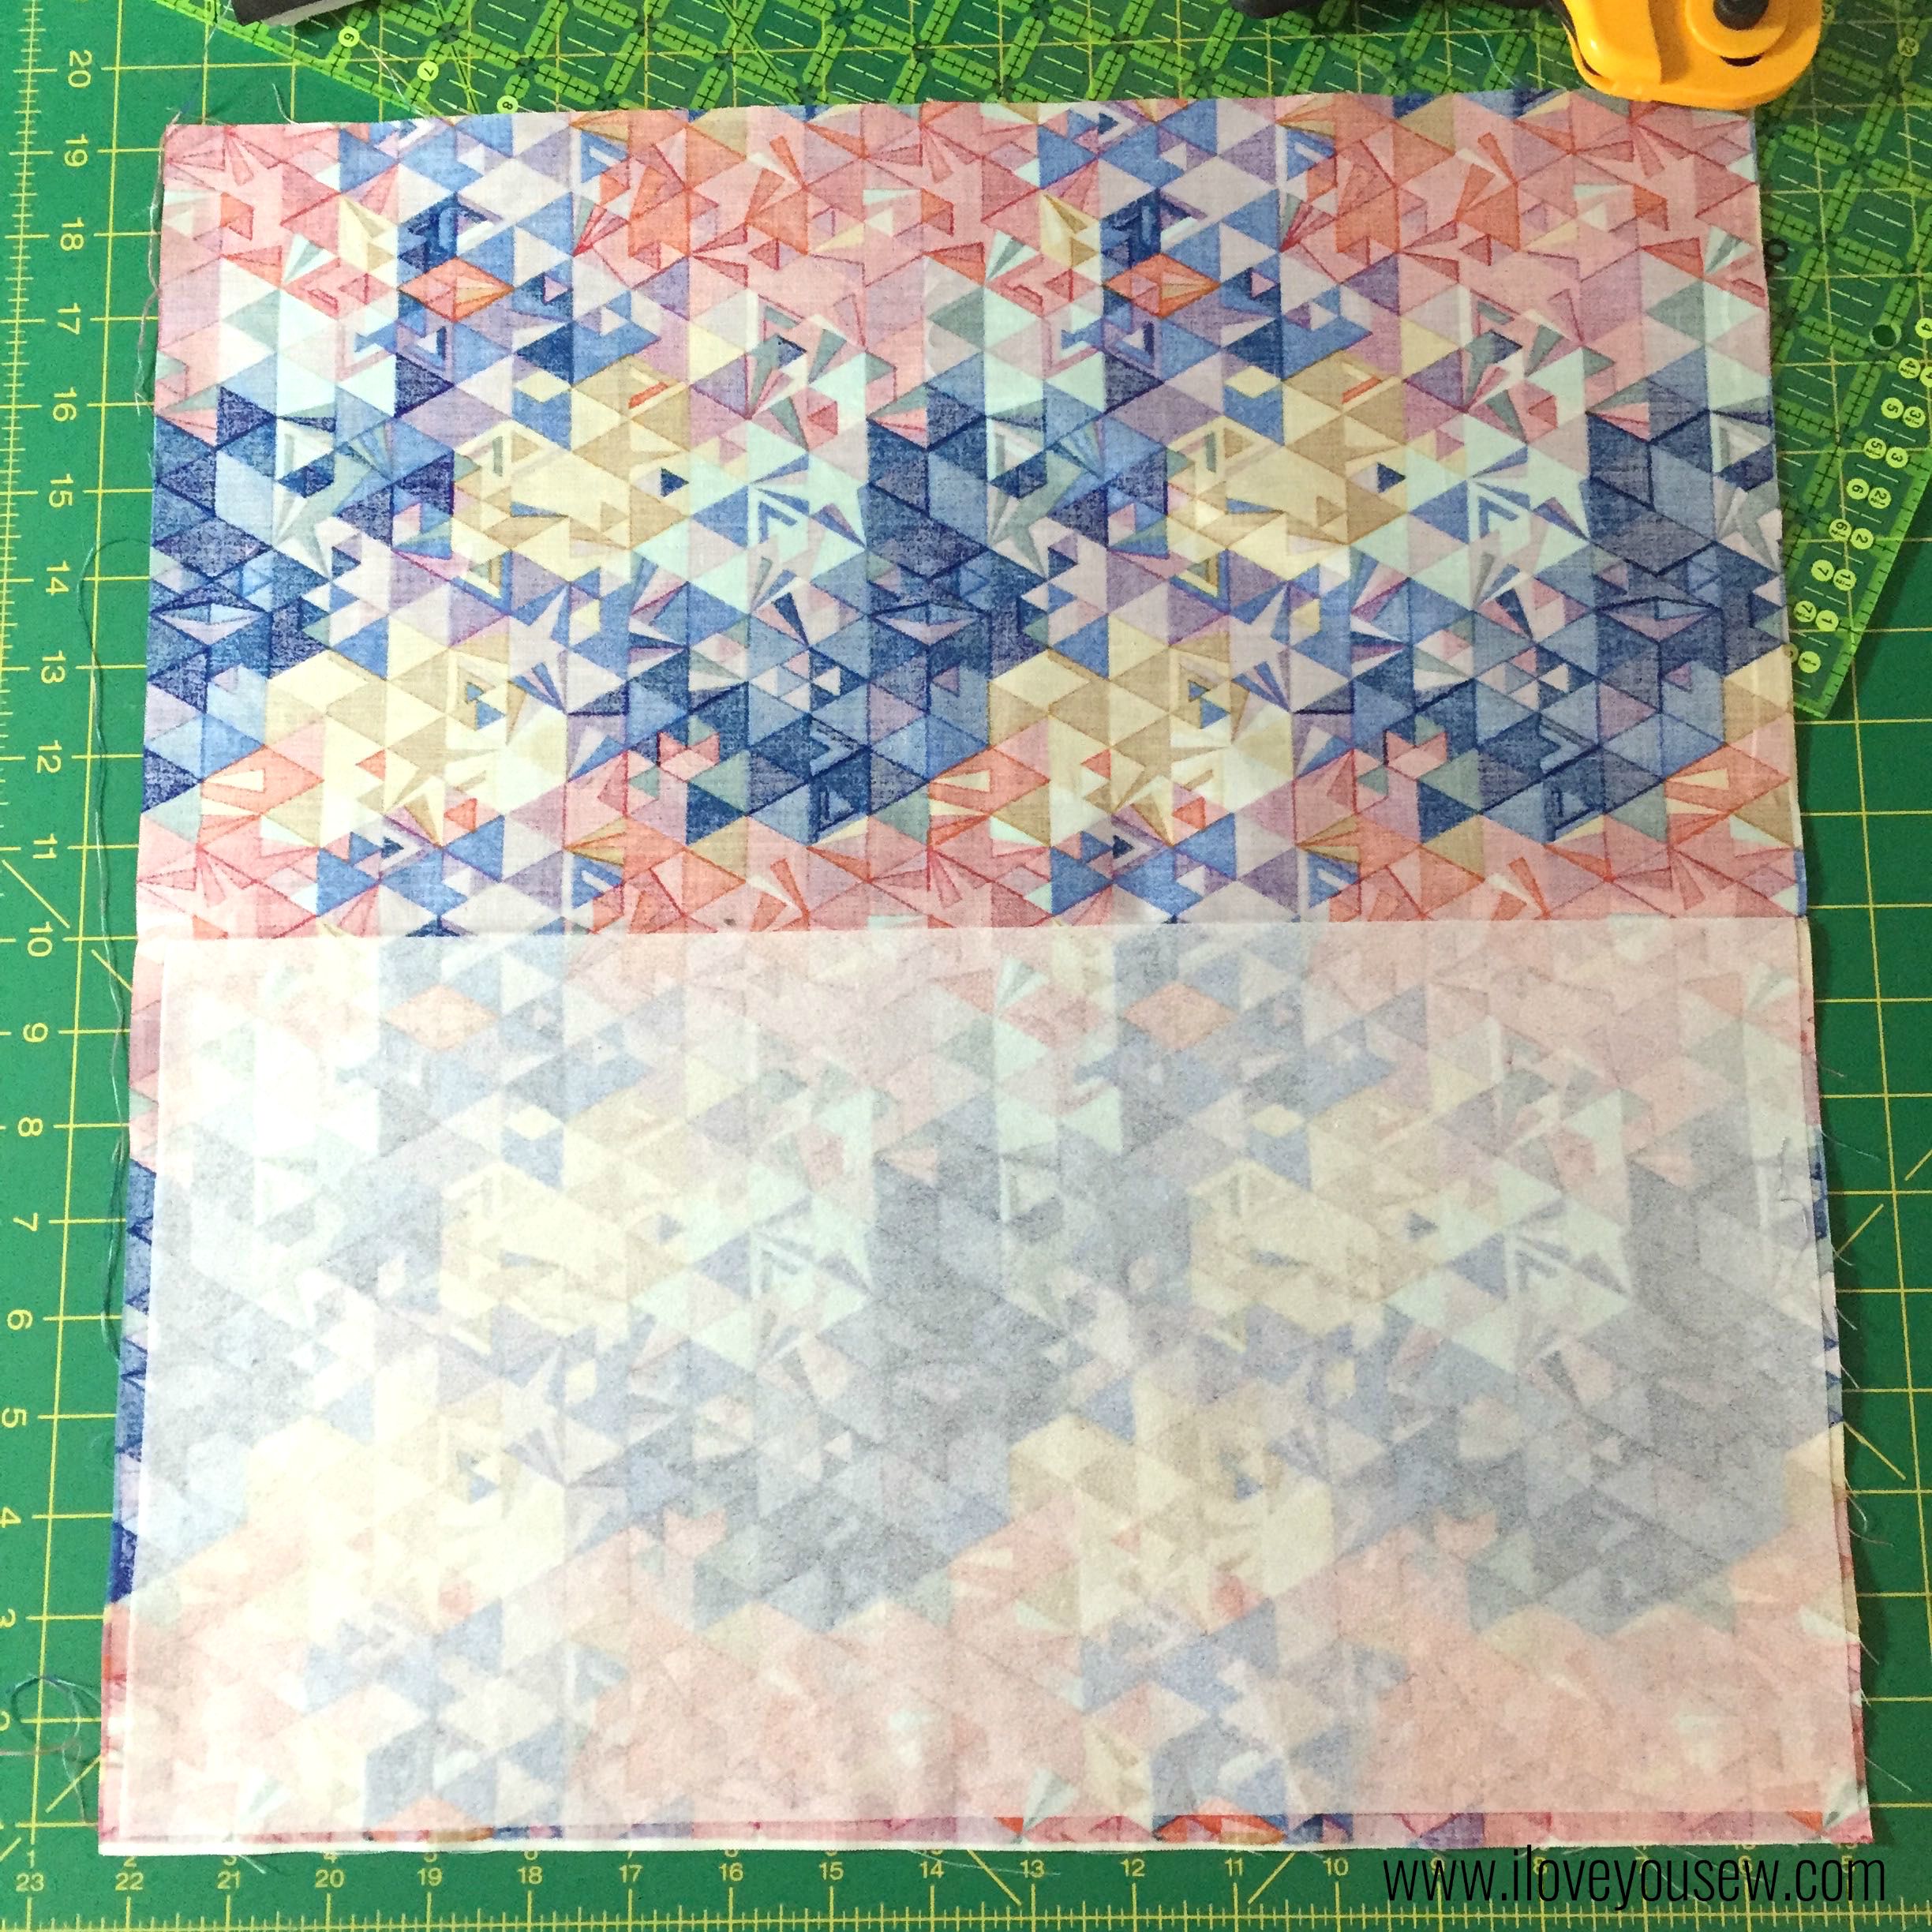
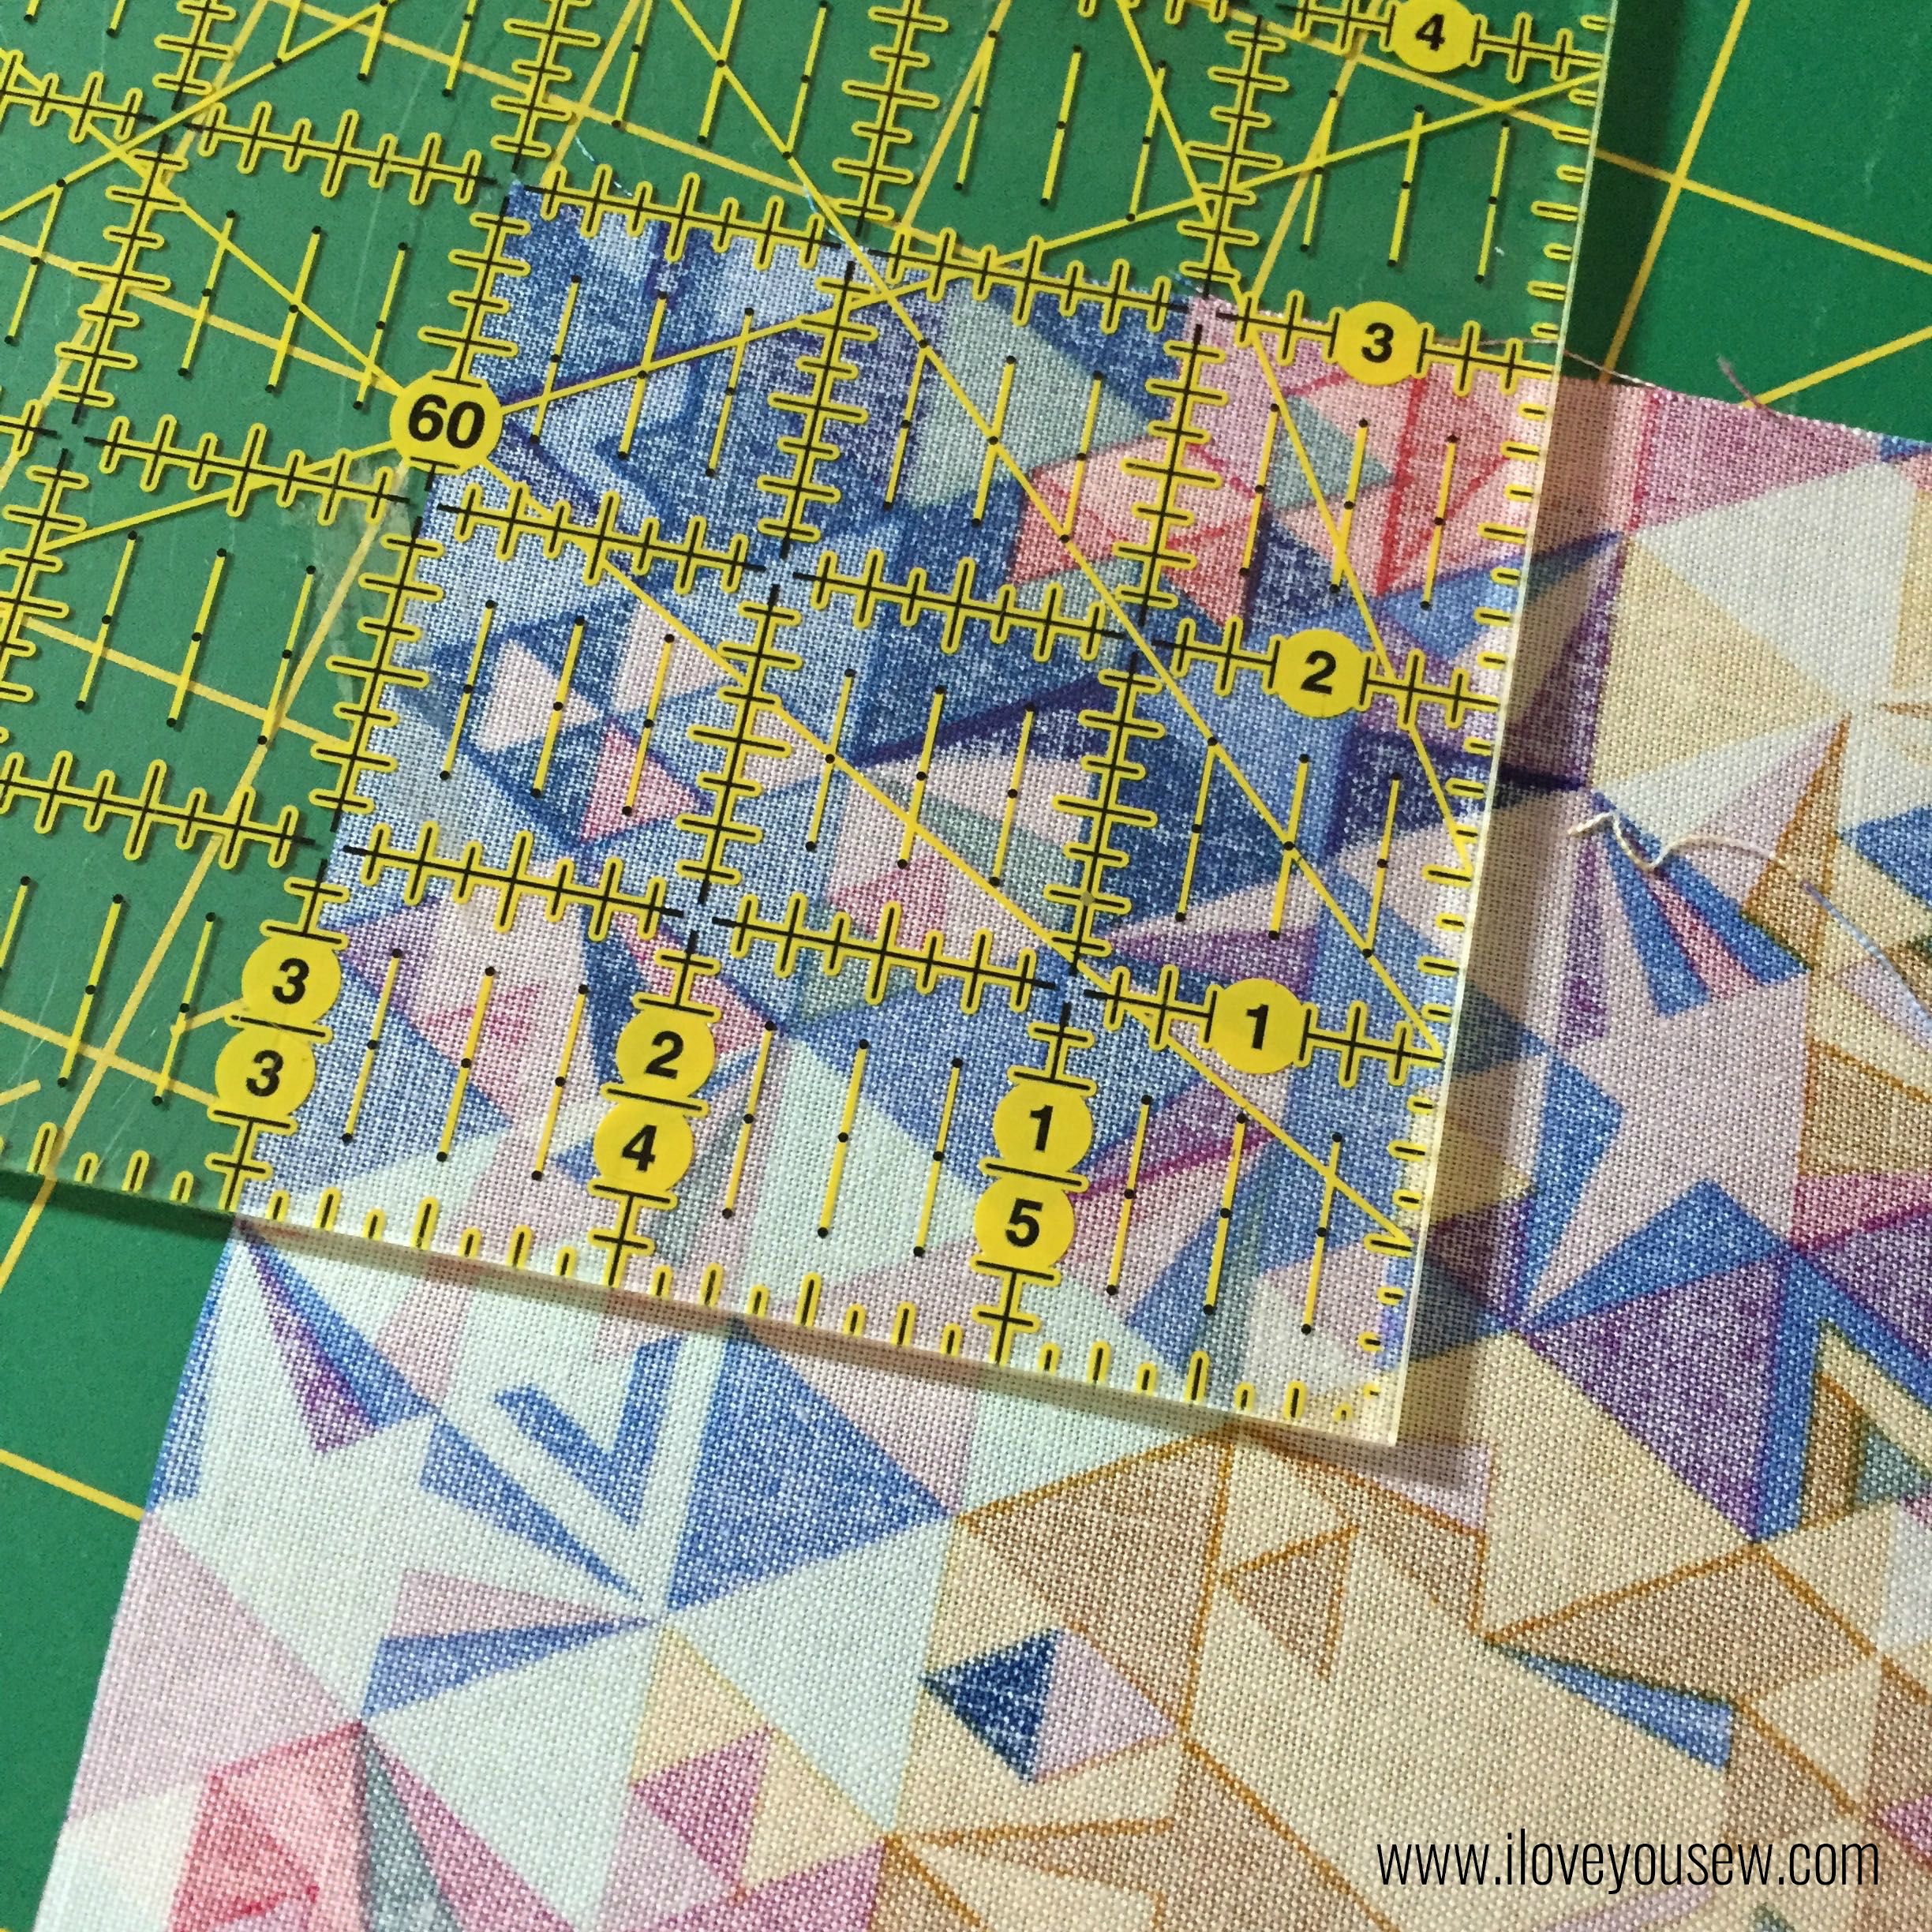
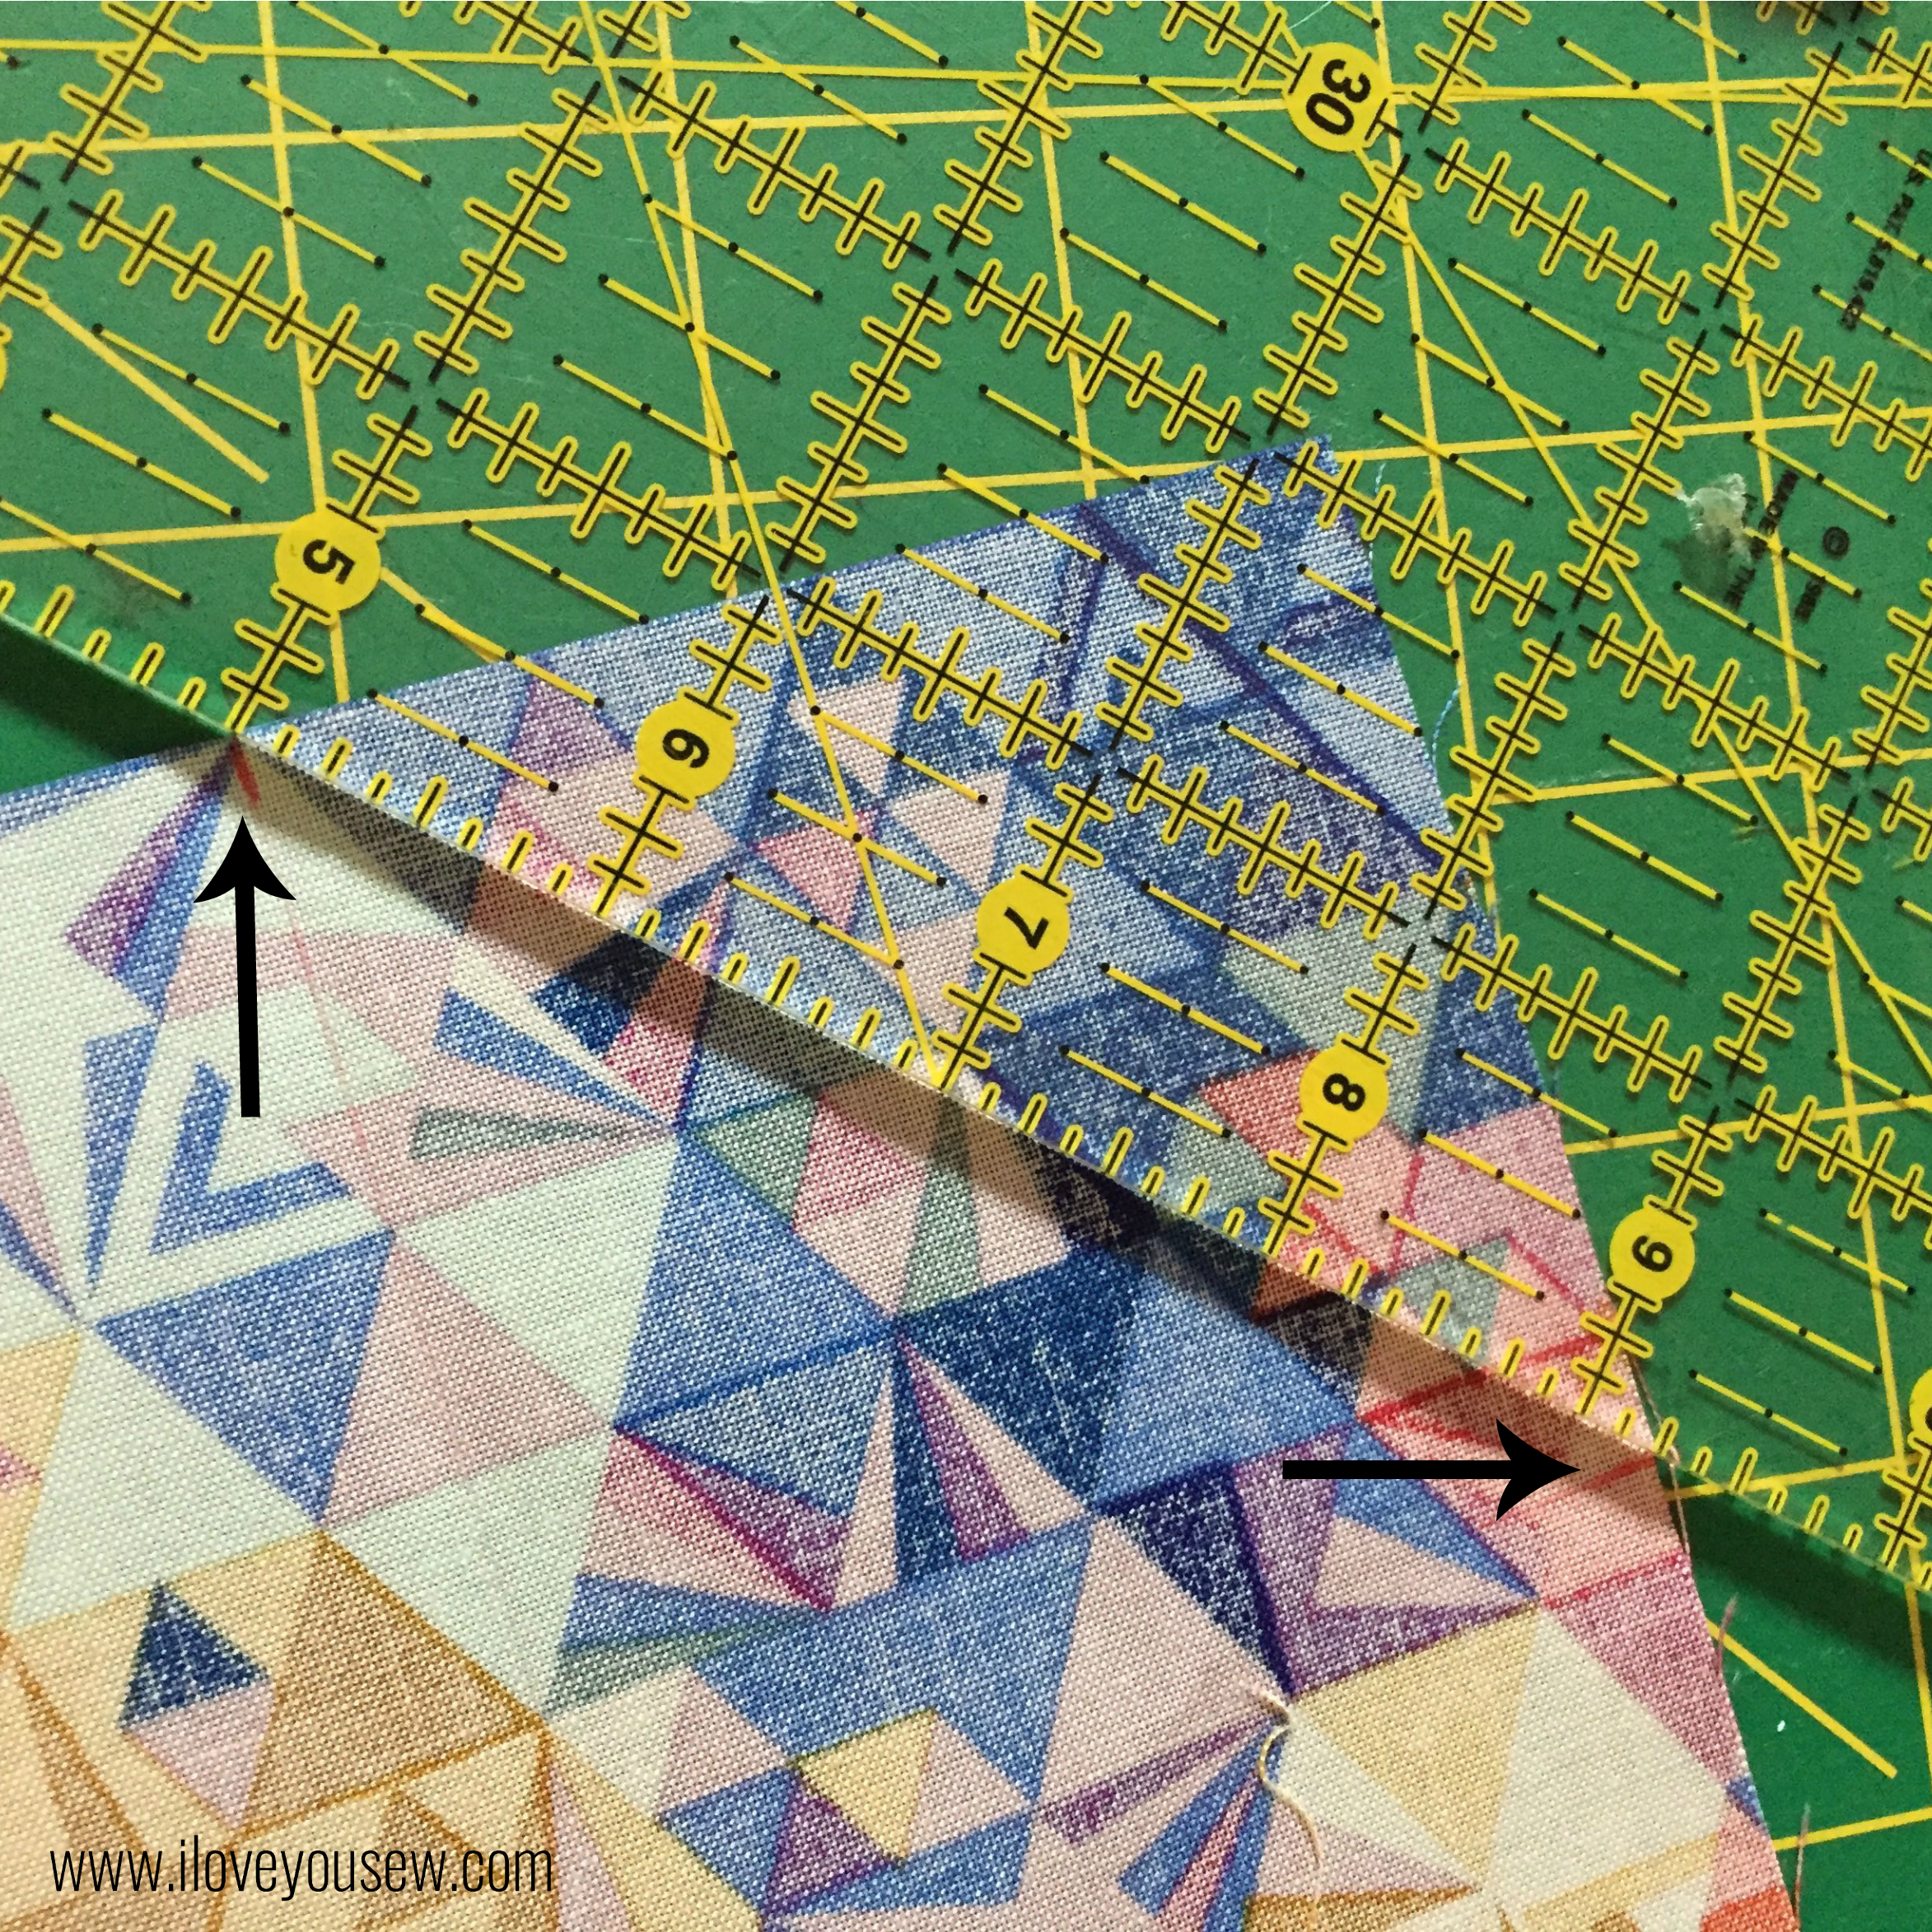
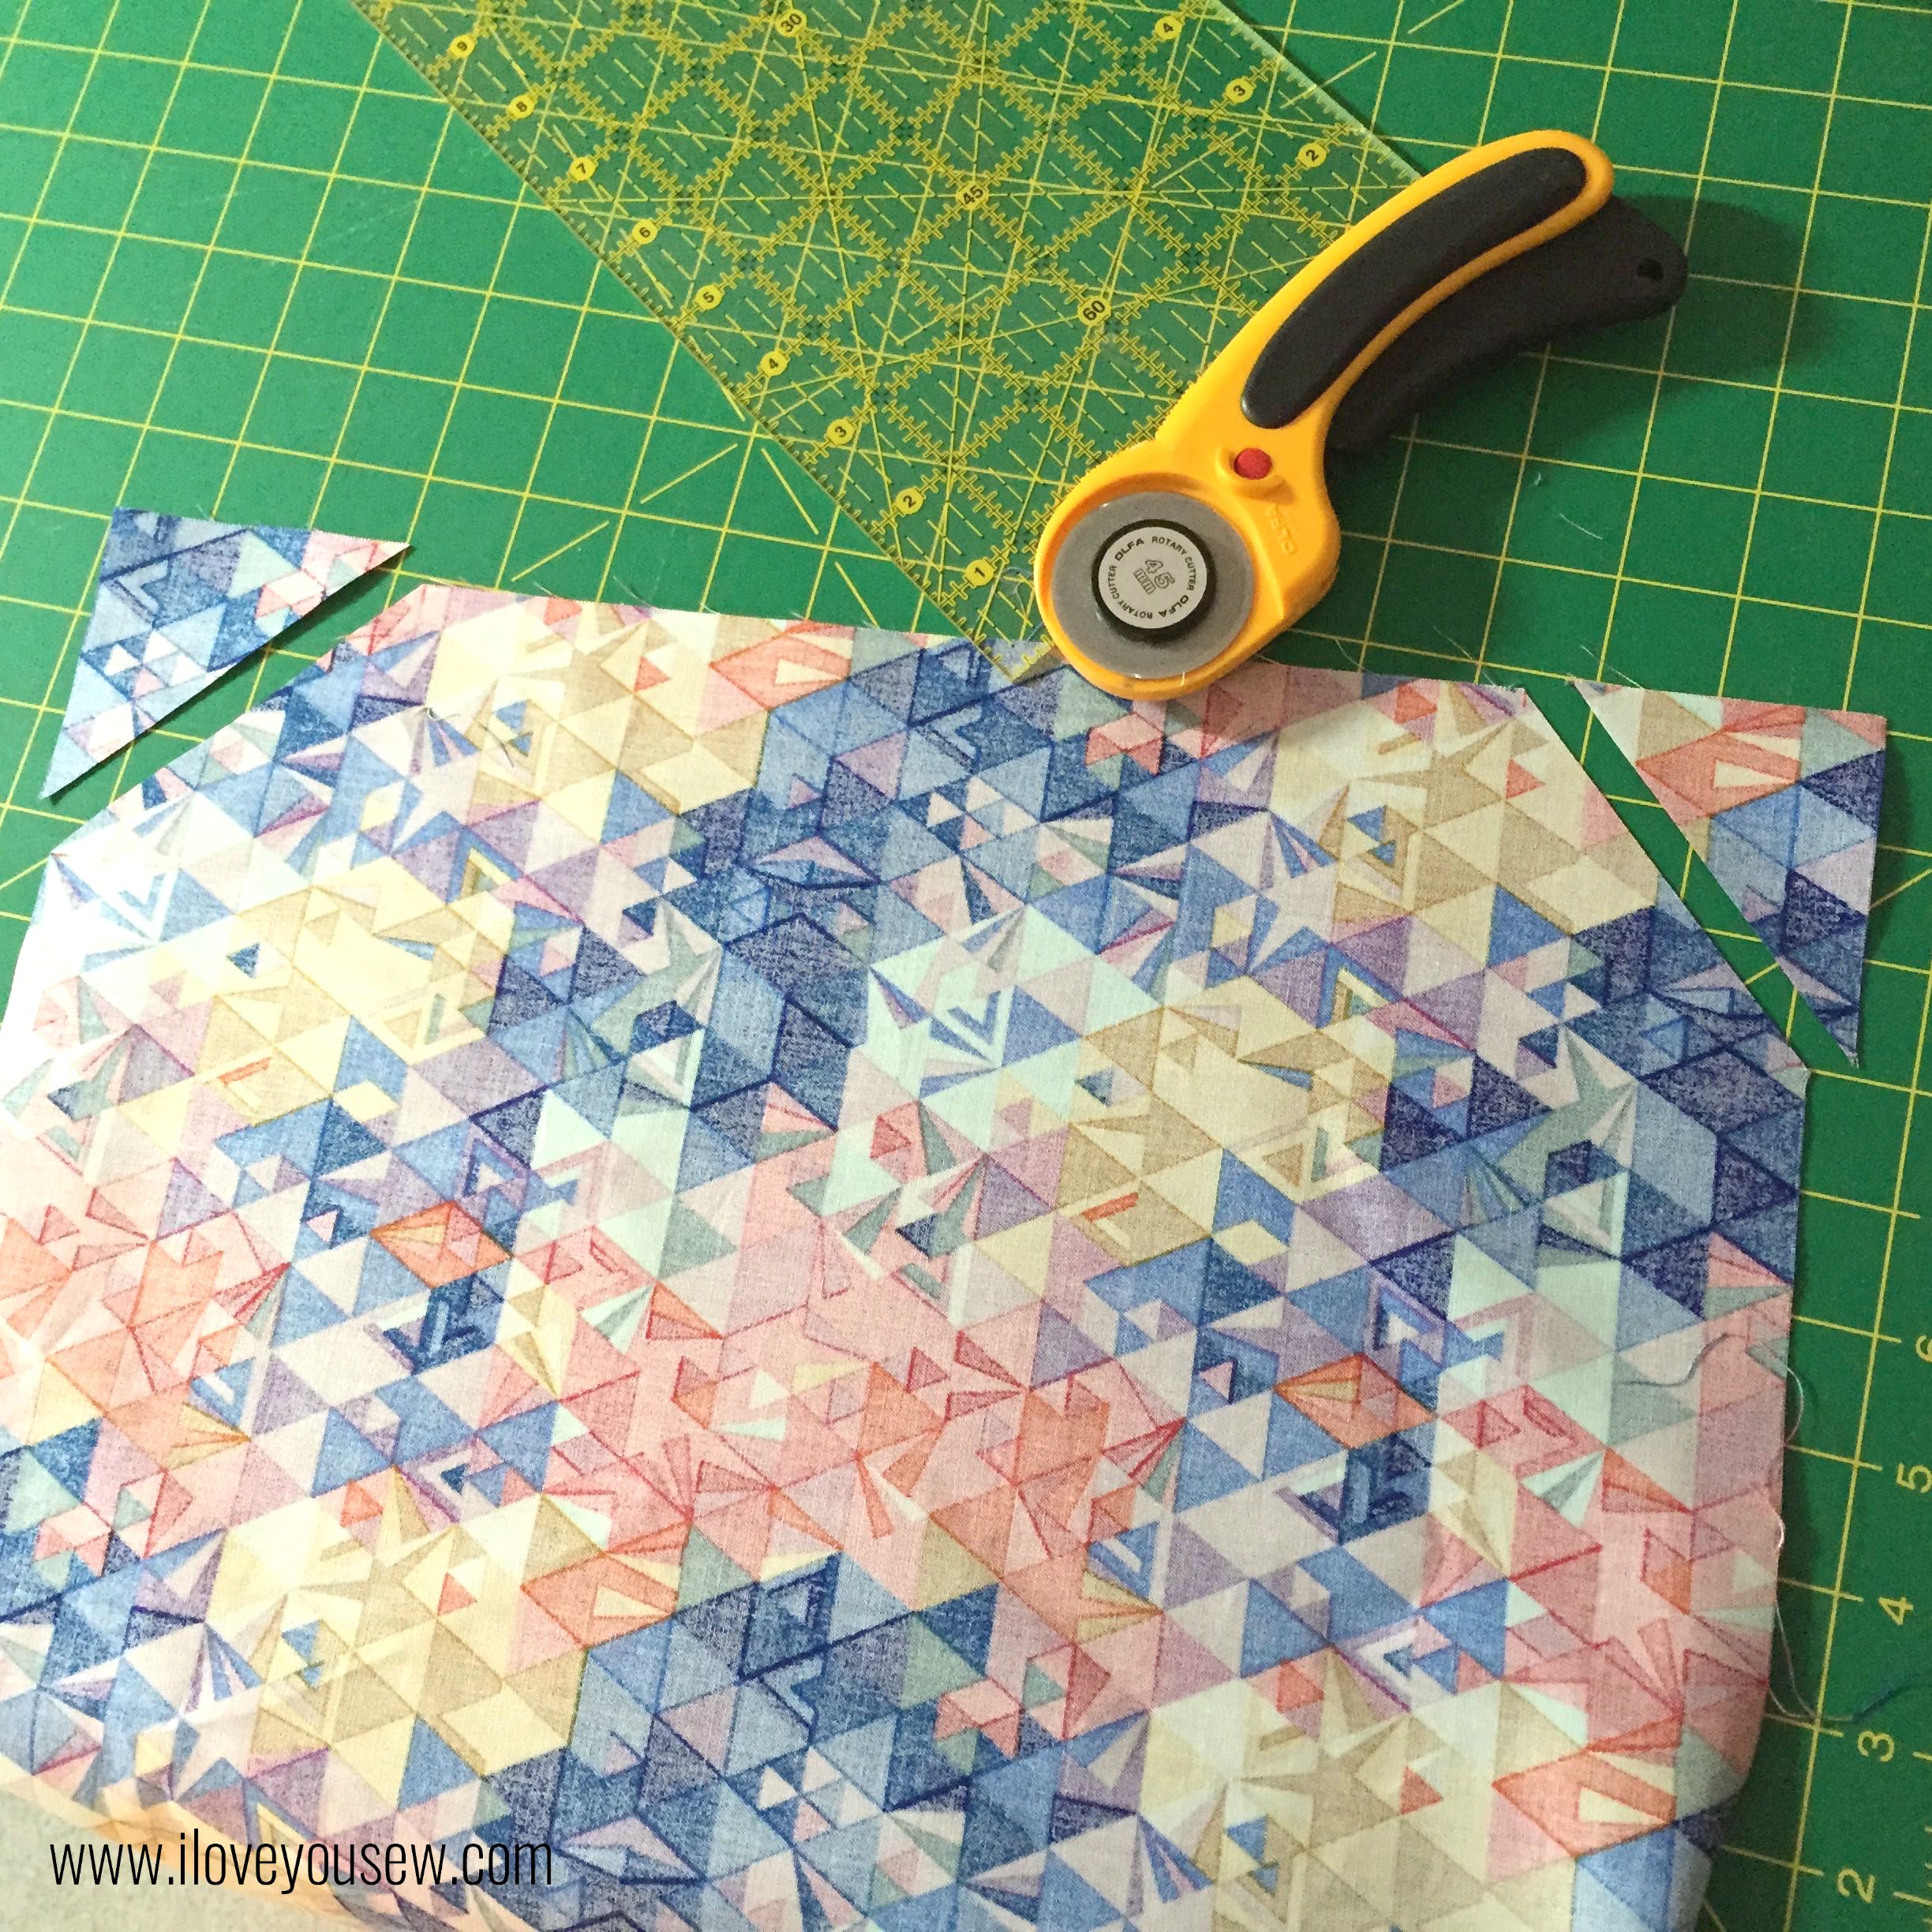
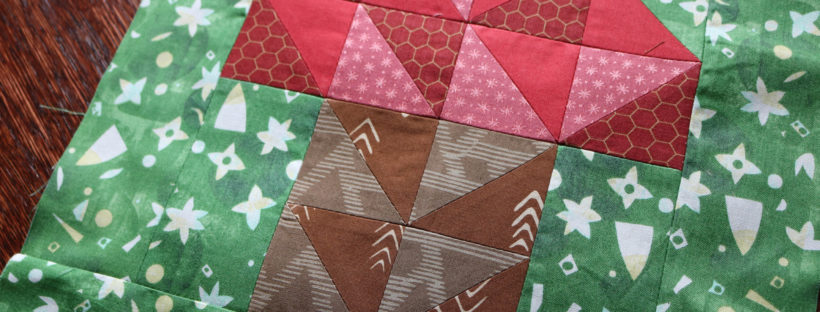
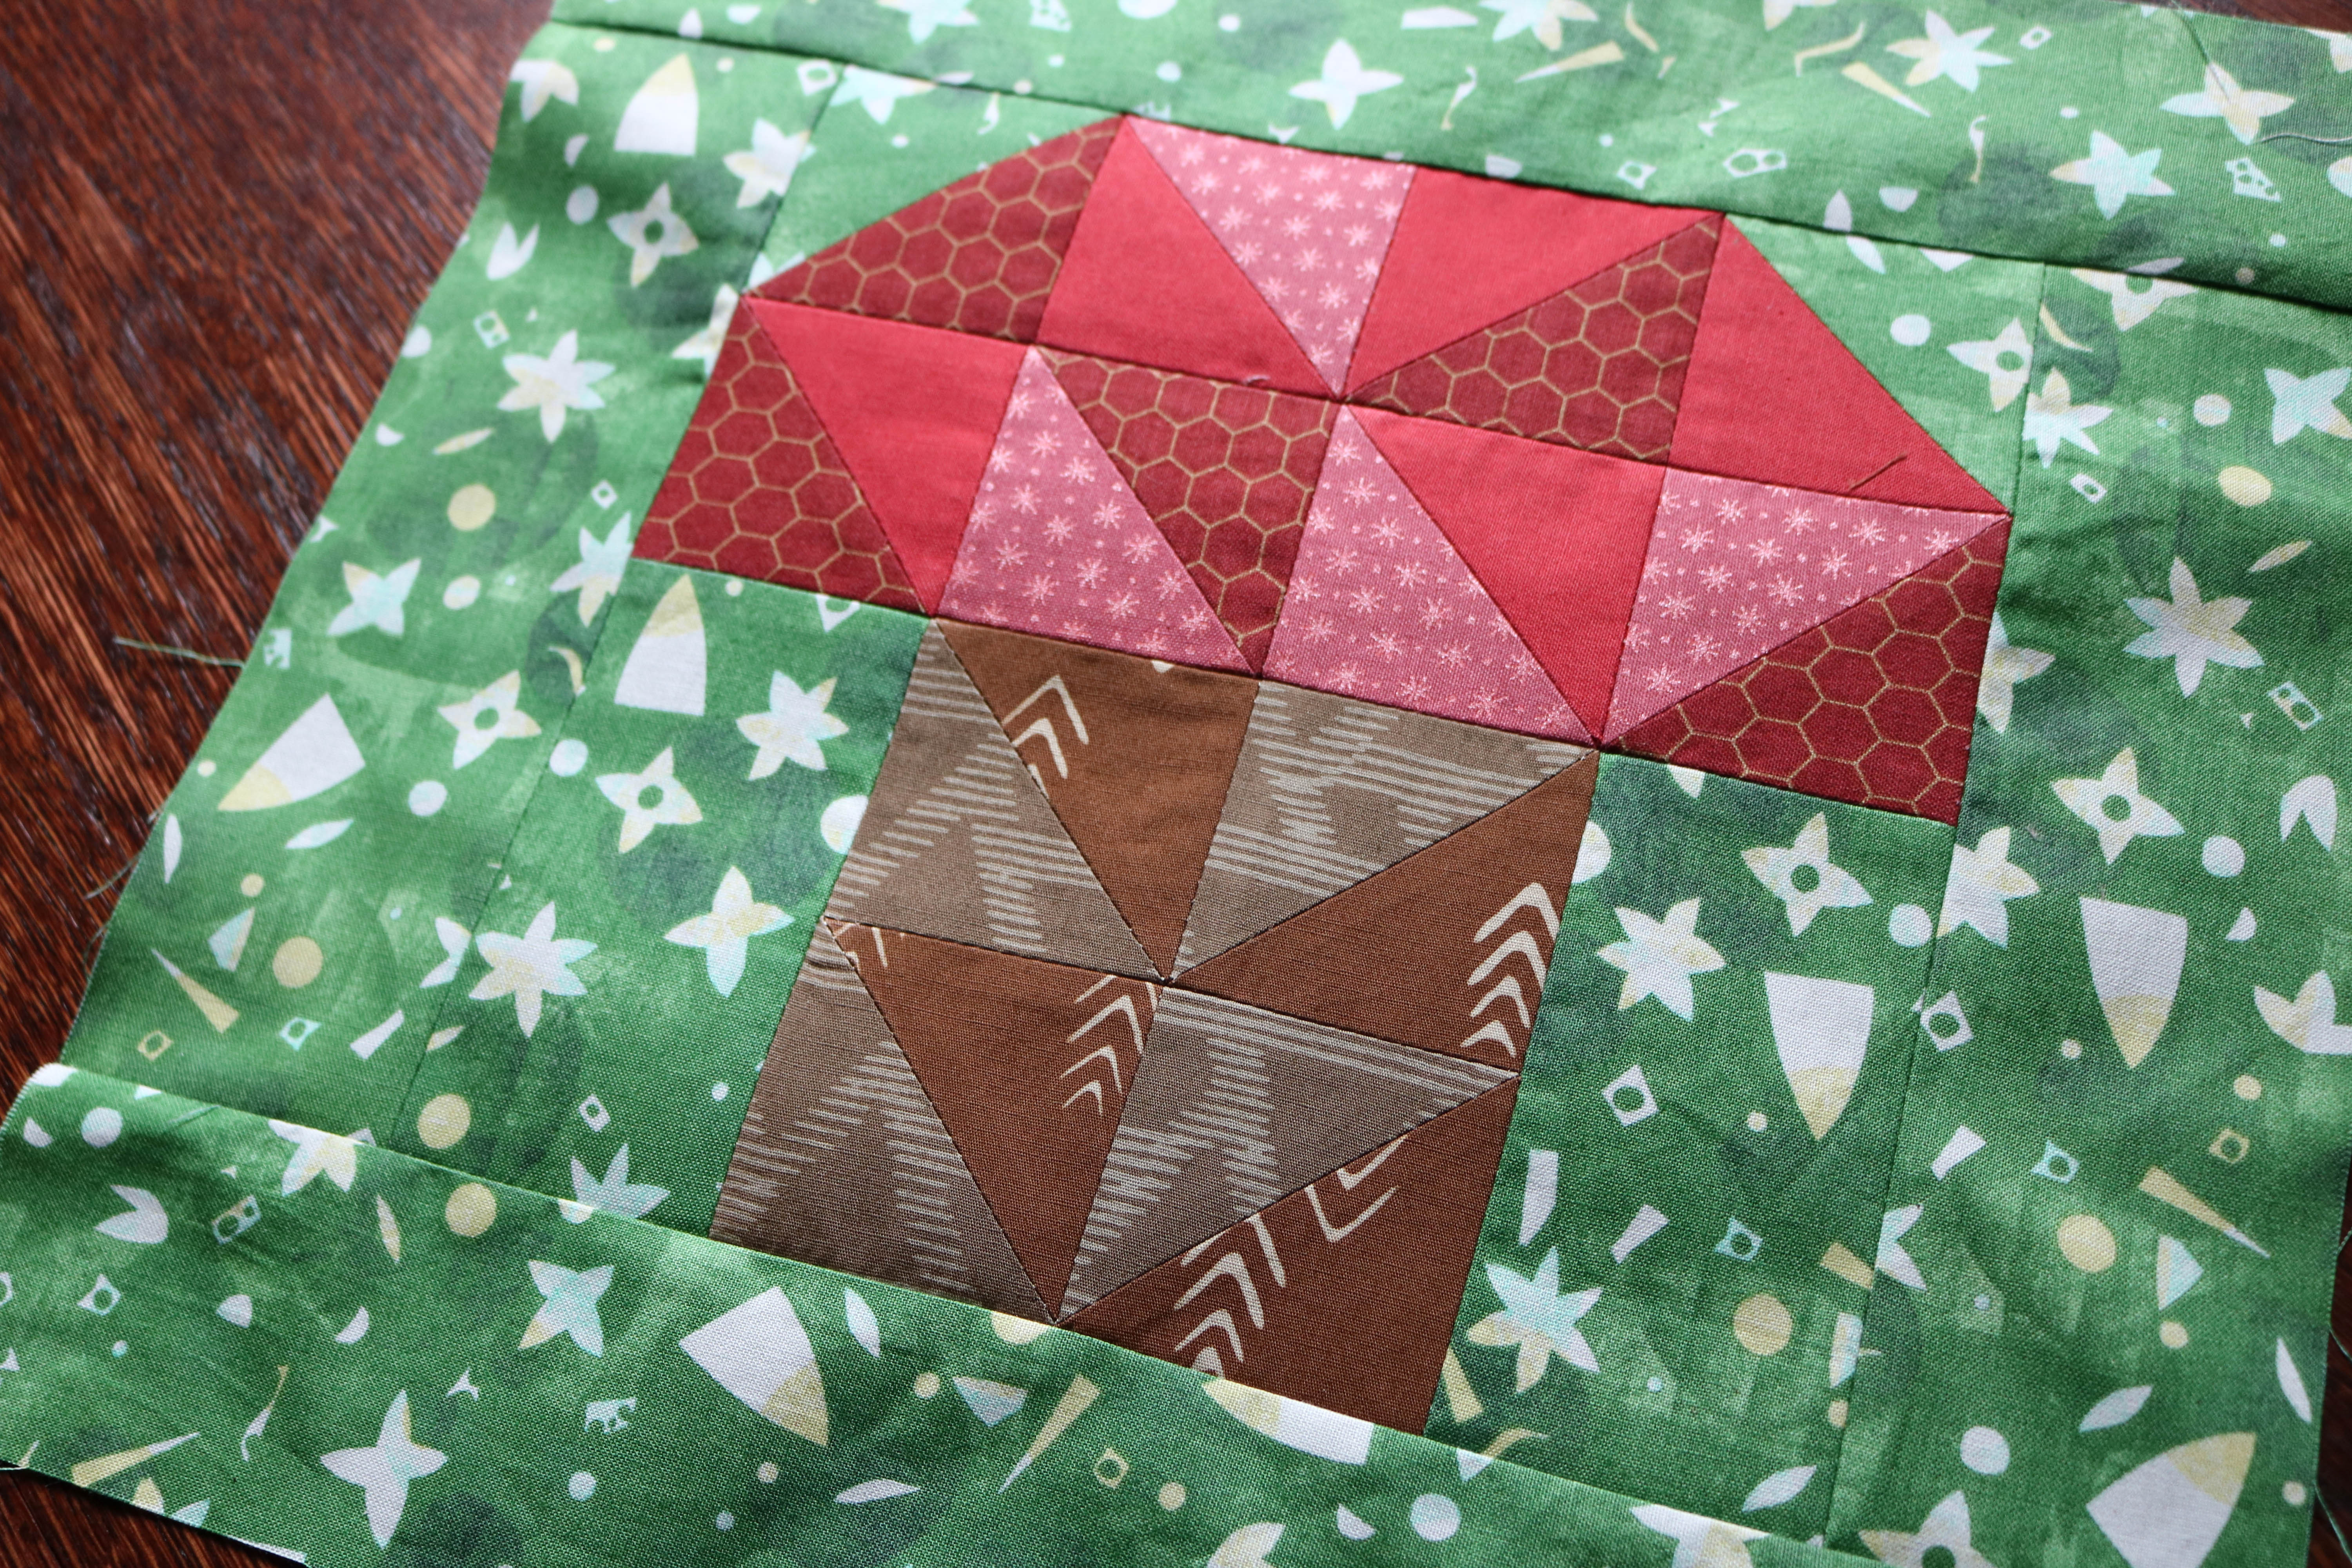 For this design, I wanted a fun scrappy mushroom to go along with all the different colors and textures we see out in nature. The 12.5″ x 12.5″ (unfinished) block is based mainly on half-square triangles and you will love how just a little rearraging can give your block a new look.
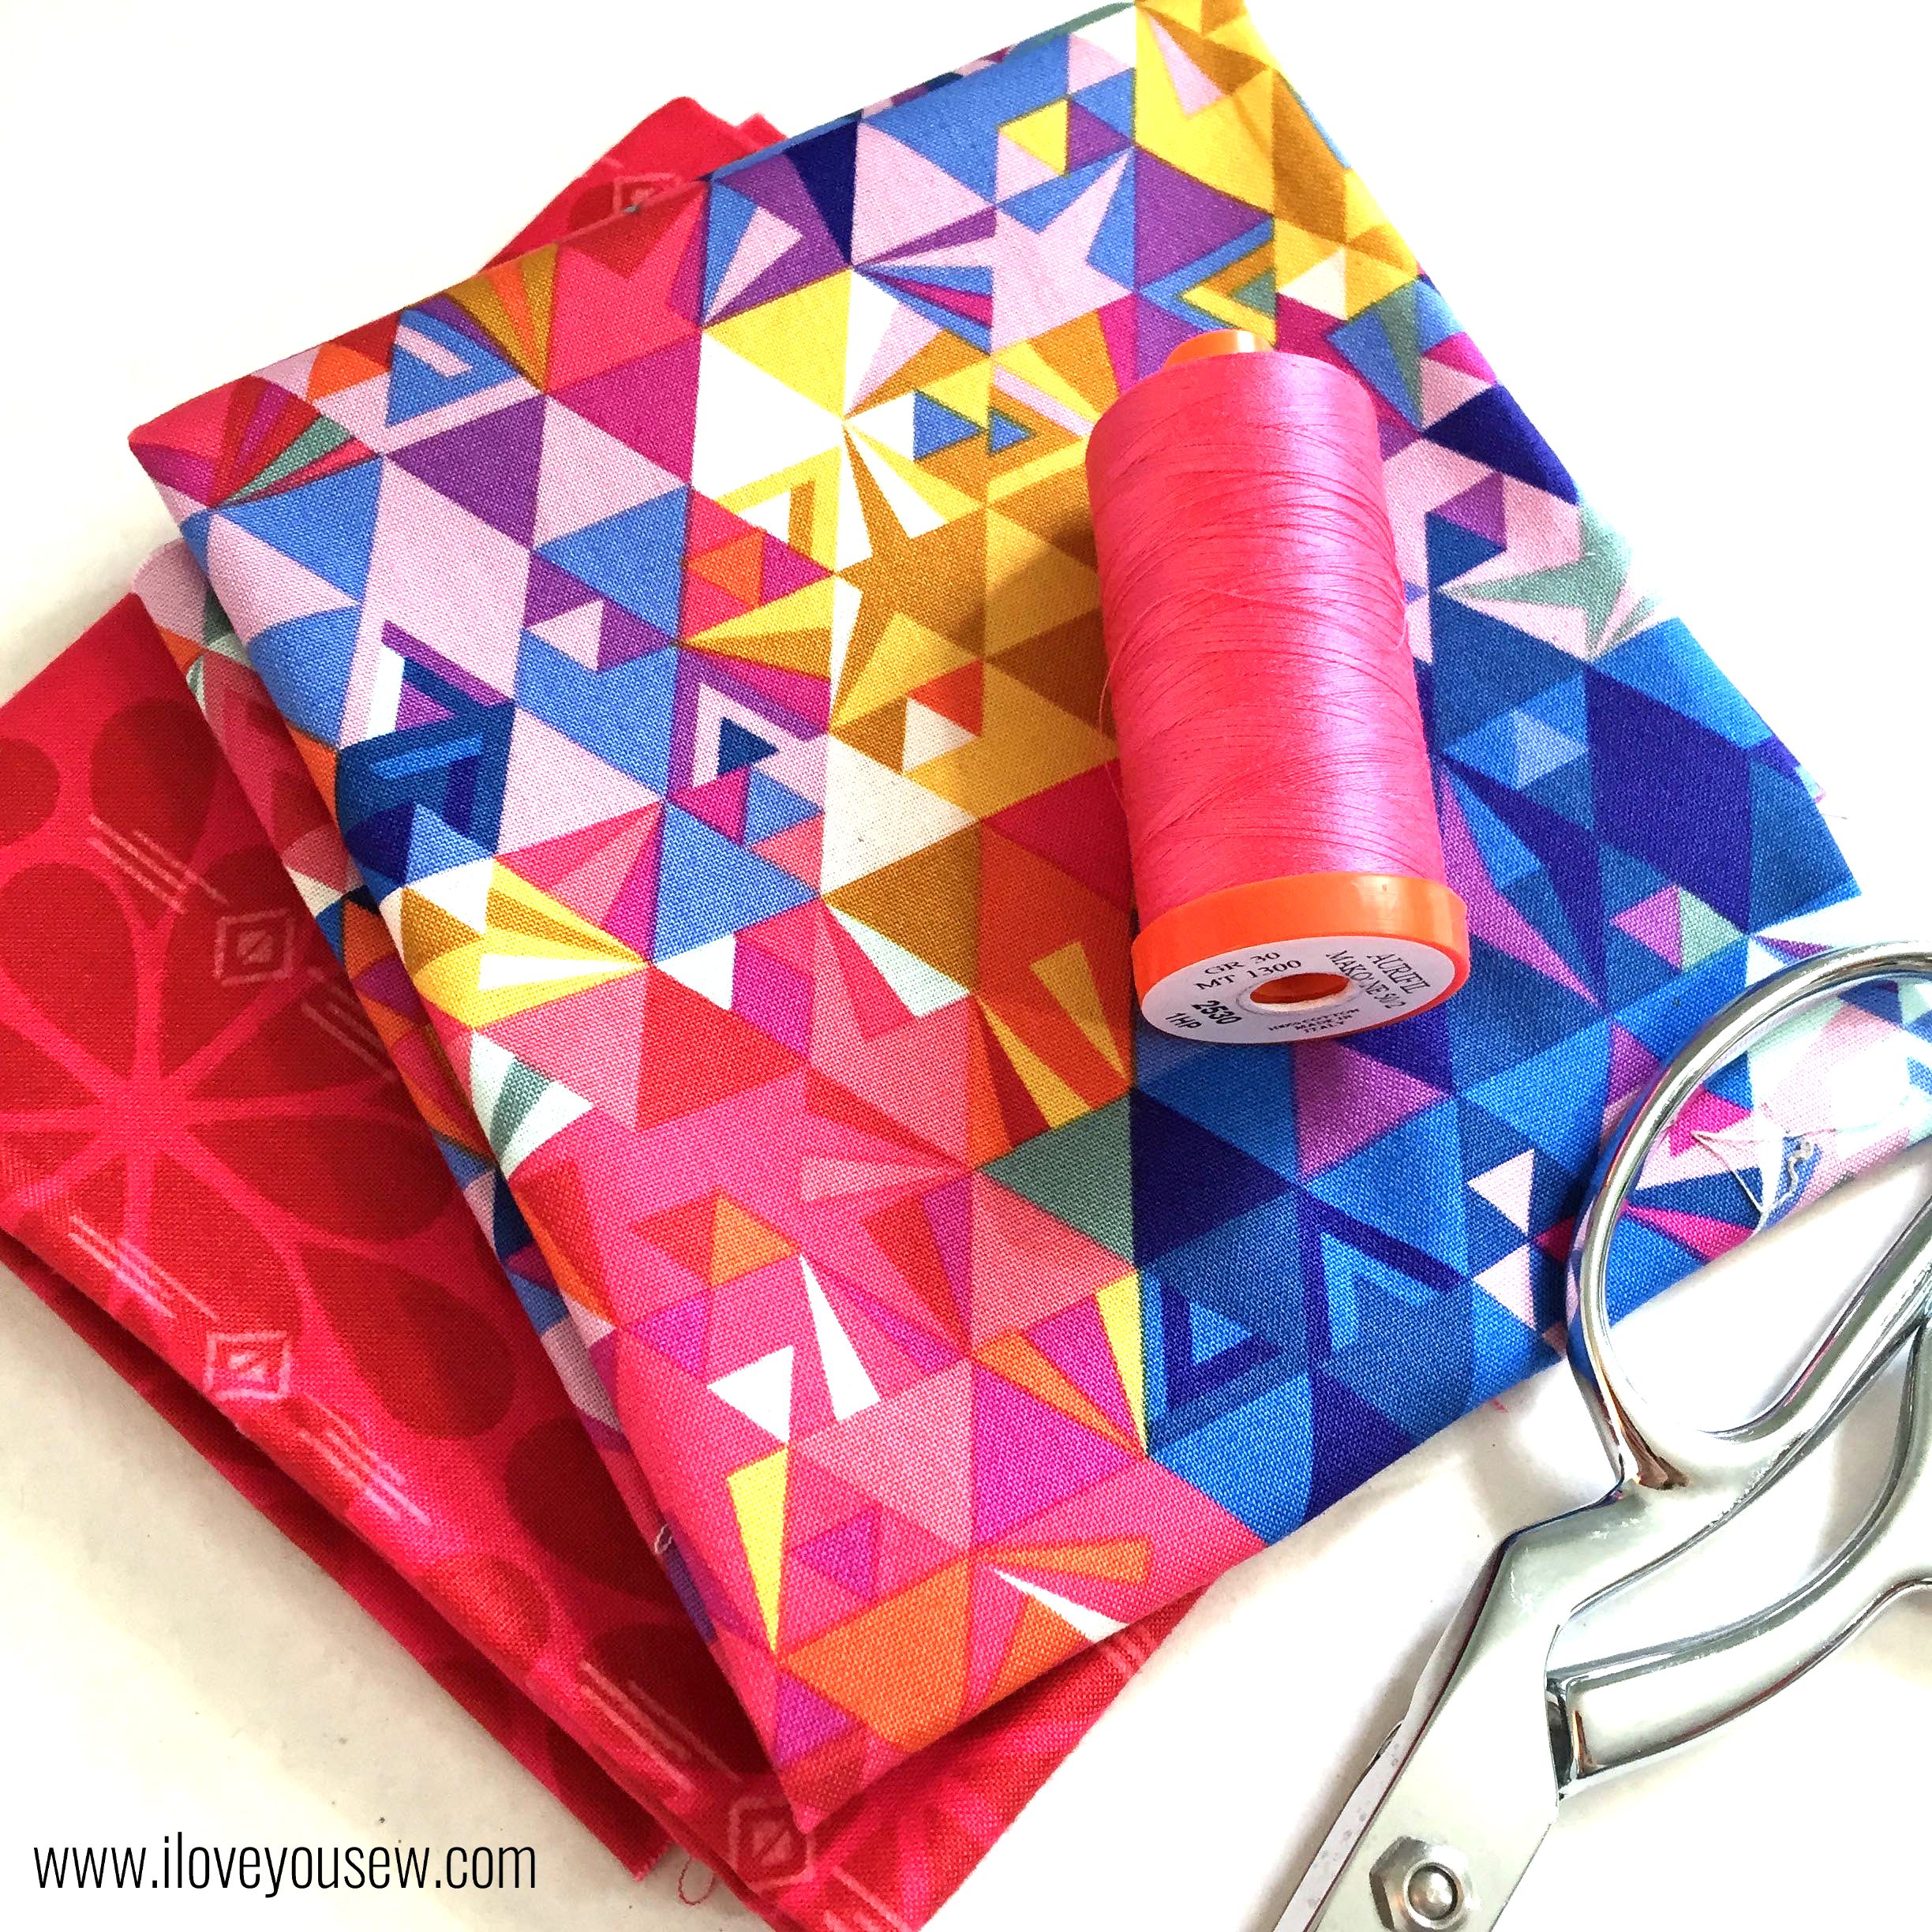
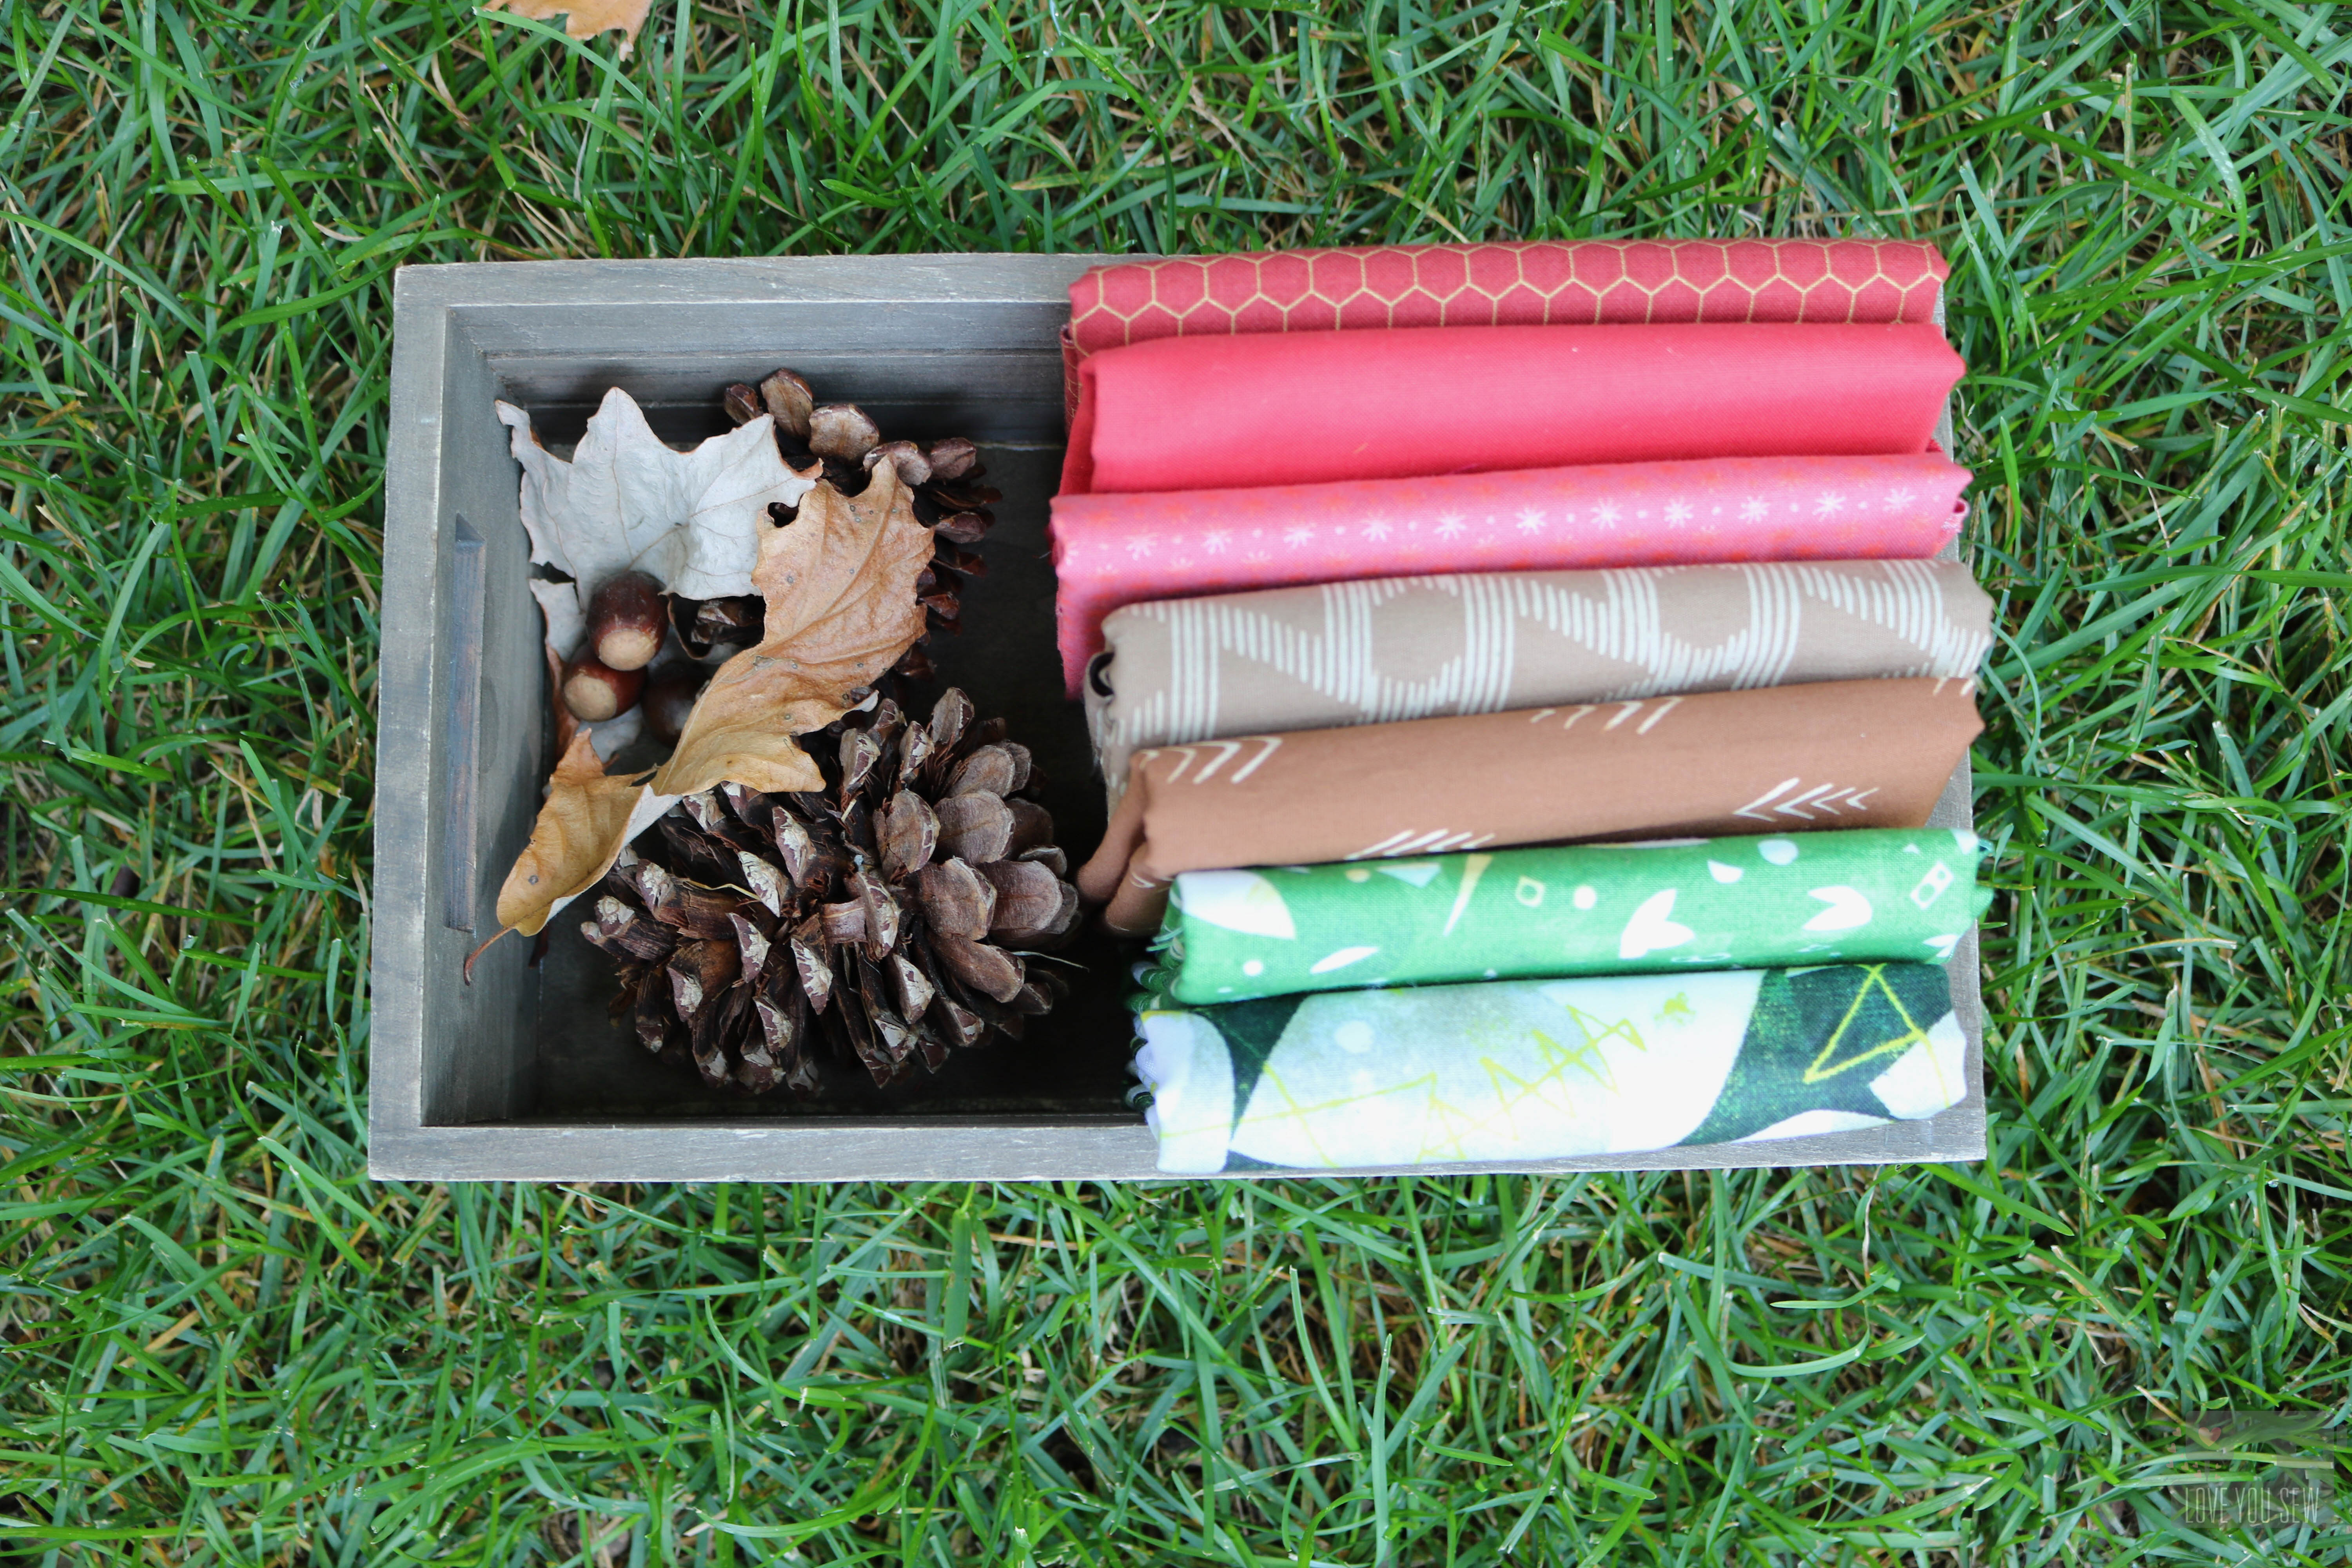 For the Woodland Mushroom, I stuck to the Kona party theme found here, but prints are my key to scrappiness 🙂 These are the fabrics I selected (from top to bottom):
- Rooster Inn Chicken Wire
- Kona Cotton – Cayenne
- Lizzy House Asterisk – Strawberry Donut Pearl Red
- Indah Batiks – Triangle Dune
- Indah Batiks – Herringbone Coffee
- Lizzy House Printmaking – Victoria Green
- Lizzy House Printmaking – Islington Green (quilt backing)
As I was making the block I was thinking of all the ways I could the mushroom as decor….because my house need some help! I thought of all the fabric signs we see in big box stores with witty sayings all bound together with living picture frames (just a piece of wood at the top and bottom.) Then it dawned on me to use pant hangers! I know a lot of you already use them to display blocks, but I thought I would turn it up a notch and refinish a few.
I found these two pant hangers for a total of $0.60 at my local thrift shops. Both were blonde wood with the same nickel finish on the wire. With a little fine sandpaper, I took the shine off the entire hanger and used materials I had around the house to refinish it. A watered down brown acrylic craft paint gave me the “stain” and I happened to have this gorgeous hammered bronze spray paint leftover from another forgotten DIY project. A few layers of clear coat topped it off to protect the fabric against any paint which may rub off.
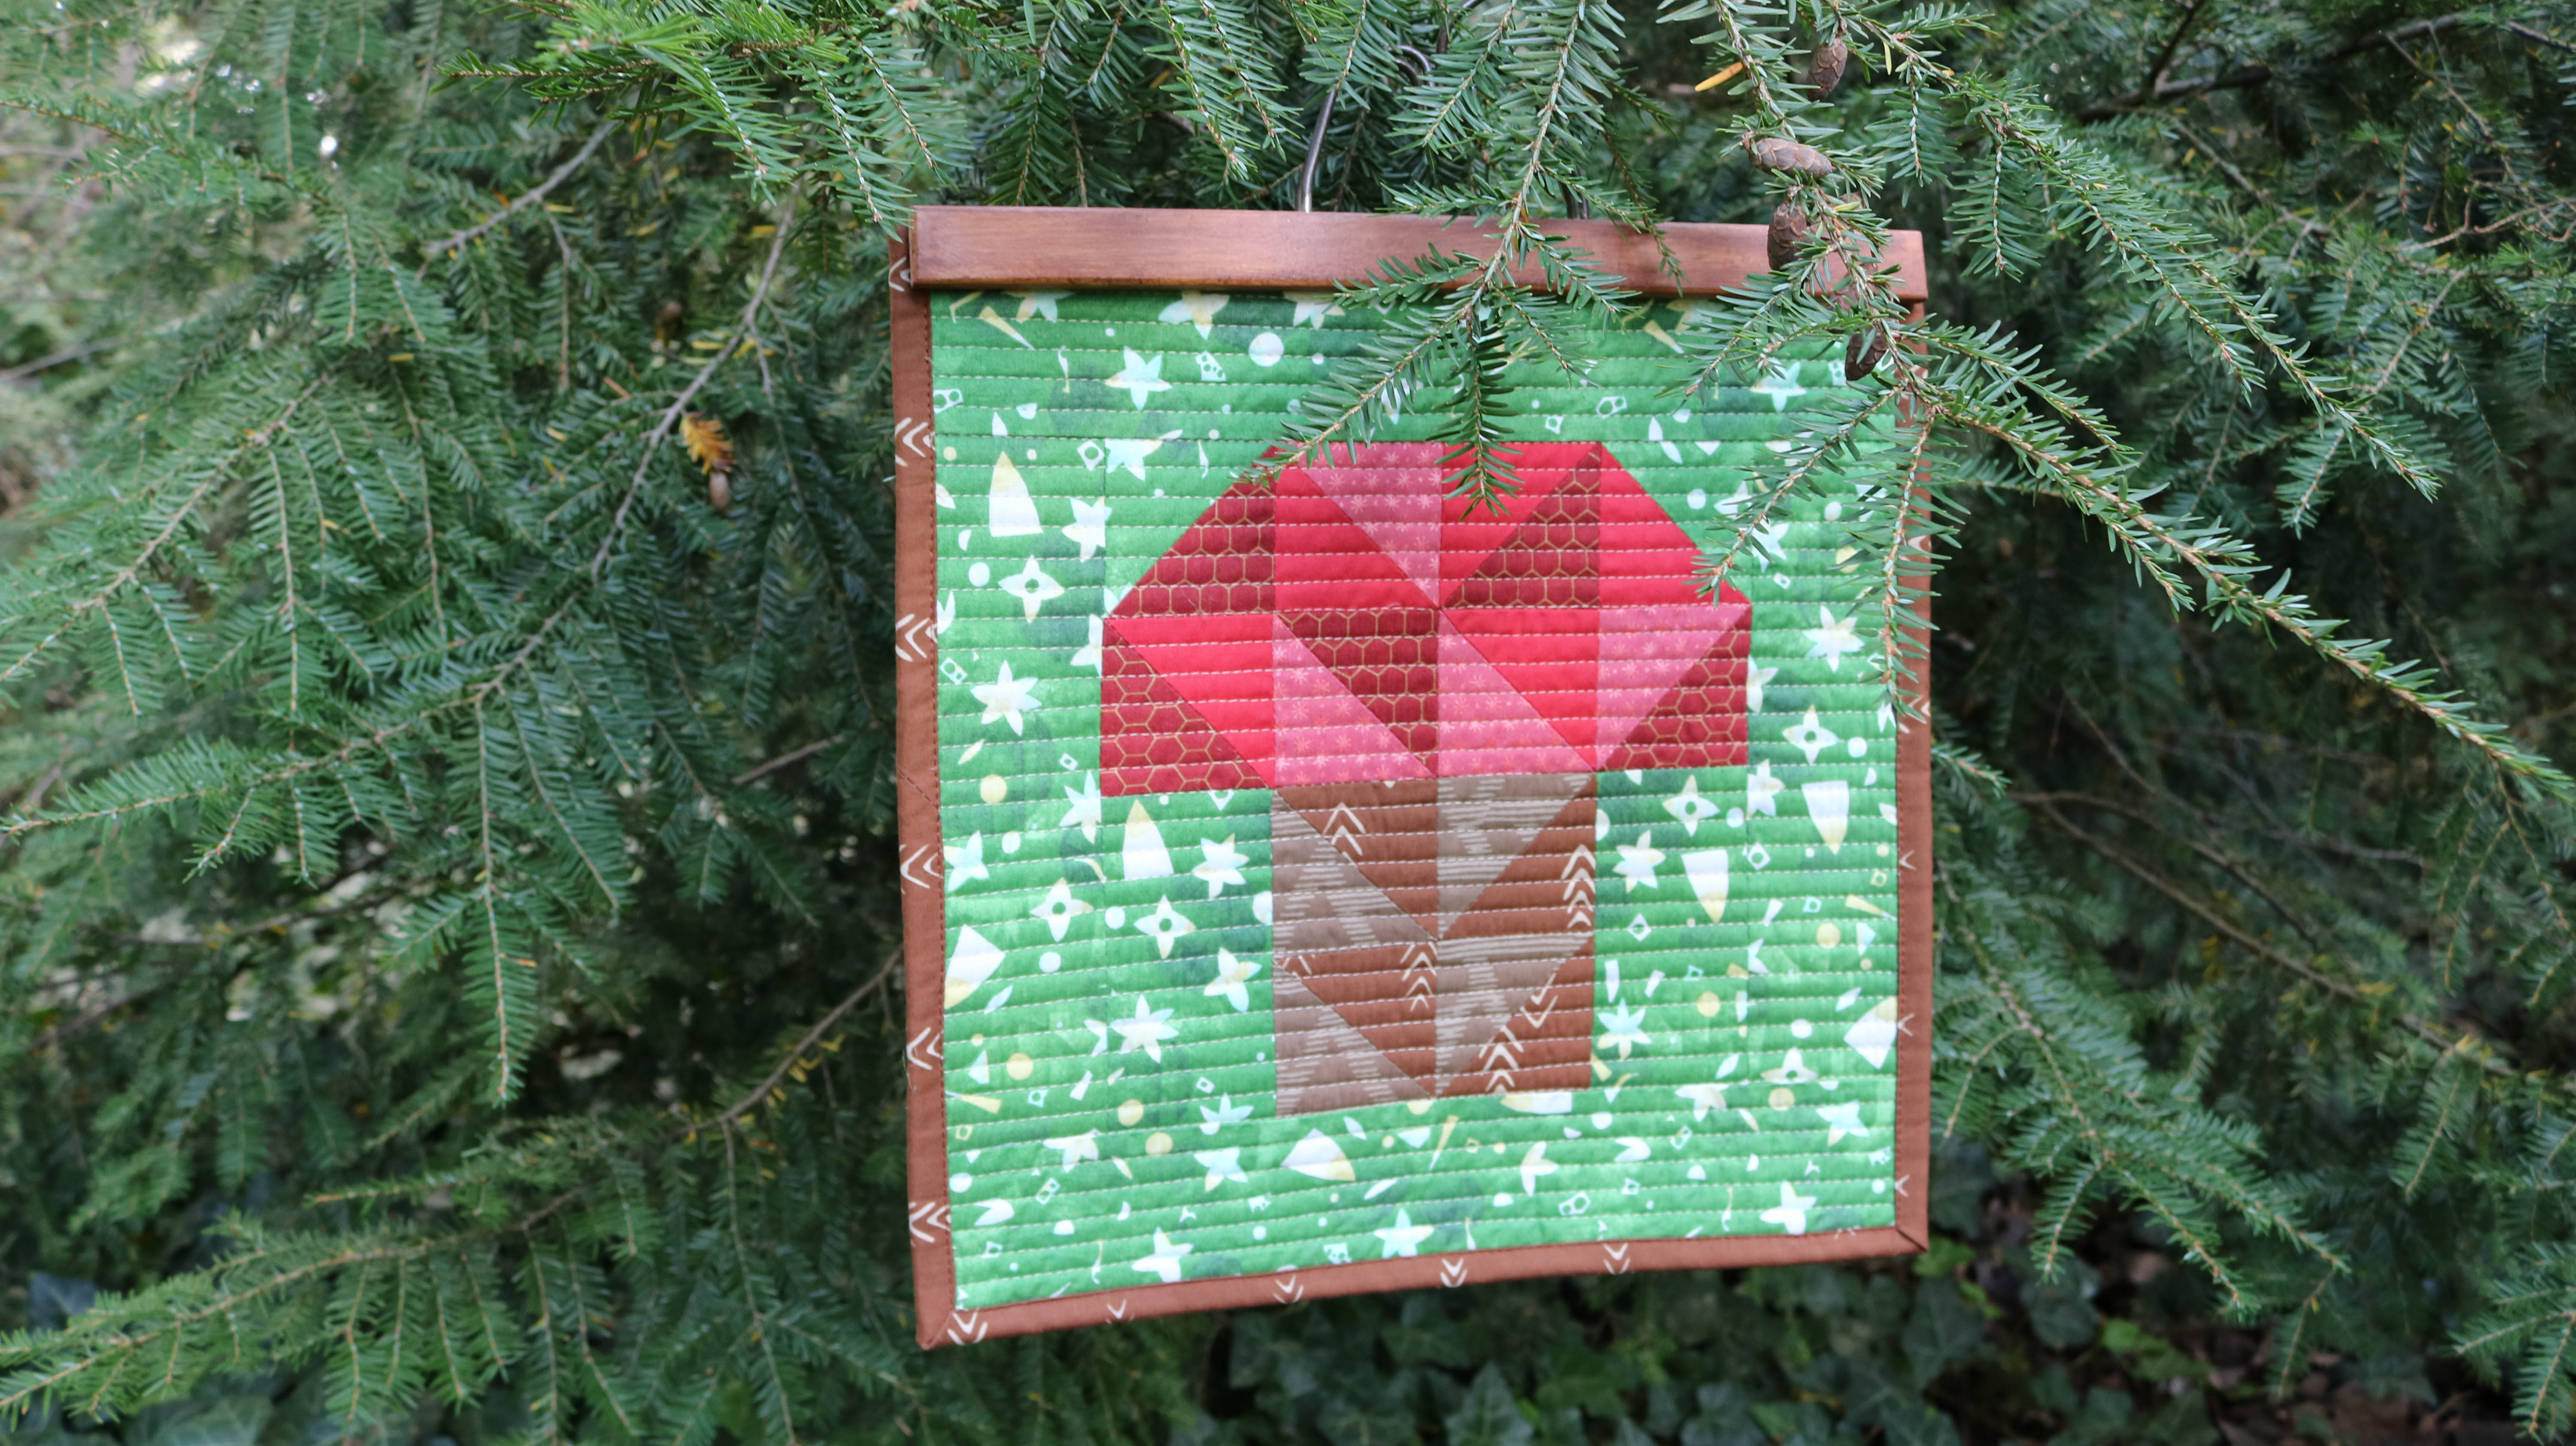 The hanger makeover really makes the piece more modern with an industrial rustic feel. It works well with this fall palette and displays my Woodland Mushroom mini perfectly! It will be easy to change out mini’s over time and through the different seasons.
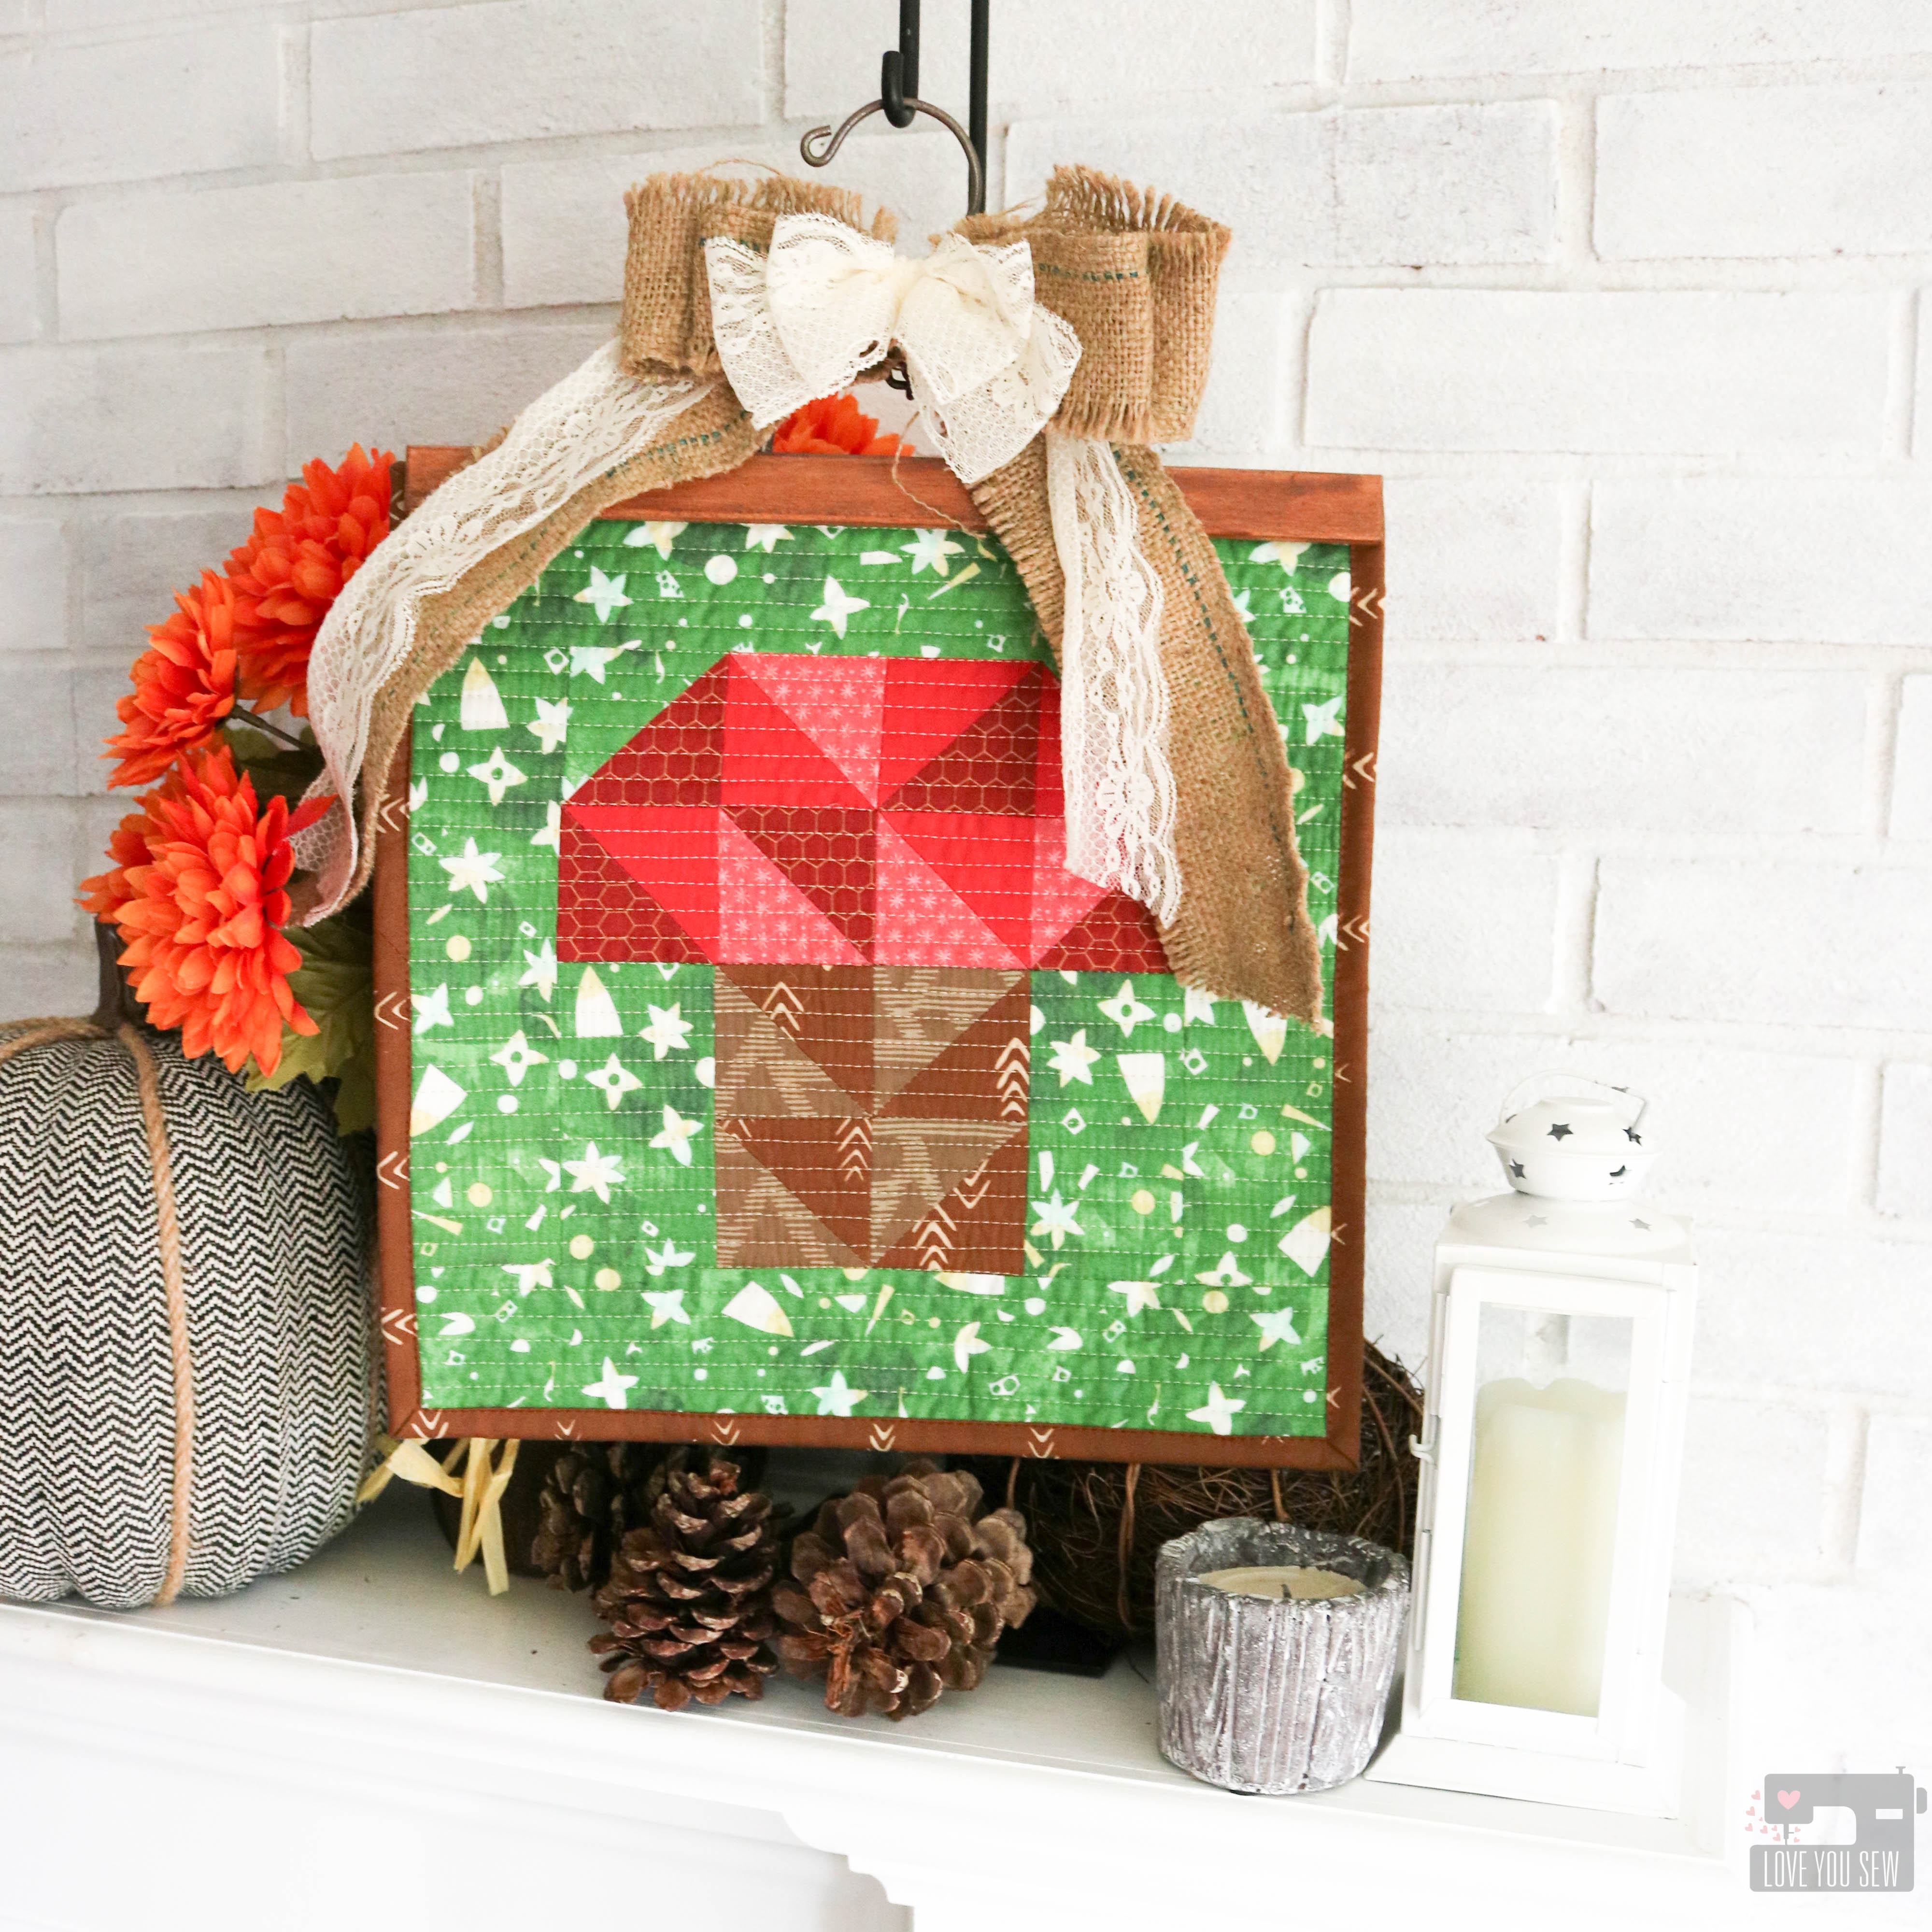
Here is the mini displayed with some upcycled “ribbon” cut from a burlap coffee bag and leftover lace from my sister’s wedding. It is displayed on a mantle with a wreath hanger and helps to bring the random decor I had around the house together.
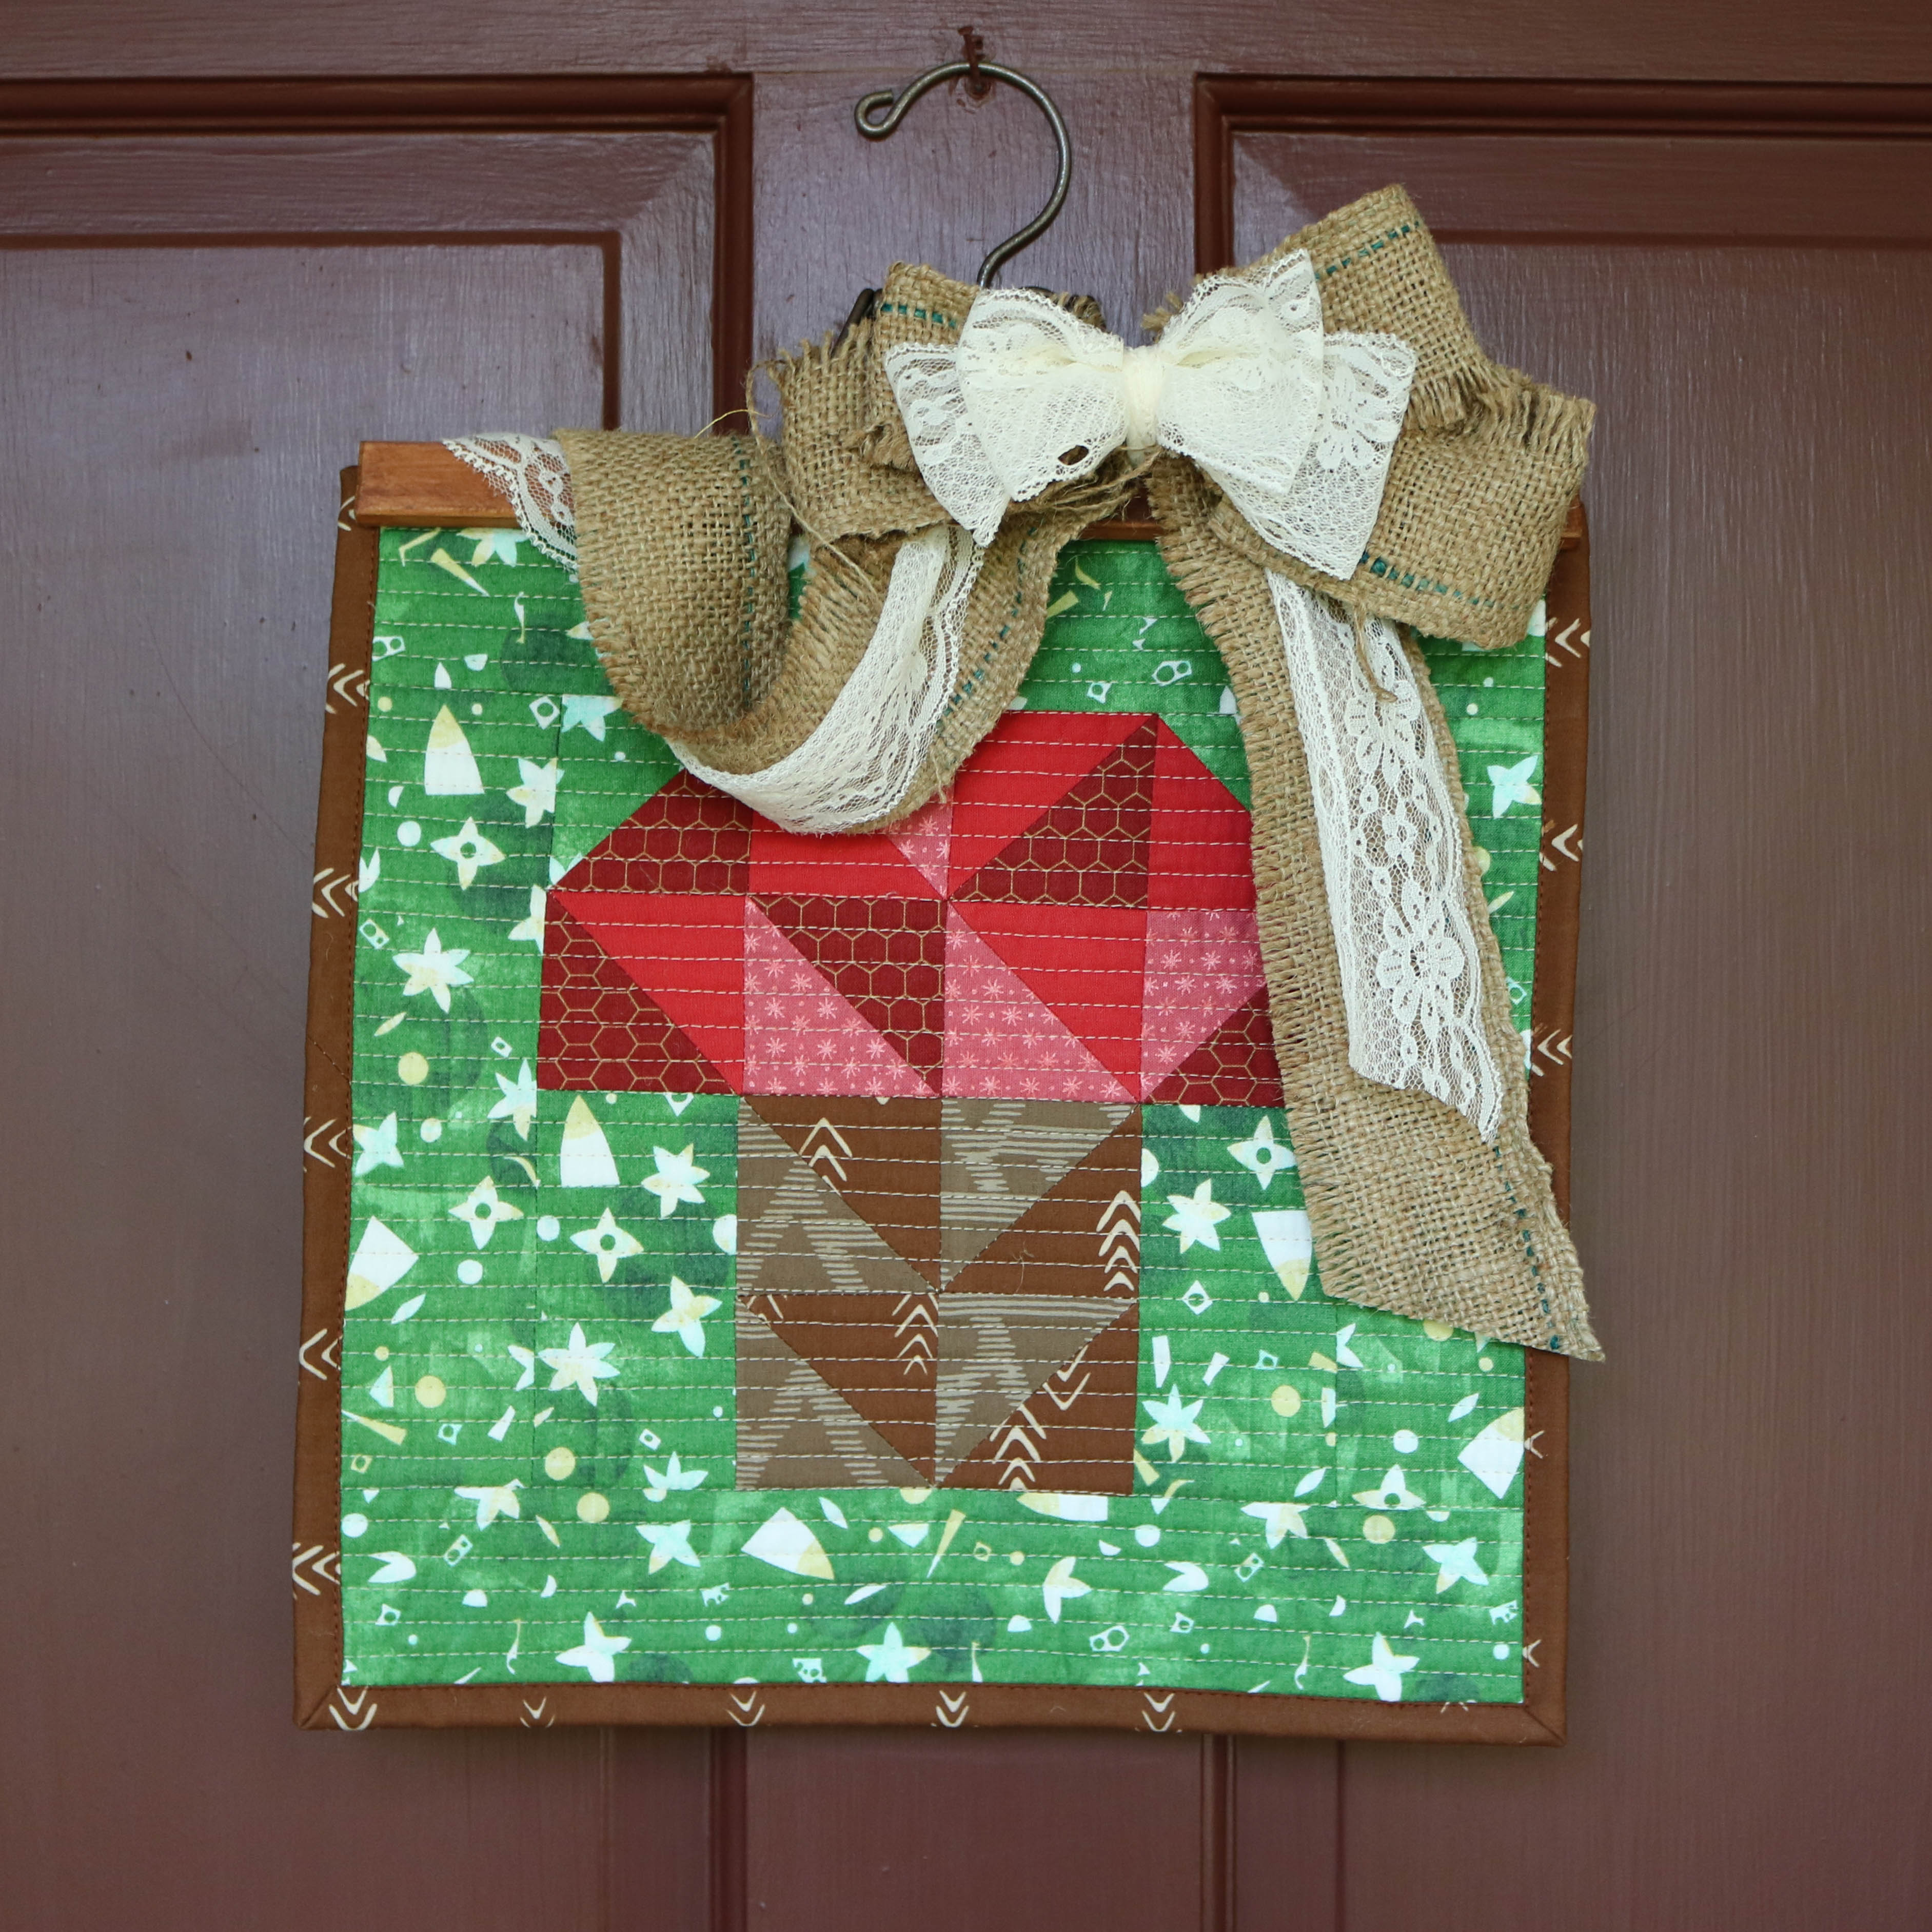
And if mantle or table-scapes aren’t your thing, the pant hanger make it easy to display a mini quilt on your front door. I think quilts should be the “new” wreaths, don’t you think? We should get on that movement!
I hope you enjoyed our walk in the woods! To make your own Woodland Mushroom block, visit Fabric.com’s blog here.
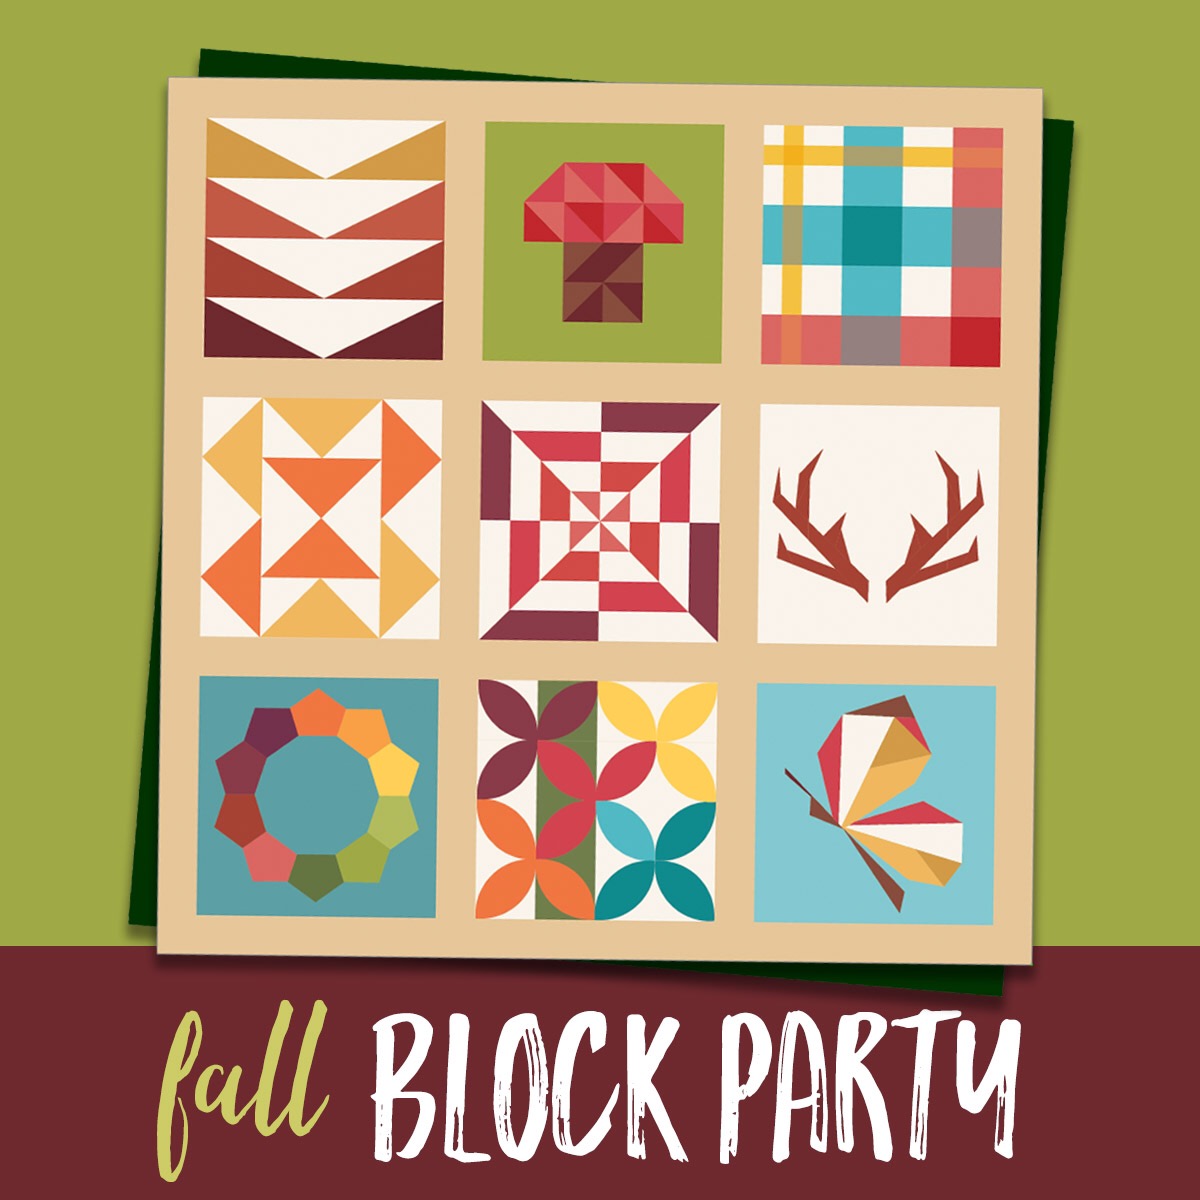
Don’t forget to keep sewing along and follow the rest of these amazing designers and their Fall #fabricdotcomblock party patterns!
Sept 12 – Fall Geese
Kristi Schroeder – Initial K Studio – @initialkstudio
Sept 19 – Woodland Mushroom
Cristy Stuhldreher – Love You Sew – @loveyousew_ (You are here!)
Sept 26 – Mod Tartan
Jenn Rossotti – Ginger Peach Studio – @jennrossotti
Oct 3 – Time Lapse
Christopher Thompson – The Tattooed Quilter – @thetattooedquilter
Oct 10 – Double Windmill
Haley Anderson – Happiness in the Making – @happinessinthemaking
Oct 17 – Antlers
Lisa Hofmann-Maurer – Sew What You Love – @sewwhatyoulove
Oct 24 – Gather
Elise Baek – Elise & Emelie – @eliseandemelie
Oct 31 – Forest Floor
Sarah Thomas – Sariditty -@sariditty
Nov 7 – Flutter By
Nicole Young – Lillyella – @lillyellasworld
Happy Foraging!
Cristy
***This post was sponsored by Fabric.com and there are affiliate links. The block design, instructions and post are my own original work with my own opinions.