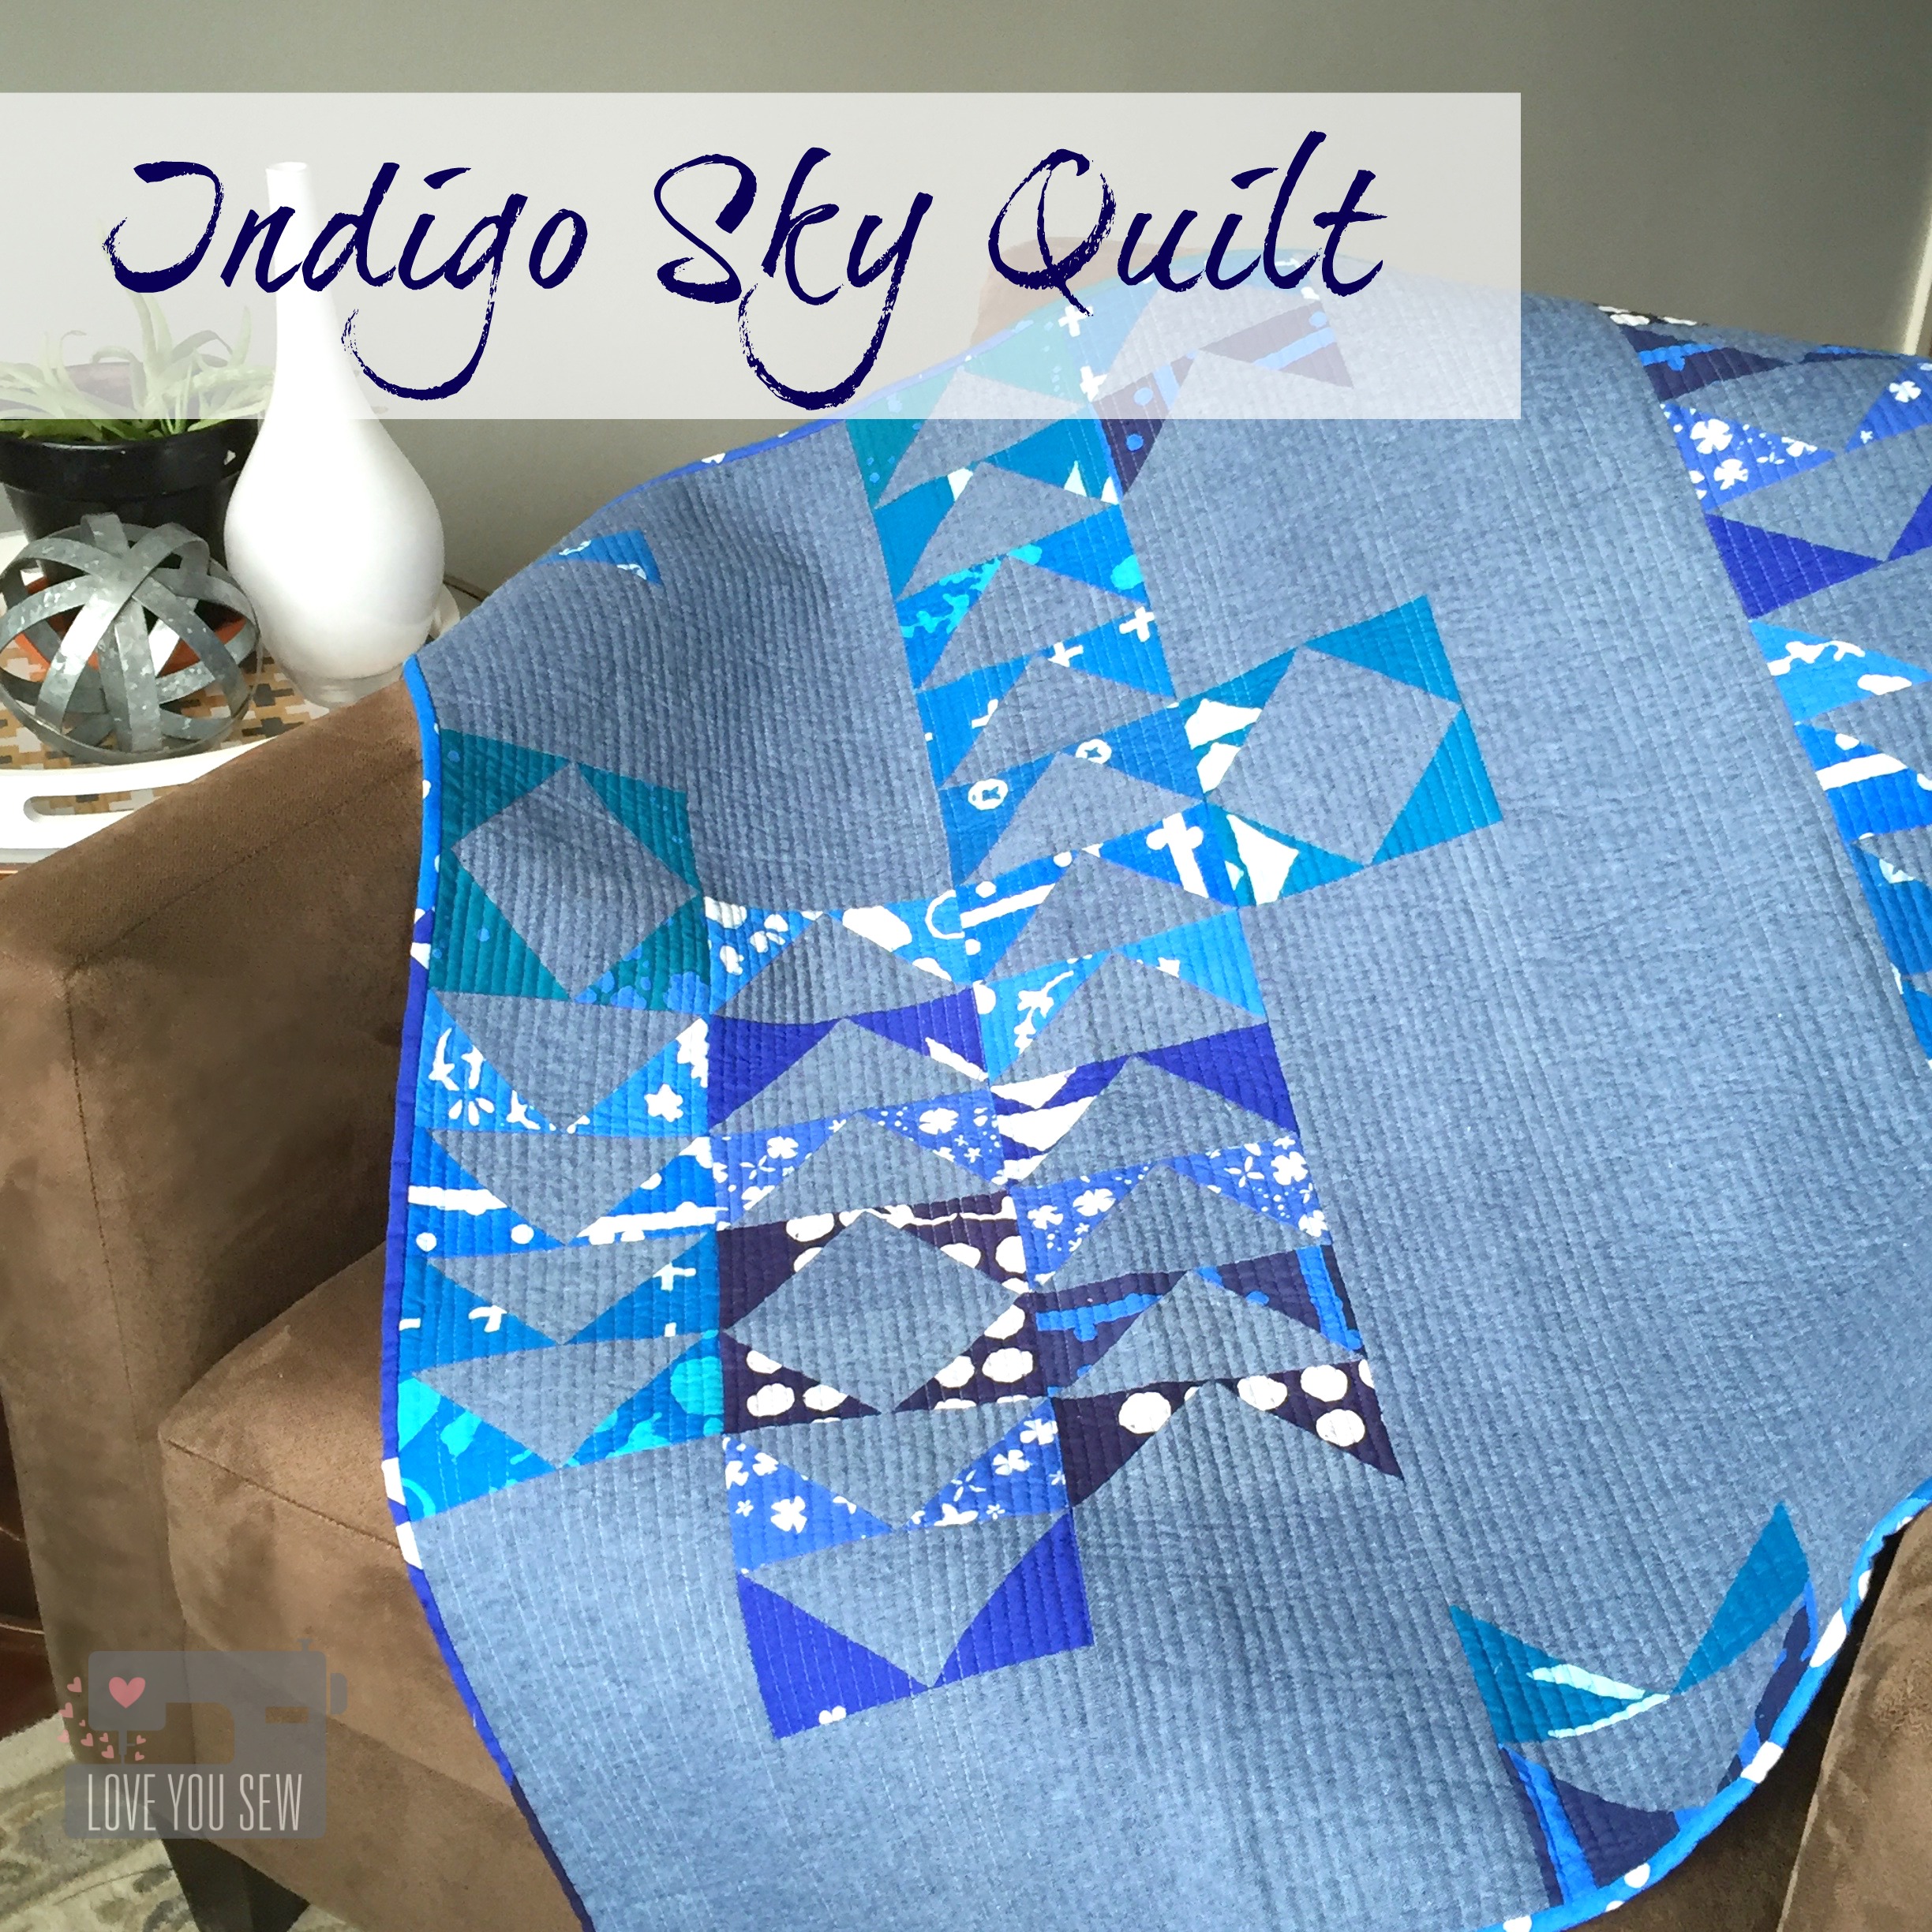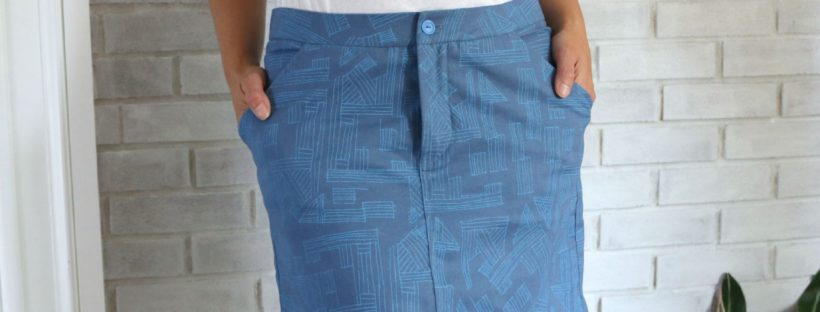
I had my fabric selected for my Moss Skirt by Grainline Studios months ago…hoping to be able to wear it all summer long. But as you know, life just happens and selfish sewing gets put on the back burner. This is the second one I’ve made and love it even more than before. For the first one I made over a year ago, you can read about it here.
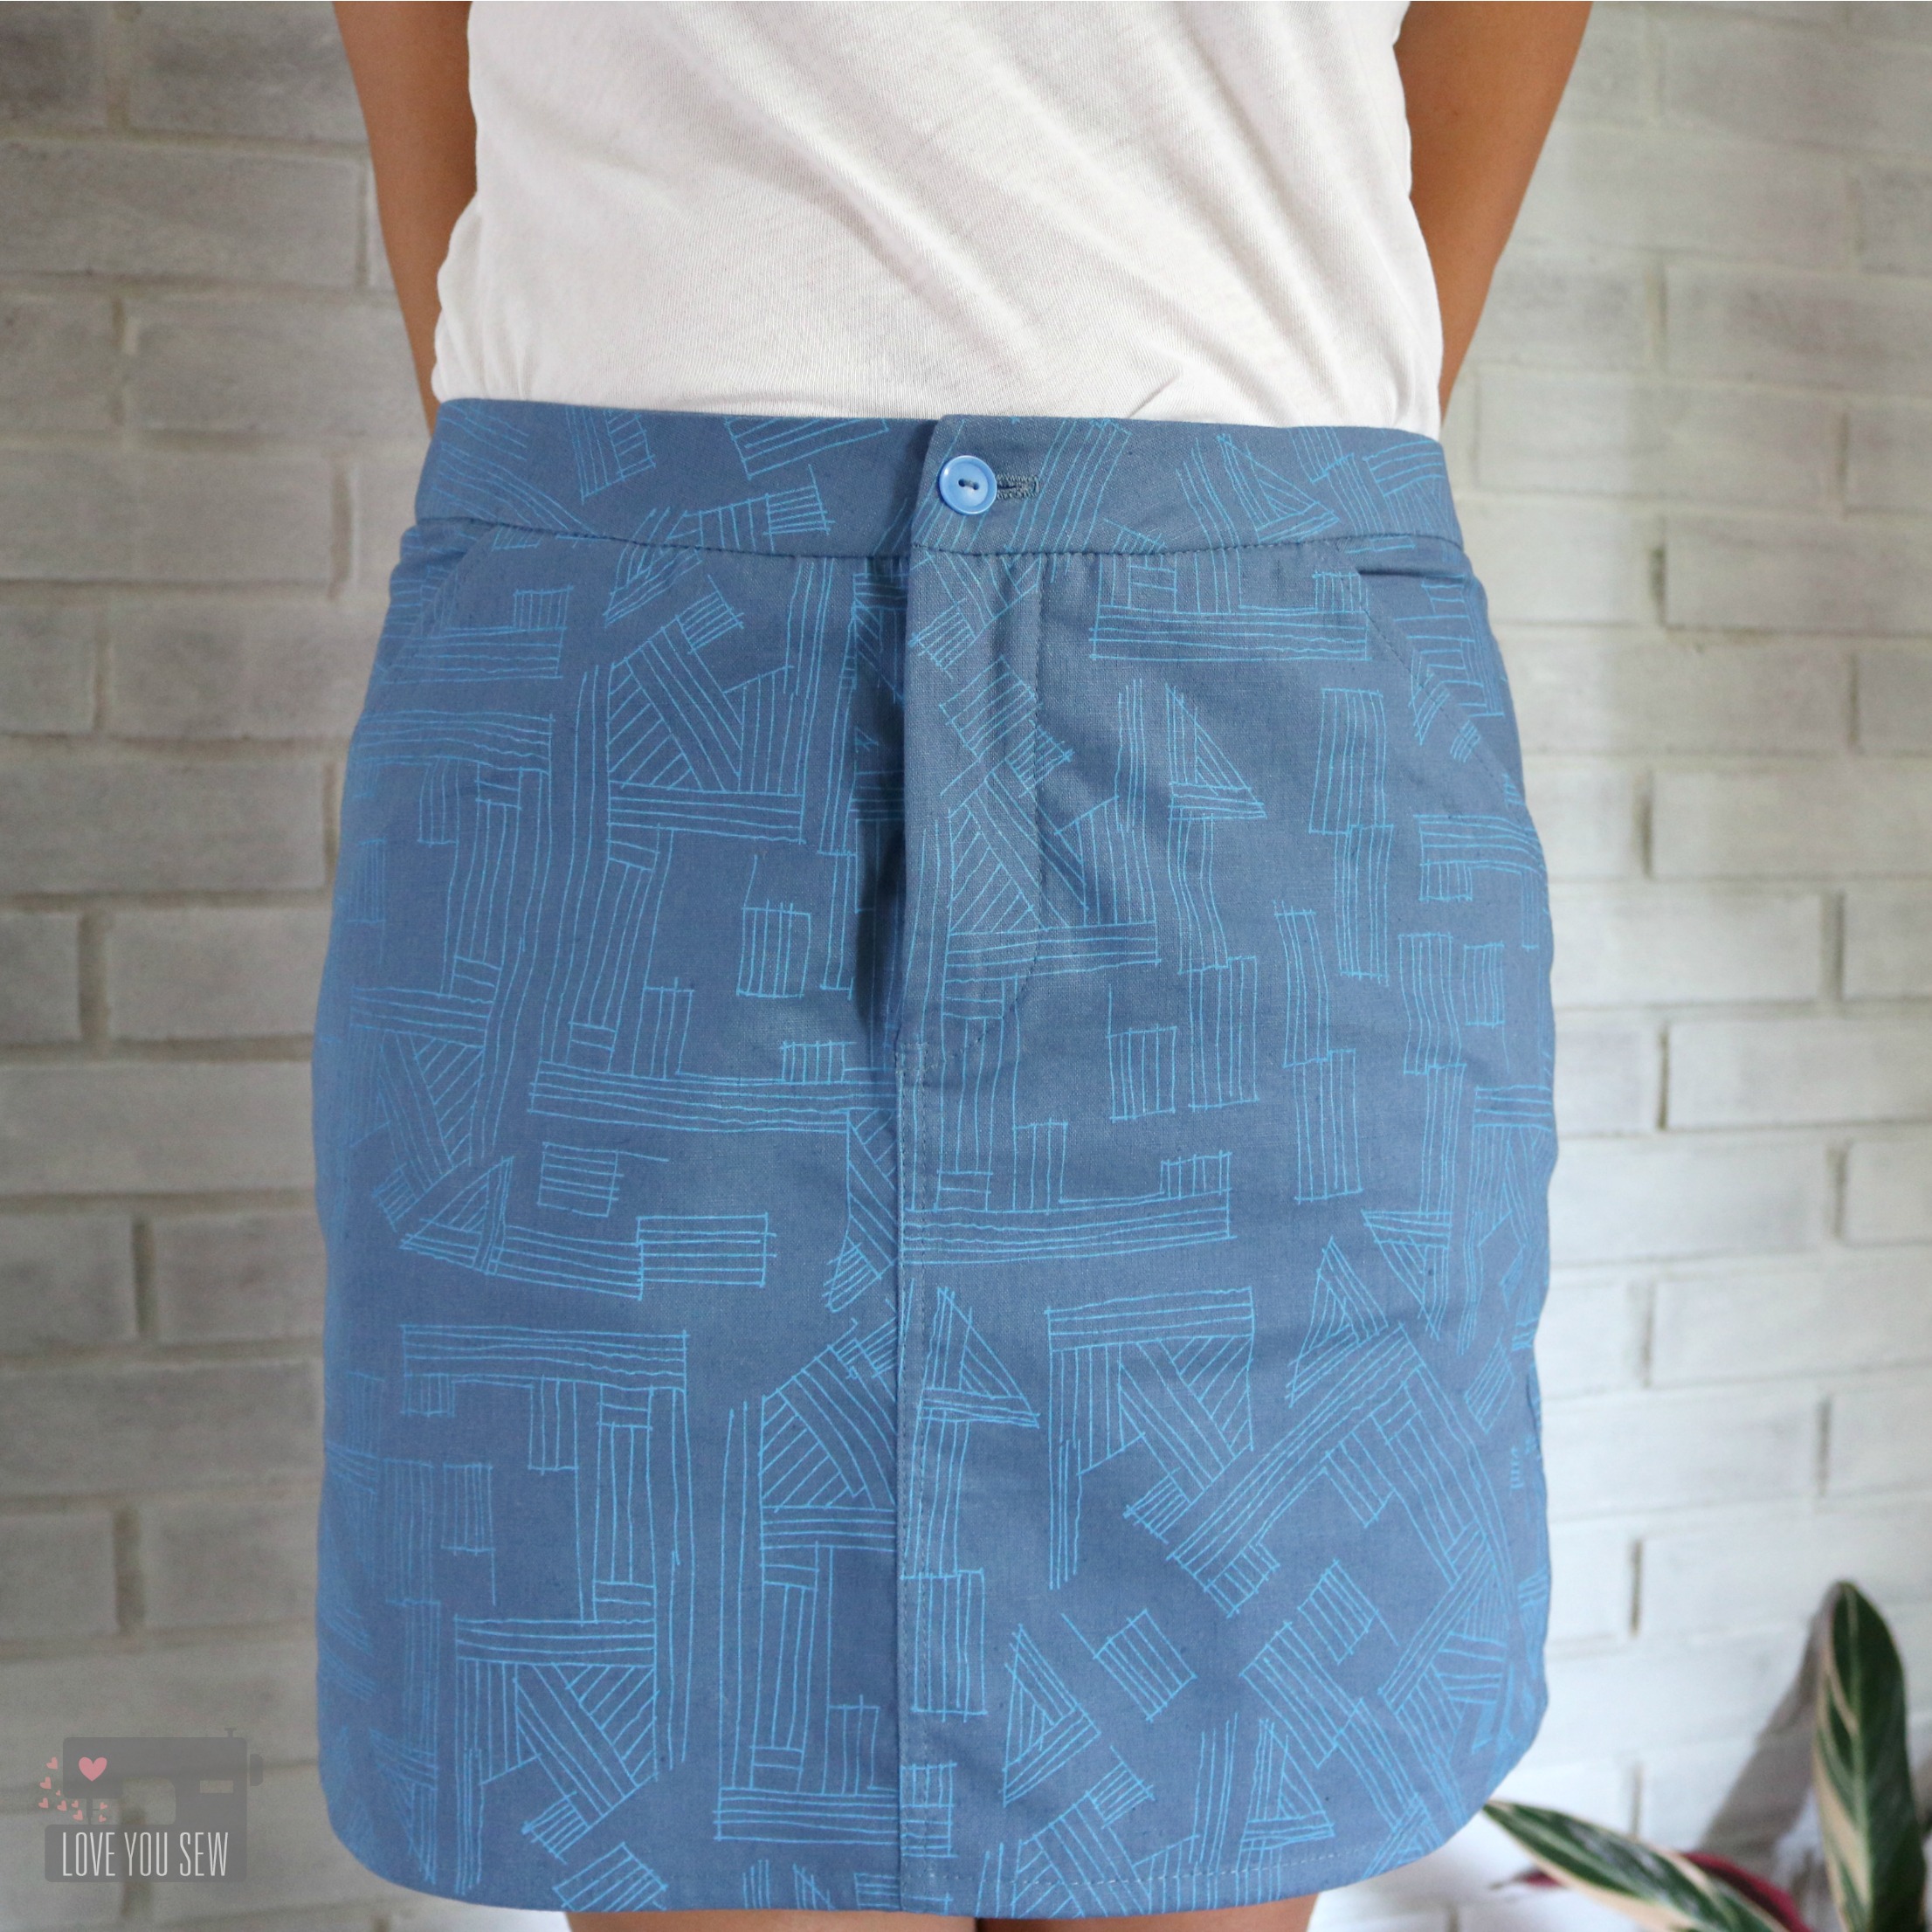
For this version, I used Euclid fabric in Cadet which is a printed linen/cotton blend. This is slightly heavier than quilting cotton, and makes for the perfect summer weight skirt. With the blend, you get the texture of the linen, but not all the wrinkles. I’m all about less ironing! By making View A this time, I was able to make this skirt out of one yard of fabric (minus the pockets.)
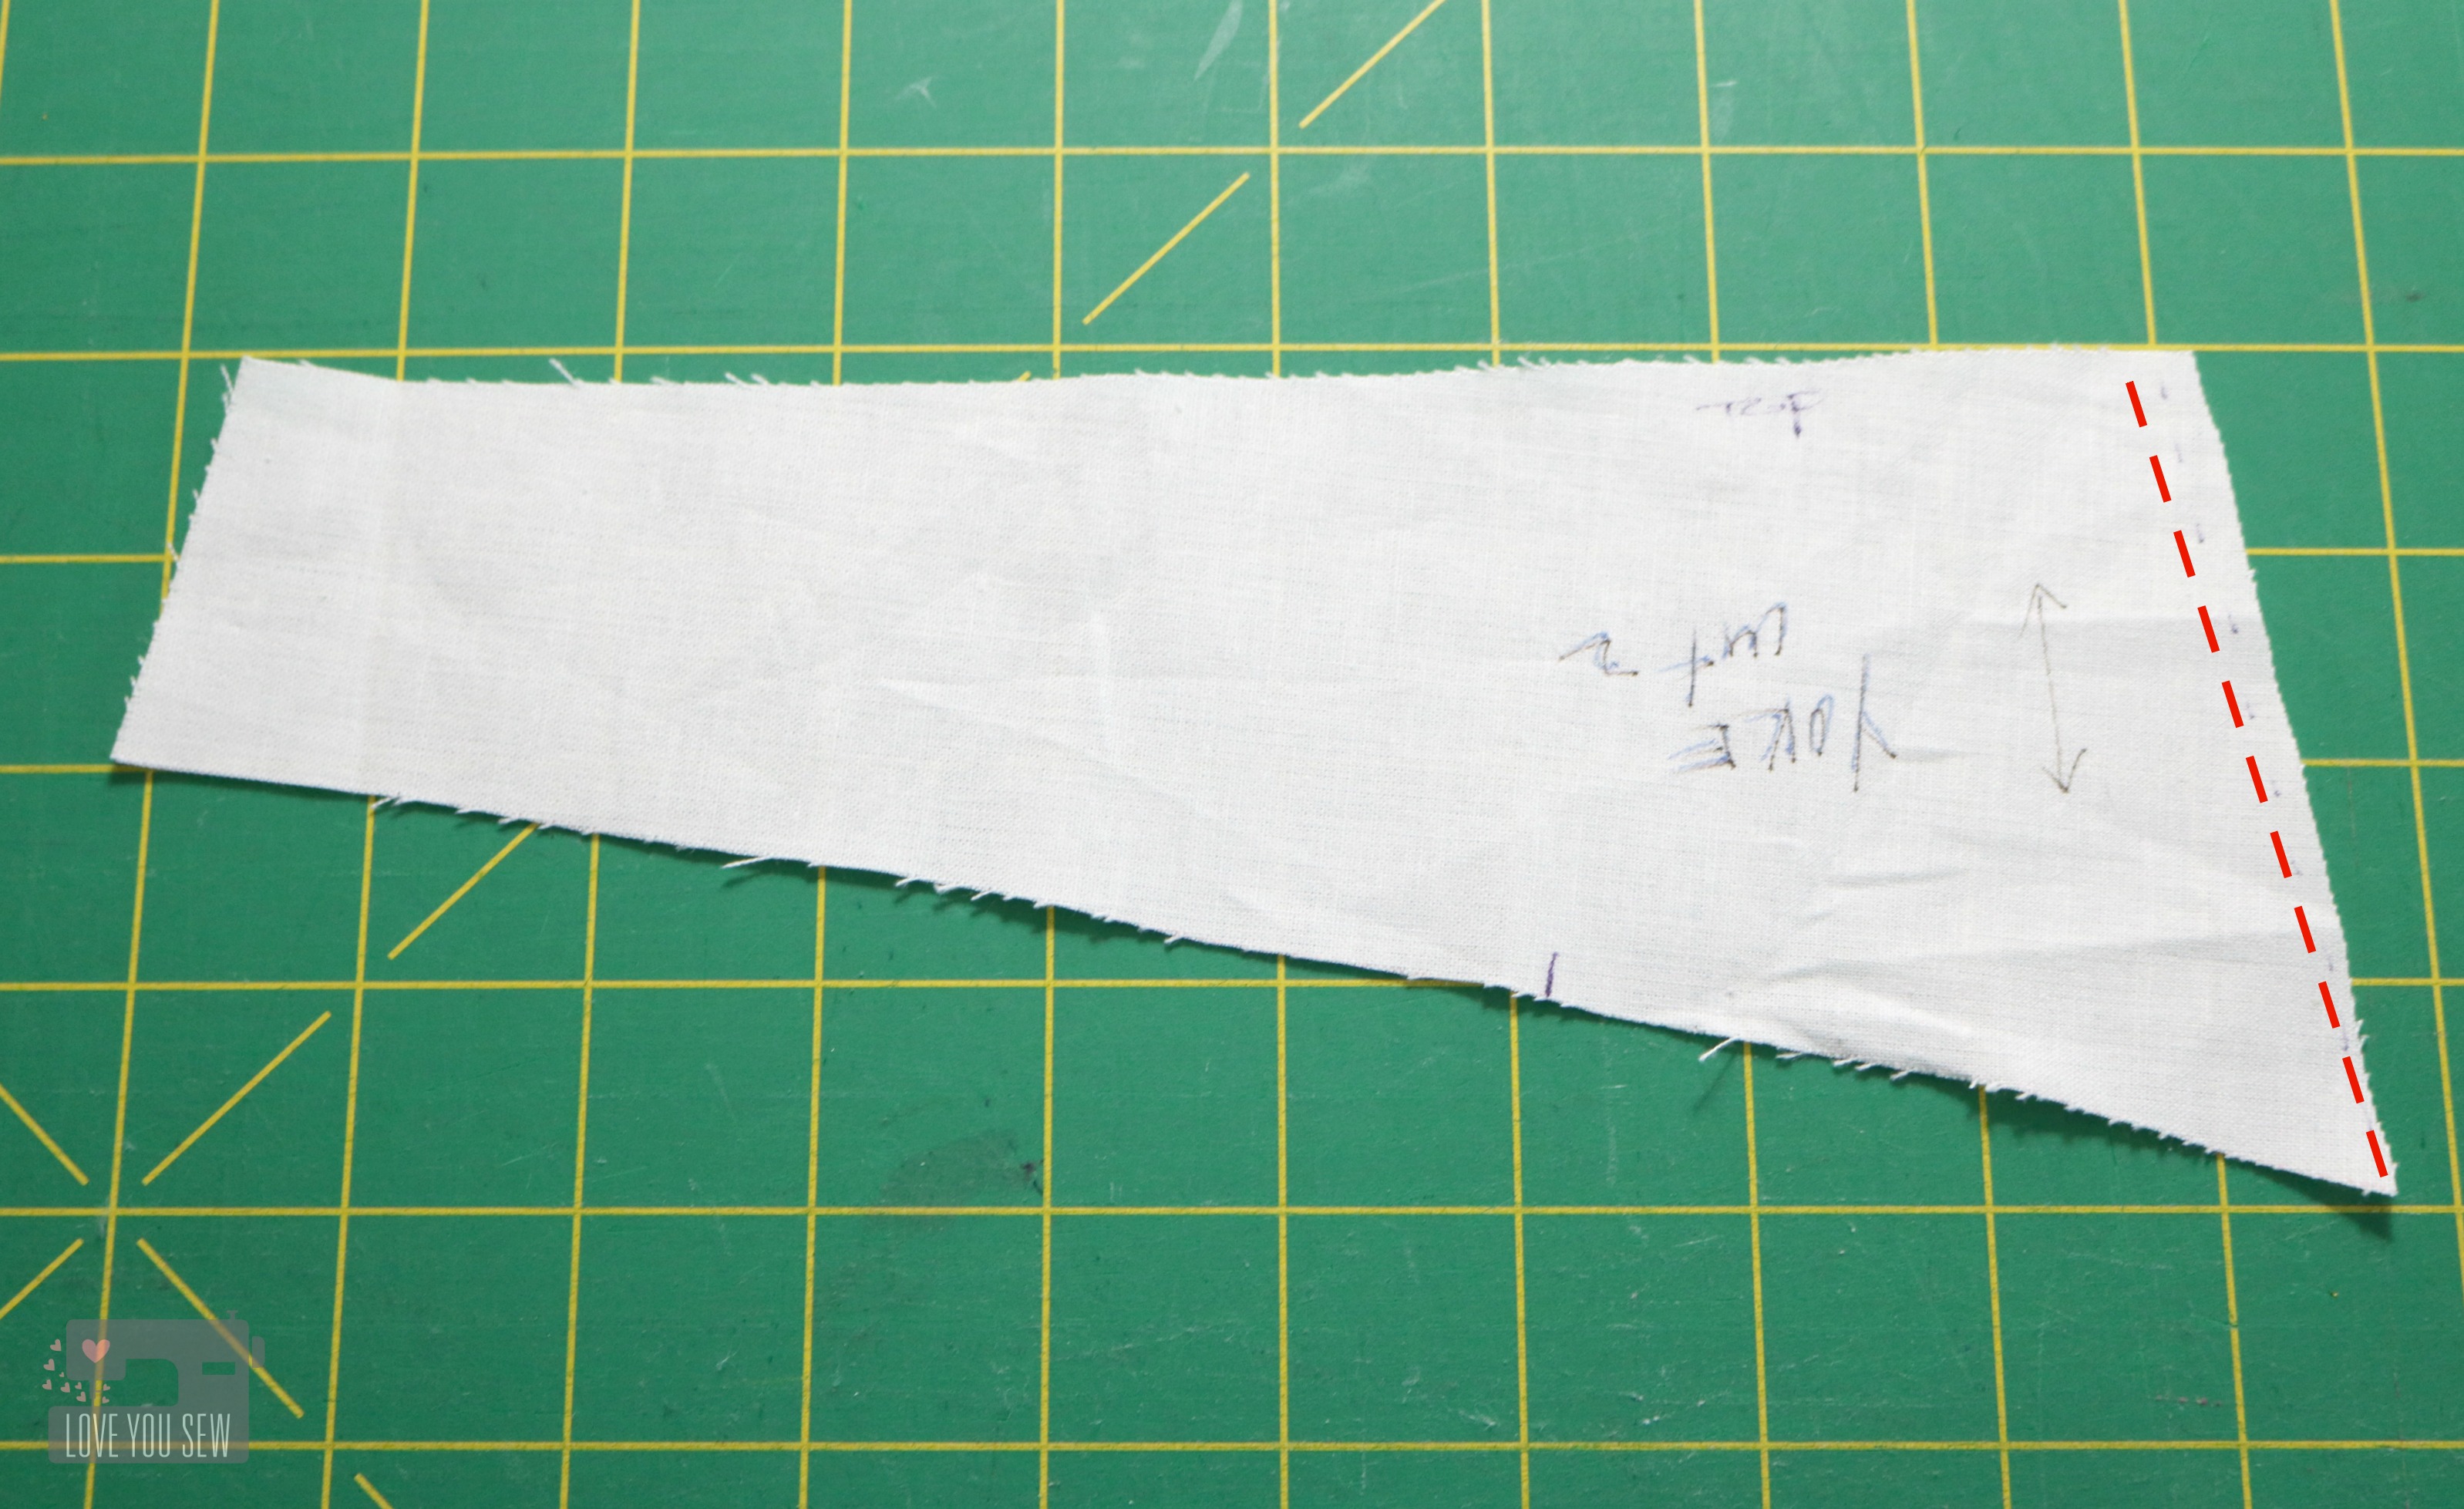
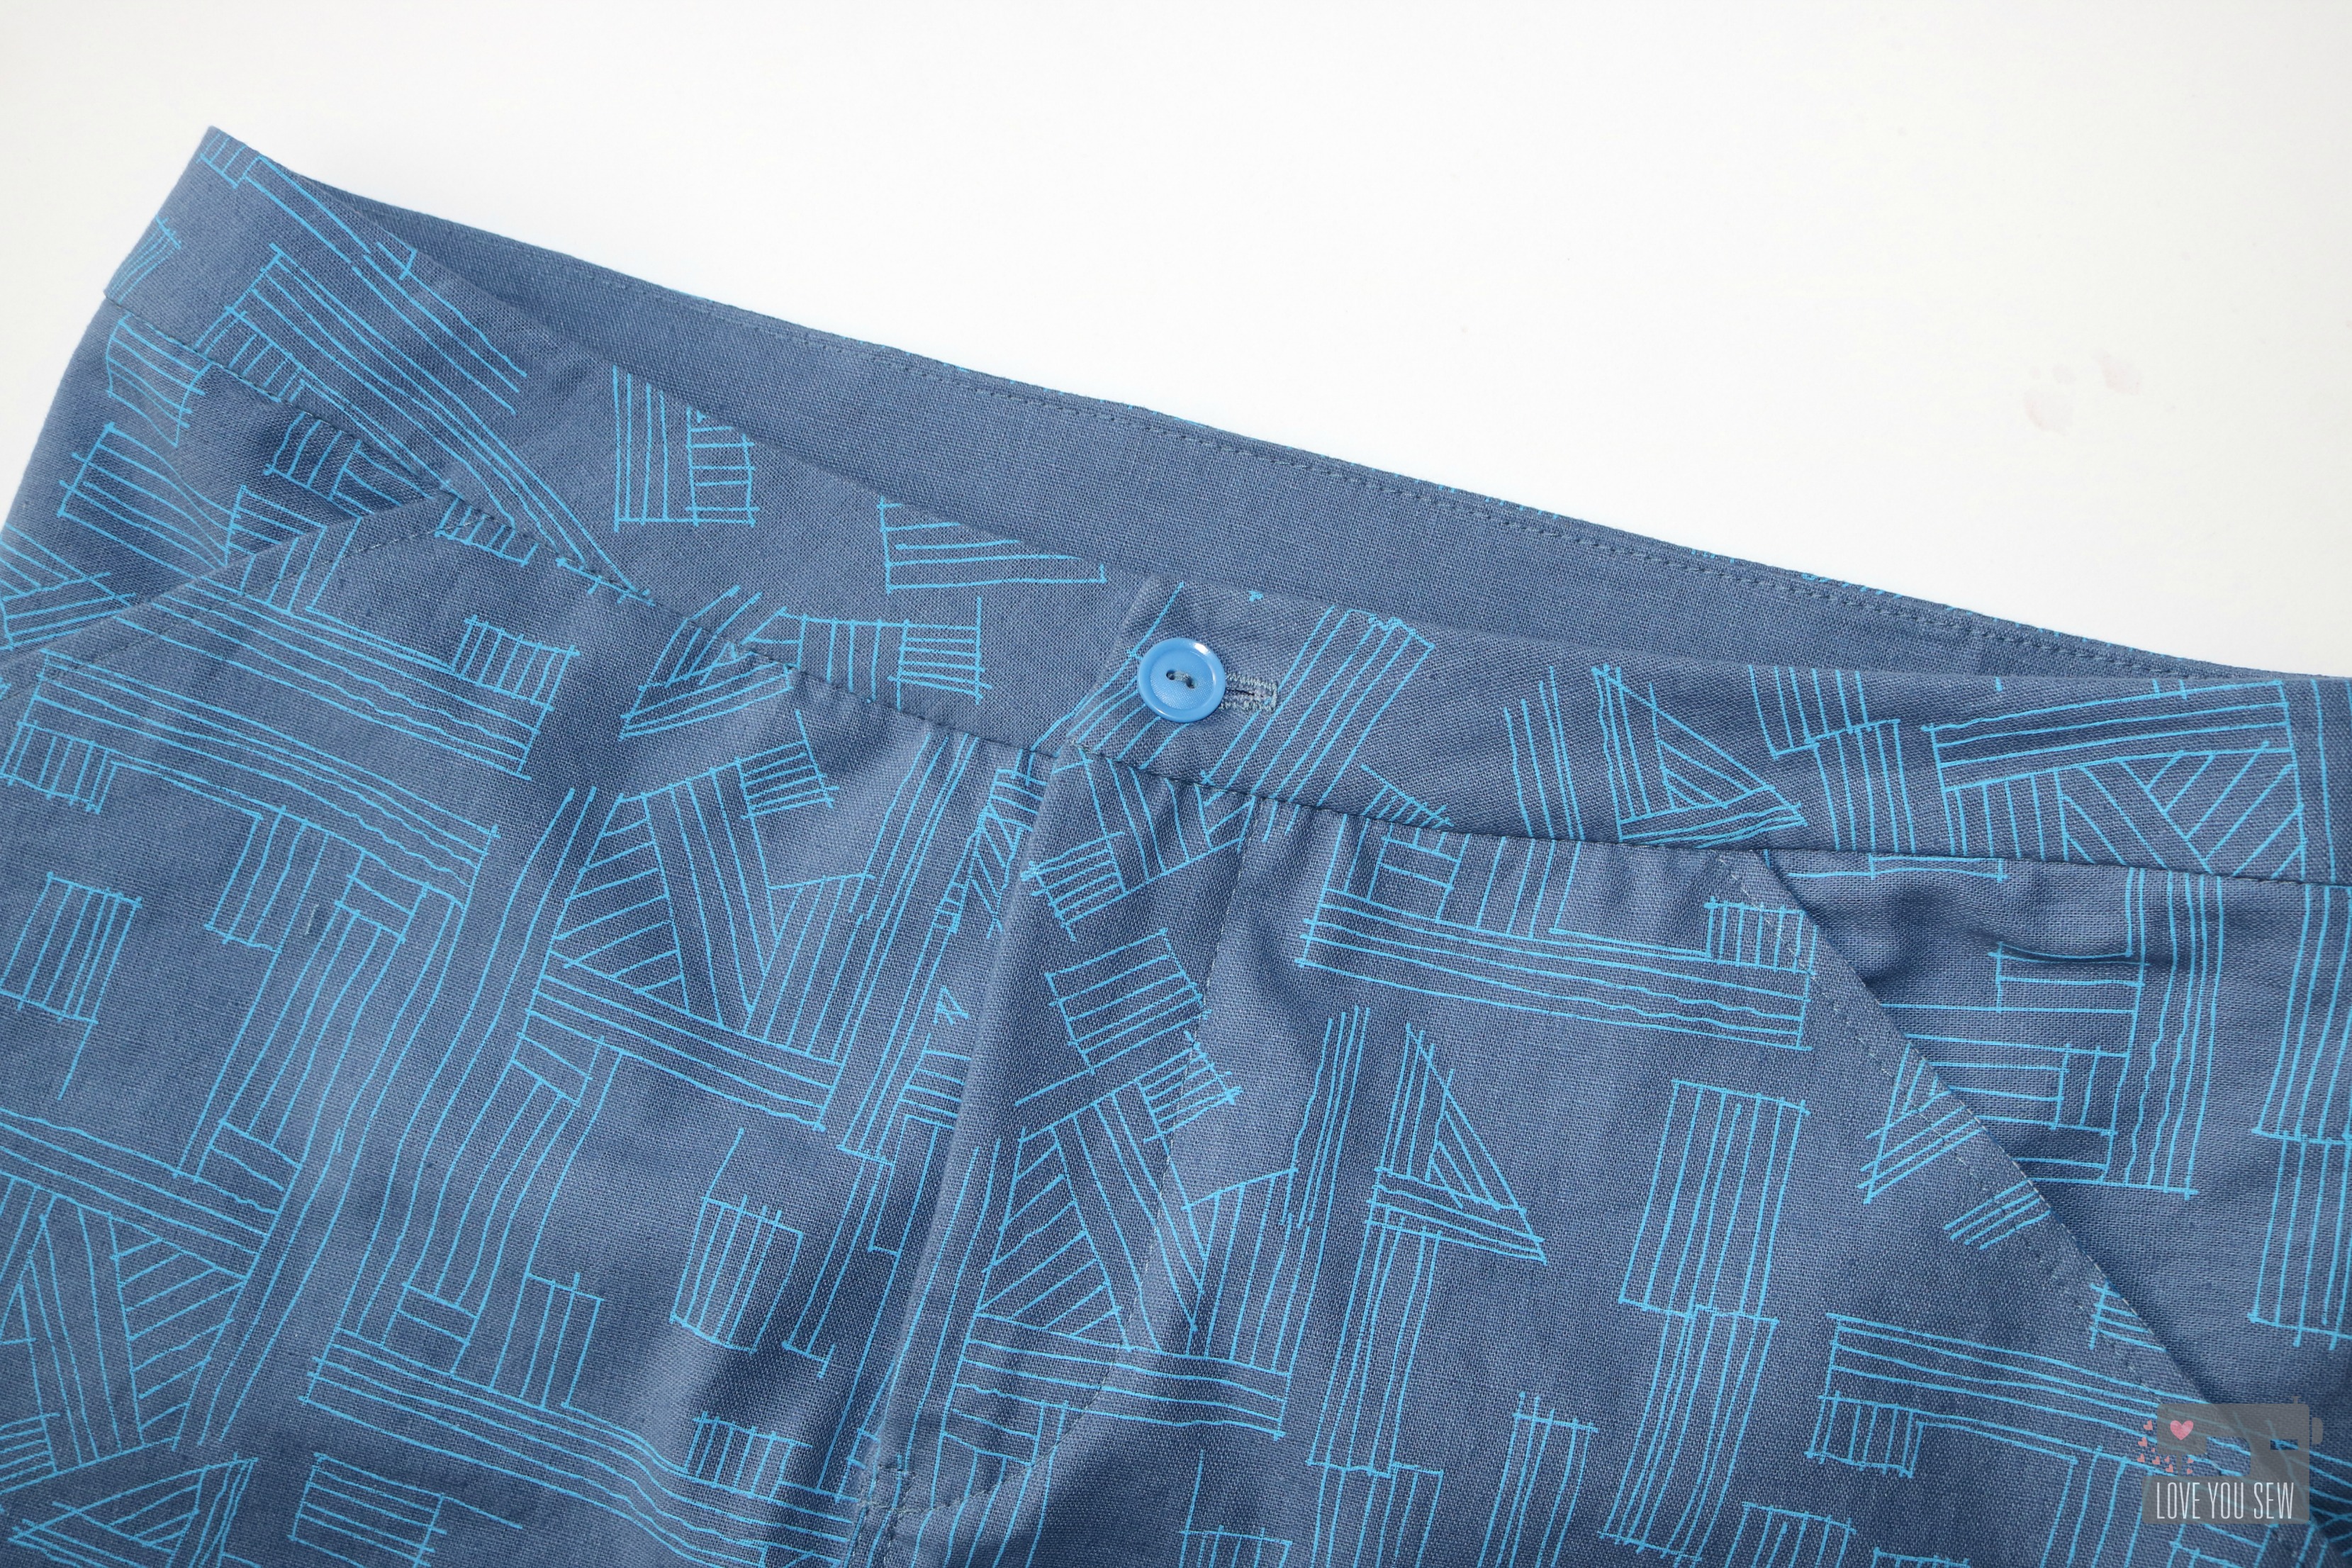
After learning from my first Moss, I knew I had to adjust the back yoke to get rid of the gap. You can see (on the dotted line above) how I cut into the yoke pattern piece on an angle to leave the room for my rear but move the waistline closer to my back.
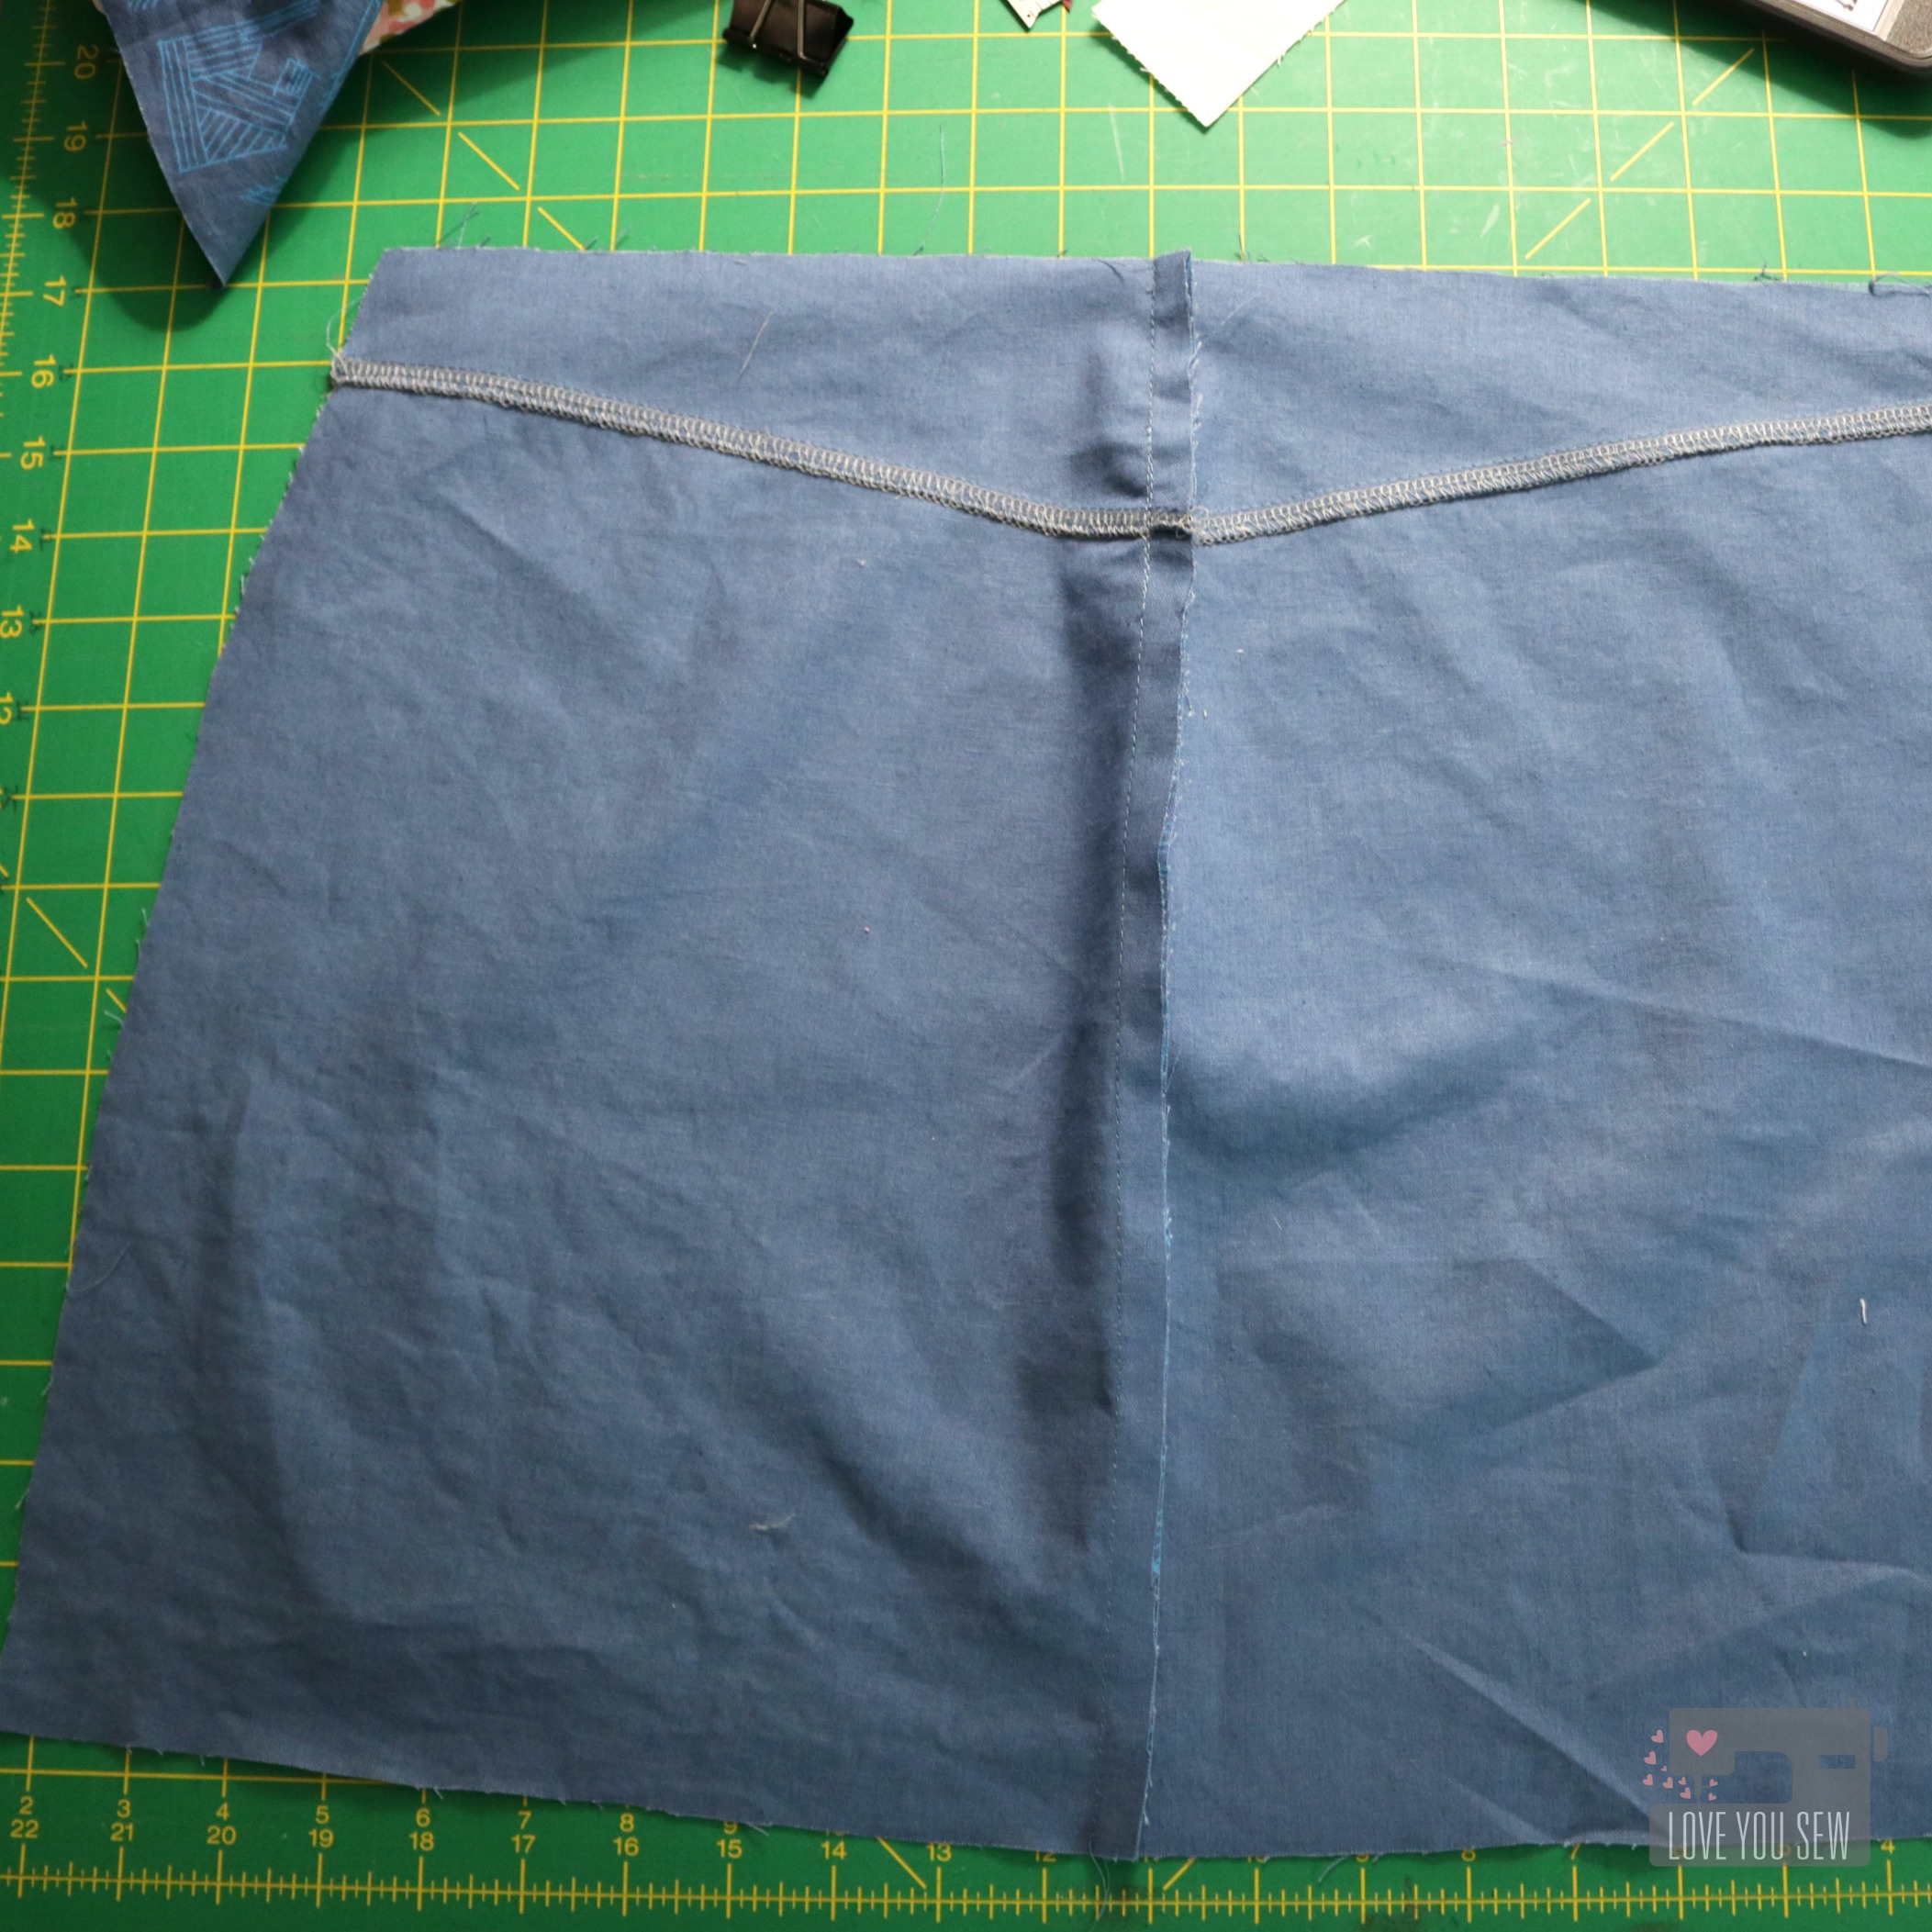
The other other learning was to keep my vertical seams unfinished until I was ready to add the waistband and hem. This allowed me to make just slight tweaks to curve my seams, if needed. Once I was satisfied with fit, I serged my seams.
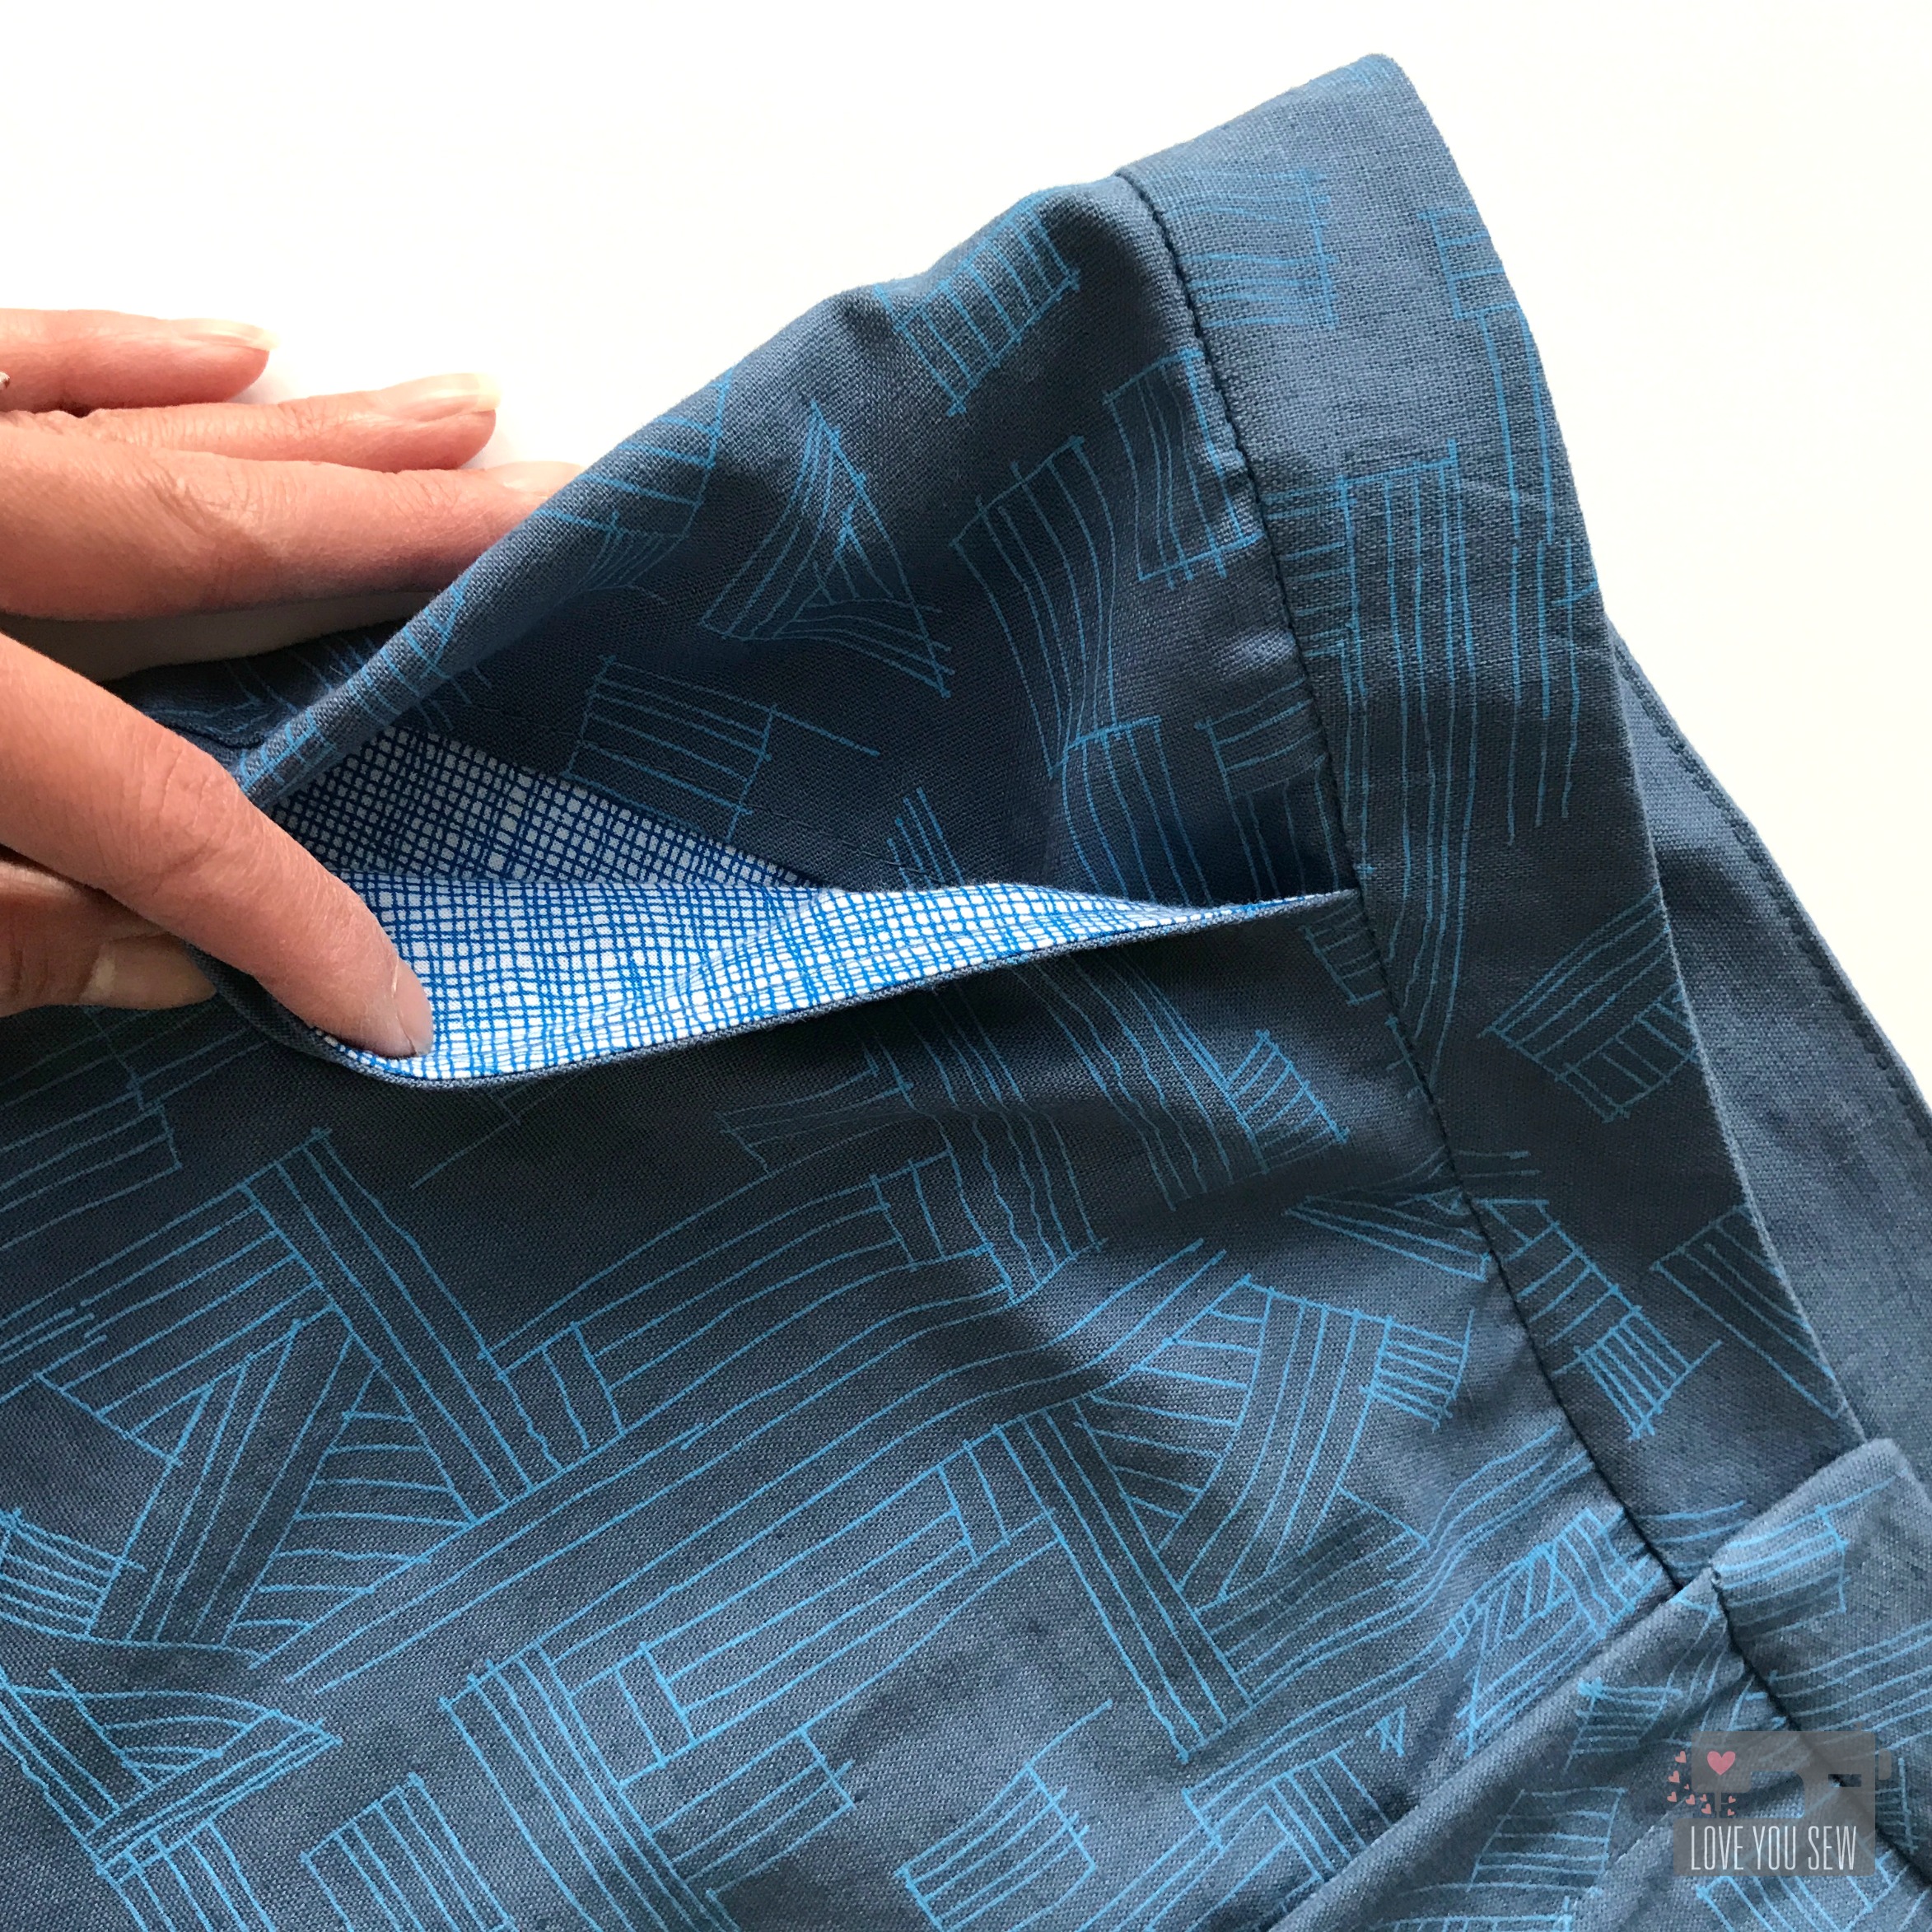
For some fun and to keep the silhouette smooth, I used Architextures Gridlines for my pockets. This allowed me to use some scrap fabric and reduce the bulk if I would’ve kept to the same cotton/linen blend.

As I moved through the pattern pieces, I mimicked the same top-stitching as seen on a pair of ready-to-wear jeans. I love how it turned out! Be sure to increase the stitch length and go slowly to ensure nice straight line.
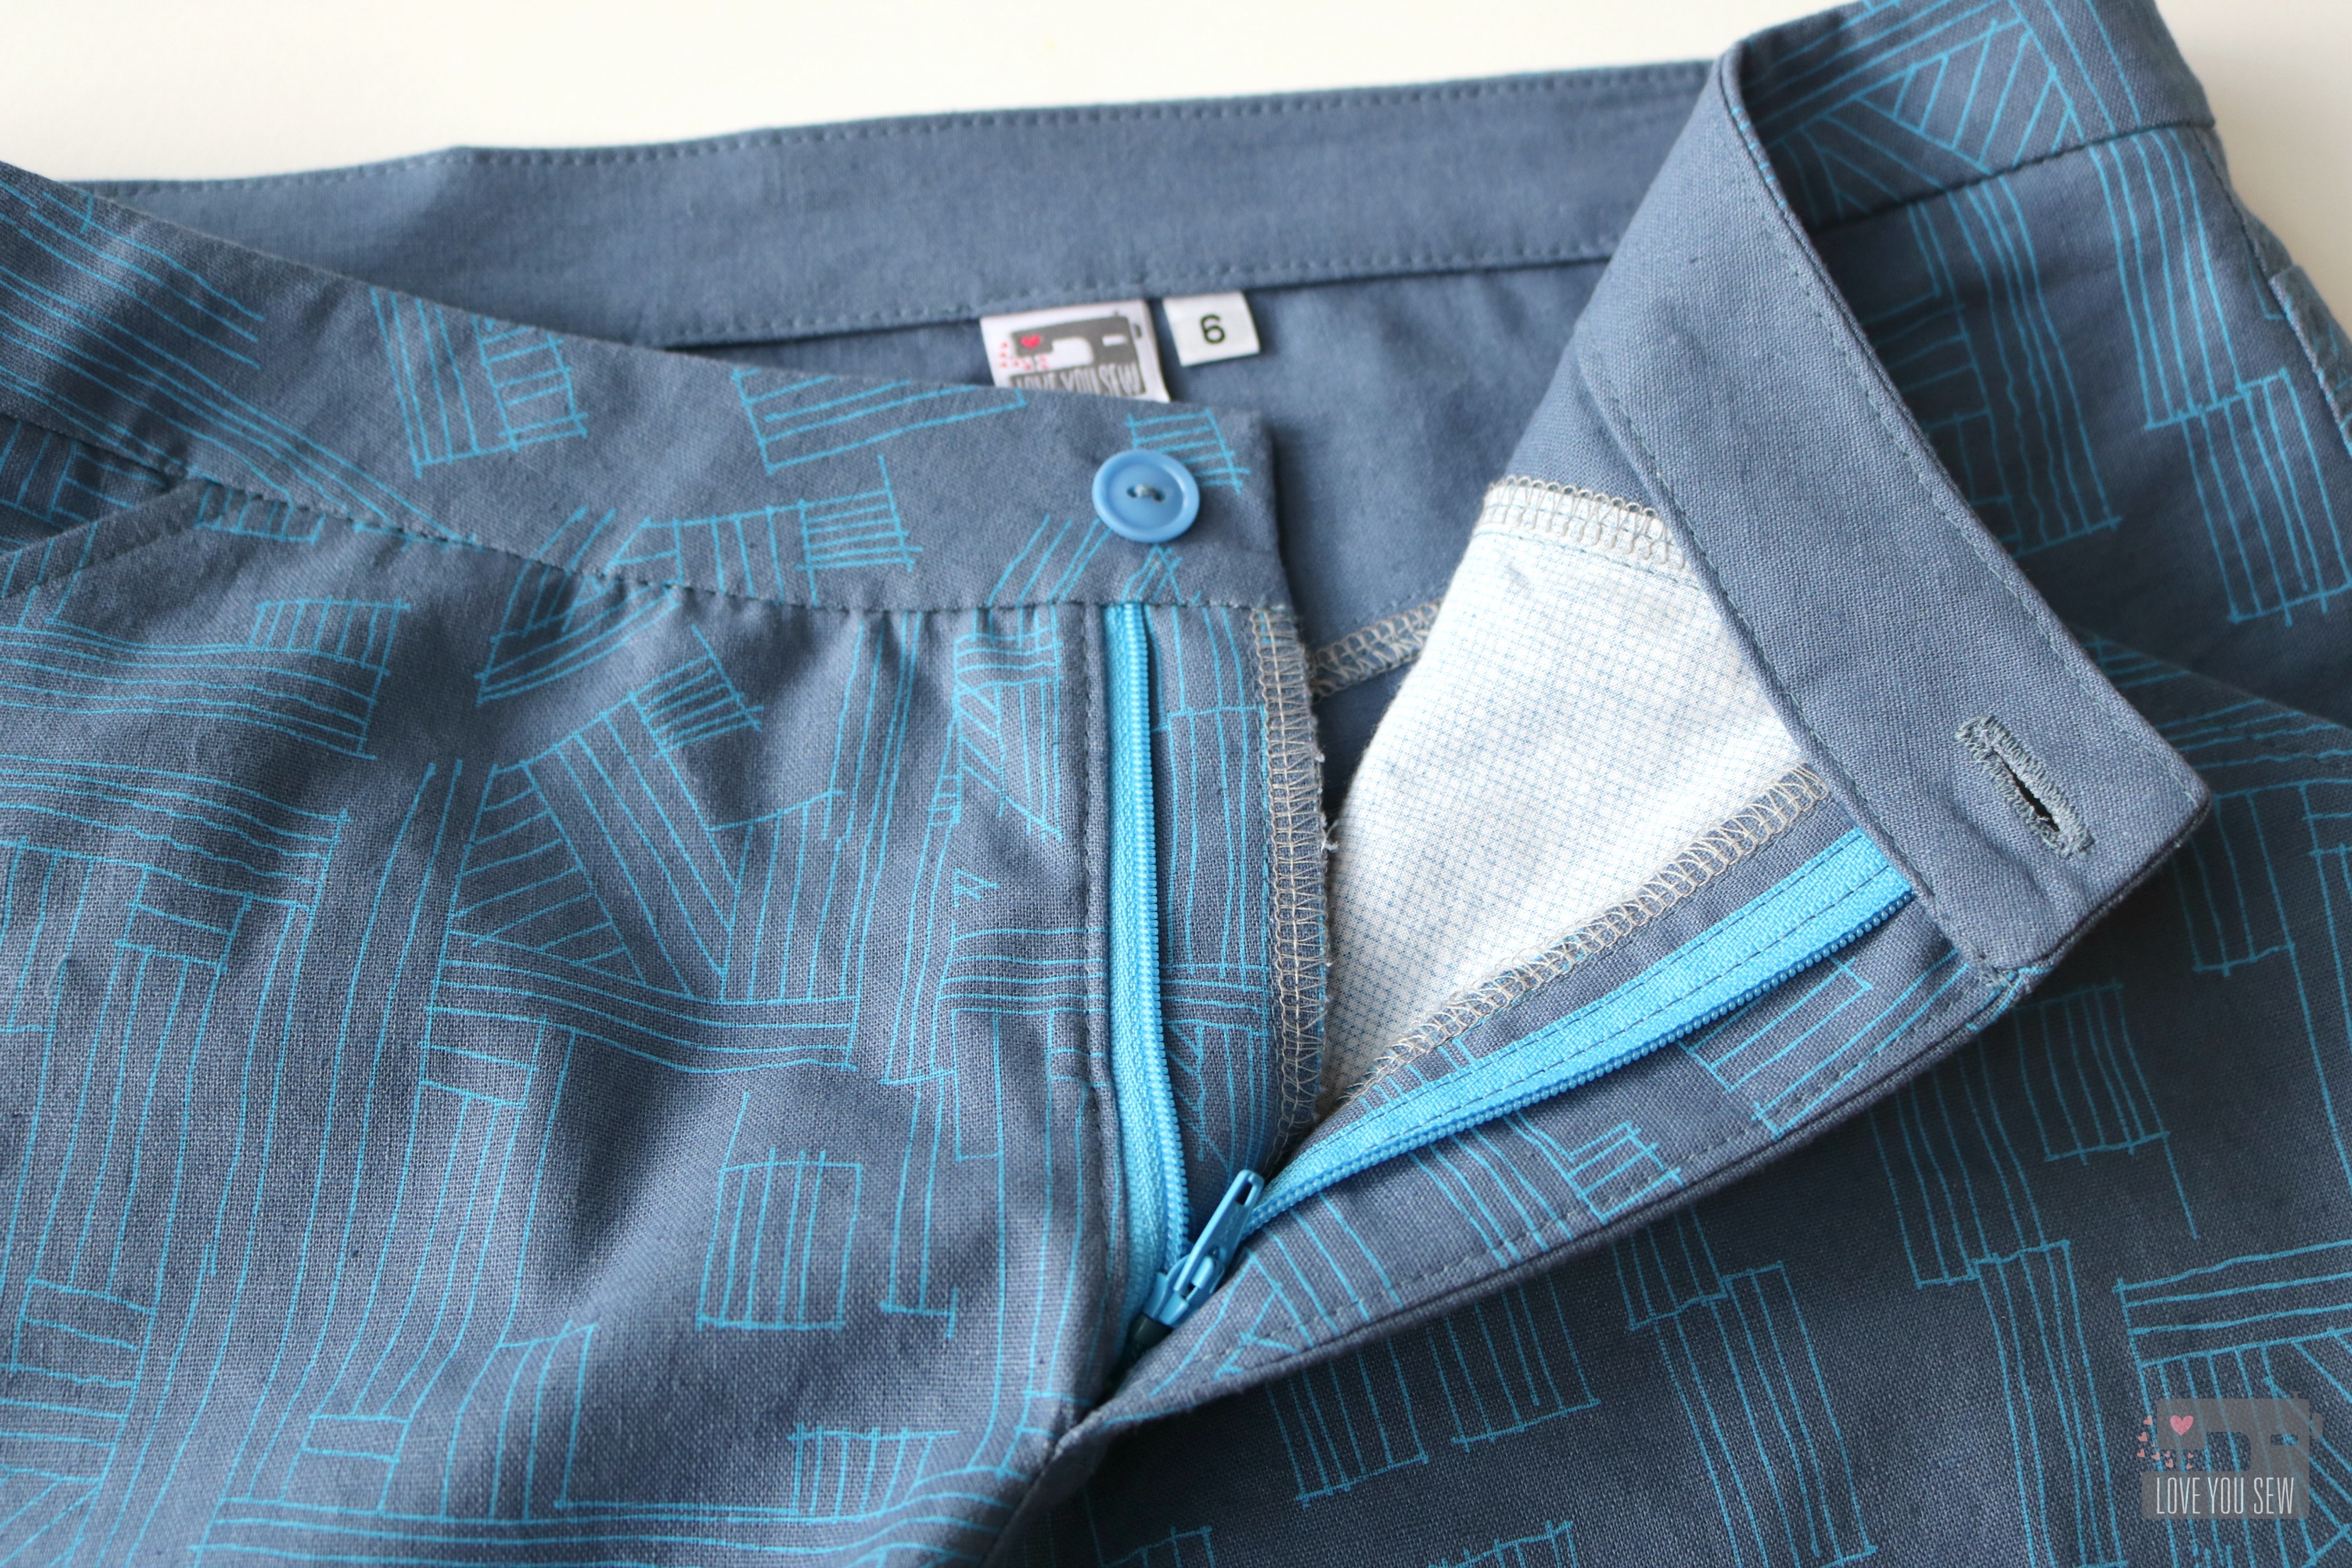
The great thing about making your clothes, not only for the custom fit, is being able to add so many special touches. Like the pockets, I added a contrasting zipper and button for fun. The button came from my MIL’s long hoarded collection and it reminds me of her as I wear this new garment.
For the waistband, I decided to machine stitch the inside down verses slip-stitching it as the pattern calls. I’m a busy mom and I try to machine wash and dry as much as I can. For me, a machine stitch would just hold up better with my lifestyle. This lady does not have time for all that hand-washing! I pressed the interior band down just wide enough to just cover the seam and stitches. (If you have any branding or sizing tags, this is the perfect time to pin them in.) I used a Sewline glue pen to keep the interior waistband in place while I stitched-in-the-ditch along the exterior. This allows me to just catch the interior band.
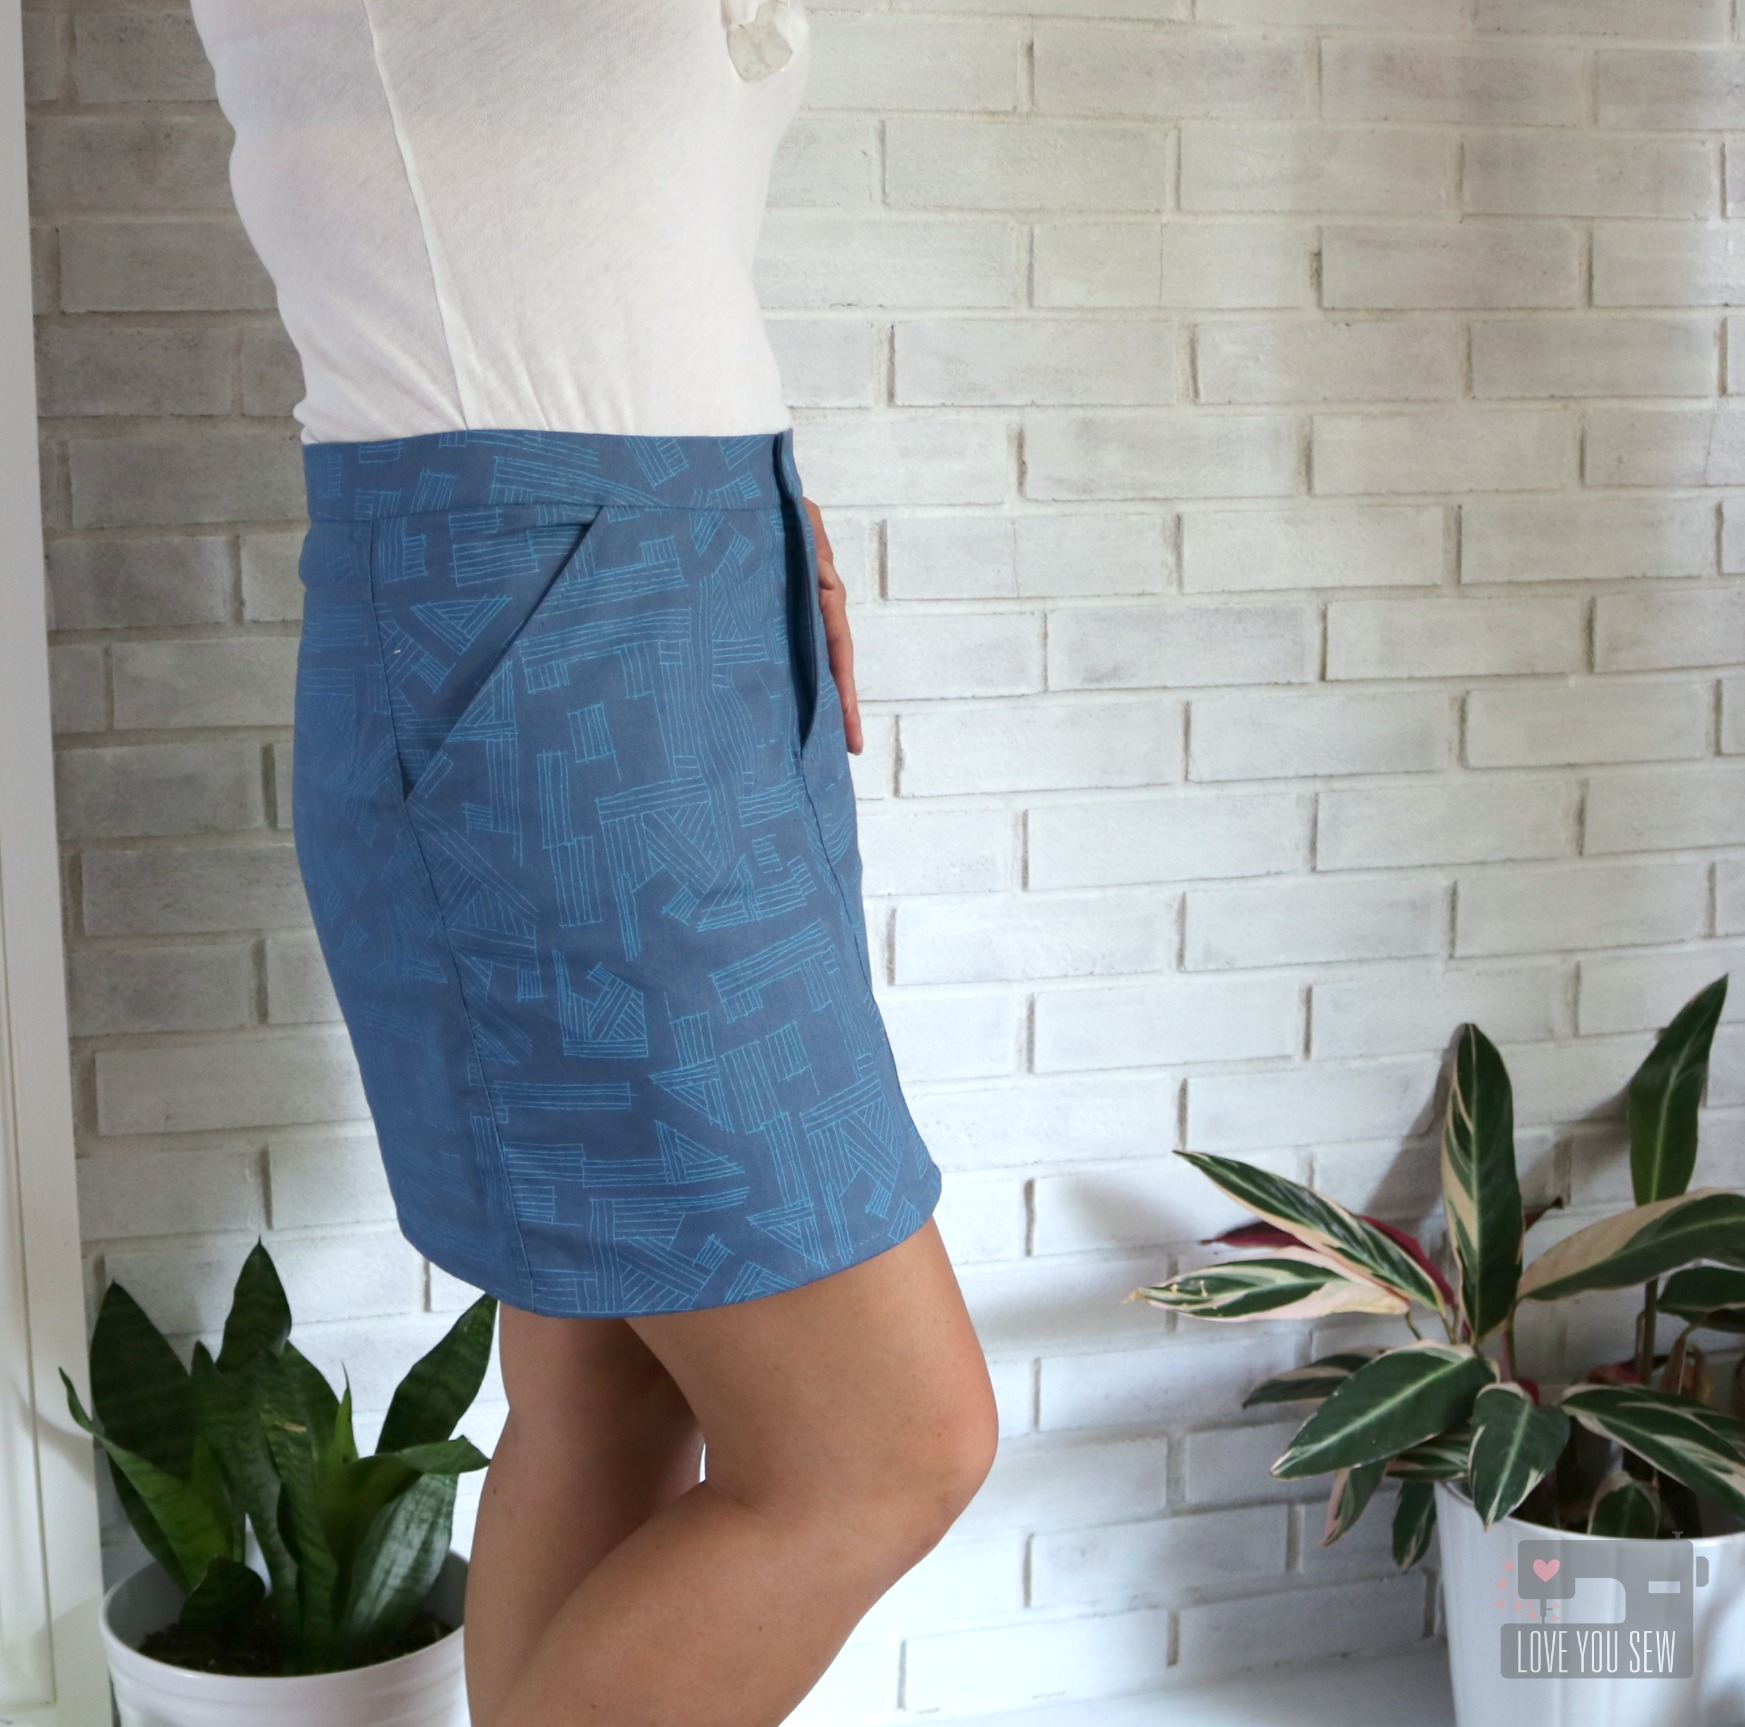
With View A, I hemmed as directed. This length was perfect on my 5’3″ frame. It hits a few inches above the knee, but is perfect for the summer. If I was any taller, this might be a tad too short for my “mom” lifestyle which requires a lot of bending up and down…and sometimes a bit of unexpected climbing. 🙂
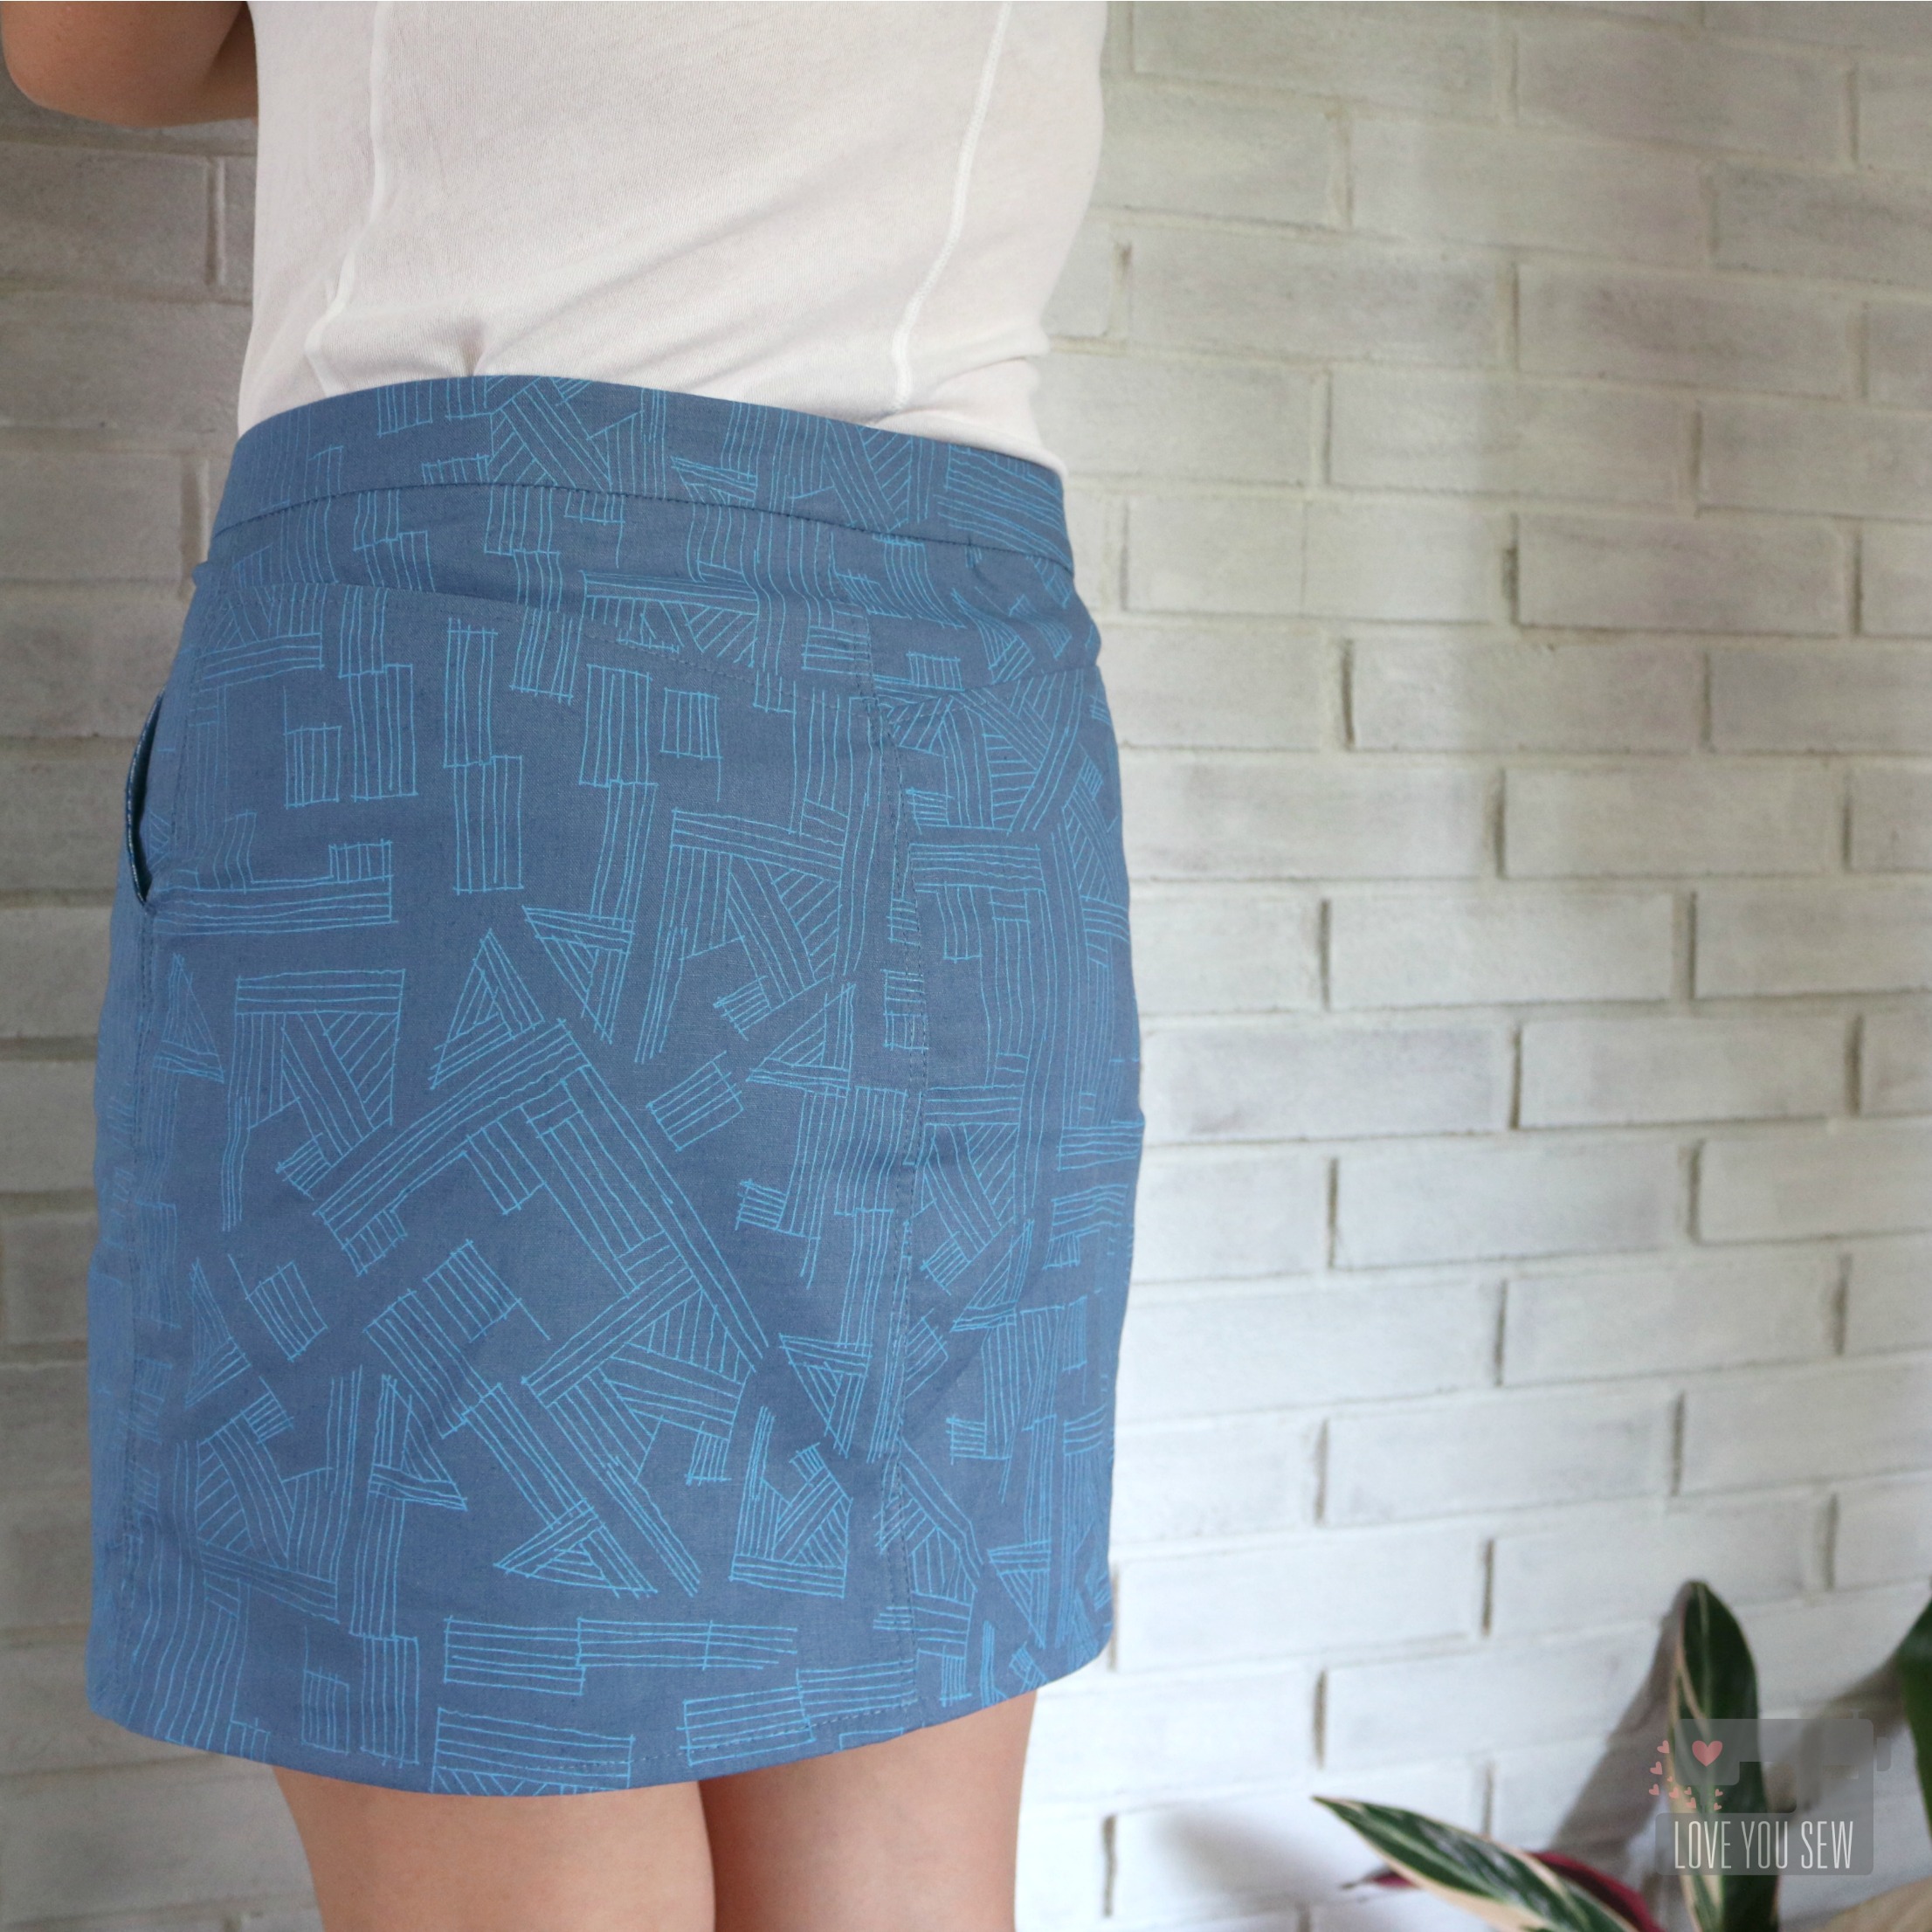
As I’ve been building my handmade wardrobe, I’ve been selective in choosing some slimmer silhouettes for my petite frame. I am heavier in the arms and legs, thus like to emphasize my waistline. This is the perfect skirt pattern for just that. The clean lines and waistband keep everything smooth to draw the eye up and down. The printing on the fabric is just the right scale to keep everything in place and not over emphasize one part or the other. 😉
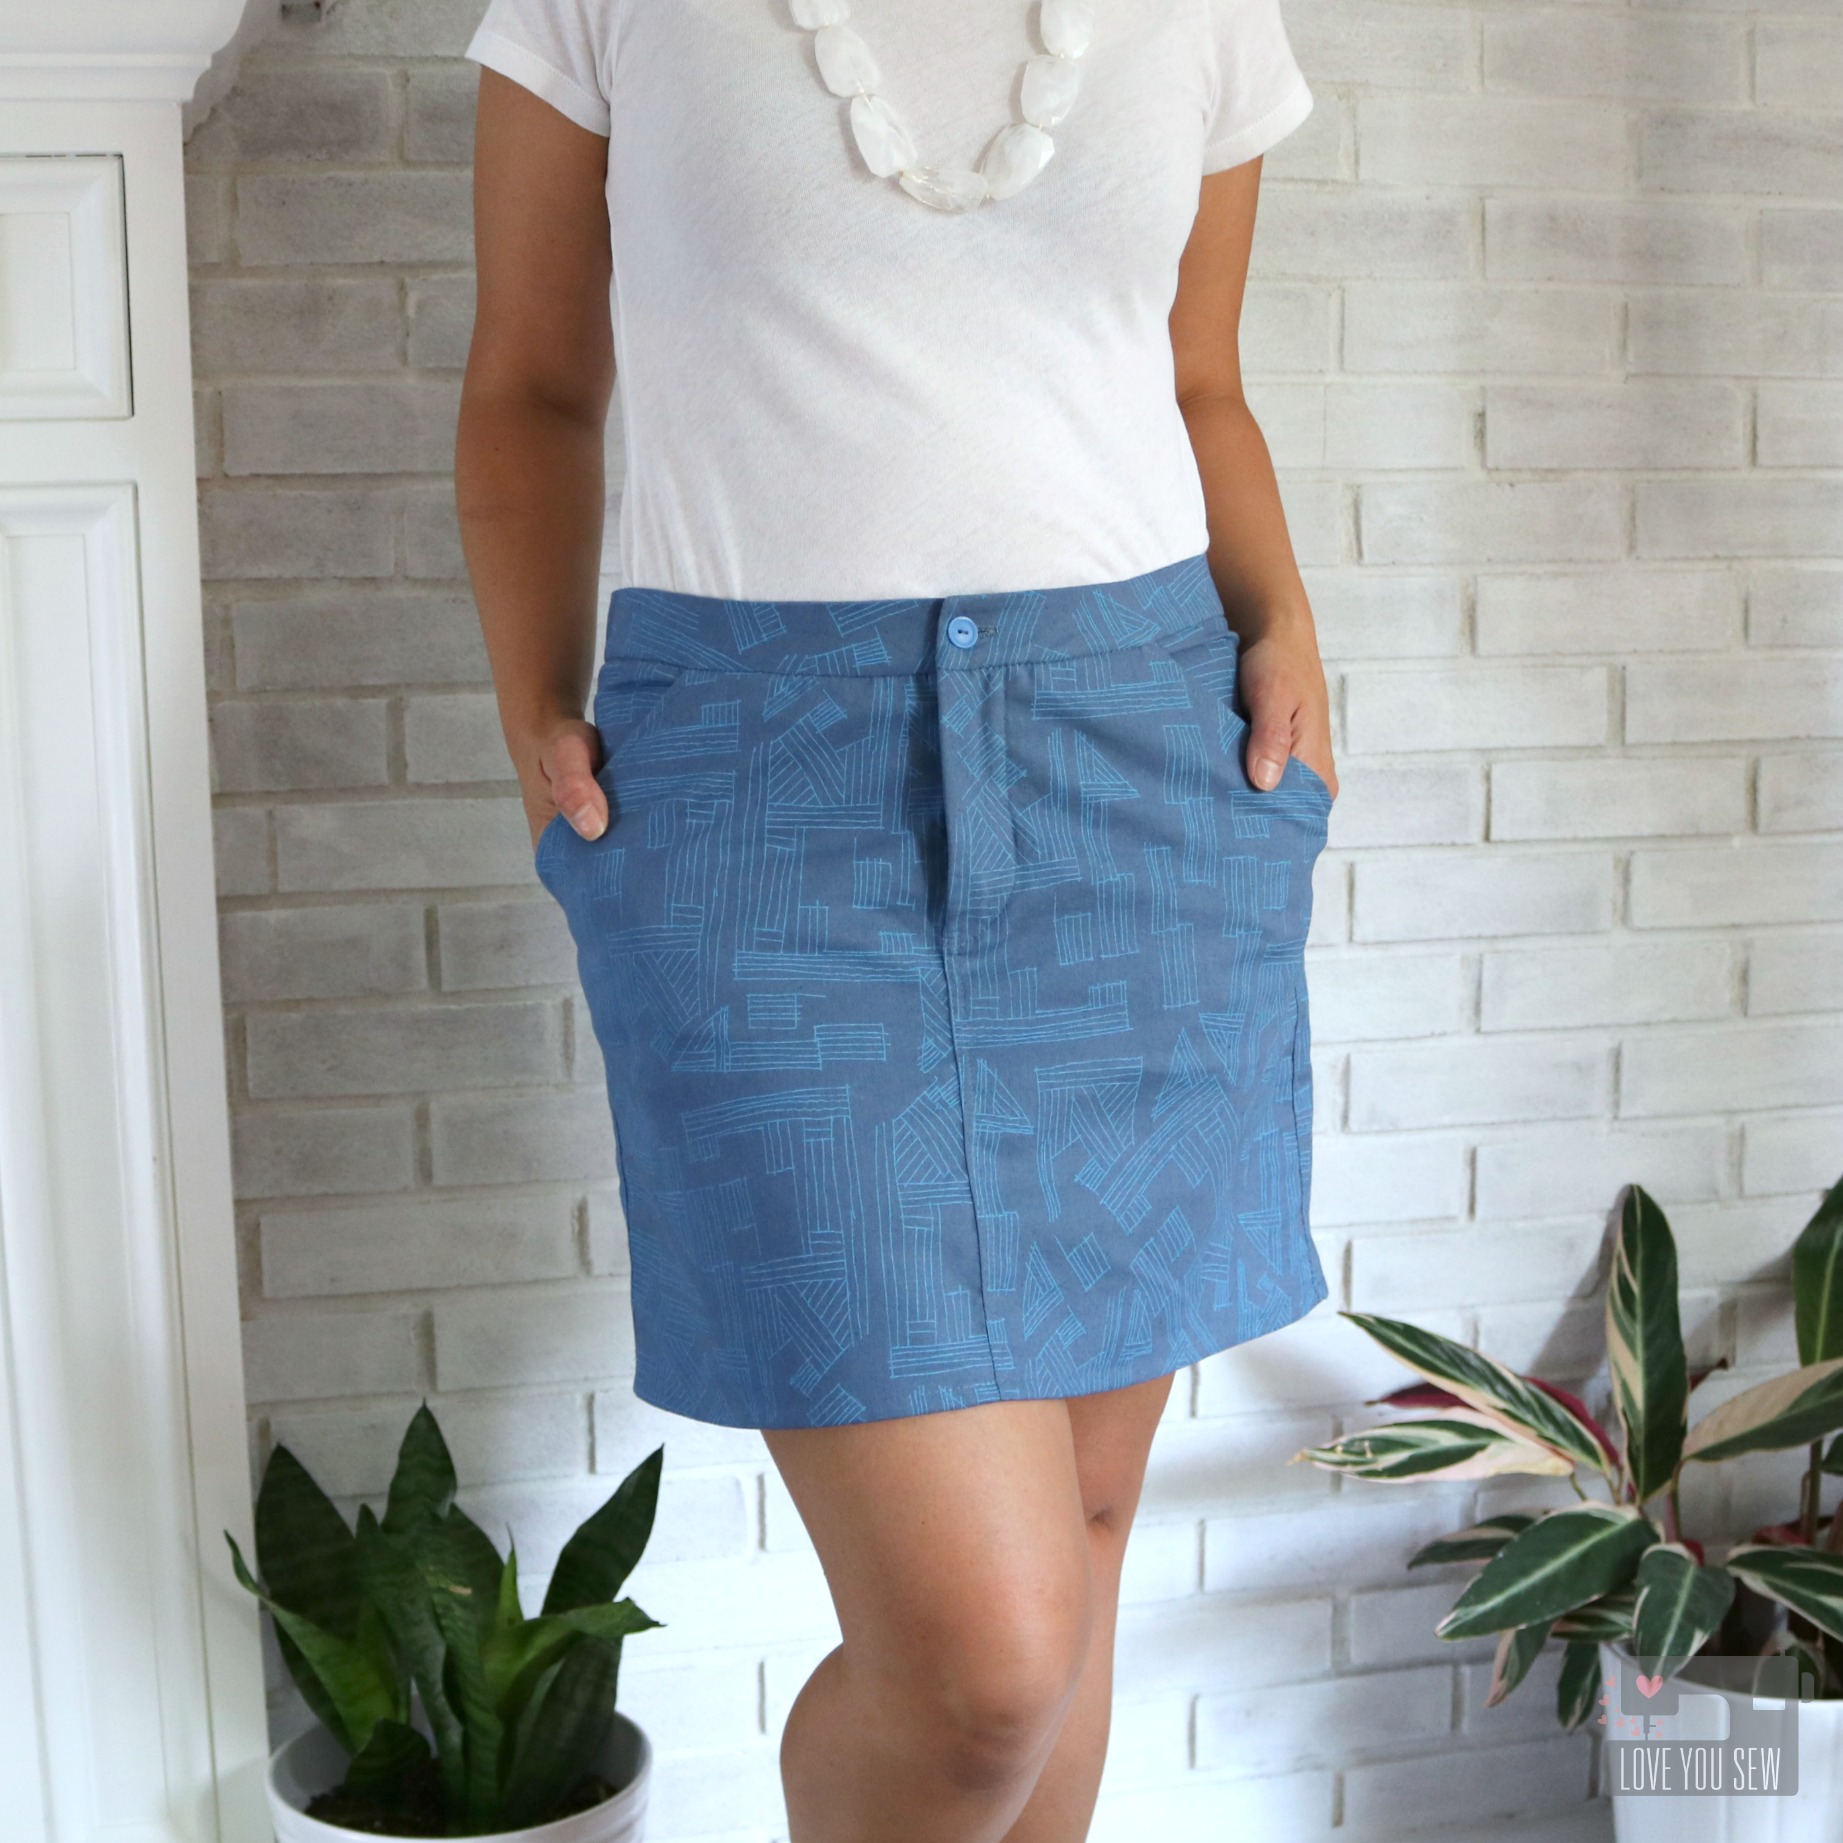
I love how I can pair this skirt with just a white tee and the outfit still looks polished. I’m hoping to extend this skirt’s life with some heavy tights and cute clogs with a slim long-sleeve tee in the fall. Check out my IG feed to see how it pairs with a yellow and white striped tank and the other outfit pairings!
Project Details:
- Pattern: Moss Skirt by Grainline Patterns
- Exterior Fabric: Euclid in Cadet by Carolyn Friedlander for Robert Kaufman Fabrics from Fabric.com
- Pocket Fabric: Architextures Gridlines in by Carolyn Friedlander for Robert Kaufman Fabrics
- Piecing and Top-Stitching Thread: Gutermann 236 polyester
- Zipper: YKK from ZipIt Zippers
- Button: Vintage (manufacturer unknown)
Happy Sewing!
Cristy
Please note there are affiliate links.