I have never been to Quilt Market…but like almost every quilter I know, I want to….so much! For those who don’t know, it’s a semi-annual trade show for companies to exhibit their newest fabrics lines and related sewing products. It’s a way to see the newest stuff AND be able to get your hands on it months before they hit the general public.
Although, I haven’t been to Market, a part of me has. I had the great honor of working on a few items for April Rhodes‘ new fabric line, Bound for Art Gallery Fabrics. In true April design, it has a southwest feel with her bohemian flair….so you know I LOVE it! It is her most personal collection with her own organic drawings and influences from her love of macrame and fiber arts. Needless to say, when I was asked to make a few pieces, I jumped at the chance.
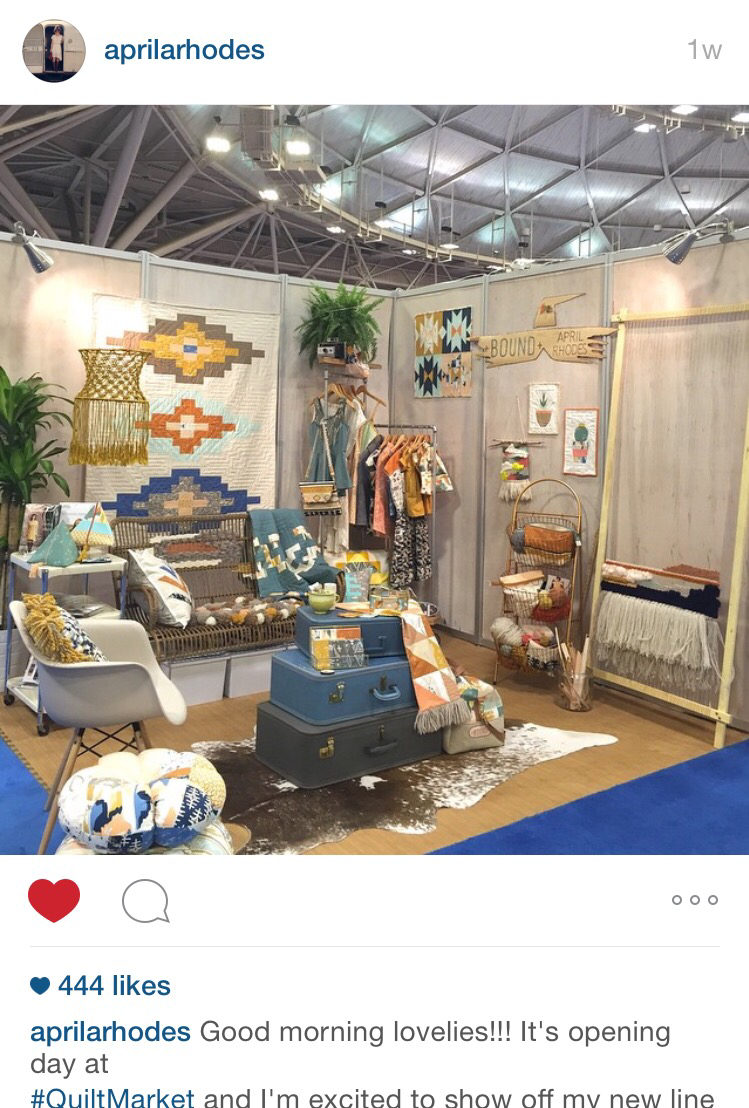
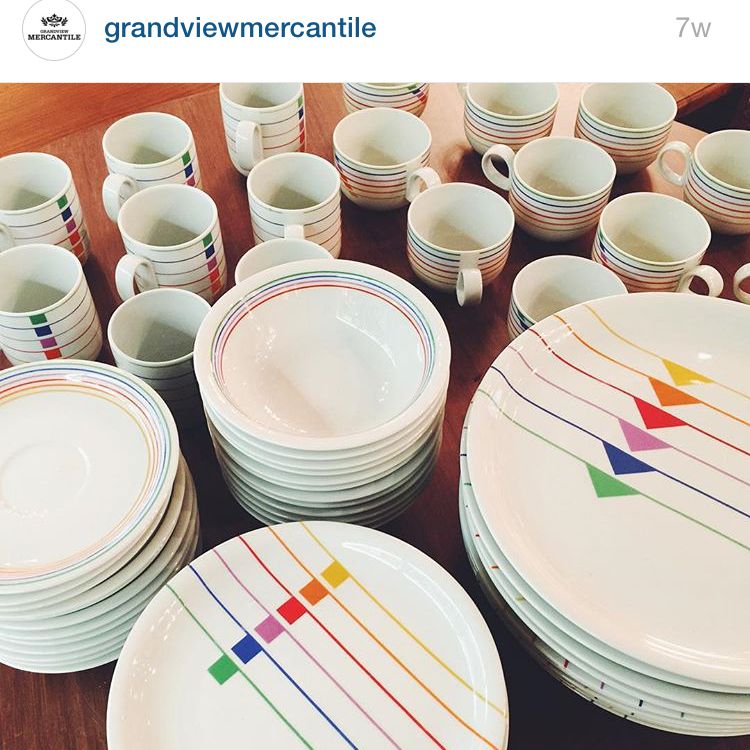
Photo from IG @aprilrhodes
Below are the three items that made it into April’s amazingly gorgeous Quilt Market booth:
1.) “Squash Blossom Bouquet” Mini Quilt
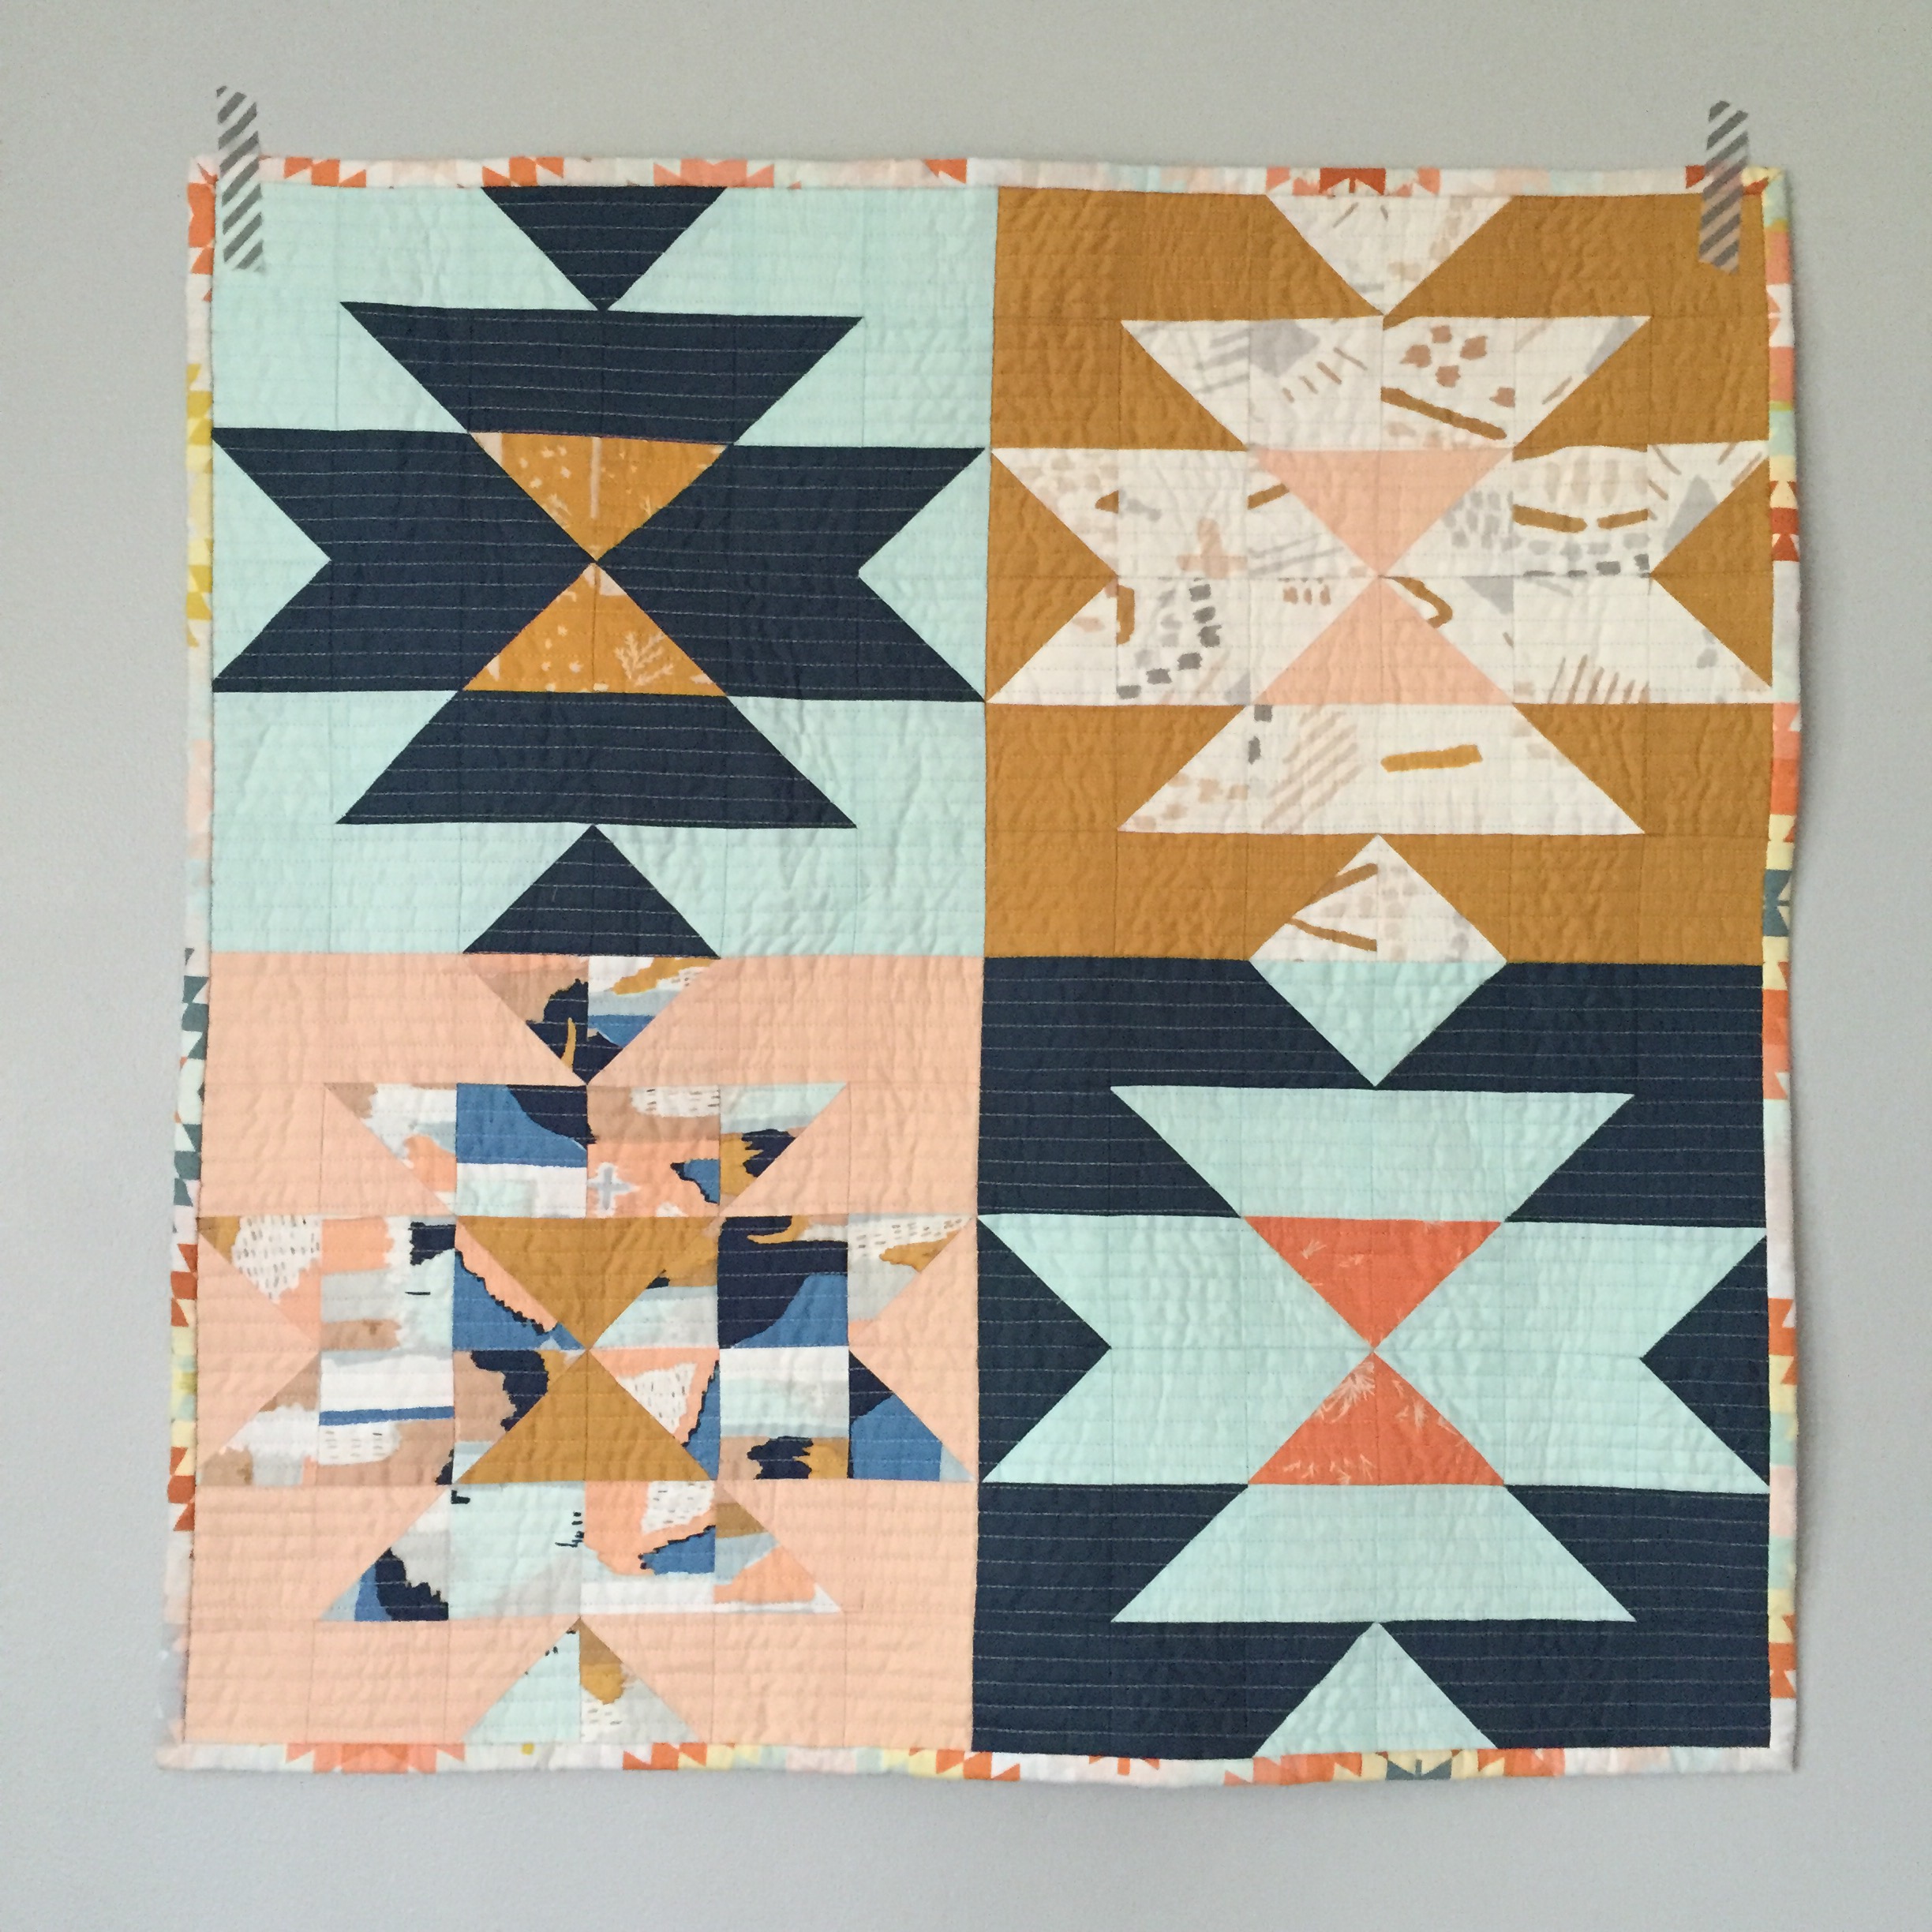
Squash Blossom Bouquet
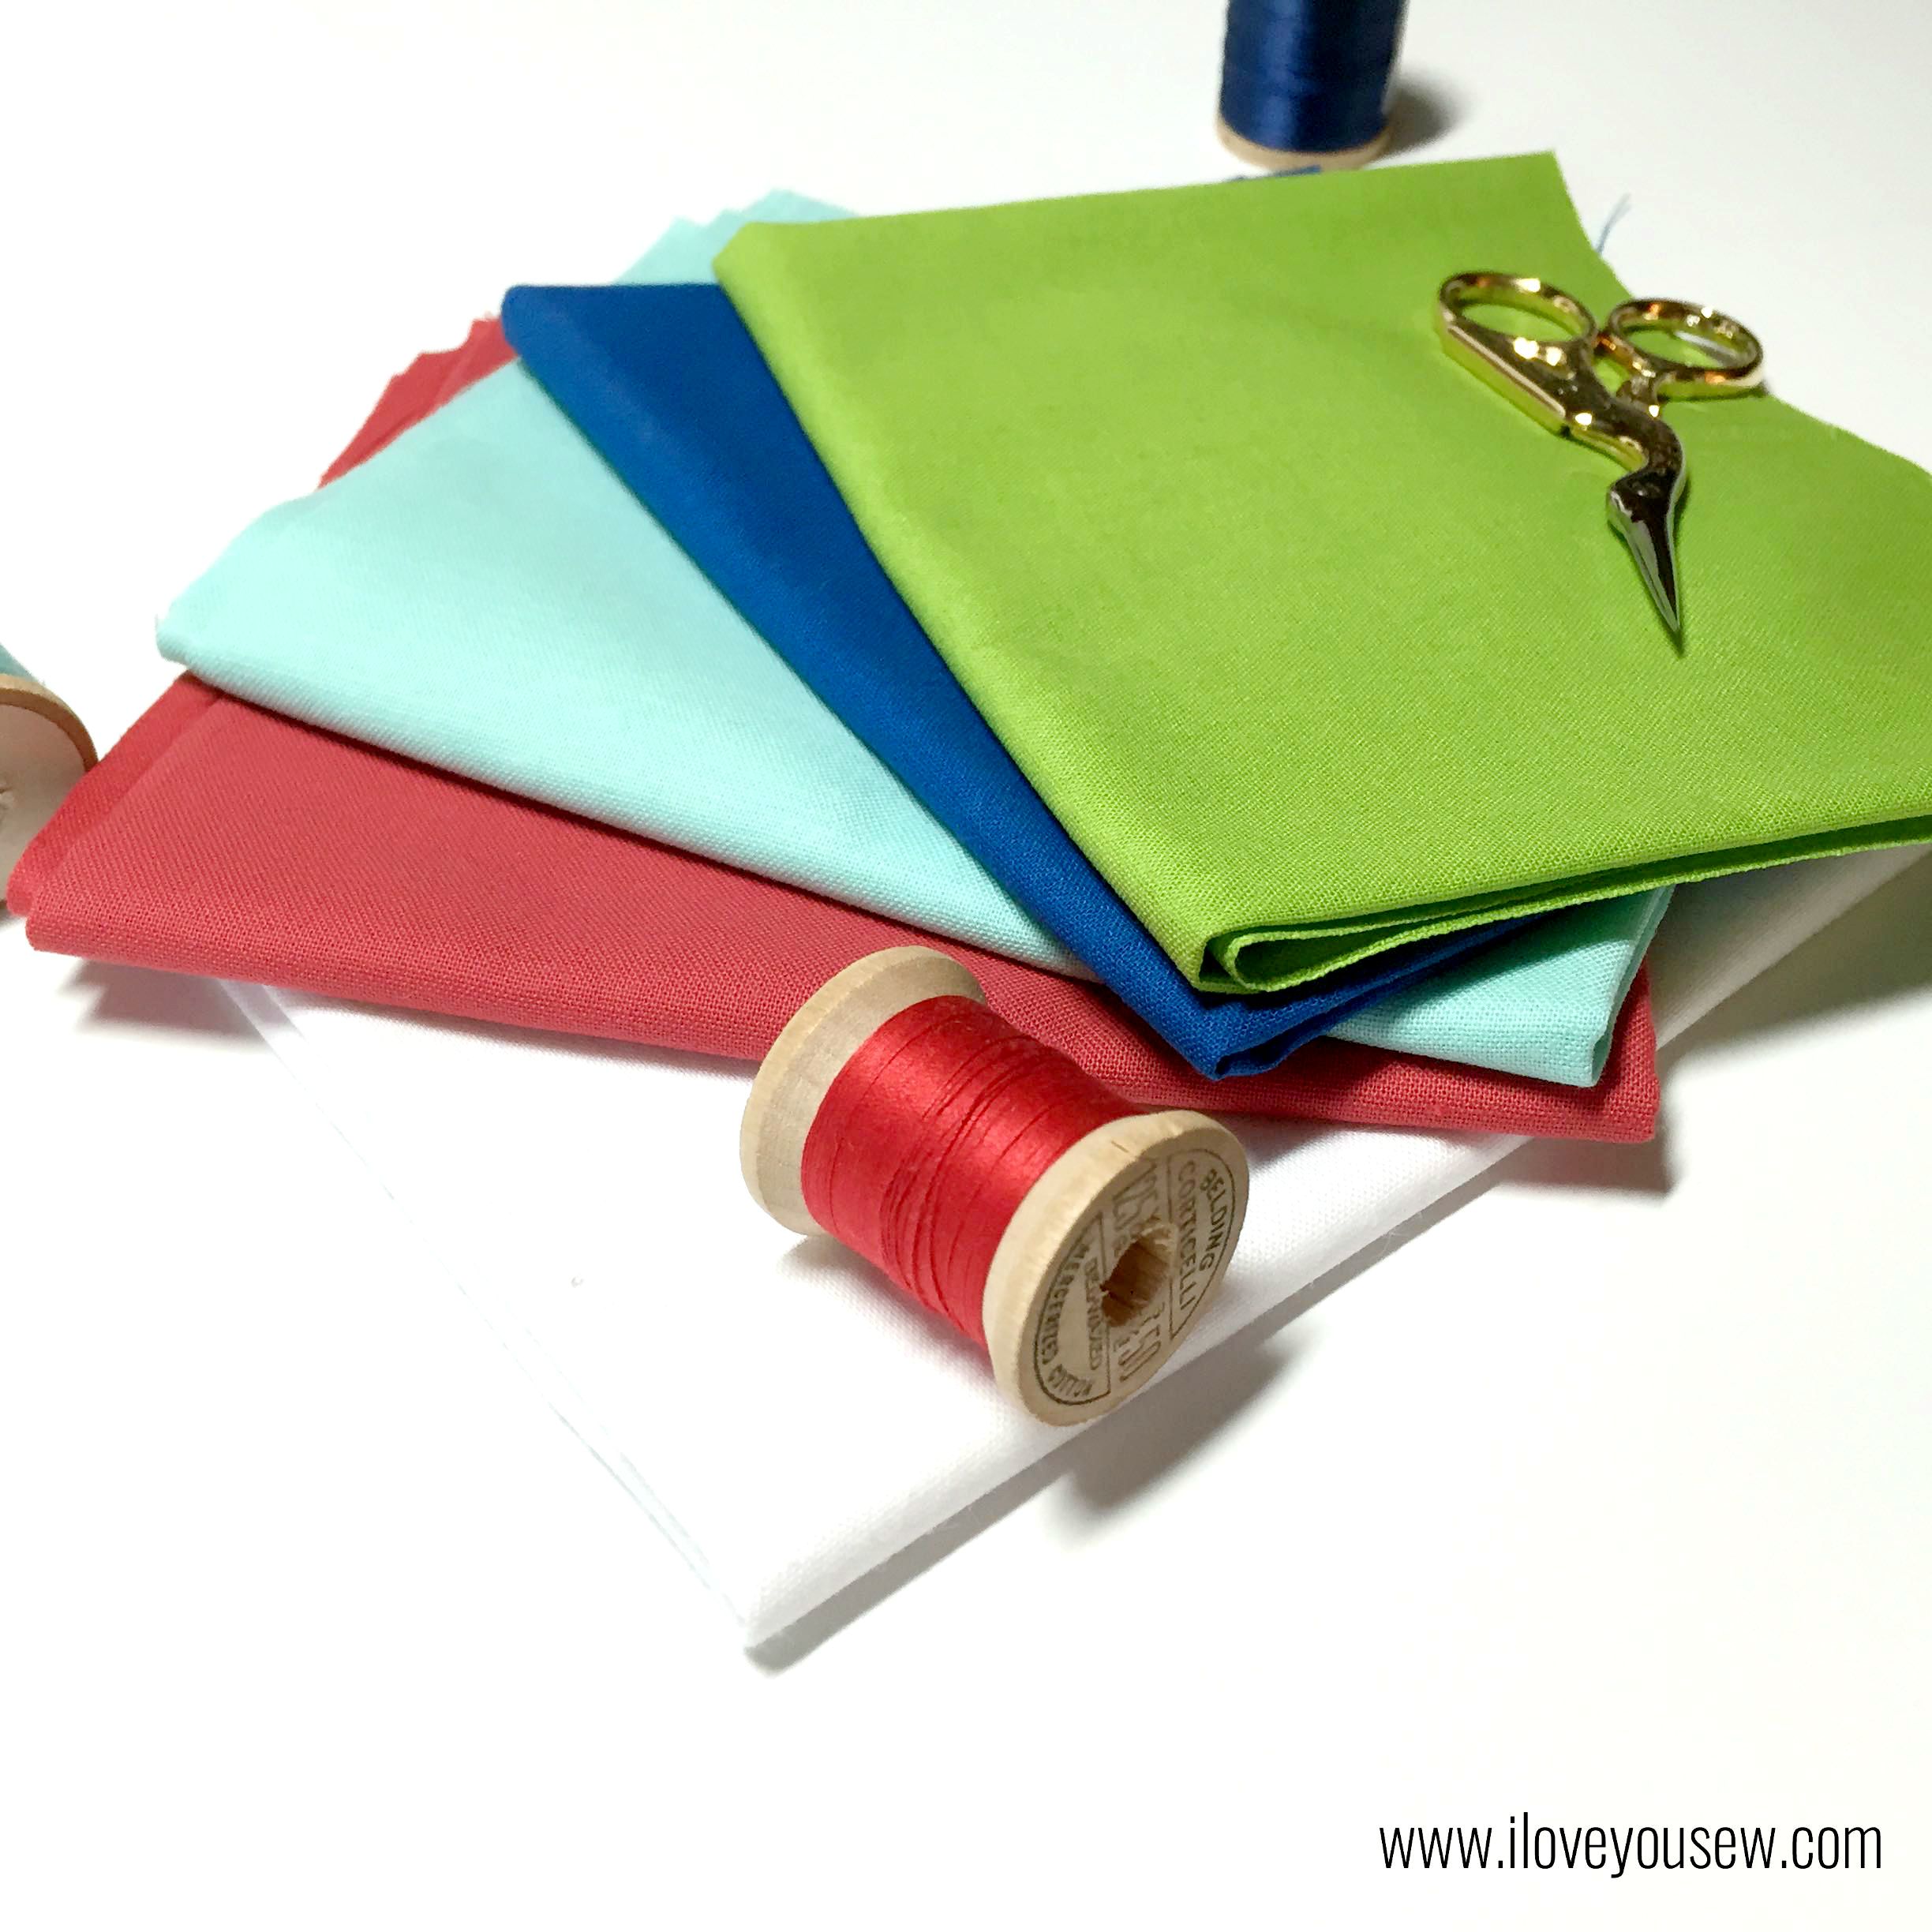
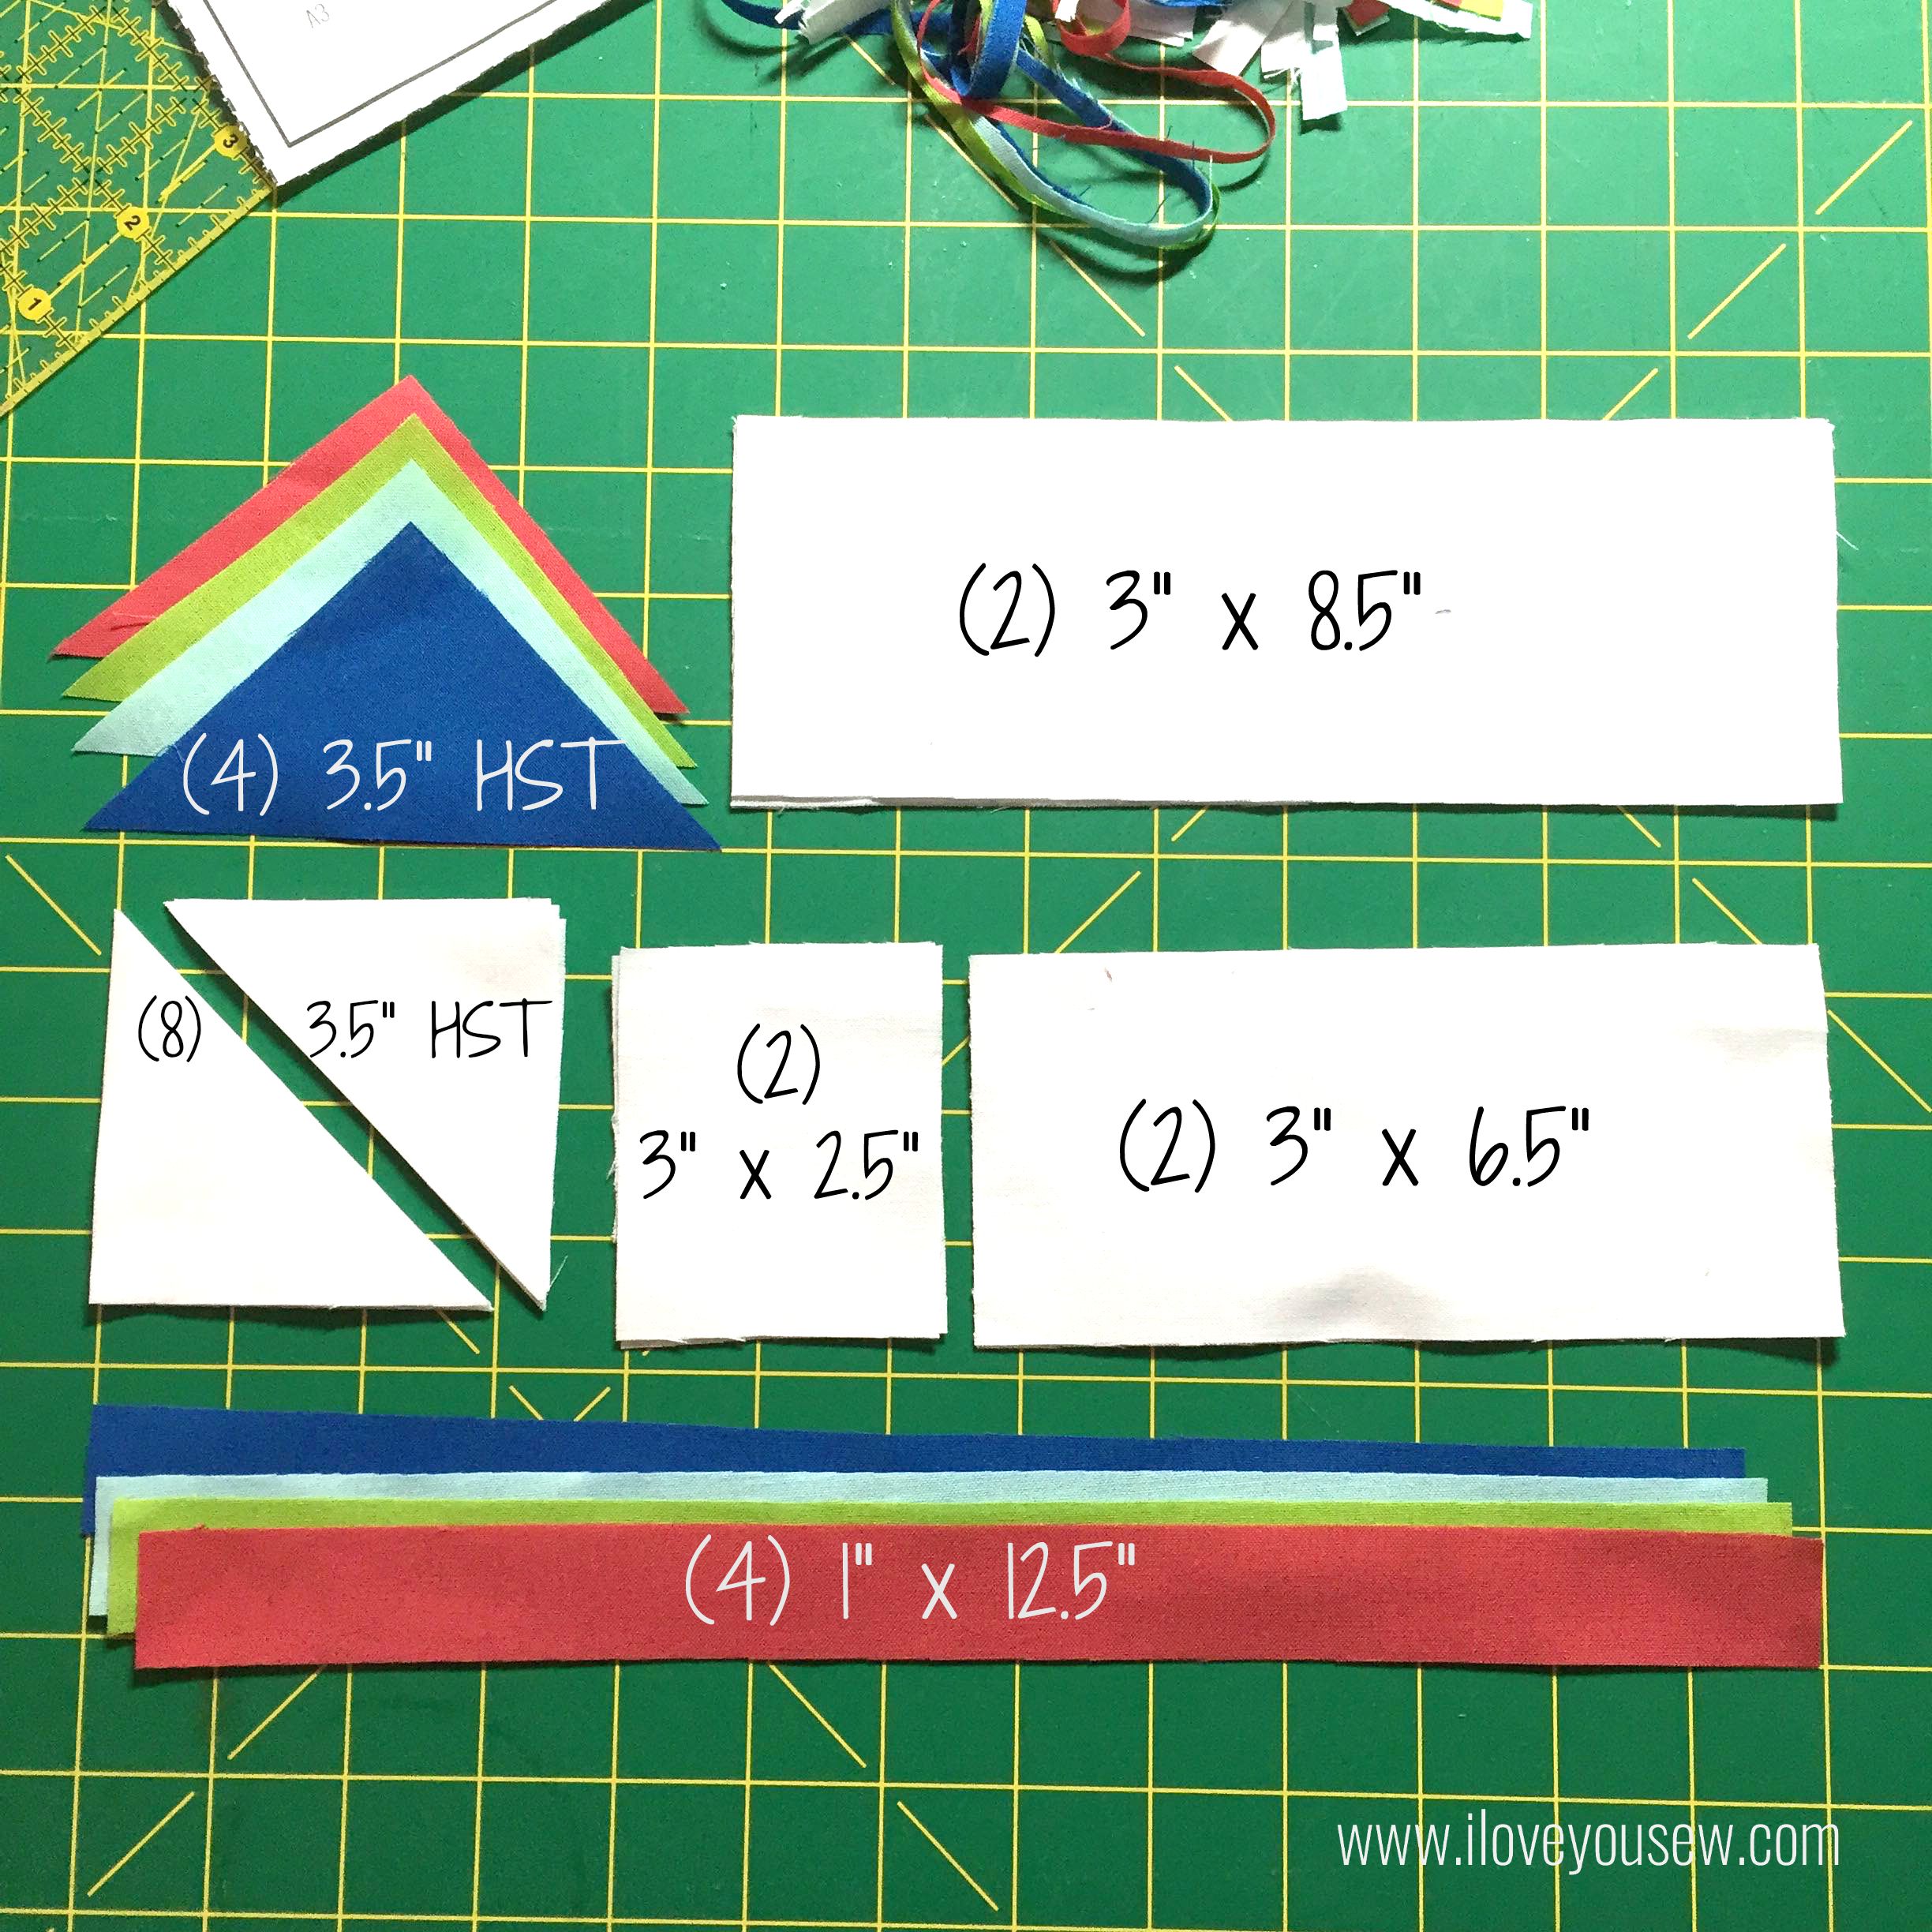
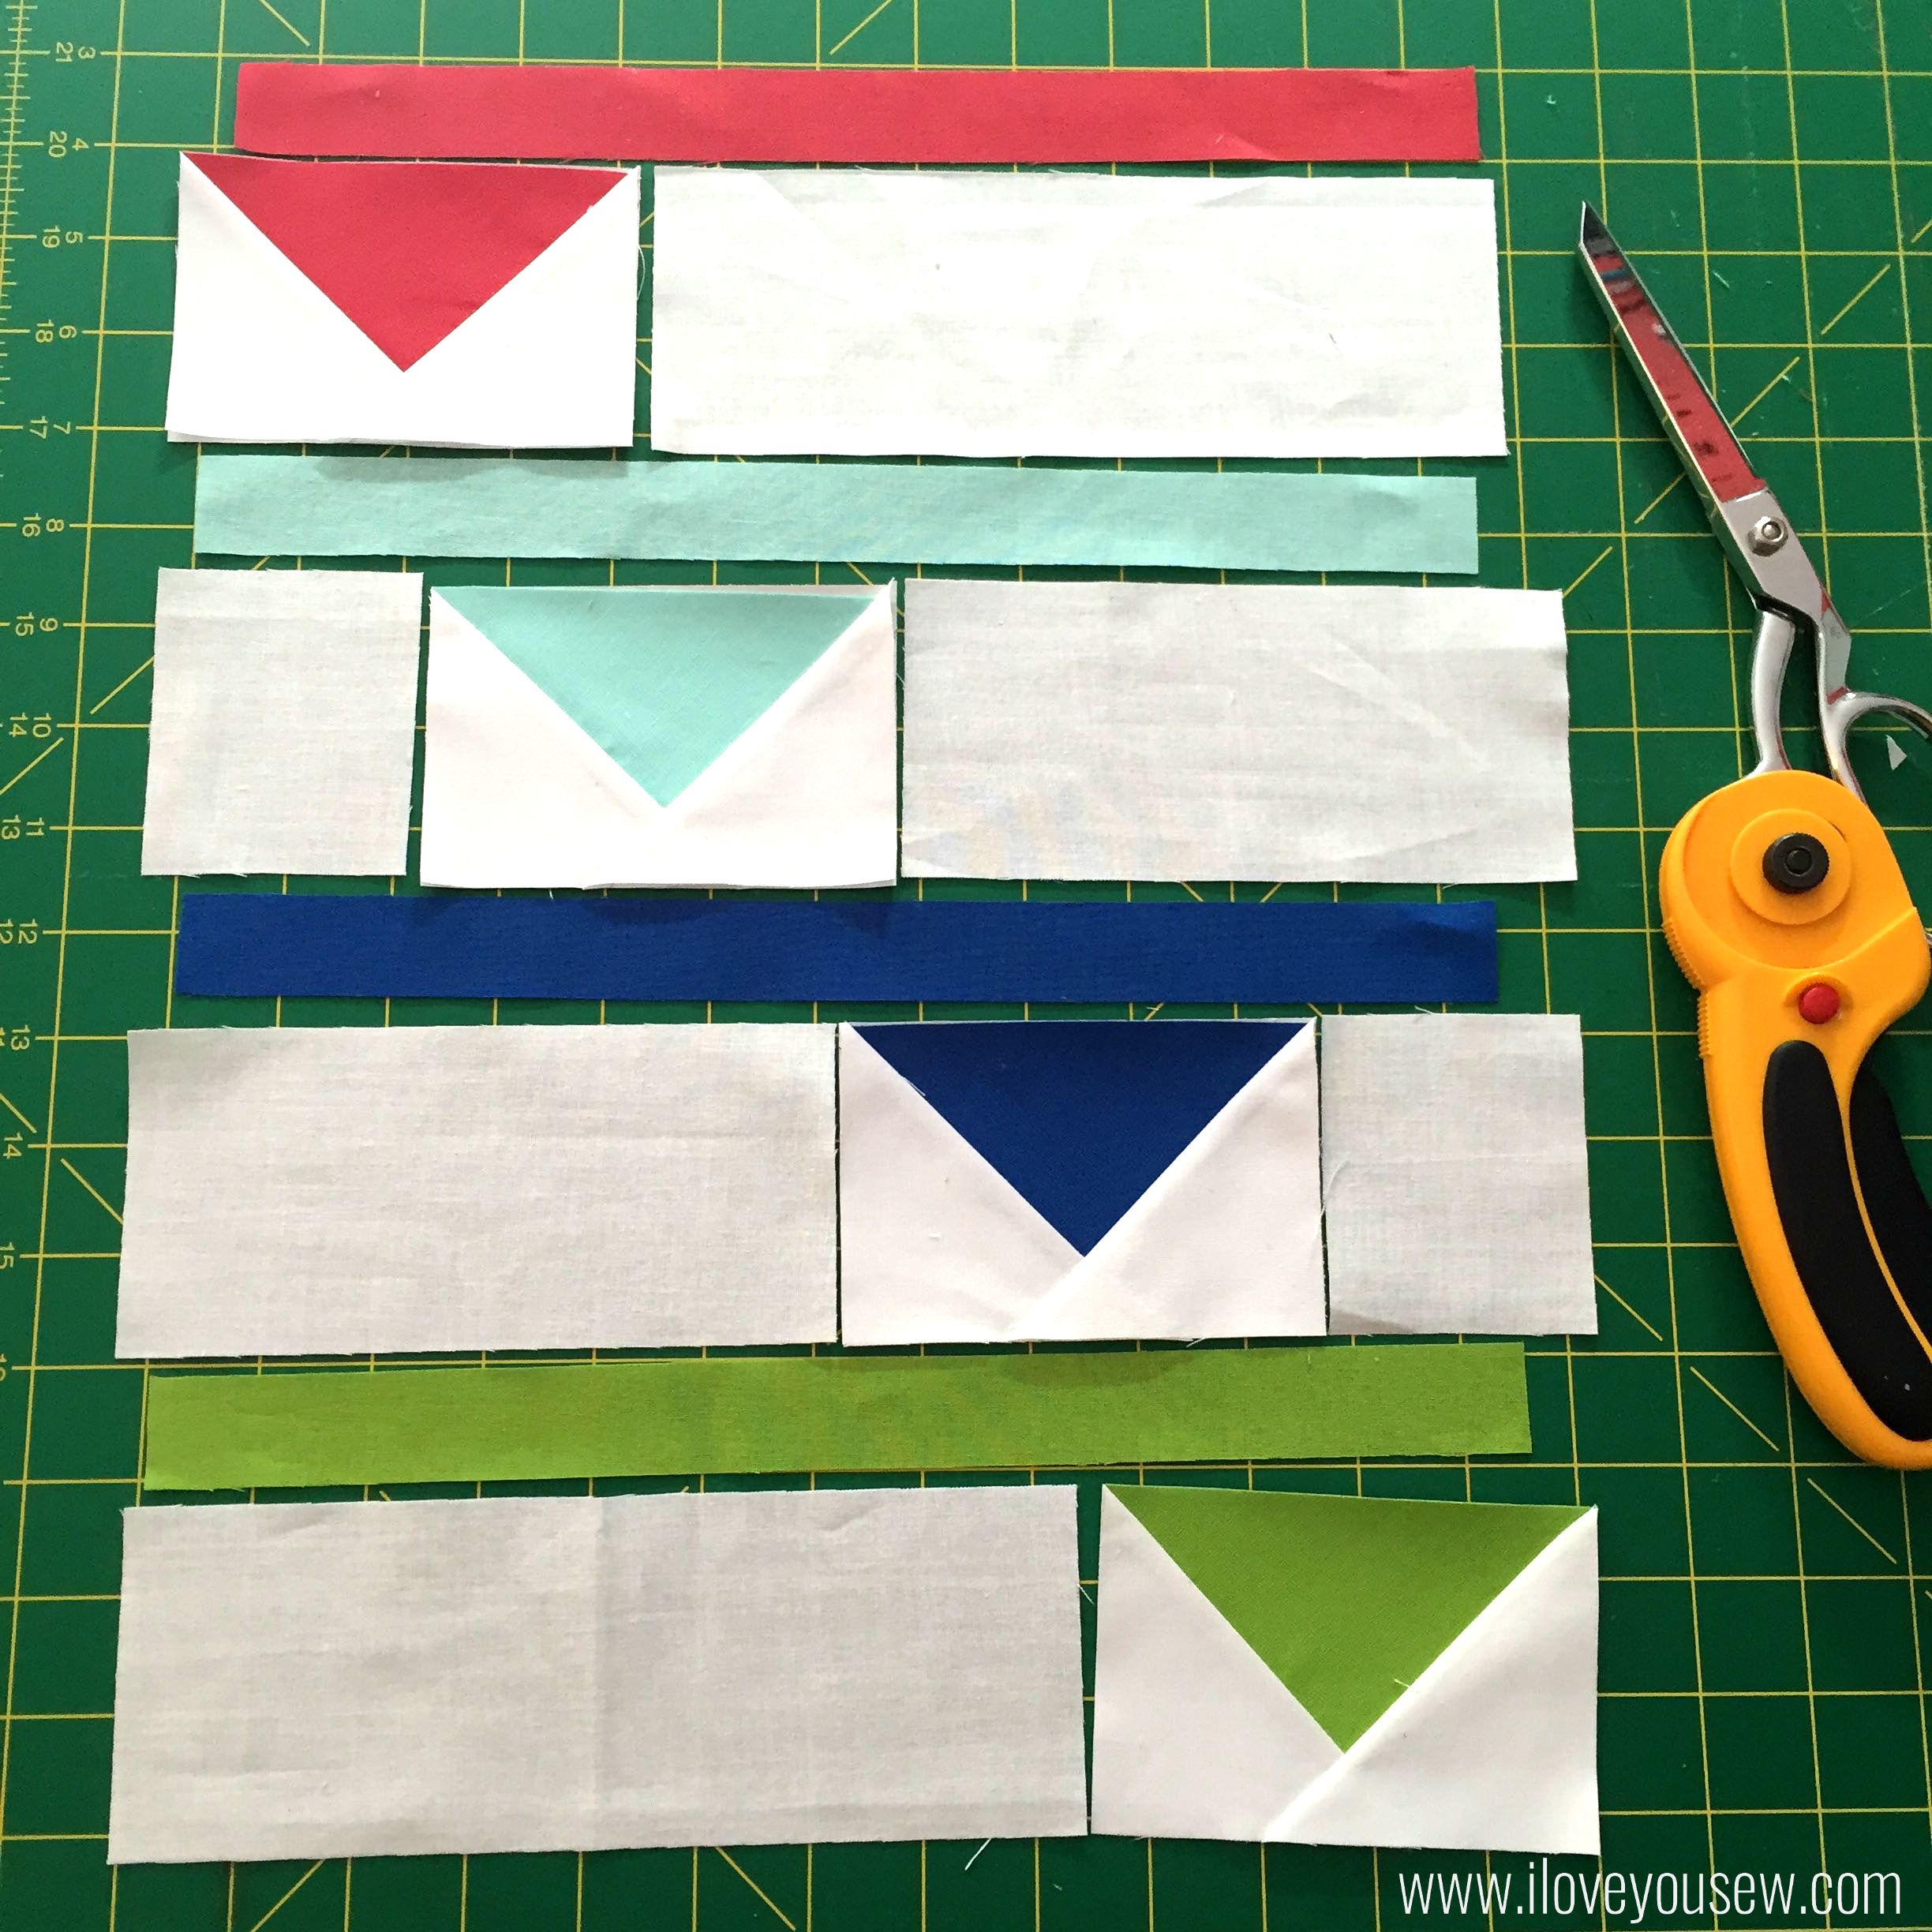
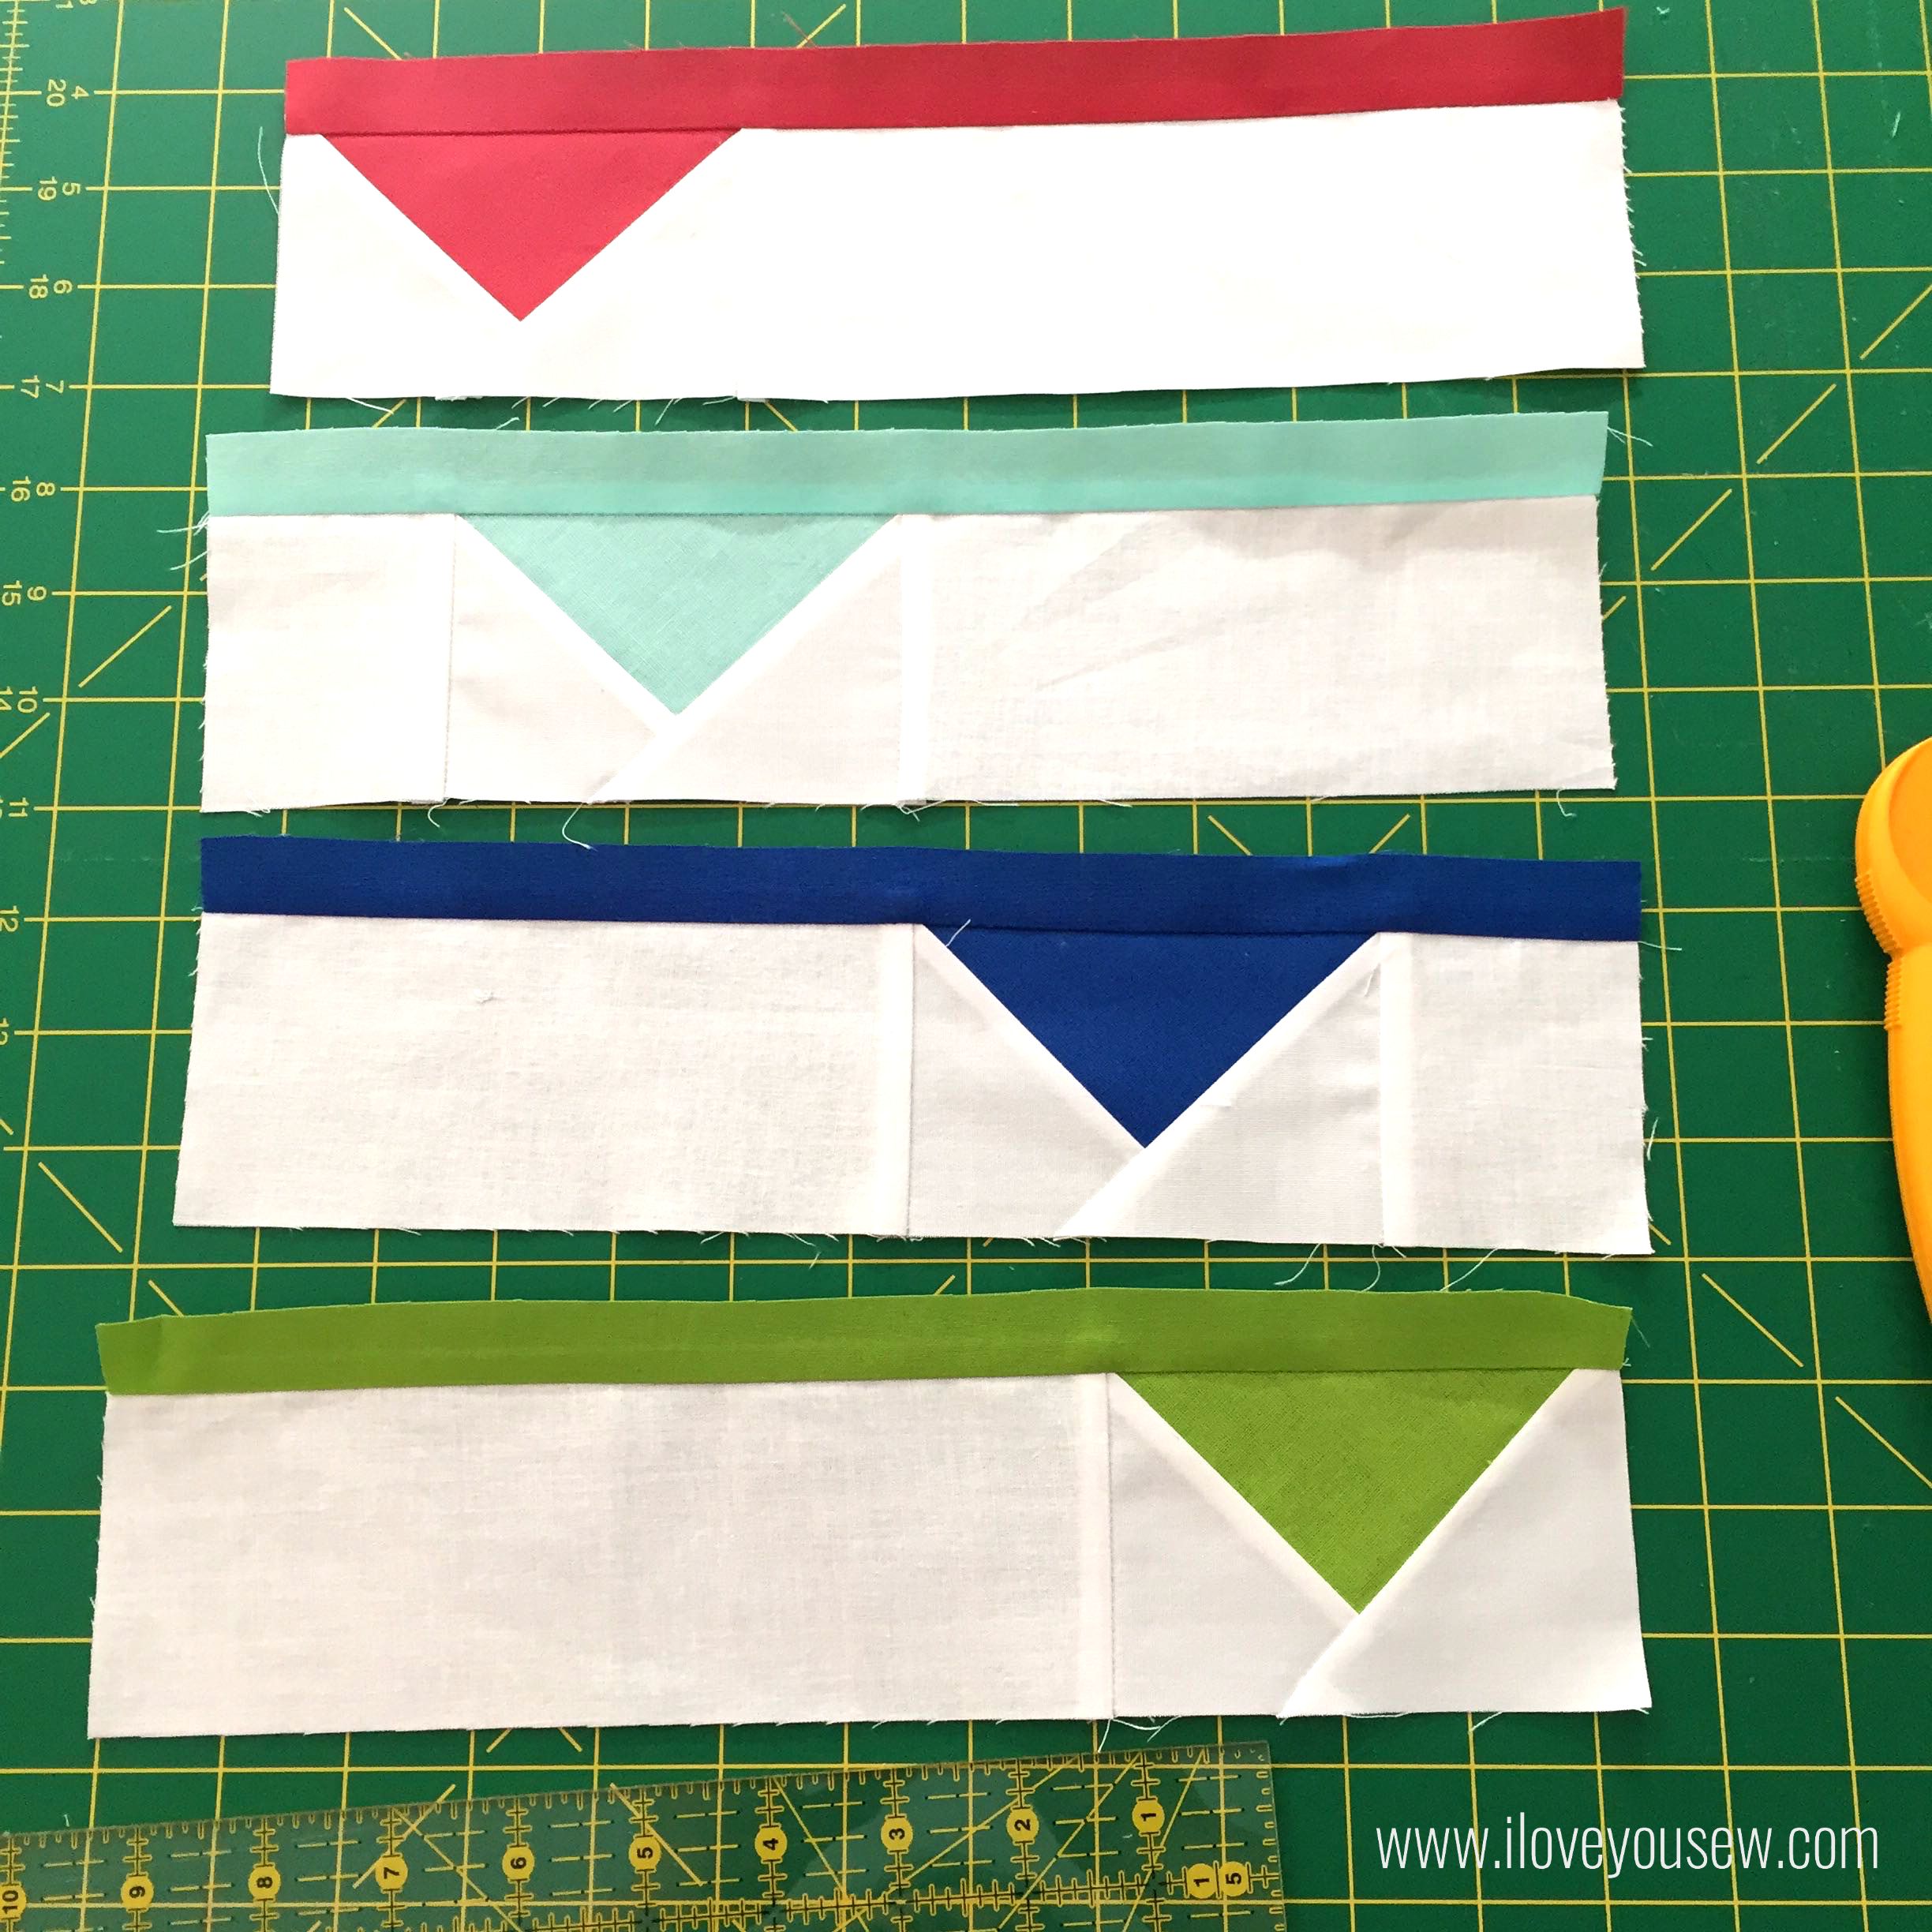
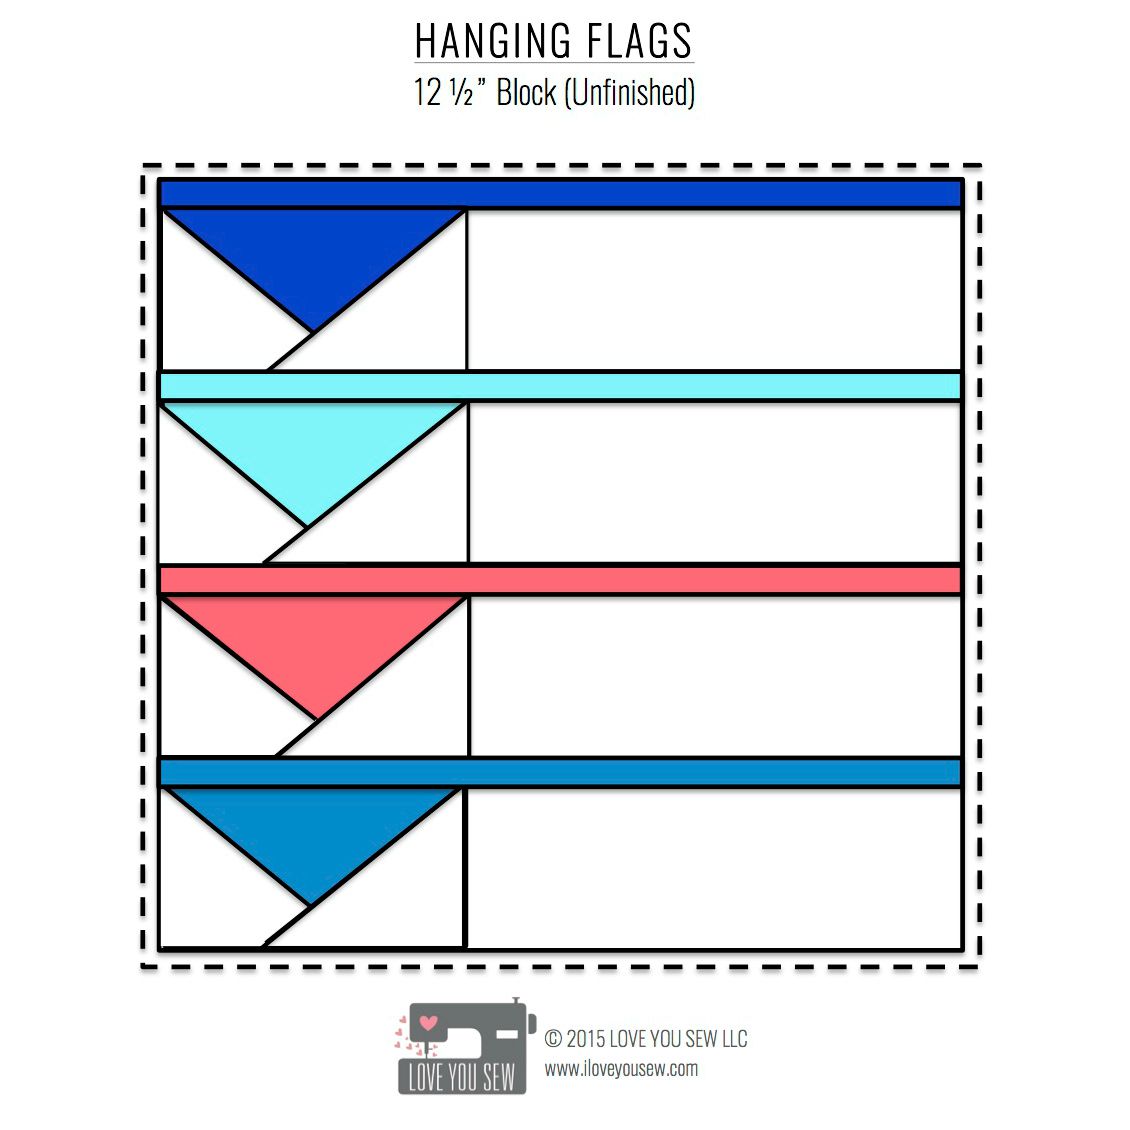
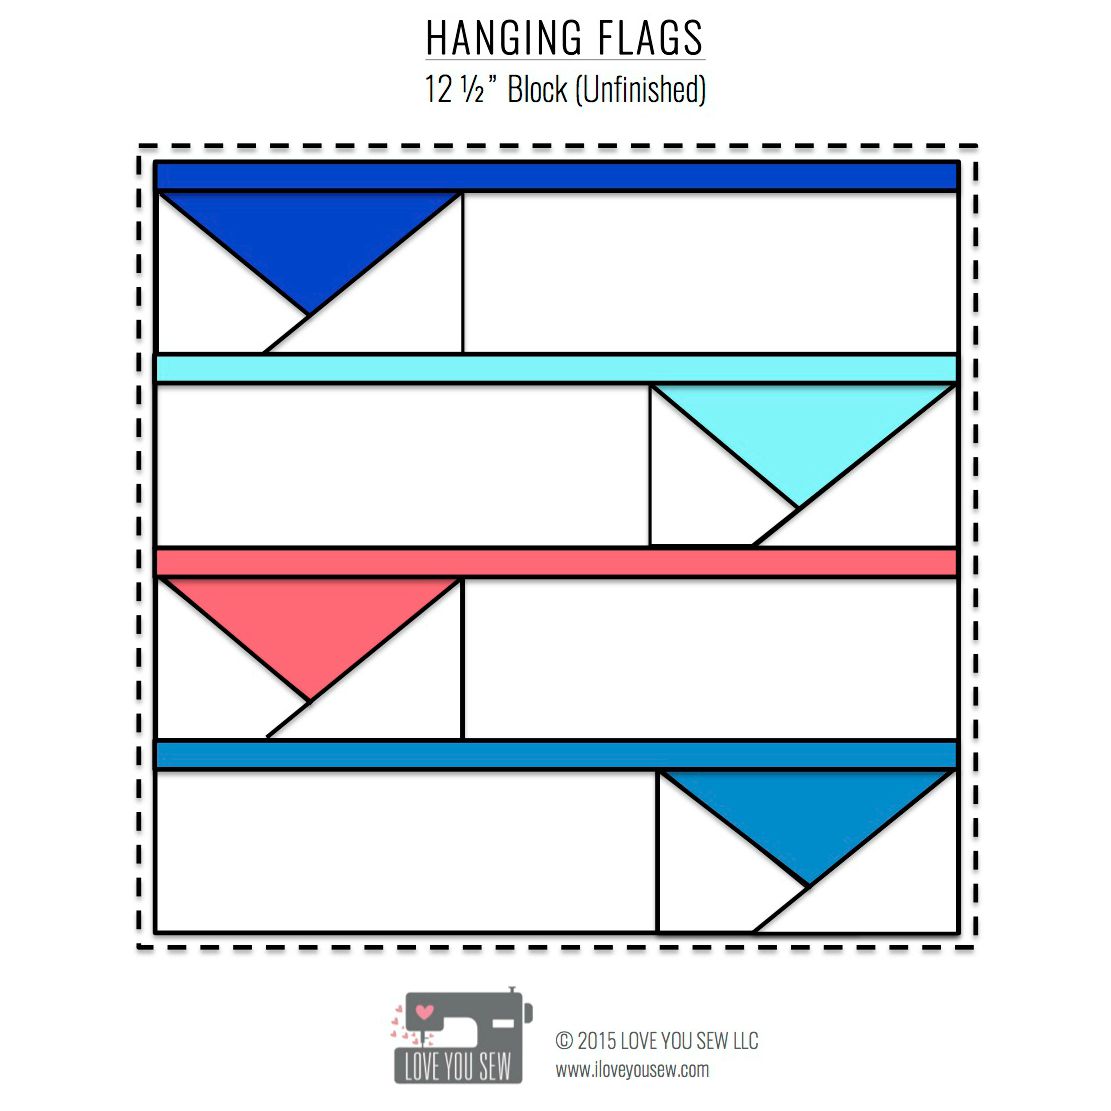
For this quilt, I used Holly Gets Quilty’s Squash Blossom pattern. It was incredibly easy to follow, especially if you are used to HSTs (half-square triangles.) I used the 12″ block measurements and made 4 blocks. The blocks needed to each have their own feel by playing with the feature and accent fabrics and mixing them with Art Gallery’s amazing Pure Elements solids in Nocturnal, Icy Mint, Peach Sherbet, and Honey. I love how these Squash Blossoms are able to showcase April’s larger prints, Painting Morale and Macrame Cave as the feature fabric. But at the same time, you can use the smaller prints, Survey Orche and Growth Joy as the accent with as much impact.
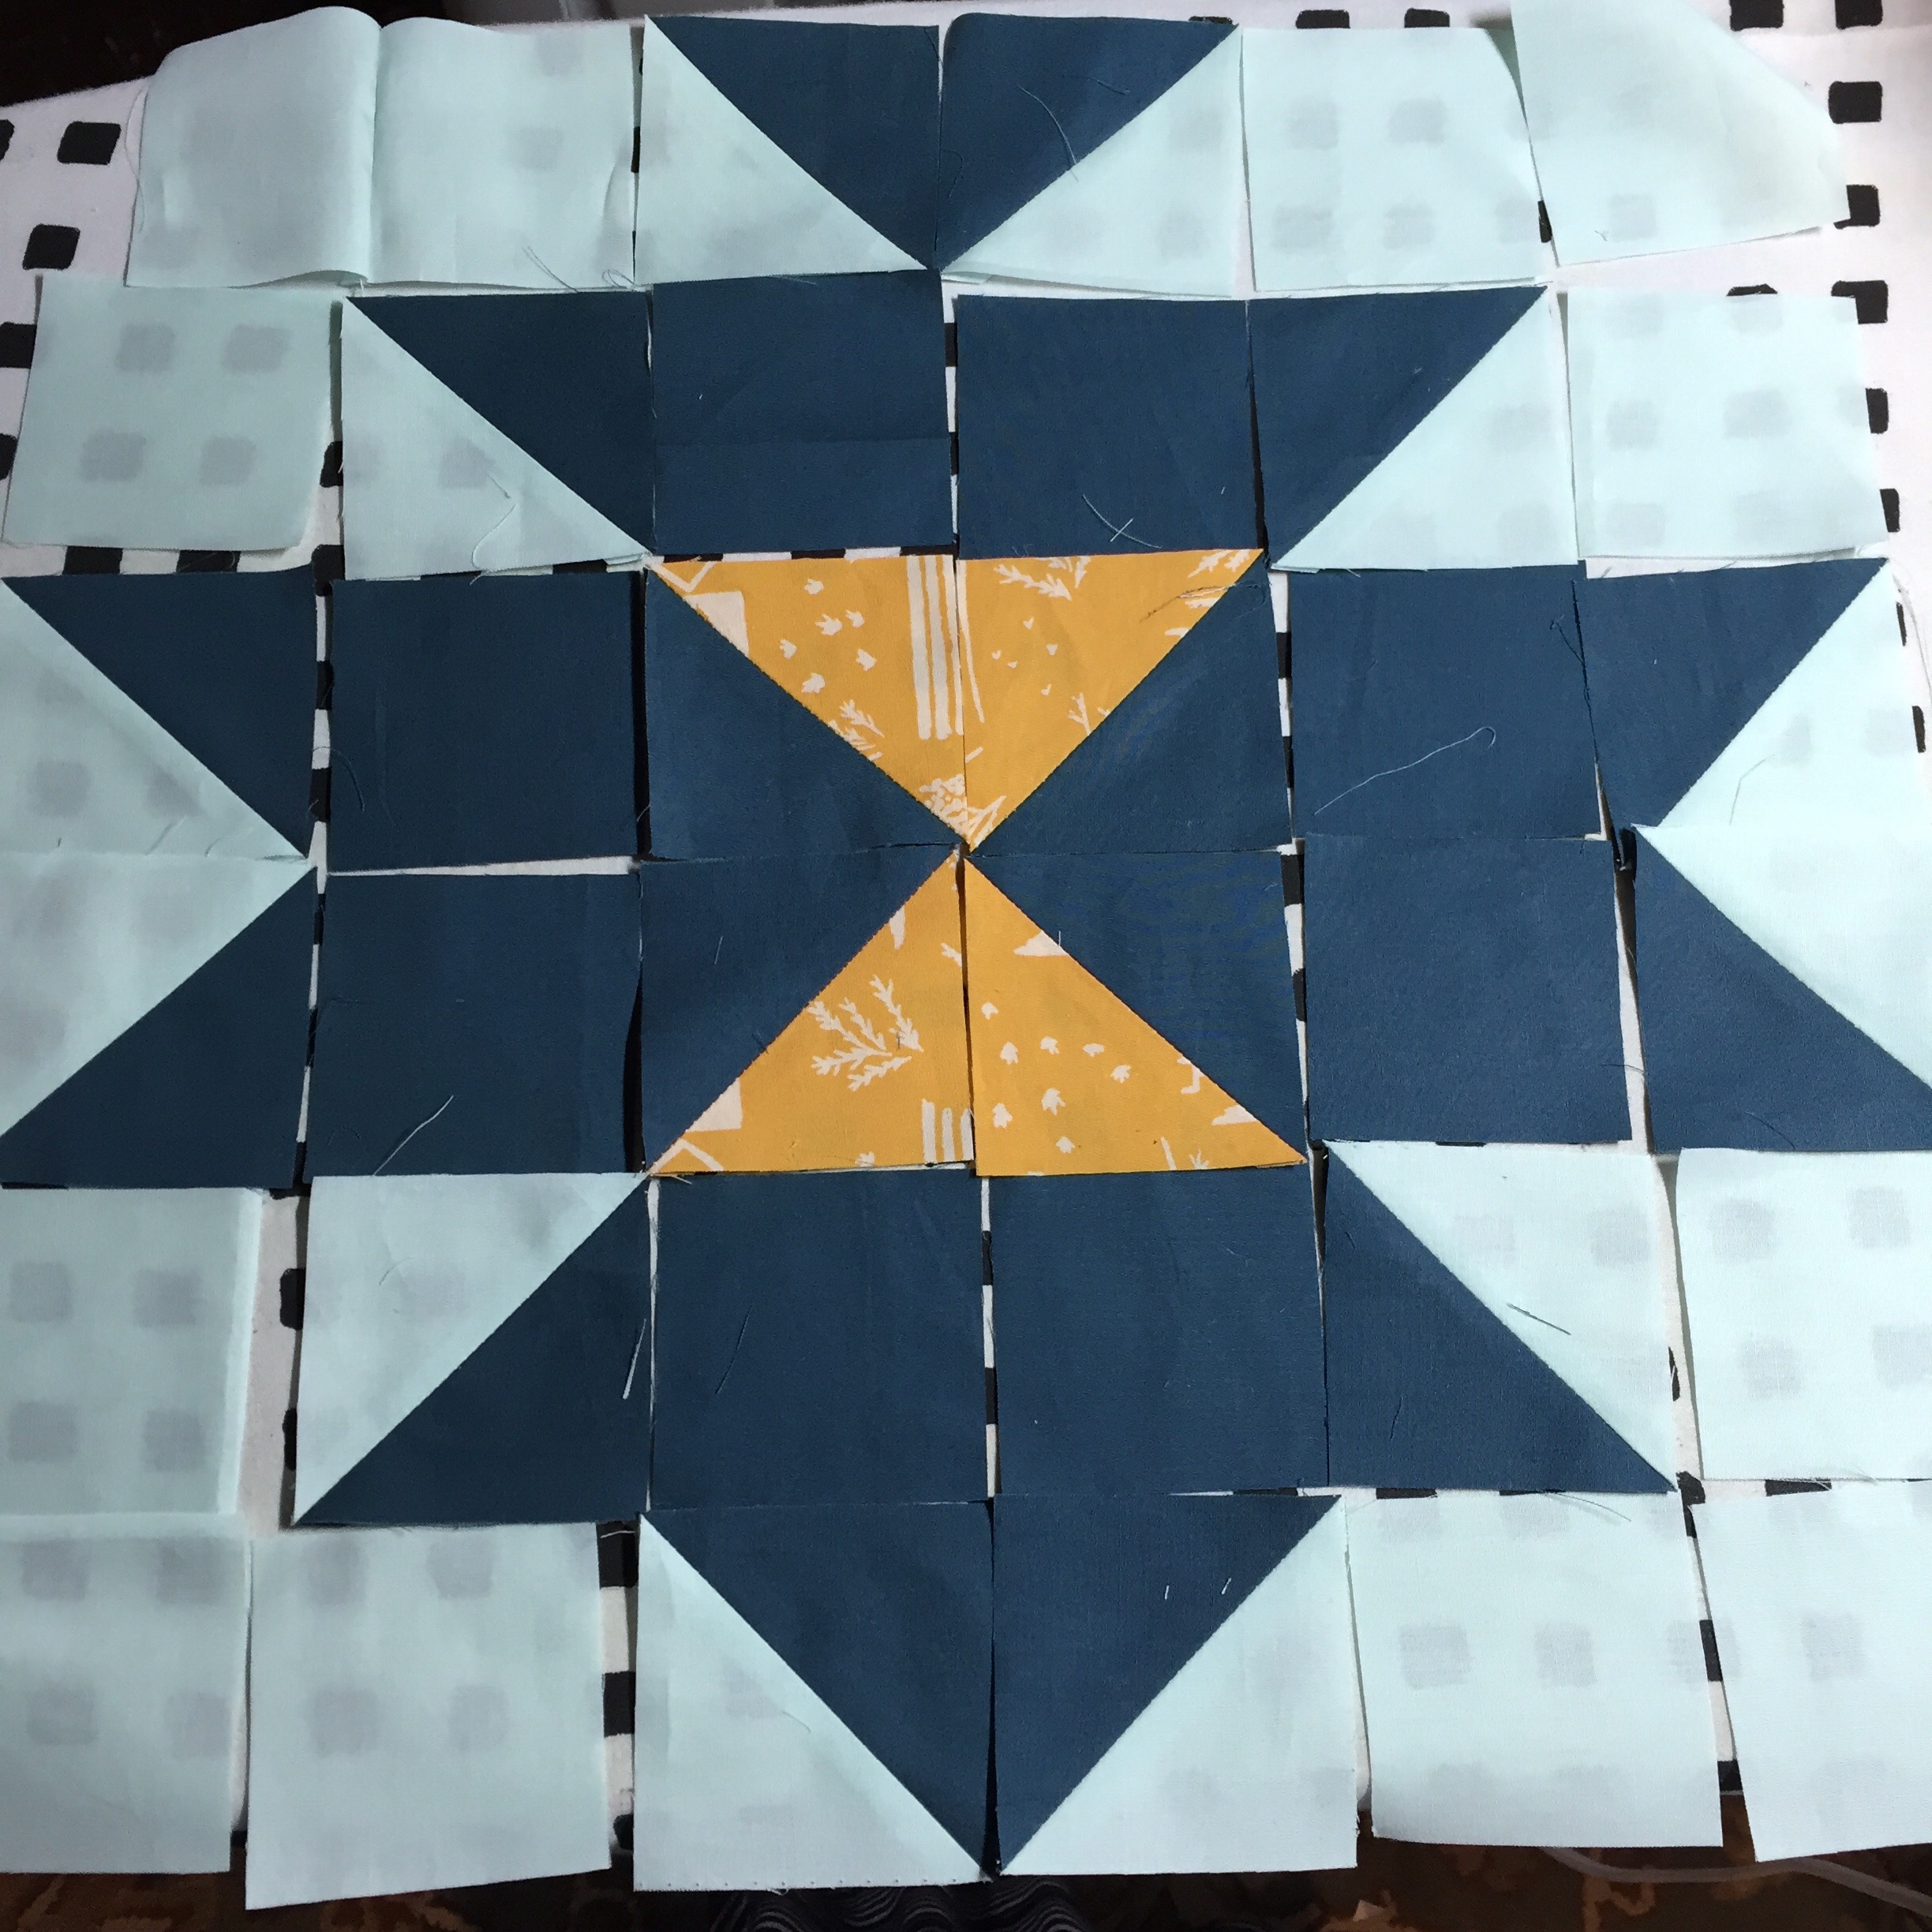
HSTs made and are ready to be chain-pieced to the squares
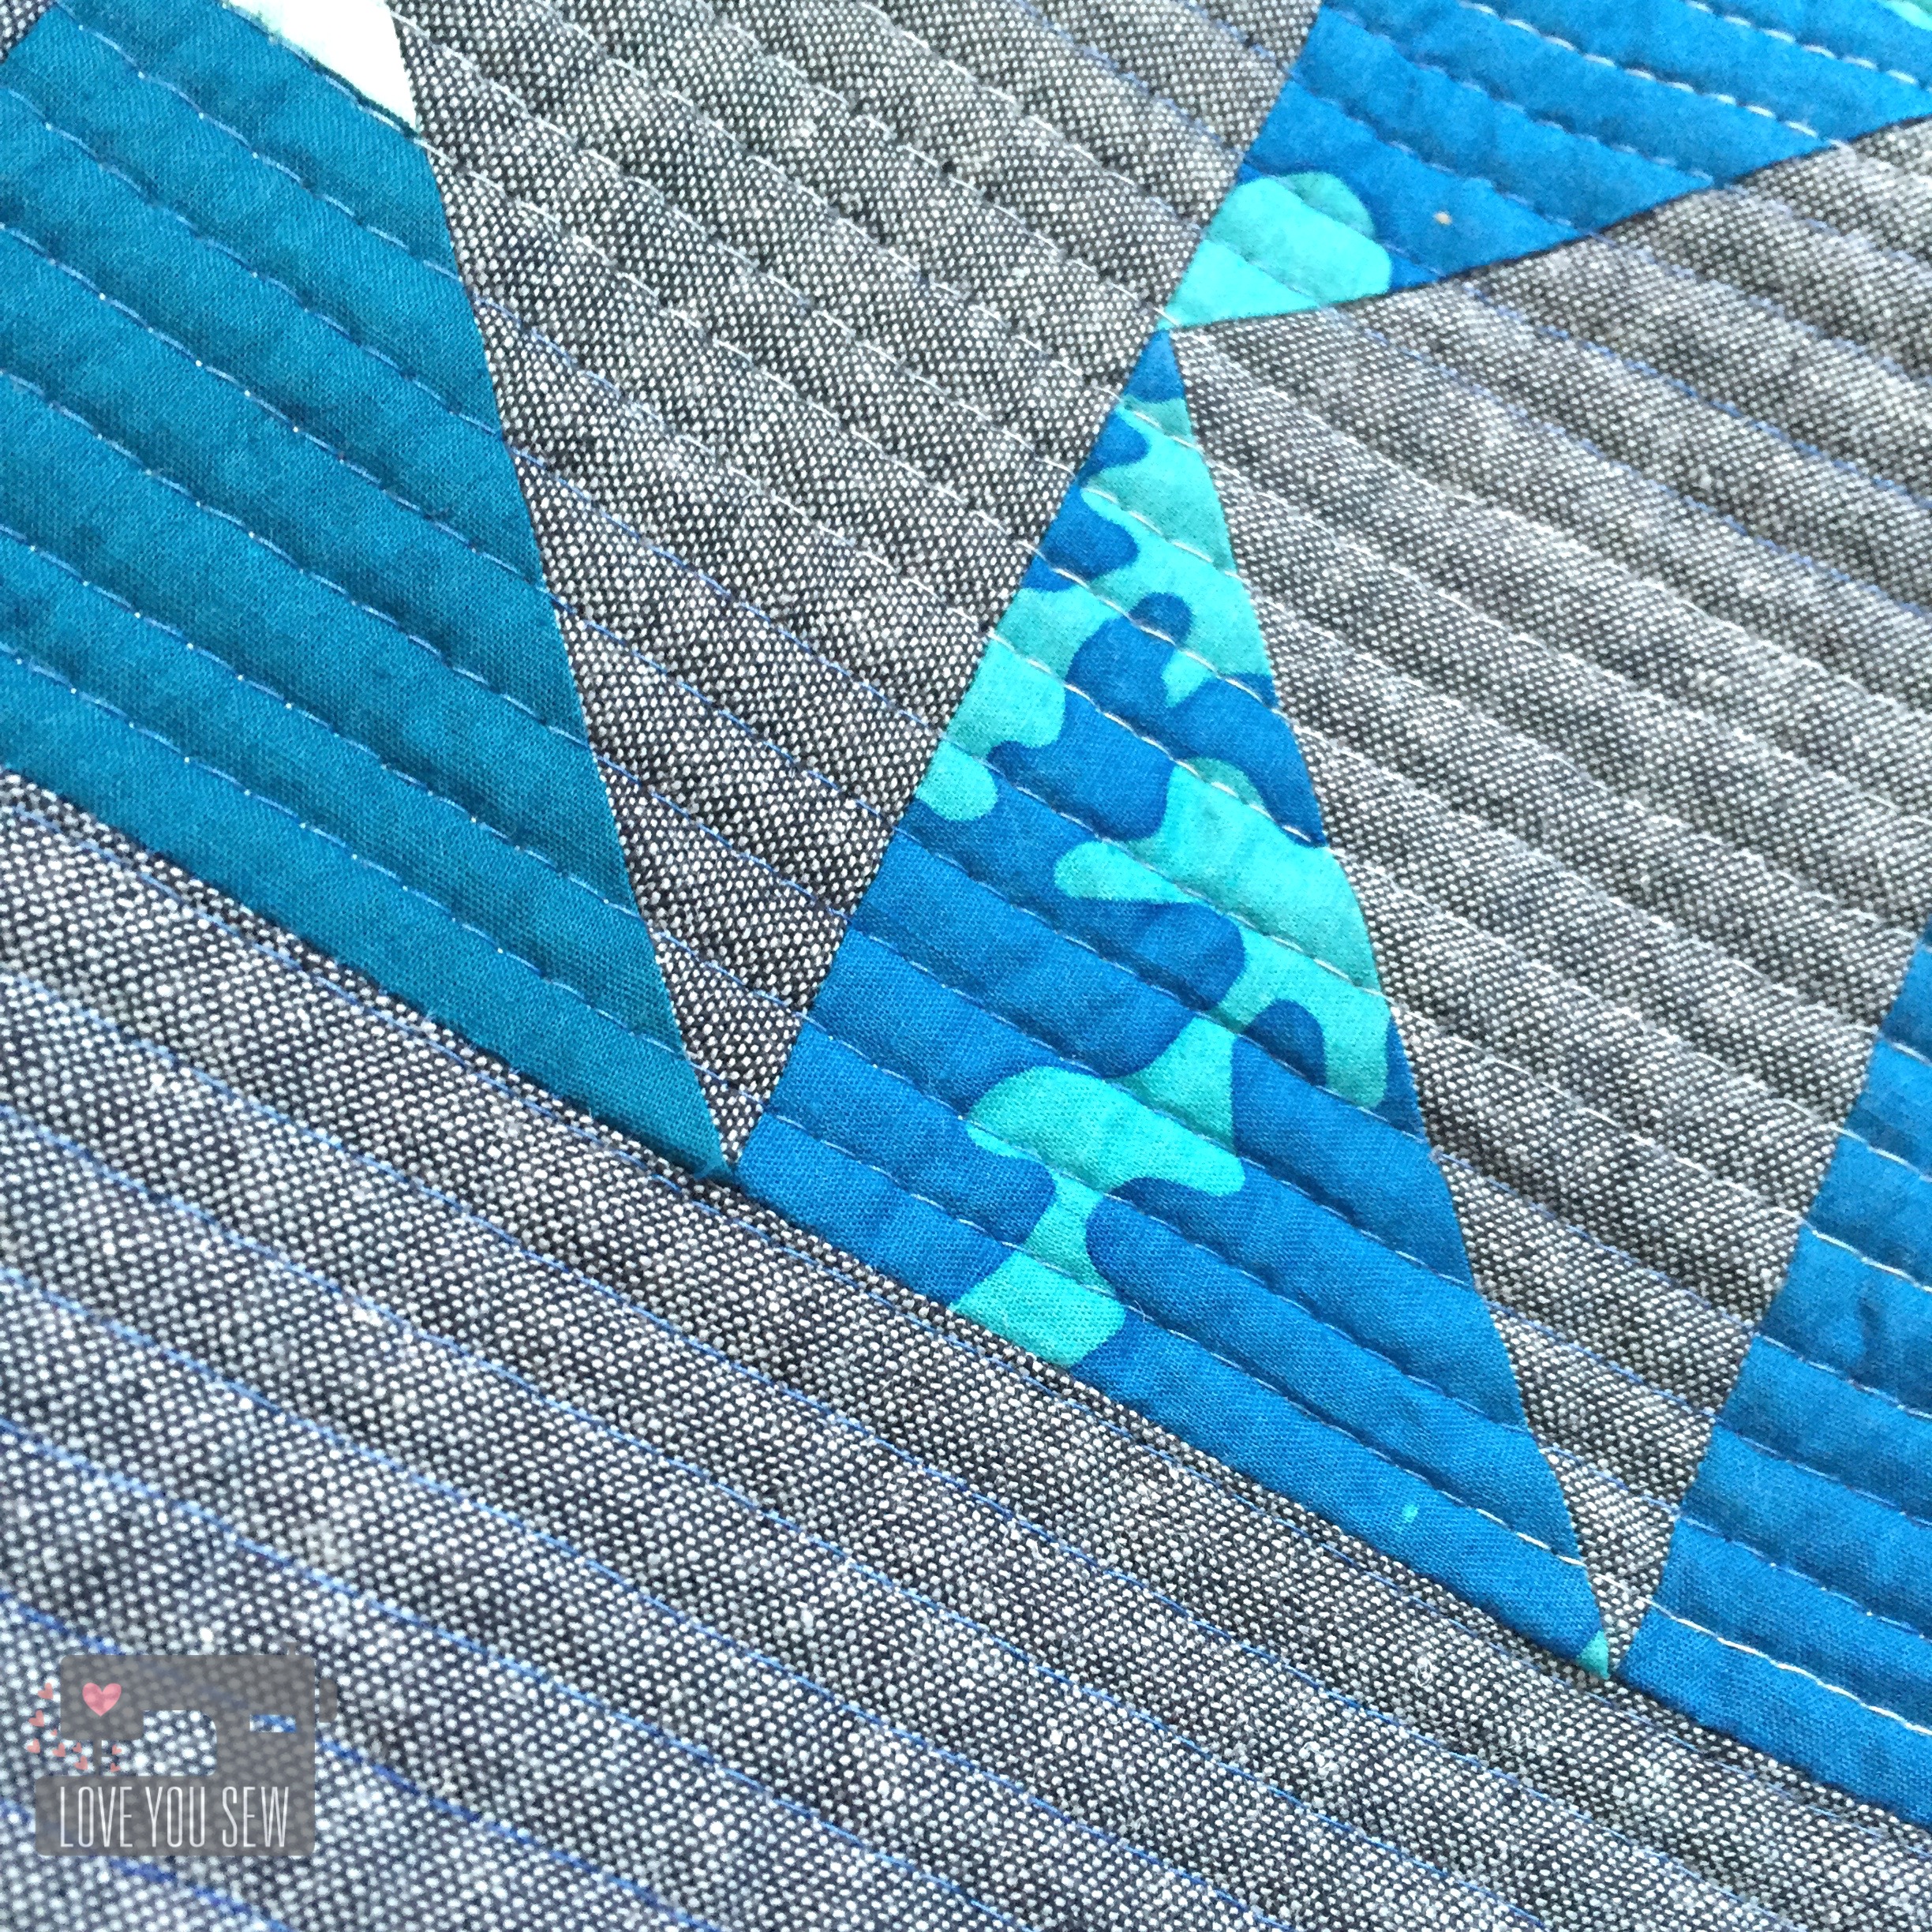
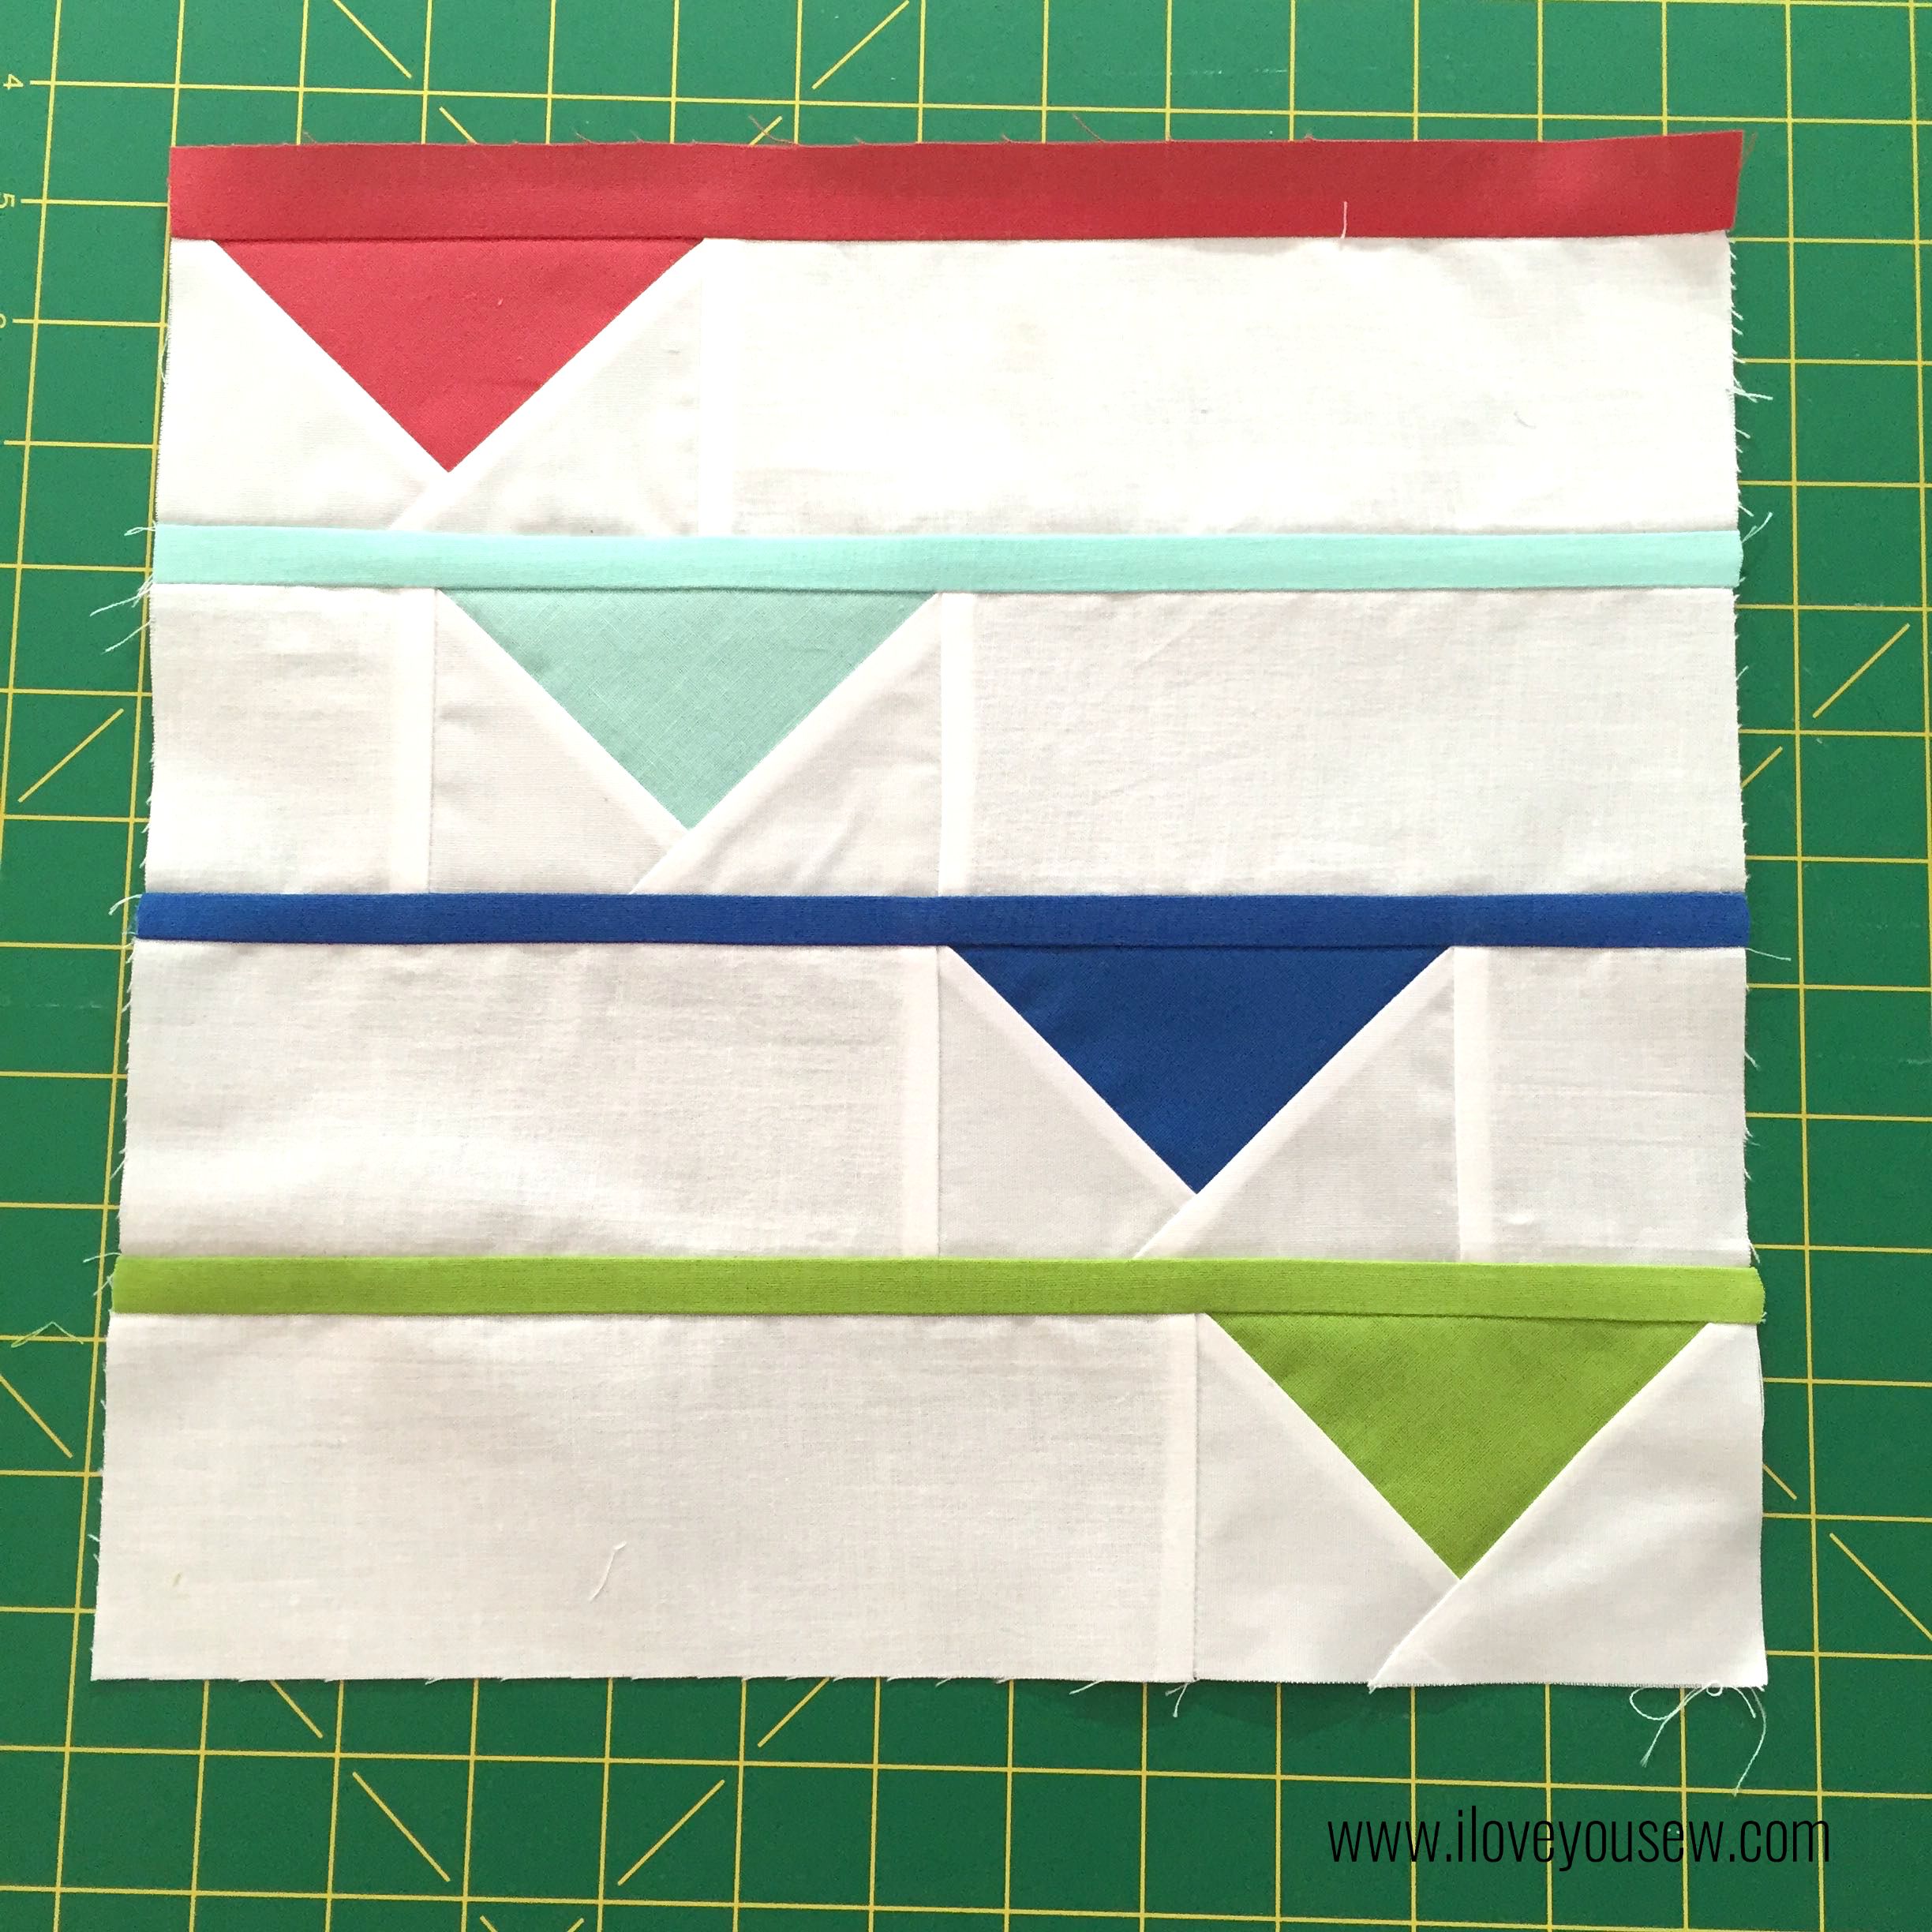
For the quilting, these Squash Blossoms screamed for some straight lines following the horizontal seams. I just used my presser foot as my guide and checked it against the seams to make sure I wasn’t accidentally veering to the wrong side (eek!) As usual, Aurifil was used for both the piecing and quilting in 2312 50 wt. This was the perfect beige color with this fabric selection. I like 50 wt to blend into the fabric for this particular project.

Close-up of block one
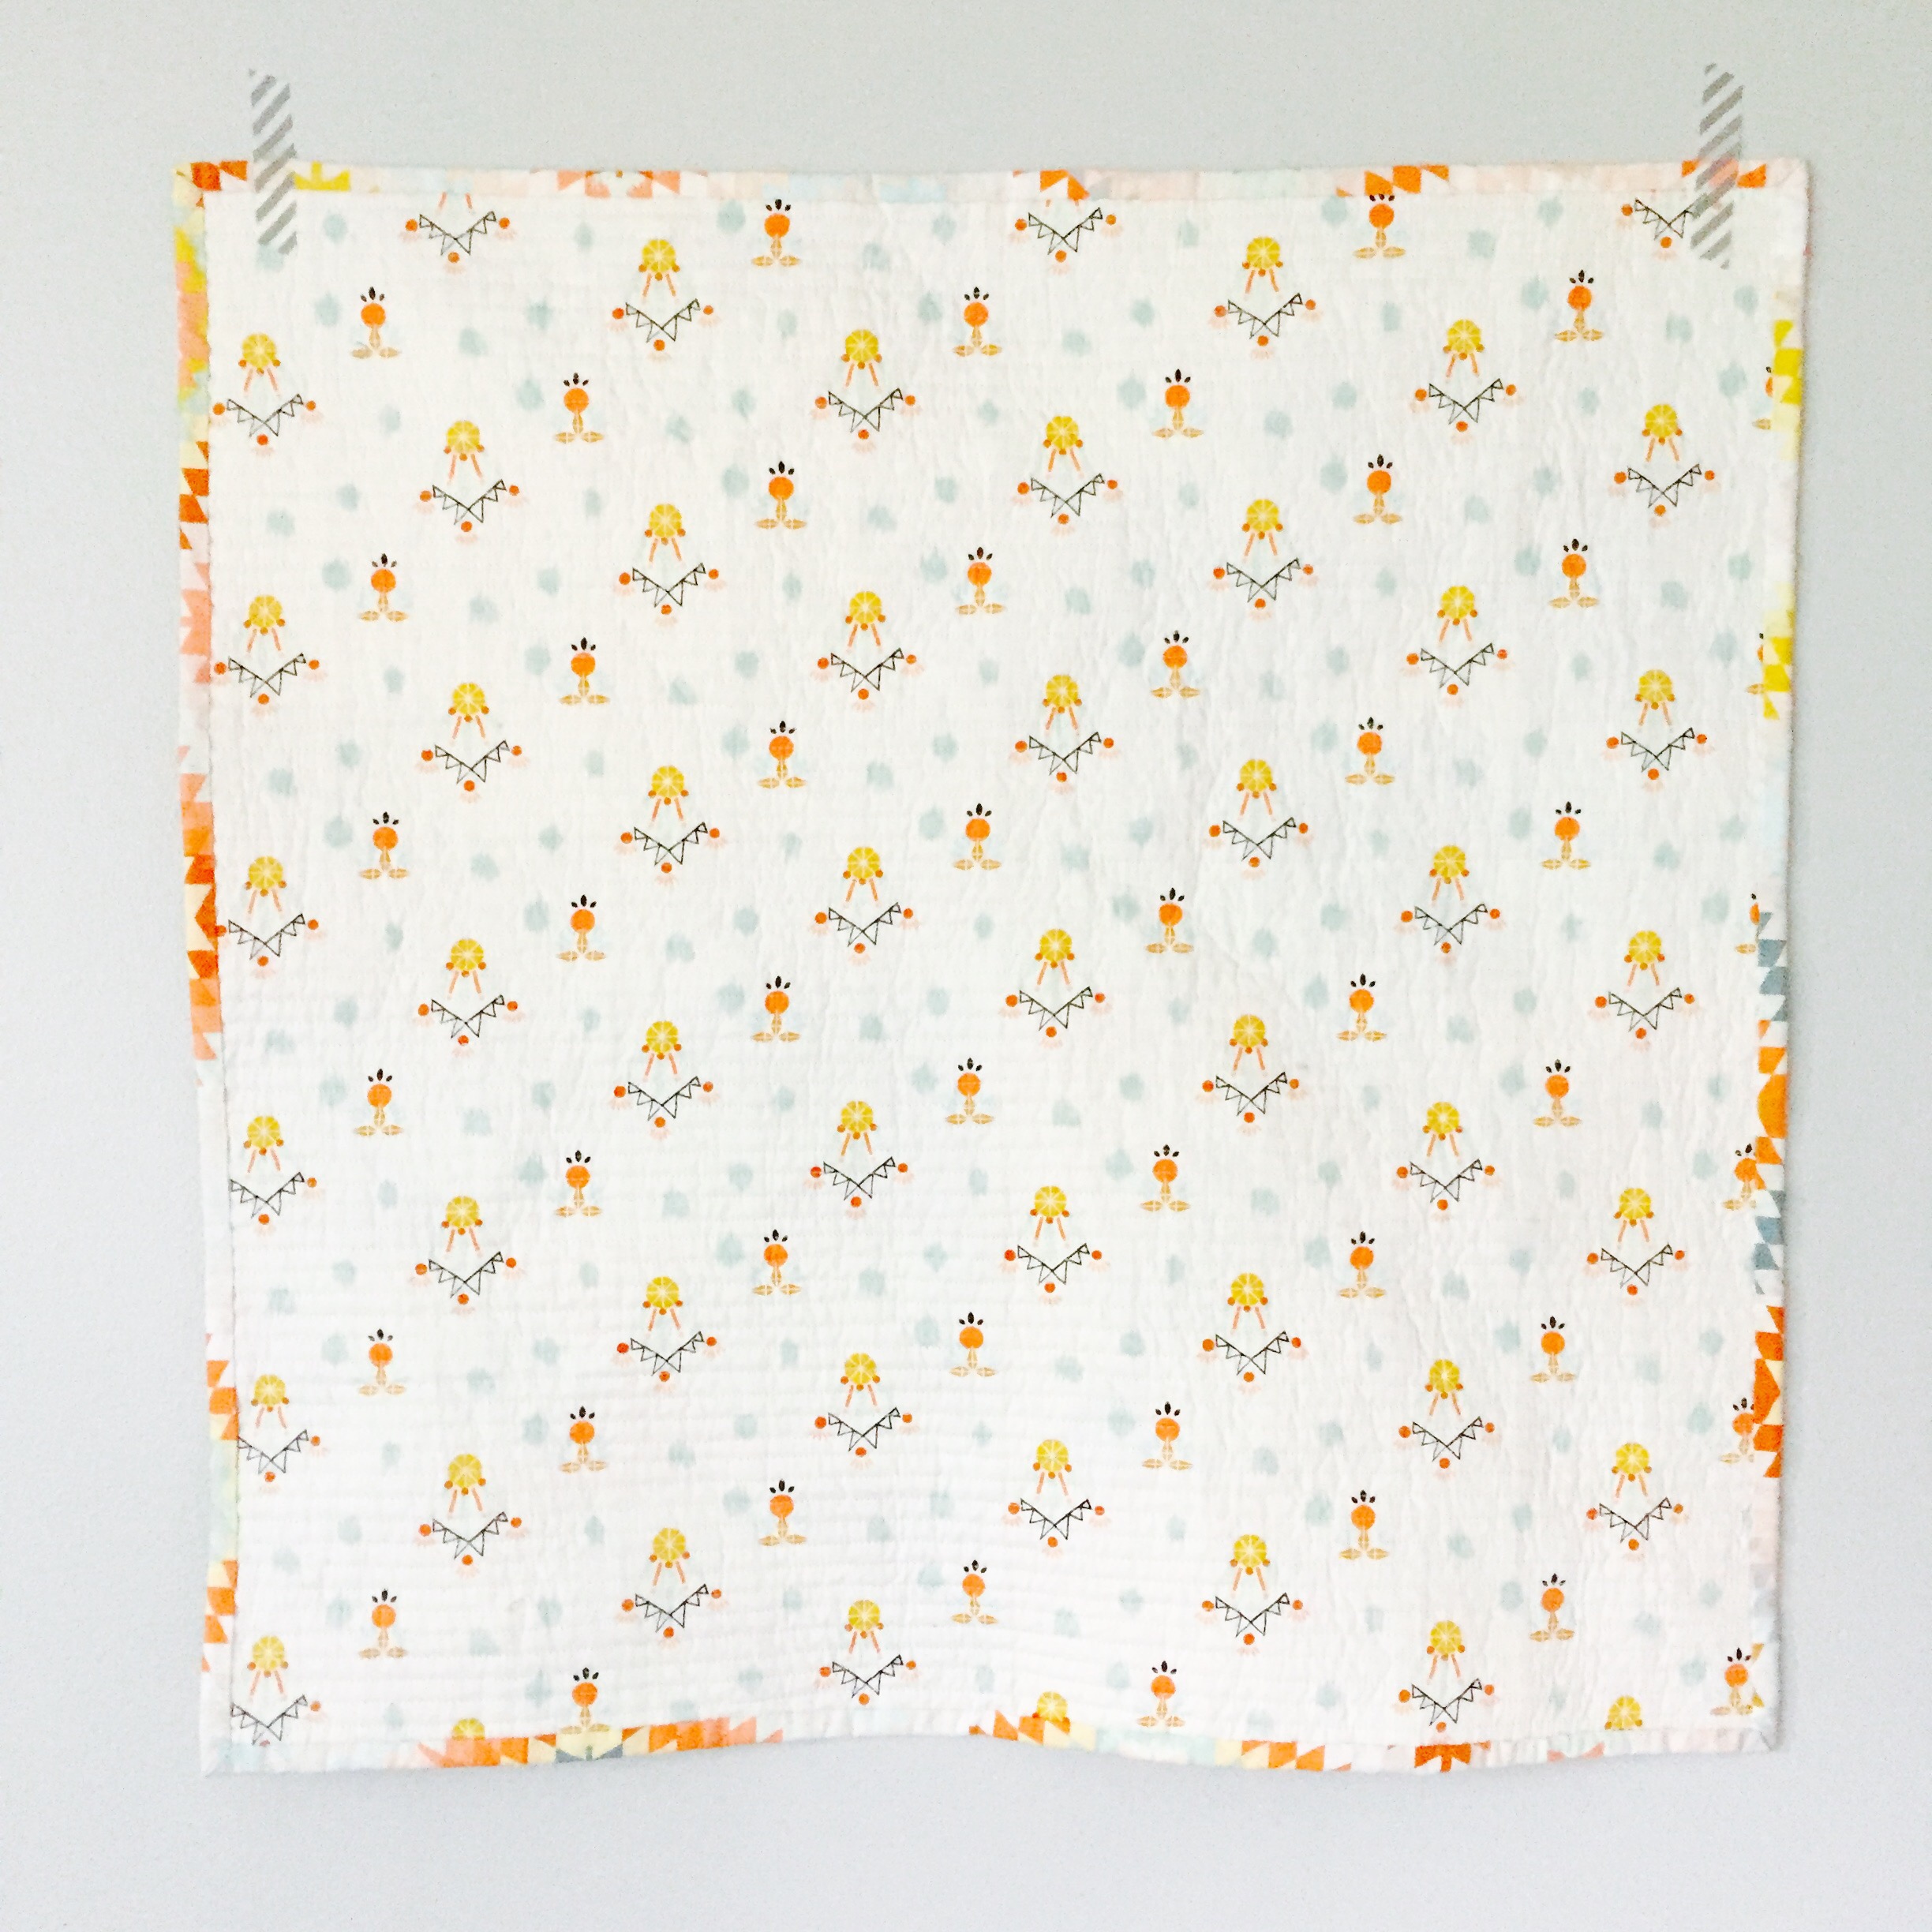
For the backing fabric, Dream-catching Celeste from the Wanderer collection was the best choice. It is just a beautiful light pattern that really complements the colors in the whole quilt. For the binding, Serape Dream was selected. I love all the different colors and how you get a different feel at every inch and angle all around the quilt.
 Finished, this mini is 24″ x 24″, so it makes for a quick project (which I like!) If you are new to HSTs, this would also be a good starter since there are not to many of them.
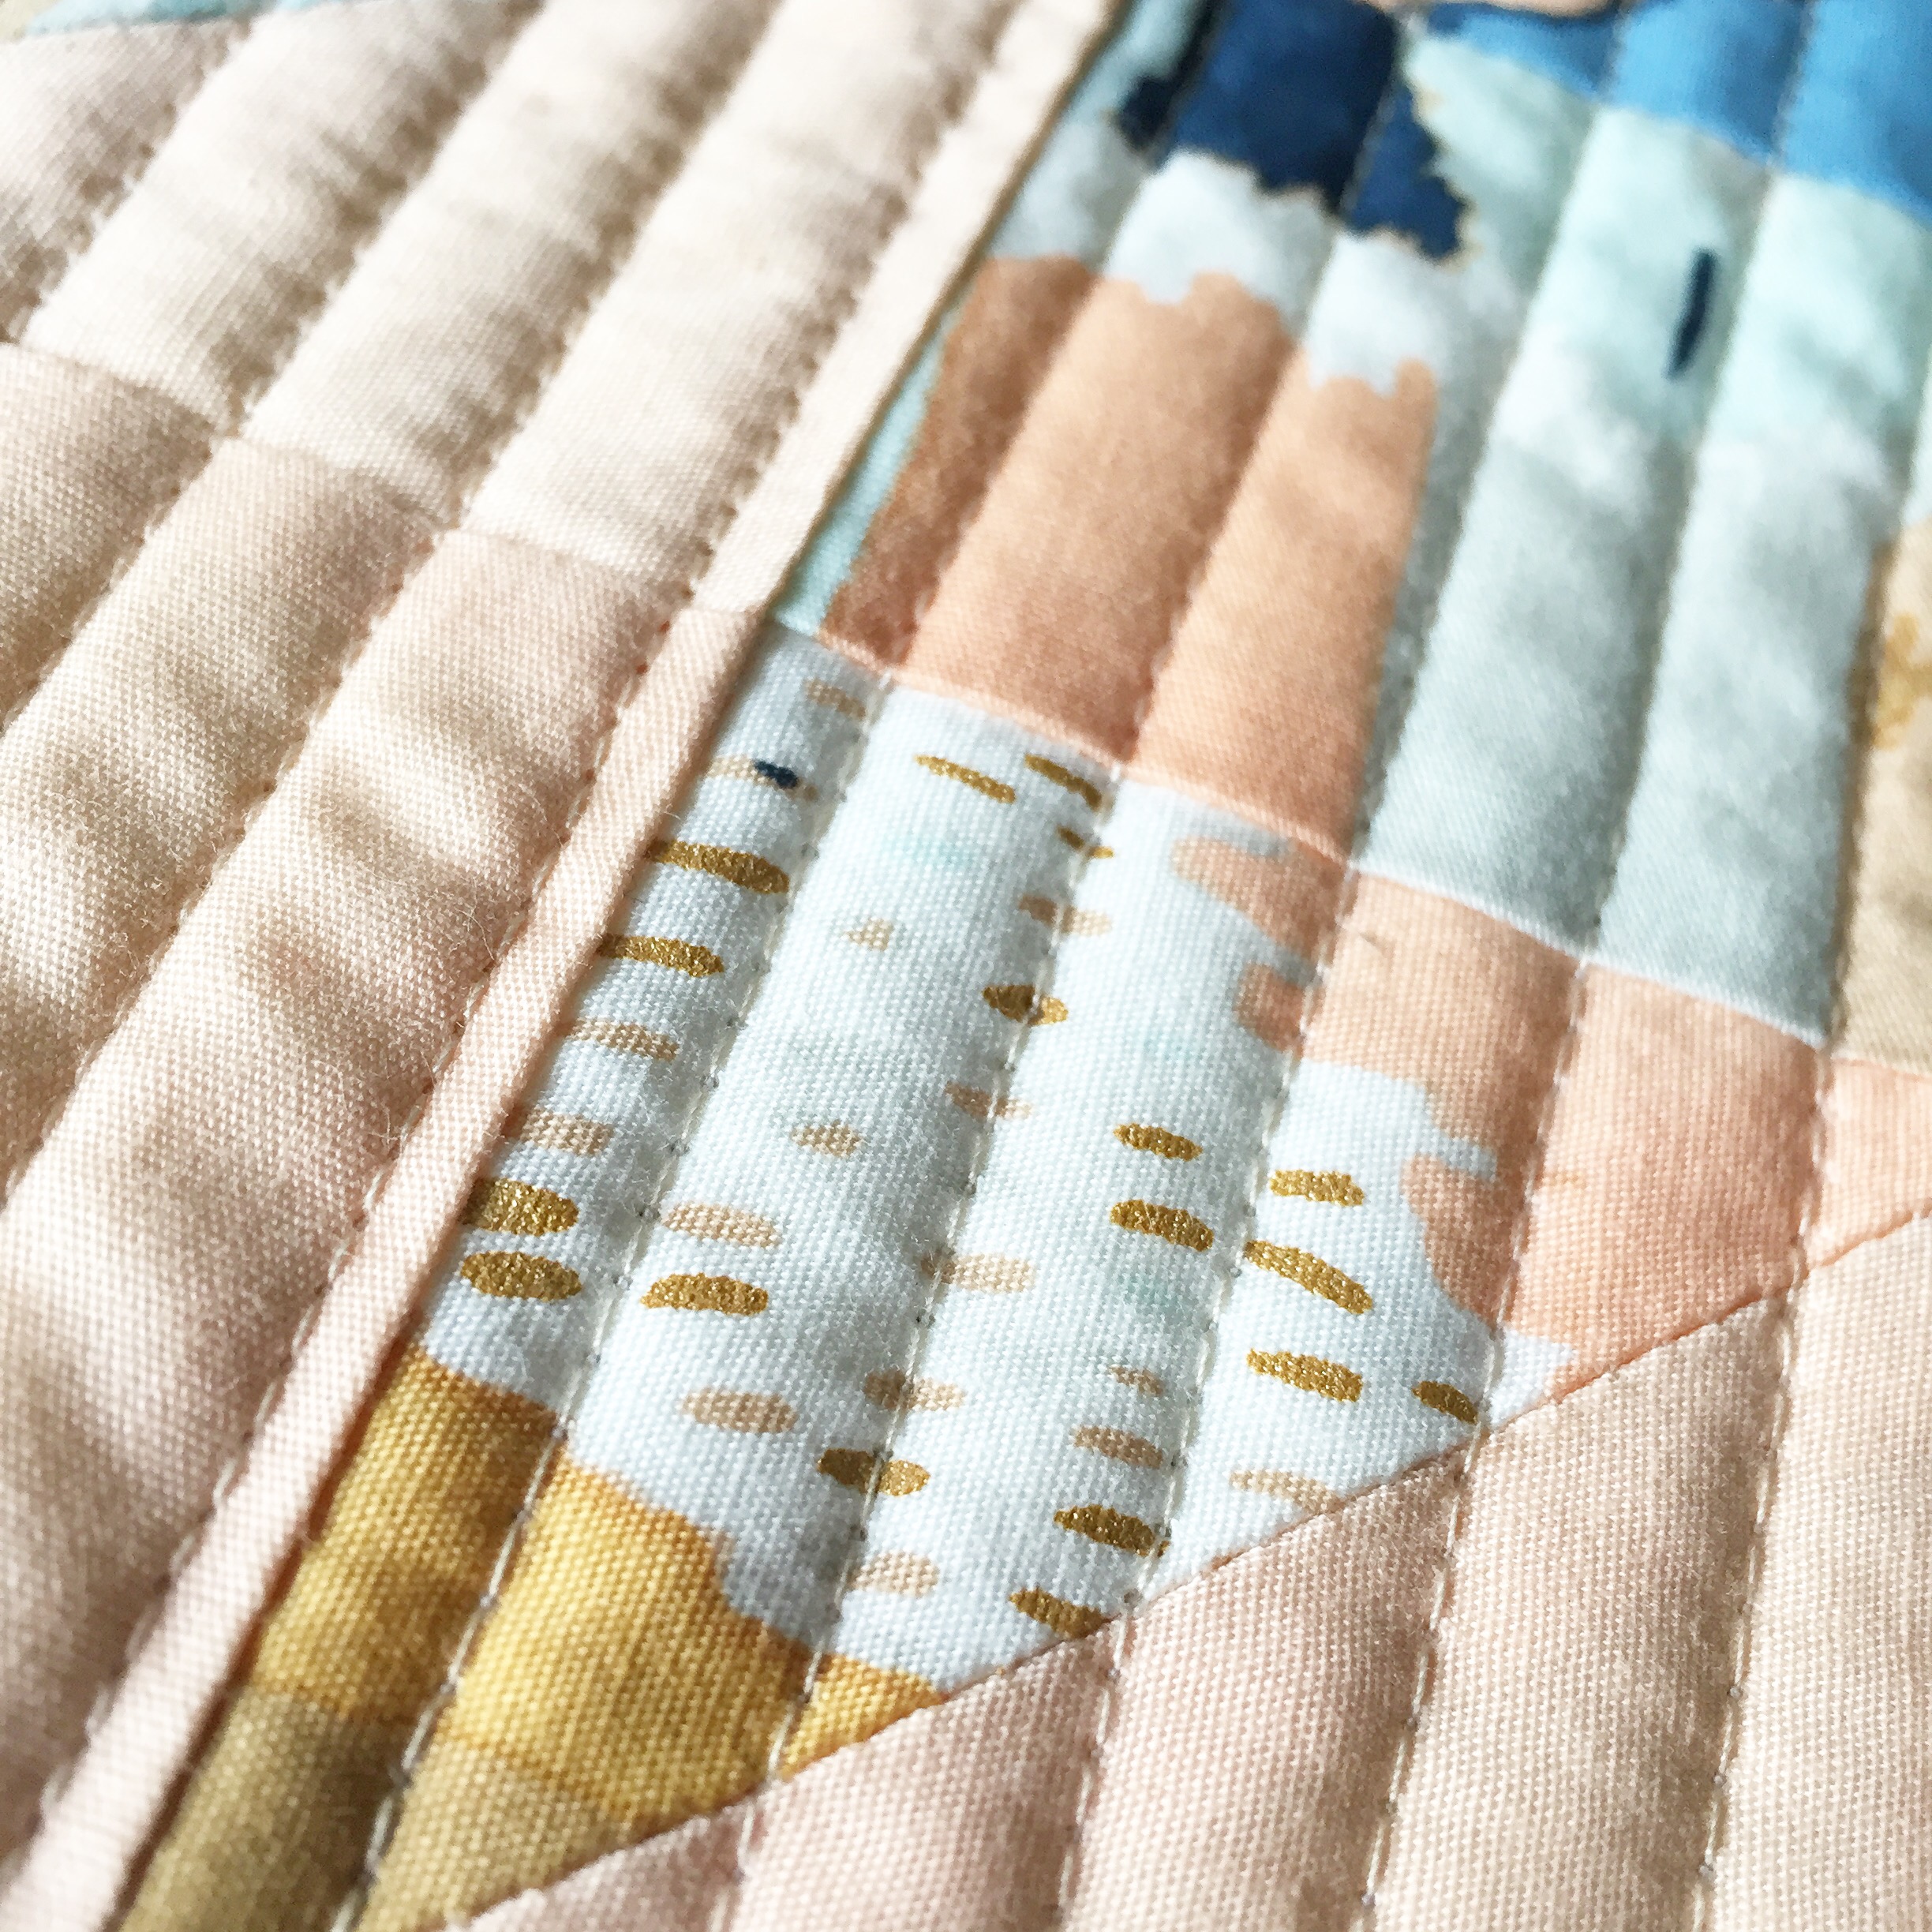
Close-Up of Metallic Detail
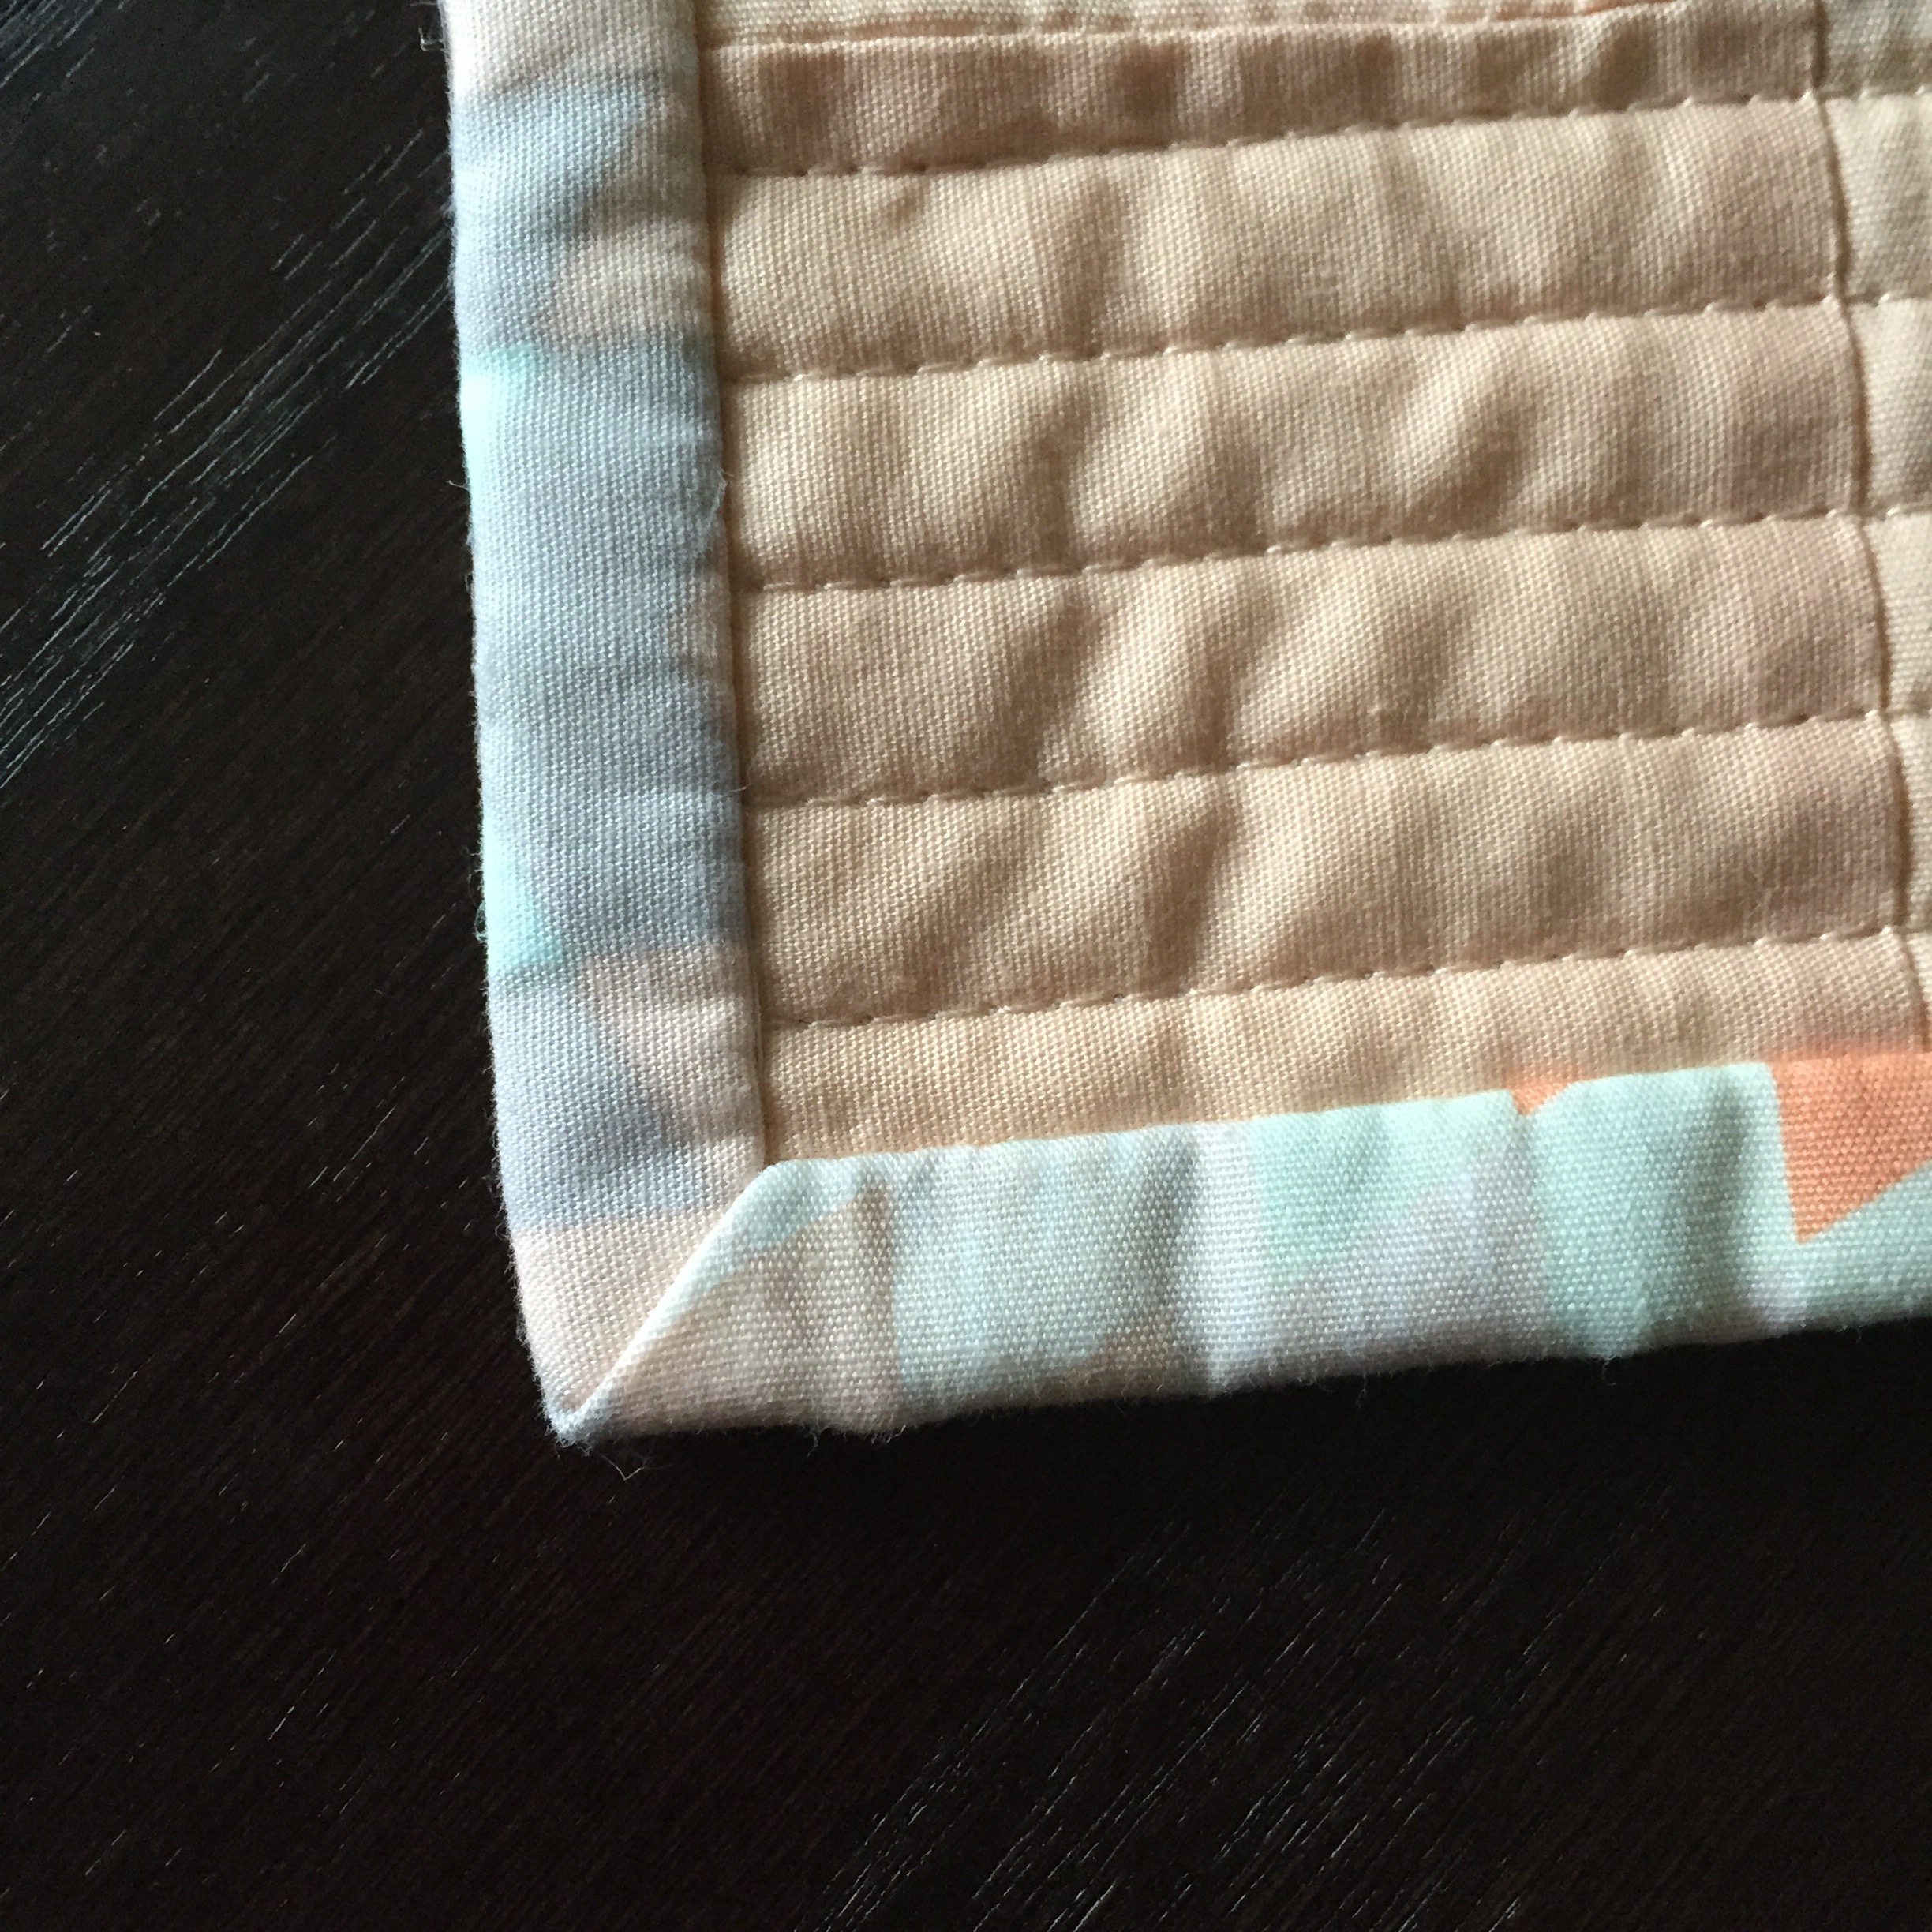
Love a Beautiful Mitered Corner
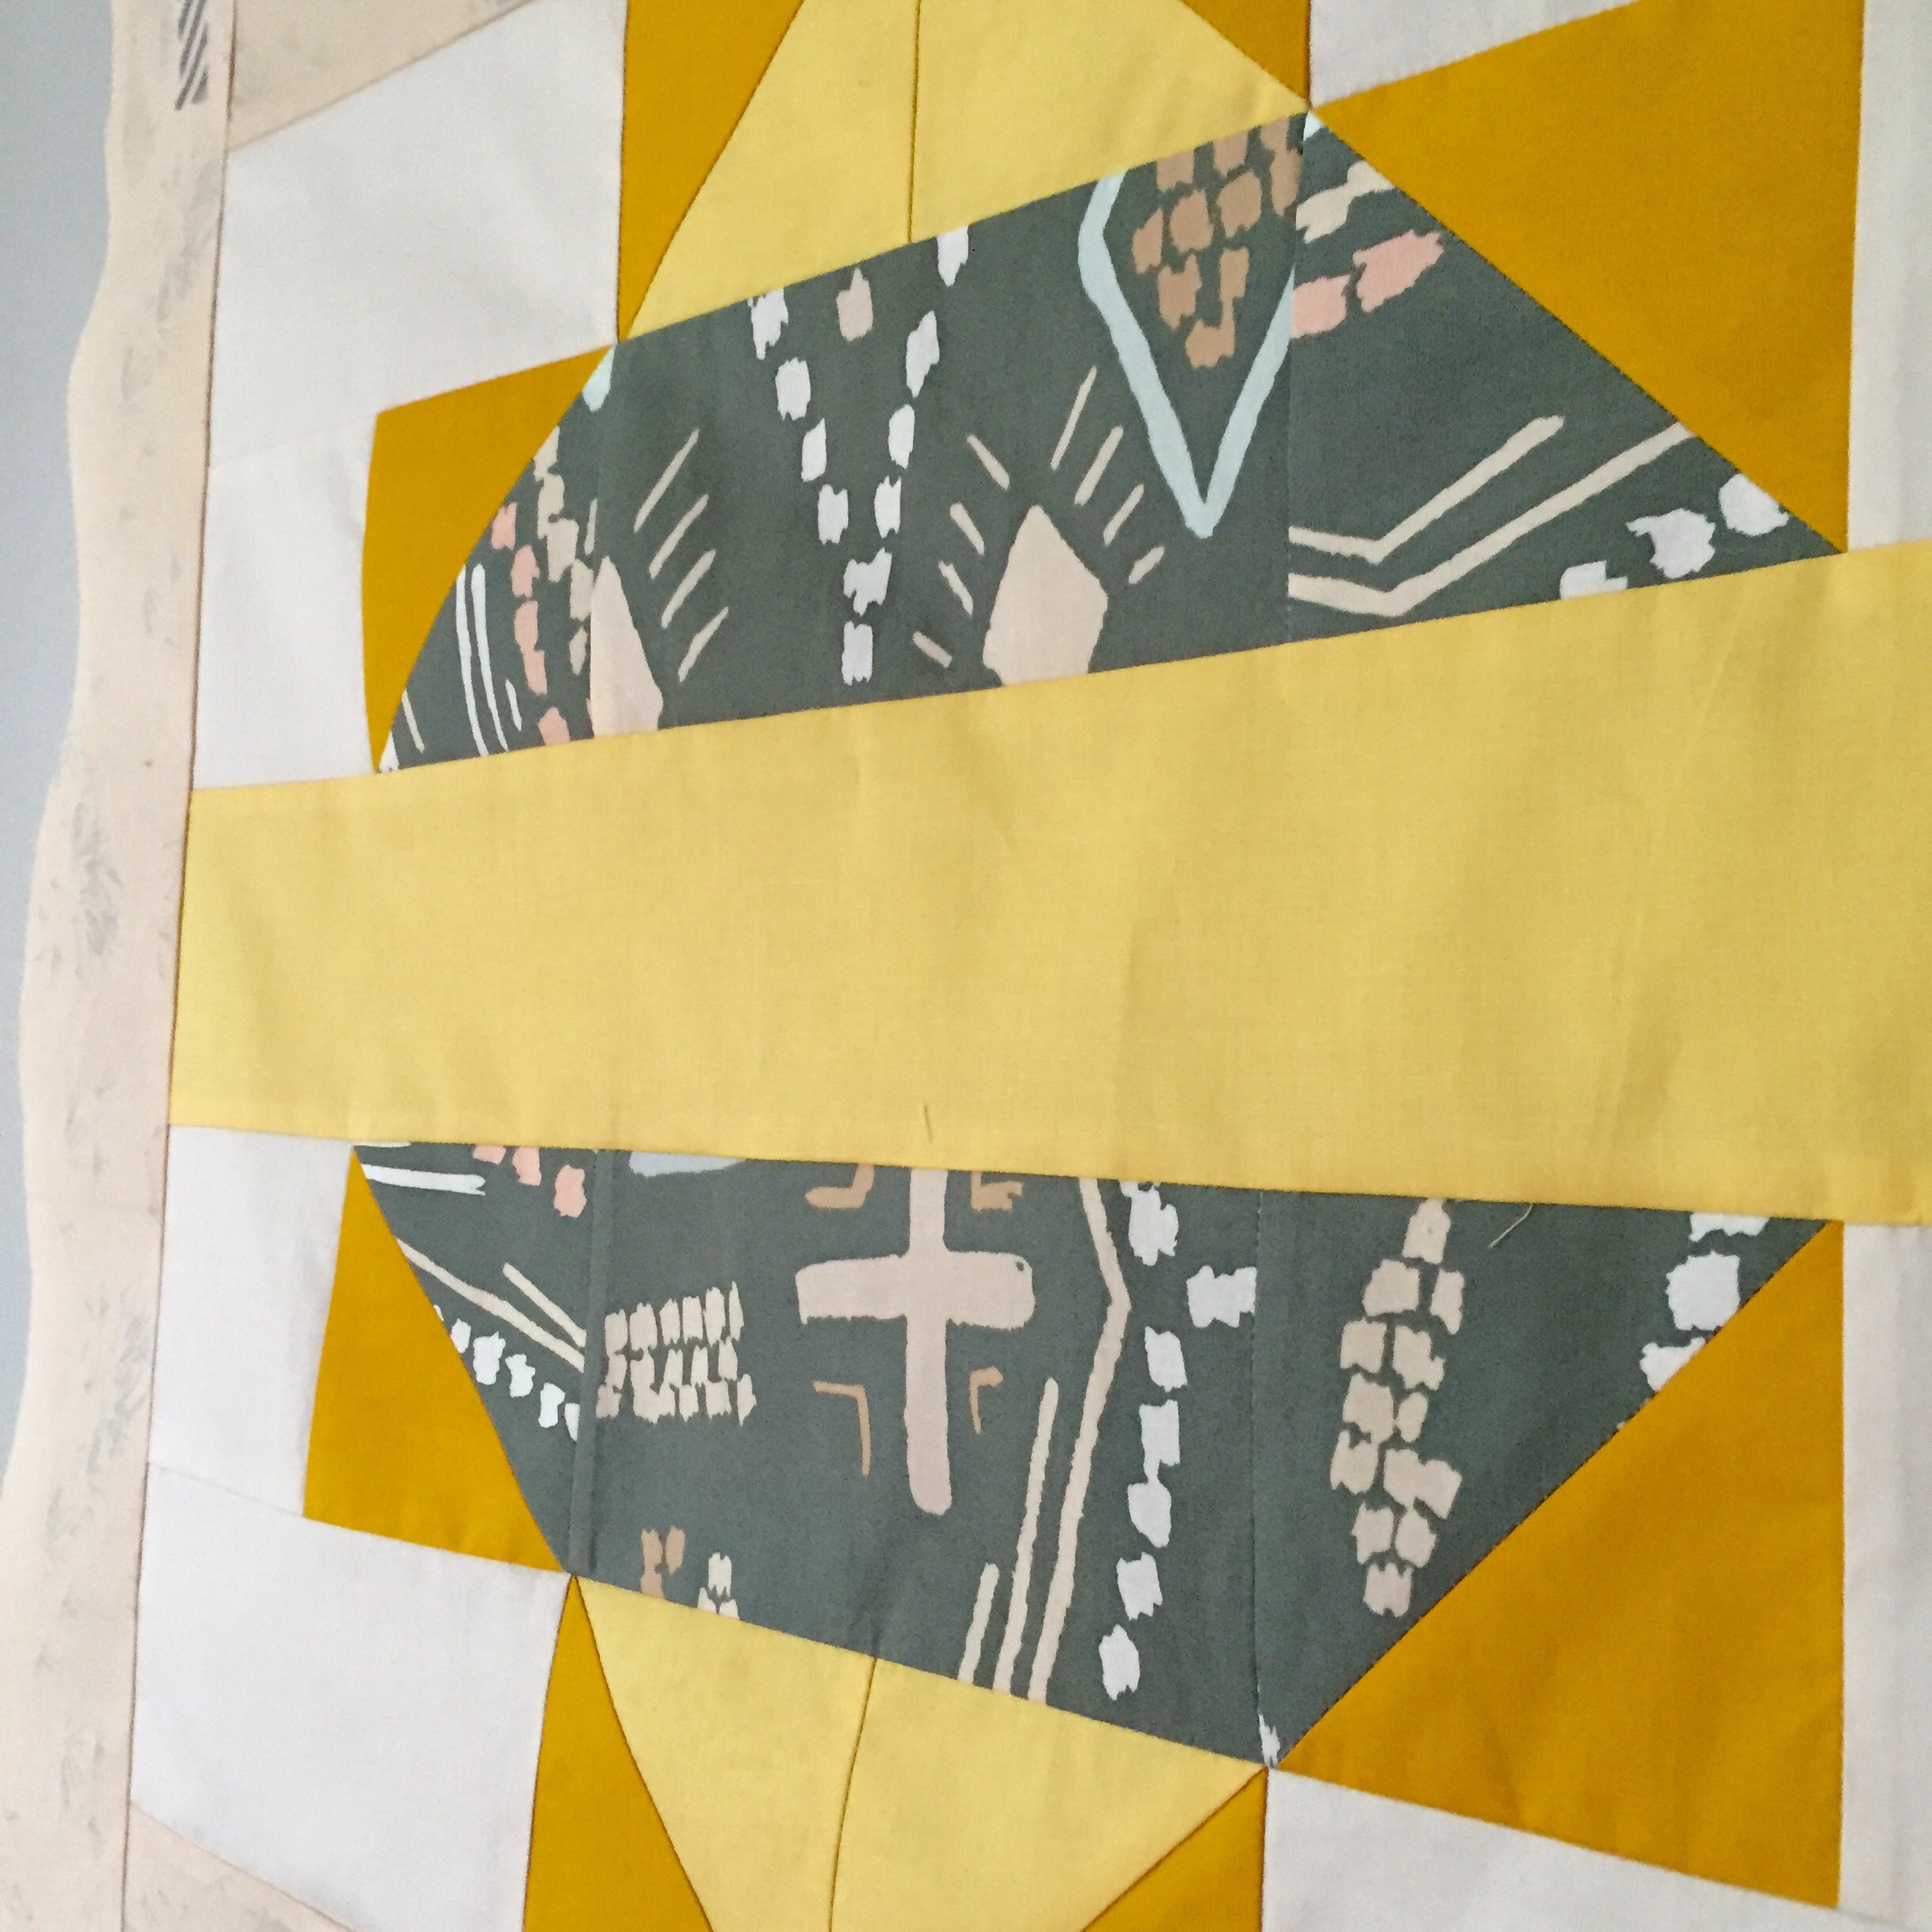
2.) Ancient Lands Pillow
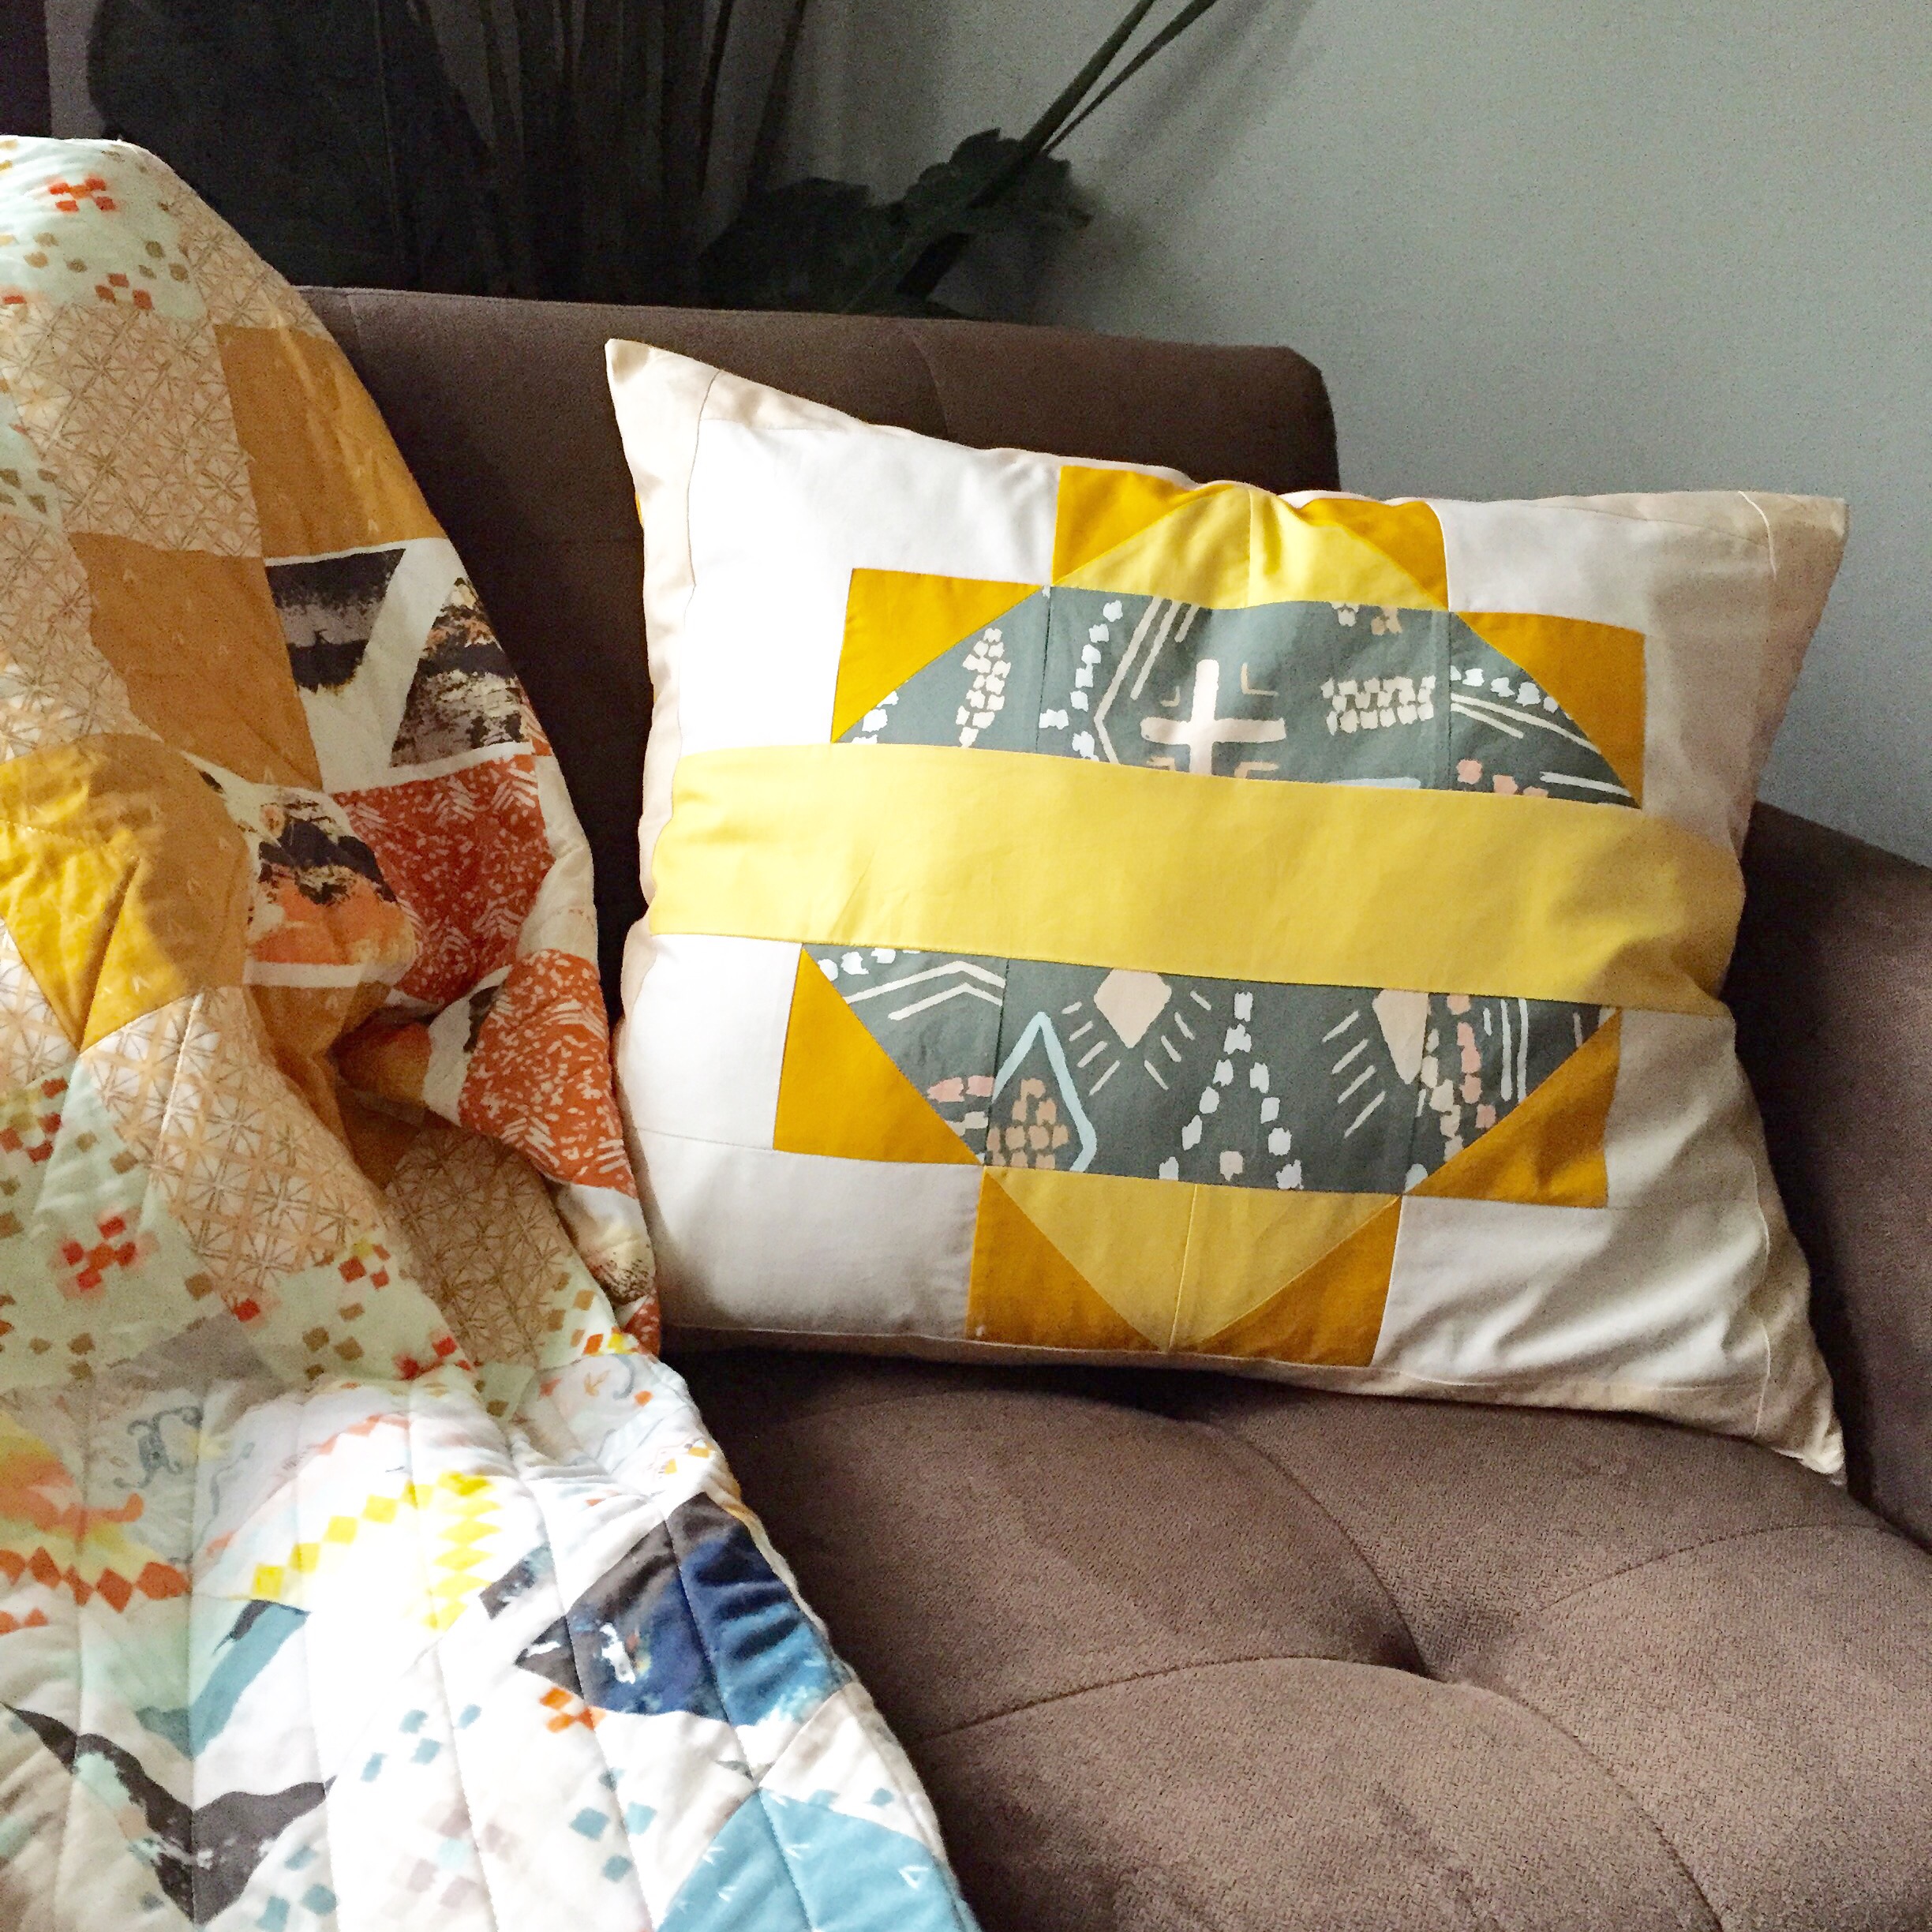
April made the fabric pull on this pillow and it turned out beautifully…No surprise, right? She is able to use unexpected color combos and make them all work! I am not usually a yellow/mustard kind of girl (maybe because it blends into my own skin???) so I tend to stay away from these fabrics. But I think I may start broadening my horizons….
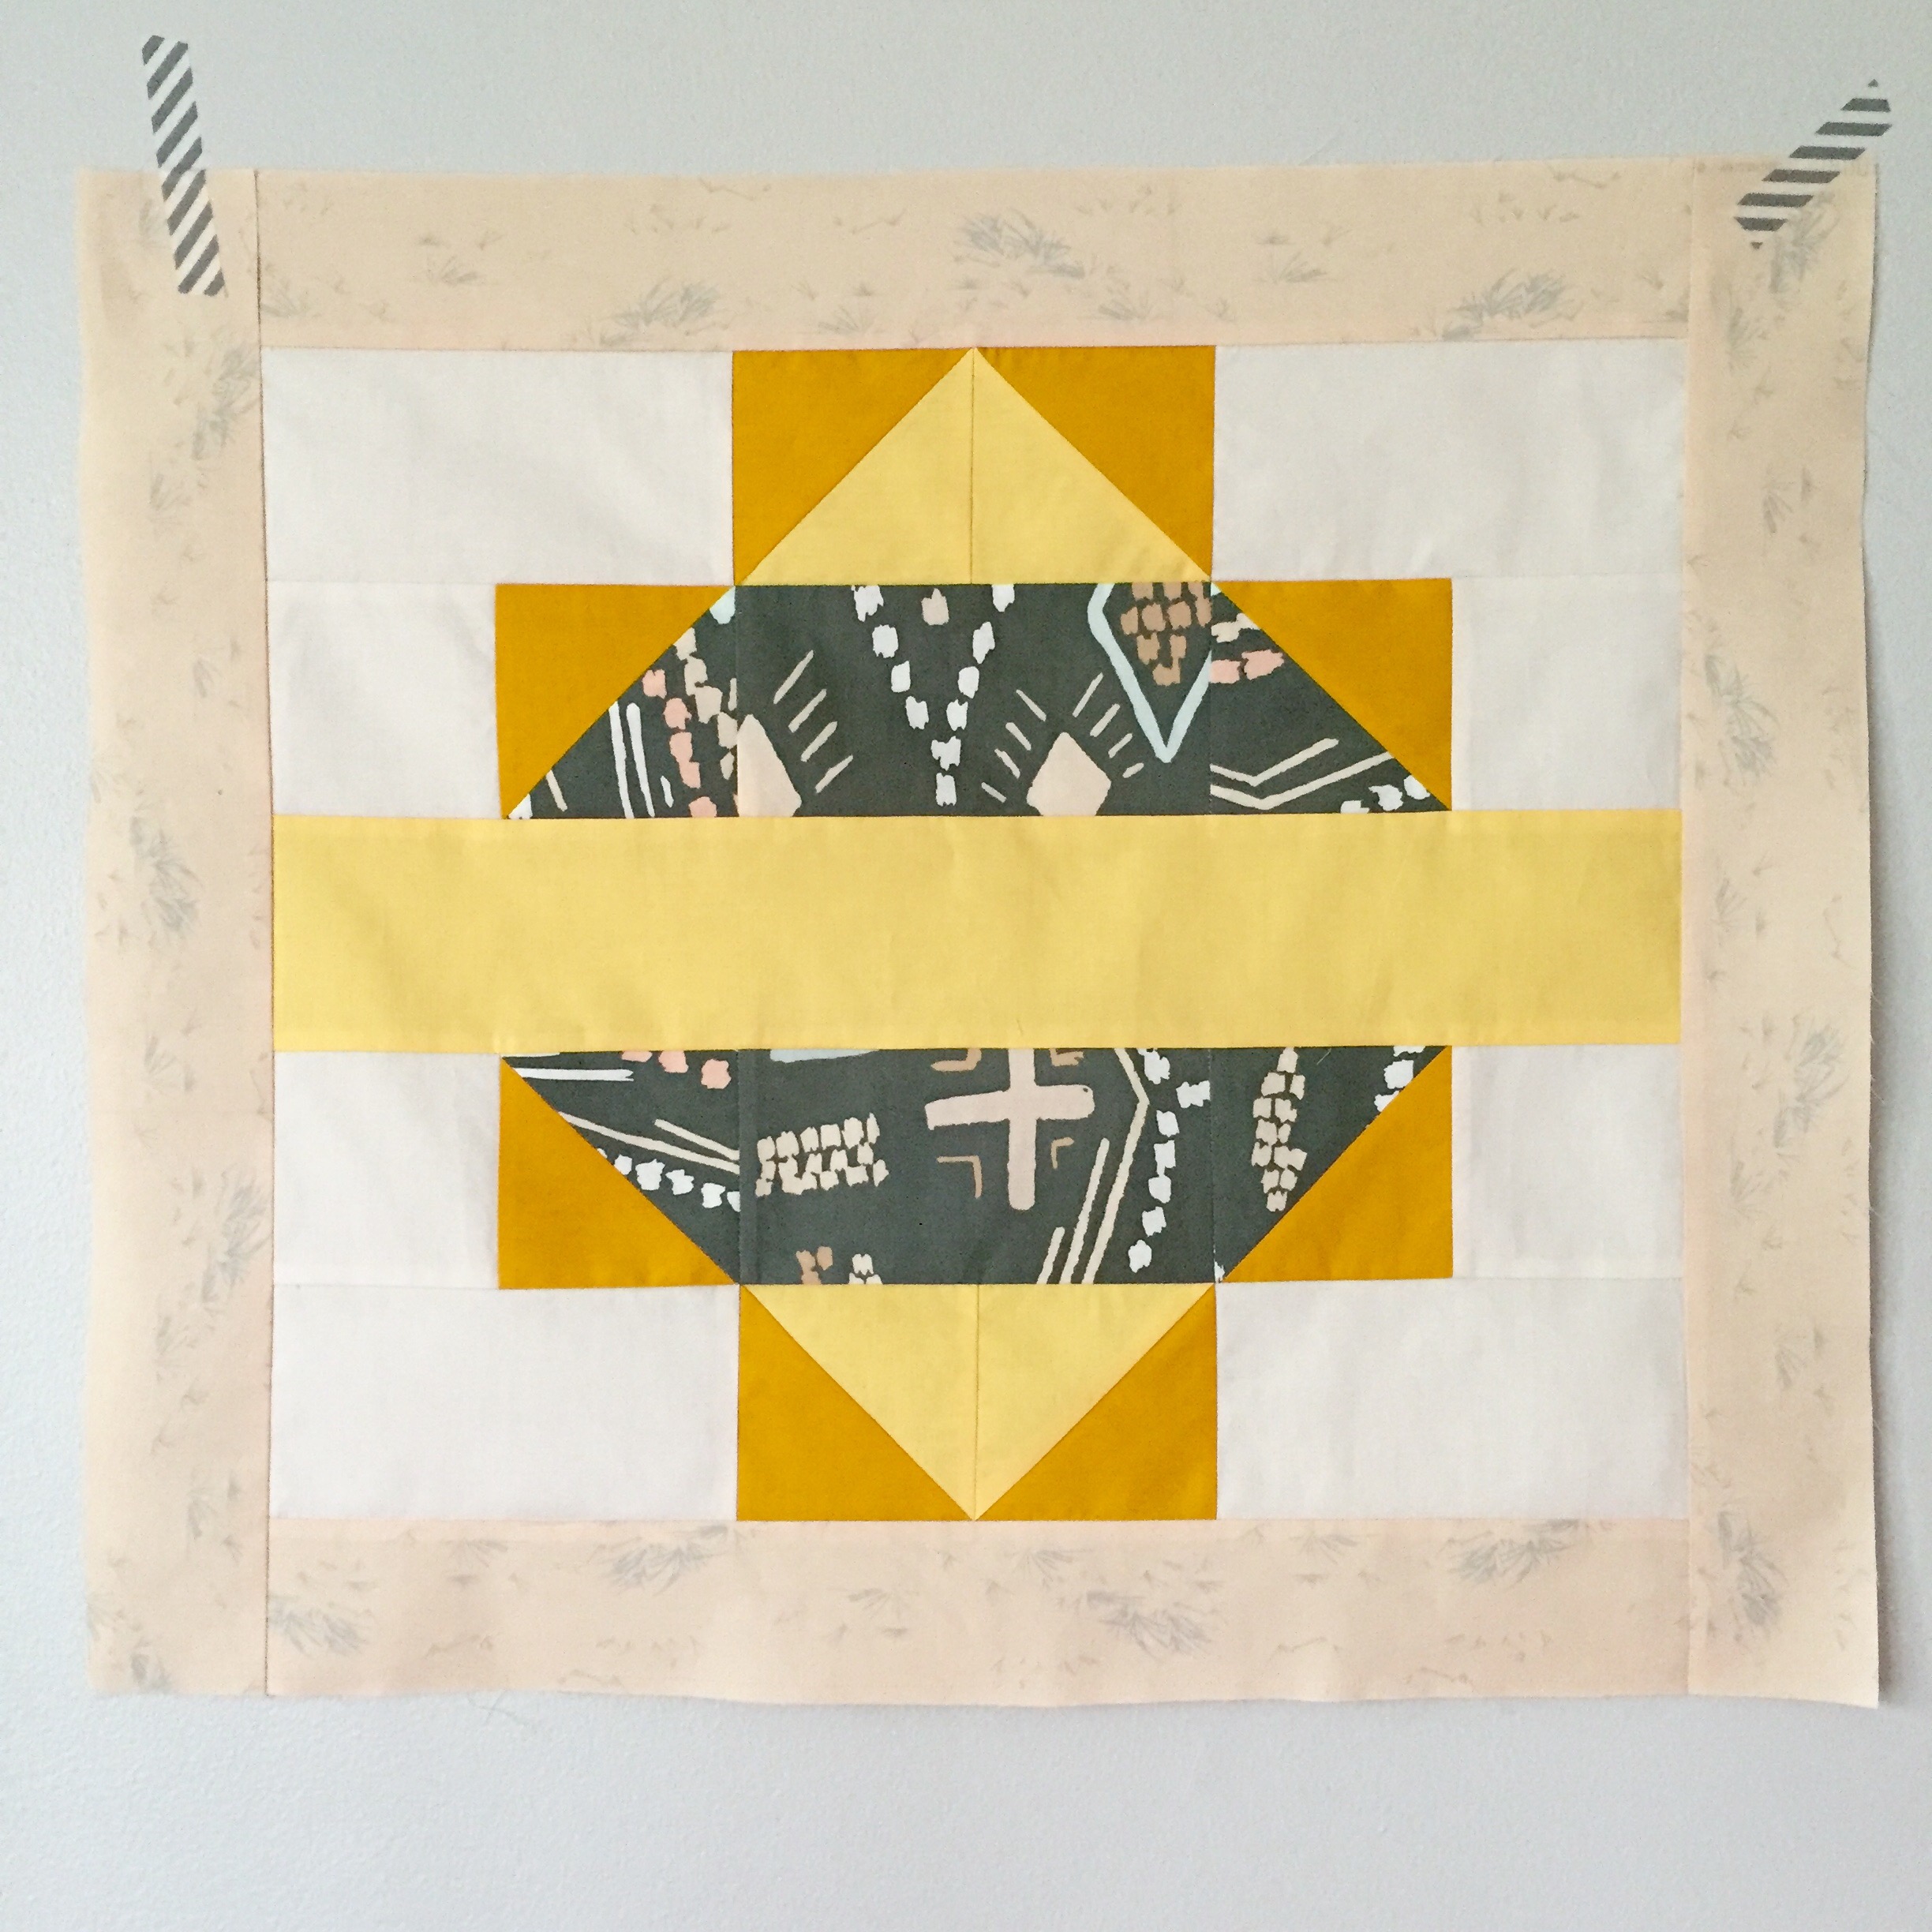 This pattern is free on Art Gallery’s Blog site and utilizes some HSTs as well. It’s another great quick beginner project. The fabrics used are Macrame Clay, Growth Stone and Pure Elements Tumeric, Banana Cream, and Linen White.
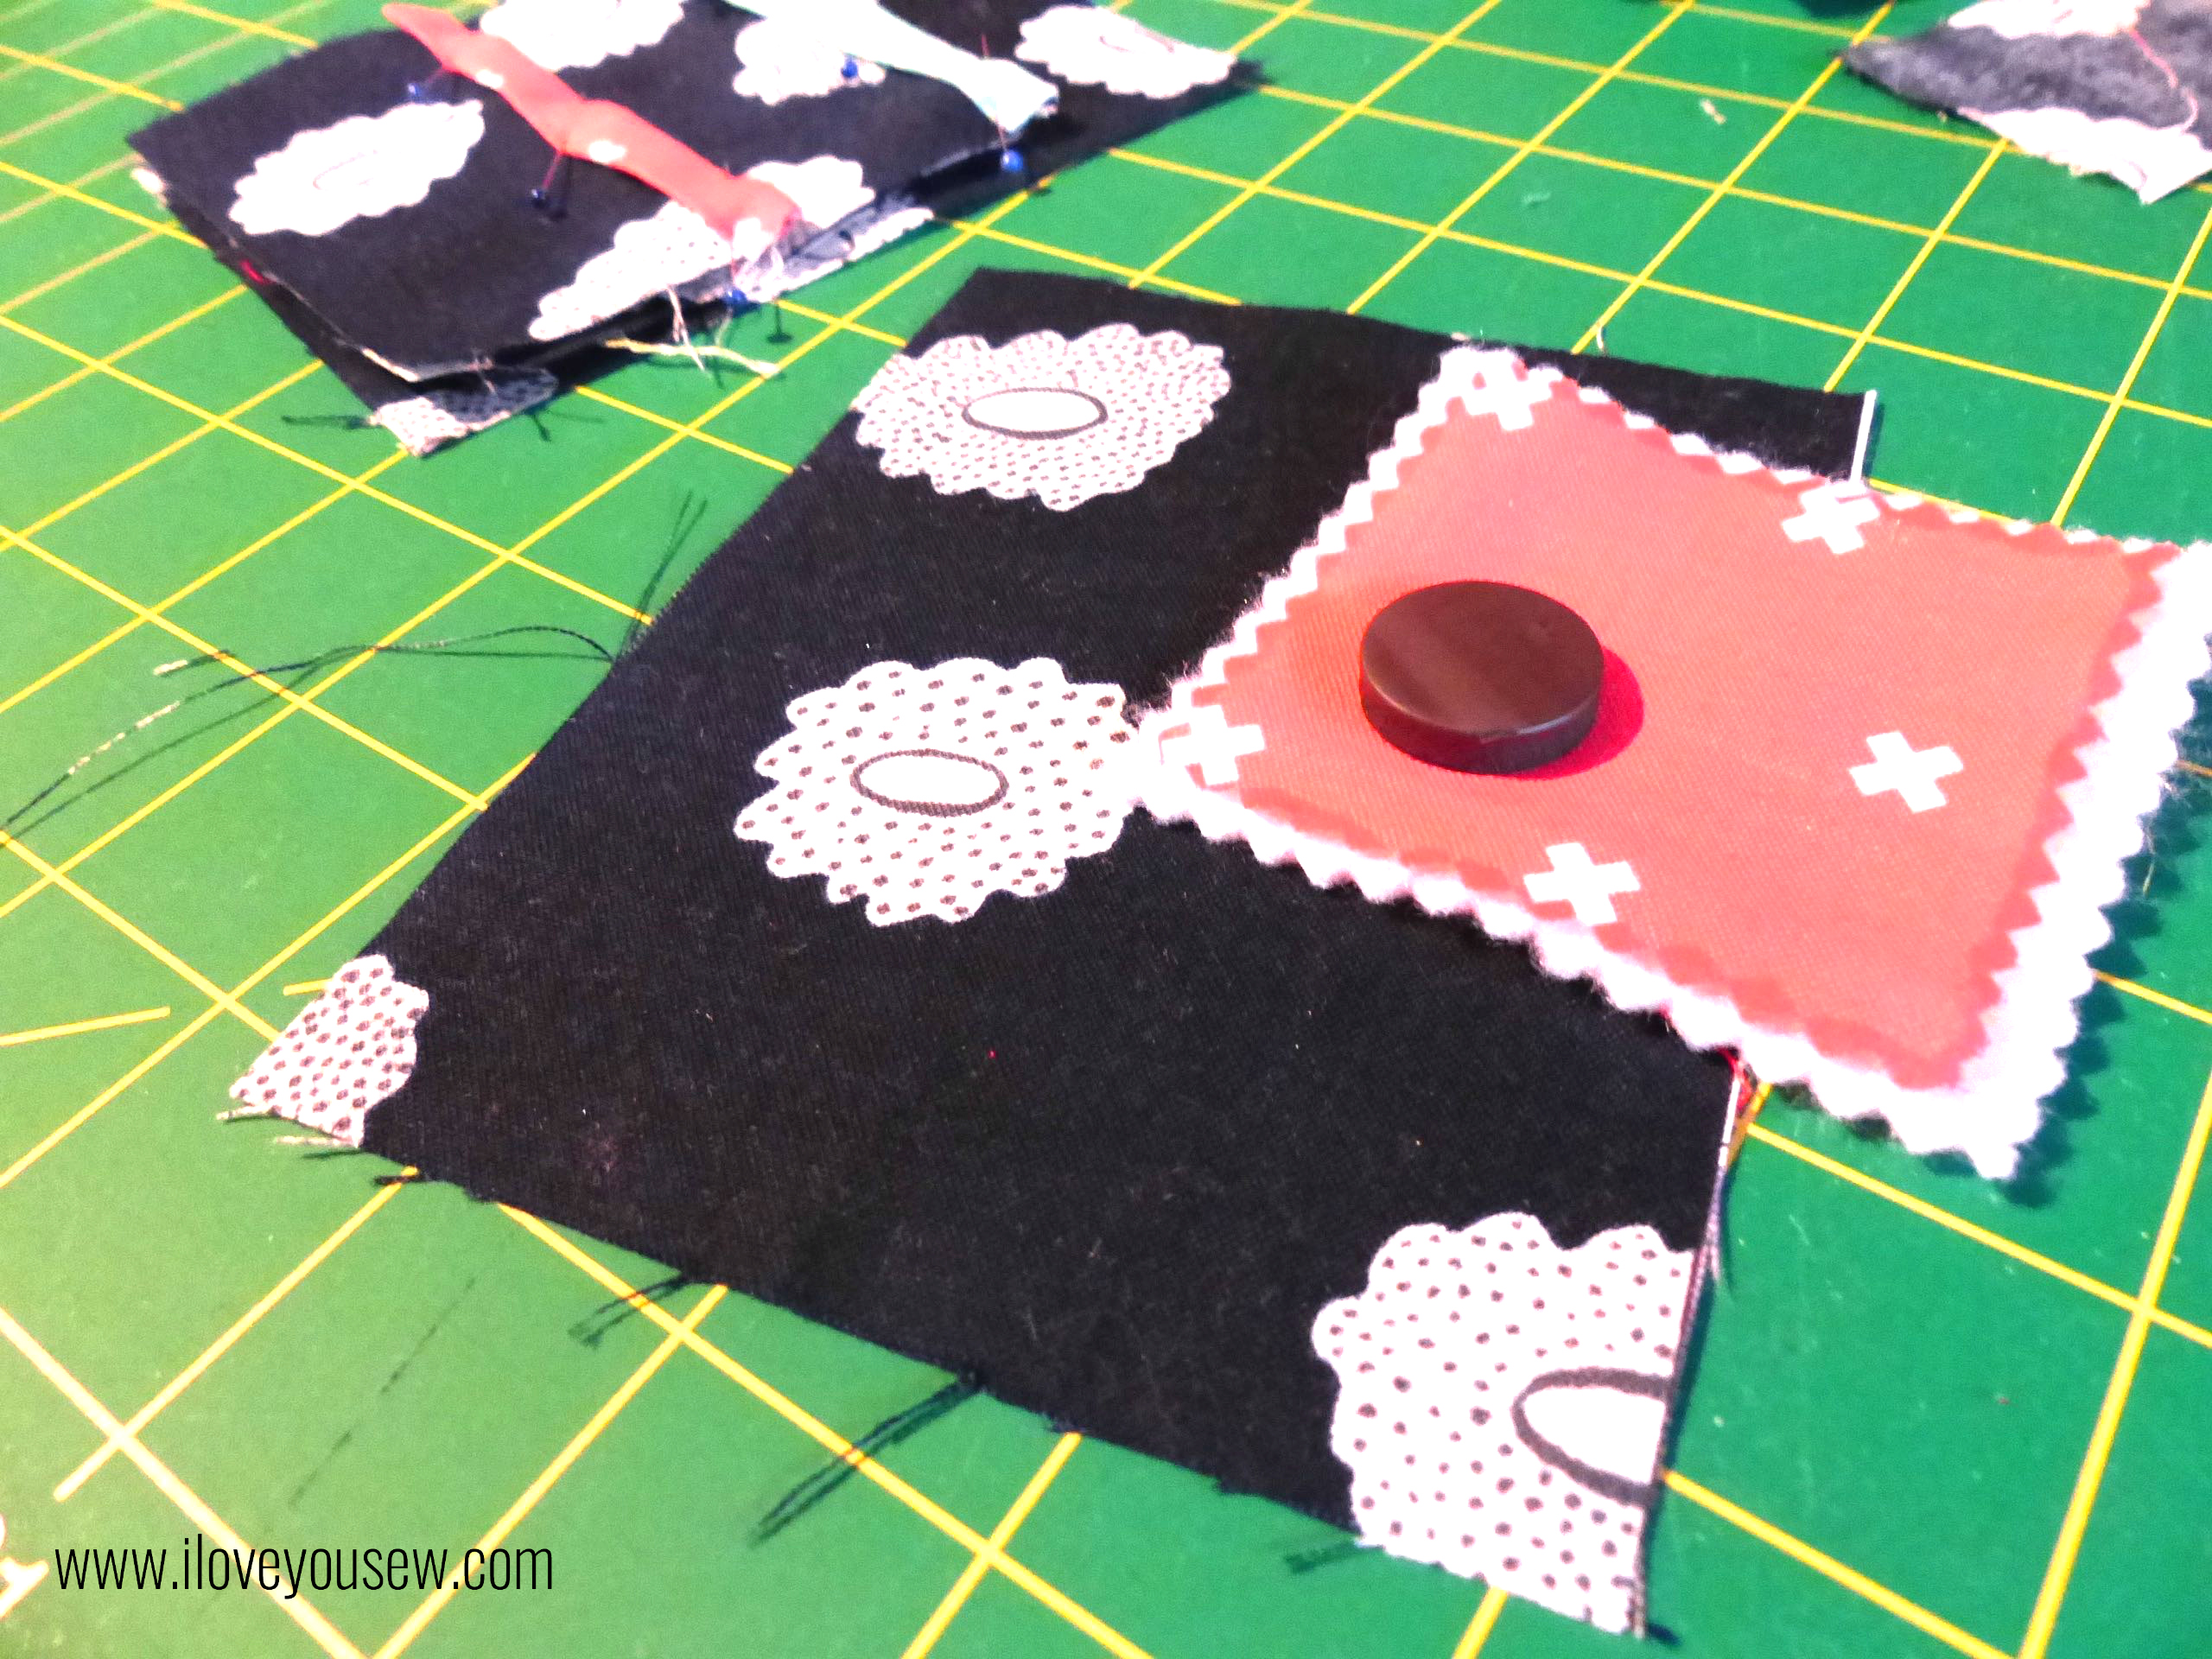
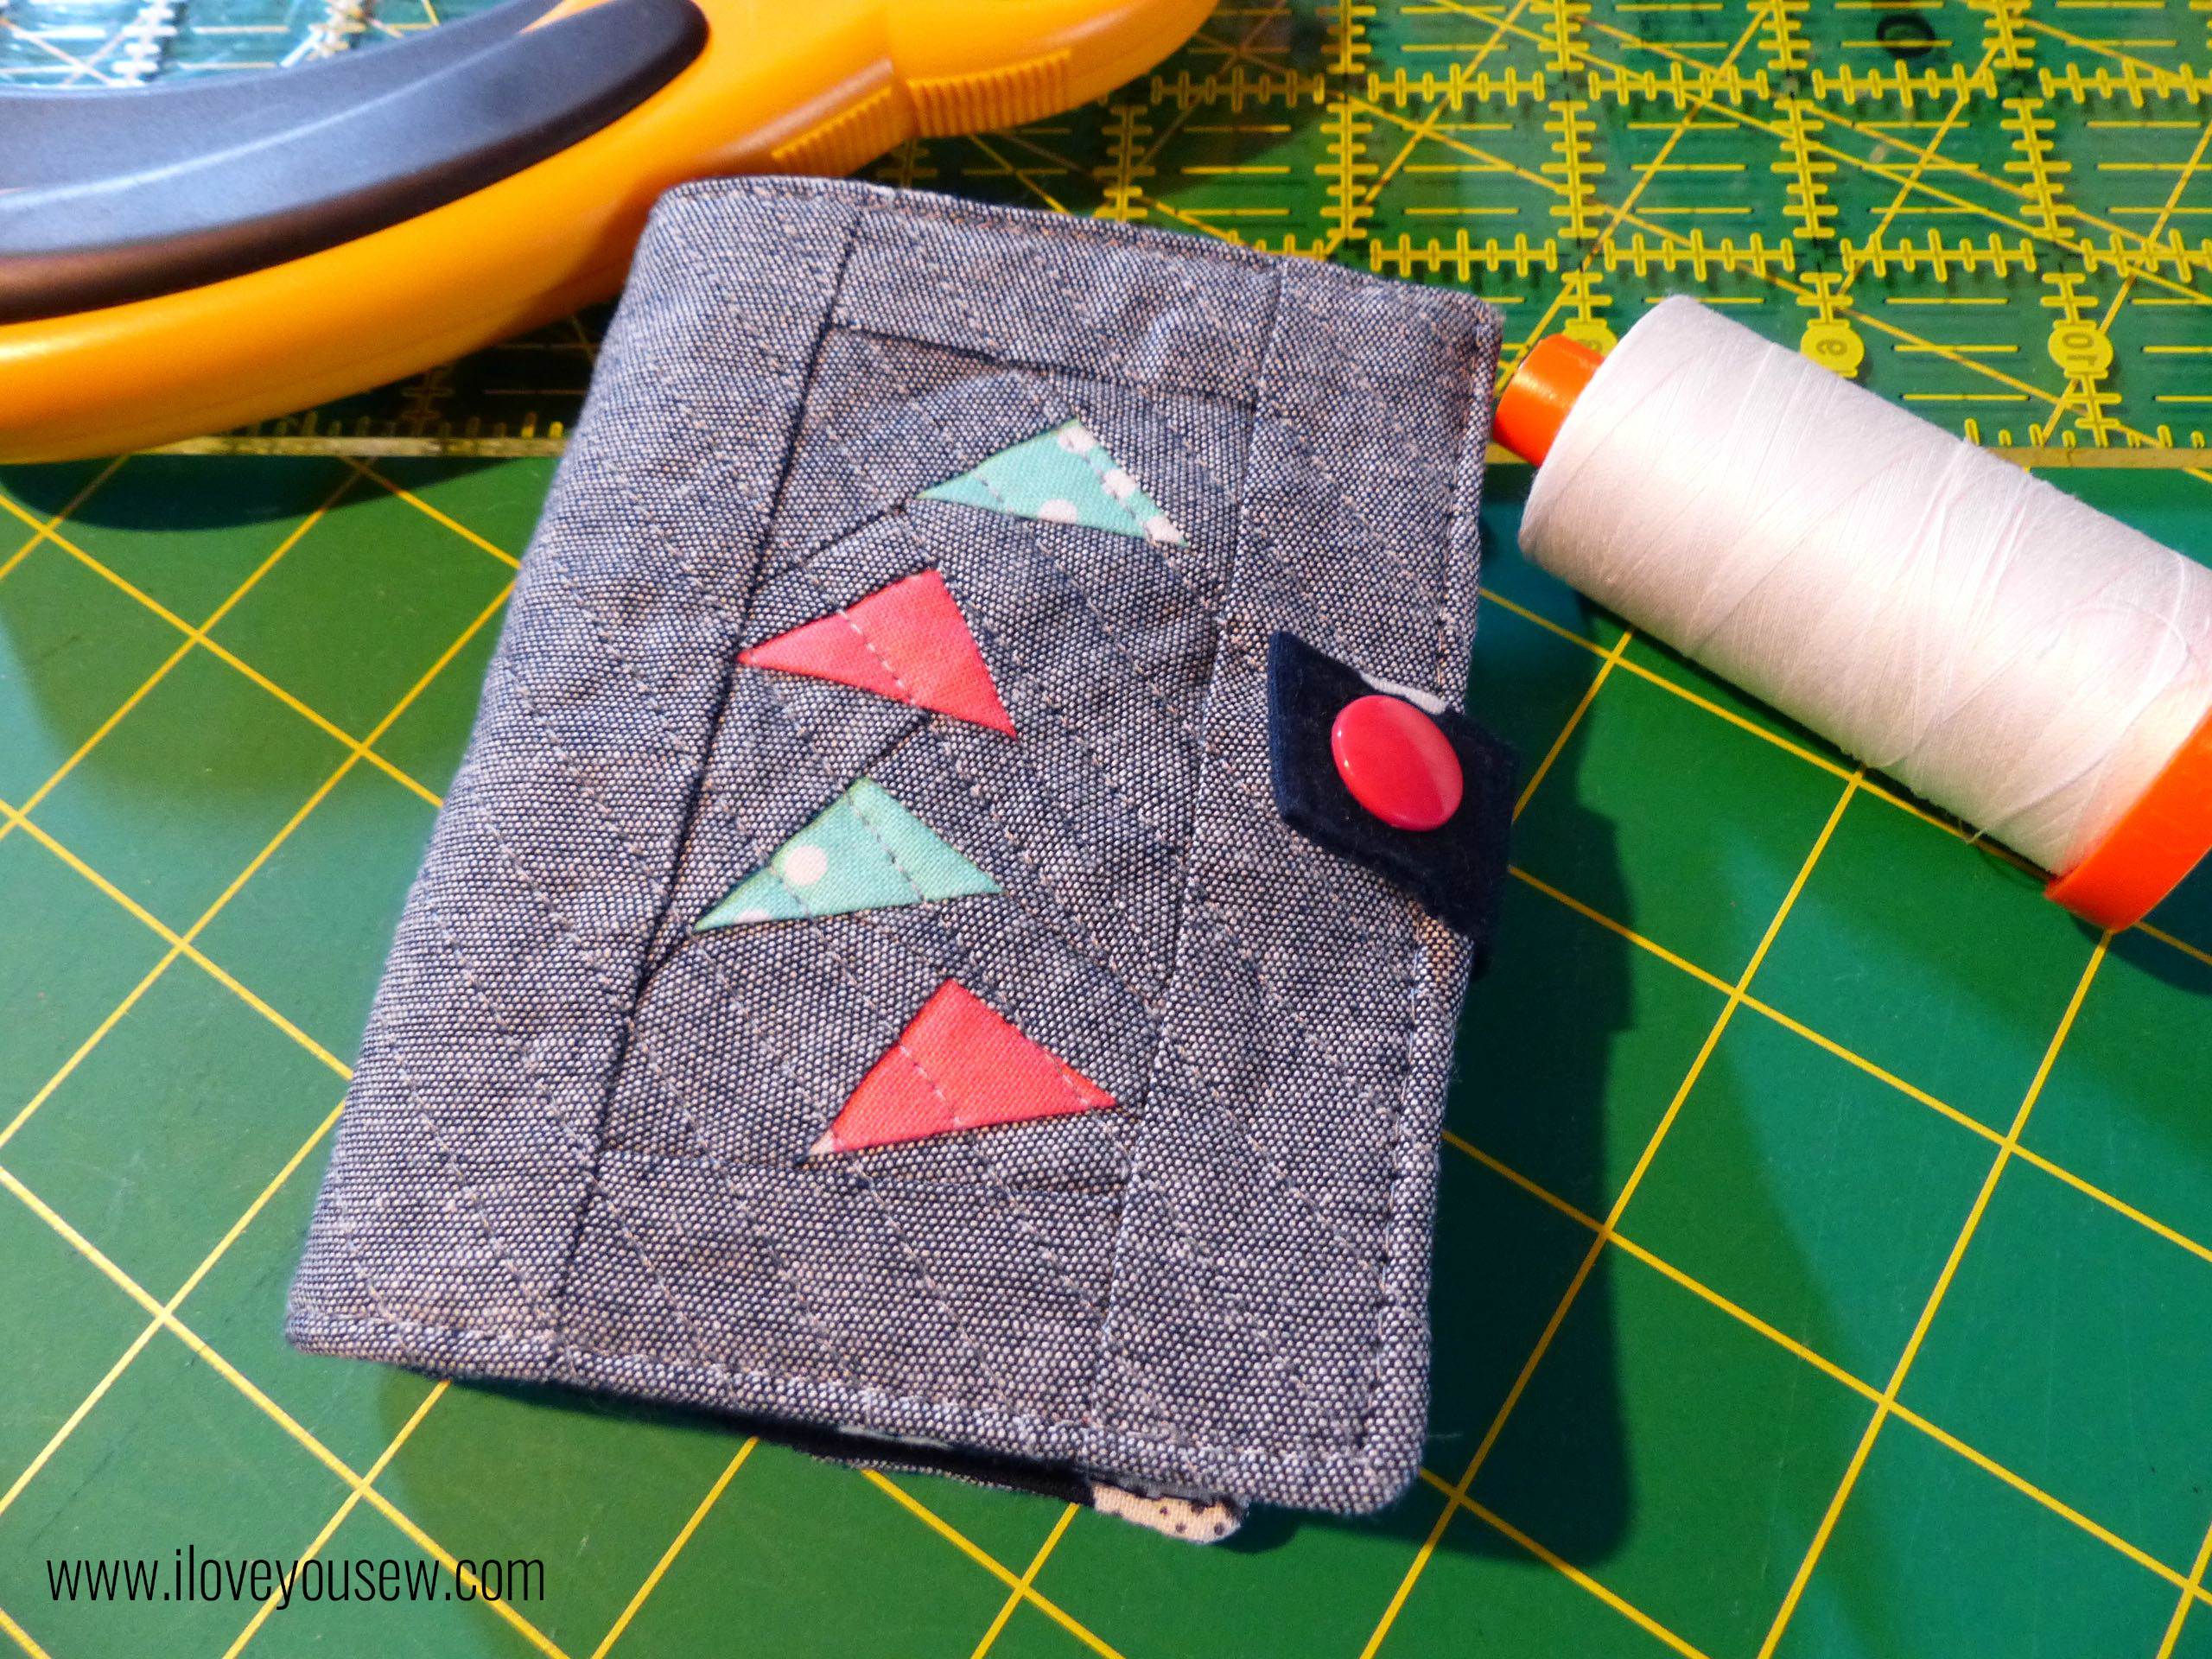
3.) The Geese Go Painting
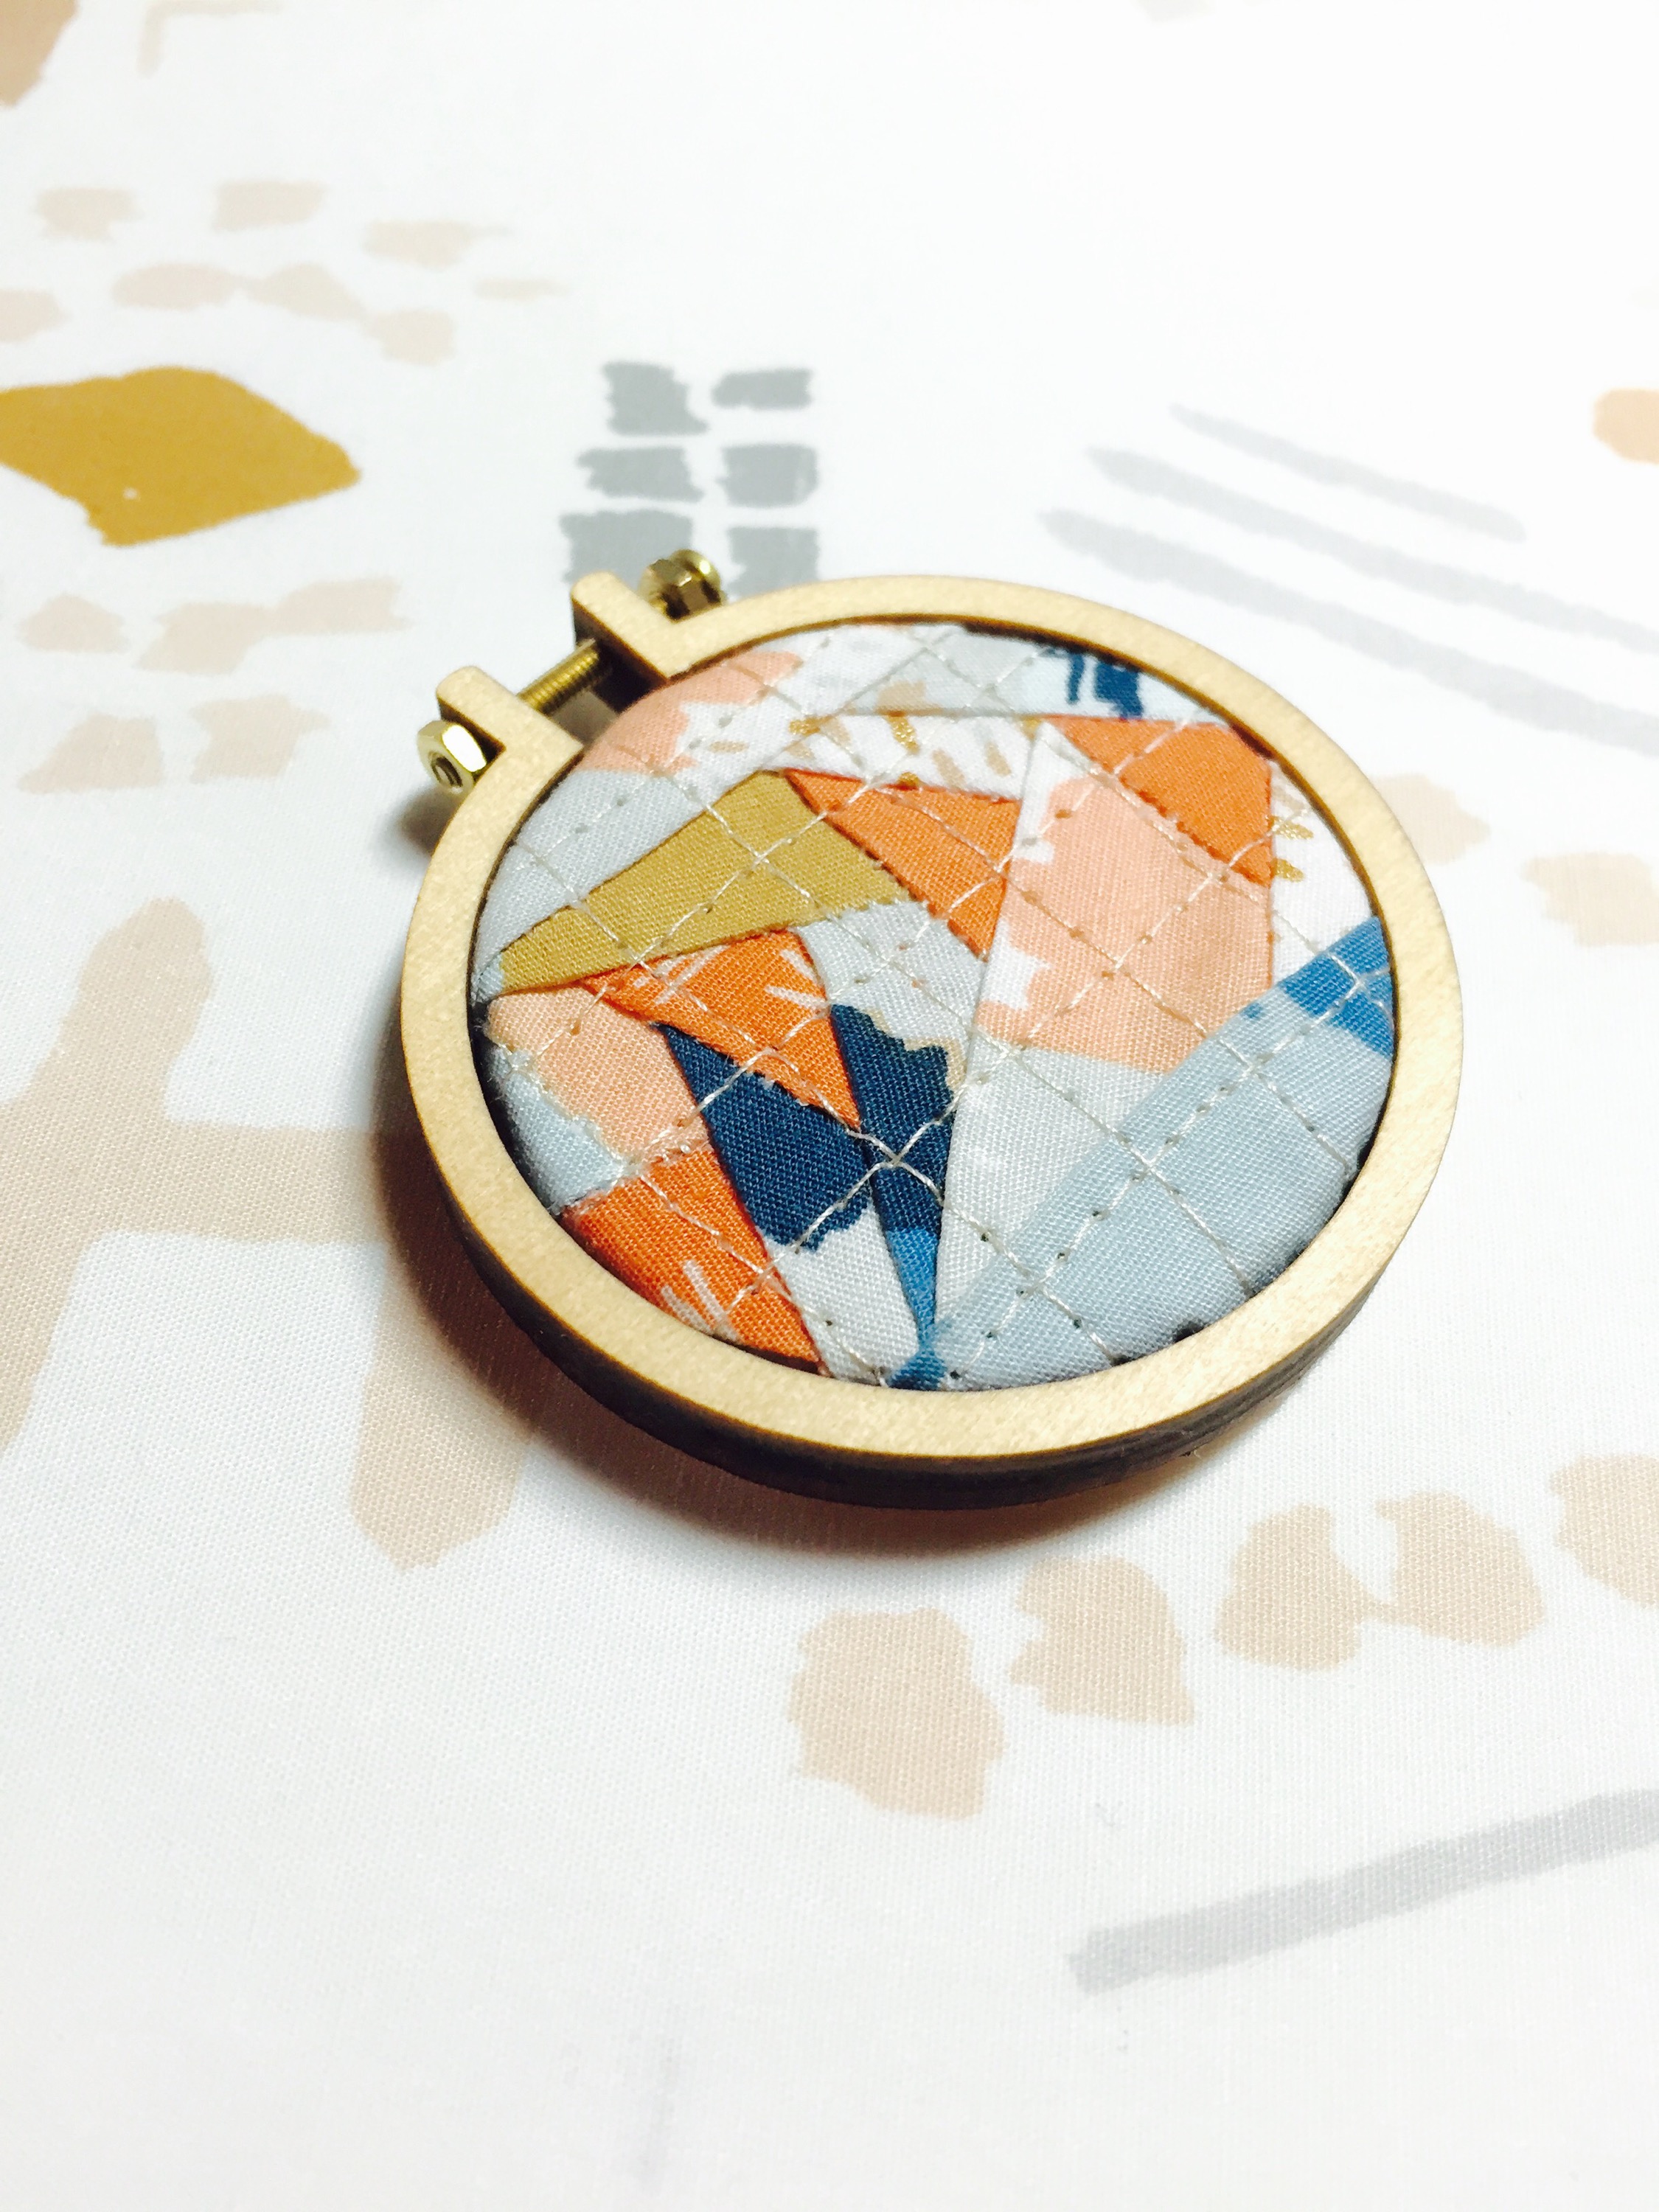
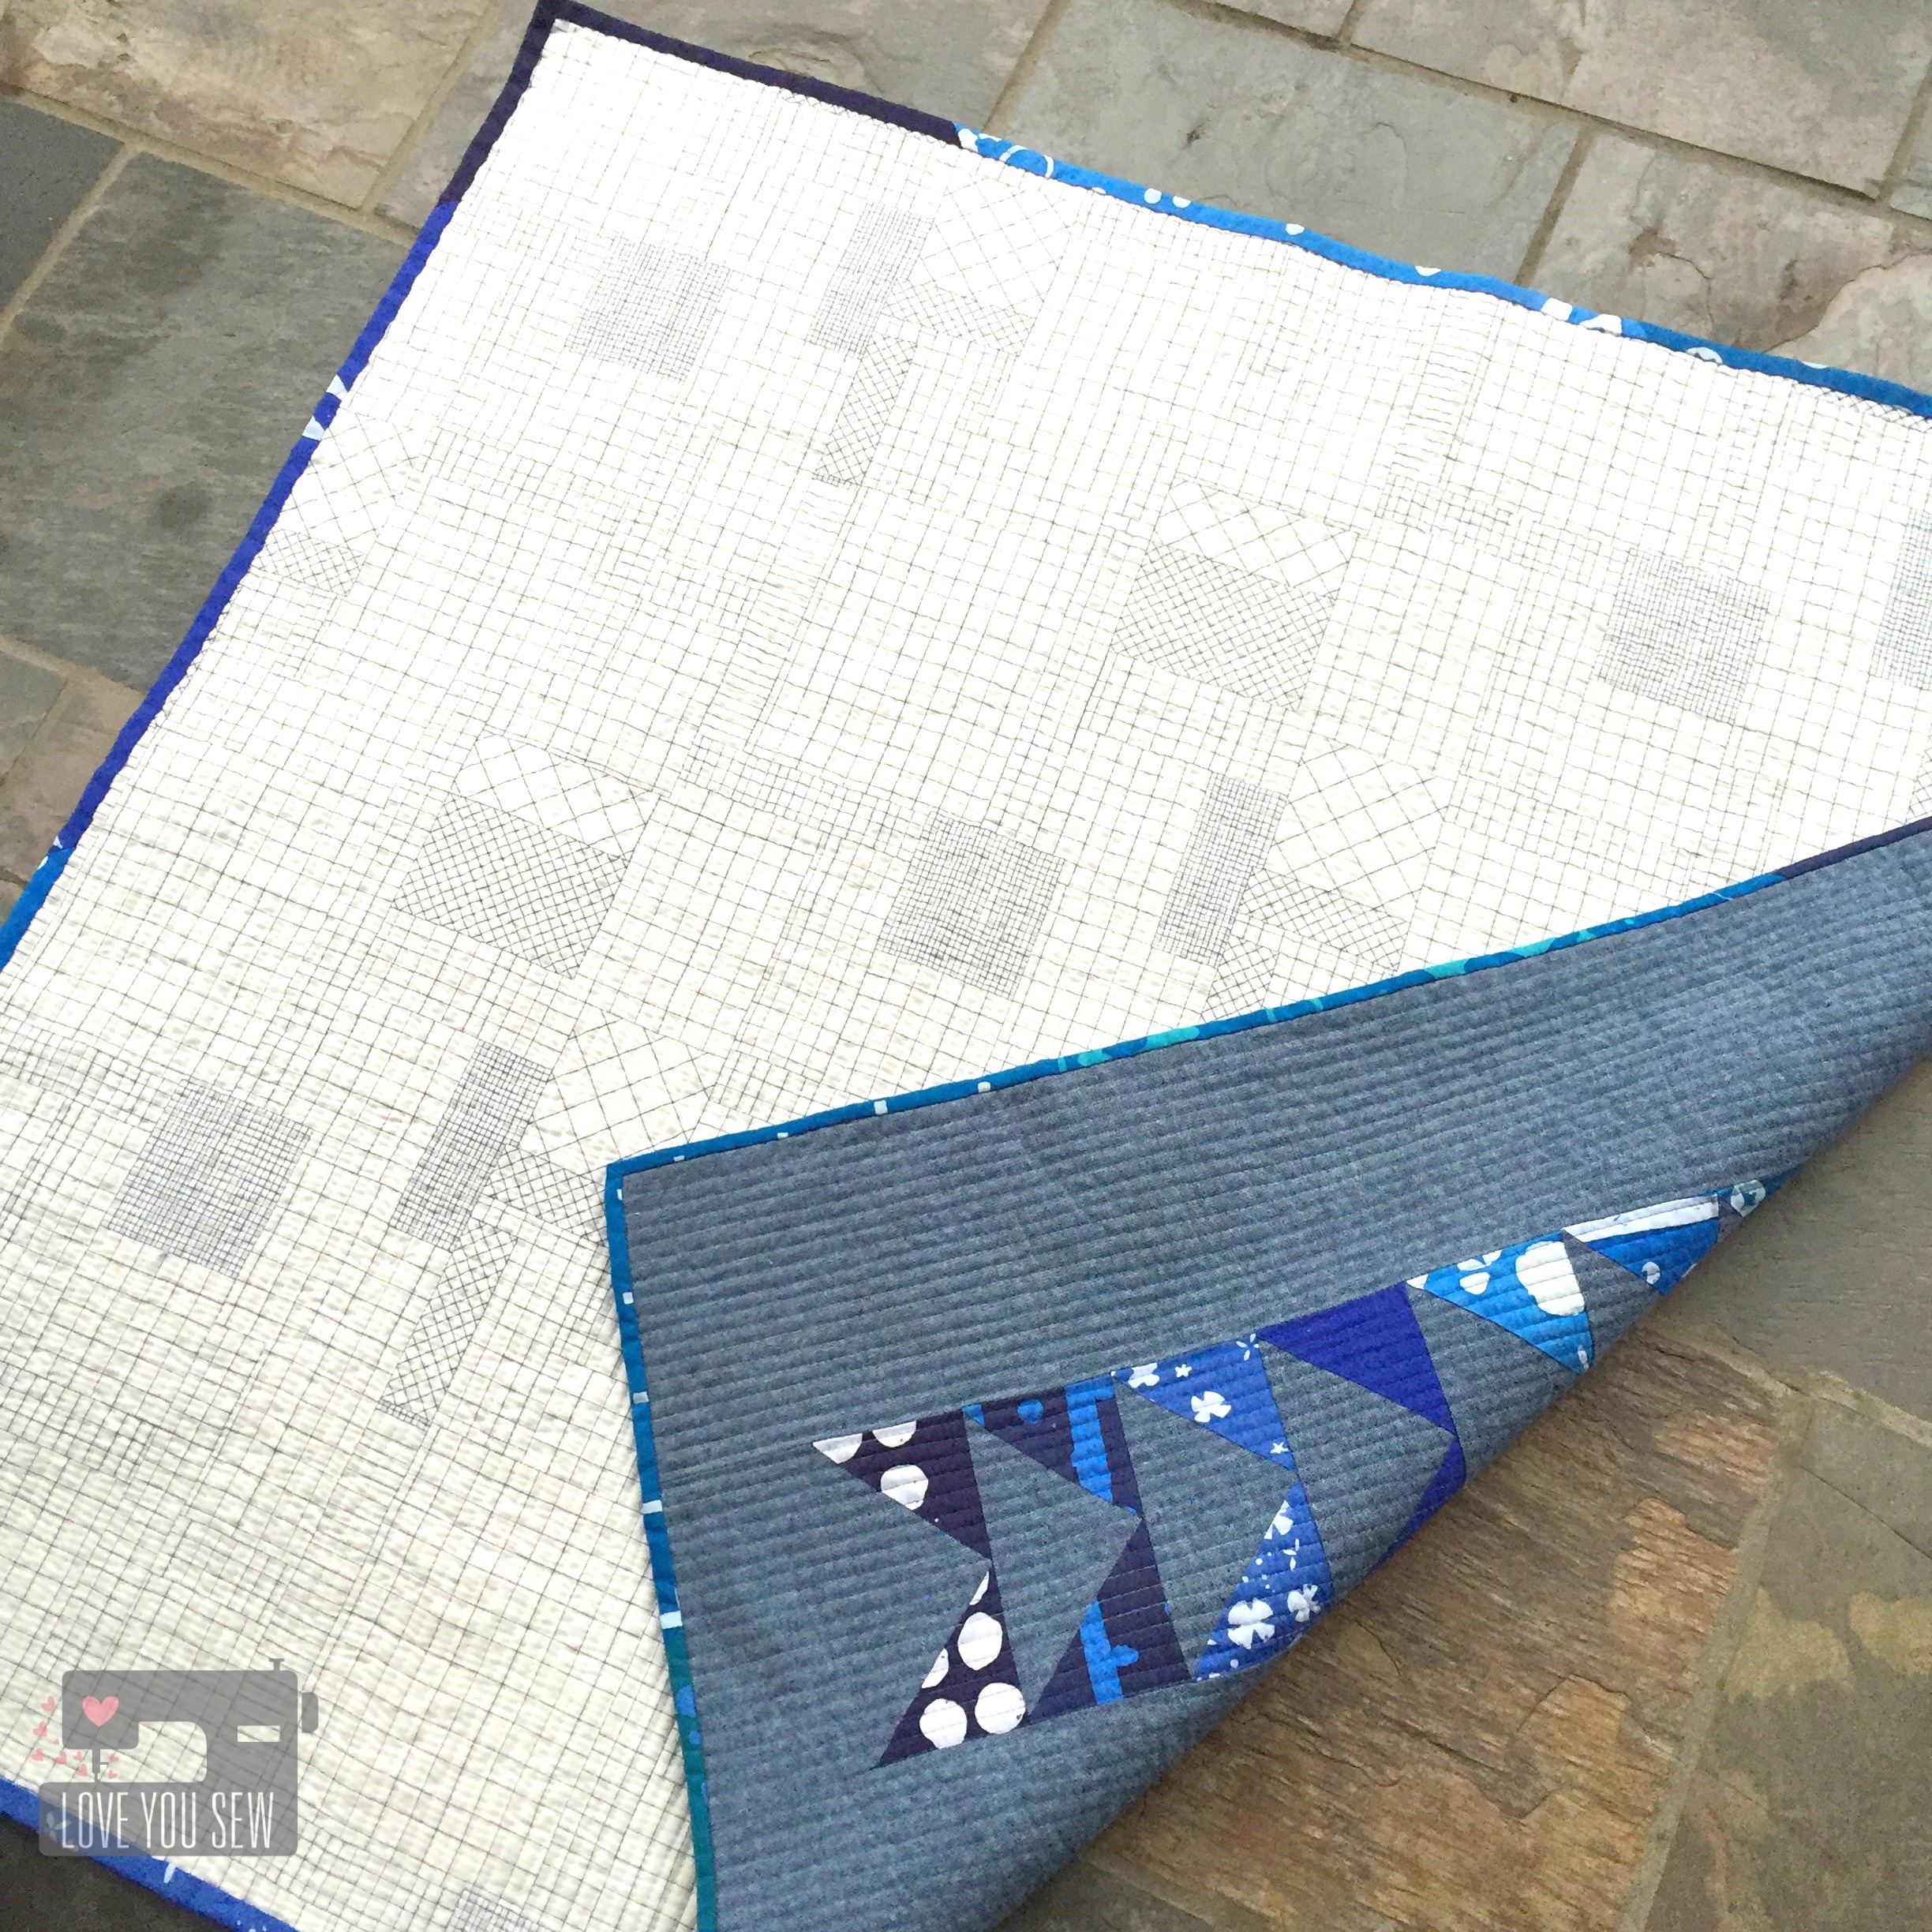
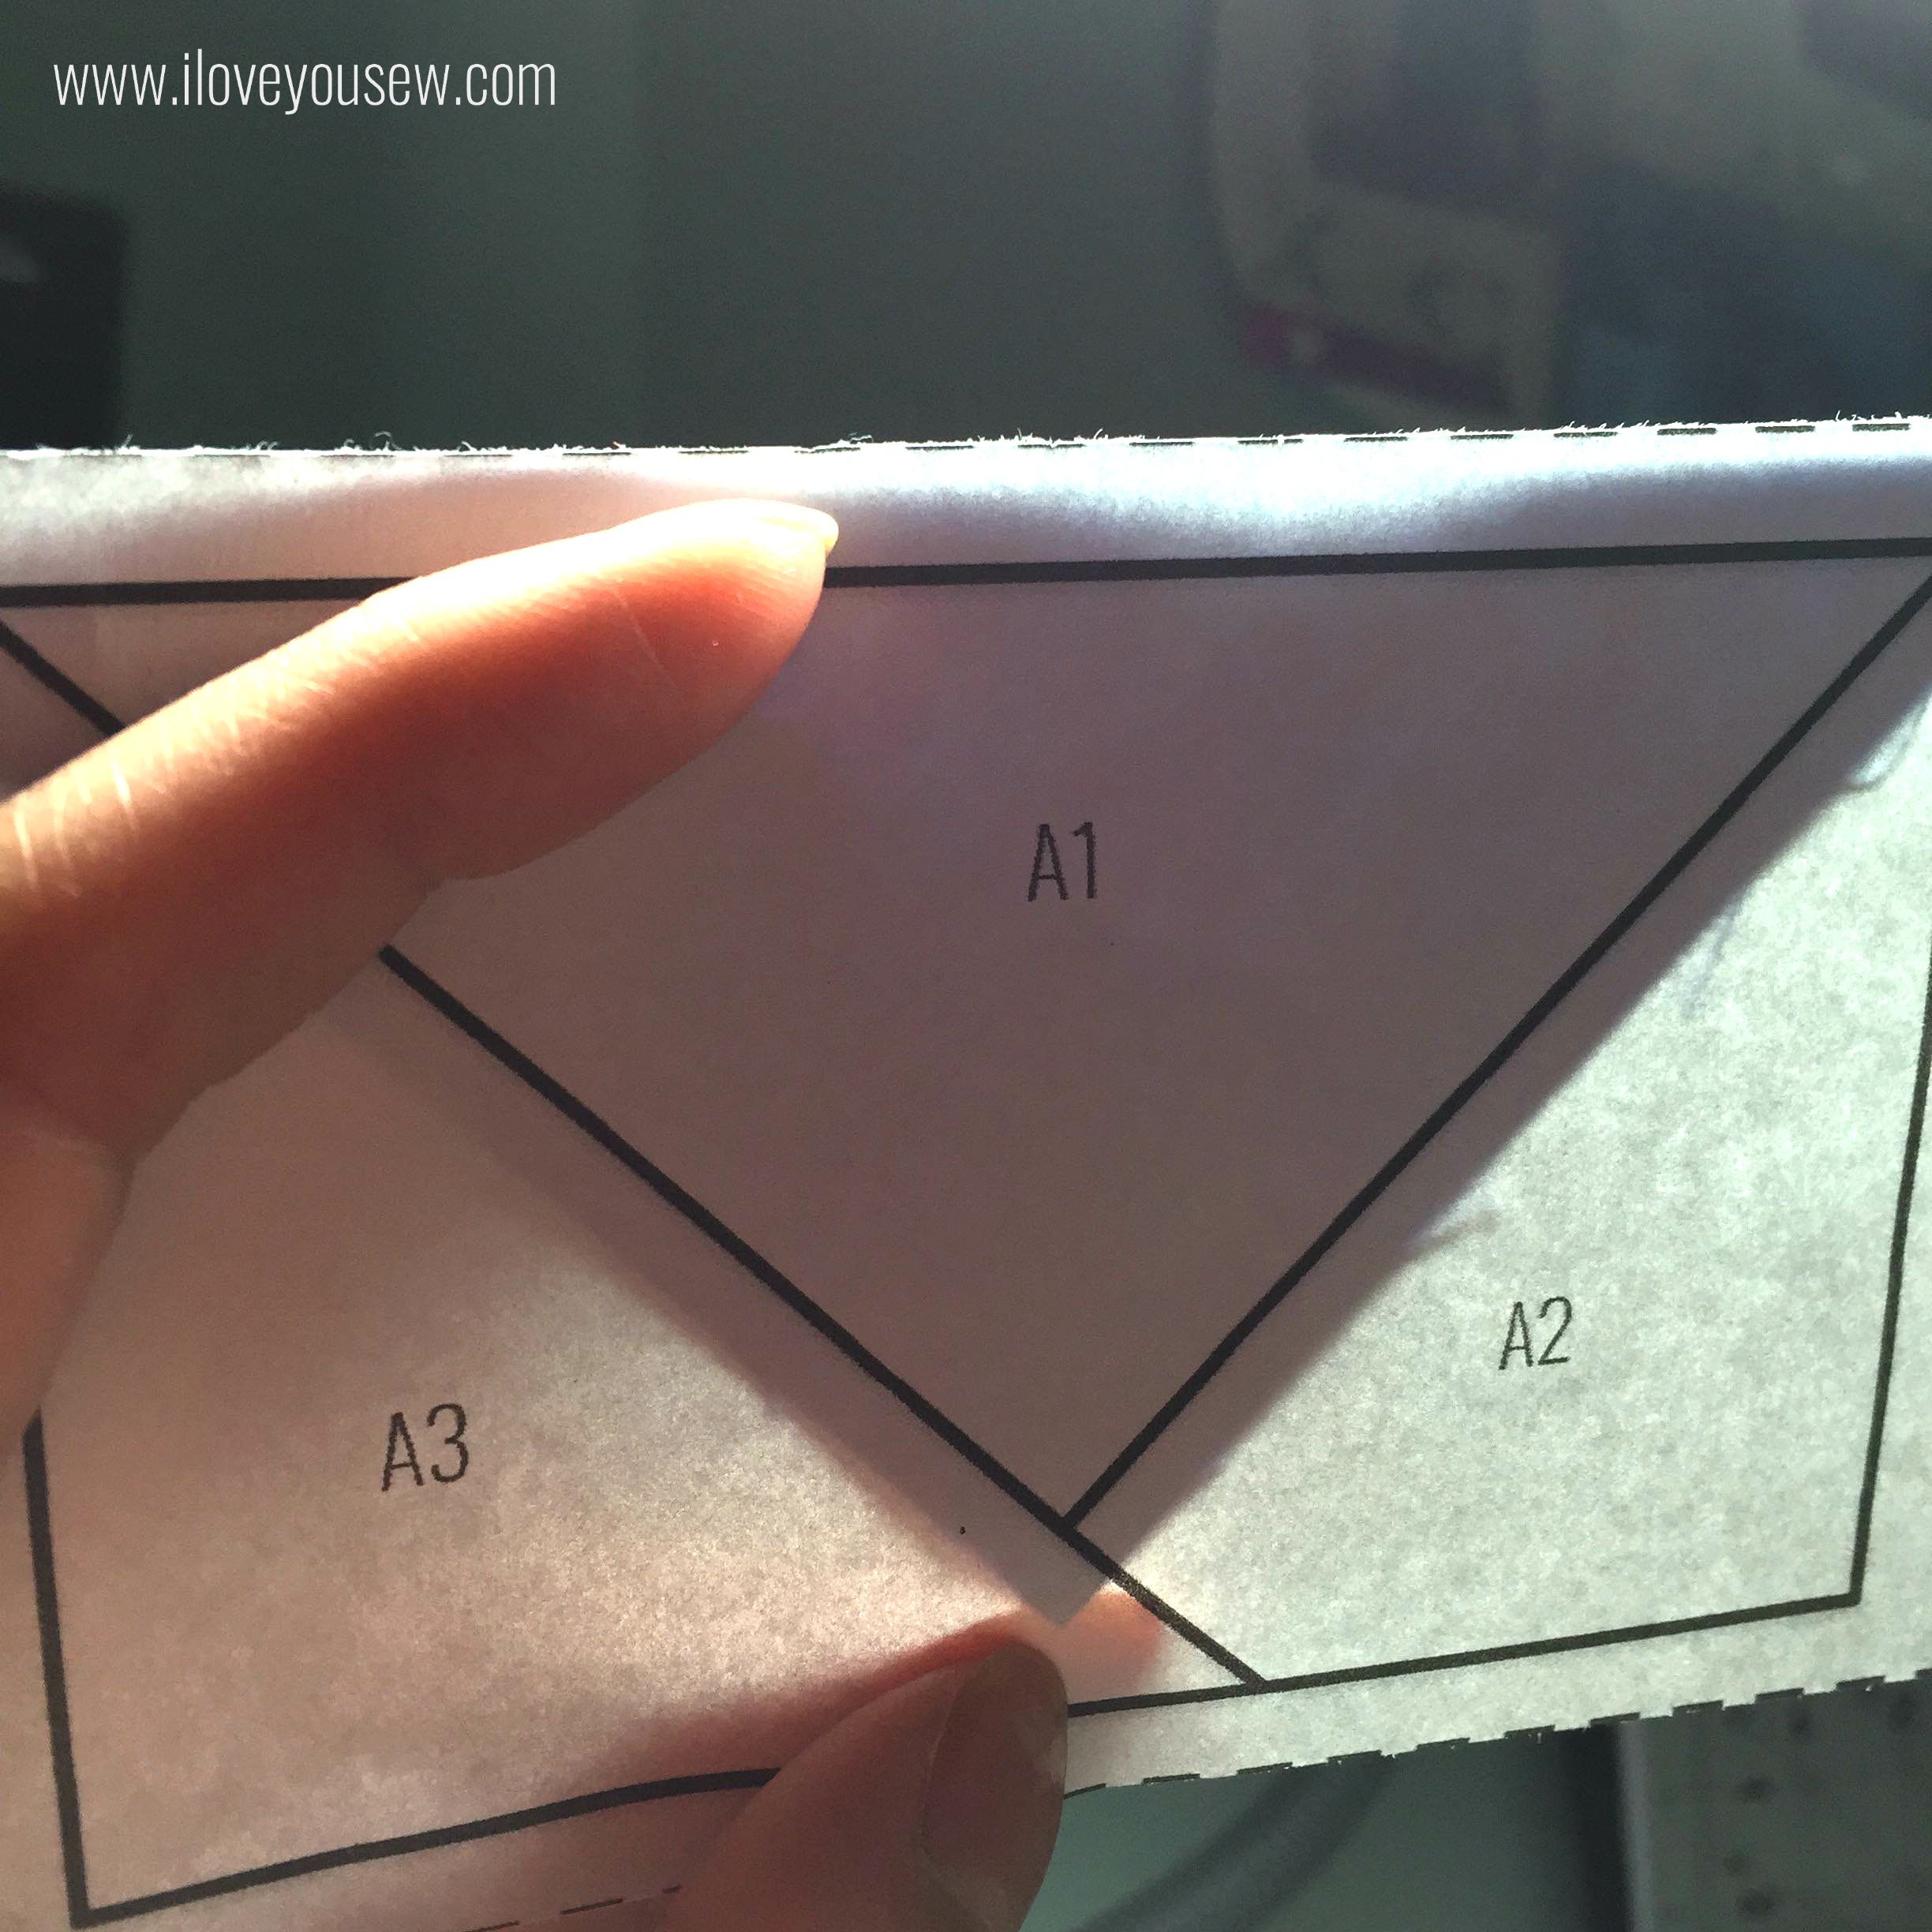
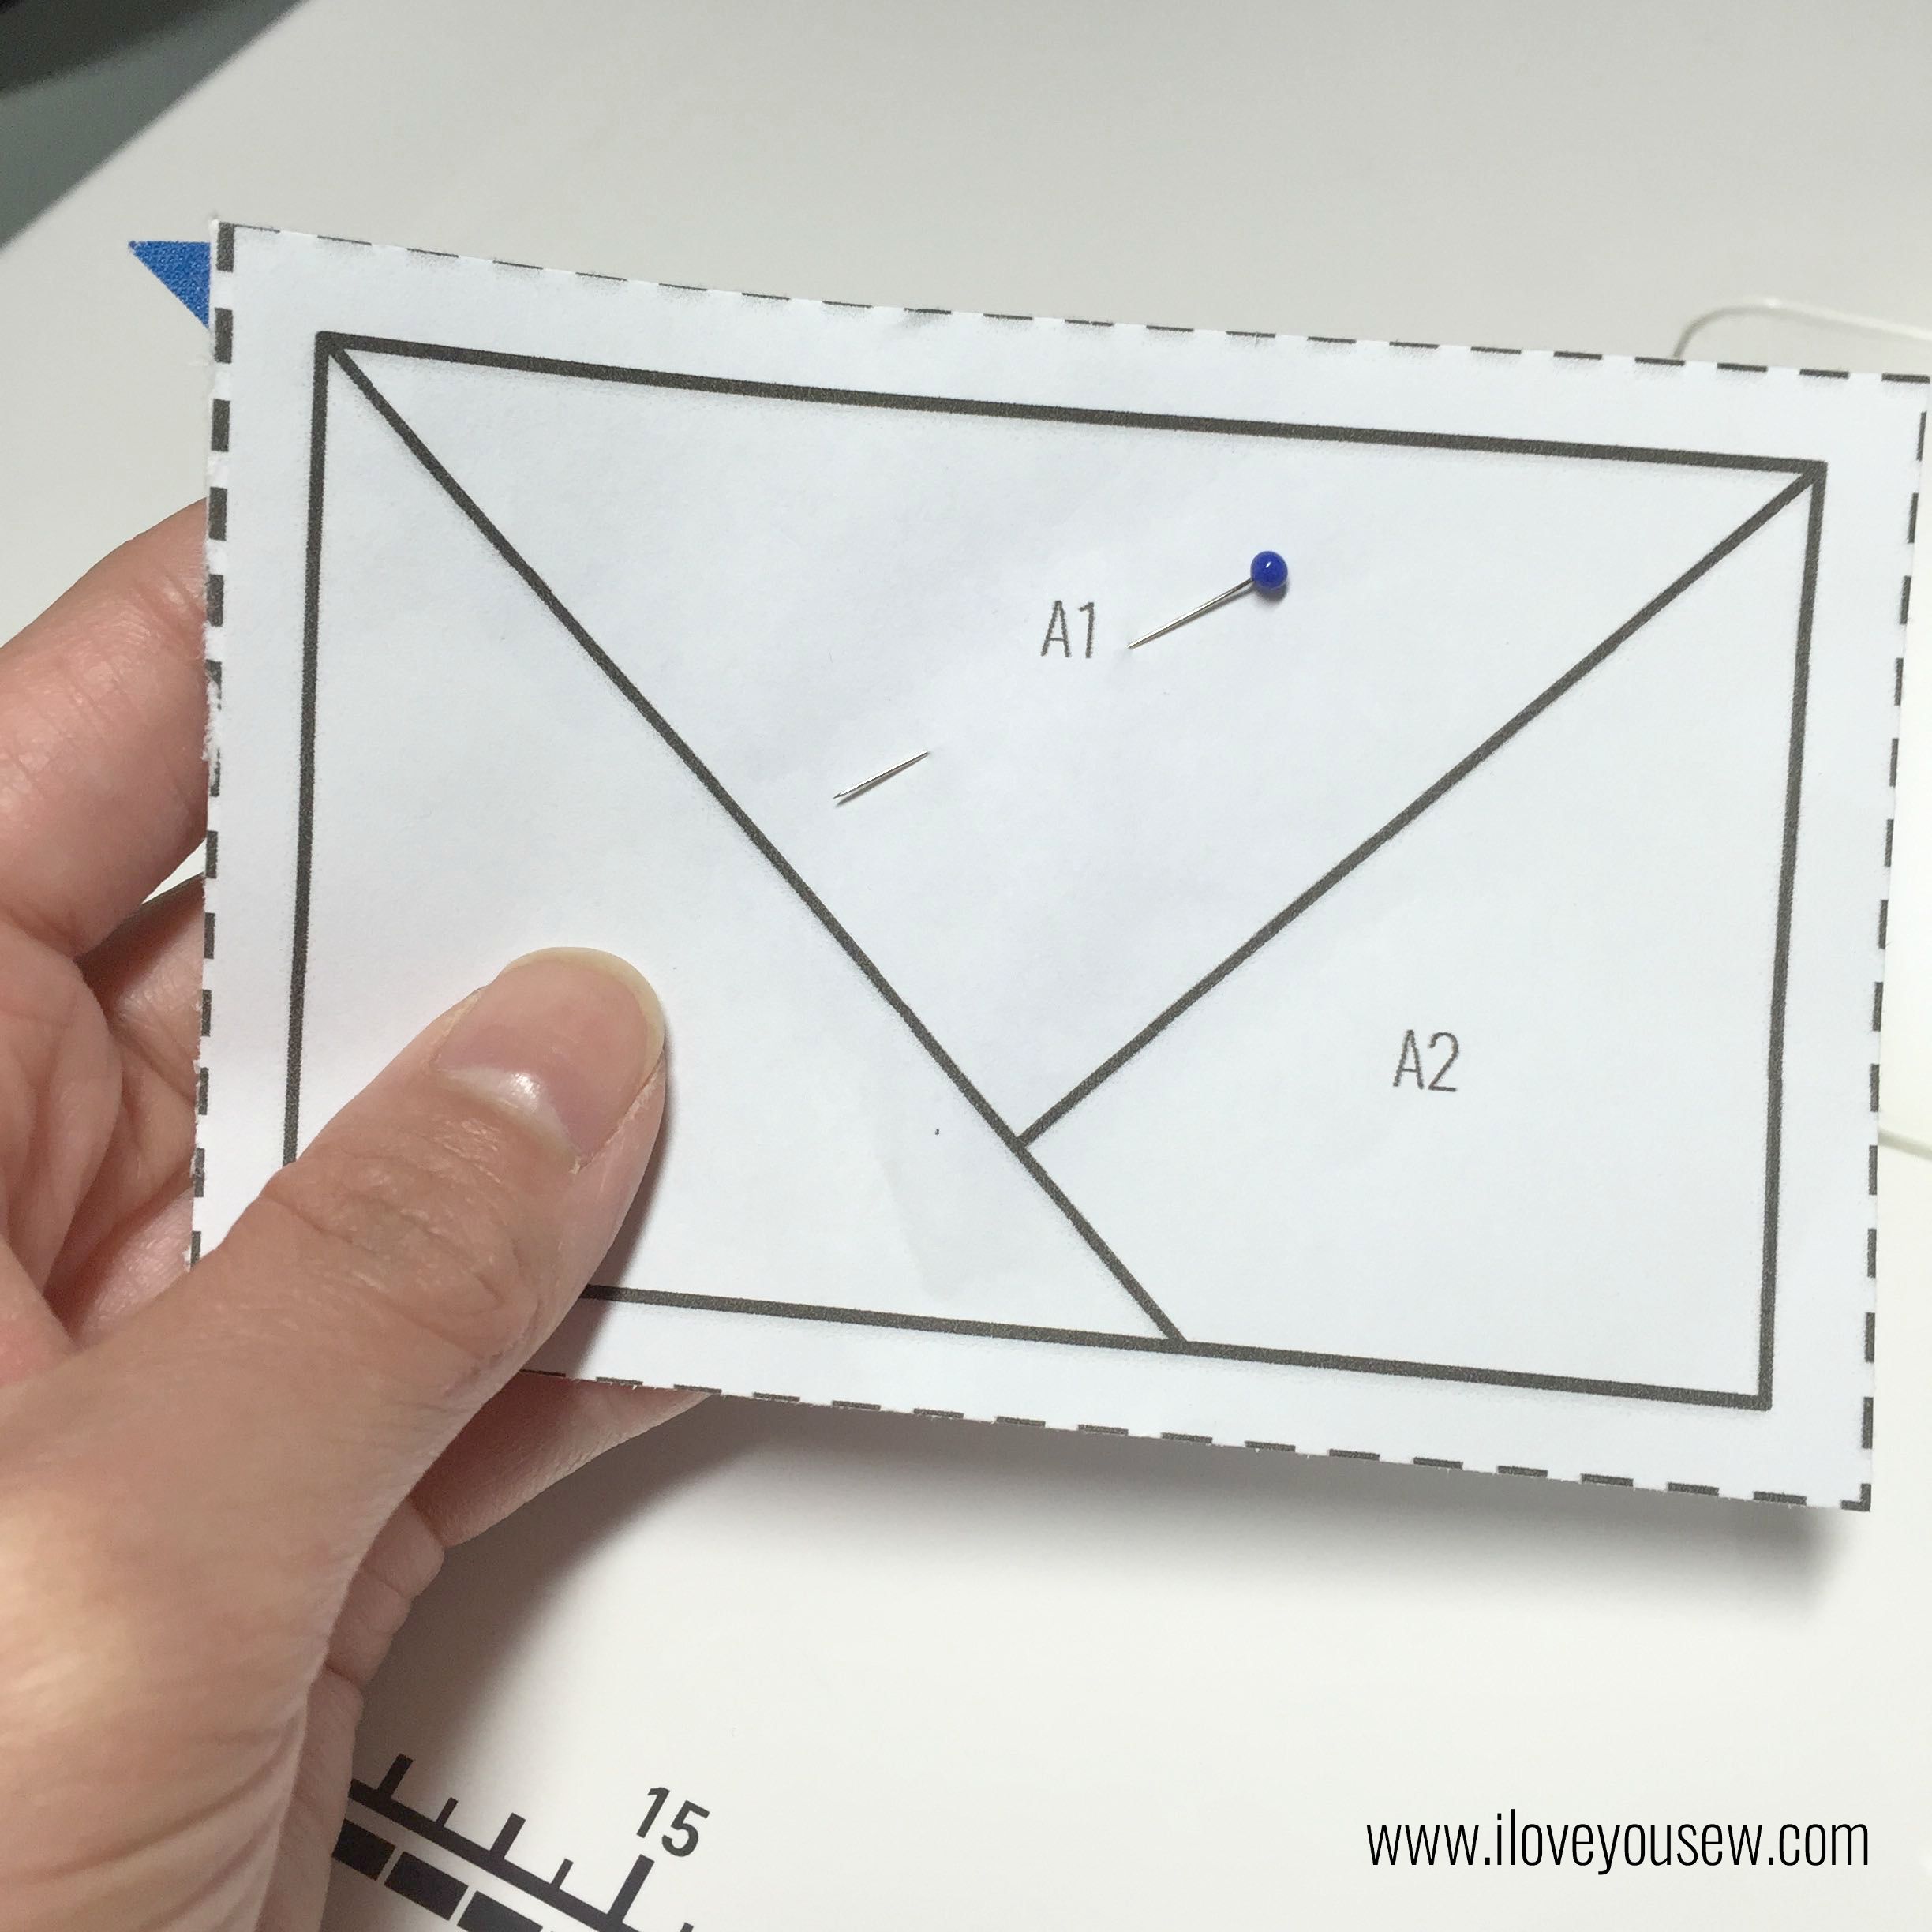
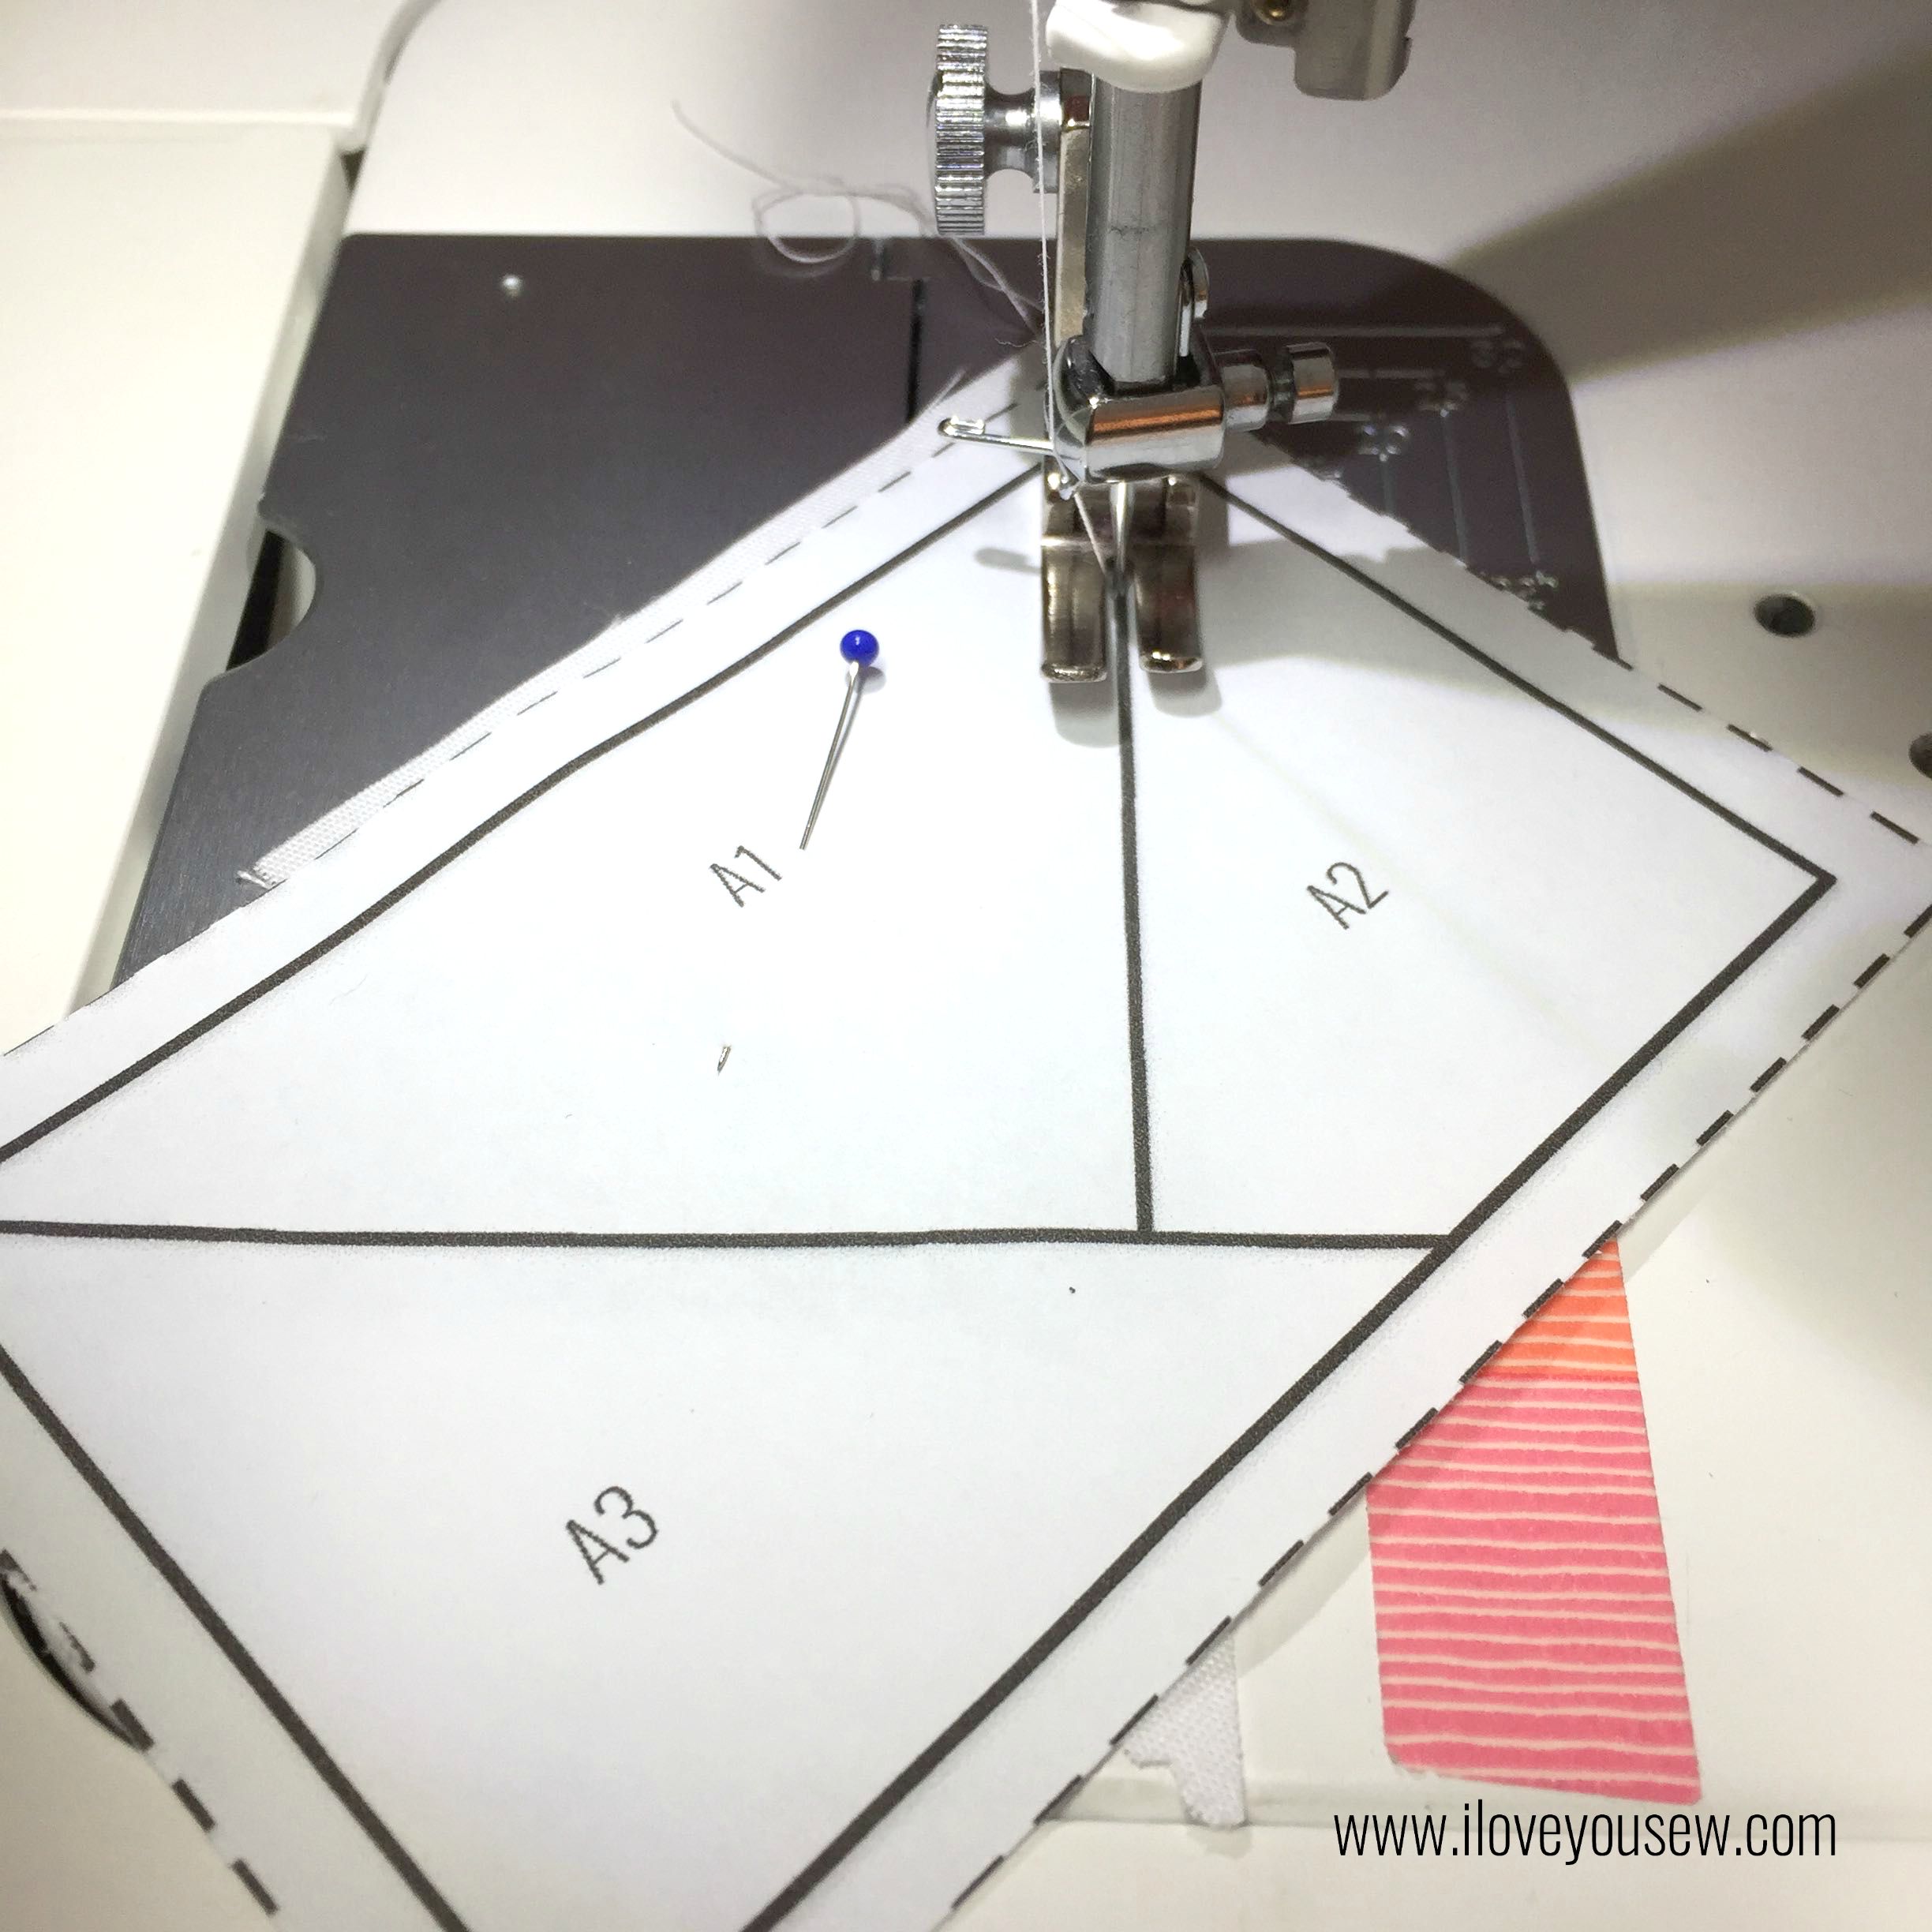
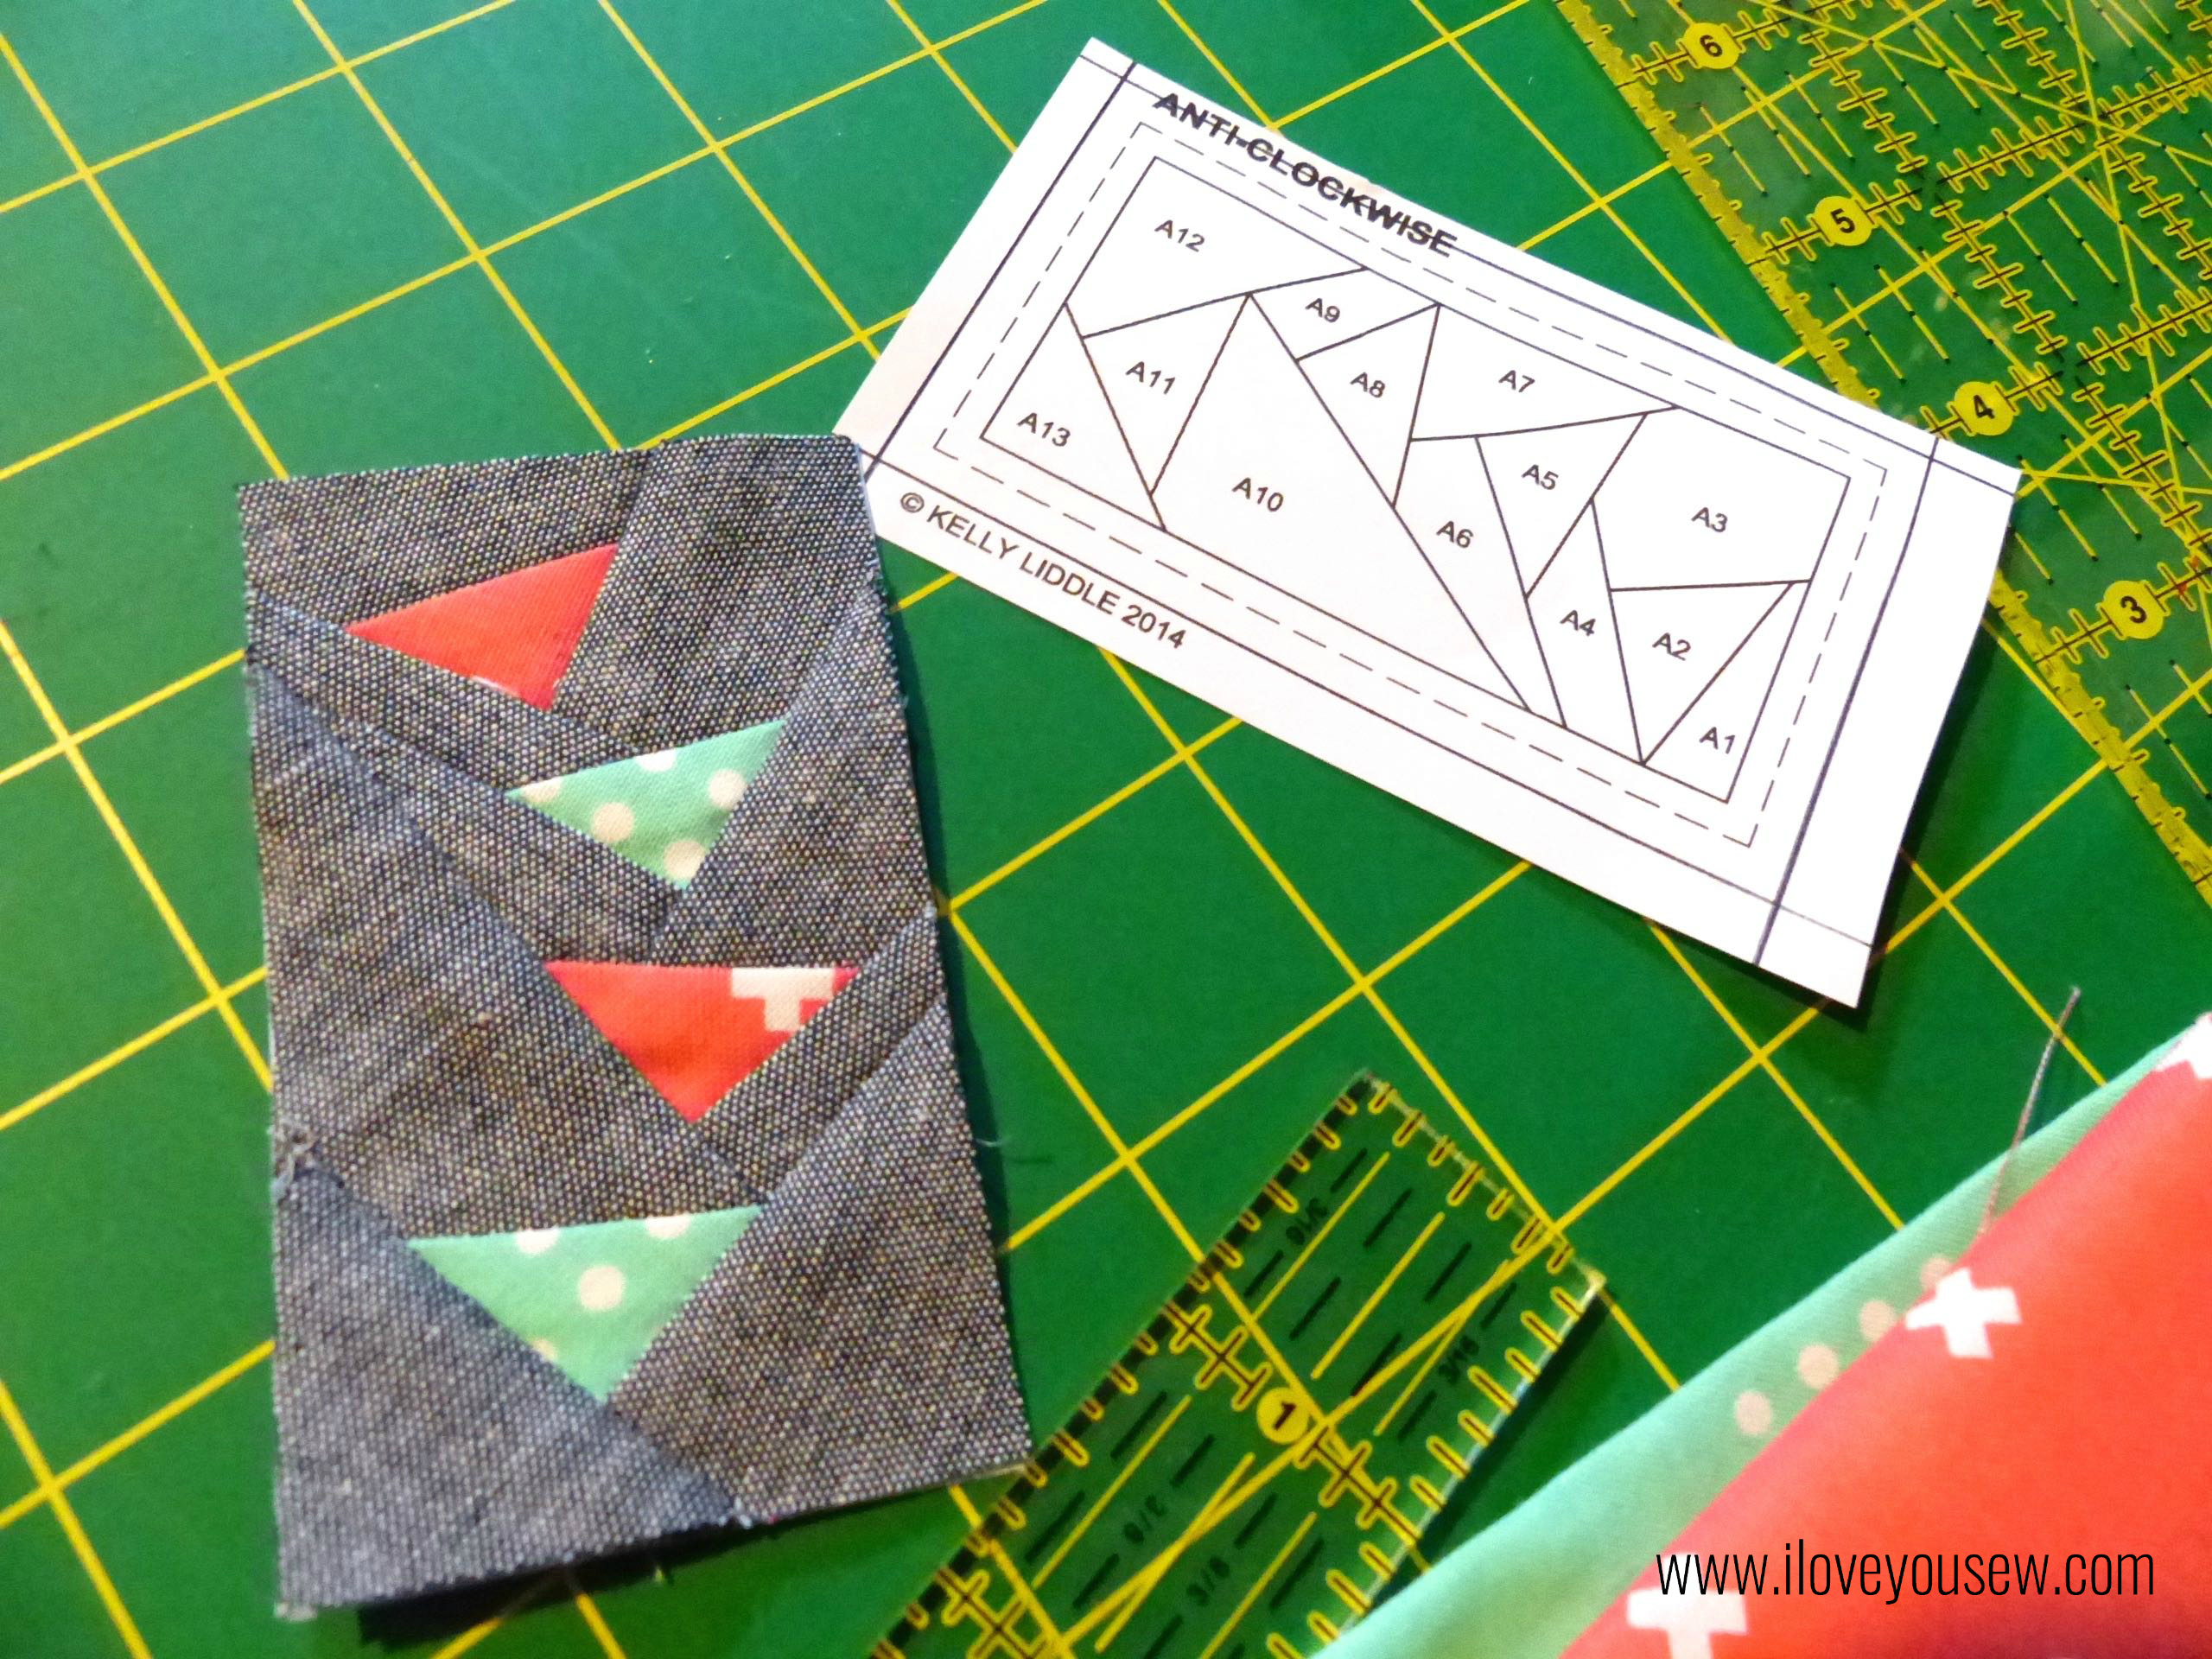
If you don’t know already, I love Flying Geese, Foundation Paper-Piecing (FPP), and Mini-Embroidery Hoops…all together. It’s fun to make these little quilt hoops…they are a quick project…trust me!
The quilt pattern is called “Goosing Borders” by Jeli Quilts (of course!) and is a FREEBIE! This is a great pattern to practice to see if you would like the other patterns by Jeli Quilts (I have a feeling you will…)
I used Growth Joy for the geese and Painting Morale as the background. After downloading the pattern, the printing was set to 25% of the original image to shrink it down enough to fit into this cute Dandelyne 2.2″/ 5.5cm hoop. An extra 1″ was added at the top and bottom as well.
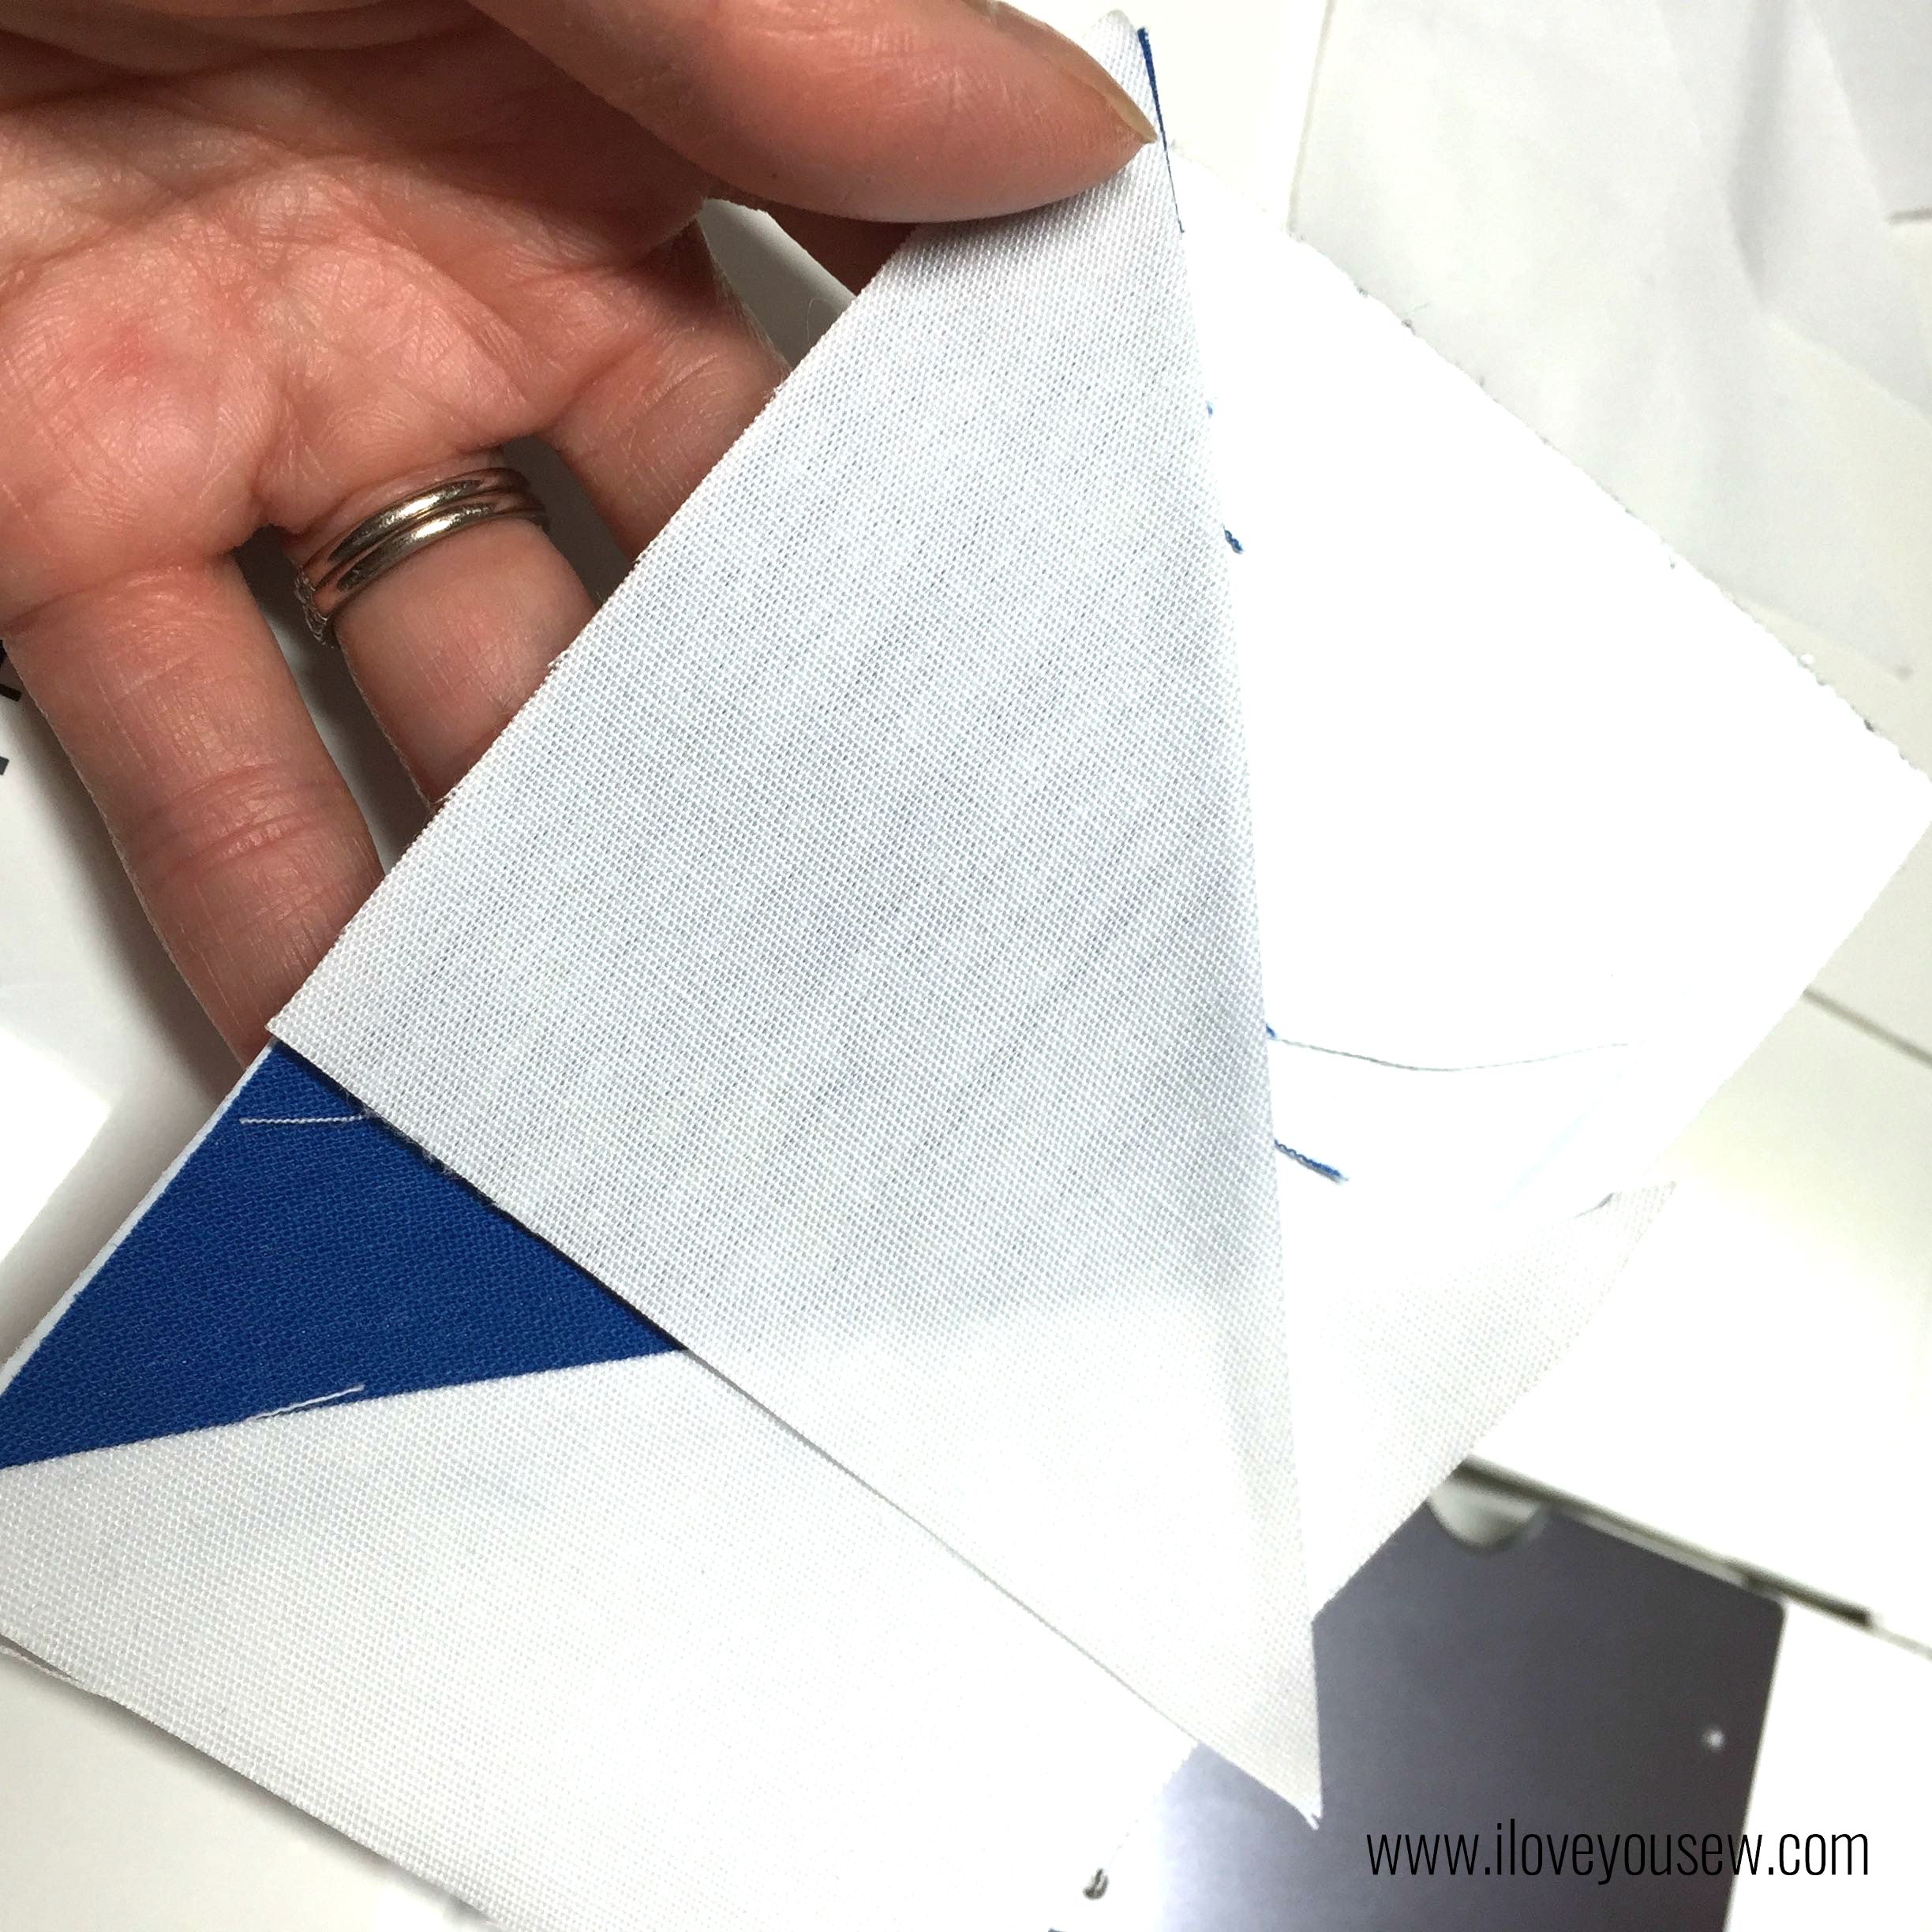
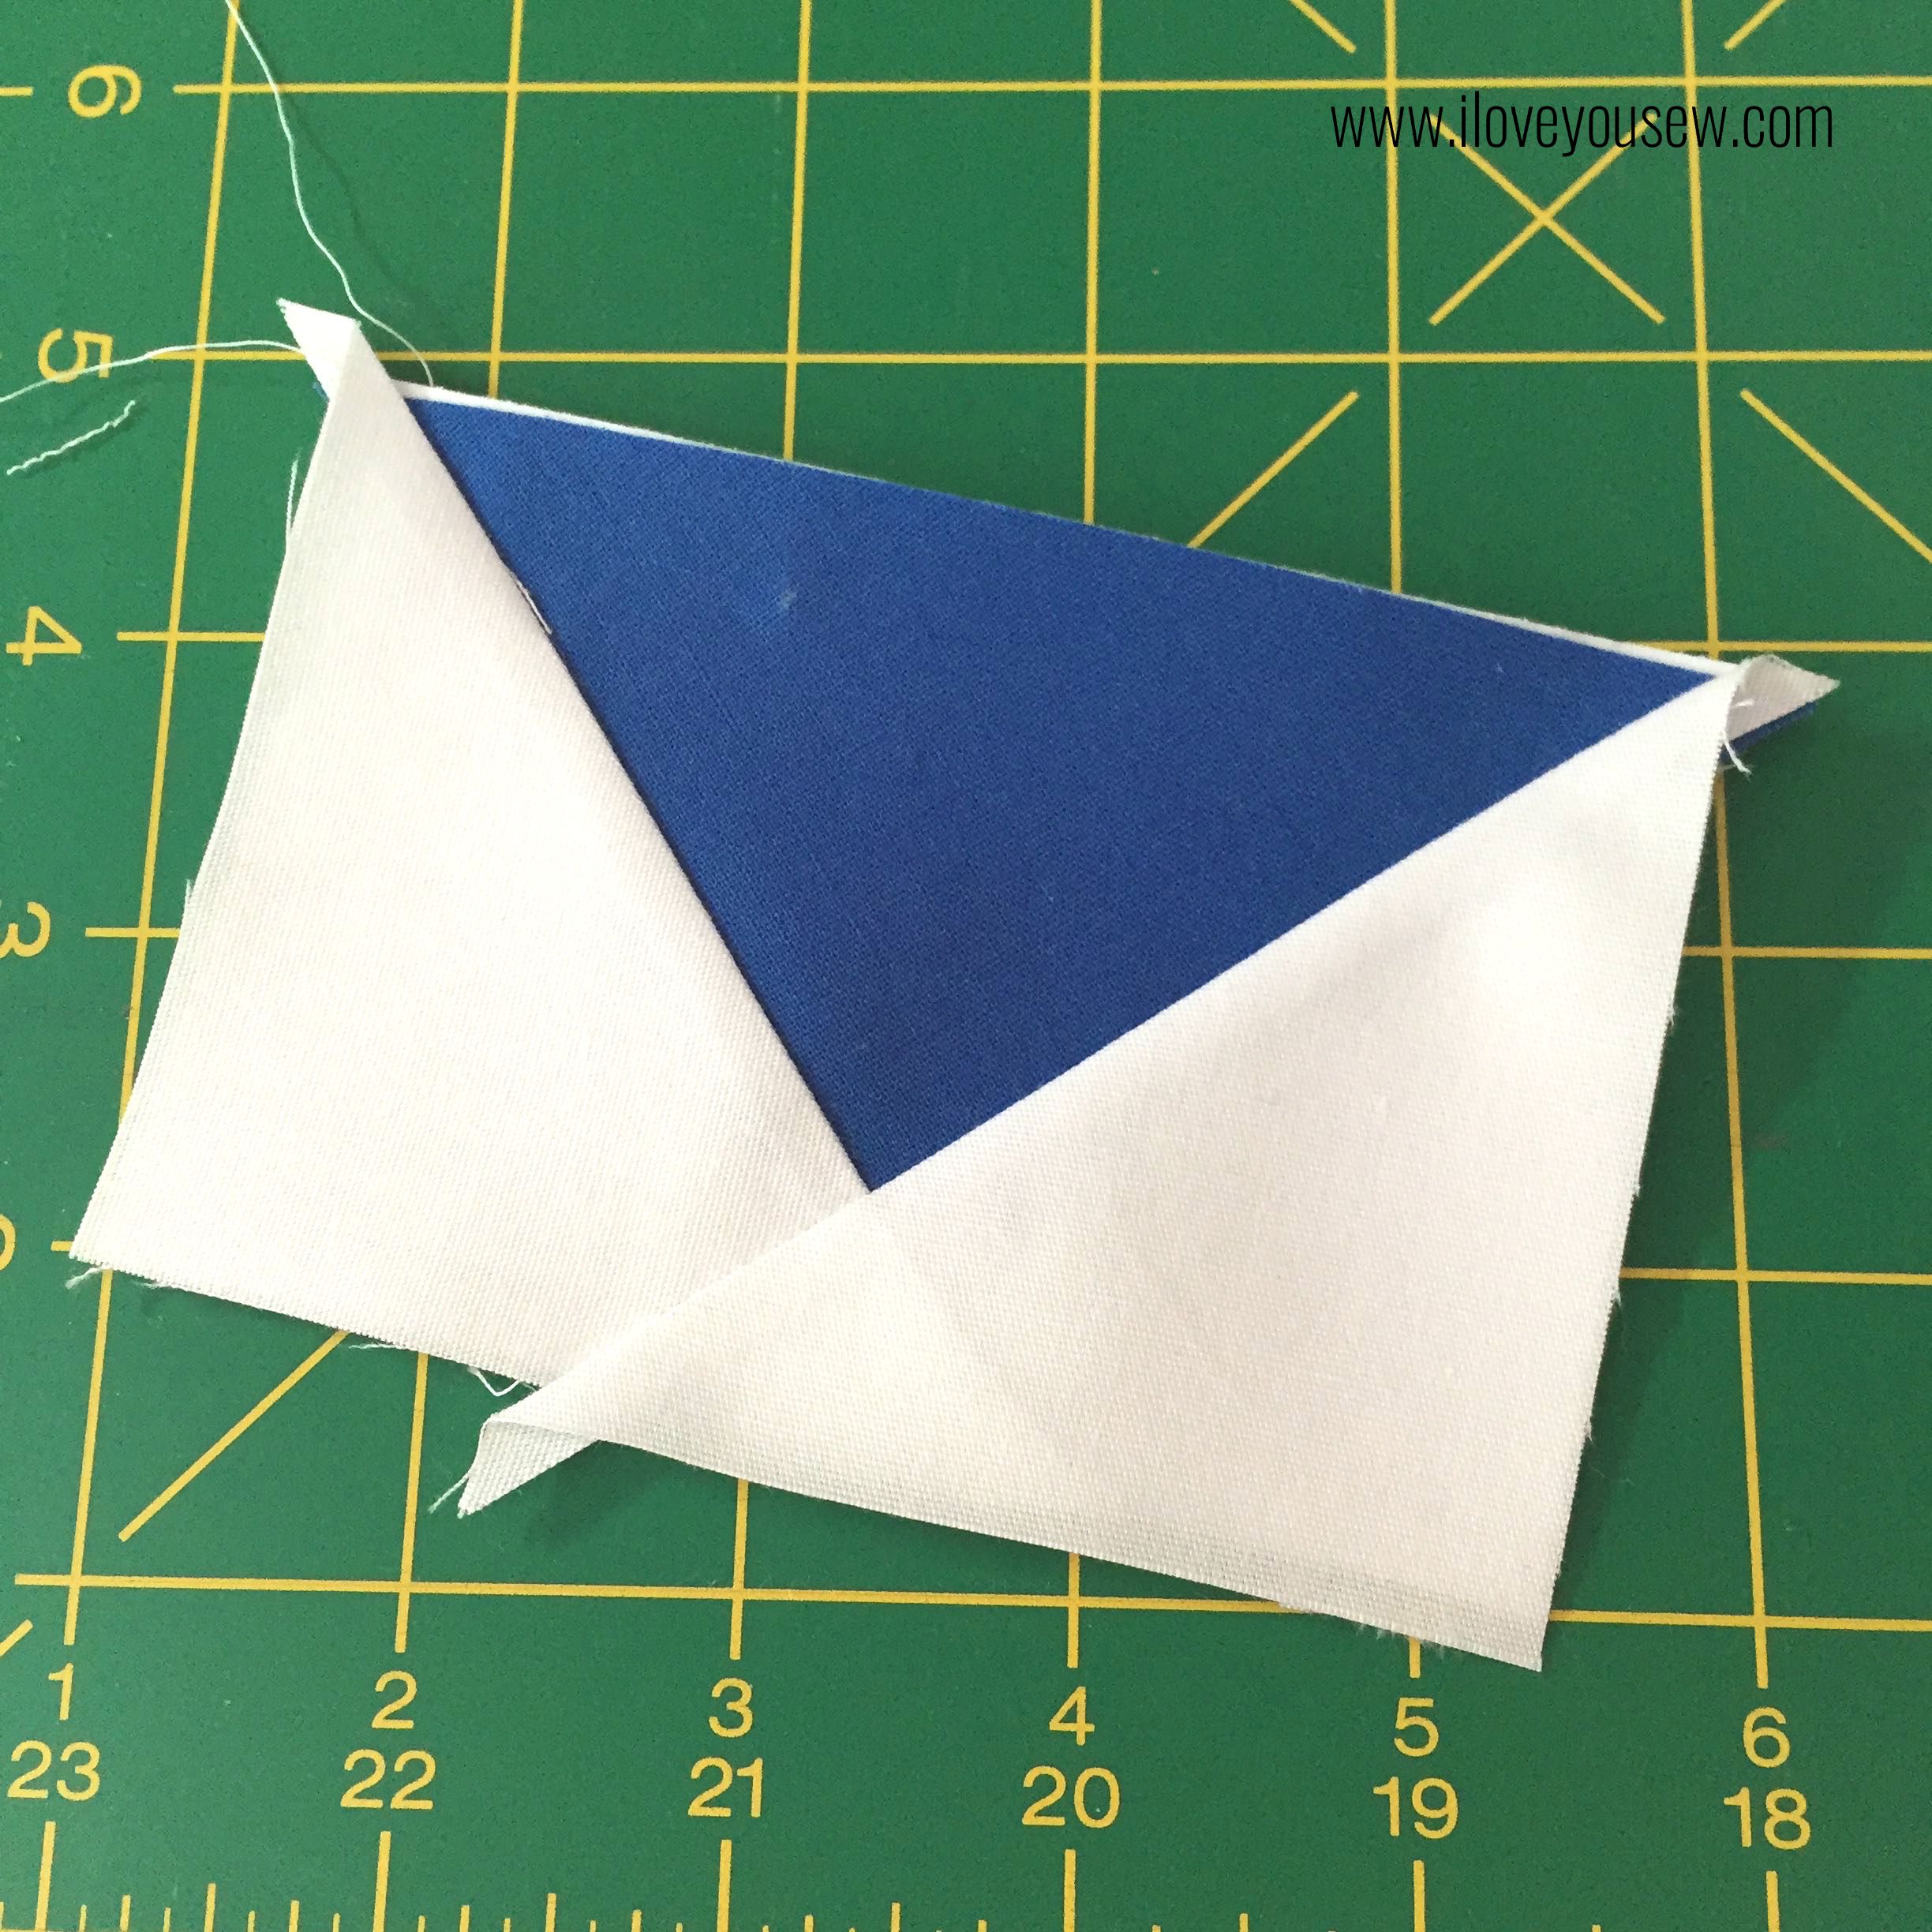
When making these geese, I usually like them to stand out against a neutral background. But Bound fabrics has such fantastic imagery and detail that you have to look a bit closer and study the design. I wanted these geese to do the same…so they were “camouflaged” a bit against the different colors in Painting Morale. The quilting added to the “camouflage” while helping to keep all the piecing intact. The thread is the same Aurifil 2312 50 wt used in all of these projects.
#quiltedhoop #miniminihoops
========
If you make any of these projects, please send me project pictures via IG or email. I would love to see them!!!
Happy Stitching!
Cristy