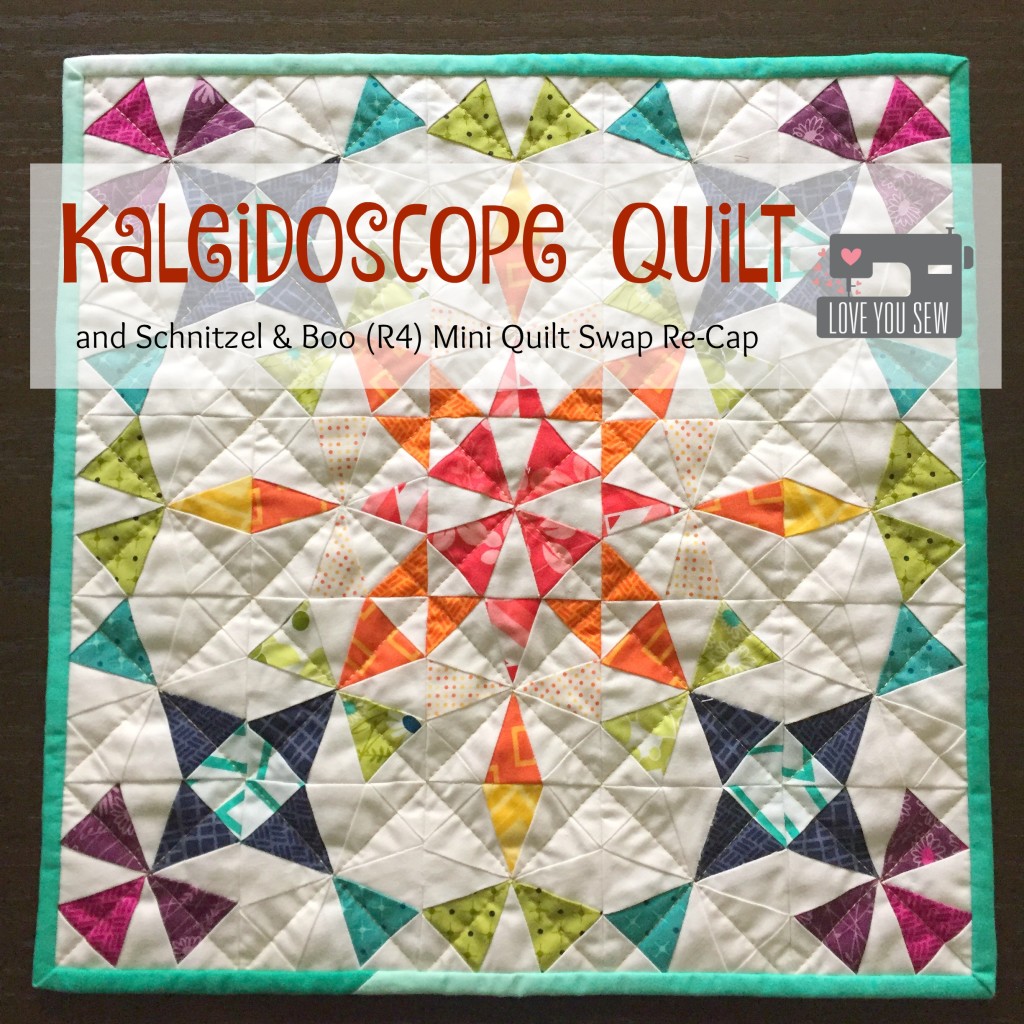
Kaleidoscope Quilt and Schnitzel & Boo (R4) Mini Quilt Swap Re-Cap

KaleidoscopeTitle

The Schnitzel and Boo Mini Quilt Swap was the first swap I followed on Instagram.  I was pouring over the hashtag #schnitzelandboominiquiltswap and trying to figure out what the heck was going on!  This swap has the claim of being the original swap where you are blind partnered (the recipient doesn’t know who is the maker) to make sweet mini quilts and thus, it had over 1000 participants…wow!

FabricandColoringSheet

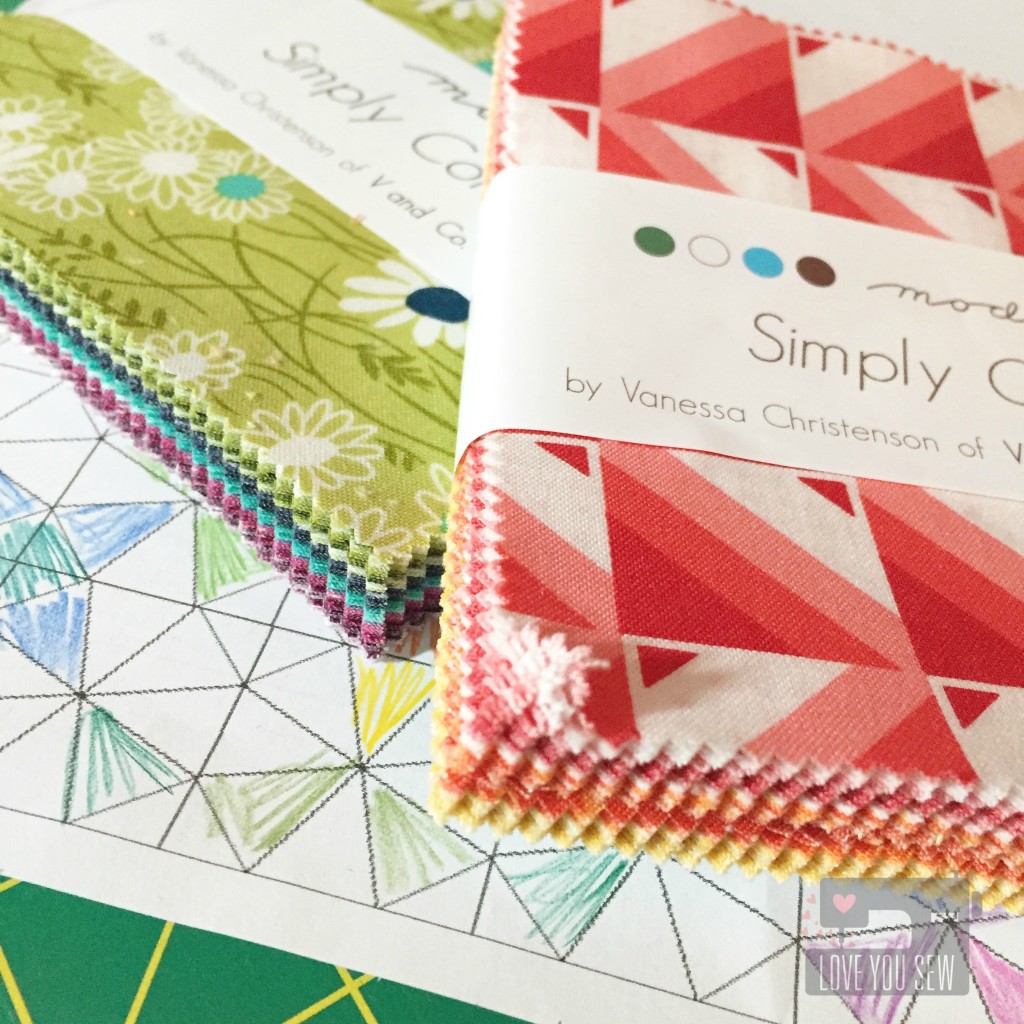
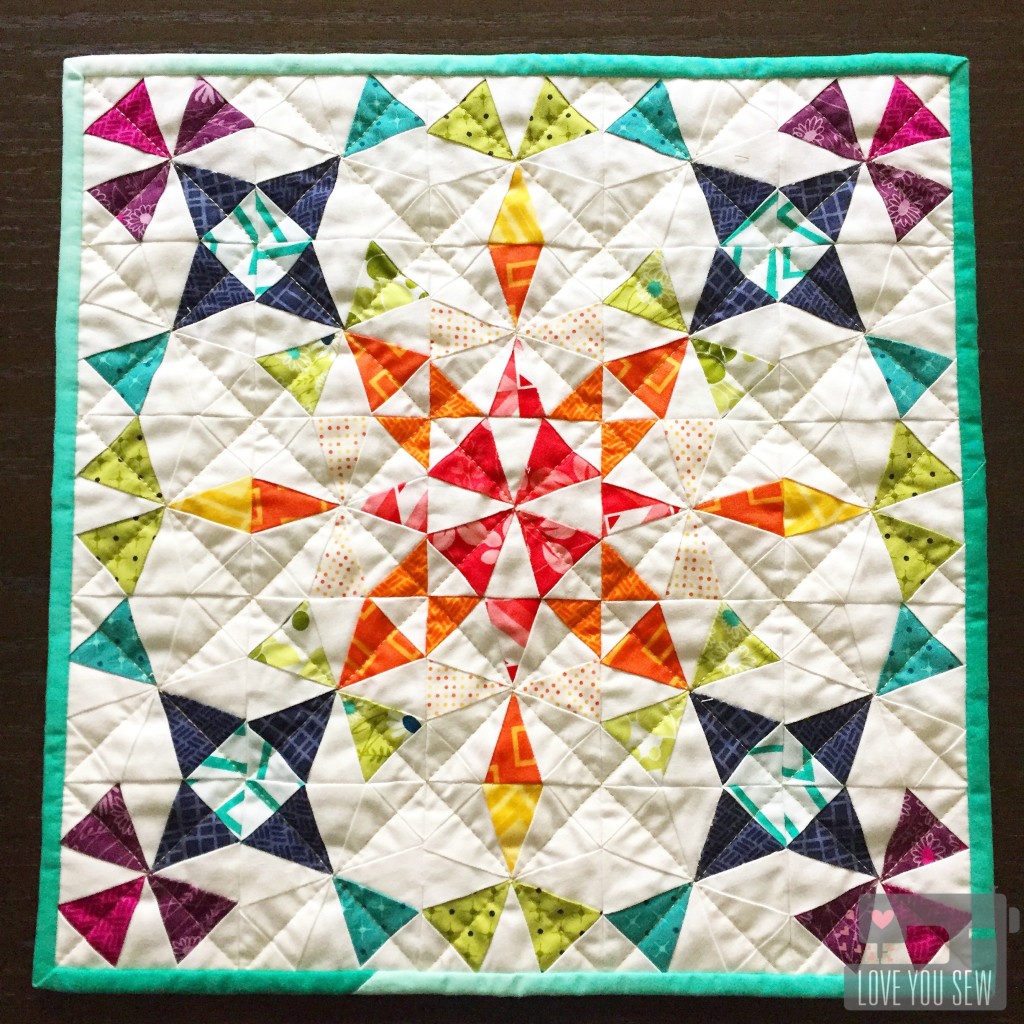
I had the pleasure of making a quilt for someone that liked V & Co fabrics and happened to have charm packs of the newest Simply Colorful and Simply Colorful II lines.  With the popularity of this swap, I felt some pressure to make something pretty nice….so I thought a Kaleidoscope design would be perfect.  It’s very striking and is perfect for some rainbow action 😉

The Kaleidoscope is a traditional paper-pieced pattern I got from Quilter’s Cache.  This is an amazing website with tons of FREE patterns!  The original pattern finishes at a 6″ block.  In order to fit the parameters of a mini, I shrank the pattern to 47% of the original to create a 3″ block. (I don’t know why 50% reduction didn’t work, but a little playing around helped me get to the size I wanted.) To plan out the colors and layout, I used this coloring sheet I found by Debbie Kratovil.  I think every quilt designer should have coloring sheets with their patterns.  They make life SO much easier!

SpiralNestingSeams


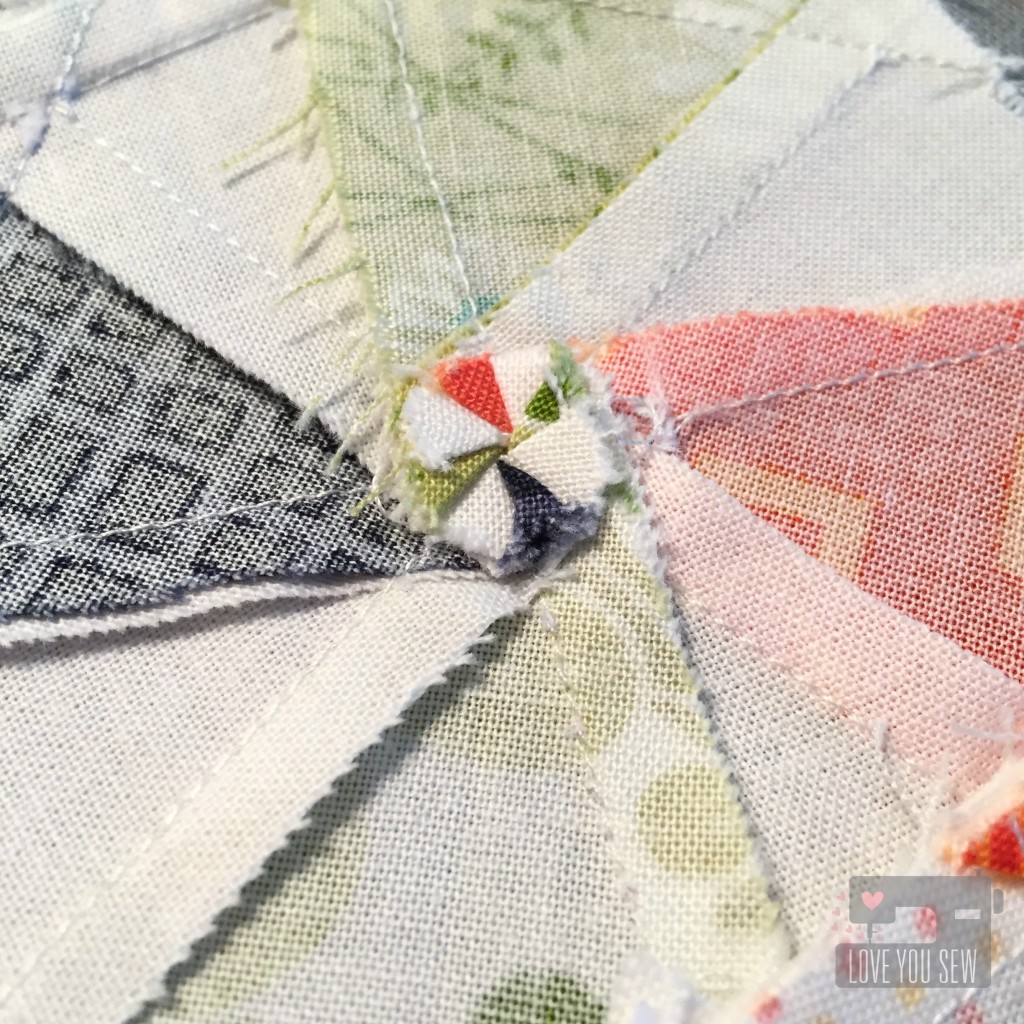
TIP: When piecing together the blocks, there is quite a bit of fabric that ends up at the center.  It is quite thick and can be a nuisance to quilt over later.  Initially, I tried to grade the seams and by luck, saw that I could make a little rosette by opening my seams  back a 1/4″ and tuck the seams under as shown above.

GoldThreadDetail

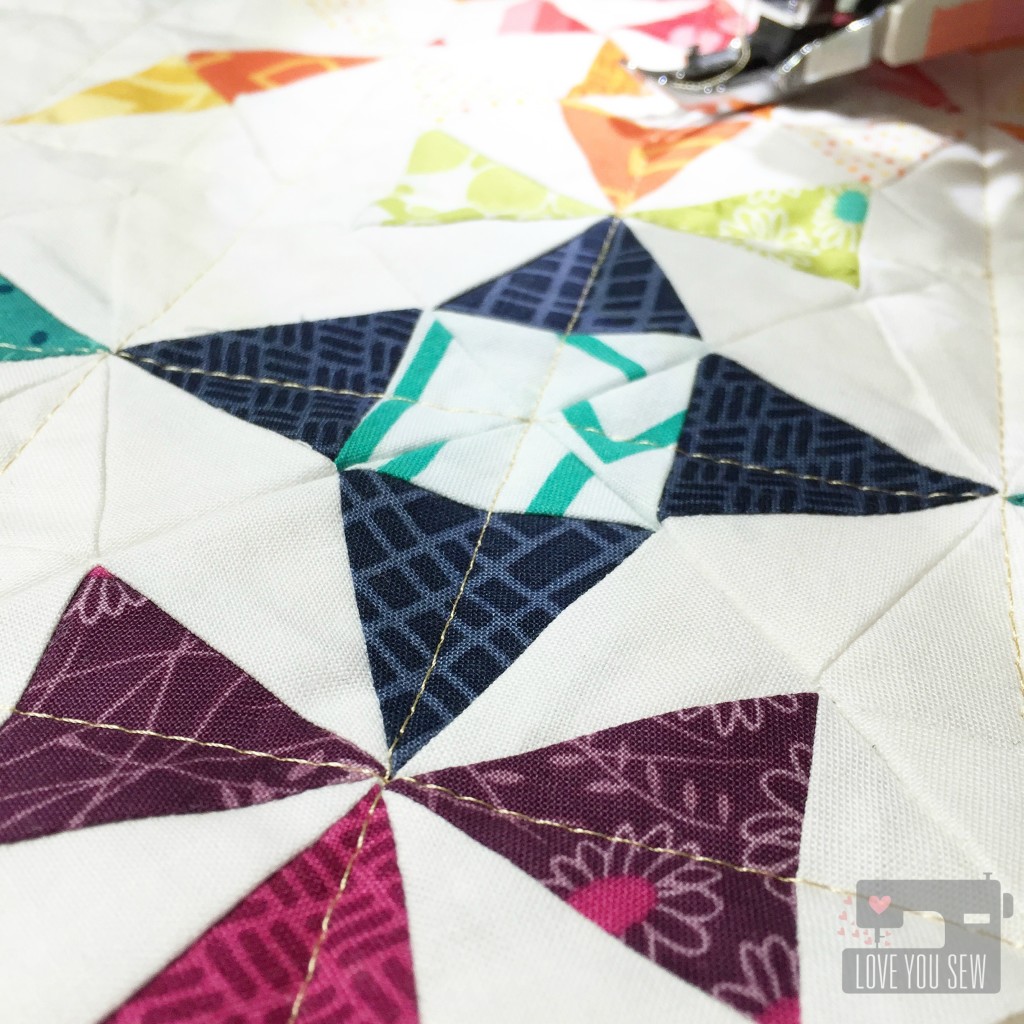
To finish, I used gold thread to quilt (insert heart eyes emoji!!!)  I just love using metallic thread whenever I can.  It just adds that extra “something” special and matched with the gold dot backing.  For the binding, what else would be better than MORE V & Co…and in Teal Ombre?!?  The ombre was fun to use and made this design really pop.

Complete

Kaleidoscope Quilt – Completed


MiniReceived

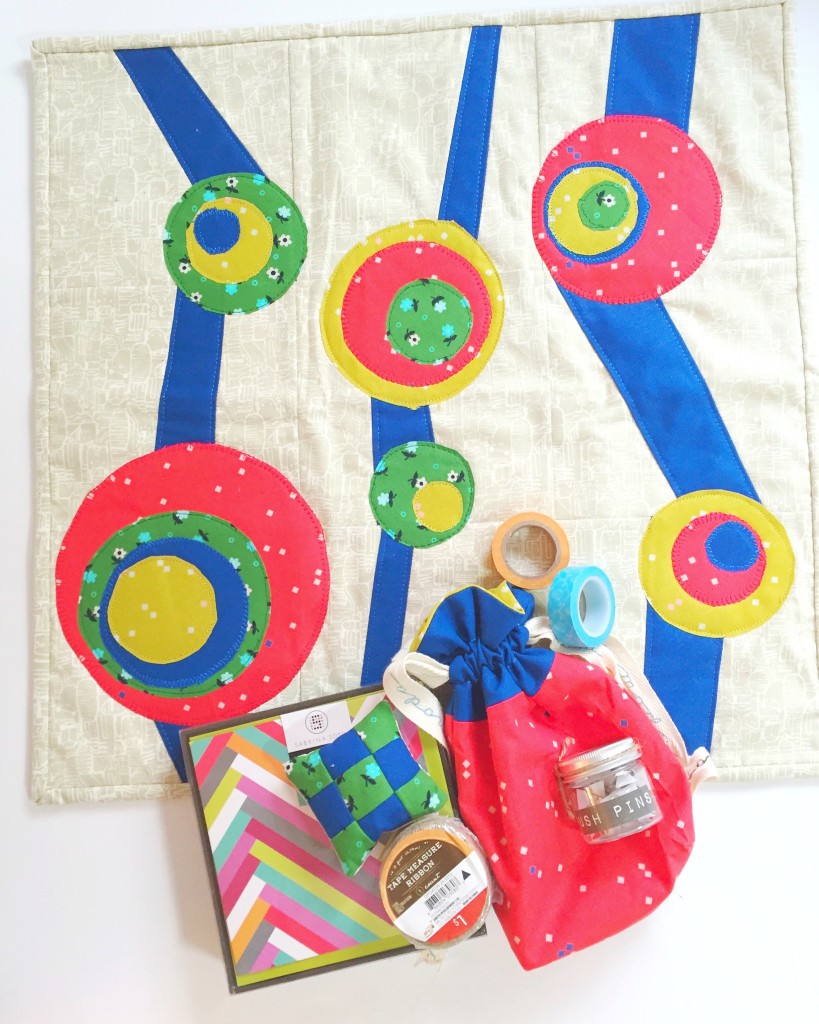
In return for sending off the Kaleidoscope,  I received this beautiful mini with extras from  @amandafech. Isn’t it so fun with the primary palette and appliqué work?  I am 3 for 3 with great swap experiences….all delivered on time with amazing work!  Hopefully, all of you have had positive swap experiences or will decide to join your first one 🙂  They are lots of fun!!!

I’m going to be a swap mama soon so I hope these good vibes carry over 😉


#MakeAQuiltMakeAFriend

Cristy


IG Alison Glass Mini Quilt Swap Re-Cap

AG Fabric Bundles_Title

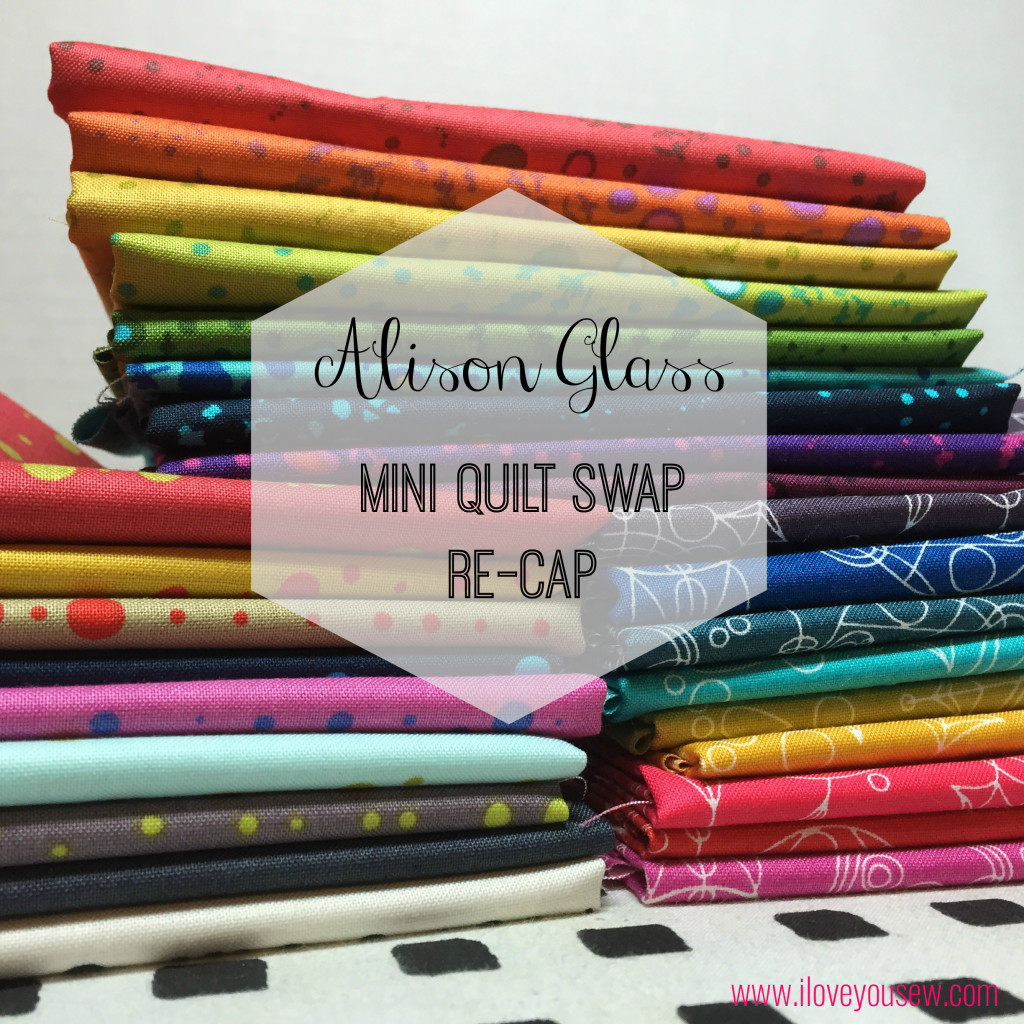
Thinking about joining a quilt or craft-related swap?  Do it!!!  I just finished up the Alison Glass Mini Quilt Swap on Instagram (IG) hosted by @ReapWhatIveSewn.  #alisonglassminiquiltswap #agteamspectrum

It was a great experience, not only because I got to play with beautiful fabric by Alison Glass…or the amazing quilt I received…but for making new “friends” with a bunch of quilters I might not have followed if it weren’t for being in this swap.
The main requirement for this swap was to use primarily fabric designed by Alison Glass (AG) (per the swap’s namesake) and to make a miniature quilt that was 13-24″ squared.  I was dying to get all of the 2015 Sunprint fabrics, and this swap made it easier to pull the retail trigger 😉 The intense colors in AG’s fabrics are just pure eye candy.  I love using them in rainbows and they pop against Andover black chambray (one of my stash staples) so beautifully!


My Quilt

The partner I was paired with unfortunately, was not very active on IG…and by not active, I mean practically non-existent.  She posted one picture of when she received her fabric for the swap and that was that.  I know life happens and not everyone checks or posts to their accounts daily or weekly. Completely understood!  But when you sign up for a swap that’s strictly on the IG platform, you wish your partner did participate a little more.  It’s makes the experience a little easier and it’s more fun with the participation 🙂  The only information that I had was the completed registration questionaire. This gave me (1) my partner likes red, yellow, green, orange and (2) she likes modern quilts.  That’s it….what was I going to do???

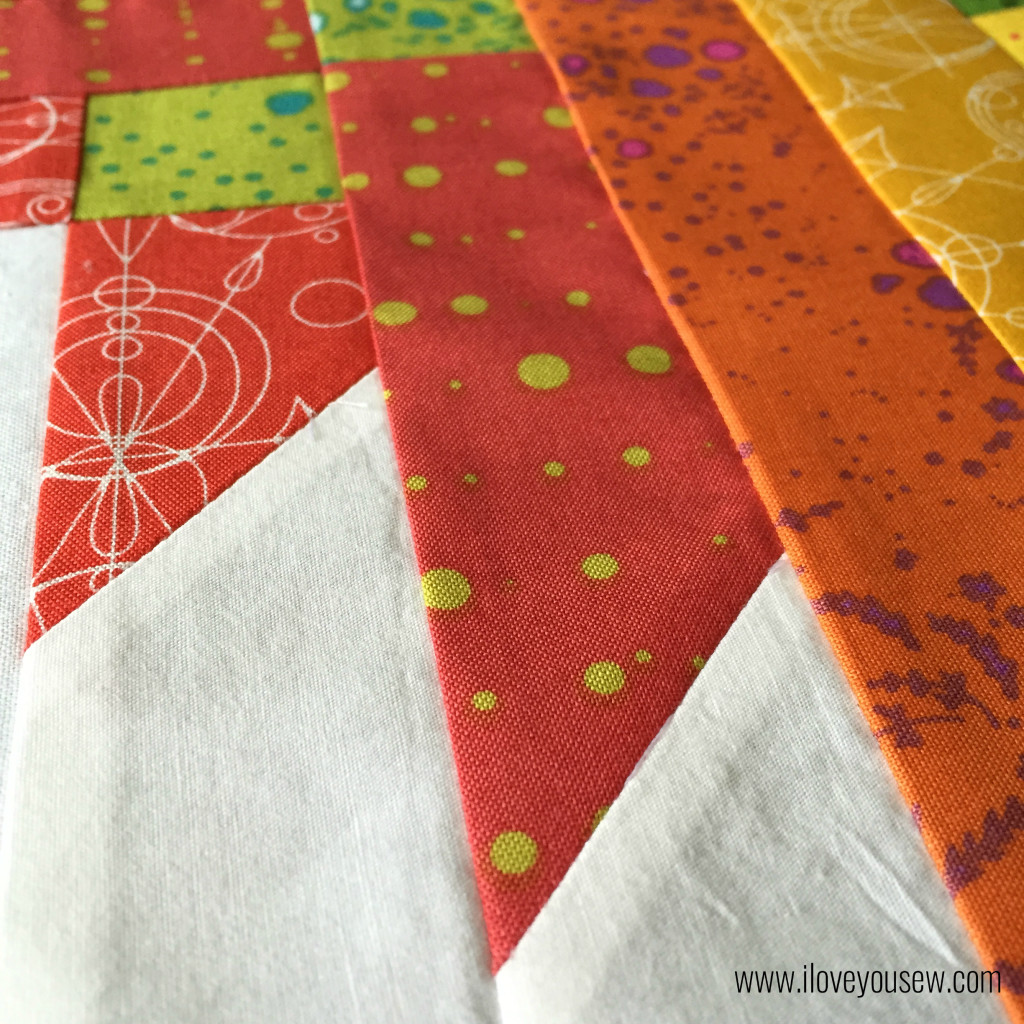
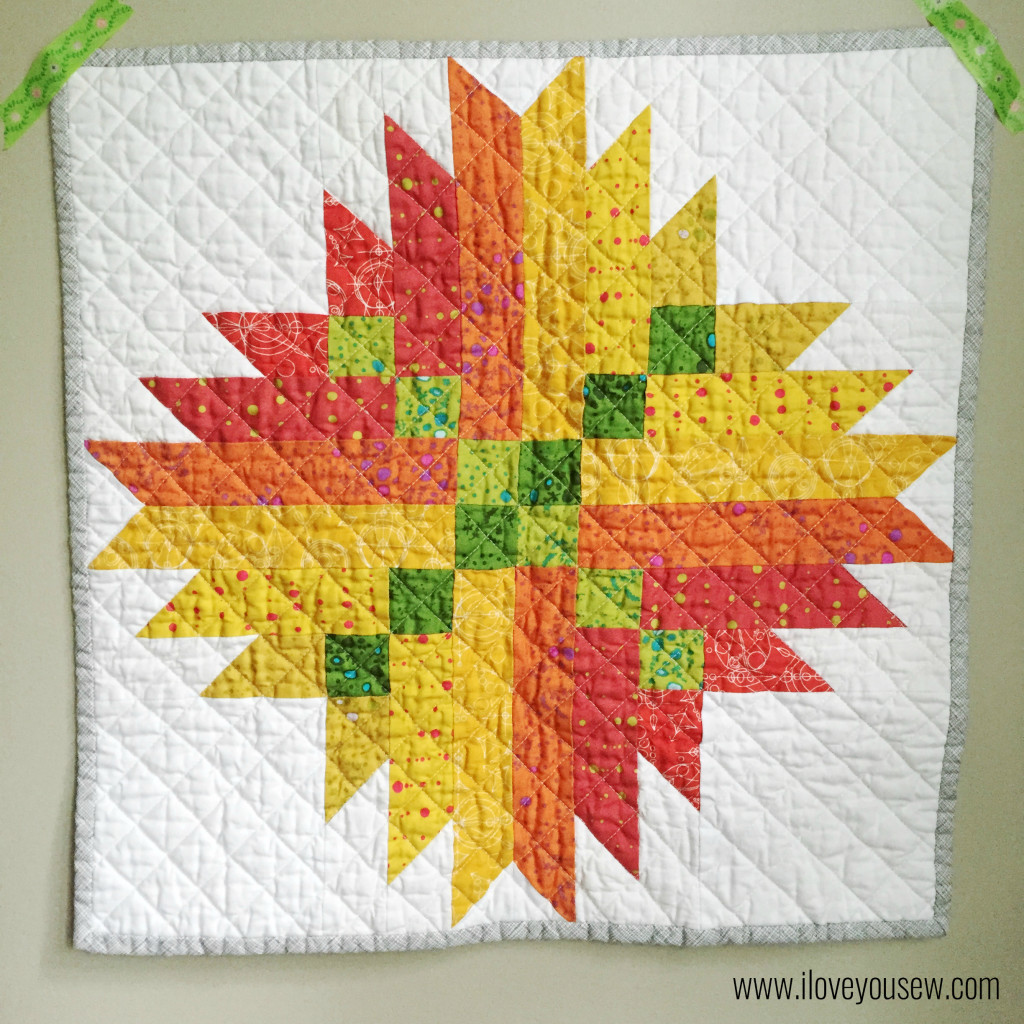
Luckily, I had the Astrodelic Quilt design fresh in my head from checking out free patterns on Art Gallery’s website.  The palette my partner named was a challenge.  I wanted to make sure I balanced out the red and green so nothing looked “Christmas-y” and that the yellows and oranges would all complement each other.  It was nice to have all of Sunprint 2015 on hand to play around with color!

AG Mini Closeup

Kona white is always a safe choice as the background.  With the bright colors selected, I didn’t want anything else to compete with this “Fireball.”  Carolyn Friedlander’s Architextures Crosshatch in Shadow finished as the binding…Again, chosen to not draw away from the design.  As for the quilting, I try to leave mine pretty fuss-free…straight-line is my go-to and I followed the 45* angles created from the piecing.  This mini finished at 20″x 20″…a bit on the larger side, but easier on the quilt math 😉

AG Mini Complete


Extras

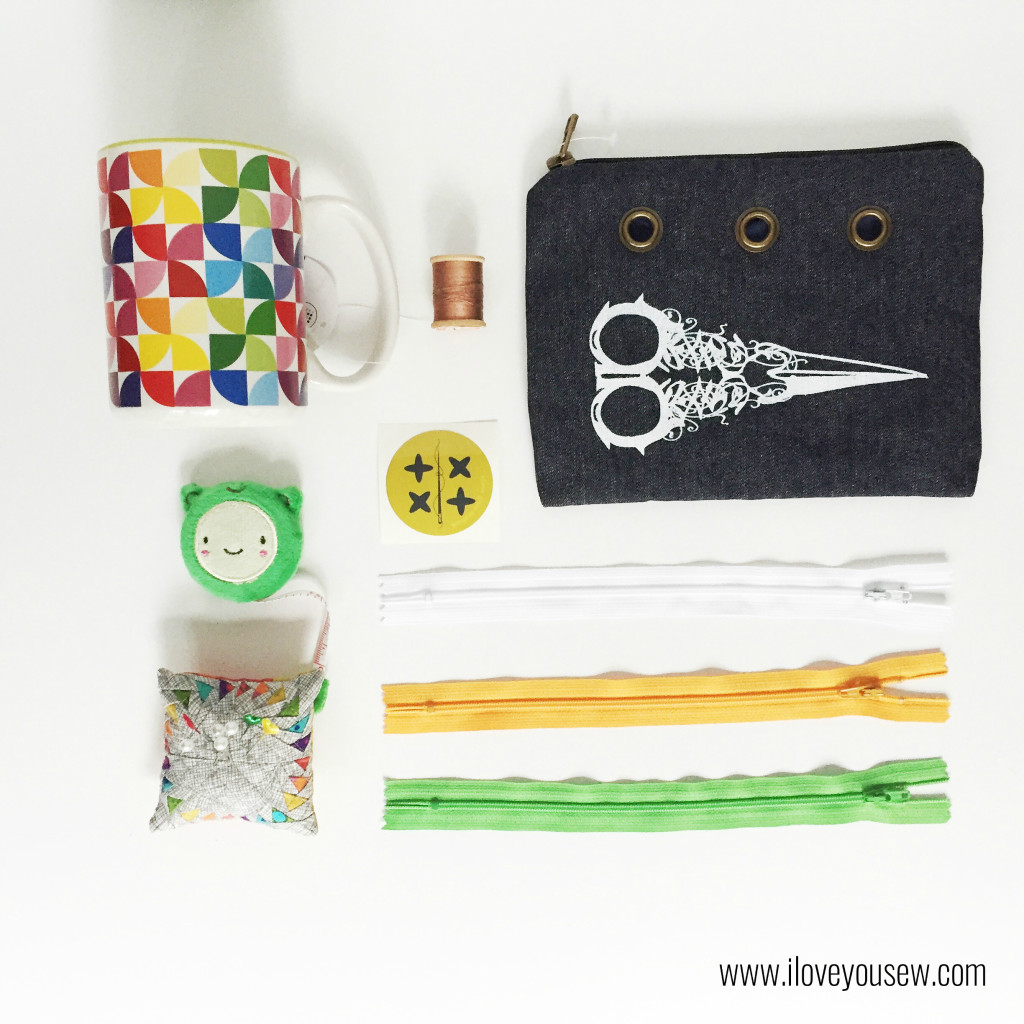
Although not required, it’s always nice to send some extra “love” with your mini.  Since I was getting no indication of likes/dislikes or any personal info off IG, I kept my gifts pretty generic.  The rainbow mug and scissor pouch are from Michael’s.  I included a wooden spool of thread from my vintage collection and a fun little tape measurer.  I ordered Ex Libris directly from AG’s shop, so I got a few stickers (!!!) with my order and included one here.  The pin cushion was a special little gift I made using scraps of Sunprint with Jeli Quilt’s Goosed Up pattern.  Sewing notions are always a good inclusion so I added a few zippers to match the mini as well.  Many swappers include food/candy, but it was scorching hot around the US, so I didn’t want anything to spoil or melt…hence no yummy goodness from me.

AG Swap Extras


Mini Received

So off my package went (yes, it was on time!) and the waiting game began.  It’s fun to watch the other swappers on IG receive their packages and you can slowly mark off who was not your partner.  Luckily, I did not have to wait very long.  My parcel arrived just a few days after I sent mine off.

And….it was this gorgeousness!!!  Go ahead…take it all in…..yesssssss………mmmhmmm…..

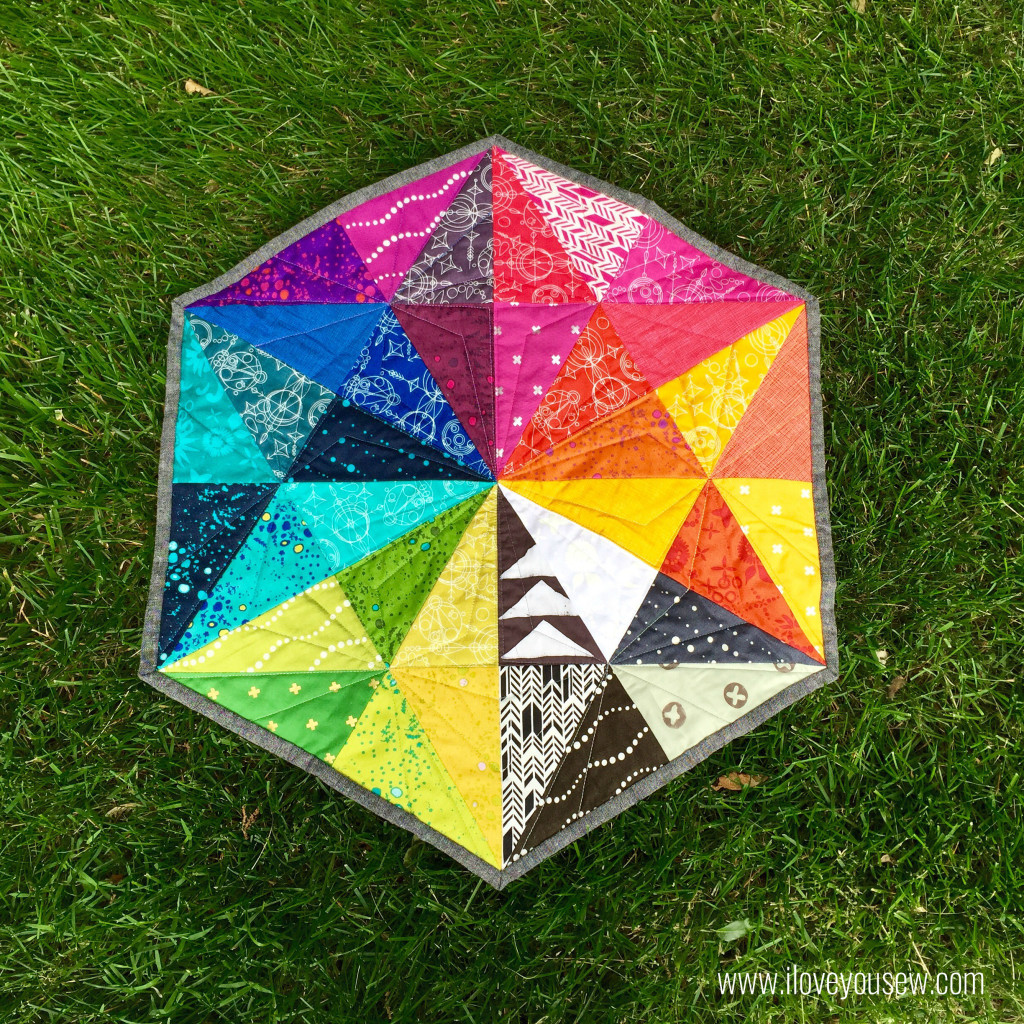
AG Mini Received

Kitty of the Night Quilter made me this amazing hexagon shaped quilt from Robert Kaufman’s Prismatic Medallion FREE pattern.  I know only because I have downloaded it for my personal Quilting Queue.  But maybe I don’t have to try to make it anymore?!?  The fabric selection was just on-point!  I LOVE IT!!!

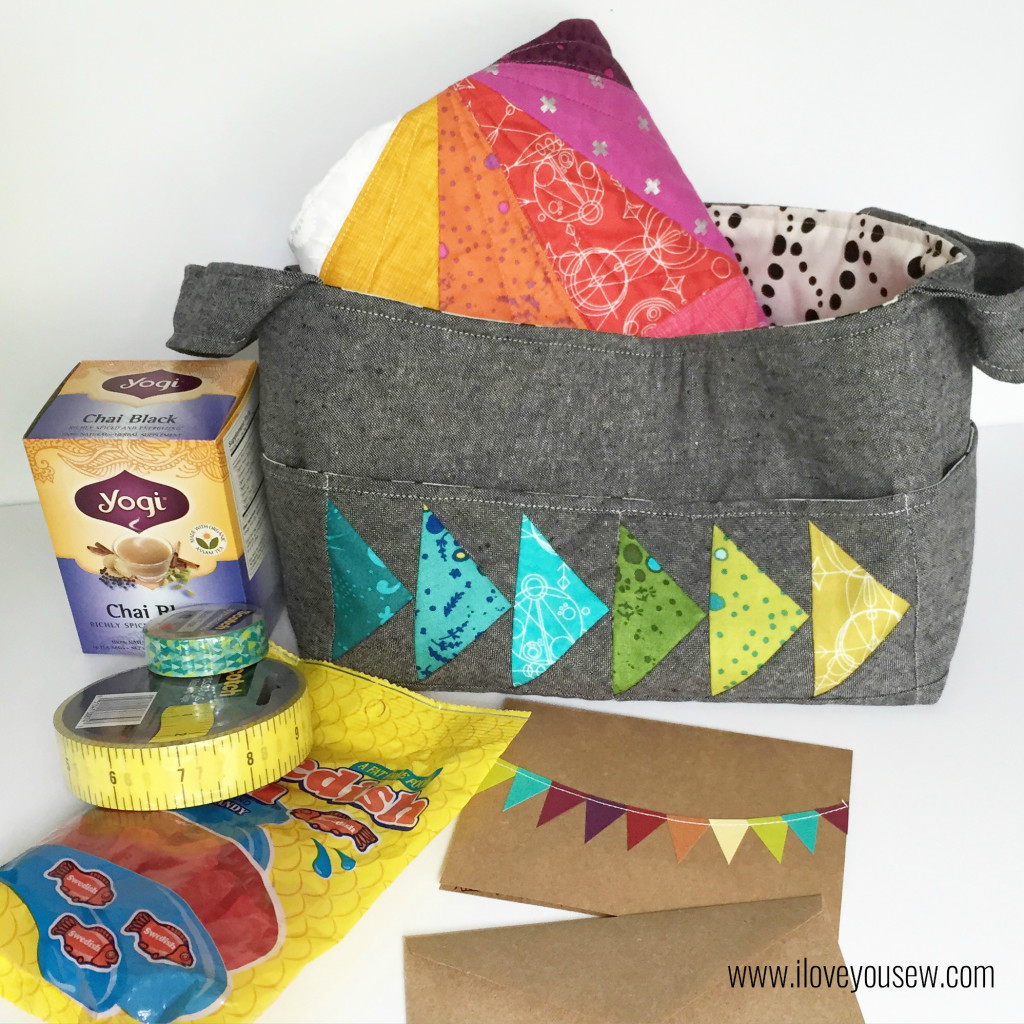
And there’s more!  Remember the Hour Basket from my Sewing Room Organization post?  Here it is with the mini stuck inside.  There was also some small and large washi tape.  I can’t wait to use the measuring tape one on packaging later on down the line!  Kitty also included tea and candy that I love…and how did she know?  She posted questions out to our swap group asking about what we would like in our packages and I just responded…so glad I did!  It’s nice to get a surprise, but also nice to get something you know you will eat or use.  Lesson learned – answer questions from your fellow swap-mates!

AG Swap Received


From sign-up to shipping, the swap was about 5 months.  So if you are thinking of joining a swap, this is an ample amount of time for a mini.  I got my design and quilt top pieced early on…probably within the first two months.  I liked getting it done early just in case something pops up on the personal front (which you know always happens.)  I owed it to my partner to be on time, since I wanted the same for myself.  Good sewing karma pays off…in gorgeous mini’s!!!

Have you participated in any craft or sewing swaps?  I’d love to hear your (positive) experiences.


Hugs and Stitches,

Cristy


Note: This post may contain affiliate links. By clicking on them and purchasing products through the links, I receive a small commission. This helps cover the costs of keeping this blog running.

FREE Walking Geese Needlebook Tutorial

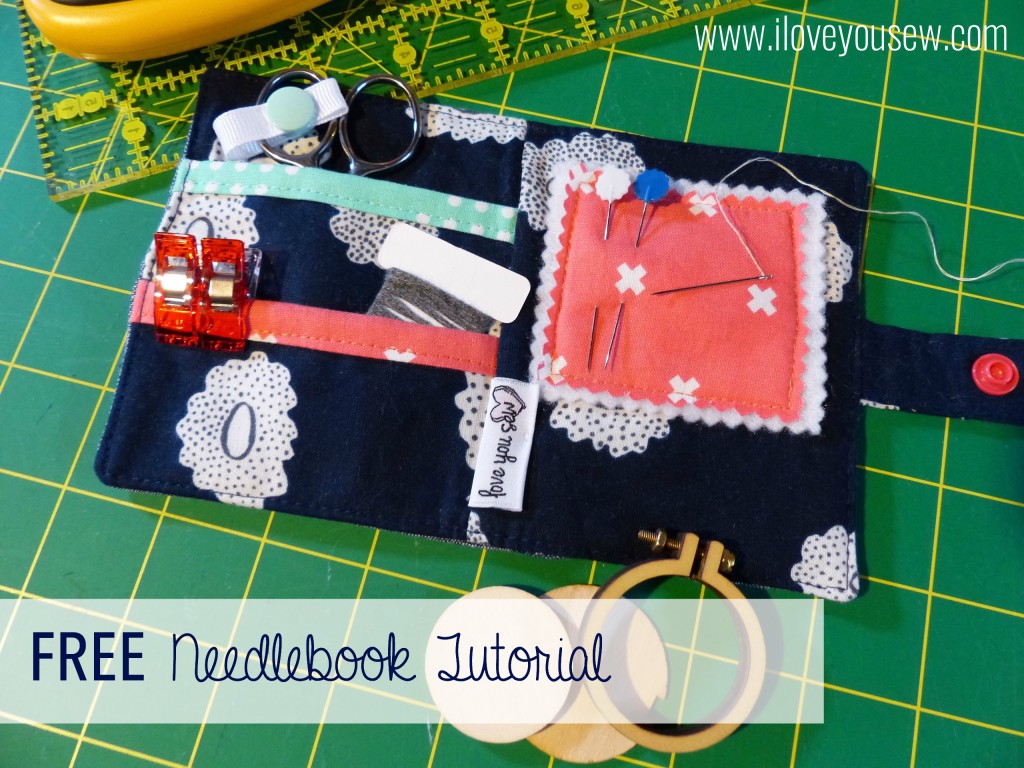
Love You Sew Needlebook Tutorial

I’m new to the world of Swaps.  I’ve seen and followed quite a few through Instagram and finally signed up for a few.  The #IGneedlebookSwap was my second sign-up, but my first which has been sent and received.  After looking at a few online, I wanted to design my own and share it for FREE with you!!!  If you are unfamiliar, these swaps have a theme (in this case, a needle book) and you have to post progress shots on your IG account.  They are usually secret and you have great fun finding out…aka “stalking” your partner’s tastes and preferences.    I like it because you get work on something new and it’s challenging to have some parameters set….including a deadline!

My partner asked for a Needlebook with a pocket to hold a small set of scissors, so I went about designing one myself!  How can I screw up the math on something that finishes at 4.5″ x 7″ (open) and 4.5″ x 3.5″ (closed), right???  My partner also specified using navy, coral and aqua…so I incorporated a design to showcase all of those colors.
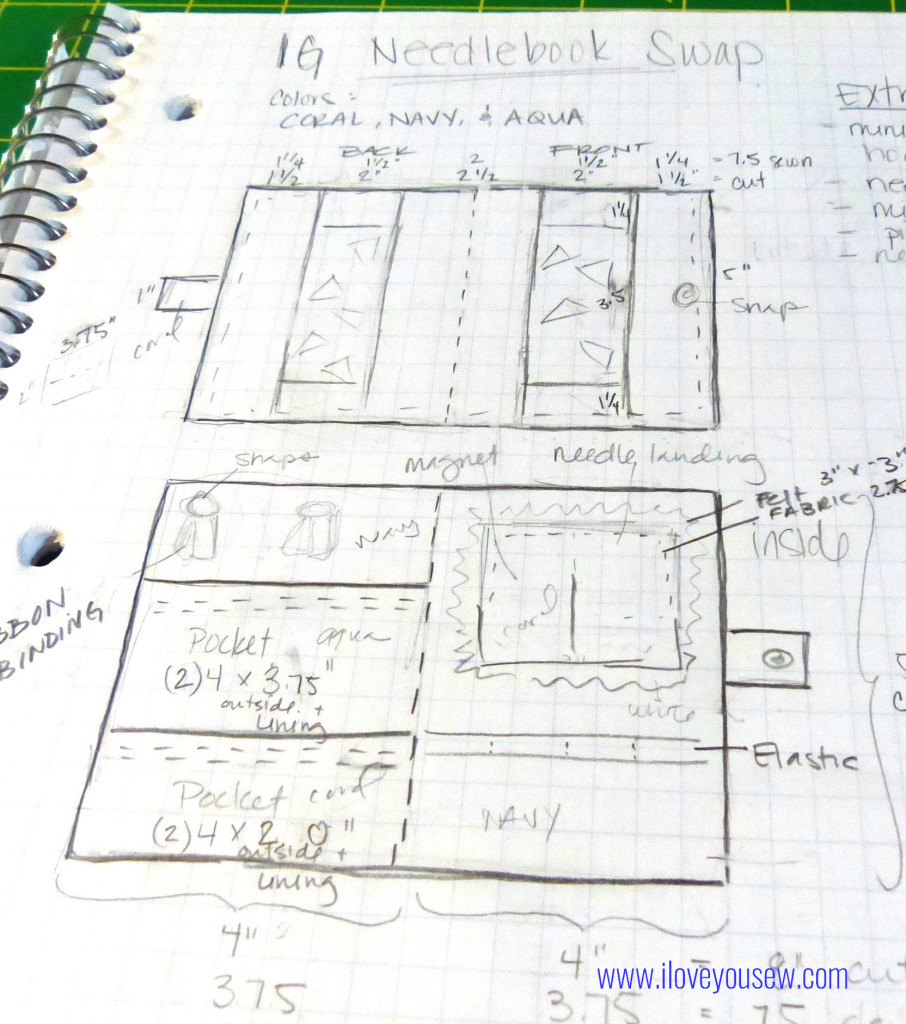
Needlebook Sketch

Needlebook Sketch

==========

Material Requirements:

  • Exterior Fabric (shown in Robert Kaufman IndigoChambray)
    • 1.5″ x 5″ rectangles [cut 2]
    • 2″ x 5″ rectangle [cut 1]
    • 1.25 x 2″ rectangle [cut 4]
    • Goosing Borders [sew 2]
  • Interior Fabric (shown in Cotton + SteelHatbox – Navy Desert Flower)
    • 4″ x 5″ [cut 2]
    • 4″ x 7″ [cut 1 for pocket A]
    • 4″ x 4″ [cut 1 for pocket B]
    • 2″ x 3.75″ [cut 1 for snap closure tab]
  • Accent Fabric 1 (shown in Cotton + Steel Dottie in Bluebird)
    • 2.5″ x 4″ [cut 1 for pocket A]
  • Accent Fabric 2 (shown in Cotton + SteelXOXO in Coral)
    • 2.5″ x 4″ [cut 1 for pocket B]
    • 2.75″ x 2.75″ [cut 1 for needle-landing]
  • Felt for needle-landing
    • 3″ x 3″ [cut 1]
  • Batting
    • 5″ x 8″ [cut 1]
  • KAM Snaps [2 sets]
  • 2″ Grosgrain Ribbon
  • 3/4″ Magnet

Use 1/4″ seam allowance unless noted.

==========
FPP Geese Close-up

FPP Geese Close-up

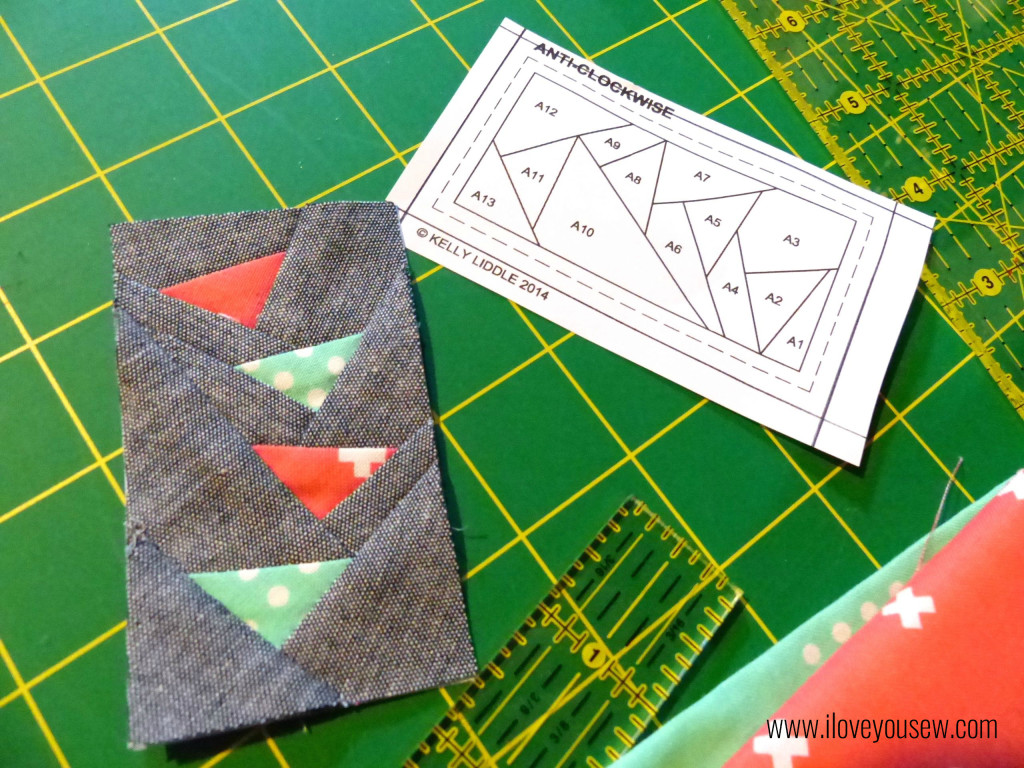
For the outside of the book, I used Jeli Quilts’s (surprise!) Goosing Borders and shrank the design down to 50%.  The geese are Cotton + Steel basics in Bluebird and Coral.  For the background and borders of the exterior, I used Robert Kaufman’s Chambray in Indigo. I love chambray for a clean sophisticated look and the added texture.  It’s definitely one of my go-to fabrics and always keep some in my stash.

For a nice video on Foundation Paper Piecing (FPP) click here.  I watched this to help me wrap my head around the fabric being sewn as a mirror image.  This technique takes some practice but you will quickly become addicted, like me 🙂 The finished Geese blocks should measure 2″ x 3.5″.  Attach the 1.25″ x 2″ rectangles to the short-sides of each Geese Block.  Then attach the 1.5″ x 5″ blocks to one side of each block.  Use the 2.5″ x 5′ rectangle to attach the Geese blocks together.  Quilt the exterior to the batting and trim 5″ x 7.5″.
Interior left with Pockets

Interior left with Pockets

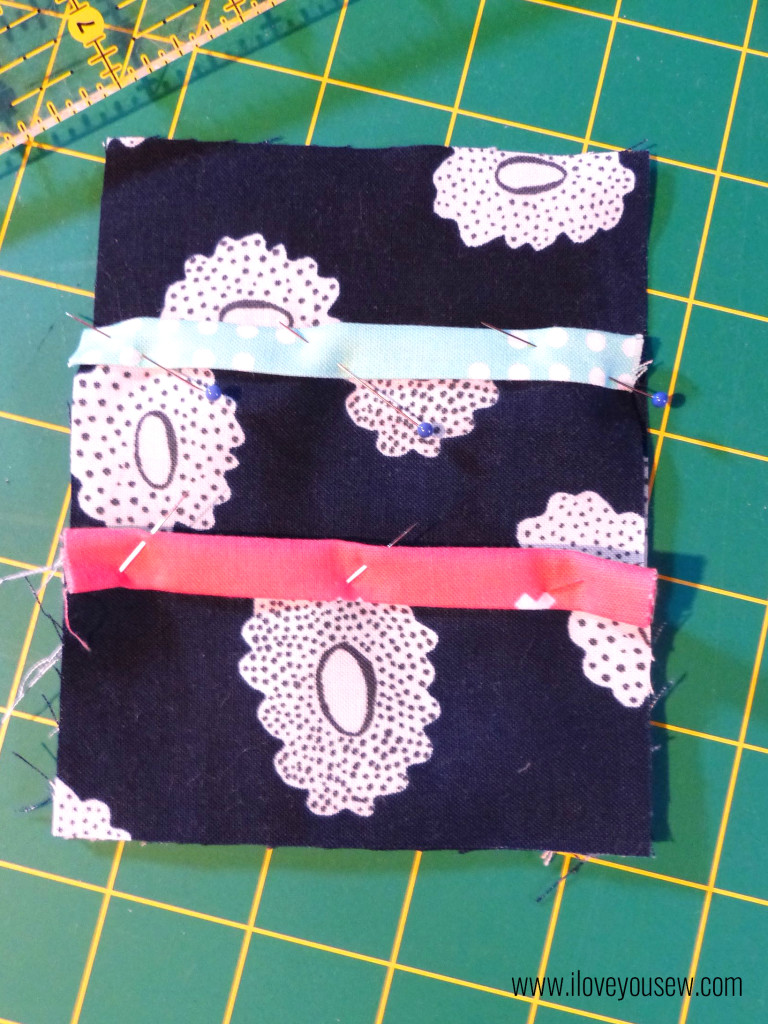
On the inside, I chose another Cotton + Steel fabric.  This time, a navy from Hatbox by Alexia Abegg.  I decided to make two pockets – a larger one for scissors and/or a spool of thread or pen.  The smaller pocket could be used to hold floss, clips, or a spare packet of needles.  The binding helps to grip the pockets and adds some visual appeal.

Iron both pockets in half length-wise so [A] is 3.5″ x 4″ and [B} is 2″ x 2″.  Take each piece of binding and machine-bind down just like you would a quilt.  Lay Pocket [B] on top of Pocket [A] on top of 4″ x 5″ interior fabric, matching up corners at the bottom. Pin all in place.

Right above the Pocket [A], I cut a 2″ piece of grosgrain ribbon, sealed the ends, and made a loop to hold the scissor handles in place.  I am a big fan of KAM Snaps and used them with the ribbon as well as with the closure of the entire Needle-book.
Preparing Needle-landing with built-in Needle-minder

Preparing Needle-landing with built-in Needle-minder

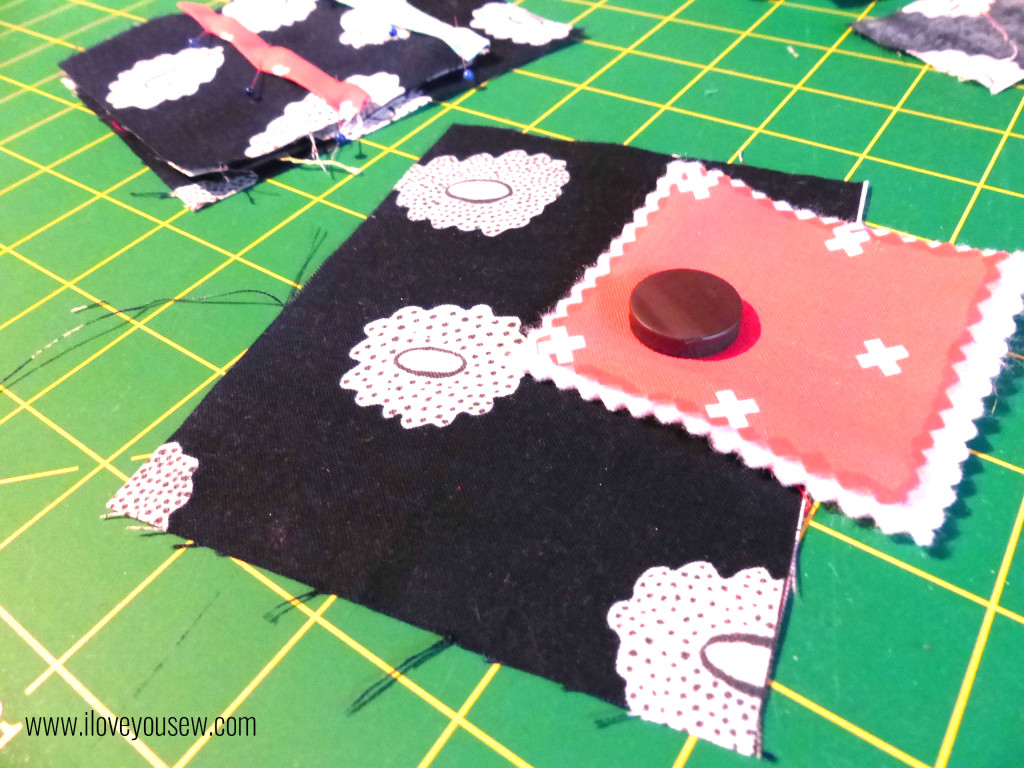
On the right side, there needed to be a needle landing (because it wouldn’t be a needle book, otherwise, right?!?) I just used craft felt and my Gingher serrated scissors to cut out the rectangle.  But I wanted some more color, so I added the same Coral fabric on top as a nice accent.  I sewed 3-sides up with a 1/8″ seam along the Coral and slipped in a small 3/4″ magnet for a built-in needle-minder!  Then I sewed up the last side making sure the magnet was fully enclosed. With right-sides together, sew the two interior panels together to create a center seam.
Needlebook Exterior

Needlebook Exterior

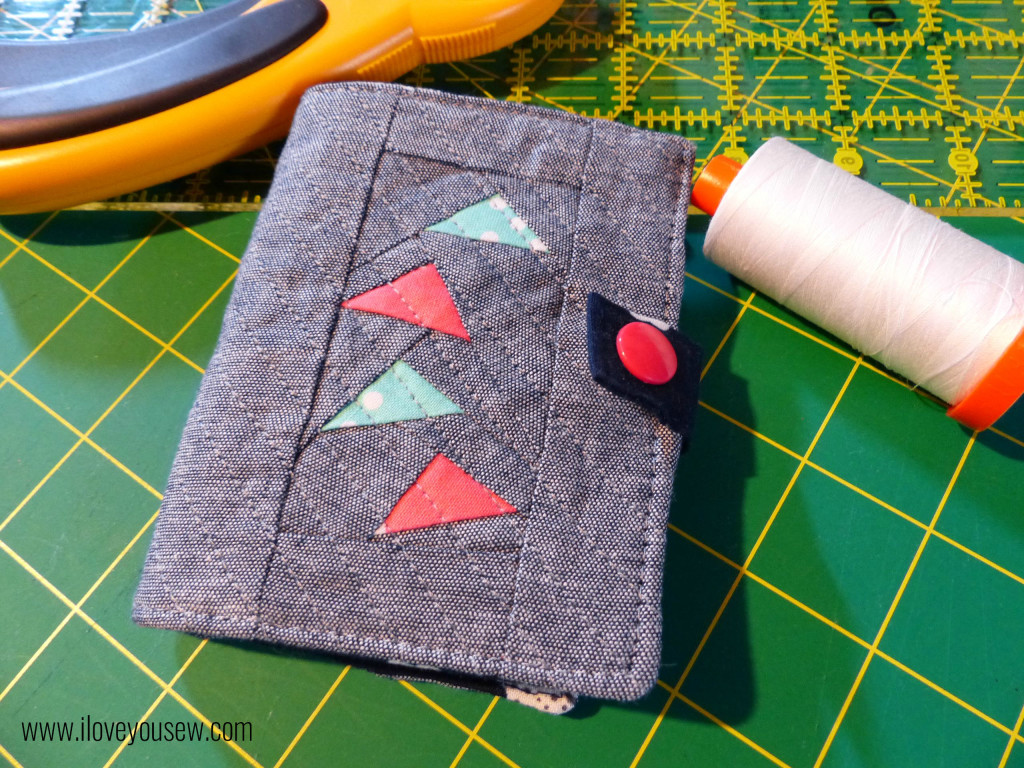
To create a tab, press the fabric lengthwise in half then open.  Press each long-side to match the center fold then fold in half, matching up the short-ends.  Top stitch all around to secure.  Attach KAM Snap at this point. Pin the tab half-way on the right interior panel facing in.

On the exterior panel, mark where the tab will meet and attach your other KAM Snap.  With right sides together, sew the Interior and Exterior  panels to each other leaving a 3” opening to turn. Snip corners, turn the Needlebook right-side out and press.  Top-stitch 1/8″ all around the book to close up the opening.  “Stitch in the ditch” along the center inside seam to allow the book to easily fold.
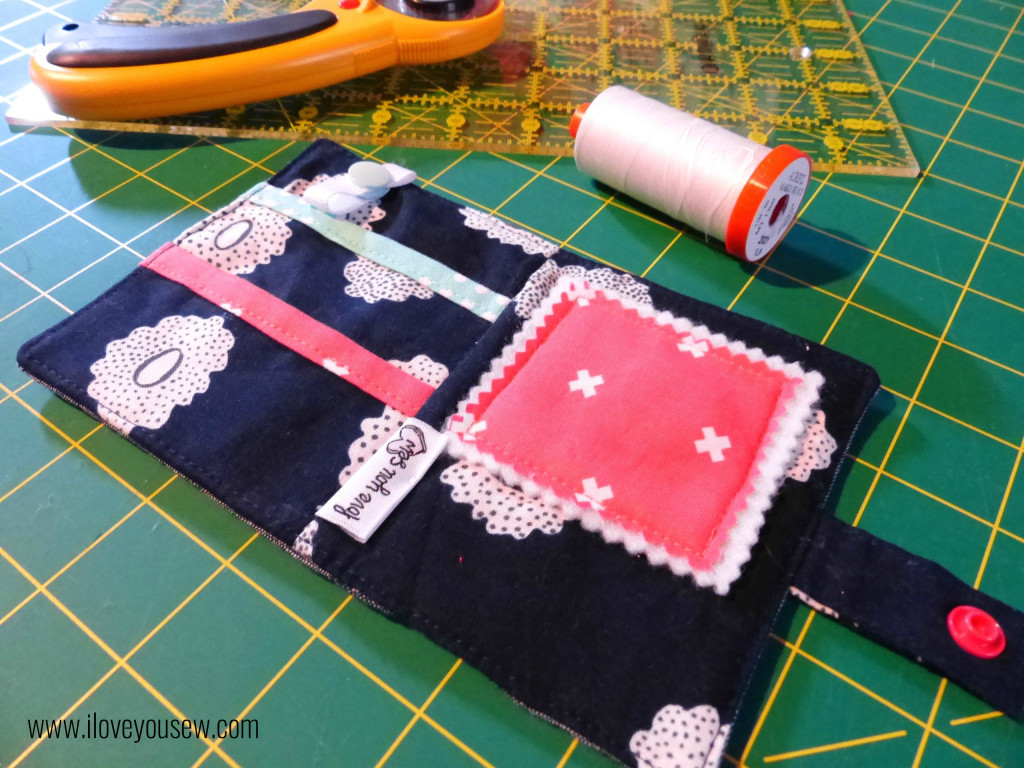
Completed Interior

Completed Interior

And….that’s it 🙂  This was a nice easy sew that you could use as a “Swap Extra”  or a stocking stuffer for a good sewing friend.  If you are not a snap person or do not have any on-hand, you can alternatively use a button and elastic cord closure or long pieces of ribbon to tie it all together.  If you looked closely at my sketch, I was initially going to add some elastic loops under the landing, but decided to omit them to keep this simple…but it’s a great idea if you want to add an additional feature.

Since I’m not a seasoned tutorial author (yet!), please let me know if you have any questions. Don’t forget to share pictures of any completed projects as well!

I’m linked up to Late Night Quilters Tips and Tutorials Tuesday.  Please visit the page to see some more great sewing and blog related pointers!

#WalkingGeeseNeedlebook #IGNeedlebookSwap #LoveYouSew


Hug and Stitches,

Cristy
Love You Sew

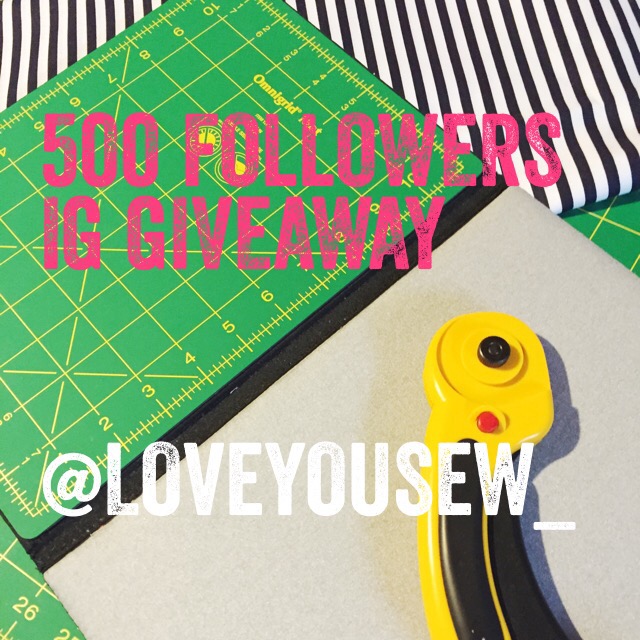
Instagram Giveaway for 500+ Followers

  
There ARE some perks to following my different social media outlets…different Giveaways!!!

I have hit the 500 Follower milestone and I really can’t believe it!  It took me awhile to jump on the Instagram band-wagon…mainly because I ran out of memory on my old phone.  Pictures of my kids were WAY more important than any other ones and of course, I couldn’t delete any of my babies 🙂  But after receiving an amazing birthday present (thanks hubs!) in the form of a new smartphone with a ton of extra memory….I revved up my account. I am truly humbled that this many people want to follow my sewing, my life and put up with my ramblings.  But I am honored and hope to add a little life to your feed and inspire some fun sewing projects!  Thank you…thank you..thank you!!!

Head on over to Instagram and follow me @loveyousew_ if you are not already and “LIKE” the photo that you see above, plus tag a friend 🙂 One entry per person please.

I’m gearing up to giveaway a brand new Omnigrid® Tote-size FoldAway™ Portable Cutting and Pressing Station! This is an 8.75″ x 11.75″ (22.2cm x 29.8cm) folded gem. It has a black canvas outside cover and Velcro-closure to keep everything together.

It is my favorite tool for Foundation Paper Piecing (FPP) so I don’t have to keep getting up to trim or press my fabric. I keep it to the right of my sewing machine and it allows me to keep my projects moving! I love this size as it is slightly larger than a sheet of paper and travels very nicely, as needed.

Giveaway will be open until June 5, 2015 8pm EST and a random winner will be announced then.

>>Edited>> The contest is now over and winner was announced on Instagram.

***This is not endorsed by Omnigrid® or by Instagram. Open to US and international parties. If you are outside the U.S., you are agreeing to pay your own shipping minus $5.50USD and any associated insurance, tariffs, customs costs etc.


Enjoy!

Cristy

Love You Sew