Rumi Tank Review

I’m a huge fan of racerback tops. I don’t know if I just have weird sloping shoulders or maybe the wrong bras, but any kind of spaghetti strap I wear, always falls down.  Over the years, its become pretty annoying having to constantly pull the straps back up.  I started to wear mainly racerback bras to combat my issue and then had to find new tank tops that would cover the new strap configuration.

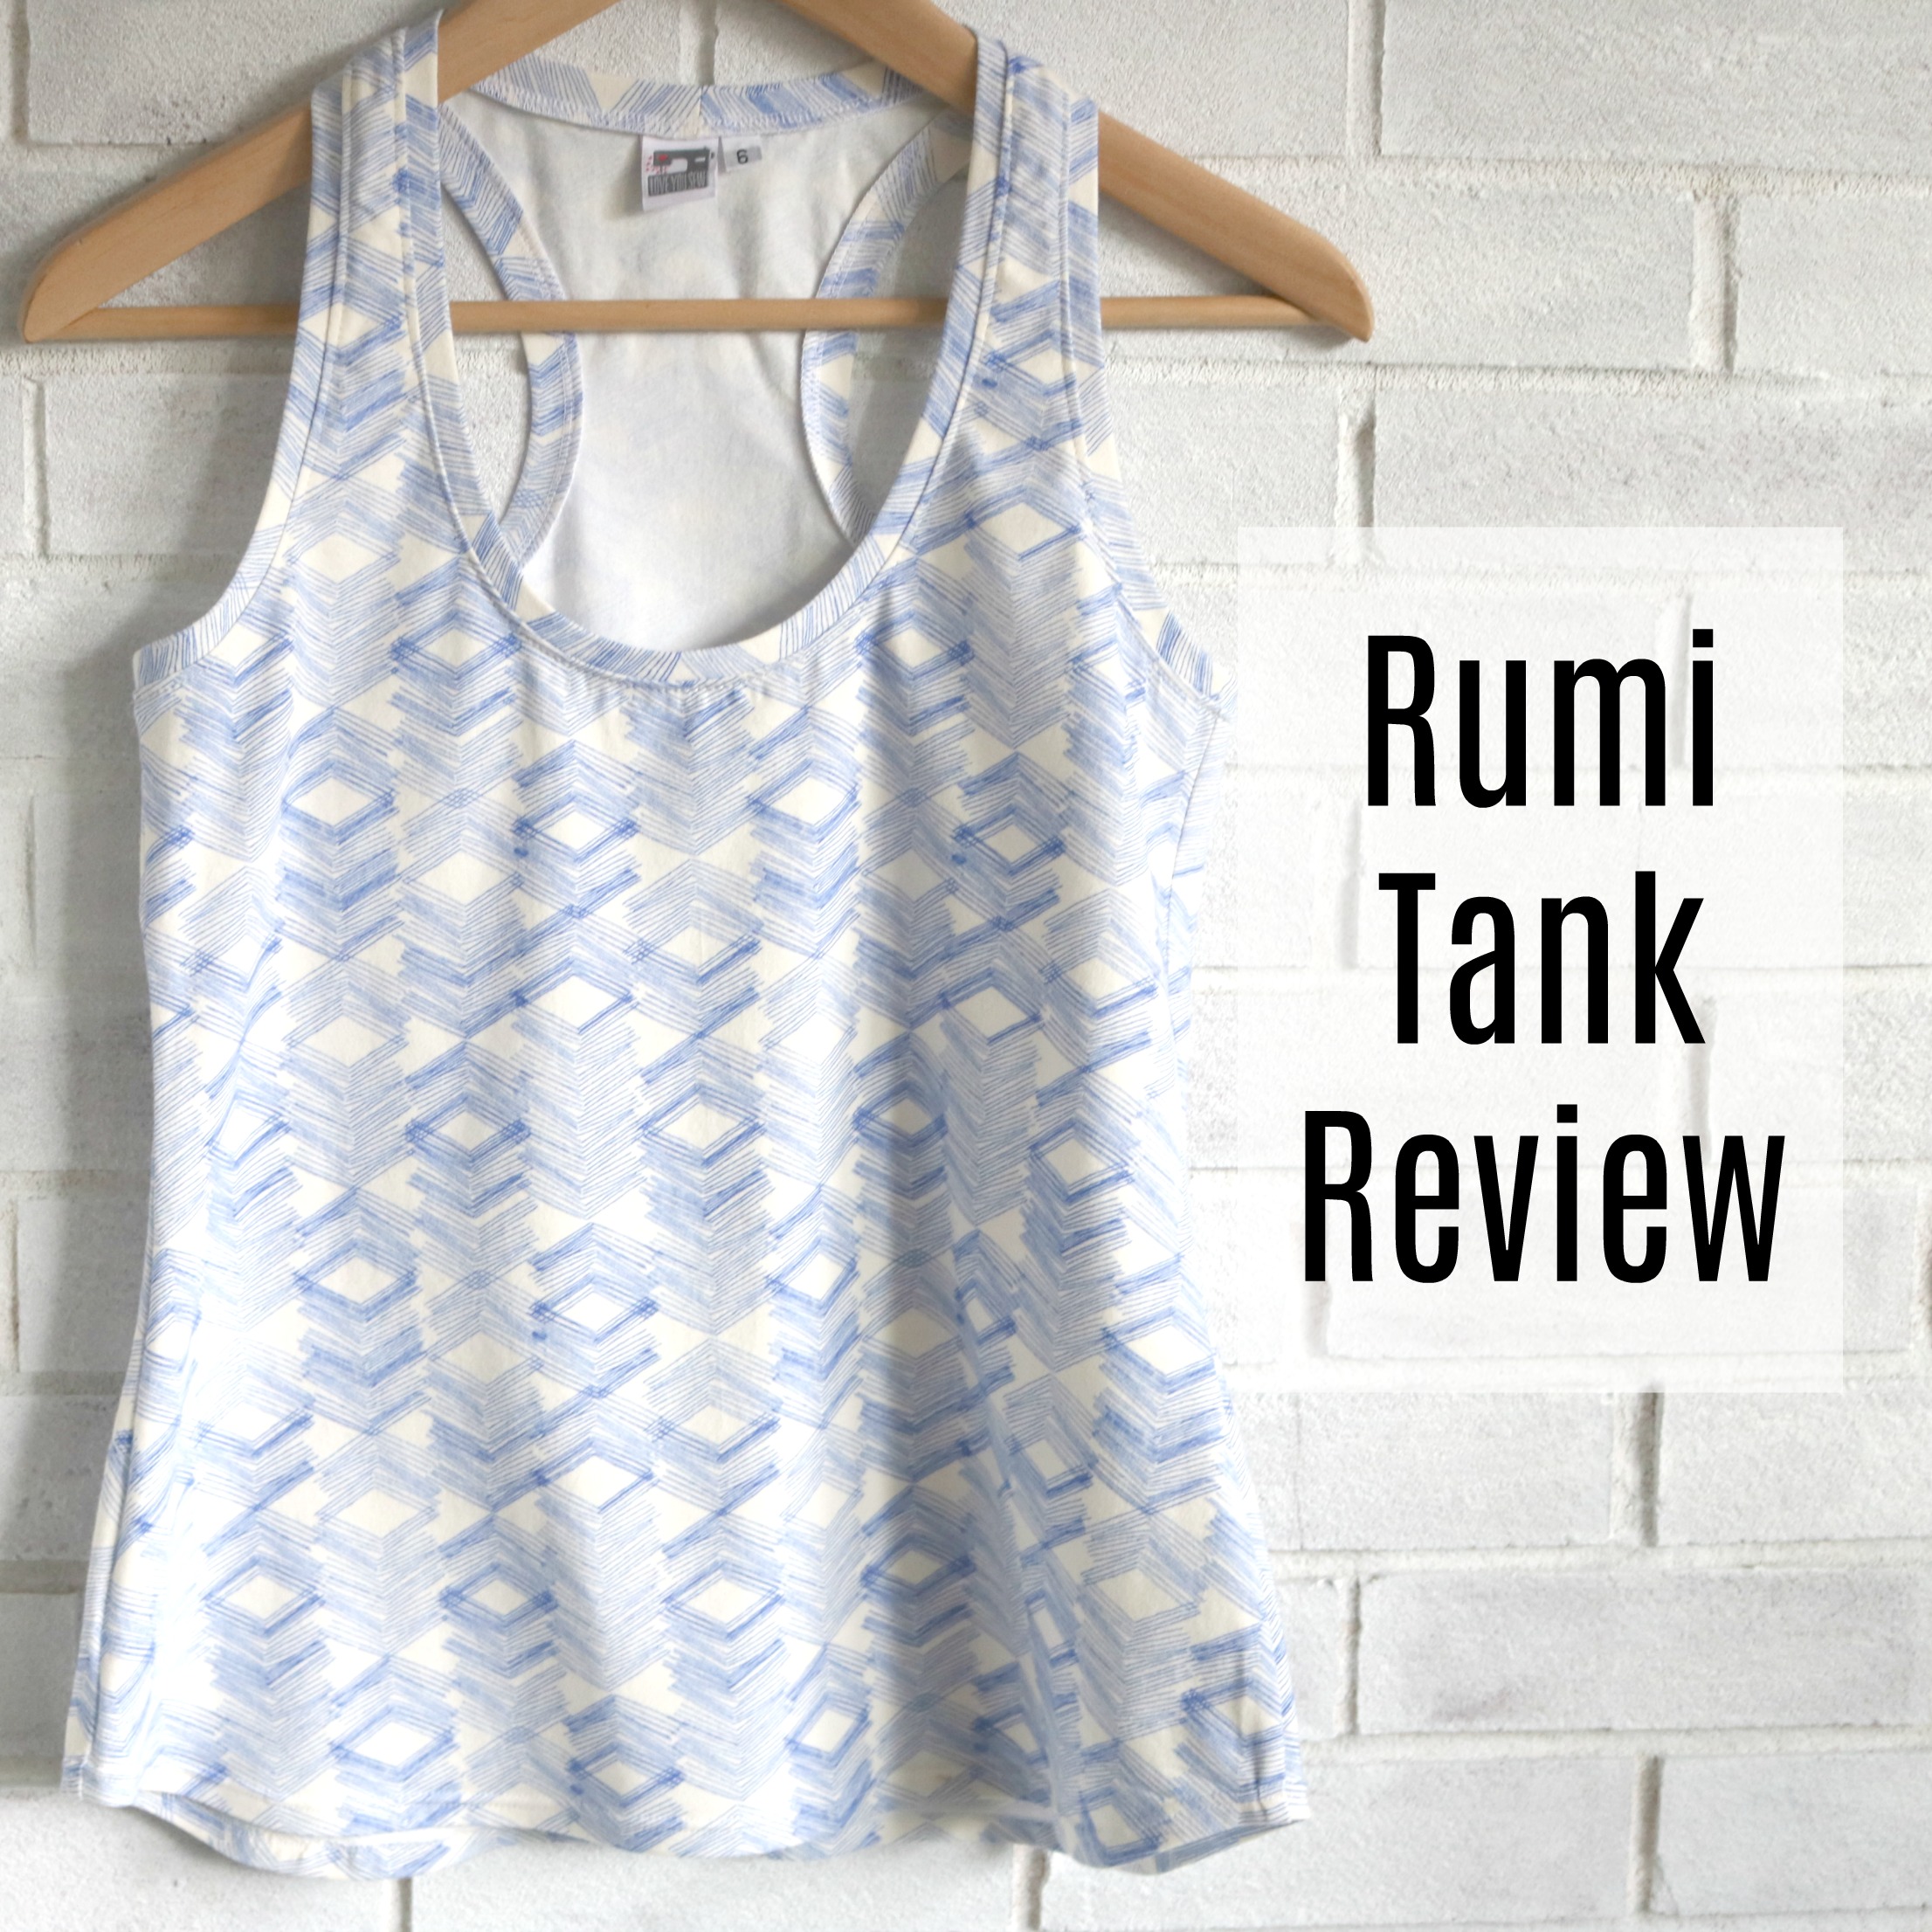
So when Christine Haynes came out with the Rumi Tank pattern, I knew instantly, it was for me.  It’s designed for knits, has a classic versatile shape and is stash friendly. I can get a tank out of less than a yard and have made two tanks that out of pure scraps.  This pattern is a PDF with printing options for a personal printer and copy shop.  I decided to send this pattern to my local big box office supply store (because I had a coupon) for the first time.  Let me say, if given the option, I will always choose copy shop printing.  Taping PDF patterns is just not what I want to spend my time doing.

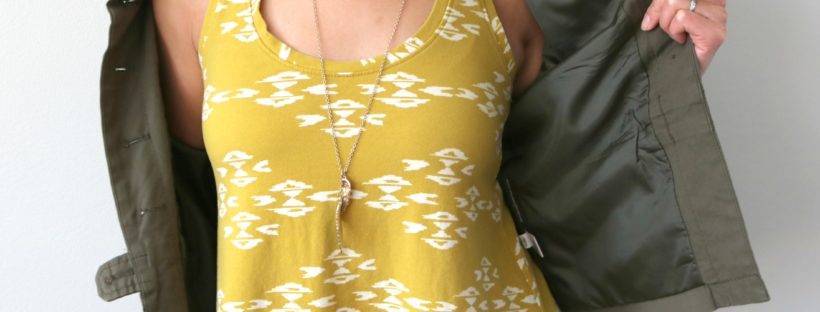
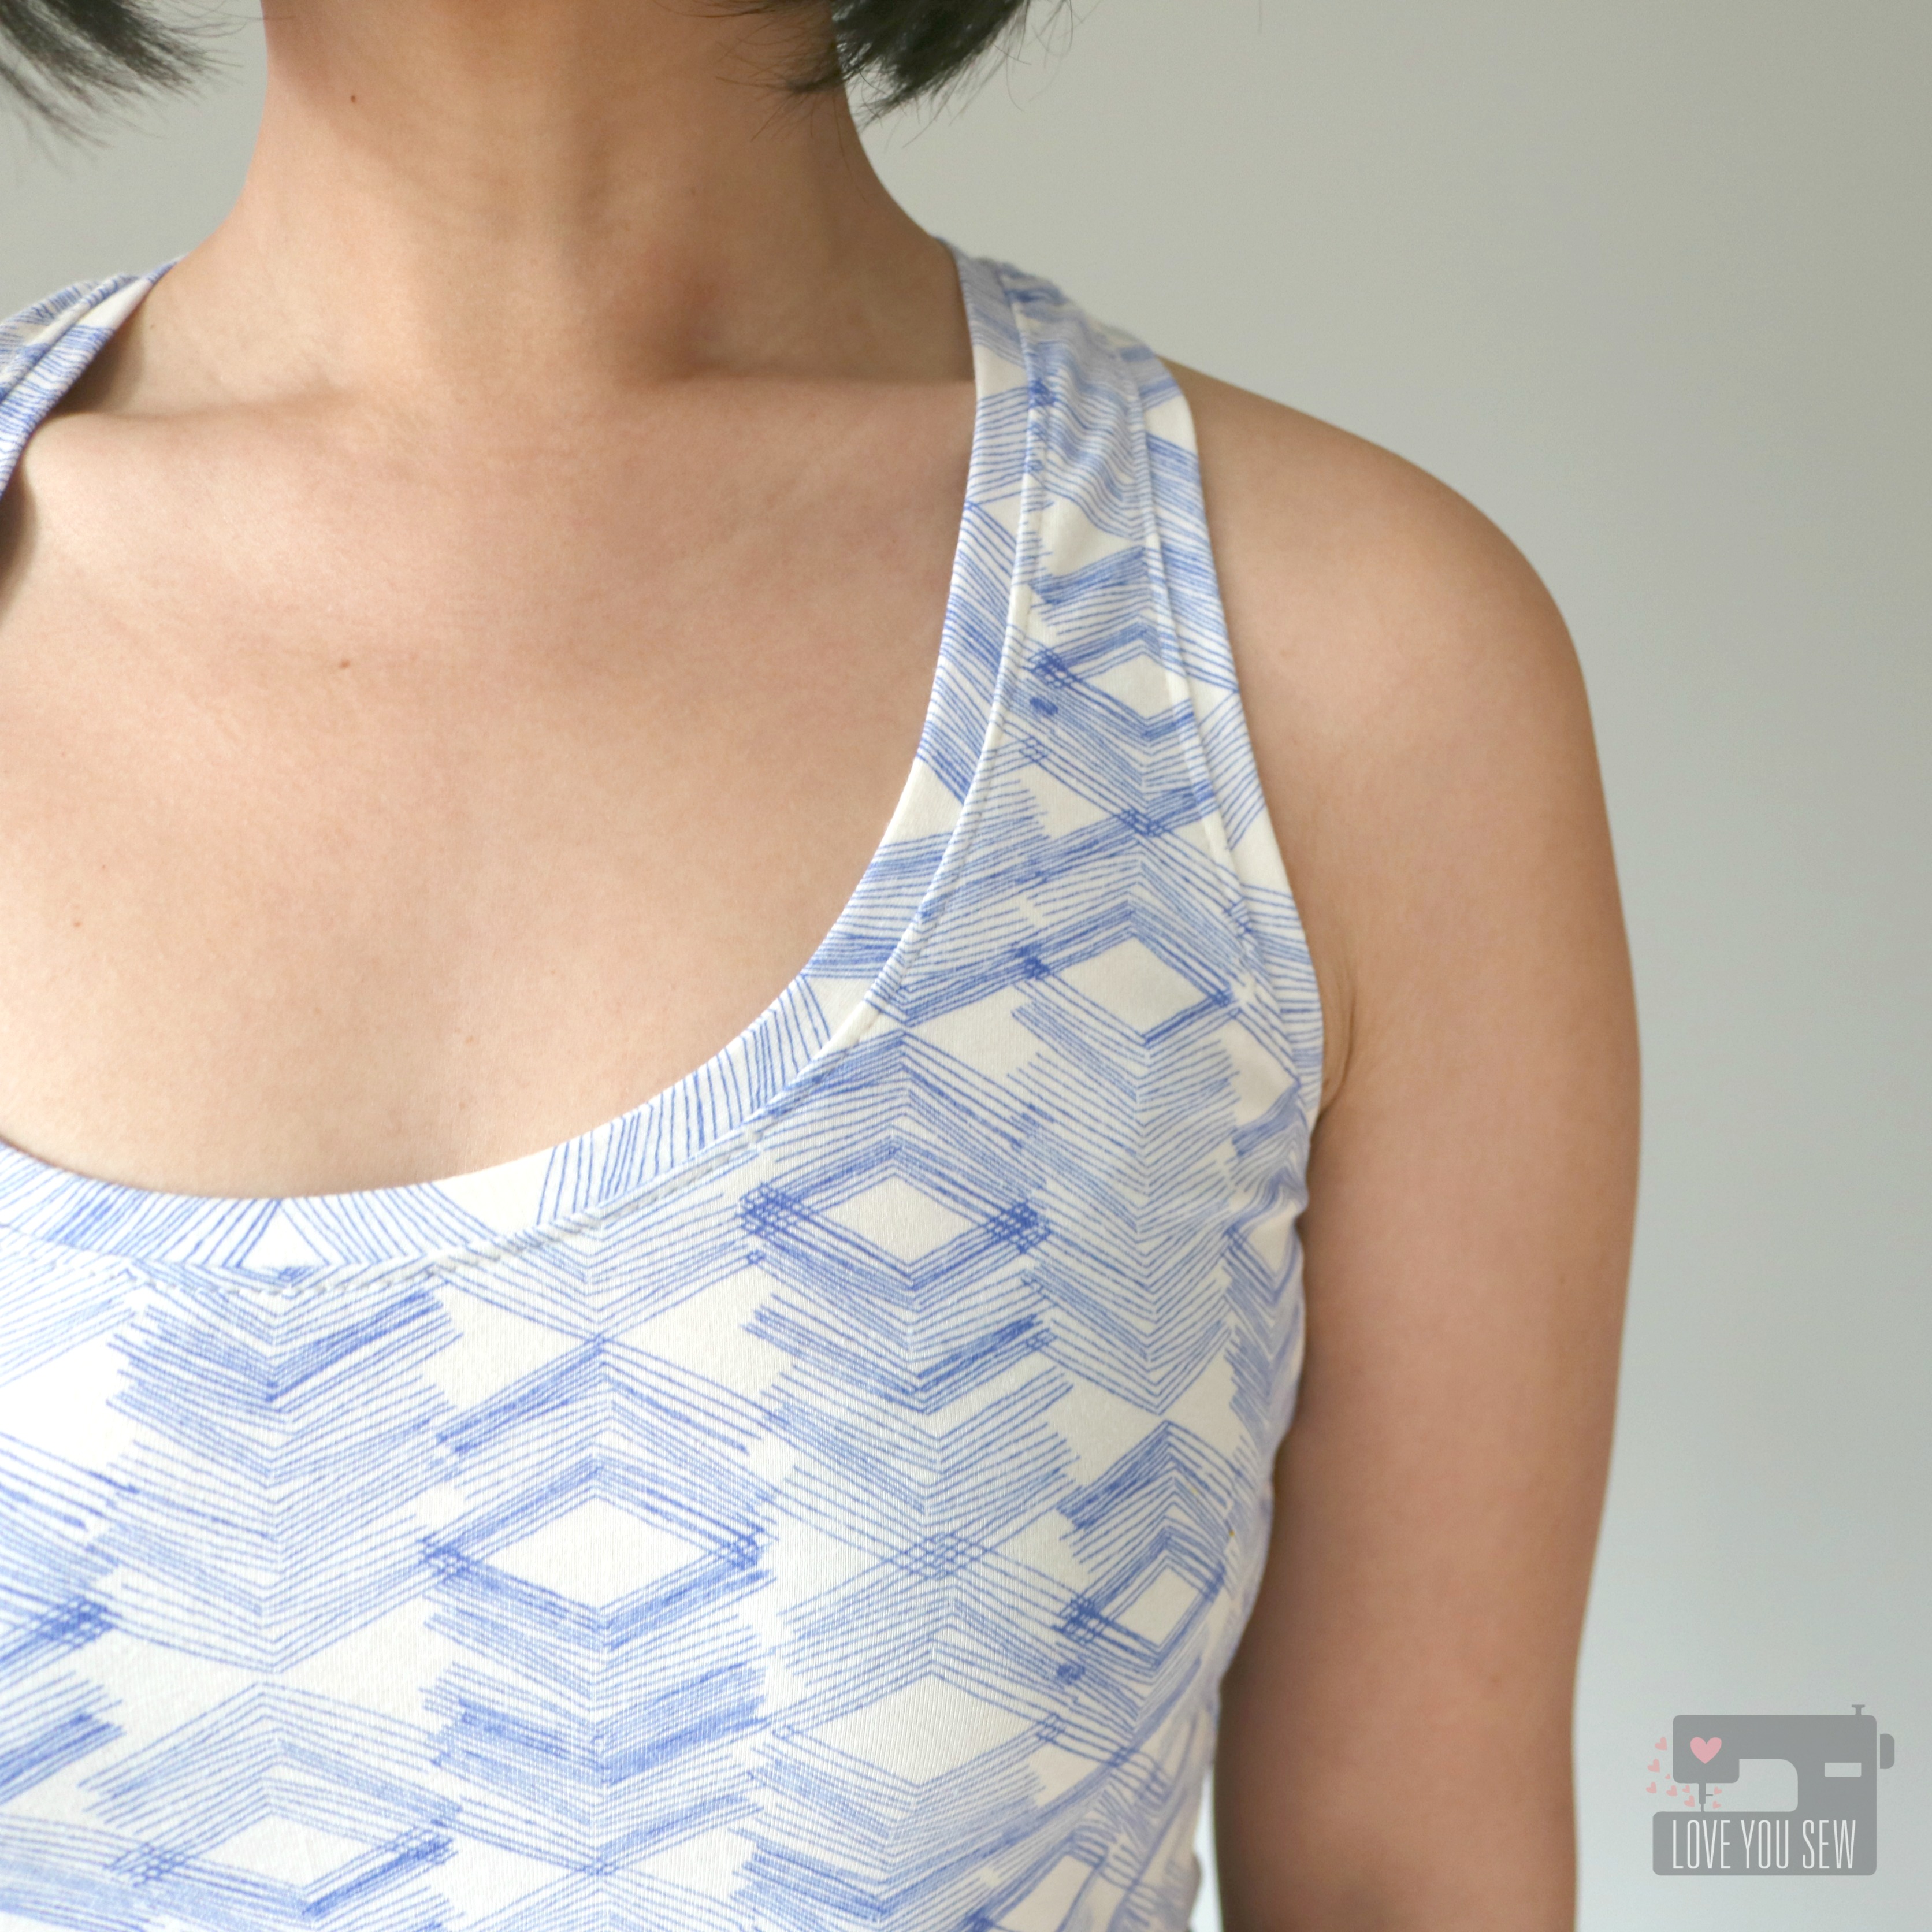
My first project was just the tank version and I used the Limestone Feel knit by Leah Duncan . I’m between a 6 and an 8 and also a B cup. From the waist up, I cut a 6 and then graded out to the 8 around the hip (to account for my larger rear) and used a 10 in length.

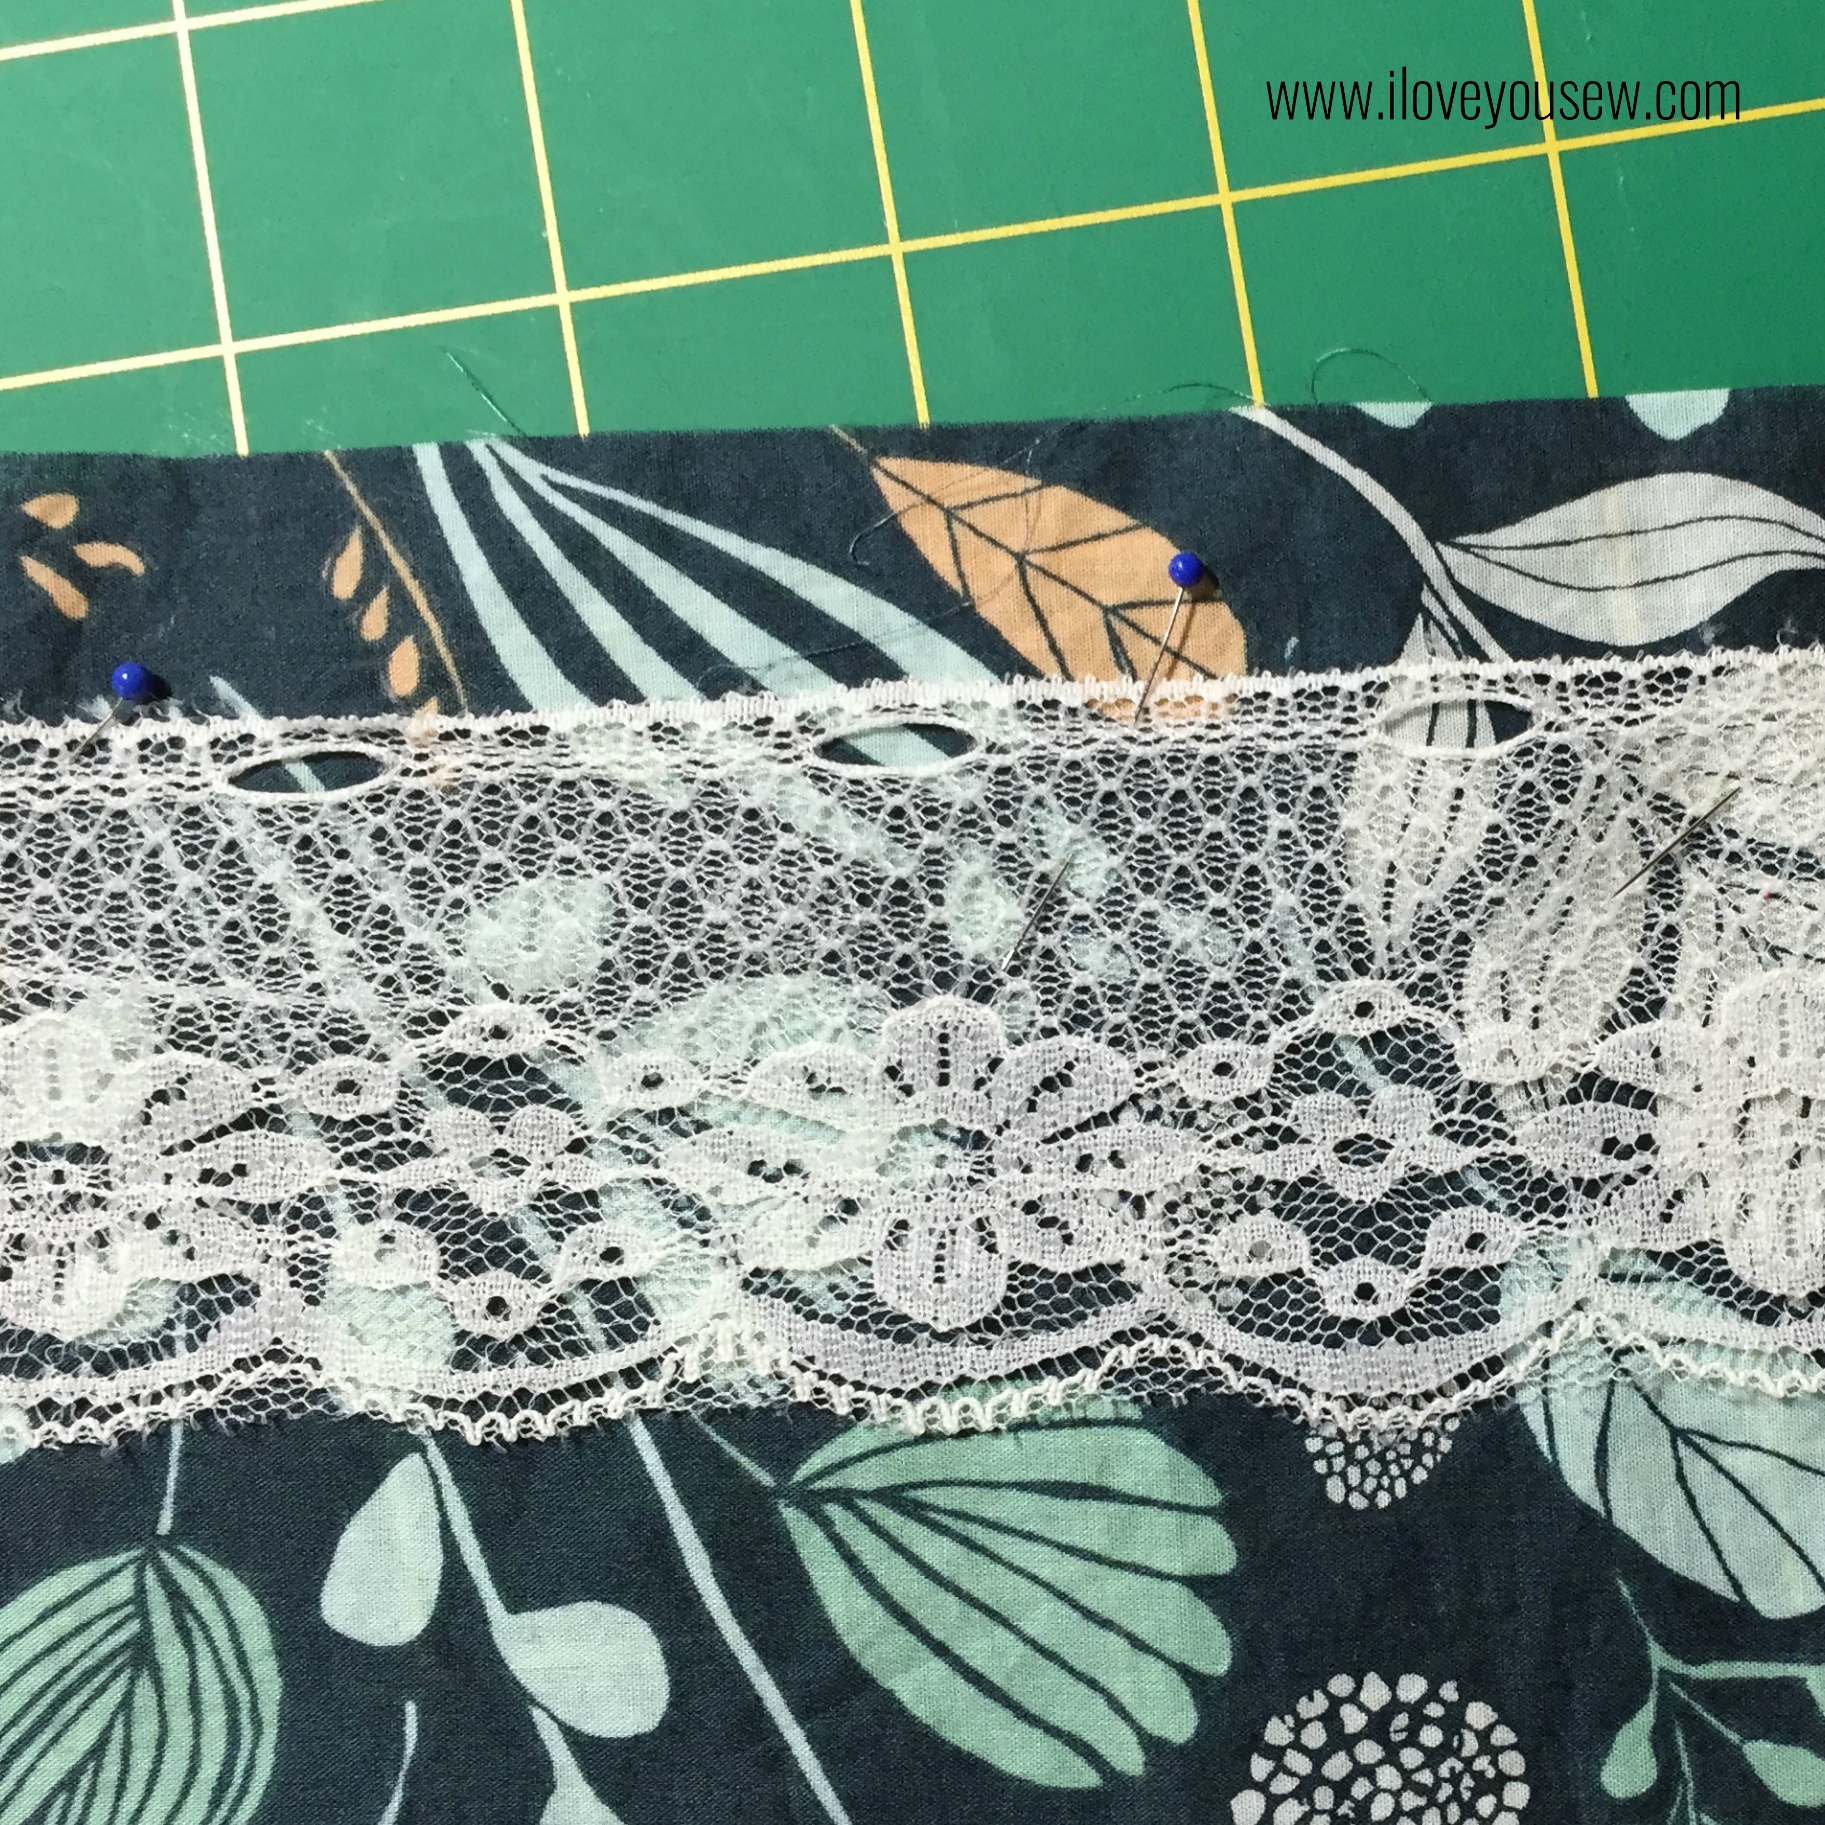
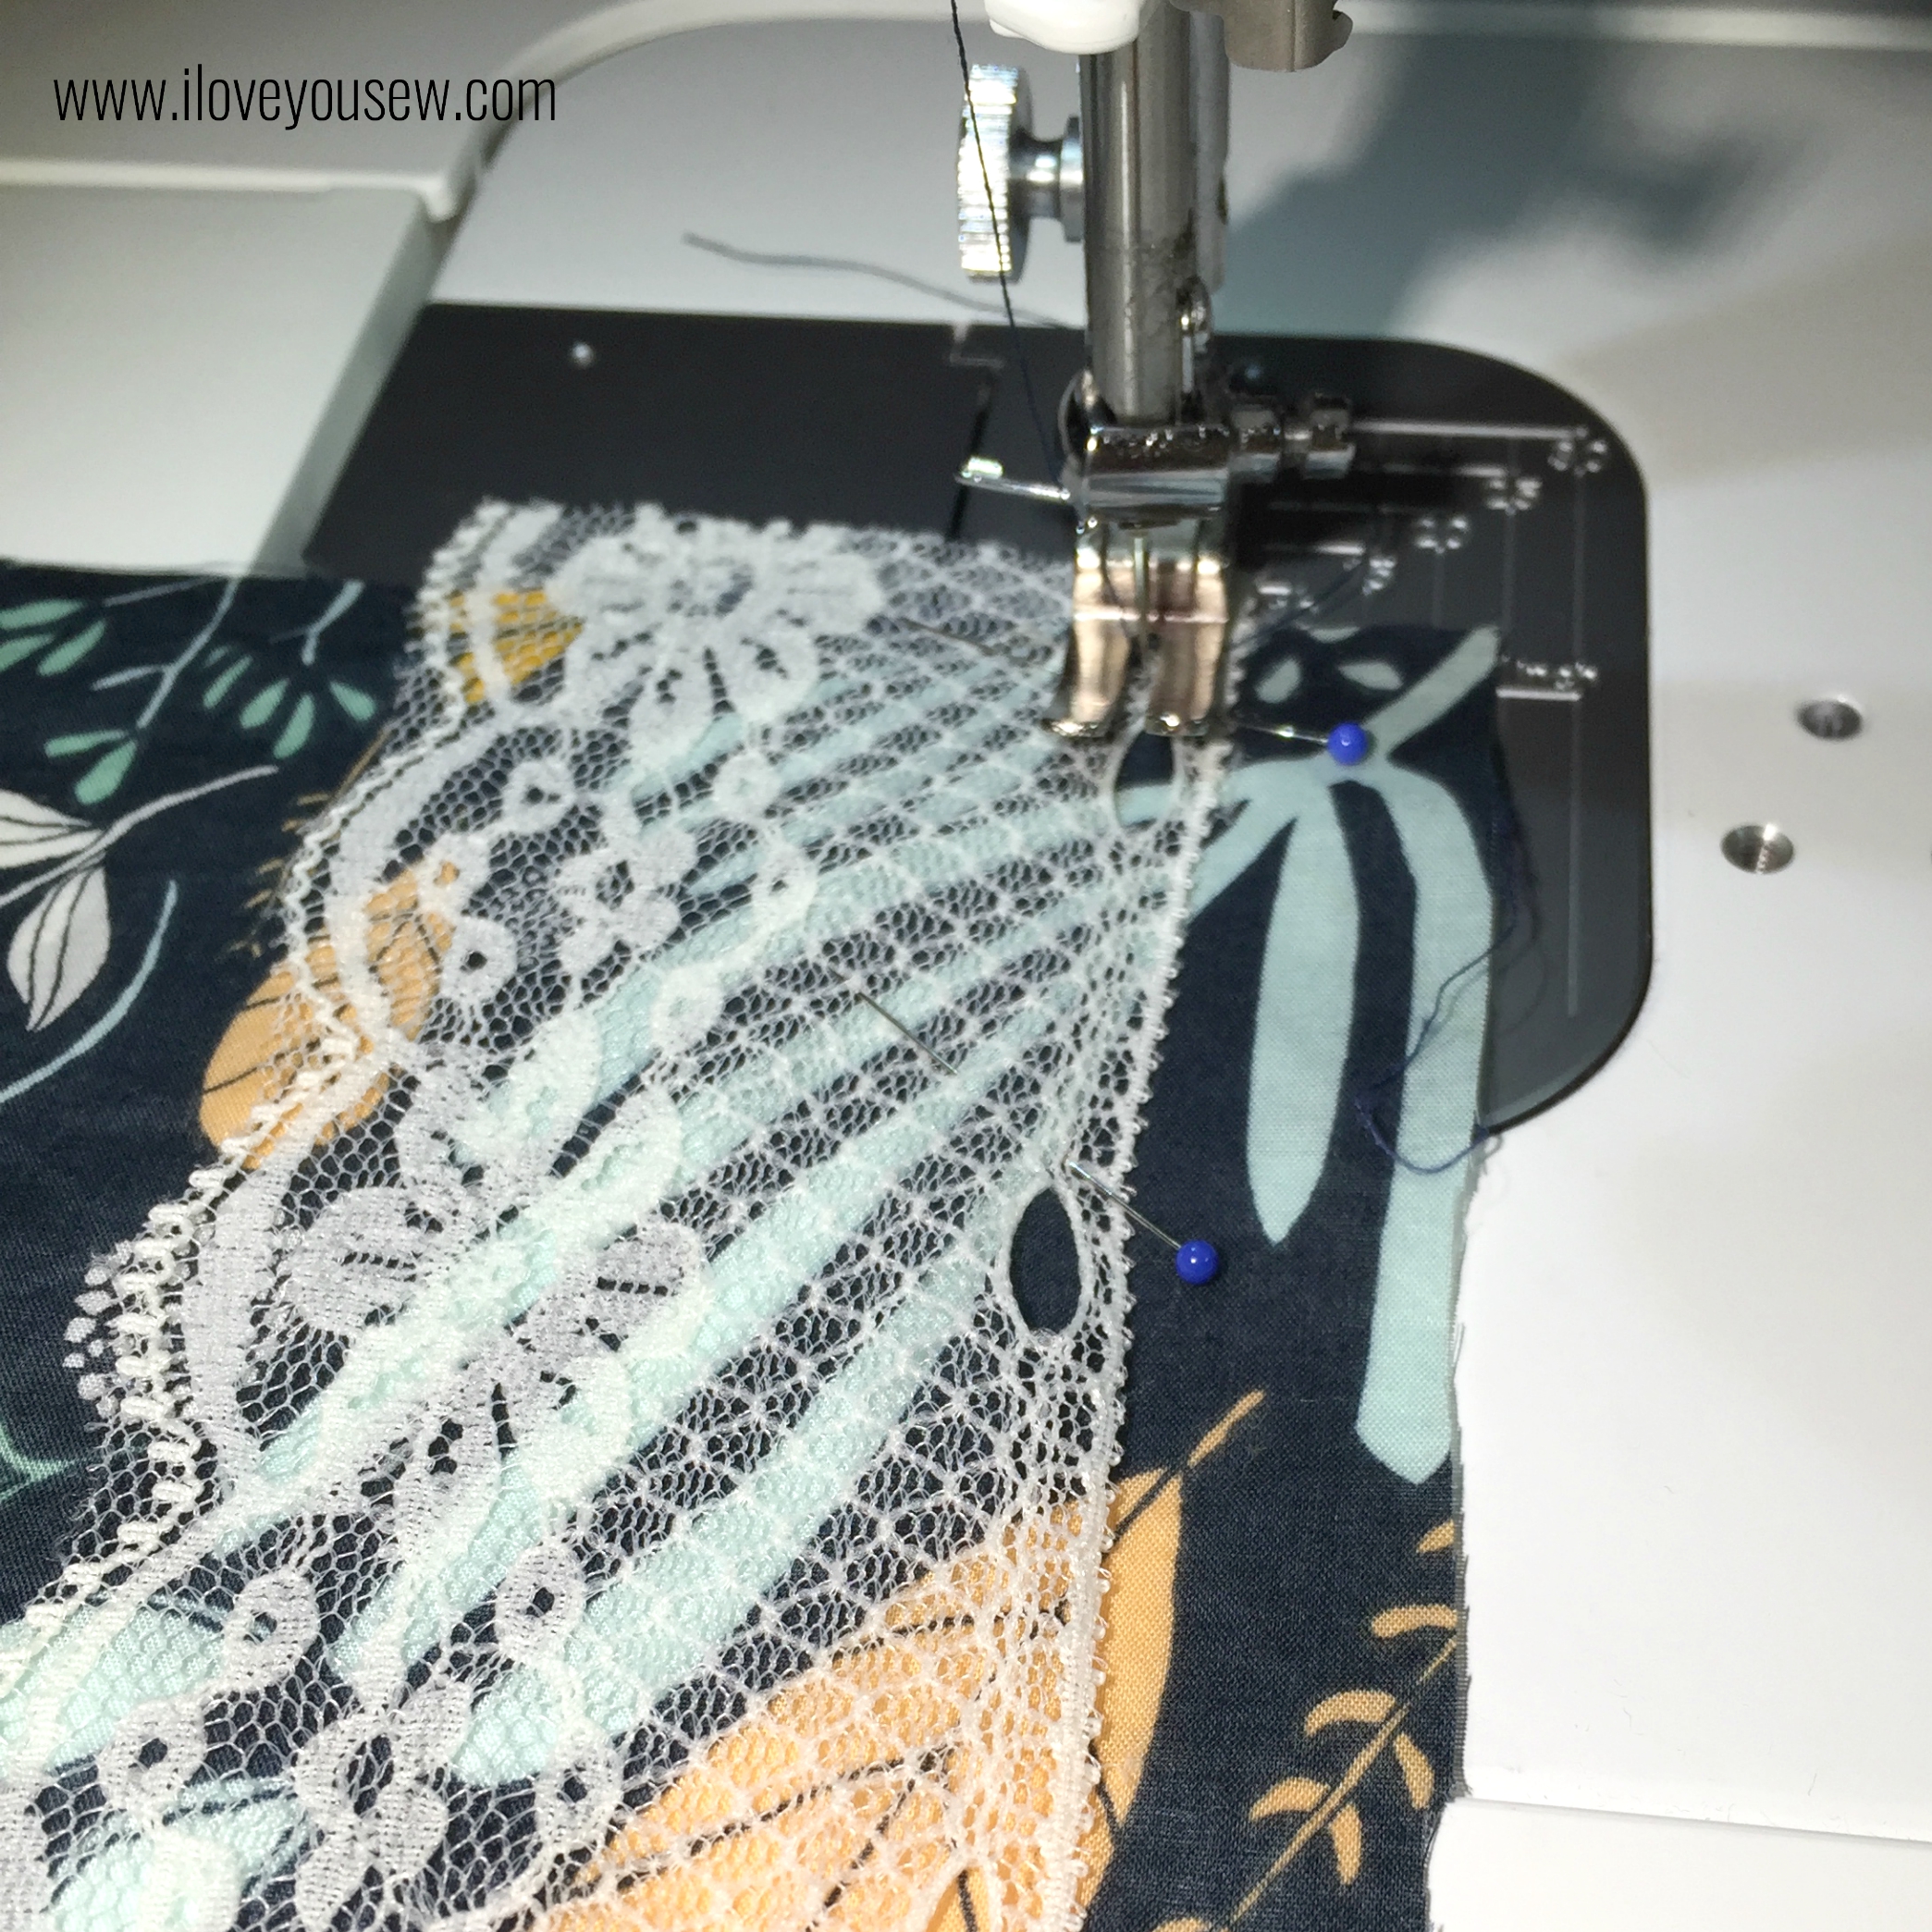
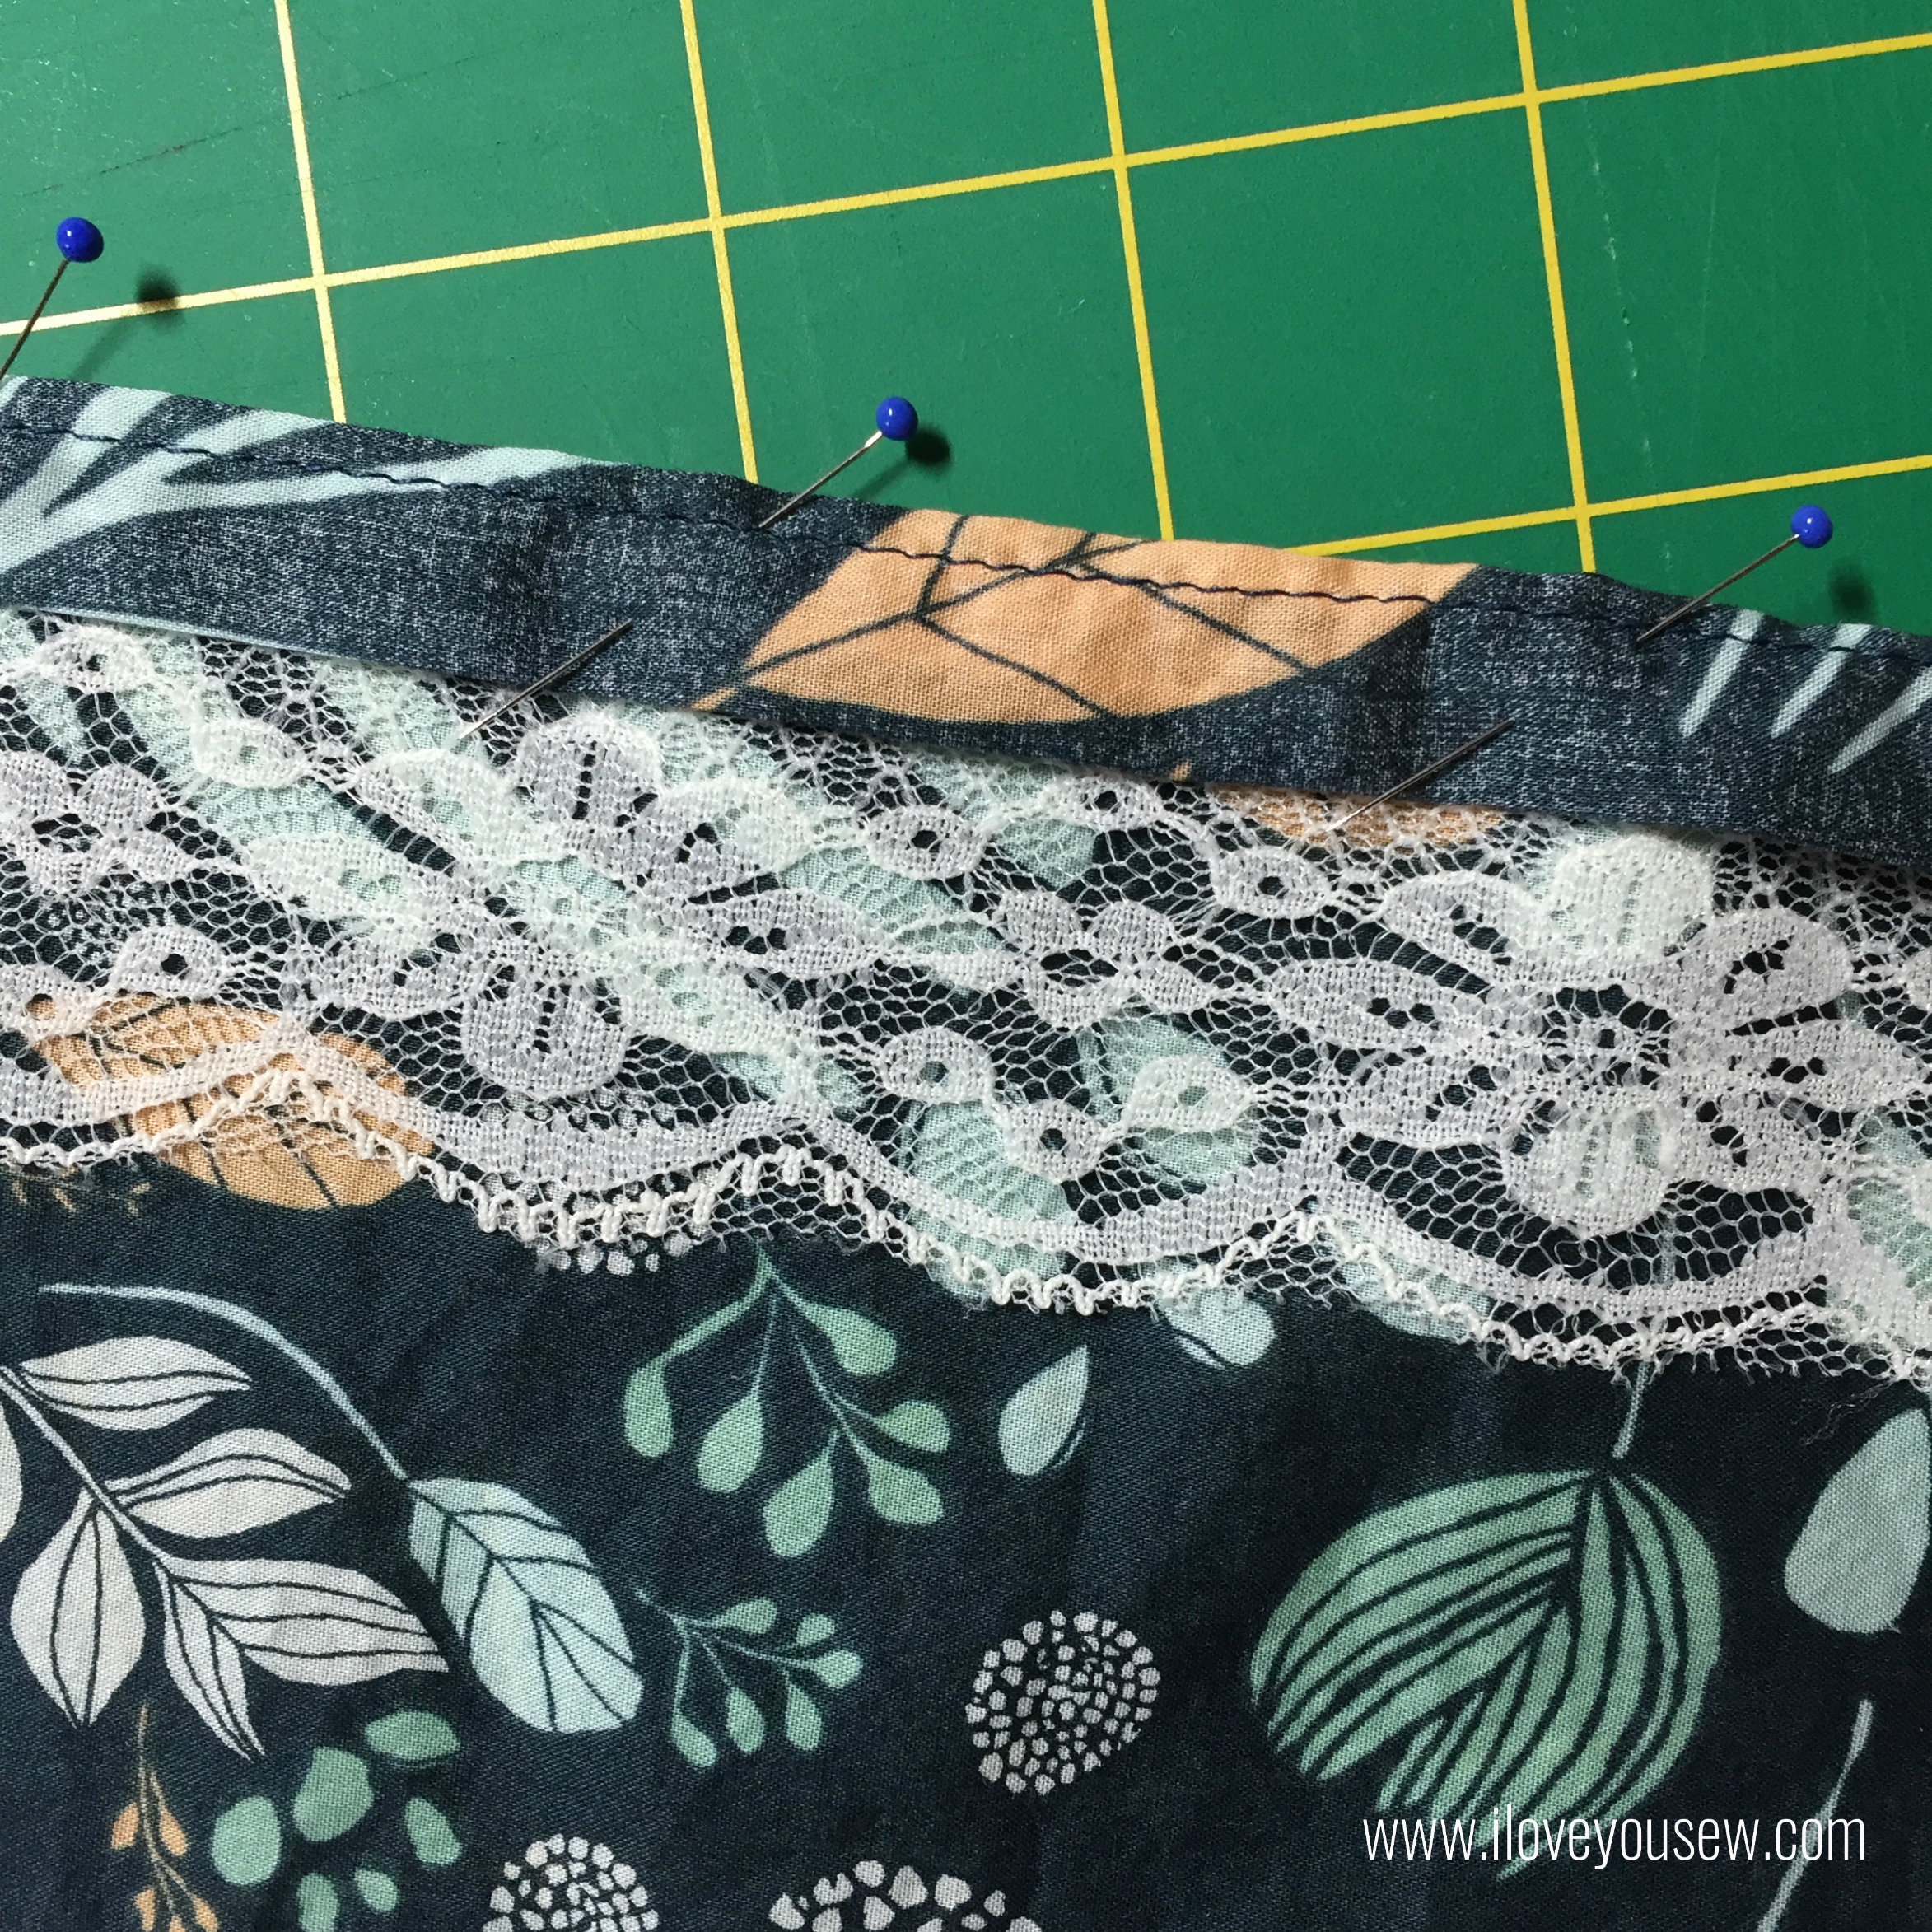
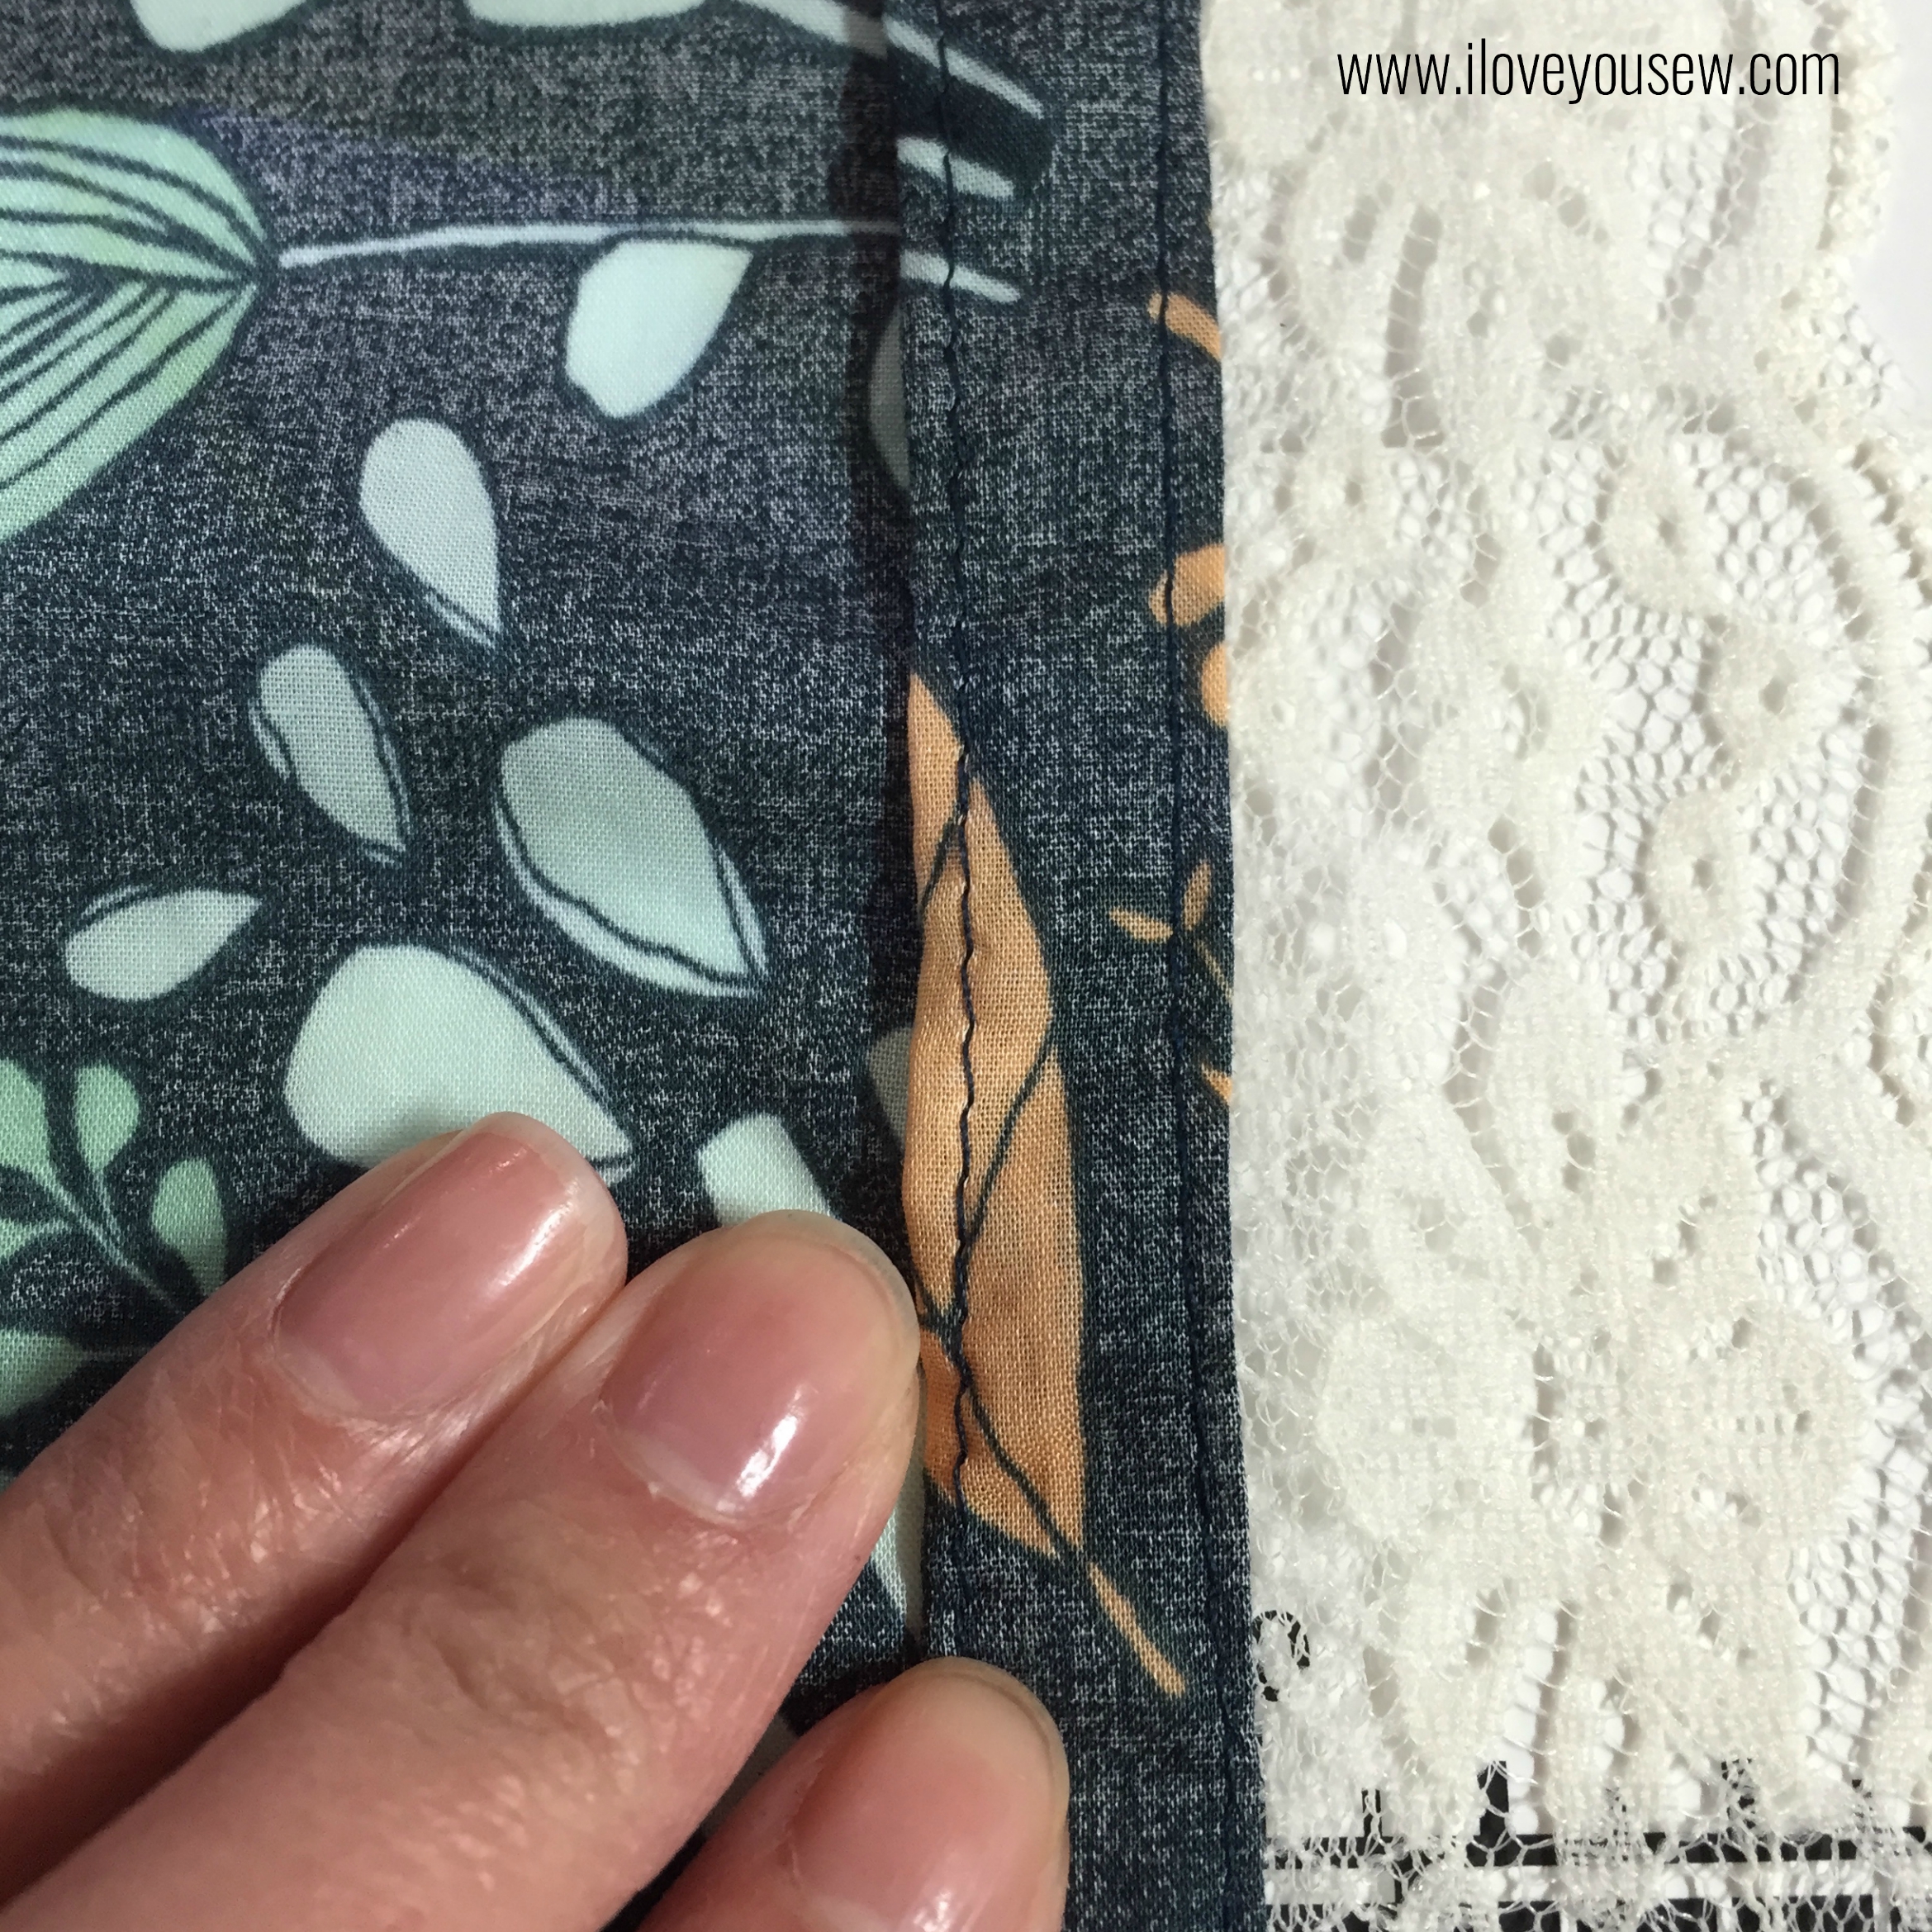
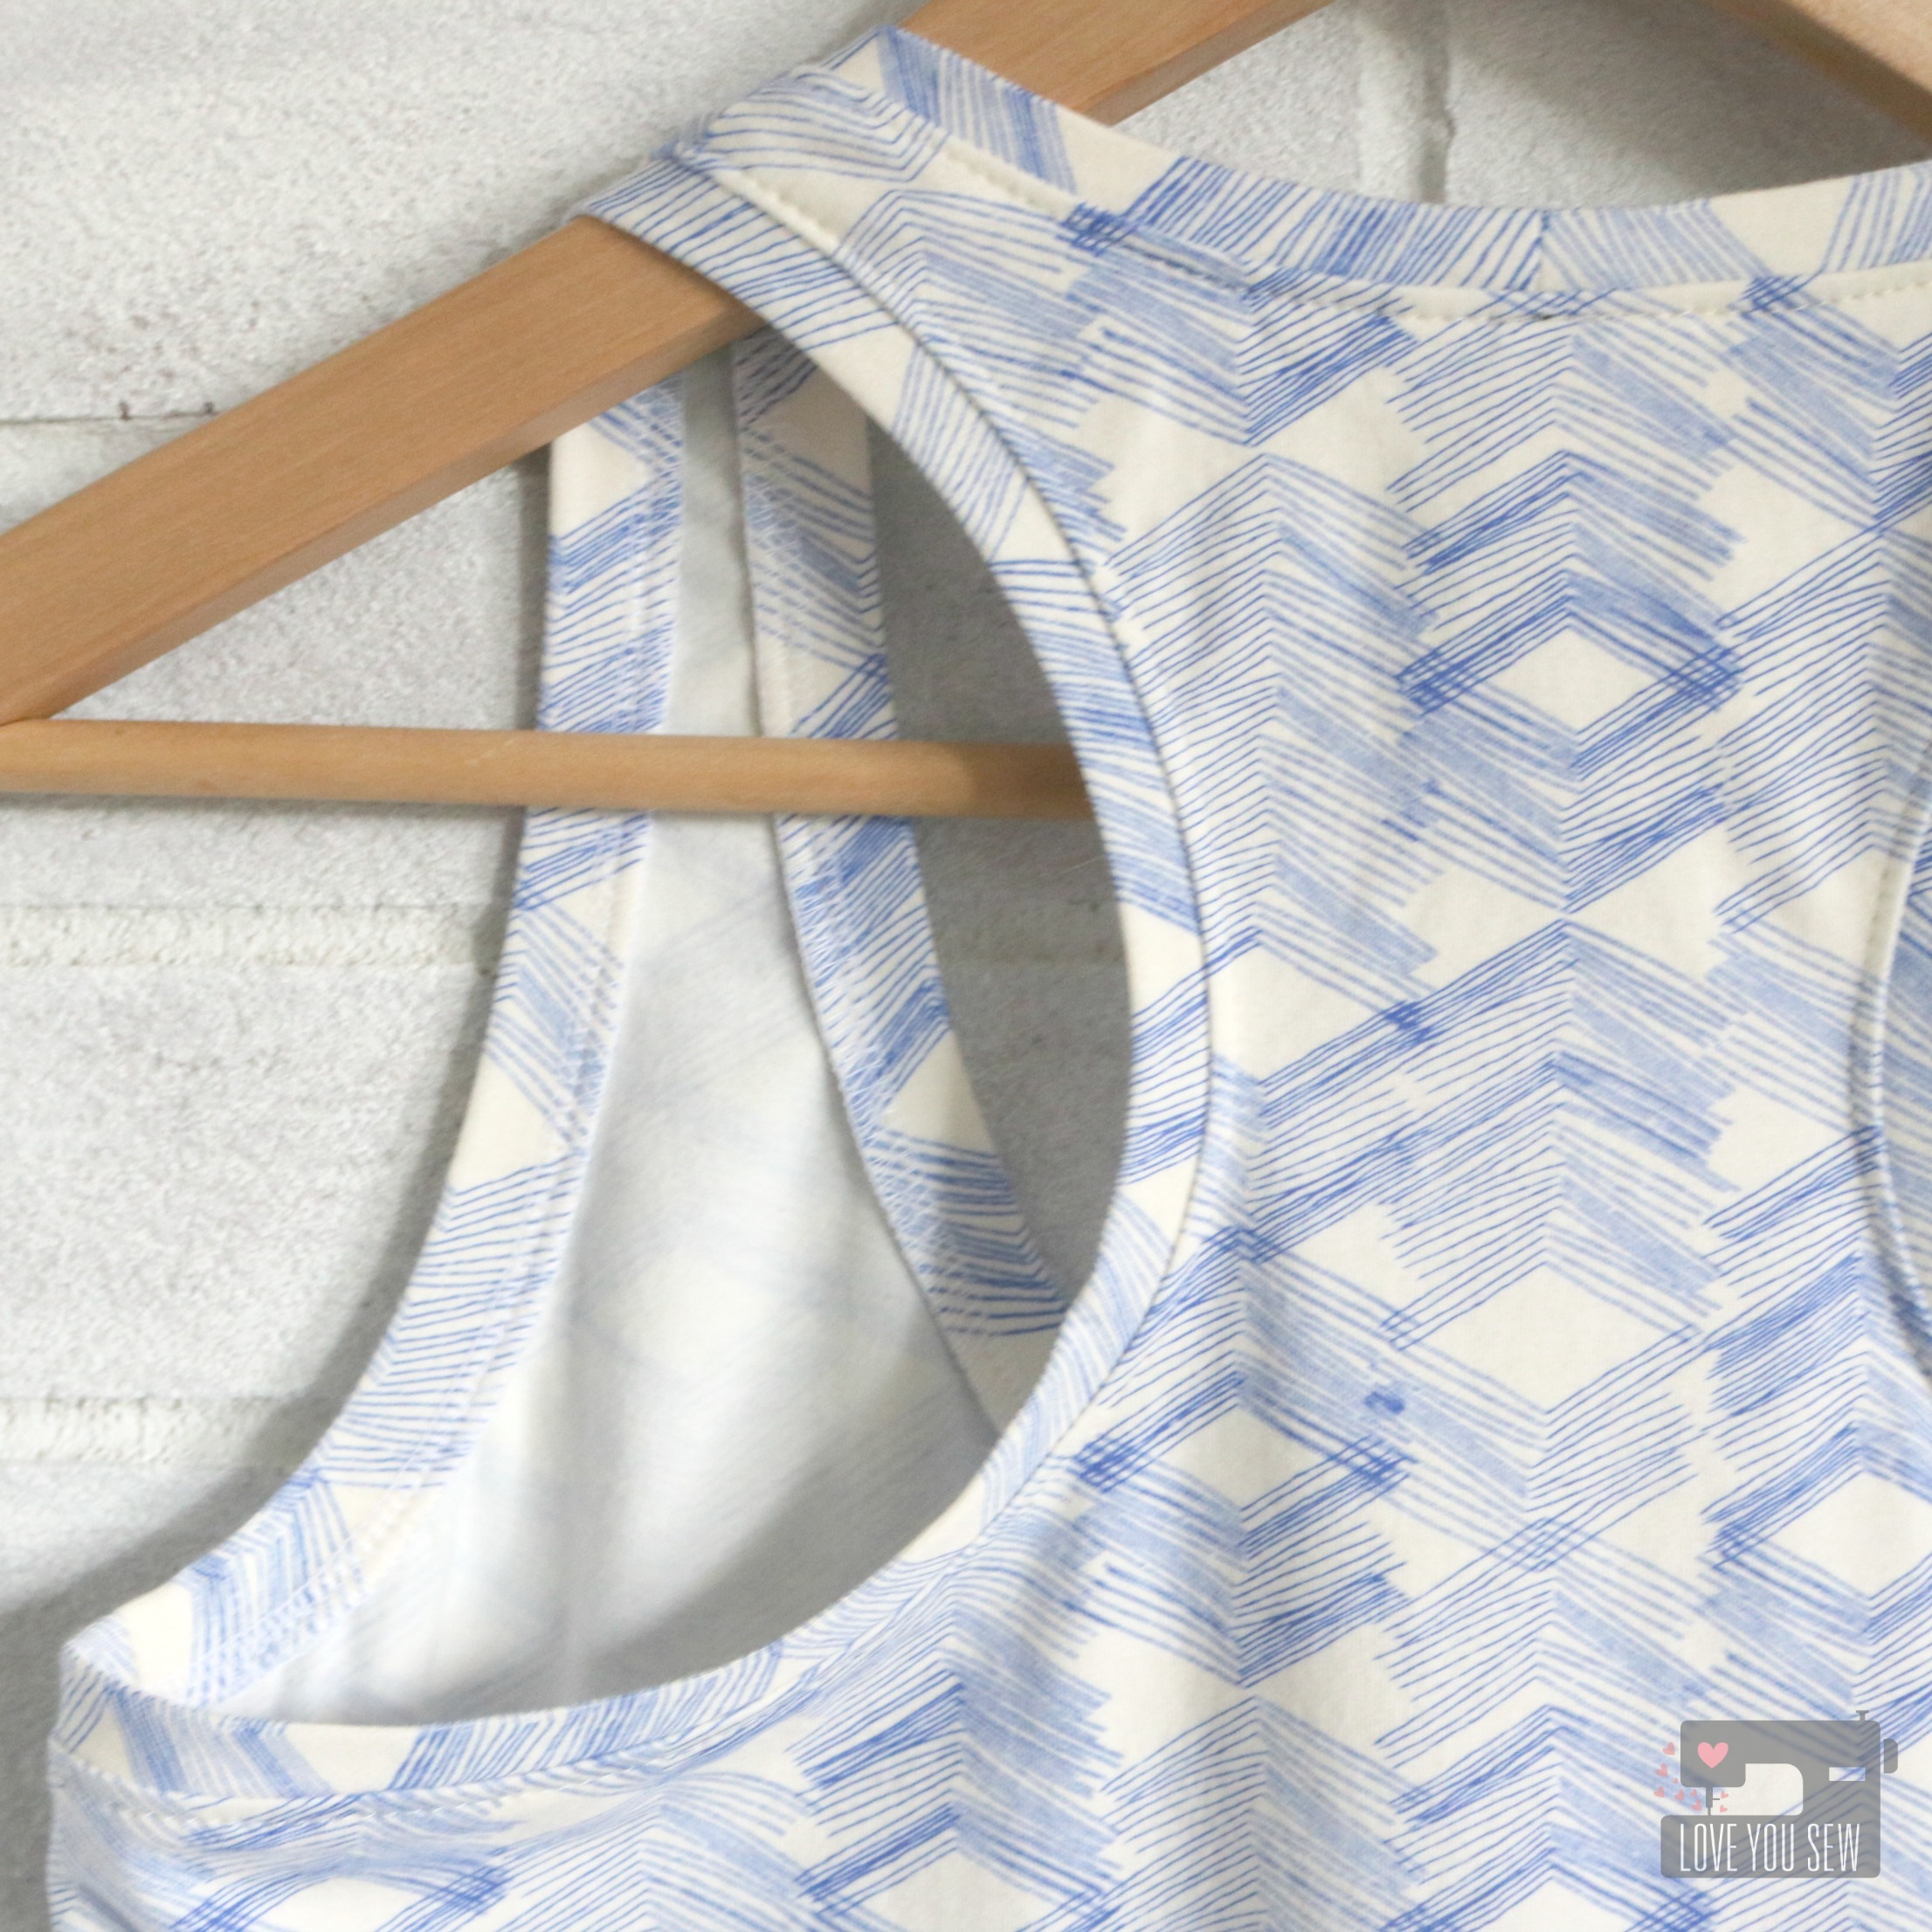
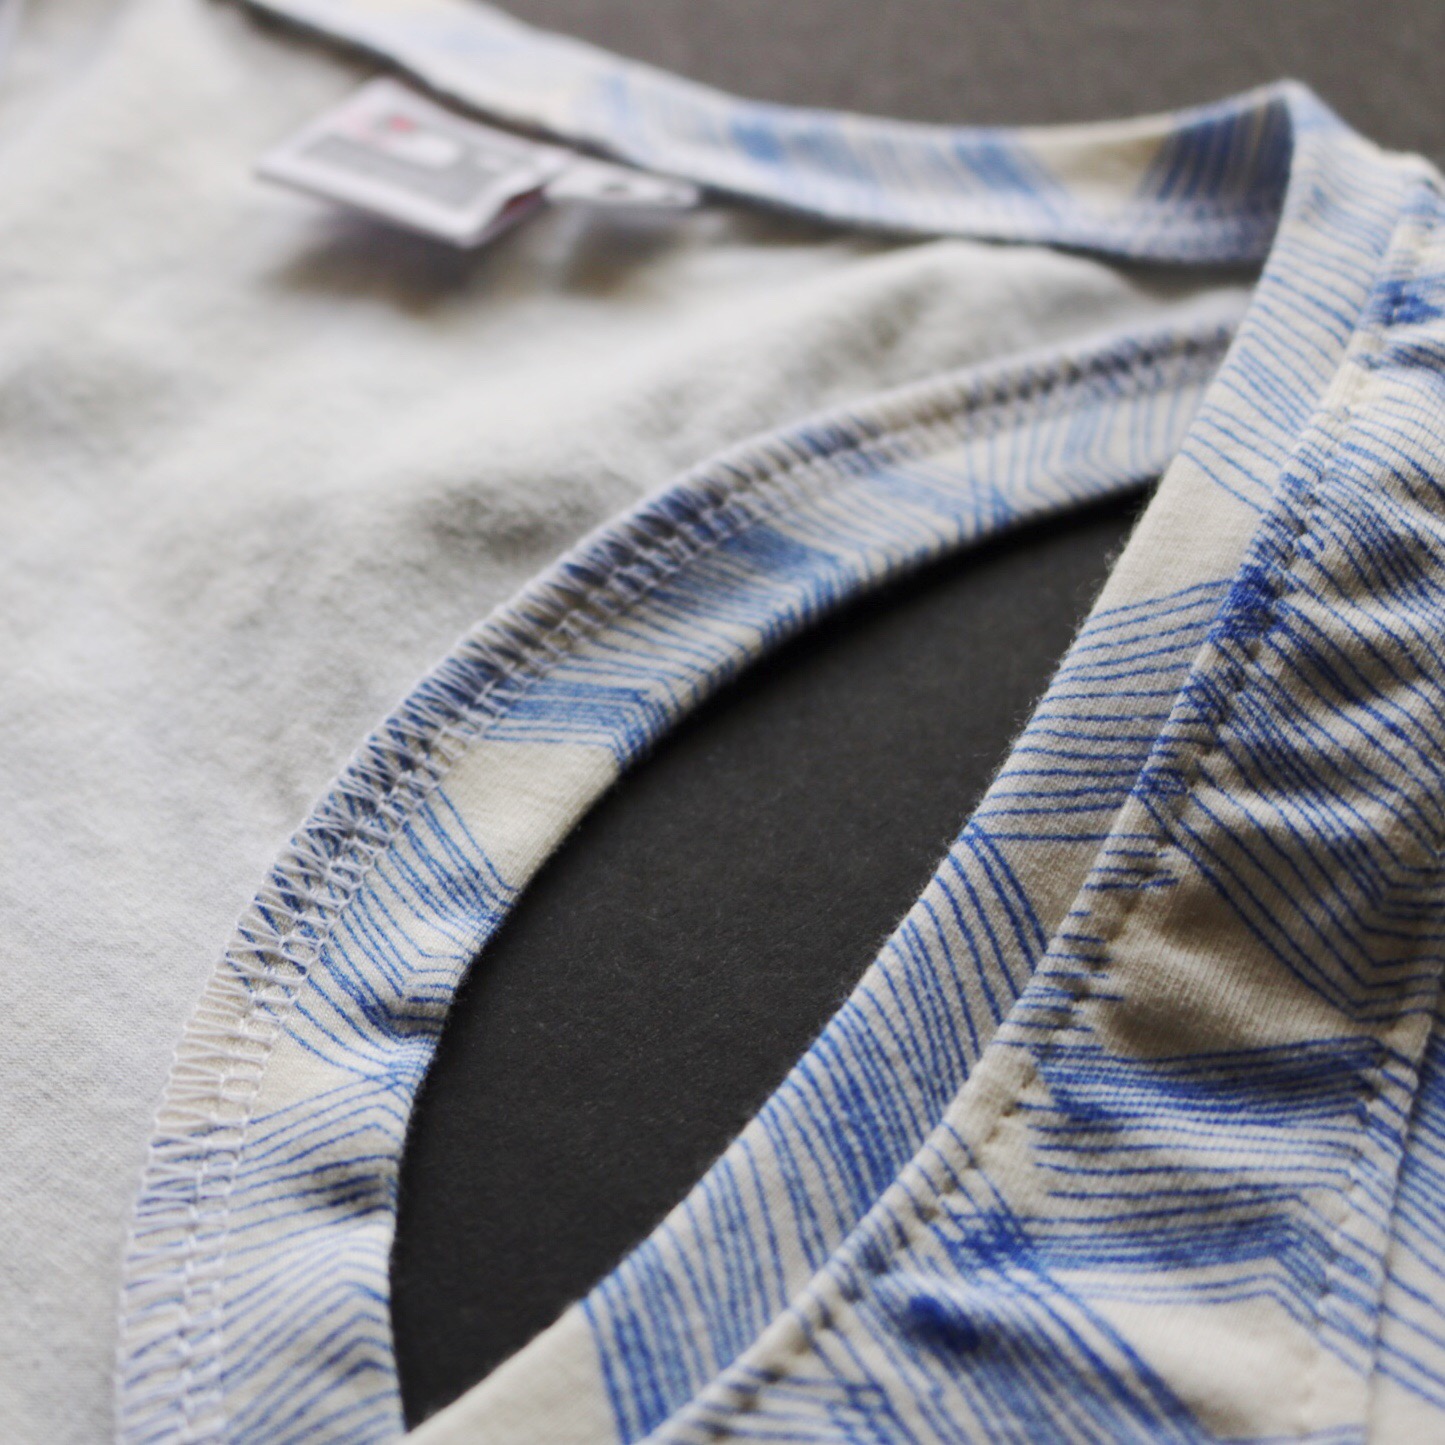
With a serger, the construction of the Rumi Tank was very quick.  However, I made sure to take the time to evenly distribute and pin the neck and armbands for a nice smooth finish. Although not necessary, I do top-stitch (with a ball-point needle!) around the neck and armholes for a professional look and to keep the seam allowance in place.

TIP: I like my garments to even be pretty on a hanger. So, I start and stop all my serging at inconspicuous spots…usually off to one side.

For my second Rumi project, I made the dress version. My family had spring break plans down on Florida and I could use a casual dress to throw over a bathing suit, if needed. April Rhodes’ Observer knit was perfect! I wore it to the beach and back.

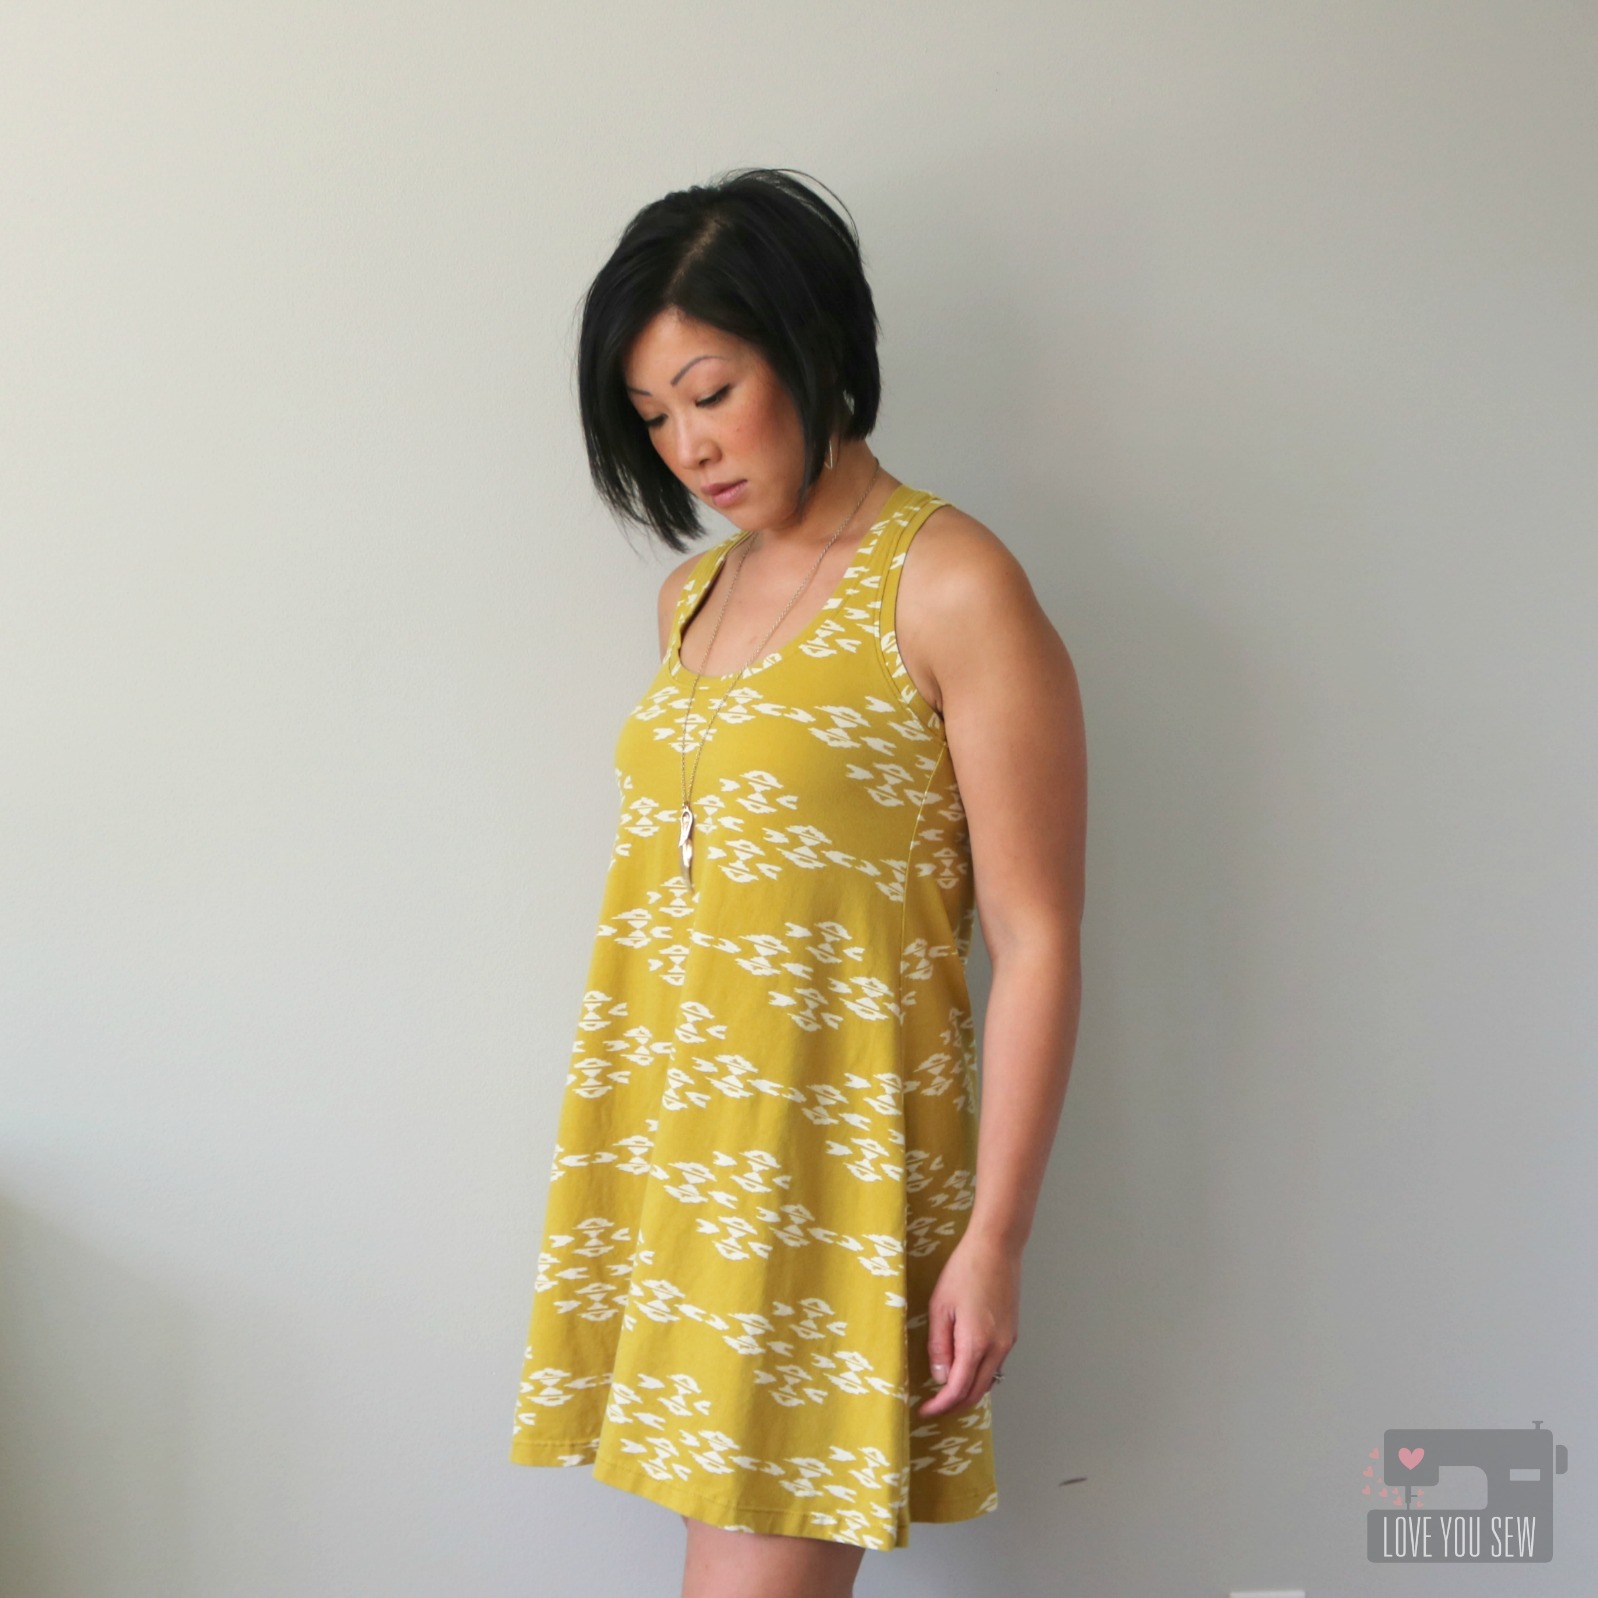
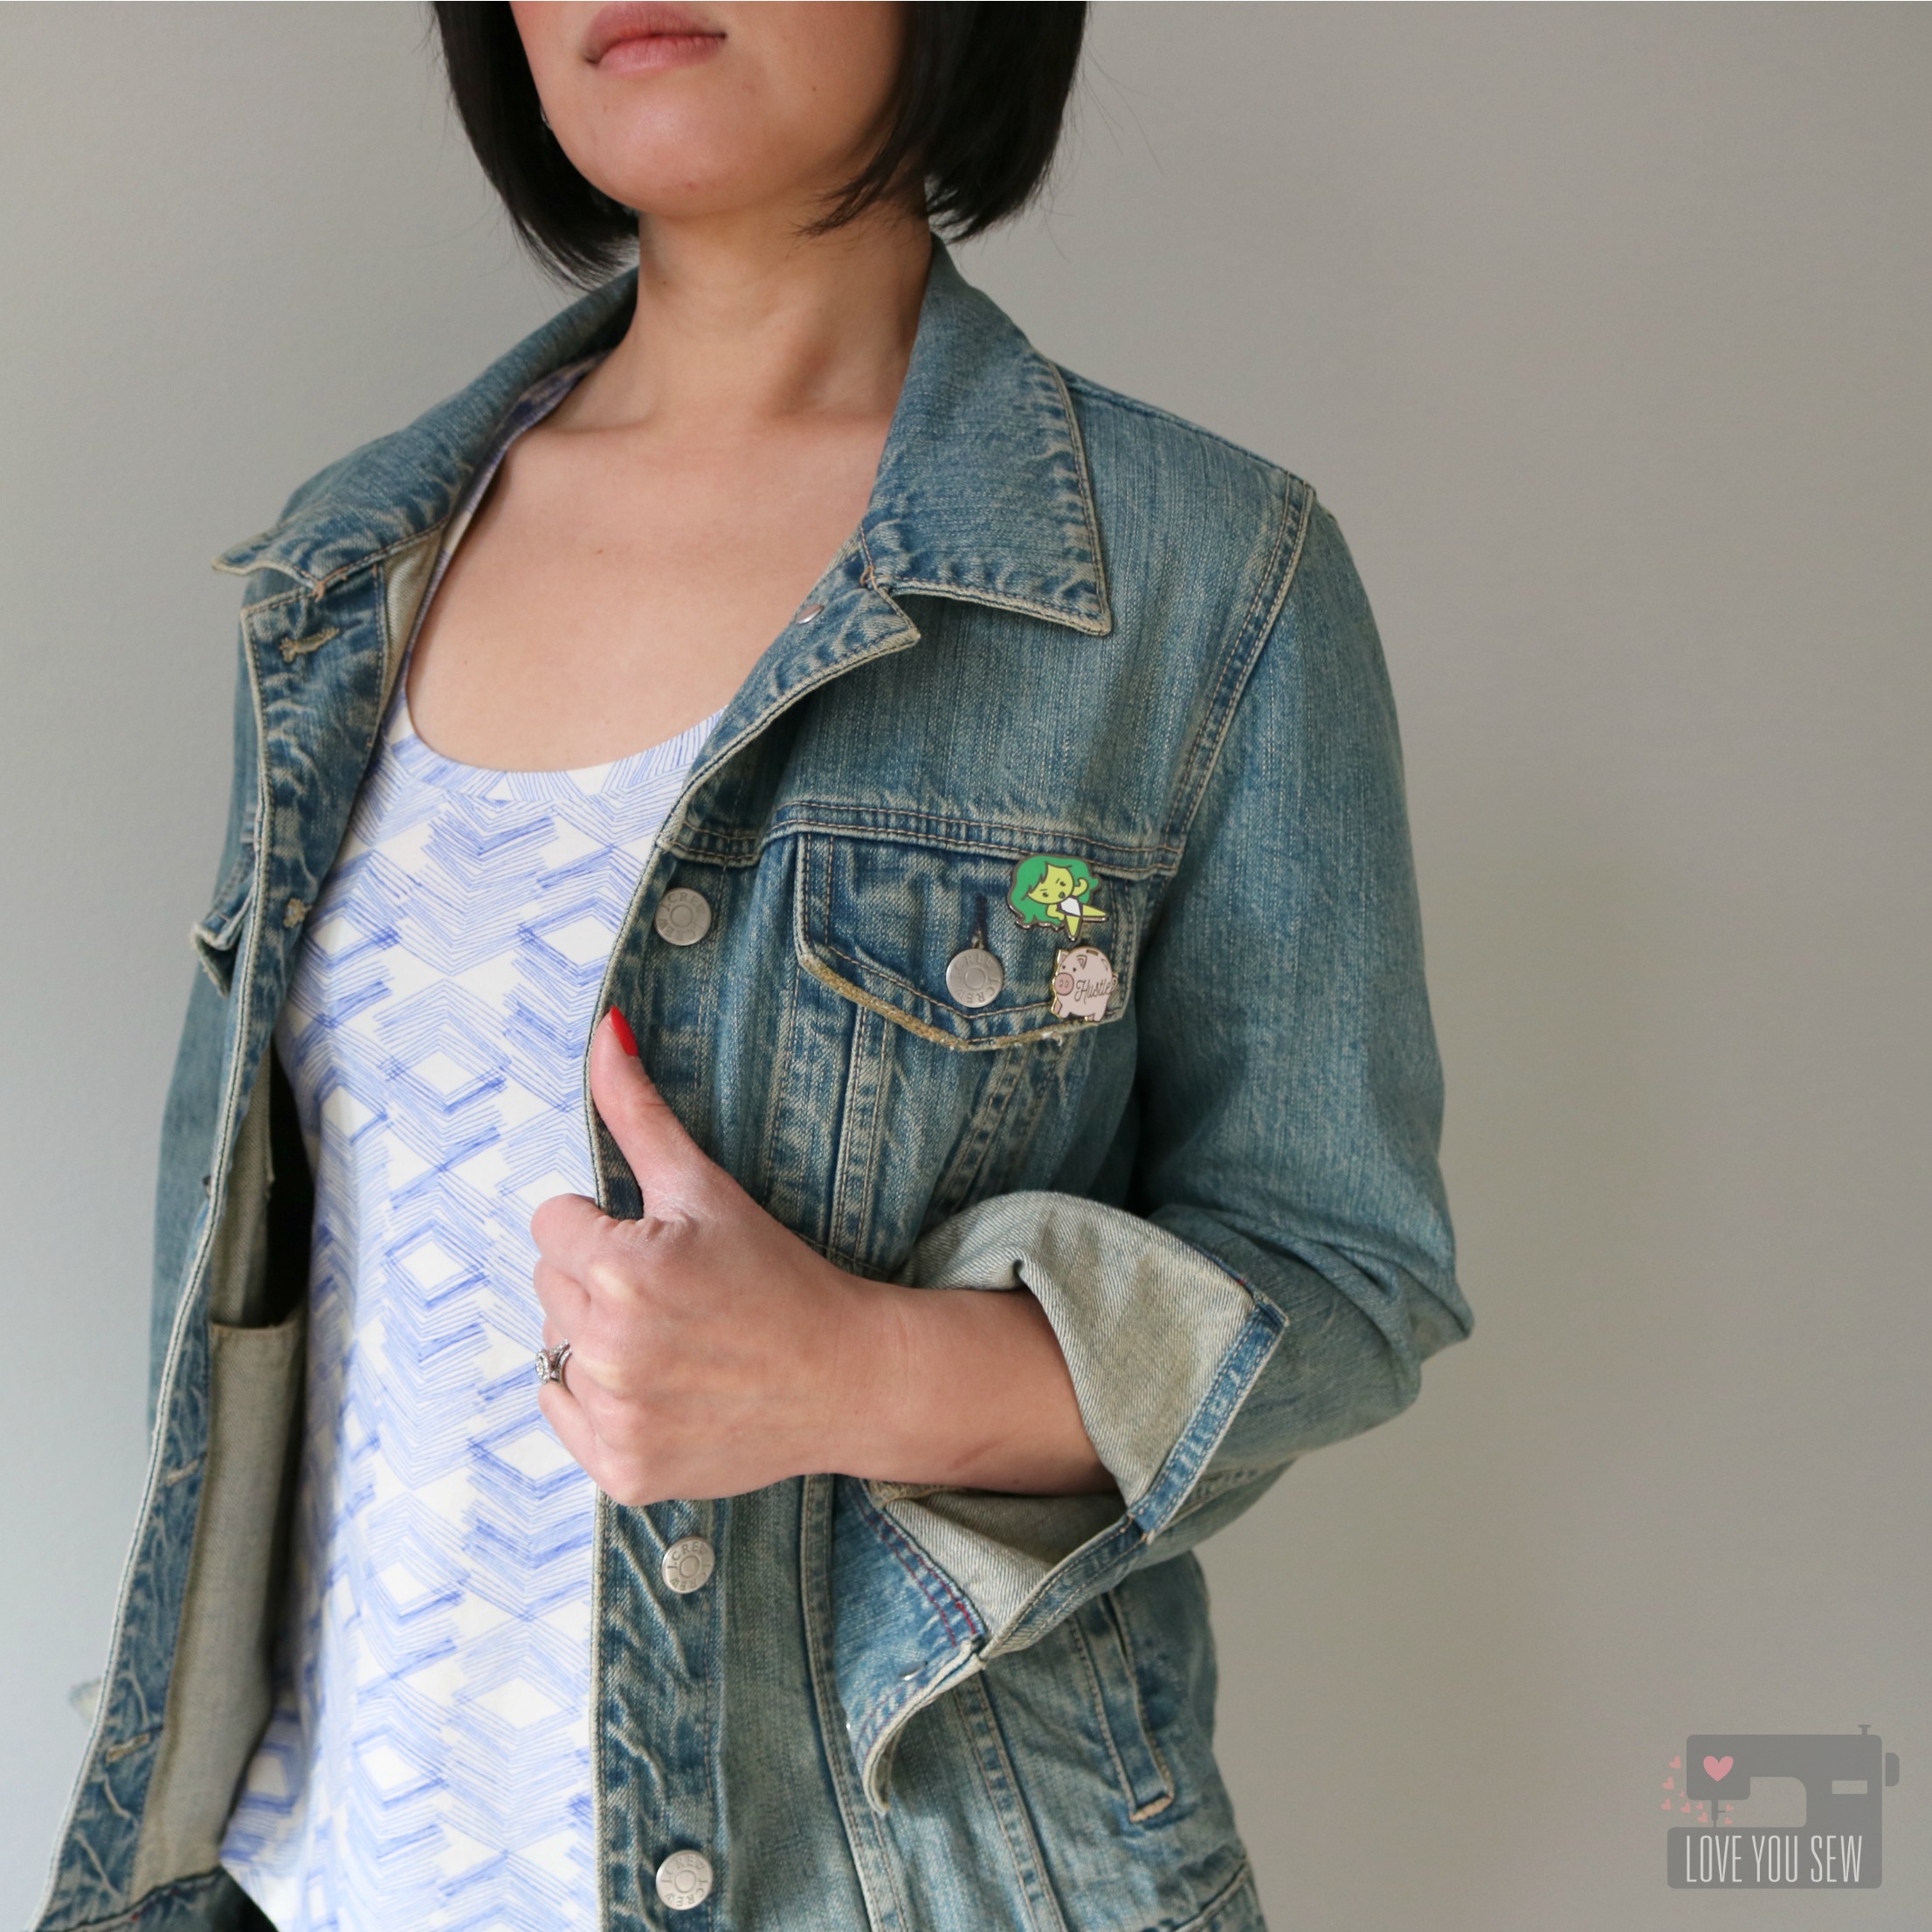
Bonus – This dress can be worn with a jacket and layered over leggings.

I’ve made two more Rumi tanks to fill in my summer wardrobe. One with a navy and cream skinny stripe I got from a destash and then another in the same Observer knit because I love the print and color so much 🙂 The ease and comfortability with these makes are awesome. I’ve been wearing them with jeans and skirts all summer long.

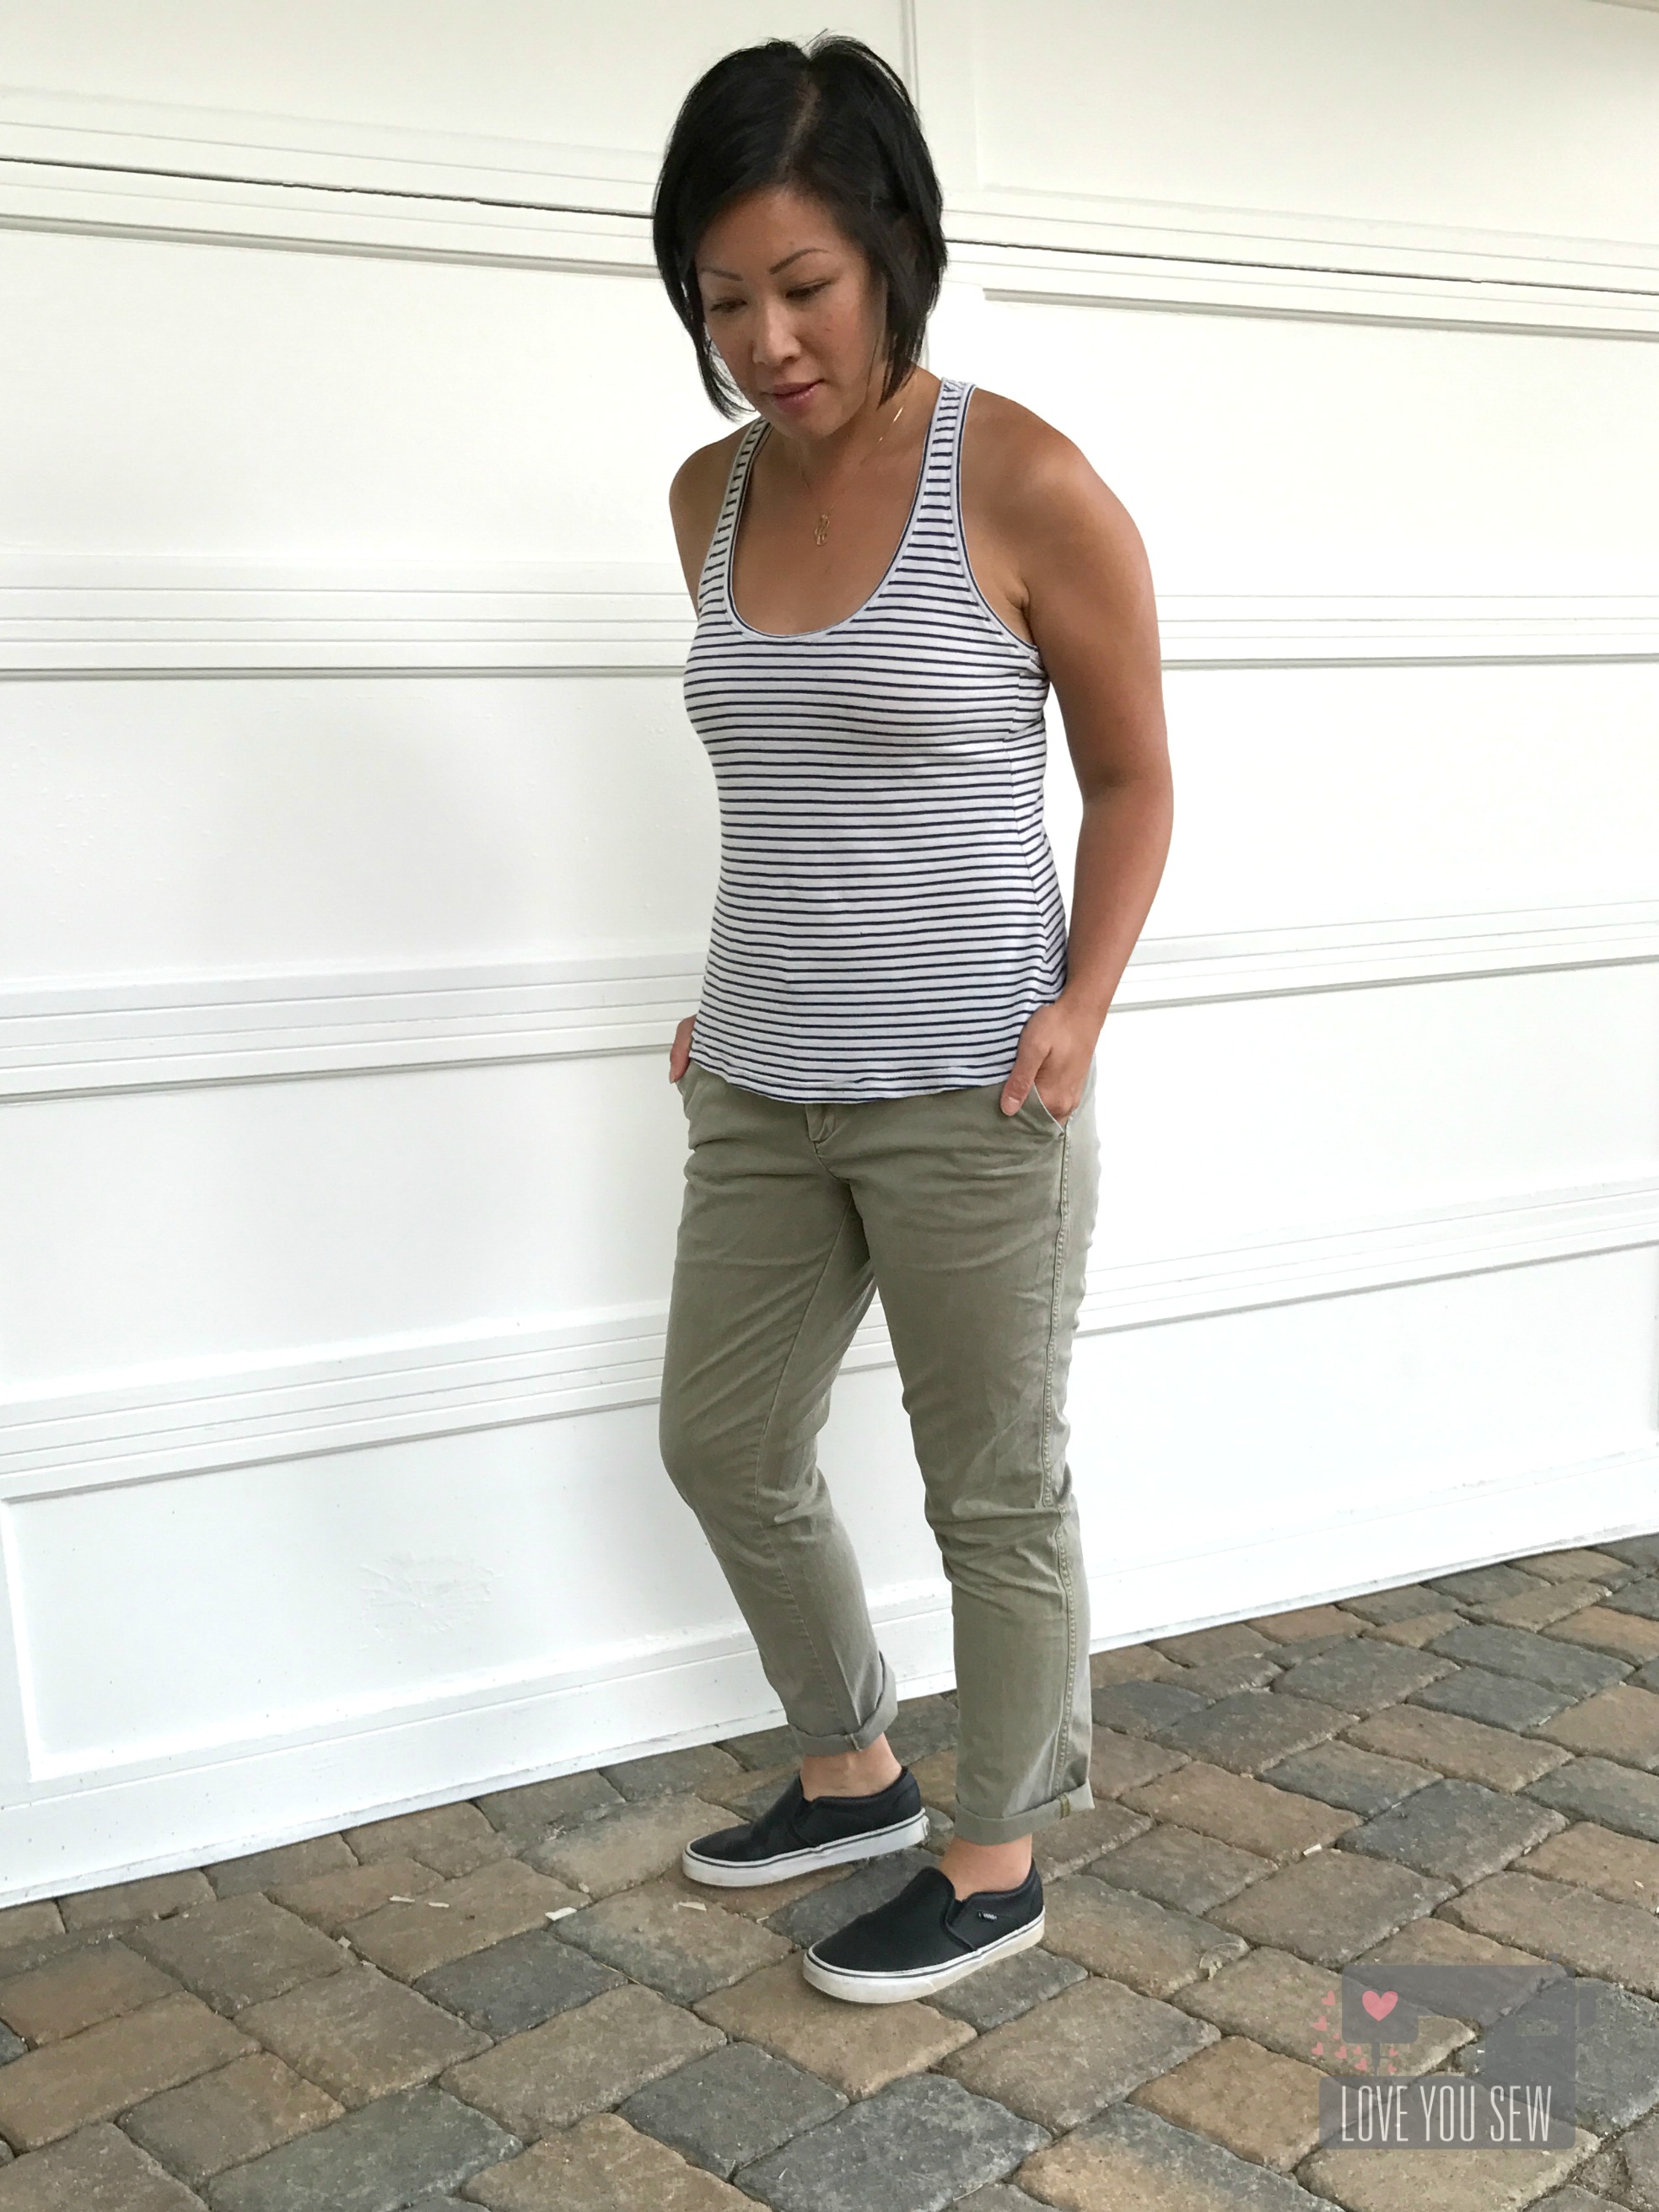
As we near the autumn and winter months, I plan on sewing a few more tanks and dresses. These will make nice layering pieces under my cocoon cardigans and with some fun tights.  All in all, I think this is a great beginner knit pattern. It’s also perfect if you are working on a handmade capsule. The silhouette is classic and you don’t have to deal with pesky falling straps!


Happy Sewing!

Cristy


This post may contain affiliate links.

Luna Pants {Pattern Review}

LunaPantsReviewTitle

It’s all about the “jogger” pant these days and even as a stay-at-home-mom, I try to be somewhat hip.  The yoga-pant rut is easy to fall into (rightfully so!) but voile pajamas disguised as the new athleisure look?  Uh, yes please!!!  This is a trend I can definitely follow 😉

When I saw Made by Rae‘s new Luna Pant pattern, it was exactly what I wanted in a jogger….because it was designed for more drapey wovens like voile, lawn, and rayon.  By making these pants myself, I could slim out the silhouette to tailor to my short stumpy legs.  I am thicker in the thigh area and there are many ready-to-wear jogger styles out there that really accentuate the hips.  Nope, that is definitely not for me!

IMG_5422

The Luna pattern is currently only available as a digital PDF, and as someone who would rather buy the one-piece printed version, this wasn’t so bad taping together.  I love how Rae has several different registration marks on all sides of the printouts to help you match up the pattern.

LP Taking in the leg

Based on the pattern measurements, I was at the higher spectrum of a small.  I read some other reviews that the fit is pretty generous, so I was comfortable cutting out that size.  After initial fit, I definitely wanted to taper the leg in a little more.  I eased from the hip/pocket into toward the leg about 1/2″ all the way down to the ankle.

LP Muslin

It’s kind of hard to see in this shot, but the right left has been taken in and I had already shortened both legs to fit my 5’3″ frame.  I used a basting stitch at the bottom hem to see how the pant would gather around my ankle.

IMG_5567

To make sure I had that athleisure look and not a pajama one, I used 1.5″ elastic around the ankles and ended up using the same for the waistband.  The thicker ankle gather just looks more  on trend to me.

IMG_5597

I sewed all the seams on my regular Juki TL-2010Q and finished the raw edges on my hand-me-down Singer Serger.  Changing the threads on my serger is such a pain, but to have the right matching colors, is SO worth the effort.  It really makes the garment look professional.

LP Back Profile

I love the contoured waistband which really allows for a nice gather.  There is room around the seat, but not so much that it would give a saggy rear-end.  You can adjust the gathers around however you like and make a few stitches along the side seams to keep them in place.

LP Styled Casual

These pants are just magical and so incredibly light.  The Yucca organic voile in Arbol by Leah Duncan for Cloud 9 Fabrics is just amazing for the warmer months ahead.  They can be worn with flat sandals (Merona) and a cute jacket (J.Crew) for just running around town.

LP Styled Dressy

With this black and cream design, the Luna Pants can also be dressed up with heels (Nine West) and this loose tank (Merona) for a jumpsuit look without the jumpsuit hassle (a la having to take off the entire outfit to use the restroom…no thanks!)

The styling possibilities are endless for my secret pajamas!  I’m excited to wear them all summer and make a few extra pairs for lounging…errr…being fashionably hip 😉  What do you think about the jogger trend?


Hugs and Stitches,

Cristy


Sew It Yourself Kimono

Kimono Title

Boho style is all over the place right now and I thought I’d try to catch up with this Sew It Yourself Kimono.  The wrap is part of the Bohemian Chic trend which is all about being unconventional, artsy and spirited. To me, it’s a very relaxed and airy style but the “chic” part keeps it classy.

I’ve been in a fashion rut ever since having my little guys. I’m much happier (and more comfortable) in my yoga pants and a t-shirt any day. But whenever I have a “girls trip” with my hip city friends, I feel like the frumpy charity case…so I decided to do something about it!

I’ve been eying up Kimonos for awhile, but when Sew Caroline had a post referencing her FREE pattern on IG one day, I knew I had to suck it up and make my own. The pattern is one size fits most and being a whopping 5’3″, it was good for me 😉

KimonoFabric

When selecting fabric for a Kimono, you need some good drape.  I knew anything from April Rhodes, was gonna be perfect.  Luckily, one of my favorite prints came in voile, so I snagged up Dreamcatching Flare from the Wanderer collection right away.  For trim, I wanted some earthly lace.  I tried to get a friend to crochet some for me (hehehe,) but ended up at my local JoAnn’s!  Who knew they had such a selection?!?  As I was gathering supplies, I thought I should make two styles….so I picked up Leah Duncan’s Bare Nopal Gloom from Morning Walk in voile at my Local Quilt Shop (LQS).  For the trim on this one, I used some delicate vanilla lace from my stash to complement the steely blue.

Version A- Morning Walk:

Morning Walk Finished Side

Sew Caroline‘s pattern and instructions are pretty straight-forward and simple.  However, I did get hung up on how she attached the trim to the sleeves.  I tried to find some pattern reviews online to show me how, but couldn’t find any (at least without having to pay subscription fee.) The following are the steps as I interpreted them so there would be some pictures out in cyber world 😉

Encased Trim 1

With the right-side facing up, measure 3/4″ down from the end of the sleeve and mark.

Encased Trim 2

Pin the trim right-side facing the sleeve fabric on the line marked.

Encased Trim 3

Sew the trim onto the sleeve with a 1/4″ seam allowance.

Encased Trim 4

Fold the end of sleeve up 1/2″ and press (not pictured.)  Fold up another 1/2″ press and pin in place. Sew 1/8″ from edge fold next to lace.

Encased Trim 5

Fold the entire casing to the inside of the sleeve and press.  Sew on top of the inside seam (under my index finger) to secure .

After I added the lace on each sleeve, I tried on the Kimono and wasn’t 100% happy with this technique.  The sleeves “belled” out on their own and didn’t lay down as nicely.  The extra folding and all the seams made the sleeves stiffen out a bit.  However, I left the sleeves be and hoped that some washing will soften them out.

With the lace on the bottom of the Kimono, I decided to test out a French Seam technique that would drape more and allow for more of the lace to show.

FrenchSeamCollage

Clockwise from top-left:

  1. Serge or straight-stitch with wrong side of fabric and lace together.
  2. Fold the seam over with fabric and lace are right-facing.  Press and sew 1/4″ seam
  3. Fold lace out and press. Sew seam in place.
  4. Outside of Kimono finished.


Version B- wanderer:

After making the Morning Walk Kimono, I made a few adjustments with this Wanderer one.  The first adjustment was to make the back a little longer with the colder autumn season quickly approaching.  I’ll wear this with denim jeans and leggings to go along with the amazing burnt orange color.
Dreamcatcher Finished Side Arm Down


I cut the back piece 2″ longer than the pattern piece.  After attaching the front pieces to the back, I folded the entire Kimono in half and made a cut connecting the original length of the front pieces to the longer back.  This made for the nice drop to hide my bum 😉

Dreamcatcher Finished Side

The second change I made was how I attached the lace.  I wanted to have as much of the lace showing because it’s just gorgeous and I didn’t want to stiffen up the sleeves like with Morning Walk. The lace was attached with my serger (blade disengaged) and then I top-stitched it into place.

Dreamcatcher Finished Front

The interior isn’t as pretty as the original pattern instructions, but I don’t mind one bit.  I got all the extra length and flow I expect from a Kimono.  The width and the weight of the lace will most likely keep the inside seams hidden away…

I absolutely love both versions of Sew Caroline’s Kimono pattern and definitely recommend this as a beginner garment.  I can’t wait to strut around with some more Boho Chic style this season 😉  What are you making this fall?  I need some suggestions for some future wardrobe fillers!


Happy stitching,

Cristy