
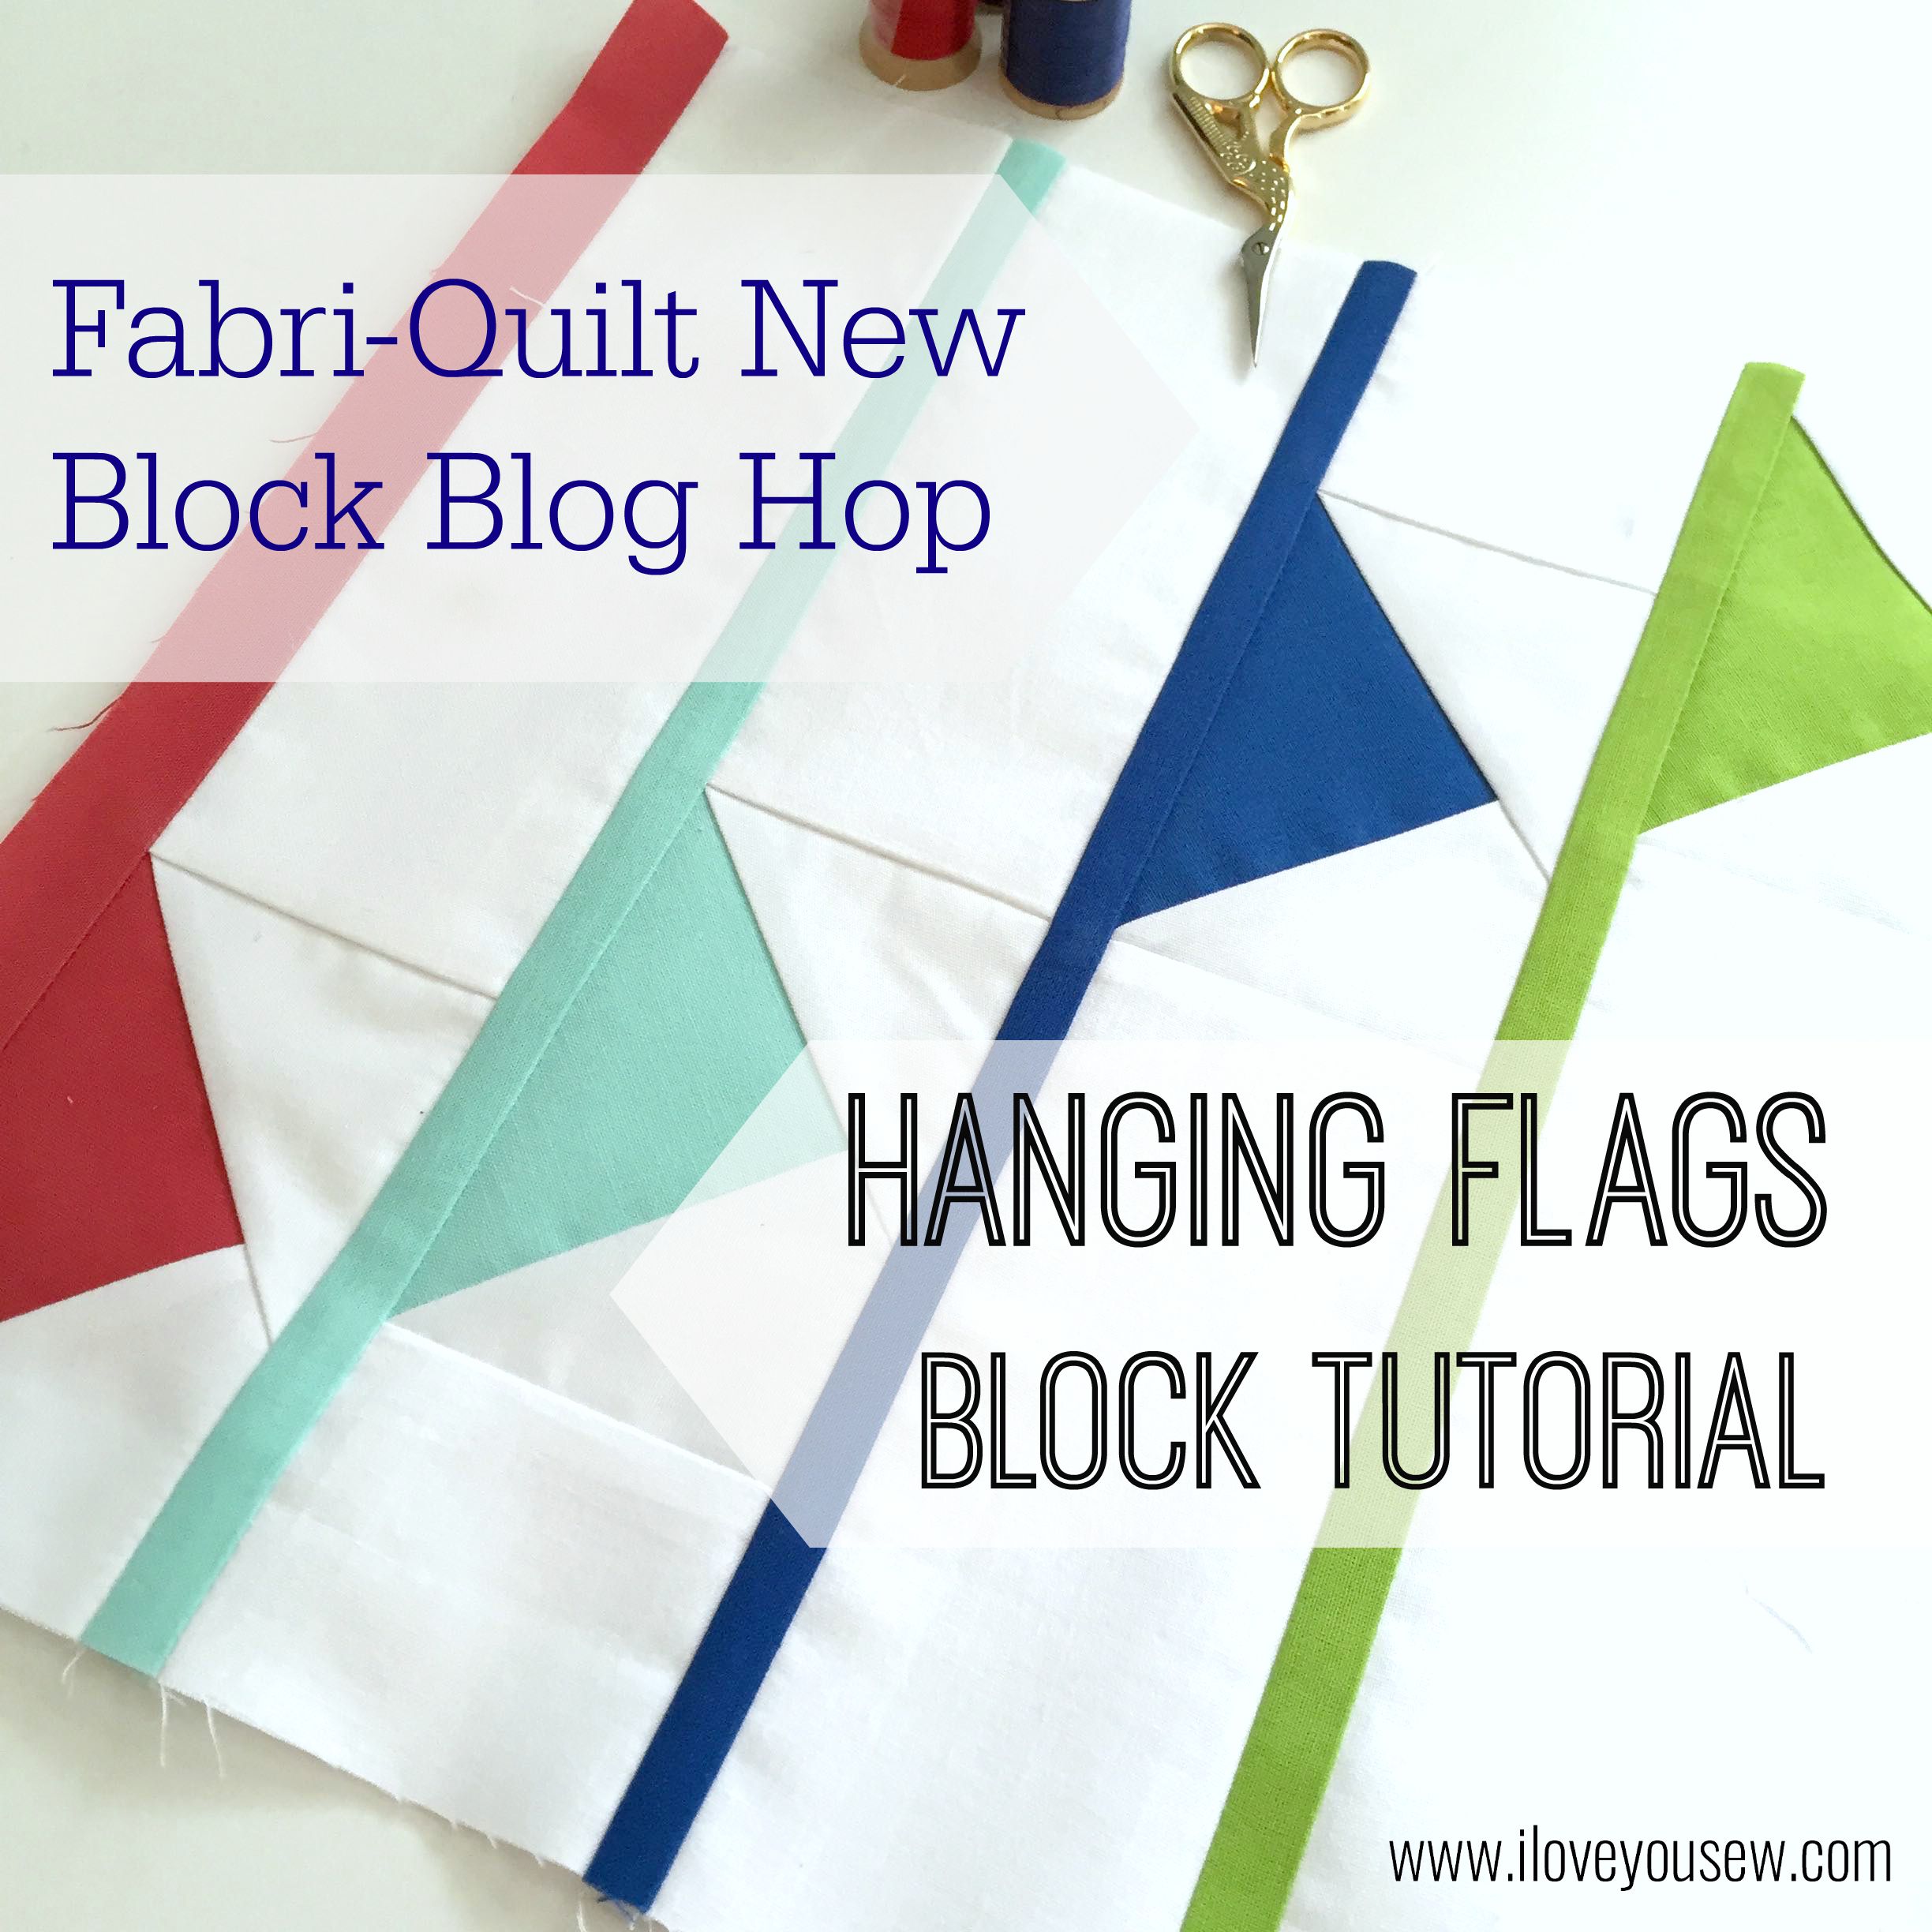
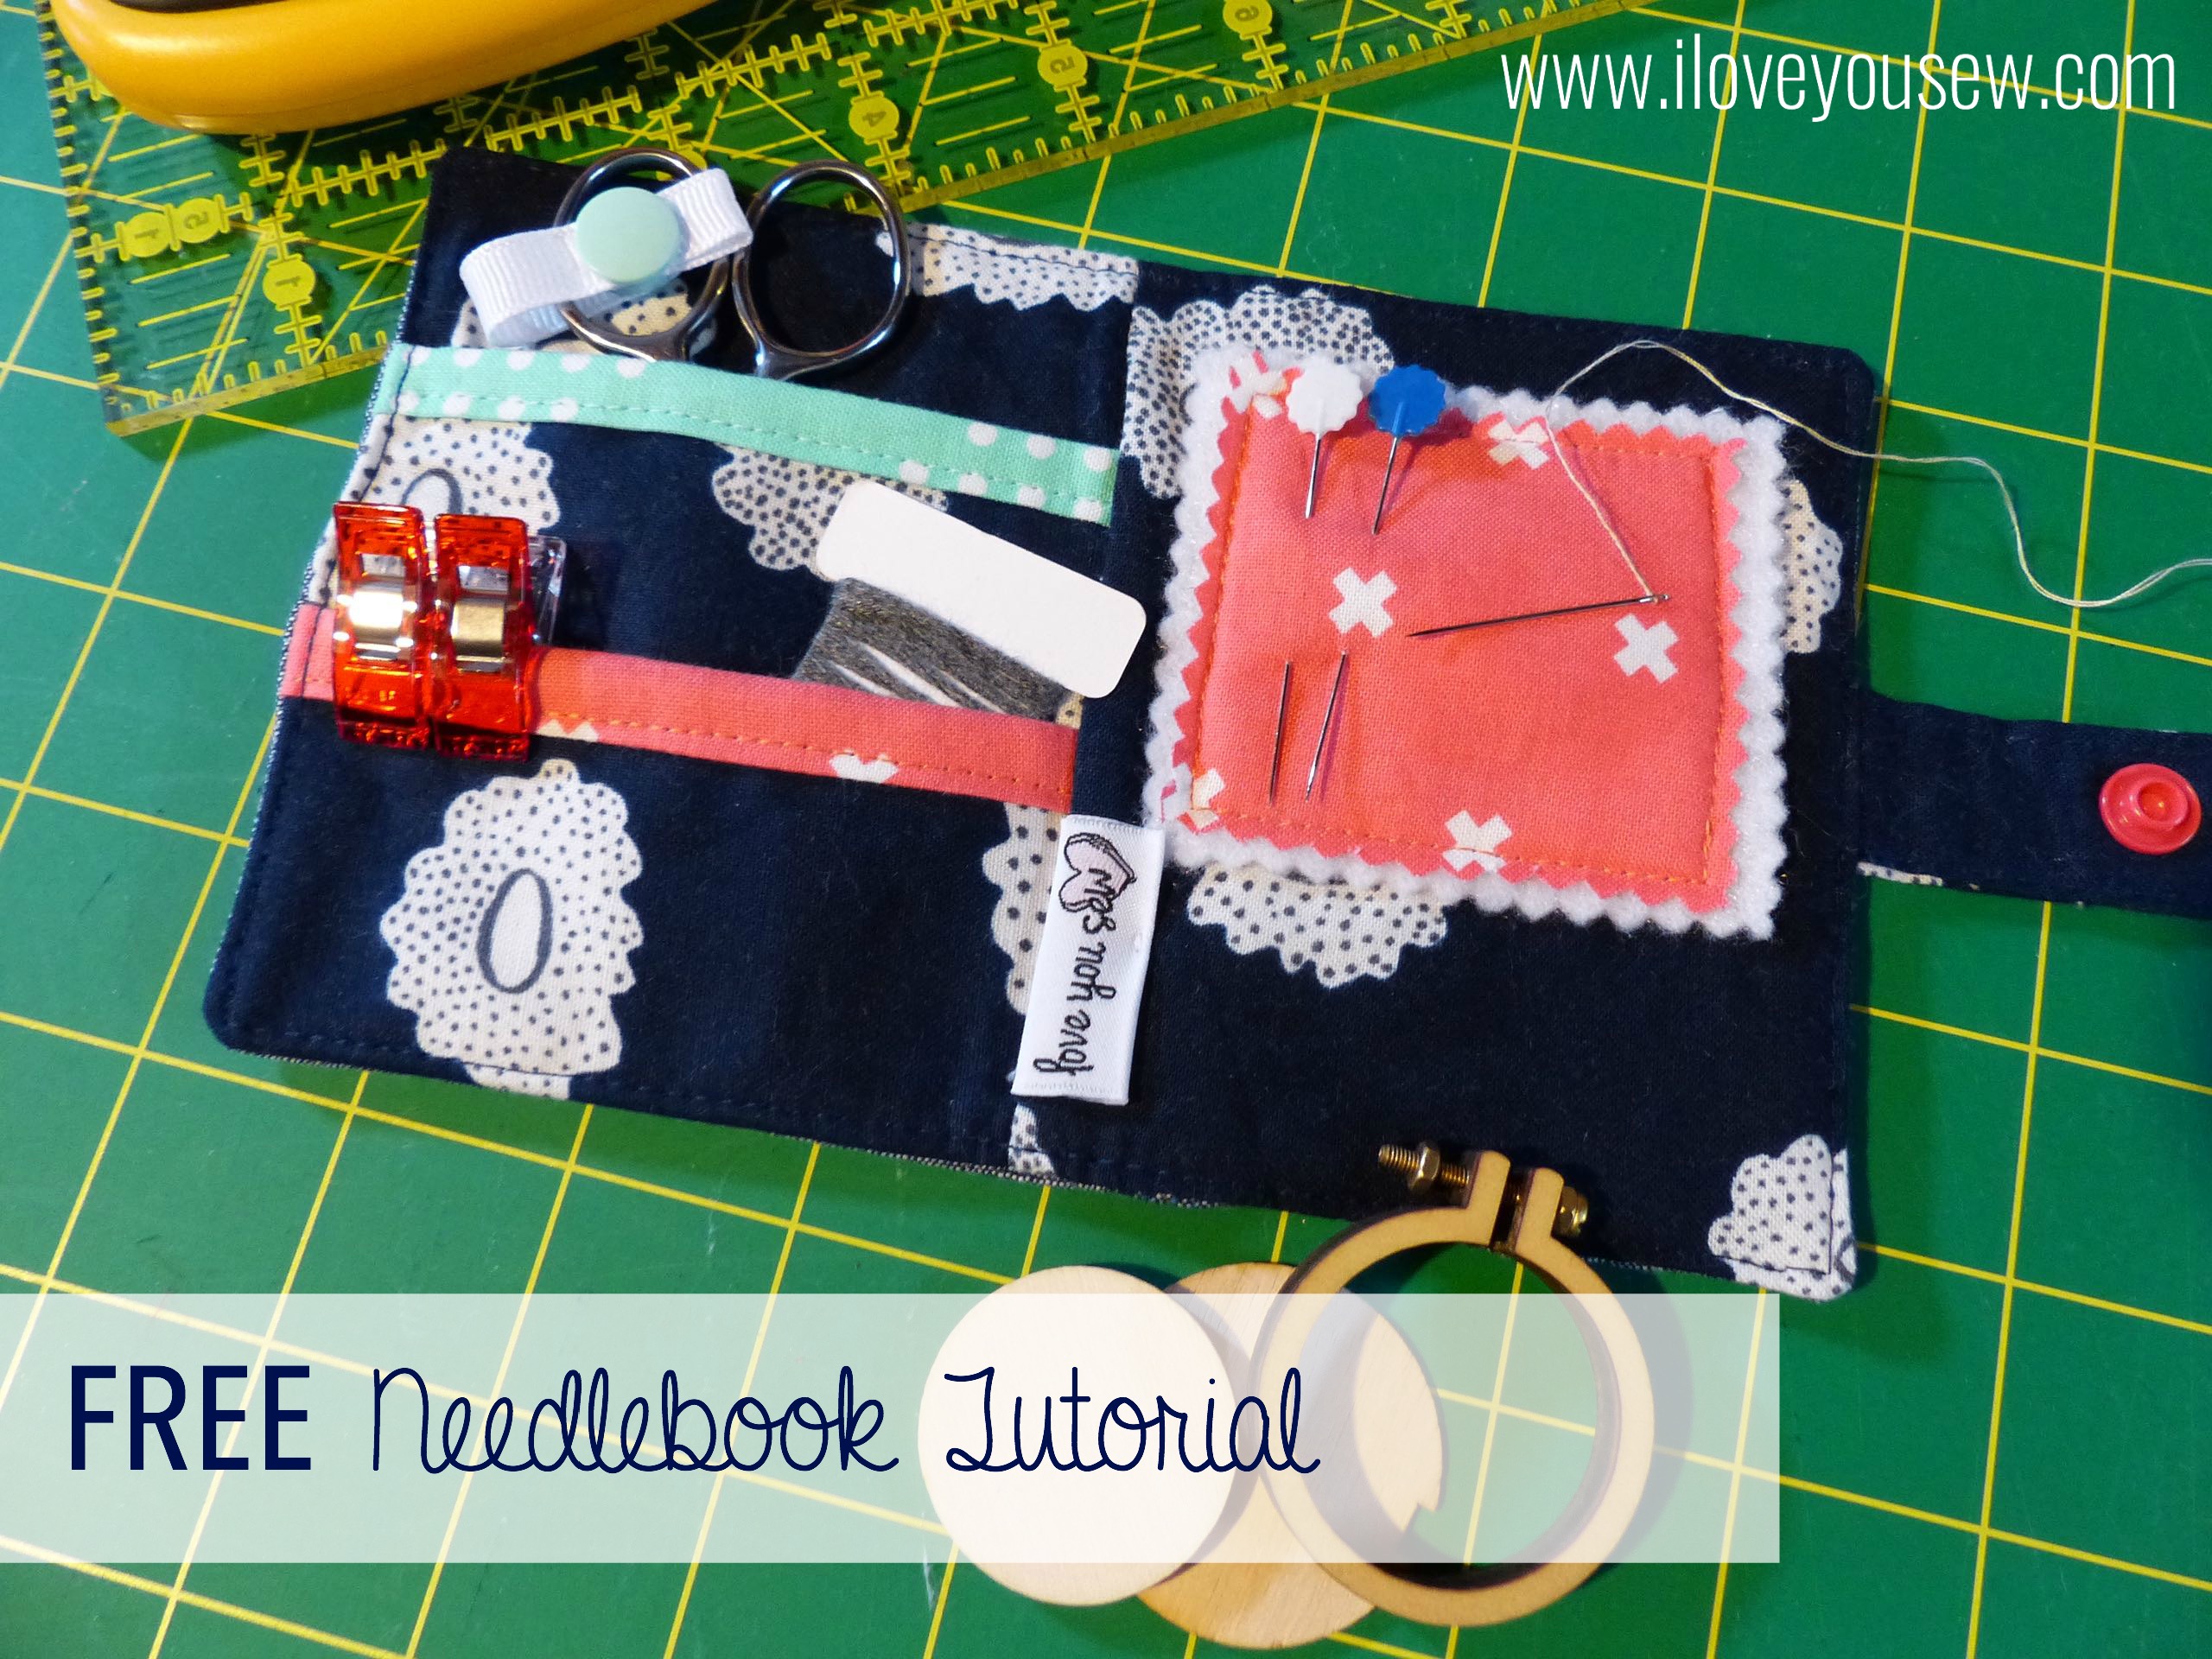
I’m new to the world of Swaps. I’ve seen and followed quite a few through Instagram and finally signed up for a few. The #IGneedlebookSwap was my second sign-up, but my first which has been sent and received. After looking at a few online, I wanted to design my own and share it for FREE with you!!! If you are unfamiliar, these swaps have a theme (in this case, a needle book) and you have to post progress shots on your IG account. They are usually secret and you have great fun finding out…aka “stalking” your partner’s tastes and preferences. I like it because you get work on something new and it’s challenging to have some parameters set….including a deadline!
My partner asked for a Needlebook with a pocket to hold a small set of scissors, so I went about designing one myself! How can I screw up the math on something that finishes at 4.5″ x 7″ (open) and 4.5″ x 3.5″ (closed), right??? My partner also specified using navy, coral and aqua…so I incorporated a design to showcase all of those colors.
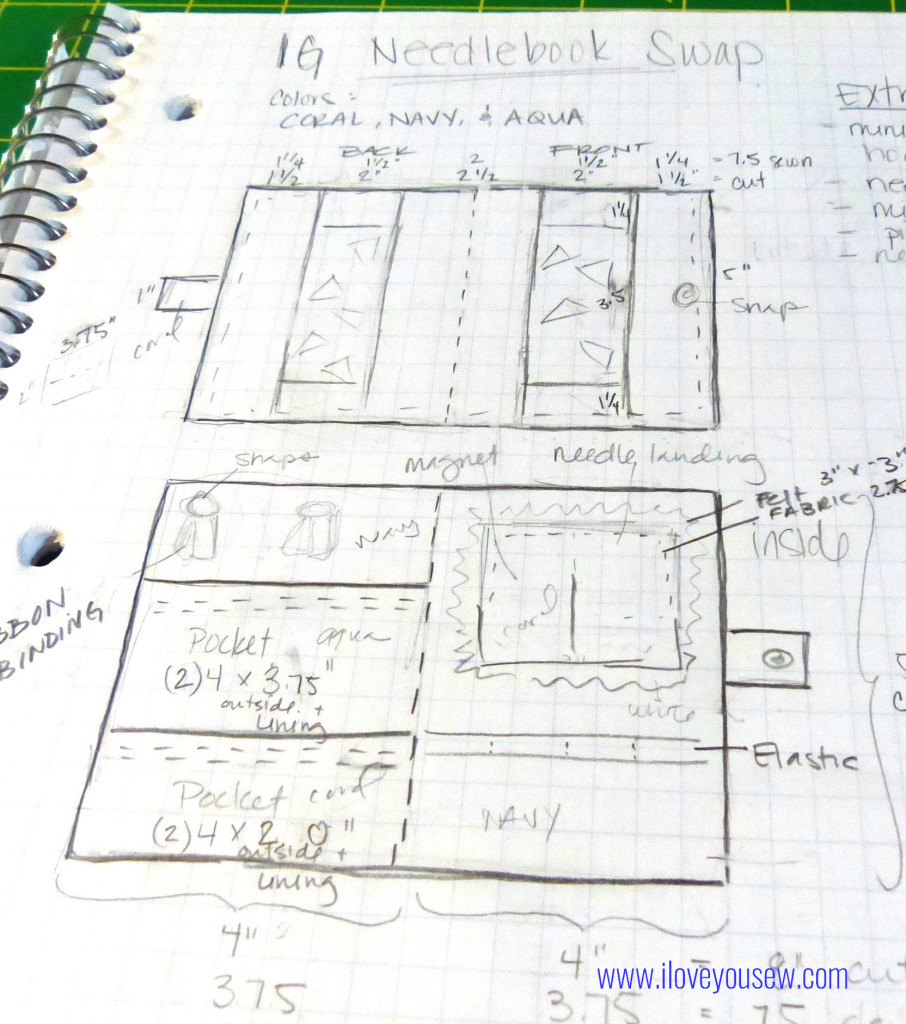
Needlebook Sketch
==========
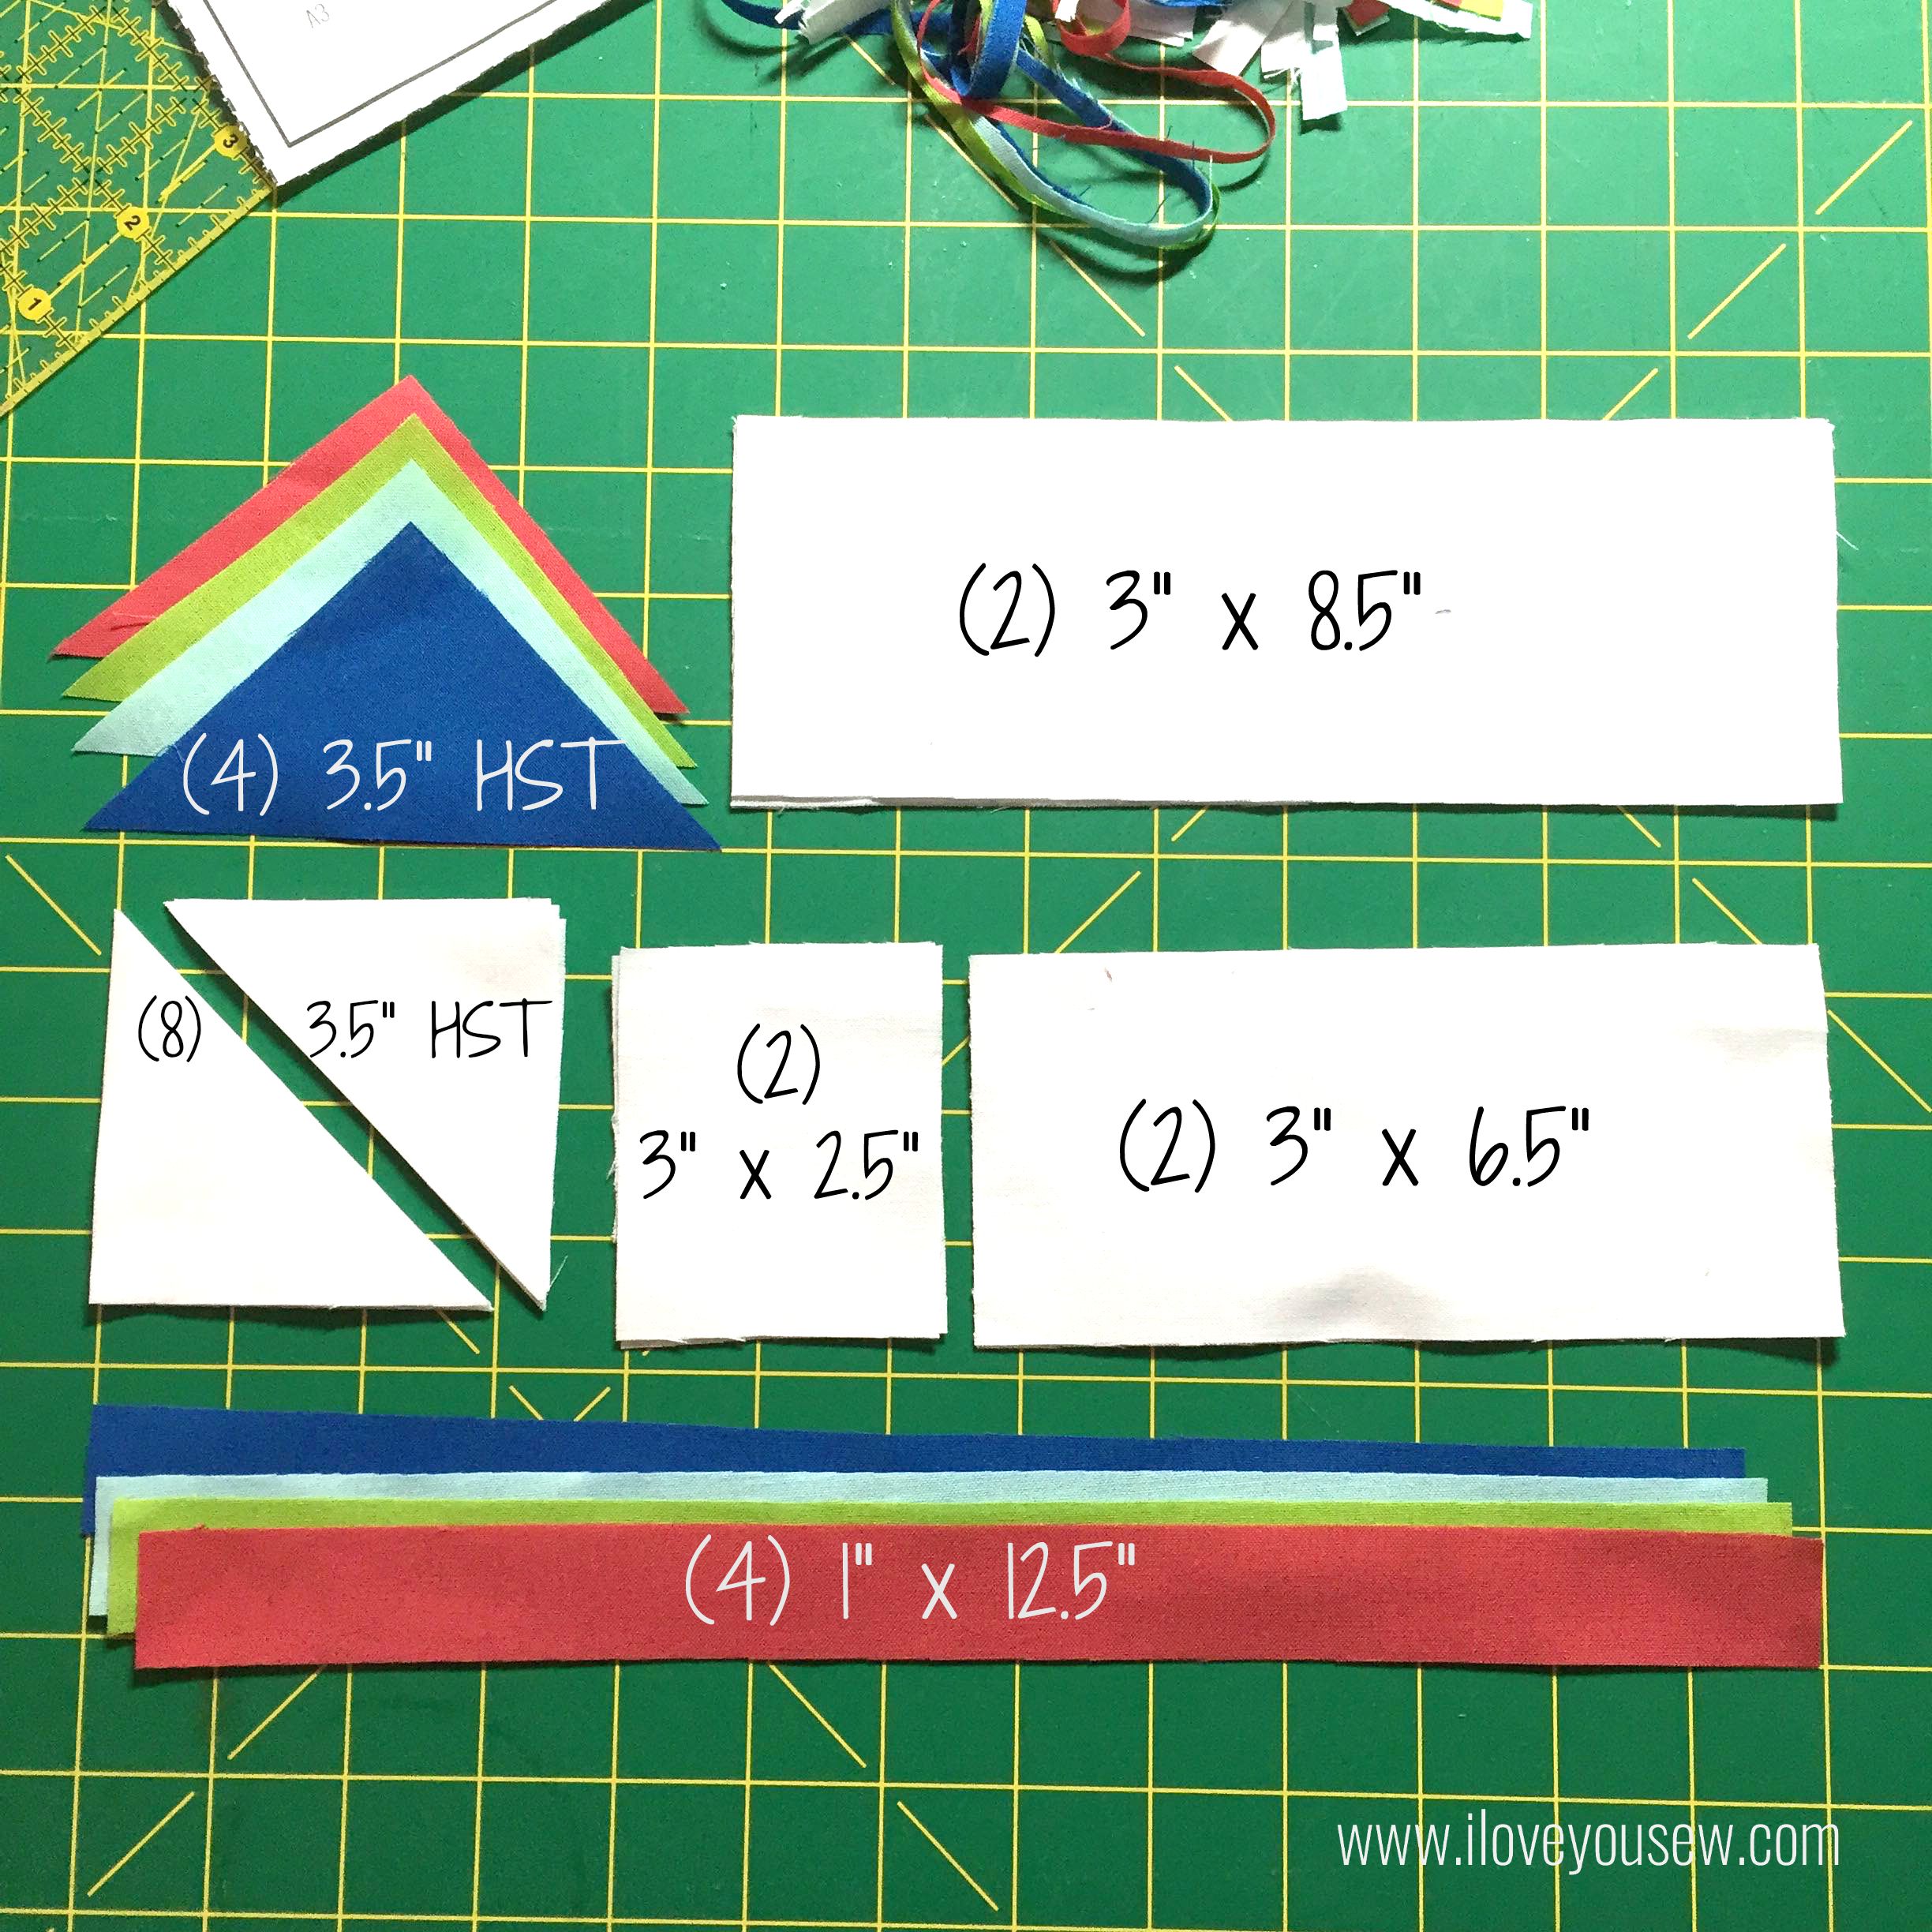
Material Requirements:
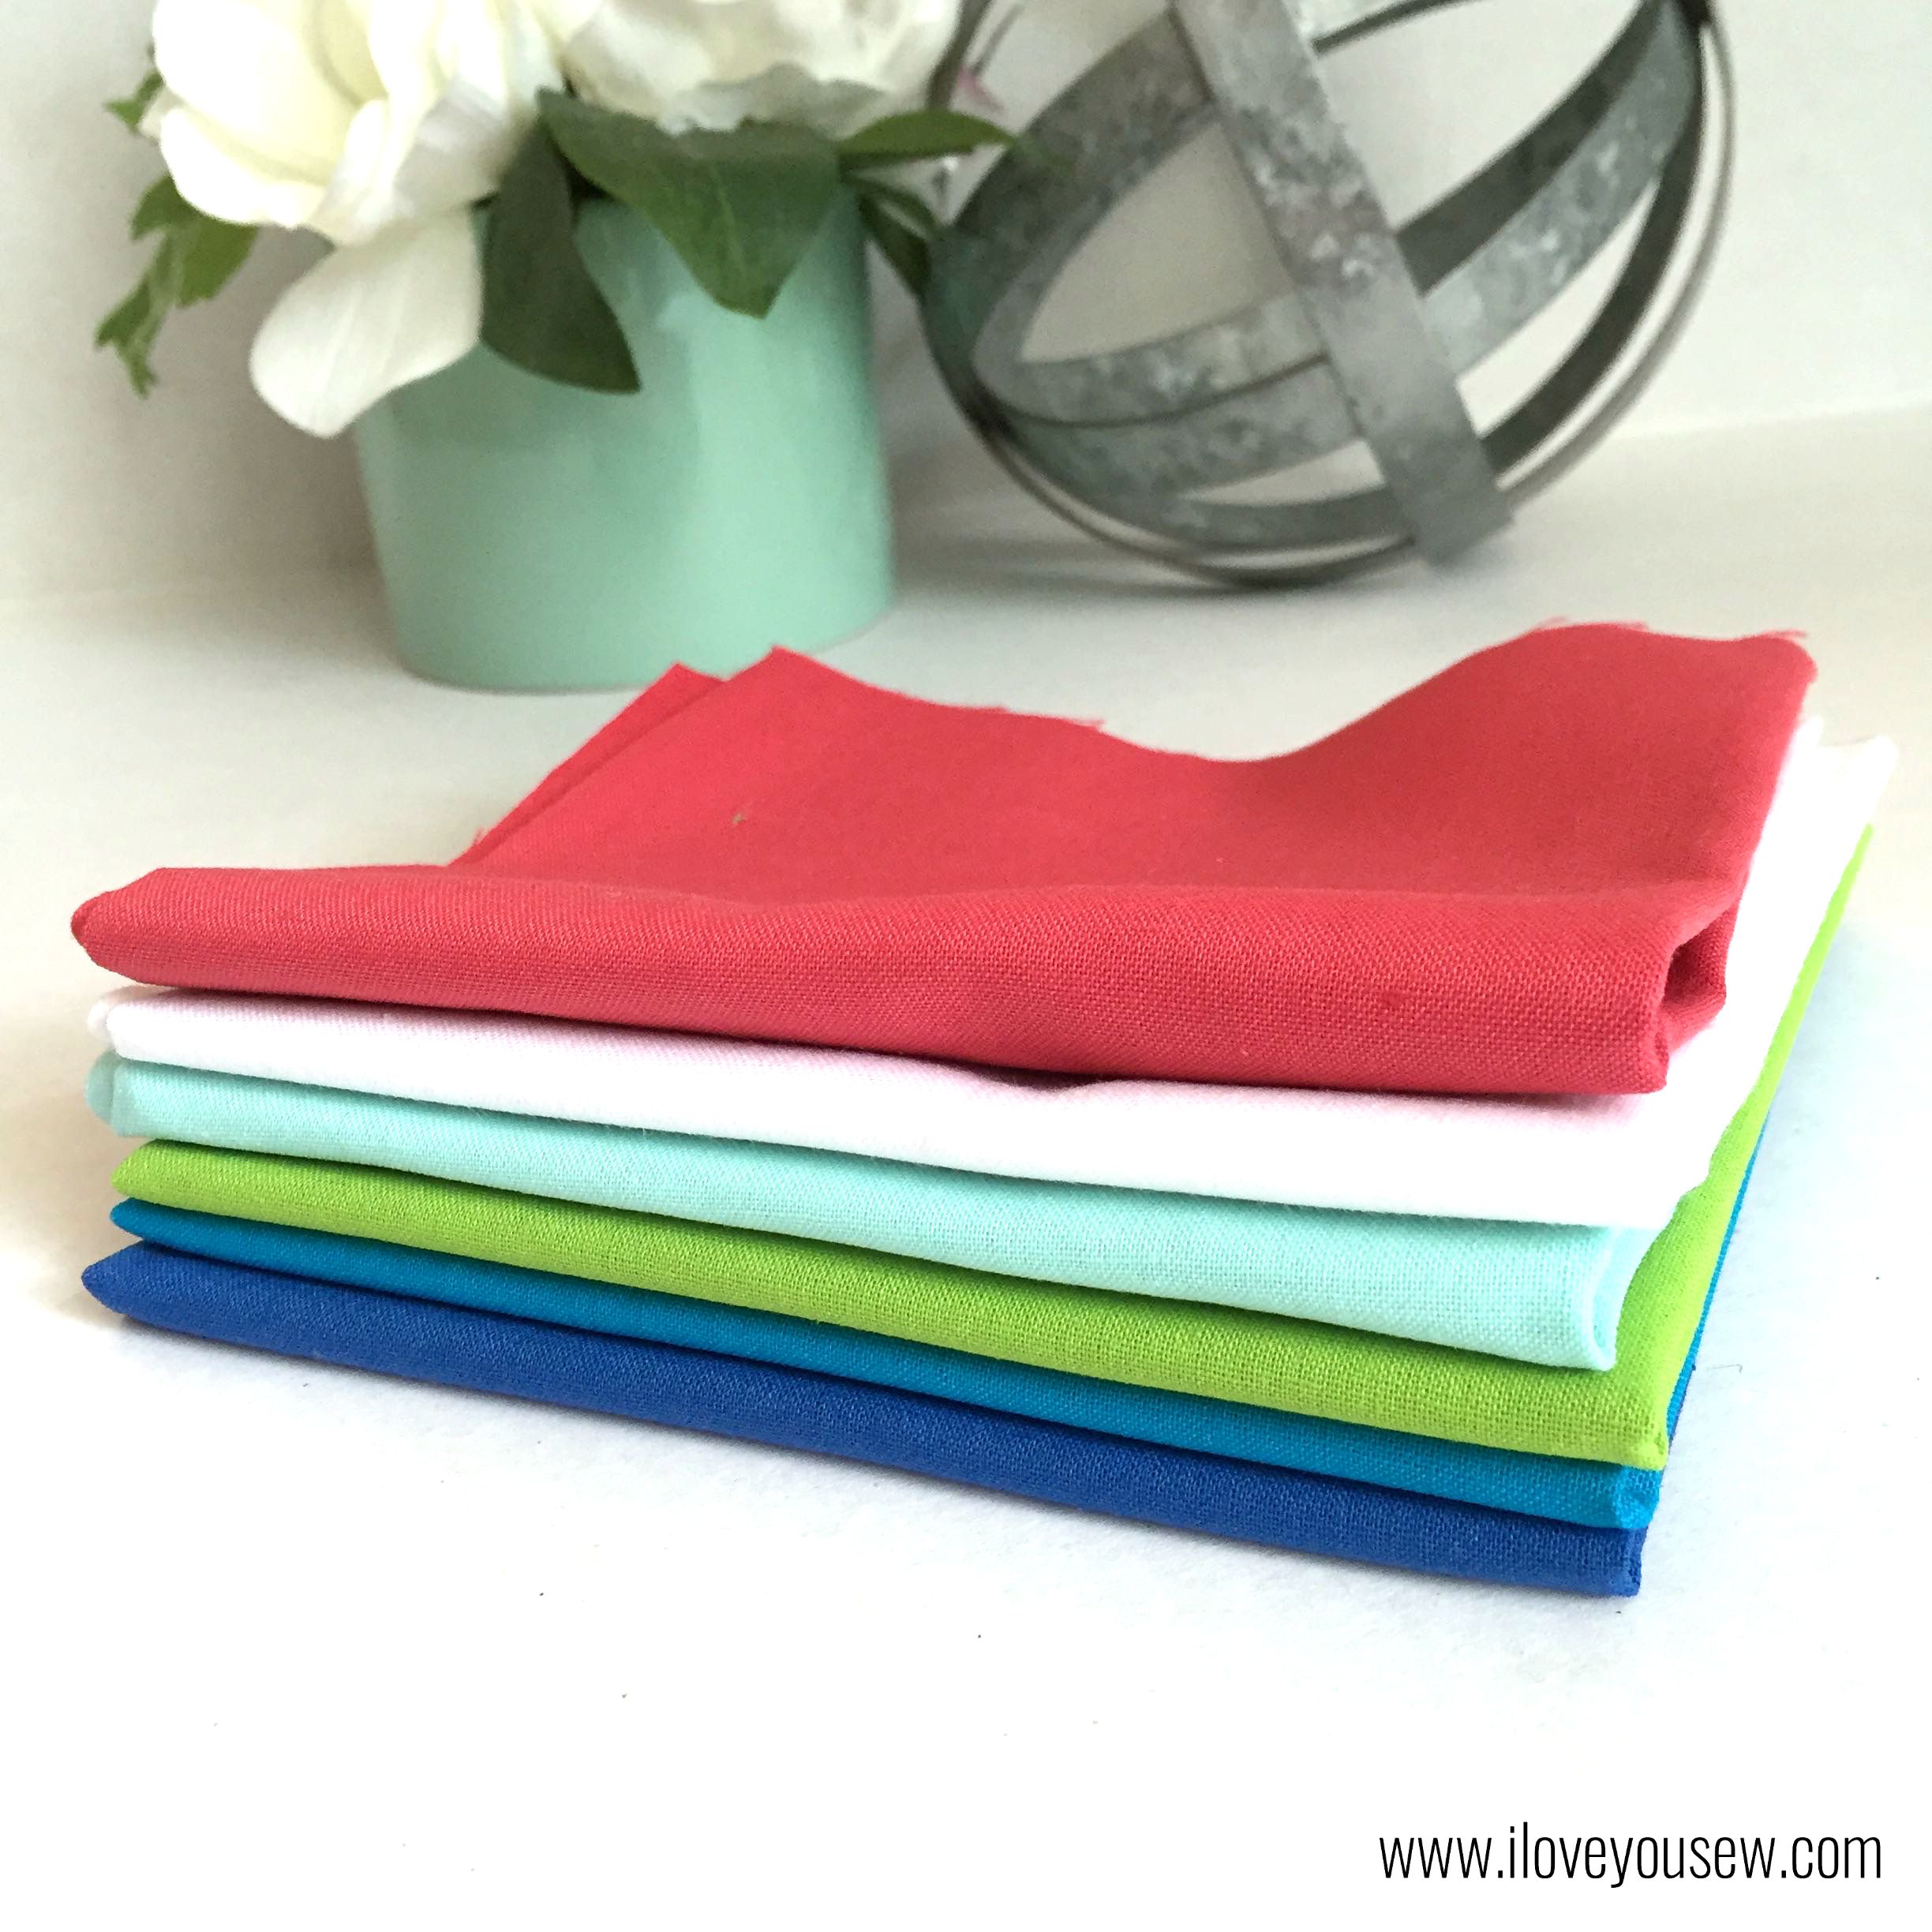
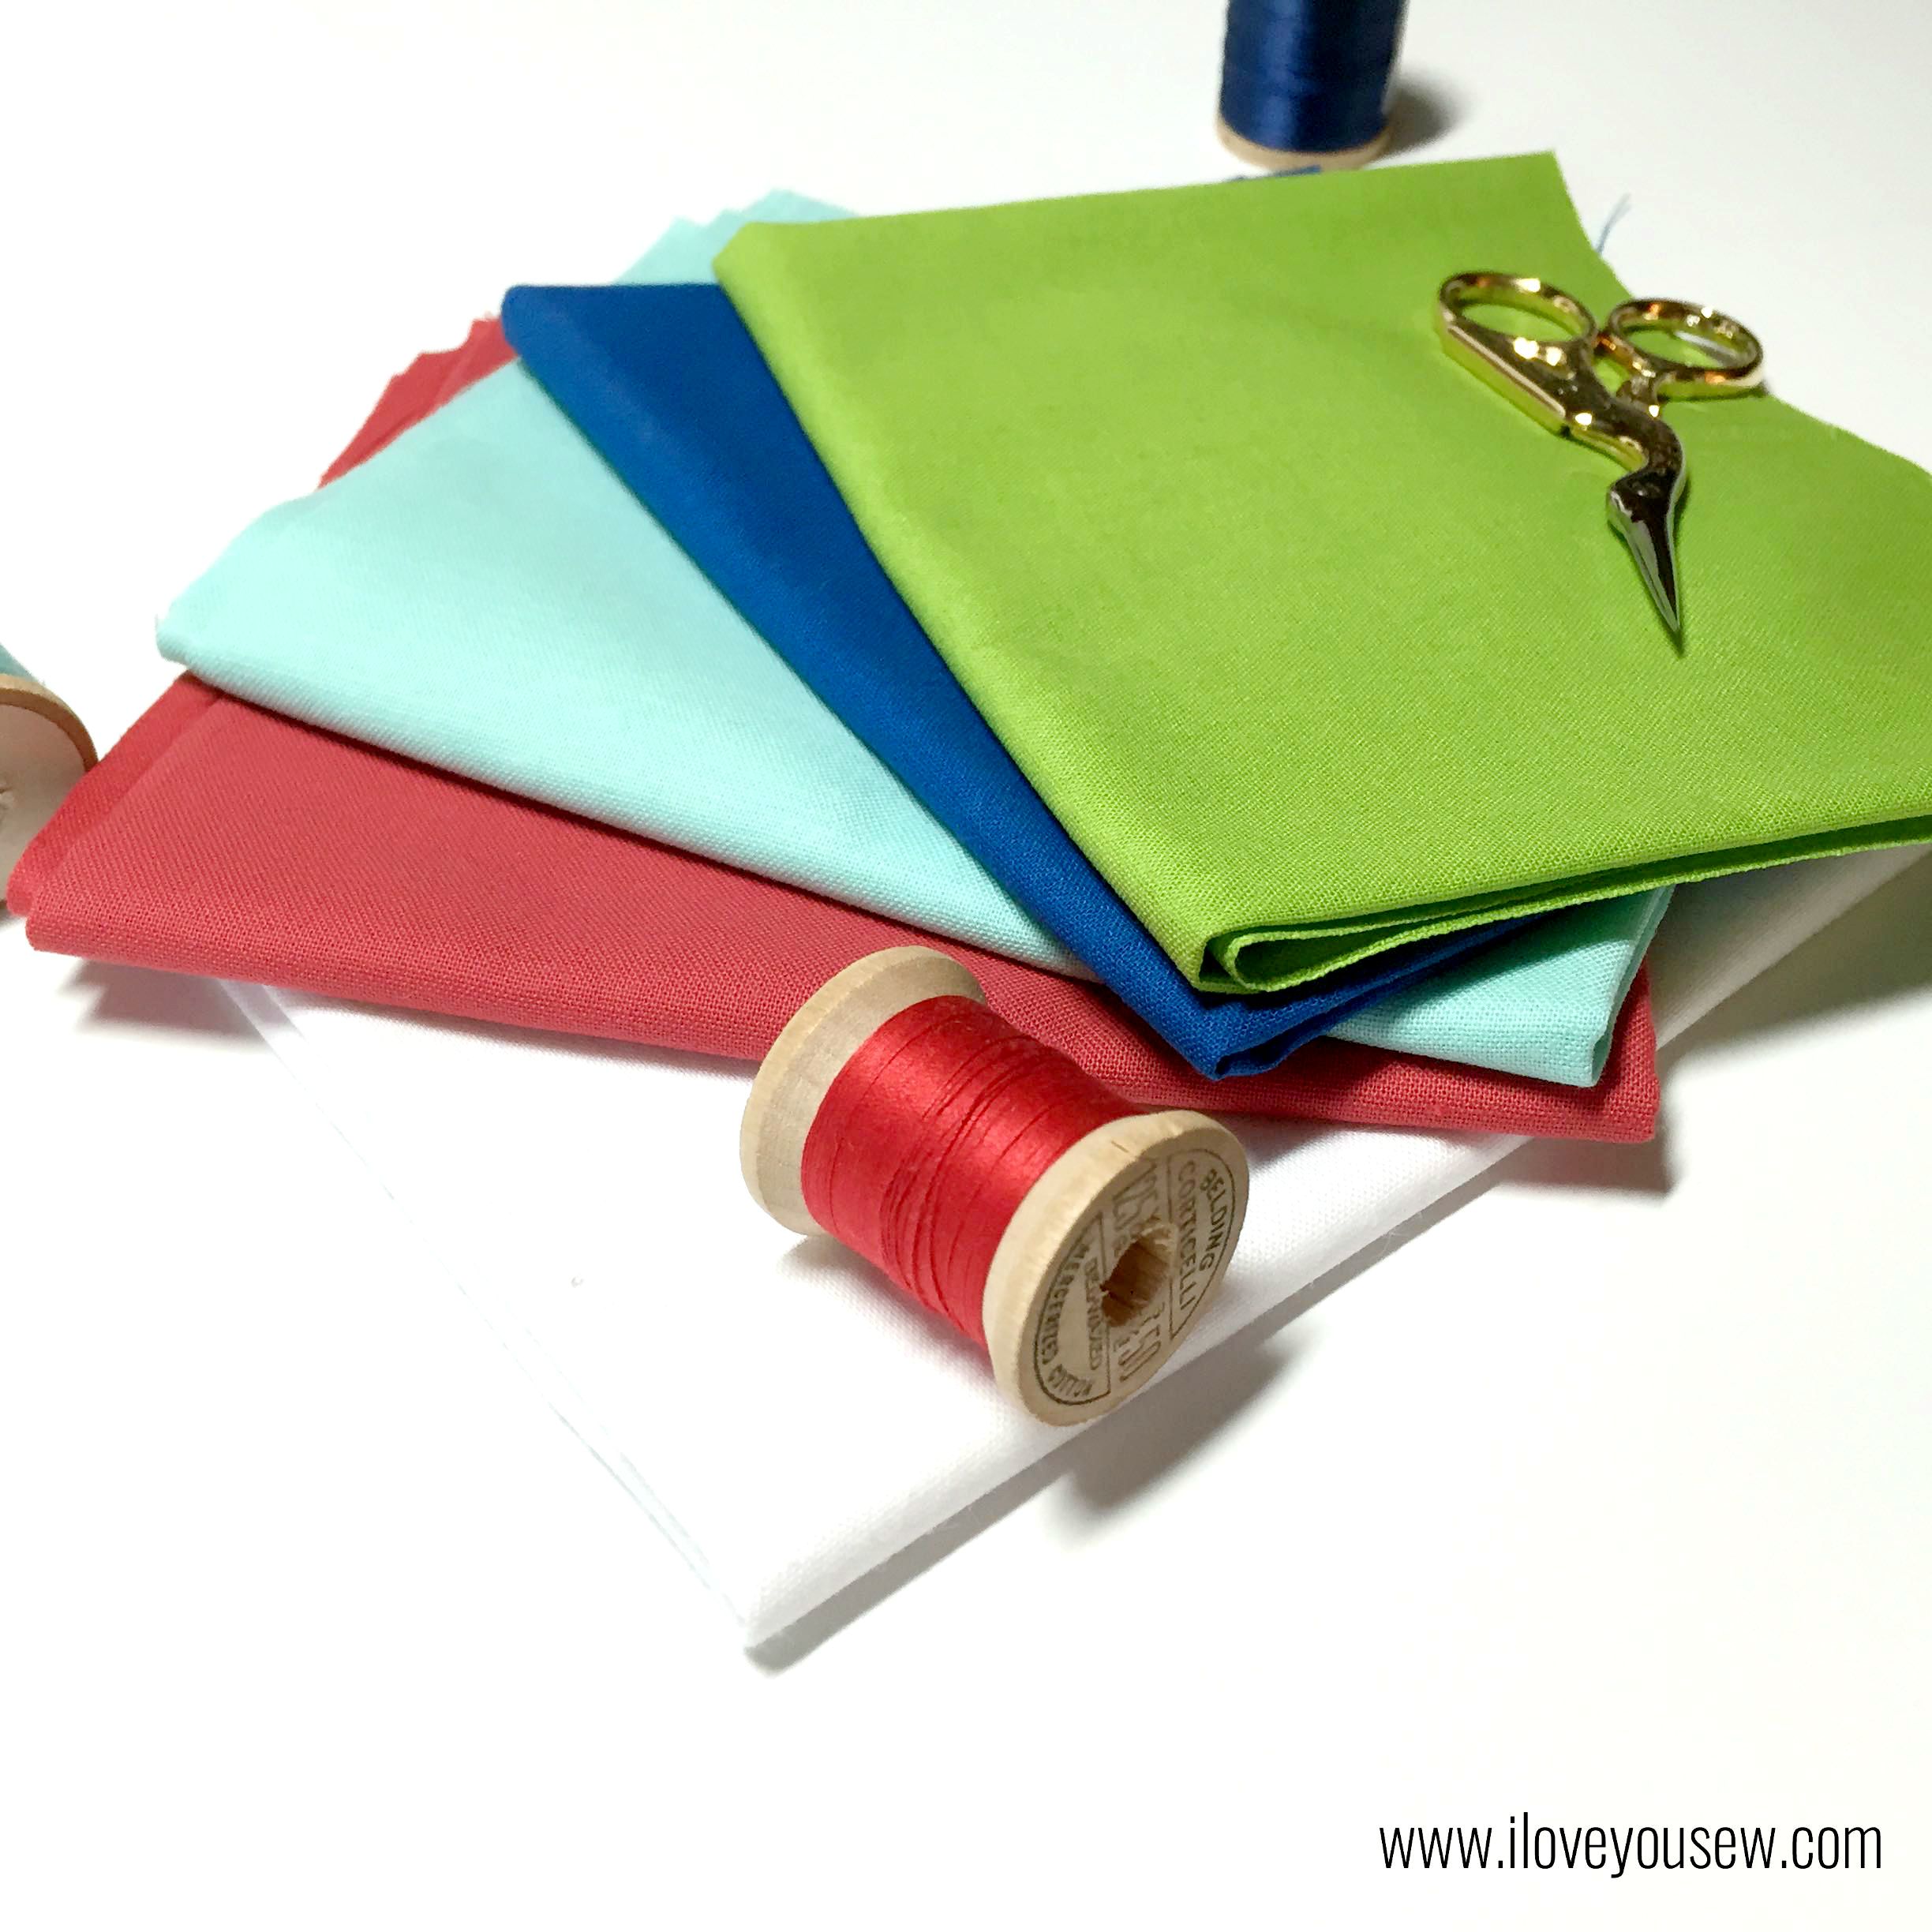
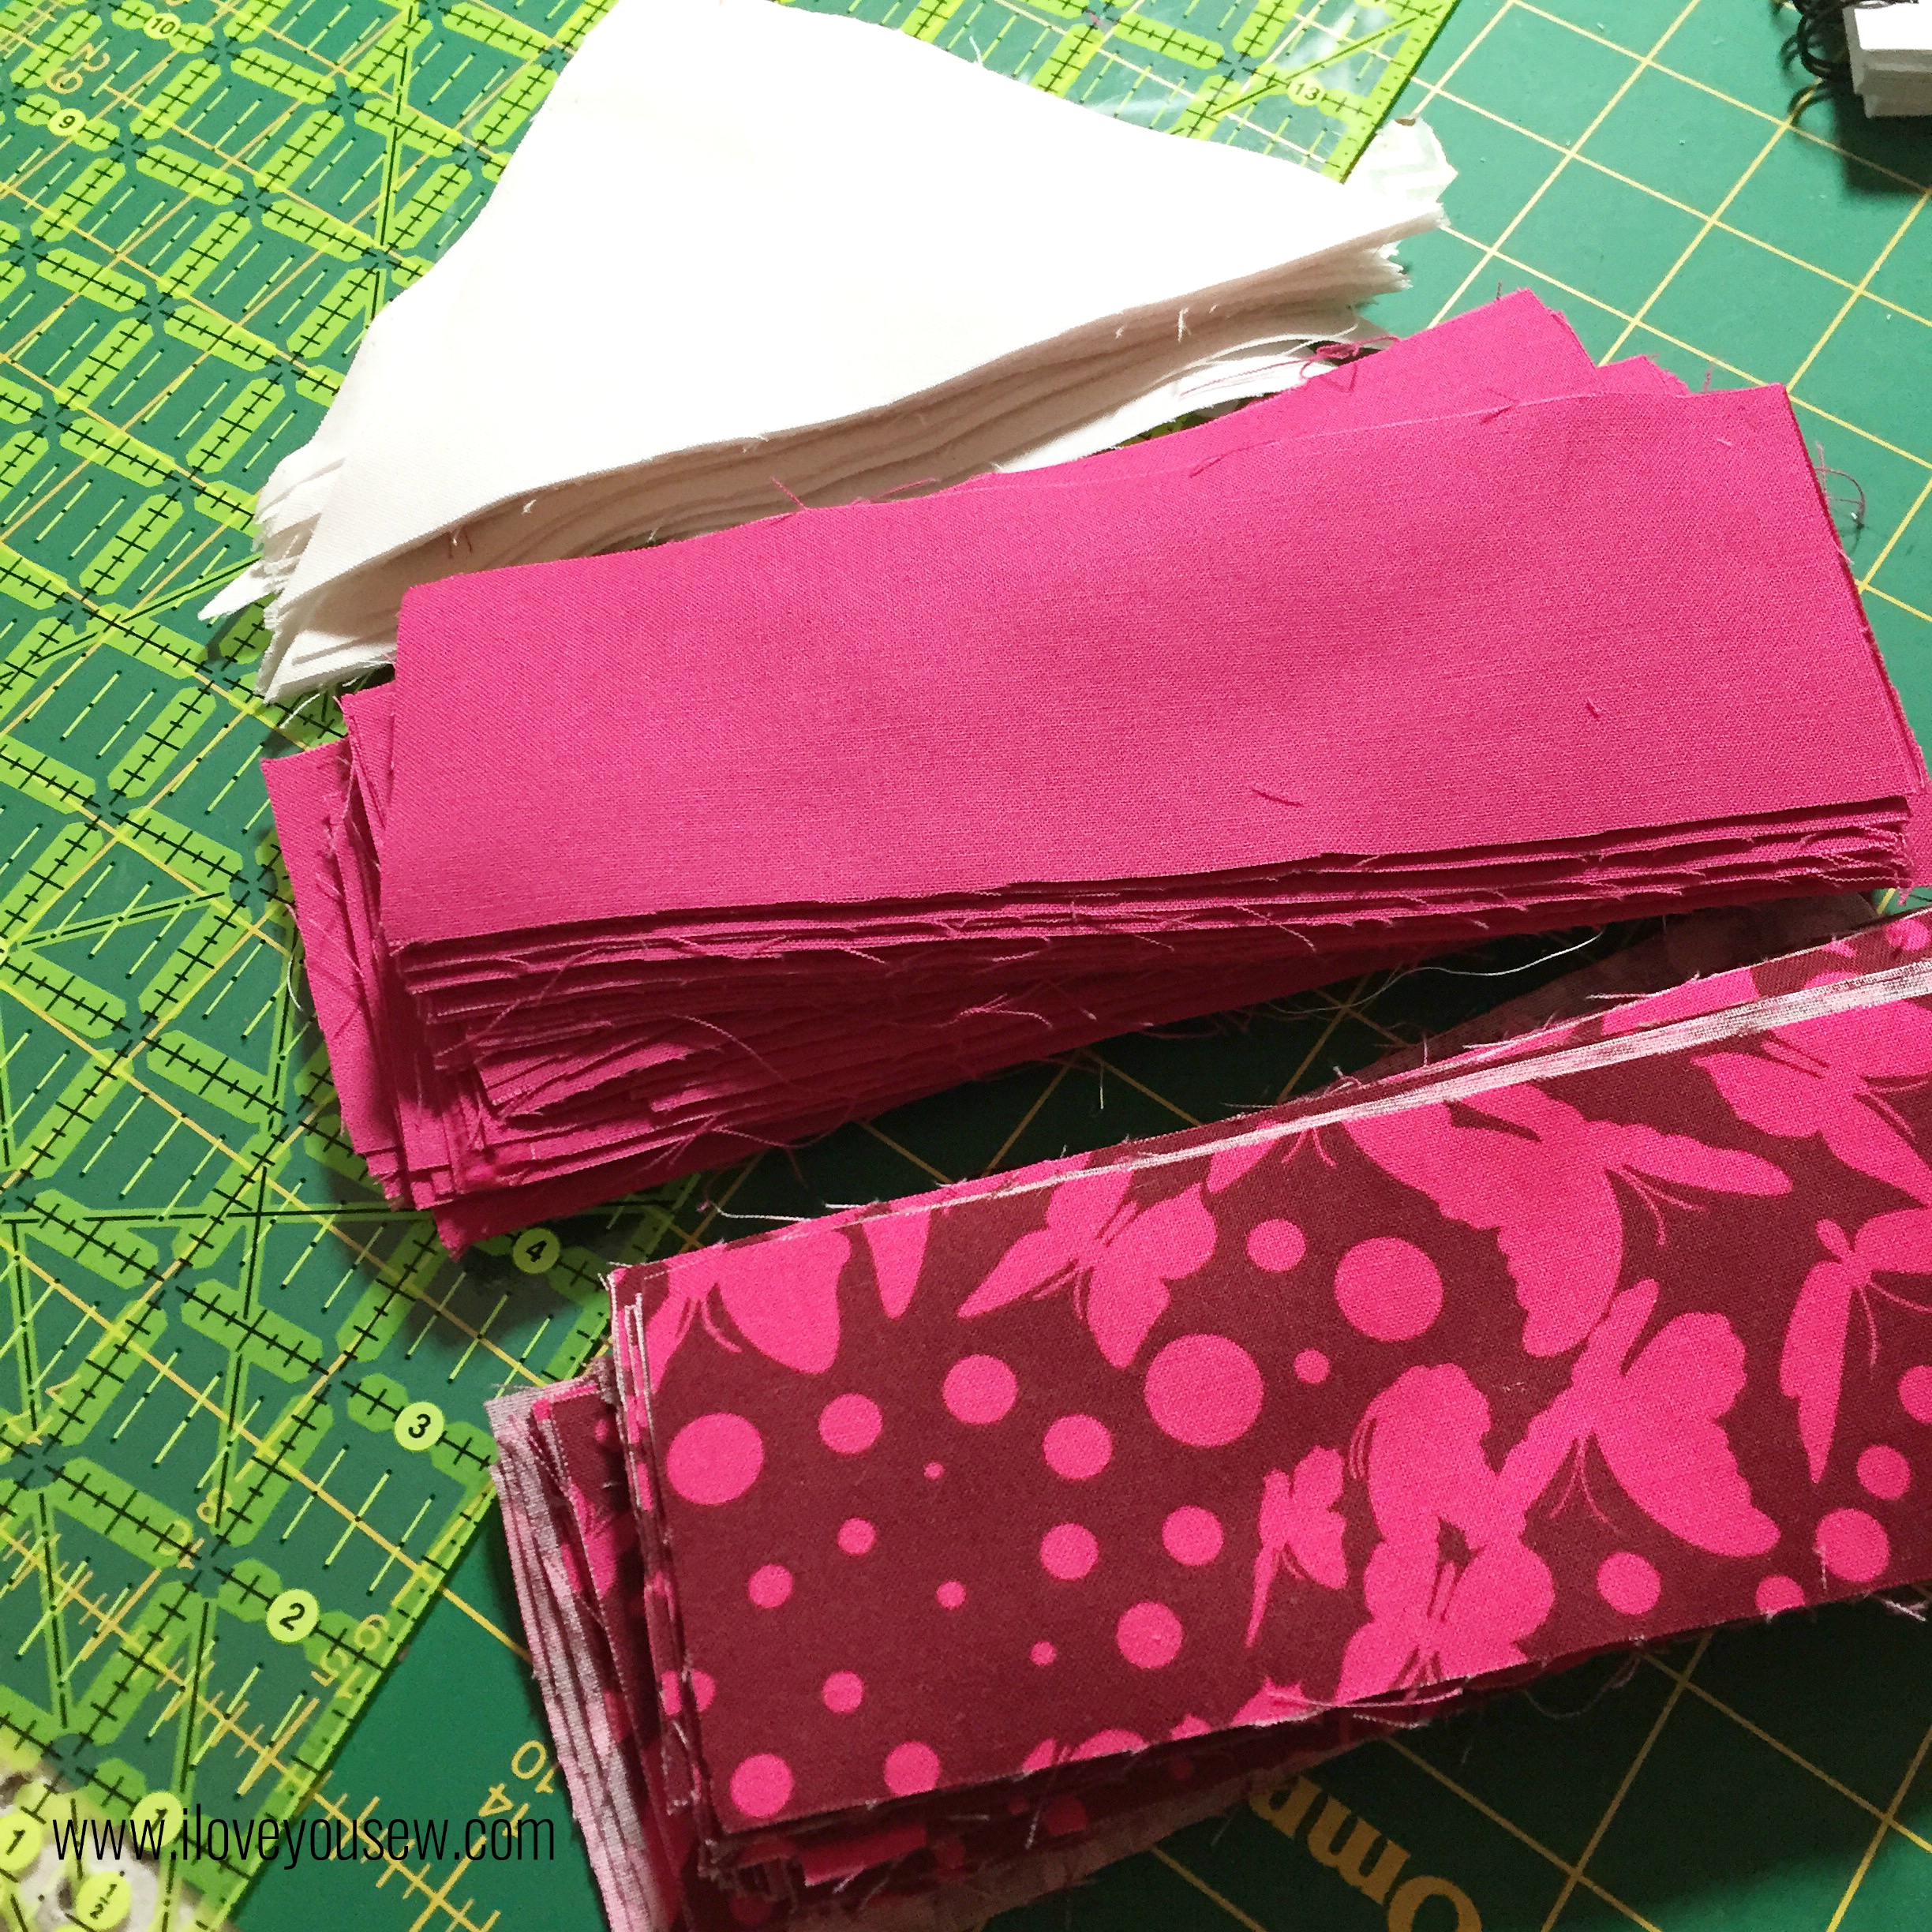
- Exterior Fabric (shown in Robert Kaufman IndigoChambray)
- 1.5″ x 5″ rectangles [cut 2]
- 2″ x 5″ rectangle [cut 1]
- 1.25 x 2″ rectangle [cut 4]
- Goosing Borders [sew 2]
- Interior Fabric (shown in Cotton + SteelHatbox – Navy Desert Flower)
- 4″ x 5″ [cut 2]
- 4″ x 7″ [cut 1 for pocket A]
- 4″ x 4″ [cut 1 for pocket B]
- 2″ x 3.75″ [cut 1 for snap closure tab]
- Accent Fabric 1 (shown in Cotton + Steel Dottie in Bluebird)
- 2.5″ x 4″ [cut 1 for pocket A]
- Accent Fabric 2 (shown in Cotton + SteelXOXO in Coral)
- 2.5″ x 4″ [cut 1 for pocket B]
- 2.75″ x 2.75″ [cut 1 for needle-landing]
- Felt for needle-landing
- Batting
- KAM Snaps [2 sets]
- 2″ Grosgrain Ribbon
- 3/4″ Magnet
Use 1/4″ seam allowance unless noted.
==========

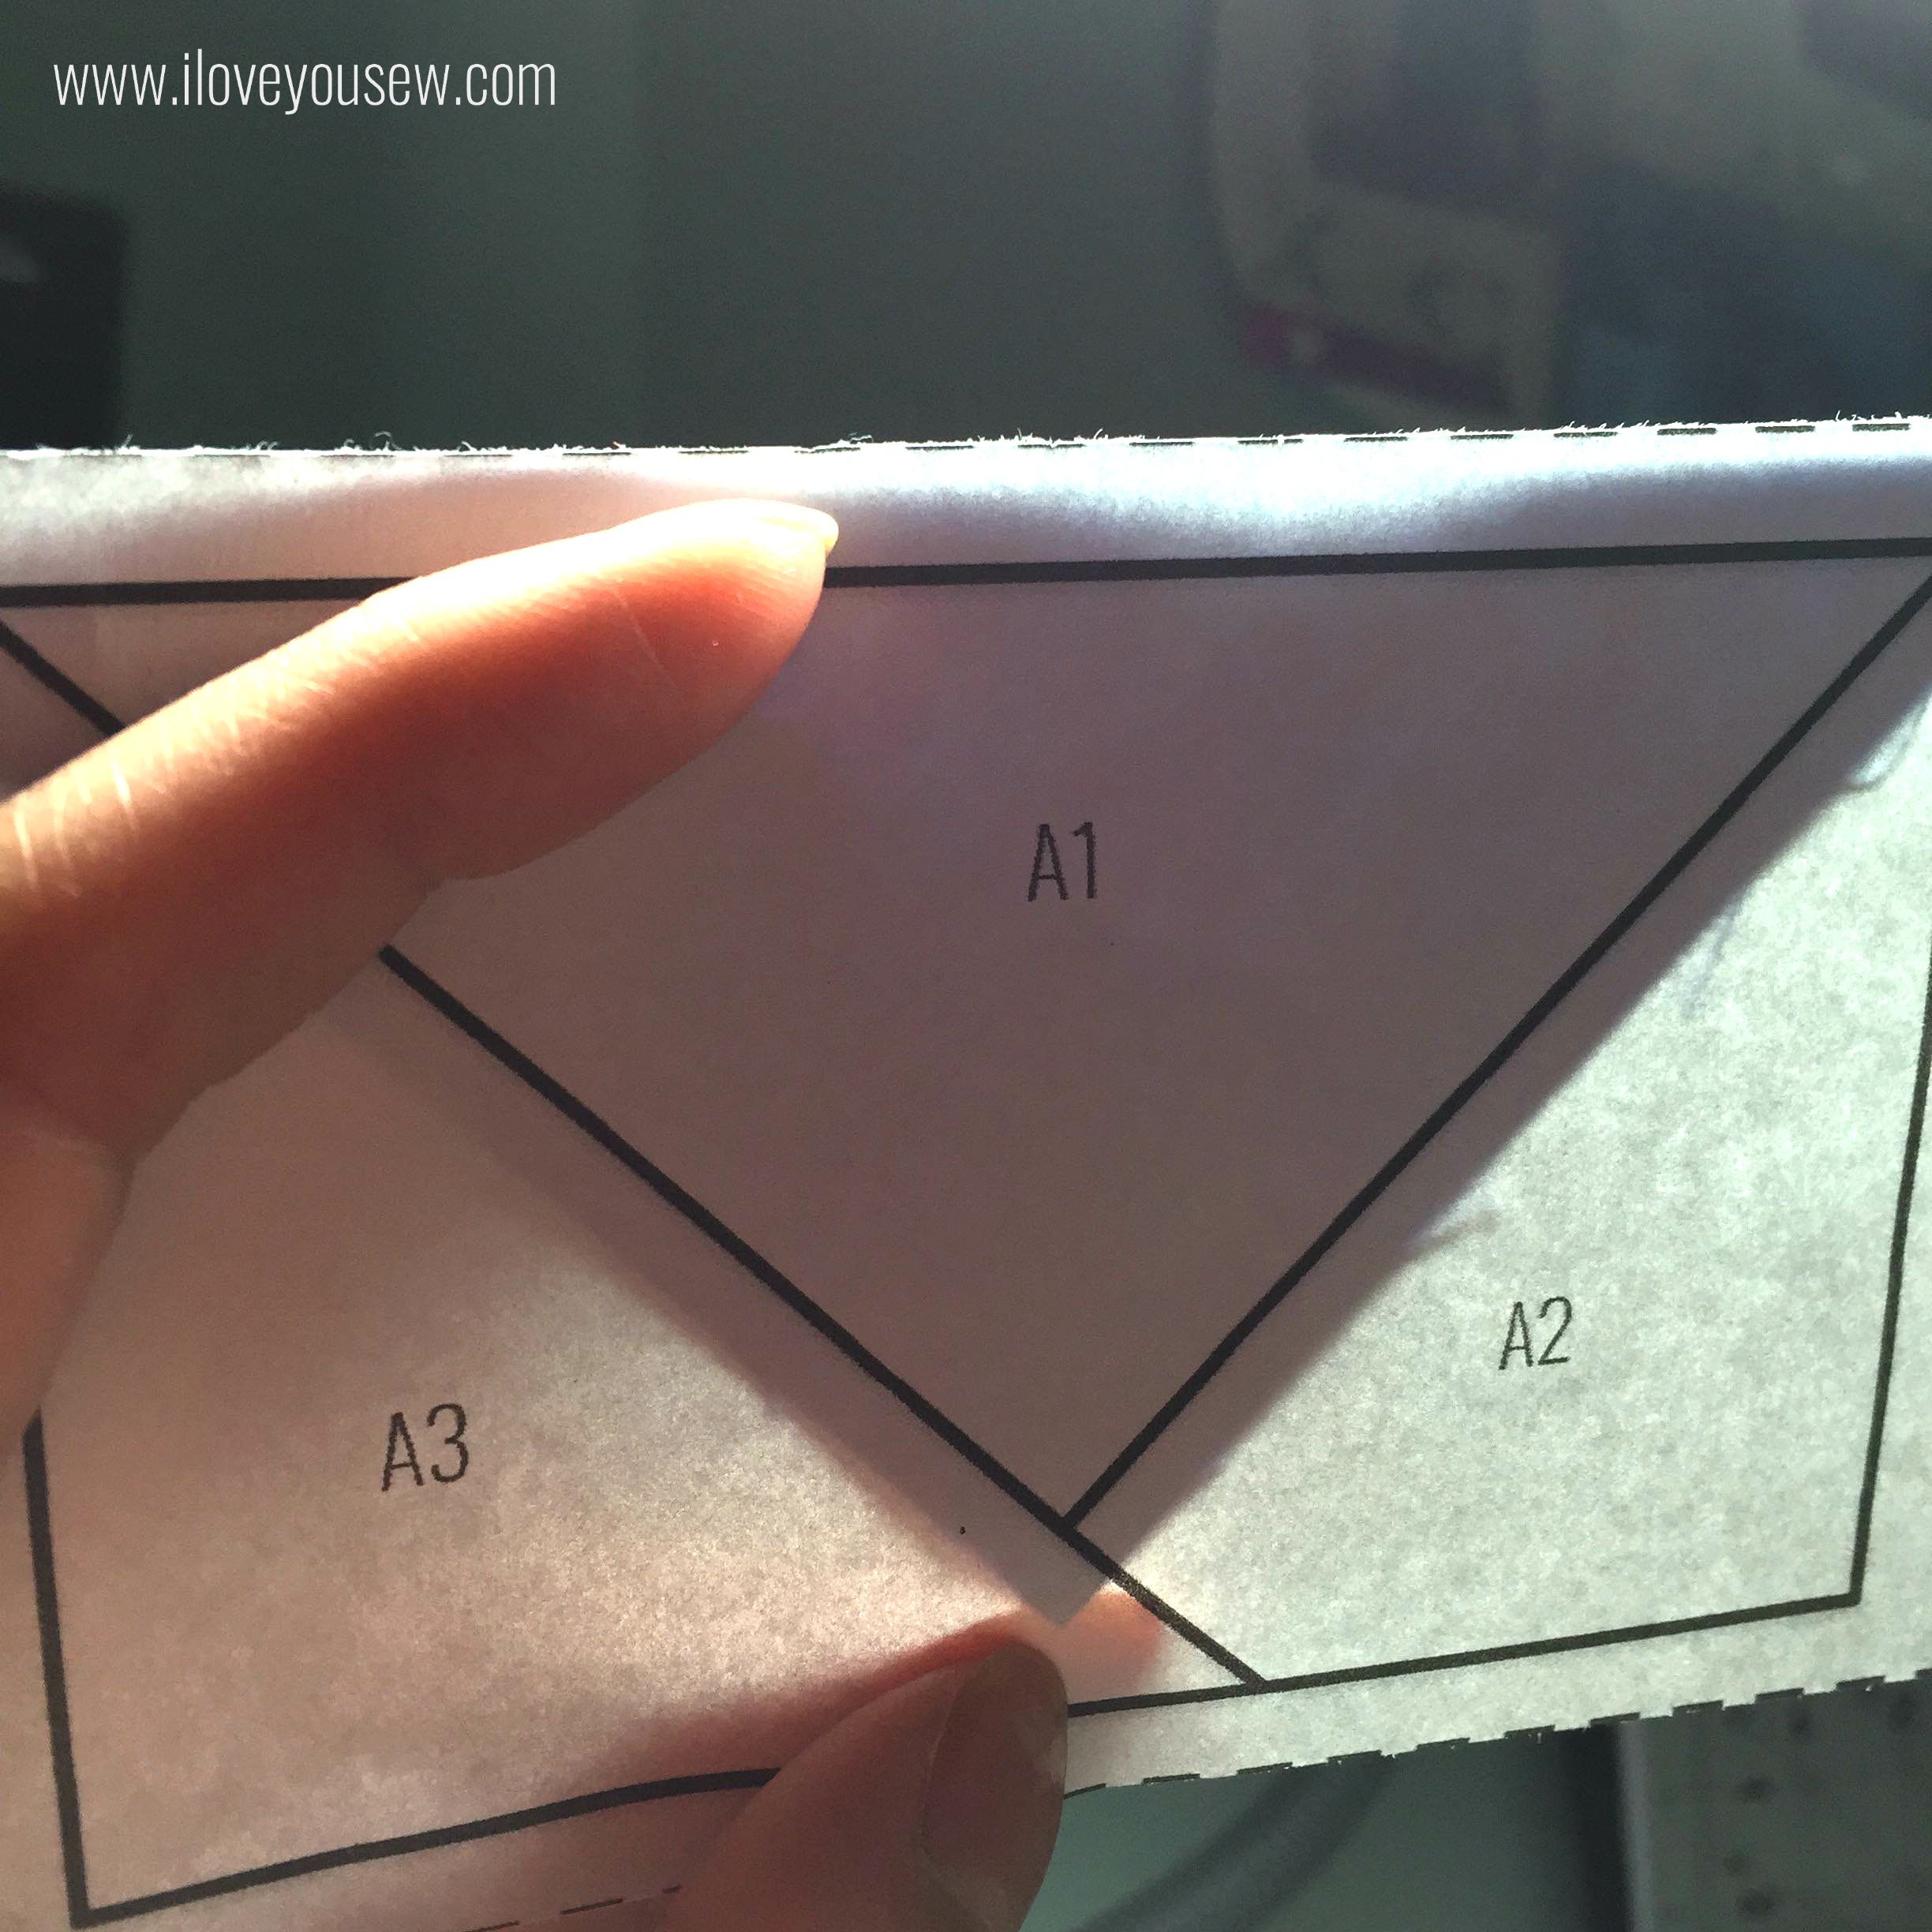
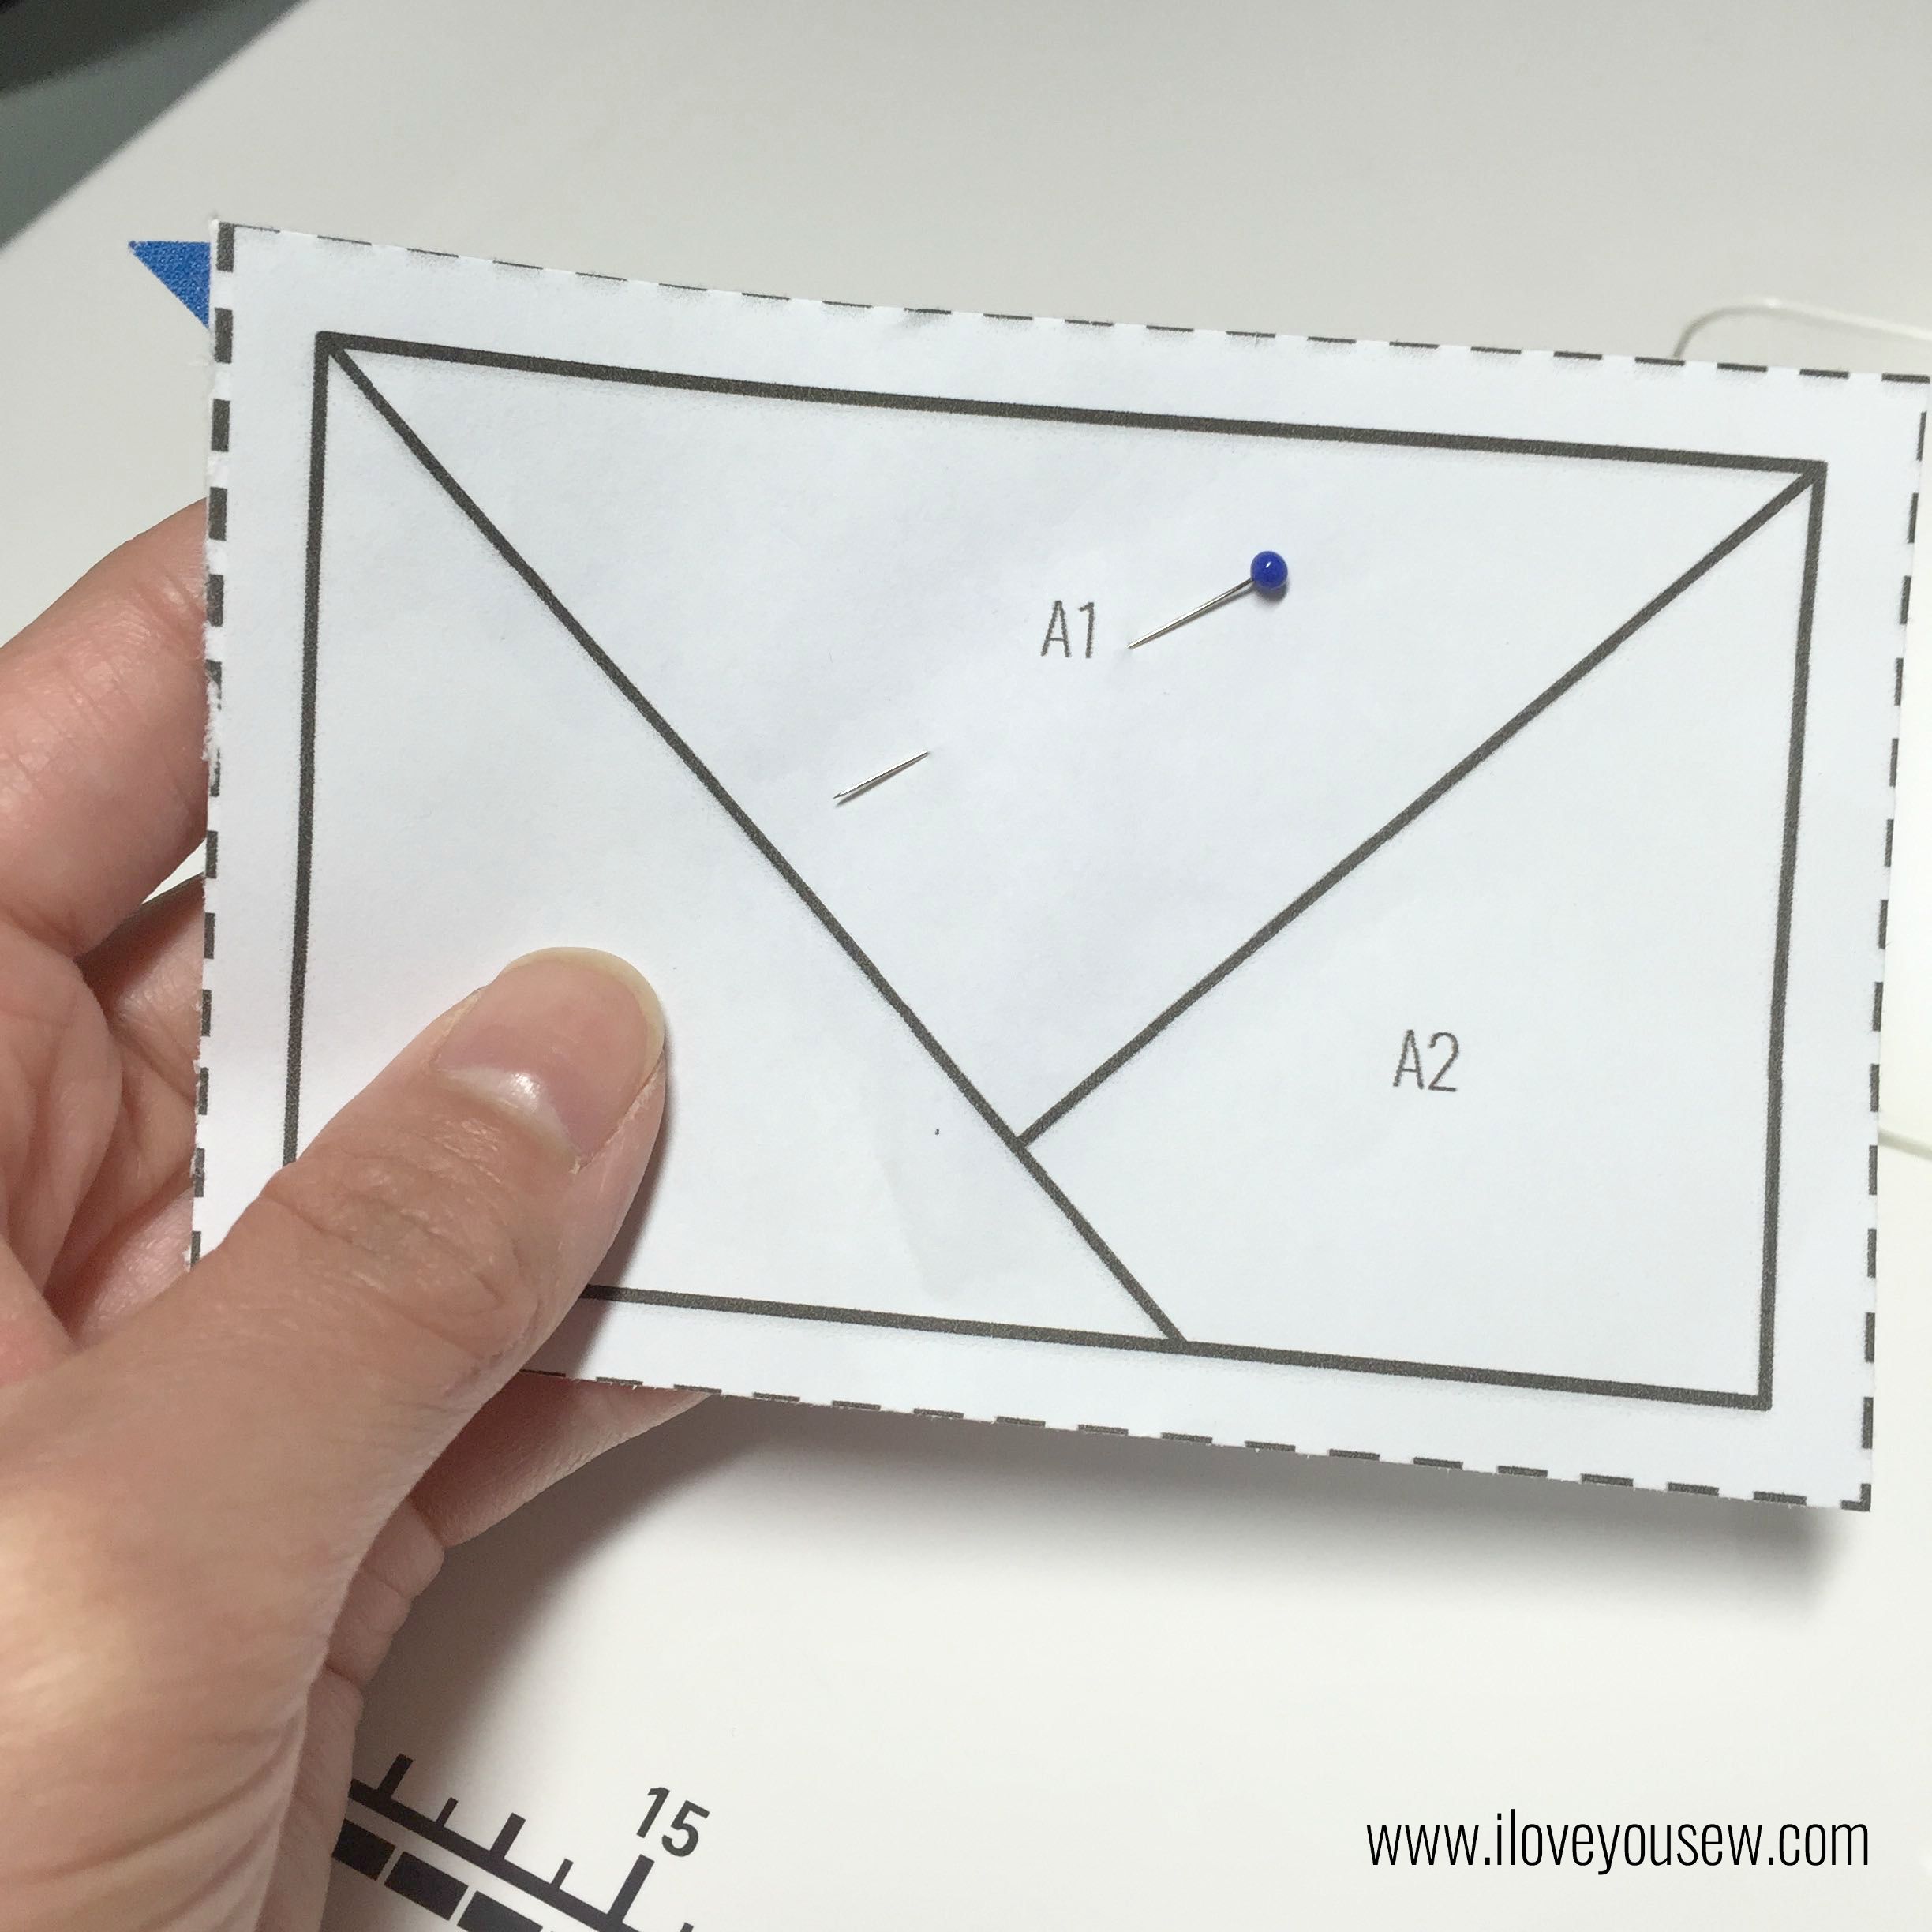
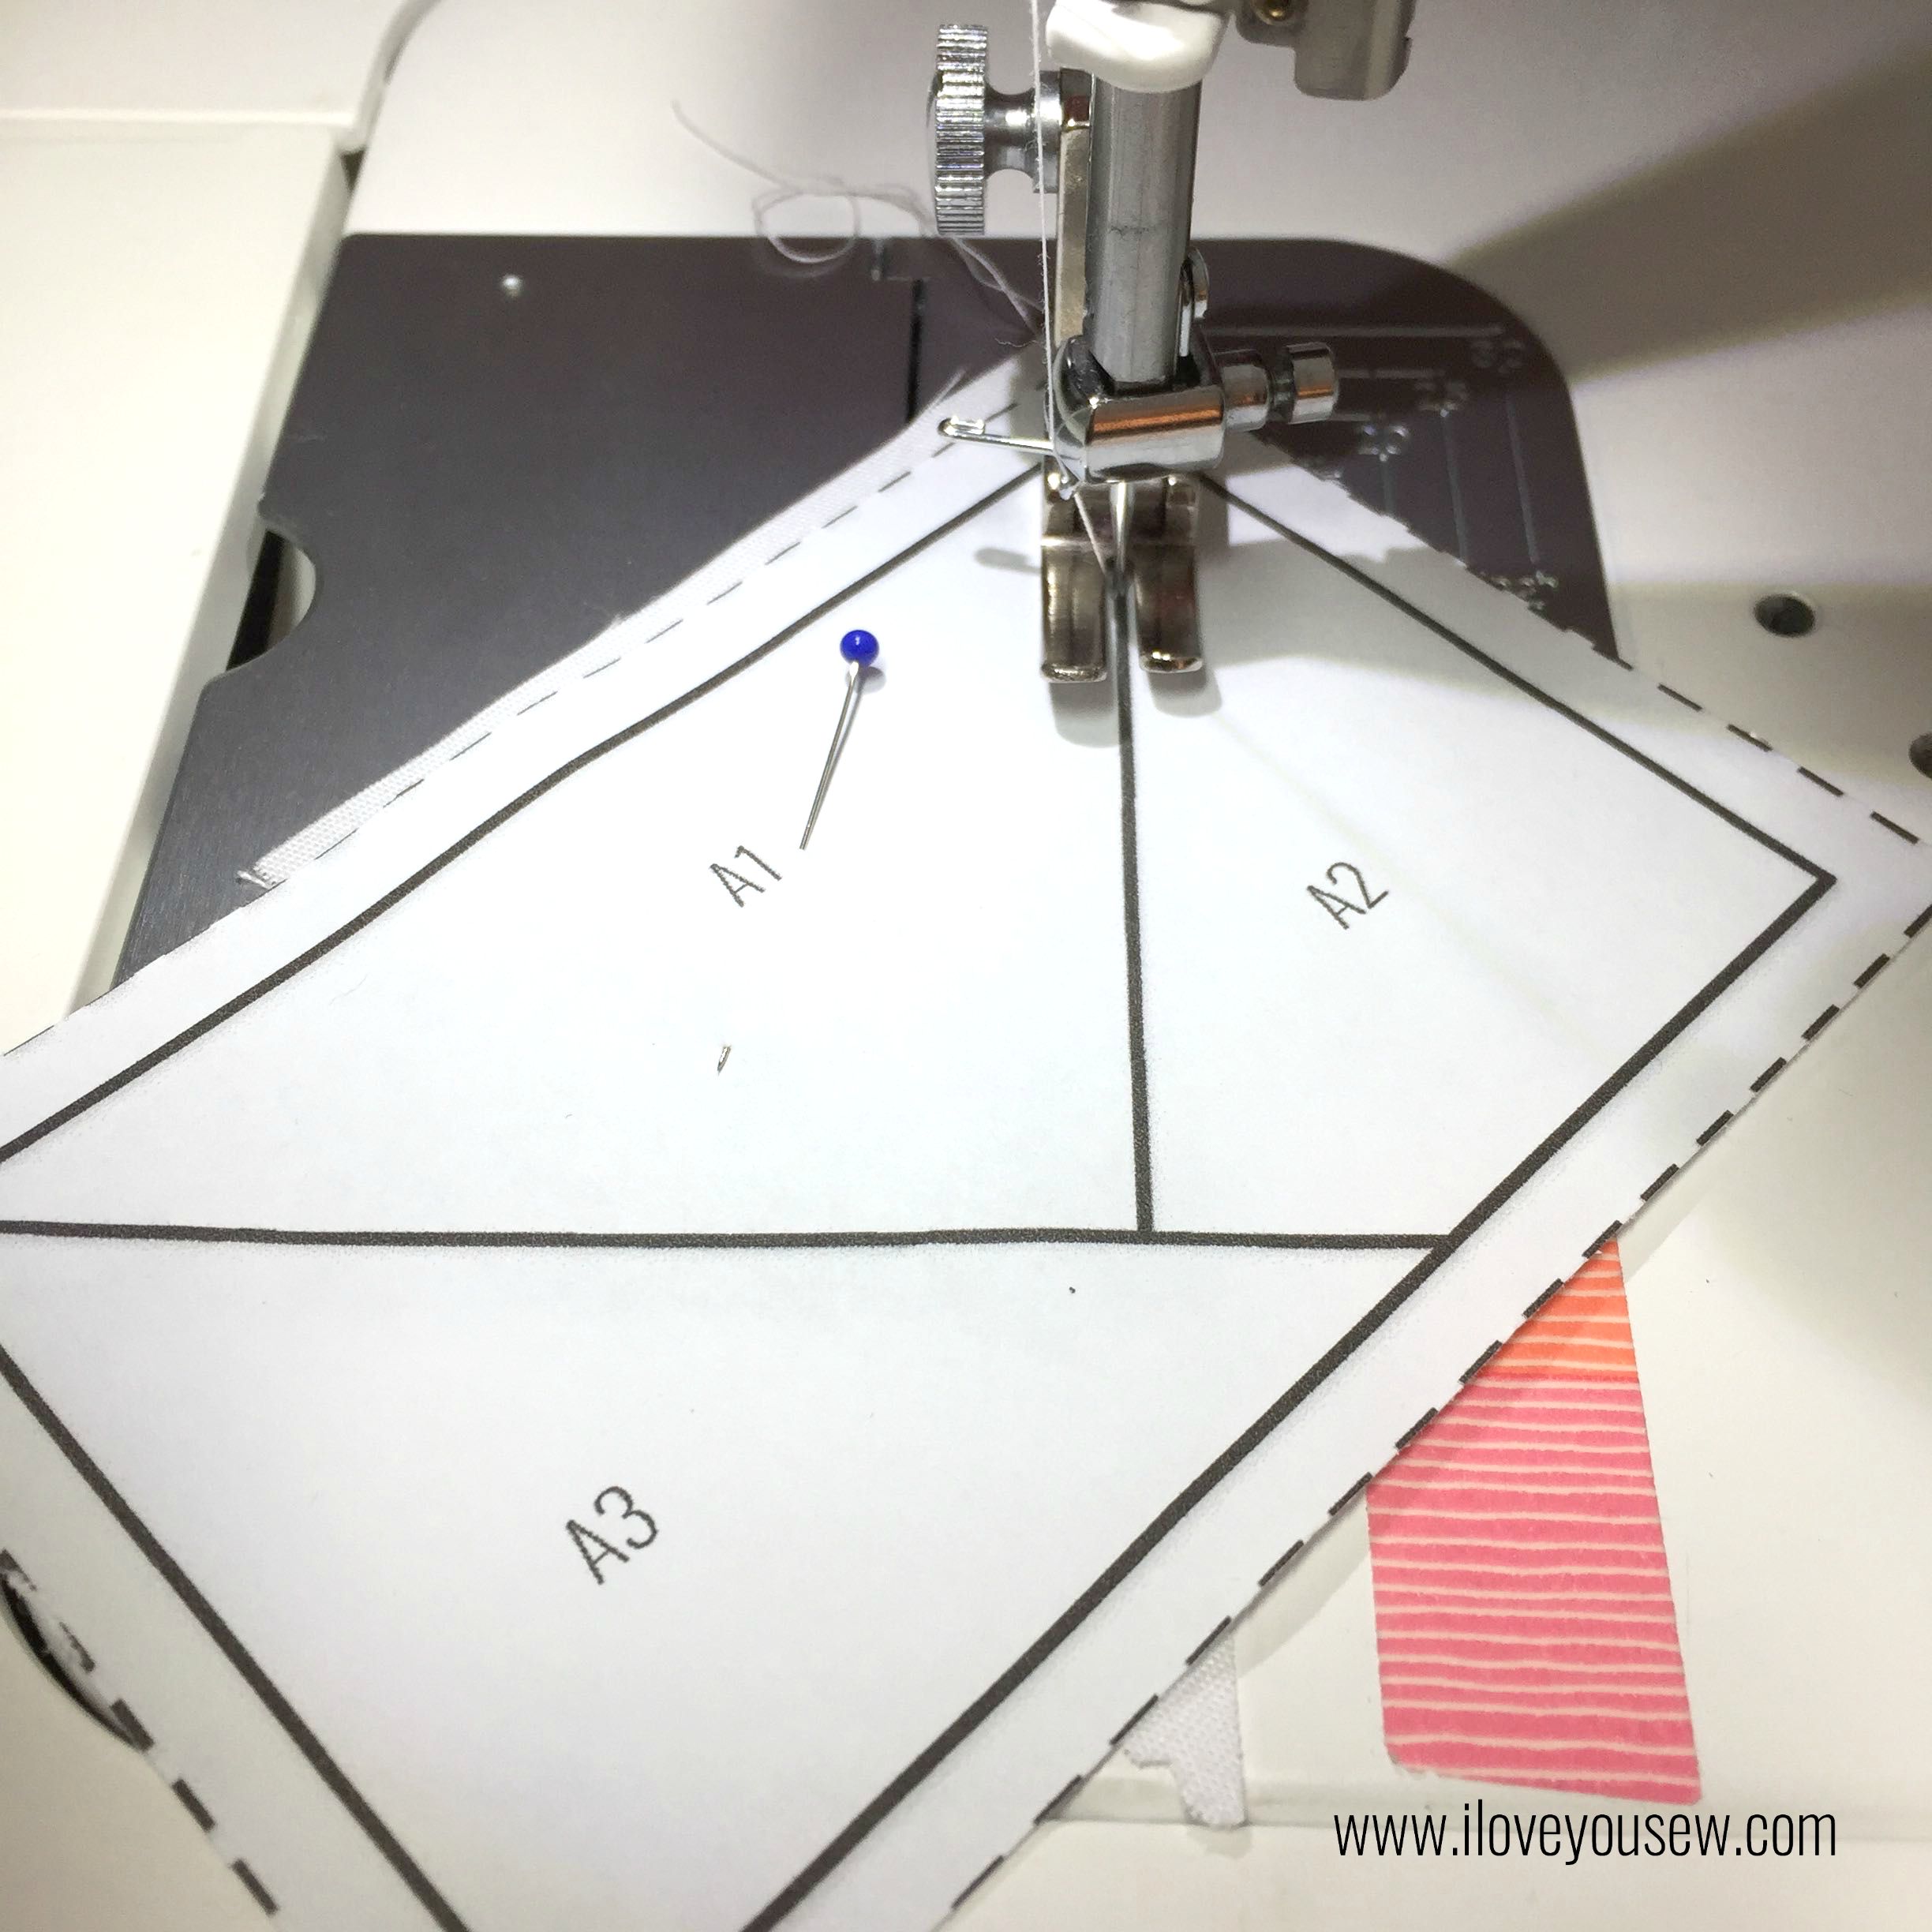
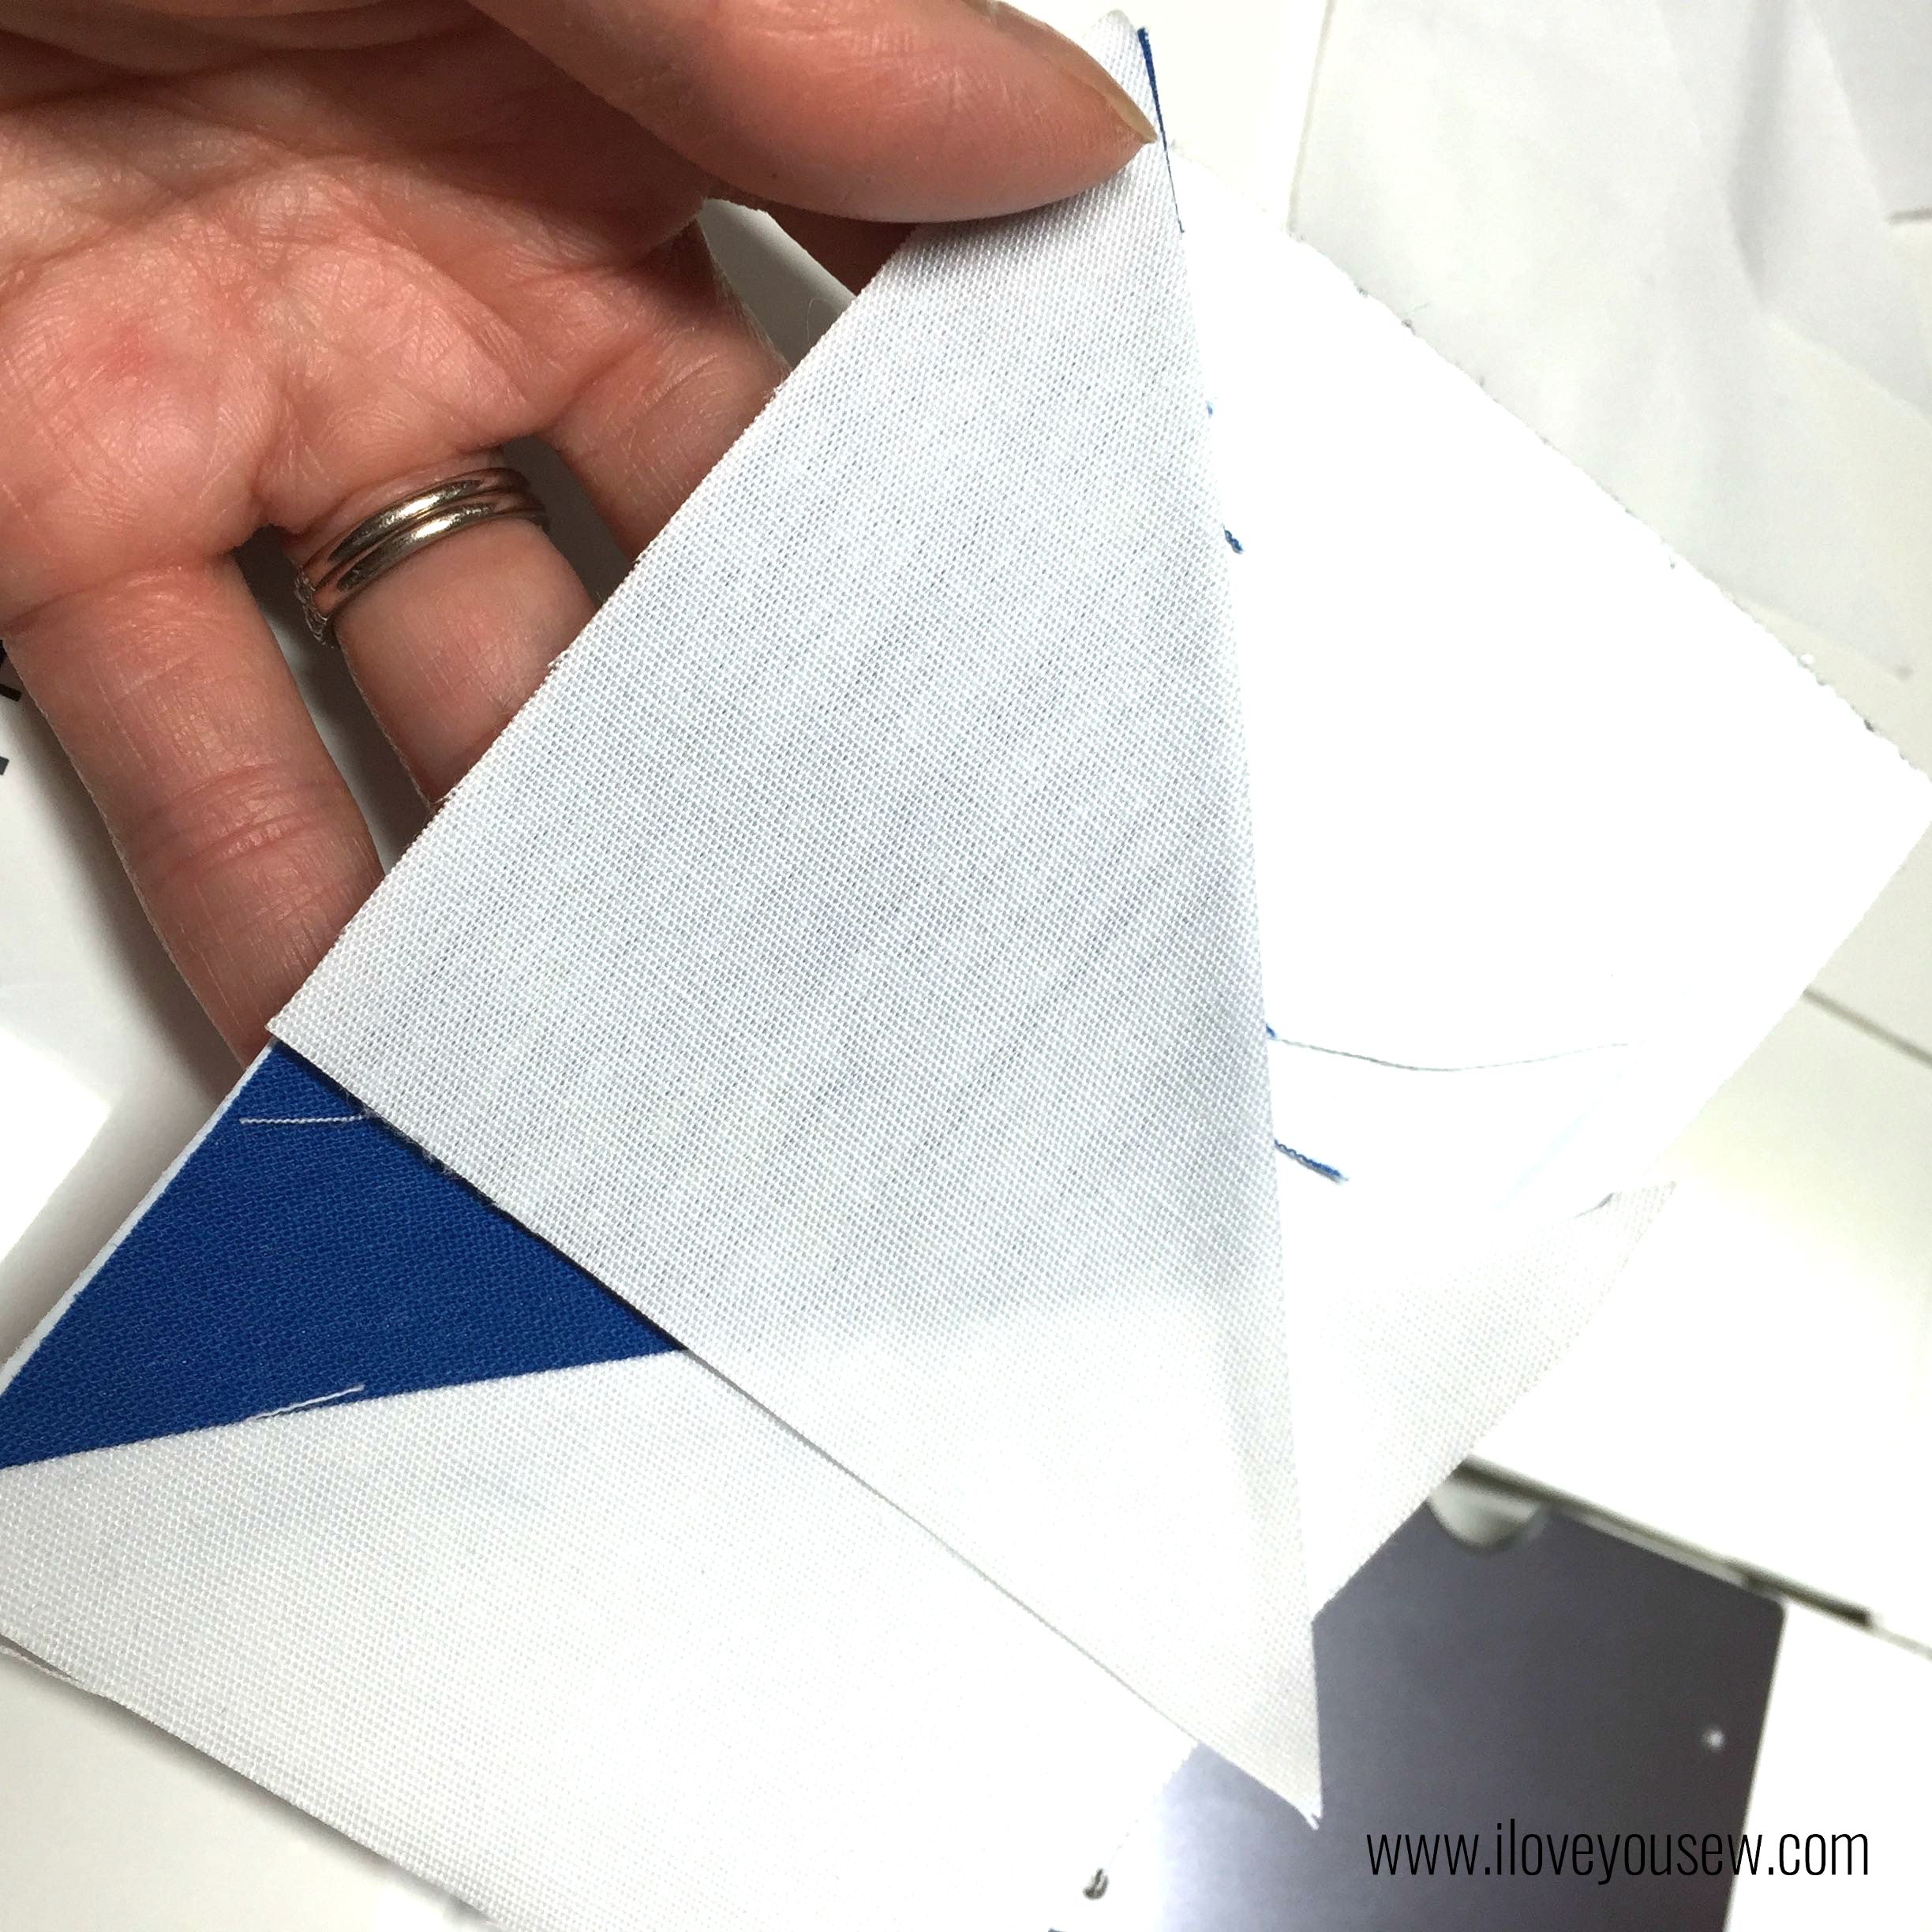
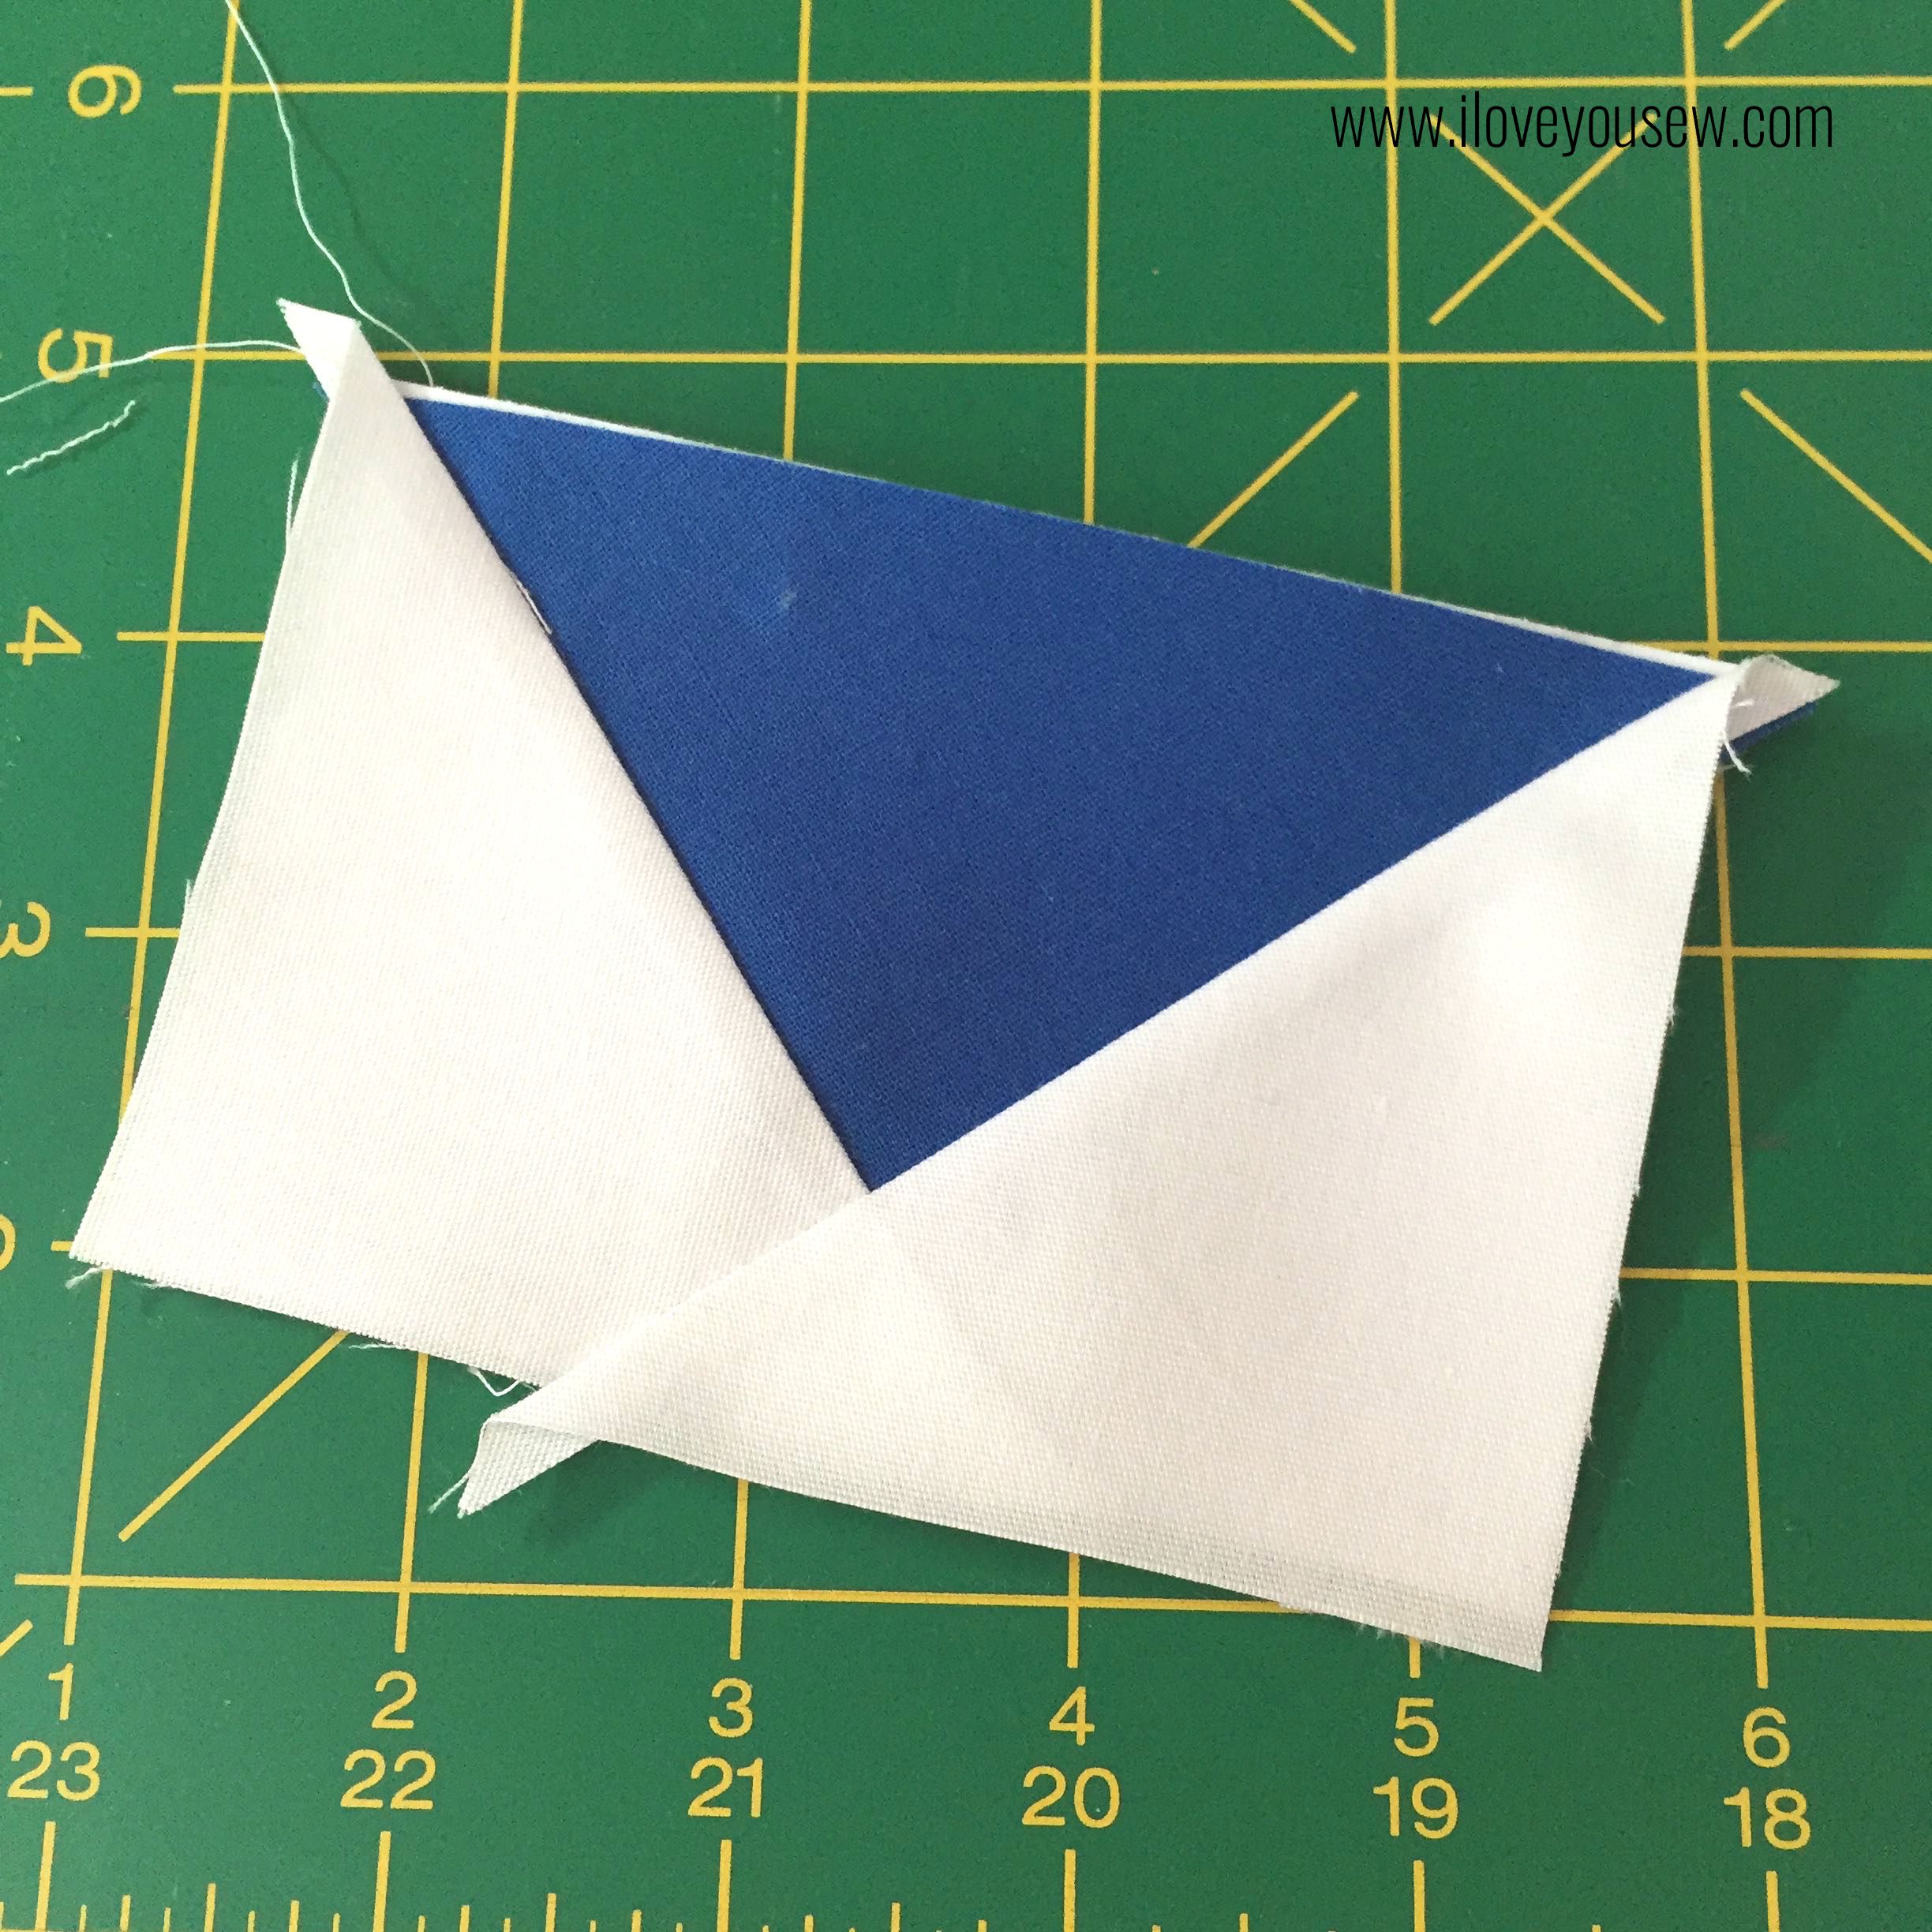
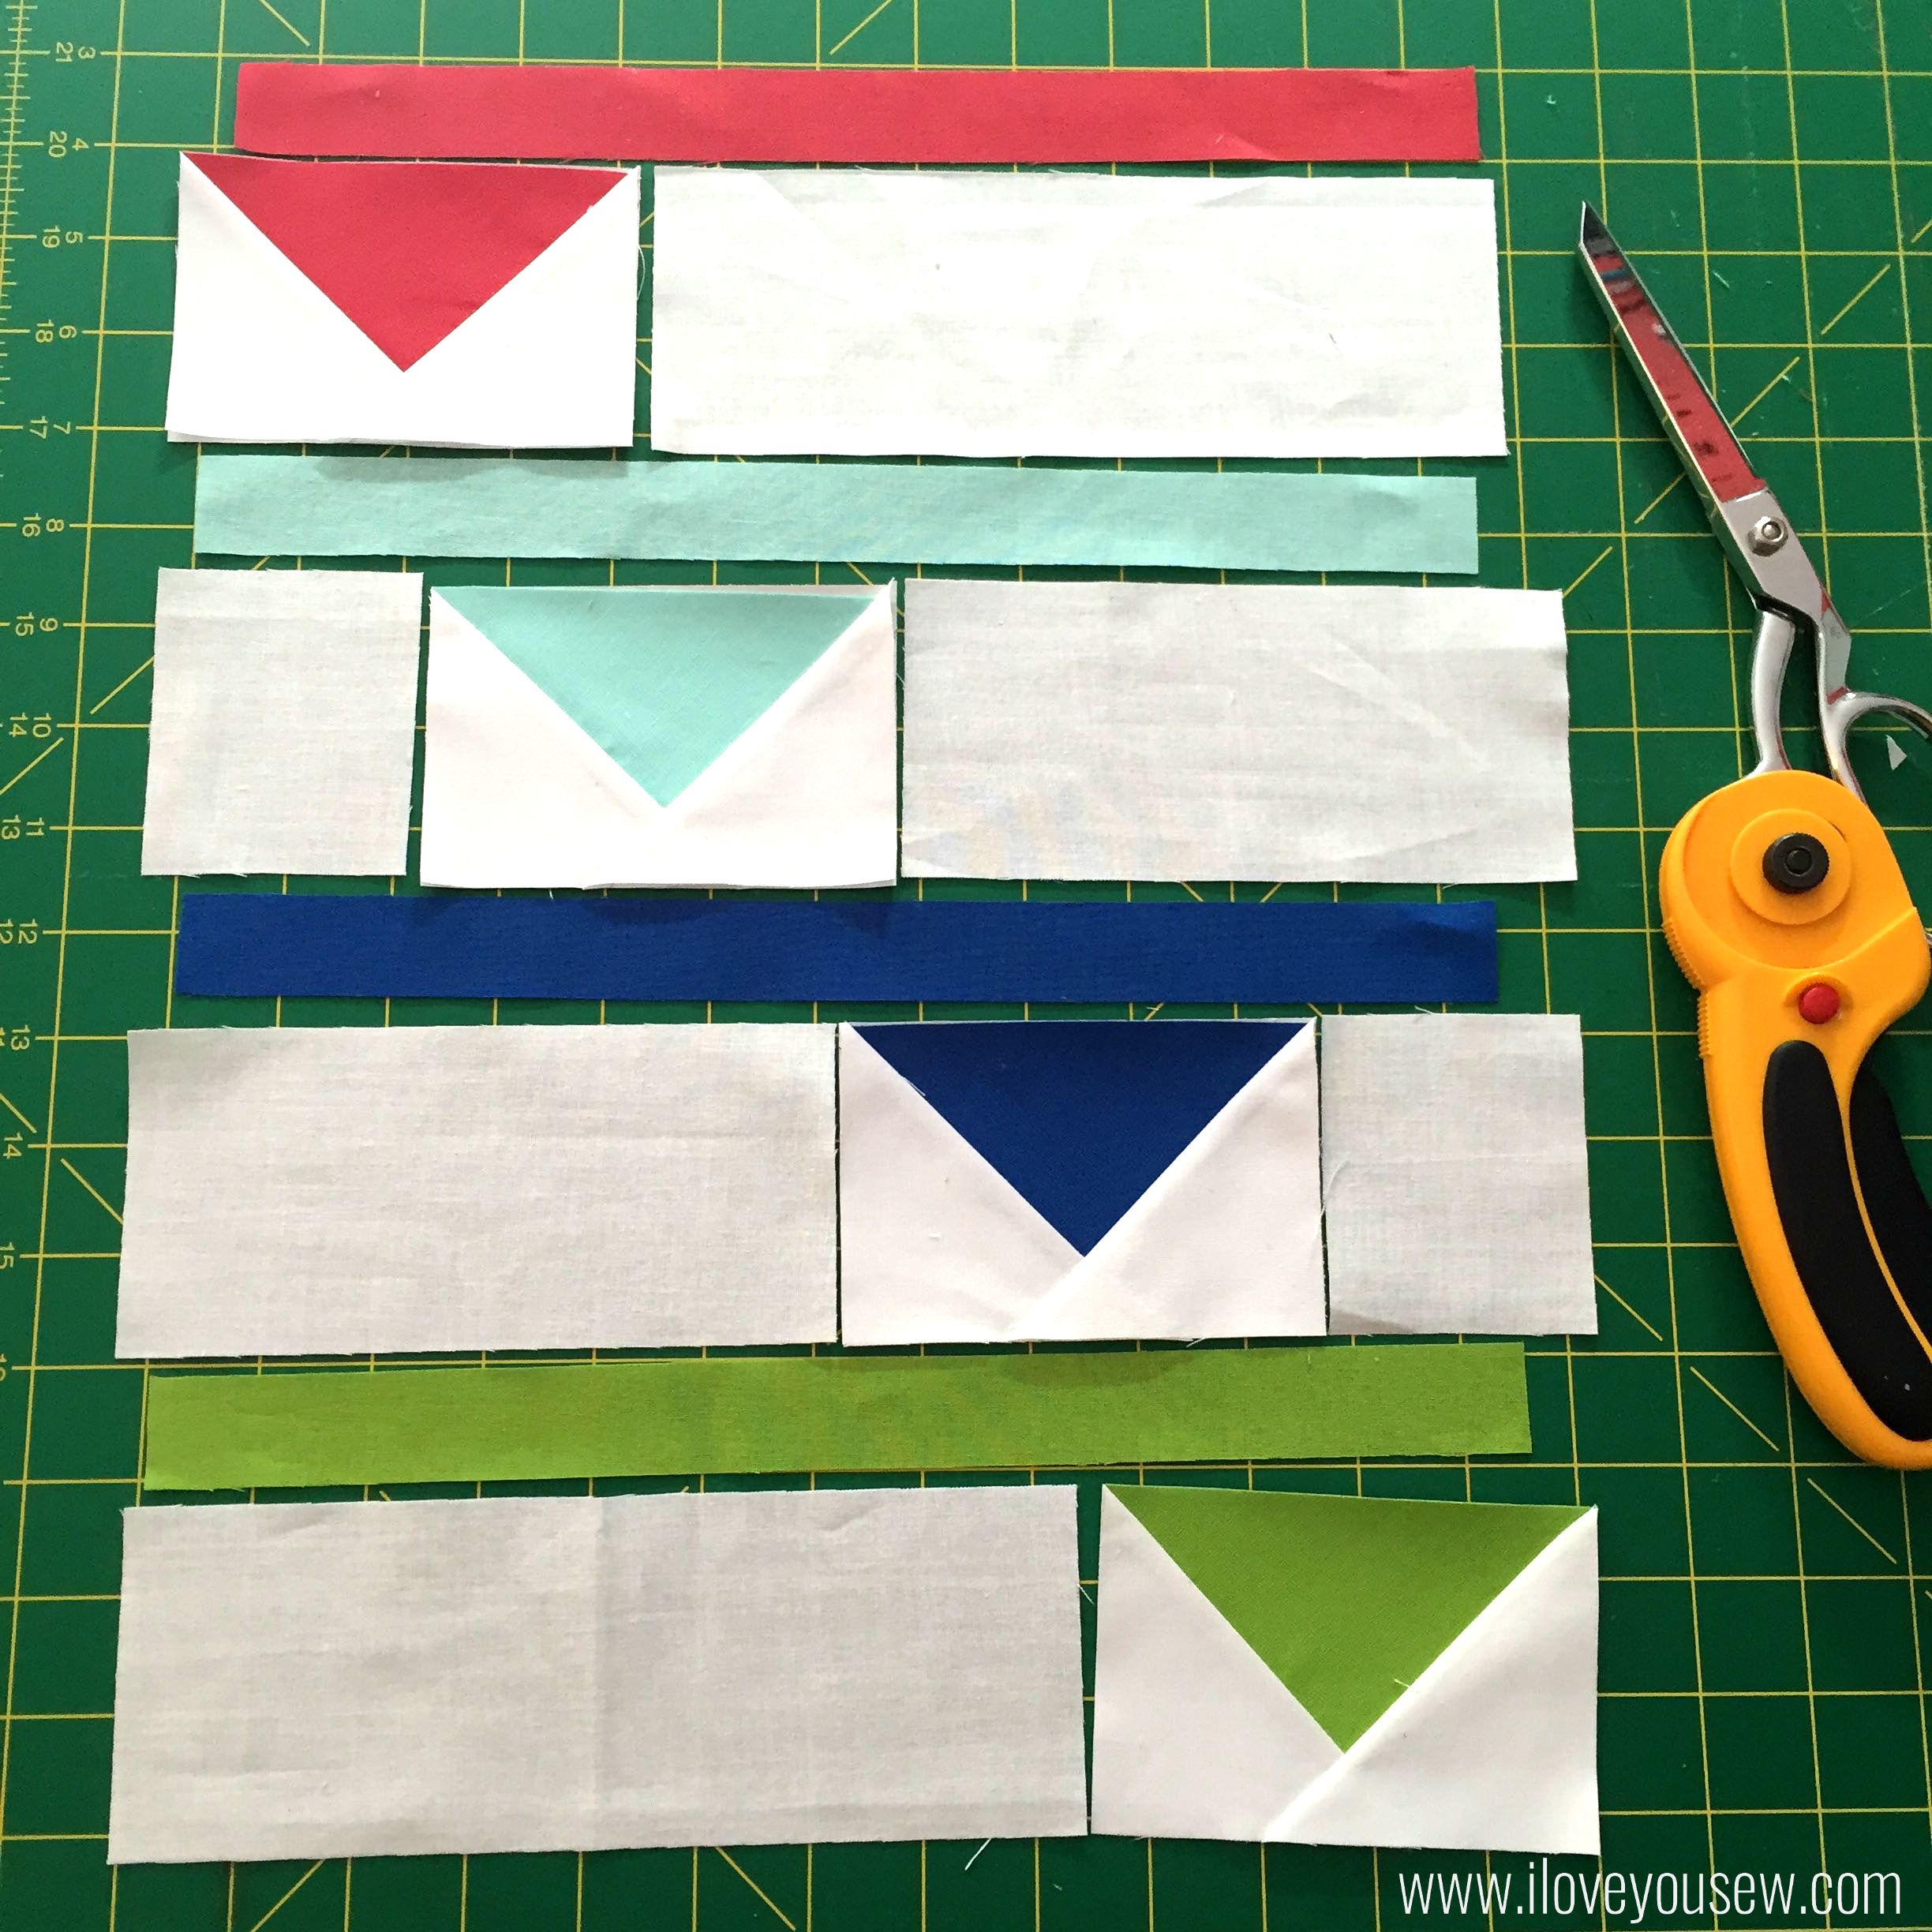
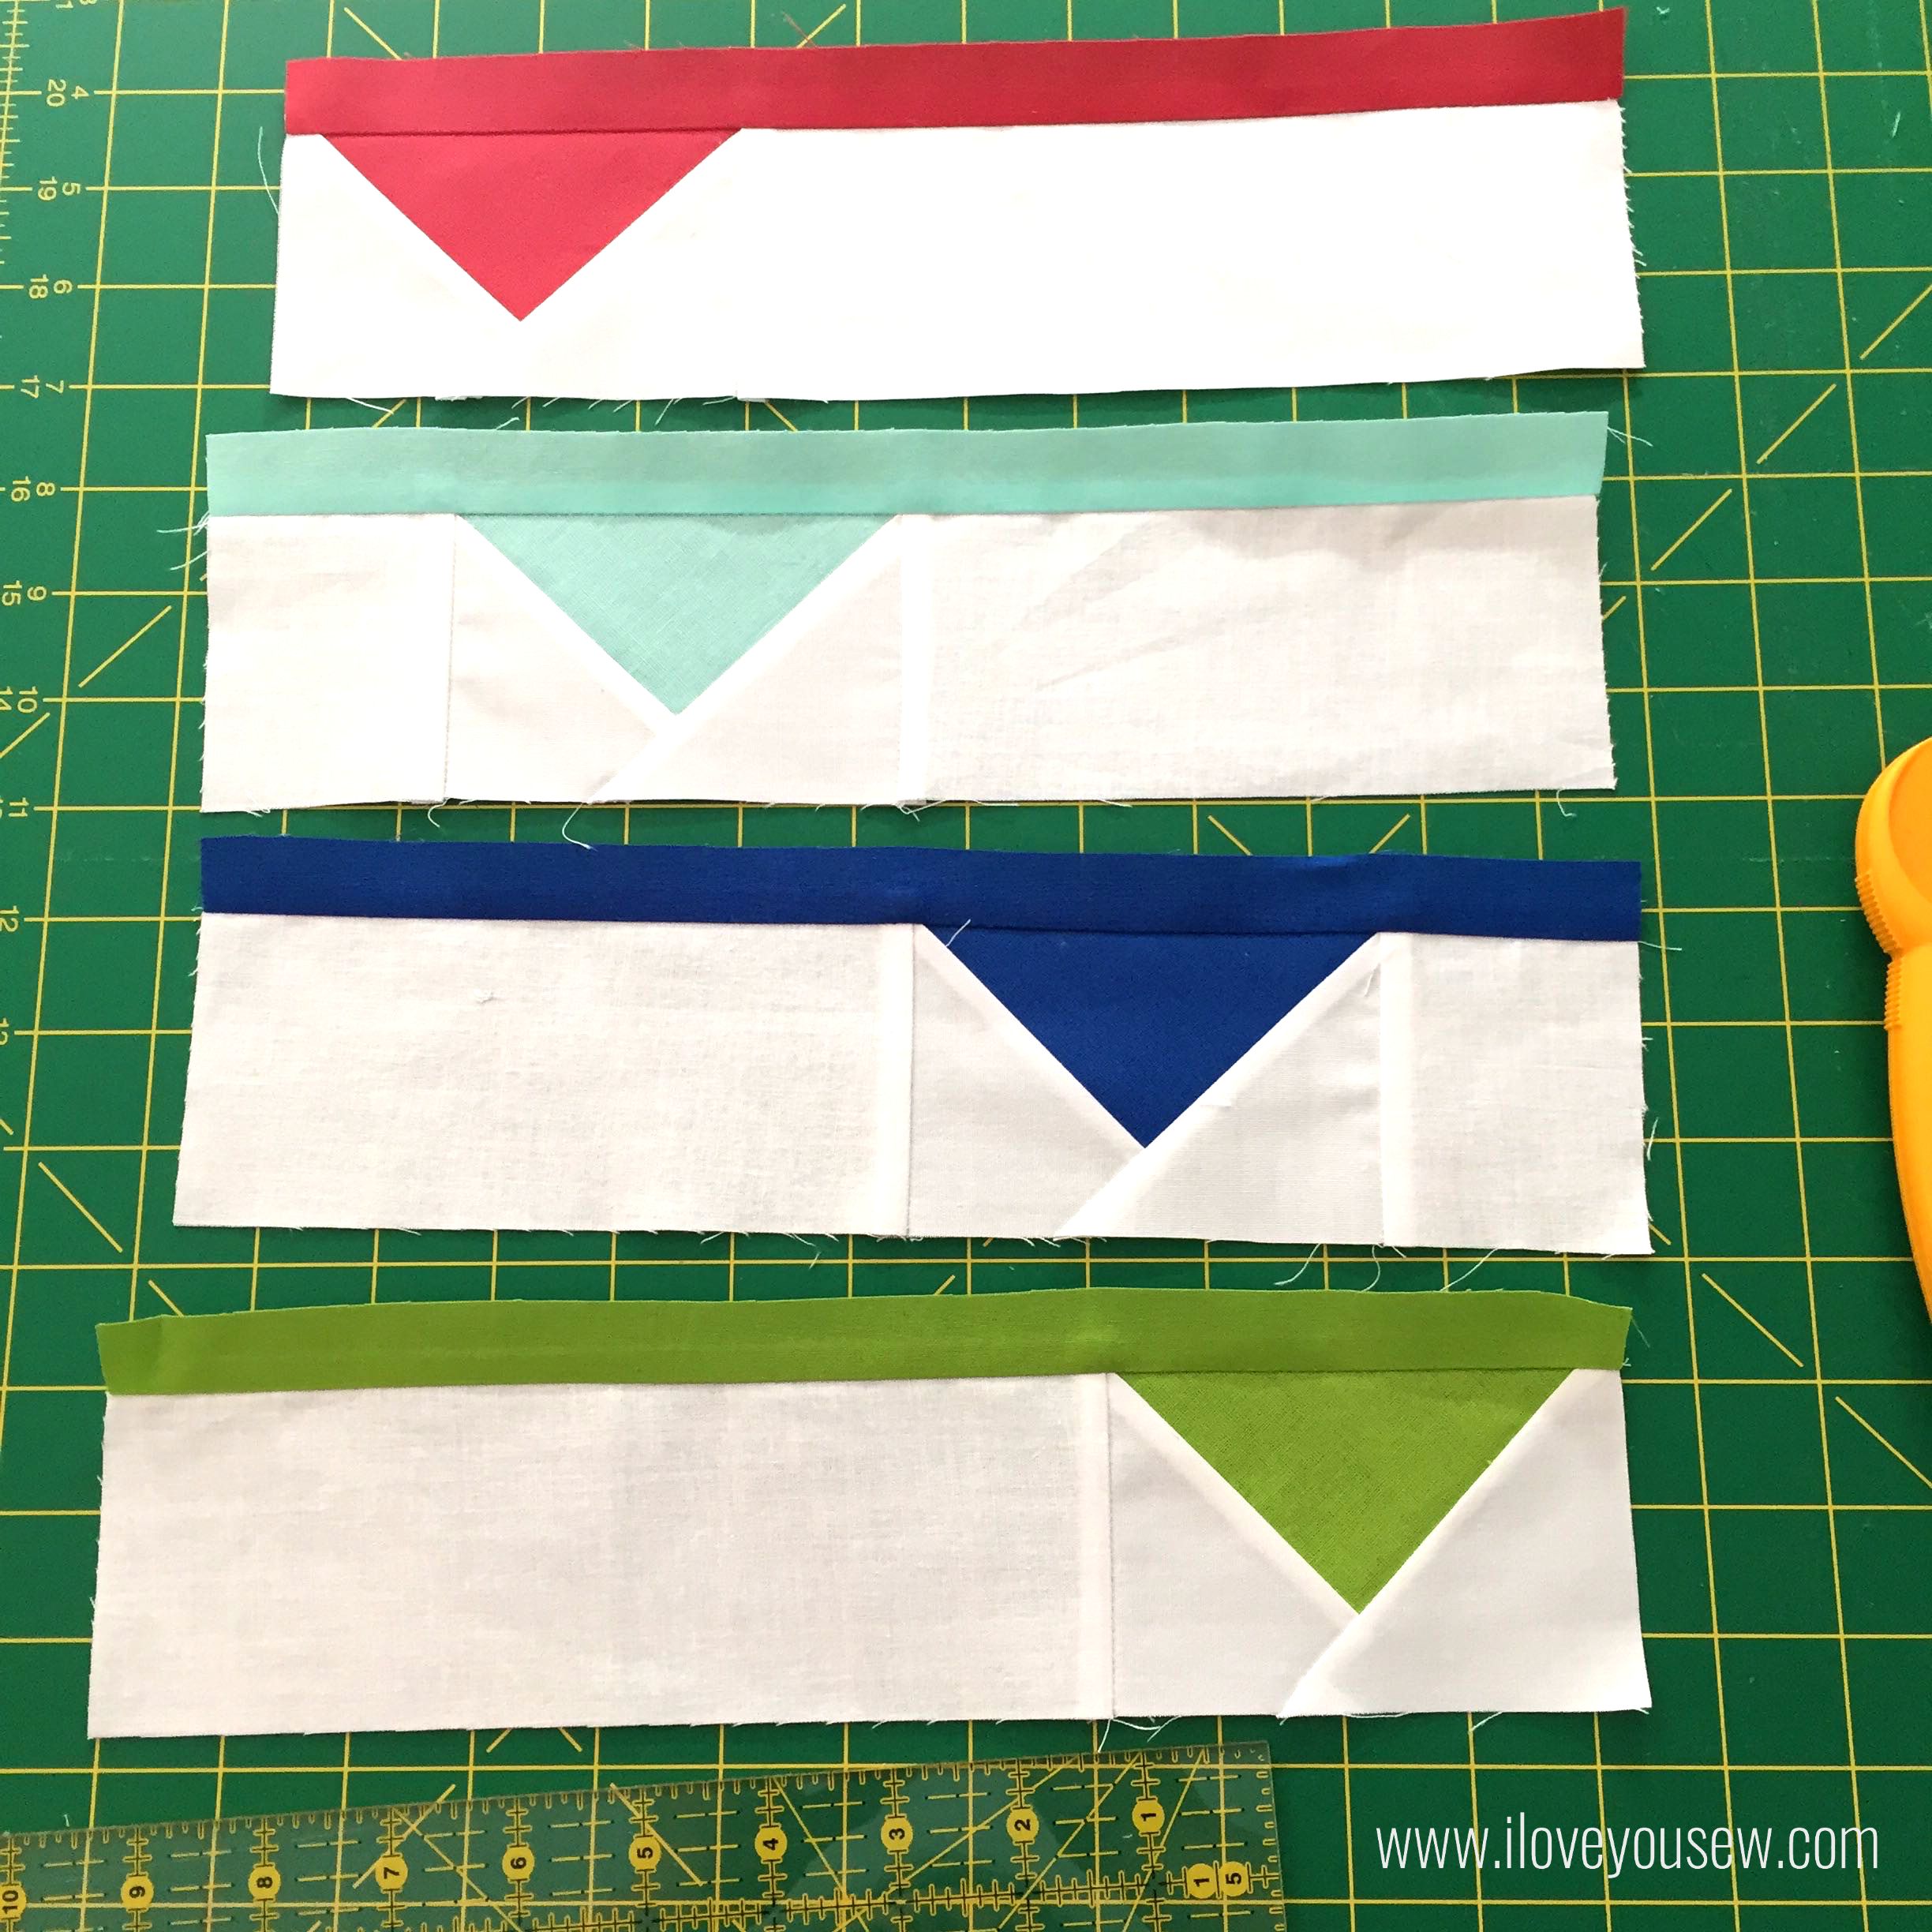
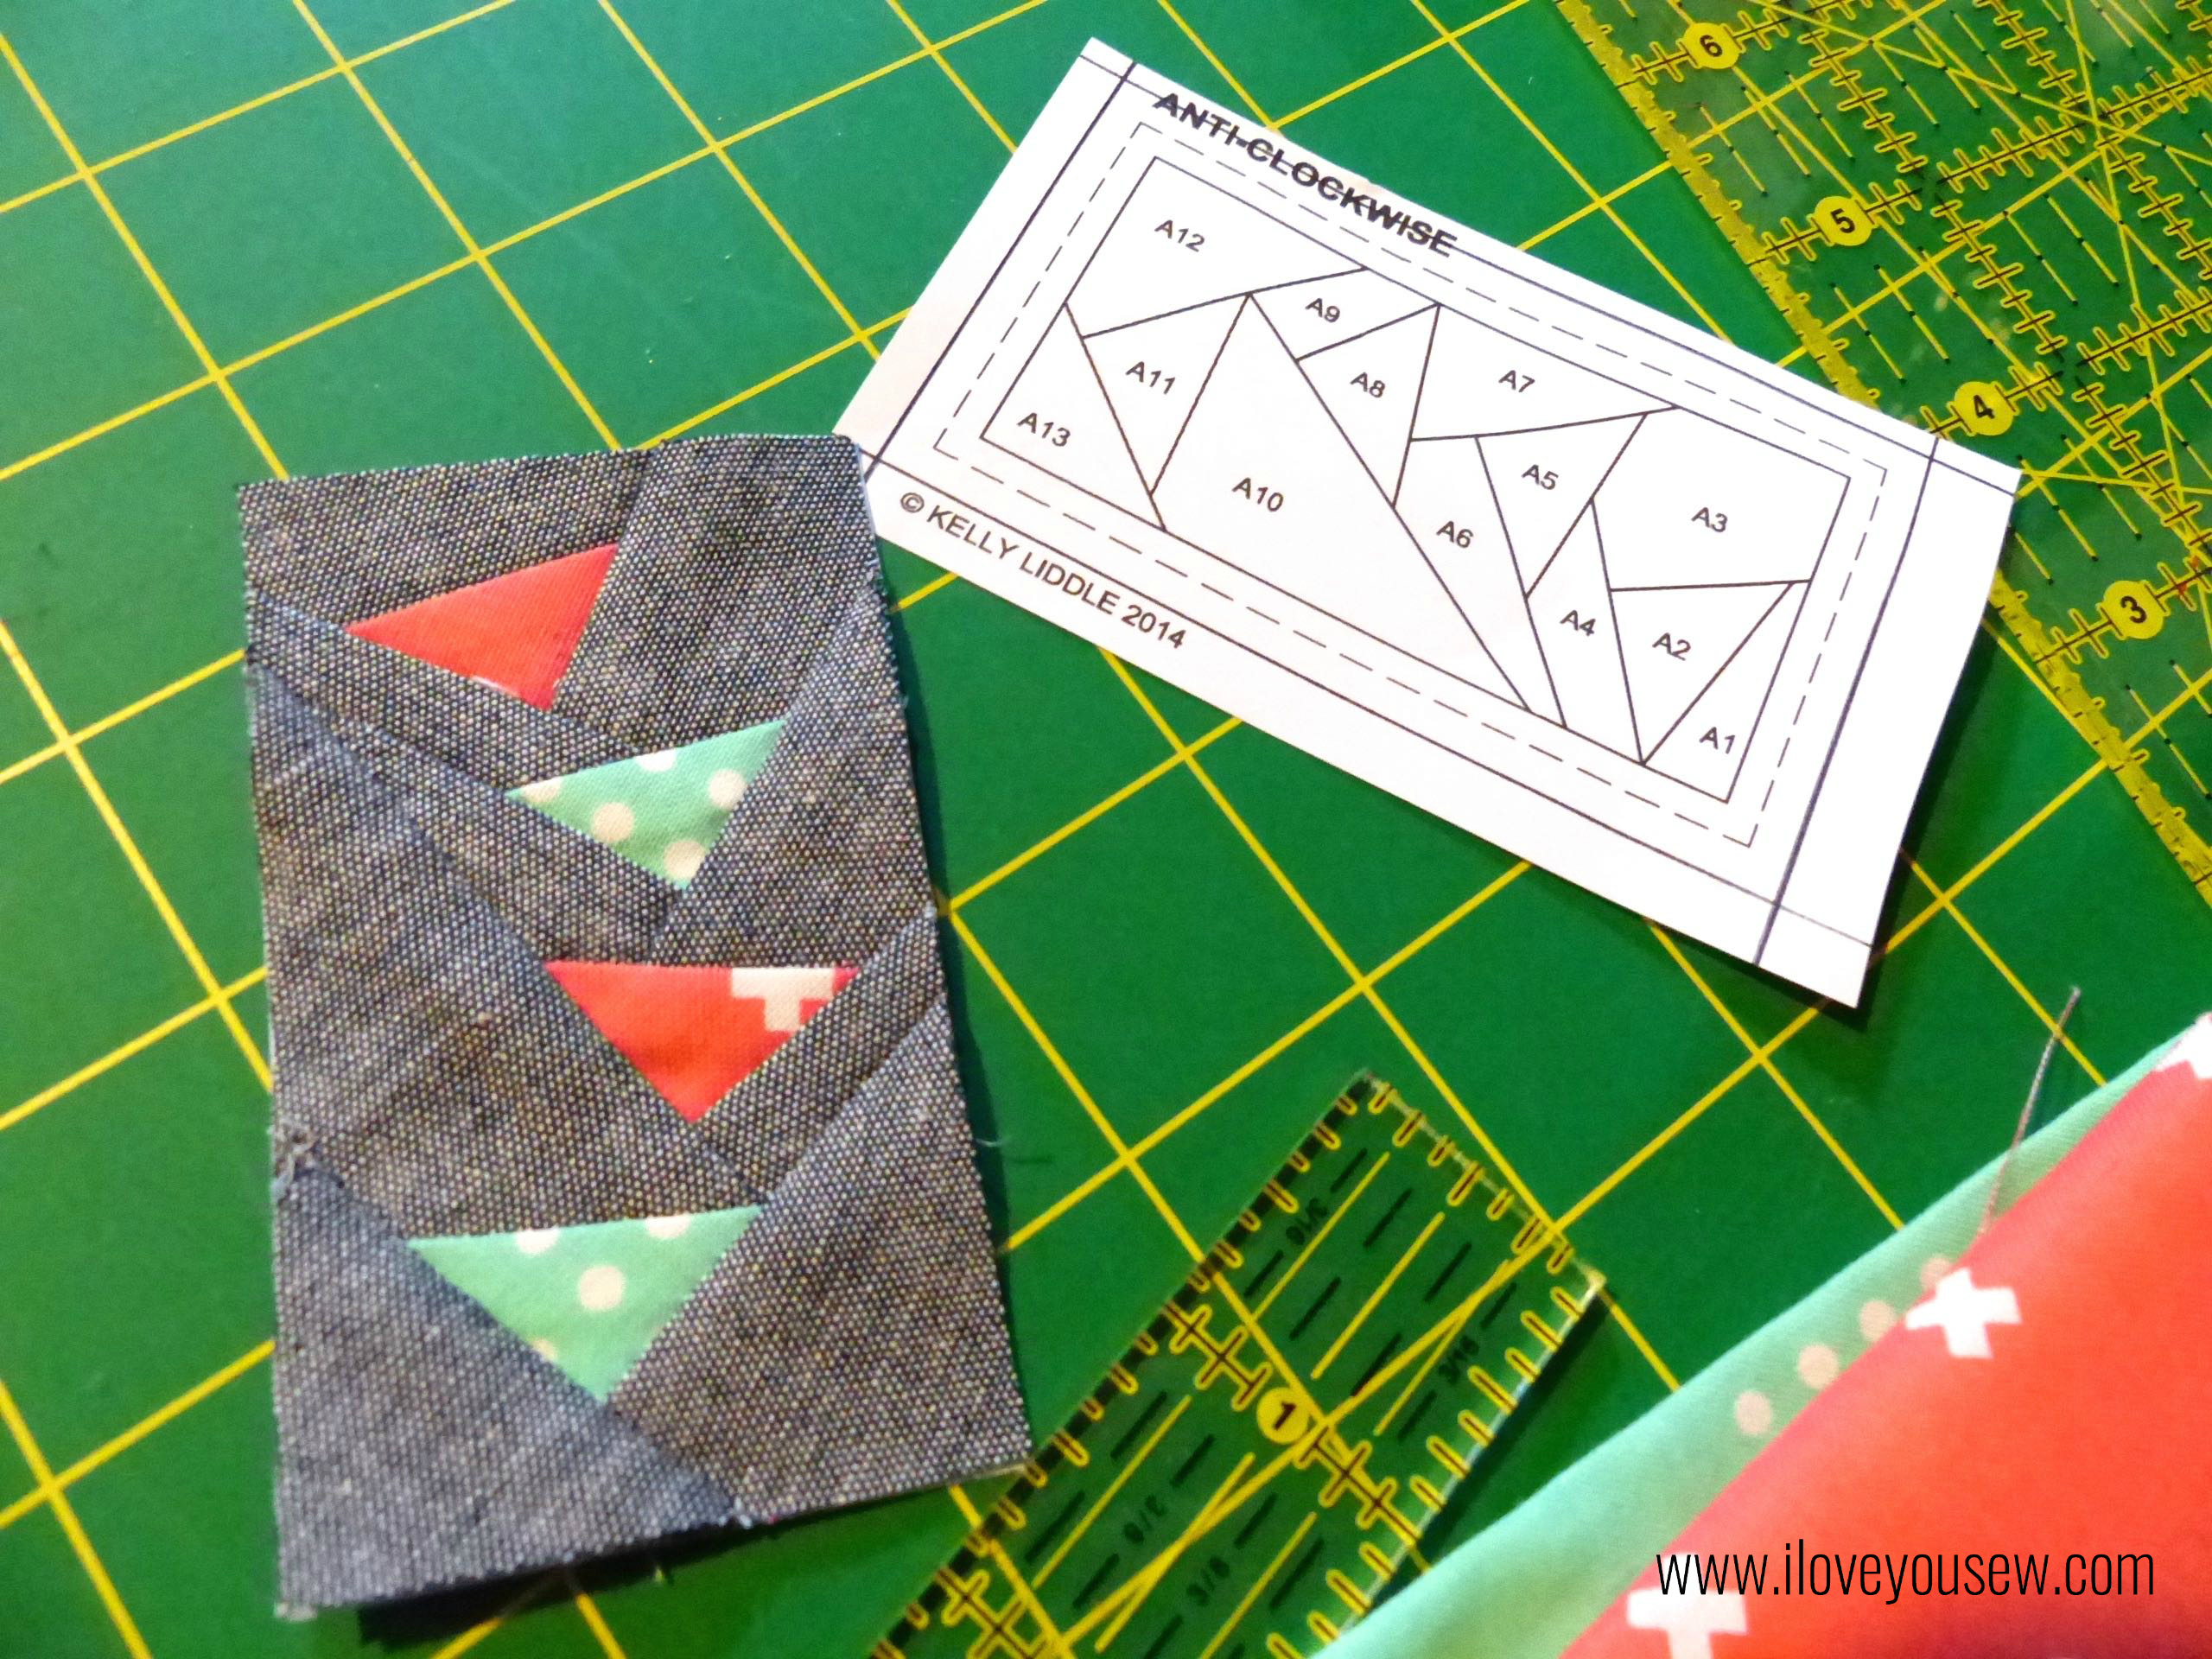
FPP Geese Close-up
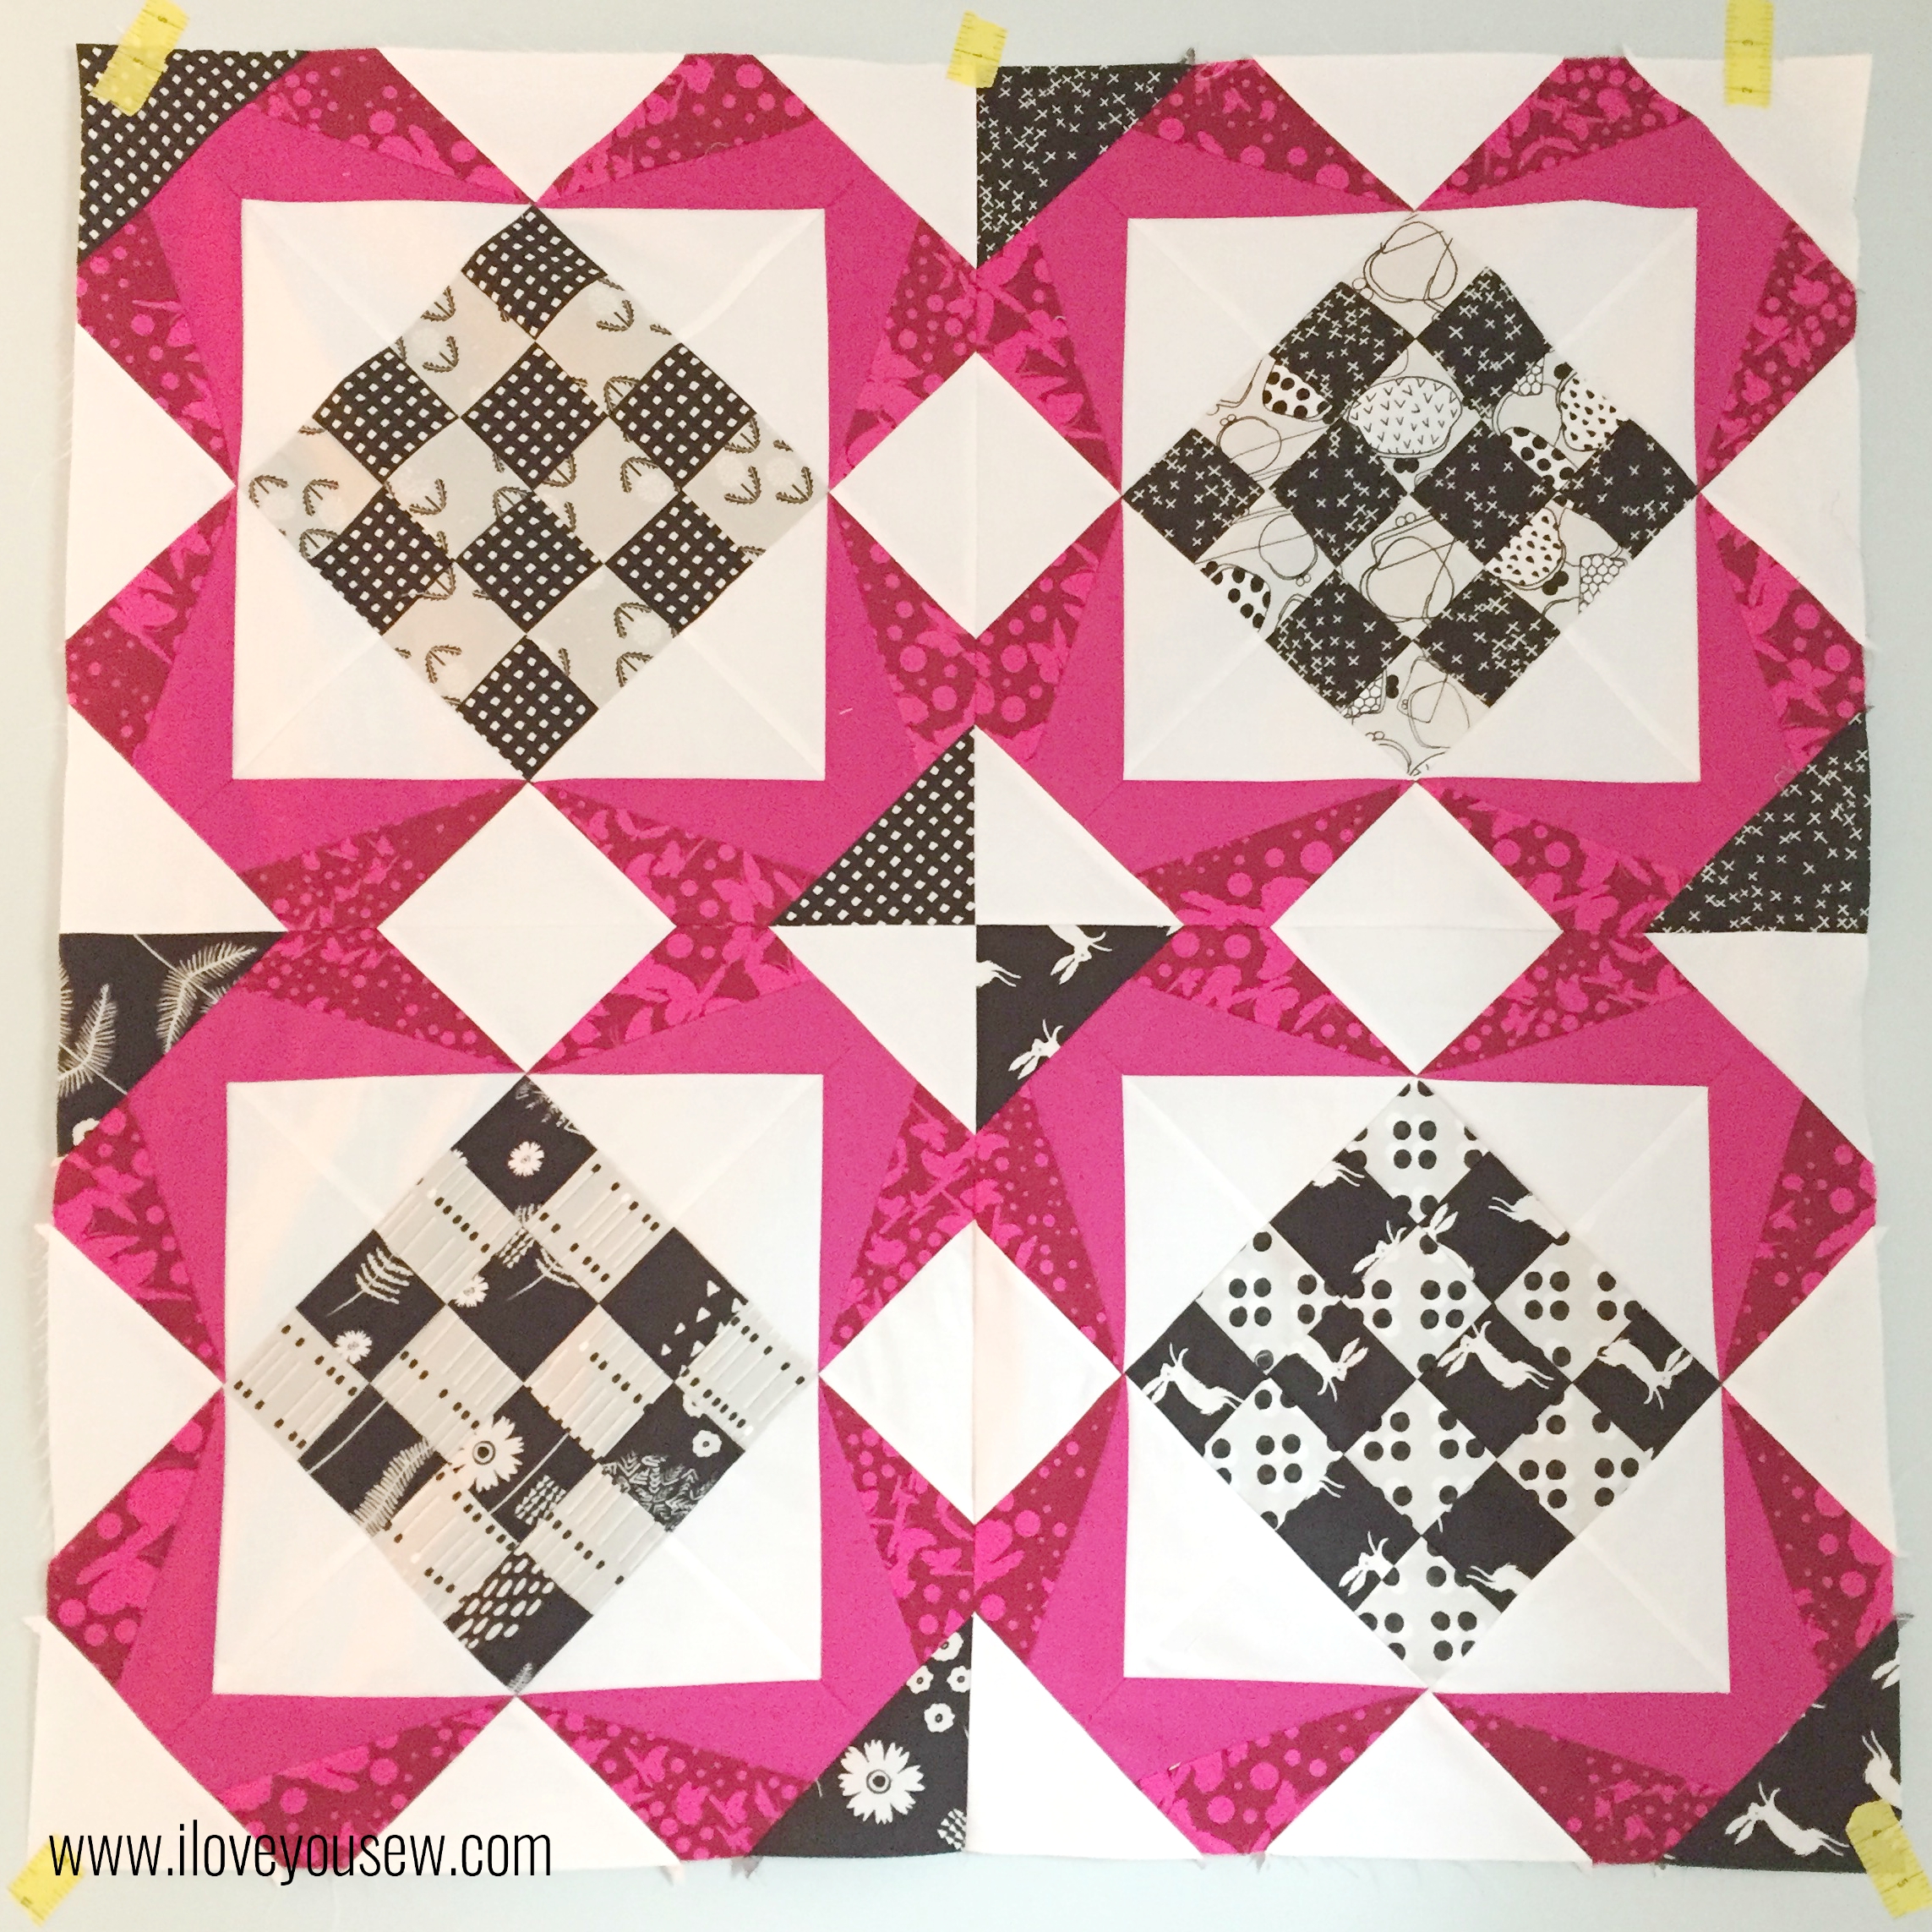
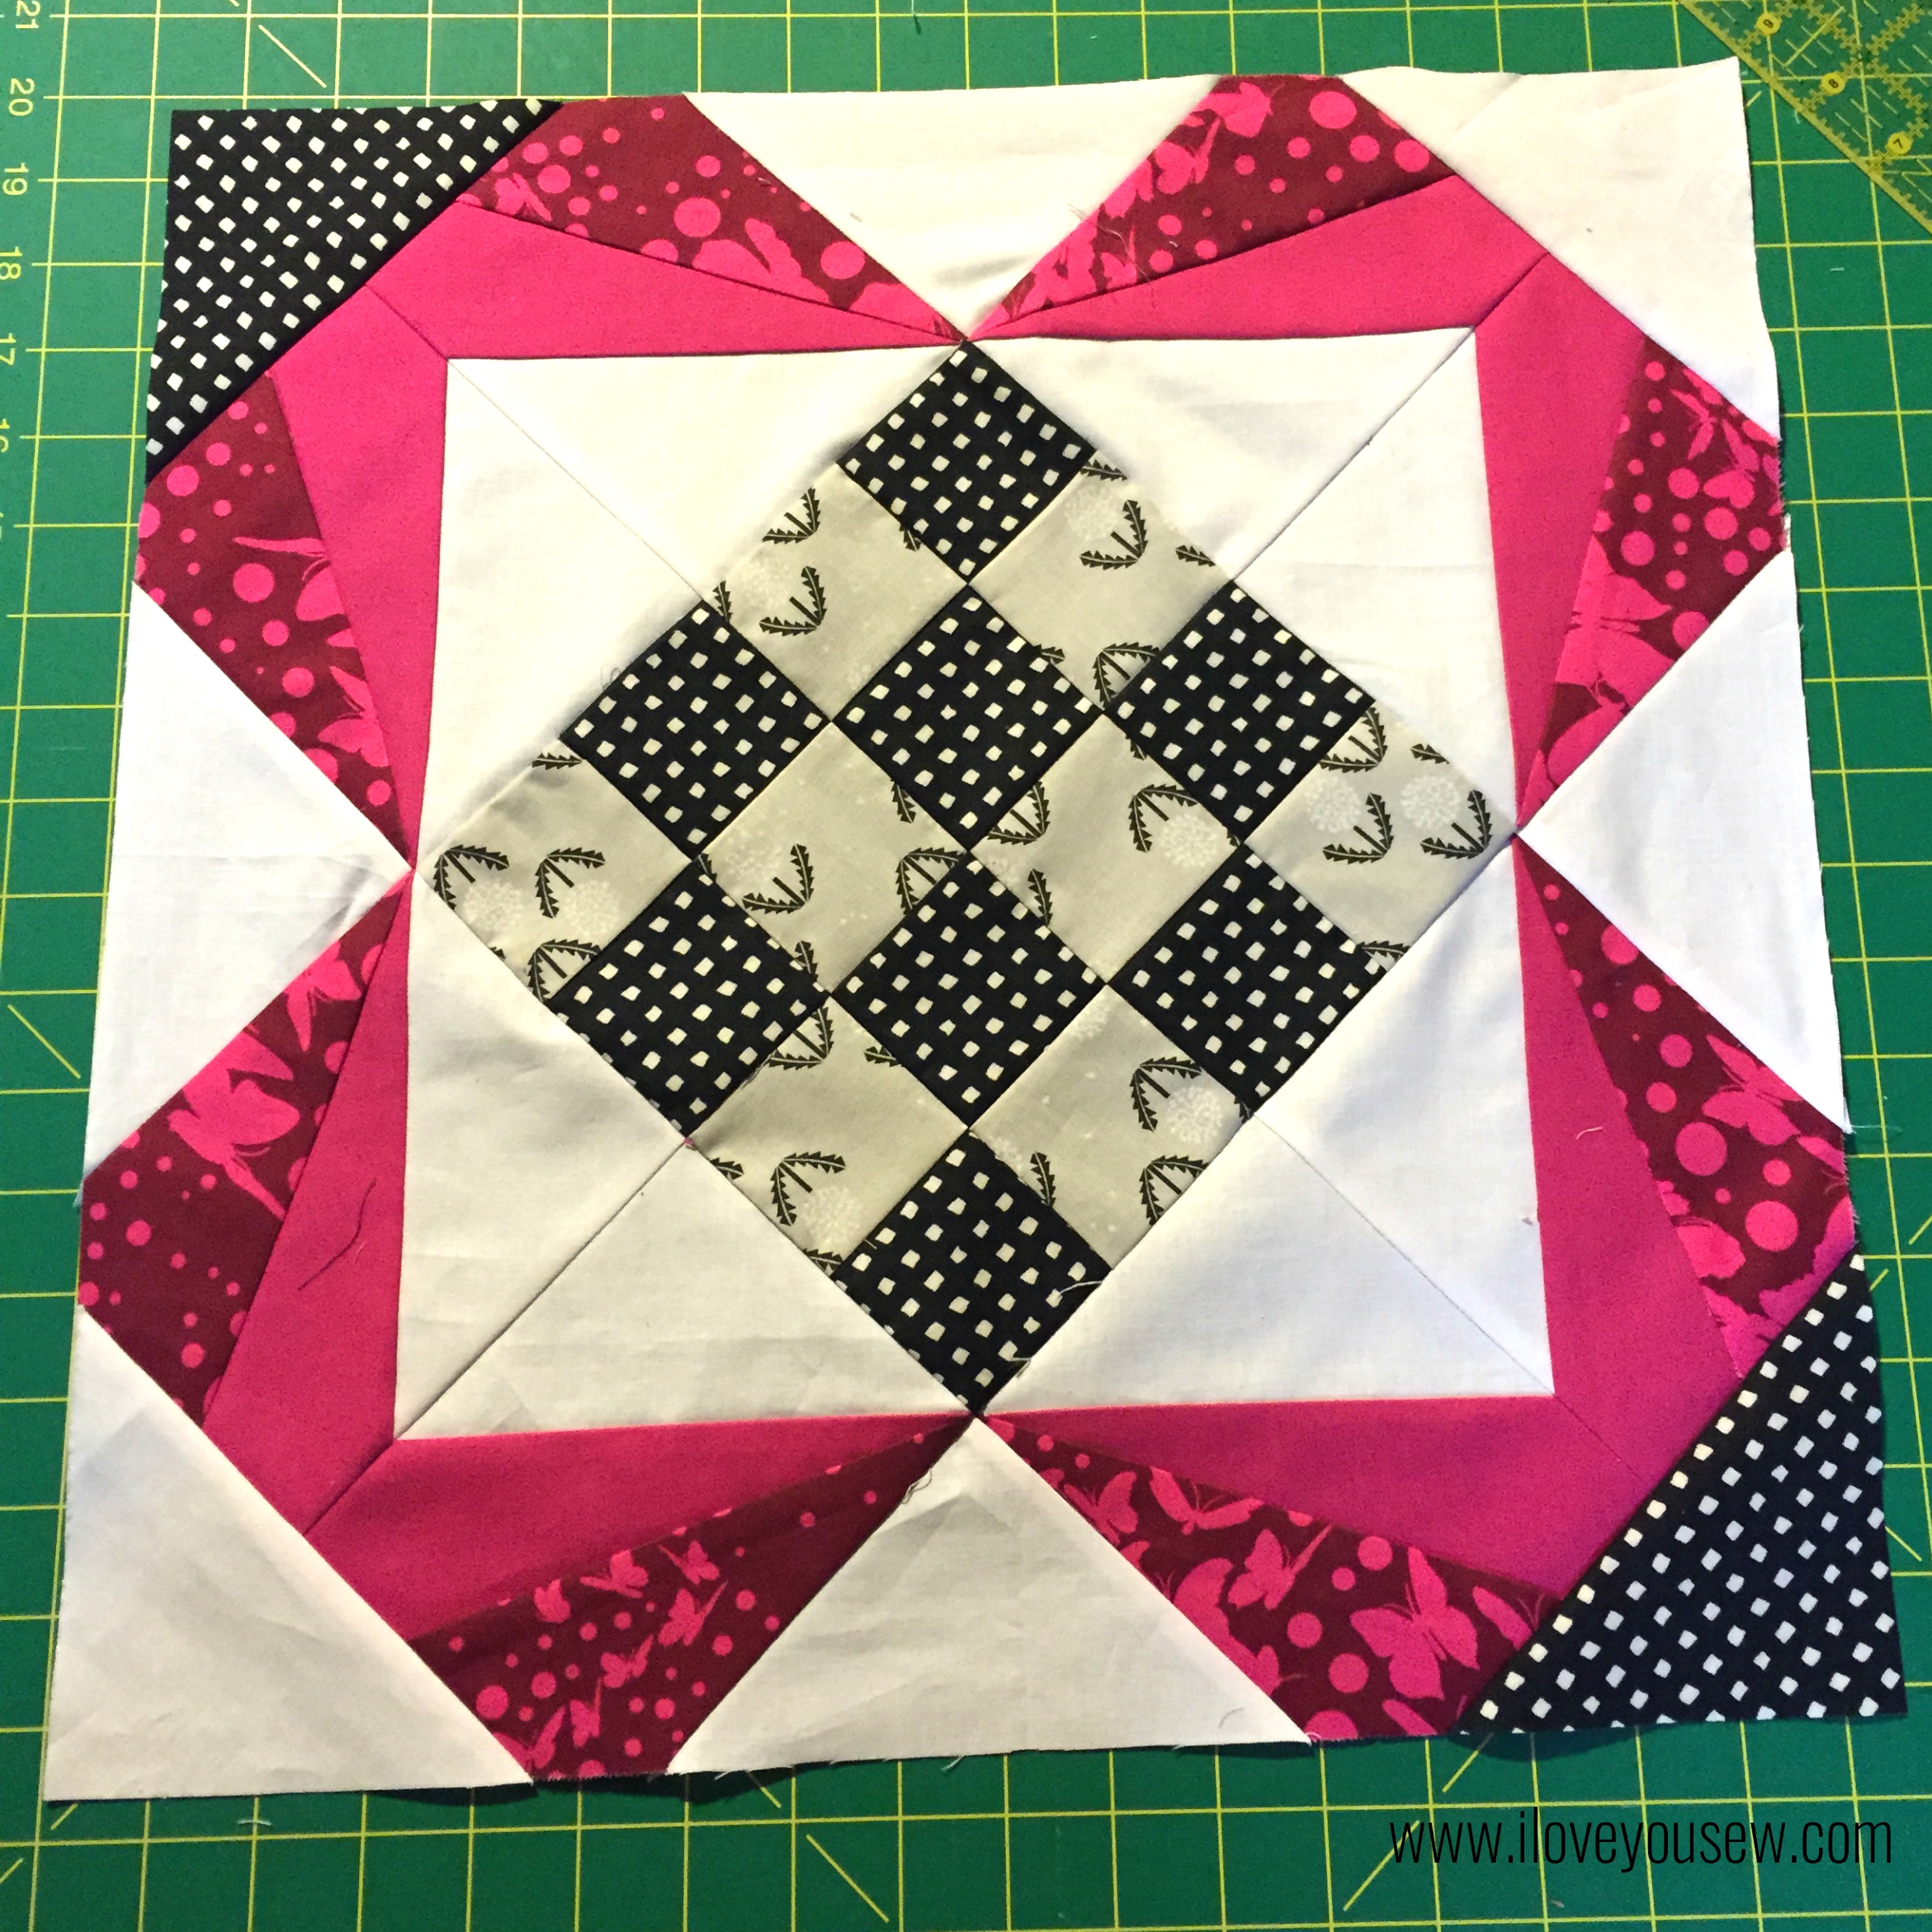
For the outside of the book, I used Jeli Quilts’s (surprise!) Goosing Borders and shrank the design down to 50%. The geese are Cotton + Steel basics in Bluebird and Coral. For the background and borders of the exterior, I used Robert Kaufman’s Chambray in Indigo. I love chambray for a clean sophisticated look and the added texture. It’s definitely one of my go-to fabrics and always keep some in my stash.
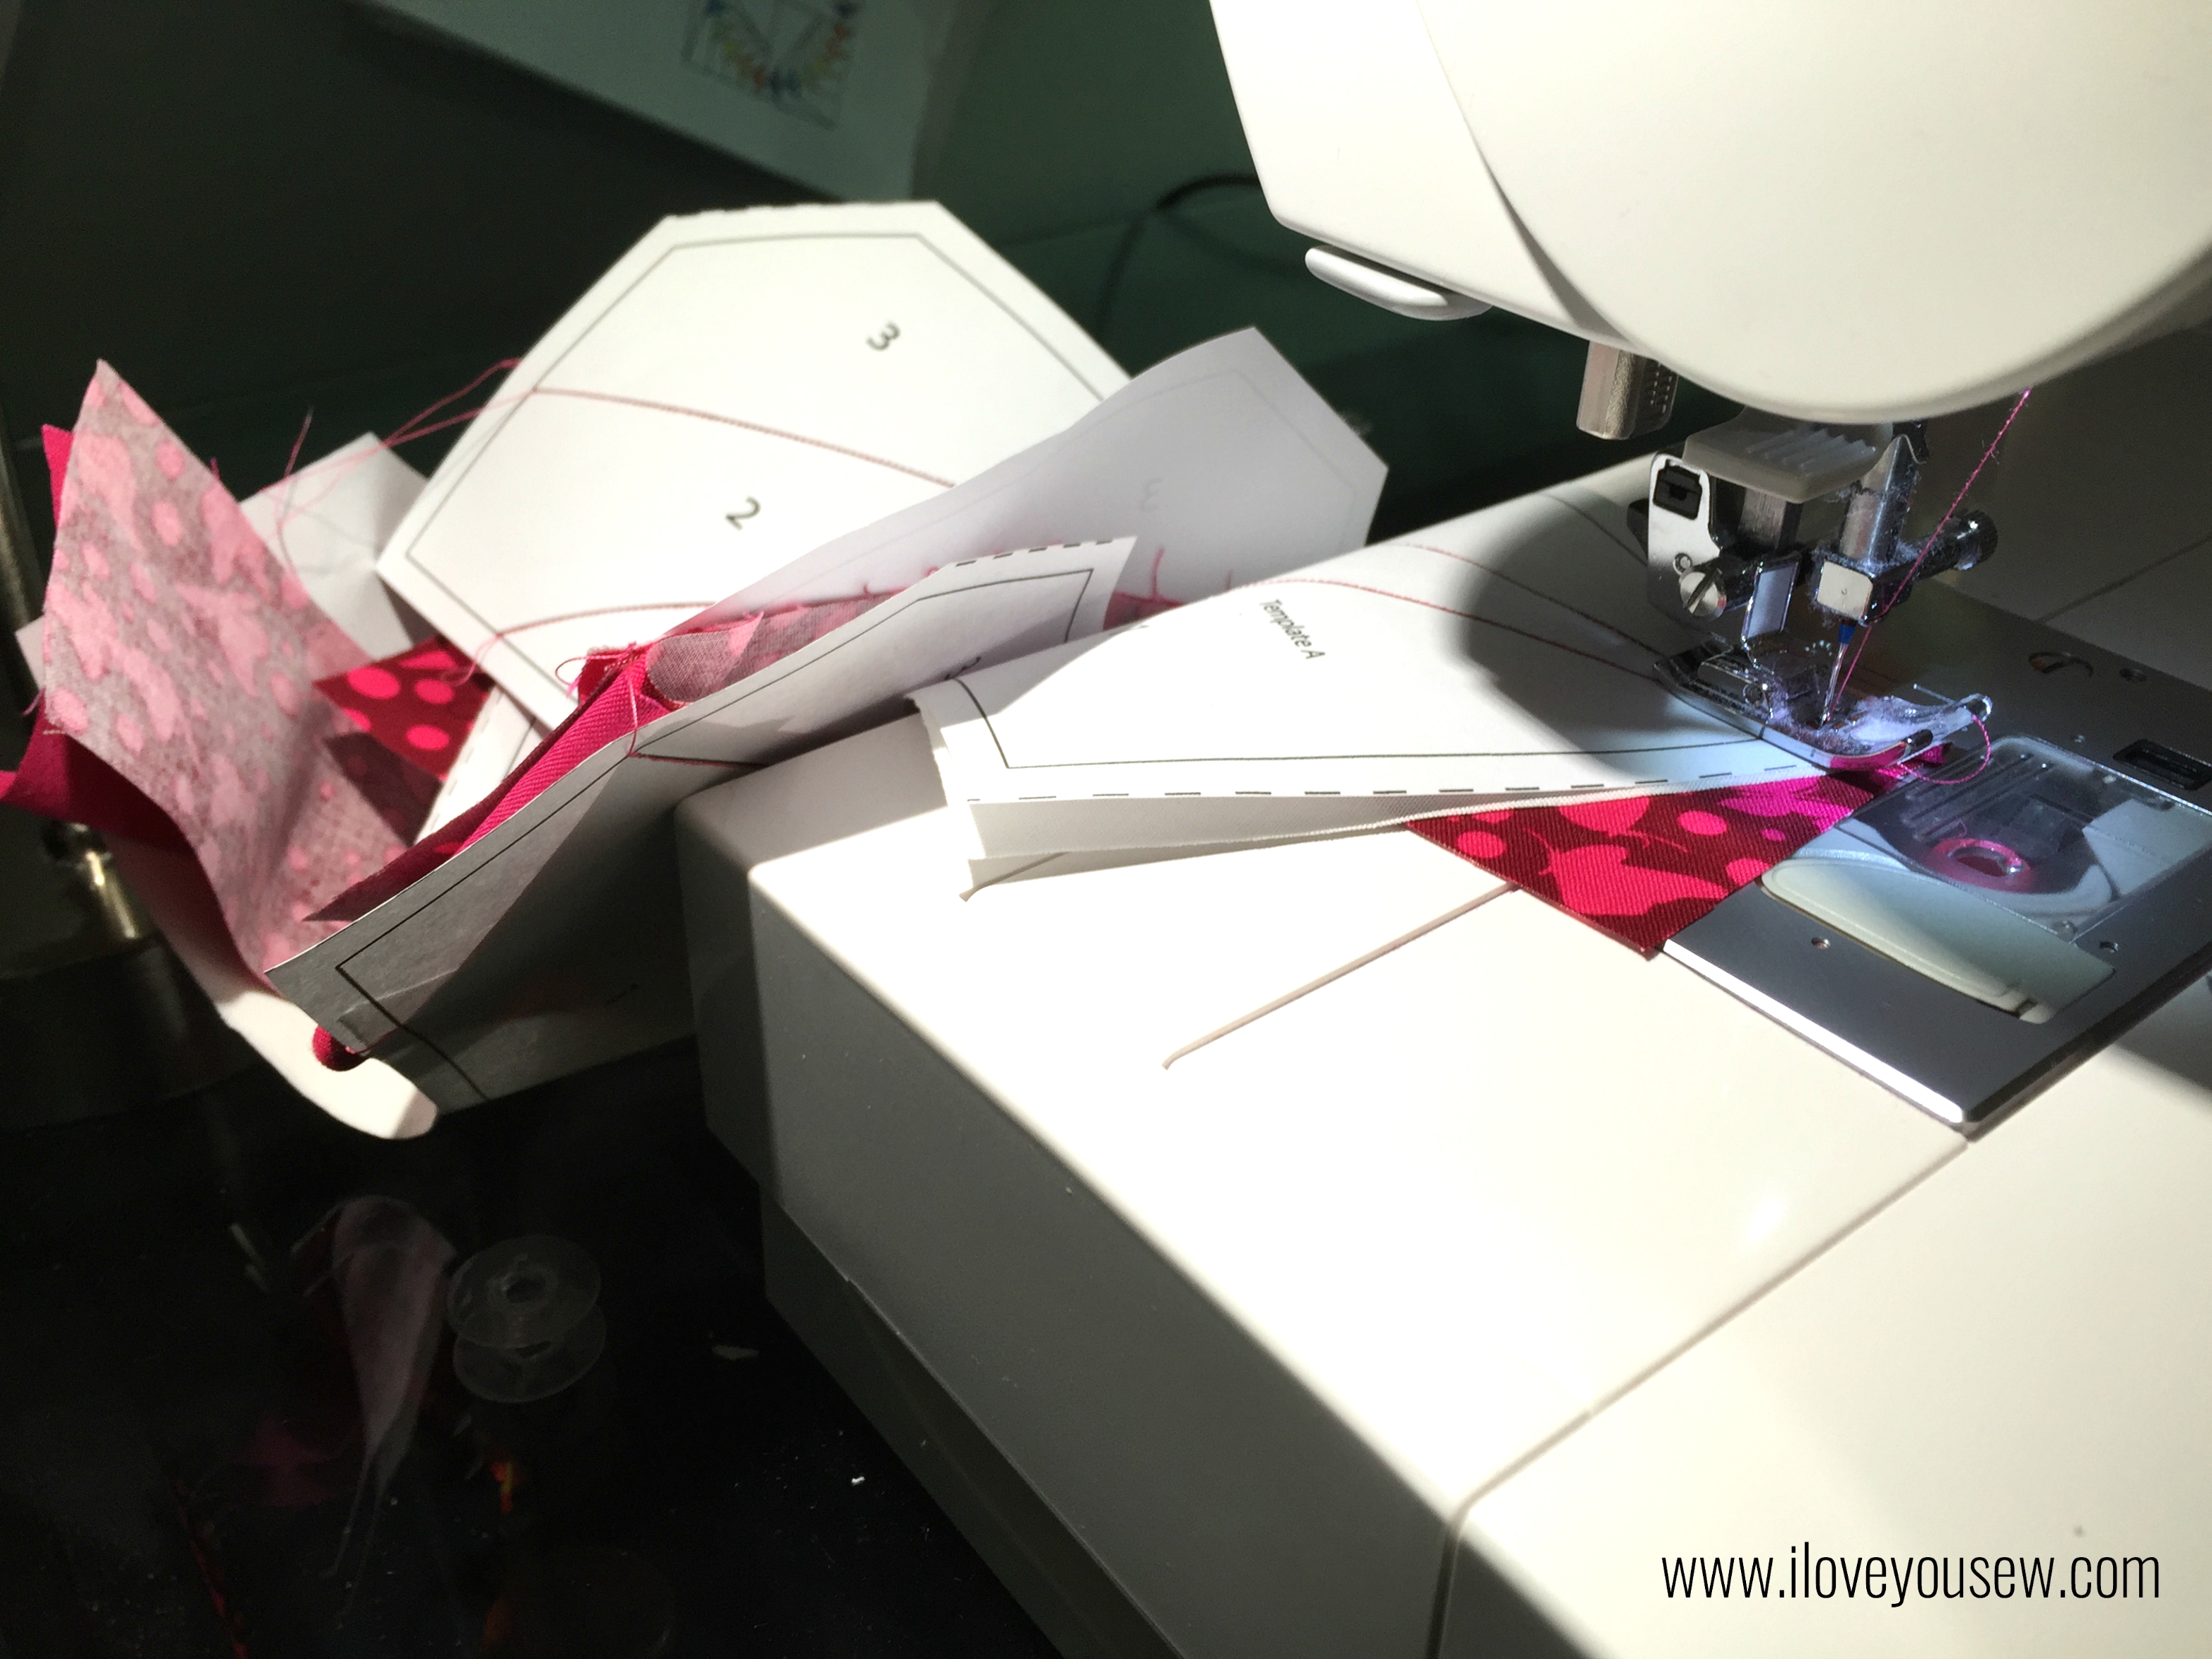
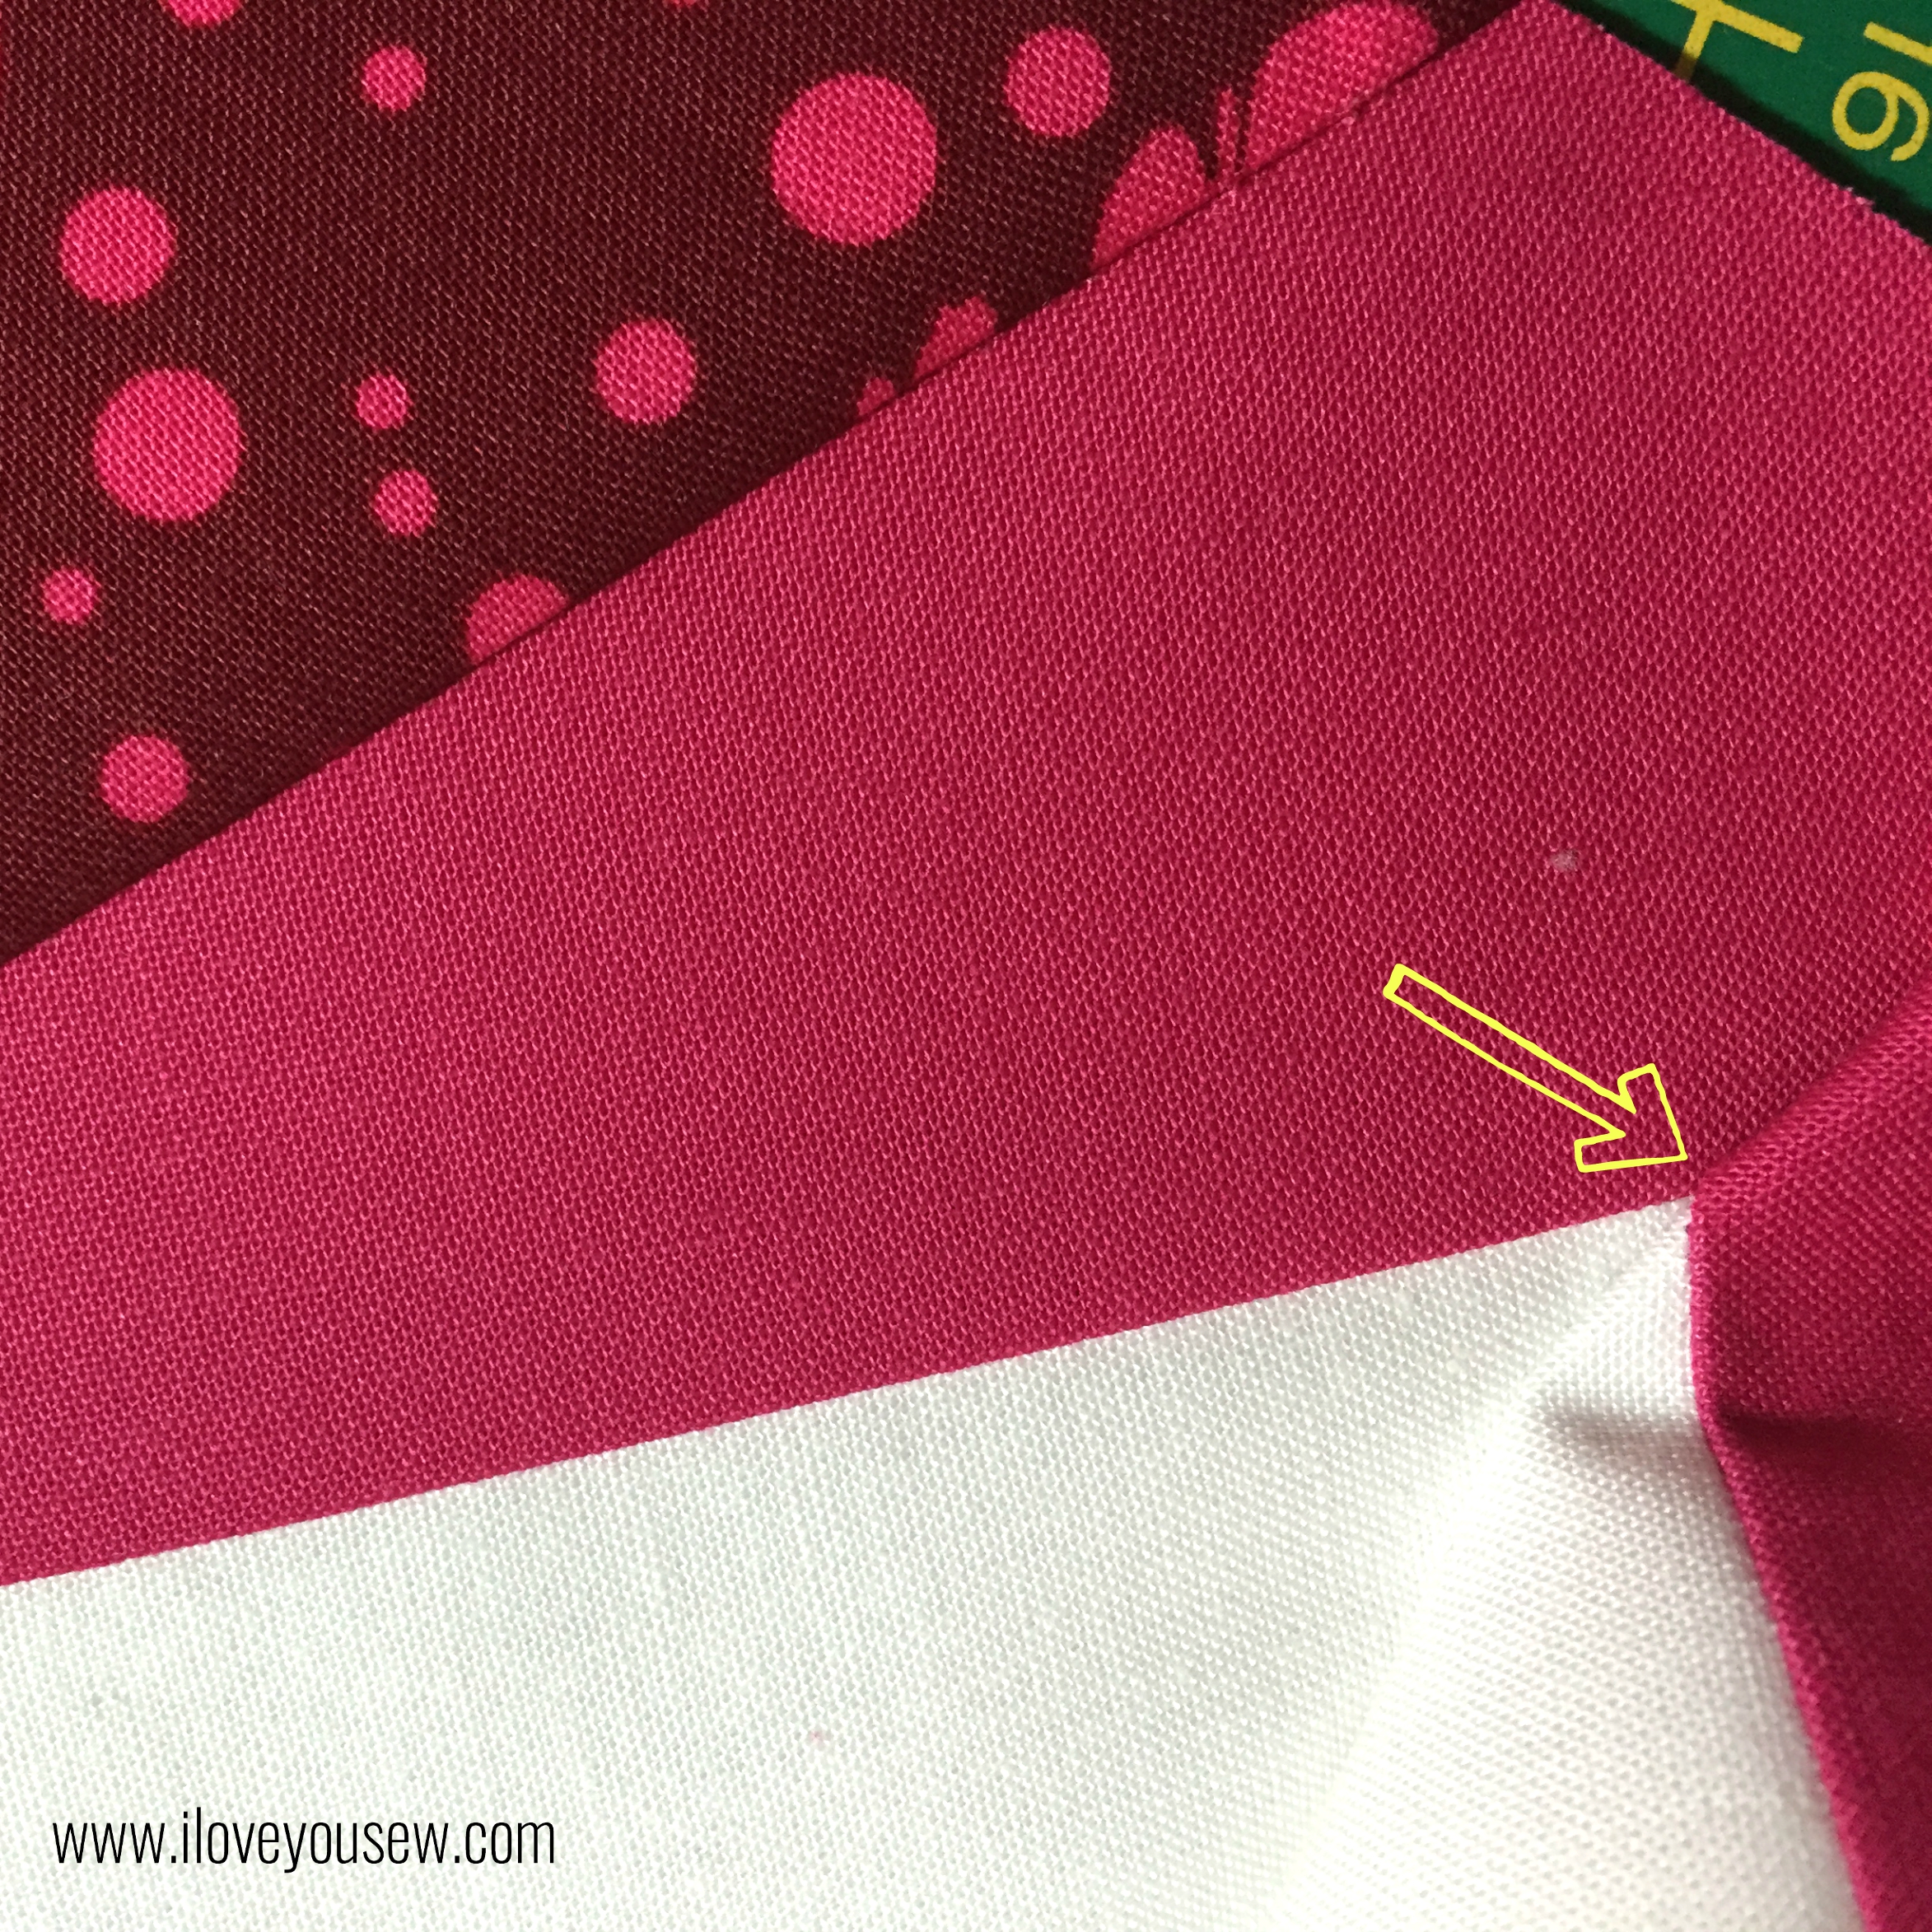
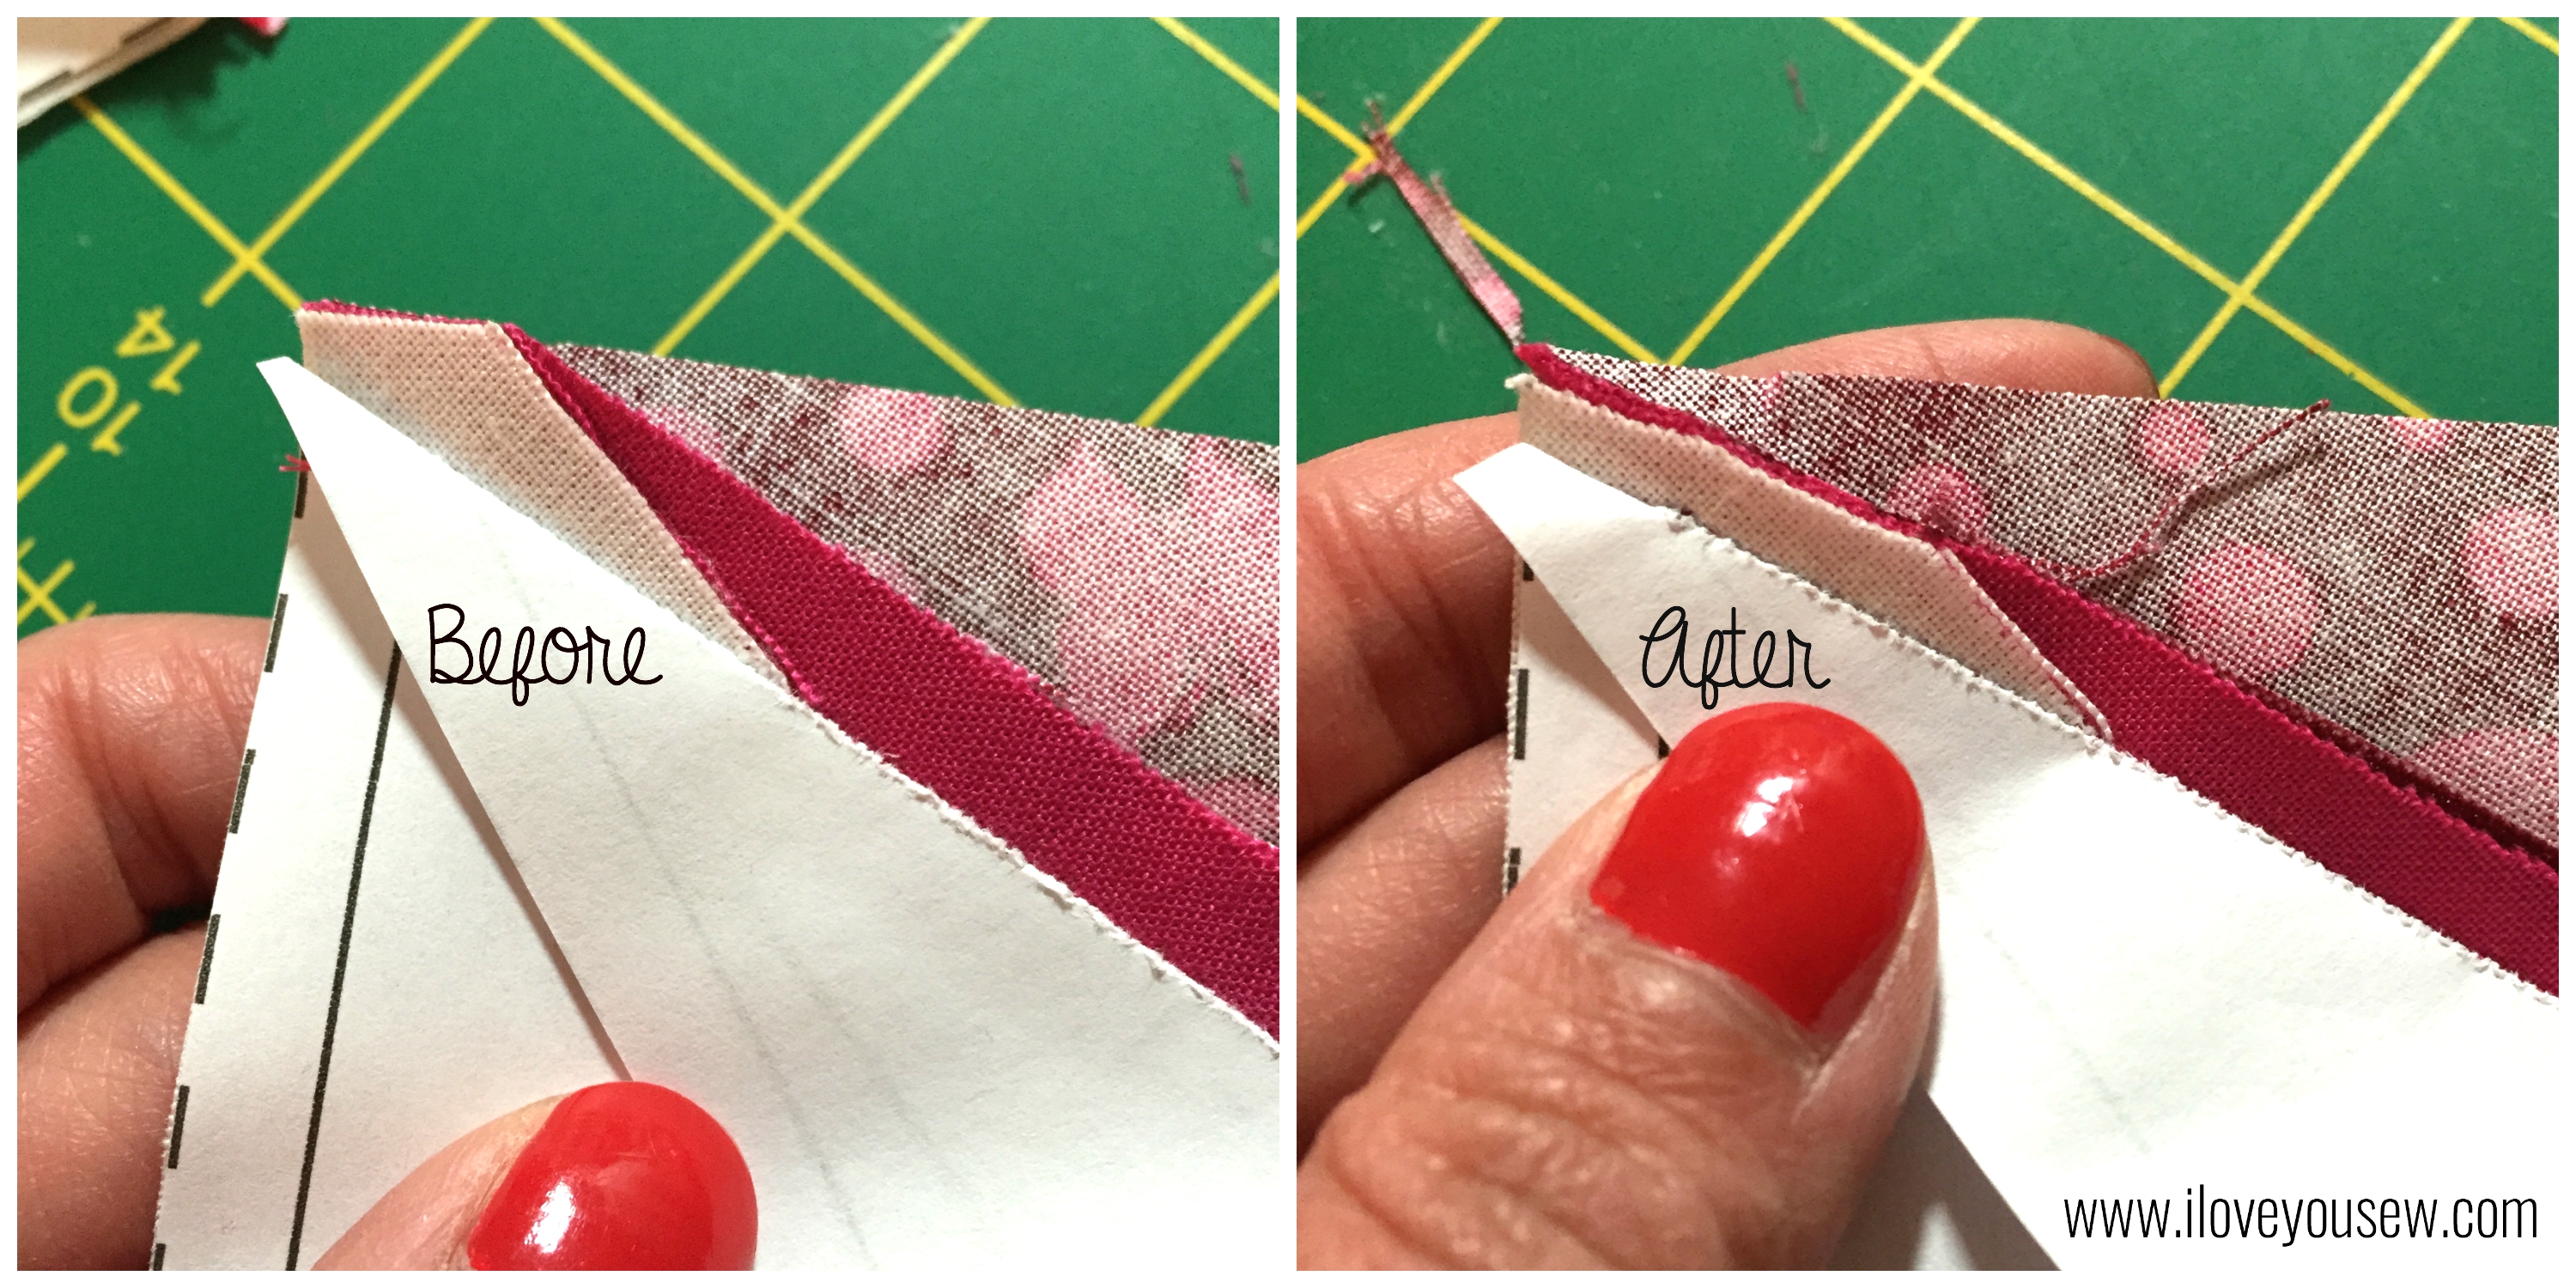
For a nice video on Foundation Paper Piecing (FPP) click here. I watched this to help me wrap my head around the fabric being sewn as a mirror image. This technique takes some practice but you will quickly become addicted, like me 🙂 The finished Geese blocks should measure 2″ x 3.5″. Attach the 1.25″ x 2″ rectangles to the short-sides of each Geese Block. Then attach the 1.5″ x 5″ blocks to one side of each block. Use the 2.5″ x 5′ rectangle to attach the Geese blocks together. Quilt the exterior to the batting and trim 5″ x 7.5″.
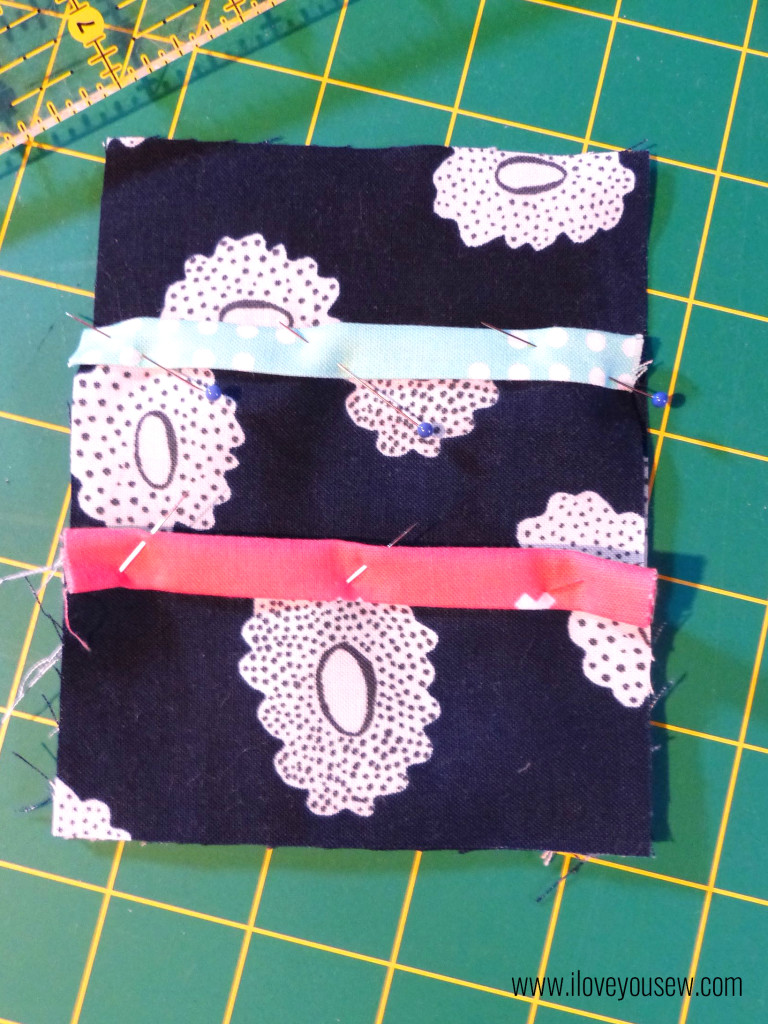
Interior left with Pockets
On the inside, I chose another Cotton + Steel fabric. This time, a navy from Hatbox by Alexia Abegg. I decided to make two pockets – a larger one for scissors and/or a spool of thread or pen. The smaller pocket could be used to hold floss, clips, or a spare packet of needles. The binding helps to grip the pockets and adds some visual appeal.
Iron both pockets in half length-wise so [A] is 3.5″ x 4″ and [B} is 2″ x 2″. Take each piece of binding and machine-bind down just like you would a quilt. Lay Pocket [B] on top of Pocket [A] on top of 4″ x 5″ interior fabric, matching up corners at the bottom. Pin all in place.
Right above the Pocket [A], I cut a 2″ piece of grosgrain ribbon, sealed the ends, and made a loop to hold the scissor handles in place. I am a big fan of KAM Snaps and used them with the ribbon as well as with the closure of the entire Needle-book.

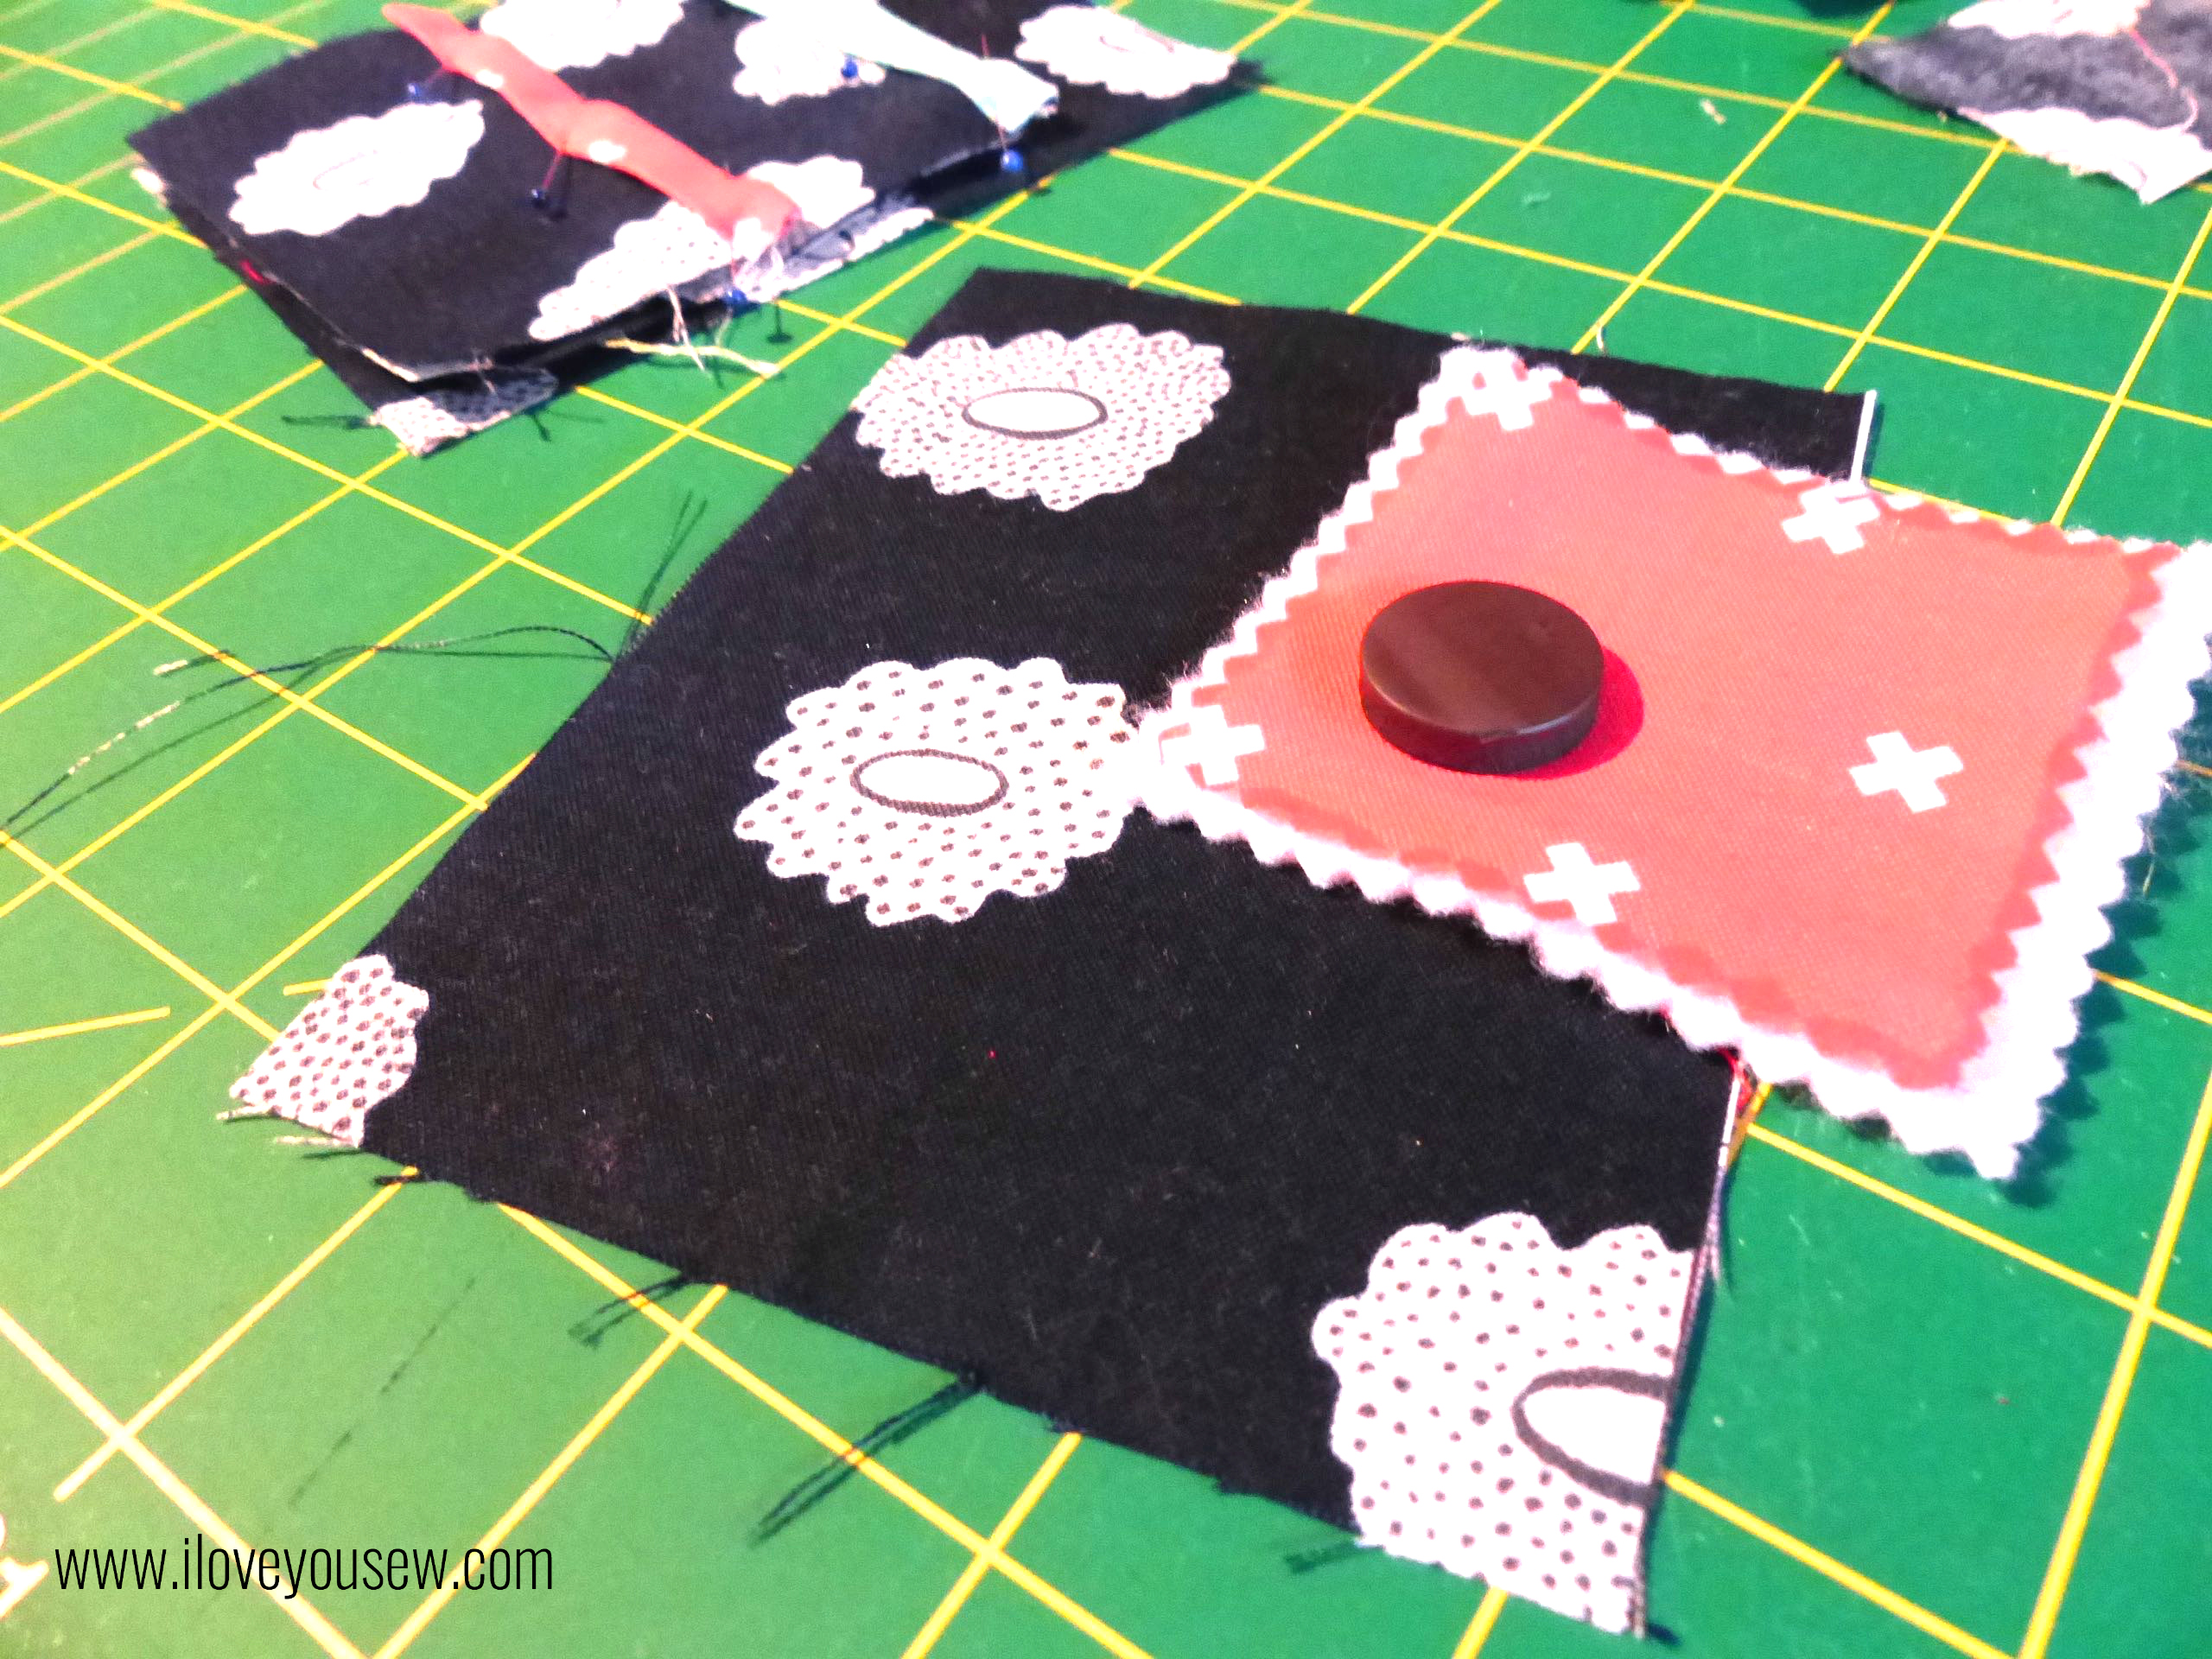
Preparing Needle-landing with built-in Needle-minder
On the right side, there needed to be a needle landing (because it wouldn’t be a needle book, otherwise, right?!?) I just used craft felt and my Gingher serrated scissors to cut out the rectangle. But I wanted some more color, so I added the same Coral fabric on top as a nice accent. I sewed 3-sides up with a 1/8″ seam along the Coral and slipped in a small 3/4″ magnet for a built-in needle-minder! Then I sewed up the last side making sure the magnet was fully enclosed. With right-sides together, sew the two interior panels together to create a center seam.
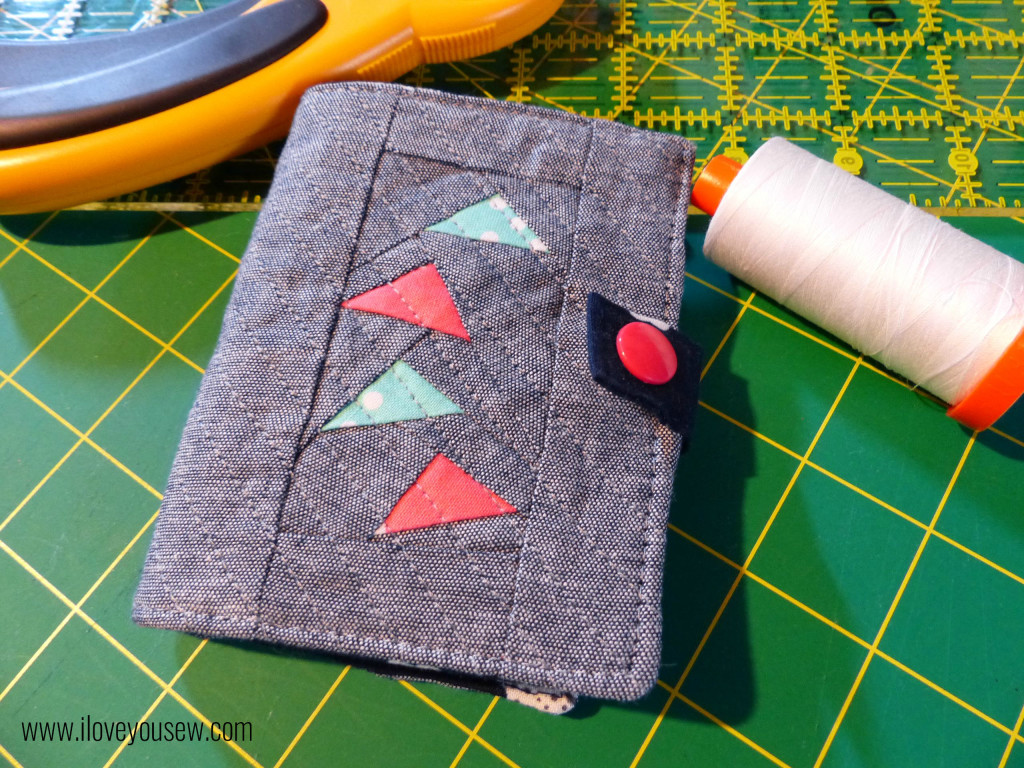
Needlebook Exterior
To create a tab, press the fabric lengthwise in half then open. Press each long-side to match the center fold then fold in half, matching up the short-ends. Top stitch all around to secure. Attach KAM Snap at this point. Pin the tab half-way on the right interior panel facing in.
On the exterior panel, mark where the tab will meet and attach your other KAM Snap. With right sides together, sew the Interior and Exterior panels to each other leaving a 3” opening to turn. Snip corners, turn the Needlebook right-side out and press. Top-stitch 1/8″ all around the book to close up the opening. “Stitch in the ditch” along the center inside seam to allow the book to easily fold.
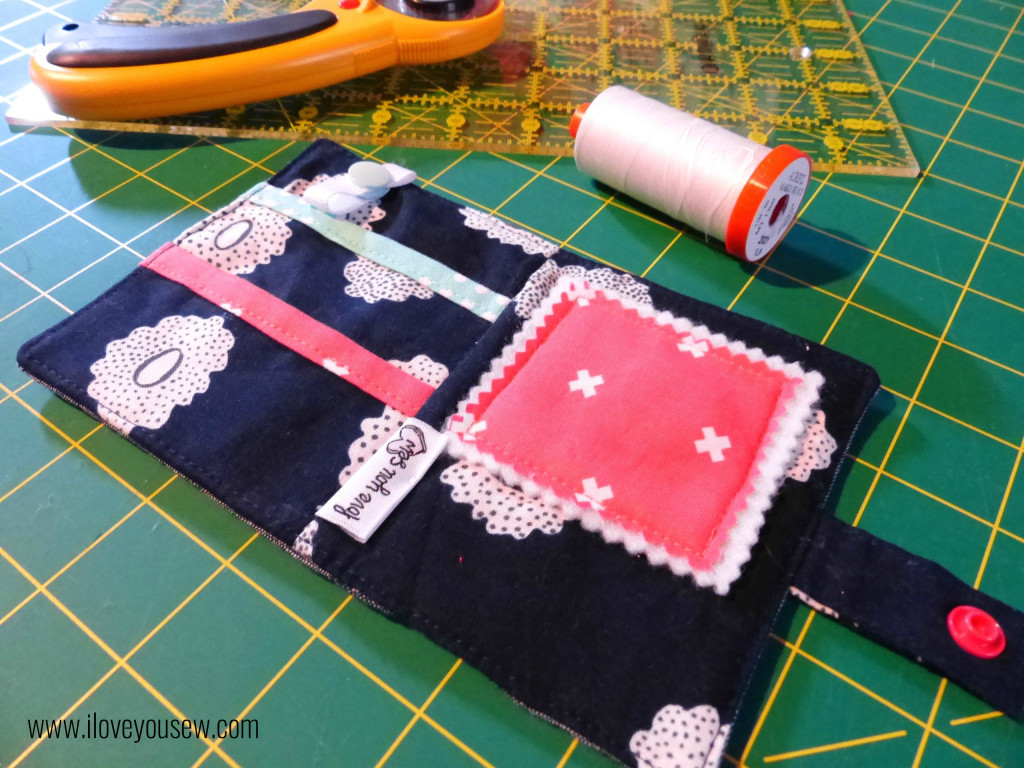
Completed Interior
And….that’s it 🙂 This was a nice easy sew that you could use as a “Swap Extra” or a stocking stuffer for a good sewing friend. If you are not a snap person or do not have any on-hand, you can alternatively use a button and elastic cord closure or long pieces of ribbon to tie it all together. If you looked closely at my sketch, I was initially going to add some elastic loops under the landing, but decided to omit them to keep this simple…but it’s a great idea if you want to add an additional feature.
Since I’m not a seasoned tutorial author (yet!), please let me know if you have any questions. Don’t forget to share pictures of any completed projects as well!
I’m linked up to Late Night Quilters Tips and Tutorials Tuesday. Please visit the page to see some more great sewing and blog related pointers!
#WalkingGeeseNeedlebook #IGNeedlebookSwap #LoveYouSew
Hug and Stitches,
Cristy


