Erin Backpack Sew Along || Part 1: Cutting, Interfacing and Hardware Prep

Welcome to Part 1 of the Erin Sew Along: Cutting, Interfacing and Hardware Prep.  If you have missed out on the previous posts, please read them first before proceeding:

If you have done your pre-work, let’s get started!  Please remember that this Sew Along is SUPPLEMENTAL to the actual pattern instructions.  You will receive extra tips and tricks on the blog, but make sure you read through all pattern steps FIRST!

CUTTING FABRIC

[Step 1] I don’t know about you, but this is probably the most tedious part of the process to me.  With more complicated bags comes a lot more parts and pattern pieces.

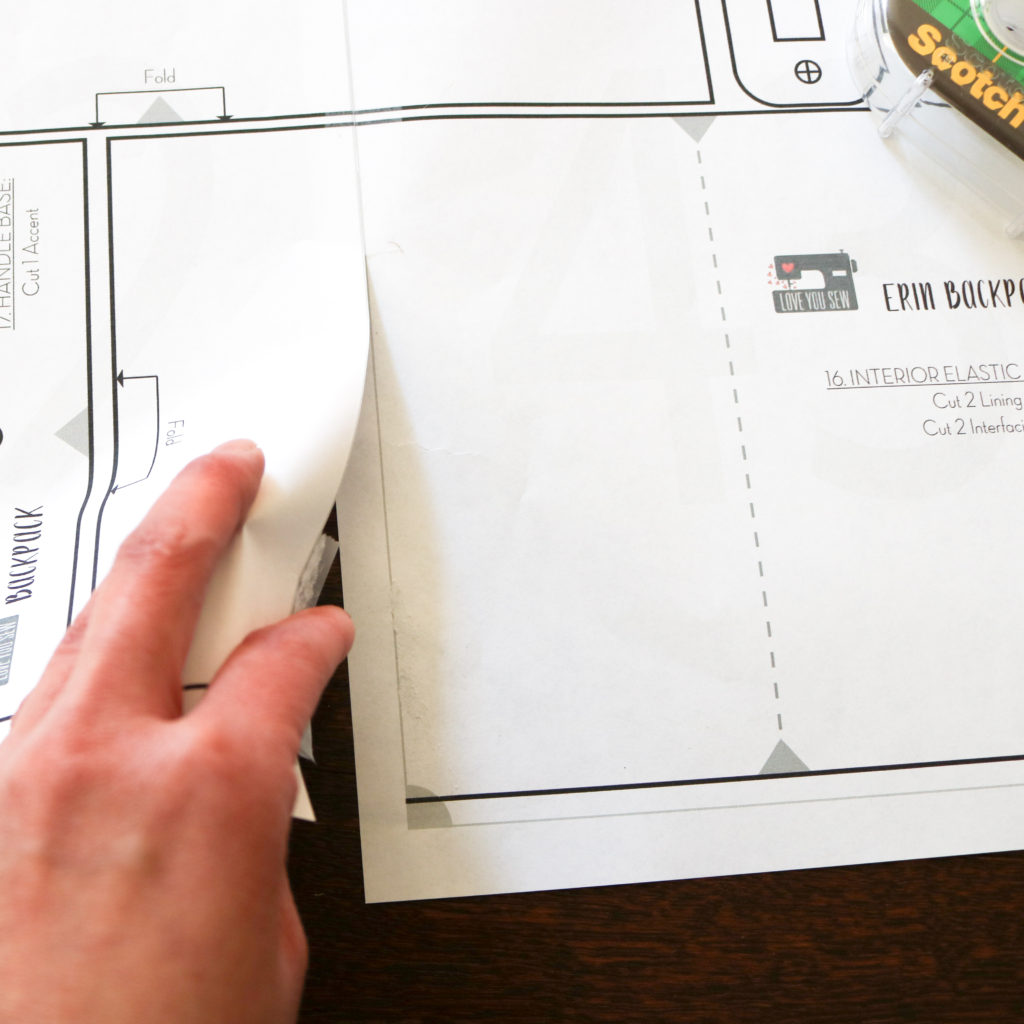
  • The Erin Backpack comes with 24 different pattern templates for you to cut out and help keep track of your bag parts with a pin or clip.  Make sure to assemble the PDF pattern by lining up the GRAY lines, but cut your templates on the BLACK.  The patten templates are laid out to minimize the amount of paper used.
  • For all of you who love a rotary cutter and ruler (myself included!) there is also Measure and Mark table as part of the instructions.
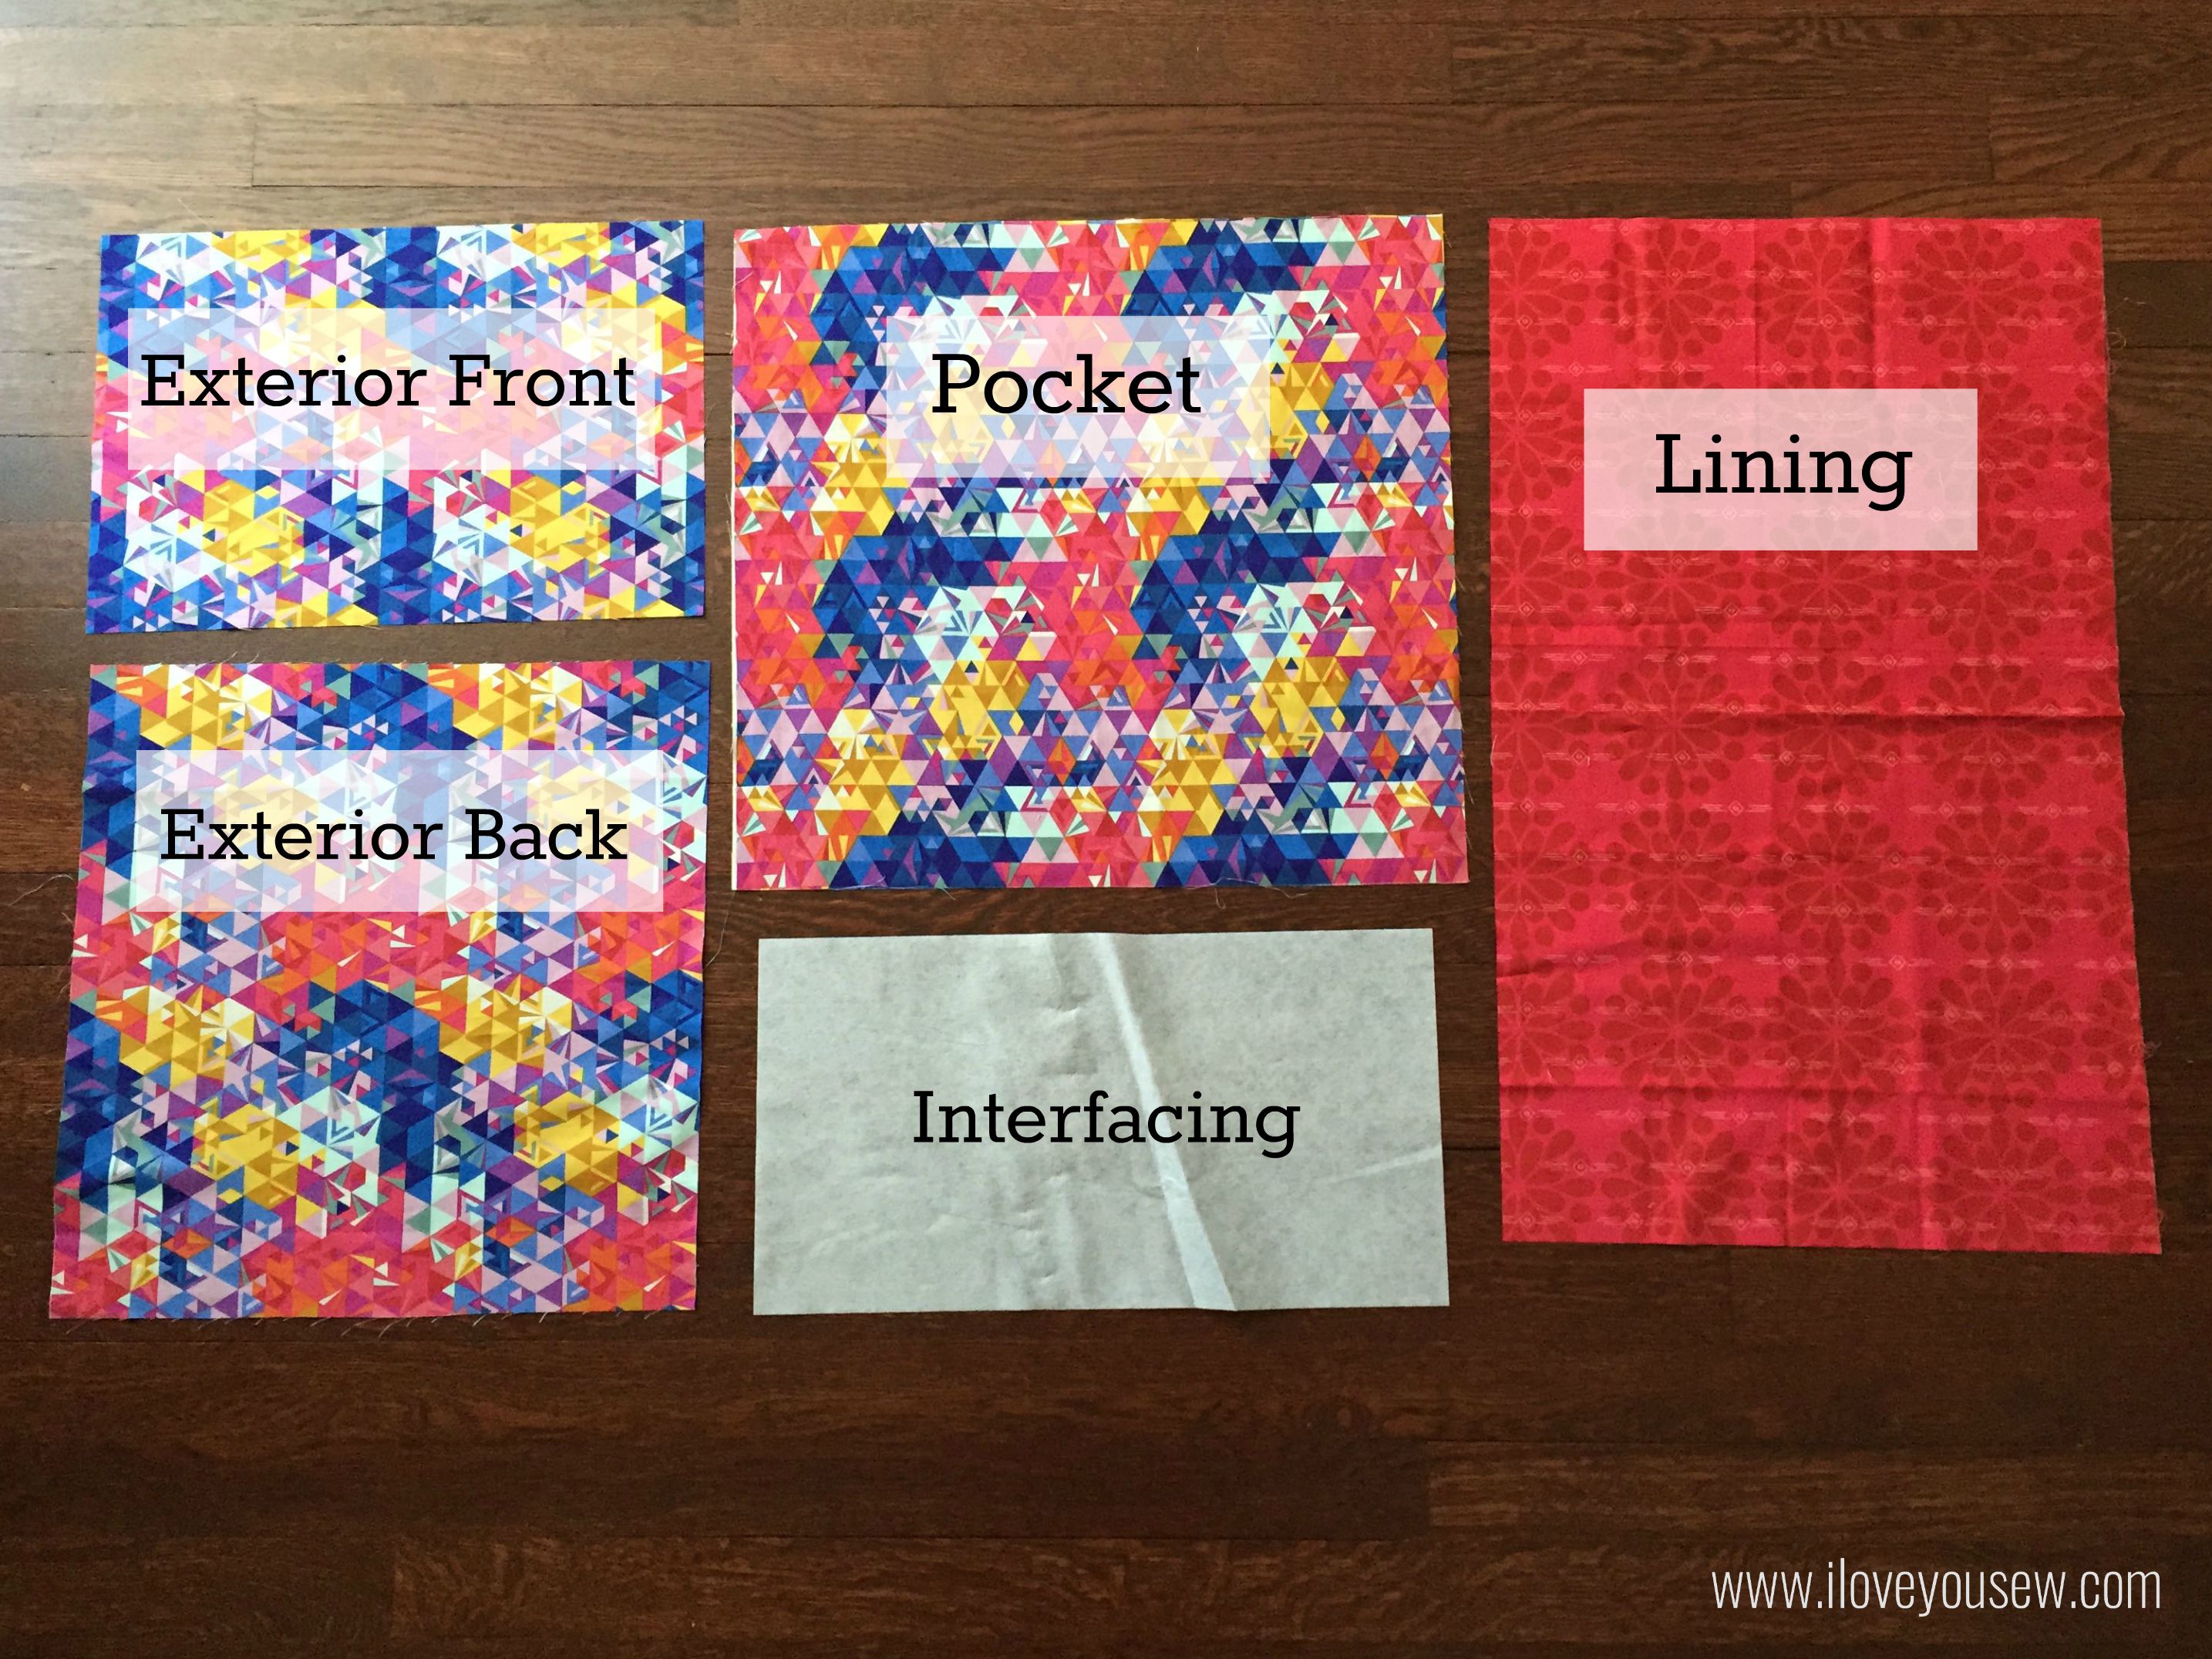
  • There is also a flat lay of all the pattern pieces to help you visualize everything that needs to be cut. I like to use the flat-lay to double-check that I have everything needed to get started.

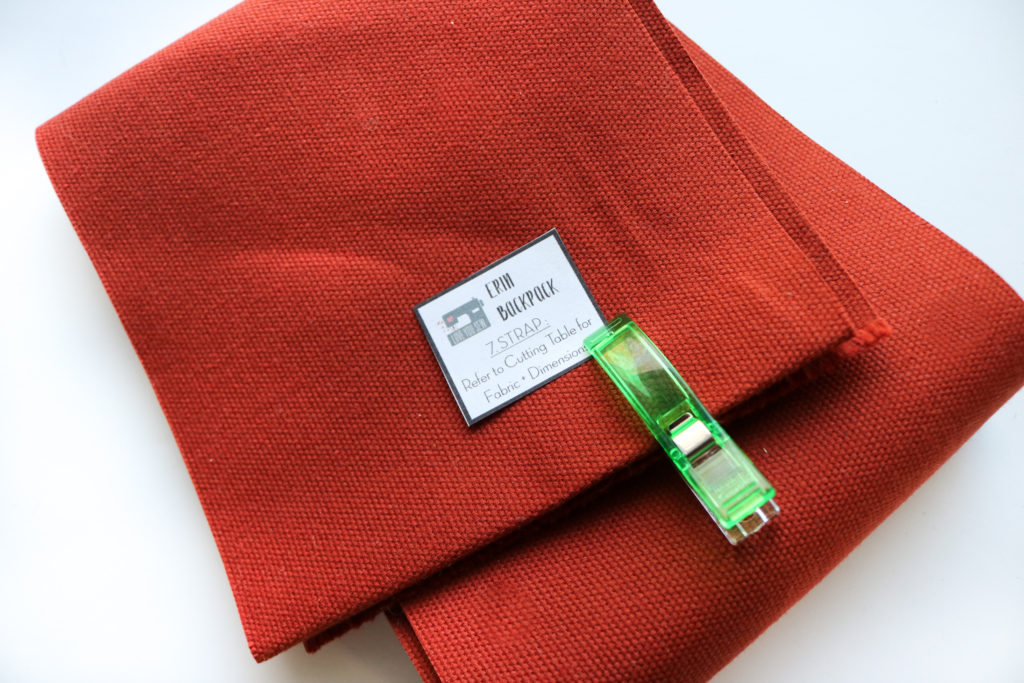
***Please note the only paper template missing is the Strap.  (For a large rectangle, it takes up a lot of paper and after taking a survey of bag-makers, they would rather have the measurements than to waste the paper and so I tend to take this course.)  However, there IS a square placeholder with the templates you can use to help keep track of the fabric!

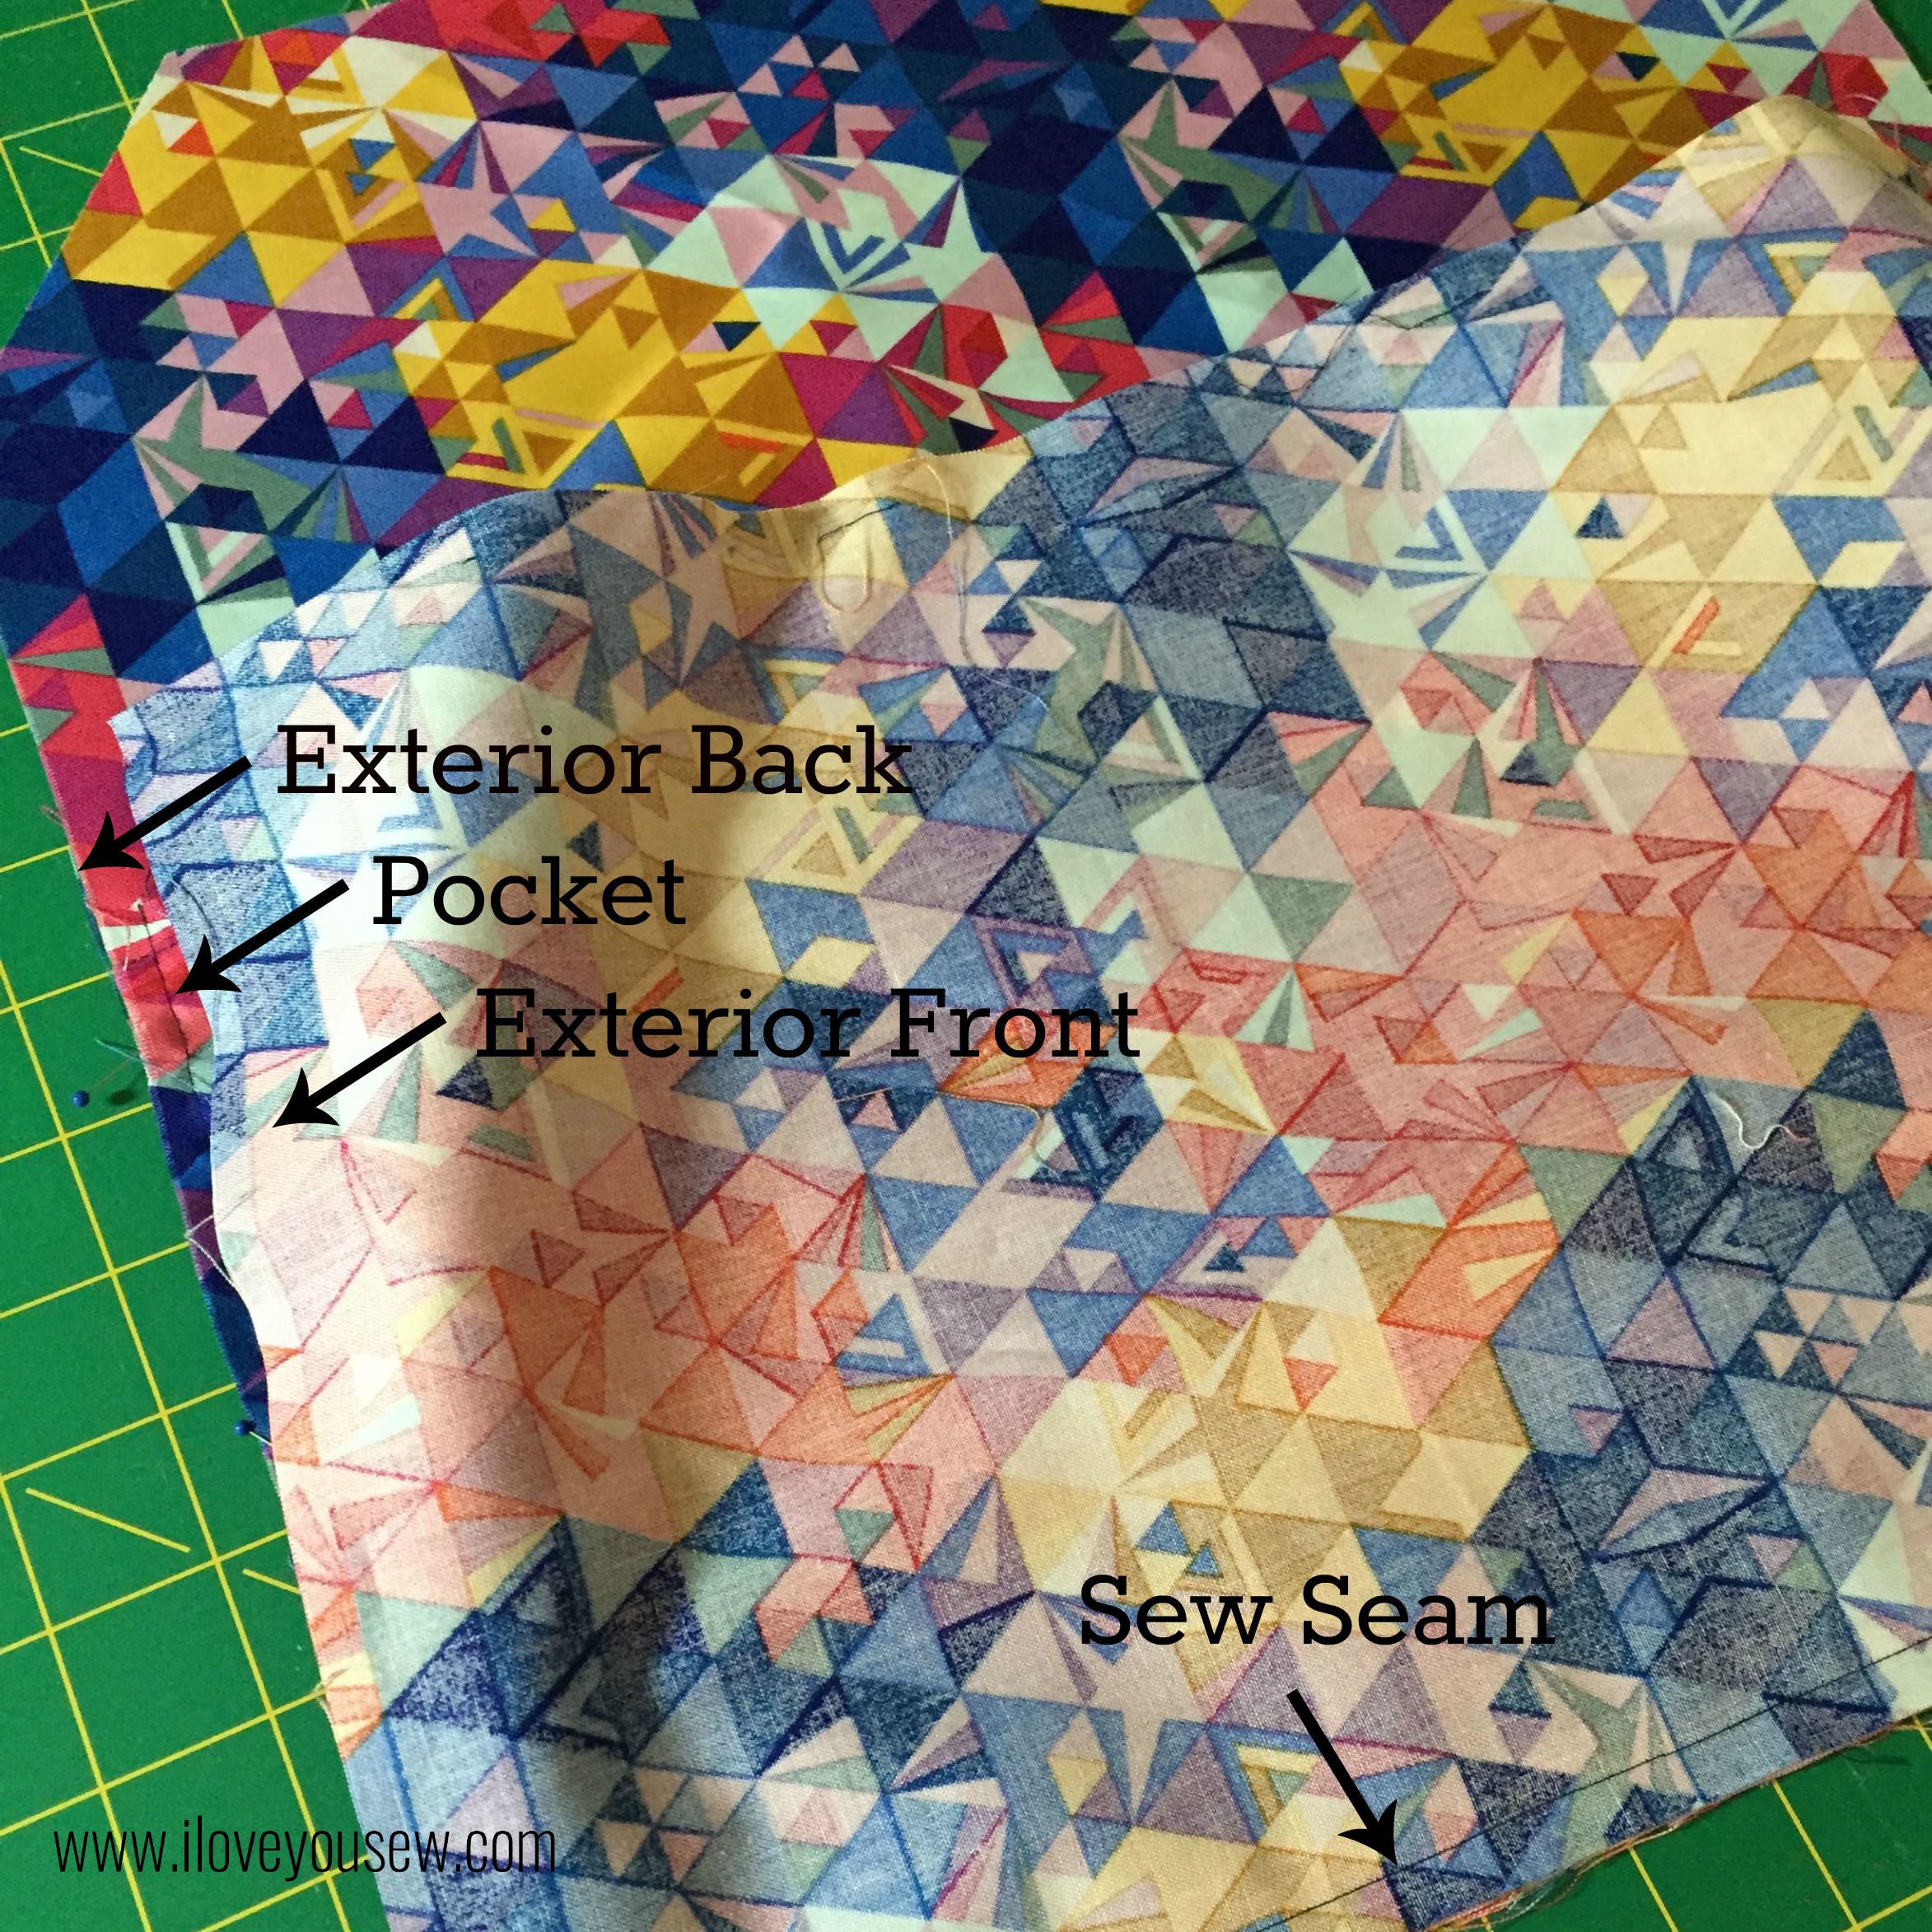
If you are looking to match fabric designs, it’s best to line everything at the base of the Main and Lining pieces.  The Fronts are slightly shorter than the back pieces to accommodate the zipper width.

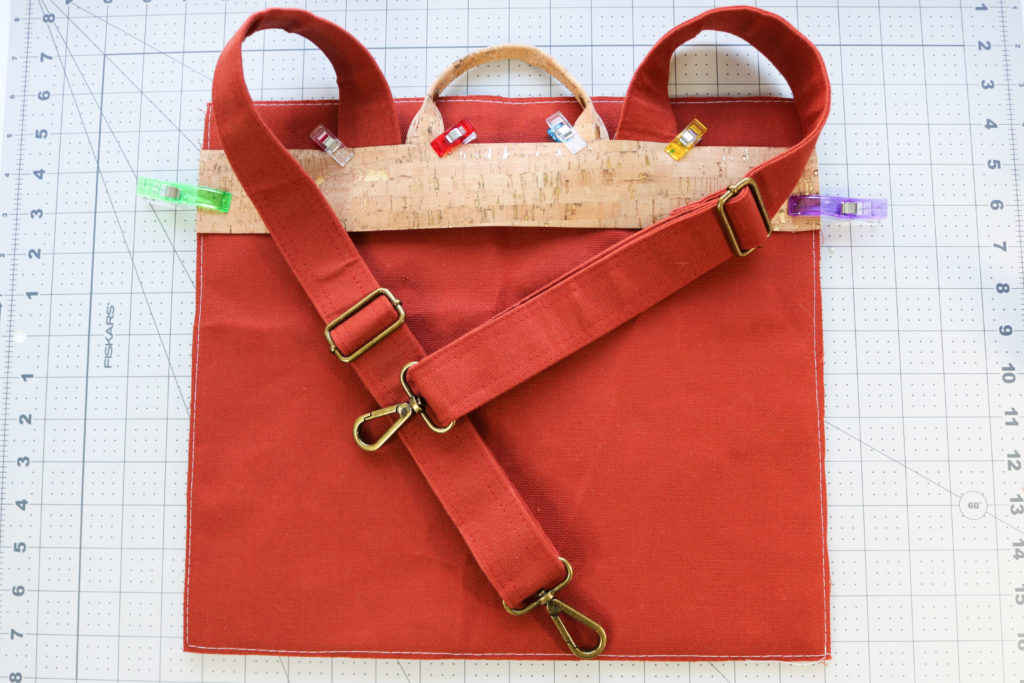
For those looking for the hack to add permanent back straps to the Erin, head here for the additional materials.  I will be adding them to my bag, but will still reference the original parts of the bag if you still want the convertible back strap options.

INTERFACING

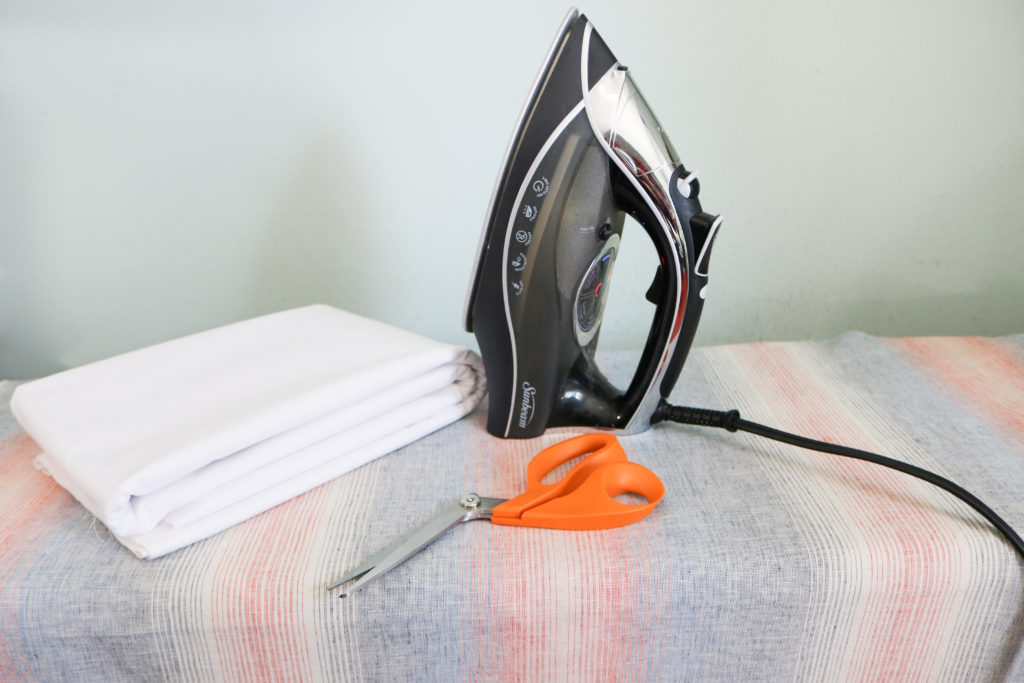
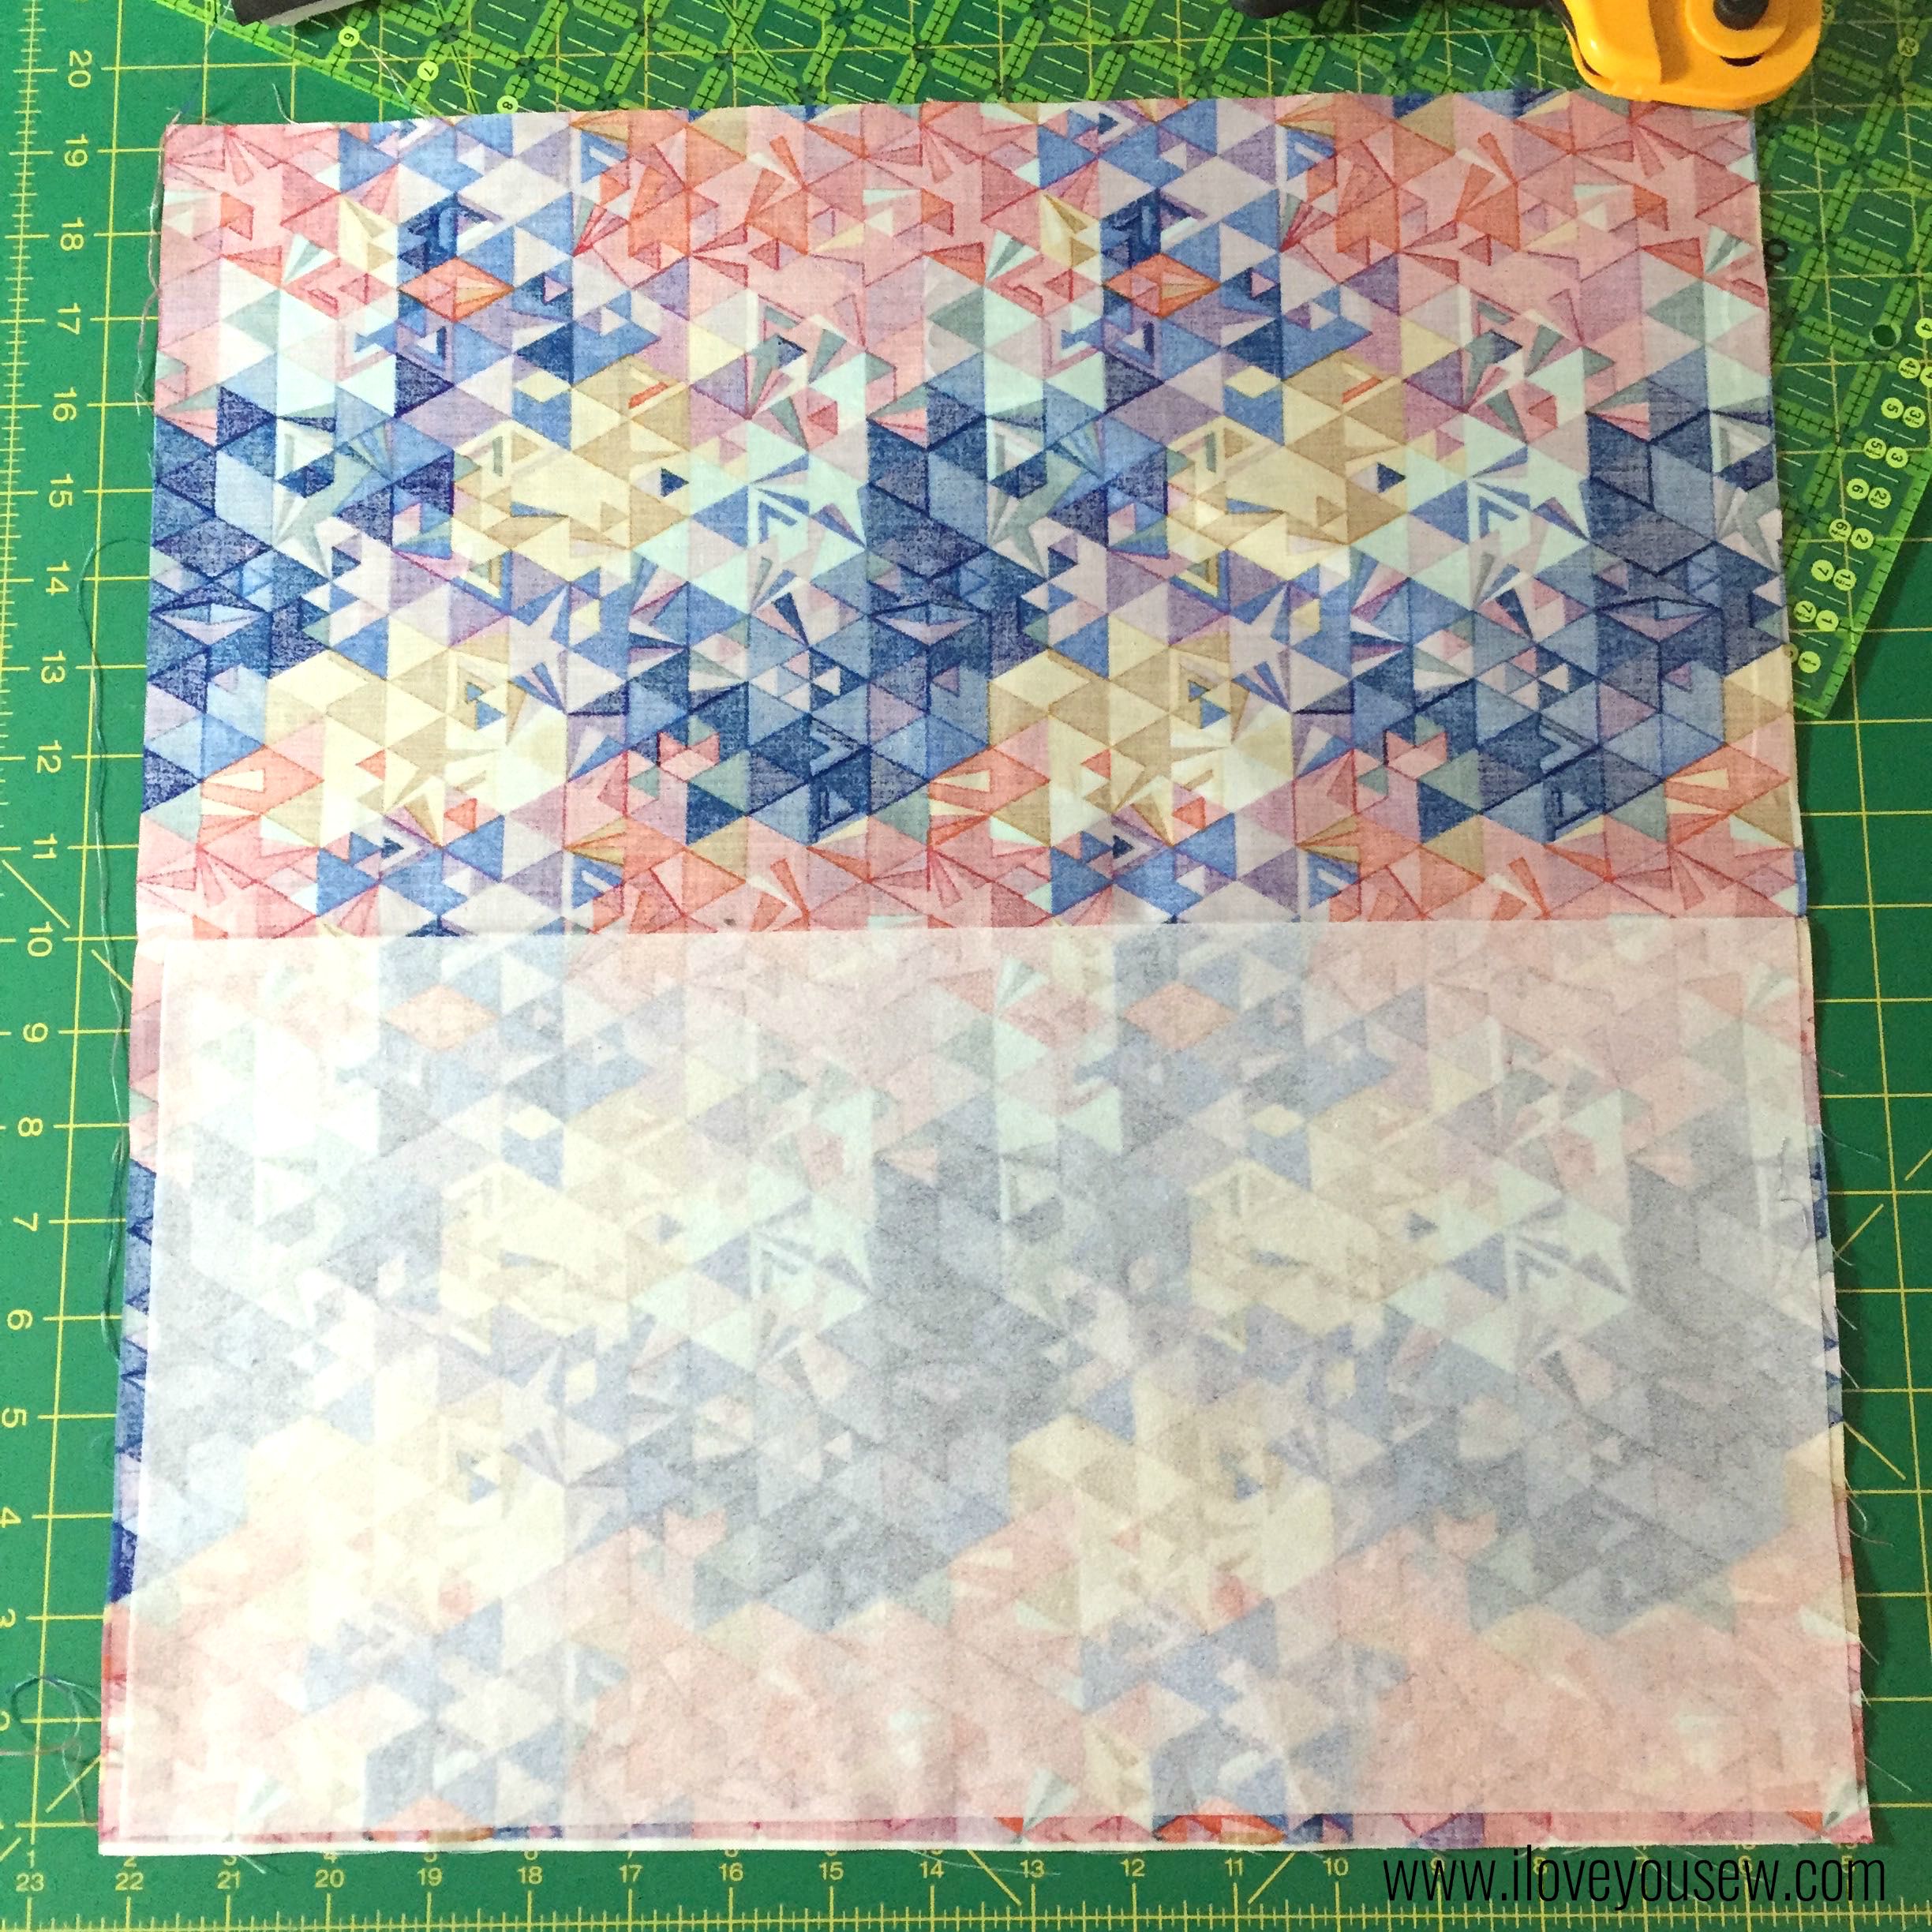
[Step 2] The majority of the fusing will be to the Lining pieces.   Because of that, I like to do this first and block fuse as much as I can — This is when you interface the fabric first and then go back to cut out the pieces, reducing time spent cutting.  The downside is that you may end up with more fused fabric than what’s needed, but I keep everything to make pouches later on.  You will fuse the following with woven interfacing:

  • Front and Back Lining
  • Top and Bottom Lining
  • Front  Welt Pocket
  • Front Elastic Pockets (but only on the half which faces the inside after being folded)*
  • Pop-put Pocket Main* + Lining
  • Back Slip Pocket Main* + Lining
  • Interior Welt Pocket
  • Interior Slip Pocket
  • Interior Elastic Pockets
  • Key Fob

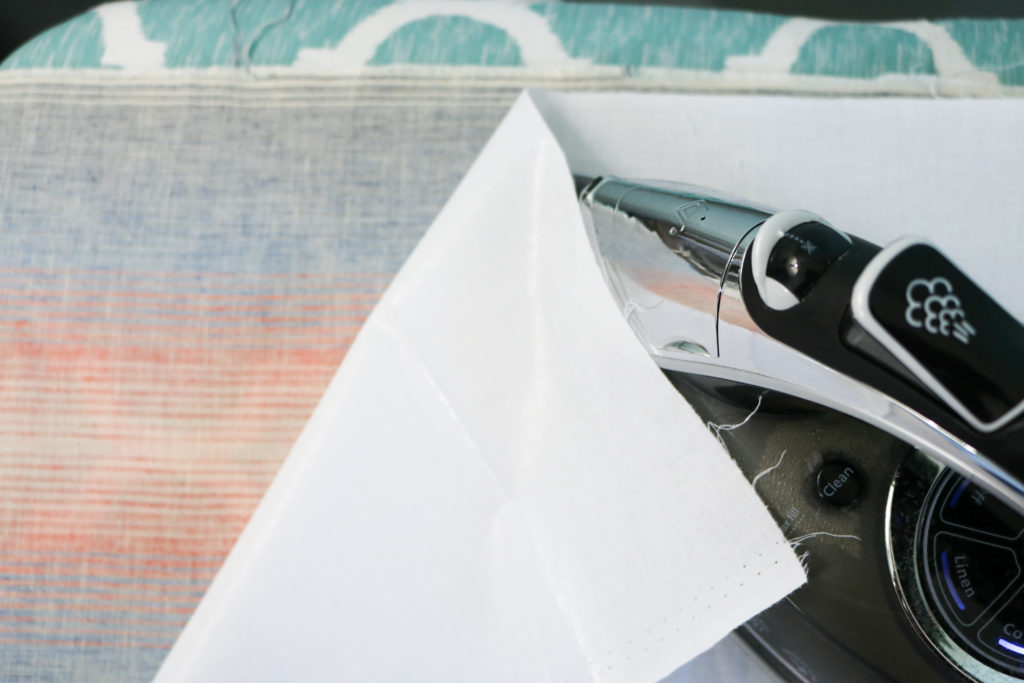
I am using a treated canvas and per manufacturer’s instructions, I cannot iron it and can only finger-press seams into place.  With the fabric being so heavy at 9 oz, I’m skipping the woven interfacing on the parts marked with an (*).  So if you are using vinyl or a waxed canvas, consider the same changes.  If you are looking more a more structured bag and can’t iron the fabric, then consider a sew-in interfacing instead of the the fusible.  Additionally, If you want to use the Back Slip Pocket to hold a tablet or small laptop, consider adding foam to the main fabric.

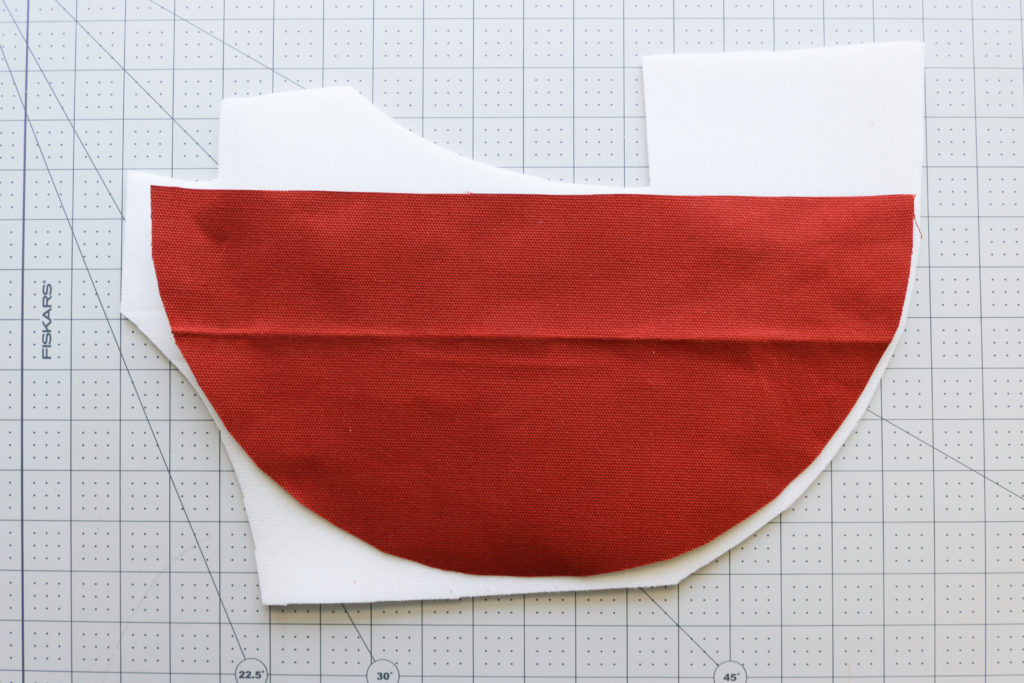
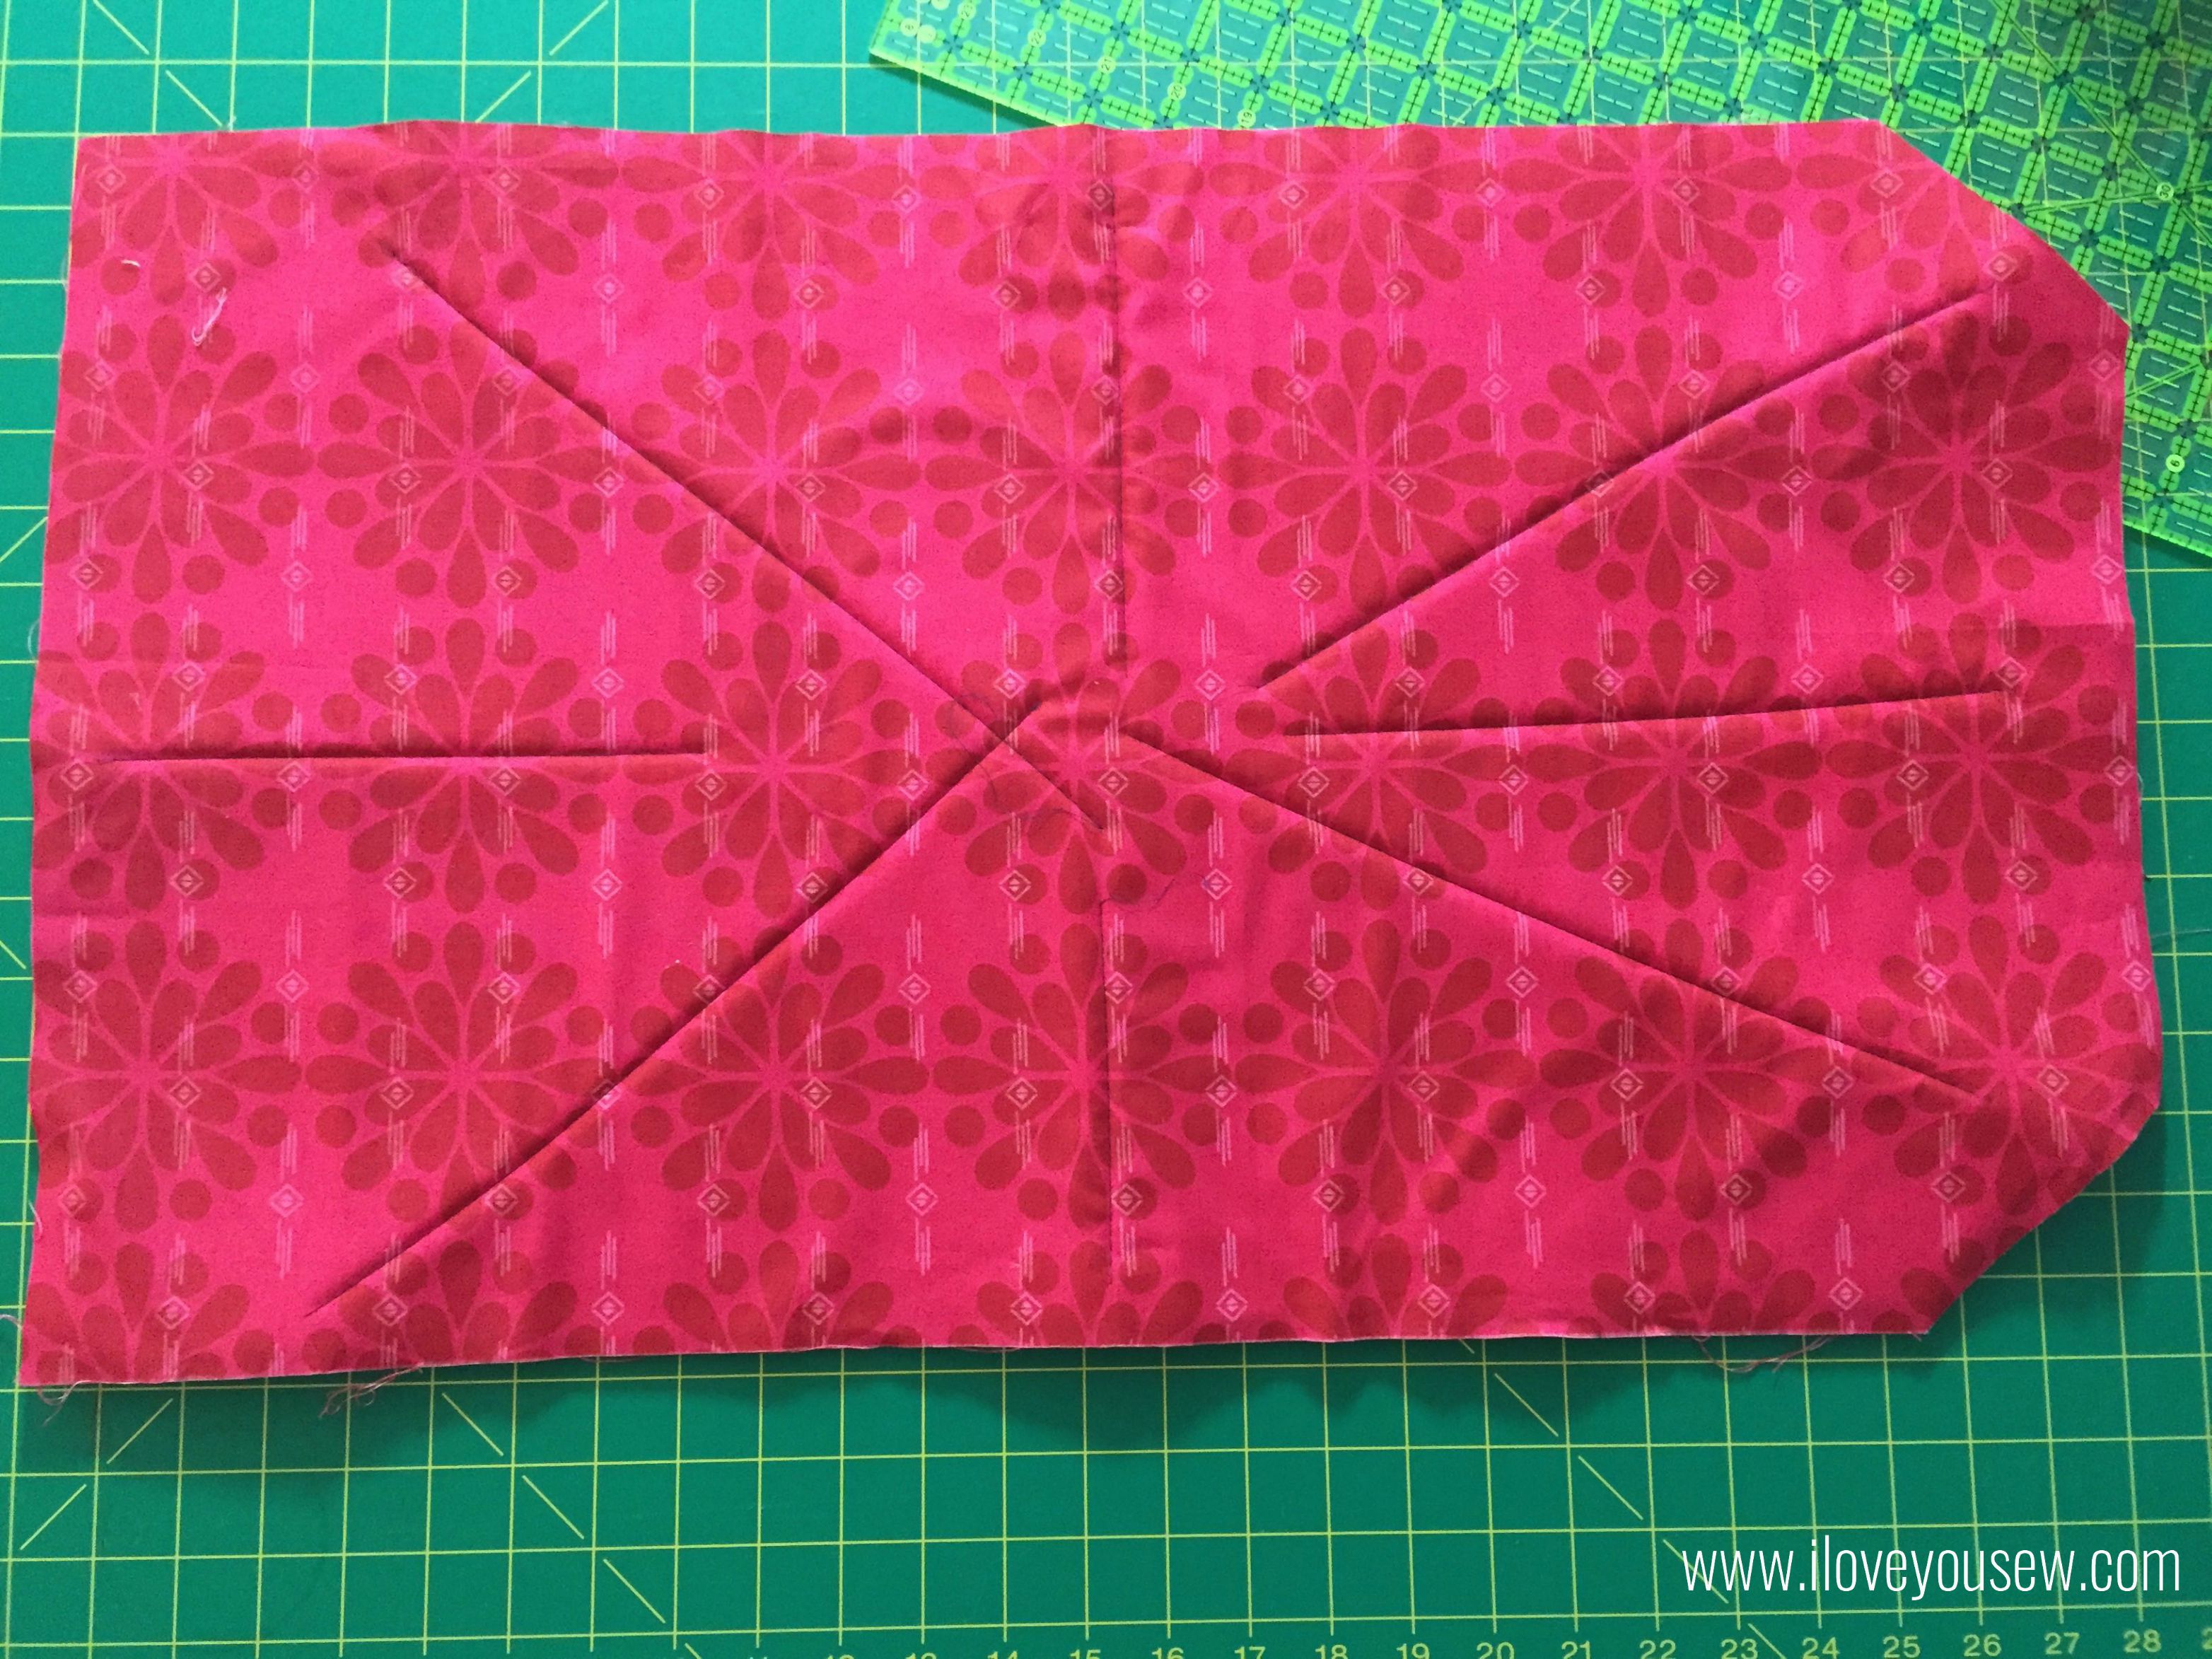
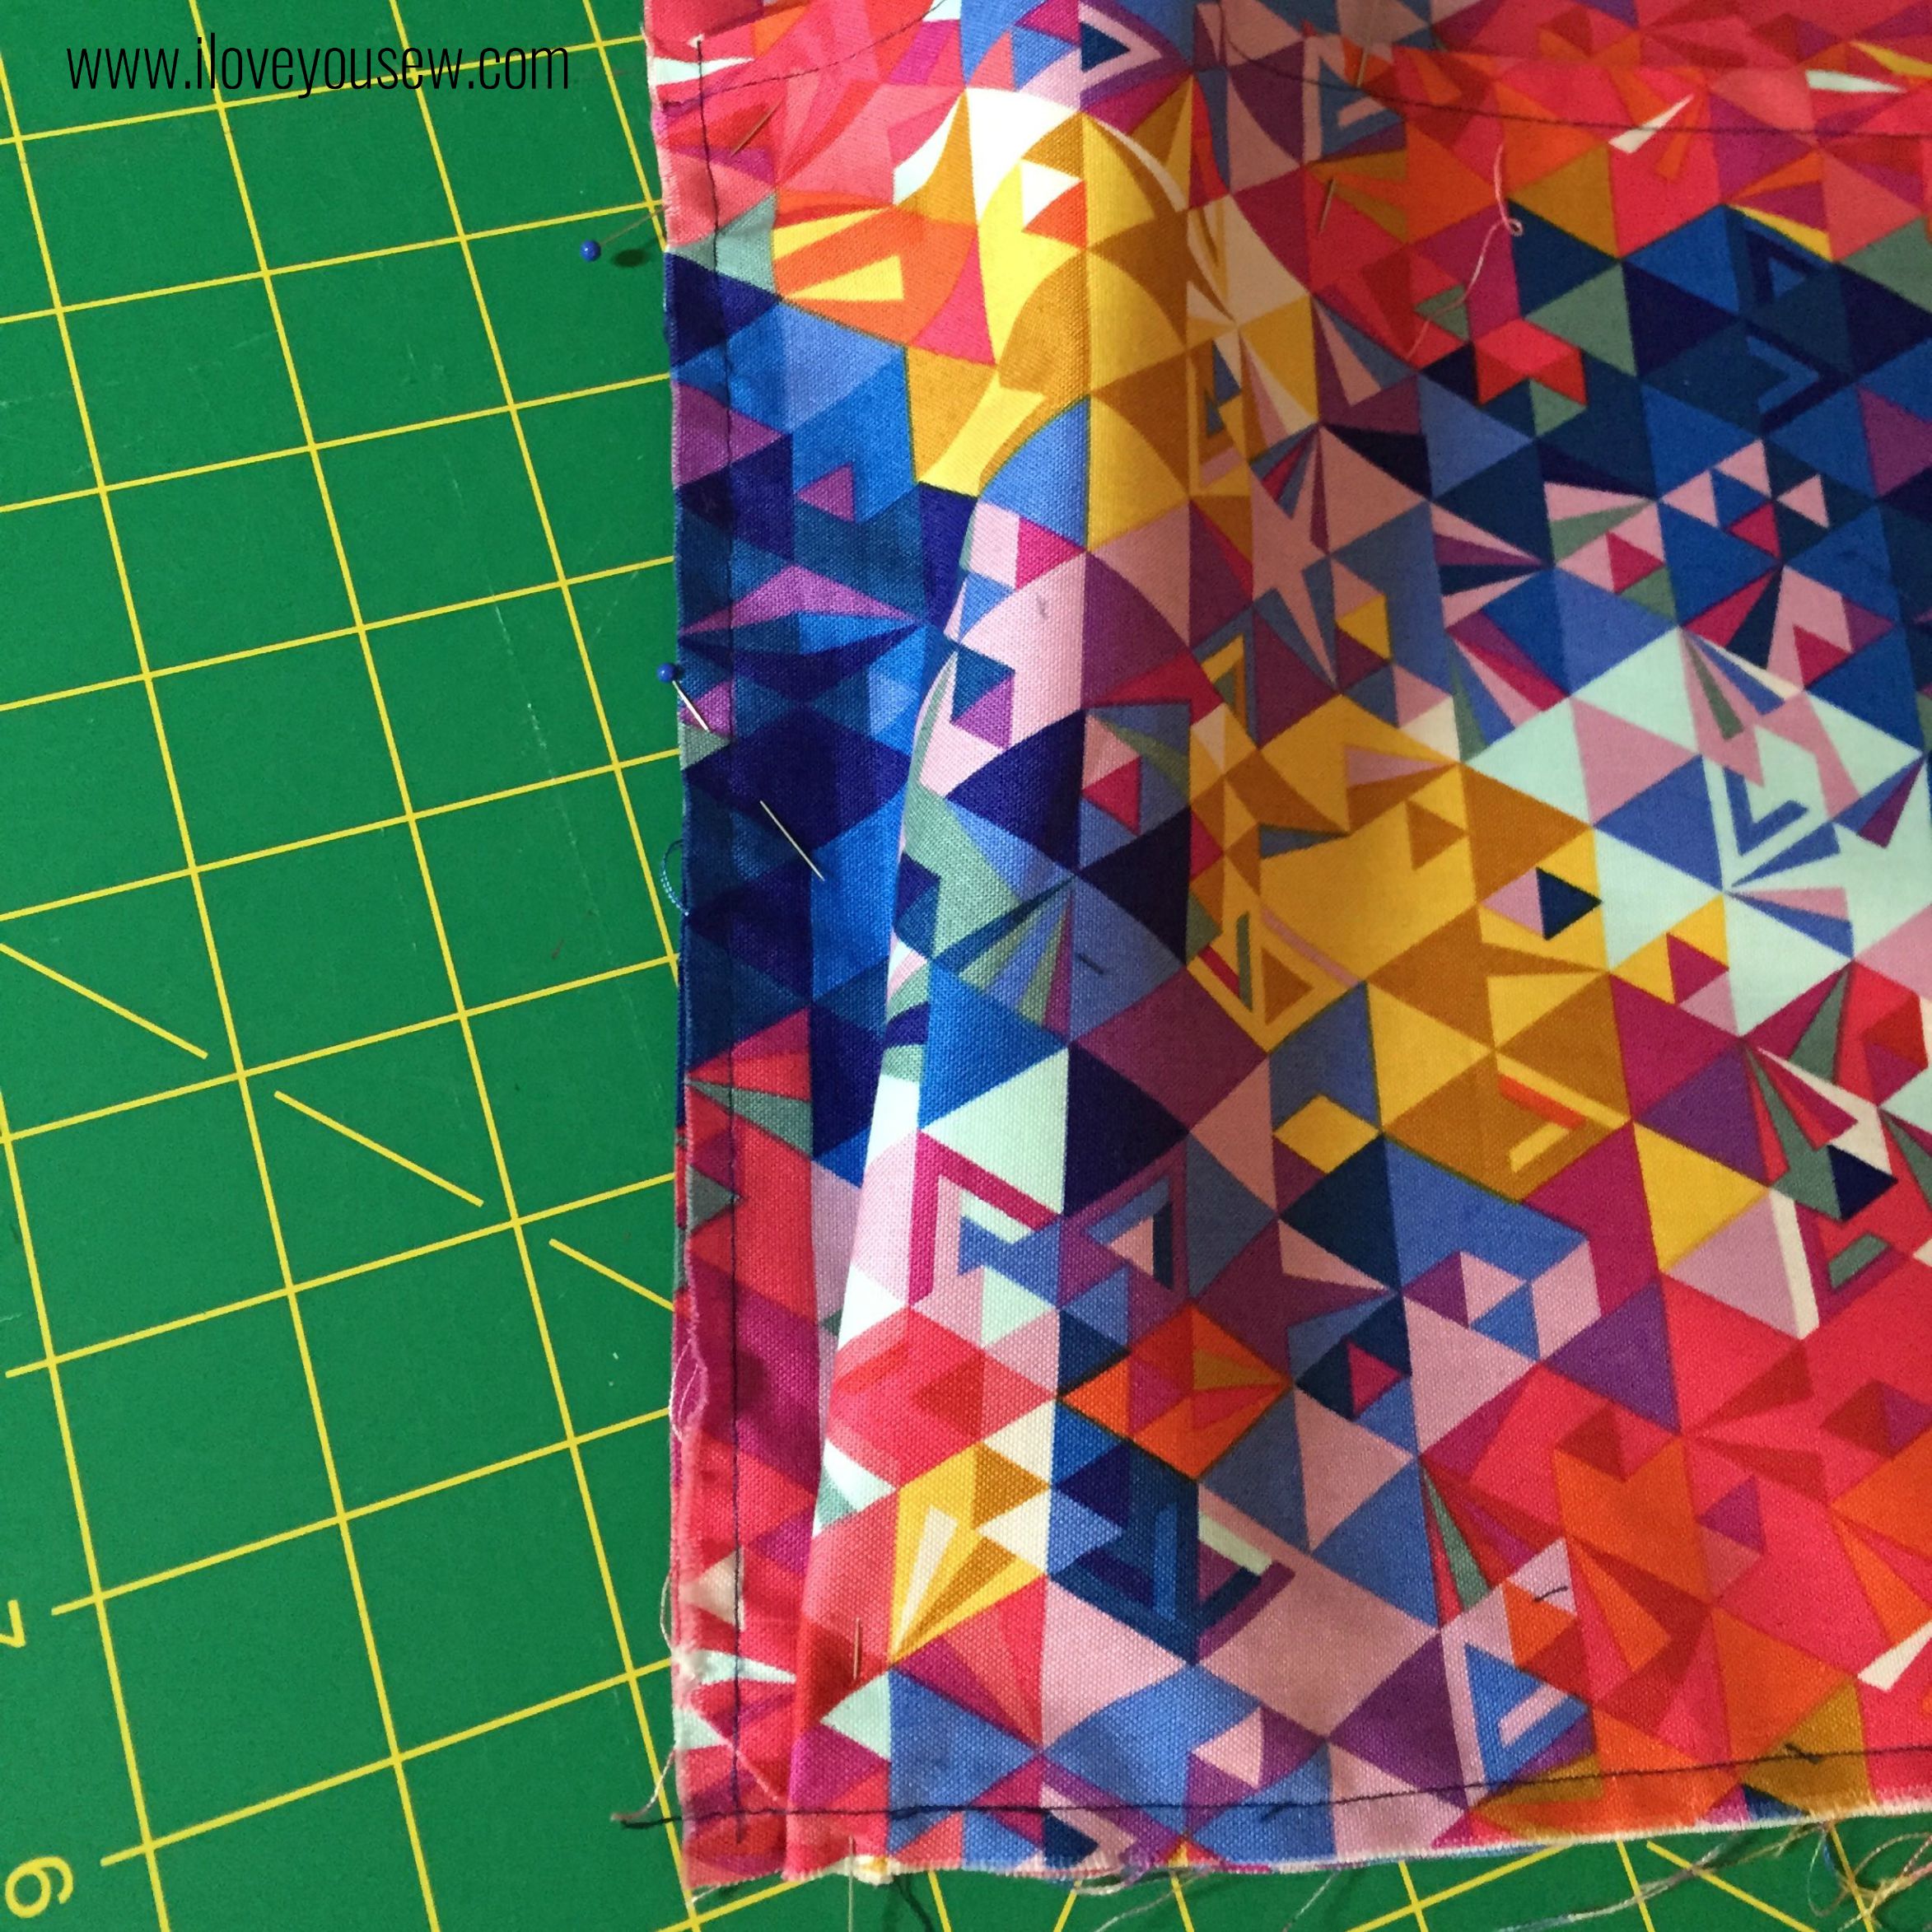
[Step 3] When it comes to basting the Main fabric onto the (non-fusible) foam, I like to use a larger piece of foam, baste, and THEN come back to trim it.  If you have never basted before, it is a technique of securing fabric together with thread (either by hand or machine.)  I crank my machine up to the longest stitch length (6mm) and will baste the pieces together.  You will baste:

  • Top + Bottom
  • Back Panel
  • SKIP the Front Panel for now – The Front Welt Pocket needs to be sewn in BEFORE the foam is basted in.

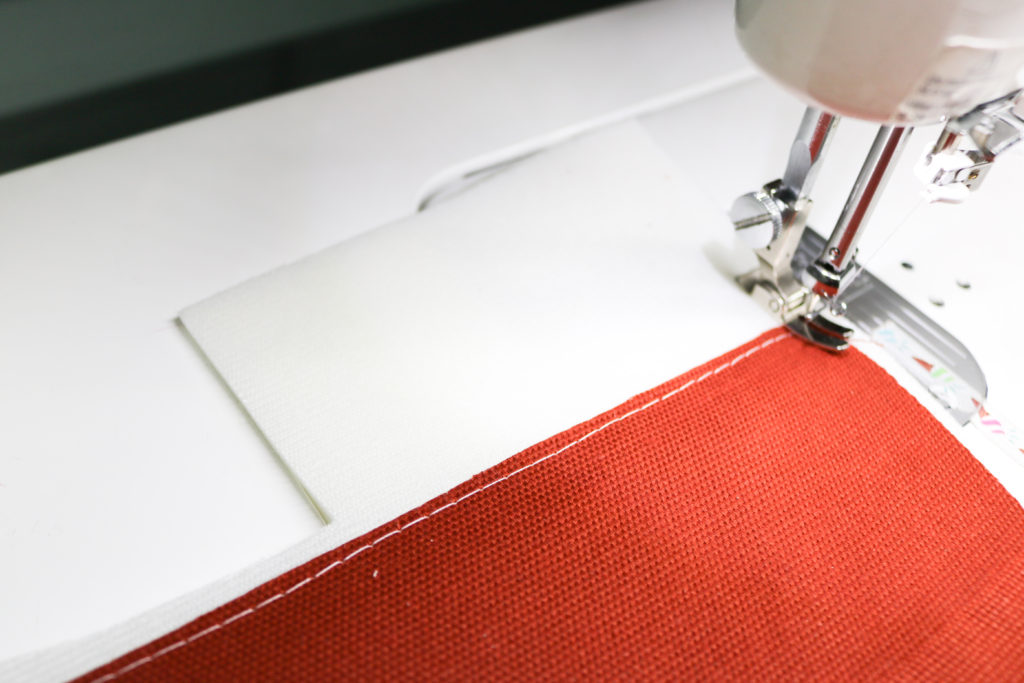
As you baste every several stitches, smooth the fabric outward so it is nice and taut against the foam.

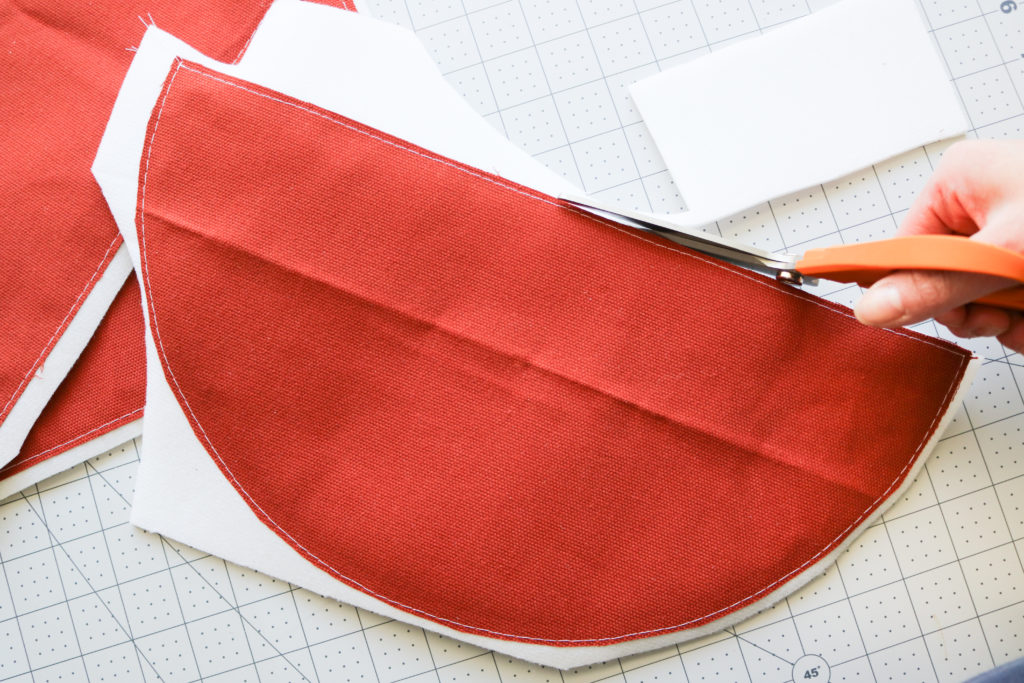
Once finished basting, you can trim the excess foam away from each piece of the bag and set aside.

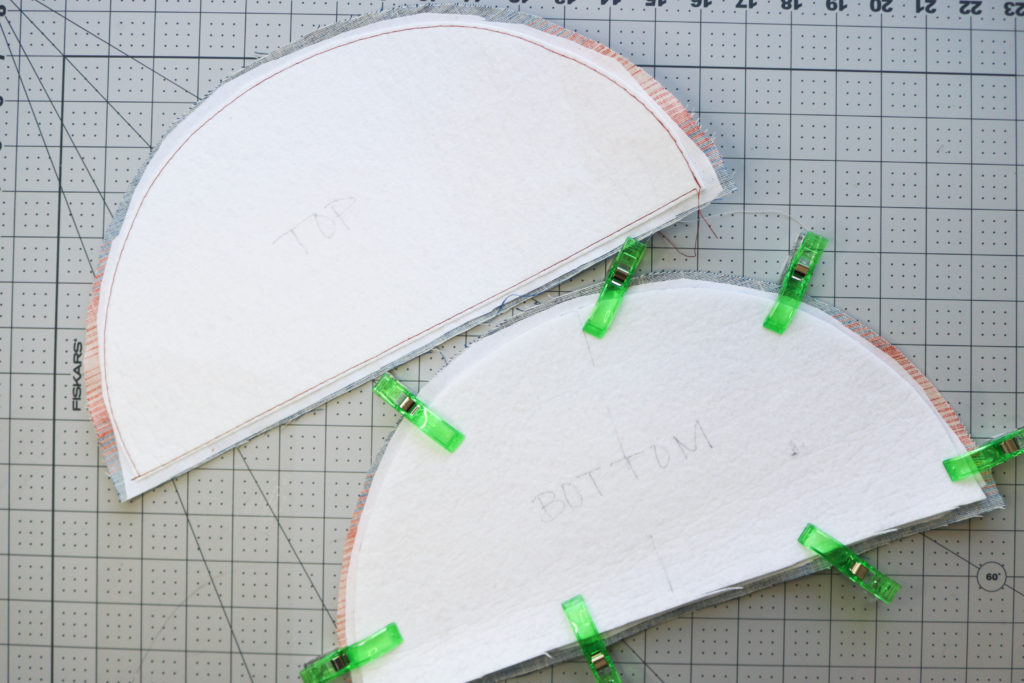
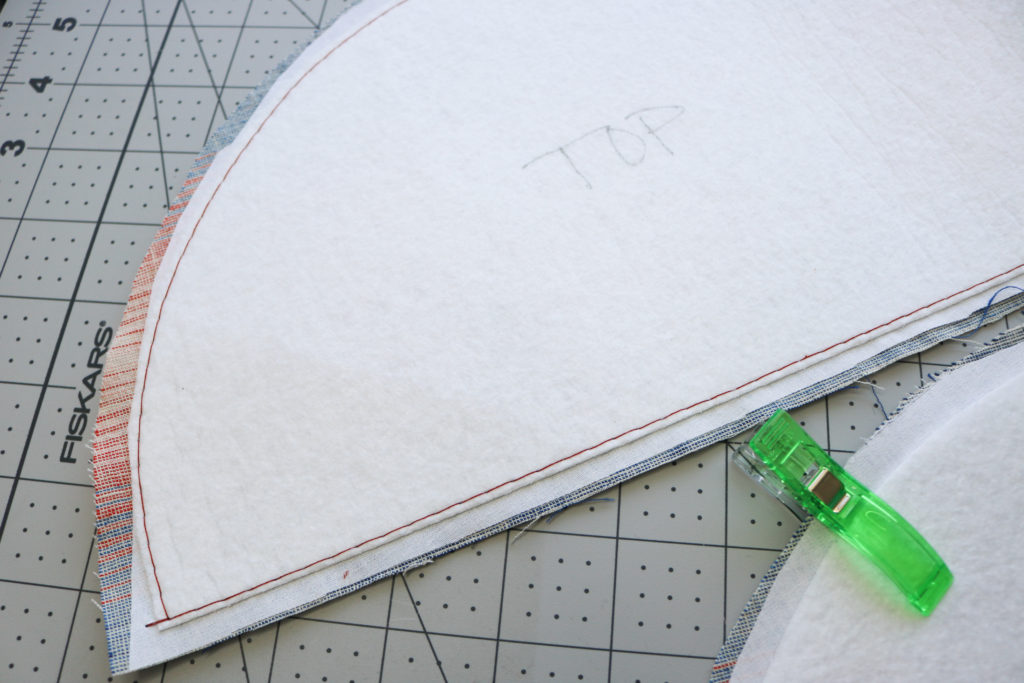
[Step 4] Now it’s time to grab the Top + Bottom LINING Pieces.  I like to label the firm interfacing to make sure I don’t mix up the pieces since each one will be sewn in differently.  The Bottom firm interfacing is attached with regular stitching whereas the Top is basted in — since the stitching will be removed later for a clean finish.  *If you are using a laminate for the lining, I would skip the basting (You don’t want to create permanent holes in the top lining when we remove stitching later) and either lightly glue the firm interfacing into place or consider permanently sewing it into place like the bottom.

CUTTING ACCENT FABRIC

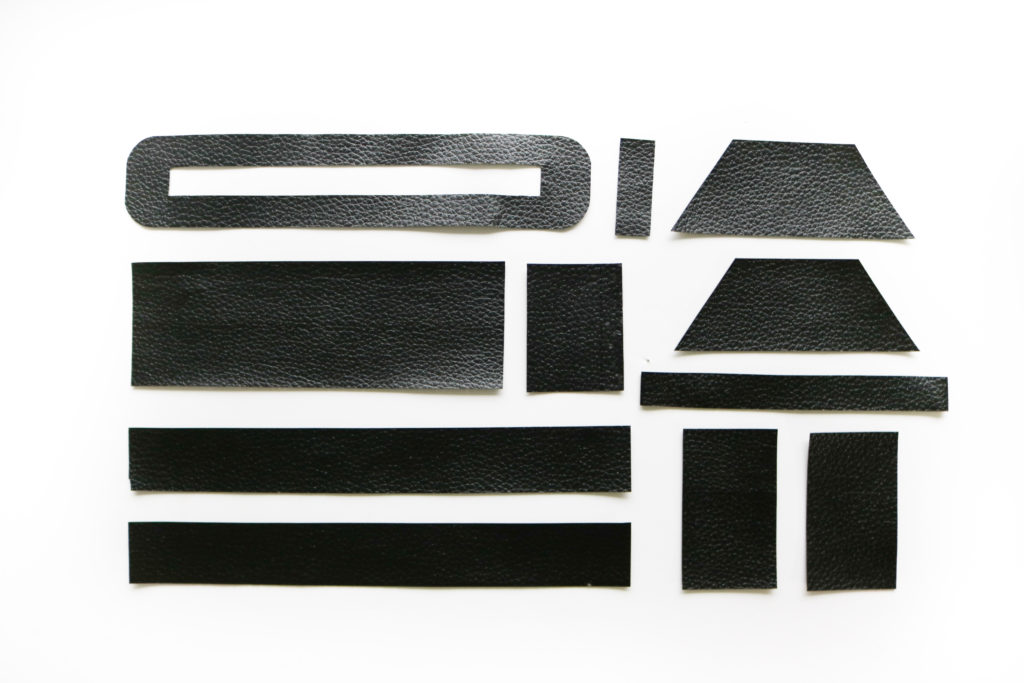
You should have the following pattern pieces with the accent fabric:

  • Zipper Plate
  • D-Ring Tab
  • Handle Base
  • Rectangle Ring Tab
  • Back Strap Tabs
  • Accessory Strap
  • Handle + optional*
  • Front Strap Tabs

*In the pattern, I cut (2) Handles for more strength.  But you are welcome to make a double-fold or even a Rolled Handle like this one, depending on the thickness of your accent fabric.

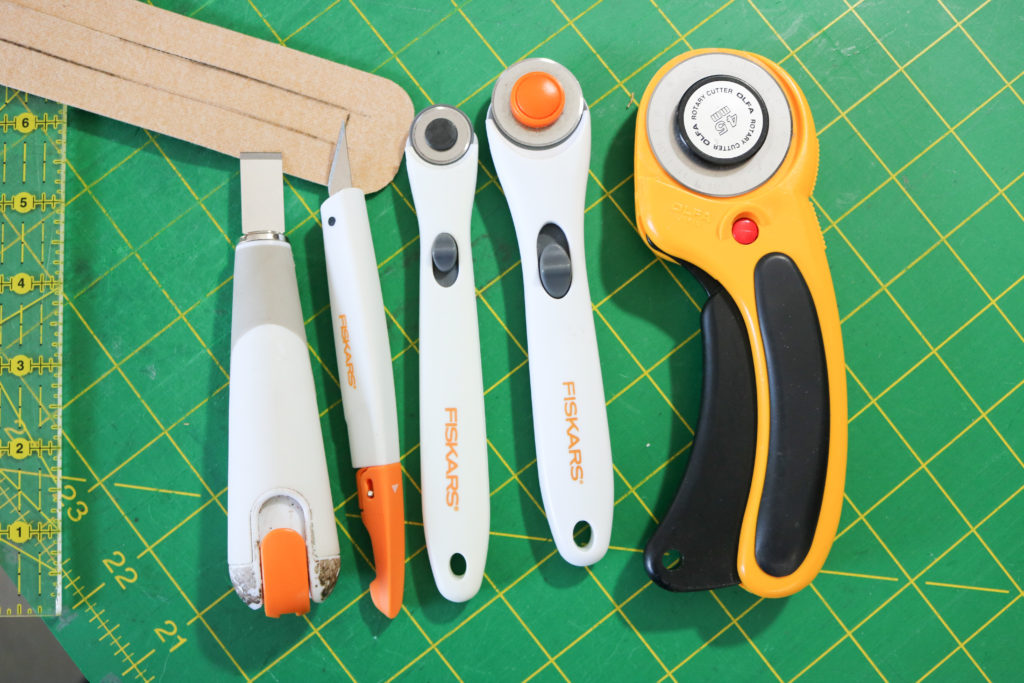
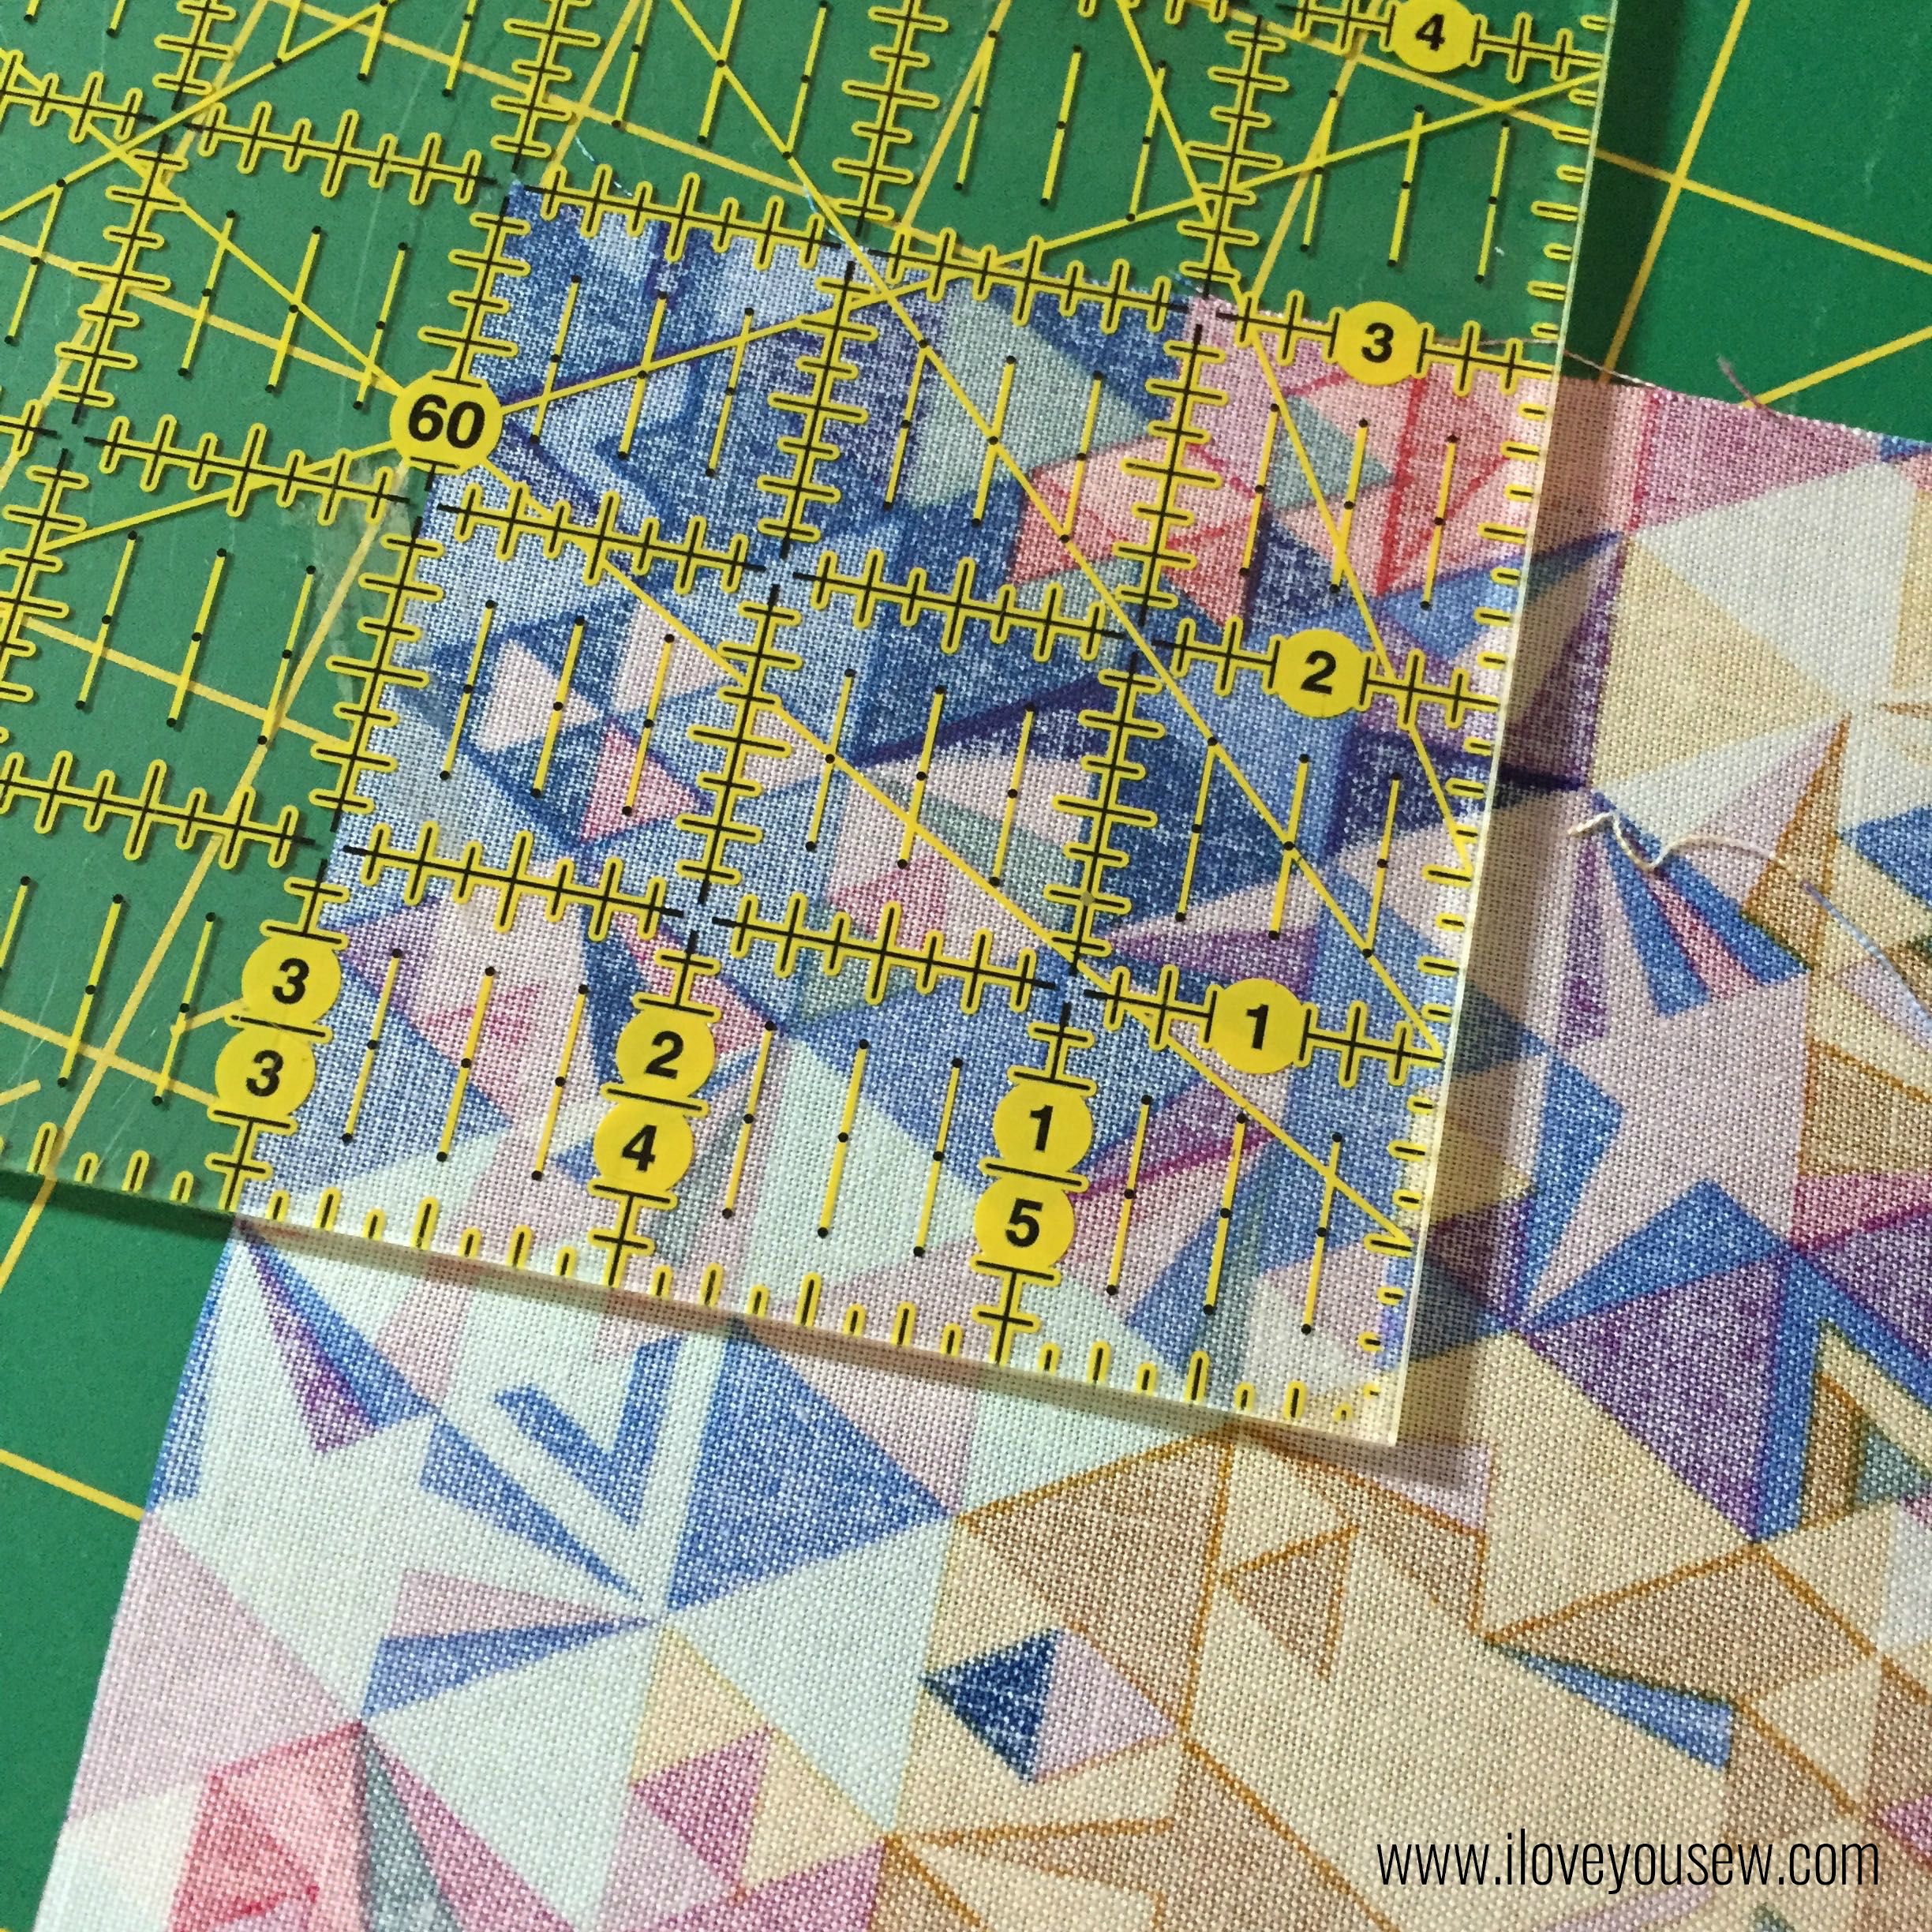
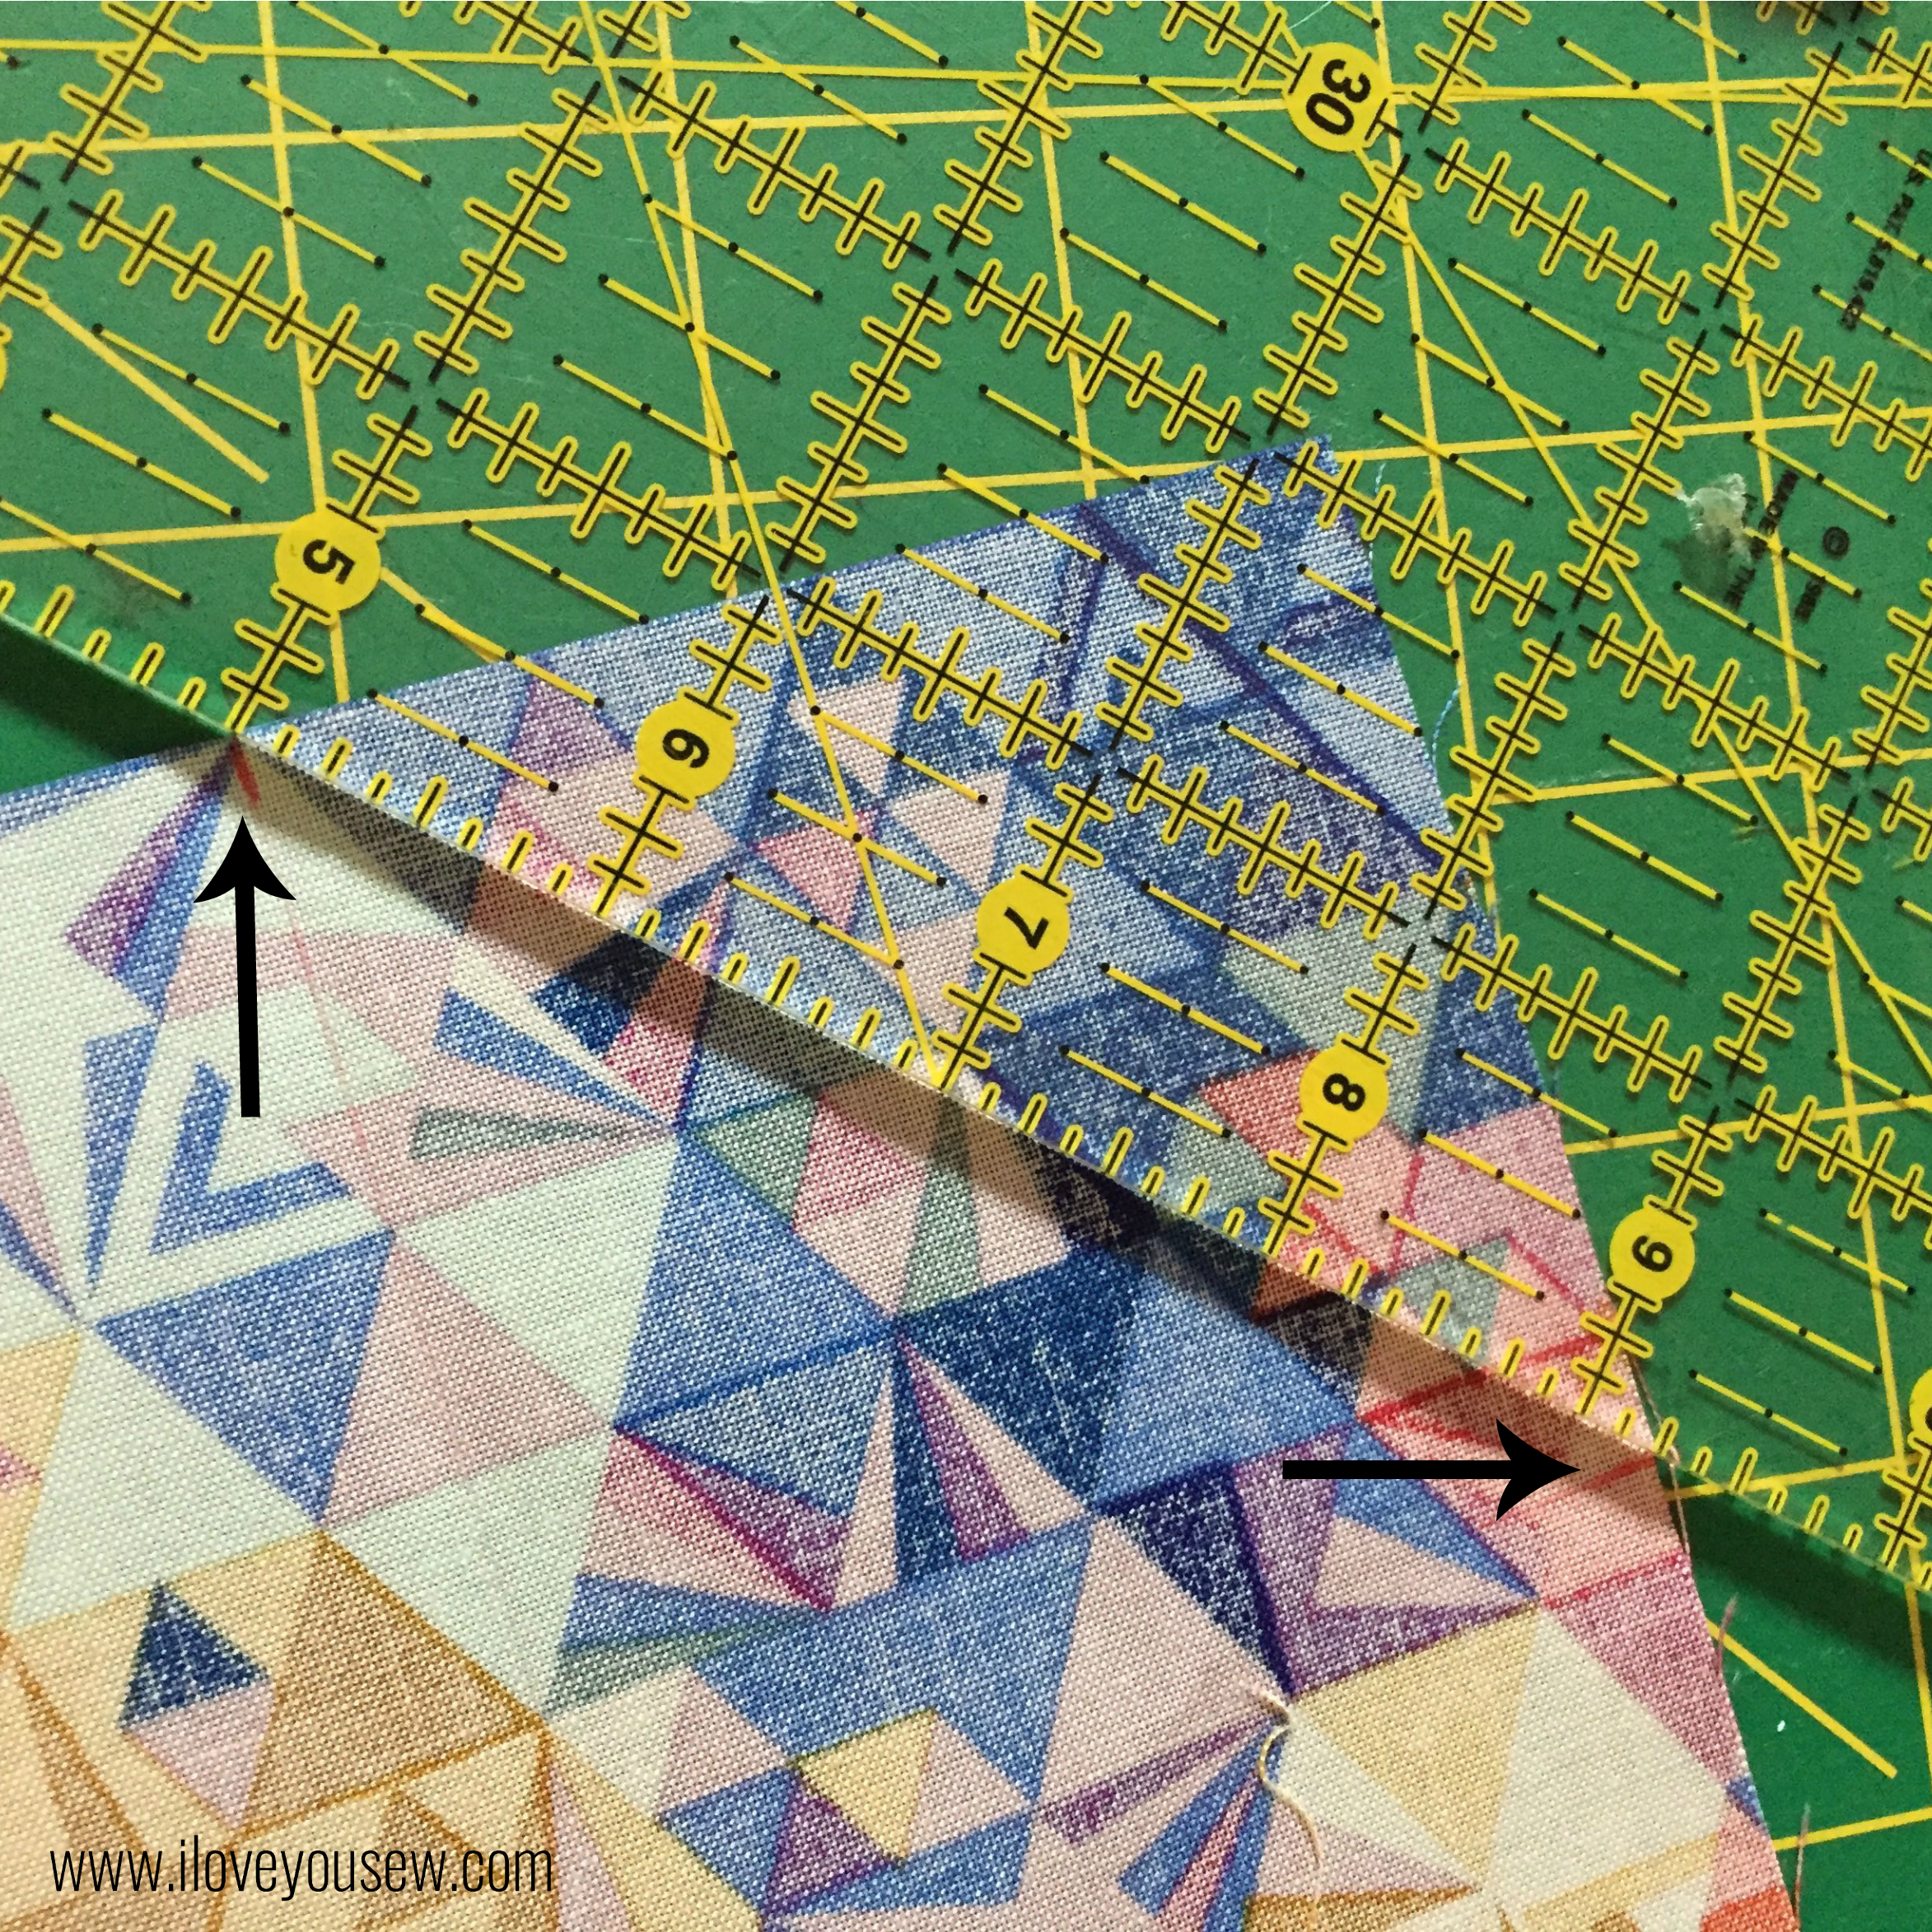
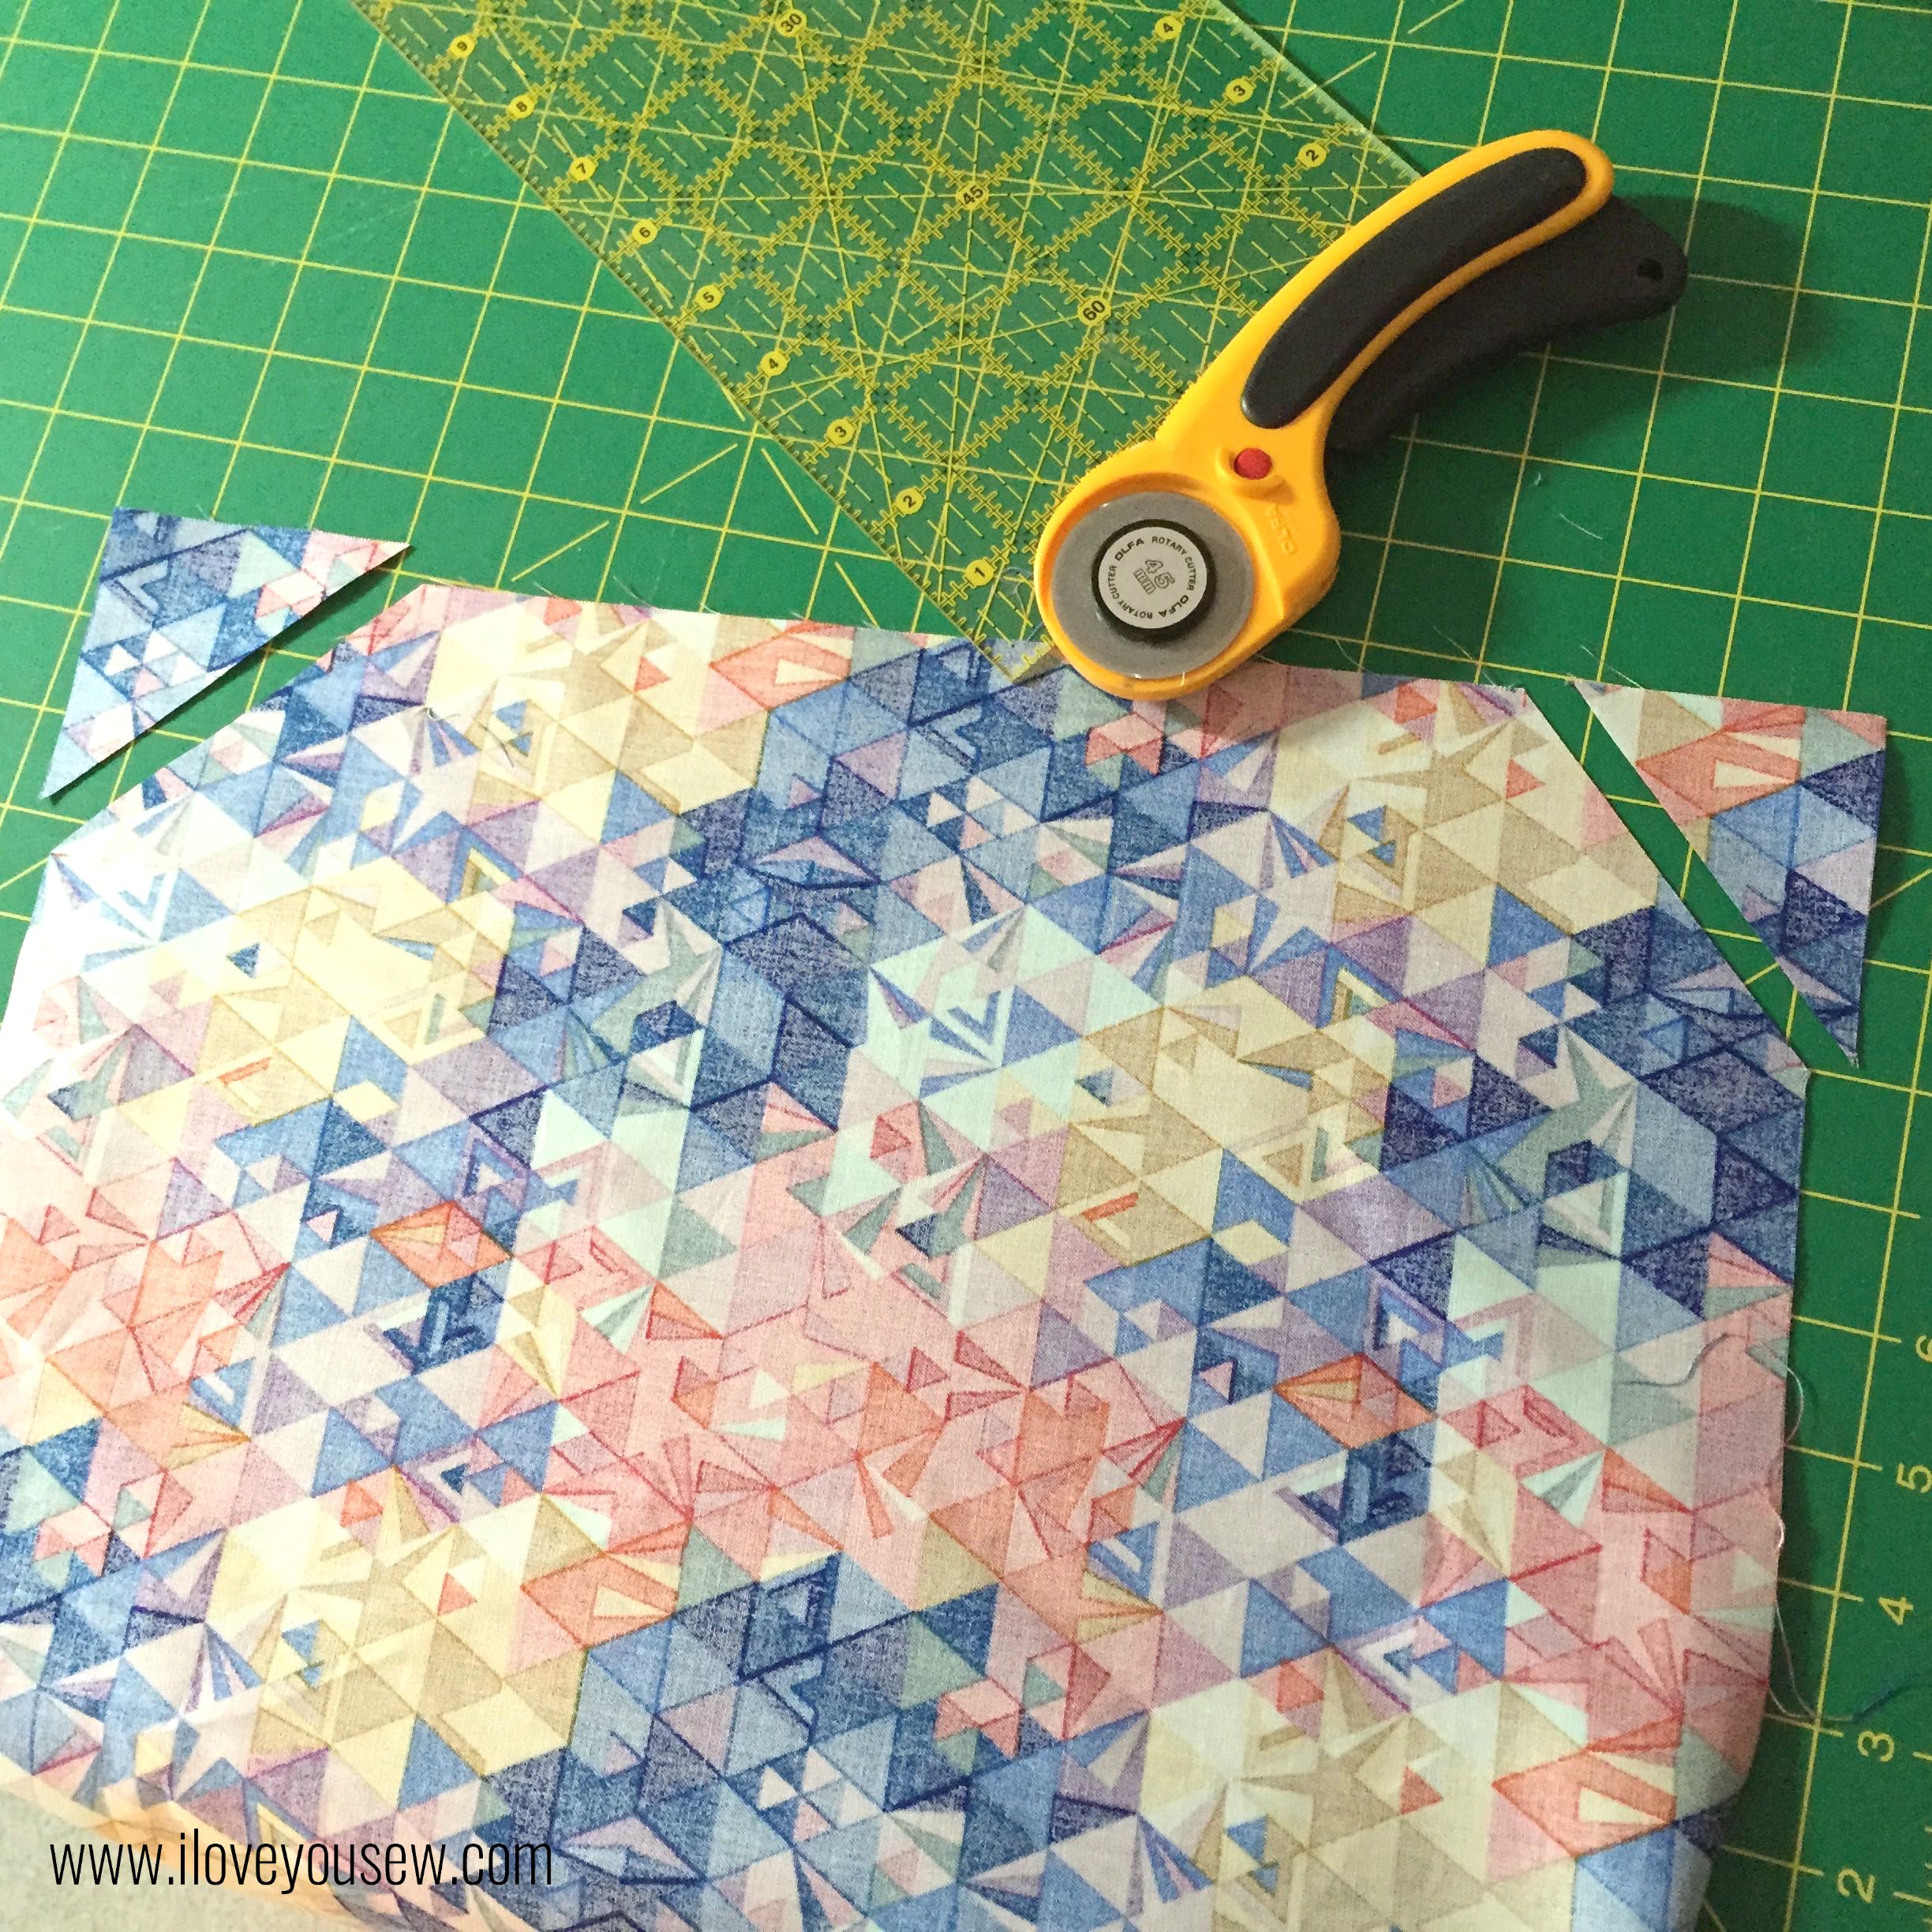
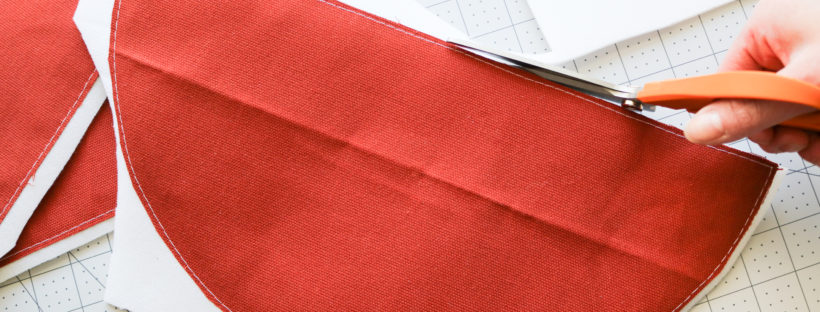
With all of the Accent Fabric, I like to use a rotary cutter (or craft knife in tighter spots) and ruler as much as possible to create nice straight lines. But it’s hard to get the same precision for curved lines.

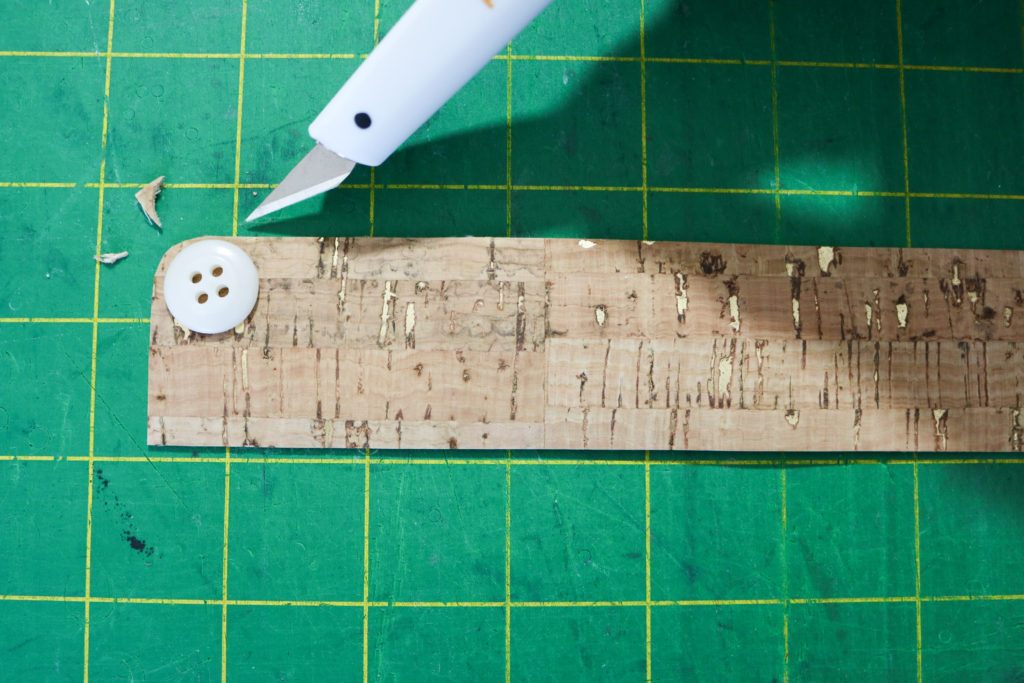
With the Zipper Plate, I’ll use any random round object like a metal washer (my preferred device, but of course, I couldn’t find it for this post..) or a thread spool around my house to use as a guide for my craft knife.  This allows for a more uniform look at the corners.  For the smoothest line, try to cut every curve in one motion and don’t forget to practice first!

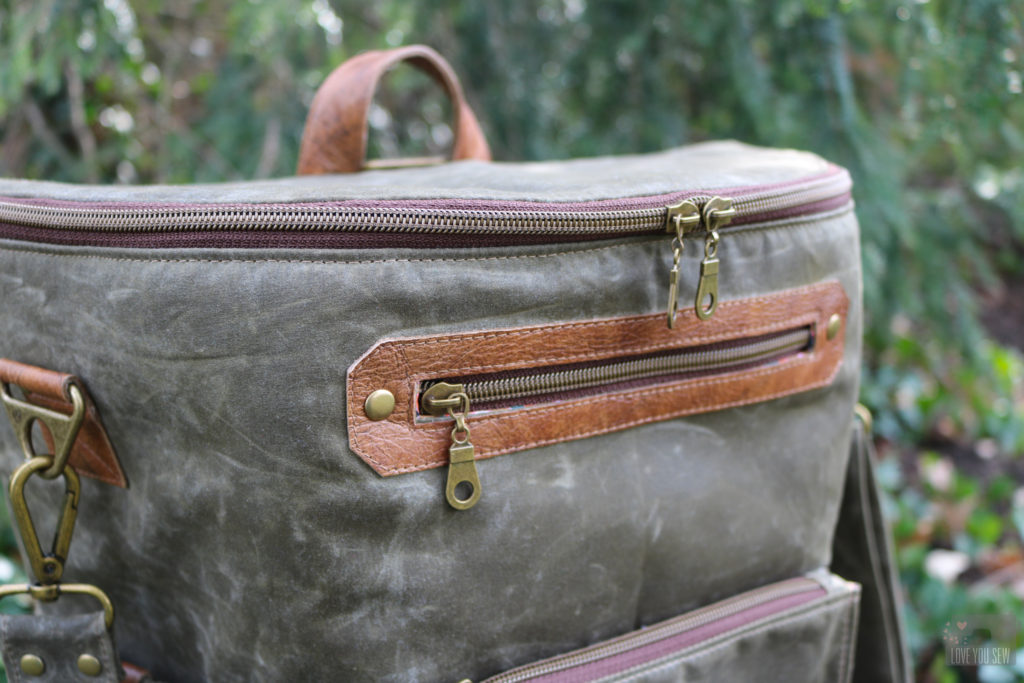
Alternatively, if you don’t want to bother with curves and want to make things more simple, you can just cut the zipper plate as a full rectangle and then snip a uniform 45* right triangle off every corner like this Zipper Plate above.

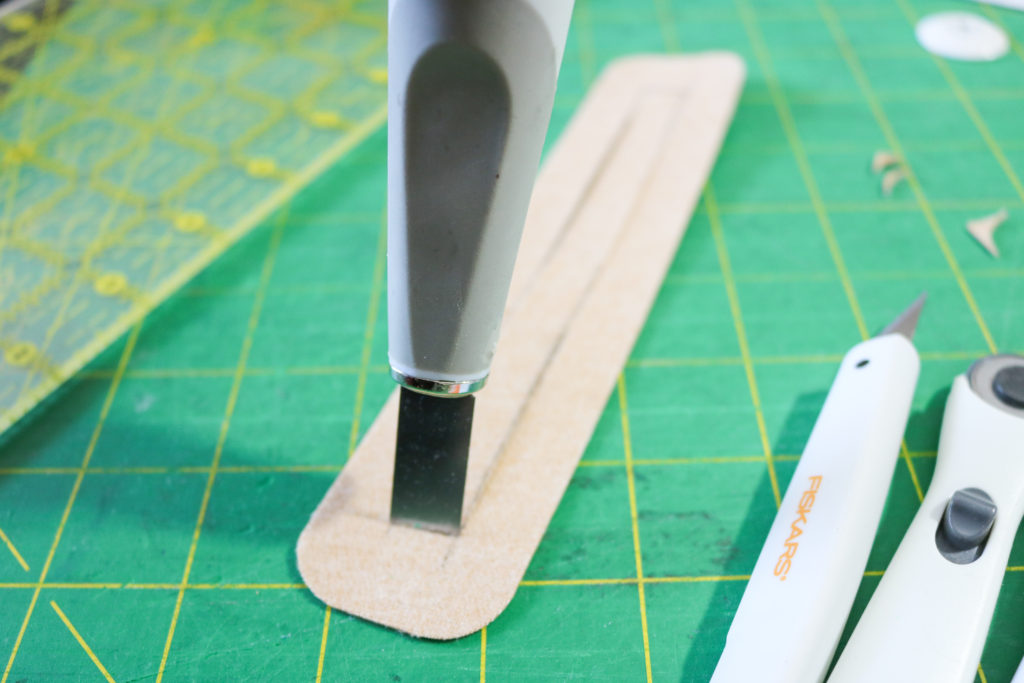
Additionally, for all my zipper plate use, I love the 1/2″ flat blade in this knife kit.  It’s the perfect size to cut into the plate and I love the variety of blade for all my crafting needs.

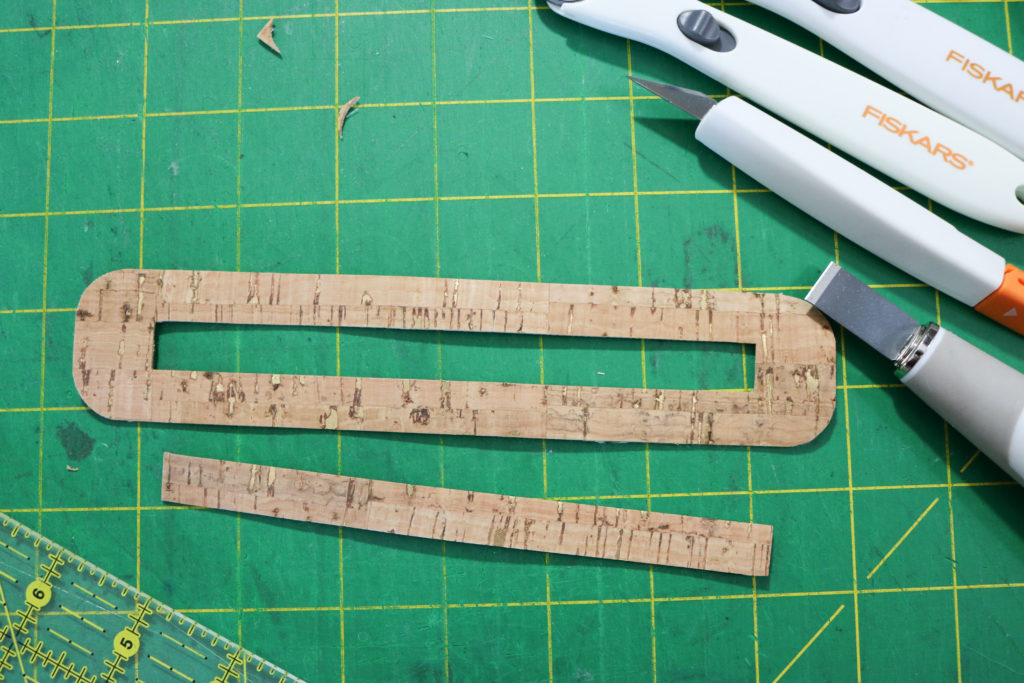
Once you are finished cutting through all the accent fabric, you can optionally seal the edges with your preferred method.  The faux leather I used as part of the instructions has a felt backing, so it didn’t require any sealing.  However, this cork I’m using for the sew along has a woven fabric backing and I do like to seal.  You can do so by using a seam sealant like Fray Check or using Leather Paint like in this post (with video!)

Prep hardware

[Step 5-8]  Click into the video above for the hardware prep, including how to sew the rings into place. Use a light uniform amount of glue to encase all the rings per instructions.  You want enough to keep the tabs attached, but not so much that it will effect your sewing (needles can stick to the glue and throw off timing.)

Although in Step 7, it mentions to add rivets to the Back Strap Rings, I suggest you wait until the backpack is complete.  This will make it easier to sew the tabs in place and you don’t have to worry about avoiding the rivets with your sewing machine.


Phew!  That was a good bit of work just to prep the Erin Backpack.  If you have any questions, please comment below.  Next up, I’ll be post Part 2: Making the Strap and Key Fob, so stay tuned!


Hugs and Stitches,

Cristy


This post may contain affiliate links.  Please read my Disclosures for all affiliate info.

Kelly Waist Bag and Clutch

Introducing the FREE Kelly Waist Bag Pattern

It’s such an incredible feeling when inspiration hits at the right time and the creative juices are just flowing.  That’s what happened when I paired this beautiful leather from Measure Fabric with  my idea for a simple and sleek waist bag.  I was able to quickly design, prototype, tweak and write a full pattern within 48 hrs (muuuuch different from my usual practice of taking months to write a pattern!)


Whatever you call them – waist bag, fanny pack, belt bag, hip bag….wearing a bag around your torso is the hottest bag trend right now.  Although the classic 80’s throwback style is probably the most popular, I wanted to have something with cleaner lines to match my fashion tastes.   I also wanted to make sure if I’m making a bag (especially in leather,) it can last beyond the current trend.  So I designed a minimalist raw edge leather bag which can convert to a clutch, simply by removing the belt.

Leather

Initially, I thought I would make an envelope style clutch when I first saw this leather on Measure Fabric’s website.  I thought the leather might be a little too difficult to sew on my machine.  I figured I could use a bunch of rivets to origami it altogether since I already fell in love with the top-grain texture and beautiful neutral navy color.

Thanks to the miracle of videos on Instagram, the shop ladies were able to show me the leather’s softer hand.  The hide is approximately 2mm thick, but is still pliable enough to shape and can hold some weight.  You can check out their entire selection here. Get ready to drool over all the beautiful hides!

Bag Features

Named after one of my awesome nieces, this waist bag is all about having some freedom.  Whether you want hands-free options to wrangle the kids like me, or to attend the latest festival concert like Kelly (oh to be in my twenties again,) this is your bag!  It’s small but mighty with plenty of great features:

  • Slip pocket – Perfect to stowe away cash, ID and/or a Shuffle Cardholder
  • Simple screw on button stud – There is no need for fancy hardware or tools.  But feel free to make this your own!  You can find them on Amazon here or here and on Etsy here. (aff links)
  • Adjustable belt design – Whether you wear this with just a tee or over a bulky sweater, the belt can change with you.
  • Convertible to clutch – Simply remove the belt and you have a perfect leather clutch for a night out or use it as a pouch in a larger tote.
  • Able to use any belt – The belt guide is generously sized to accommodate most belt widths.  You can use your own belts to mix and match, creating different looks.
  • Fits many arena and public venue bag guidelines – With finished dimensions of 8″ x 5″ x 1″, the Kelly conforms to many stadium and concert bag regulations.  It’s the right size for your phone, ID, cash, with room to spare for keys.

Sewing Tips:

  • Leather and some vinyl are not self-healing.  Needle holes will be permanent, so work slowly and use clips instead of pins.
  • Use a leather needle with leather or a heavy duty (16 or 18) needle with cork or vinyl to handle the extra thickness.  Machines vary, so don’t forget to TEST before making the bag!
  • With thicker substrates, leave long thread tails to manually tie off with double and even triple knots.  Don’t try to back-stitch because your machine may not like the bulk.
  • A walking foot is great to get even stitches without sticking and a Teflon foot prevents sticking as well
  • Use a stiletto tool like this or carefully notch into the gusset 1/8″ to help maneuver around the curves. (aff link)
  • For punching the holes, I love this tool with a softer plastic bed vs a metal bed.  You get a cleaner cut through the leather. (aff link)

|| Click Here for the Kelly Waist Bag + Clutch Pattern by Love You Sew ||

#kellywaistbag #loveyousewpatterns 

Print at 100% or Actual size

Please share your projects on social media with the #kellywaistbag and #loveyousewpatterns tags.  I would LOVE to see what you do with the pattern.  Don’t forget to give me a follow and tag me @loveyousew_ so I don’t miss it!

Enjoy!!!


Leather for this project was provided by Measure Fabric.  All thoughts and opinions are always my own.  There are also affiliate links in the post for which I would receive a small commission only if you decide to make a purchase.

Claire Fold-over Clutch :: Pattern Release

The Claire Fold-over Clutch with cross-body strap is my very first bag pattern release.  ‘Talk about  all the feelings right now!  There is so much to say about this bag, both in it’s functionality and how it just came to be.  If you can bear with me, I’ll dive into both 🙂

Many of you know that I’ve been selling on Etsy for awhile and broke out into local Indie Craft shows just a few years ago.  With the shows, I started to sell more bags to complement my baby accessories and noticed how my wristlets and fold-over clutches were selling over my larger bags.  To differentiate myself from other bag-makers, I had to add some features and finishes to elevate my product…which in turn, became the Claire.

The following are those key features:

  • Back Pocket – I knew I had to make more of these bags and then a friend came to visit during my holiday sale season.  She had a similar fold-over style bag, but with a front pocket for her phone.  When she reached down and had that immediate accessibility to her phone, the light bulbs were going off.  It seems like we’re all glued to our phones and they just keep getting bigger and bigger…so our back pant pockets are no longer enough.  Since my friend’s bag was by a national manufacturer, there was no easy way I could replicate the front pocket style, but that didn’t mean I couldn’t make a back pocket!

  • Cross-body Strap – I look to my nieces and popular brands for inspiration and I continually see the long straps for the on-the-go millennial and of course, us  busy moms too!  I wanted to make sure it was adjustable and the 60″ strap works for many different body types and all the different occasions in our lives.

  • Bag to Clutch Versatility – As a clutch, the fold-over style is so cute and I didn’t want hanging side “ears” to get in the way of that classic silhouette.  So the D-rings are set in the back of the bag.

  • Modern and Sleek look – The faux leather panel adds the extra bit of class and style to this bag.  It immediately heightens the looks and your friends will never think you made this bag.

  • Easy to Sew – By keeping the front panel for your accent substrates with either faux leather, cork, or vinyl, you are sewing through the fabric and one layer of the accent.  In other patterns, you can be sewing through 4 layers in addition to the fabric and interfacings.  Not all domestic machines can handle that and I want as many sewists with all different types of machines to be able to make this bag.

  • Interfacing  – I’ve made probably 30 of these bags already…so I’ve played with numerous interfacing combinations.  You want enough structure in the bag, but not too much that it will not fold-over properly.  And most people are like me, we like to use different fabrics and I’ve tried to take the guessing game out when you do decide to switch up.  The interfacing cuts are calculated so you have the strength and structure without having to sew through all of the extra bulk. I’m still looking out for all of my novice sewists 🙂

If you would like to make your own Claire Fold-over Clutch, you can find the pattern in my Etsy and/or my Craftsy shops.

Don’t forget to share your makes on Instagram with #clairefoldoverclutch and #loveyousewpatterns. (Hashtags are the only way I can see your makes if you have a private account!)  I love seeing all of the different versions!


Happy Sewing!

Cristy


Padded Laptop Tutorial by Love You Sew

Padded Laptop Case Tutorial

LaptopCaseTitle

Today, I’m going to share my own pattern for a padded laptop case.  Every time I’ve had to travel, I’ve thought of how much I needed a cover for my MacBook.  But with our recent trip to the lake, I actually made one…the night before we left…in true procrastinator style.  How many times have you done something like that???

*Please read through all steps before starting.  Cutting dimensions are based on a 13″ Apple Macbook Pro (approx. 12.75″L x 9″W x  0.75″H)

Supplies:

  • 1/2 yd of Exterior Fabric
  • 1/2 yd of Lining Fabric
  • 1/2 yd of Pellon Flex-Foam or Annie’s Soft & Stable
  • 1/4 yd of Mid to Heavyweight Interfacing
  • 1 set of Magnetic Snaps
  • 3 sets of KAM Snaps
  • Coordinating Thread
  • Rotary Cutter and Cutting Board
  • Fabric Scissors

01LaptopFabricPull

If you follow me on IG, I made my personal one with Alison Glass‘s Geometry in Sunset (as shown) but with Mercury in blue as the pocket and the Historical Fiction in Gold print for the lining.  Luckily, my niece saw what I made and wanted one for her very own.  How did she know I also wanted to write a tutorial? She selected Geometry and I had a bunch of Historical Fiction in Strawberry in my stash to match. I love this vibrant combination.


Cutting Requirements:

02LaptopPatternCut*Please note all measurements are for a 13″ Apple Macbook Pro.

  • Cut from Exterior Fabric (L x W):
    • Front – 15.75″ x 10.75″
    • Back – 15.75″ x 16.25″
    • Pocket – 17.75″ x 18.75″
  • Lining – 15.75″ x 26.5″
  • Interfacing  – 17.25″ x 9″
  • Flex-Foam 15.25″ x 26″ (not pictured)

Instructions:

03InterfacingonPocket

Lay Pocket right-side facing down (17.75″ at the top) and fuse the interfacing to the bottom half according to the manufacturer’s instructions.  There should be a 1/4″ seam allowance all around the interfacing.


04PocketCloseup

Fold the pocket in half, wrong sides together, so the interfacing is sandwiched in between the Pocket fabric.  Press with iron and sew a 1/2″ seam along the fold to keep all pieces in place. Set aside.


05NotchFlap1

Take the Exterior Back fabric and hold it with the 15.75″ side along the top.  Measure 3″ in from both of the top corners and mark.


07NotchFlap3

Connect the two marks and cut off each corner.


09NotchFlap5

Repeat for the lining and Flex-Foam.


13Basting

Center the Lining (wrong side) on top of Flex-Foam and baste the two layers together.  Set aside.  TIP: Baste from the center out toward the edges. This helps pull the lining taut.


16PocketBasting

Center the pocket on the right-side of the Exterior Back.  Take the over-hang fabric and make a pleat approximately 1″ in (so it doesn’t get sewn into the lining later on.) [Edited to add: Repeat on other side.] Baste the pocket onto the Exterior Back with a 1/4″ seam allowance.


17AddFront
Sew the Exterior Front to the Exterior Back/Pocket right sides together on the short side creating the entire exterior cover.


18ExteriorComplete

Open and press seam open.  Exterior should look like picture above.


Mark Snap

From the top of the Lining, fold the sides together to find the center.  Mark down 1.25″ and attach the magnetic snap according to the manufacturer’s instructions.


19AttachLining


On the bottom of the Completed Exterior, find the center.  Mark down 2.5″ from that point to attach the other half of the snap set.  TIP: Fuse a piece of scrap interfacing on the wrong side of the fabric where you will attach the snap.  This helps provide a layer of durability.

With right sides together, sew the Exterior to the Lining with 3/8″ seam allowance leaving approximately 5″ opening to turn.  Notch the corners. Remove basting threads.

Turn the Laptop cover out and push out the corners.  Press well.


24Complete

Sew a square around the magnetic snaps with about 1/4″ clearance all around.  This helps secure the snap into place.

Sew a 1/4″ seam along the bottom edge of the laptop case.

Fold the front of the cover up along the sewn seam and clip into place.  Starting from one bottom corner, sew all around the case with 1/8″ seam allowance to create the main compartment for the laptop.

20 SideSnap

Follow the pleat on the pocket and finger press the fabric to mark where you will attach the KAM snaps.  The female and male ends will be right next to each other.


21SideSnapTogether

This will secure the pleat but gives the pocket more room to hold your cords and other goodies.  Repeat on the other pleat.

23BackwSnaps


Find the center of the pocket and add one more snap about 1/2″ down from the opening.  Find where the snap meets the body of the case, mark and add the other snap.  The pocket opening should lie completely flat when all snaps are fastened.

22CompletewLaptop

And there you have it – a beautiful cushioned case for your baby to travel!

Please let me know if you have any questions (I’m new to pattern writing) and please tag me on Instagram if you make one. #loveyousewlaptopcase  #loveyousewpatterns


Happy Sewing!

Cristy


This post may contain affiliate links for which I do receive a small compensation…It helps me keep this site running 🙂