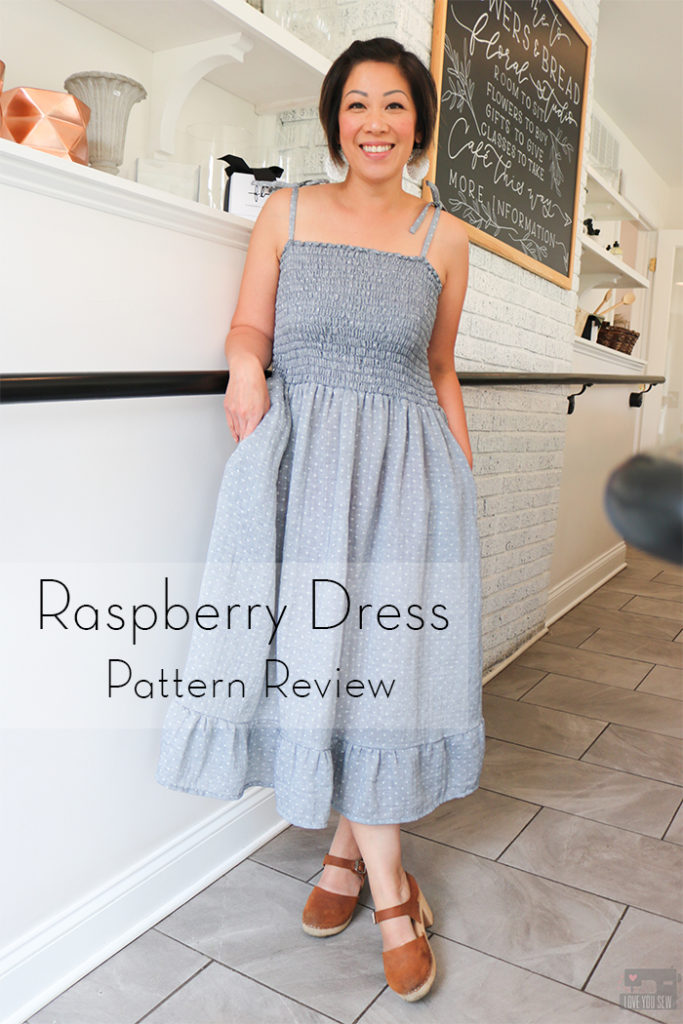
Last month (when I had time and the kids were still in school) I had the opportunity to make one of CocoWawa’s patterns, the Raspberry Dress! I had never made one of Ana’s patterns and just discovered her IG feed and designs earlier this year. So, I was very excited when she asked me to try one out…especially to learn this (new to me) shirring technique!
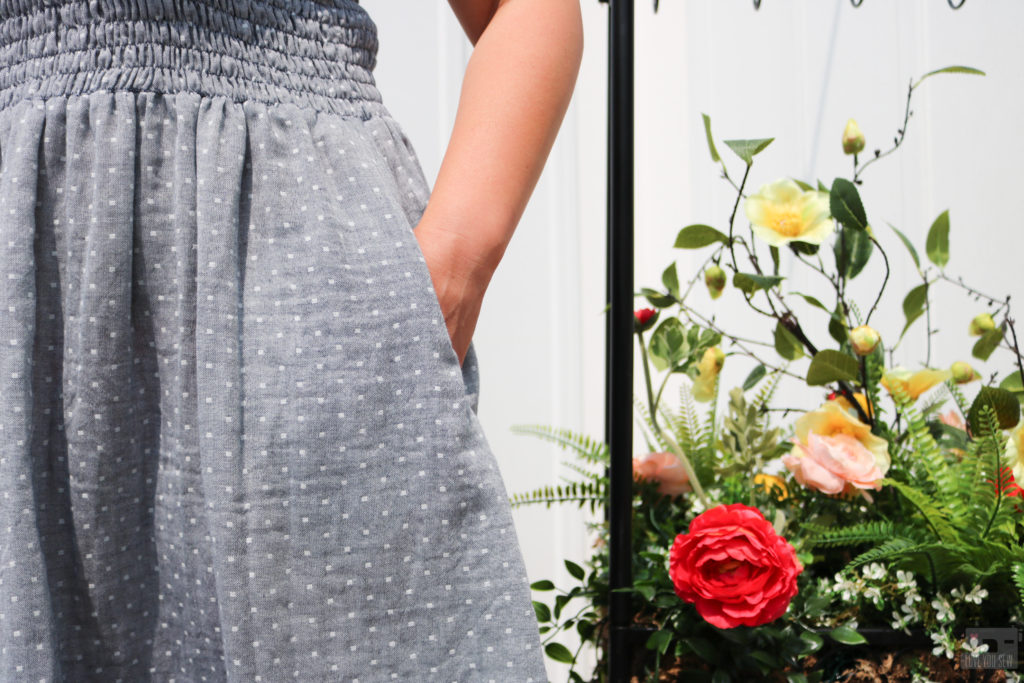
The Raspberry Dress also comes in Jumpsuit and Playsuit views all sharing the same shirred bodice. There are also three different strap options along with pockets (!!!) to mix and match with the bottoms. One of the nicest options is that the pattern is available in BOTH English and Spanish! More of our global sewing community can enjoy this make!!! You can check out all the different versions and other tester inspiration here on the CocoWawa blog.
Fabric:
I purchased this Robert Kaufman Chambray double-gauze (affiliate link) years ago (maybe four or five?) for a specific dress, but after hearing so many bad reviews from my friends, I decided to never make it. So, this fabric has sat on my shelves until I could find the right project to use up all three yards of it…and here it is!
Double-gauze is exactly what its name tells you. This fabric is made of two separate layers of cotton gauze, known for it’s open weave making it very light and airy. Double gauze is created when the two layers are joined with little stitches at regular intervals throughout the fabric. Usually, the conjoining stitches are undetectable from the right side, but in my case, the stitches created the gorgeous dobby texture. Double gauze is more opaque with the added layer, yet still has the breathability — perfect for hot weather. That’s why this fabric was THE perfect choice for the summery Raspberry silhouette.

Shirring:
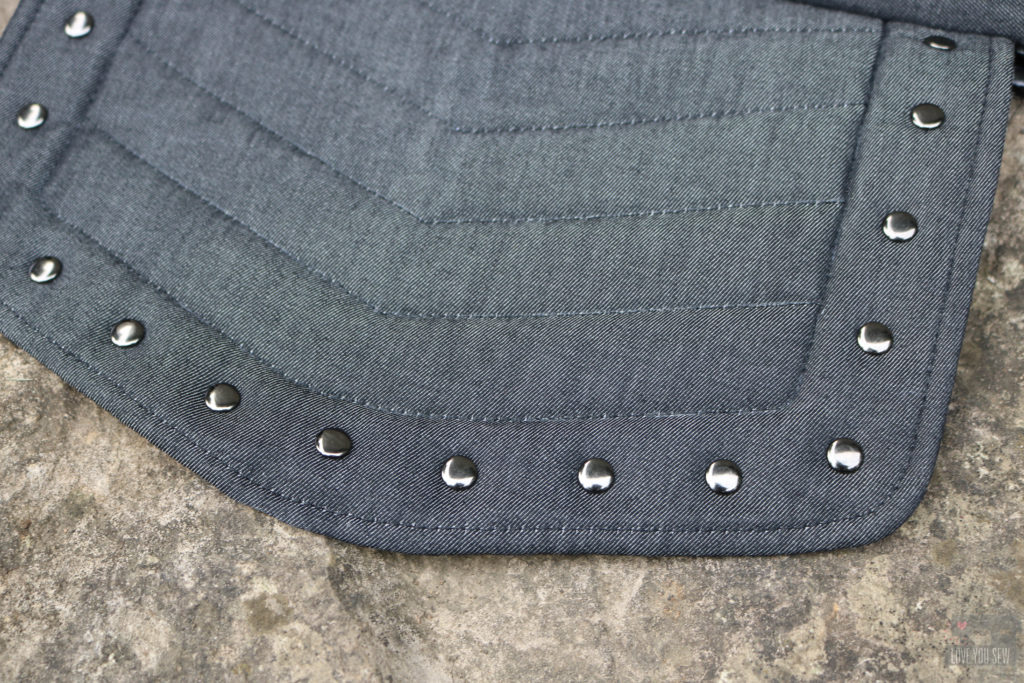
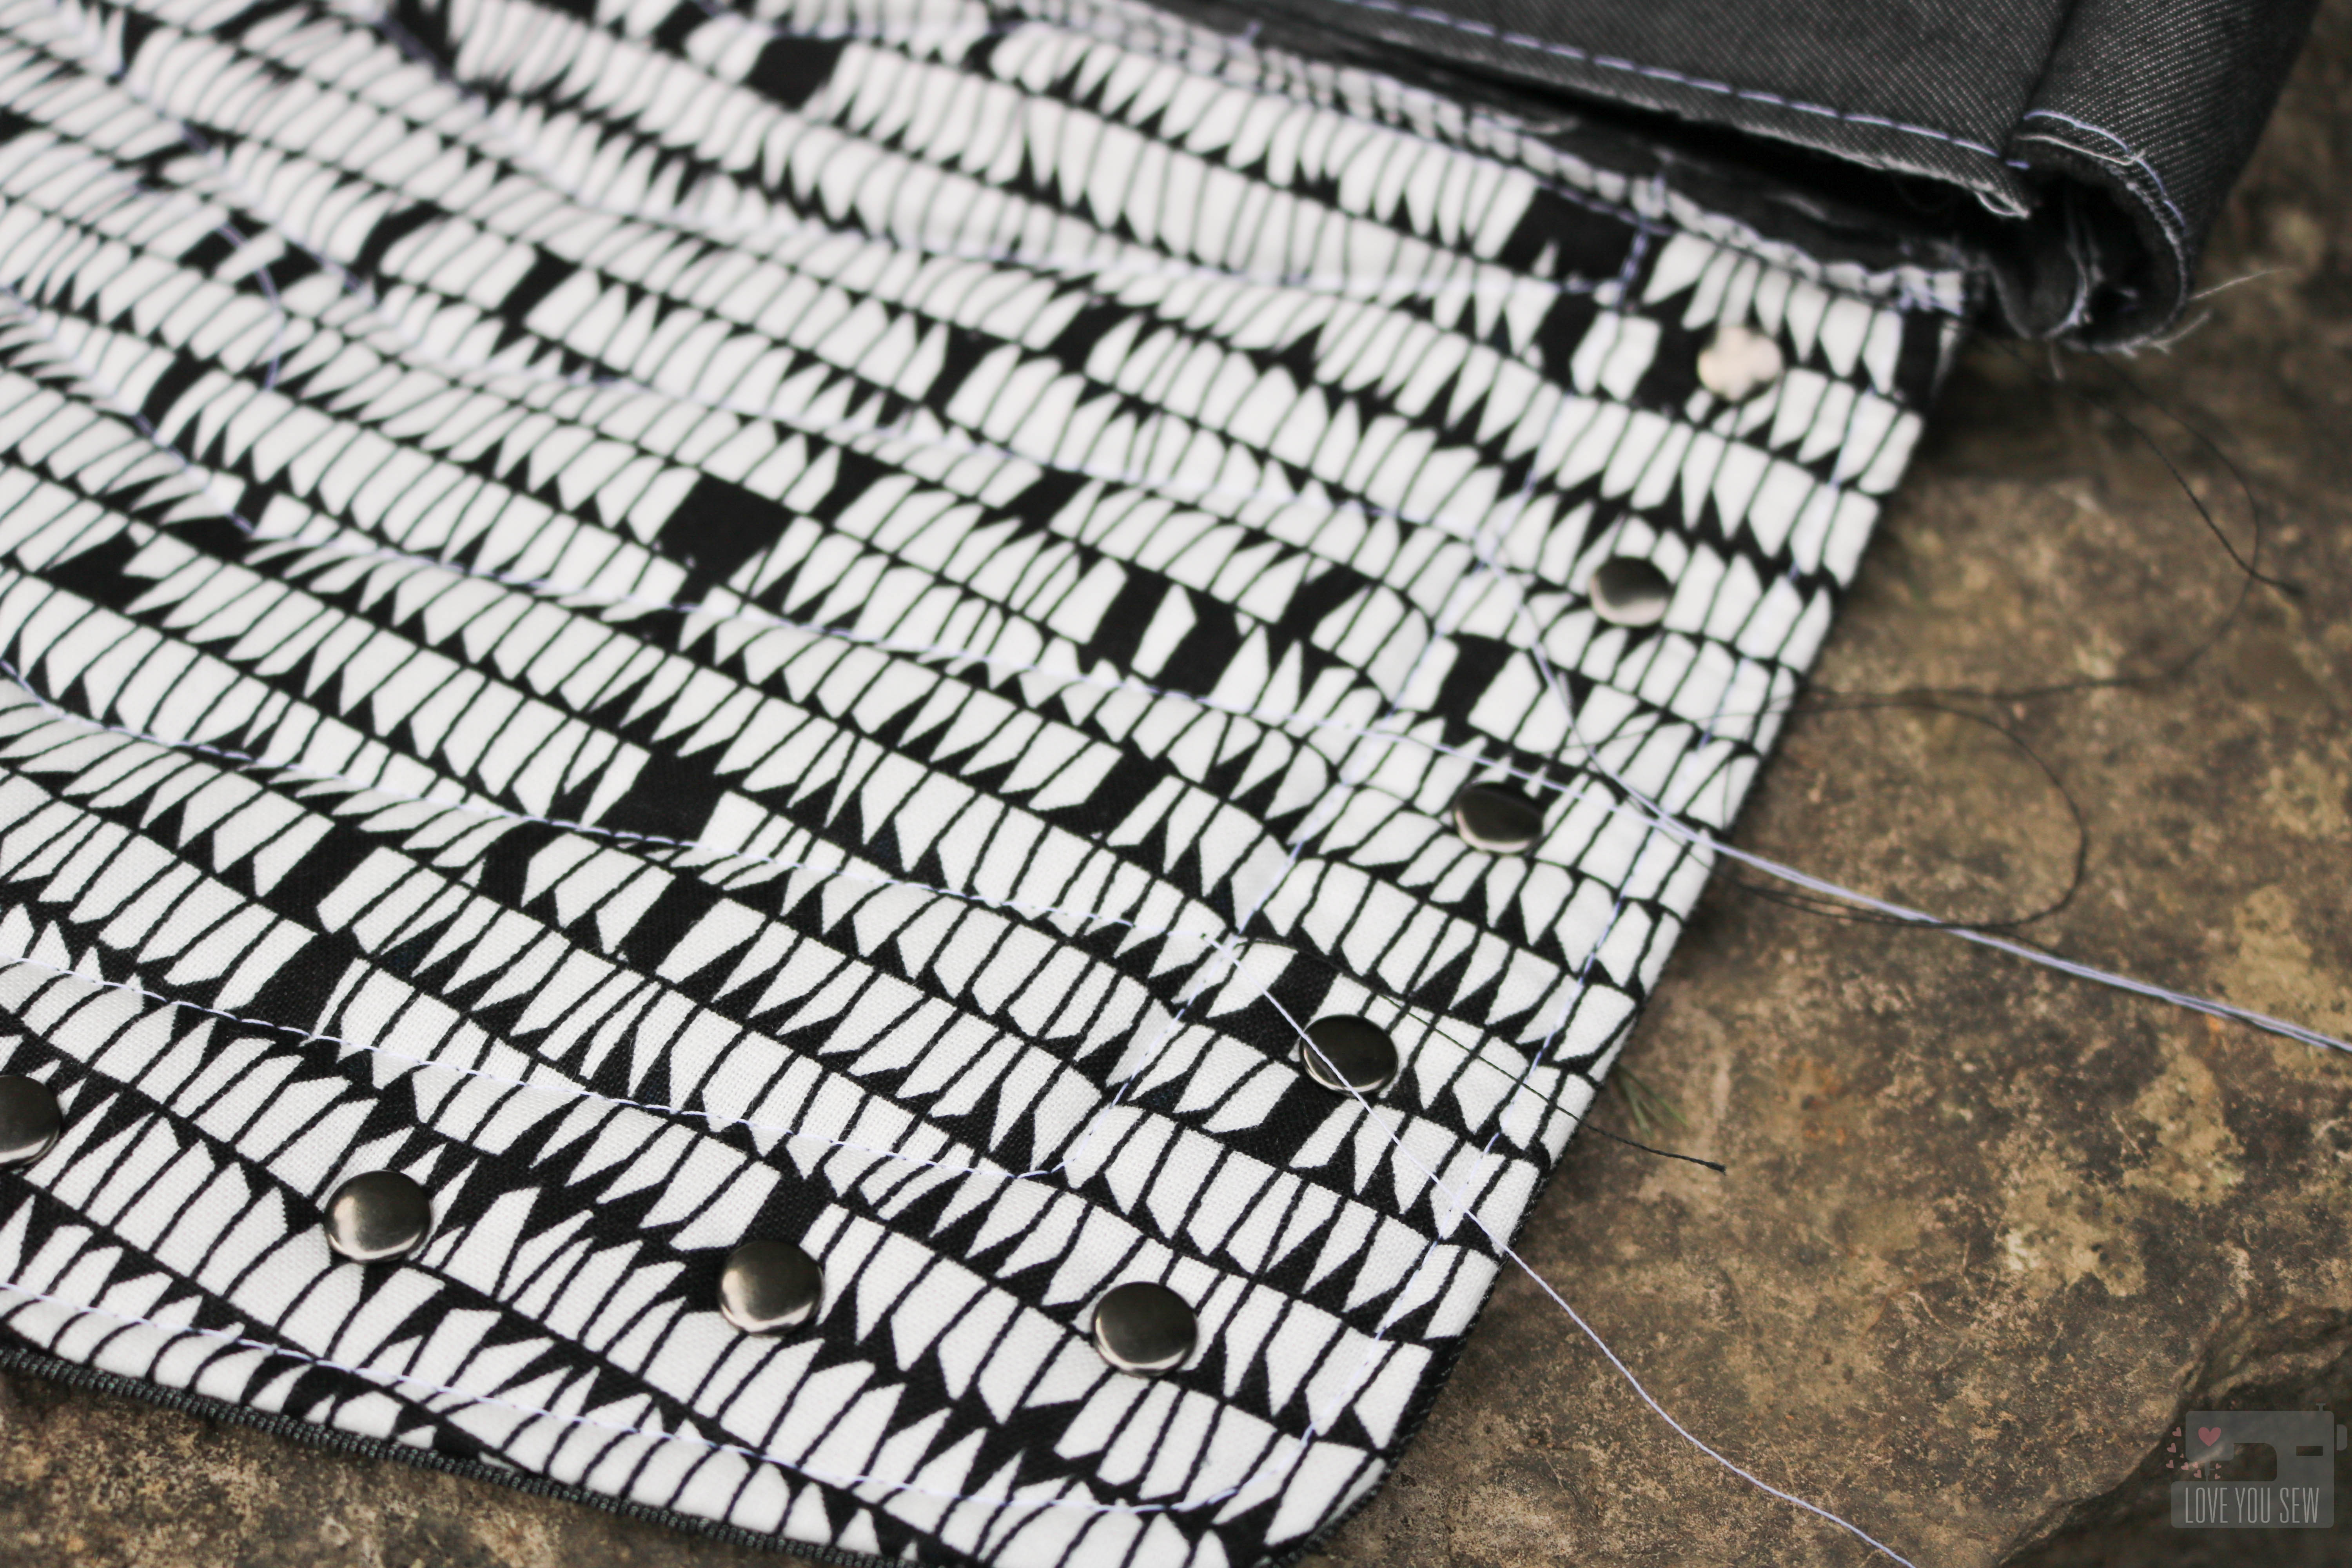
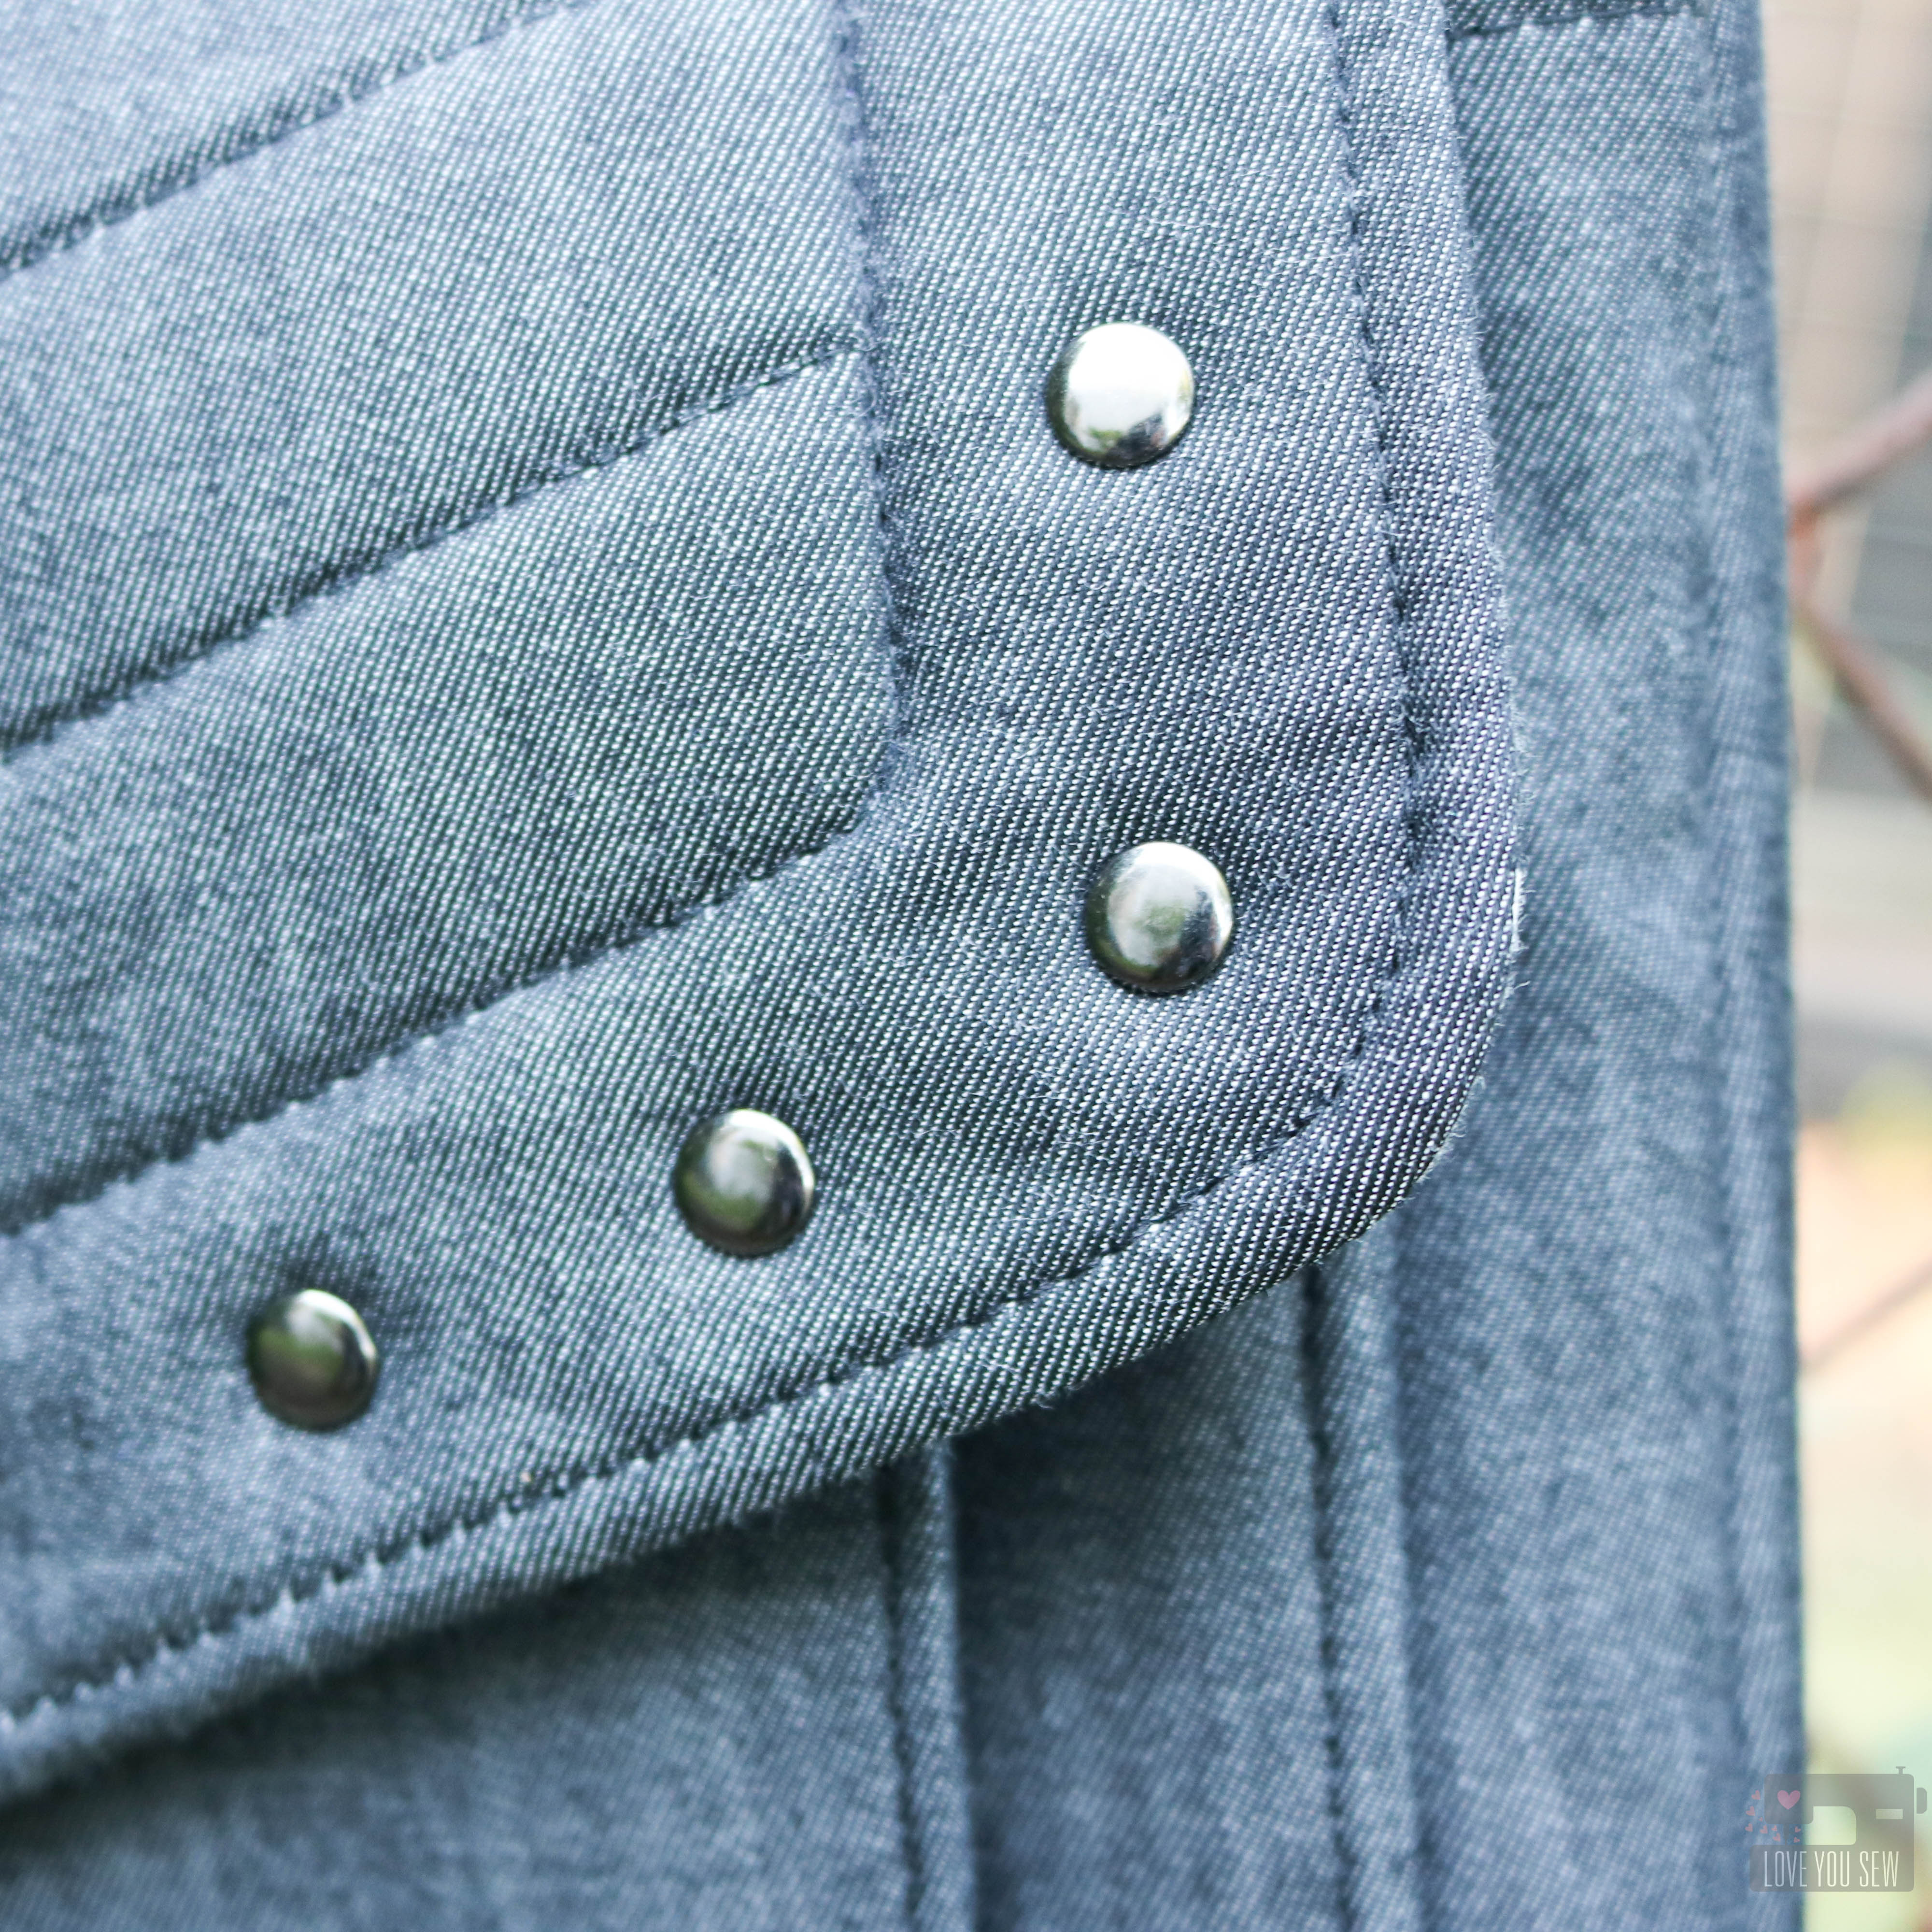
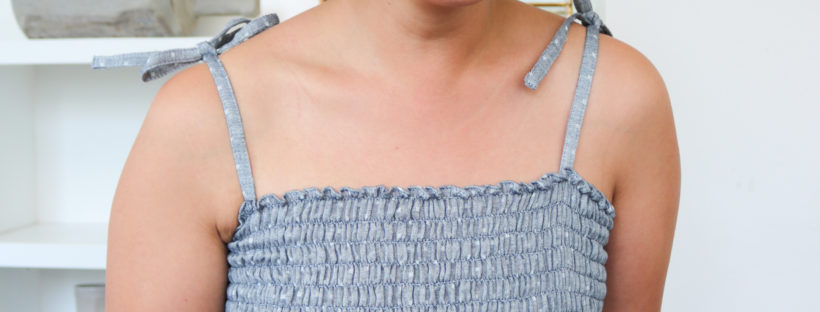
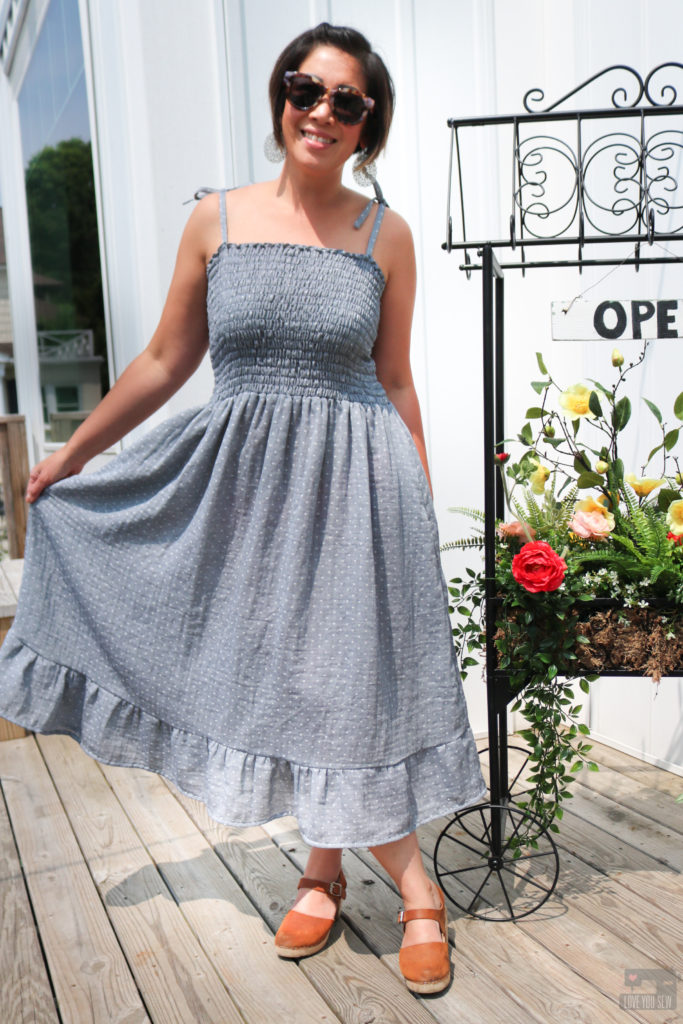
The main feature of this pattern is the shirred bodice. Essentially, you are sewing in elastic thread to gather woven (non-stretch) fabric to then make it stretchy. The bodice starts out at twice the width you see and you sew row after row, while gathering the fabric to get it smaller. I’m so happy Ana provided the actual machine settings for the shirring. I used a small 70 needle for the delicate double gauze and hand-wound my elastic bobbin thread as instructed. With the lightweight fabric, the shirring worked on my first try (true shocker!) I would imagine that heavier fabric would not pull back as much as this double-gauze.
With elastic thread, you can’t back-stitch, which gets a bit tricky. I left long thread tails at the start of each row to tie off, but ended up cutting them off when I overlocked the side seams. To make sure the elastic thread wouldn’t detach with wear, I sewed the side seams twice and shortened my stitch length to about 1.8-2.0mm on the second pass.
Shirring takes time…my tip would be to be patient and take breaks between every two or three rows because my hands had to fully stretch out the fabric to make sure it ran through the machine straight and evenly. They would cramp up otherwise, holding all of the fabric taut and steady.
![]()
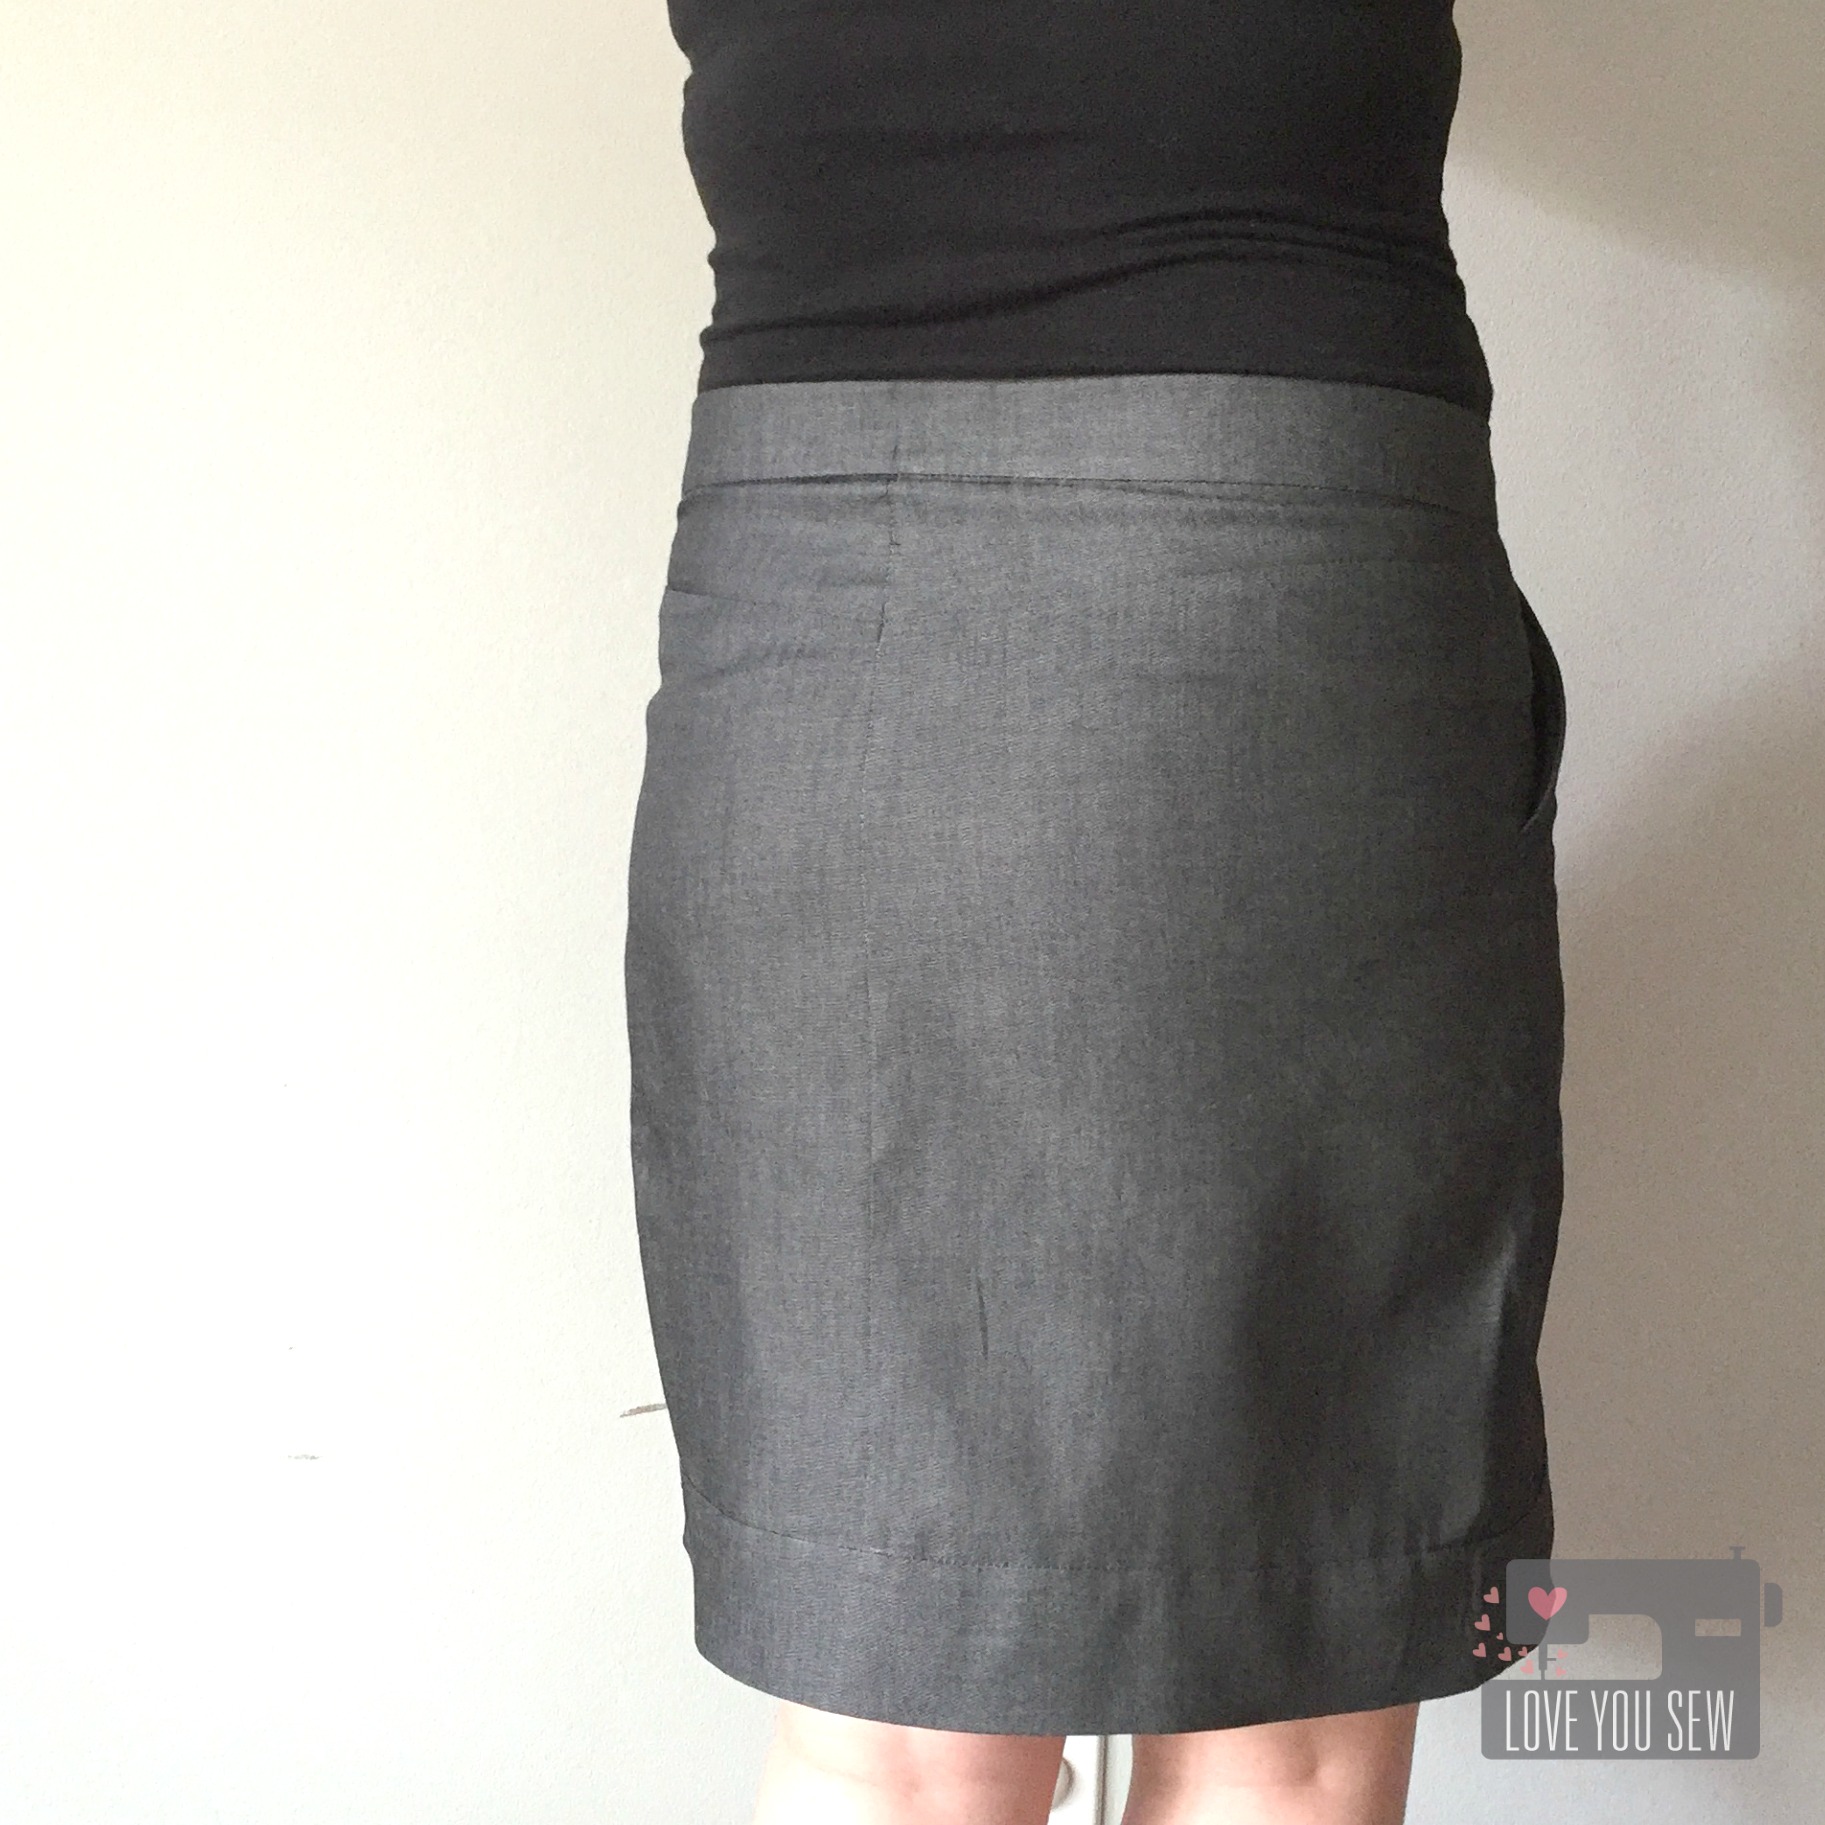
Dress Version:
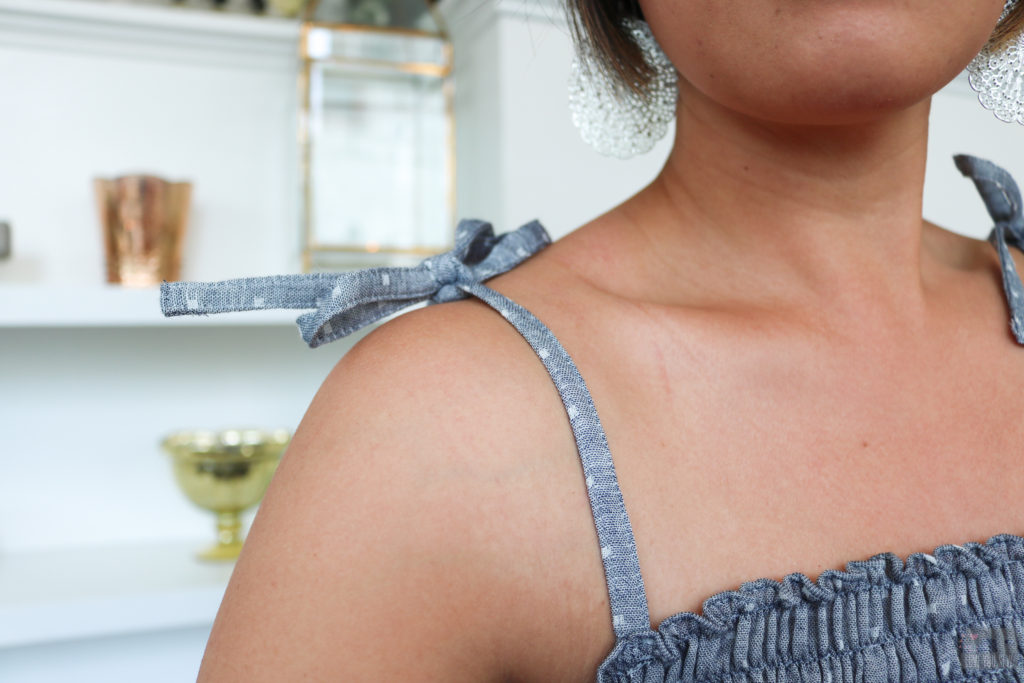
Out of all of the different views of the Raspberry, I knew I would wear the dress the most (I’m still warming up to the jumpsuit game!) I’ve been looking for more midi to maxi length dresses for this summer and the length worked for my 5’3″ frame. I chose the simple thin straps to tie off in bows. With the added ruffle, a simple strap would balance it all out.
Modifications:
- Sewed a narrow hem at the neckline since I did not want a wide ruffle at the top. I compensated for this and added an extra row of shirring to keep the neckline closer to my body
- Shortened the bodice by two inches to keep the shirring above my belly button. (I’m just particular and prefer to not have the fabric rub on my pooch. Lol.)
- Omitted the skirt elastic entirely since it wasn’t laying flat with my light fabric. And since I WAS working with light fabric, the shirring could hold the weight of the skirt and not be dragged down.
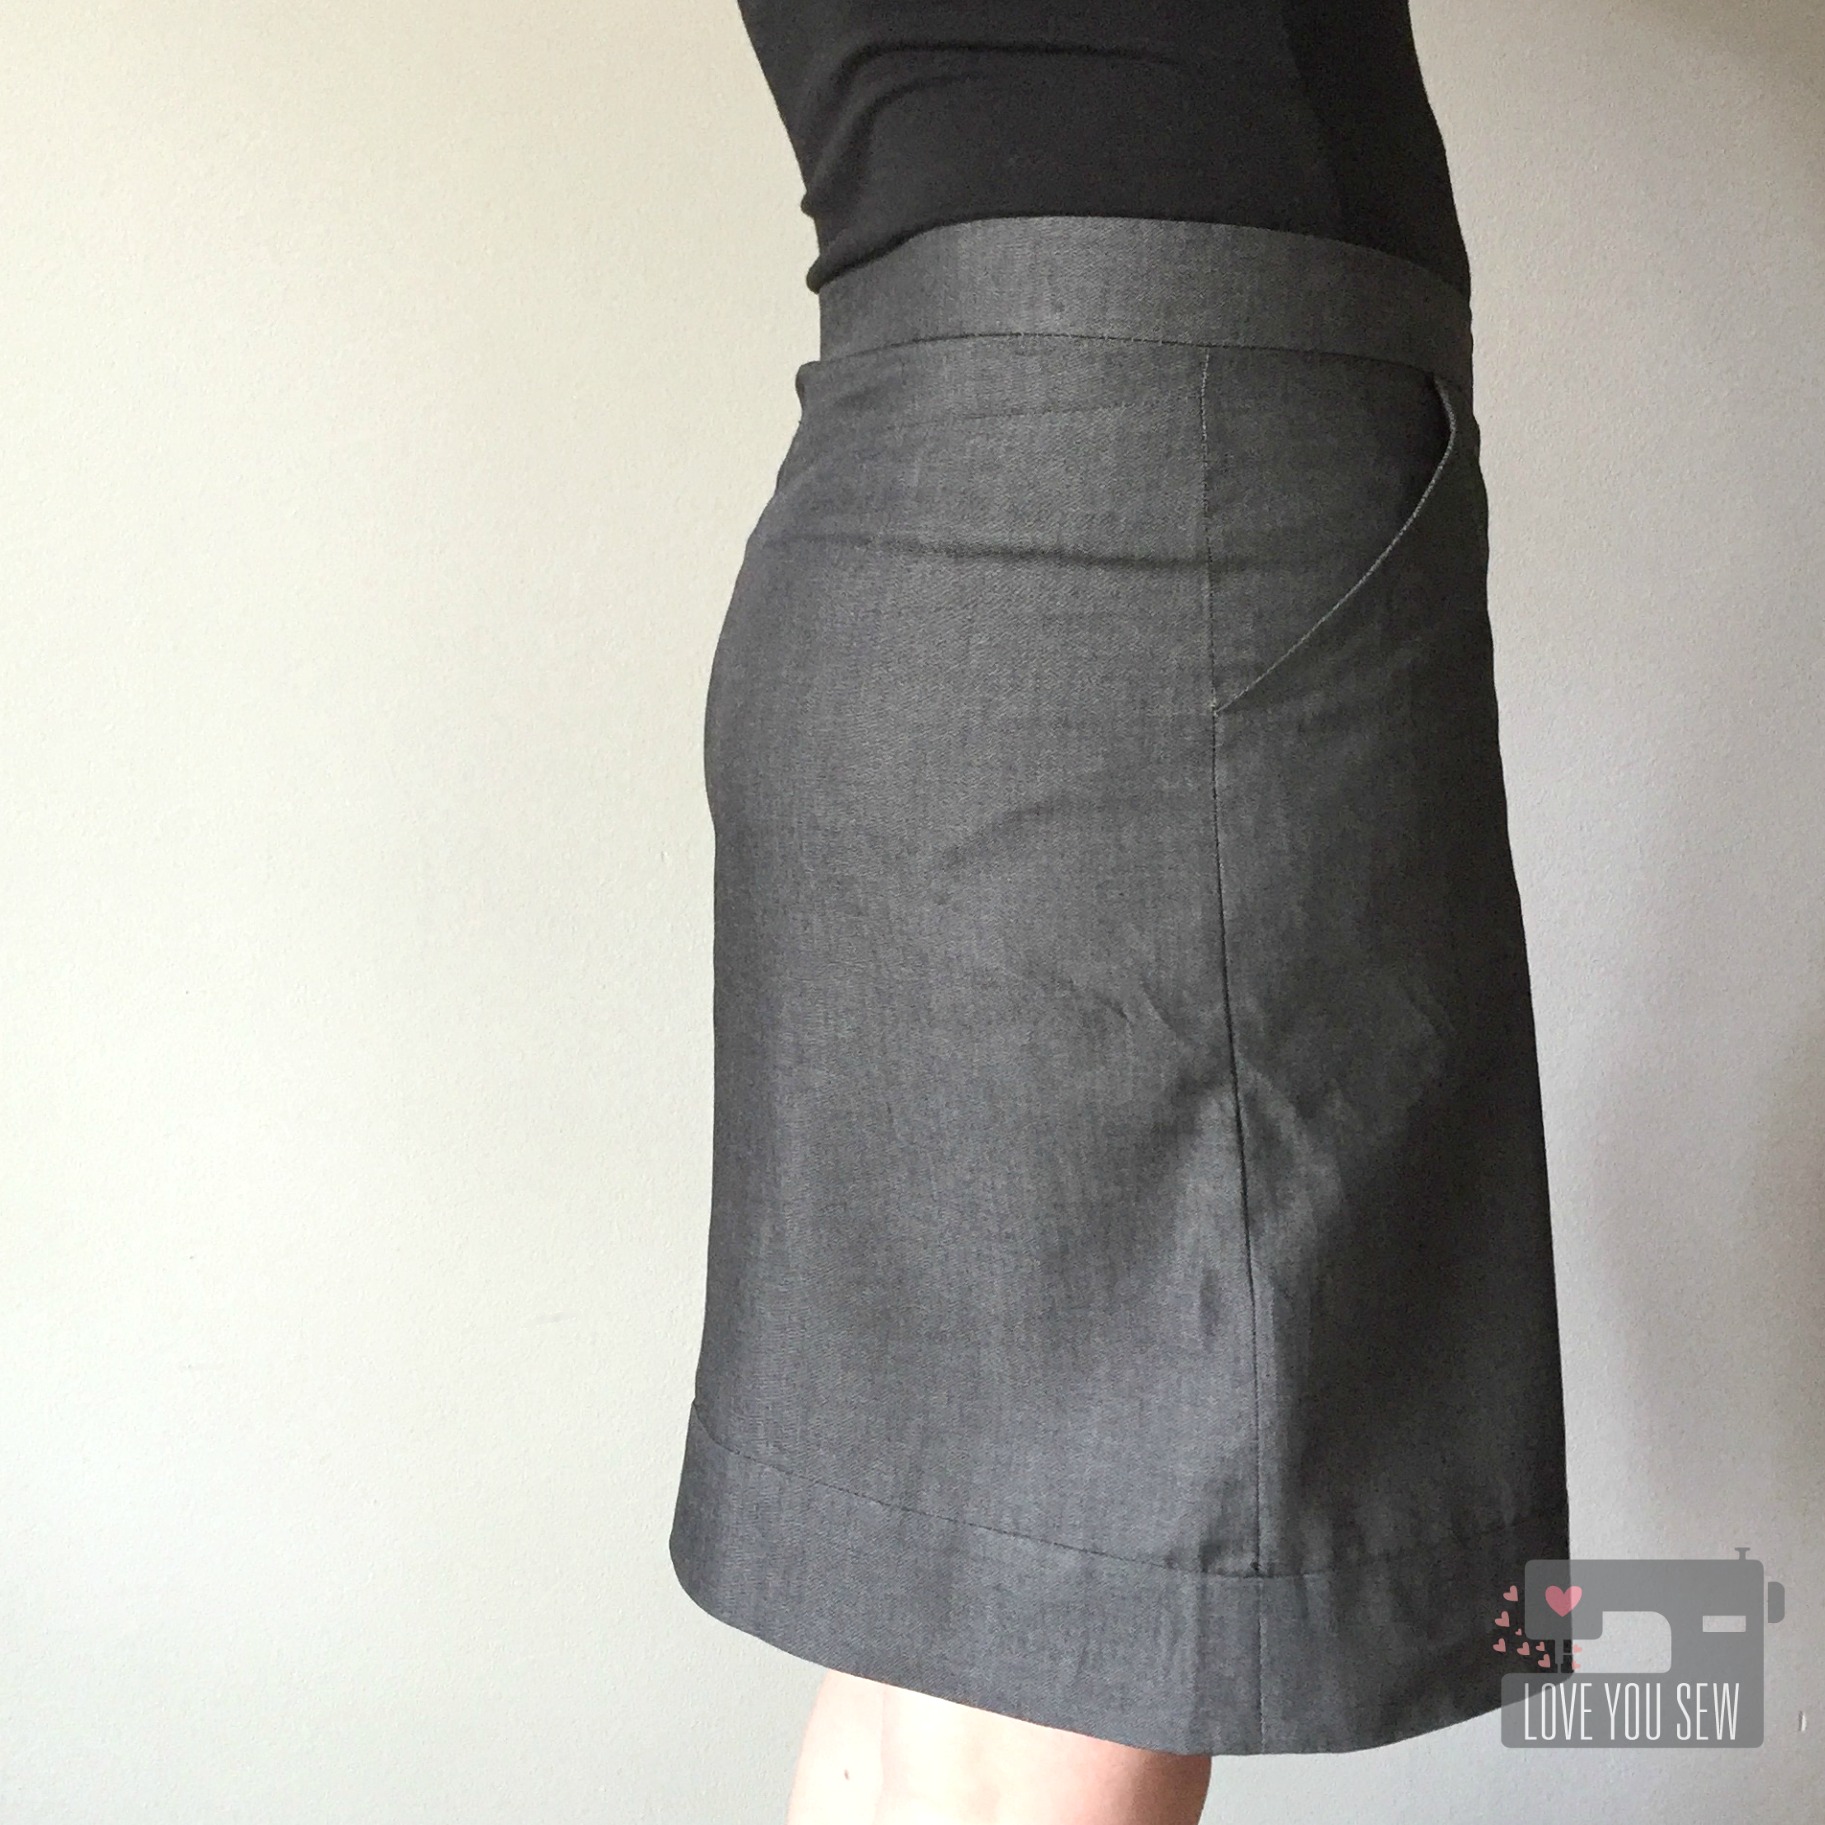
- Shortened the skirt by 6″ — 2″ came from the top (since I screwed up while overlocking and accidentally cut into my fabric…whomp…whomp… Fortunately, I’m petite and didn’t throw off the placement of the in-seam pocket. Phew!) The remaining 4″ came off the bottom.
- Added a ruffle all around the skirt using the remaining fabric I had – (2) 56″ x 6″ lengths of fabric gathered and sewn to the bottom with a 1/2″ closed hem.
Project Details:
- Pattern: Raspberry Dress and Jumpsuit by CocoWawa Crafts
- Fabric: Robert Kaufman Chambray double-gauze – Available here and here (affiliate links)
- Thread: Gutermann White Elastic (affiliate link)
- Needle: Schmetz 70/10
- Machines: Juki TL-2010Q and Juki MO-2000QVP
I hope you enjoyed this make and can use some of the tips as I worked through the tester version of the Raspberry Dress! Please let me know if this helped you in the comments below!
Happy Summer Sewing!
Cristy
As a tester, the pattern was provided to me for feedback. This blog post was not required as part of the testing process. All thoughts and opinions are my own (as always.)