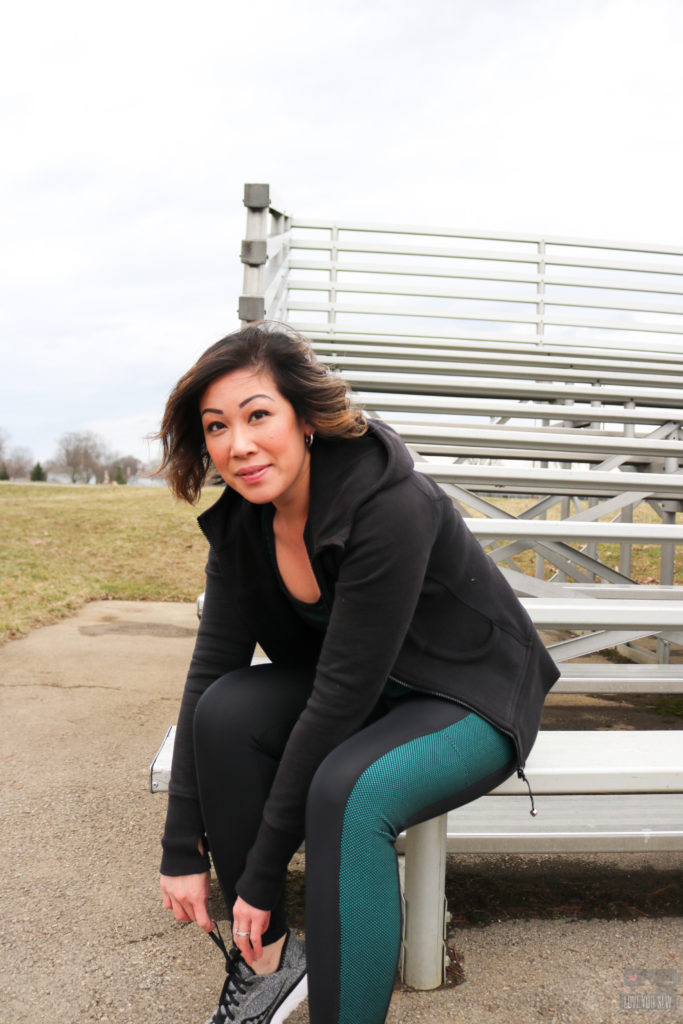
At the beginning of the year, I made a promise to myself to get more physical activity into my life. Working from home is absolutely wonderful for its flexibility and the fact that I could work in my pajamas all day. However, it can easily become the norm and the motivation to leave really drops low…especially when you sit behind the sewing machine for a good part of the day. So, I started to take Zumba classes at a local studio and really love the energy of the people and how they keep me motivated to keep coming. Since I go a few times a week, I’ve quickly realized how dated and worn out my sportswear was.
Fabric
To keep up with all the jumping, squats and salsa moves, I was in desperate need of just about all workout clothing. I figured I could make a whole capsule to mix and match with my current gear. I’m fortunate to have my friends at Pine Crest Fabrics help me in my quest. They just launched several lines of new performance fabrics and I got to try out two of them.
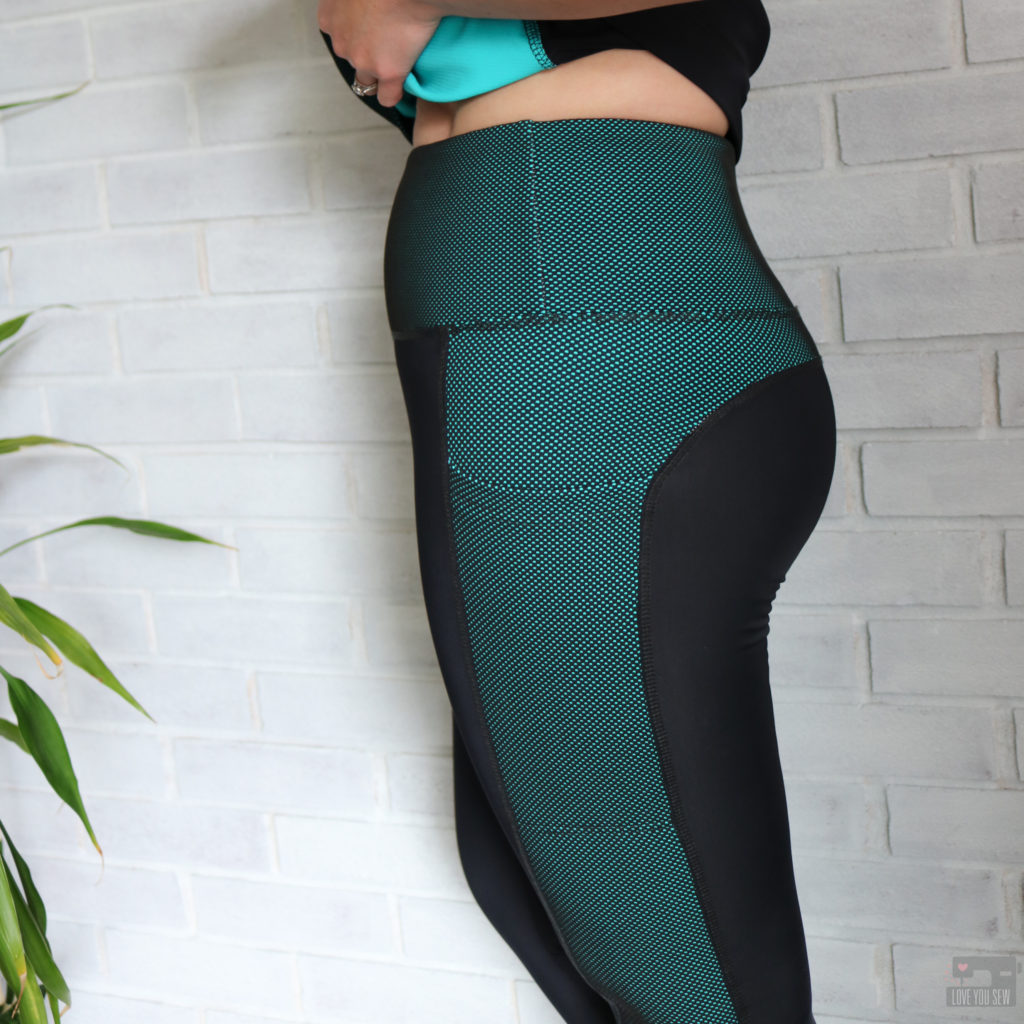
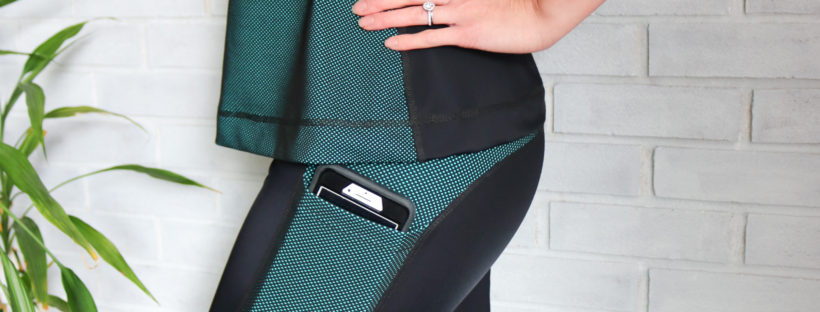
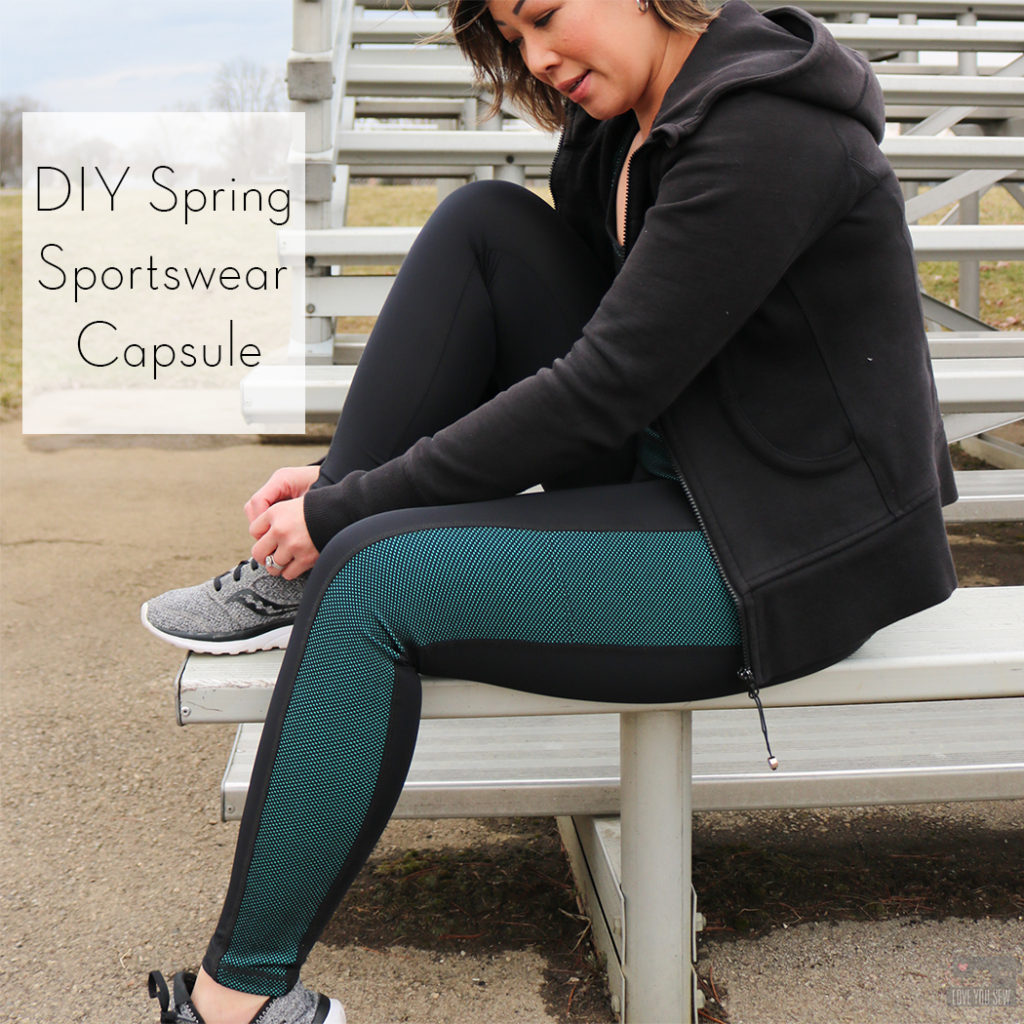
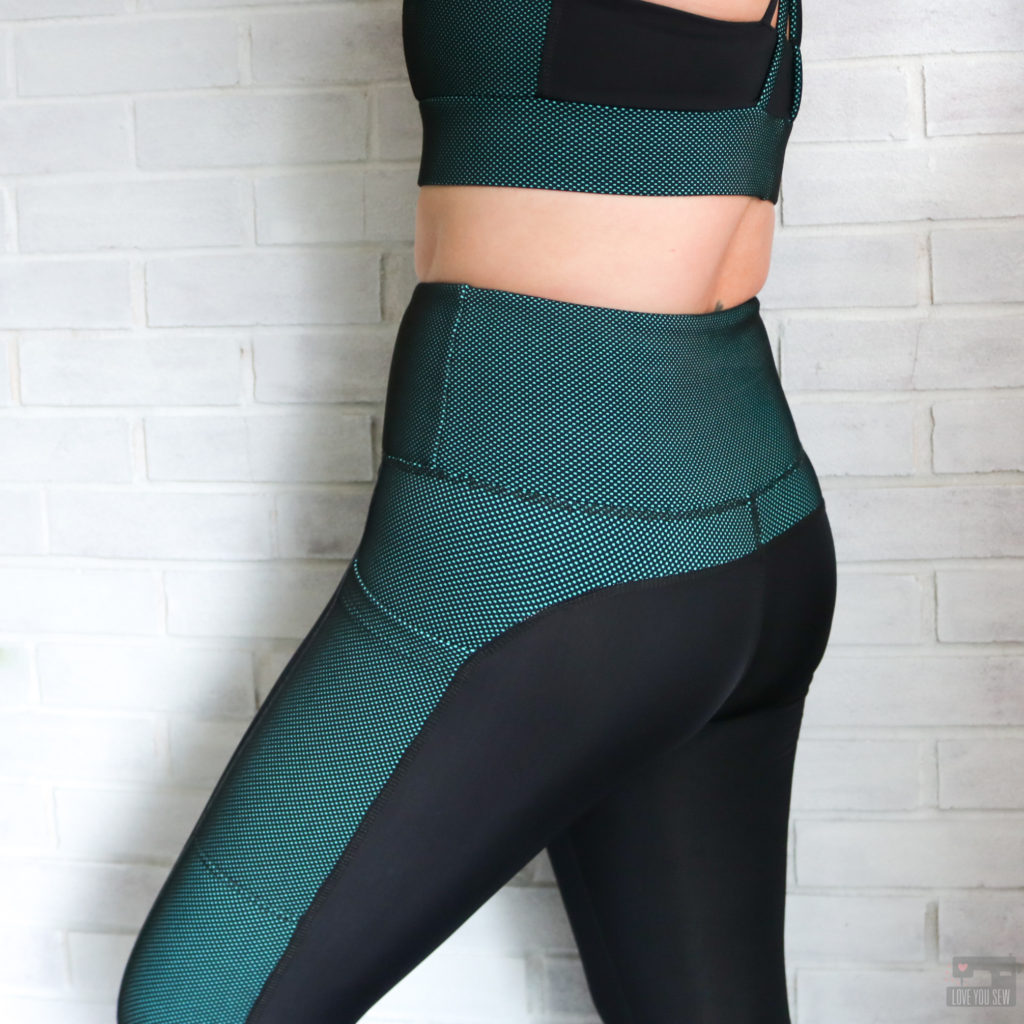
First up is this new luxury line of Textured Web Spandex available in five different colors. I chose the Mint colorway since I don’t have any green in my workout wear. (I swear I initially wasn’t drawn to the Philadelphia Eagles’ color combo!) This nylon/poly/spandex blend consists of a base fabric (you can see that this one is actually turquoise) and then there is another layer of the web netting overtop — which makes it come off much more green. I was really shocked to see the turquoise on the backside of this fabric!

With the Textured Web Spandex having two layers, its a bit heavier at 350gsm (around 10oz per sq yard) and makes it absolutely perfect for that compression feel. I want certain things to stay put as I workout 😉 With four-way stretch, this fabric is incredibly comfortable and very soft to the touch.
I paired the Mint Web with Pine Crest’s Valor line of recycled performance fabrics in Black. What’s really special about this fabric is that it’s made with Repreve fibers — which are created with recycled plastic bottles. I was surprised to see that 88% of this fabric comes from Repreve. Many times companies tout how they are using recycled material and it turns out to be a minor component…but 88% is huge! As I make more sportswear, I’m so happy to see this is an option.
The best part is that it feels just like the other Pine Crest fabrics I’ve used before (Viper and Olympus base cloths.) It is 260 gsm (around 7.5 oz per sq yard) and is more of your typical weight in performance fabrics.
Patterns
![]()
When I was planning out the pieces of my capsule, I knew I wanted some good leggings and a sports bra designed specifically for physical activity and not just for loungewear. I definitely wanted the “ath” and not the “leisure” when picking out patterns. I went to Greenstyle Creations for their sewing patterns and became a member of their Facebook group. After joining, I quickly found out the members were definitely working out in their makes and I felt very comfortable purchasing their products.
I first sewed up the Stride Athletic Tights with my new Juki coverstitch and serger. While I love my new leggings, the process to learn my coverstitch machine was loooongggg. (I’ll save my thoughts on it for a separate post.) This pattern can be sewn on a regular machine and I highly suggest joining the FB group so you can see all the incredible examples which only use a standard sewing machine — It can be done!
Based on my measurements, I am a medium in the hips (40″) and fall between a small and medium in the waist (28 1/2″.) I cut a medium, and then cut the waistband right between the small and medium pattern lines. Since I made the high-waisted version, I would grade to a small at the top of the waistband since my body narrows out even more there.
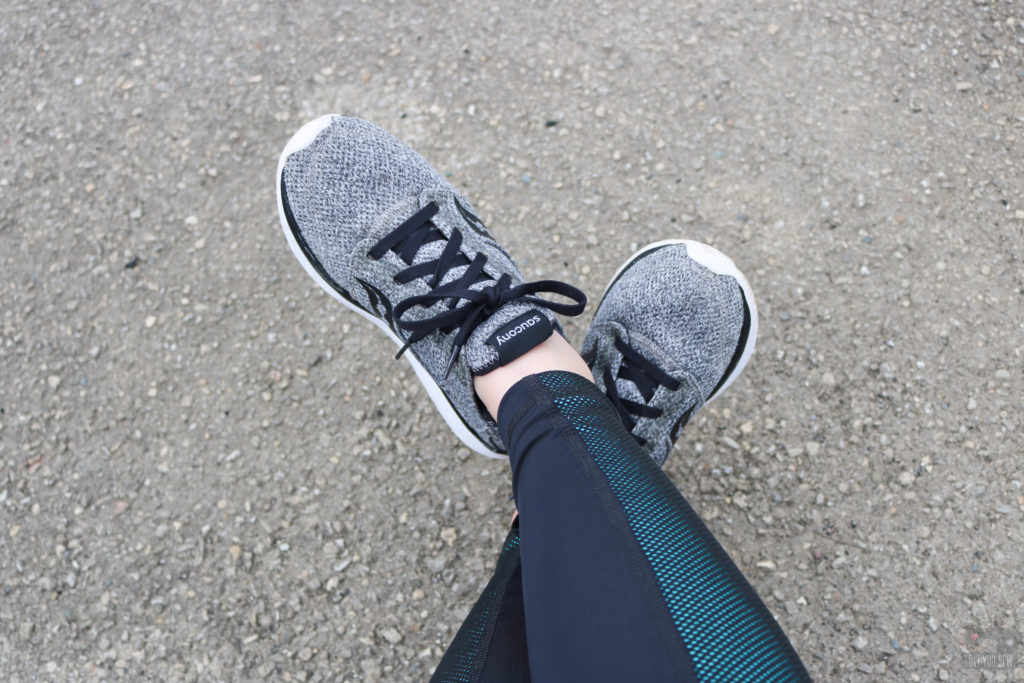
With the regular length inseam being 29″ and me being a 5’3″ shortie, I knew I had to shorten the pattern from the start by 1 1/2.” I like my leggings to hit right above my ankle and just don’t like the bunching from RTW versions that are generally too long for me. I used the shorten/lengthen line to adjust and then had to hem the tights another 2 1/2″ after finishing them.
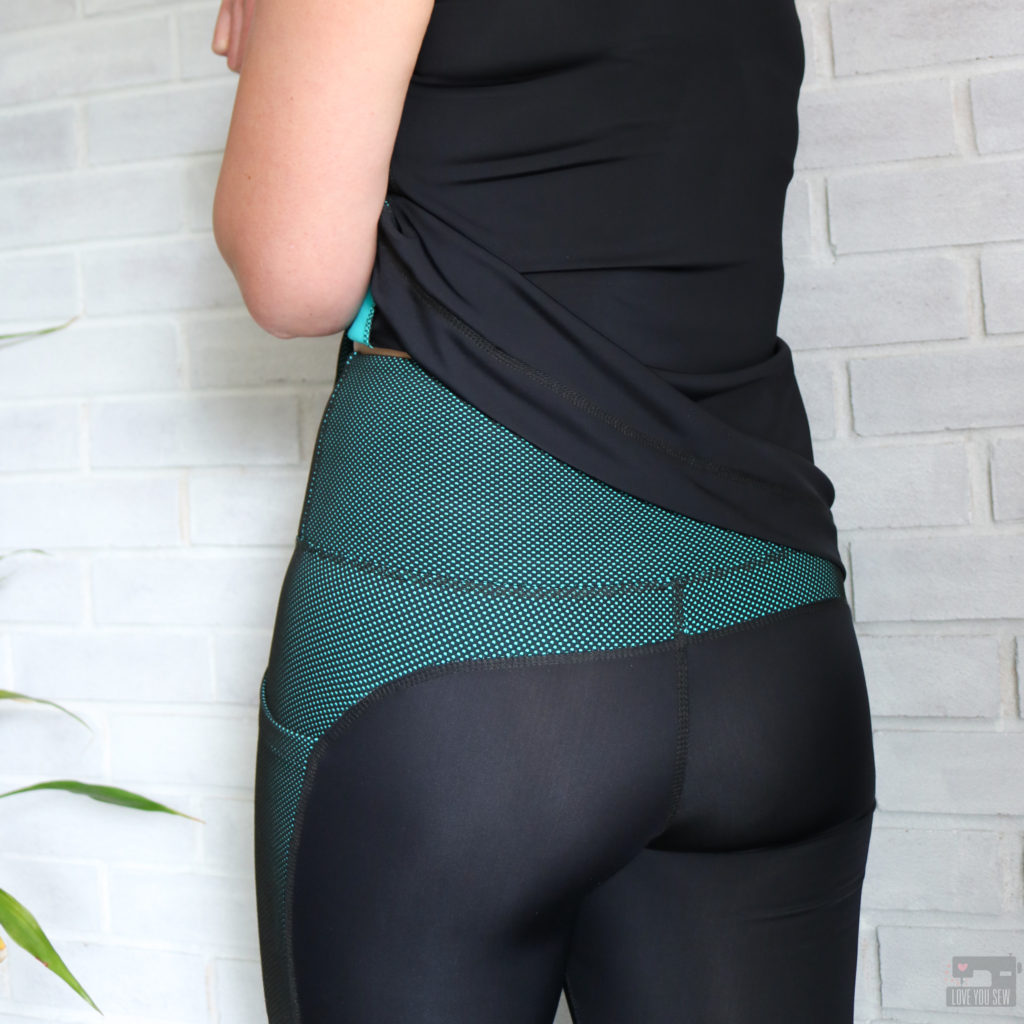
Even though I skipped the muslin, I would suggest you make one if you are newer to performance fabrics. I did switch up the order of assembling the Strides, however, so the last seams sewn would be the inseam and waistband. I machine basted those seams for fit and saw a little bunching under my backside (and yes, I did pop a few stitches but was still able to see fit.) The bunching told me to let out a little ease through the inseam and I sewed it at 1/4″ vs 3/8″ as directed. That little bit helped smooth out the back wrinkles perfectly.
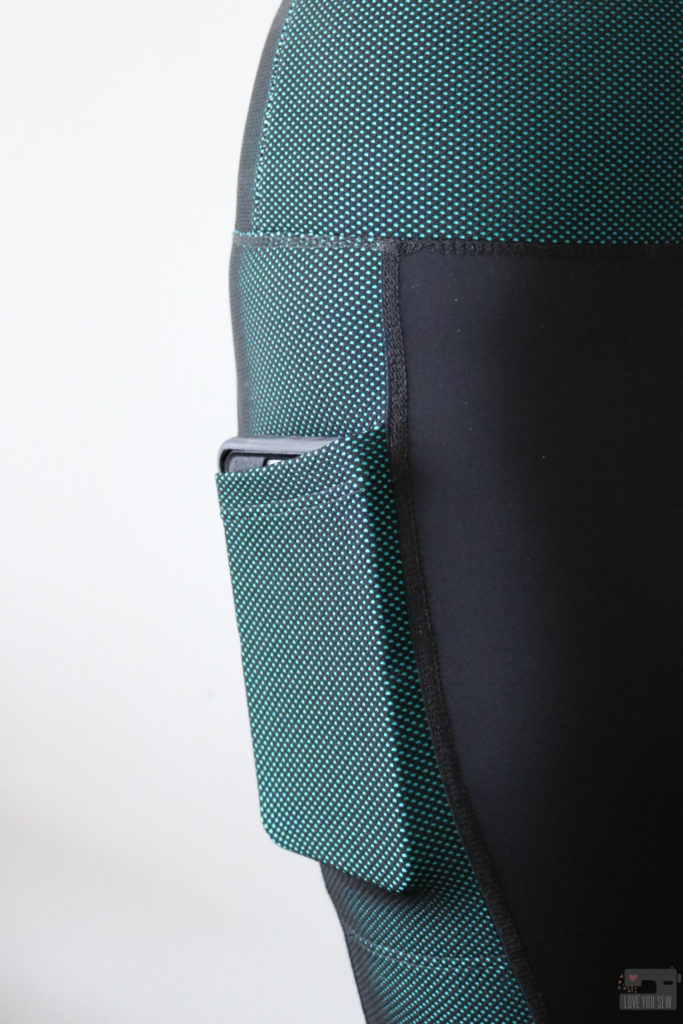
What I love about this pattern are the generous side pockets for your phone/music/keys and the inclusion of extra elastic inside the waistband. This helps the waistband, and thus the leggings, from falling down. Some people from the FB group use power mesh inside and that’s something I’d like to try out with the next pair.
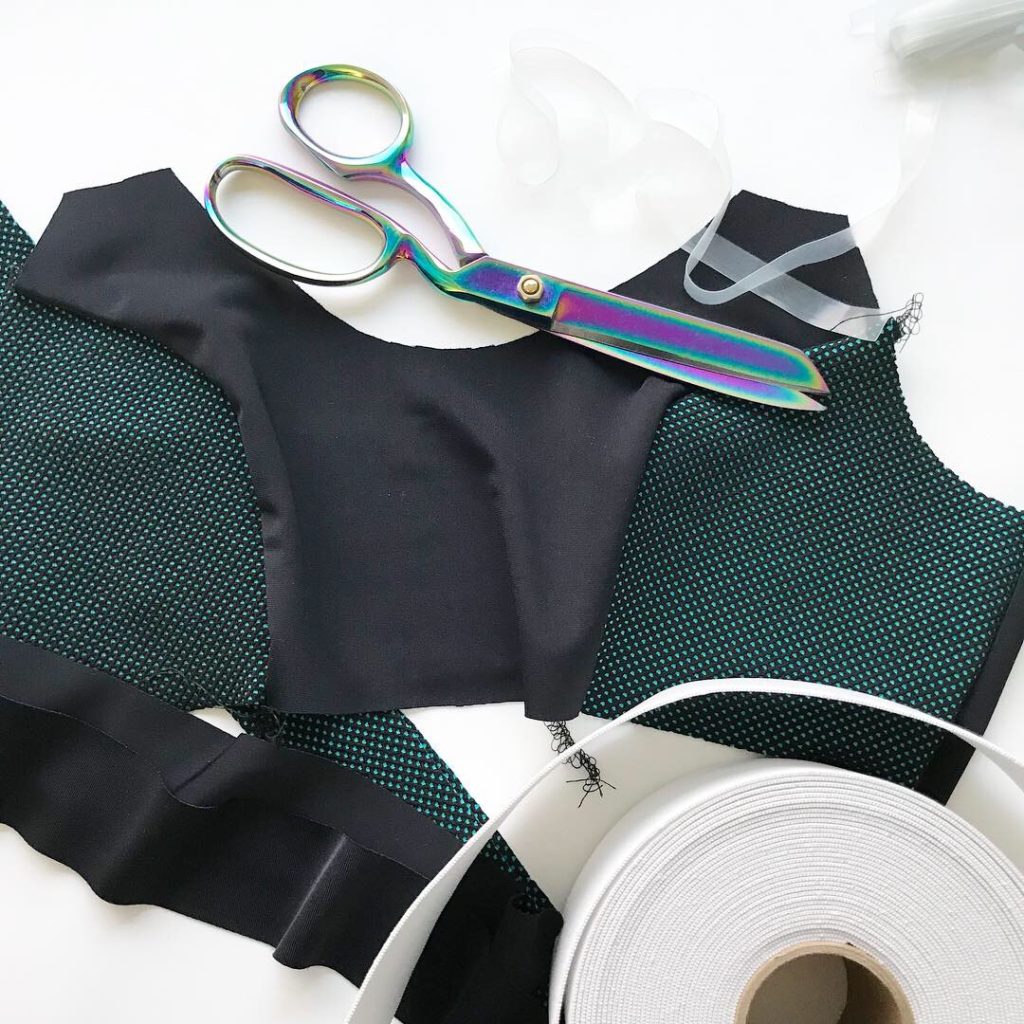
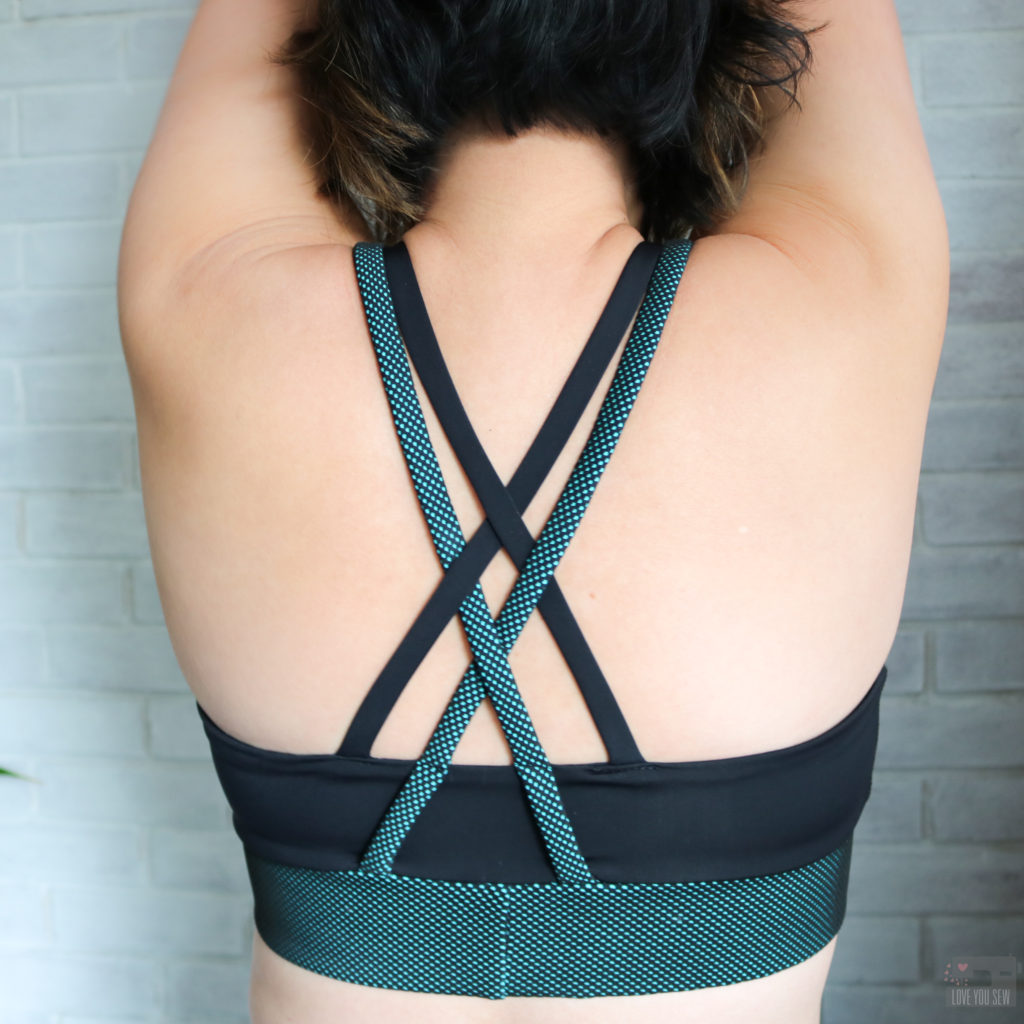
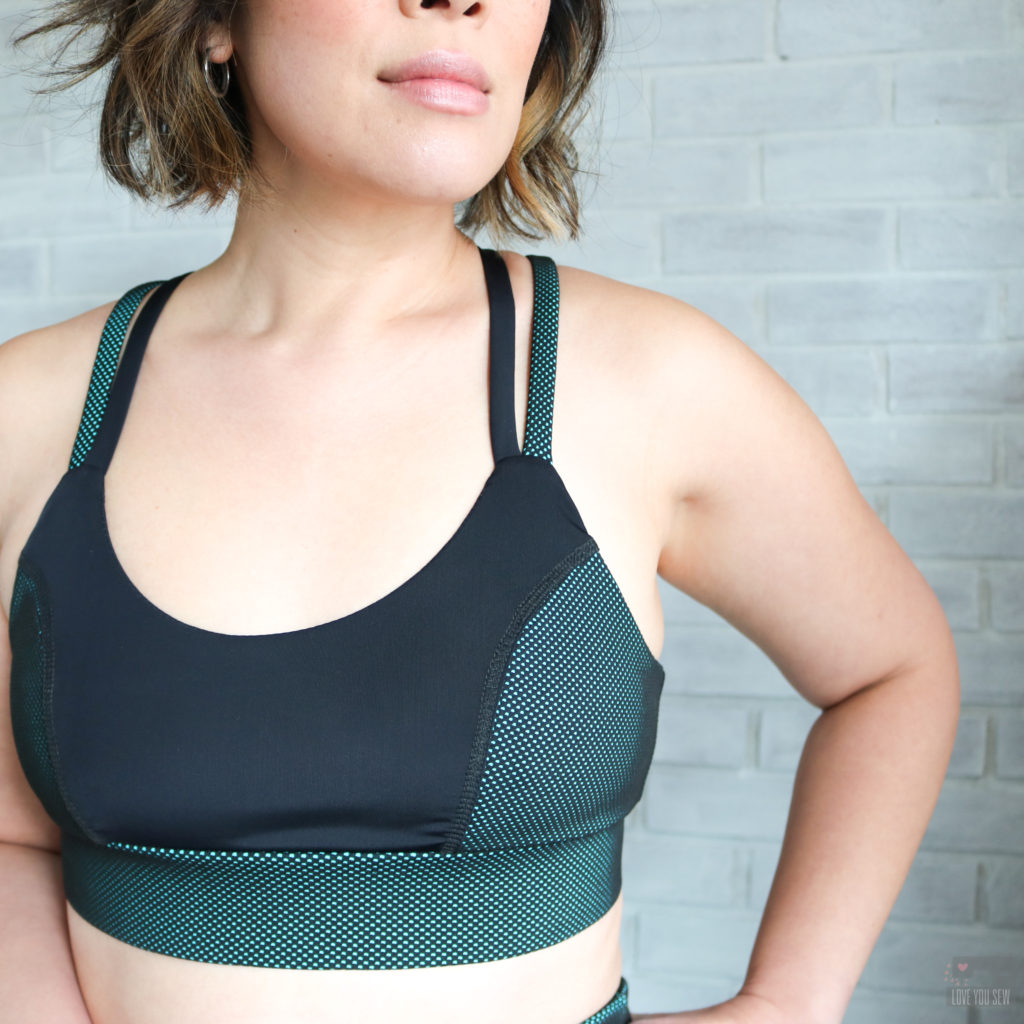
The other pattern I picked up from Greenstyle is the Power Sports Bra. This is a soft sports bra with a ton of different options, including racerback, adjustable straps, back closure and can be nursing friendly! I love the double criss-cross back and went with that version along with the 2″ wide elastic band since it’s what I had on-hand.
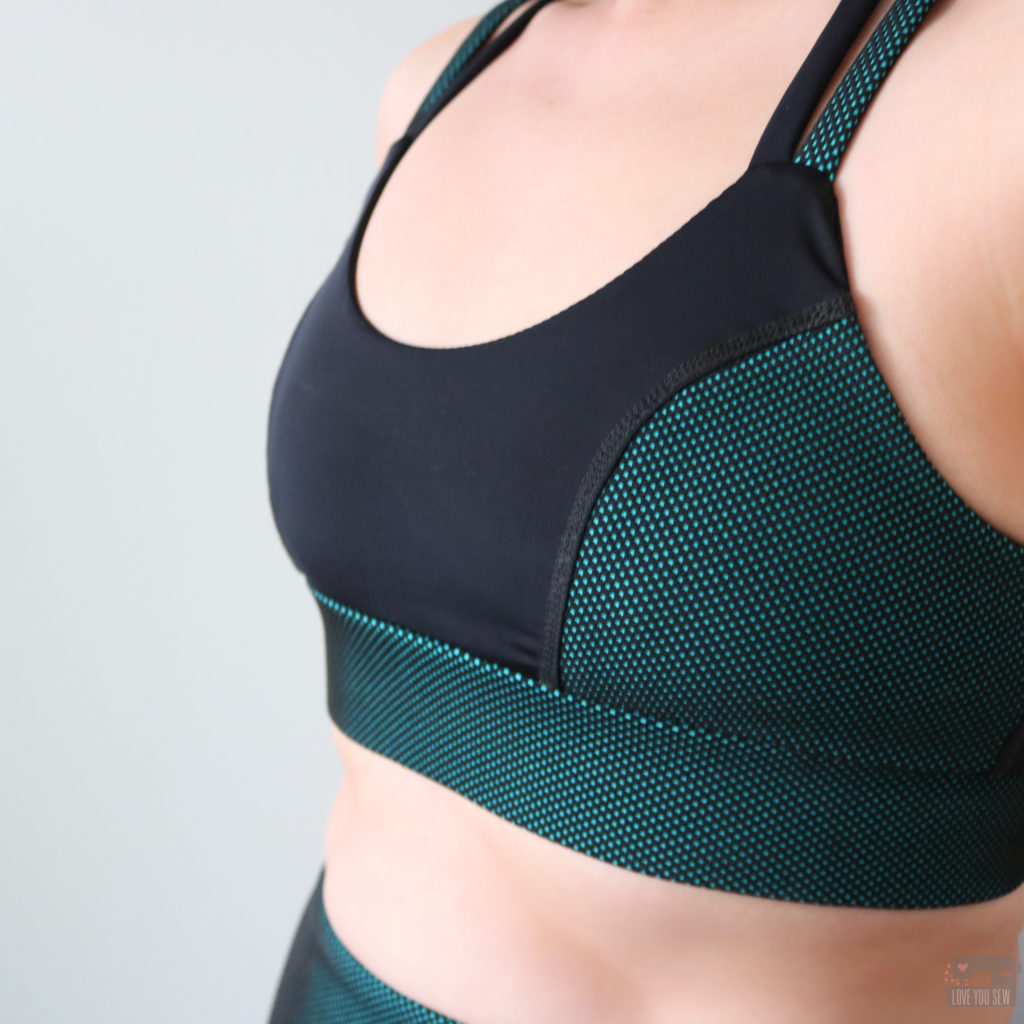
Normally, I wear 34/36 B in underwire bras but made a 32 band and a C-cup. Trust me….I read the sizing chart and didn’t think this was right. I thought I would move more toward an A-cup than a C. But again, I went back to the FB group to search sizing posts and there was a post about someone else not believing the sizing chart (and she had a 3-4 cup difference!!) She followed it and had a bra that fit. So, I put my full trust in the designer and went ahead making the bra (since I wasn’t going to make a muslin….see the bad habit here, friends???)
The only adjustment I made was shortening 1″ off of both longer straps. The short ones didn’t need it. This Power Sports Bra has a great fit and it holds well for light-medium activity. I feel very secure in it, and that may also be due to the heavier Textured Web Spandex. The FB group did mention that you may want to use power mesh as part of the center if you want more hold. I’ll try that out to see the difference….since I will definitely be making more of these. I think the U-back is next 😉

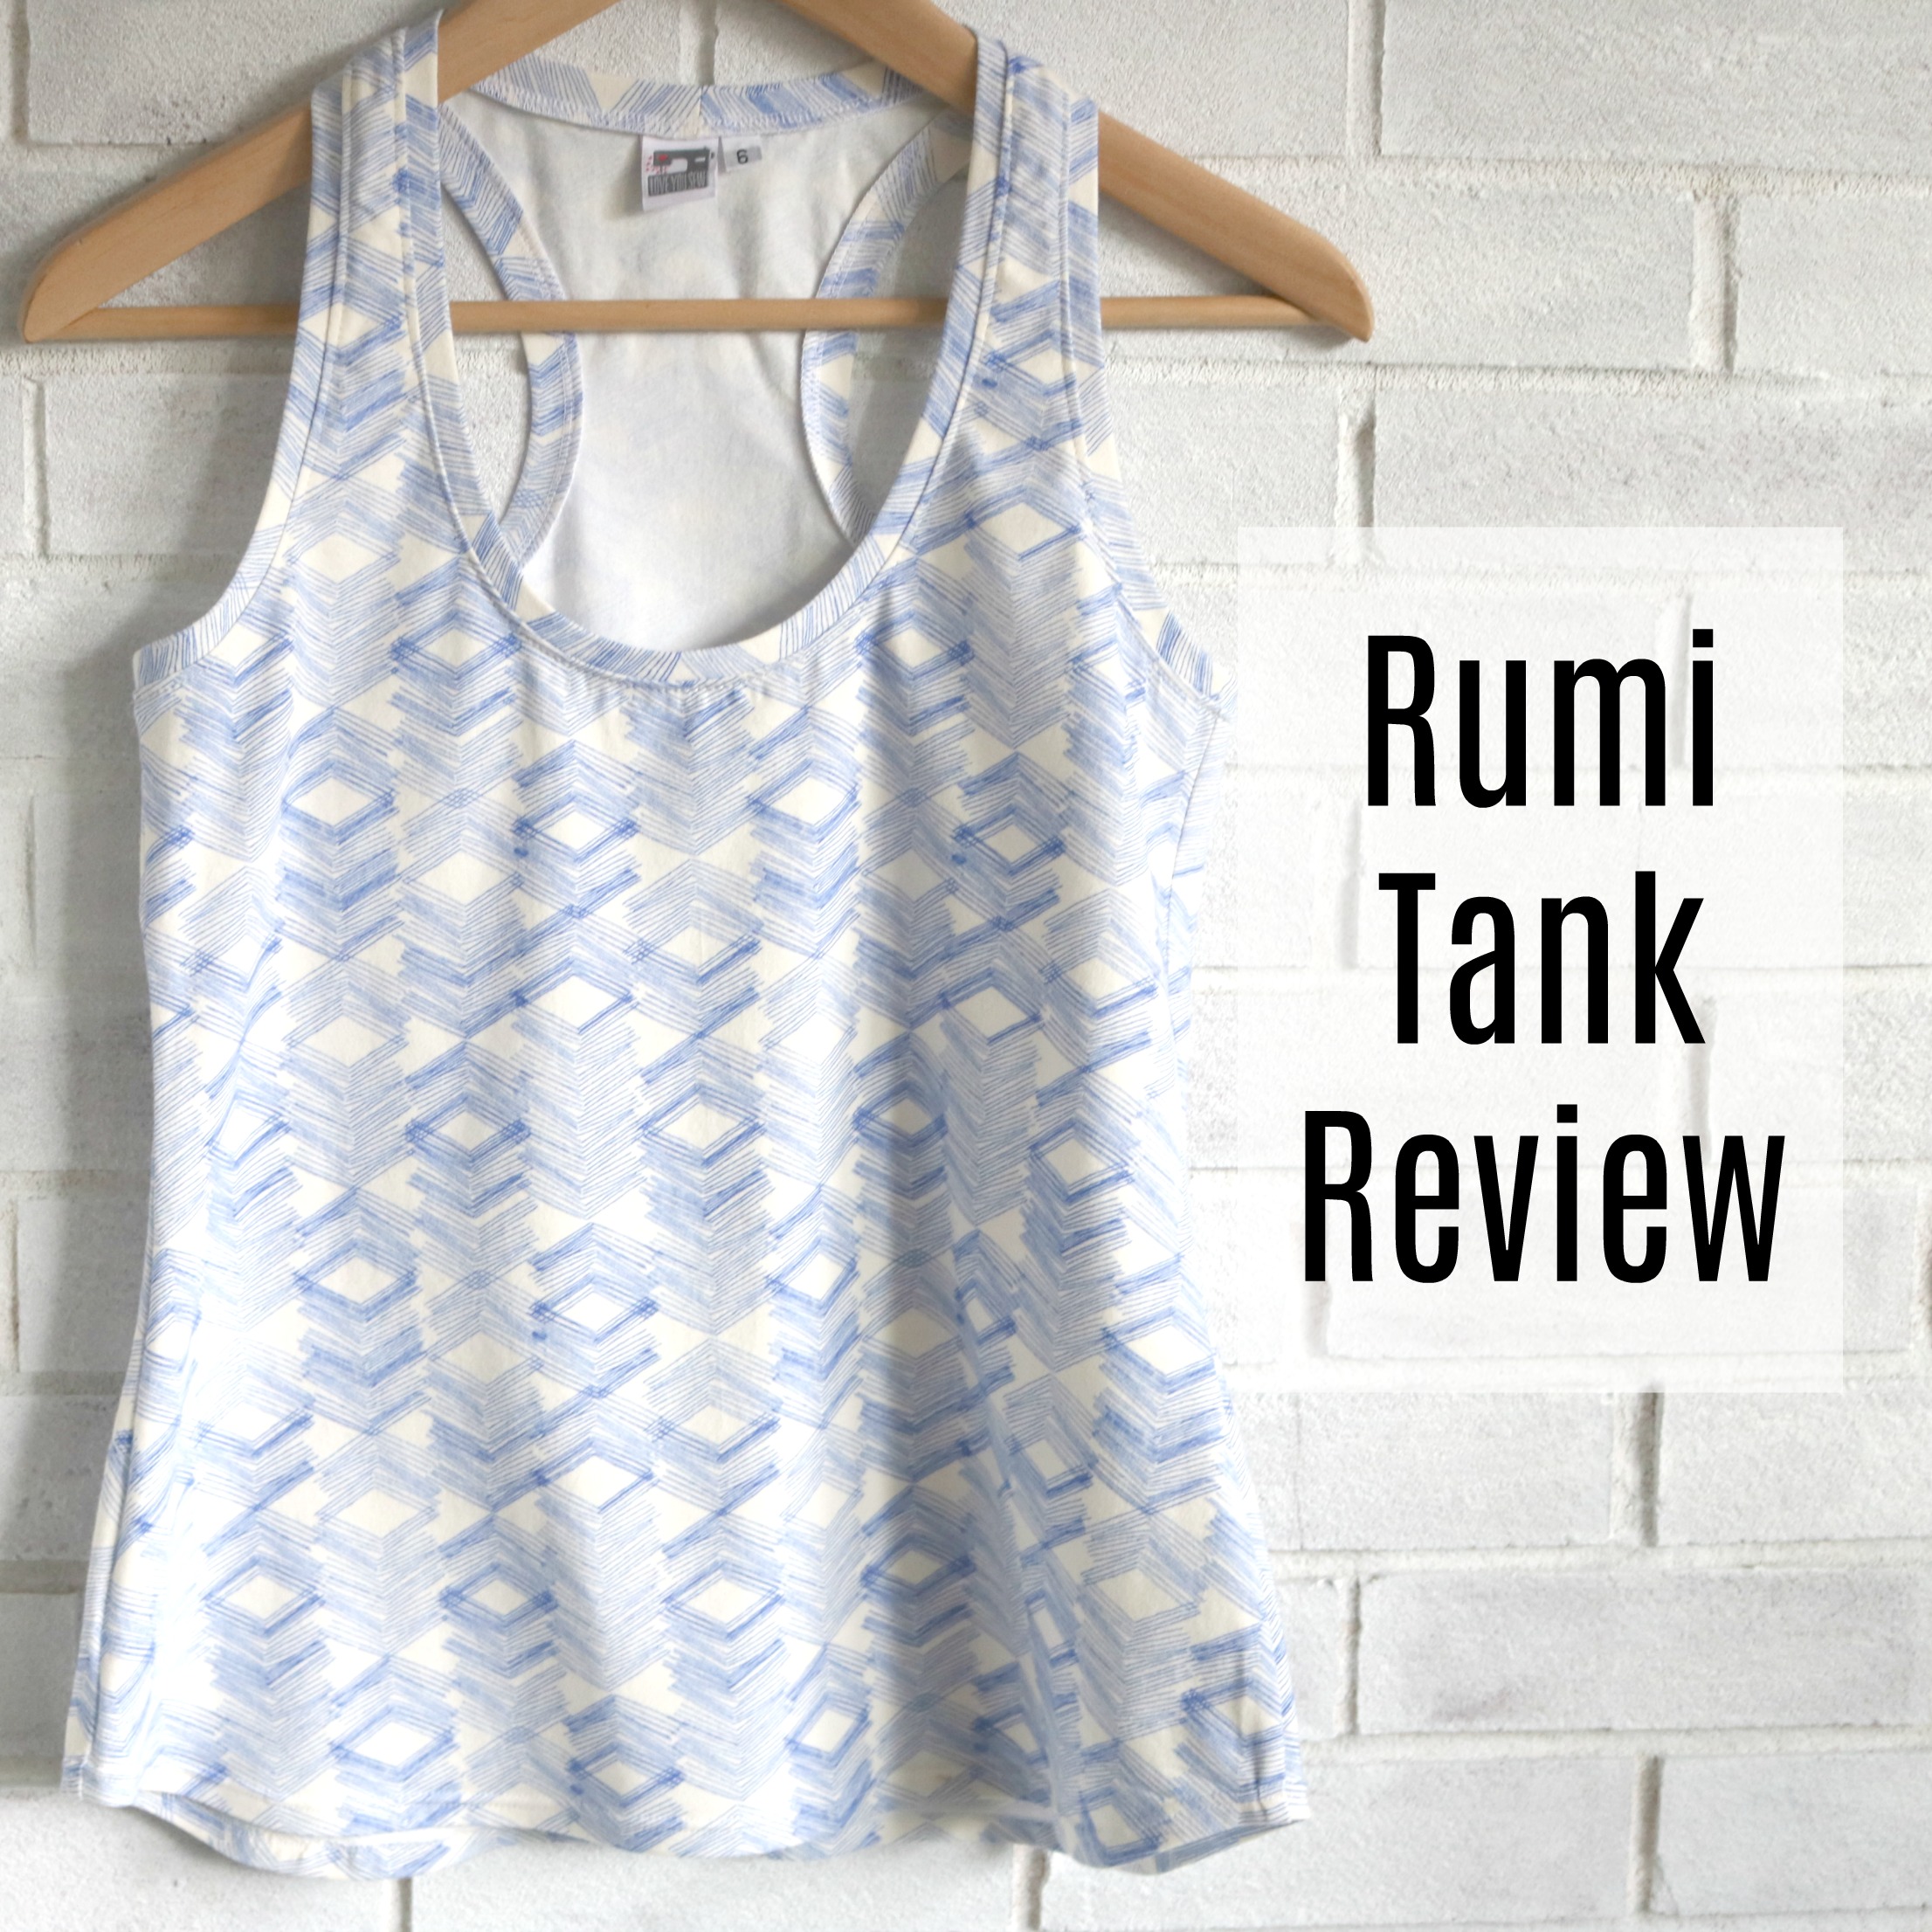
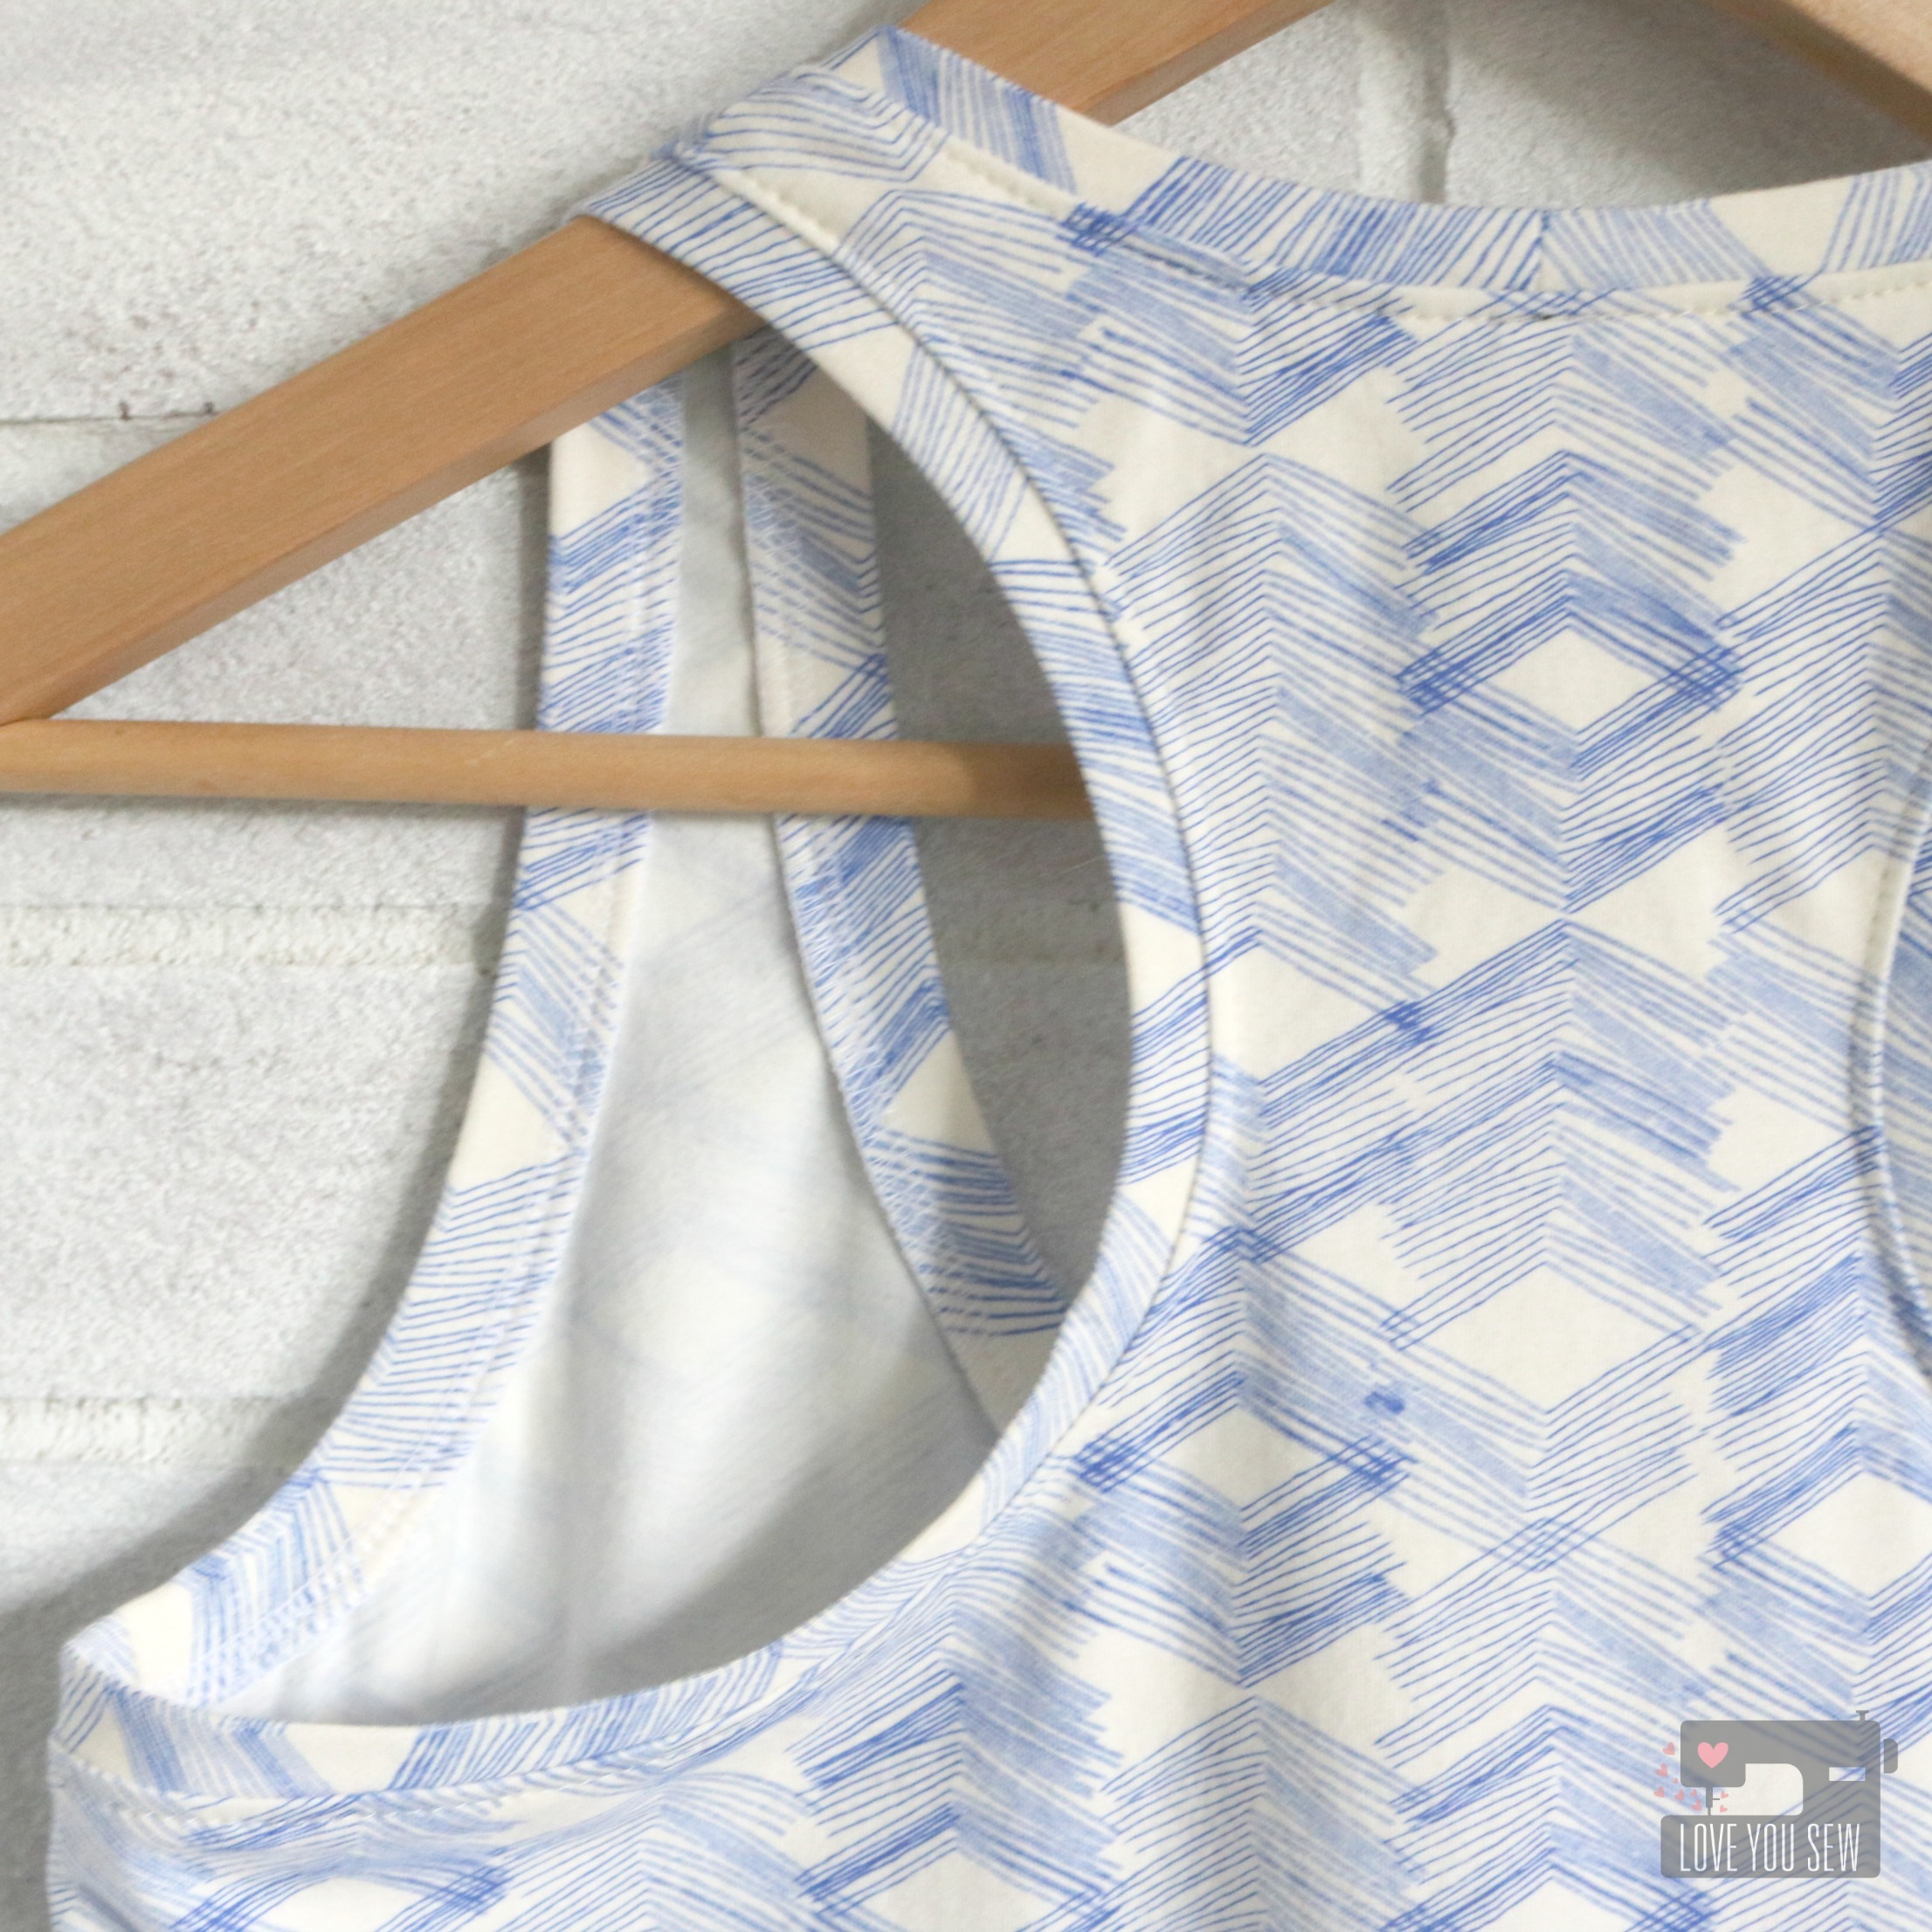
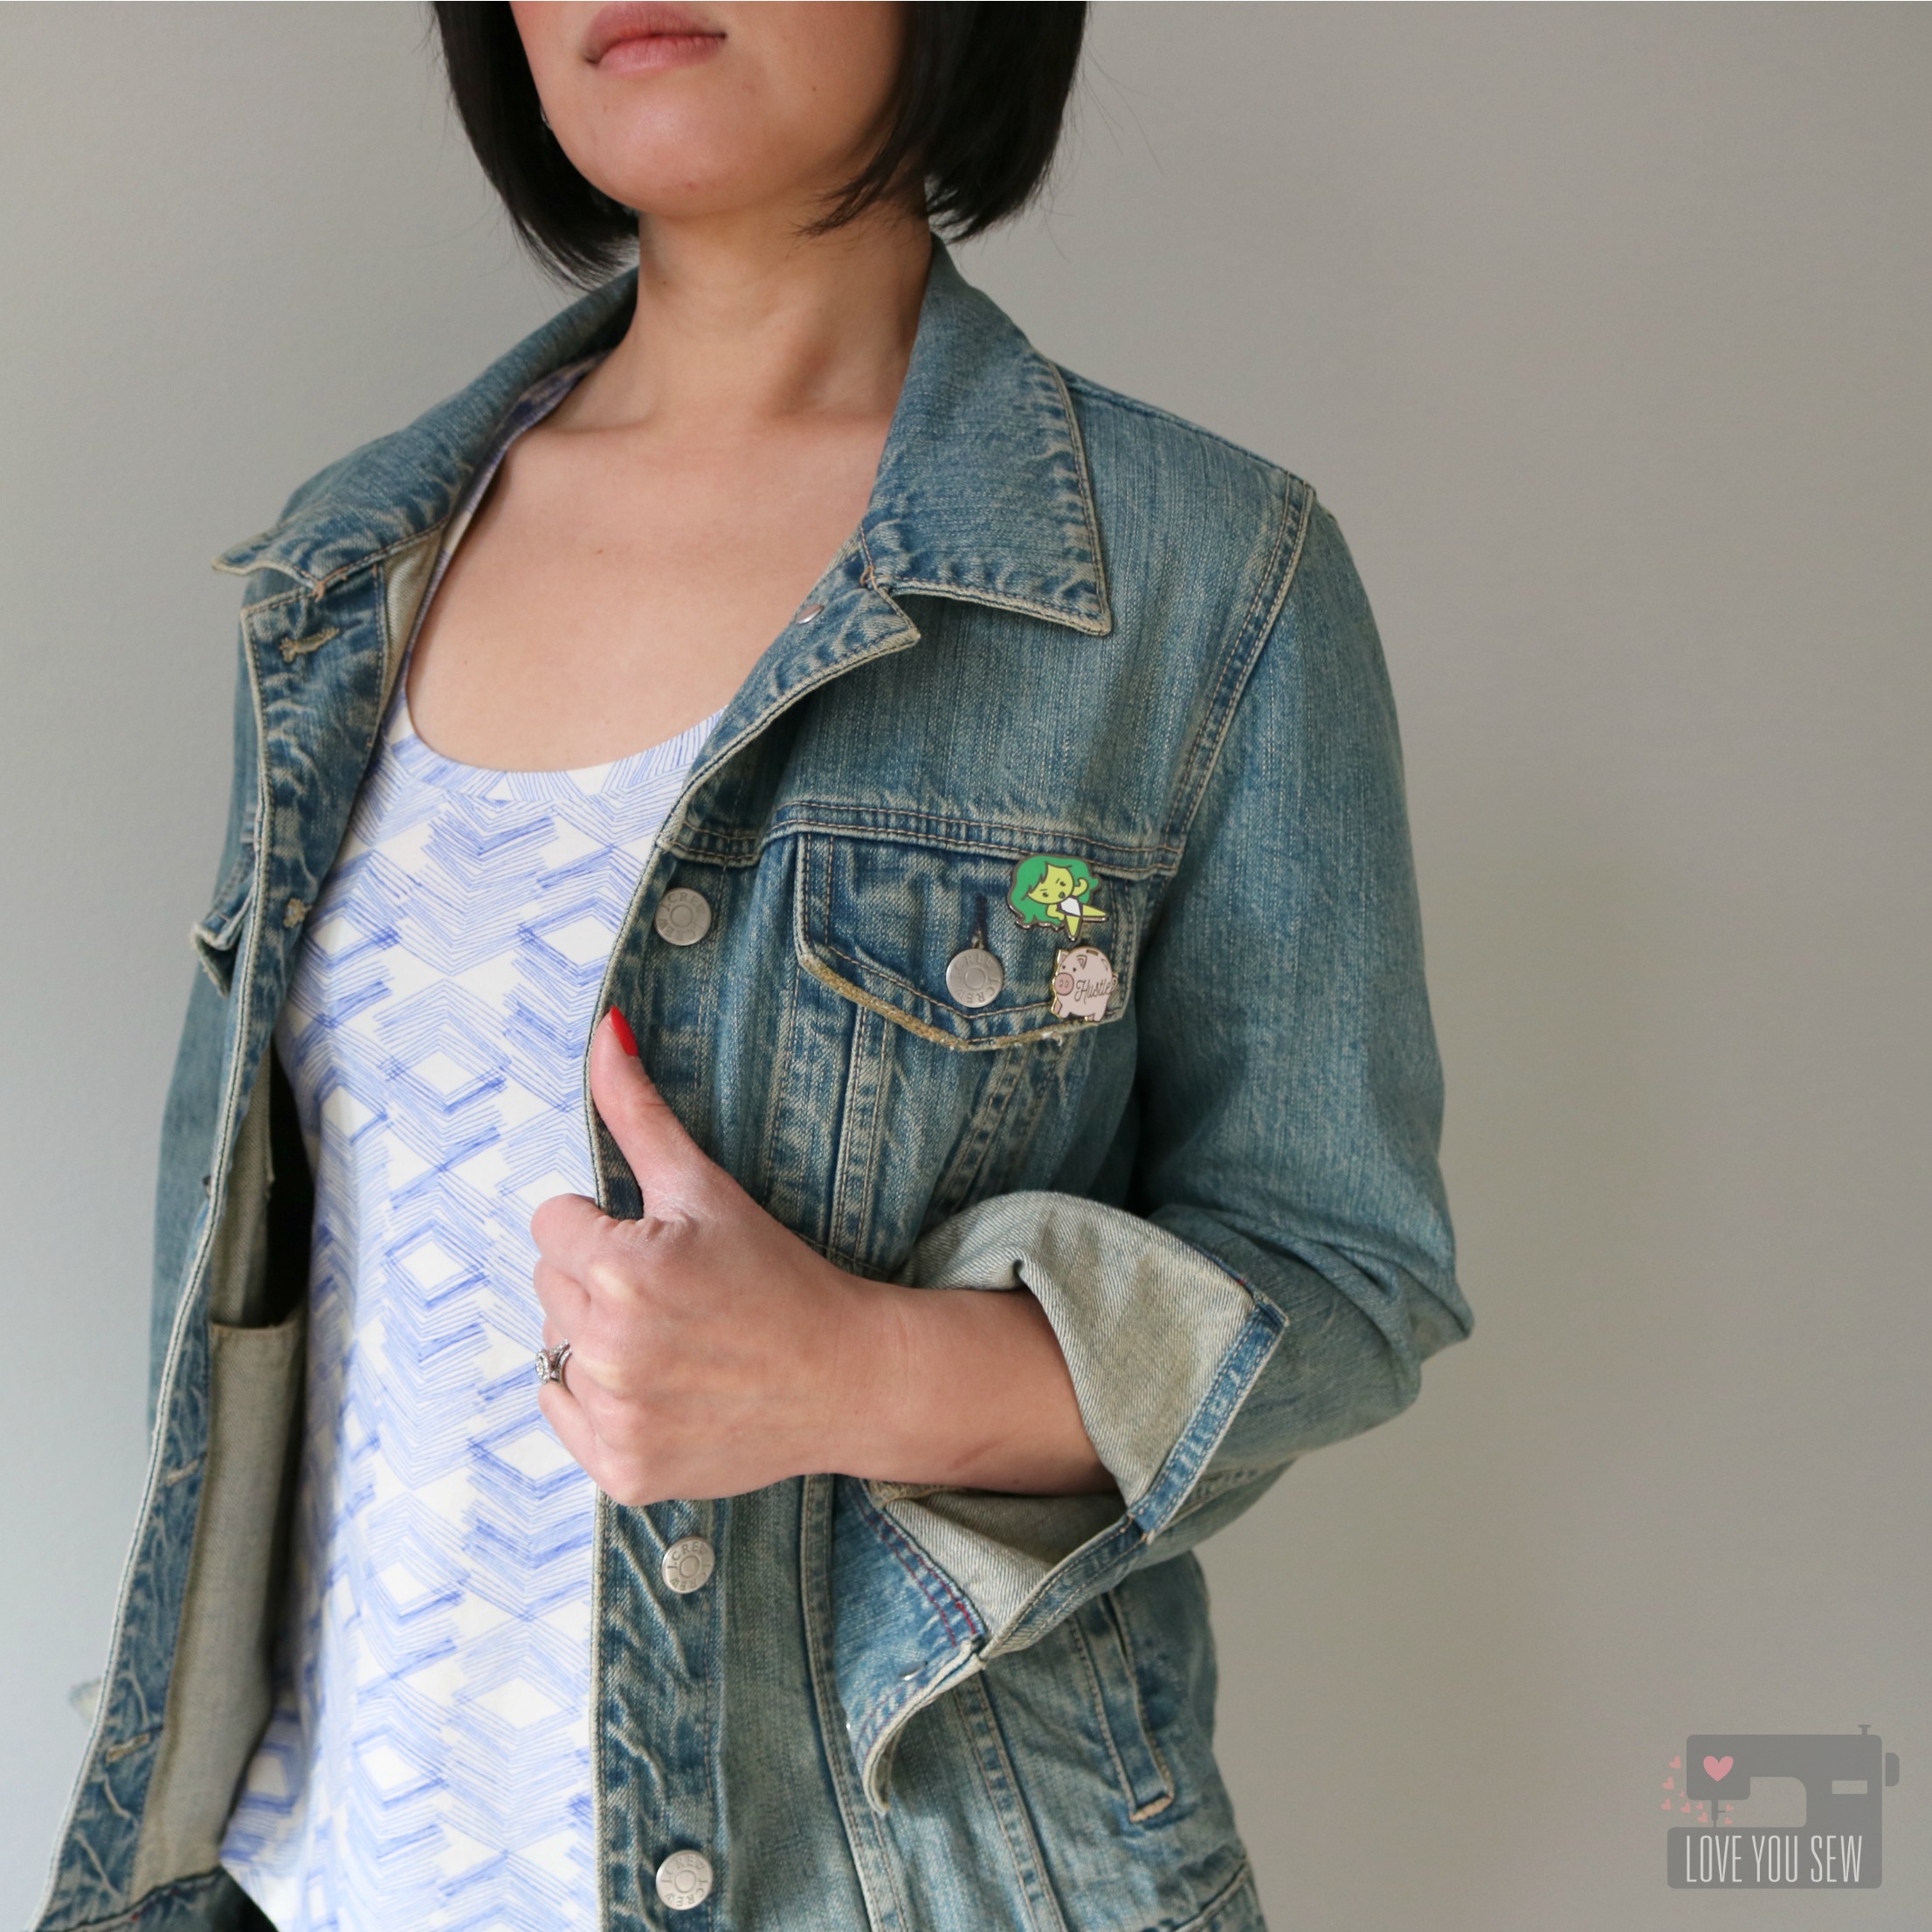
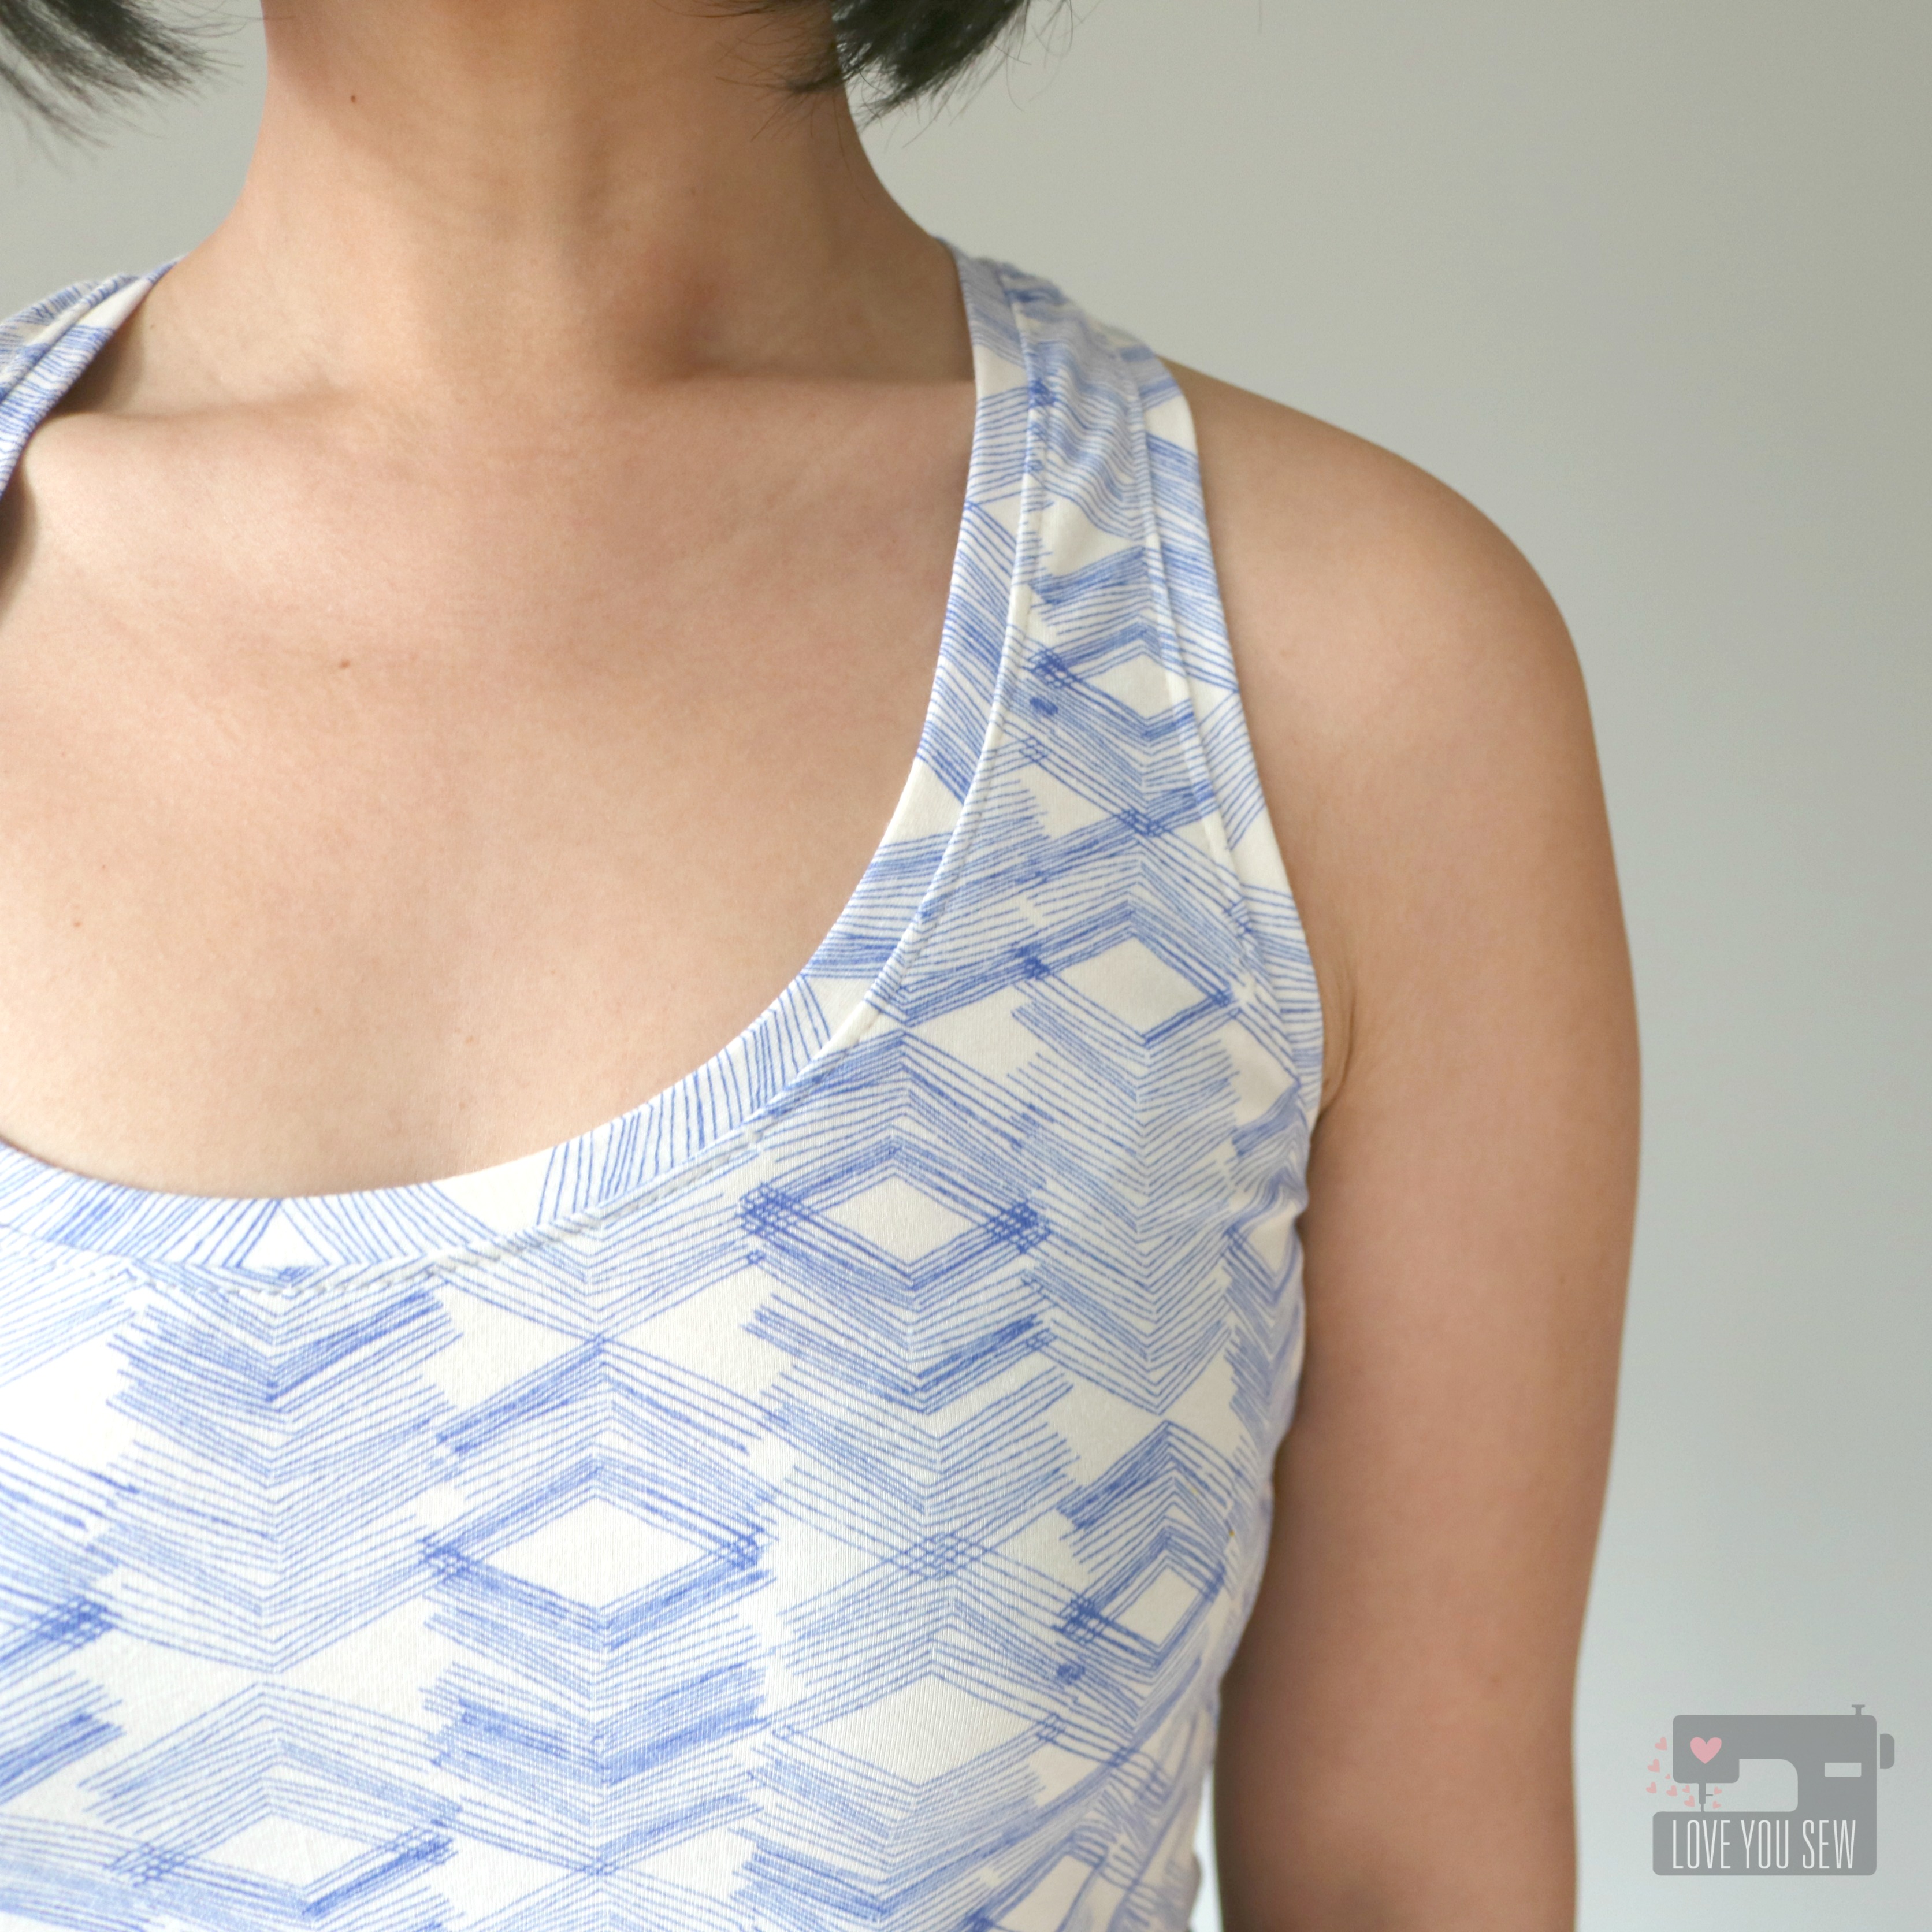
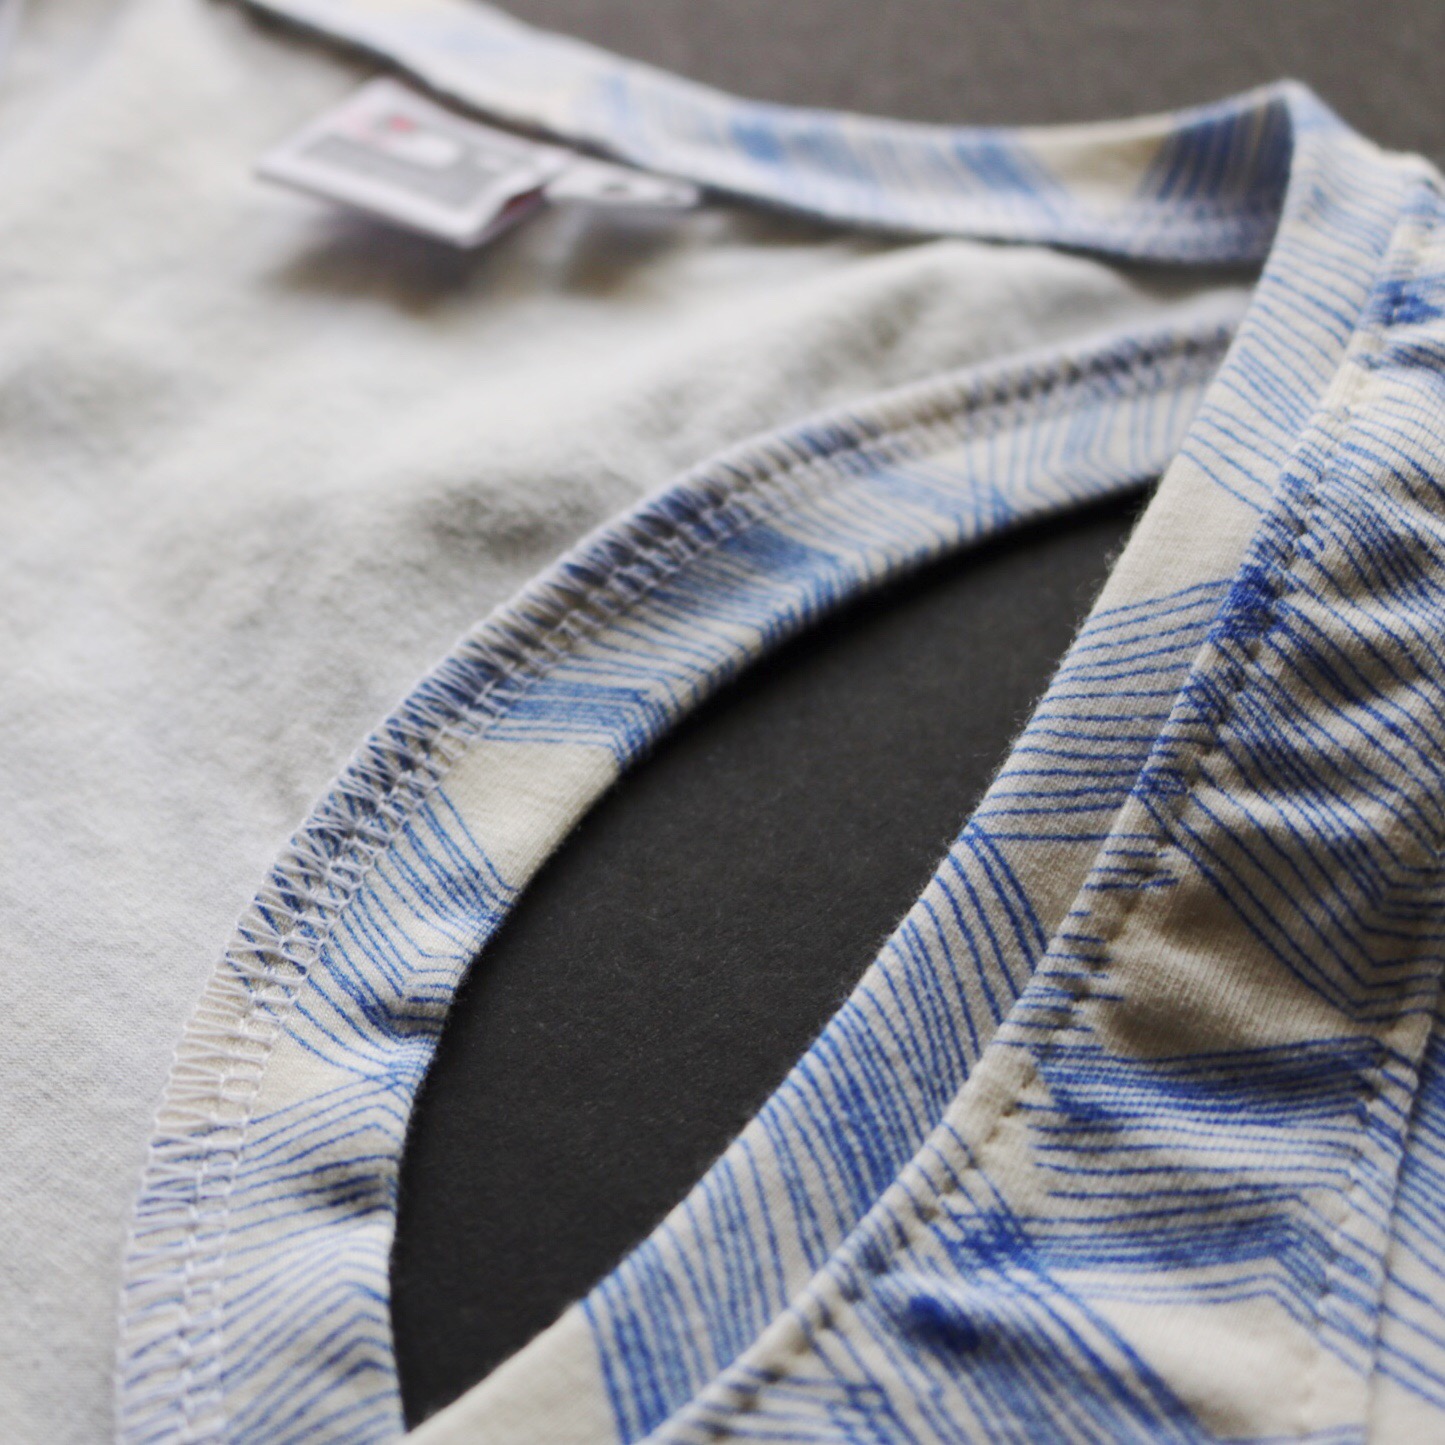
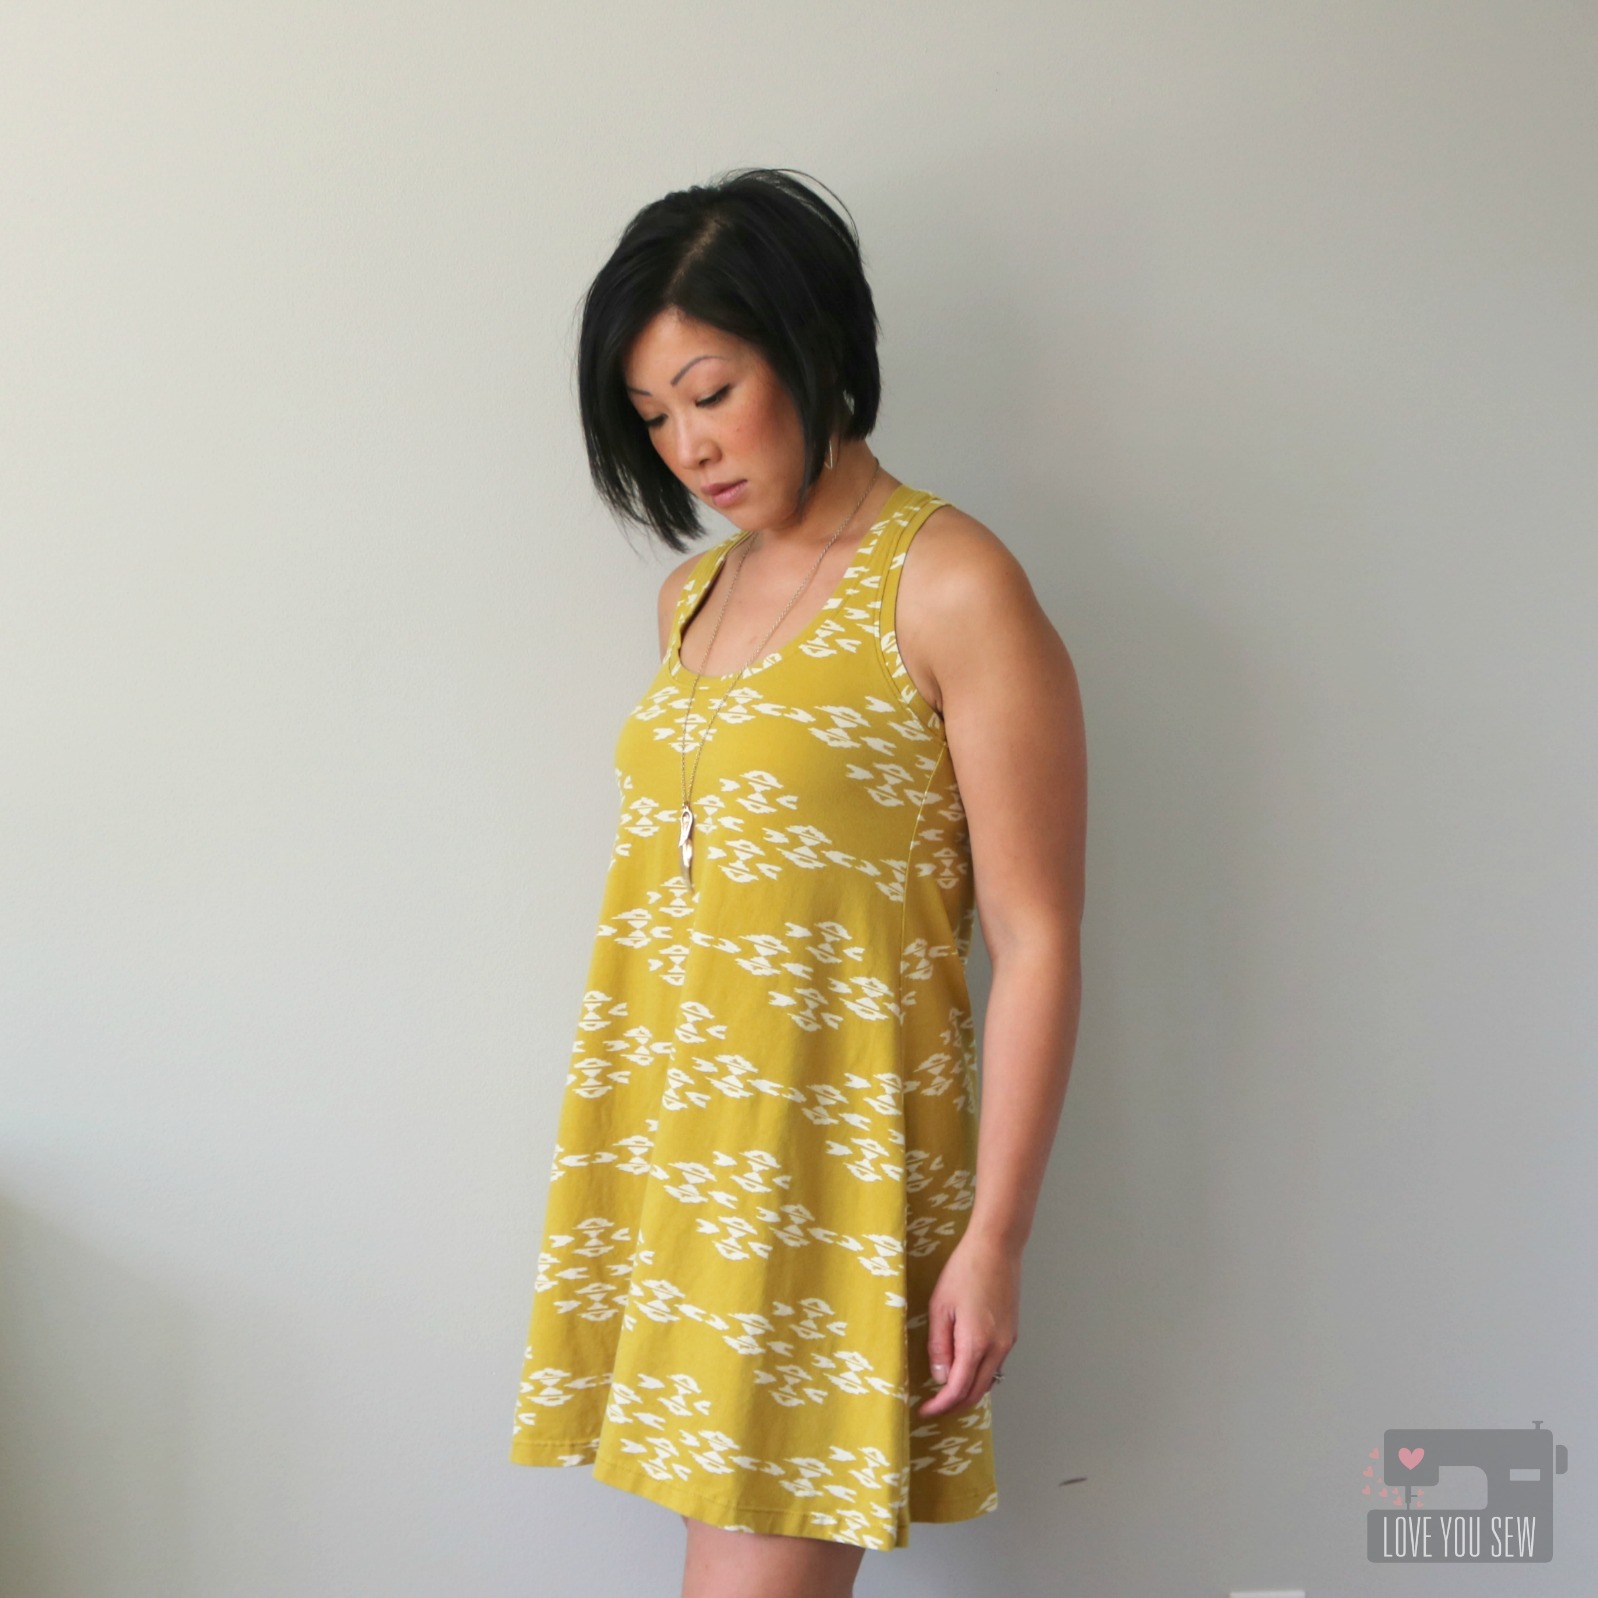
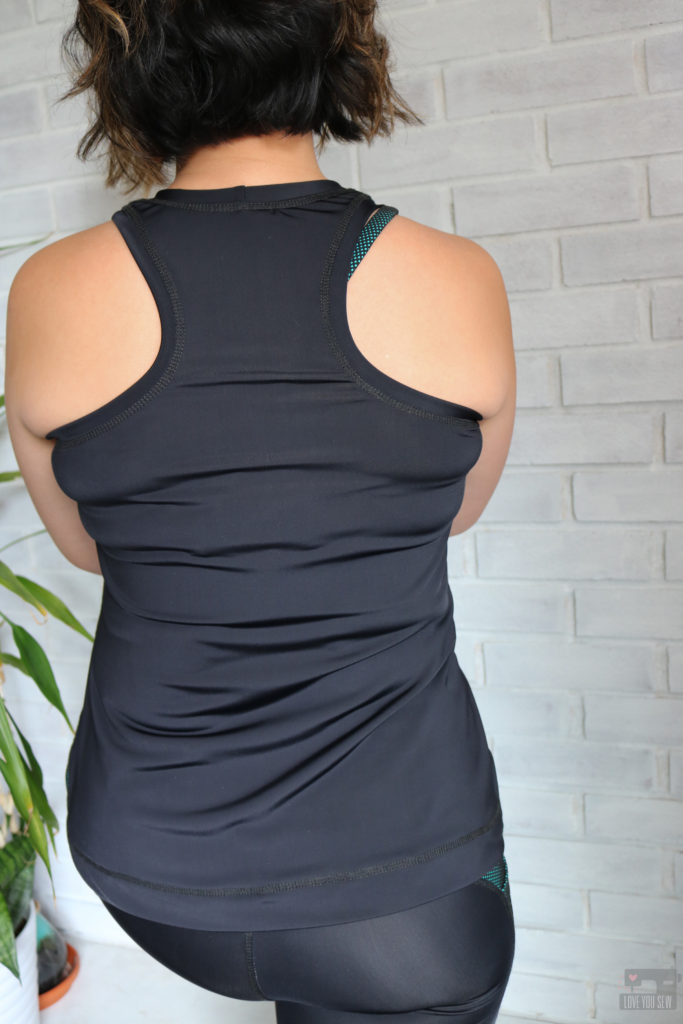
The last piece of the capsule is the Rumi Tank by Christine Haynes. This is one of my TNT (tried ‘n true) patterns and have been wanting to make a workout version of it with the great racerback. You can check out my other jersey knit versions here and here. With this version, however, I used the Textured Web Spandex on the front and then the Valor on the back for a fun color-blocking look.
![]()
I made a size 6 and grade out to 8 in the hip and usually use the size 8 length. Since I have to lift my arms a lot in Zumba class, I extended this length an additional 2 1/4″, but also made a 1.5″ hem (for extra weight to stay down). I also increased the neckline up by 1/2″ to cover up the ladies as I move through squat and lunging motions. I’m pleased with these adjustments to keep things a bit more modest and like a good TNT pattern, I love how it turned out!
I hope you are inspired to make some of your own workout wear. It’s an amazing difference to have something that actually fits through so much activity and you’re not constantly tugging at the waist or having sore breasts. Fabric that breathes and keeps you comfortable is also key!
Get that workout on!
-Cristy
Project Summary:
- Fabrics: Textured Web Spandex in Mint and Valor with Repreve in Black. These are both available wholesale through Pine Crest Fabrics, but the Virtue with Repreve (which I will be making a swimsuit out of for summer) is available at fabric.com.
- Patterns: Stride and Power Sports Bra by Greenstyle Creations. Rumi Tank by Christine Haynes.
- Machines: Juki TL-2010Q, Juki MO-2000QVP, and Juki MCS-1700QVP (Better believe I’m a Juki fangirl!)
- Threads: Gutermann Polyester and Gutermann Toldi-Lock Polyester Overlocking
- Needles: Schmetz Jersey 80/12
- Clear Elastic: Dritz brand 3/8″
Fabric for this post was provided by Pine Crest Fabrics. All sewing patterns and notions were purchased by myself. As always, I keep it straight with you. All comments and opinions are my own. There are affiliate links in the Project Summary for which your purchases help to maintain this website. As always, THANK YOU for your support!