Laure Dress :: Pattern Review

The first pattern I ever saw from Straightgrain Patterns was this Laure Dress in the Quipao version.  I was clicking away on Instagram and stopped in my tracks when I saw this adorable pattern!  Being of Chinese decent myself, these dresses always catch my attention…especially in fresh modern fabrics.  (And yes, I actually own two Quipaos, but in more traditional red and gold brocades.)  Since I don’t have girls of my own, I knew I would one day make these for my nieces…because I’m just the best aunt, you know 😉

Today marks the first day of the 2018 Lunar New Year (Year of the Dog) and I just had to share these with you!  This was such an important and fun time in my house while growing up.  We would have huge feasts and celebrate with lots of fireworks in Philadelphia’s Chinatown.  Now, in Columbus, the celebration is a bit smaller but just as fun as I hope to pass on the traditions to my boys.

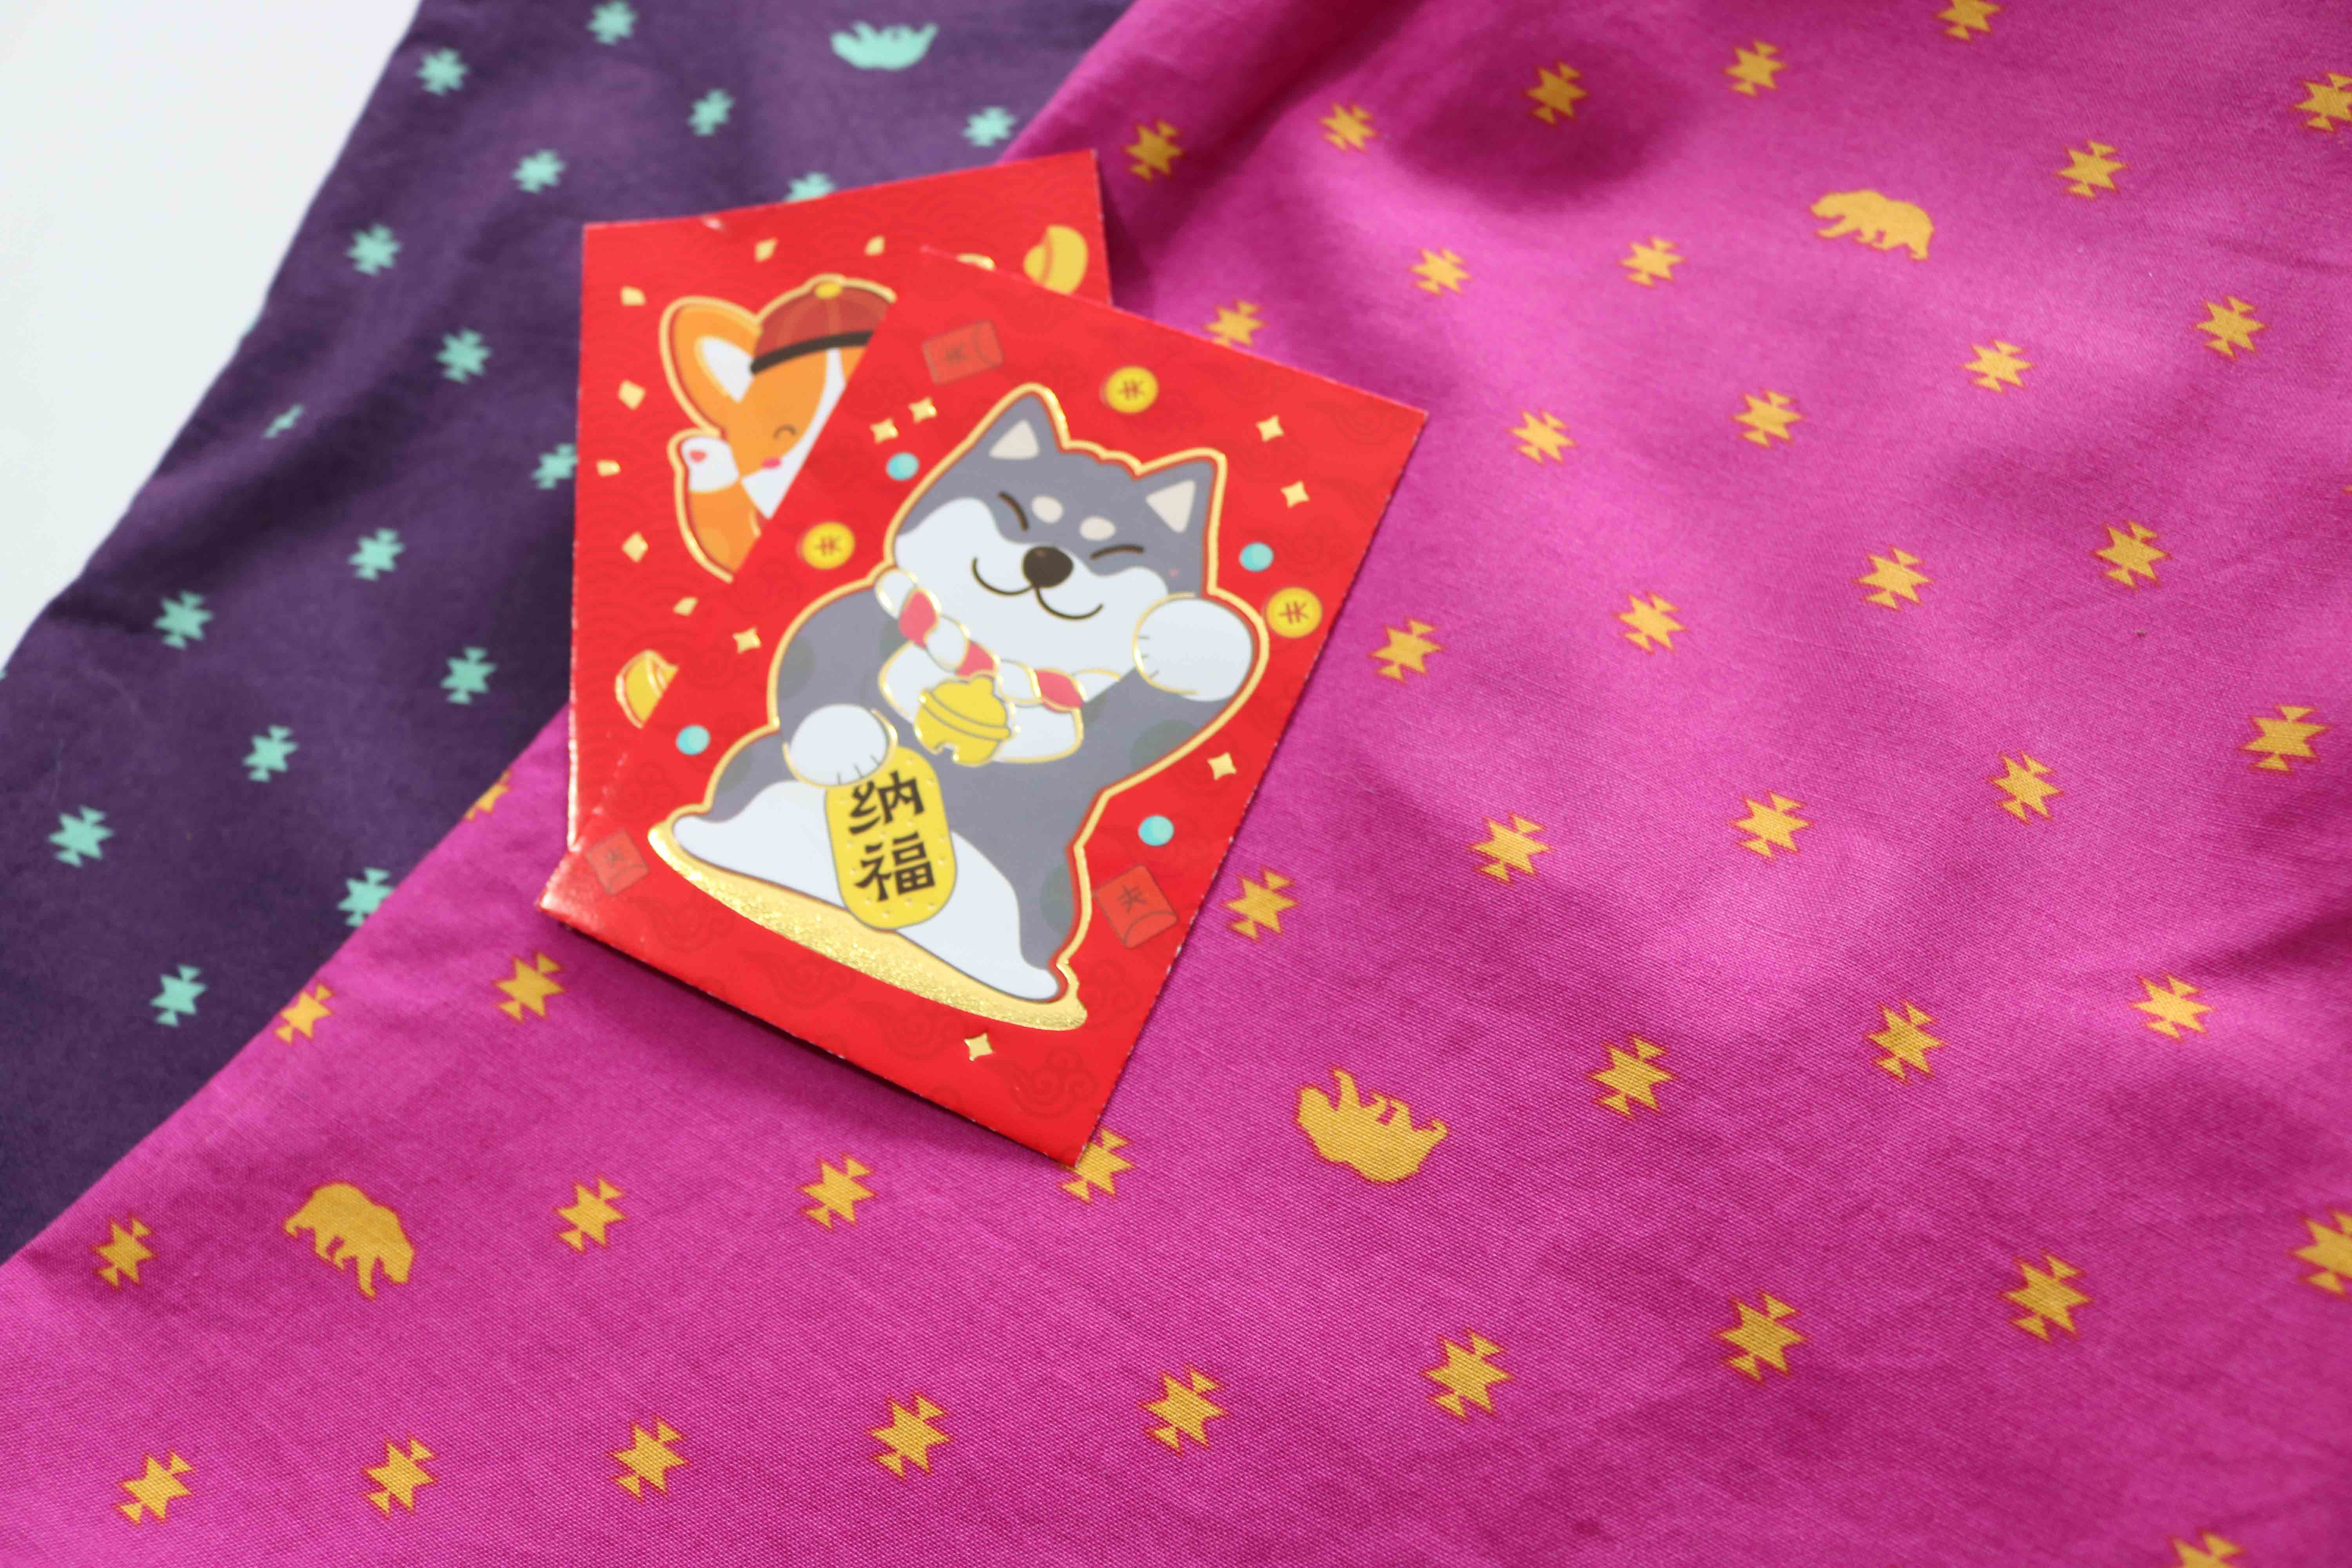
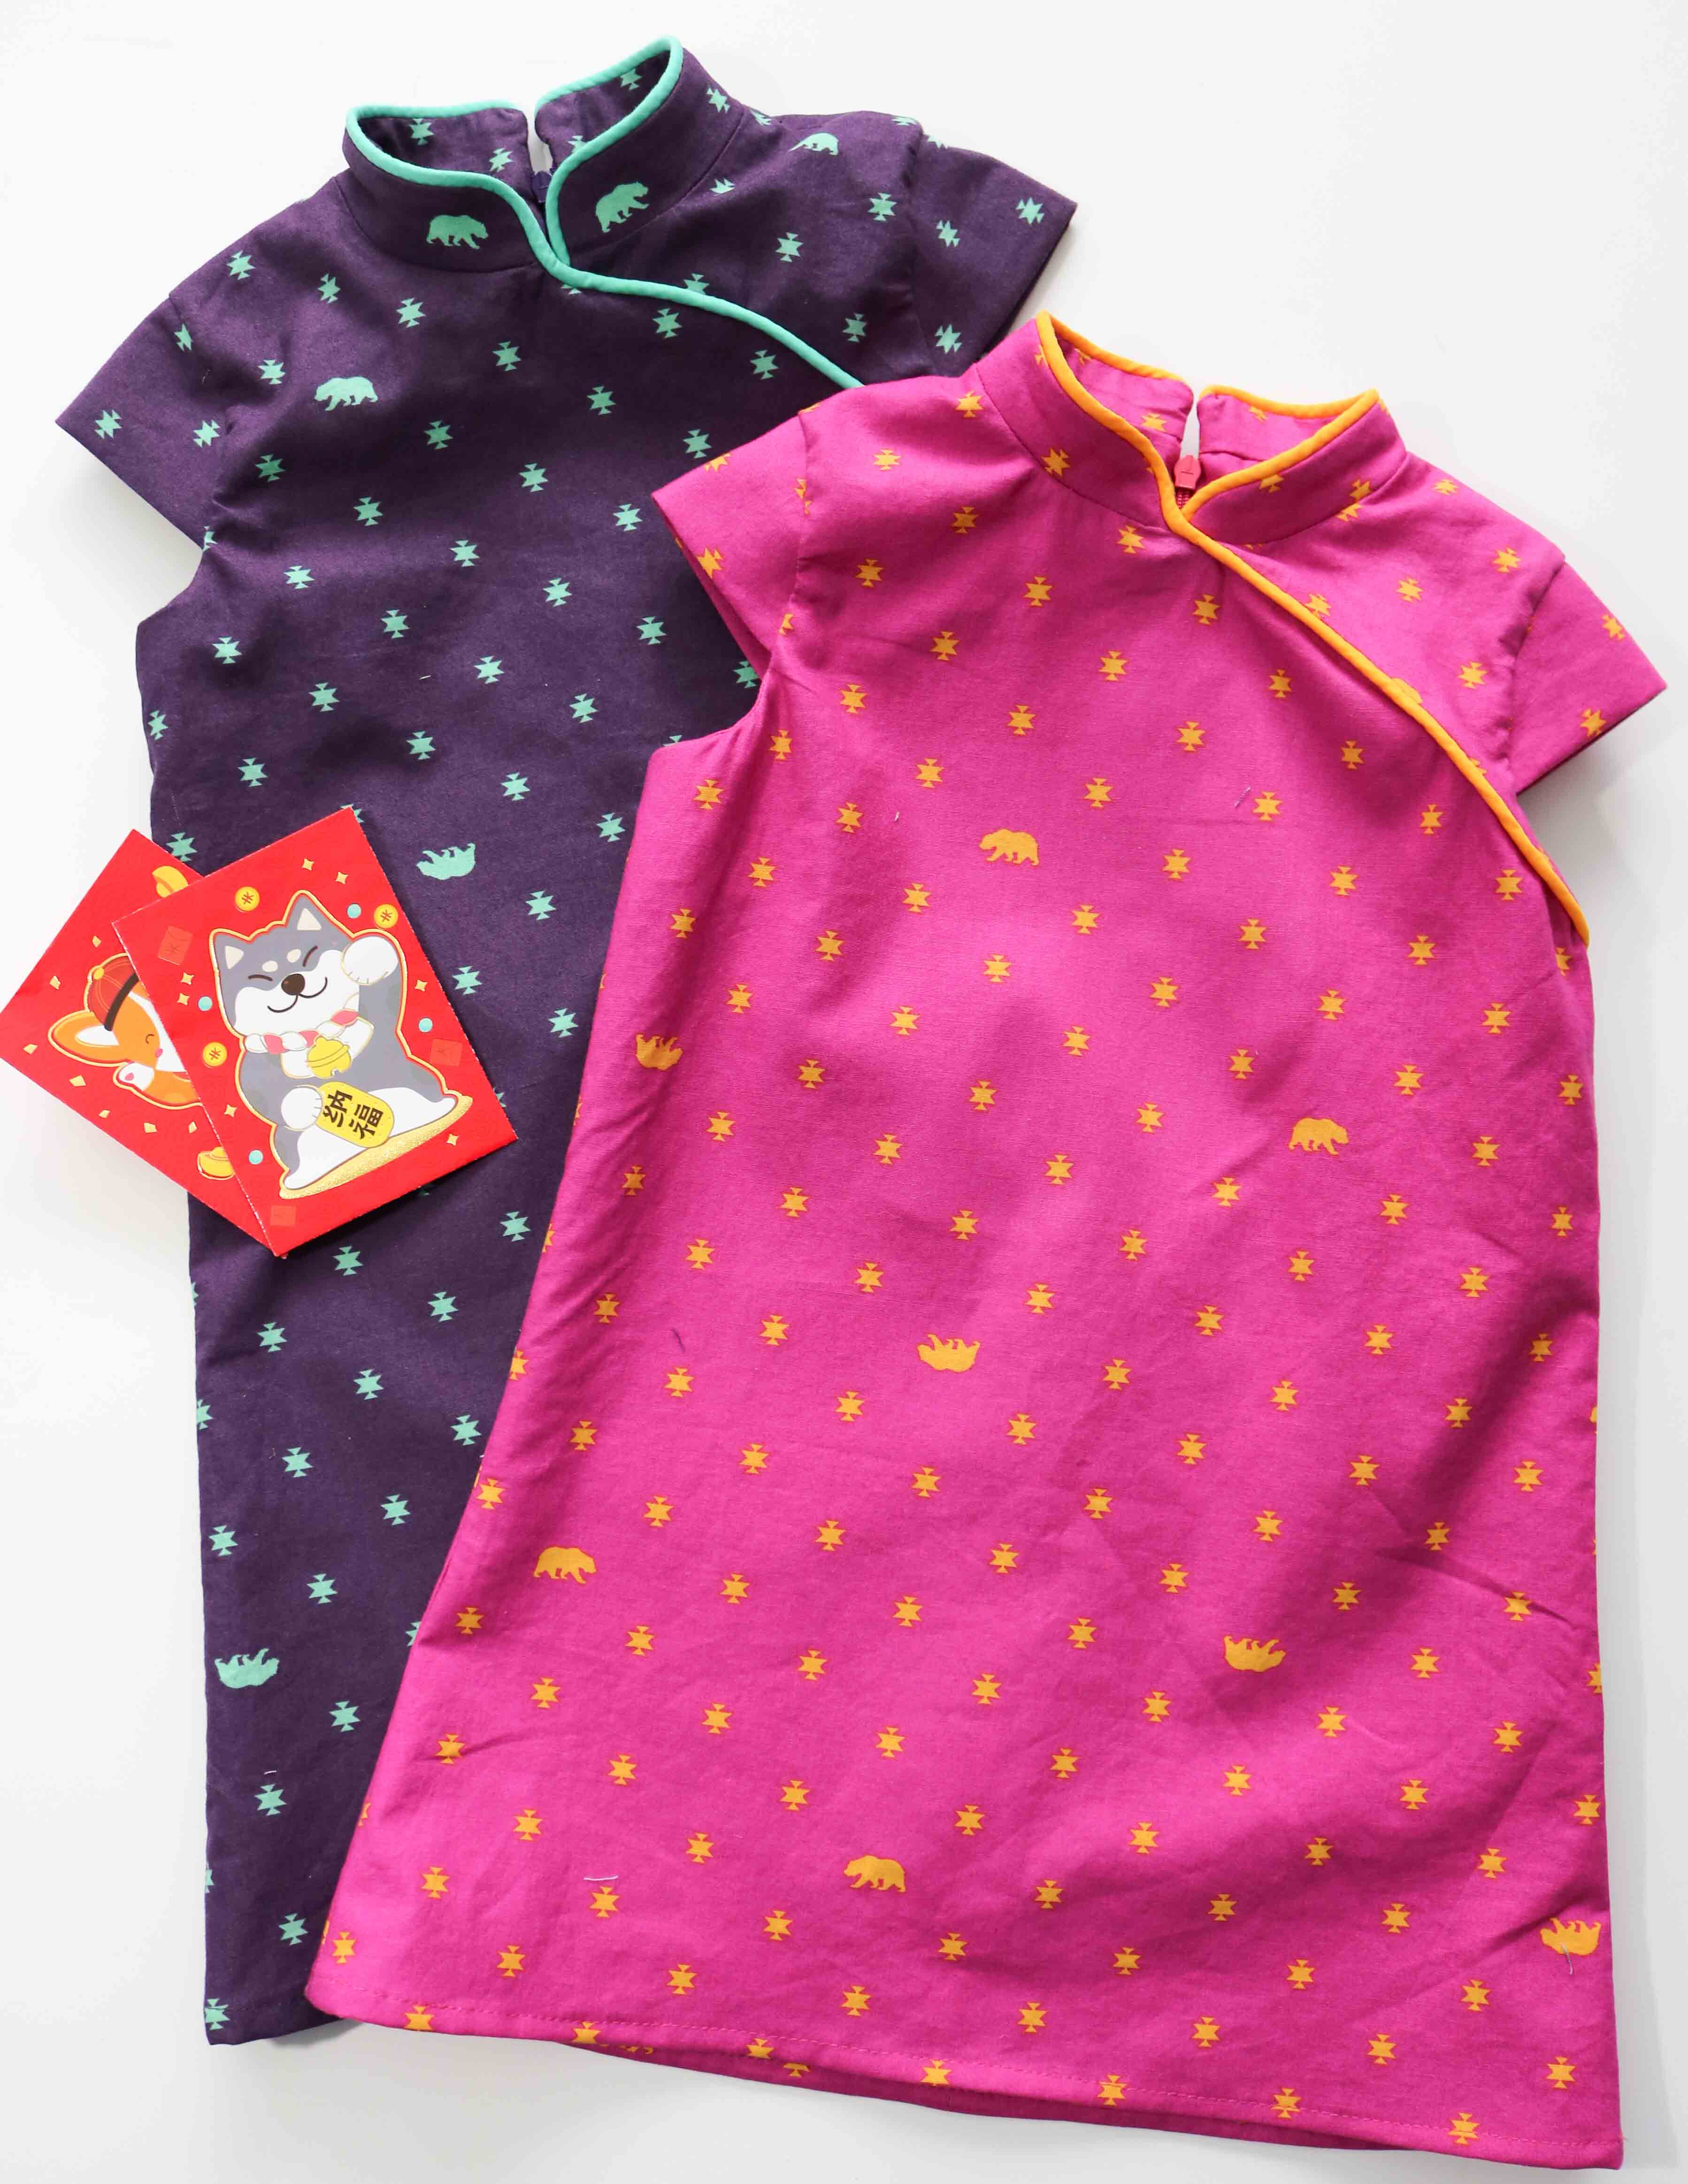
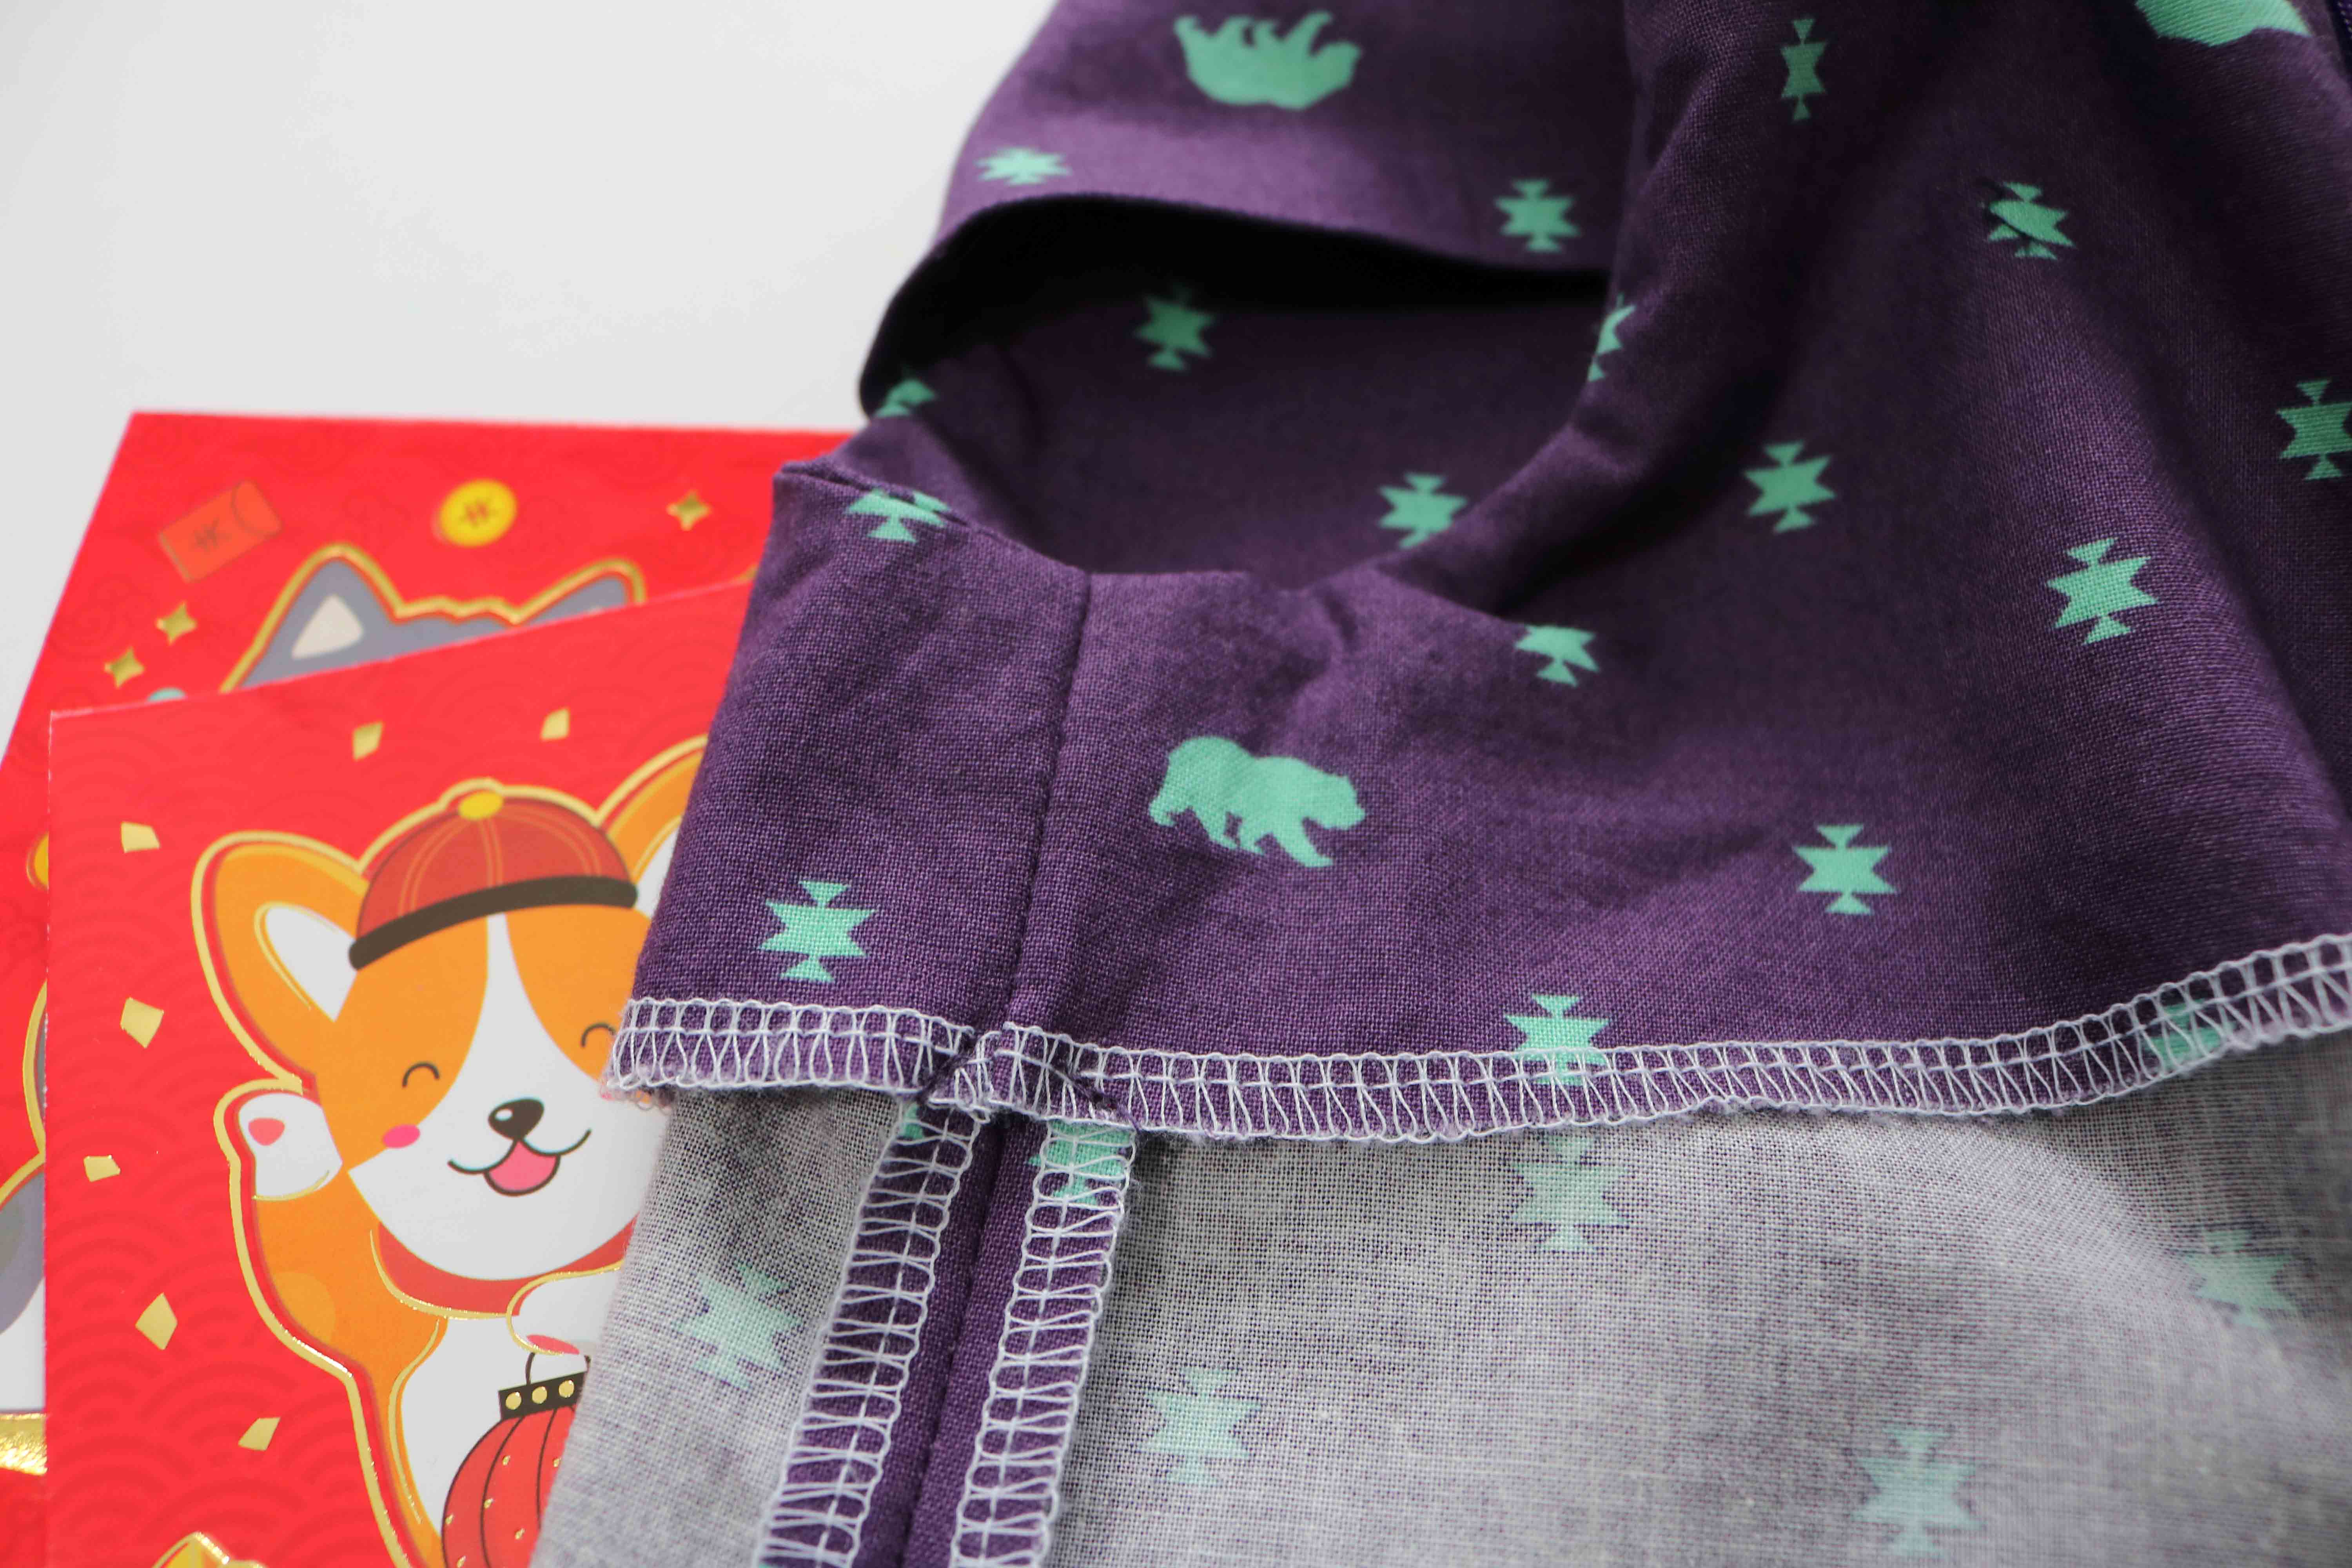
Traditionally, children receive these red envelope filled with money to bring good fortune and health into the new year.  I’m hoping these dresses will also bring them lots of good cheer and love too, since I’m still in love with this Spirit Animal (aff link) fabric by Tula Pink.  Although the good luck color of the new year is red, I thought the girls would get more use out of these great colors and the small scale silhouettes would be perfect to wear all year around.

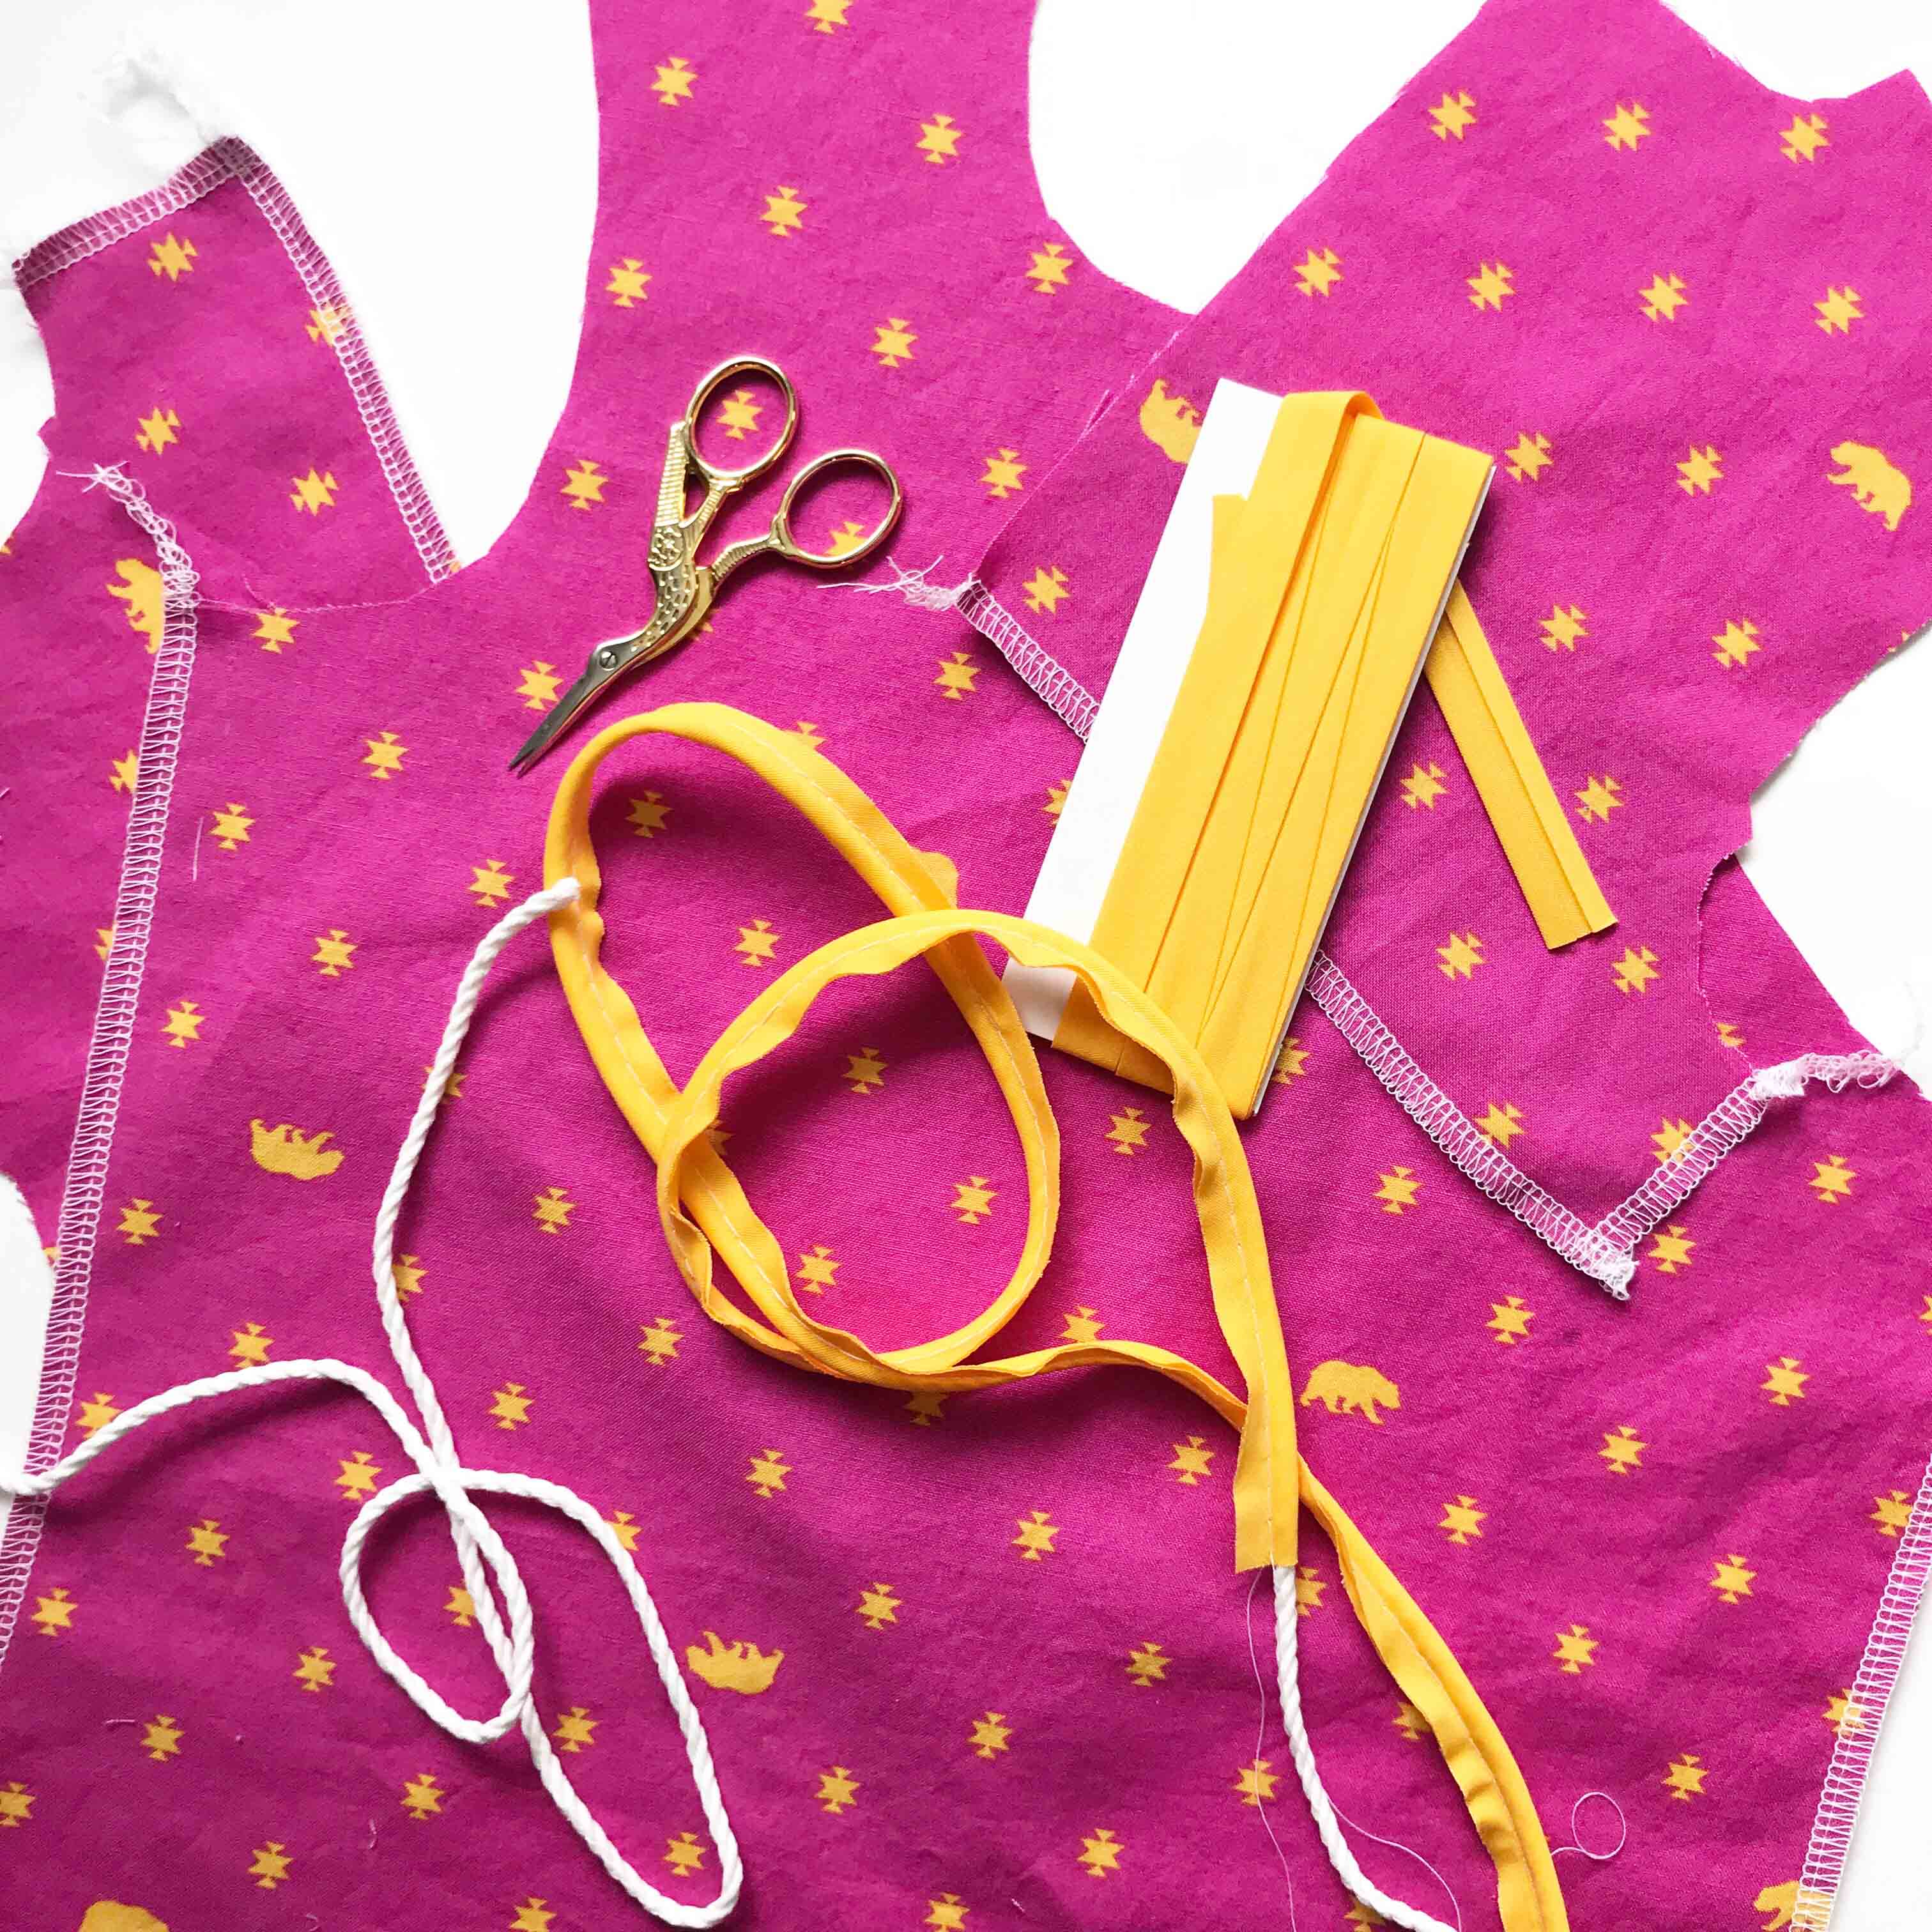
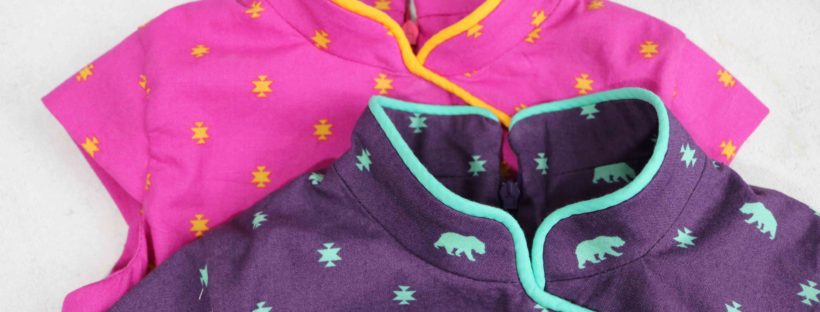
One of the great style features of any Quipao is the piping along the mandarin collar and down the front of the dress.  I knew this was a step I could not skip, but finding the right color in pre-made piping was not easy.  Because of ease and look, I tend to buy pre-made piping from the big-box stores.  (They do a MUCH better job than what I could make!)  With the bright colors, I could not find any piping…  However, I could find pretty close matches when it came to pre-made single fold bias tape.  I used this along with some cotton cording from my stash to make my own piping (reluctantly, of course.)  I don’t have a special foot, so I just use my zipper foot, a basting stitch and tried to sew as close to the cording as possible.

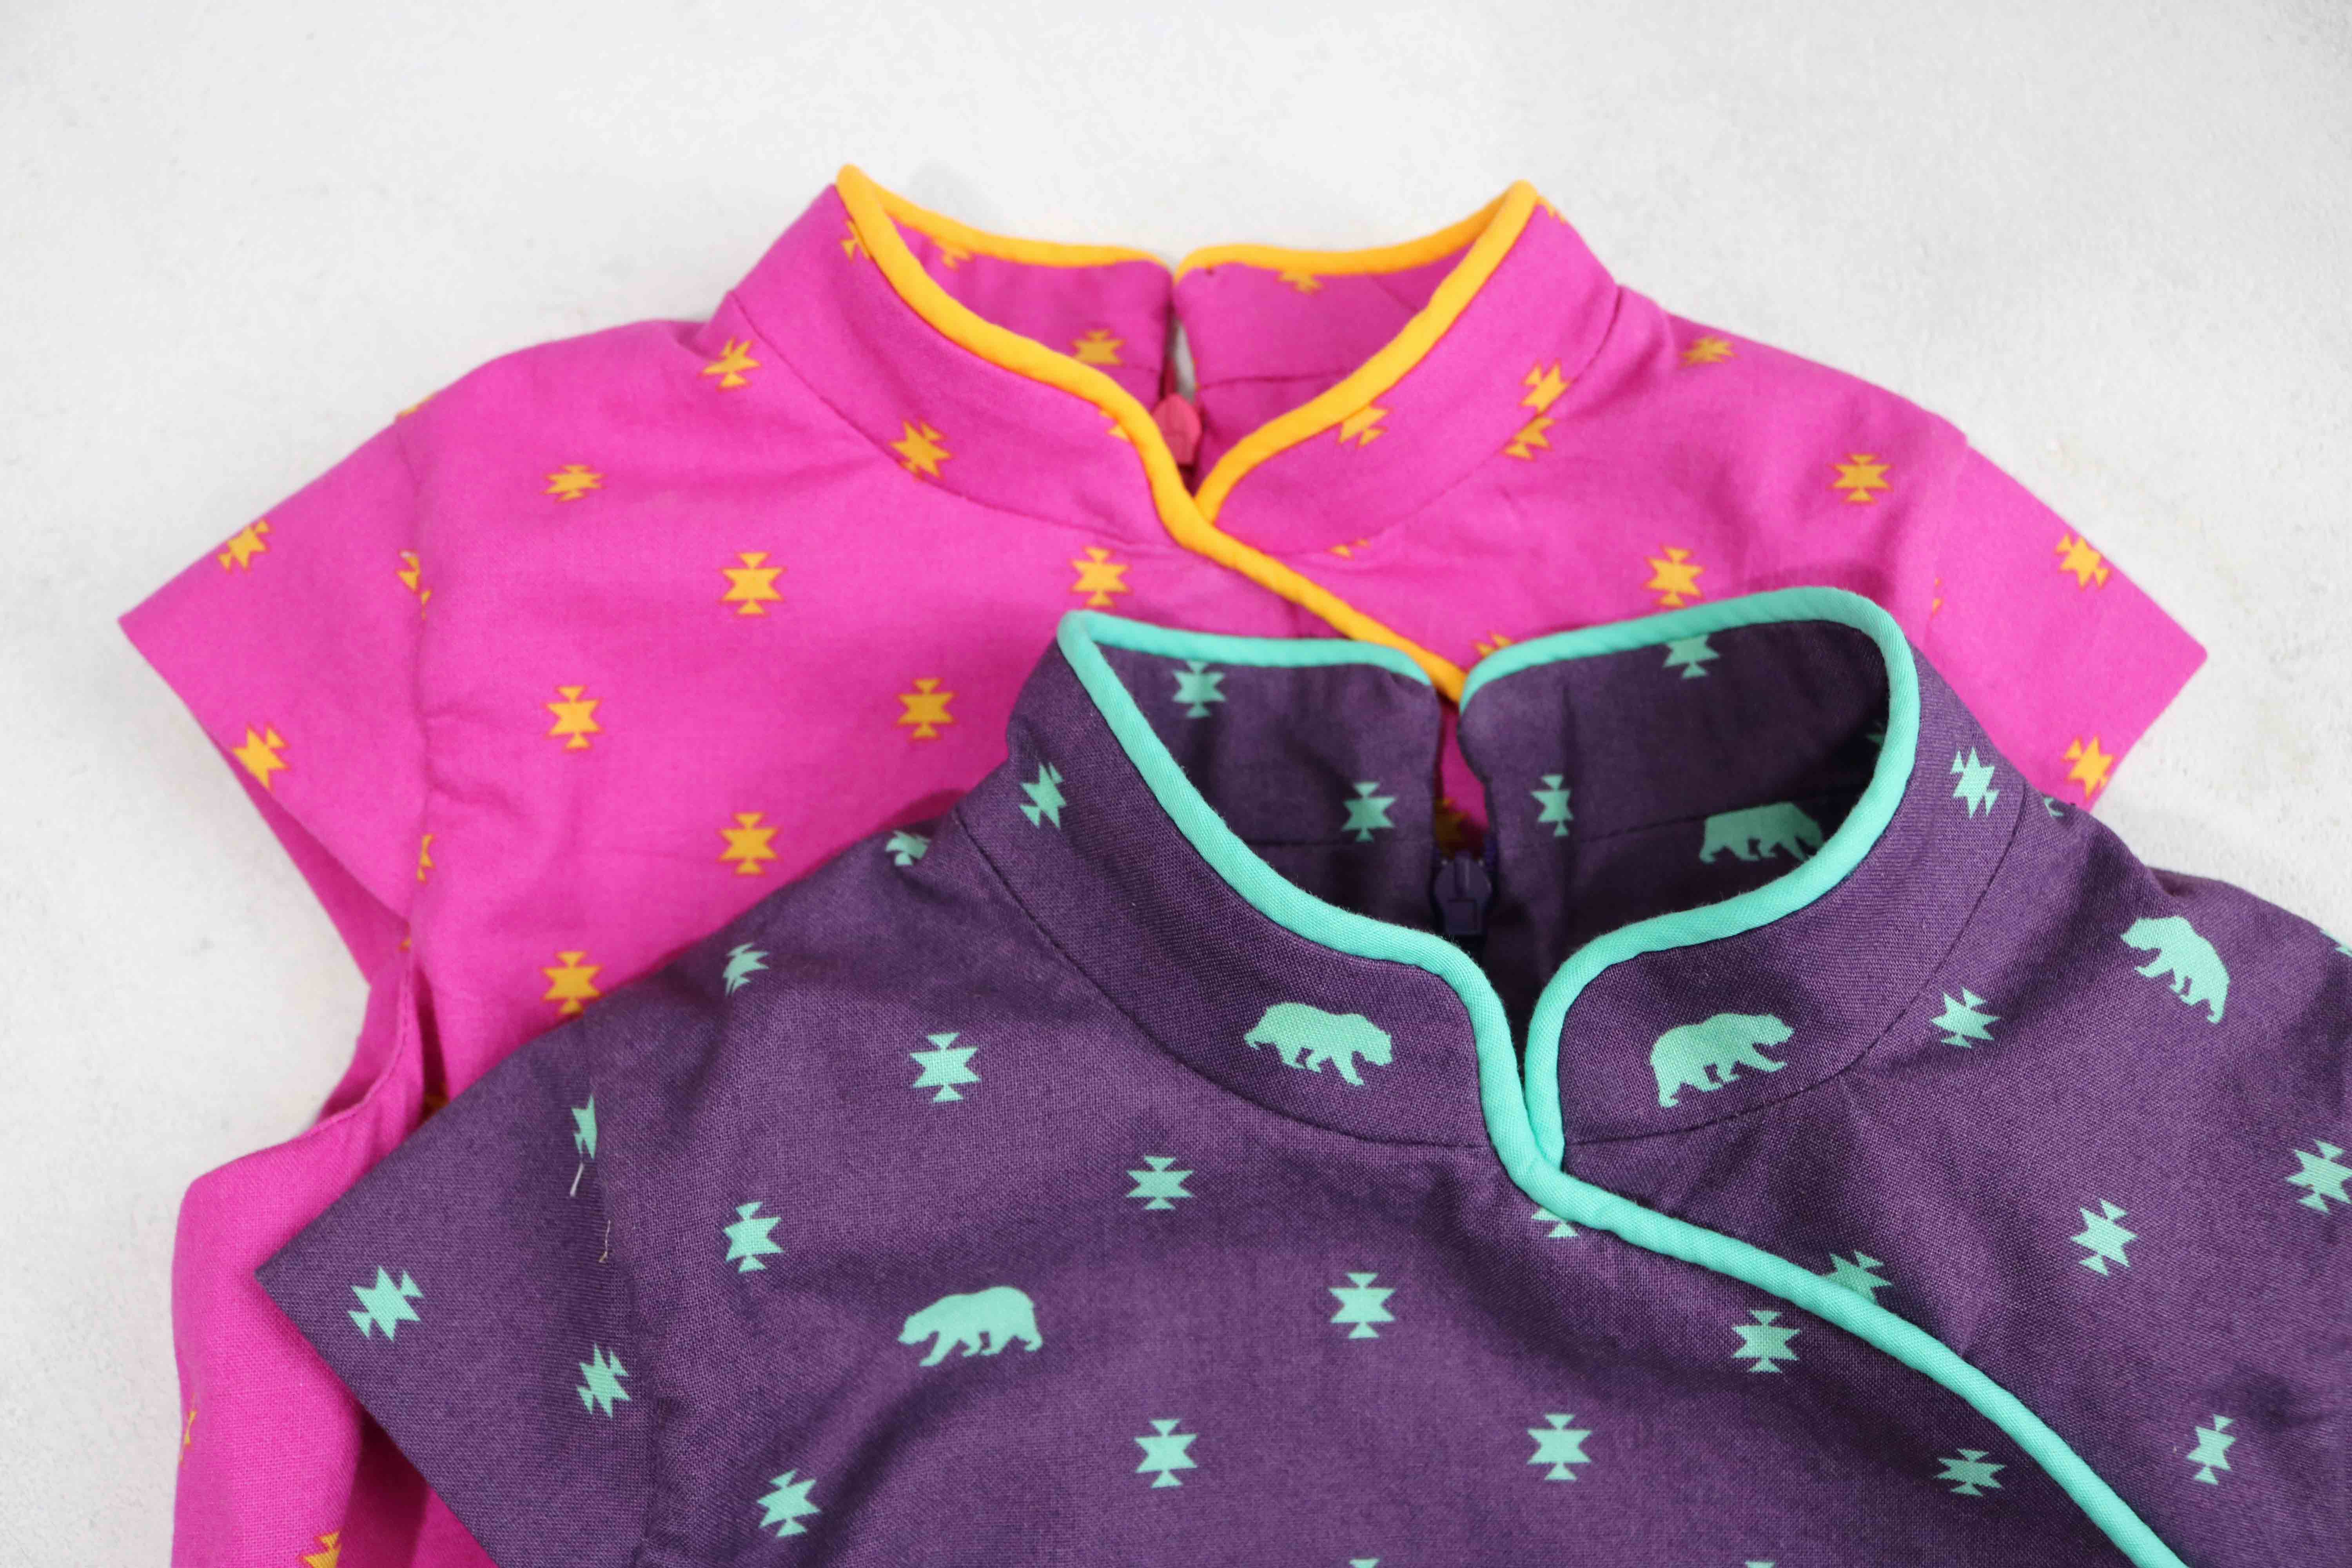
This process adds some time…especially when you’re like me and need two passes to get in close to the cording.  But look at the results!  The piping really highlights the curve of front yoke and brings out the colors in the fabric. *High-five!*

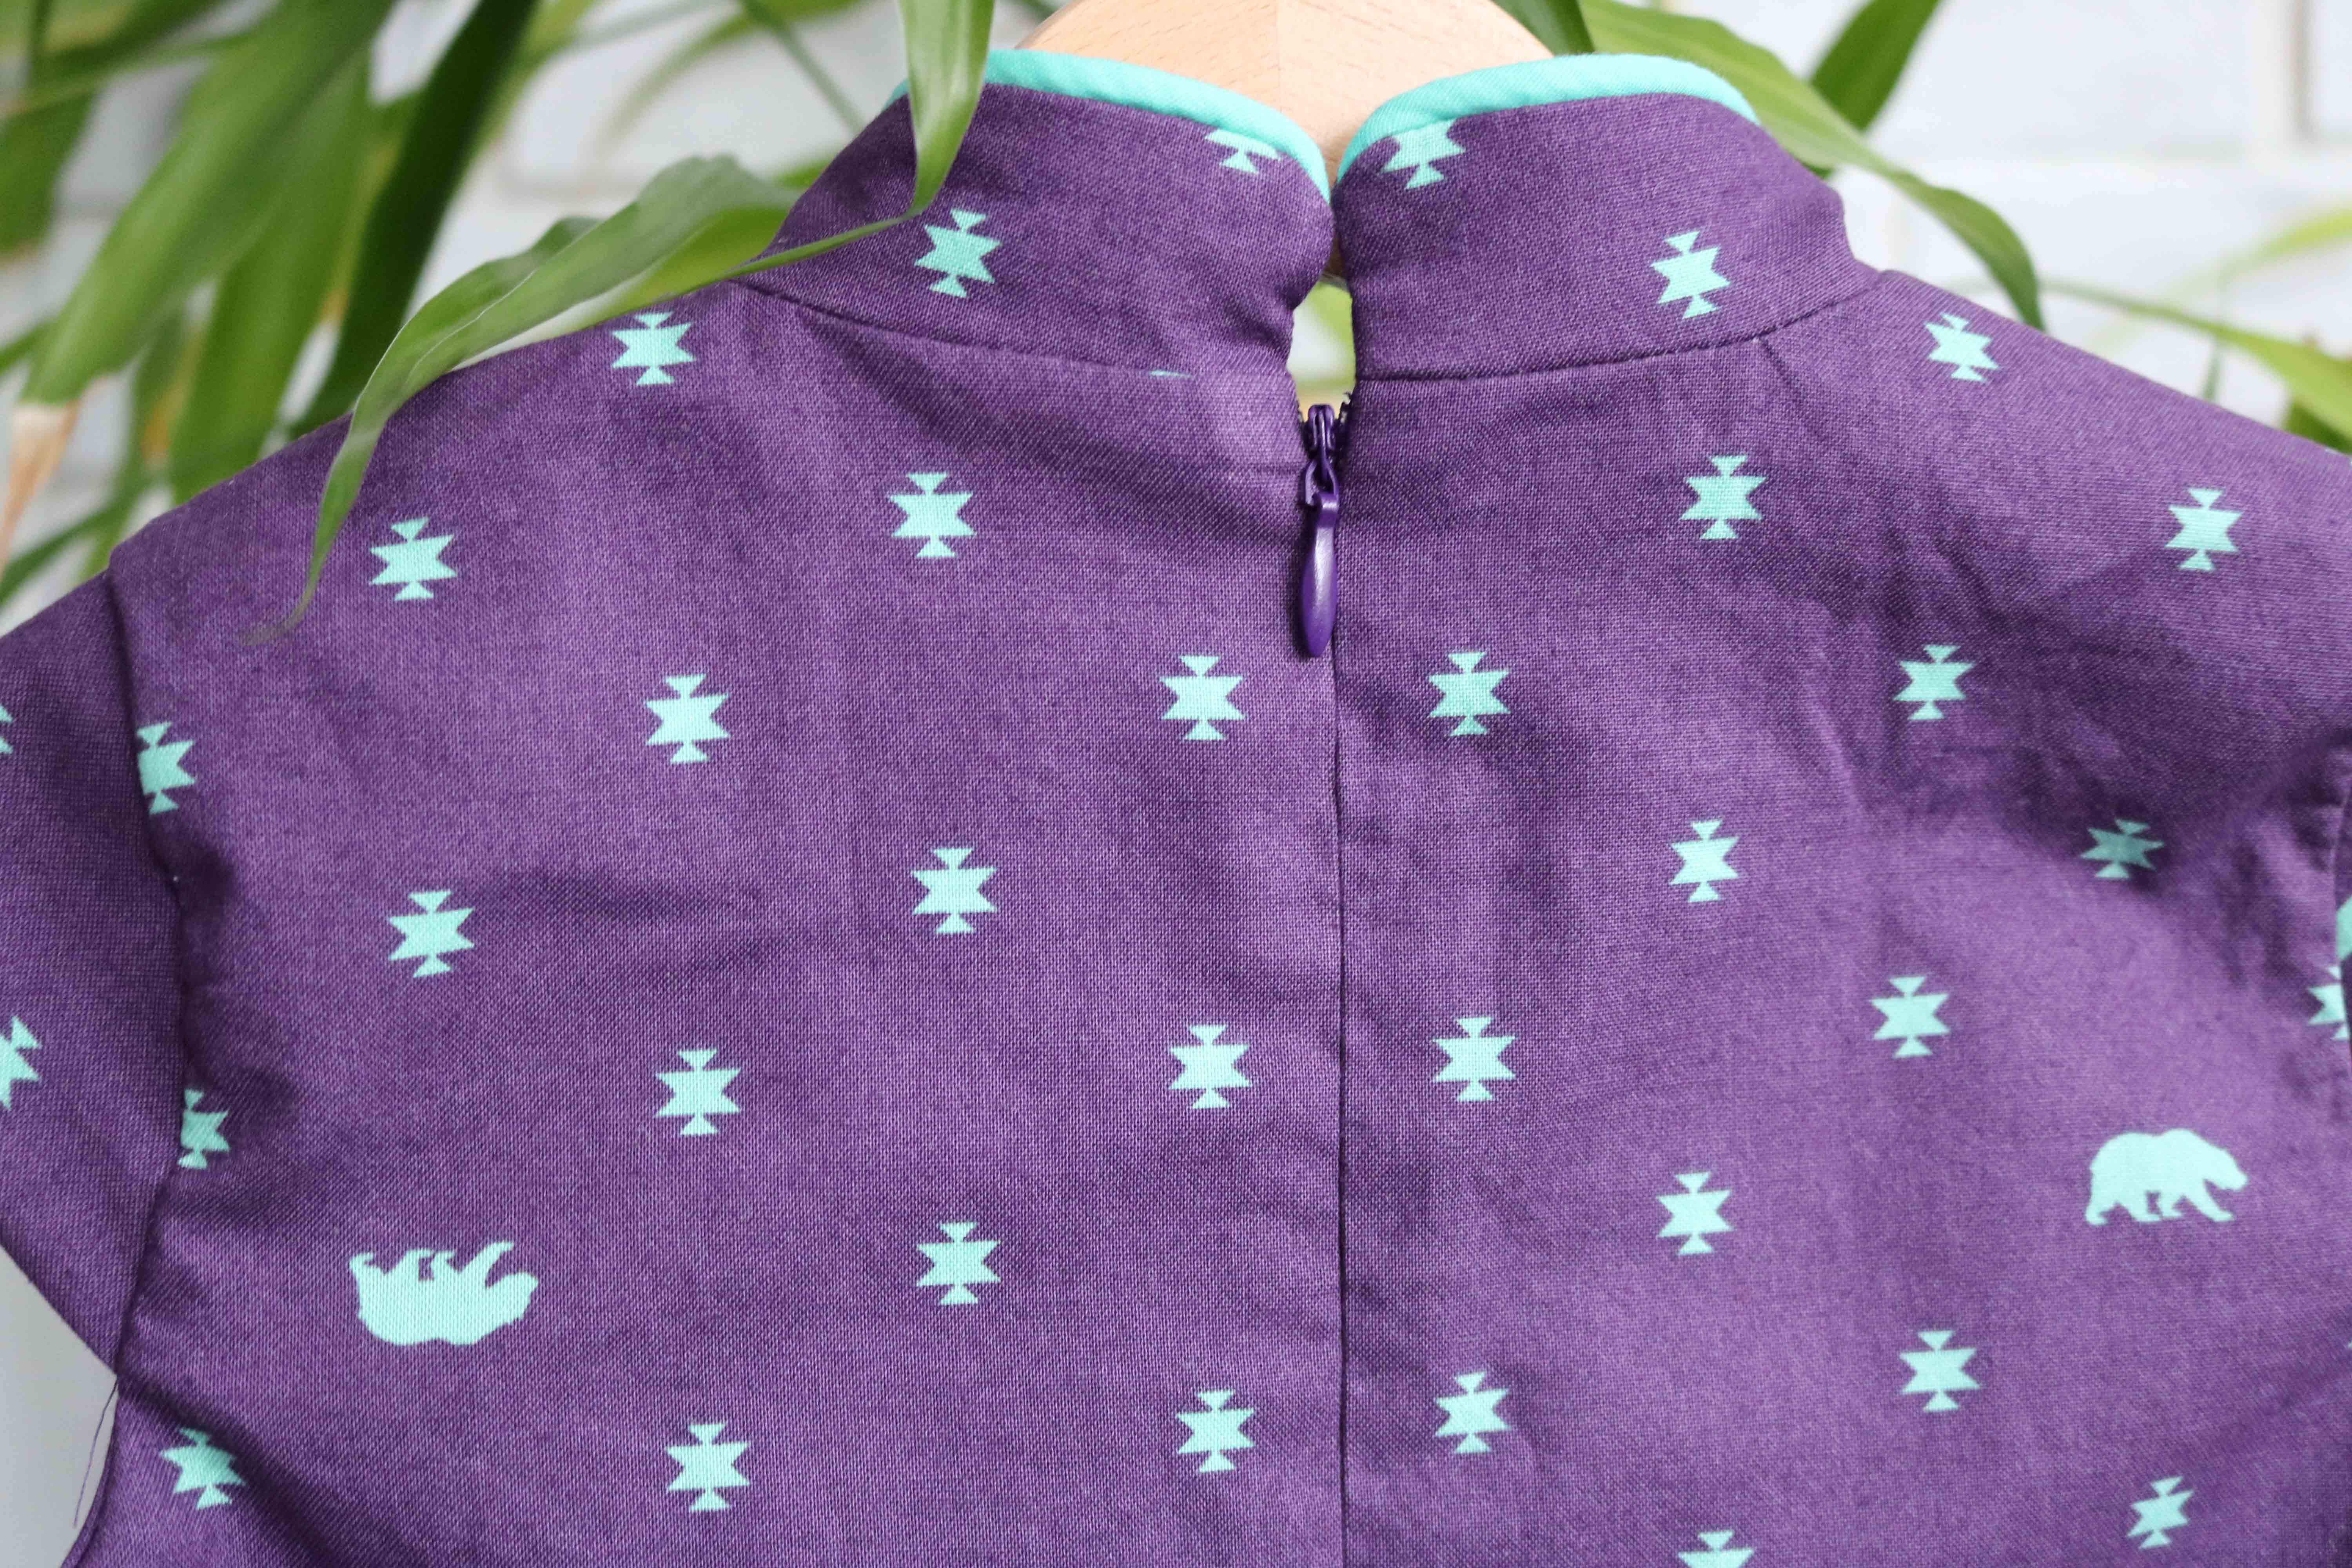
It’s been awhile since I had to insert an invisible zipper, but after a few seam rips, I was able to get pretty close even without a specialized foot.  I used my regular zipper foot and made sure to stitch slowly right in the zipper fold along the teeth.  My awl saved me through this step!

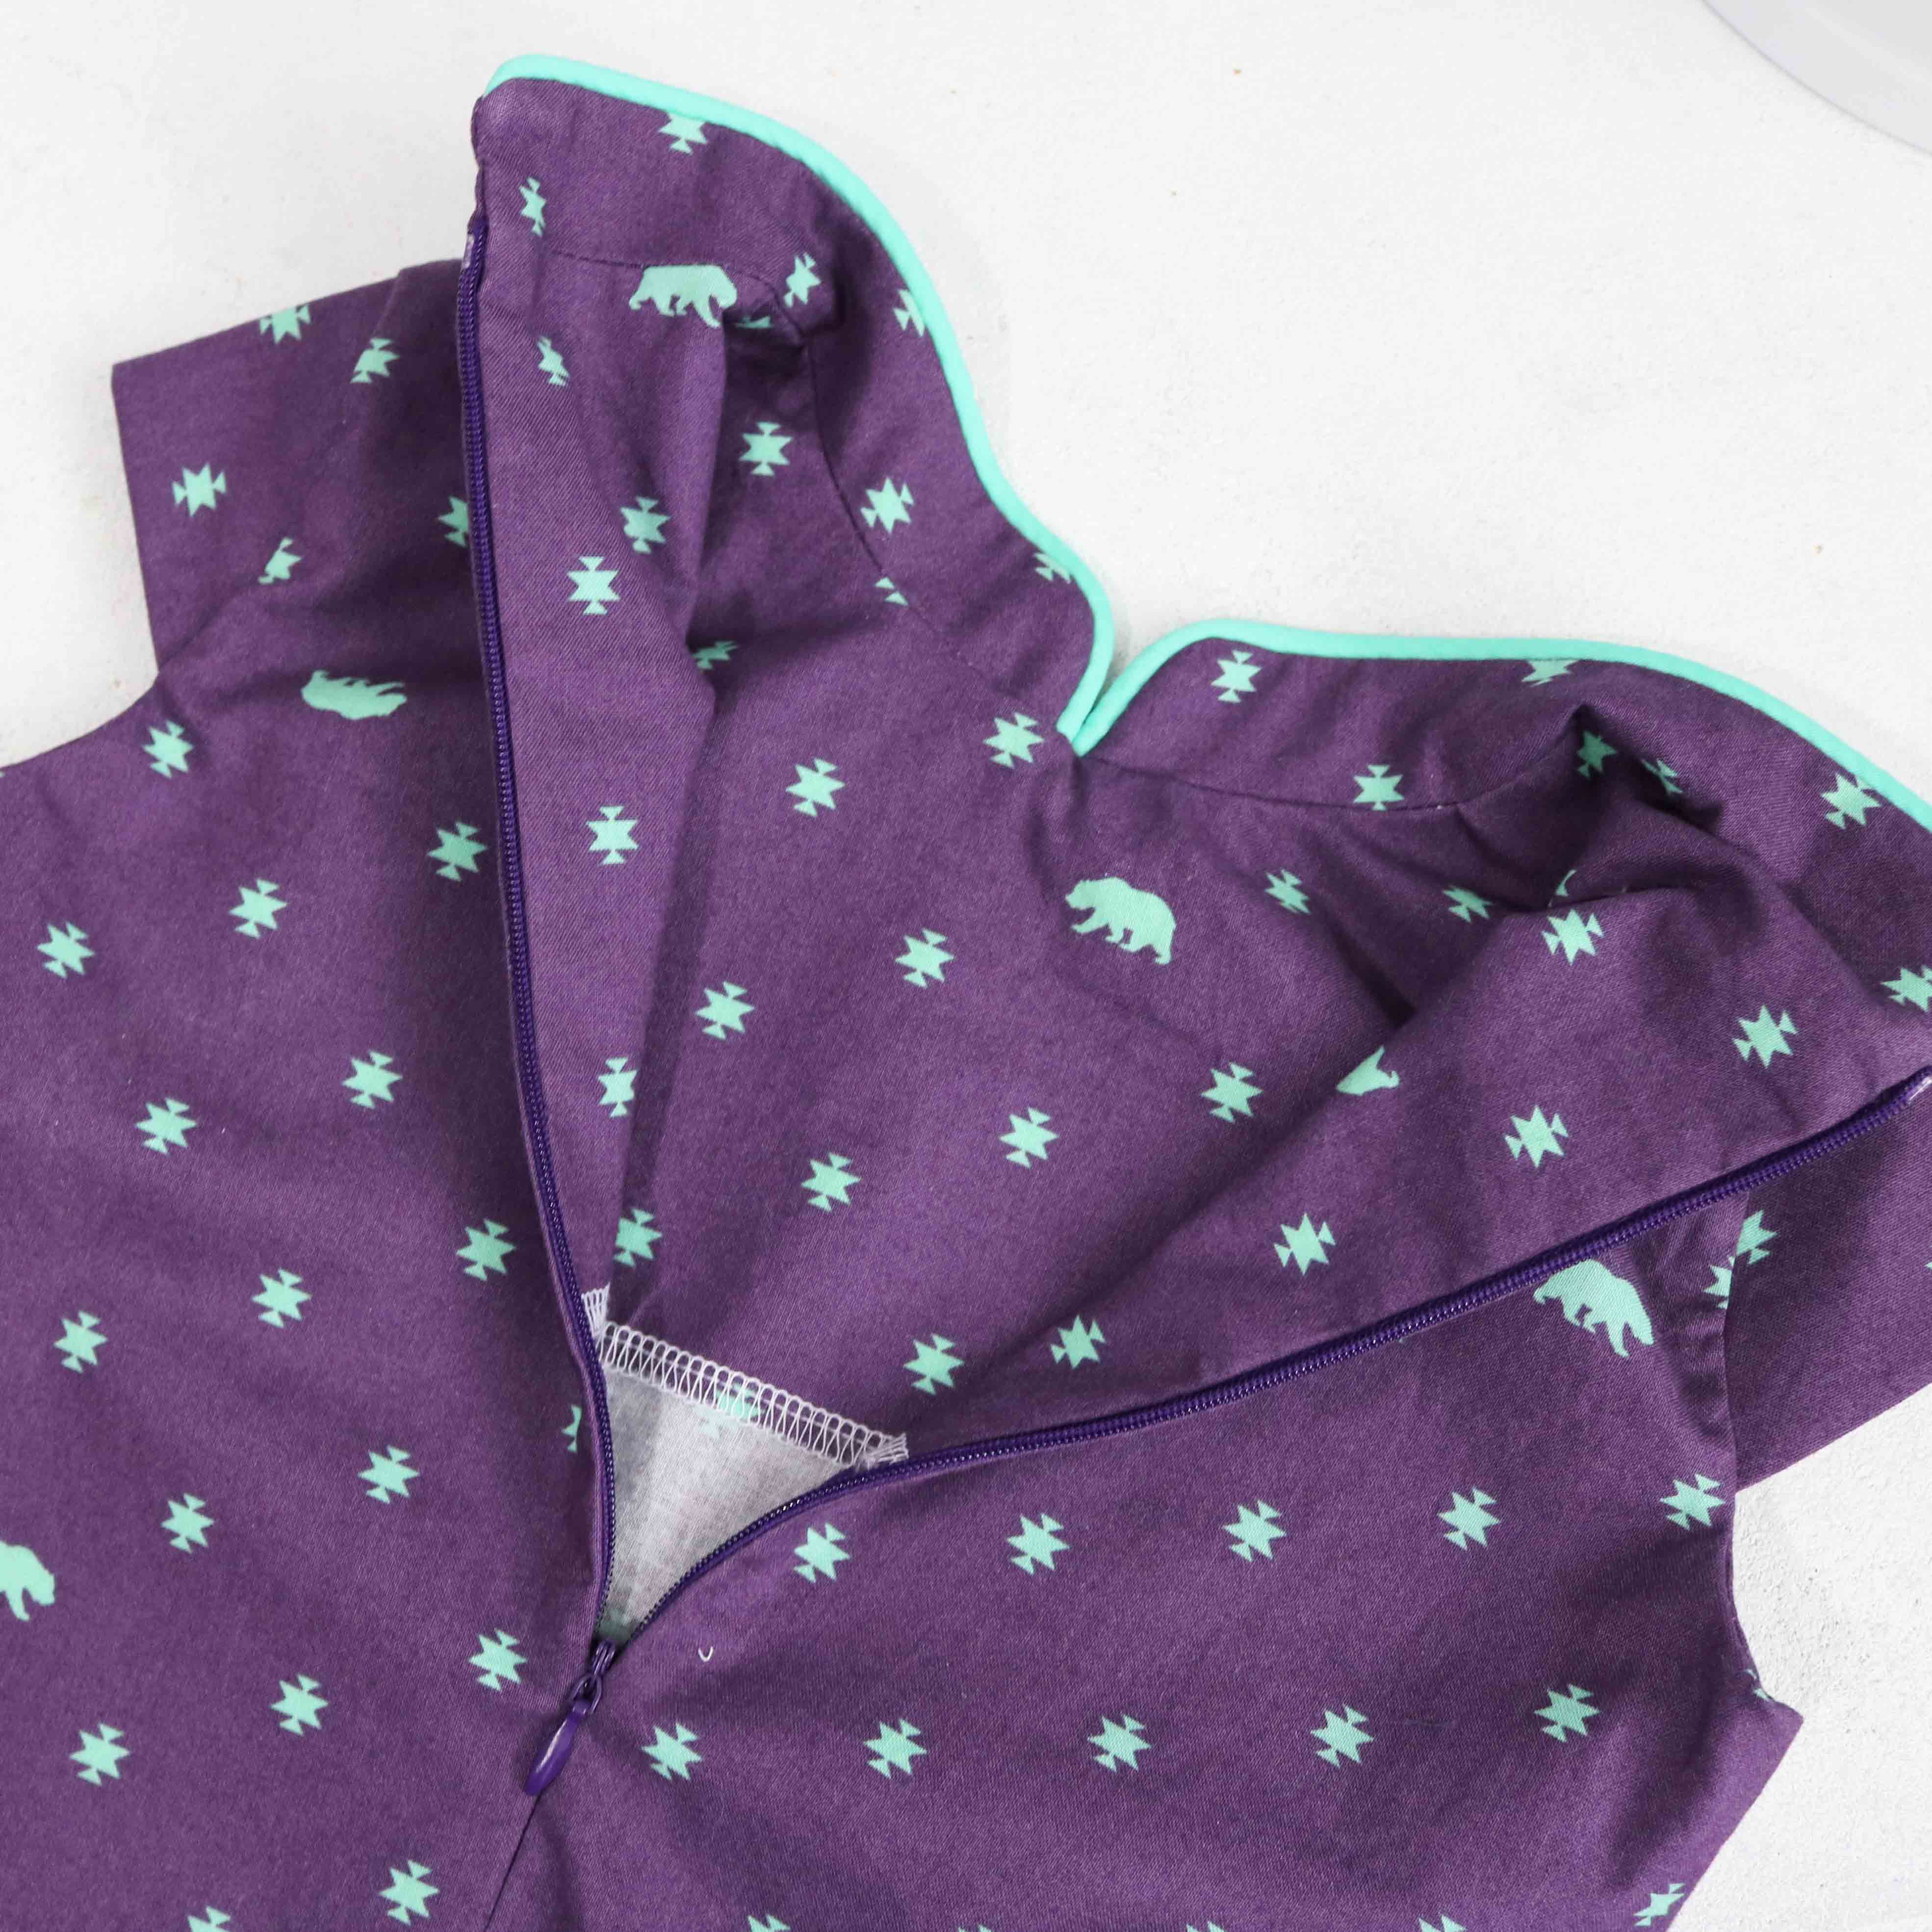
I know you all like to see the guts of my garments, so this is the inside lining of the Laure.  I serged the bottom ends and left most of the inside top seams raw after trimming them down with pinking shears.  The lining hides almost all the seams, so there is no need to serge them after sewing.


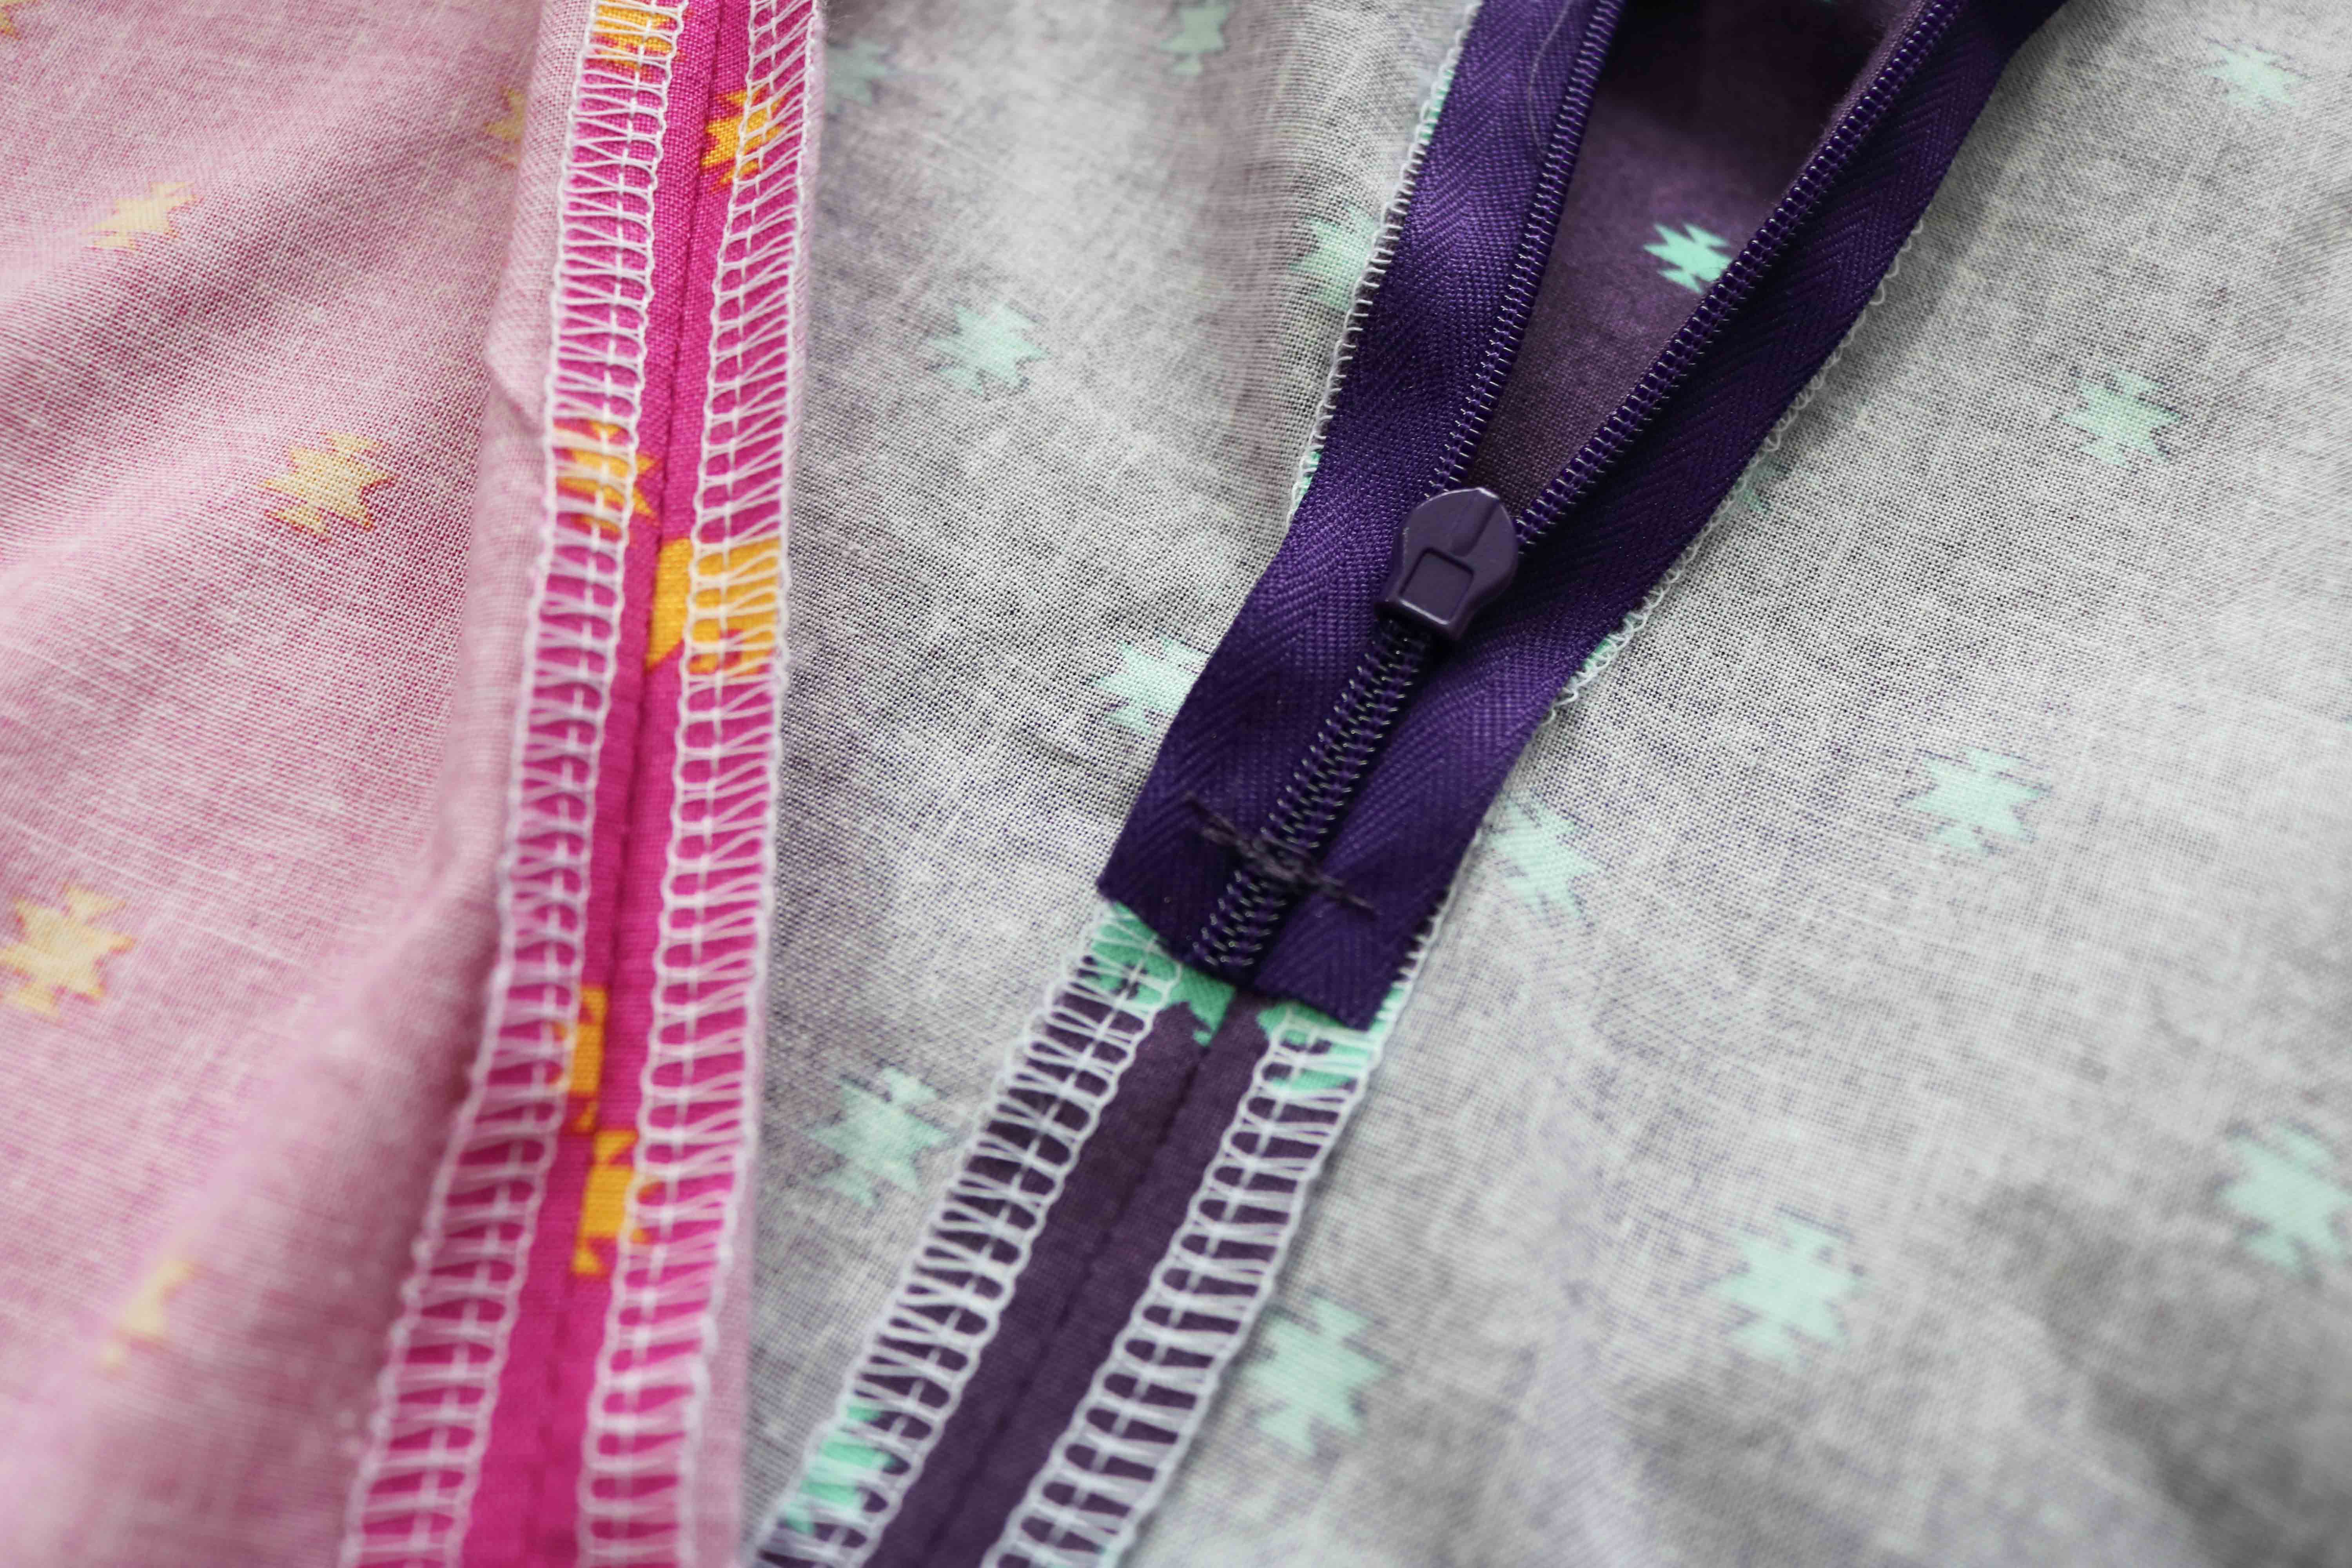
The only invisible zipper I could find was about 20″ and the pattern calls for 12″.  I sewed back and forth along the teeth at the 12″ mark and then cut the zipper 1/2″ below that.  To seal up the zipper tape so it doesn’t fray with wear, I use a lighter to flame it juuust until it melts.  You can use a seam sealant like fray check (aff link) if you aren’t comfortable using a lighter.

After giving the dress a final pressing, I secured the lining down by making a few stitches to the side seam allowance.  This helps the armscye stay straight and prevents the lining from flipping up with wear.

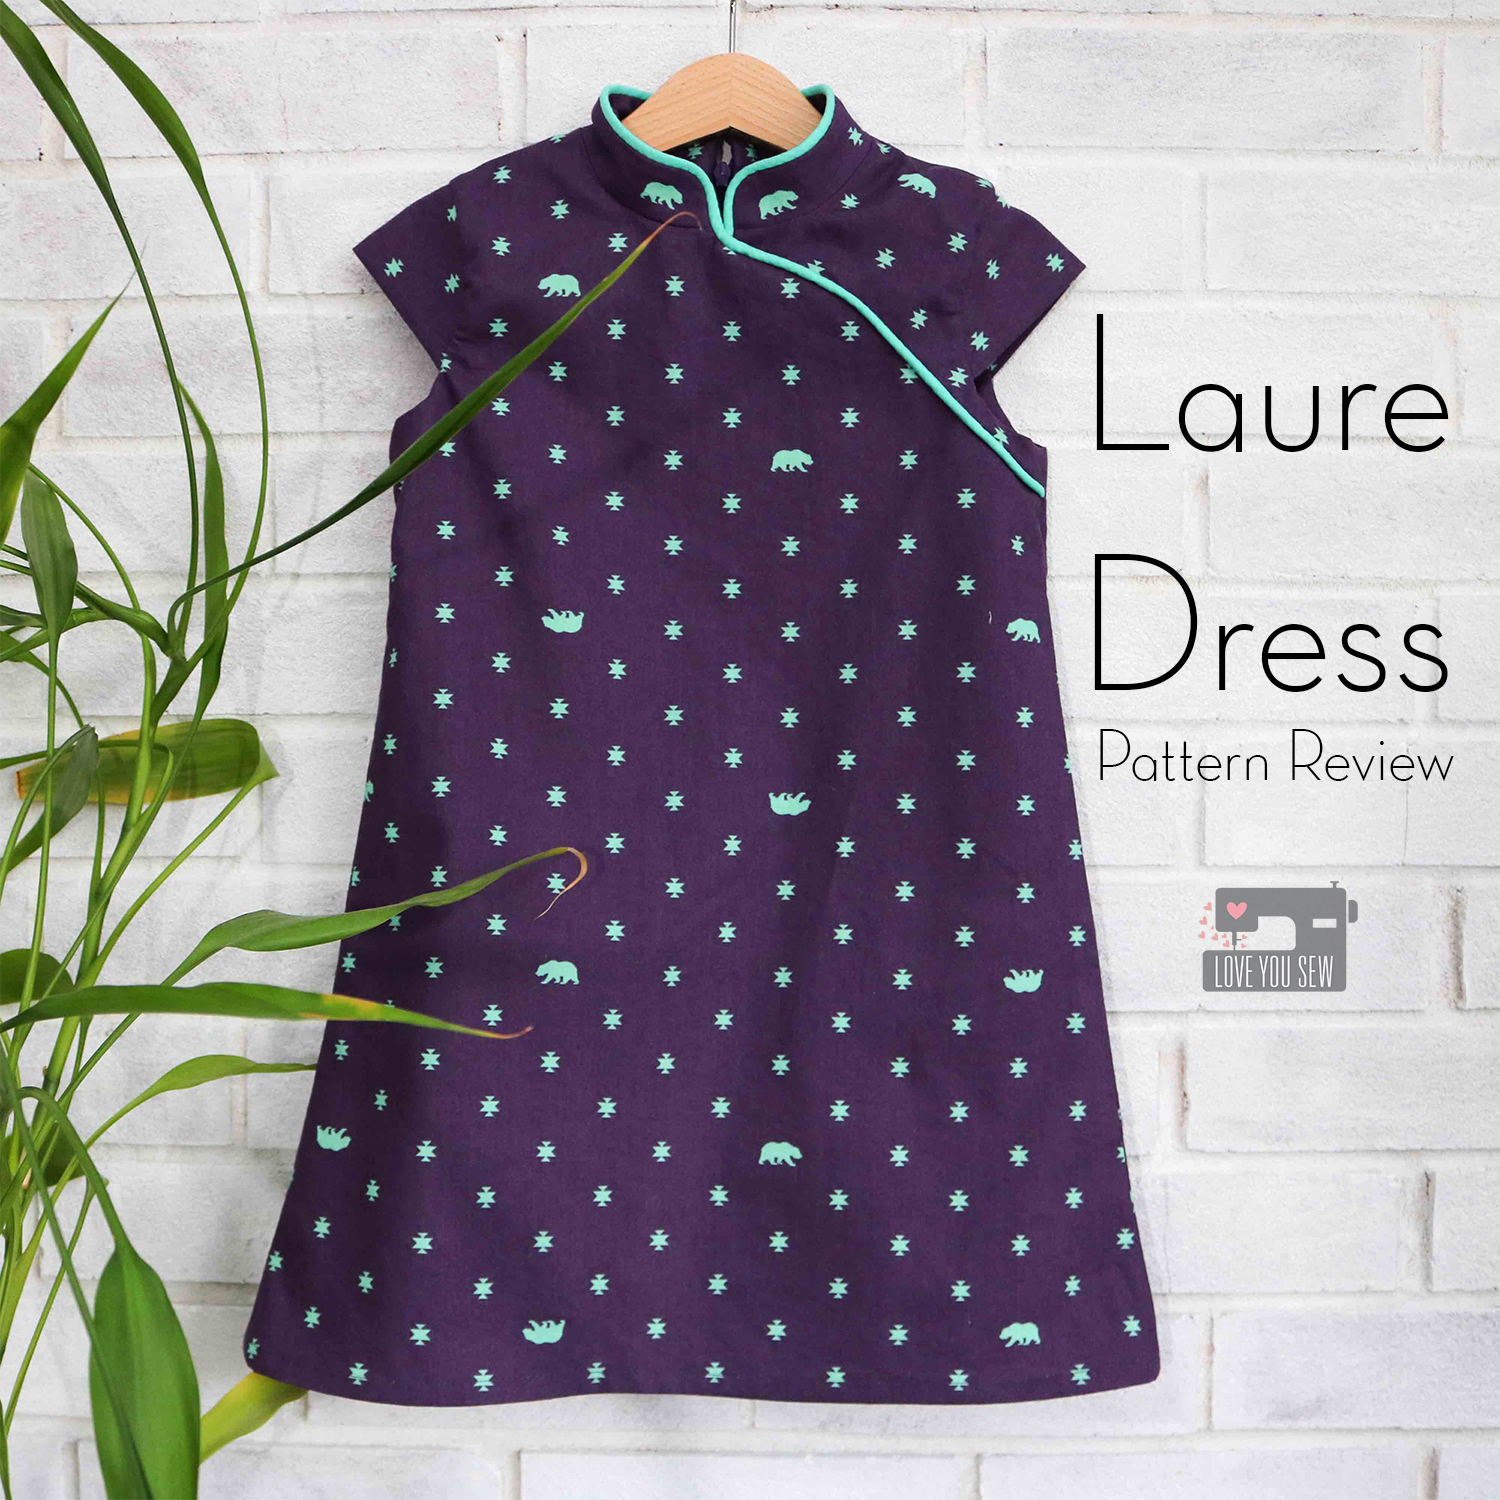
I love how the Quipao version of the Laure Dress came out and I can’t wait to make some of the other versions of this pattern. It comes with plenty of other neck, body and skirt options for more looks of the western world 😉  Check out the other options here.

Do you have any special cultural holidays or traditions you share with your family?  I love hearing about what they rest of the world does..tell me about them in the comments!


Happy Lunar New Year, Friends!

Cristy


Feliz Pattern Blog Tour

I love Straightgrain patterns.  That’s it…’just gonna put it out there.  You know I can’t stop making girls’ dresses and An’s designs are always at the top of my list.  She creates children’s garment patterns with beautiful clean lines and they are just so chic!  You can read about my previous Nova dress here

Straightgrain patterns always includes several variations to give you a number of different styles and the Feliz is not different. You can choose from a PDF or paper pattern from her online store here.  With the pattern, you can make a tunic or dress with 6 different sleeve options, two different back closures, and two different skirts.  It’s great to get so much versatility out of one pattern and I think An’s are a great value for all which she provides.

Of course, I picked the dress version. I make all my dresses as gifts (since I’m a boy mom) and dresses count as a full outfit 🙂 It makes me happy to work on a tiny garments (purely because of the cute factor) and my nieces are happy to get some custom clothes.

Did you see the flutter sleeve options?  SO cute!!! The soft waves are so feminine and really soften out this silhouette. It was hard for me to choose between the narrow and wide options. But I settled on the wider for just a little more arm coverage.

With the back of the Feliz dress, I knew I wanted to make a button closure. But instead of buttons, I used KAM snaps. I have quite a collection in my stash and they make for very quick dressing and undressing.


I happened to have Cotton and Steel’s yarn dyed gingham in Sky and was able to make this dress with just one yard of it!  There wasn’t enough left for lining, but Kona Snow worked in perfectly.  I’m so glad I saved the fabric from becoming a scarf (like I initially planned) because the Feliz is just the such a darling pattern and pairs well with this sweet fabric.

I think my model agrees! She would not take off this dress after our photo shoot.  Can you blame her at all?  I’m thinking I need some gingham love in my wardrobe soon…

The sizing is spot on with this pattern.  My model is a 3T for length, but is still pretty slim, so the 2T fit her well…and of course, I pre-washed all the fabric so there is no surprise shrinkage.  The dress hits her at just the right spot on the knees and is the perfect for some playtime!


I like the lift on the sleeves with a woven fabric.  It adds a little more drama 🙂  But if you used something lighter, like a double-gauze, it would be more draped.

I really love the versatility of this pattern and can’t wait to make a few more!  What combo would you make?

If you need even more Feliz eye-candy, please check out #felizpattern on social media and visit all the bloggers part of the blog tour:

Happy Sewing Friends!
Cristy

Nova Pattern – Blog Tour

Sewing up little girls clothing is one of my favorite things to do.  I don’t have any girls of my own, but I love making them for my nieces and close friends. It’s such a nice change of pace from all the boy patterns I use and I do love “the twirl” when one of my recipients puts on her dress for the first time.  It just fills my heart!

When I make the plunge to purchase a girl’s garment pattern, it has to be versatile and timeless.  I don’t make them as often as other things and I need them to go with all different fabrics.  That’s exactly the style of Nova by Straightgrain Patterns.   It’s a beautiful no-fuss, clean design with lots of options.  The sizes go from 3m – 12 years too…Now that’s what I’m talking about!

The Nova pattern is available in both PDF and paper forms. I’m a paper person, myself, and love the color coded sizing. Many authors will give you color in the PDF but not the paper, so that was a nice surprise to find.  The pattern is also written in both English and Dutch (for any of my Danish friends out there!)

Nova consists of a classic A-line silhouette for woven fabrics.  You can change up the sleeves, the length, back closure, and even collar for a number of different looks. But what makes this pattern really special, are the pleating variations on the front and the back!  All the different pleats are just so amazing and I’m all about that extra texture!

When I received the pattern, I knew the double panel print from Magic! by Sarah Jane was going to be perfect. The parade of magical creatures is so whimsical and such a sweet look at childhood.  The simple solid pink background would really show off that honeycomb smocking.

Speaking of…can you believe this was my first time making the honeycombs?  I did have to read and re-read the instructions a few times to wrap my head around the concept.  But luckily, An had a number of great pictures AND a video tutorial to help this newbie.  I made sure to evenly mark my seams, sewed slowly for nice even pleats, and pressed well for a defined shape.  Gold thread really helped to highlight the technique and brings out the metallic details in the fabric.

With the honeycomb detail, I kept the sleeves simple with the cap option. It gives such a nice clean style and the dress can be put on and taken off easily too.

For the back, I opted for the ribbon closure. The fabric is just so sweet that only a bow could work IMO.  I was debating back and forth with ribbon color and settled on a shade that was darker than the body of the dress, but picked up in the print.  It gives the dress some balance and brings your eye up to that keyhole detail.

The Nova was SUCH a fun make. It helped to stretch my comfort level and I learned a new skill in the process…which wasn’t as hard as initially thought! This is another reason I enjoy making little girl dresses. It’s nice to work on my garment skills on a smaller scale…and for a less discriminating audience. Haha.

Project Details:

Make sure to also follow Straightgrain Patterns on Instagram for more inspiration and tutorials to help you along the way.  #novapattern #straightgrainpatterns


Check out the other participants in the Nova tour:

Sisko by MiekeBel’EtoileZowiewo Petrol & Mintsewpony Fairies, Bubbles & Co
Elizabeth LittleMaker Mountain FabricsBetter Dressed Child Just Add FabricMy Petite Sophie
Frances SuzanneI Sew BlancheLily & WoodyMy Minnie Mie
Love You Sew (you are here)- Thread Riding HoodAriane Blog


The Nova pattern was provided by Straightgrain Patterns as part of the blog tour.  All thoughts and opinions are honest and my very own.  

This post contains affiliate links under Project Details