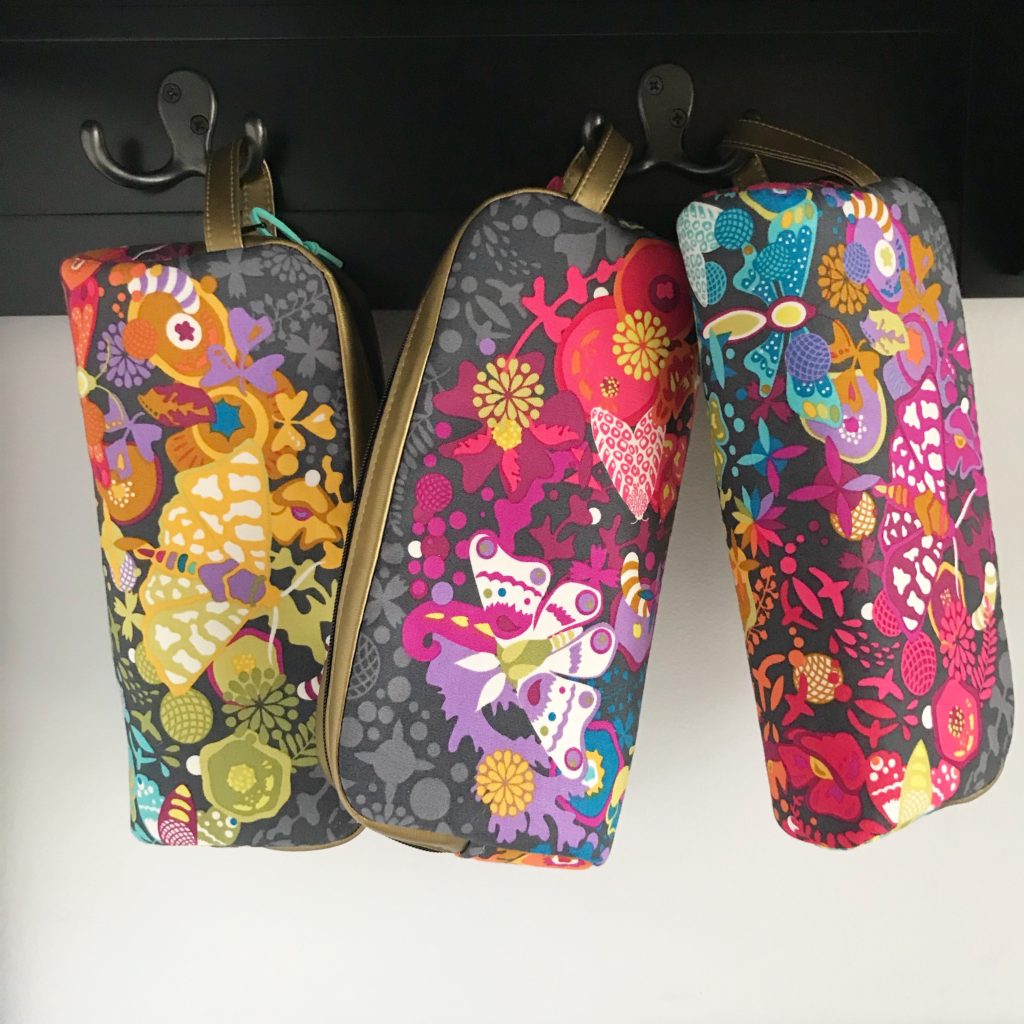
Introducing The Christine Sling Pattern

The Christine Sling is definitely the bag I’ve worked on for the longest time.  For many reasons, the development would keep getting pushed, but I always knew it would have some kind of compact cross-body silhouette.  This bag first started off as a very slim phone holder, but with the passing of time, phones kept getting bigger and styles kept changing.  But when bags were being worn more across the chest and mid-back, I knew the sling had to be re-tooled a bit.  I made her a little larger than just a phone holder but still small enough for life on the go.

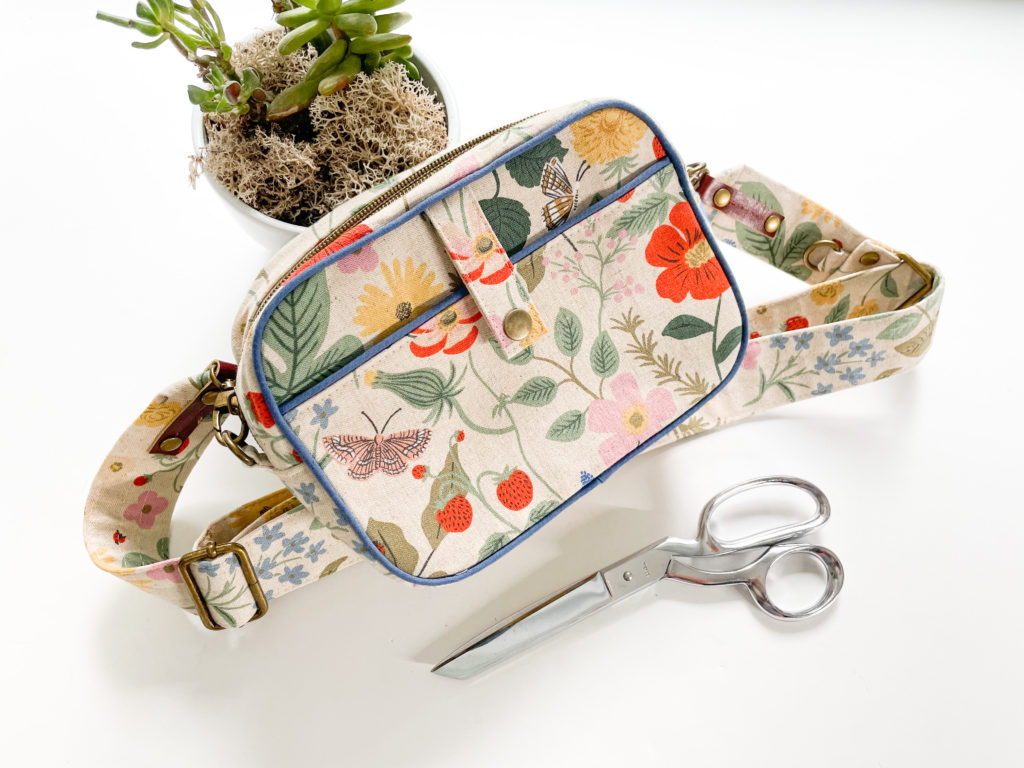
View B with added Piping

Inspiration

View A with rivet embellishments

With the slowly world opening back up with COVID-19, I knew I still wanted to have a small bag  to run in and out of stores quickly.  But now, our essentials of keys-wallet-cell phones have expanded to include masks and lots of sanitizer.  The depth of the bag had to expand with our needs.
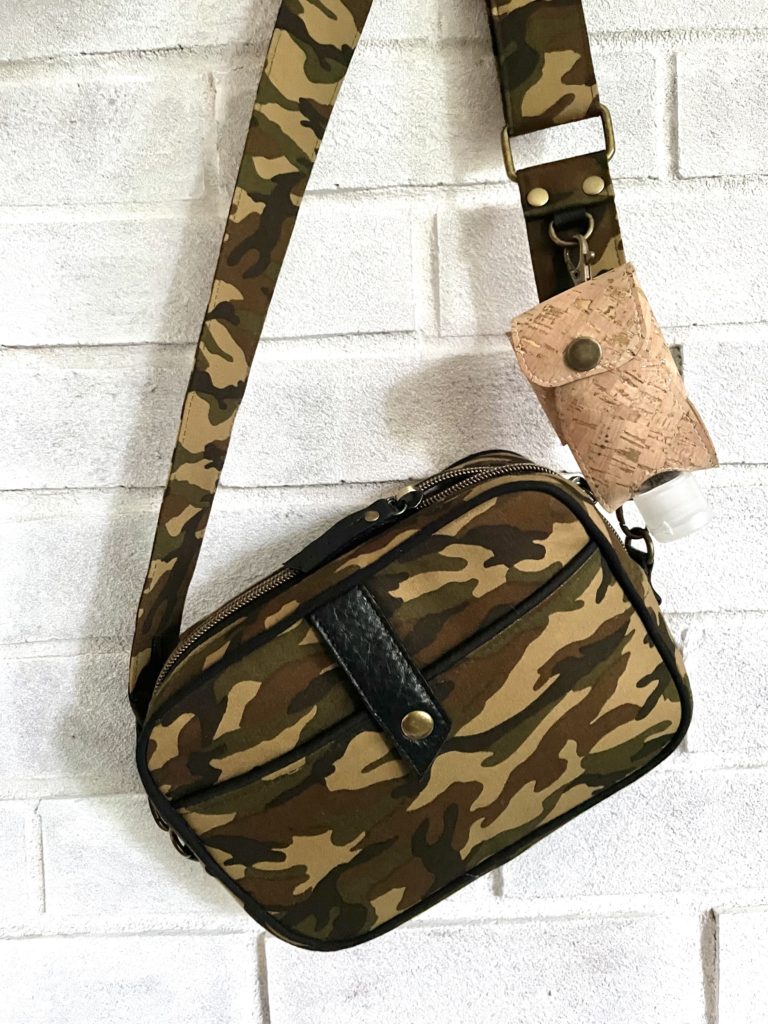
View A with angled tab

On top of this, belt bags are definitely sticking around and I just love the sling look — especially with the accessory strap.  All of my bag patterns teach a different way to make/use a strap and this pattern is no exception.  With everyone using their phones and earbuds, I wanted to keep a quick pocket to hold a phone and the accessory strap to hold a Tiny Sophia Bag with either earbuds or that sanitizer!

Namesake
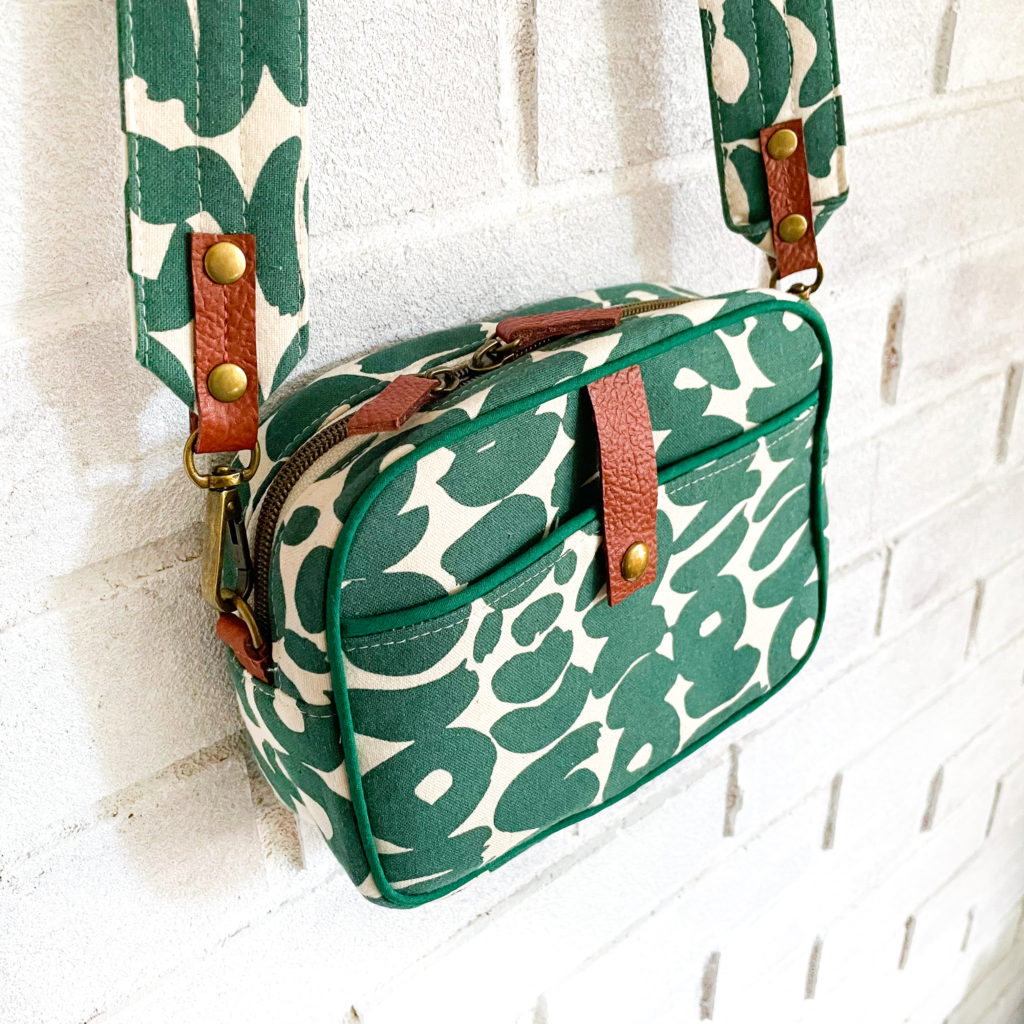
View A

As with all of my bags designs, they are named after my nieces.  Early on, I knew that Christine’s bag would always be a sling.  One – because it works with her name so well!  And two – when I started designing her bag, she was still in college.  I wanted to design a bag that could be a part of that care-free lifestyle while still being modern and on-trend.  That bag would also HAVE to  work with a busy lifestyle (Christine is also a nurse!) yet, would always be fun and cute like her <3  This bag is a perfect representation of my super funny and incredibly caring Christine.

Features
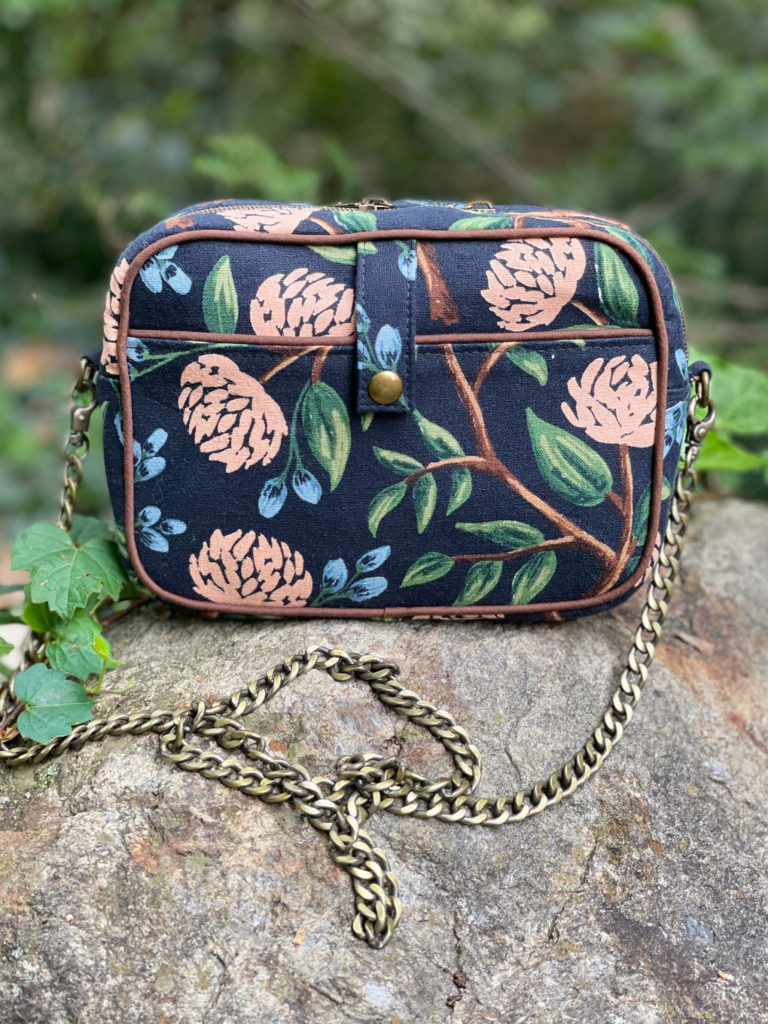
View A with chain strap

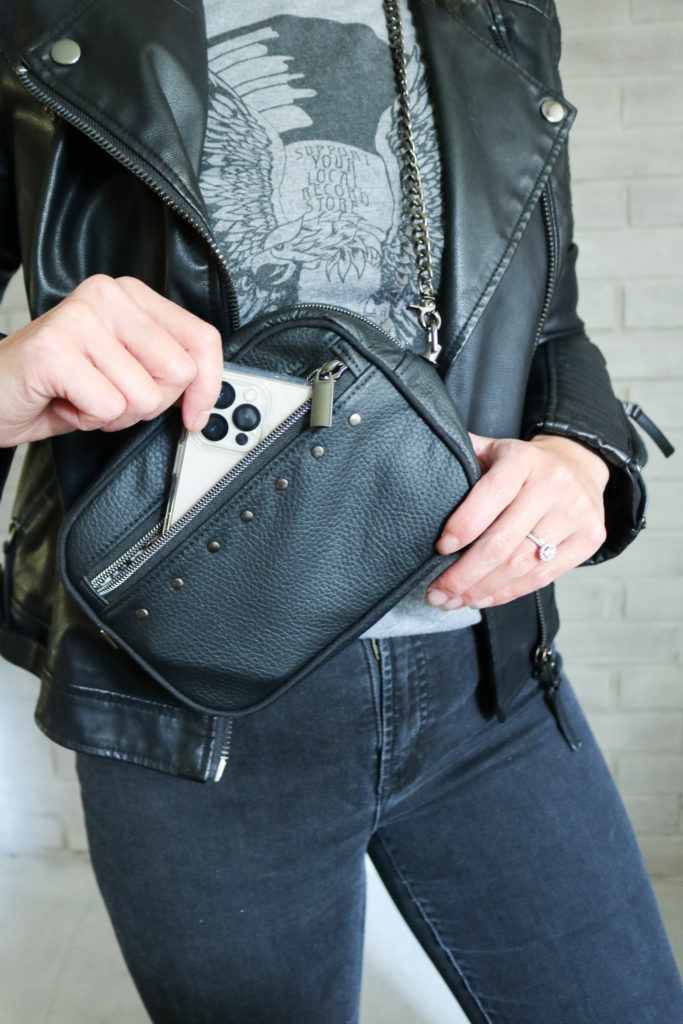
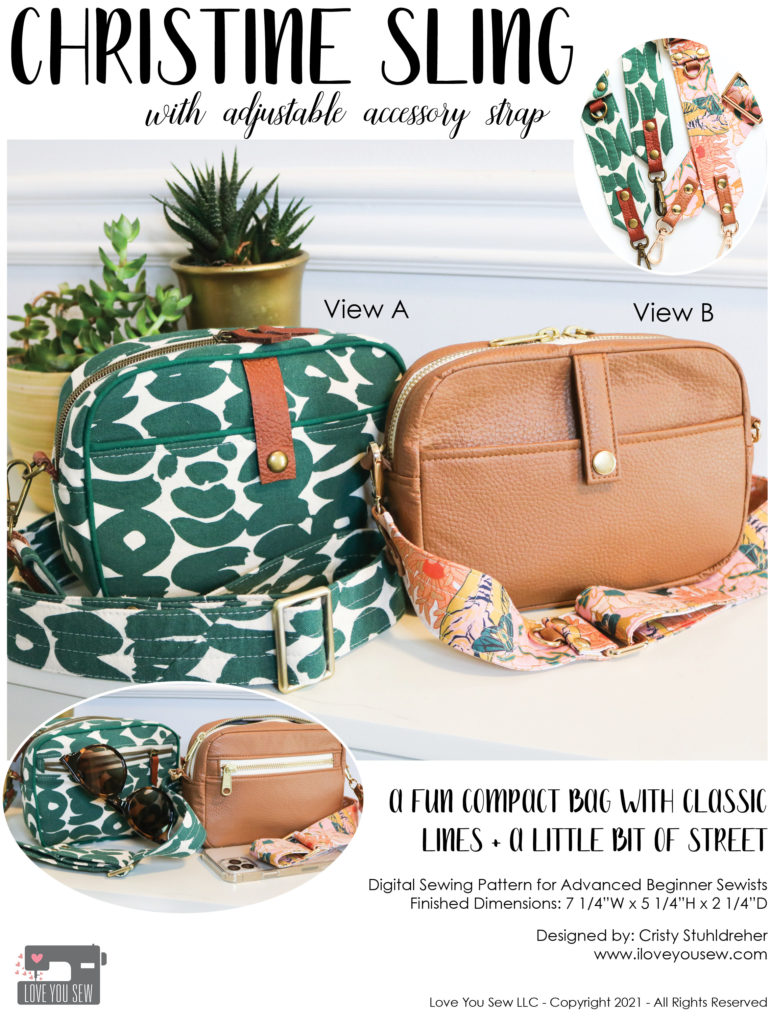
The Christine Sling is a small compact bag perfect for everyday.  It follows what I love in bag design — simple, clean lines with versatile styling and a modern twist.  As the “Sling” part of the name entails, this bag is meant to be worn across the chest or swung around the mid-back.  However, with a quick change of the accessory strap, the Christine can go to a full cross-body or even as a belt bag with adjusted length.  I am ALL about bag versatility!

  • Two Views – This bag includes instructions for two separate views.  View A includes piping and accent fabric for some fun raw-edge contrasting looks.  View B uses the same main fabric throughout for a sleeker look and comes together very quickly without the piping. 
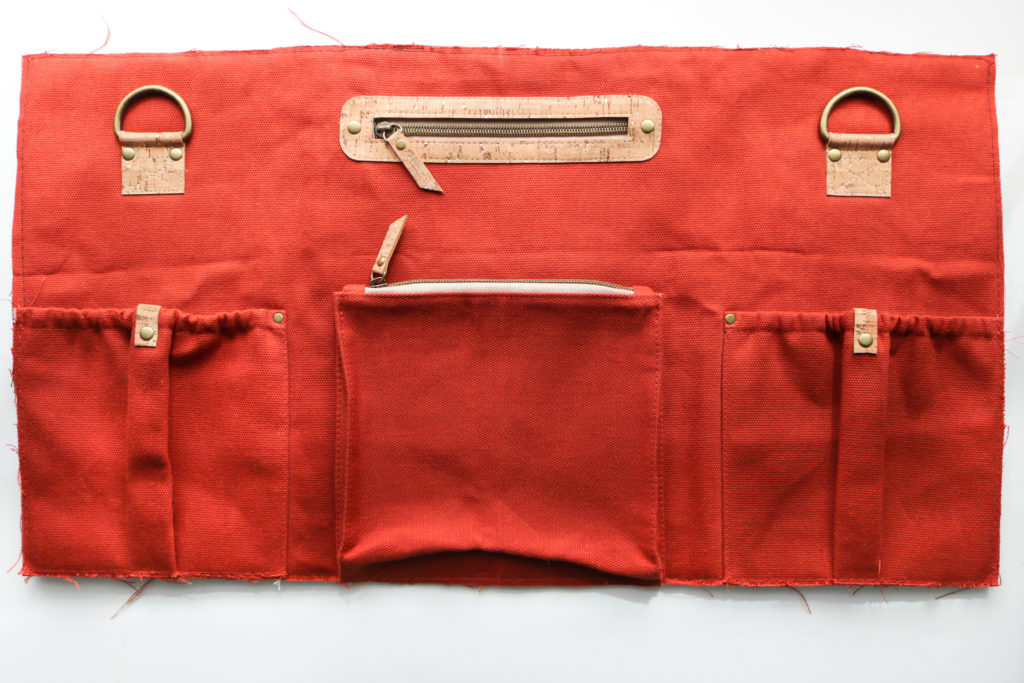
  • Pockets – Both views have zipper and slip pockets which are the same for the exterior and the lining.  They are the perfect size to keep your phone or keys accessible. You can even omit the pockets altogether on the exterior for a classic look or double up the zipper pockets for extra security. 
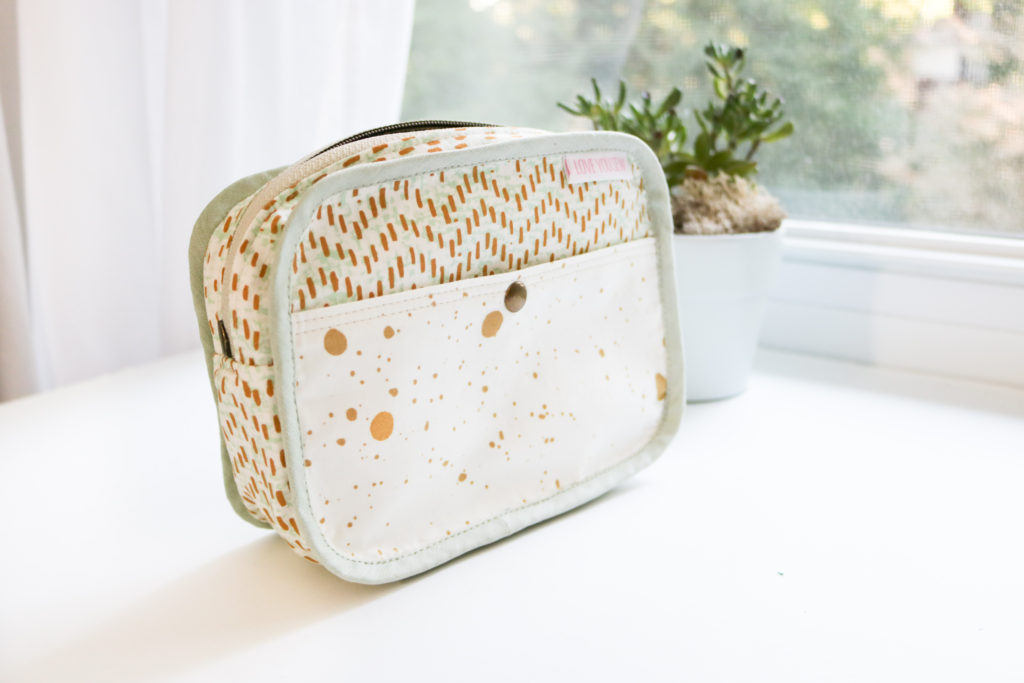
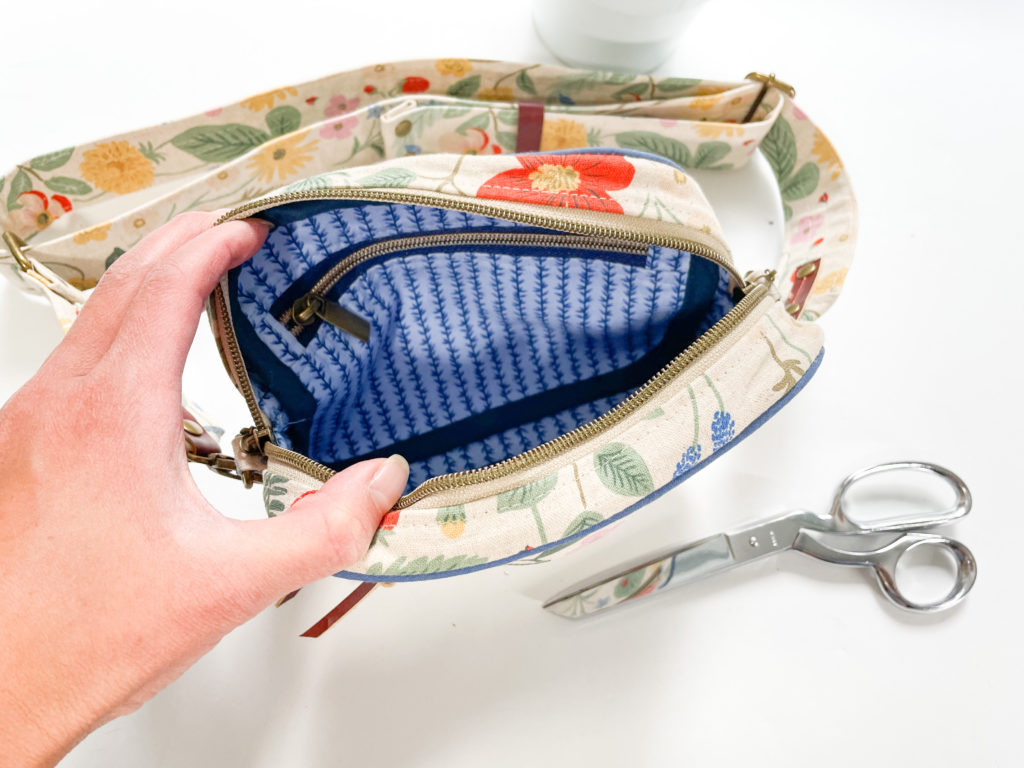
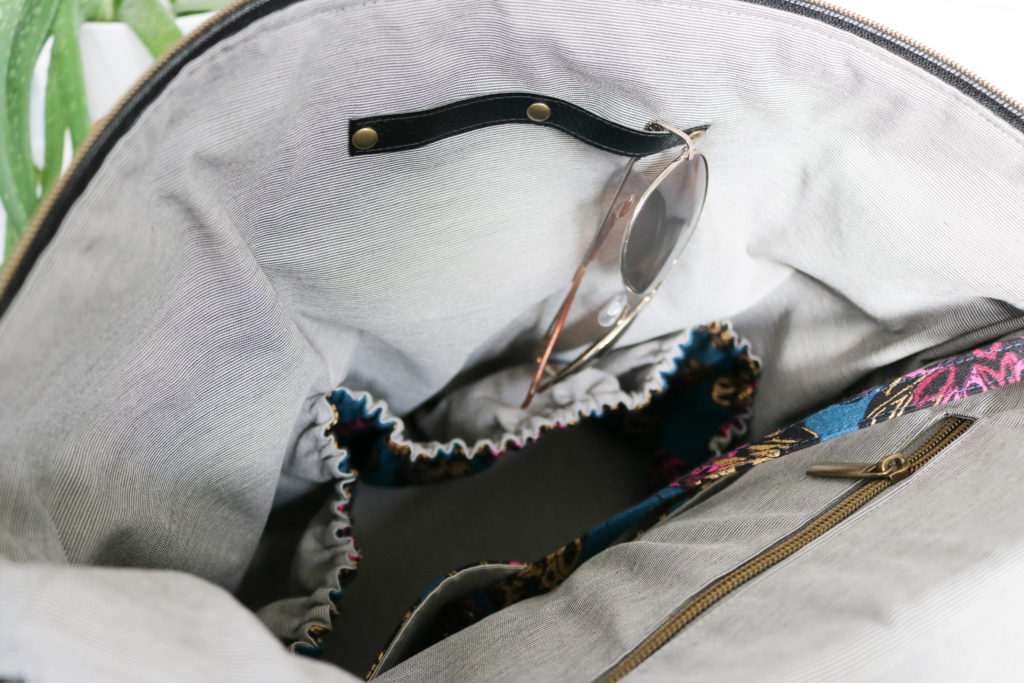
View A inside out

  • Lining –  The lining uses bias tape to keep seams clean while also providing extra structure.
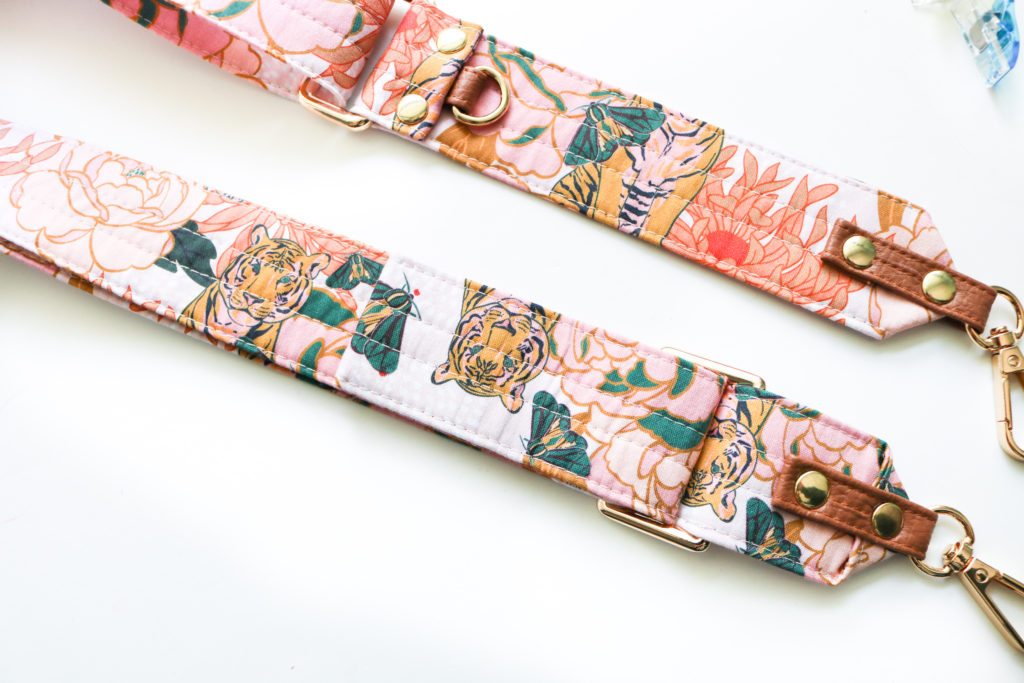
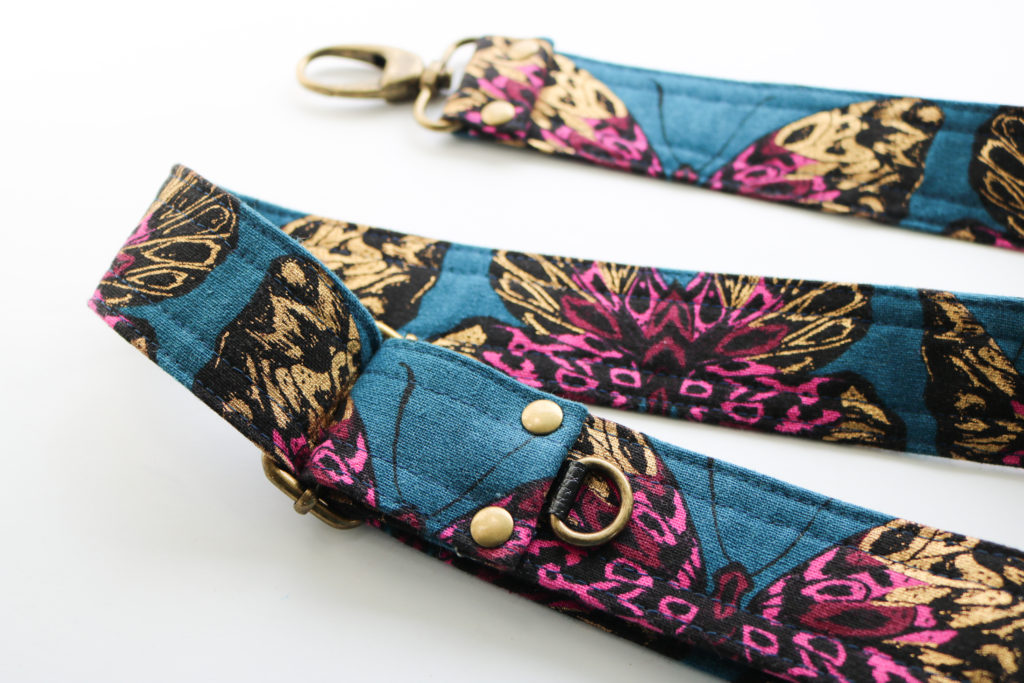
View B Strap

  • Strap -Both views also include a wide accessory strap for comfort and a D-ring to hold your ear pods or sunglasses. Use contrasting fabric or even some pre-made webbing for a fashionable statement strap!
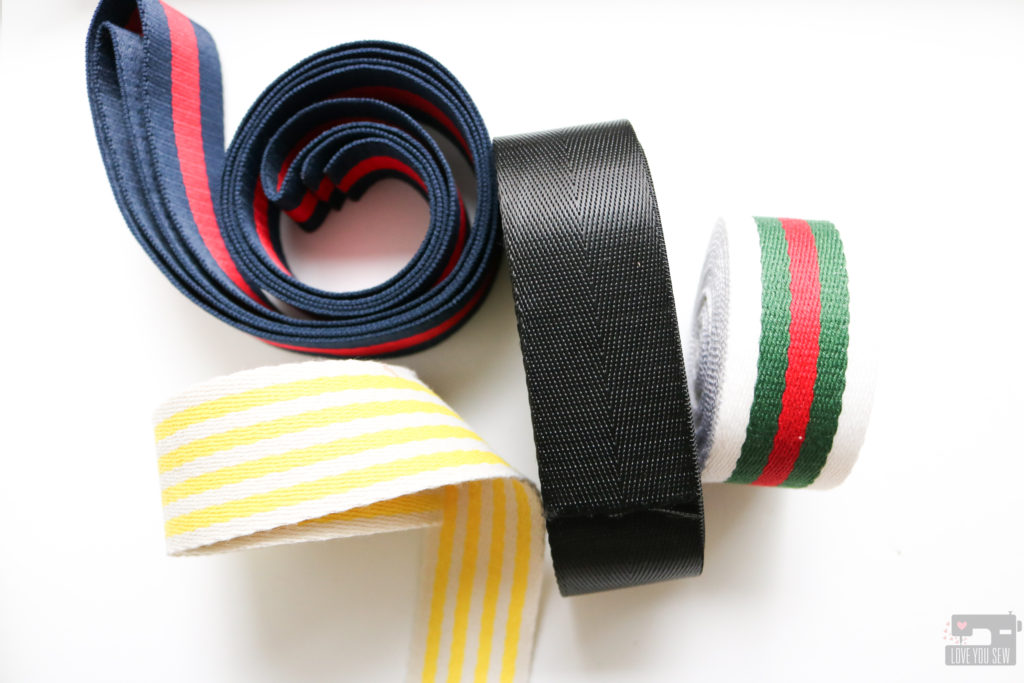
Assorted Webbings


Fabric
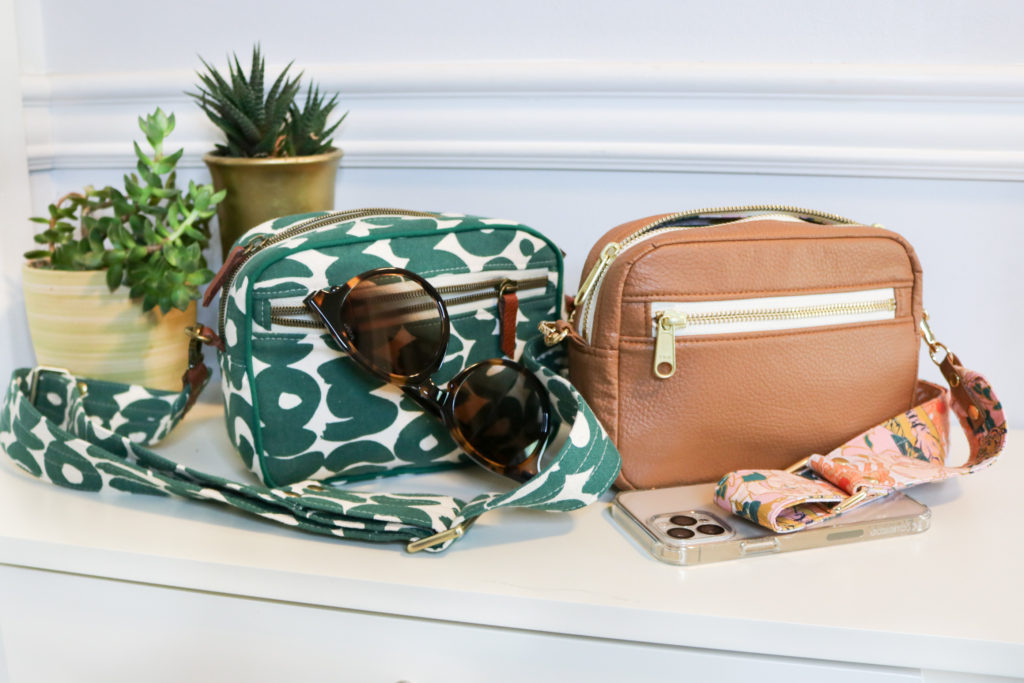
View A + View B

Fabric Requirements:

  • 3/4 yd Main Fabric
  • 1/2 yd  Lining Fabric 
  • Scrap Accent Fabric
  • 2 1/2 yd  Woven Interfacing (e.g. Pellon SF101)  
  • 1/2 yd  Firm Stabilizer (e.g. Vilene or Pellon Decovil light)

This pattern is written for home decor and/or bottom-weight fabrics such as canvas, duck cloth, and denim with weights of ~ 6 oz per square yard or more. The lining is based on quilt cotton and any other fabric with the same weight (~4 oz) can be used such as linen, chambray and twill.  The accent fabric in View A is intended to be left with a raw edge, allowing you to use leather, suede, vinyl, cork or another non-fraying substrate.  This allows you to add some high-end details to elevate your bag.

In my samples bags for the pattern, I used Kokka canvas and Art Gallery Fabrics quilt cottons as my lining and bias tape for View A.  For View B, I used faux leather from BigZ Fabrics.  I like the thickness of this for bag making with pliability and it’s the same product I used for the Megan Bucket Bag.  The interior lining for View B is from Teresa Chan and I’m a big fan of her designs. Be on the lookout for many future projects with her fabrics 😉
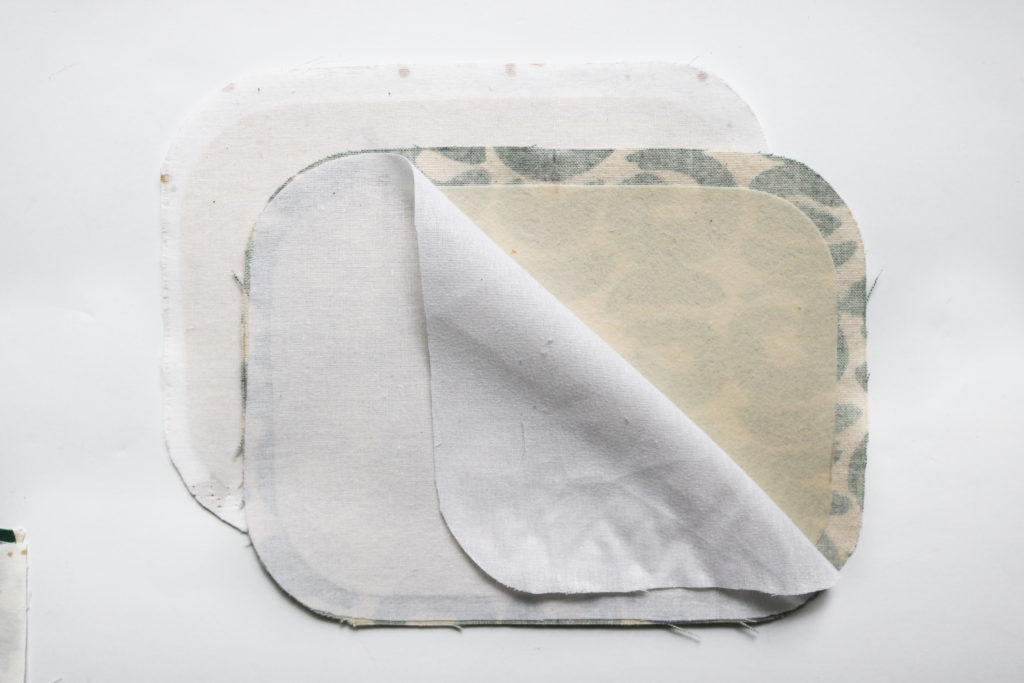
I feel a little behind on the times, but I finally got the chance to try out some interfacing I bought from a little while ago*.  Let me tell you, this stuff is A-MAZING.  I used Vilene Decovil light (which is similar to Pellon Decovil.)  Let me tell you, the quality and adhesion is really nice.  I’m definitely a fan from the jump-off and have already ordered more!  But if you can only get material from the big box stores, Pellon products are fine but they won’t have as much structure and strong fusing as these other interfacings.  I say all of this, but it’s all to your own preference.   Always make sure to test other interfacing mixes with fabric swatches to see what you like before cutting.

*You know I always love to share where I source products, but it has recently come to light (11/2021) that this interfacing business has some polarizing views which I do not support in any way.  I have deleted mention of them from this post.

Hardware

Requirements:

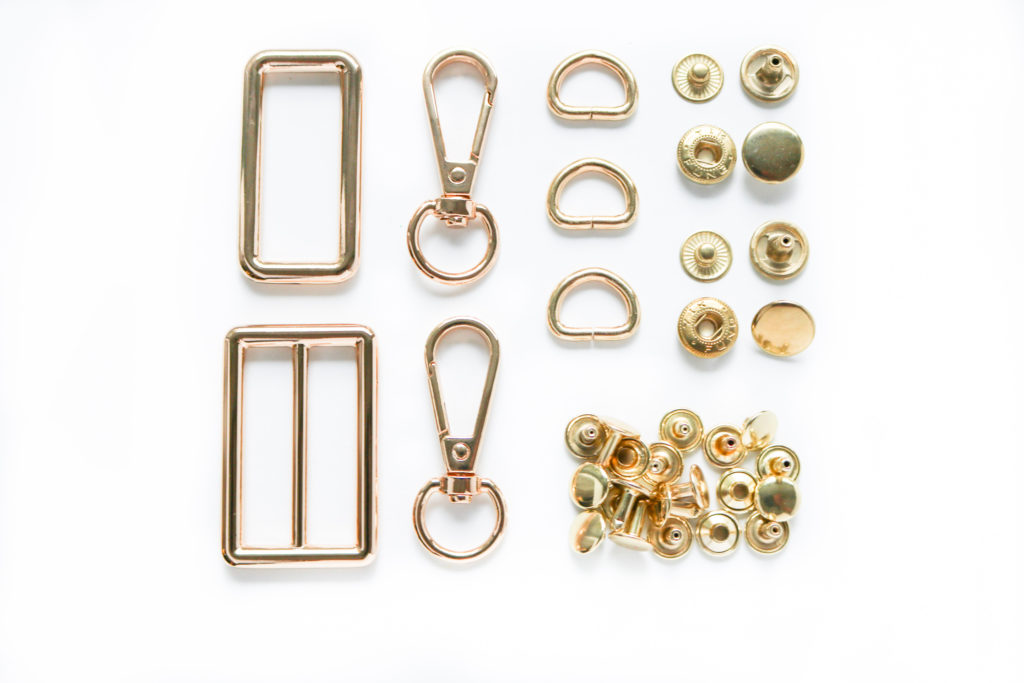
  • (2) 1/2” Swivel Clasp
  • (3) 1/2” D-Rings
  • (1) 1 1/2” Slider
  • (1) 1 1/2” Rectangle Ring
  • (10) Sets of Rivets (8 mm post length) + Setting Tools
  • (2) Sets of 12.5 mm Snaps + Setting Tools

The pattern requires the following hardware listed above.  You can grab full kits in my shop here.

If you need help setting rivets, check out my video here.

If you need help setting the snaps, you can head over here.
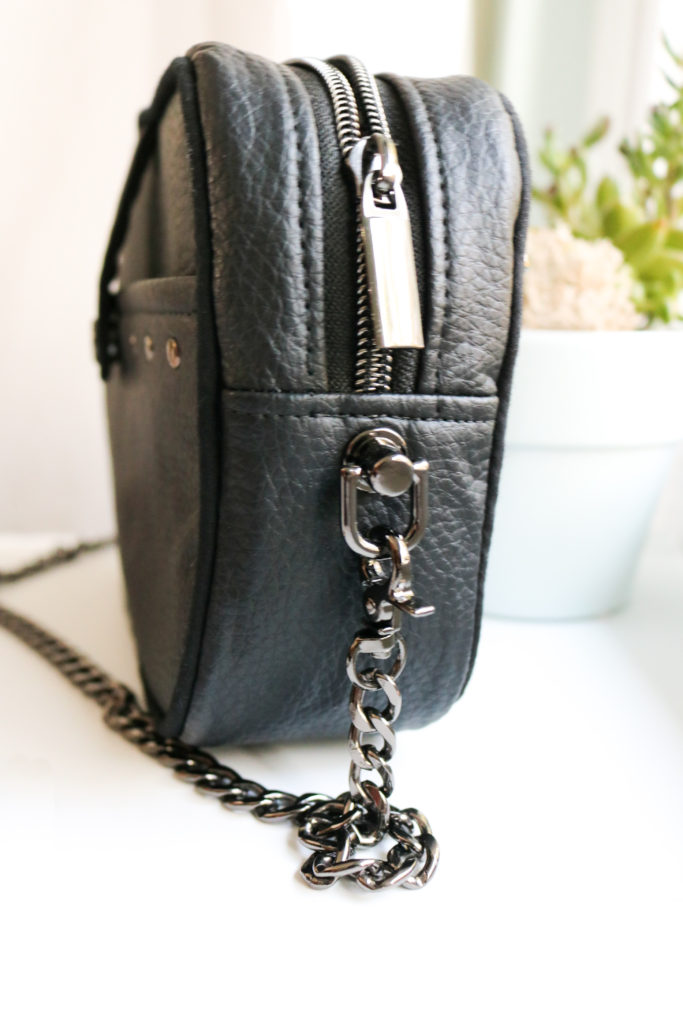
View A with strap connectors

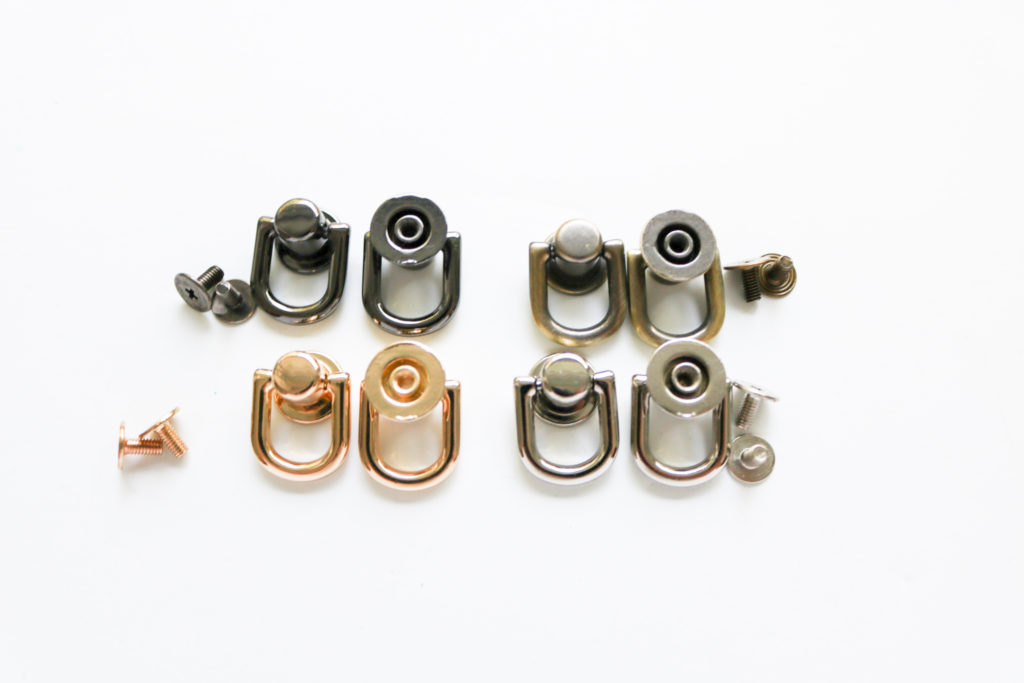
As a BONUS add-on to my Christine hardware kits, I’m also offering these incredible screw-in strap connectors.  I found them when I was ordering hardware for myself and thought they would be a great thing to introduce to you!  A video to install will follow, but essentially you completely finish the bag minus the (2) D-ring tabs at the zipper.  Once you turn out the bag, you punch holes right below the side gusset stitching and screw on these connectors, adding a little glue to the bolt.  That’s it!  This is a great way to have a professional looking bag.

Notions
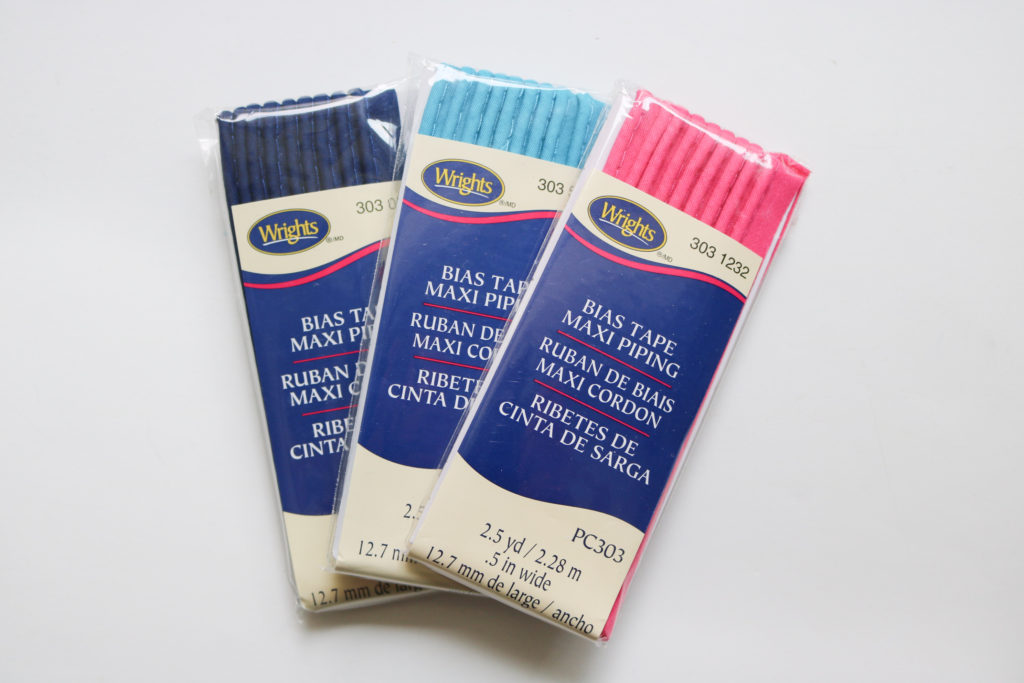
View A uses piping which I think really finishes a bag nicely and instantly takes a bag up a level.  Although it take a little more time and patience to sew it in, it’s worth the effort, especially if you can just purchase it.  These ready-made packs are great from your big box stores or from my favorite place for notions, Wawak.
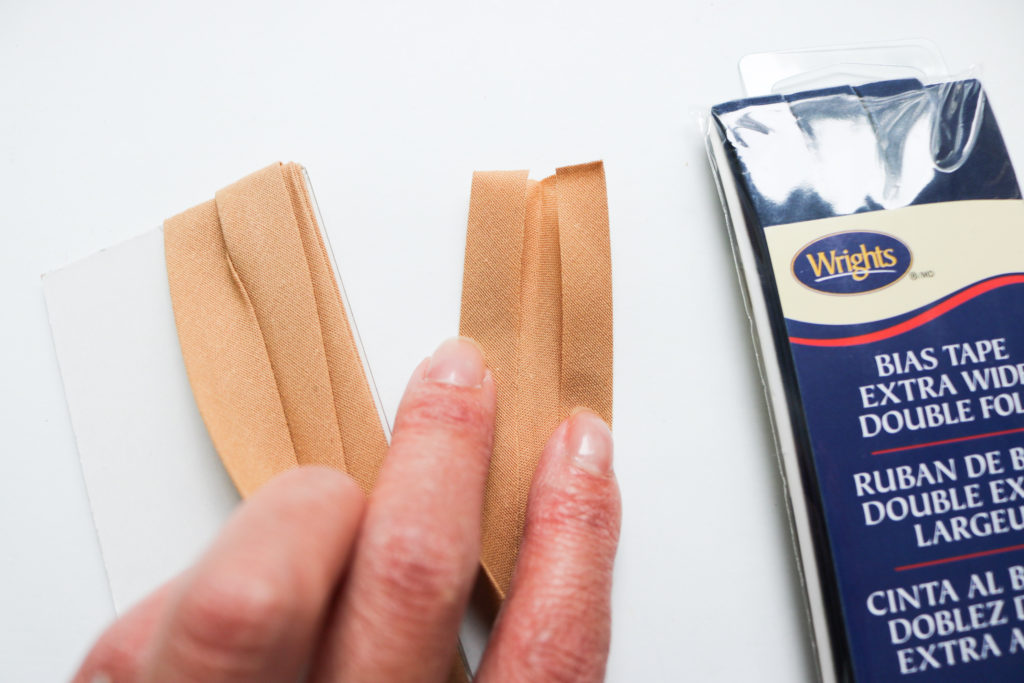
With the Christine, the lining is finished with bias binding which is a first for my bag patterns.  I went through several construction techniques and this is the best way IMO for this type of bag.  With the piping, you want to sew each side separately to feel where you are sewing.  A drop-in lining is possible (I tried it!) but it’s very difficult given how small the bag opening is.  I want you to have a good experience making this bag and I’ll save you the pain!  While sewing the binding takes longer, it is the easier method overall.  The pattern calls for 3/8″ bias tape and you definitely need to use this size because anything bigger will obstruct your zipper opening.  However, you can still purchase the ready-made 1/2″ double-fold packages seen above.  The beauty of this manufacturer is that not all parts of the folds are 1/2″,  so you can open up the tape and re-press so the long sides meet at the center crease.  This will give you 3/8″ double-fold bias tape!

Zippers
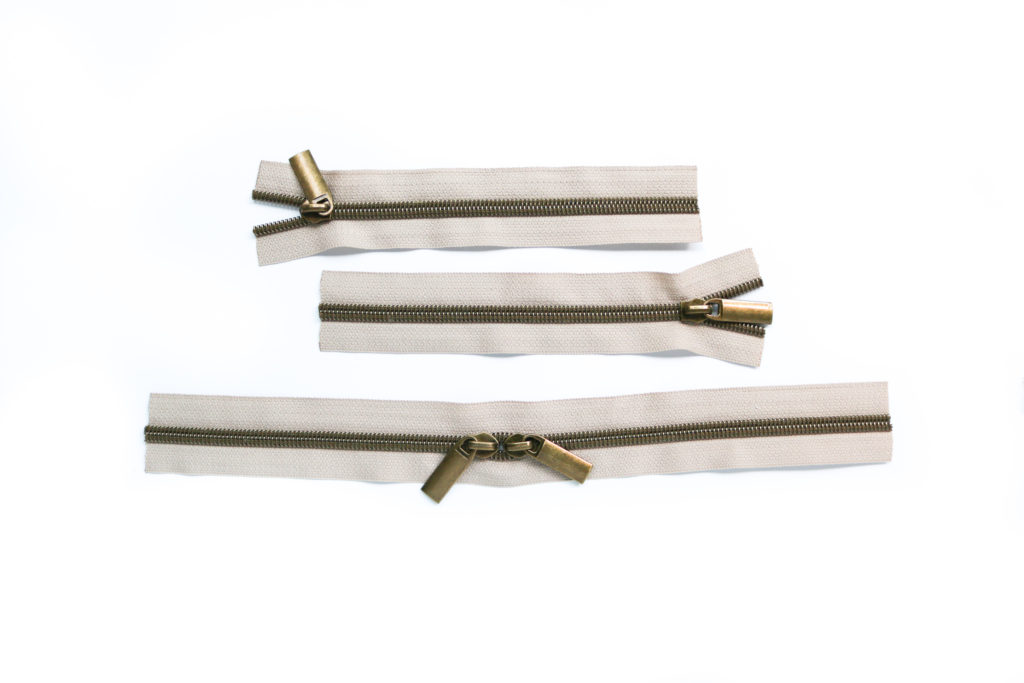
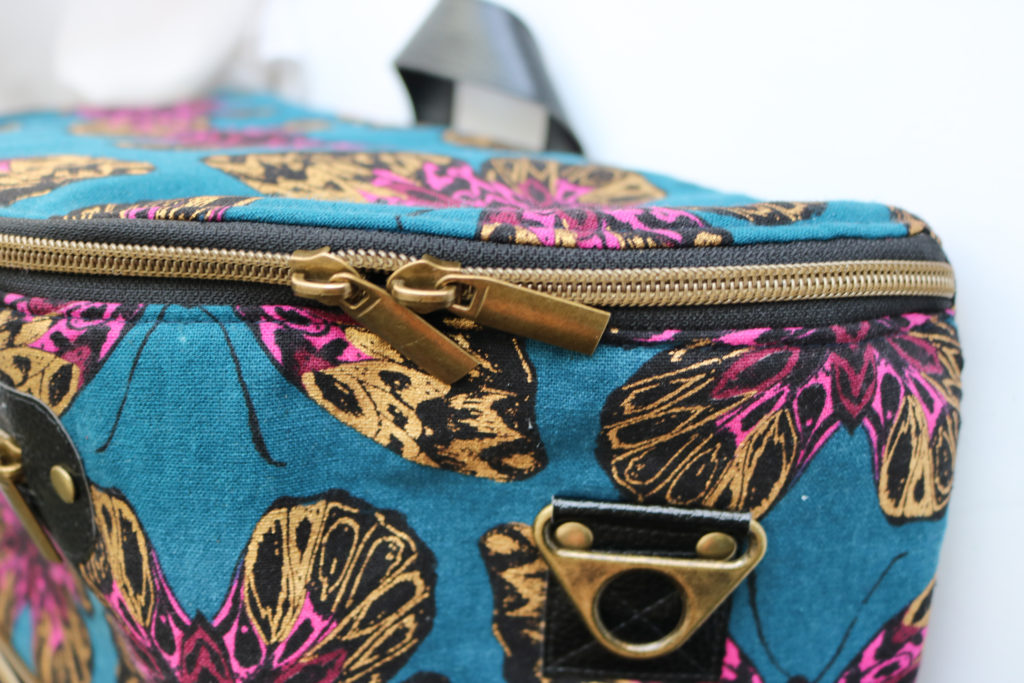
I am a HUGE fan of metal-look nylon zippers.  They have the high-end look fo metal teeth, but have all the ease of nylon –which means you can easily cut and sew right over the teeth!   My Handmade Space is one of my favorite spots for zipper kits and Wawak just started carrying them as well, but not with as many color and zipper pull options.
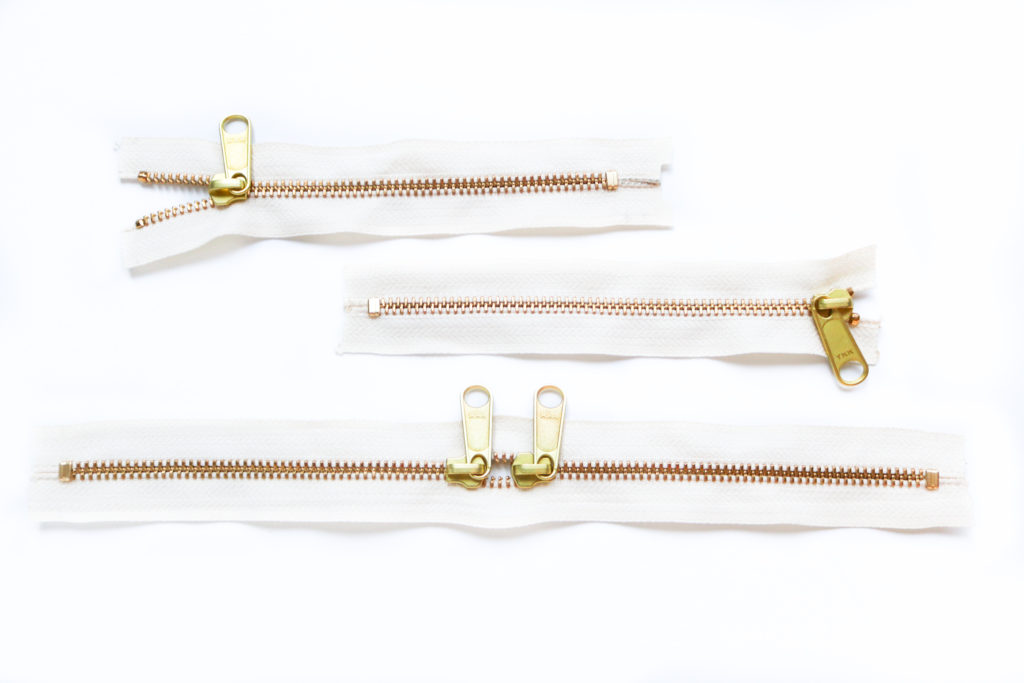
But the only finish I don’t like in nylon is brass.  (For some reason, it’s just way too bright yellow for me.)  I always go back to metal and like these long pull zipper from Wawak.  To make the double pull zipper,  you do need to buy a coverall zipper (that zips in both directions) and I replaced the pulls to match.

I hope you enjoy making and wearing the Christine Sling as much as I had designing it!  Please tag me on Instagram with your makes and post with #ChristineSling so we can enjoy all of these bags!


Happy Sewing!

Cristy
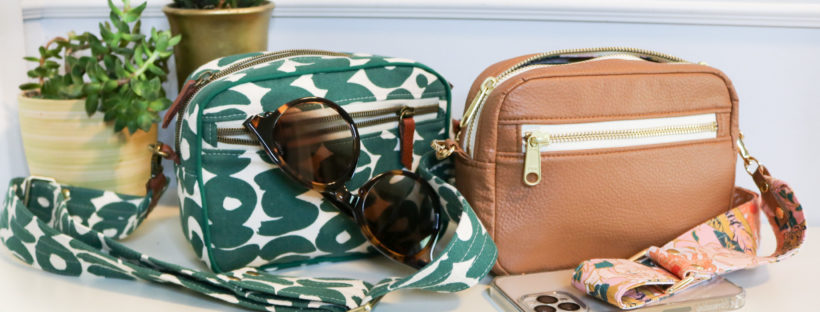
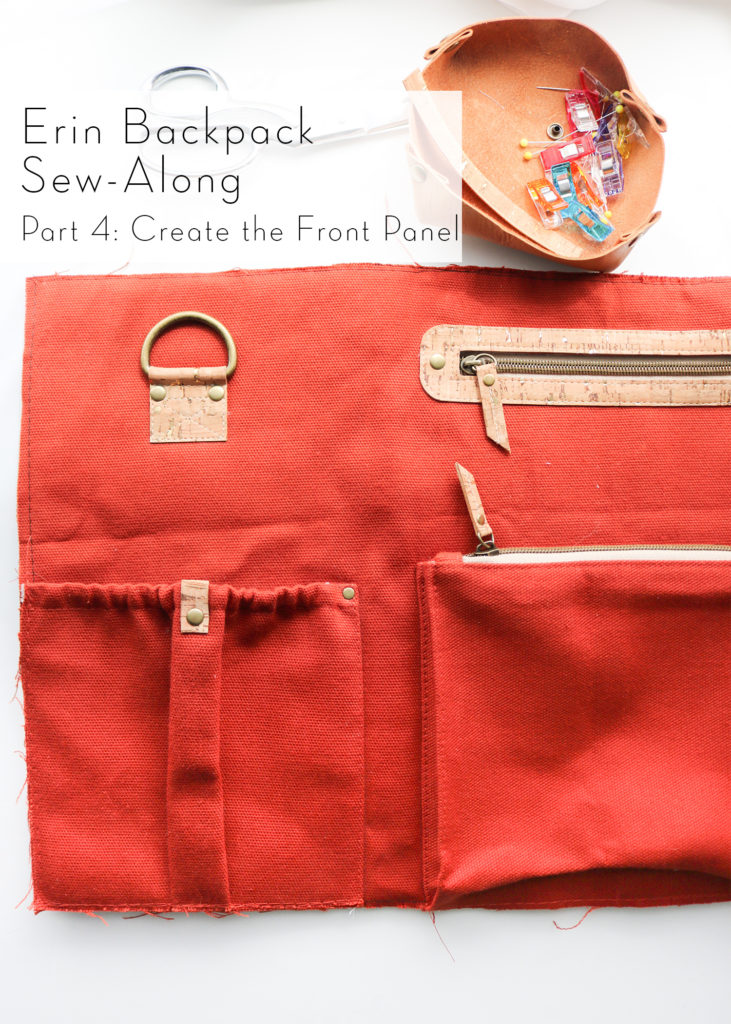
Erin Backpack Sew Along || Part 4: Create the Front Panel

Welcome Back to the Erin Backpack Sew Along!  We are now on Part 4: Create the Front Panel.  If you missed any of the prior blog posts, you can find them below:


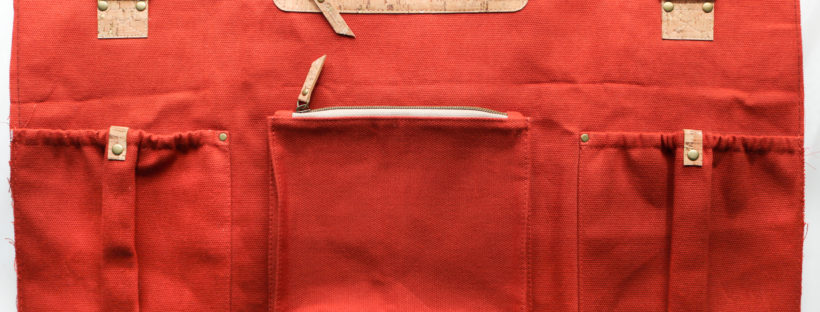
With this part,  we are tackling the entire Front Panel with four different pockets. It seems overwhelming, but I’ve broken down all the pockets into 4 different short videos so you can work at your own pace.


WELT Zipper POCKET

At this point, the Front Panel is the only pattern piece left that hasn’t been basted to foam. This is added later because creating the Front Welt Pocket through foam would produce so much bulk and be very difficult to work with.  I love all of you too much to put you through the extra wrestling and time spent trimming back foam! Ha!

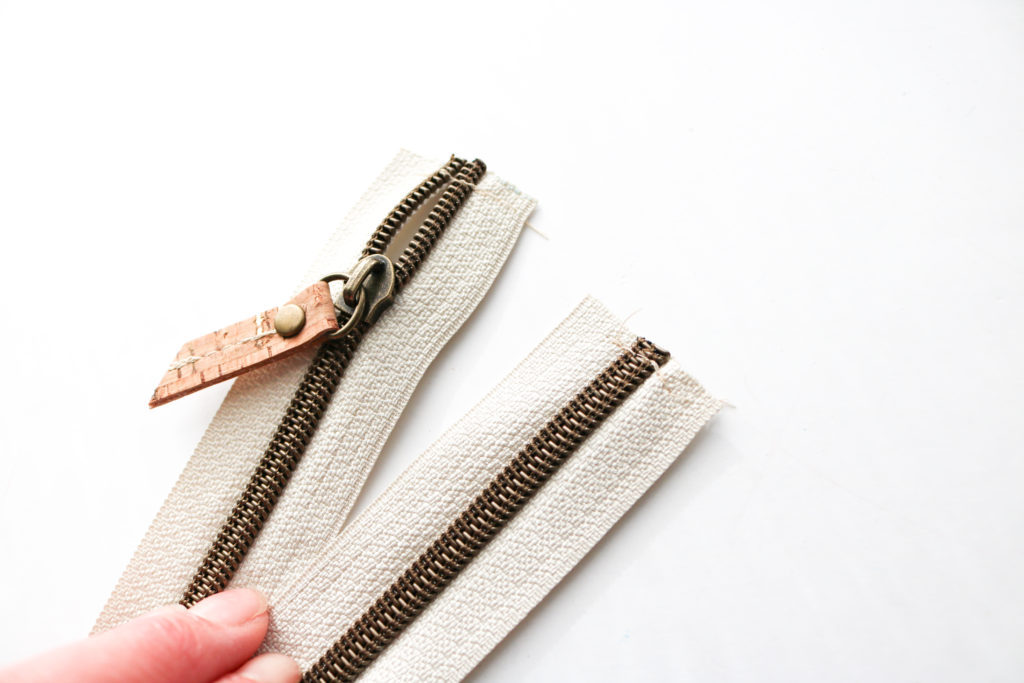
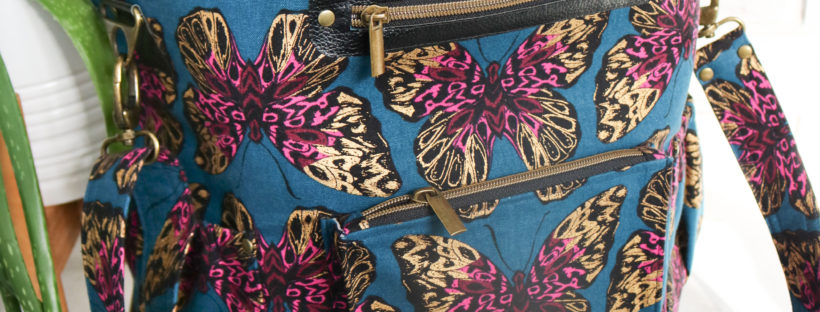
I know you will ask me about the zipper pulls used on my bag 😉 These zippers are from MyHandmadeSpace and yes, I made the tabs myself!  They are approximately 3/8″ x 4″ folded in half and secured with a seam straight up the center.  I added a rivet to balance out the look with the rest of my bag.  These are SUCH a great option to really personalize your bag.  I’m so glad I bought them as a stash option!

Now let’s get to work.  Click into the video about to watch how the Welt Zipper Pocket is created.  Please note the following from the video:

  • I am using “Craft” Tape as an alternative to Wonder Tape. This is only 1/8″ wide, but is permanent.  With the coating on the canvas, I wanted to use a tape that was a little stronger than Wonder Tape. So, to avoid human error, I like to add this directly to the zipper tape first, and not to the lining.
  • While adding on the Zipper Plate, I used glue instead of Wonder Tape.  Again, I was looking for something stronger I could sew through and unfortunately, Craft Tape cannot be sewn through. (Your needle would gum up.)
  • I’m adding the rivets earlier than the instructions.  I don’t know why….but I started going by memory without checking instructions and went out of order. (This is what I get for not checking!) There is not a huge difference if you add them before closing the pocket lining or waiting until after the foam is basted on.  Per the instruction, my intent to add them post foam, was to have extra anchor points against the foam to keep it from separating with the Front Panel.  But there are many other points anchoring the foam to the main fabric with the rest of the pockets and Front Strap Tabs.

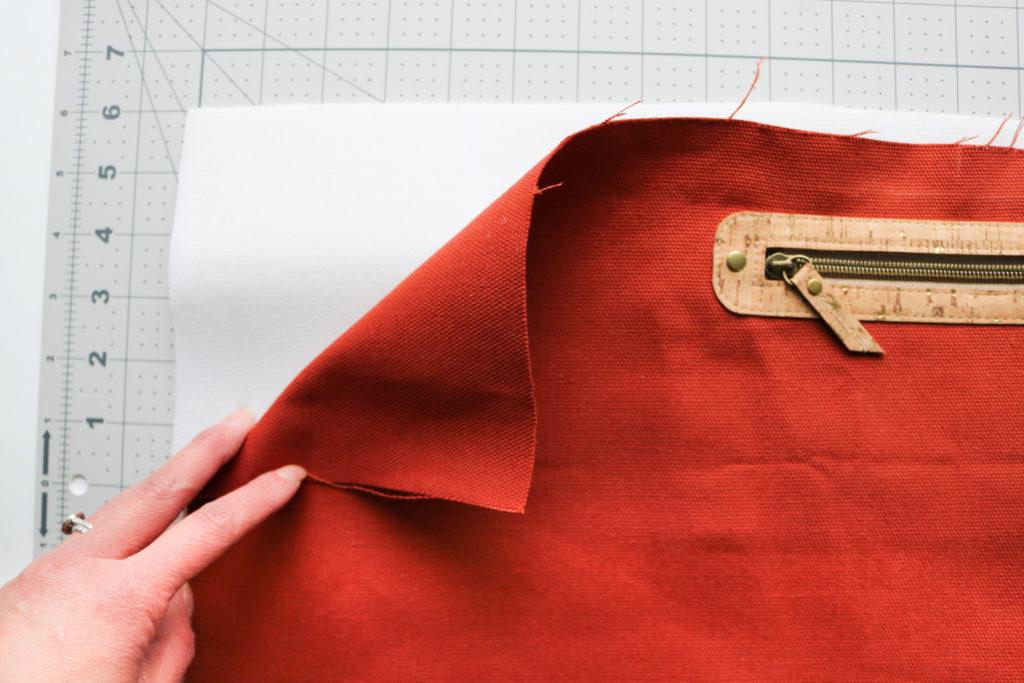
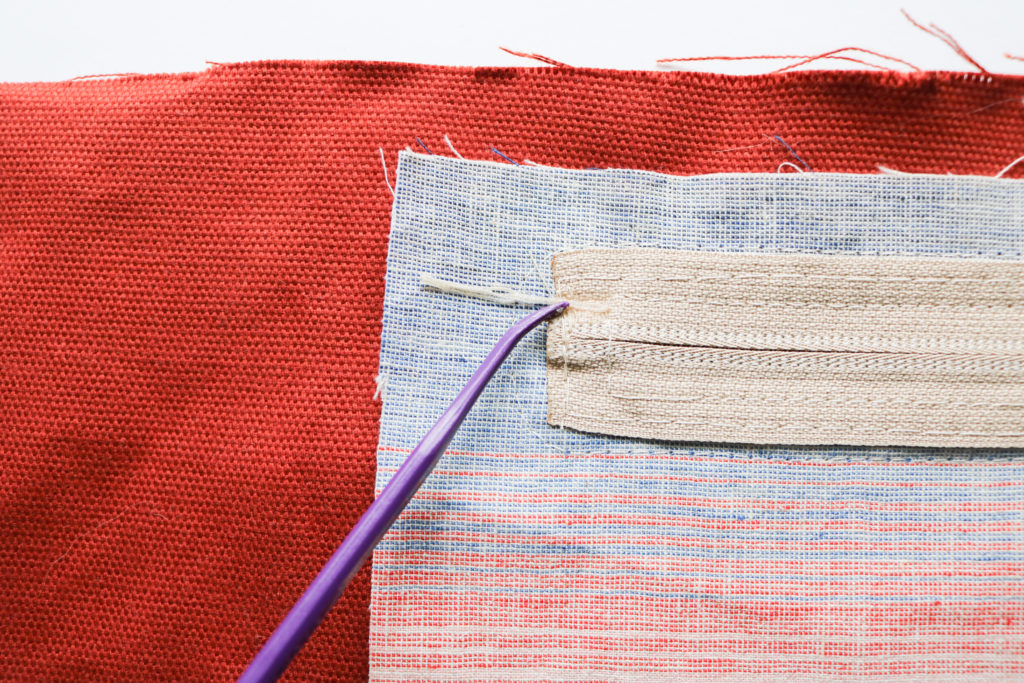
TIP: When I sew through an accent fabric and want to minimize punctures, I like to pull the threads through for a clean continuous line of stitches.  However, from the back, I don’t want the threads just hanging inside.  So, I knot the threads and use a light dab of glue to seal them against the fabric.  I like to leave the tails long so that they will be sewn into the pocket later on.


SIDE ELASTIC POCKETS

With untreated fabric, interfacing would’ve been fused to the part of the Elastic Side Pocket facing the bag, as seen above on the left.  But, since I’m using a heavy treated fabric, I cannot add heat and fuse to it.  So you will see there is no interfacing to indicate the wrong side of the fabric in the video below.

Click the video to watch how to make and attach the Elastic Side Pockets.  Please note the following:

  • For extra durability, I demonstrate how to sew the pocket with an extra triangle at the top of the seam. This helps reinforce that area since it will be pulled on heavily.
  • The size of the rivet used in the triangle has a 6mm cap and is not included in my hardware kit. I thought I would just make it a little different as to not compete with the added embellishment.  This is the same size I use on the zipper pulls as well
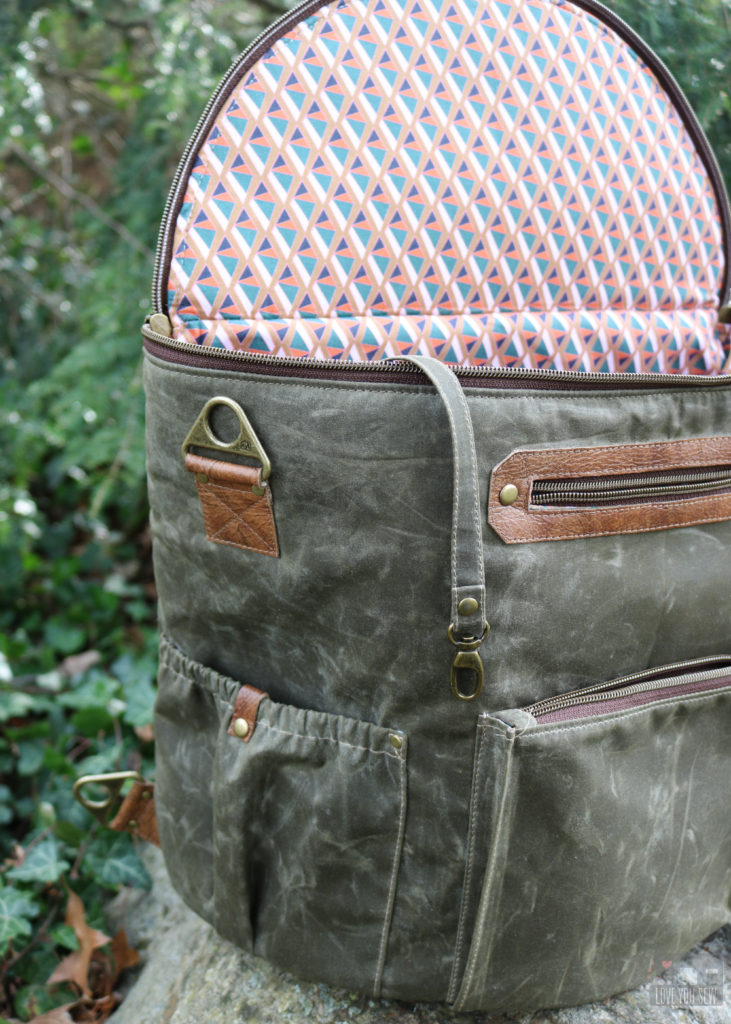
  • As an option, you can add in accent fabric with rivets as extra way to highlight pockets. It was an afterthought when making my waxed canvas sample seen here, but I wanted to show you the steps just in case you wanted to add them as well!


POP-OUT POCKET

If I am in a clothing store, I will always take a look at it’s bag section.  I like to see what’s popular and if there are any outstanding features.  Well, I saw a 3-D pocket similar to this one that I was determined to figure out on my own because I thought it was a unique way to create one.  With a home machine, my design had to be changed, but the essence is there.   Now, I get to share with all of you how figured out this pocket construction for my bag-makers!

Please click into the video above to view and note the following:

  • When finishing the edge of the Zipper (that’s sewn directly to the Front Panel,) can just zig-zag along the zipper tabs.  But since I primarily work on a straight stitch machine, it would require me to set up a machine.  With the content being so heavy this week, I went with the serger that sits right next to my regular machine.
  • When attaching the Zipper to the Front Panel, I switched feet on the second seam to get a little  closer to the teeth and clear the overlock stitching
  • During the filming, I lost a few segments when attaching the sides down to the Front Panel.  I had to re-film those parts, but the Front Panel was already completed. So you will see that there are no hanging bits of fabric as part if the instructions.  You might  even see some of the Front Strap Tabs.


FRONT STRAP TABS

These Front Strap Tabs are for the cross-body and shoulder carrying options.  So all the weight of the bag will be on these spots.  That is why there is so much reinforcement stitching, as well as the added rivets.  You don’t want these ripping out later, so take your time on every stitch!

Click into the video above to watch hoe to attach the Front Strap Tabs and note the following:

  • I work with both my Teflon and Zipper Feet.  I don’t call out the changes, but you can see them in the video
  • For a clean finish, I always like to leave long thread tails and pull them to the back.  With several knots and a dab of glue, those seams will hold just as well as several back-stitches.

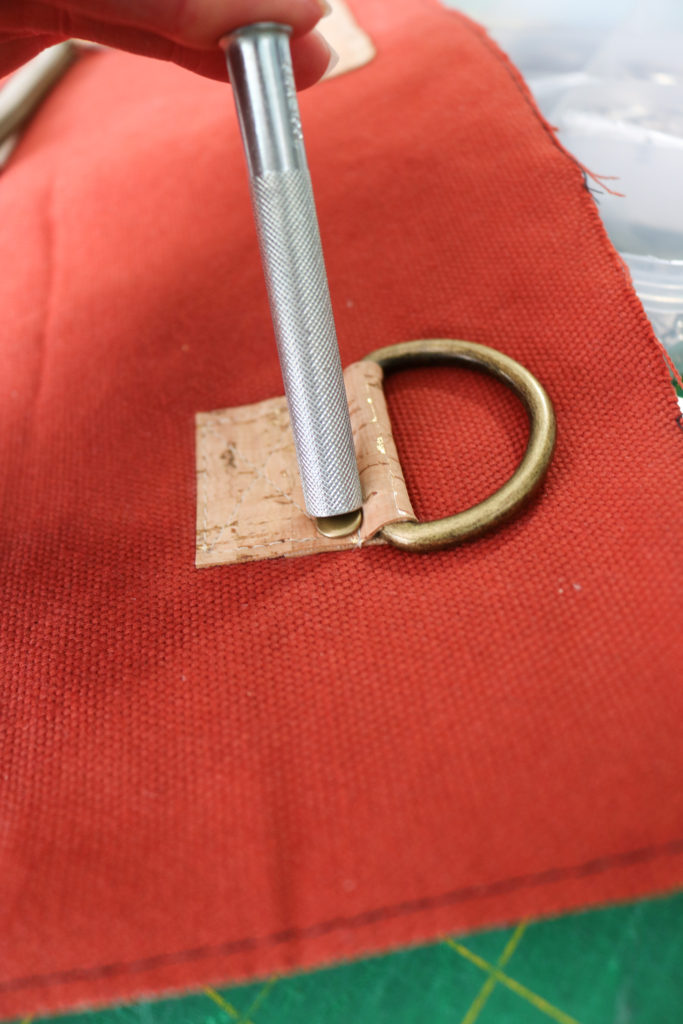
Although a hardware press is a great tool, this is one case when a manual setting tool is better than a press.  The dies require at least an 1/8″ clearance around the rivet caps whereas you hardly need any clearance with the tool seen above.  There are some projects where there isn’t enough throat space with a press to install as well.  So don’t ever get rid of those setting tools!

CONGRATULATIONS on finishing this Part 4 beast!  You are more than half-way done now and doing great!  Check back next week for Part 5: Making the Lining.


Happy Sewing!

Cristy


Please note, this post contains affiliate links.  Please refer to my Disclosures for additional information.

Introducing the Erin Backpack Sewing Pattern

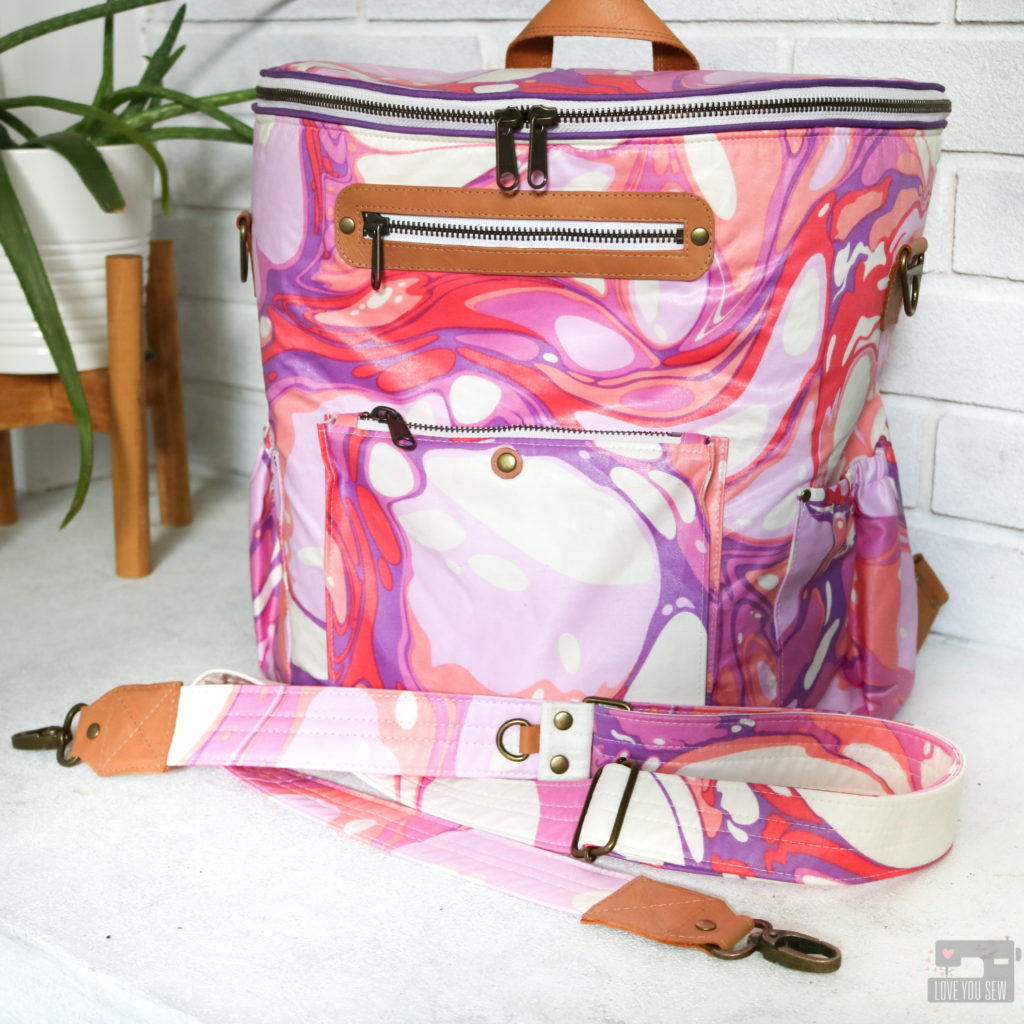
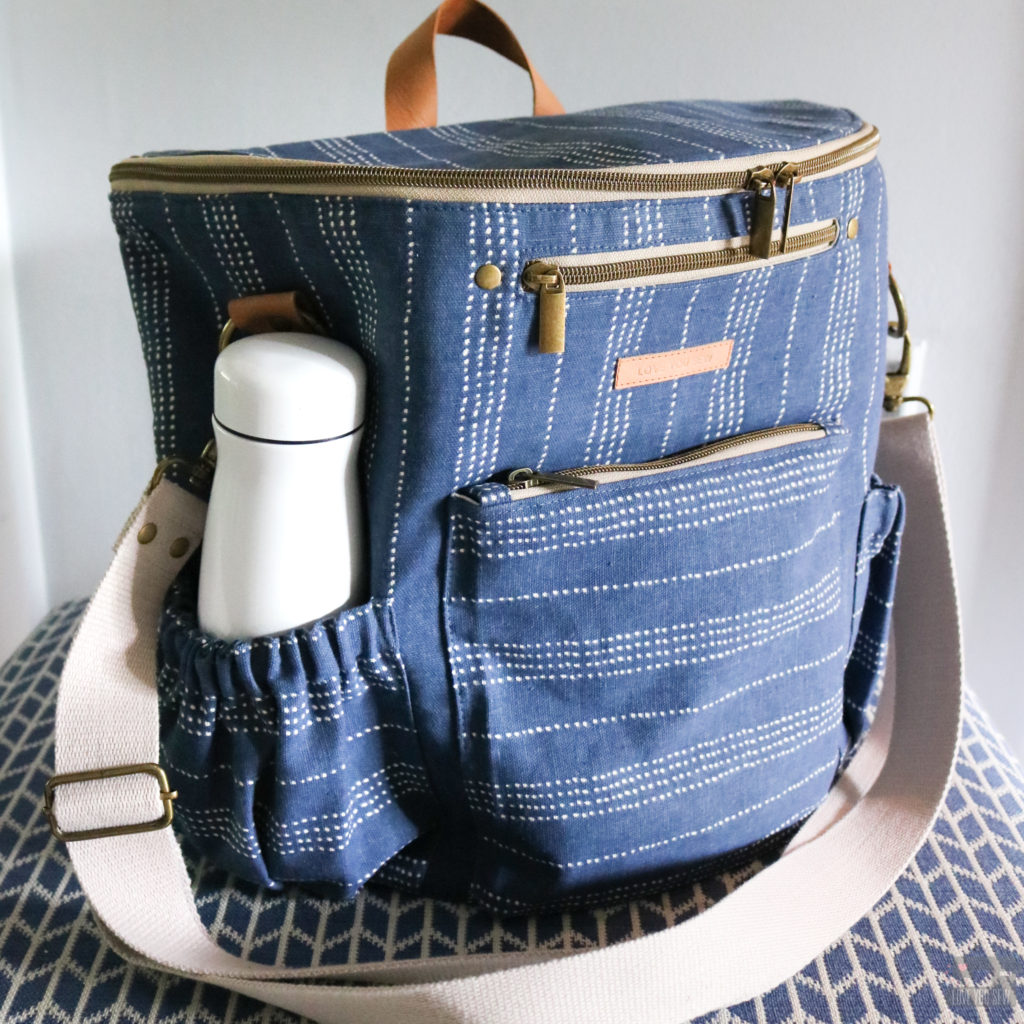
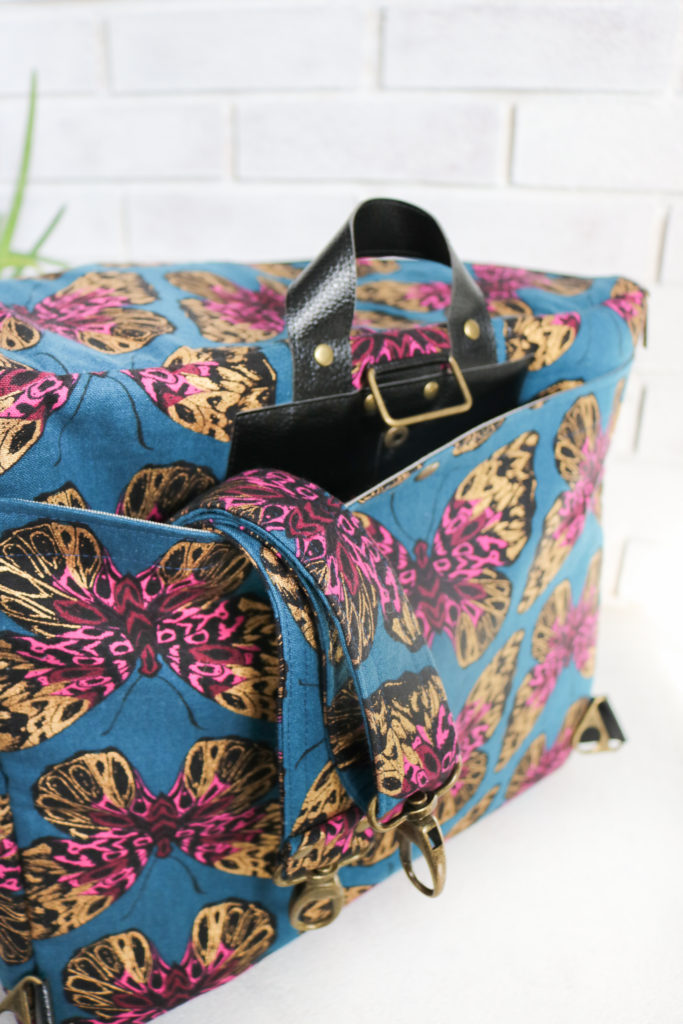
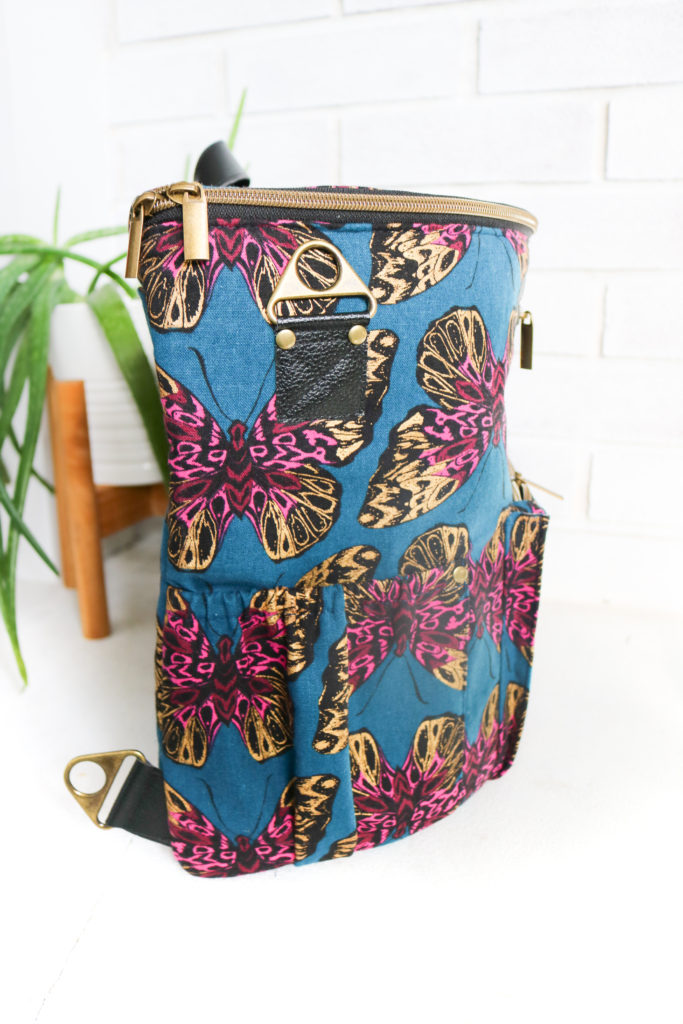
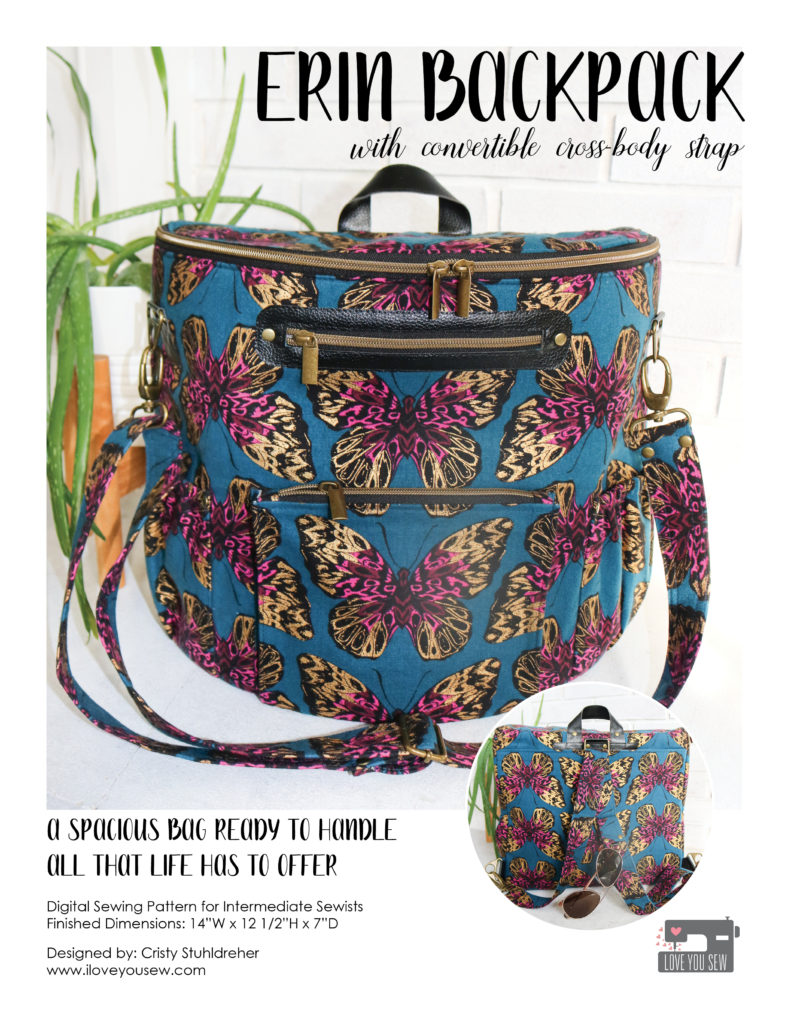
The Erin Backpack sewing pattern is here!!!  This new  S P A C I O U S  bag is ready to be made out of your favorite sturdy fabrics. With a design full of pockets, Erin will be your perfect travel companion — whether for you or for the whole family!  Wherever life takes you, the Erin Backpack will be ready!  You can grab the digital pattern right here.

It’s been awhile since I’ve released a sewing pattern.  ‘Just about a full year has passed by, but my excuse is — of course, 2020.  With the pandemic, and social unrest of this country, I was left with very little motivation to design while so many people were suffering.  Like many of you, my home life has been flipped upside down and it seems like we have a new normalcy rather than a return to 2019 type of “normal.”

It’s taken me some time, but I got some motivation in the fall to make a prototype of the Erin thanks to the Sew Pink Blog Hop you can read here.  Once I made that bag, I was feeling the flow and really wanted to ride the wave of bag-making and designing again!

Inspiration

Original “Erin” Backpack

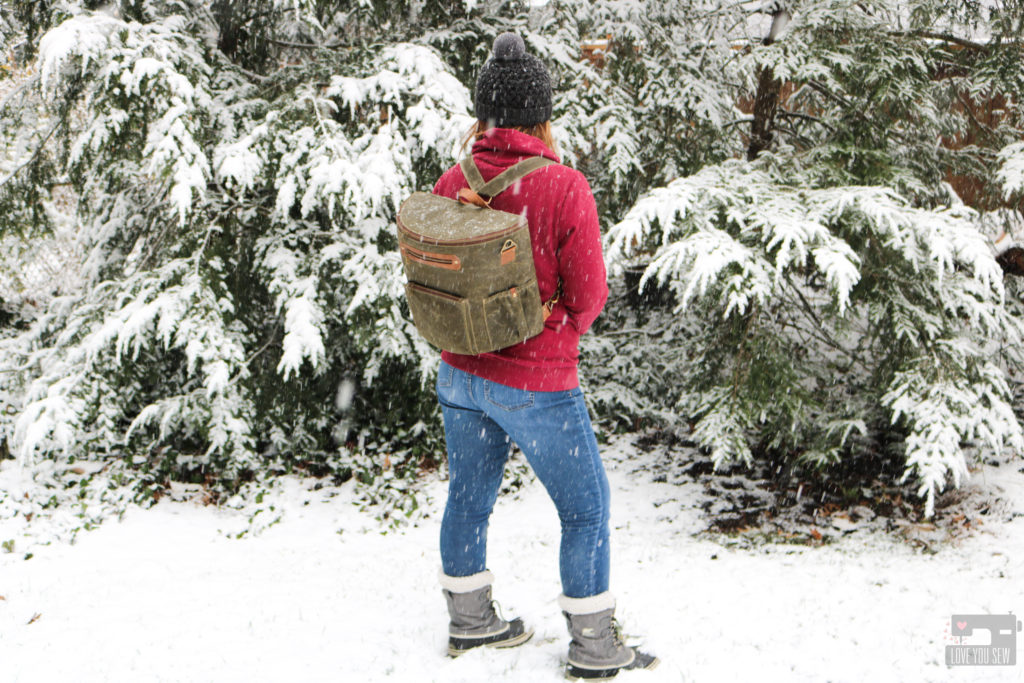
I made my first Erin (before it even had a name!) for my cousin over a year ago.  She was looking for a large backpack for her growing family and wanted something unique and custom…with all the pockets, of course!  This was right when 90s fanny packs were reemerging and that half-moon shape was really influencing bag trends.  I wanted to test myself and see if I could design a backpack with that half-circle lid while stretching the body into a full-size backpack (since that style was missing out of my line-up.)  And that’s how the Erin Backpack was born!

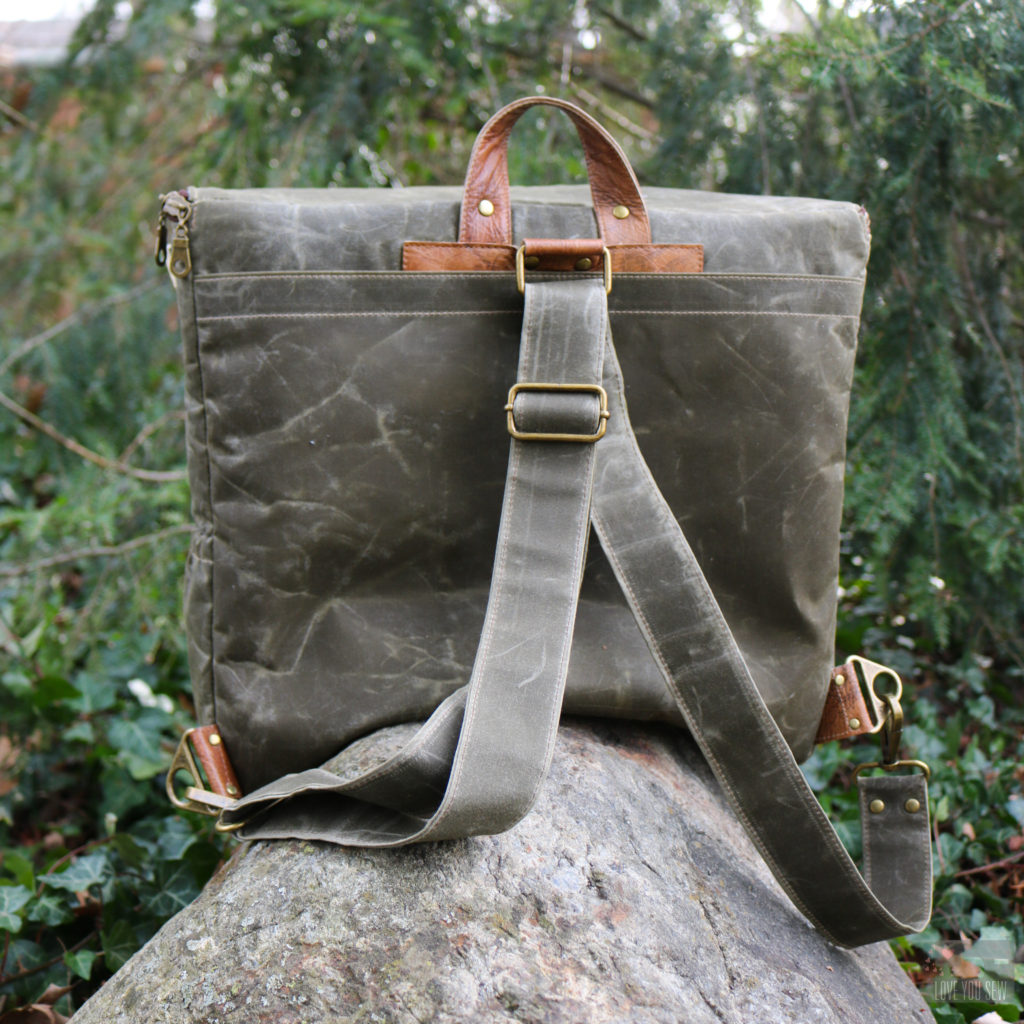
Swapped out the Strap for Heavy Duty Webbing

Namesake

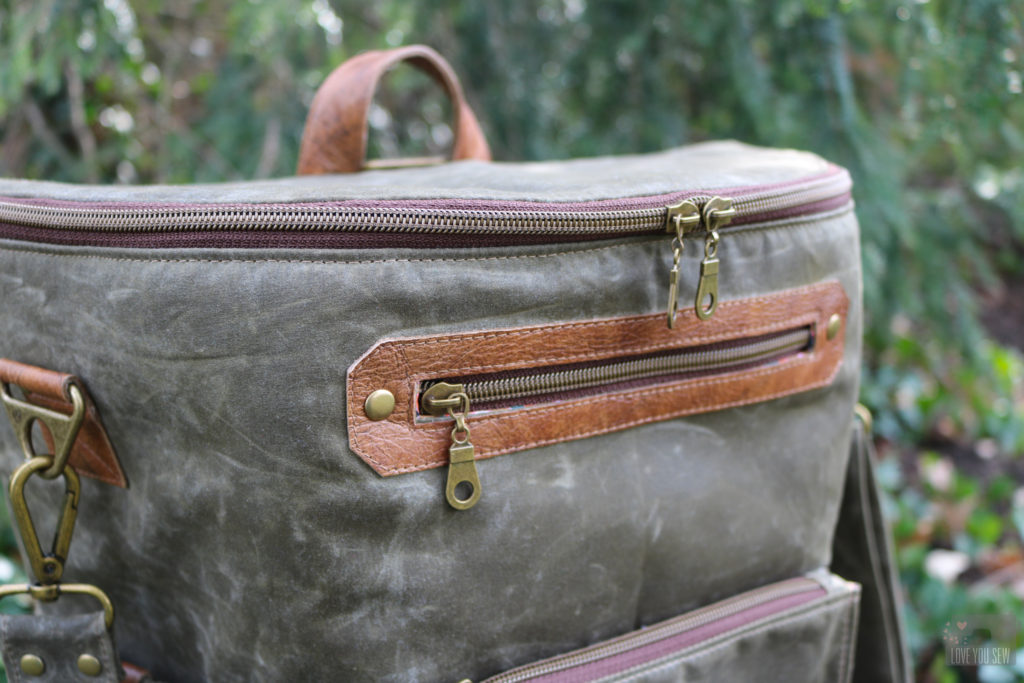
As many of you know I name all of my bags after my nieces. This bag is no exception. It is named after my incredibly sweet niece out in Oregon.  One of my first memories was a camping trip to Cape Lookout on the coast.  My husband and I were only married a few months and I really didn’t know this side of the family since they lived far away. Well, we had SUCH a great time out west and was welcomed with such open arms. This bag reminds me of our time on the coast — especially the waxed canvas version that definitely wants to be out on an adventurous hike with those HUGE northwest trees!

Sewing Level

While the Erin Backpack is made for the everyday, the complexity of its construction leaves it for more intermediate sewists. With the half moon shape of the lid and base, the walls are attached with Y-seams. There is nothing to be scared of….Y-seams are just when 3 seams come together and do NOT form a right angle. However, when you throw in thicker bag layers, it can be tricky to wrangle the seams into place.

Also, the pattern calls for the use of leather, vinyl, or cork.  These can be tricky substrates to use if you are not familiar.  You can check out my Tips on Sewing Vinyl here, which have many of the same suggestions I would offer to leather and cork. But my main tips would be to:

  • Use a Teflon or Walking foot to stop the presser foot from sticking to the fabric.
  • Make sure you have some heavy duty needles, sizes 14-18, handy to handle the layers
  • Increase your stitch-length as you work through thicker layers – Hand crank if needed
  • Use washi or scotch tape under your Zipper foot to prevent sticking
  • If sticking continues, you can also place tissue paper in between the leather and your presser foot

Bag Features

  • Body – A distinctive half cylinder shape that melts into the body and is spacious enough to use as overnight travel backpack or even a diaper bag!

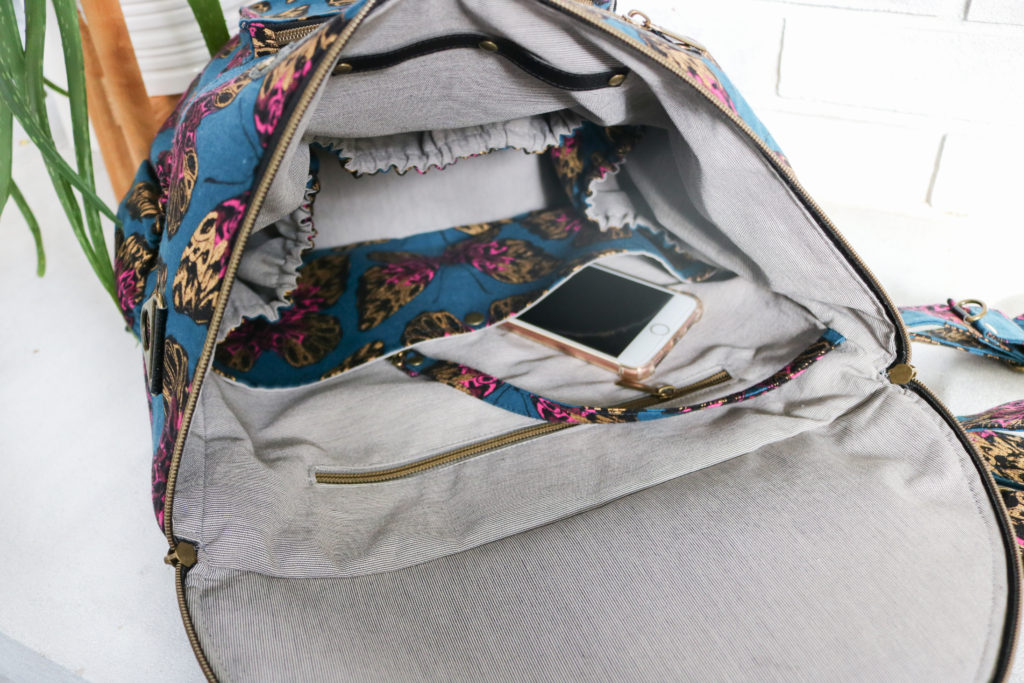
  • Zippered Main Compartment – Everything remains safe while accessible with a large opening. The lid can fold back allowing you to see almost everything inside. It’s perfect for staying organized!

  • 10…yes, 10 pockets! – With Zippers, elastic, snap and slip pockets, your bases are covered!

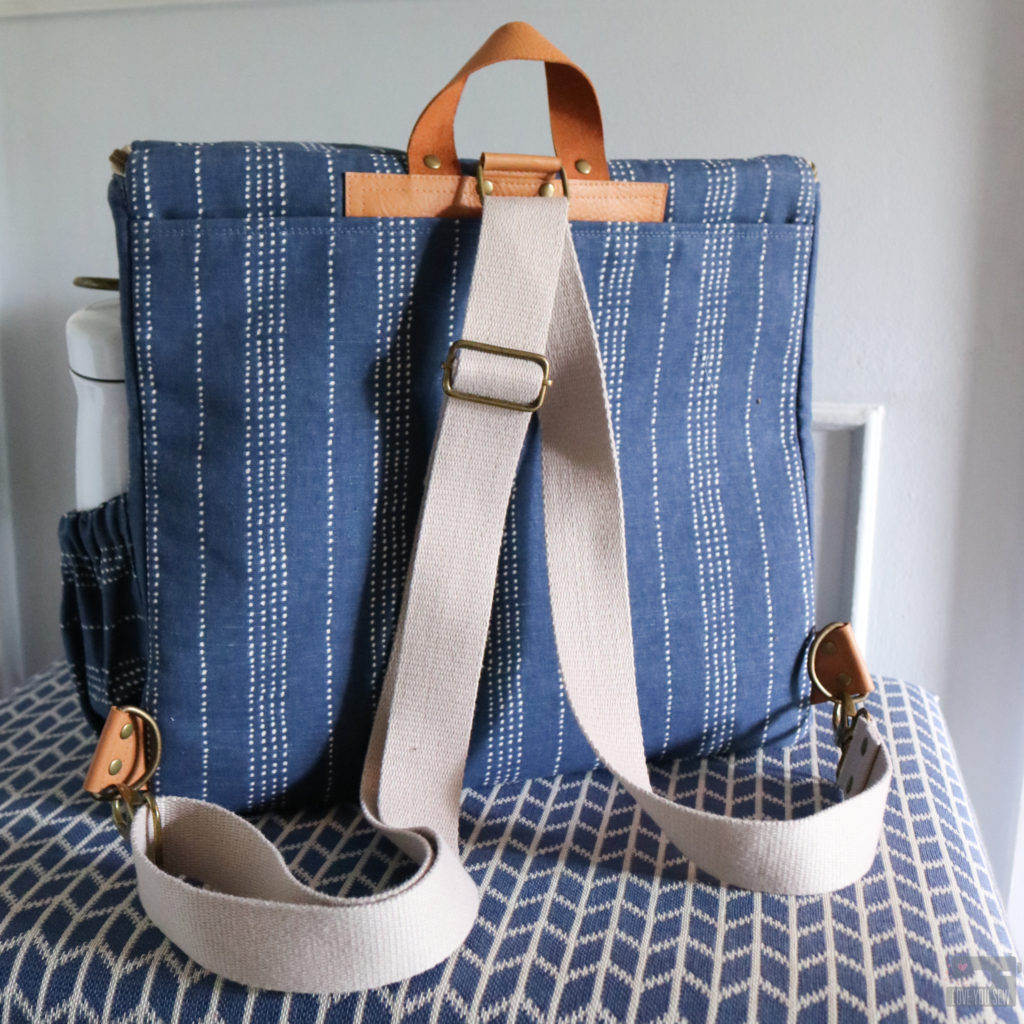
  • Converts from a Backpack to a Shoulder Bag – By switching the swivel clasps from the rear to the front and releasing it from the back rectangle ring, you have a new bag!

While not a part of the pattern, I added these leather accents to the elastic pockets with the scrap from the zipper plate.

  • Key Fob – I always love this feature to find your keys – especially in a very roomy bag!

  • Accessory Strap – This is another simple feature that can be used to hold sunglasses, a pen or a place to wrap your sanitizer onto. I love the way it visually breaks up the space along the lining as well!

  • Adjustable Strap with D-Ring – To be a convertible bag, you need a long adjustable strap.  The pattern calls for a 60″ long strap, but does have instructions for piecing a longer one together (if needed.) With the popularity of wireless ear pods, I’ve been seeing this D-Ring feature on all the high-end designer bags. It’s another simple feature to include, but can be so helpful as you are traveling. Check out how to make The Tiny Sophia Bag to hold your ear pod case.

Hardware

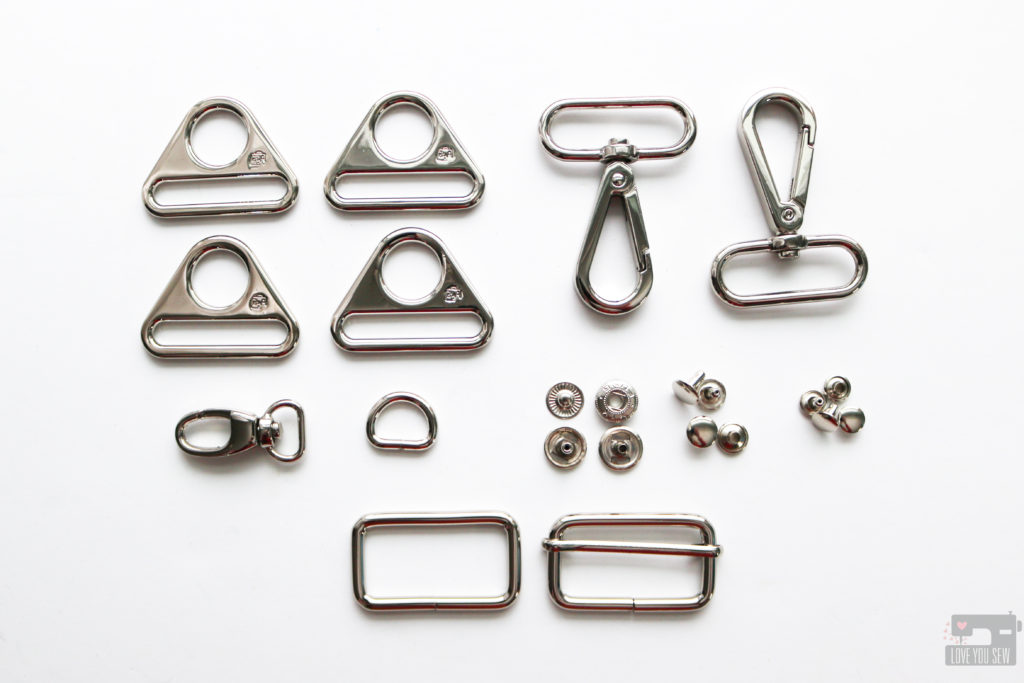
With all of the options in the Erin Backpack, comes quite a bit of Hardware.  I’m a big fan of rivets for their professional finish and have added snaps into the mix as well.  If you don’t want to source your own, I’ve found high quality options which you can grab a in my shop!

The kit includes:
(4) 1 1/2″ Triangle Rings
(2) 1 1/2″ Swivel Clasps
(1) 1 1/2″ Rectangle Ring
(1) 1 1/2″ Strap Slider
(1) 1/2″ Swivel Clasp
(1) 1/2″ D-Ring
(3) Sets of 12.5 mm Double-Cap Spring Snaps
(5) Sets of Medium Double-Cap Rivets (9mm cap x 8mm post)
(20) Sets of Small Double-Cap Rivets (8mm cap x 6mm post)

The sewing pattern does NOT include instructions for hardware installation or the setting tools.

  • Rivets – But you can check out my Rivet Installation by Hand video here and I recommend this rivet setting tool by Tandy (if you want to hand set them.)
  • Spring Snaps – You can check Snap installation at the 30 second mark in this Instagram video for help.   For the snaps, I recommend this tool which is used in the video.  It comes with a few sizes, but 633 would handle the snaps in my hardware kit.

Featured Bags

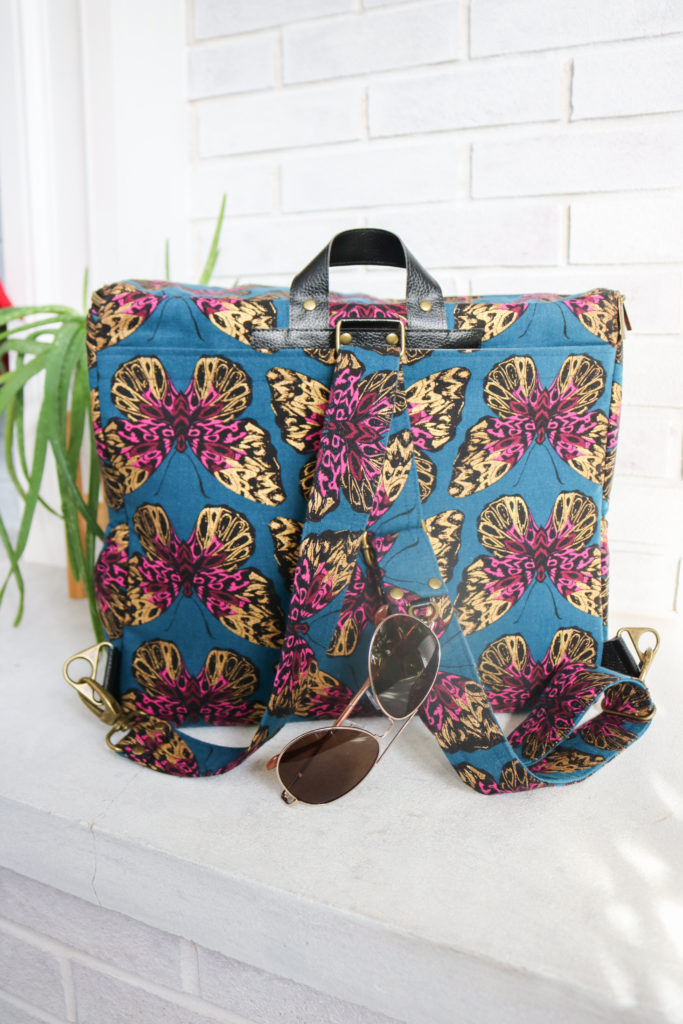
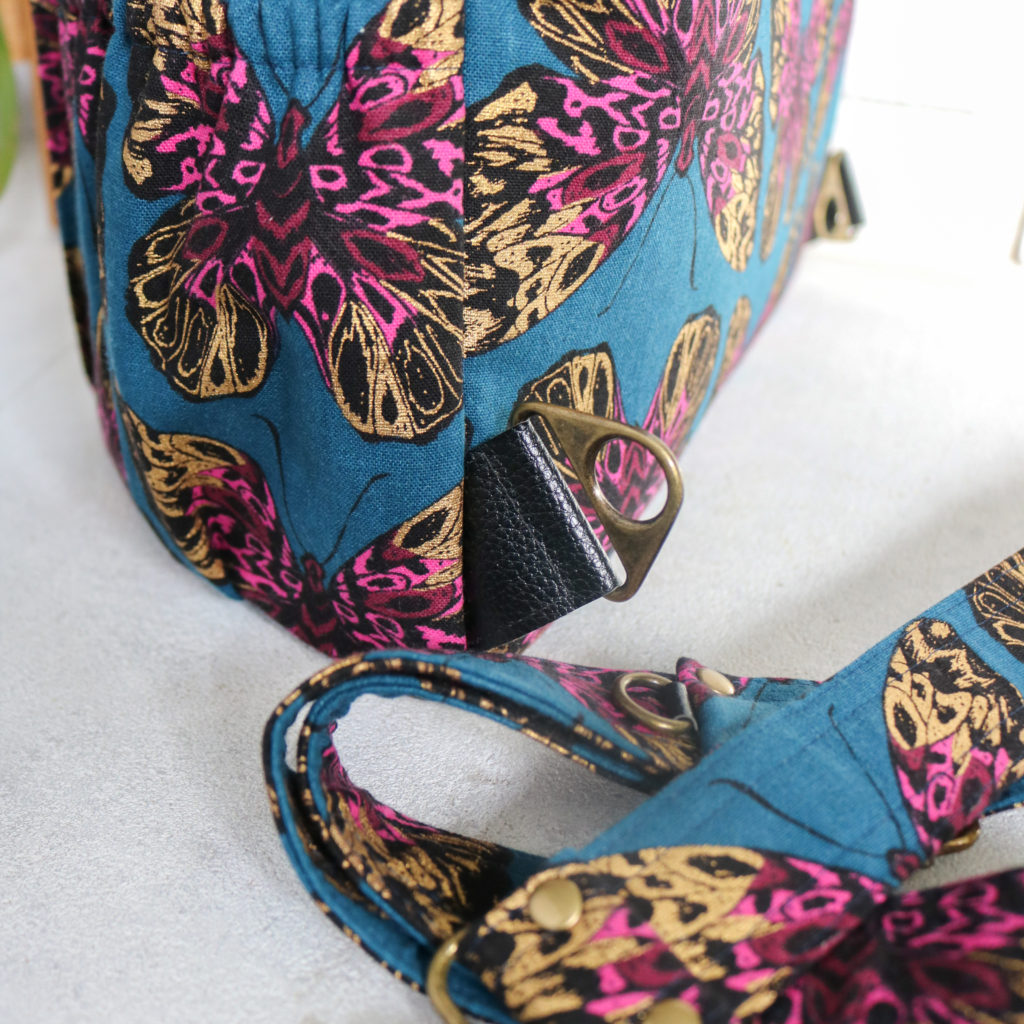
BUTTERFLIES –

  • Main Fabric :  Ruby Star Society Tiger Fly Canvas
  • Lining: Mystery Polyester Railroad fabric leftover from a skirt
  • Accent Fabric: Faux Leather from Sew Sweetness
  • Zippers: Antique Brass Coil on Black Tape from Emmaline Bags
  • Hardware: Triangle Rings from By Annie’s and the rest from Emmaline Bags (same as the kit for sale)

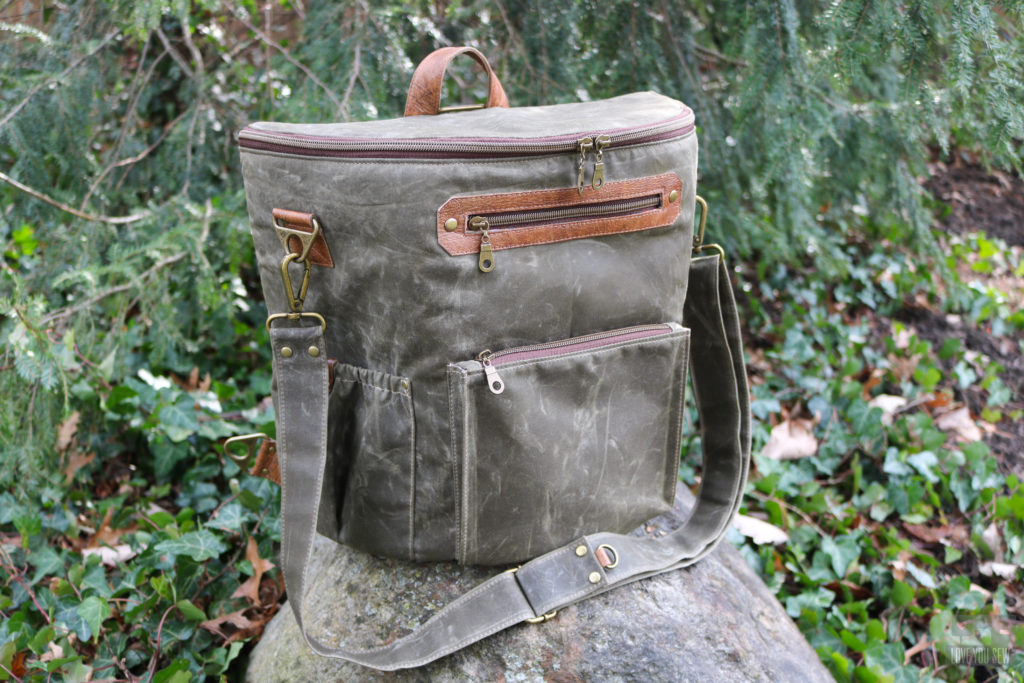
OLIVE –

  • Main Fabric :  Robert Kaufman Waxed Canvas from Sew to Speak.  You can also find it here.
  • Lining: Mystery Polyester Railroad fabric leftover from a skirt
  • Accent Fabric:  Thrifted leather (same as from my beloved quilted duffle bag.)
  • Zippers: Metal look nylon Bronze with Chocolate tape from My Handmade Space (get on the mailing list for lots of great coupons!)
  • Hardware: Triangle Rings from By Annie’s and the rest from Emmaline Bags (same as the kit for sale)

MANY THANKS

As always, I thank all of you for encouraging me to publish my patterns!  This, by far, is my longest and most complicated bag pattern to date.  I like to challenge myself to more intermediate and advanced sewing and I know many of you are the same.  But my group of testers from all different bag-making levels were able to nail this bag.  (I’ll be showing off their makes in another blog post!)  Their help was absolutely instrumental in clarifying steps and adding in more information to help you along.  I hope you enjoy the #ErinBackpack!

Watch out for a sew-along in the next few months! 😉


Hugs and Stitches,

Cristy


This post may contain affiliate links.  Please read my full disclosures, here.

Moto Sweatshirt with Indiesew

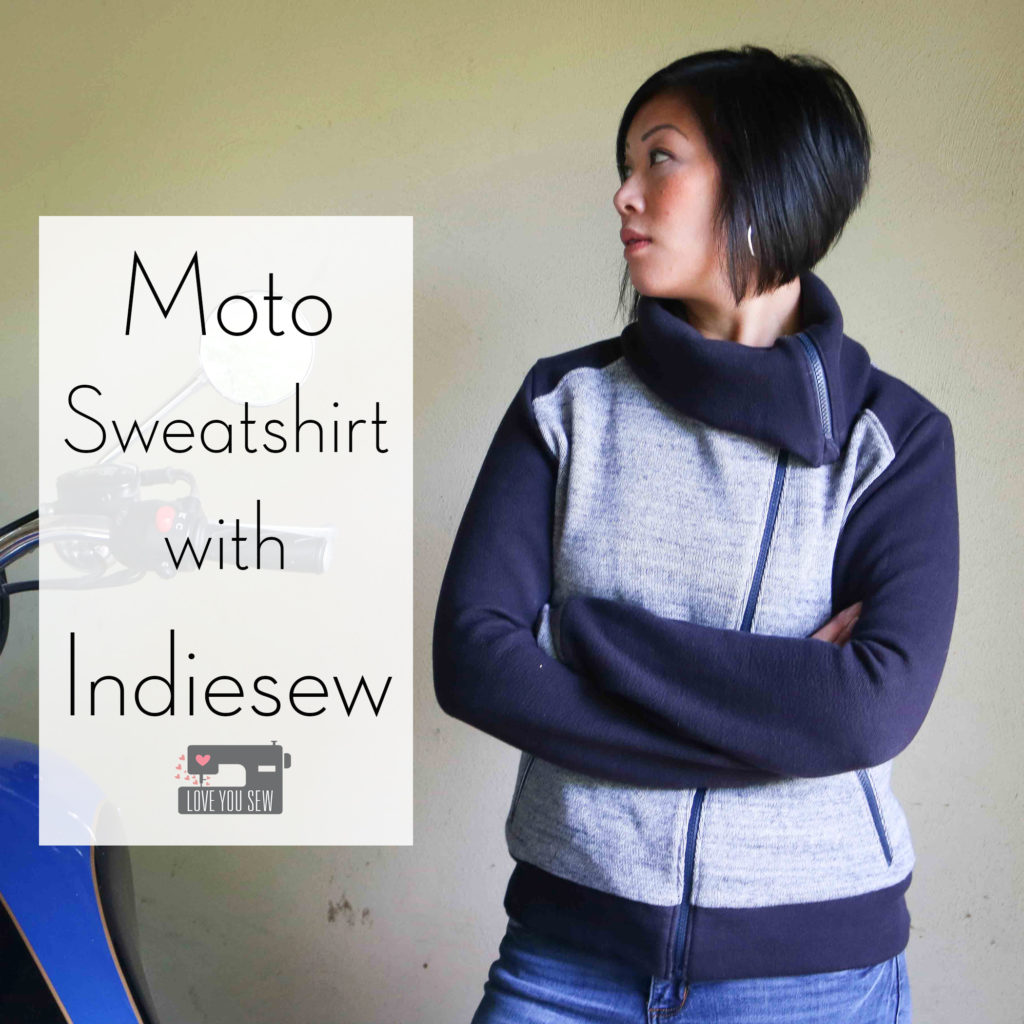
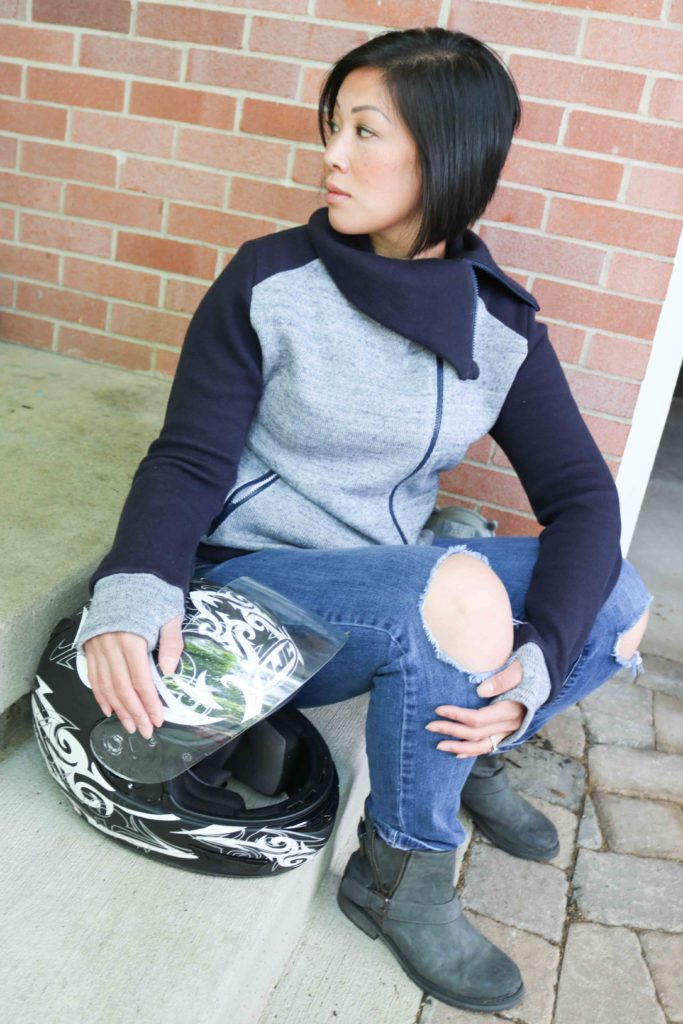
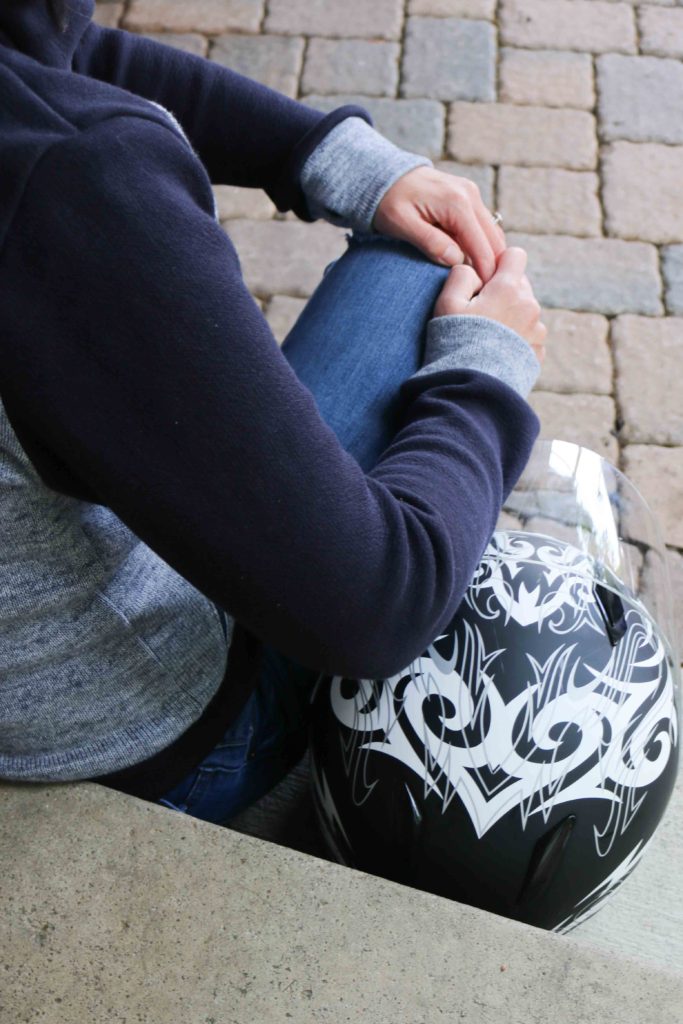
What you might not know about me is that I’m an “Old Lady”…a very proud one, in fact.  As you can probably tell, it’s not by age or because I quilt (ha!), but because I love my husband AND his motorcycle.  I really enjoy riding with my guy and even though I haven’t gone very much after having kids, I still love that moto style.  So when I saw this collaboration between Indie Sew and Seamly for the Moto Sweatshirt, I knew I HAD to make this pattern!

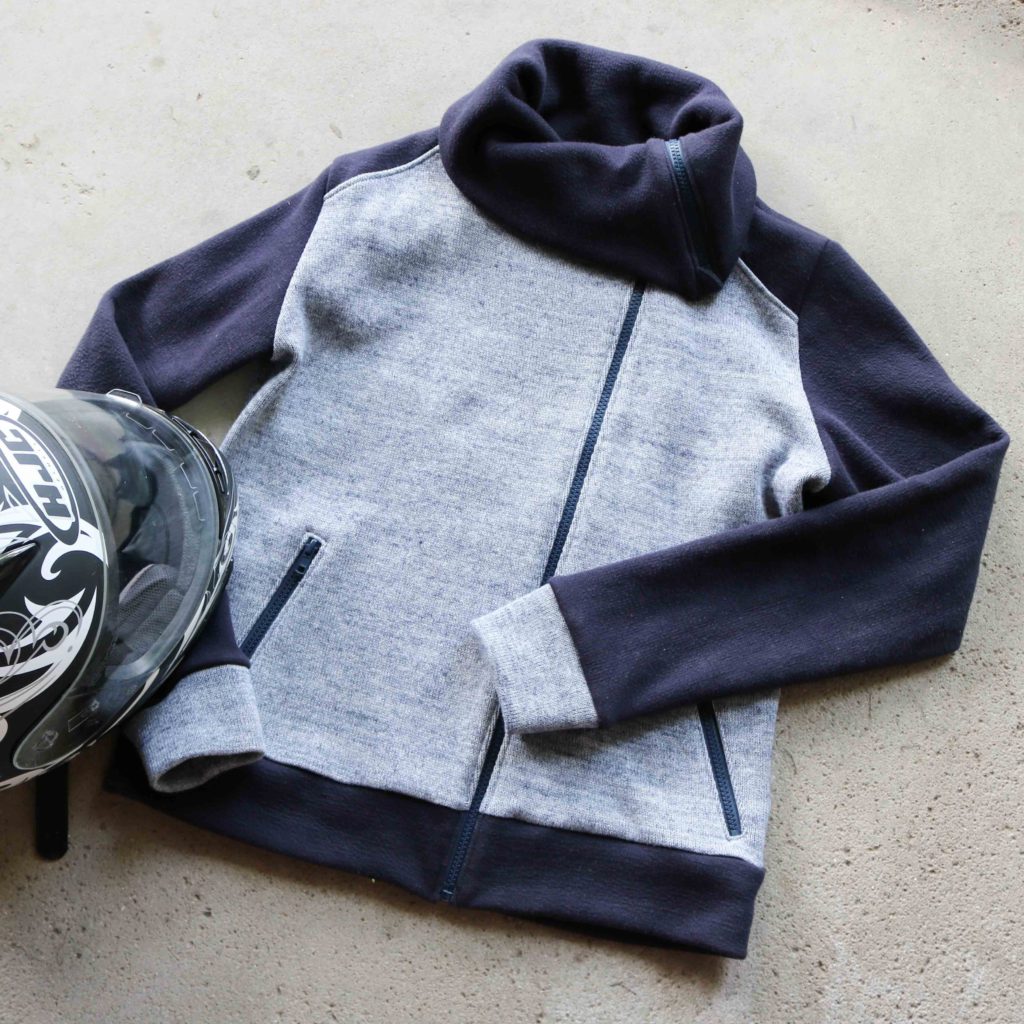
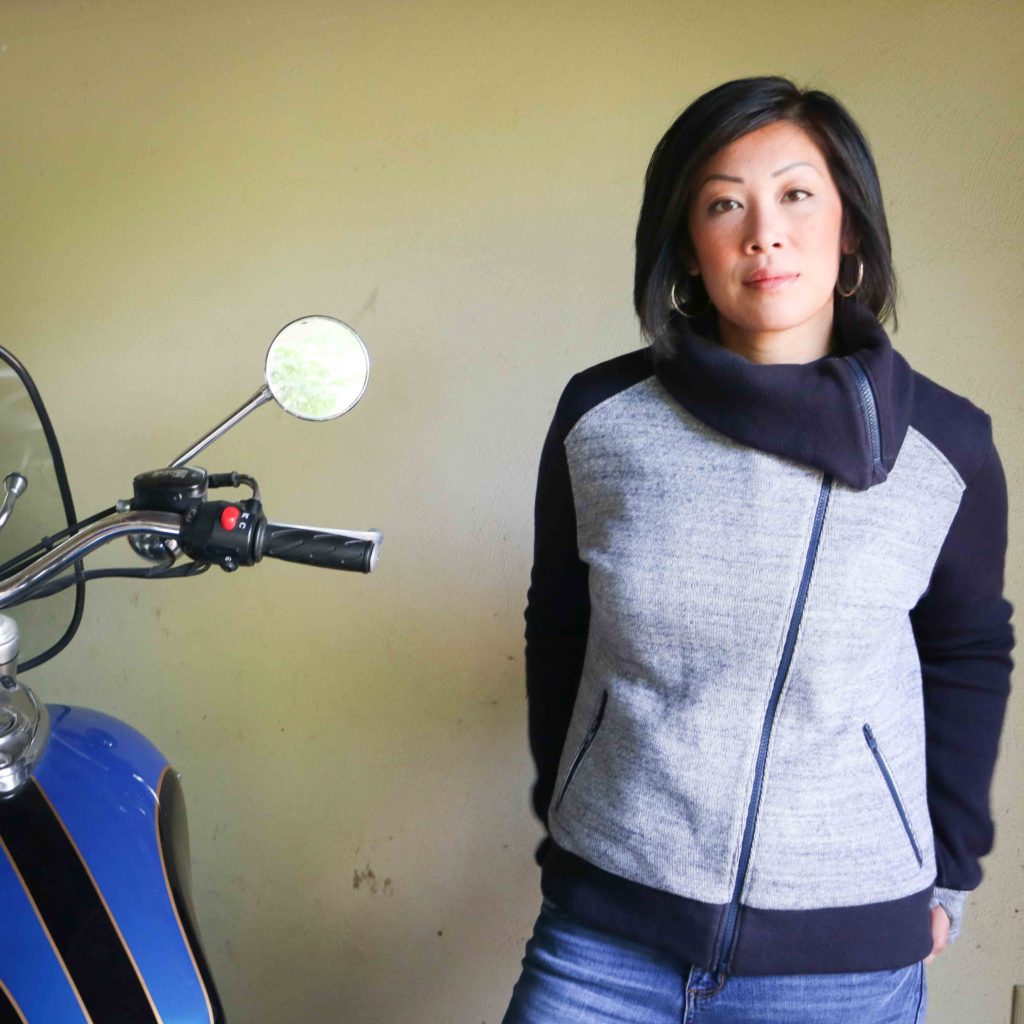
The Moto Sweatshirt is such a great stylish and edgy jacket designed for knit fabrics.  After seeing Allie Olsen’s tester version, I knew I wanted the same double-knit from her shop.  There is so much more versatility with a double-faced fabric (you can use either side of the same fabric) and it is perfect for some color-blocking.  Since this is also a sweater knit, it makes the jacket SO comfy and warm for those cool summer rides.

It’s usually not a good idea to procrastinate with a project, but in my case, it turned out to be the best thing I did..er…didn’t do 🙂  I wasn’t aware there would be a sew-along of the Moto Sweatshirt when I picked this garment to make.  Needless to say, I was so pleased to see it announced and you know I read through every post before starting on my own project.

The first recommendation I took was to make a narrow shoulder adjustment.  I saw how the shoulder seams were low on many of the testers and other versions online.   I’m pretty narrow in the shoulders as a 5’3″ woman and knew this was for me.  However, the next time I make this sweatshirt, I would probably will take in another 1/4″ off the shoulders.  You can read about how to make the simple changes here.

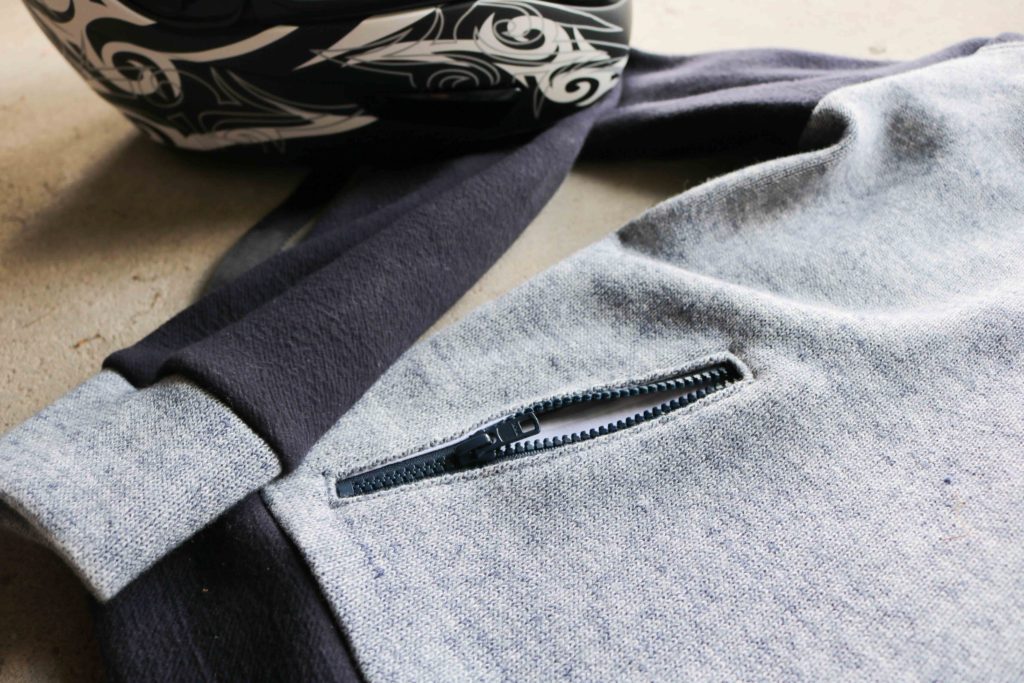
If you have never used a double-faced sweater knit before, it’s thicker than most jersey knits.  That’s why I decided to use a quilt cotton for the pocket linings.  Not only does it provide a thinner fabric to sew through, the woven nature makes it MUCH more stable.  If you have not sewn a zipper welt pocket before, I would highly suggest using the quilt cotton to save the stress and potentially extra time with your seam ripper…

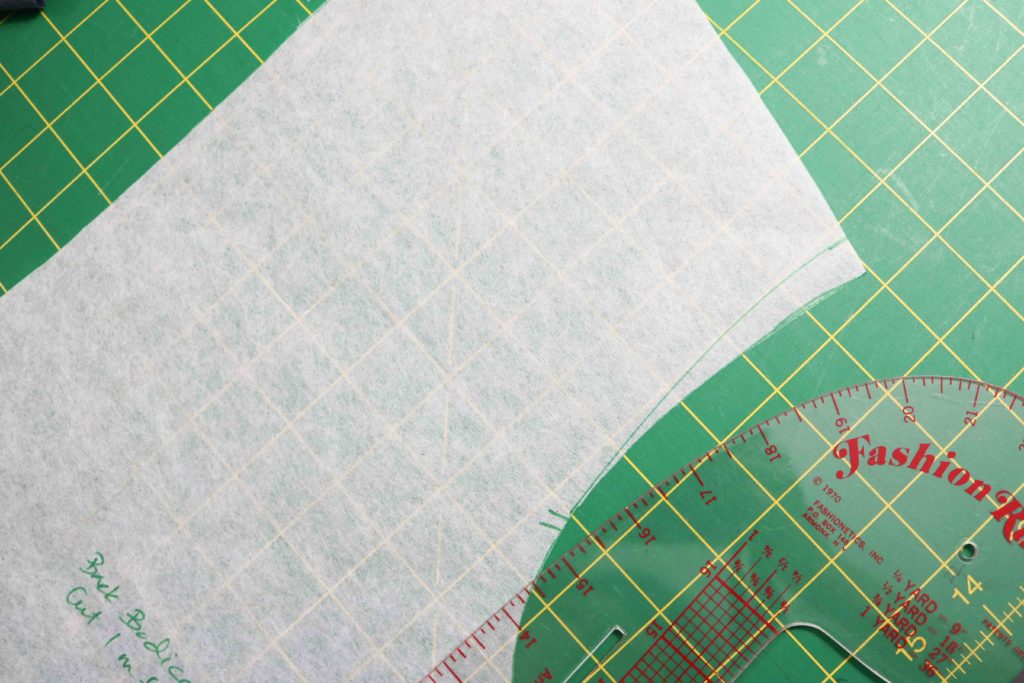
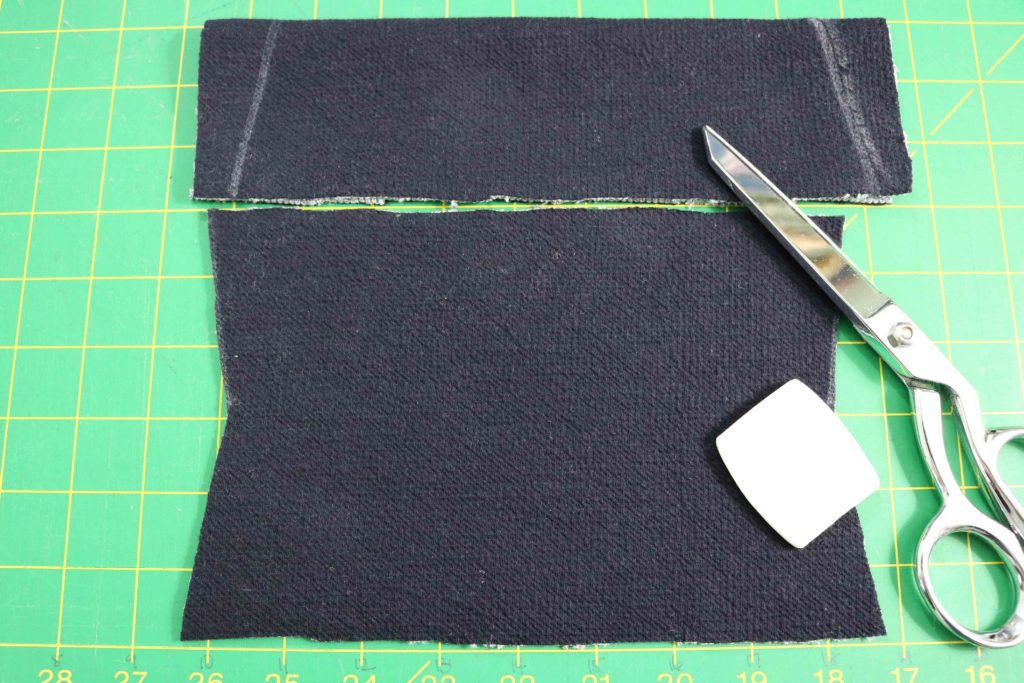
One of the biggest changes I made to the bodice patterns, although still very subtle, is the shoulder accent.  I blocked out each shoulder (front and back) with the dark navy side of the sweater knit.  This is a safety and design feature in many moto jackets in case you may fall off a bike.  I made my own pattern pieces by drawing the shoulder line, cutting out the pieces and then added the seam allowances back in.  I was pretty nervous doing this type of hack, but it worked…after many tests against the original pattern pieces. (It’s always good to check and to re-check!)

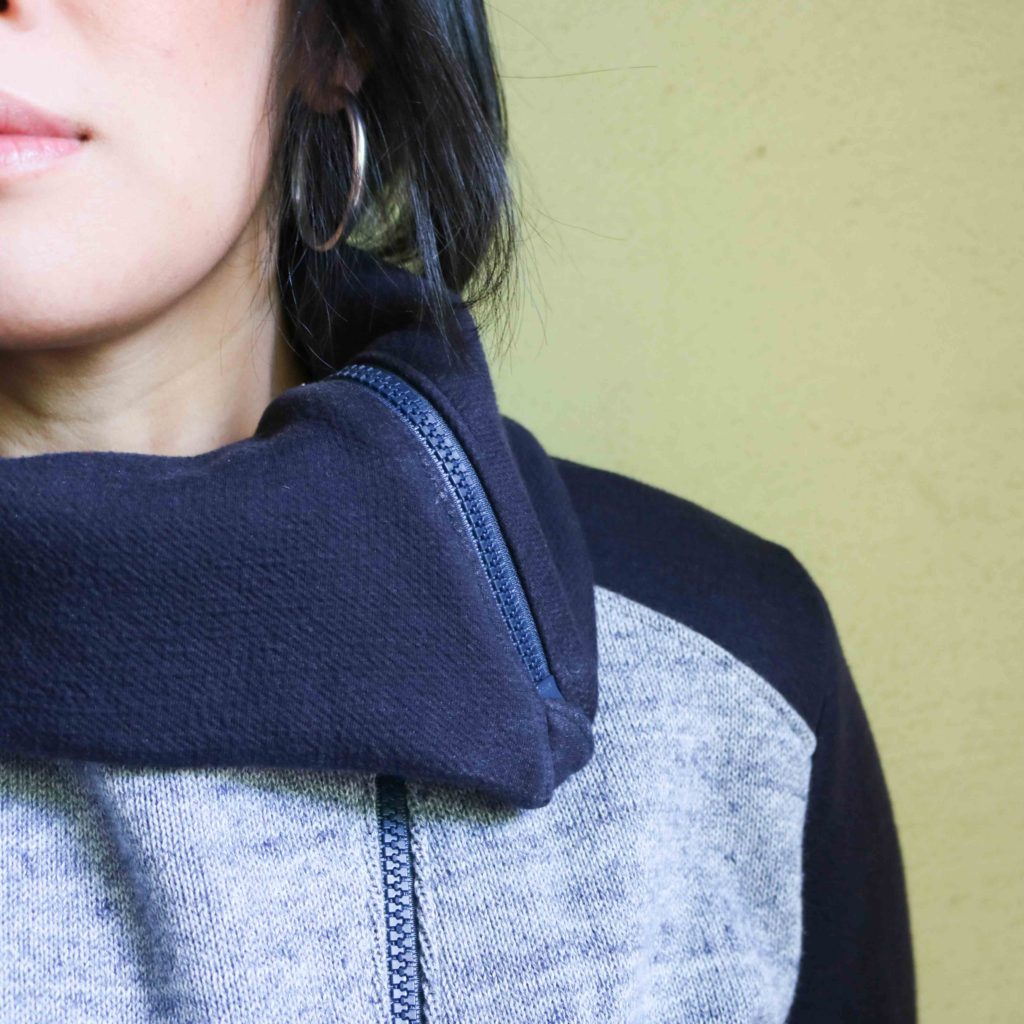
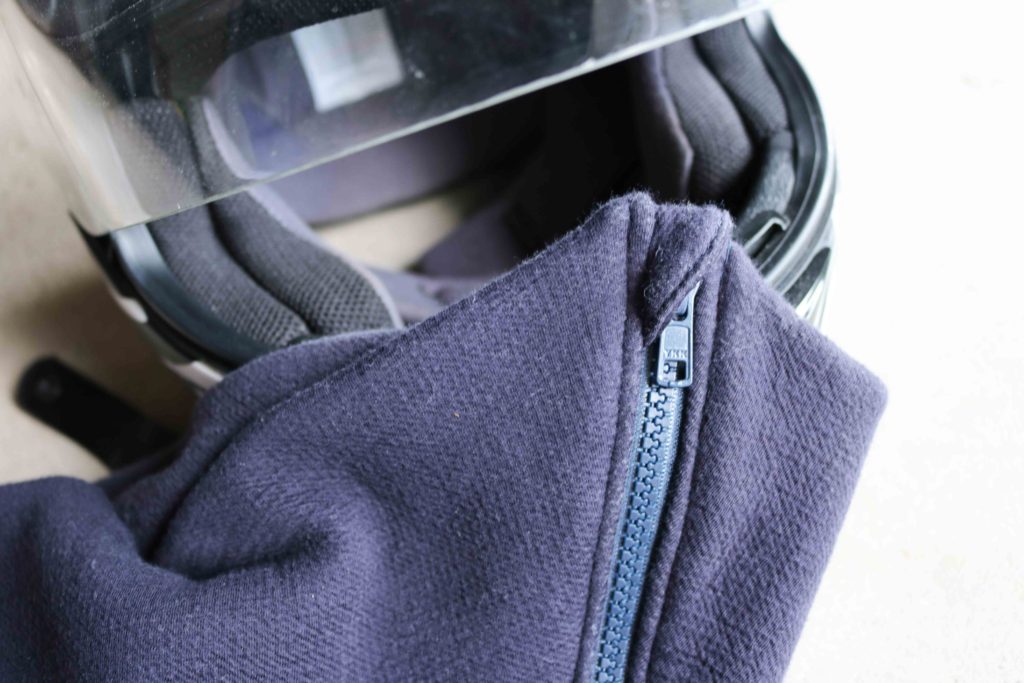
Since I made this sweatshirt for actual motorcycle riding, I wanted to make sure this was safe enough for the road.  The large folded collar is great for sun protection and for warmth, but I was afraid the zipper may have the potential to flip up depending on our speed and weather conditions.  That’s why I made sure to add in a cover for the zipper head.  When pulled all the way closed, the zipper’s pull is completely encased and isn’t dangling down.

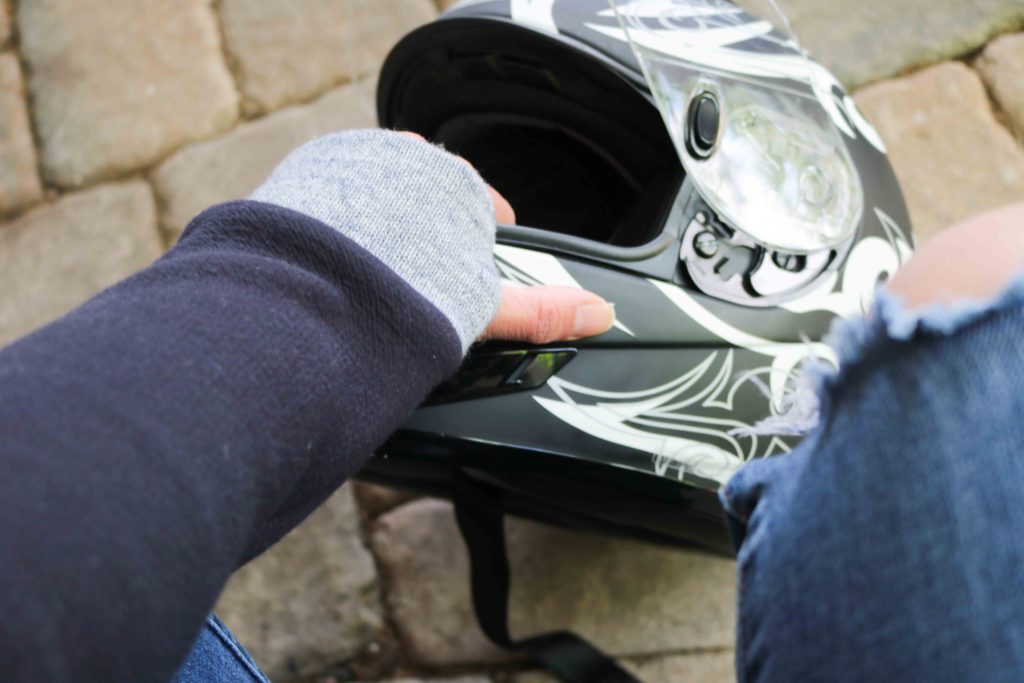
With almost all sweatshirts I make now, I like to add in thumbholes.  They are so great if you are like me and always cold.  But from a functionality standpoint, these are also perfect features to help keep my sleeves down.  Sometimes the air flow can push things back and I certainly won’t let my husband go just to readjust sleeves!

And with that in mind, I made sure to narrow out the entire cuffs themselves.  Again, with air pushing against me as I ride, I wanted to make sure these were more snug on my wrists.  I took 1/2″ off both sides and angled in 1″ where the cuff folds for a cleaner look.

Overall, I’m very pleased with the sizing and fit (after adjustments) with this Moto Sweatshirt.  The instructions and graphics were pretty clear, but it’s always nice to have extra visuals.  The sew-along on the Indiesew Blog was very helpful with showing additional pictures of each step.  I’m very grateful it was available and it made this project go much faster than anticipated. Yay!!!

Project Summary:

  • Pattern:  Moto Sweatshirt – If you want to grab the pattern, click here.
  • Fabric:  Double-Faced Japanese Sweater Knit from Indiesew
  • Zippers:  Molded Plastic Jacket style from Wawak
  • Thread: Gutermann
  • Machines:  Juki MO-2000QVP Serger and Juki TL-2010Q


I hope you enjoyed this review and my hacks to the pattern.  Will you wear your Moto Sweatshirt while walking or while riding???

Happy Sewing, Friends!

Cristy


The Seamly Moto Sweatshirt pattern and Double-faced Sweater Knit were both discounted by Indiesew for this blog post.  But as always, the make is my conception and all thoughts and opinions are my own.

Minikin Sidewinder Review – Plus Drop-In Lining Hack

It is no secret I love Sew Sweetness patterns by Sara Lawson.  I’ve come to really trust her instructions and I love all the innovative ways Sara constructs her bags.  She has written quite a few patterns and has a nice variety of large bags down to small accessories.  You can read about a few of my makes below:

  • Aeroplane Bag – here
  • Crimson and Clover Traincases – here and here
  • Trompe le Monde Bag – here
  • Appaloosa Bag – here

Right before Halloween, Sew Sweetness released a whole collection of 12 small accessory pouches and bags called the Minikins.  These were all designed to be quick sews which use mostly fat quarters.  There are many bags patterns out there which can take several hours and even days to complete.  Sometimes you just need to be able to complete a project in one sitting to feel accomplished and these definitely do just that.

The real bonus is that this pattern collection also comes with 12 step-by-step videos!  How amazing is that?!?  These are great if you are a novice or even like me, who may need help around a few steps.  It’s great to watch them just to pick up some of Sara’s tricks.

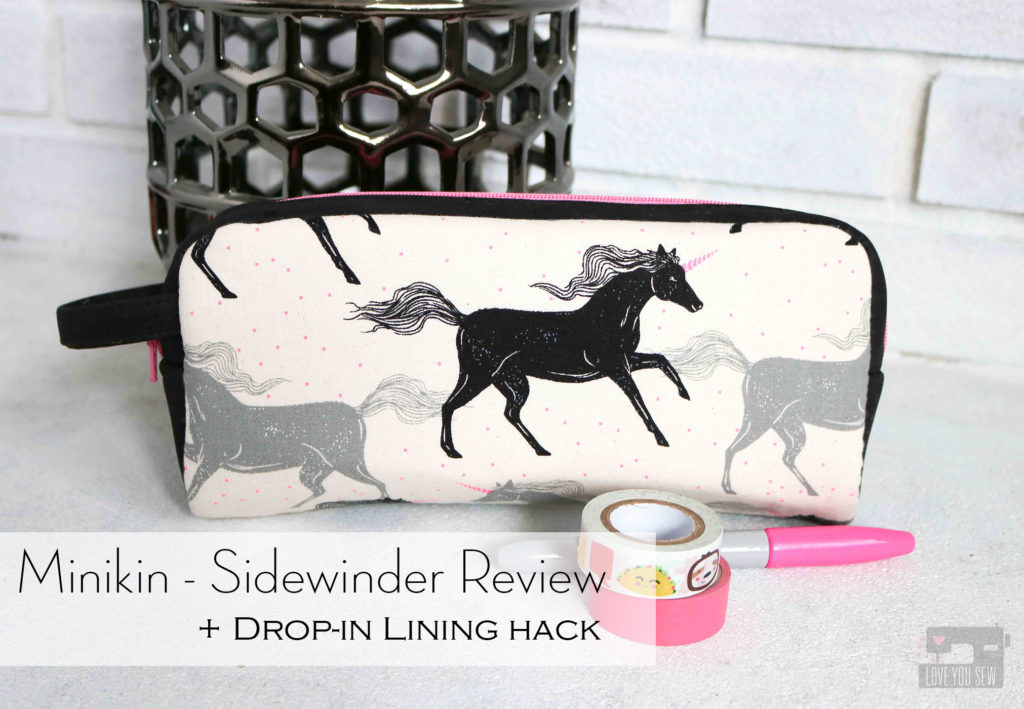
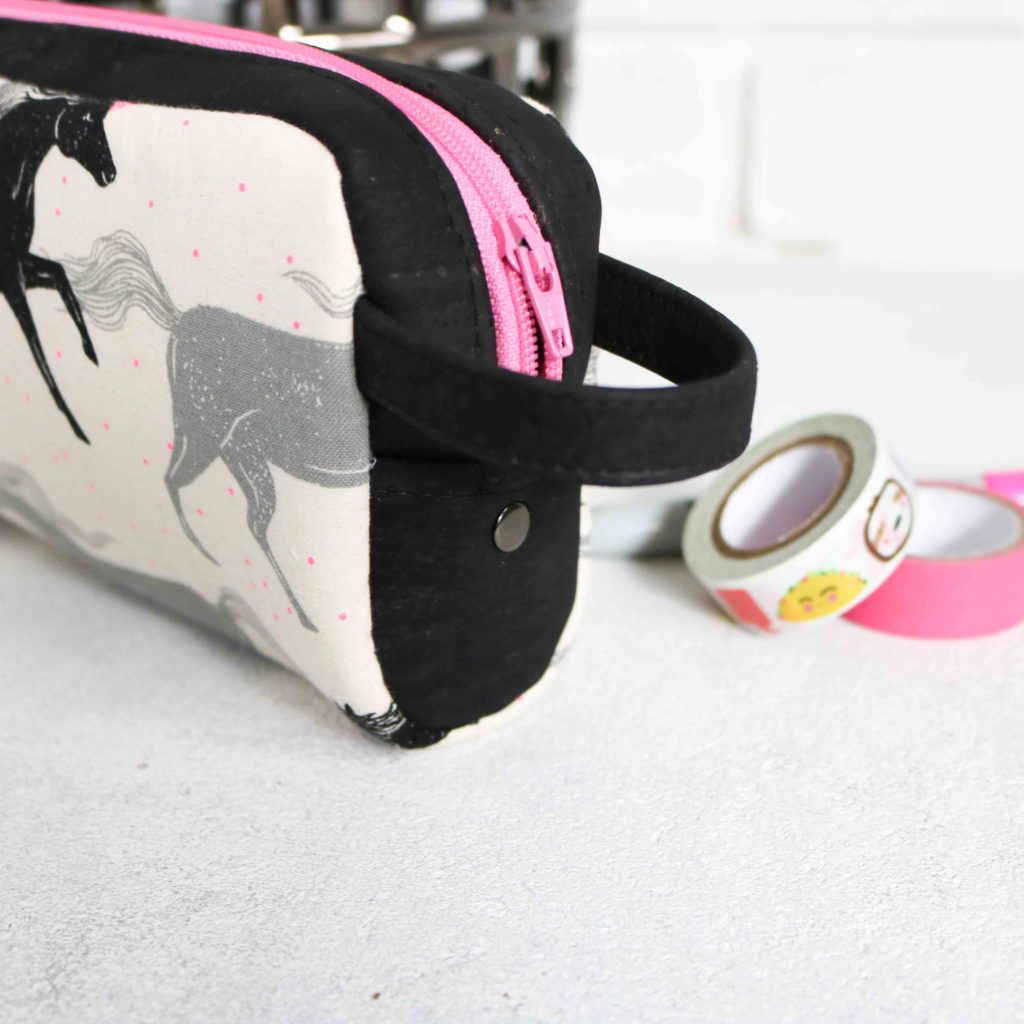
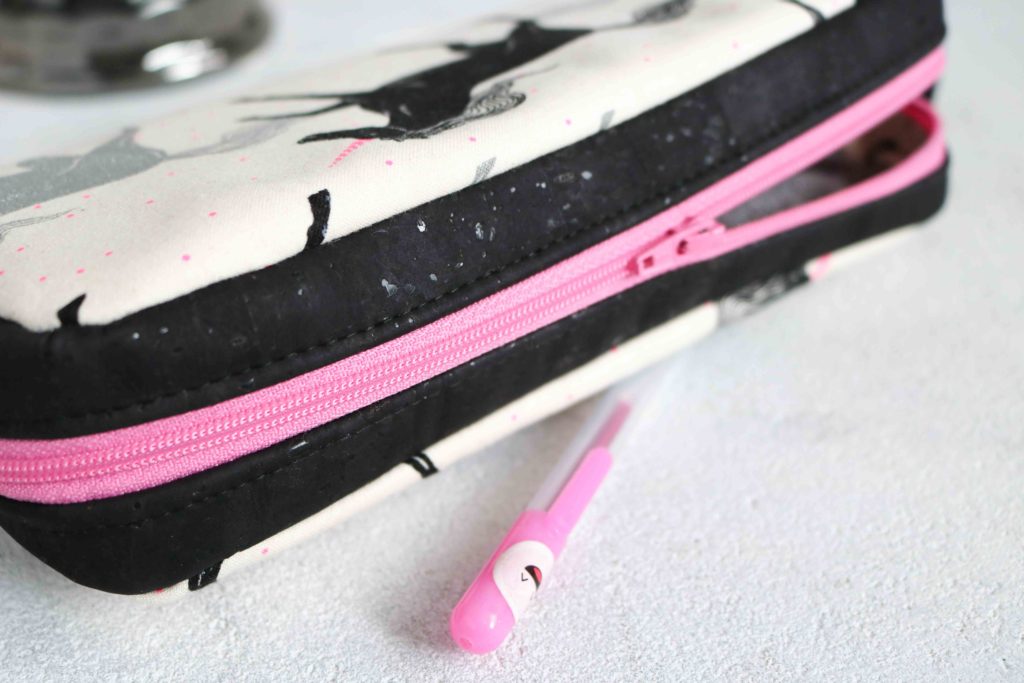
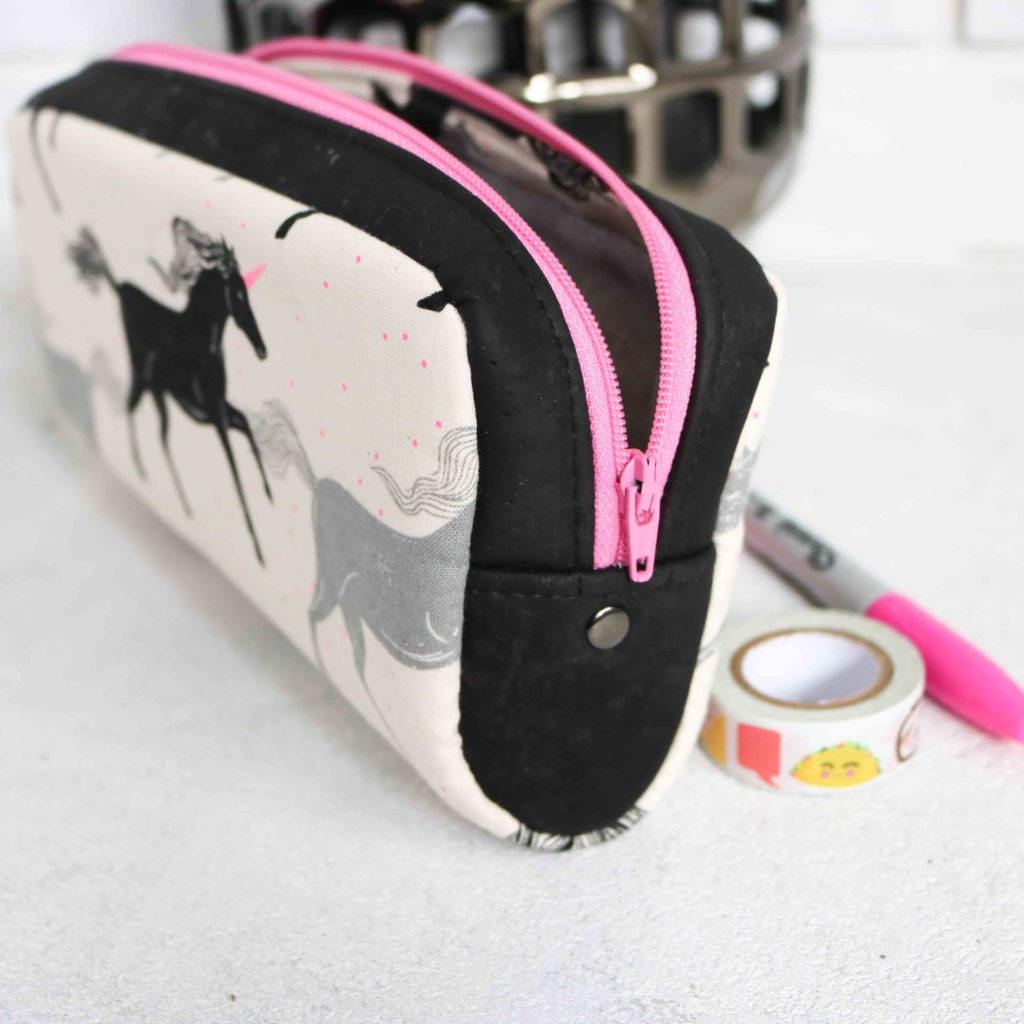
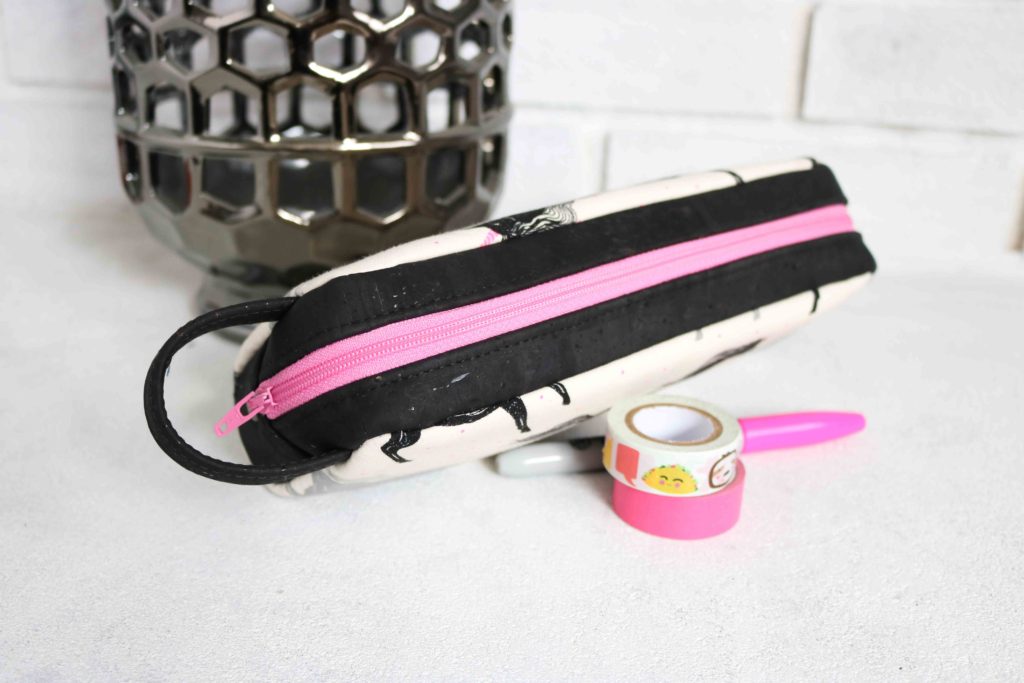
It was so hard to pick which Minikin I would make first.   But since I was heading into heavy craft market mode, I wanted this project to be THE quickest.  So, I selected the Sidewinder because of the curved-no seam-bottom.   This looked perfect for someone short on time and you just need non-directional fabric.  (For these unicorns, I did piece together the exterior because of the direction.)

For all of my Sidewinders, I used the recommended Annie’s Soft and Stable, but also interfaced all the quilt cotton (exterior and interior with Pellon SF101 for added structure.)  The Pellon SF101 on the exterior fabric helps prevent extra stretching and puckering when basting with the Soft and Stable.

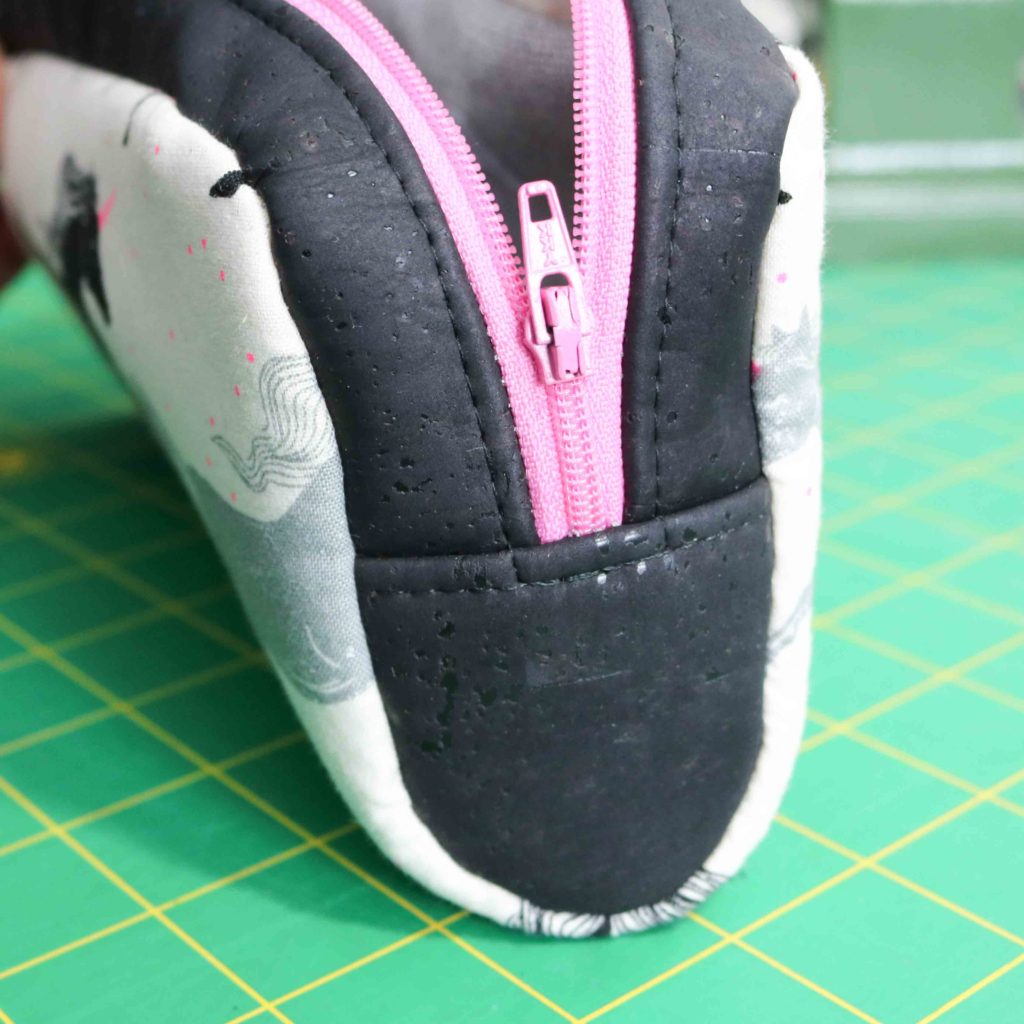
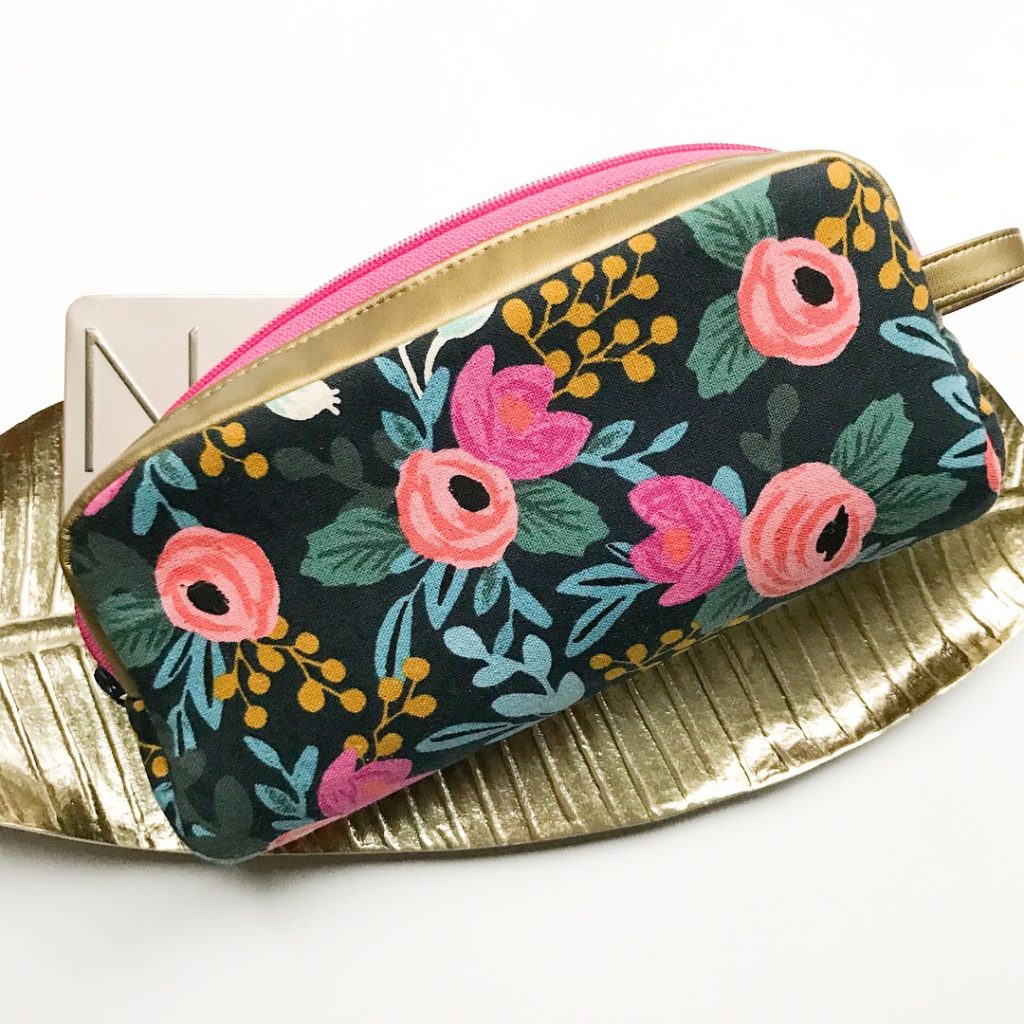
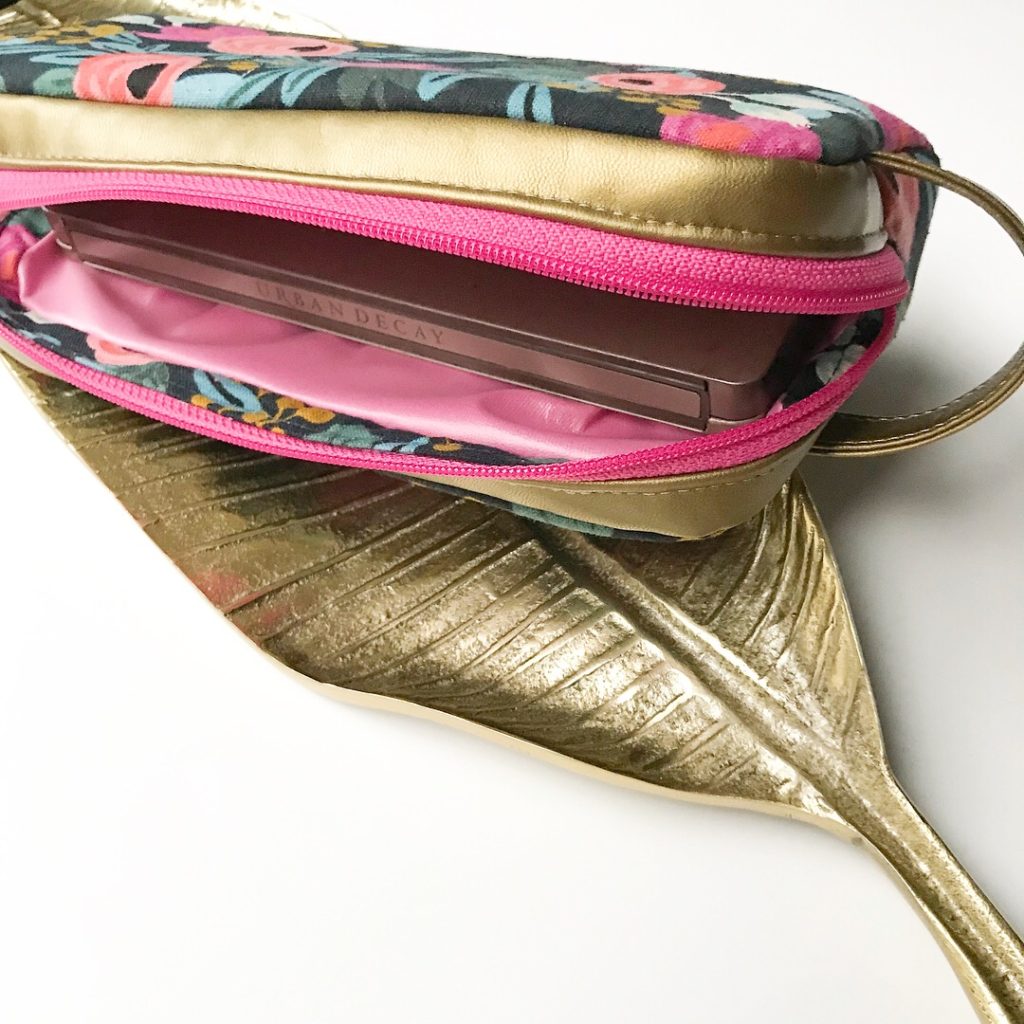
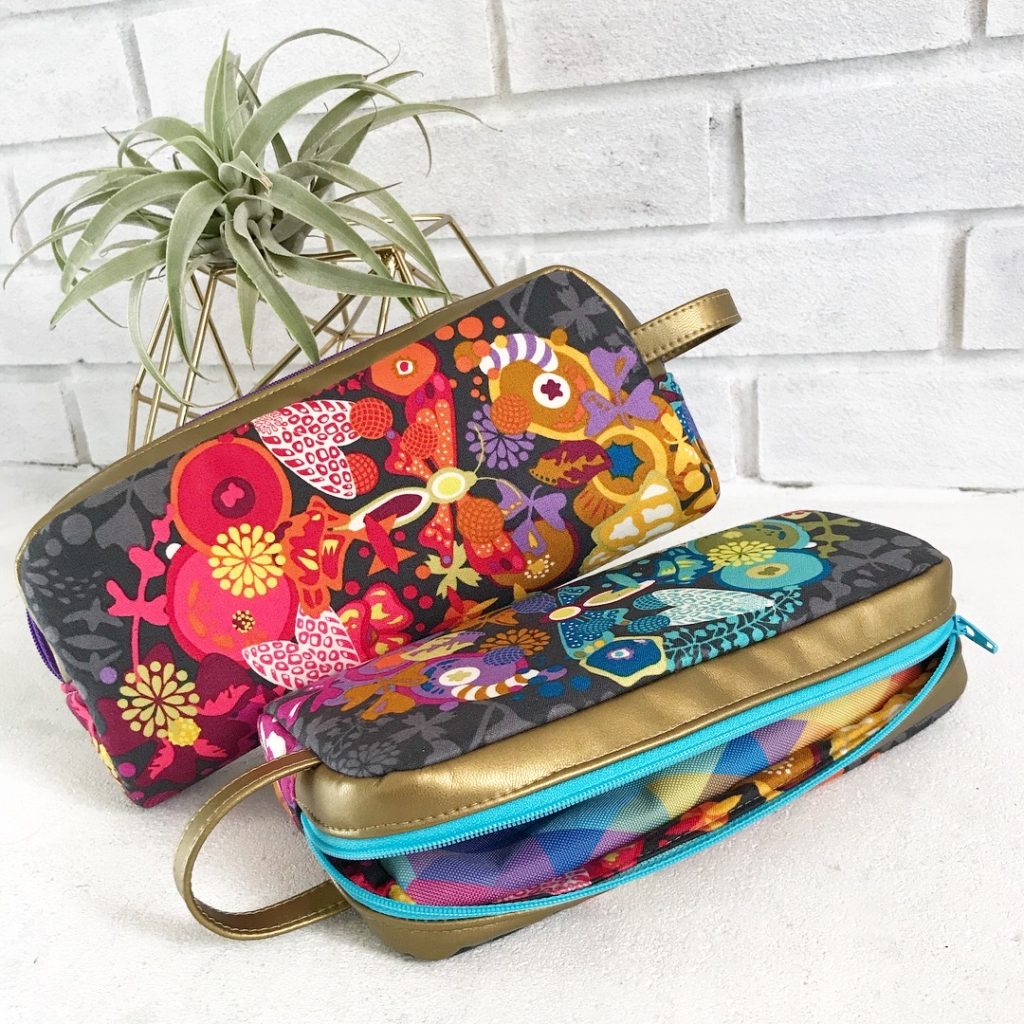
For all of the gussets, I used either cork or faux leather, all found in the Sew Sweetness shop.  It’s nice to find so many substrates all in one place.  (Gotta love that flat-rate shipping too!)  It helps amplify the bag design and really make them look professional with cork or faux leather.  The corners get a little tricky, but you can muscle through it and use Sara’s technique in her video.

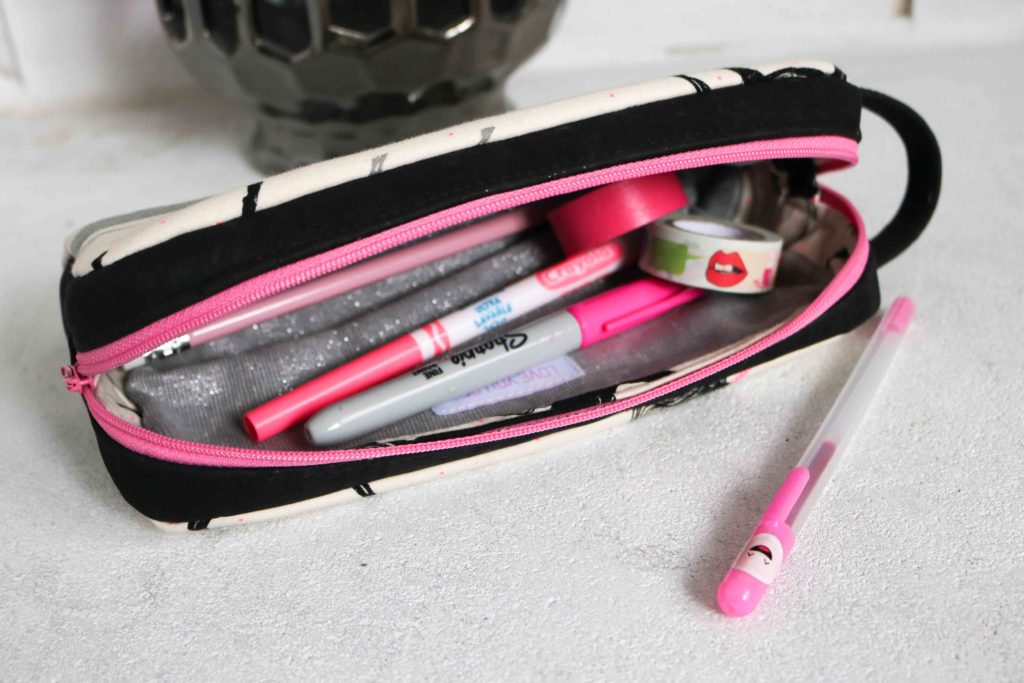
This pattern and some of the other Minikins make use of a drop-in lining.  This is when the lining and bag exterior are constructed separately and then joined together (usually through top-stitching around the zipper.)  Even with all the bags as I have made….I’m terrible at attaching  drop-in linings!  I can’t get my seams to match up so my stitching consistently catches all of the lining…grrr…  I tried pins and even glue basting the linings.  But when I have to maneuver around end of the zippers, something always manages to shift.  I’ve also spent an absurd amount of time trying to hand-sew in the linings…and this girl just doesn’t have time for that!  So, that’s why I devised my own lining hack.

{Edited to reference the step #’s per Sidewinder instructions.}

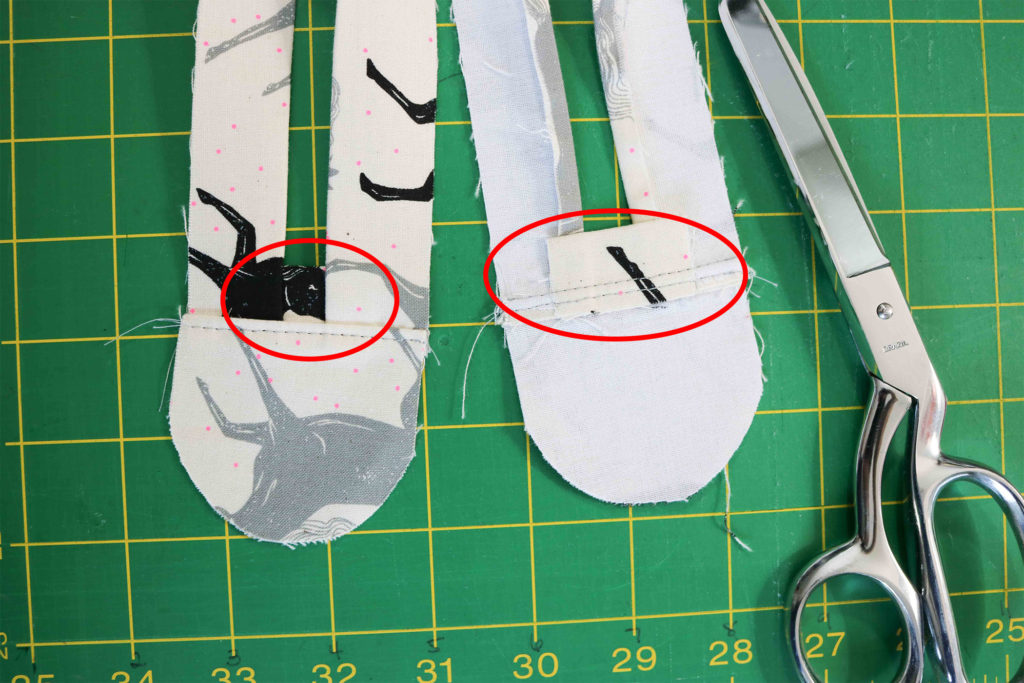
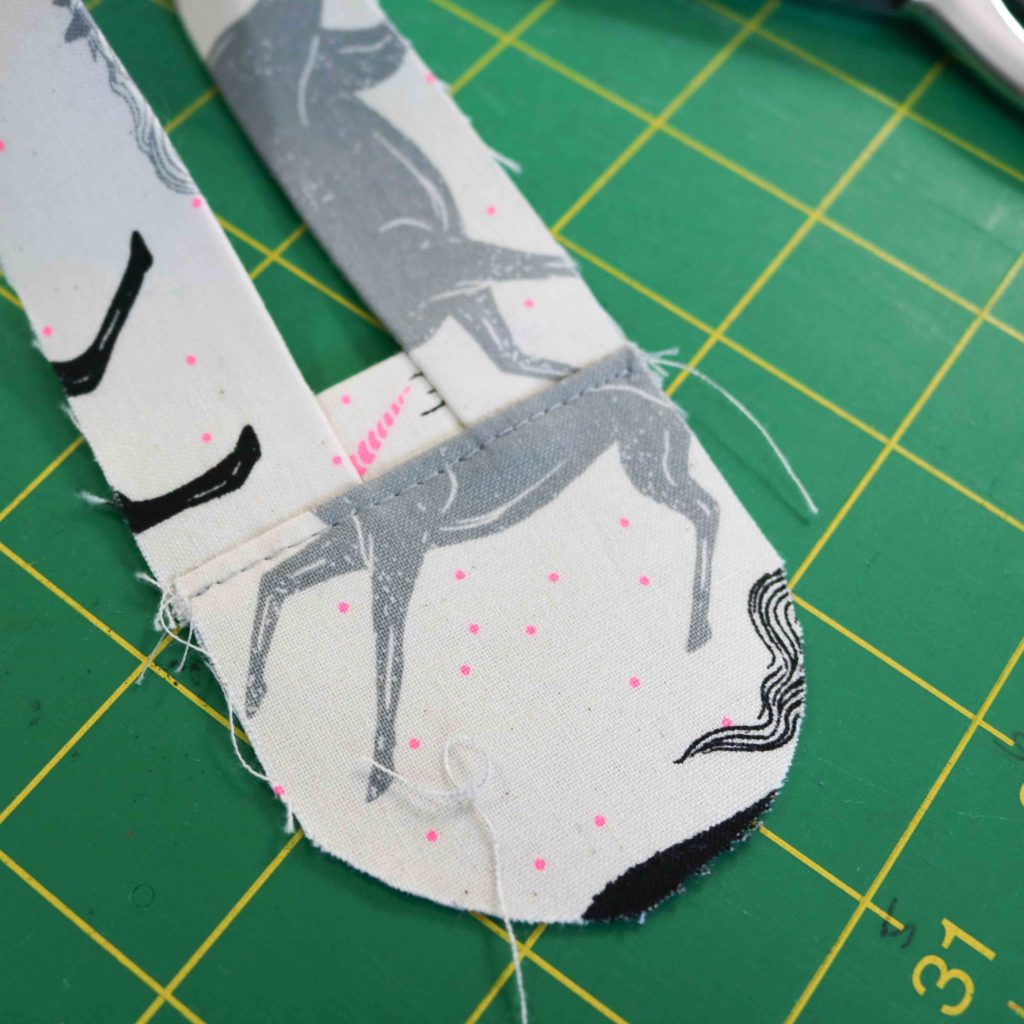
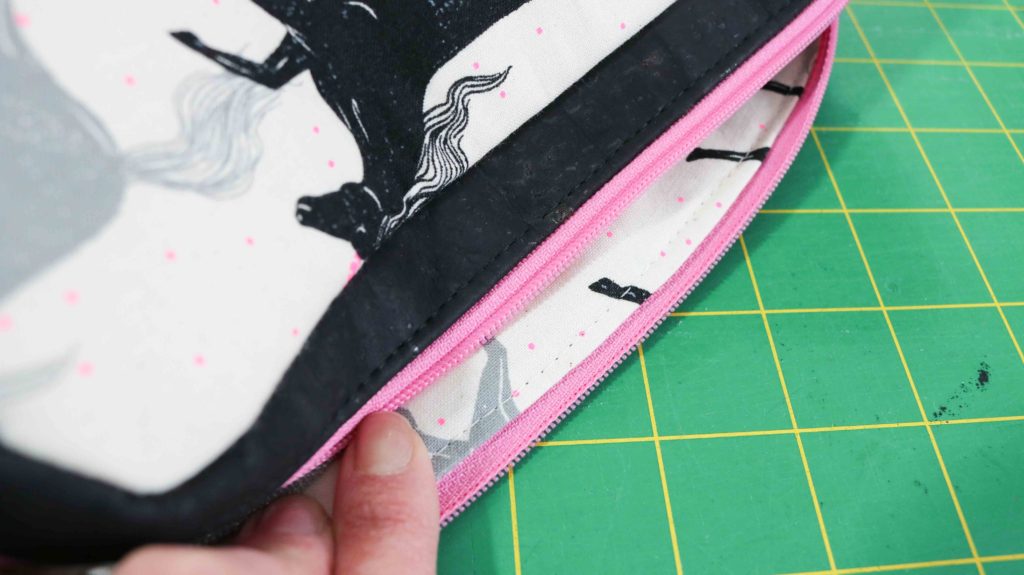
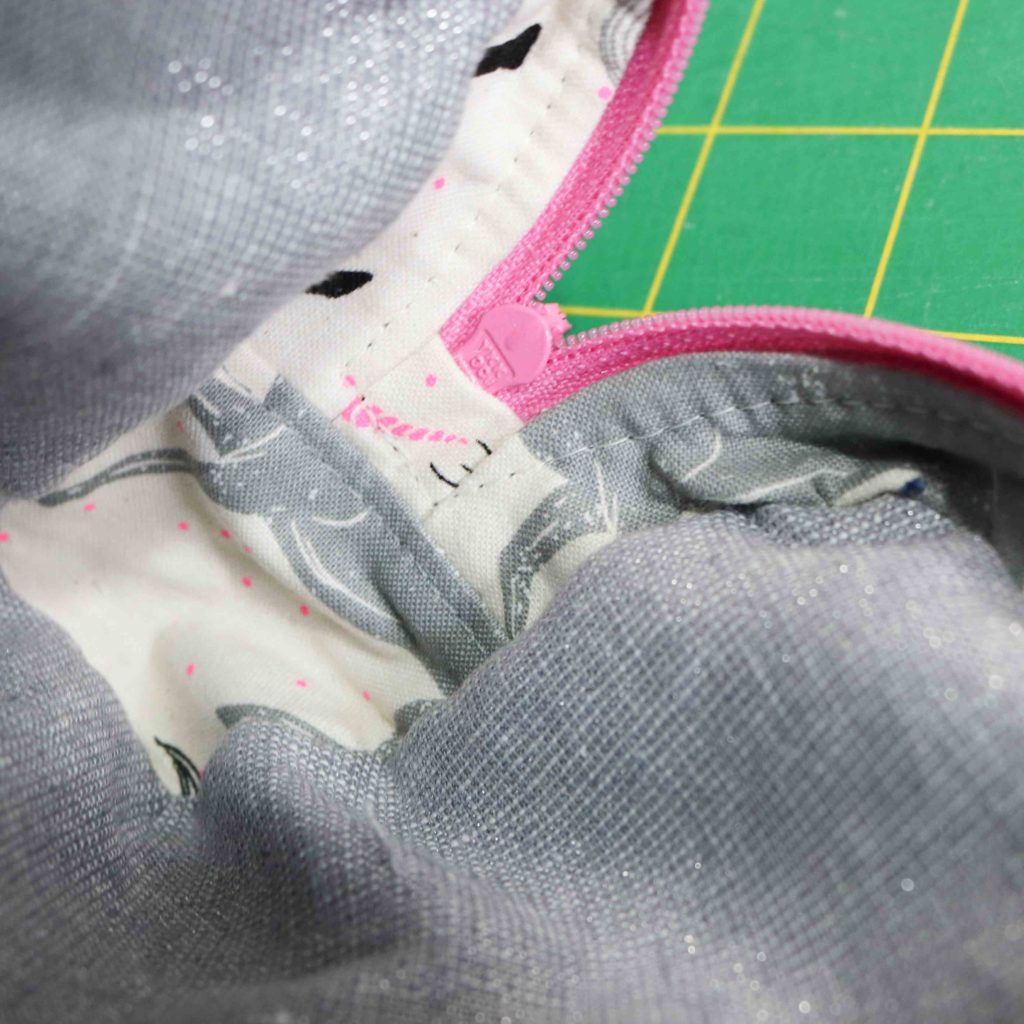
In step #5, skip the top-stitching.  Complete step #7 per instructions, stopping before you top-stitch the Lining Side Panel down.  With left over scraps, I cut approximately (2) 3″x1.5″ rectangles and folded each in half lengthwise.  Each rectangle was centered and placed behind the zipper openings as shown in the red oval. Continue with the instructions to top-stitch the Lining Side Panel, along with these extra rectangles.

This method provides me with about 1/2″ of extra lining for my stitching to catch on either side of the zipper.  The rest of the lining and exterior are completed as instructed.

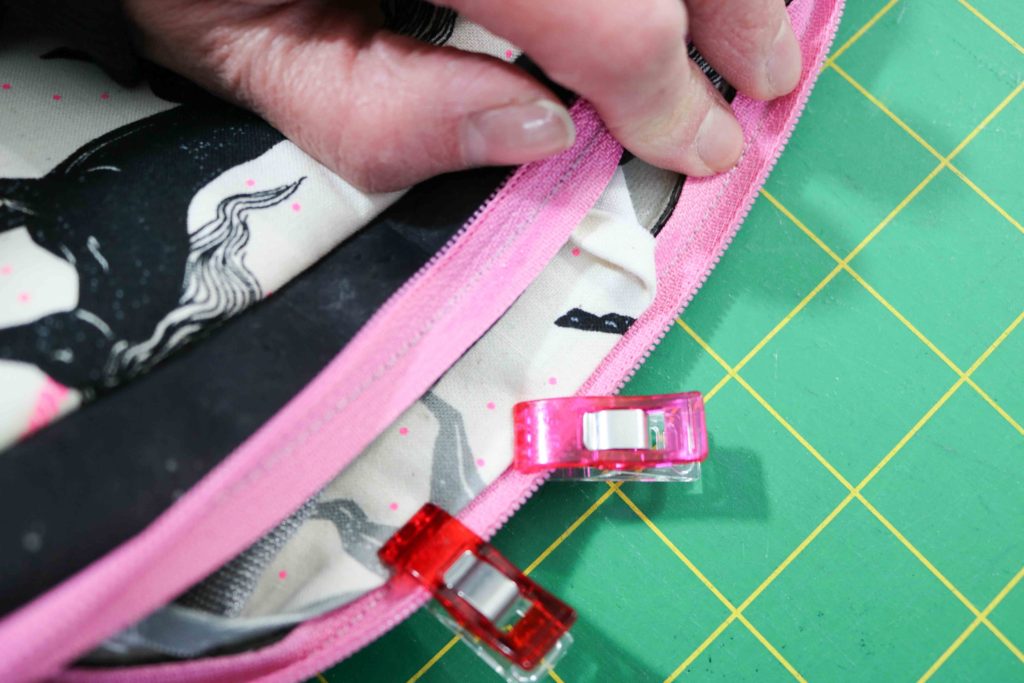
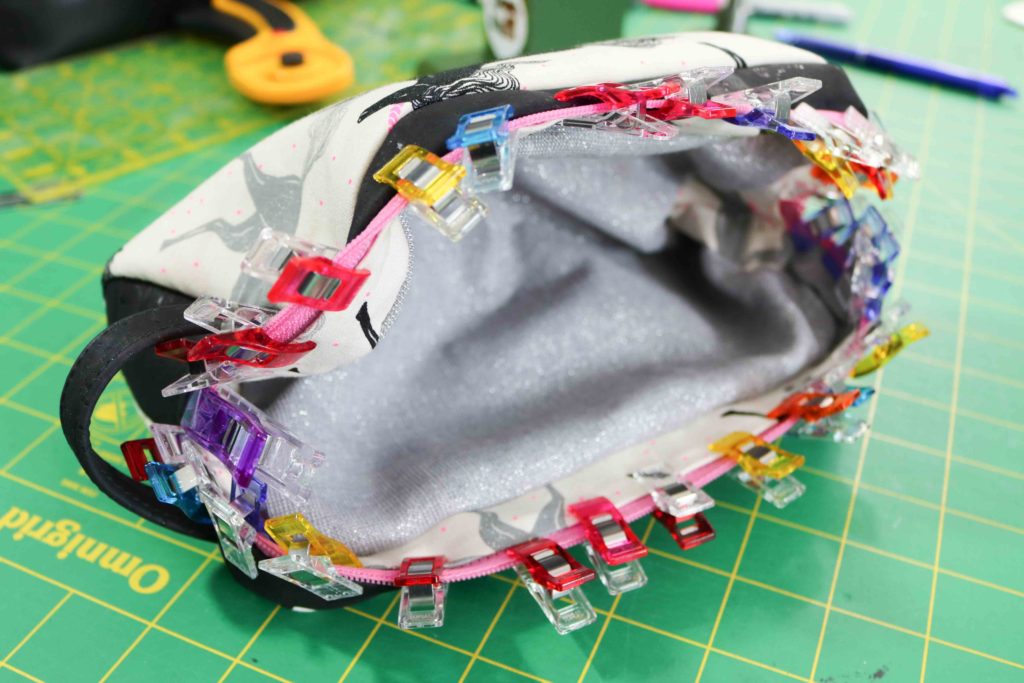
As personal preference, I glue baste the lining to just barely covering my zipper stitches and use clips to hold them into place until the glue dries.

 There is no such thing as too many clips, right?!?

With a larger needle (16,) I top-stitch around the zipper with the exterior panels facing out.  You can see how it catches the lining below.  Using a thread to match the lining helps to hide any wonkiness 😉

I use this method to have one line of stitching versus the method in the pattern.  Personally, I like the cleaner look, but there is no structural difference.  I’ve seen others create two parallel lines of stitching for a nice detail as well.

 You can see at the zipper ends, my sewing isn’t perfect, but I am able to always secure the entire lining no matter how much wrestling I have to do with a bag. The extra lining fabric give me a nice cushion!

I finished the Sidewinder with just a rivet to add a little extra polish to the pouch.  A little hardware goes a long way to make your project look professional.

This is great fast sew that has so much visual appeal for being a “pouch.”  It definitely set my products apart from other craft market vendors and I’m SO happy for that!  Check out a few of my different versions below.


Project Details:


Have you tried out the Minikins yet?  I hope you like my drop-in lining hack and let me know how it works for you,  if you decide to try it out!


Keep Sewing Along,

Cristy
 

Please note this post DOES include affiliate links and I have received the pattern free as part of being a Sew Sweetness bag tester.  I was not required to write a blog post and you know all words are my own.