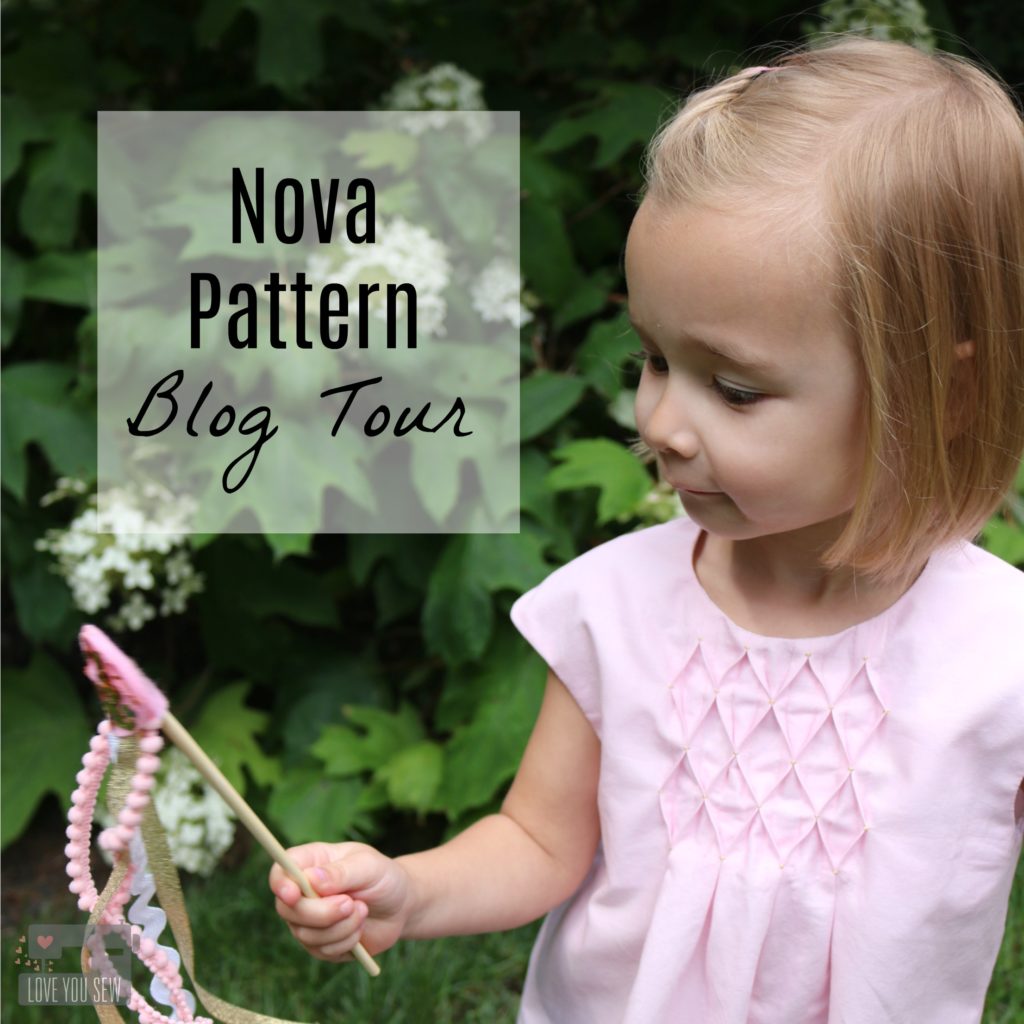
Nova Pattern – Blog Tour

Sewing up little girls clothing is one of my favorite things to do.  I don’t have any girls of my own, but I love making them for my nieces and close friends. It’s such a nice change of pace from all the boy patterns I use and I do love “the twirl” when one of my recipients puts on her dress for the first time.  It just fills my heart!

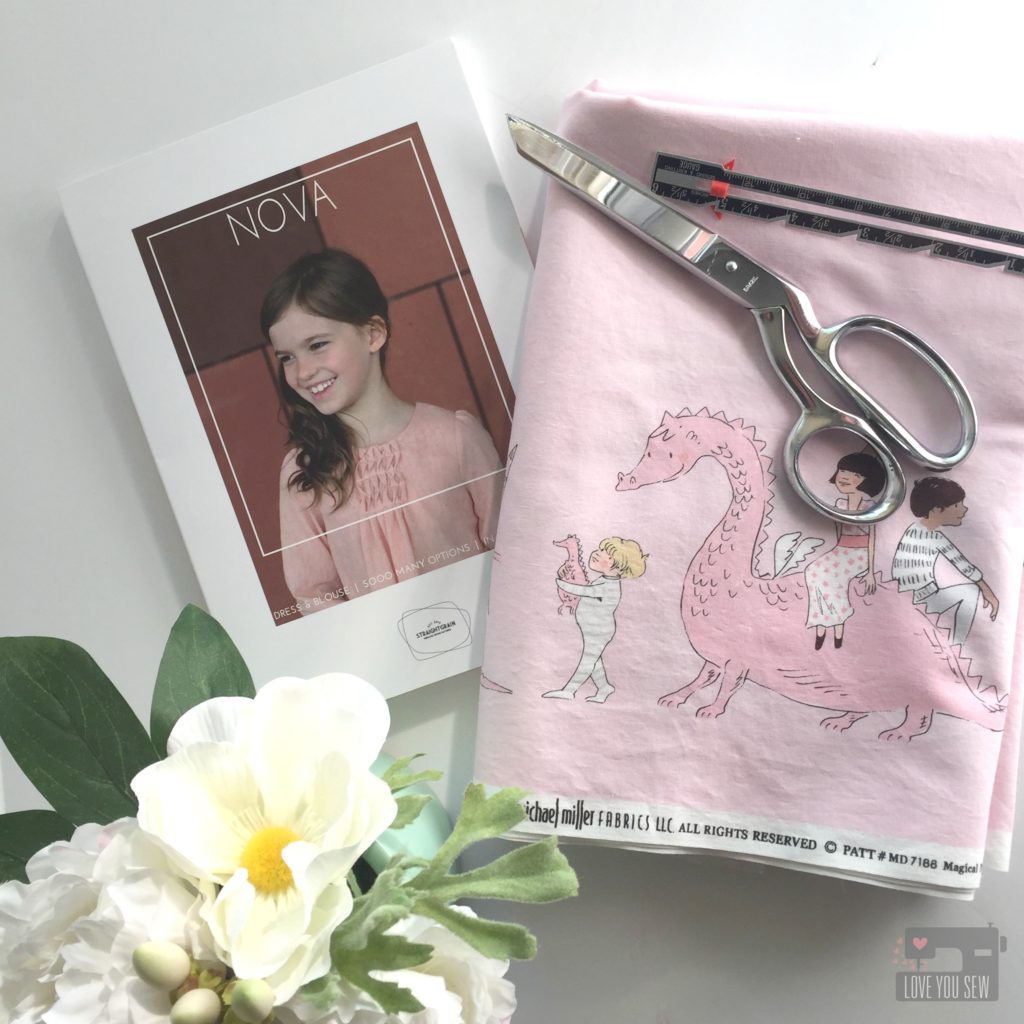
When I make the plunge to purchase a girl’s garment pattern, it has to be versatile and timeless.  I don’t make them as often as other things and I need them to go with all different fabrics.  That’s exactly the style of Nova by Straightgrain Patterns.   It’s a beautiful no-fuss, clean design with lots of options.  The sizes go from 3m – 12 years too…Now that’s what I’m talking about!

The Nova pattern is available in both PDF and paper forms. I’m a paper person, myself, and love the color coded sizing. Many authors will give you color in the PDF but not the paper, so that was a nice surprise to find.  The pattern is also written in both English and Dutch (for any of my Danish friends out there!)

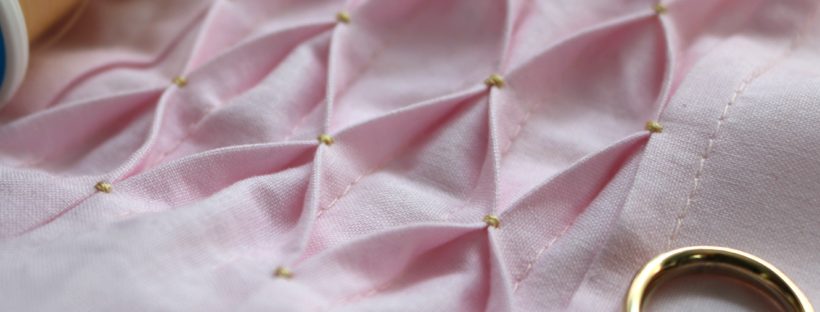
Nova consists of a classic A-line silhouette for woven fabrics.  You can change up the sleeves, the length, back closure, and even collar for a number of different looks. But what makes this pattern really special, are the pleating variations on the front and the back!  All the different pleats are just so amazing and I’m all about that extra texture!

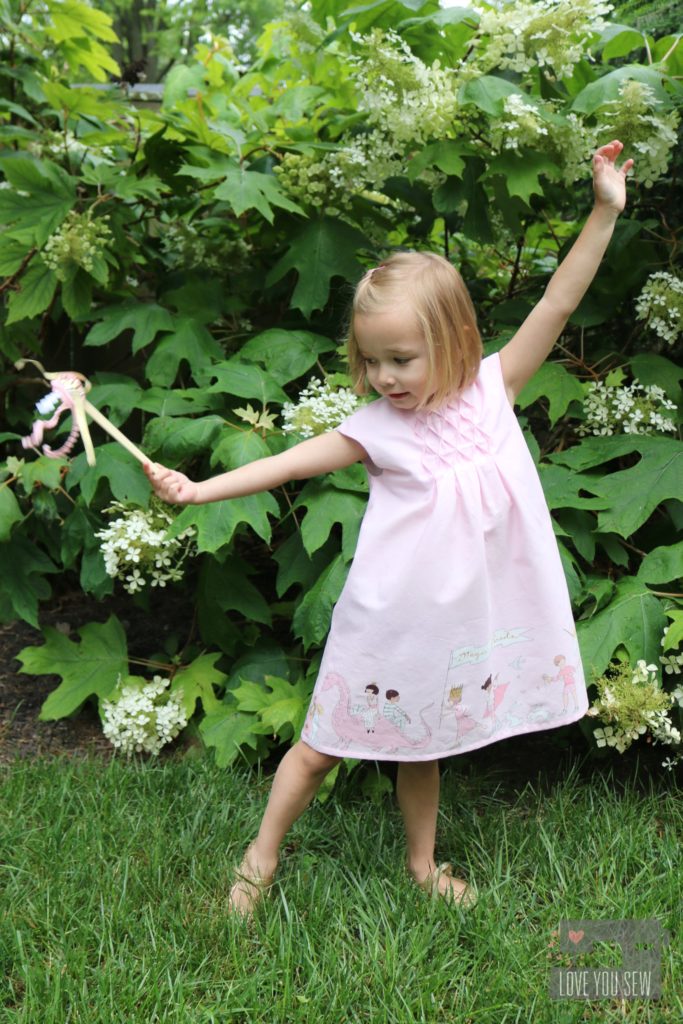
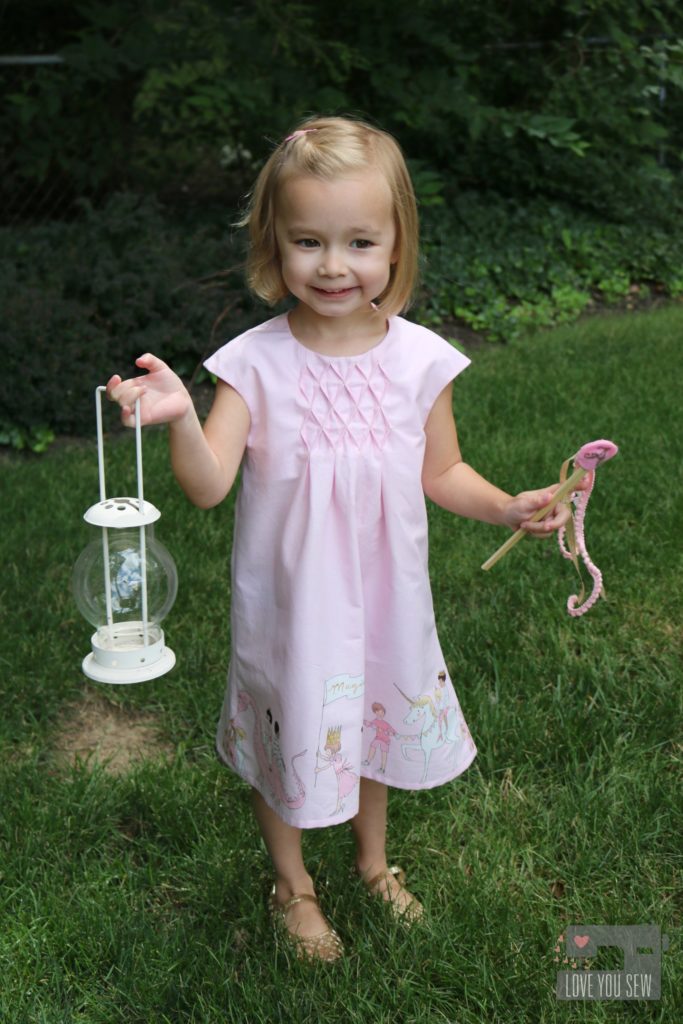
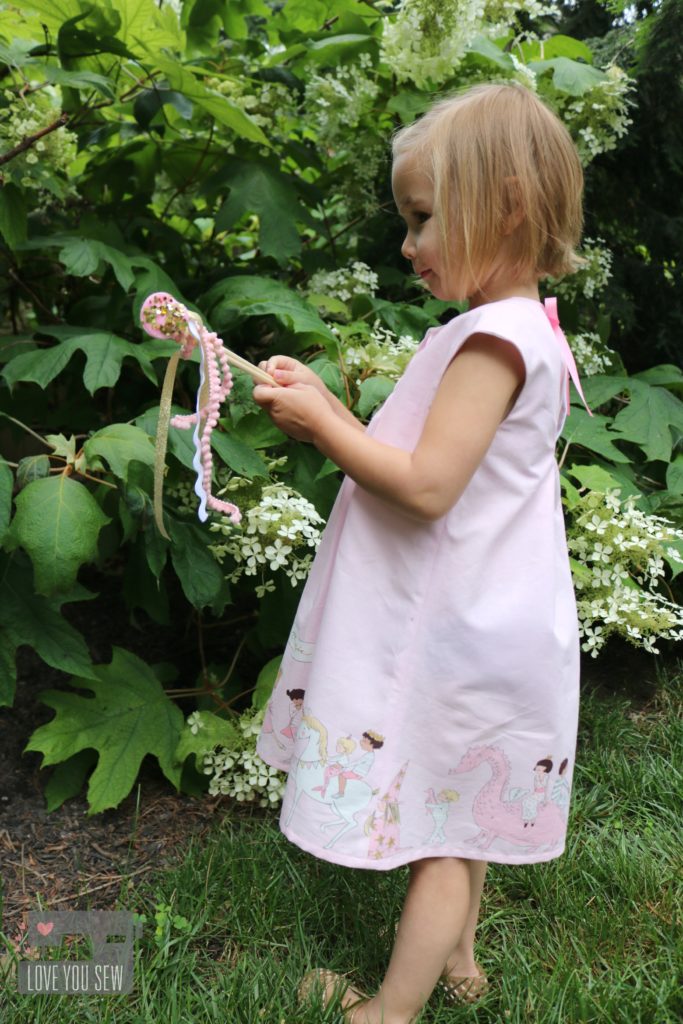
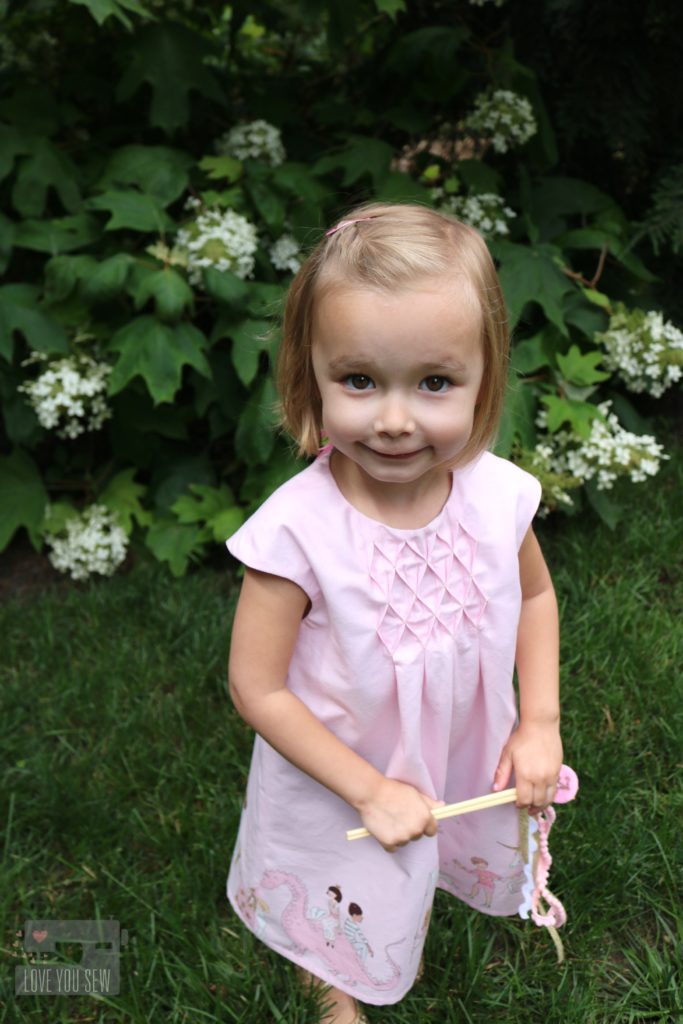
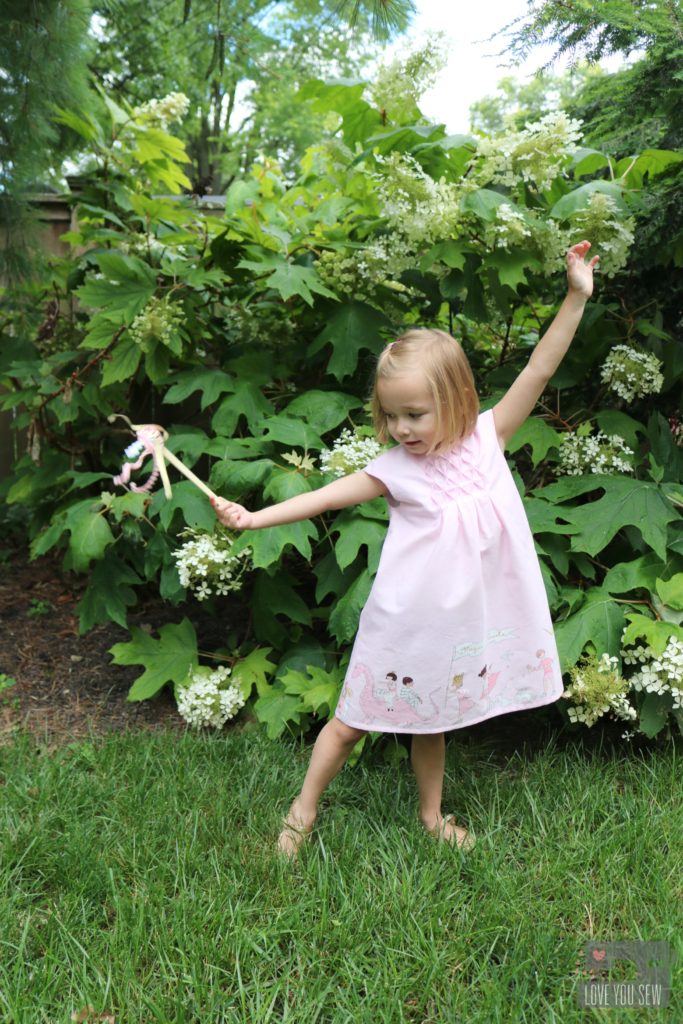
When I received the pattern, I knew the double panel print from Magic! by Sarah Jane was going to be perfect. The parade of magical creatures is so whimsical and such a sweet look at childhood.  The simple solid pink background would really show off that honeycomb smocking.

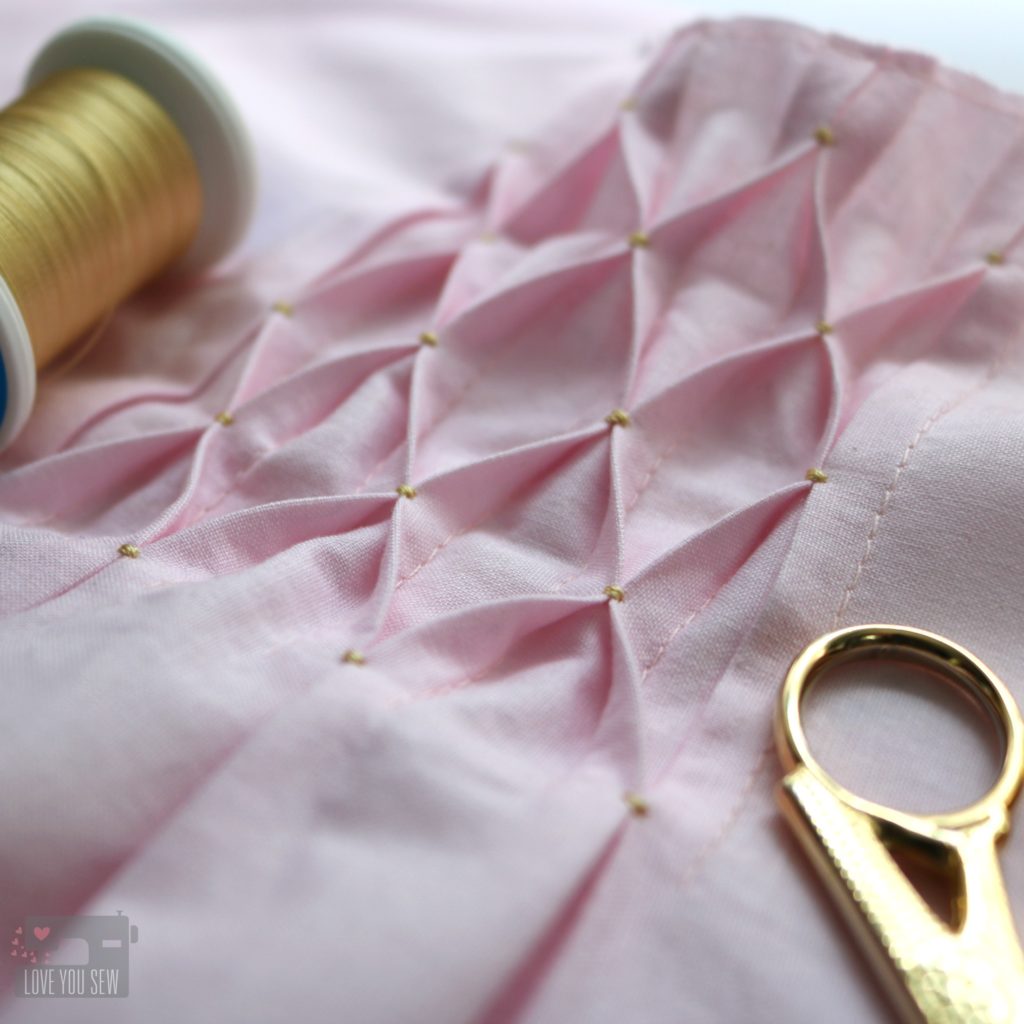
Speaking of…can you believe this was my first time making the honeycombs?  I did have to read and re-read the instructions a few times to wrap my head around the concept.  But luckily, An had a number of great pictures AND a video tutorial to help this newbie.  I made sure to evenly mark my seams, sewed slowly for nice even pleats, and pressed well for a defined shape.  Gold thread really helped to highlight the technique and brings out the metallic details in the fabric.

With the honeycomb detail, I kept the sleeves simple with the cap option. It gives such a nice clean style and the dress can be put on and taken off easily too.

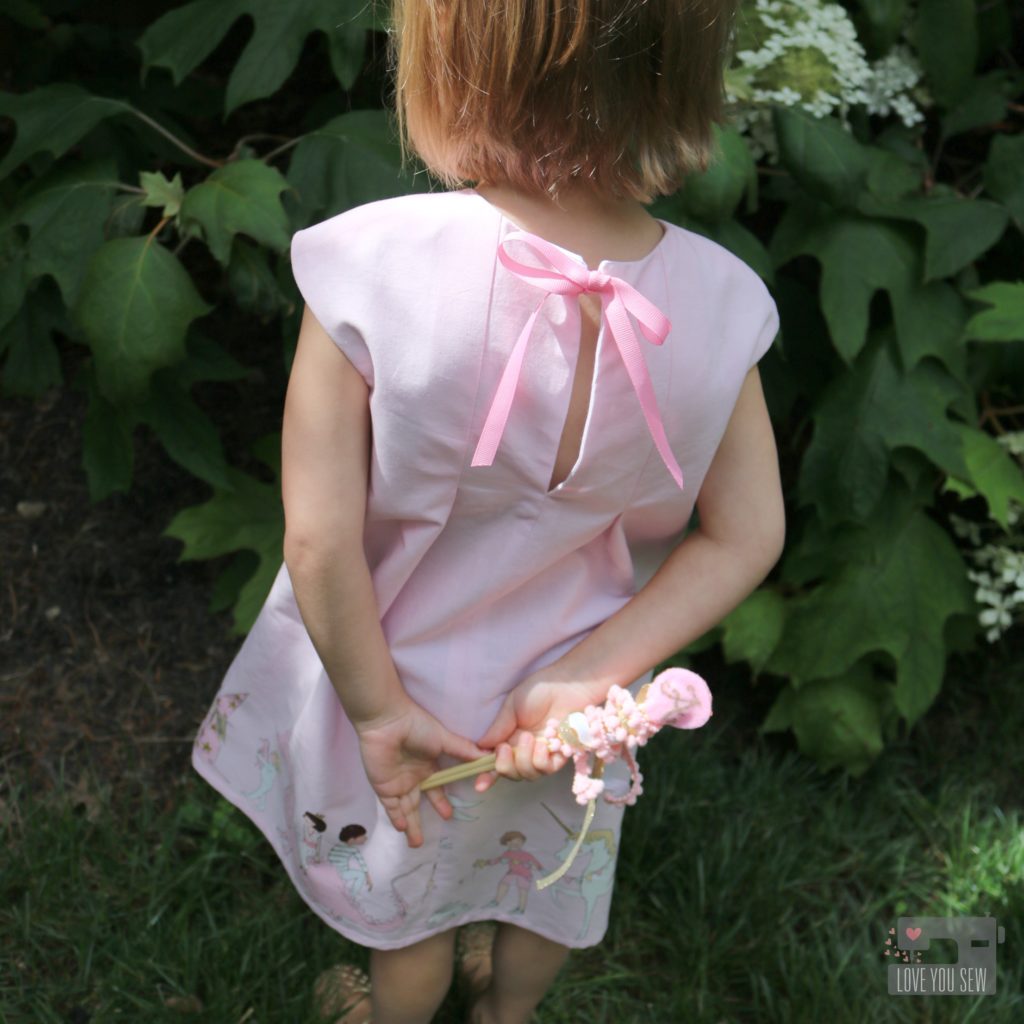
For the back, I opted for the ribbon closure. The fabric is just so sweet that only a bow could work IMO.  I was debating back and forth with ribbon color and settled on a shade that was darker than the body of the dress, but picked up in the print.  It gives the dress some balance and brings your eye up to that keyhole detail.

The Nova was SUCH a fun make. It helped to stretch my comfort level and I learned a new skill in the process…which wasn’t as hard as initially thought! This is another reason I enjoy making little girl dresses. It’s nice to work on my garment skills on a smaller scale…and for a less discriminating audience. Haha.

Project Details:

Make sure to also follow Straightgrain Patterns on Instagram for more inspiration and tutorials to help you along the way.  #novapattern #straightgrainpatterns


Check out the other participants in the Nova tour:

Sisko by MiekeBel’EtoileZowiewo Petrol & Mintsewpony Fairies, Bubbles & Co
Elizabeth LittleMaker Mountain FabricsBetter Dressed Child Just Add FabricMy Petite Sophie
Frances SuzanneI Sew BlancheLily & WoodyMy Minnie Mie
Love You Sew (you are here)- Thread Riding HoodAriane Blog


The Nova pattern was provided by Straightgrain Patterns as part of the blog tour.  All thoughts and opinions are honest and my very own.  

This post contains affiliate links under Project Details
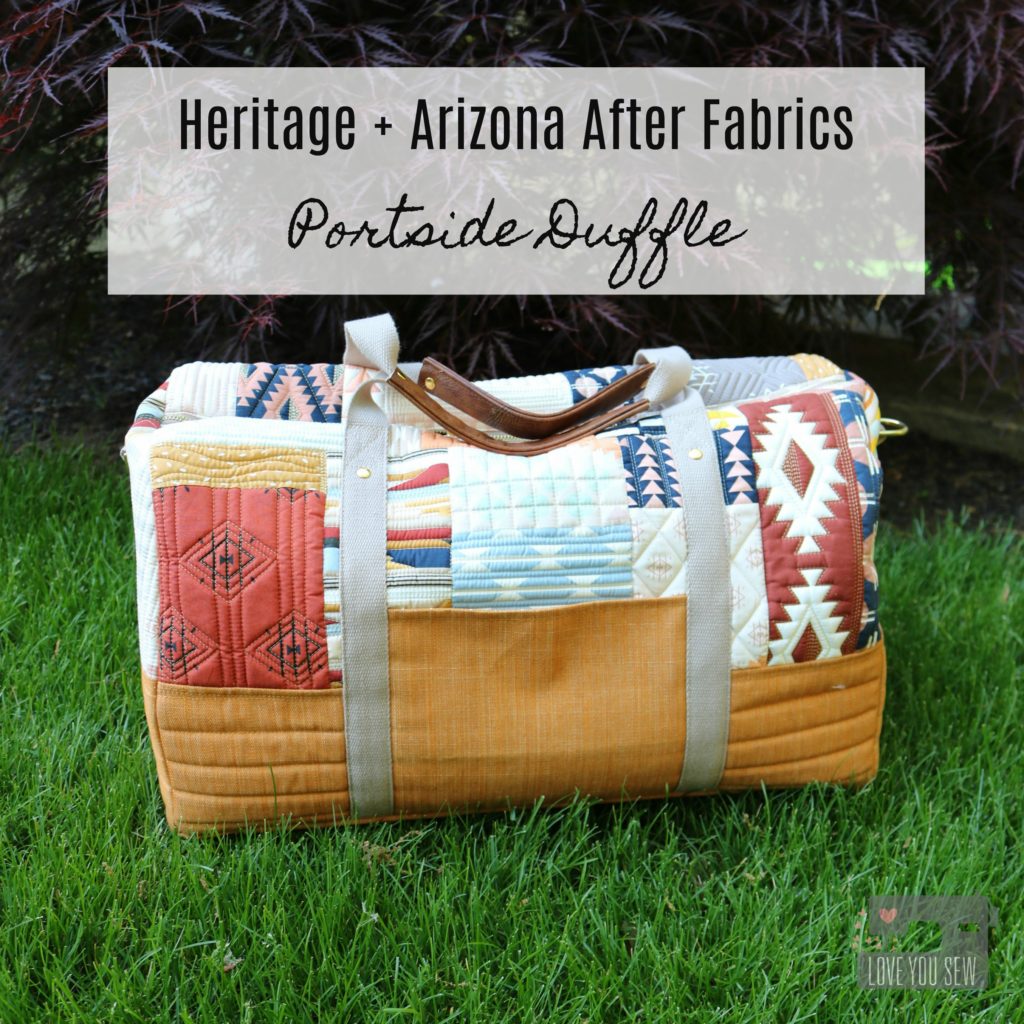
Heritage and Arizona After Fabrics :: Portside Duffle

April Rhodes has done it again.  She has just dropped not one, but TWO new fabric collections with Art Gallery Fabrics.  Arizona After is a gorgeous extension of April’s inaugural Arizona line with some new prints and some recolored with soft dusty pink and blues along with some deep rust and mustard.  The color combos she puts together are always so striking.  Heritage fabrics consists of garment focused substrates…including the new RAYON.  With April’s clothing patterns, she has always been a designer who knows scale for the quilters and the garment sewist alike.  It’s the perfect collection for the me-made makers!

Beyond the fabrics, April’s inspiration for the collections is just so touching.  The way she talks about her family and memories of her father and grandmother is just pure love.  Truly awesome. I love how a lot of the designs were just a part of April’s everyday life and over time, have been permanently imprinted in her head.  To bring these images to life brings so much light to her eyes and it’s been amazing to witness it all. These fabrics are just gorgeous and I’m happy she’s shared them with all of us….because whoa, right?!?

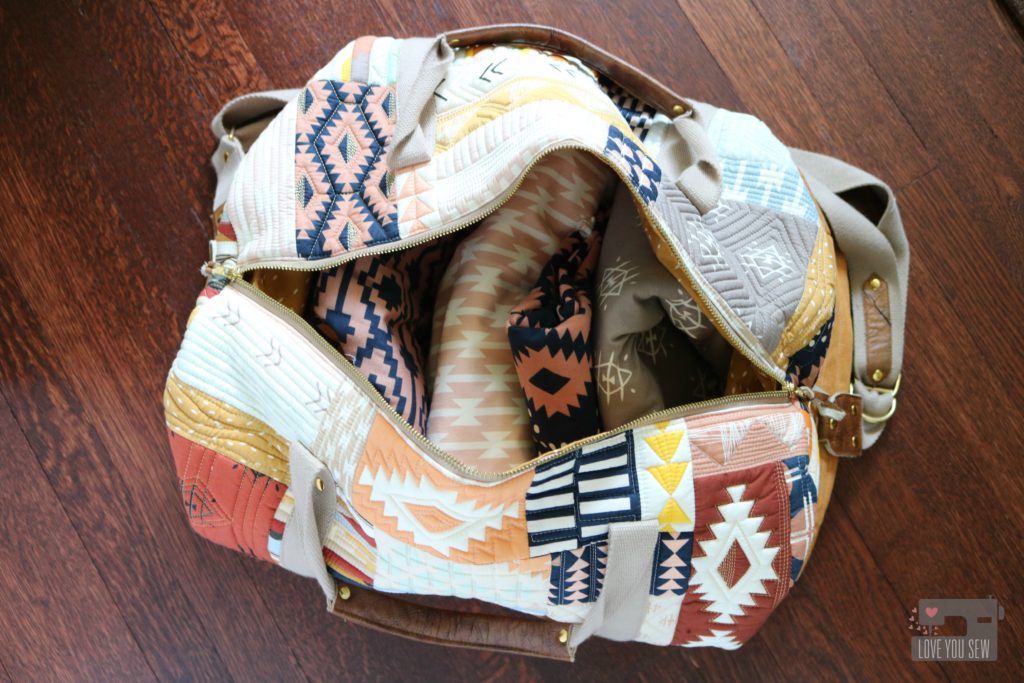
When I was asked to make a bag for April’s Spring Quilt Market Booth, I (of course) agreed.  She has become a dear friend and I will always help her, as she has helped me in so many ways.  April asked me to make a larger duffle and suggested a quilt-as-you-go method for easy patchwork because with Market…comes some tight deadlines.  I got to immediate work, but quickly realized I had to Turn. It. Up.

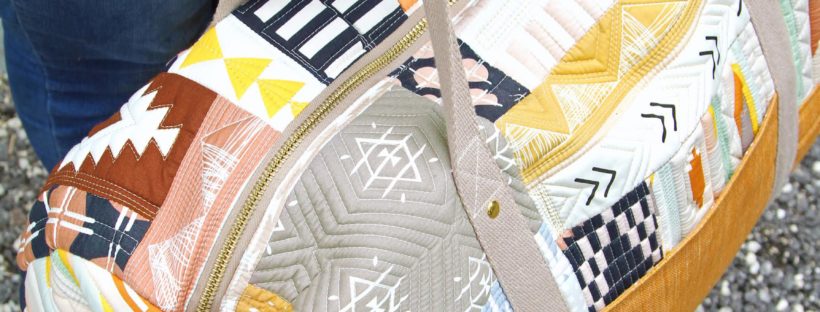
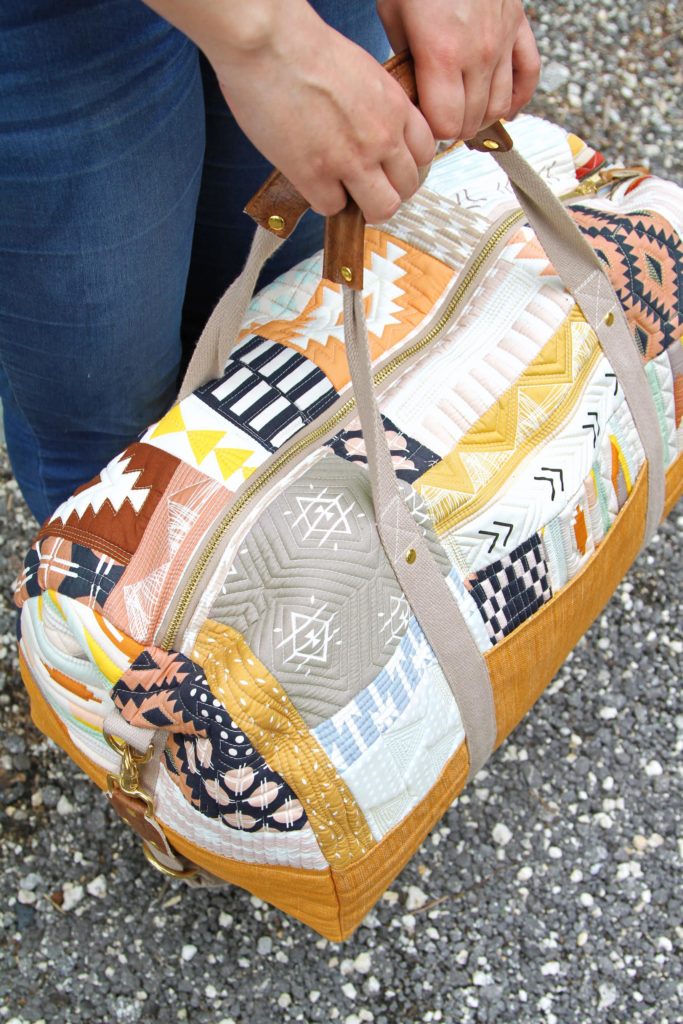
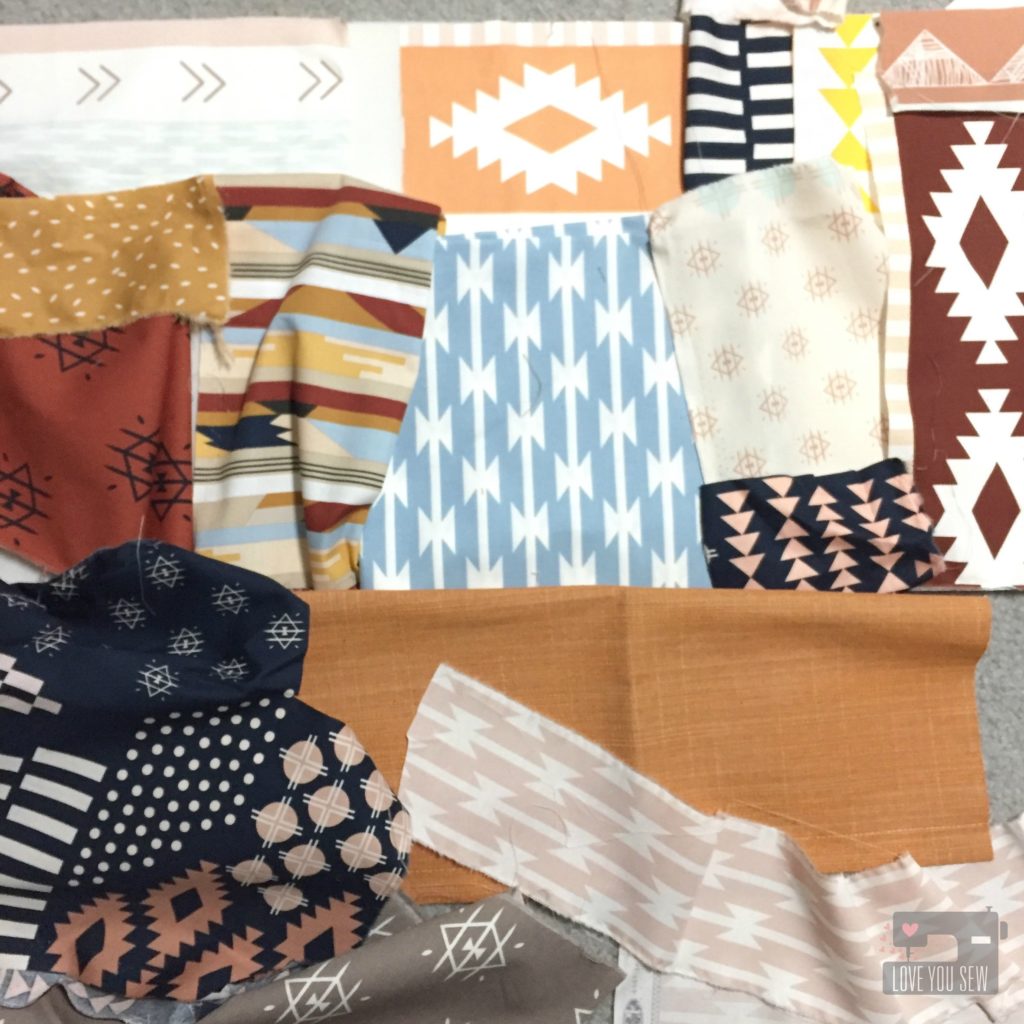
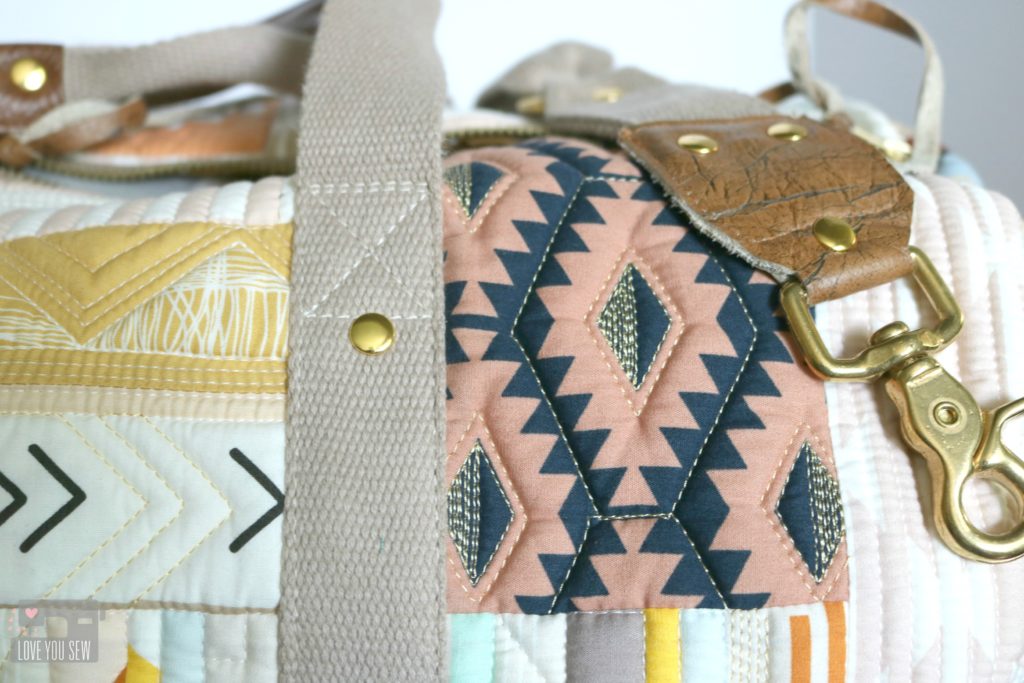
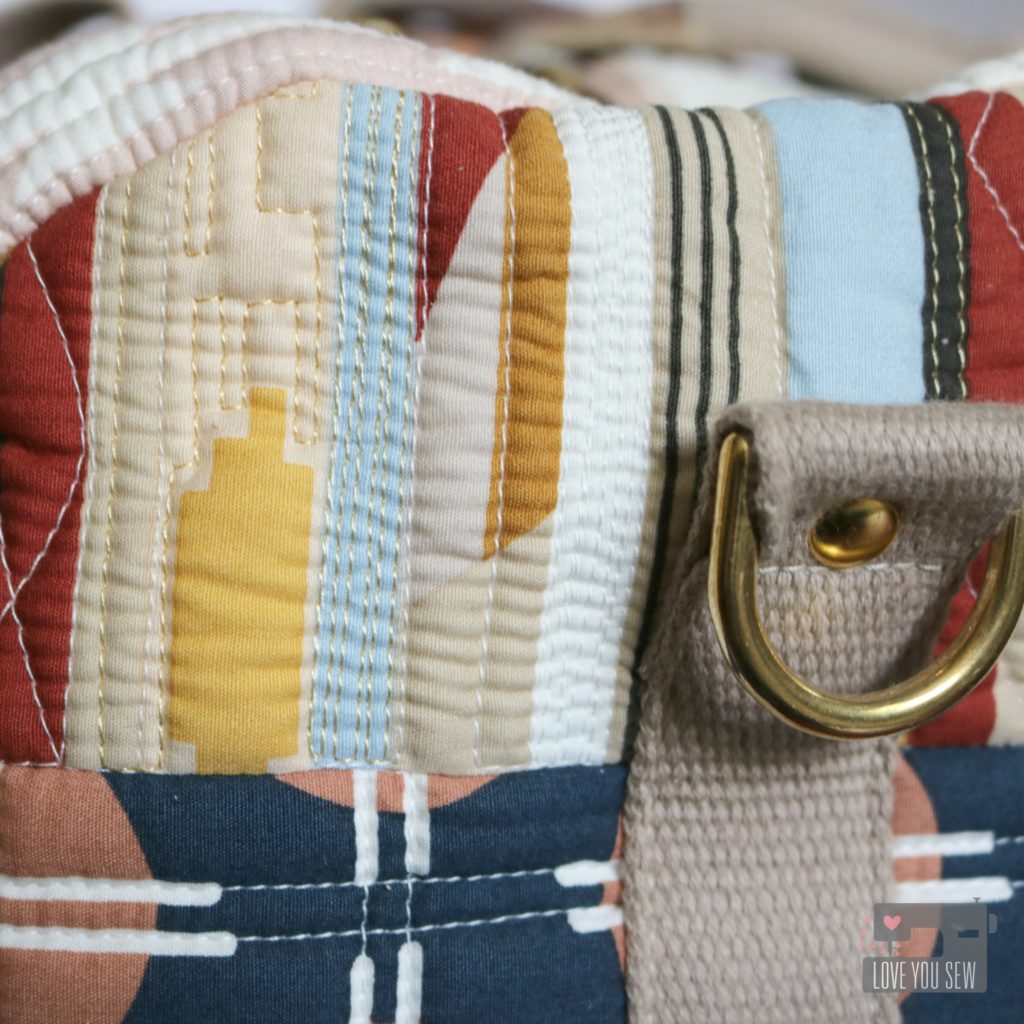
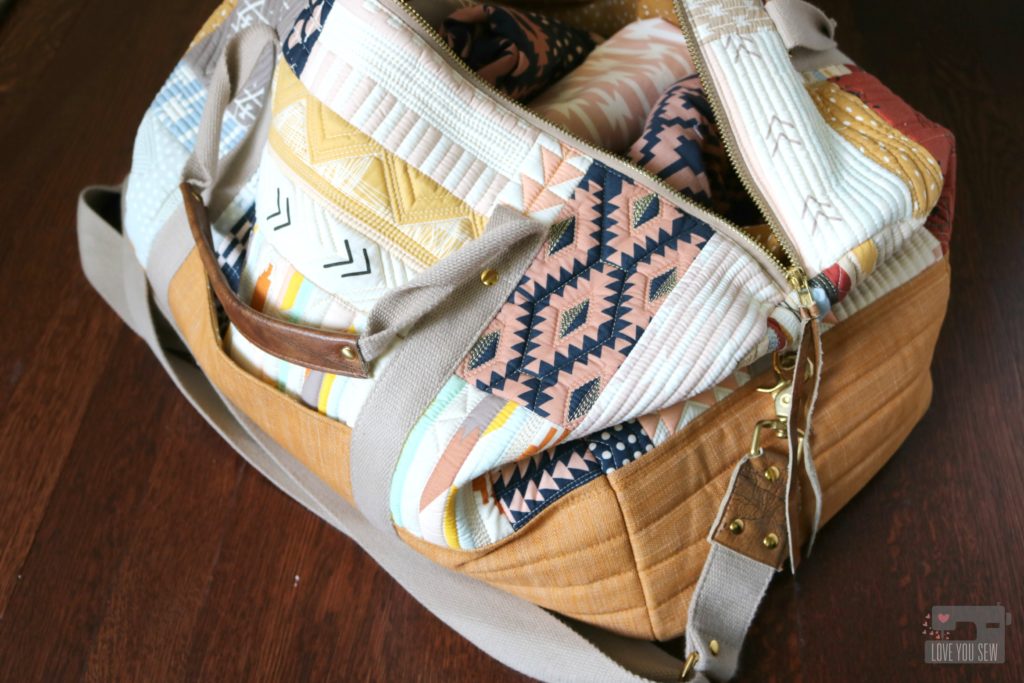
All 14 quilt cottons in the Arizona After collection was used to make the Portside Duffle Bag by Grainline Studios.  It’s the perfect bag to showcase these fabrics with all that surface area.  I loved playing with all the color combos while mixing and even deconstructing, some of the prints.

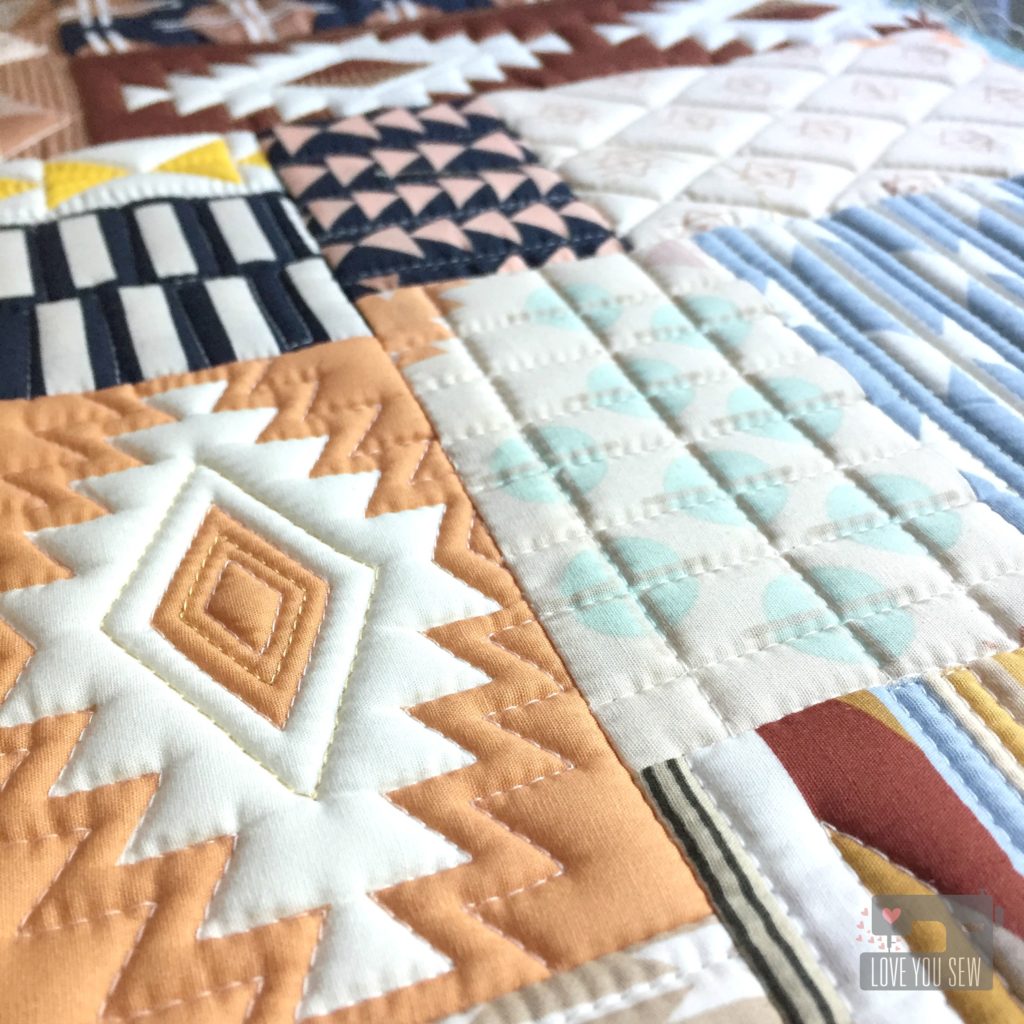
Once I started to quilt with my walking-foot on the Soft and Stable, that texture just got me.  I knew I had to add more and more quilting…and change up the designs with each print. Then it dawned on me….ooooh, metallic thread would be A-mazing with this palette.  The gold really brings out the colors and I’m so happy with how it turned out. TIP: Cut a larger piece of soft and stable than the pattern requires. Quilt and then cut to size. Don’t forget to baste those edges!

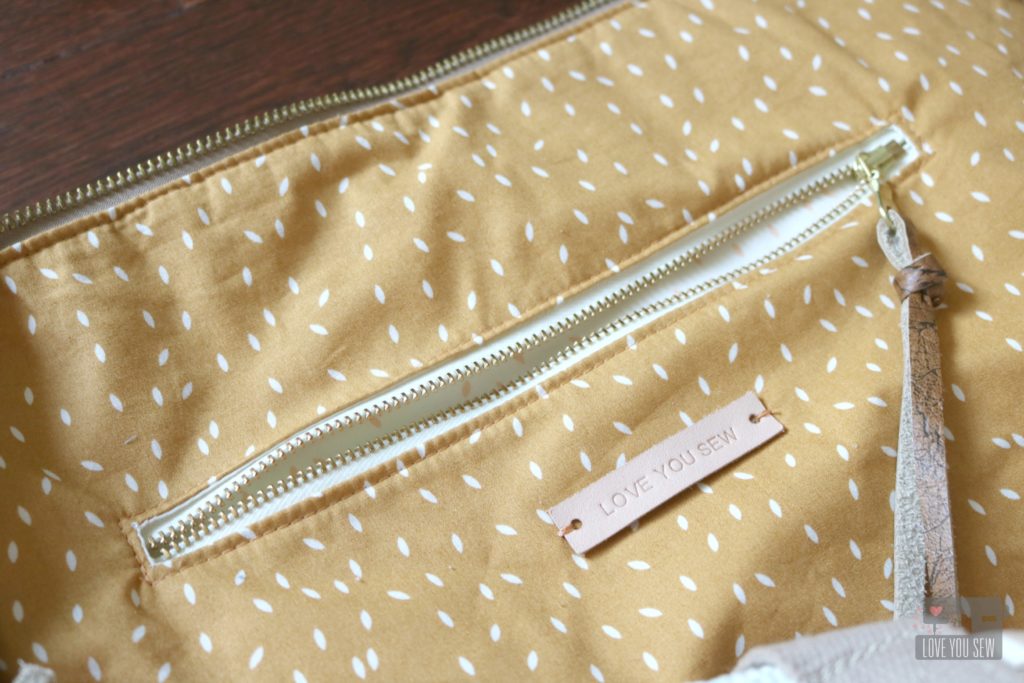
Art Gallery’s textured denim in Canyon Sunset was the perfect complement to Arizona After and is a nice durable fabric for the bottom accent of the duffle bag.  On the inside, I used the Scattered Wood print and added an additional zip pocket…because we can always use some extra pockets.  I love the look of brass zippers and with the gold thread, this combo obviously had to happen.

For more texture and to turn this bag up another notch, I used hardware from ARmercantile combined with some leather from my sacred stash.  Guitar-inspired bag straps are popping up all-over the place and I just had to add that look to this duffle.  The added rivets bring out more of the brass and help round out the look.  Who says a quilted bag can’t be modern and on-trend?  I love being able to combine my love of quilting with my love of bag-making….and the gorgeous fabric definitely helps.  Thank you Arizona After for the inspo!

Make sure to check back on April’s blog and Instagram all throughout July for the up-to-date info on the Blog Tour.  Next up will be an Instagram loop on July 5th and I heard there maybe prizes involved 😉

Last, but not least, don’t forget to tag #heritagefabrics and #arizonaafterfabrics with all of your makes.  I can’t wait to see all of them!

Project Summary:


Fabric and pattern for the Arizona After + Heritage Blog Tour was provided.  There are affiliate links in the Project Summary.


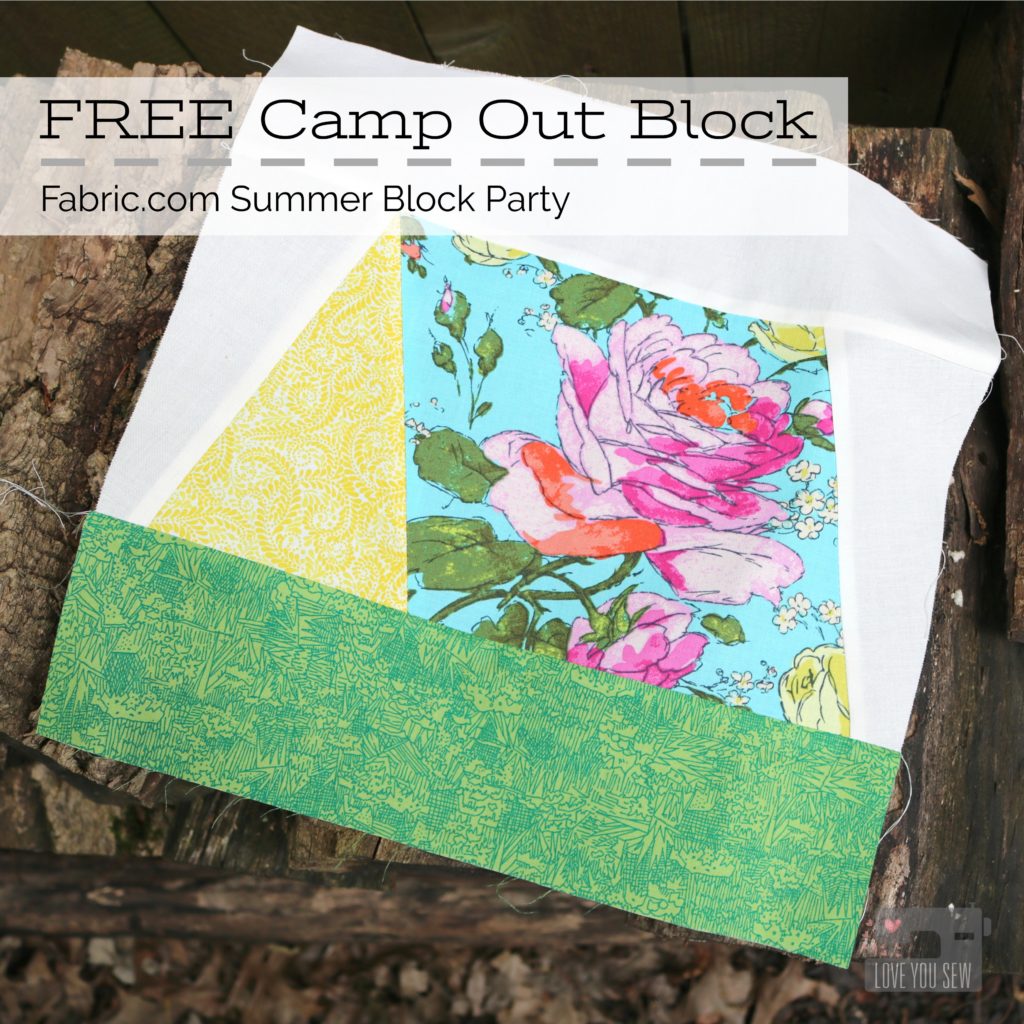
FREE Camp Out Quilt Block – Fabric.com Summer Block Party


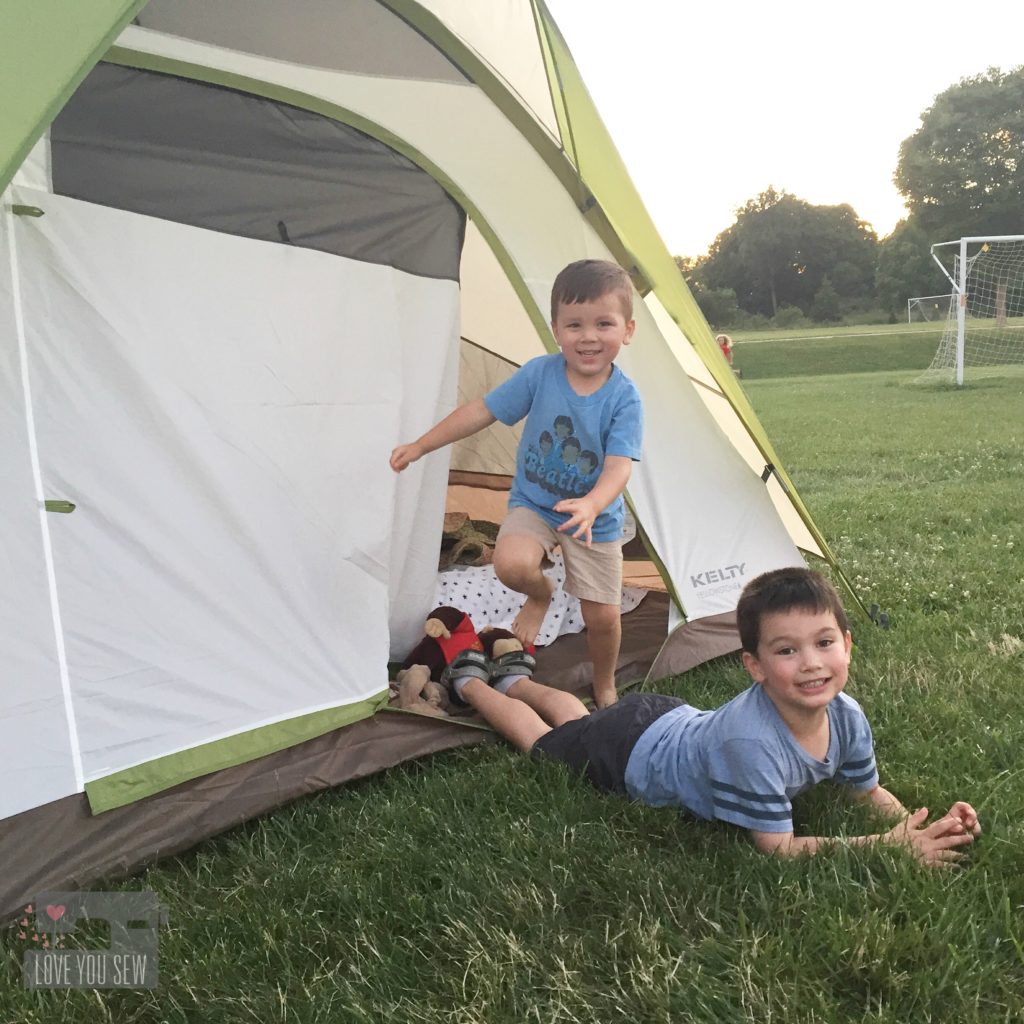
This past winter, my husband and I bought a pop-up camper.  When we made the purchase we had below zero temperatures and  snow on the ground here in Ohio, so…we got a pretty great deal.  With the camper stored in our garage for months, there has been a ton of day-dreaming and camping talk, especially since I have a young Boy Scout and Indian Guide now.  The weather has really been gearing up and so has our excitement for all the adventures ahead.

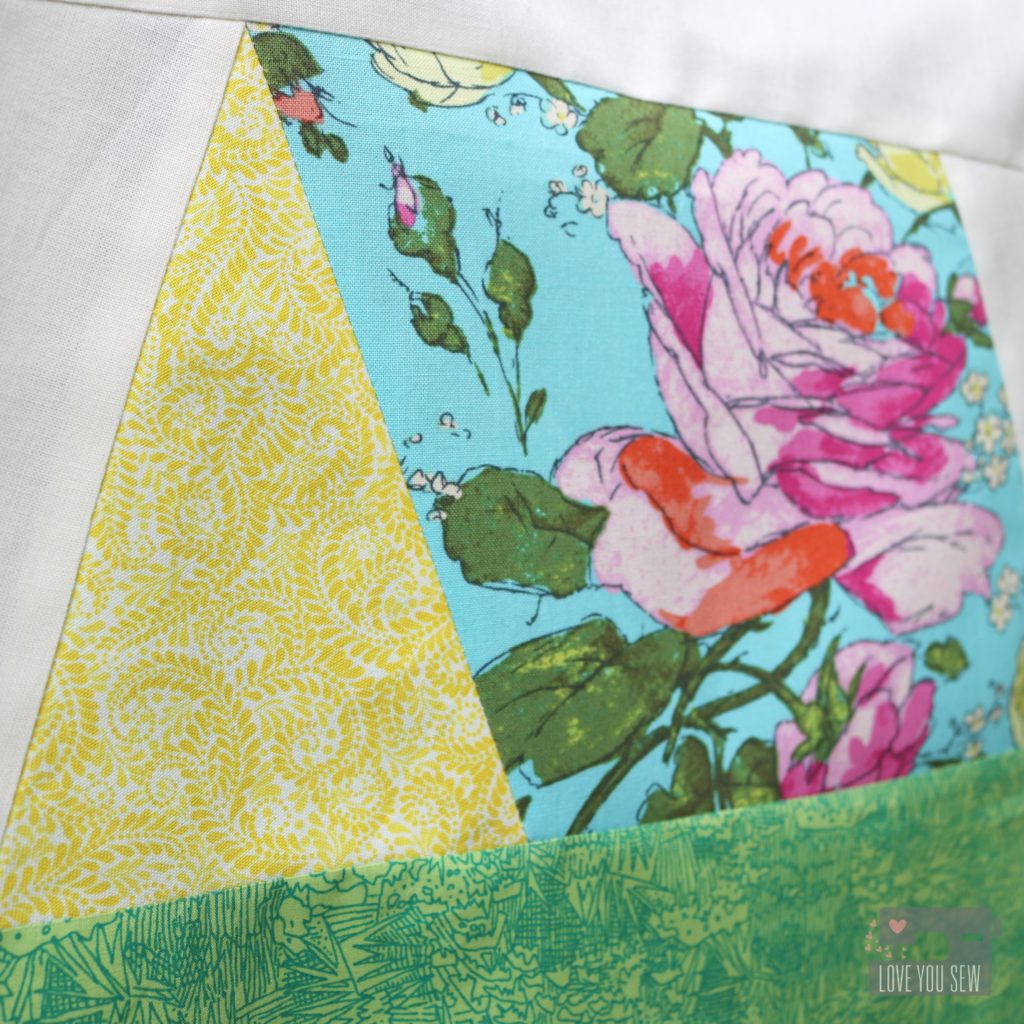
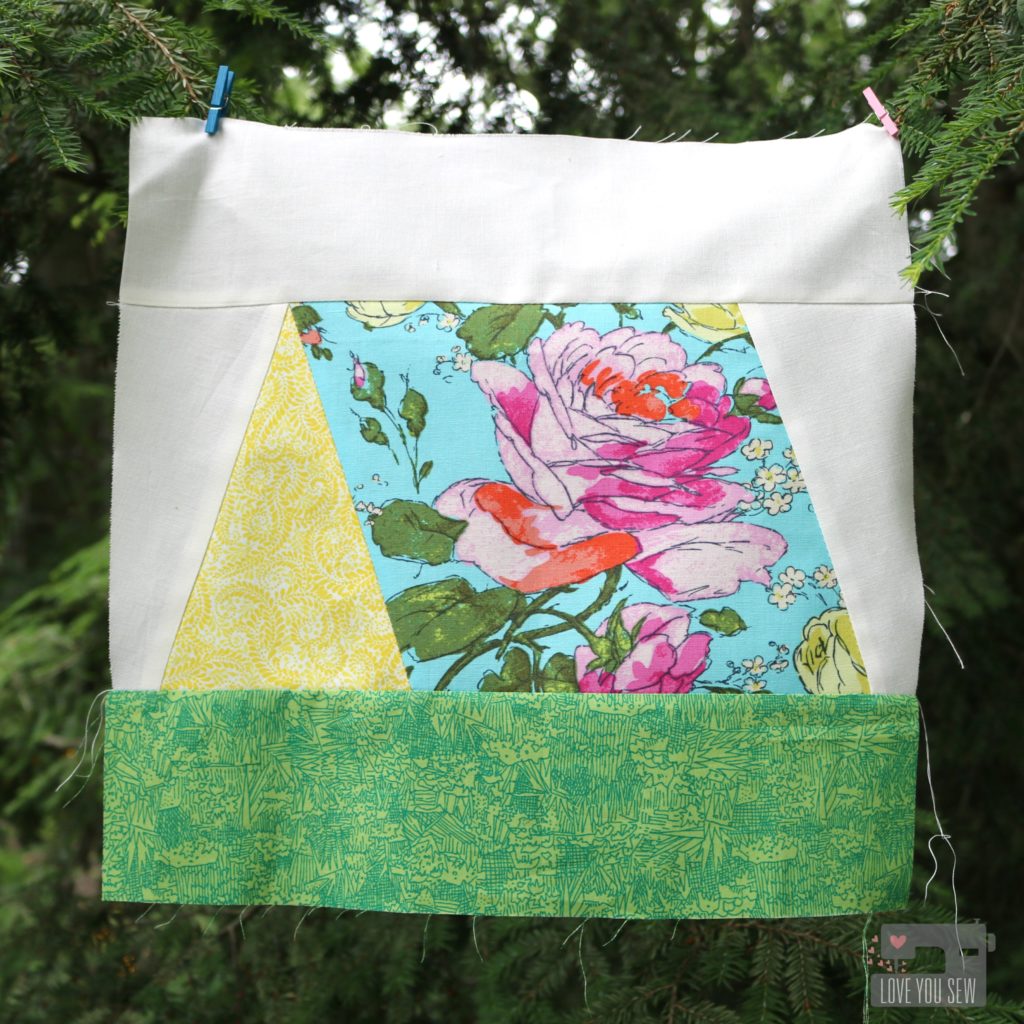
With the new camper, we need to do a good bit of outfitting while adding our own personality to our investment.  I’m *hoping* to reupholster some of the cushions and add a little flare to our curtains…over the winter, of course 😉  It maybe a bit ambitious…but I’m always up for a challenge.  Up until then, I’m going to deal with the “vanilla” stock interior.  That’s where this “Camp Out” block comes in.

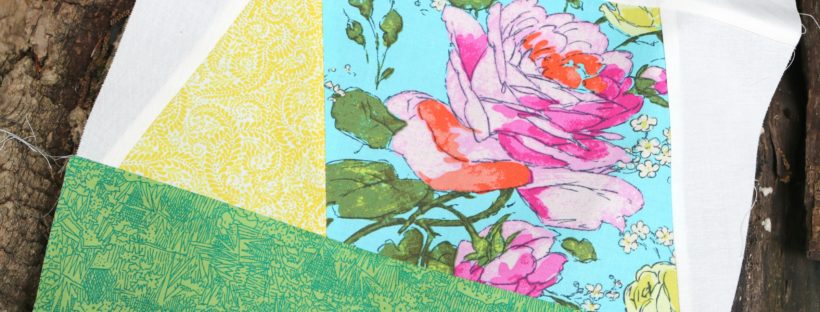
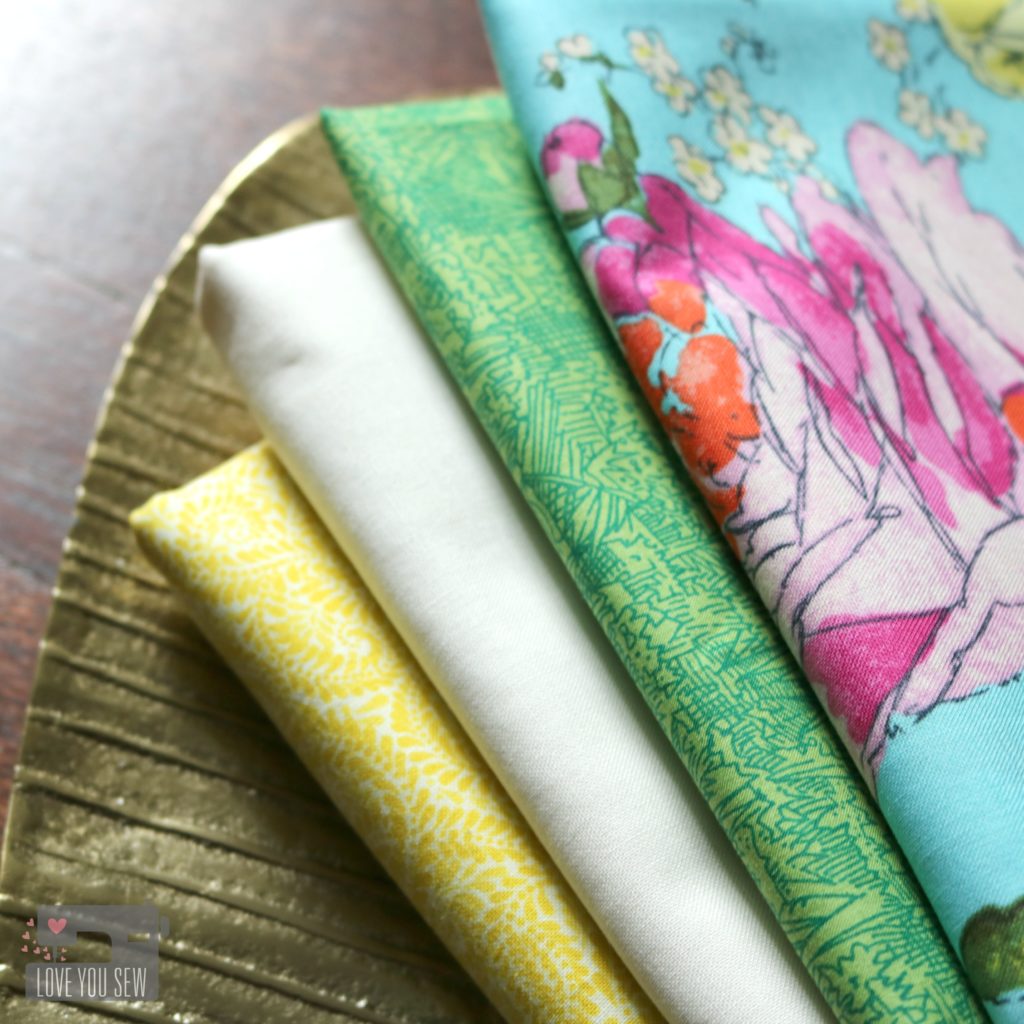
The Tent design is a simple foundation paper-pieced block which can be found here.  I pulled these bright and  cheery fabrics from Fabric.com‘s extensive collection.  It was easy to do with their great search capabilities.  I wanted the grass and interior of the tent to use near solid designs and just by searching by color, I found these:

For the exterior of the tent, I designed the block to show off a large-scale print. (I hate to see good ones all hacked up!)  Fabric-wise, I wanted one that was very “girly.”   With two sons and my husband, I am always outnumbered and everything needs a feminine touch, right?  I was able to find this great floral (listed below) which is an older print I’ve used before.  As I was looking through all the swatches, I was so pleased to know Fabric.com still carries it.  For the background, I opted to keep it all nice and clean and choose one of my stand-by solids in an off-white.  The large-scale floral doesn’t need to compete with a busy background IMO.

I’m still debating on what this block will become.  Maybe a small pillow for my side of the camper or maybe a hanging pouch to hold some of my supplies?  I want to be able to see this while camping for a little dose of girliness 😉 What do you think?  I need suggestions!

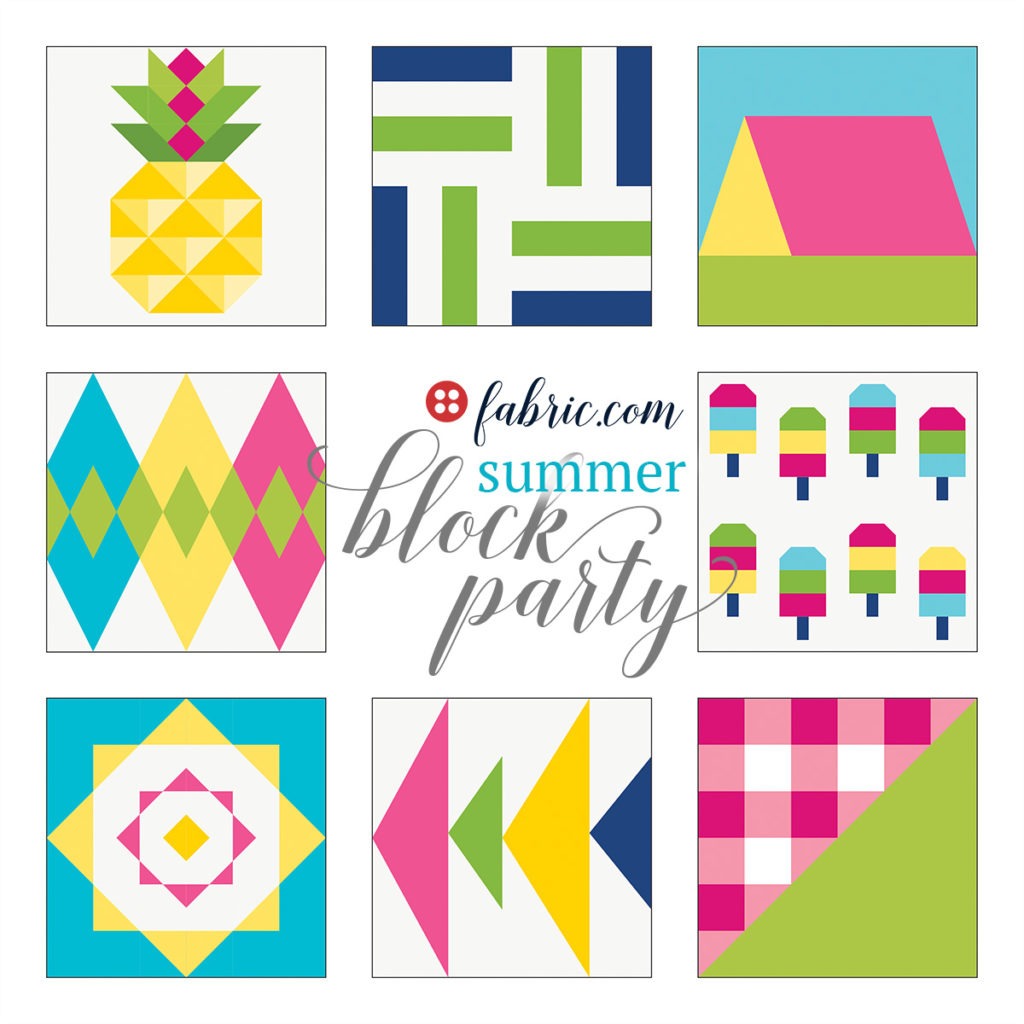
Don’t forget to visit all of the other seven amazingly talented bloggers at the Summer Block Party!  You can download a total of eight FREE quilt blocks throughout the entire month of June.

June 5 – “Candied Pineapple” – Anneliese Johnson – Eye Candy Quilts – eyecandyquilts.com
June 8 – “Nautical Stripes” – Kristi Schroeder – Initial K Studio – initialkstudio.com
June 12 – “Camp Out” – Cristy Stuhldreher – Love You Sew – iloveyousew.com
June 19 – “Argyle” – Shayla & Kristy Wolf – Sassafras Lane Designs – sassafras-lane.com
June 22 – “Popsicle Party” – Elise Baek – Elise & Emelie – Eliseandemelie.com
June 26 –“Sunshine Days” – Haley Anderson – @happinessinthemaking – Happinessinthemakingblog.wordpress.com
June 29 – “Fishy Fish” – Christopher Thompson – the tattooed quilter – thetattooedquilter.com
July 5 – “Half Square Gingham” – Sarah Thomas & Nicole Young – SARIELLA – sariella.com

Happy Sewing with all of these blocks!

Cristy


* This post was sponsored by Fabric.com as part of the Summer Block Party.  The “Camp Out” block  pattern and post are completely original and are my own words and design.  This post DOES contain affiliate links which when a purchase is made, helps to fund this site.


 Observer Fabric Tour >> Quilted Envelope Clutches

ObserverBlogTour_Title

It’s here!  It’s here!  The Observer collection by April Rhodes for Art Gallery Fabrics has finally made it way to shops and I’m so happy to show you my projects on the #OBSERVERfabrictour.  In true fashion, April does not disappoint.  These designs come from her own eyes and what she has seen both physically and mentally.  My favorite print is Aerial View…mainly because it was inspired by Columbus, OH (where we both live) and just shows how little we are in such a big world…

Observer-Fabric-Tour

I was very fortunate to play with the early strike-offs for this line, and you can view my other projects in this previous post.

P1060647

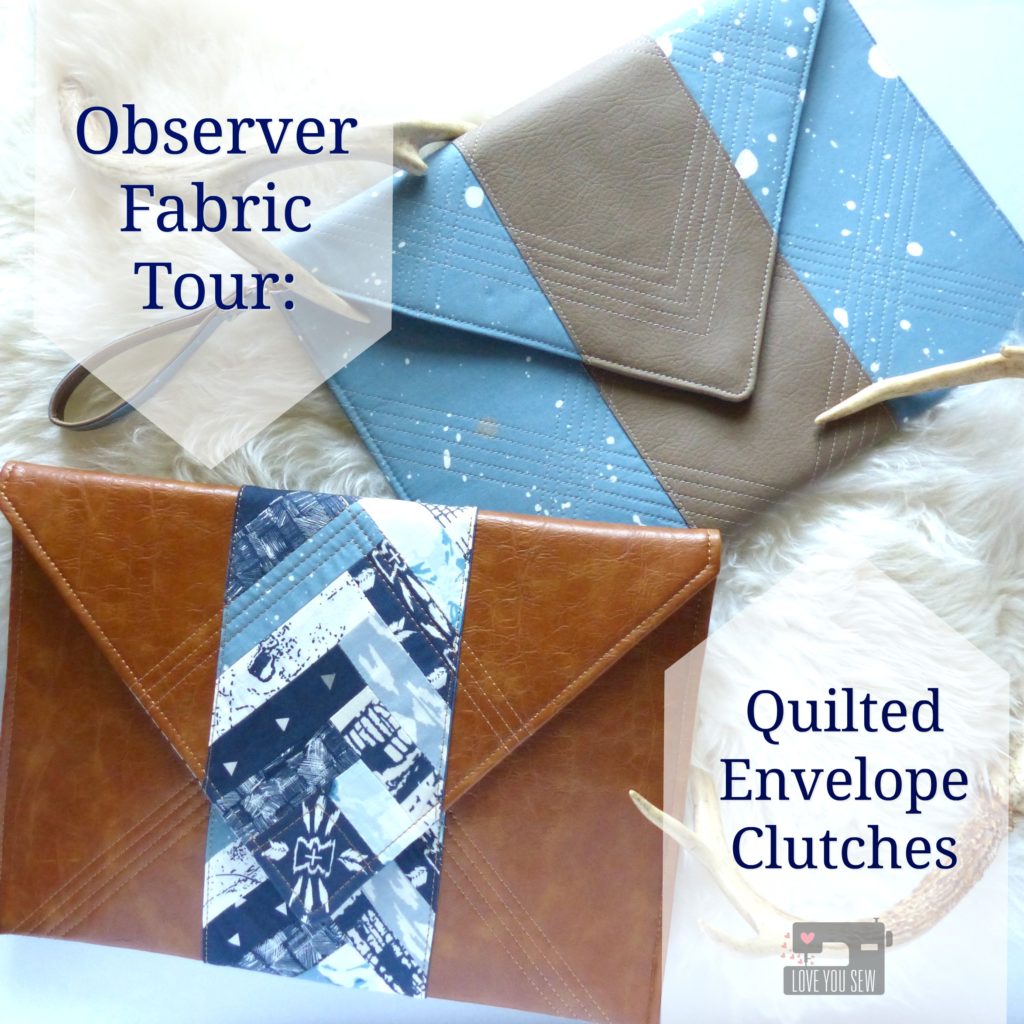
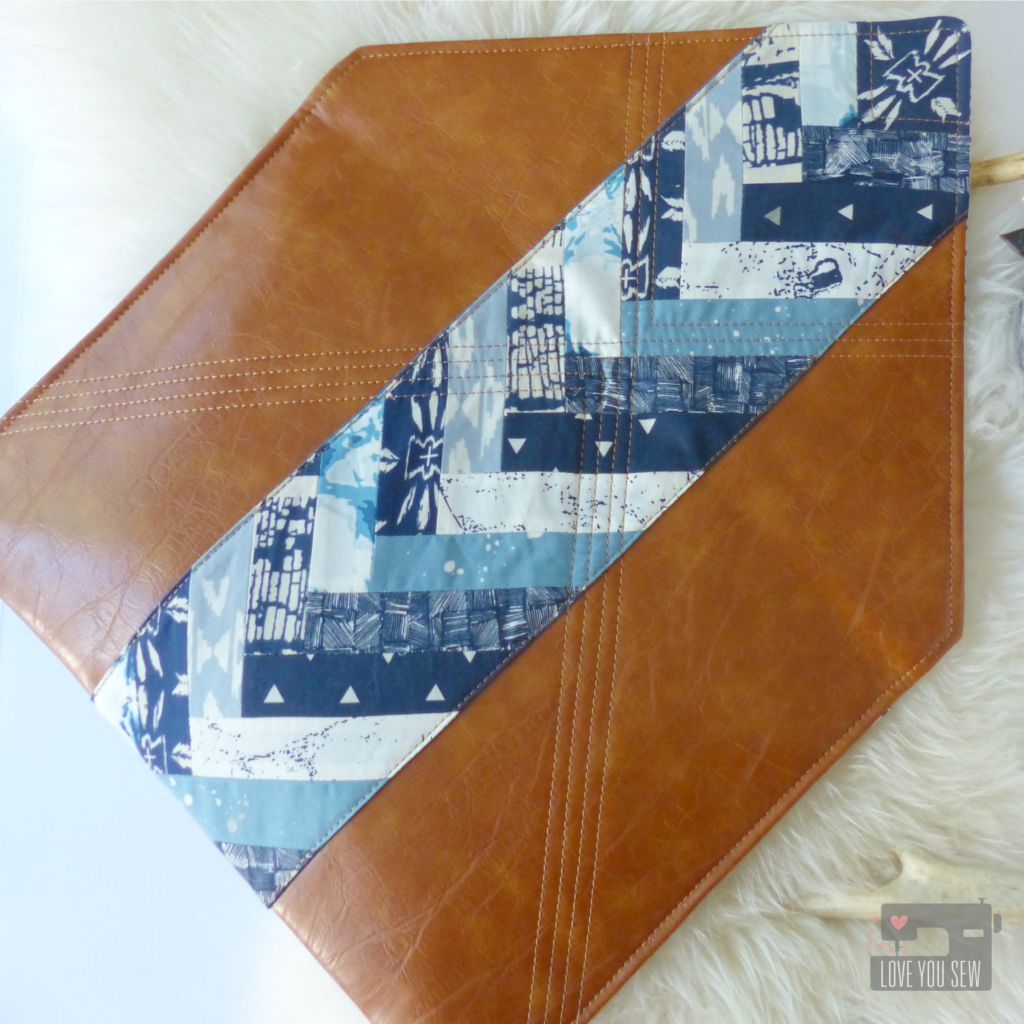
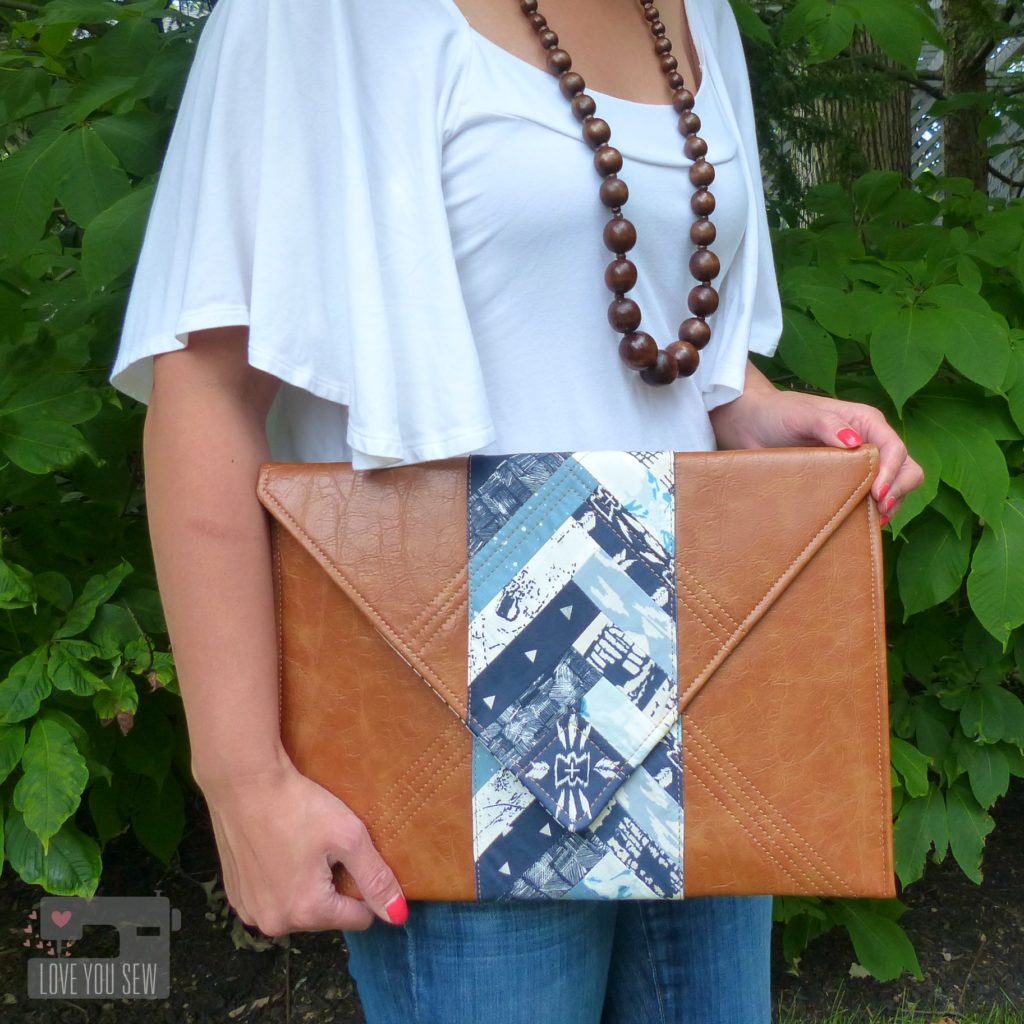
I’m kicking the tour off with these fabulous oversized Envelope Clutches.  Ever since I had swatches of these fabrics in my studio, I was trying to think of what I wanted to make as a personal project.  These curry and sulfur colors mixed with sand and copper play SO well with the indigos, grey-blues and navy.  I fell head-over-heels with this palette and have plans for a dress in Overshot Gold.  With that in mind, I thought a trendy Envelope Clutch would be perfect in the Shard colorway.

P1060617

As a modern quilter, I continually try to show the rest of the world that patchwork and sewing are still “cool.”  Sound familiar, friends???  I thought combining the sophistication of (faux) leather with a simple block would be the perfect marriage of current Boho-Gypsy love and traditional quilting.

IMG_6780

This was initially going to be a one-off creation just for myself, but the sneak peeks on Instagram created such positive feedback, that I knew I HAD to write a pattern for all of you. EDIT:  Tutorial can now be found HERE. 

IMG_6770

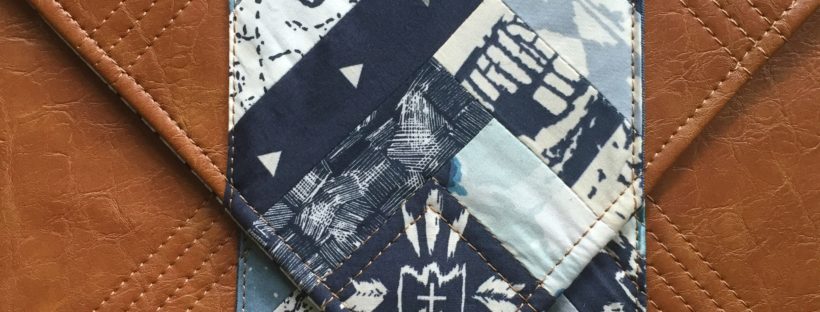
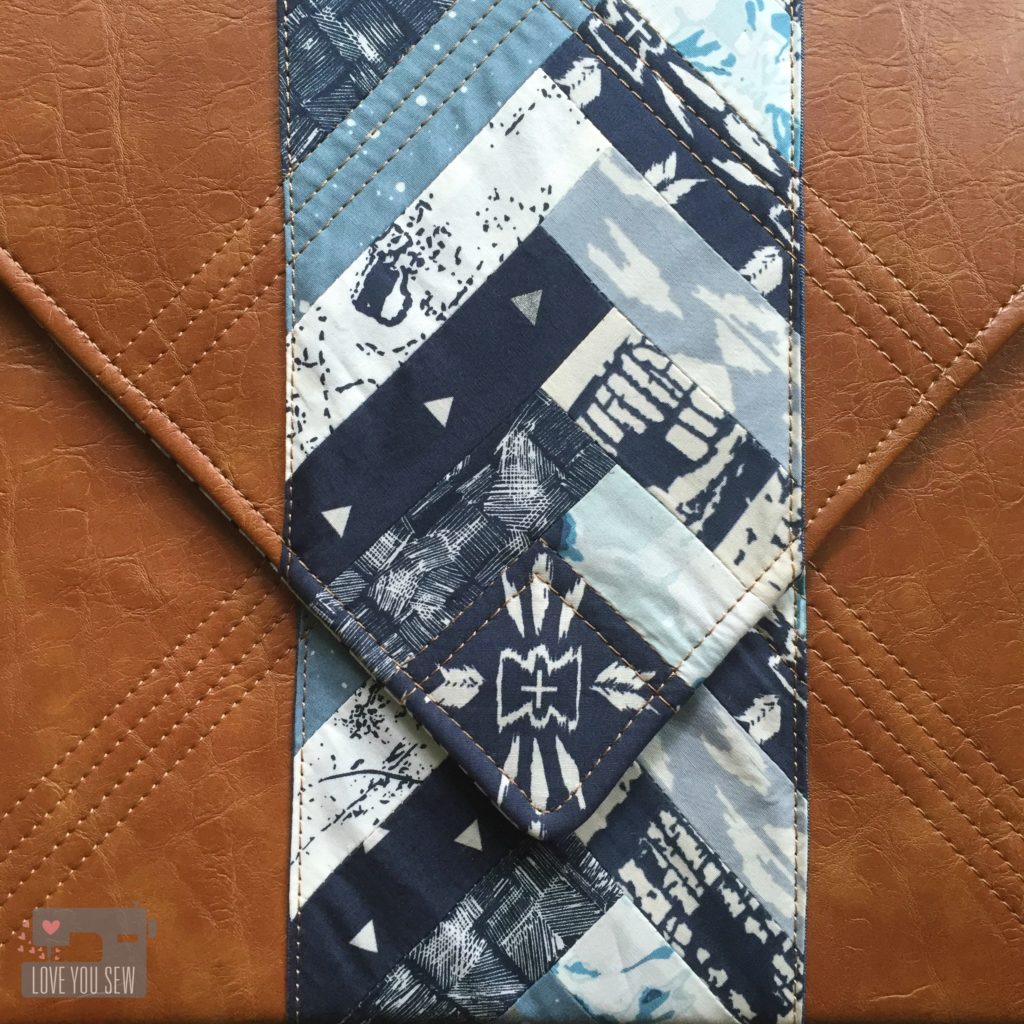
Working with the envelope design, I used a simple half log-cabin pattern to work with the flap’s 90 degree angle.  I used a 2.5″ fussy-cut square from the Homespun Praxis and used various 5″ (or longer) x 1.5″ strips to make a 28″ panel.  The panel was then trimmed to 5.5″ wide.

IMG_6772

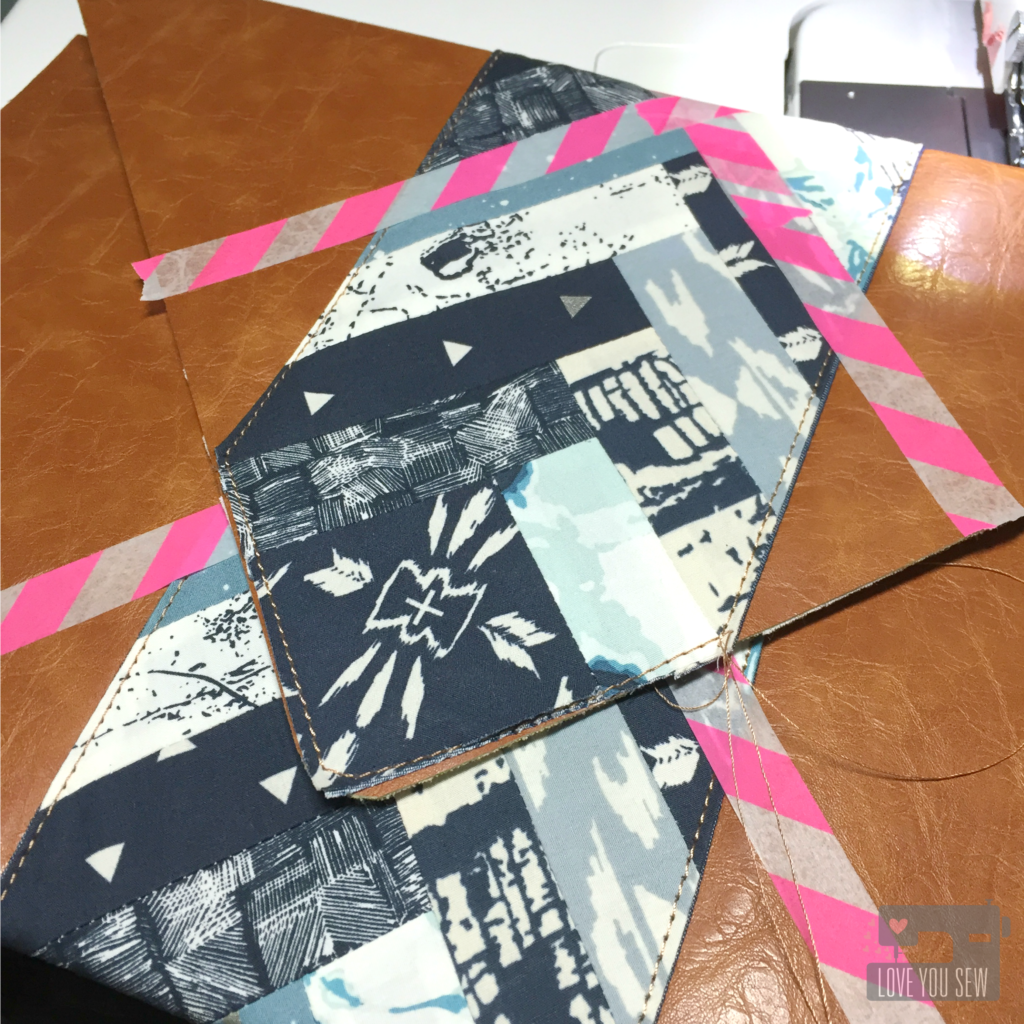
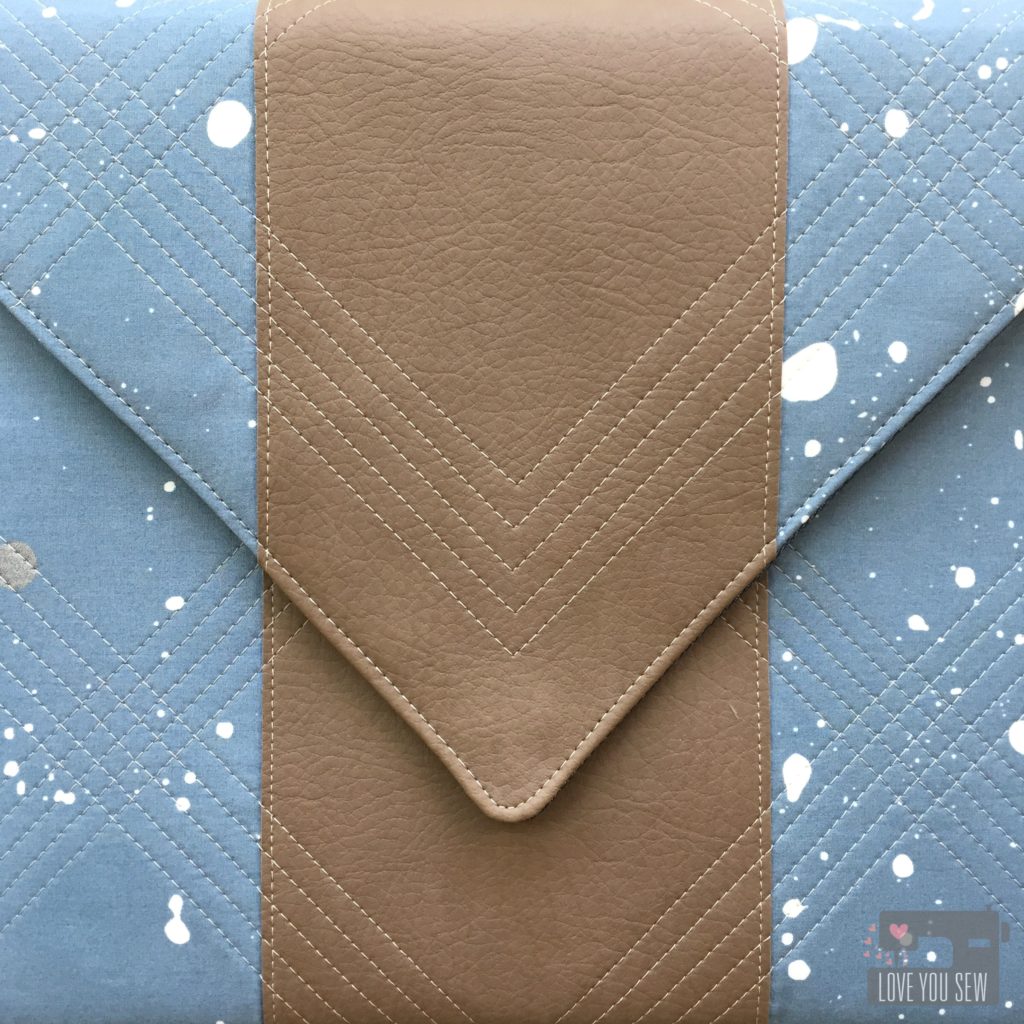
The pieced panel was then sewn onto a coordinating AGF Solid Smooth Denim with right sides together. They were turned out and pressed.  The results are clean even edges which are then top-stitched down onto the (faux) leather.  I used Gütermann upholstery thread which provides a nice raised look and slides well through the leather.  Washi tape was used as the quilting guidelines since pen and chalk can smear.  I followed the lines of the piecing  to create additional texture and add more design detail onto the clutch.

P1060621

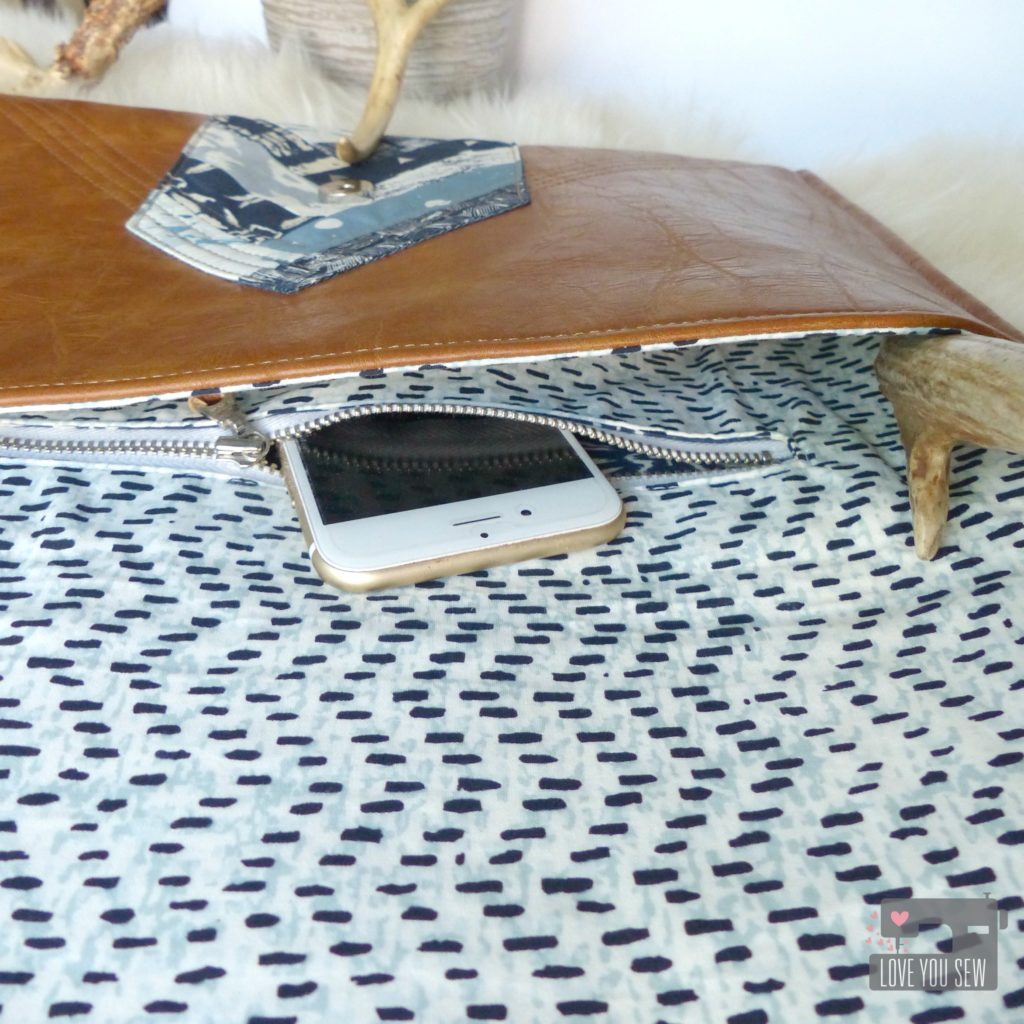
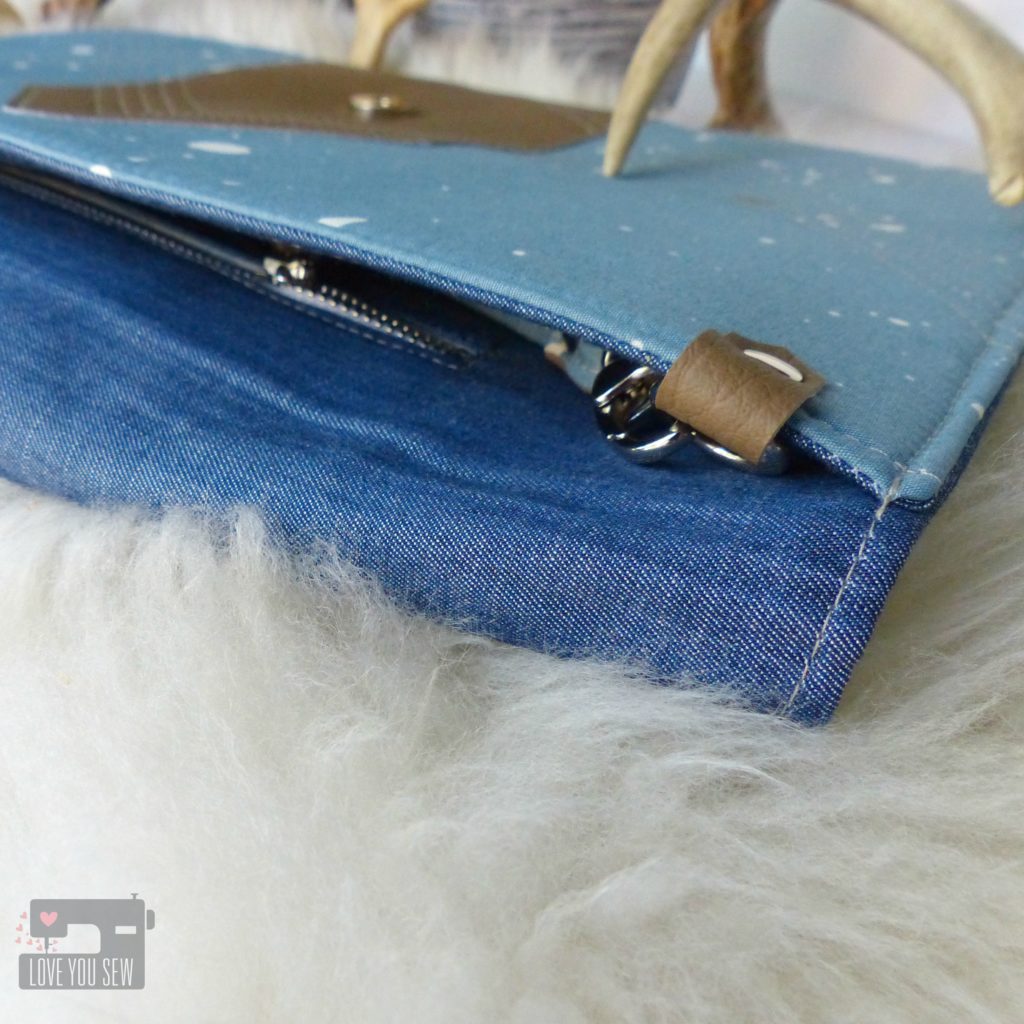
This Envelope Clutch, although oversized to carry a lot of stuff, still needs the basic features of any bag.  The lining is made out of Treadle Tradition with a generous sized pocket using a 9″ metal zipper from Zip It Zippers.  Metal zippers add that extra professional look I just love.

P1060620

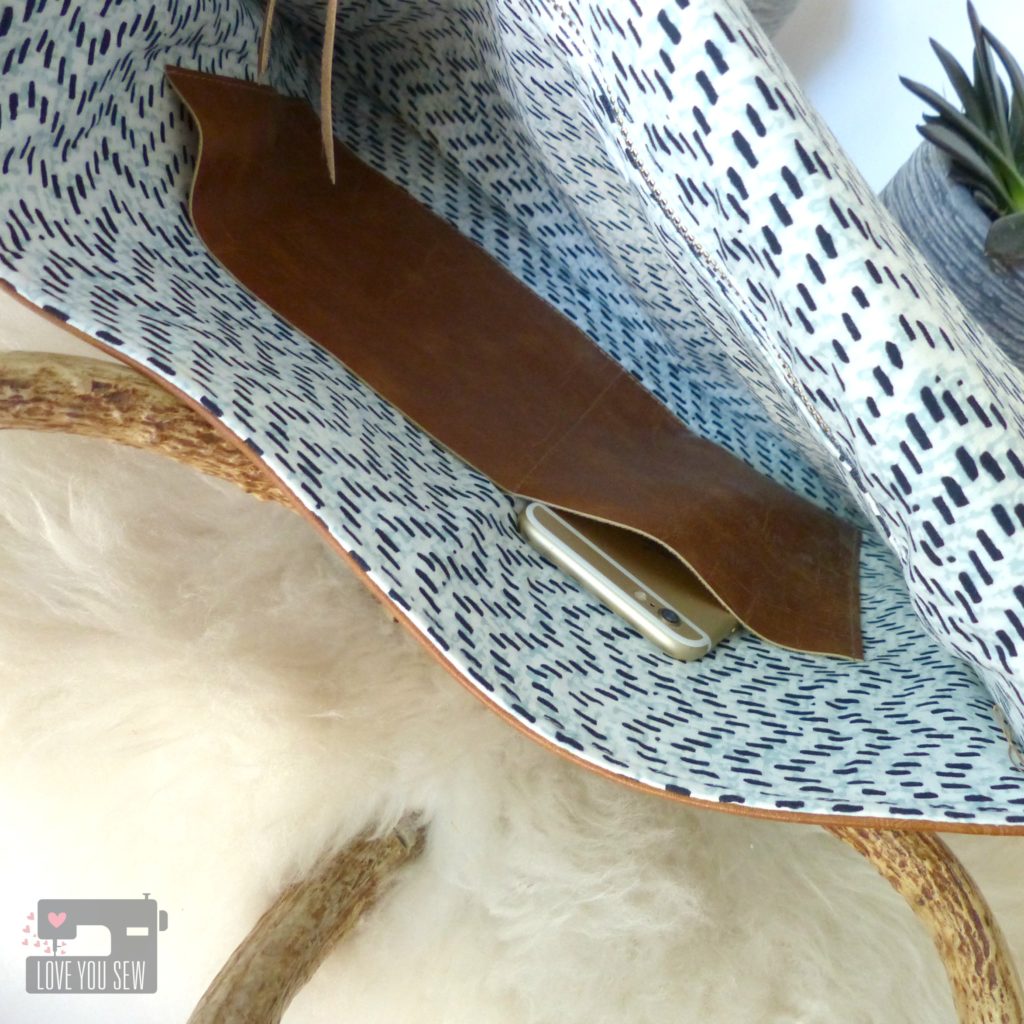
On the opposite side of the lining, I added simple slip pockets.  These are unlined, using leftover leather so there is no fraying.  They were sewn down with unfinished edges.  I just made sure one pocket was the proper size for my cell-phone…priorities, right? 😉

P1060649

Metal snaps were added and now I’m ready to hit the town with my chic boho clutch!

IMG_6880

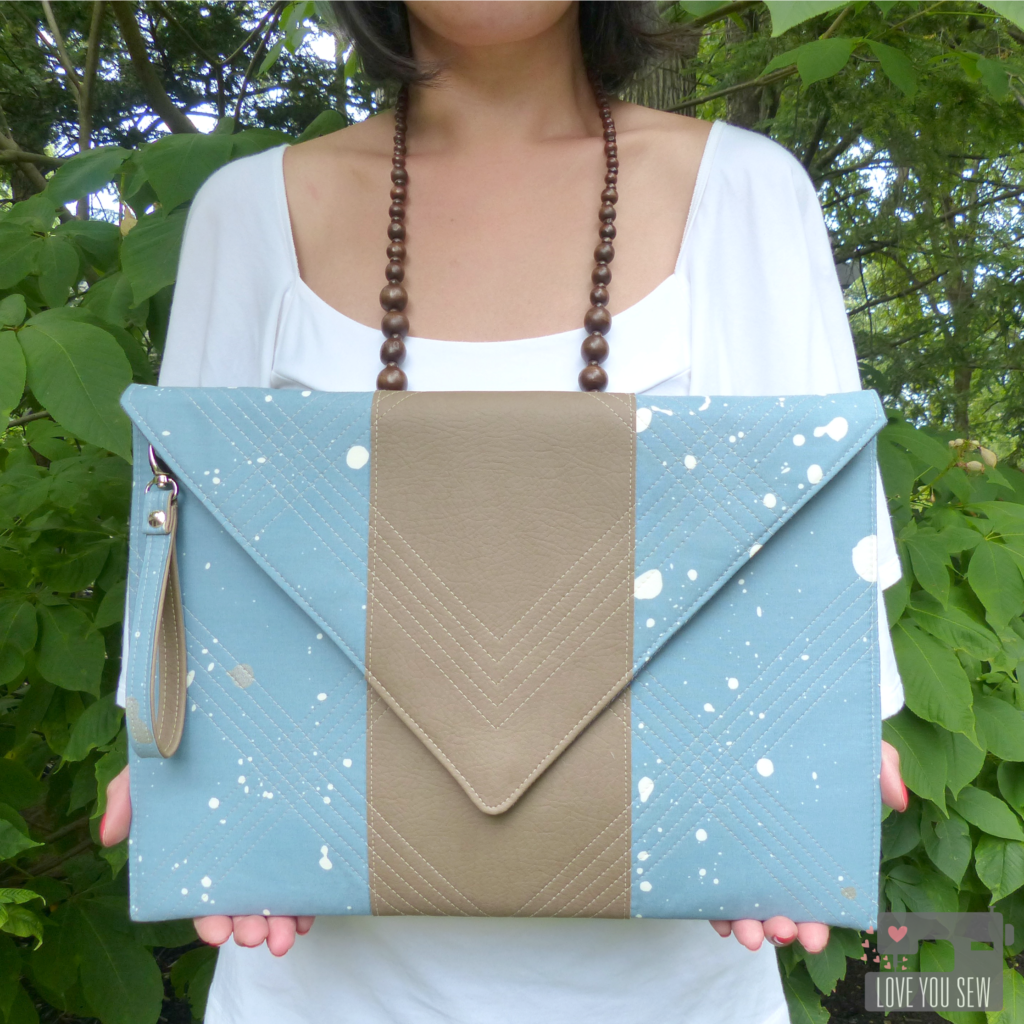
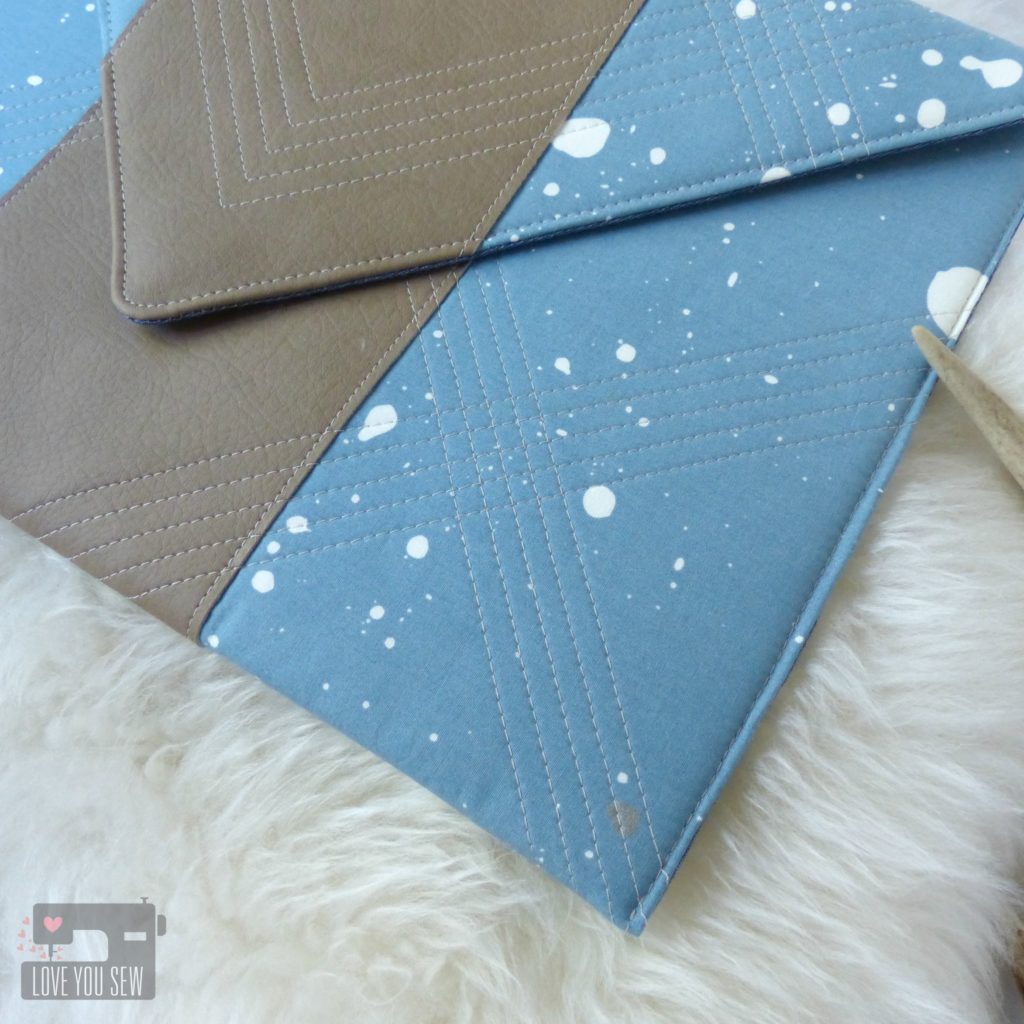
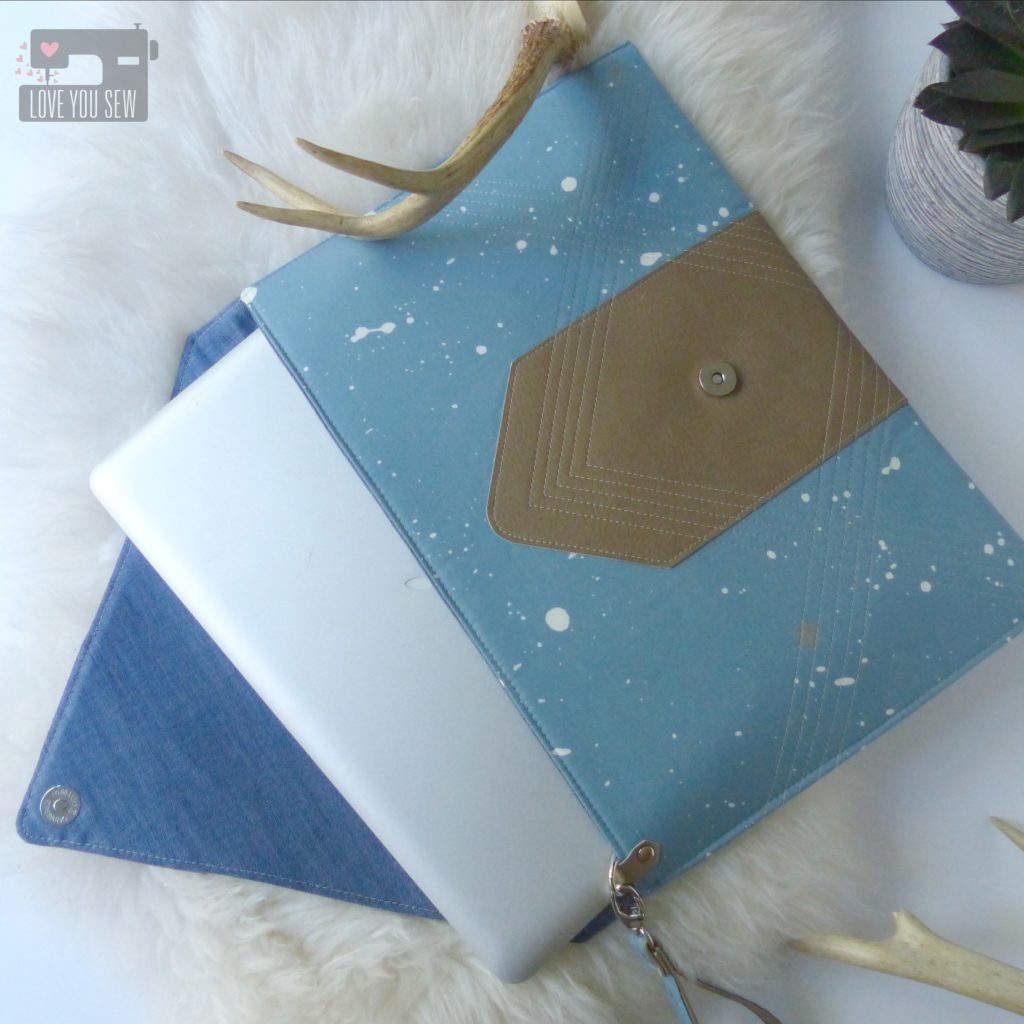
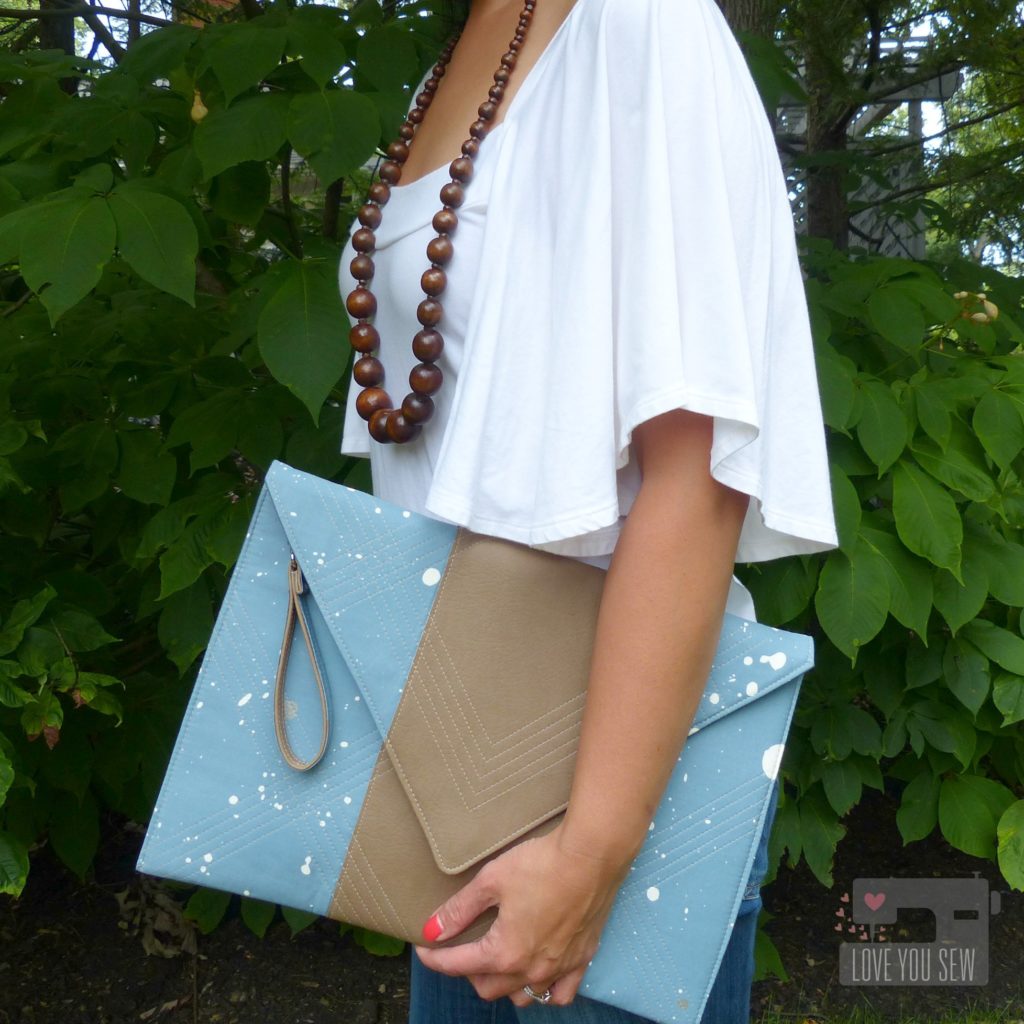
Sewing through faux leather can be a challenge on many domestic machines.  So I wanted to come up with a similar style Envelope Clutch which is MUCH easier to sew.  This design is shown in Speck Stardust and utilizes some fusible fleece with just a single panel of raw-edge faux leather.  I love how this print color reminds me of a perfectly worn pair of jeans and the leather match my favorite fall booties.

P1060626

I wasn’t able to find upholstery thread to match this vinyl, so I used Gütermann Sew-All polyester.  This slides through the faux leather really well and still provides a great look and quilting texture.  I changed up this quilting design to make some fun cross-hatching.  ‘Slow and steady with the walking foot kept the lines straight and even.

P1060628

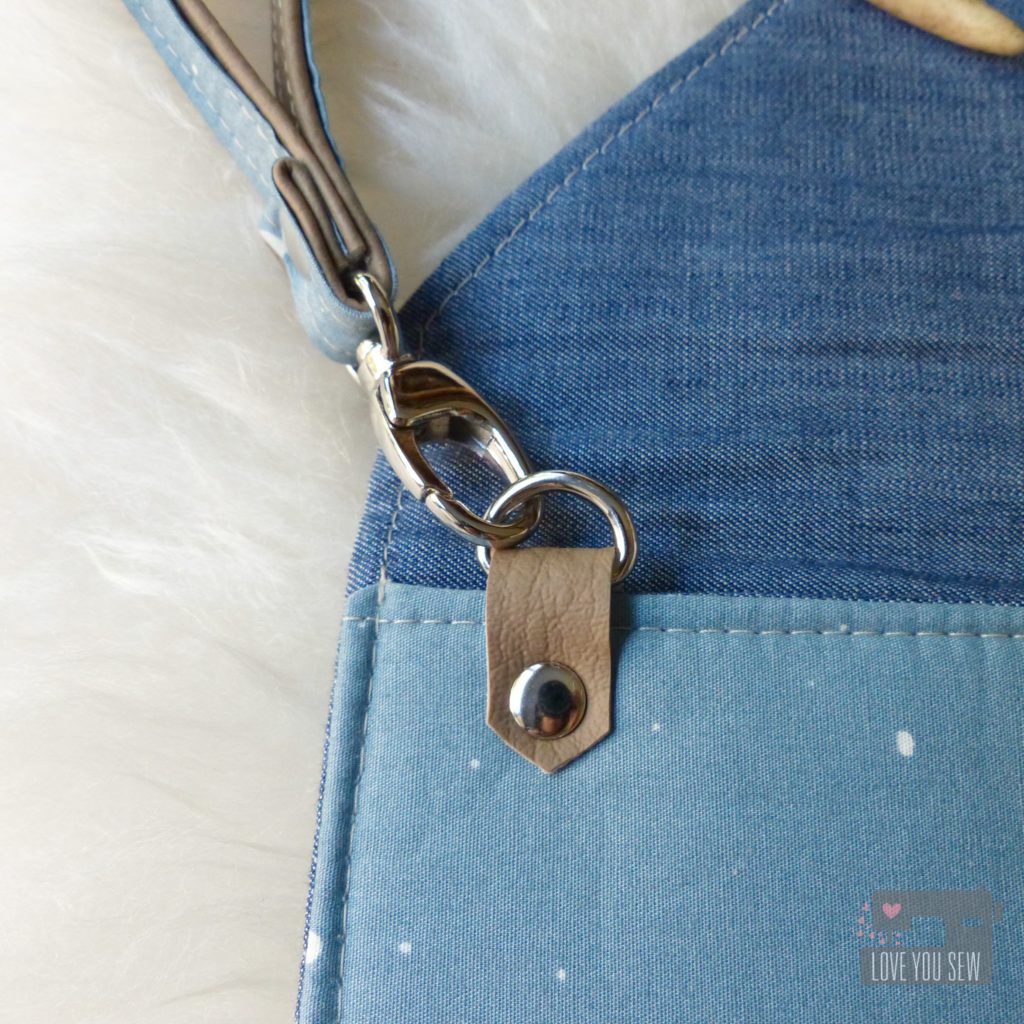
With this version, I added a wrist strap using hardware from Emmaline Bags and scraps of both the (faux) leather and Speck Stardust.  Using half fabric and half leather is easier to work with rather than trying to sew through multiple layers of leather.

P1060629

The D-ring was added to the front of the clutch rather than sewn into the side.  This provides the option to be hidden.  It also doubles as a spot to hook your keys.  The lining was made from Indigo Shadow Solid Smooth denim and I created the same zipper pocket one side and two slip pockets on the other.

P1060638

Ironically, this design also fits my laptop.  So with the fusible fleece, this Envelope Clutch can be used as a laptop cover.  The pockets are great for cords and small headphones.

P1060648

I know I’ll be rocking this clutch out on the town with the girls though….

What’s on your project list with Observer?


Make sure to stop by April’s blog to get the up-to-date schedule with 6 weeks full of dreamy inspiration.  The line-up of bloggers is quite impressive 😉  If you need even more ideas, head to Art Gallery Fabric’s Observer Lookbook….you might even recognize someone’s name in there 😉

#ObserverFabrics #ObserverFabricTour #ArtGalleryFabrics #WeAreFabrics


Sew On,

Cristy

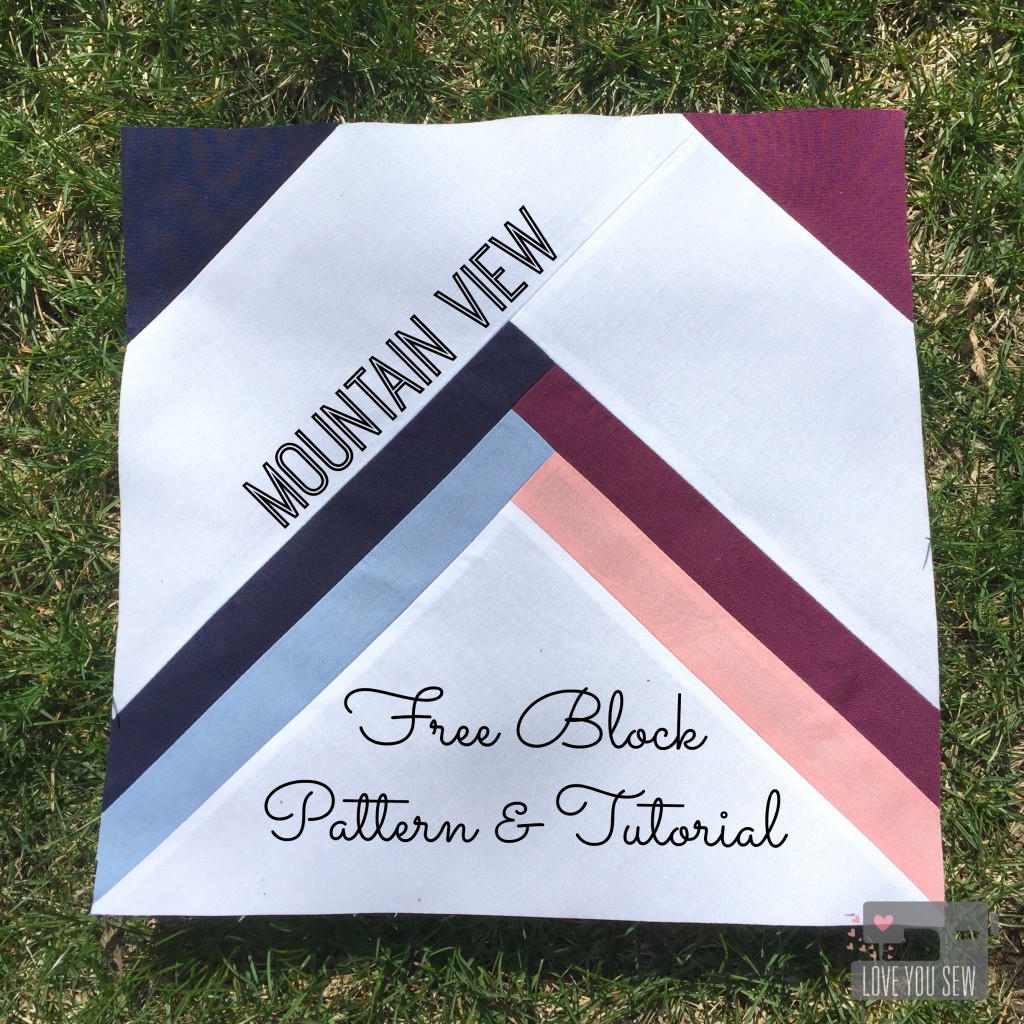
Mountain View – 2016 Paintbrush Studio New Block Blog Hop

Mountain View Title

Welcome to the 2016 Paintbrush Studio New Block Blog Hop!  During the next three days, you will see a flurry of uniquely designed 12″ x 12″ (finished) quilt blocks.  The best part?  These are all FREE patterns!  For a full list of participants, please visit the host of each day’s hop:

Monday, March 28th – Yvonne @Quilting Jetgirl

Tuesday, March 29th – Cheryl @Meadow Mist Designs

Wednesday, March 30th – Stephanie @Late Night Quilter

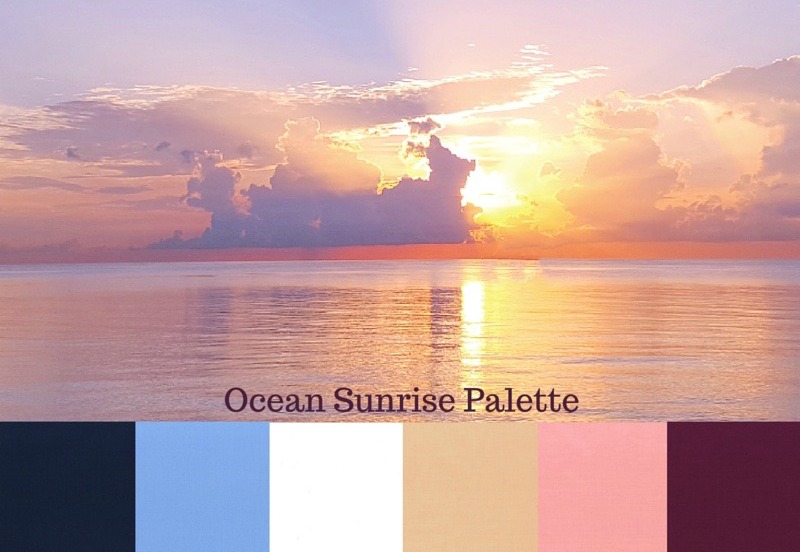
Ocean Sunrise Palette

The challenge with this blog hop, was to use at least 3 colors of Painter’s Palette Solids in the Ocean Sunrise bundle.  You can find all the details of the chosen colors here.  Do you use your quilts on the beach or by the water?
 

Mountain view Block

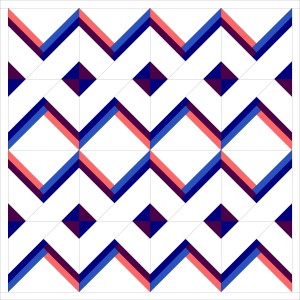
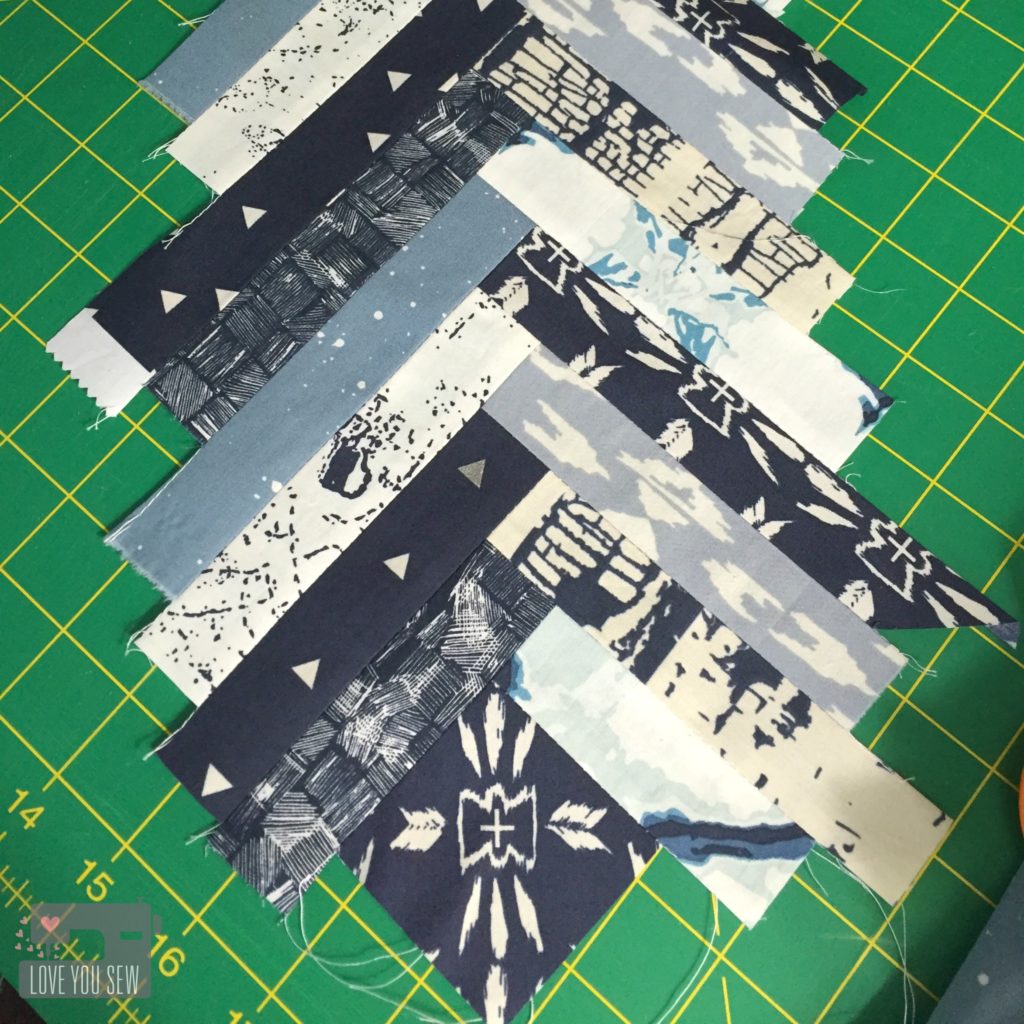
This call to design a new block was indeed a challenge for me.  I usually always have a design idea that’s been brewing in my head.  However, this time I was drawing up blanks.  I played with many ideas until I saw a sun catcher with this similar design.  It really inspired me with it’s simple lines like ones in Log Cabin style quilts.  But this block is set apart by it’s angles and the negative space produces a great chain design.

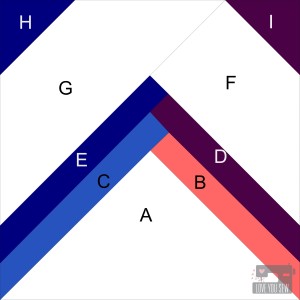
Mountain View Block Labeled

v2

As with all sewing projects, please read through full instructions before beginning. 

Cutting instructions:

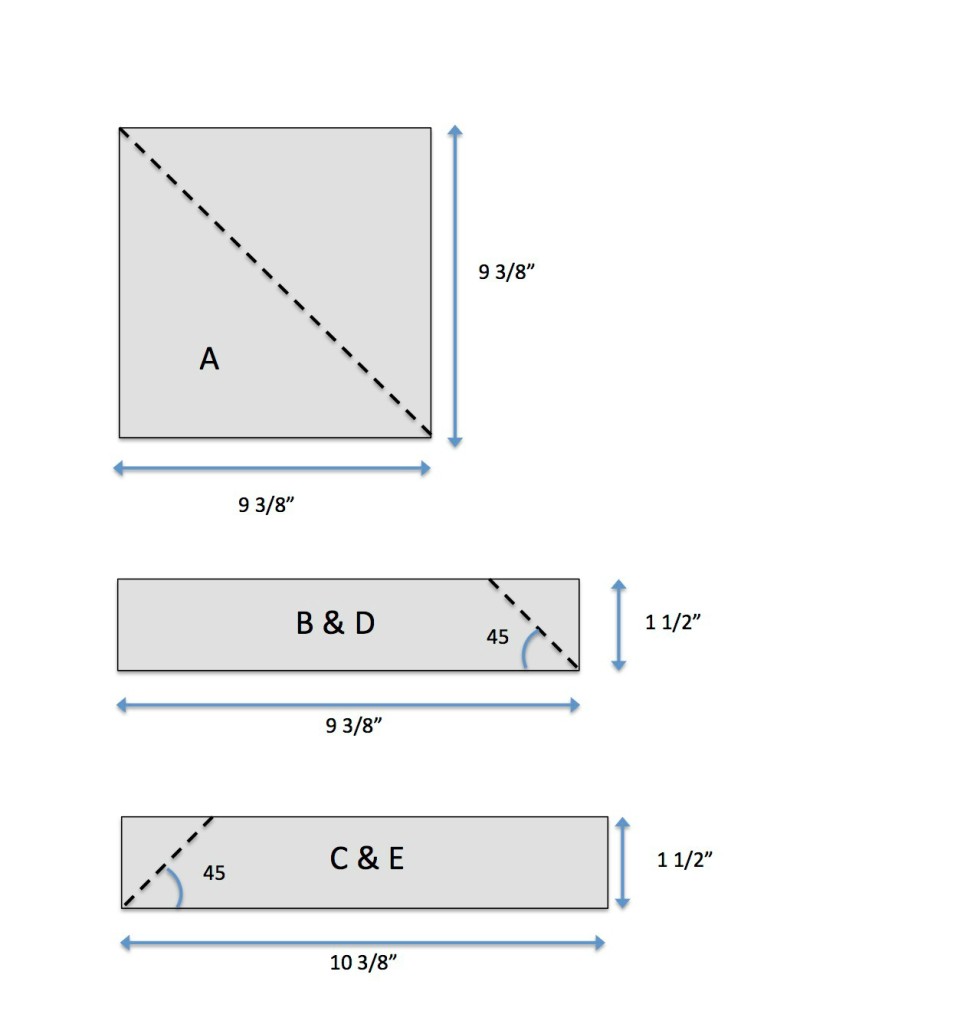
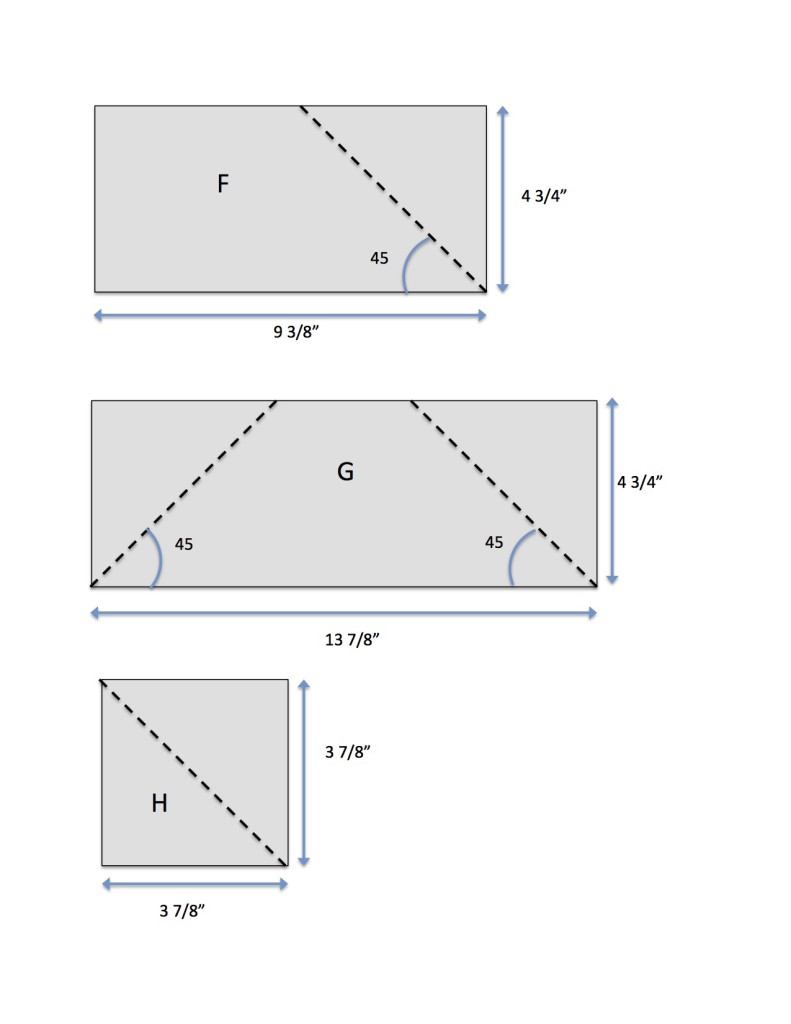
Below are illustrations of every piece of the block.  The dotted line represents where you cut.  A large quilting rule with 45 degree angles is required.  Please see block illustration above for reference.  TIP:  Check and double-check your angle placement on printed fabric before cutting.a


MV cuttingpiecing Instructions

Please note a 1/4″ seam allowance

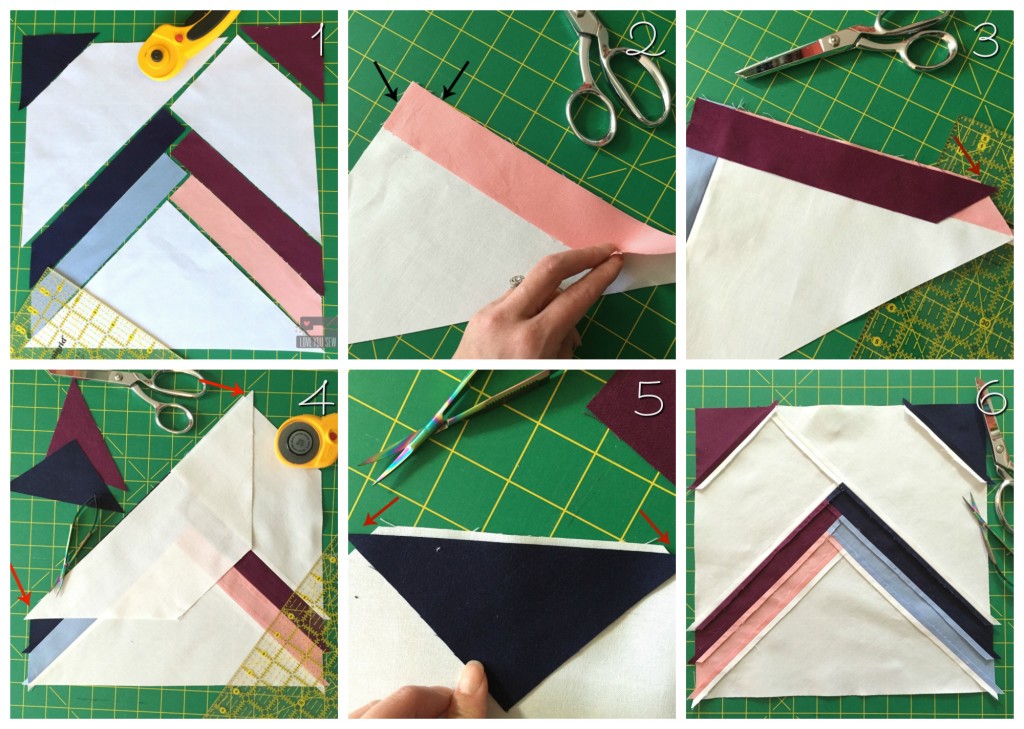
Mountain View Piecing Collage

  1. Layout the block with your intended fabric placement
  2. Line up the short edge of piece B to piece A right-sides together (RST) and sew down the long side. Repeat for piece C but on the opposite side.
  3. Line up the short edge of piece D to ABC.  You should have a 1/4″ overhang off the block. Repeat for piece E of the opposite side and then add piece F.
  4. Line up the long-side of piece G to ABCDEF.  You will have 1/4″ overhangs on both sides of the trapezoid.
  5. Line up the long-sides of H to each corner.  You will have 1/4″ overhangs on both sides of the triangle.
  6. Make sure to press all seams out as you go and you will have a nice flat back as shown.

Trim the block to 12 1/2″ square.

Additional Quilt variations:

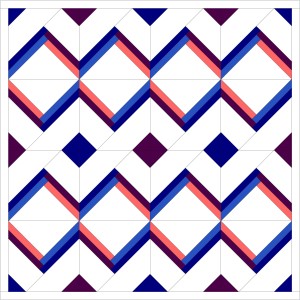
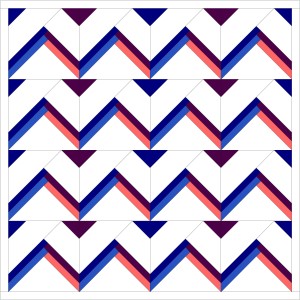
With the play of colors and negative space, there are quite a few different ways you can lay this quilt block.  Here a just a few other ideas.

v5

This placement puts the “chain” in the center of the quilt and you can play with the smaller triangle (H) to get solid squares in between.

v4

This variation plays with the chevron you can create.  Leave the smaller triangles (H) colored, and you get an arrowhead look or leave them the same color as your background to let the chevron stand on it’s own.


Visit Painter’s Studio’s blog, Inspired by Fabric and/or Quilting Jetgirl (two separate giveaways) to get your chance to win a whole HALF-YARD bundle of Ocean Sunrise!!! {Edit – Giveaway closed}

IMG_4386

 Don’t forget to get additional FREE quilt block designs and tutorial by visiting the following:

Host: Yvonne @Quilting Jetgirl

Jess @Quilty Habit

Silvia @A Stranger View

Cristy @Love You Sew

Kelly @Quilting It Out

Renee @Quilts of a Feather

Bernie @Needle and Foot

Terri Ann @Childlike Fascination

Chelsea @Patch the Giraffe

Mary @Quilting is in my Blood

Diana @Red Delicious Life

Sarah @123 Quilt

Thank you for visiting and I hope you get to try out this block along with all of the others on the 2016 Painter’s Studio New Block Blog Hop!

Happy Stitching,

Cristy


This blog hop was sponsored by Painter’s Studio.  The quilt design, tutorial and all opinions are original and my own.