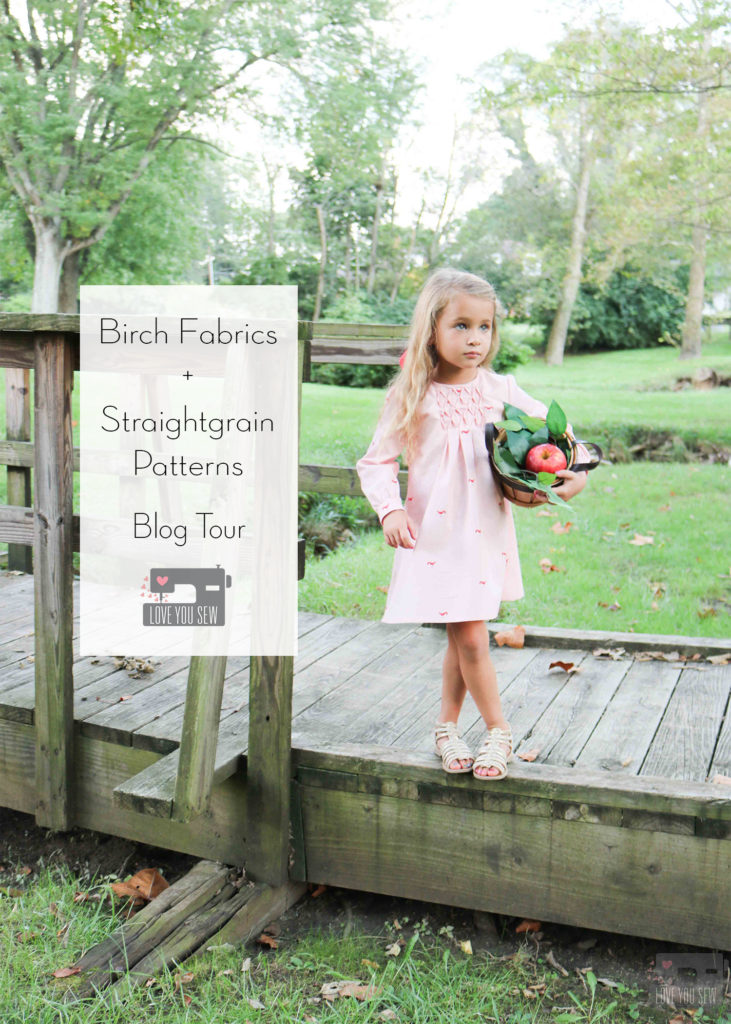
Birch Fabric + Straightgrain Patterns Blog Tour

It is certainly a match-made in heaven when you combine beautiful organic cotton fabrics with fresh and modern clothing patterns for kids.  So when Birch Fabrics and Straightgrain Patterns teamed up for this blog tour, I was in!  The new Whistle collection by Jenny Ronen is such a sweet and whimsical collection that inspired me to make a Nova dress….probably my favorite of An’s dress patterns.
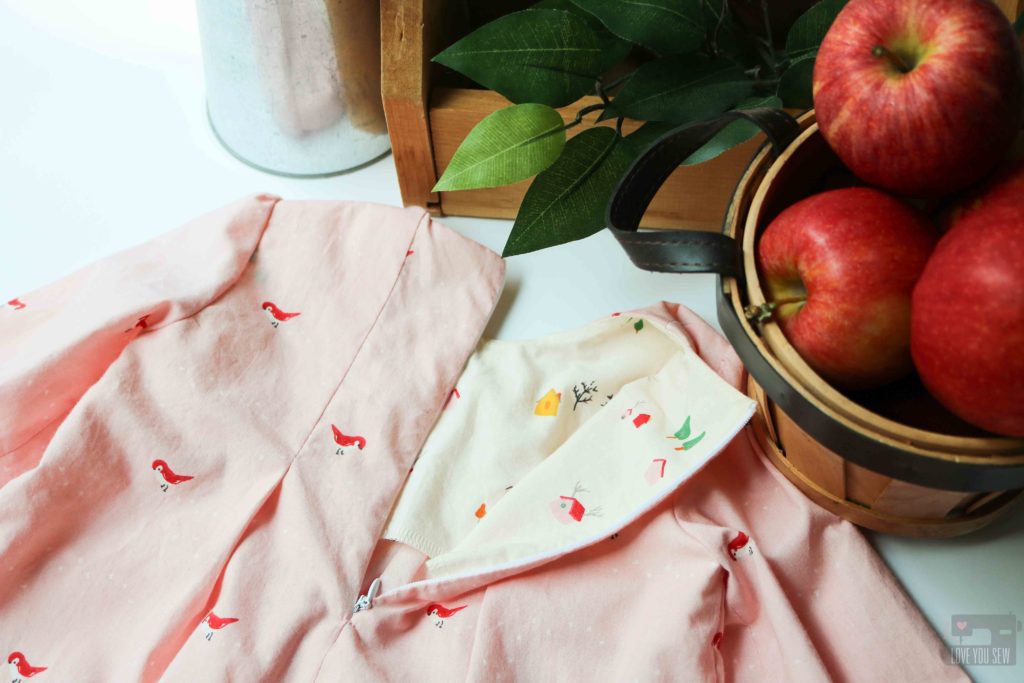
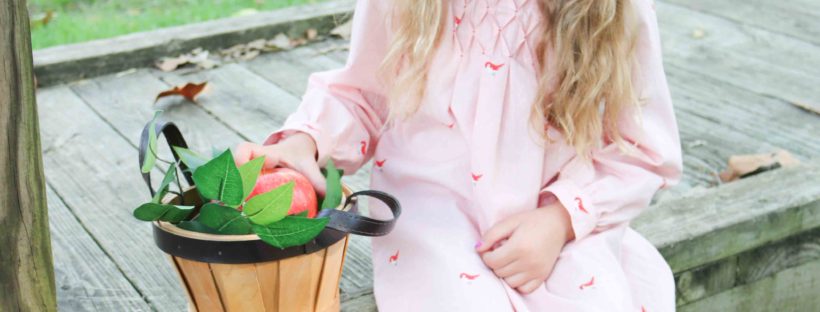
Out of the Whistle fabric collection, I chose to use Birch’s organic quilt poplin.   However, there are so many great jersey knits available too.  I had such a hard time deciding which patterns I wanted to use.  But then I remembered how much my SIL loved the Nova Dress I made for a niece and I wanted to make one for her daughter.  I chose a simpler small scale print like this Tiny Steps in Blush which would help show off the smocking and then chose Treehouse for a fun surprise lining.
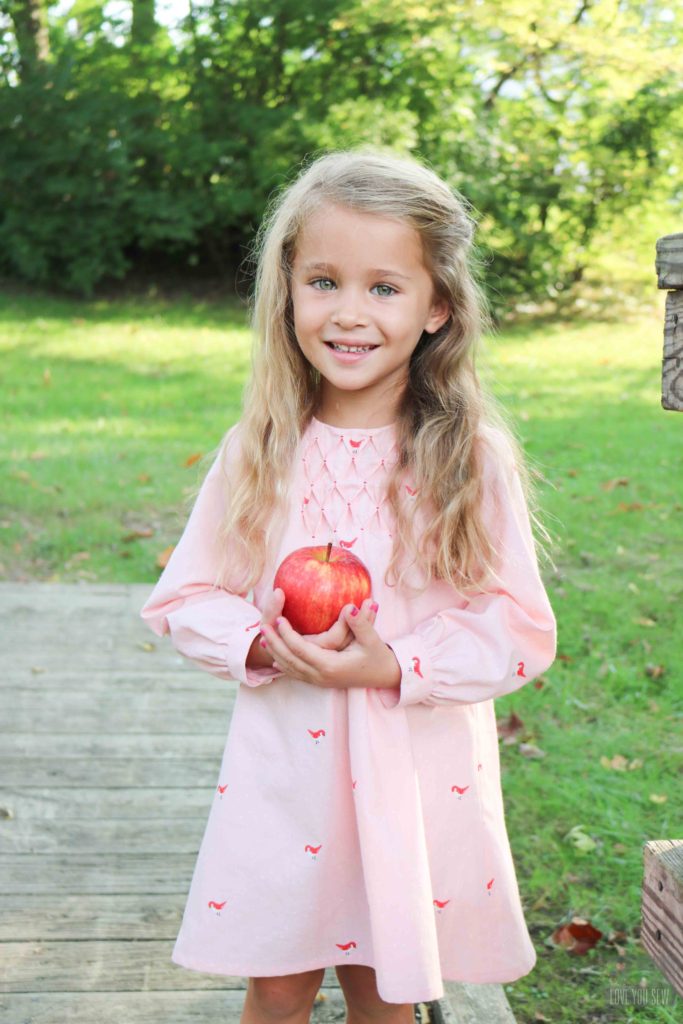
What I love about Straightgrain Patterns are the number of options with each of her patterns.  This Nova Dress, alone has 140 different combinations!  They make for such an incredible value and I love how I can make a unique dress for all of my nieces.  Now that it is officially fall, I made this version of the Nova dress with long sleeves so it can be worn with bare legs right now, but can go into the winter with some thick cable knit stockings and boots later.
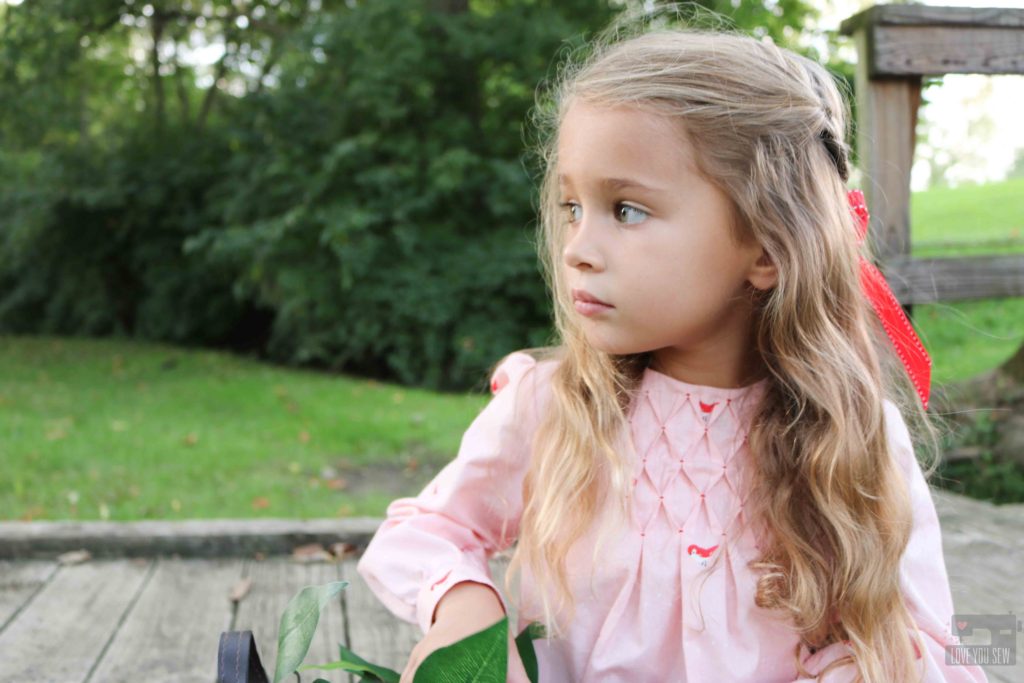
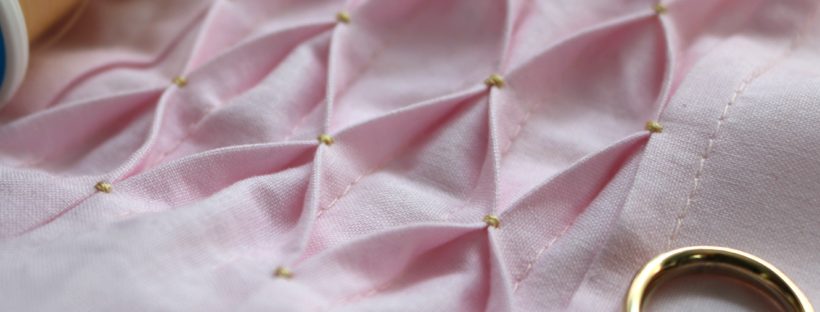
This pattern has 4 different types of pleating and the honeycomb smocking is my favorite.  I tell everyone to learn dress-making techniques on little girl versions and I completely learned to do this following An’s thorough instructions.  I just love all of the texture and visual impact.
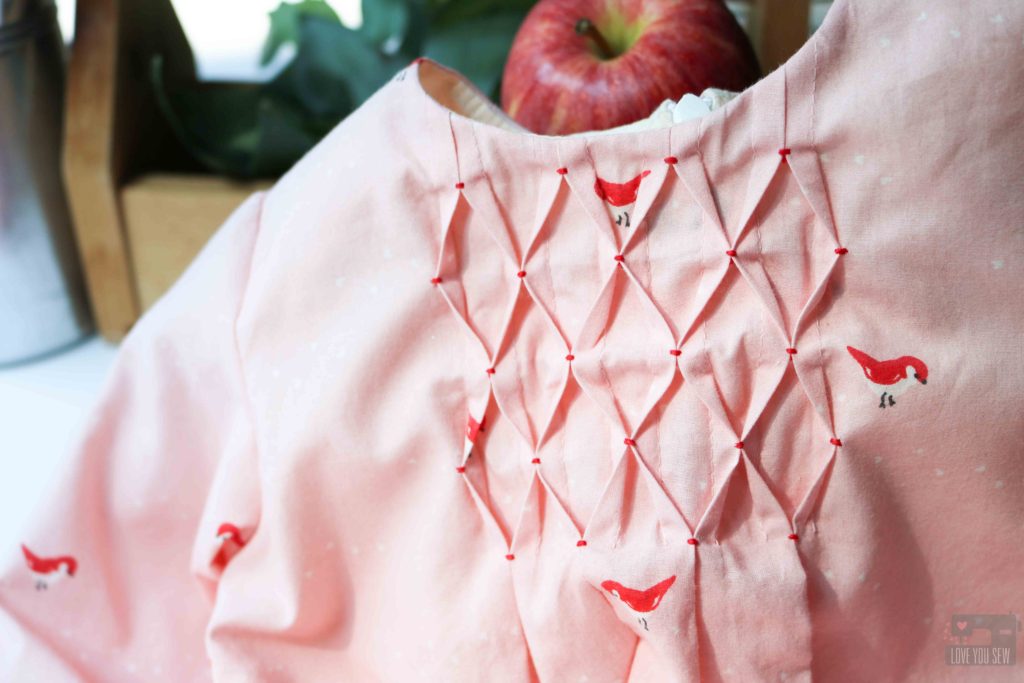
The smocking does take extra time and there is hand sewing involved to tack the pleats together.  But it is all worth it!  I like using contrasting thread to highlight the design and to complement the fabric.
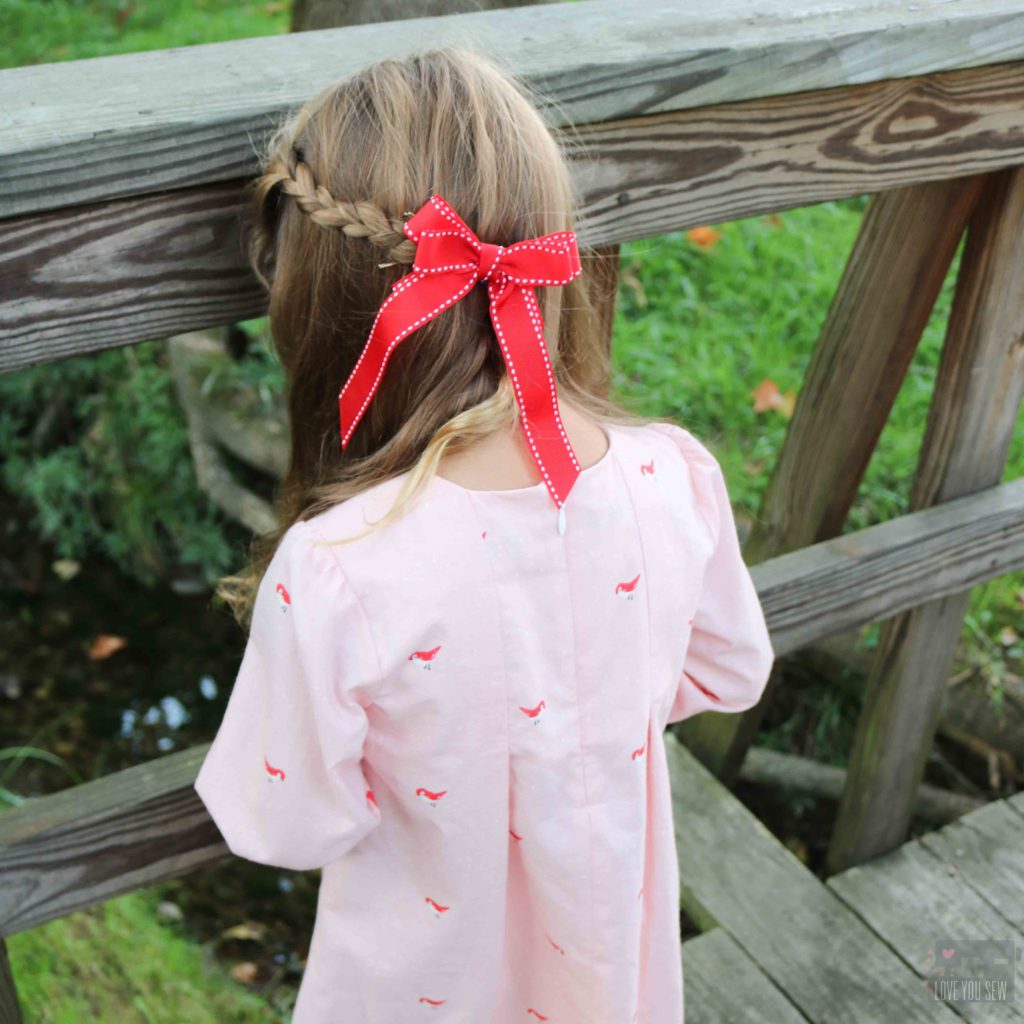
For the blog tour, I inserted an invisible zipper versus the ribbon tie I used on this version. Considering the seasons, a fully covered back was more appropriate and I love the ease of a zipper for dressing.  I happened to just buy an invisible zipper foot for my machine and of course, don’t know why I waited so long!  With the right foot, you can hardly tell there is a zipper at all!
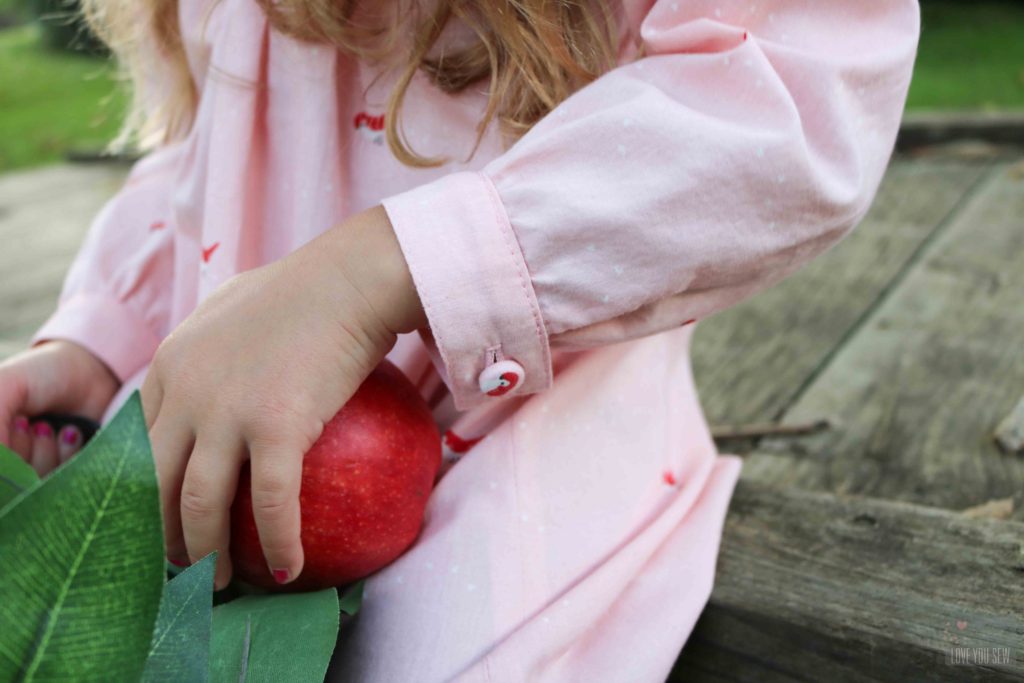
Another special feature I added to this dress are the buttons.  I had an old kit for making covered buttons stashed away and knew these little birdies would be perfect for them.  I used light interfacing to help stabilize the fabric and cut them to size.  It was so easy that I know there will be many more covered buttons in my future.
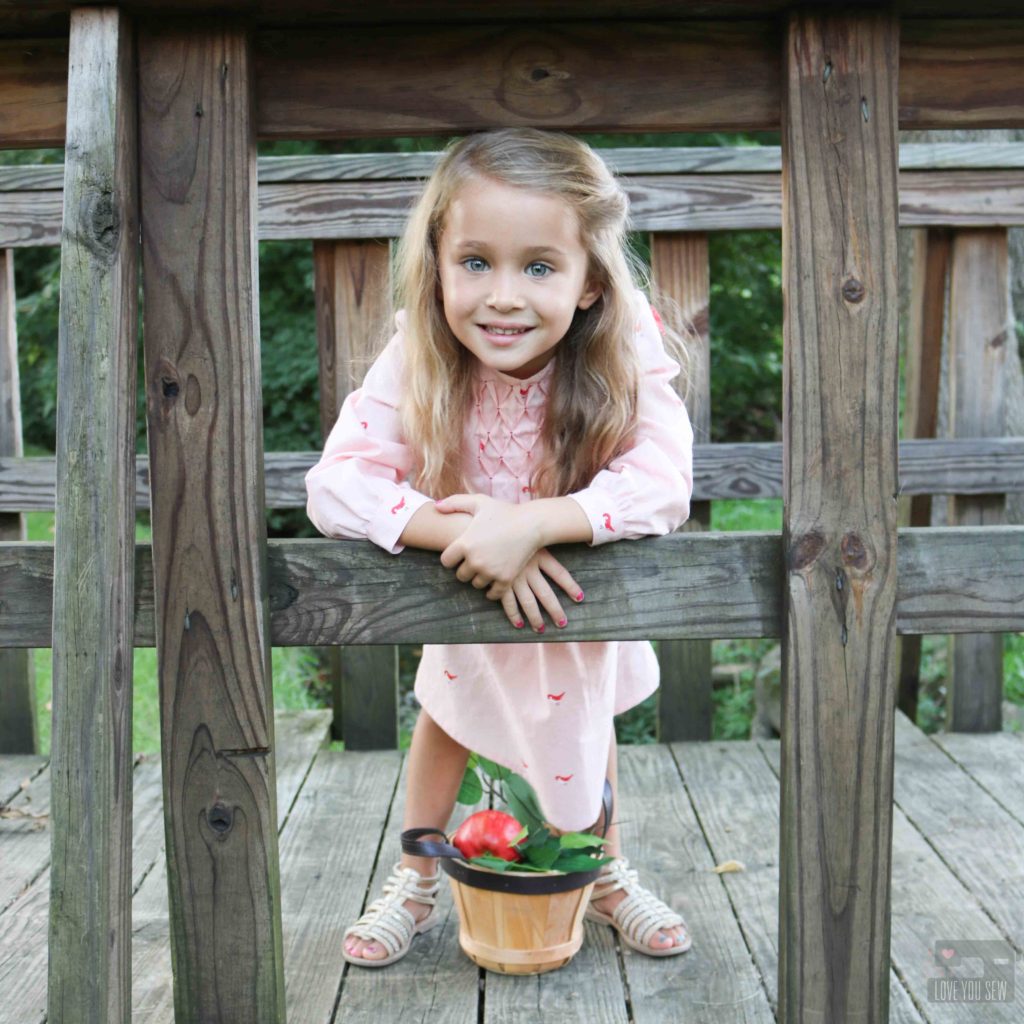
Birch Organic fabric handled and washed very well.  It has the same weight as other designer quilt fabrics, but that GOTS certification gives you so much peace of mind.  I’m so happy to send this dress off to my niece and know its all organic 🙂

To follow along on the rest of the Birch Fabric x Straightgrain Patterns Blog Tour, check out of the blog links below:

BirchKnee Socks and GoldilocksPetrol & MintThe Crafty KittyChristinaaJust Add Fabric
Love You Sew (you are here) – My Petite SophieWhile She Was SleepingStraightGrainMade By Sara


Project Details:


Happy Sewing Friends!


Cristy


Fabric and patterns were provided by Birch Organics and Straightgrain Patterns for this post.  As always, all opinions are my own.  I’ve bought products from both companies before this post and definitely will following it.
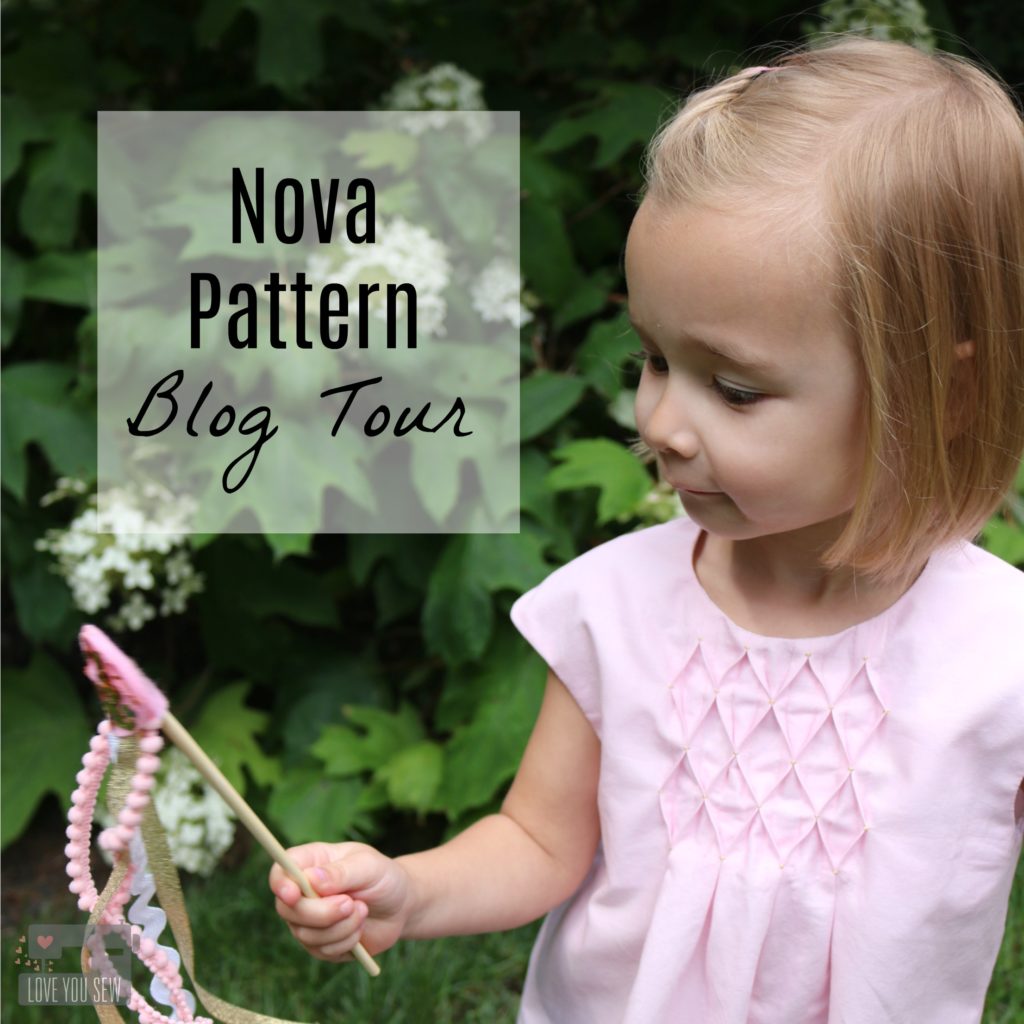
Nova Pattern – Blog Tour

Sewing up little girls clothing is one of my favorite things to do.  I don’t have any girls of my own, but I love making them for my nieces and close friends. It’s such a nice change of pace from all the boy patterns I use and I do love “the twirl” when one of my recipients puts on her dress for the first time.  It just fills my heart!

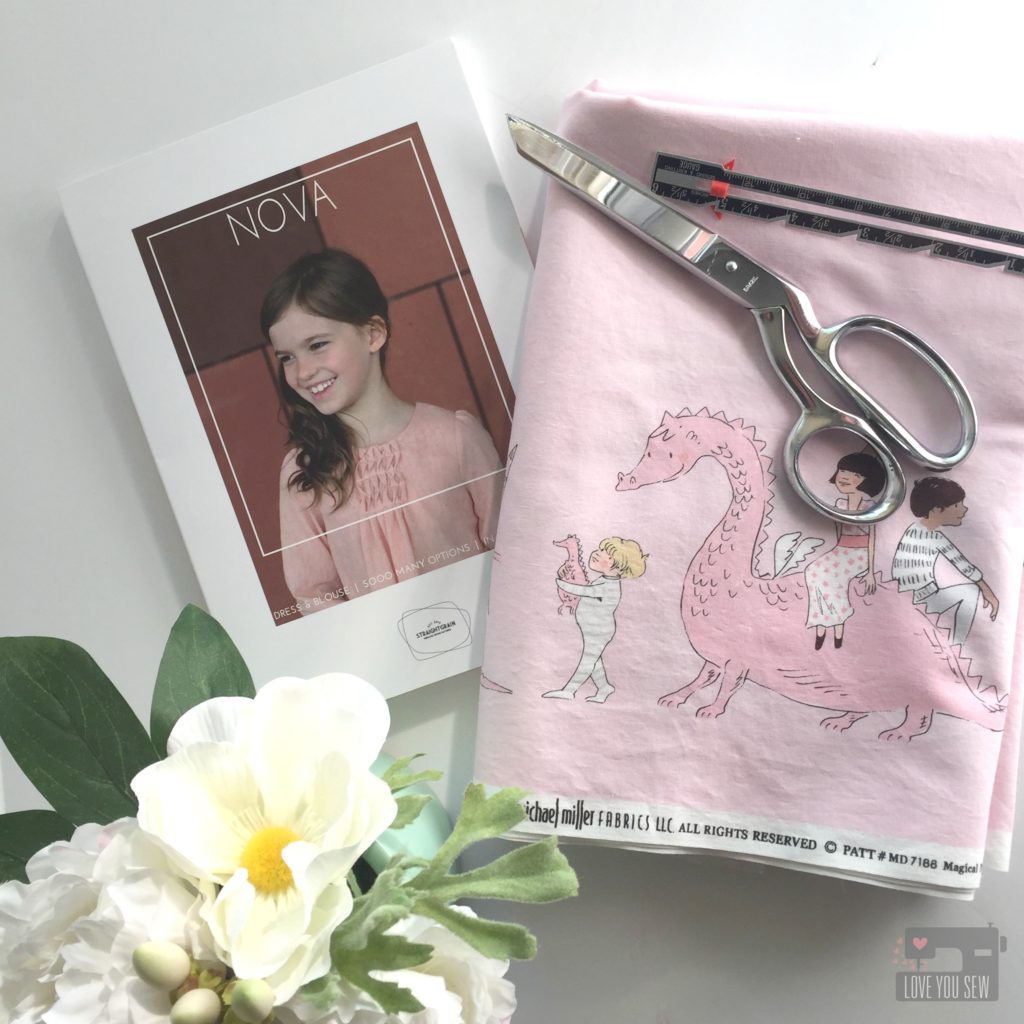
When I make the plunge to purchase a girl’s garment pattern, it has to be versatile and timeless.  I don’t make them as often as other things and I need them to go with all different fabrics.  That’s exactly the style of Nova by Straightgrain Patterns.   It’s a beautiful no-fuss, clean design with lots of options.  The sizes go from 3m – 12 years too…Now that’s what I’m talking about!

The Nova pattern is available in both PDF and paper forms. I’m a paper person, myself, and love the color coded sizing. Many authors will give you color in the PDF but not the paper, so that was a nice surprise to find.  The pattern is also written in both English and Dutch (for any of my Danish friends out there!)

Nova consists of a classic A-line silhouette for woven fabrics.  You can change up the sleeves, the length, back closure, and even collar for a number of different looks. But what makes this pattern really special, are the pleating variations on the front and the back!  All the different pleats are just so amazing and I’m all about that extra texture!

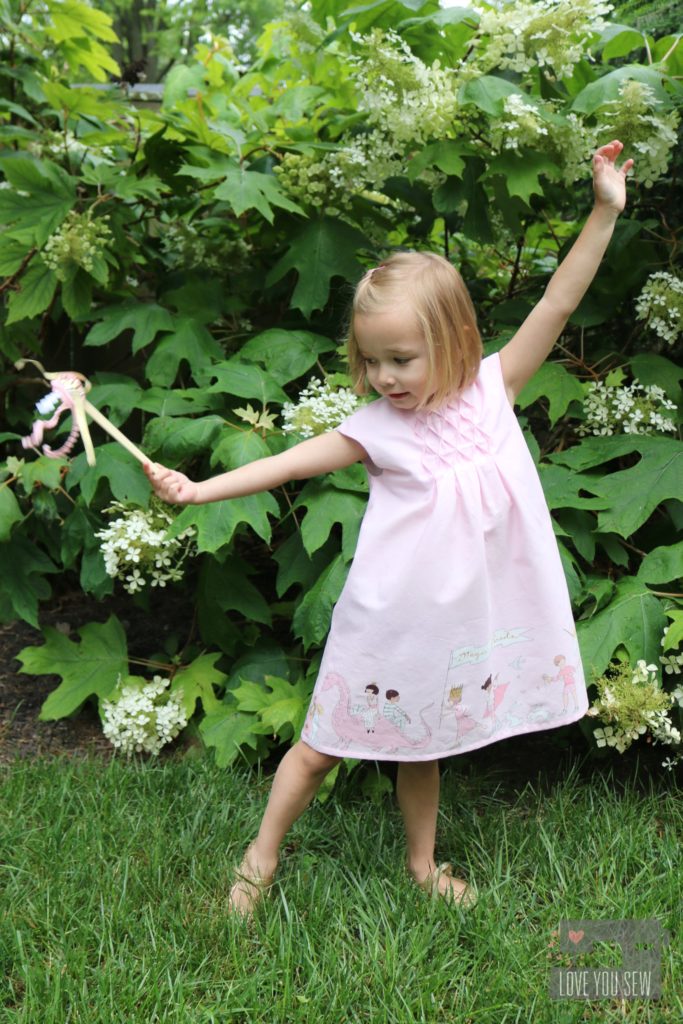
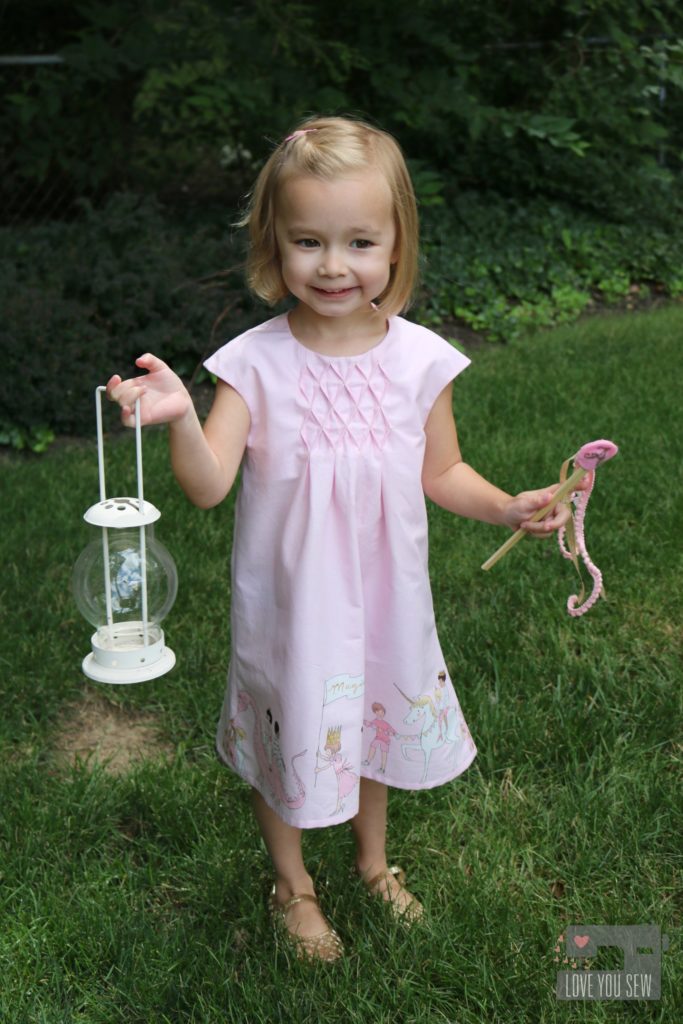
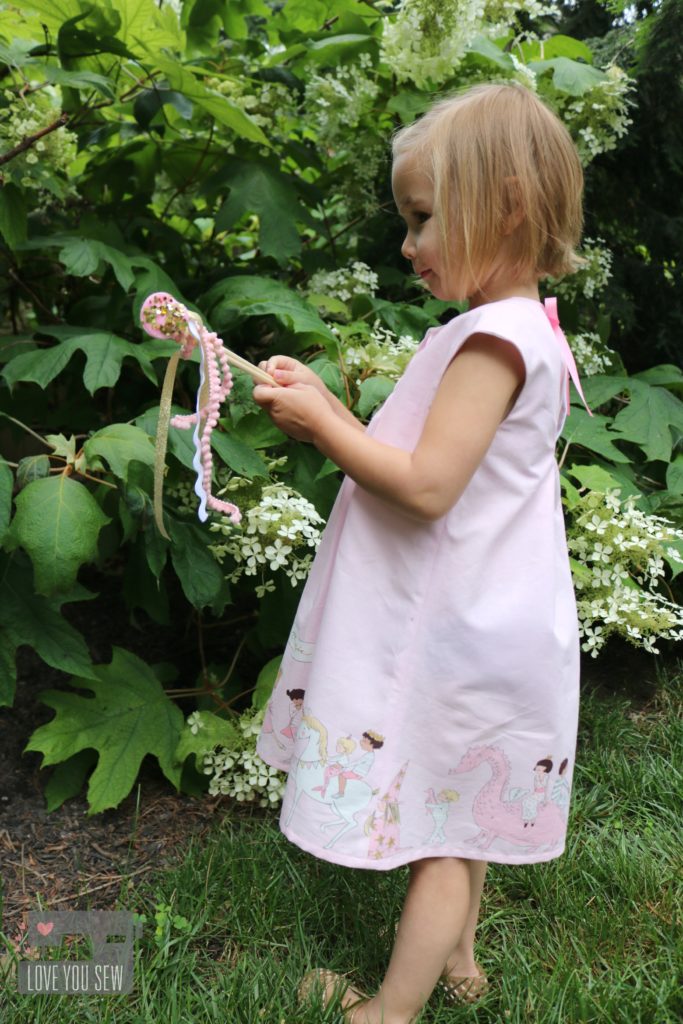
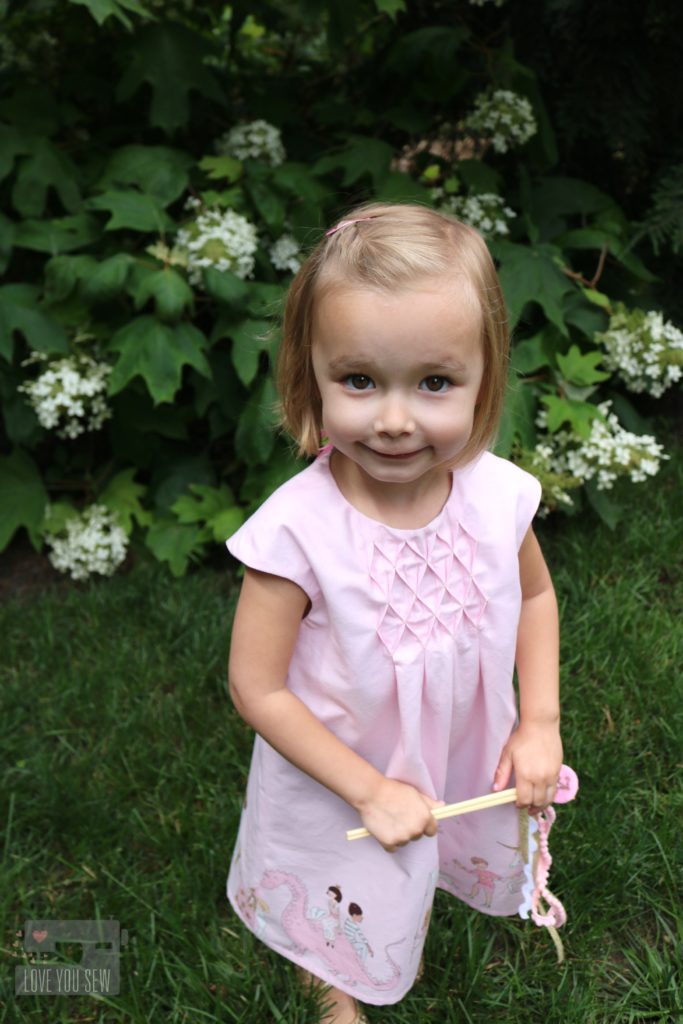
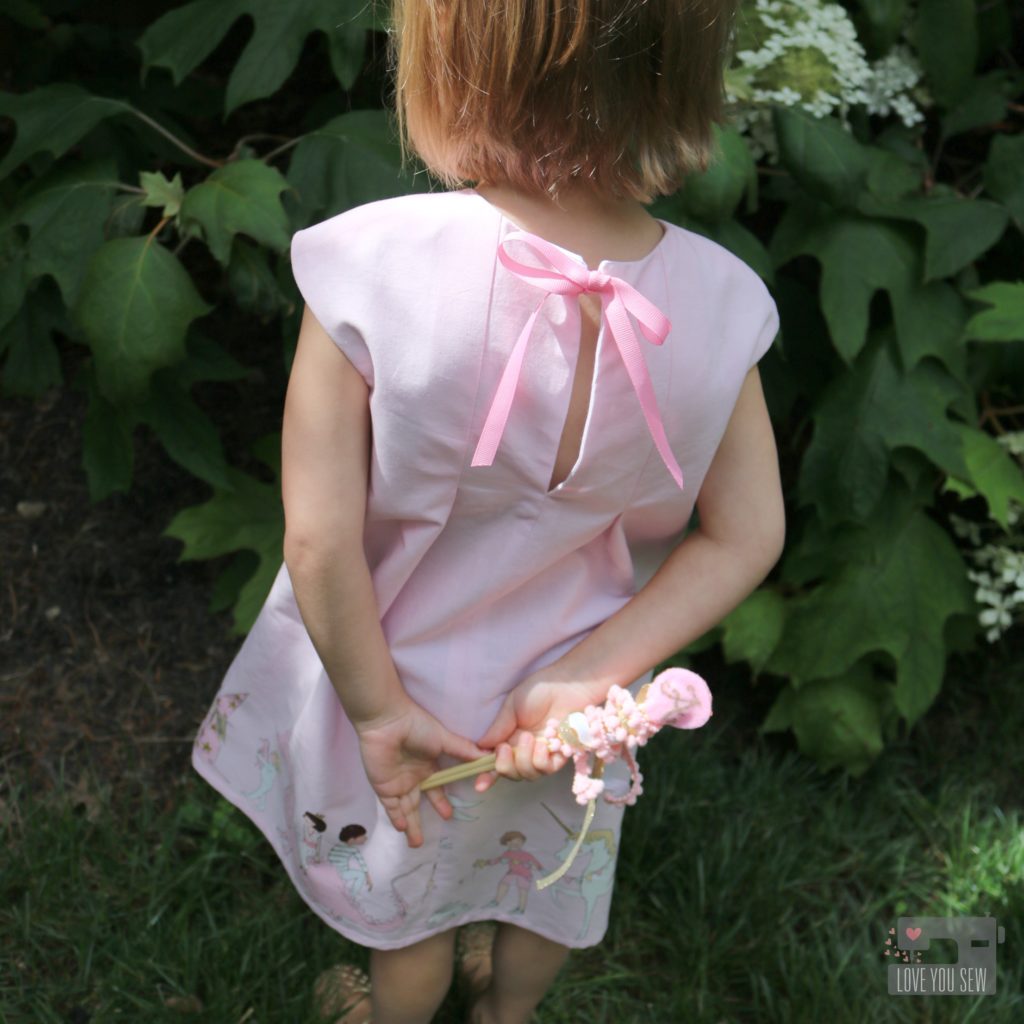
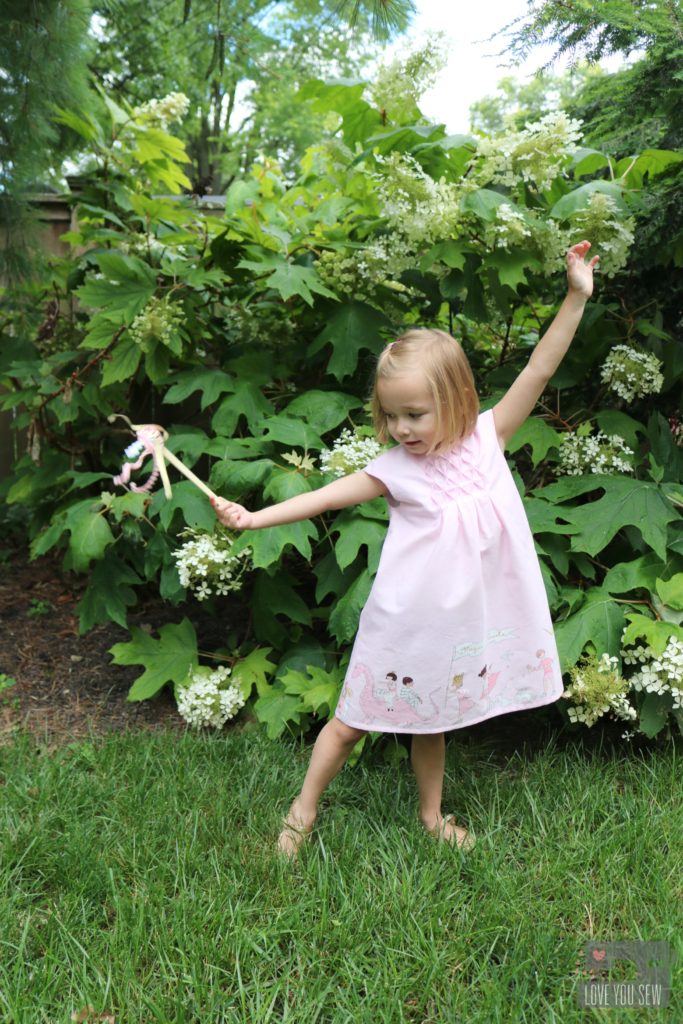
When I received the pattern, I knew the double panel print from Magic! by Sarah Jane was going to be perfect. The parade of magical creatures is so whimsical and such a sweet look at childhood.  The simple solid pink background would really show off that honeycomb smocking.

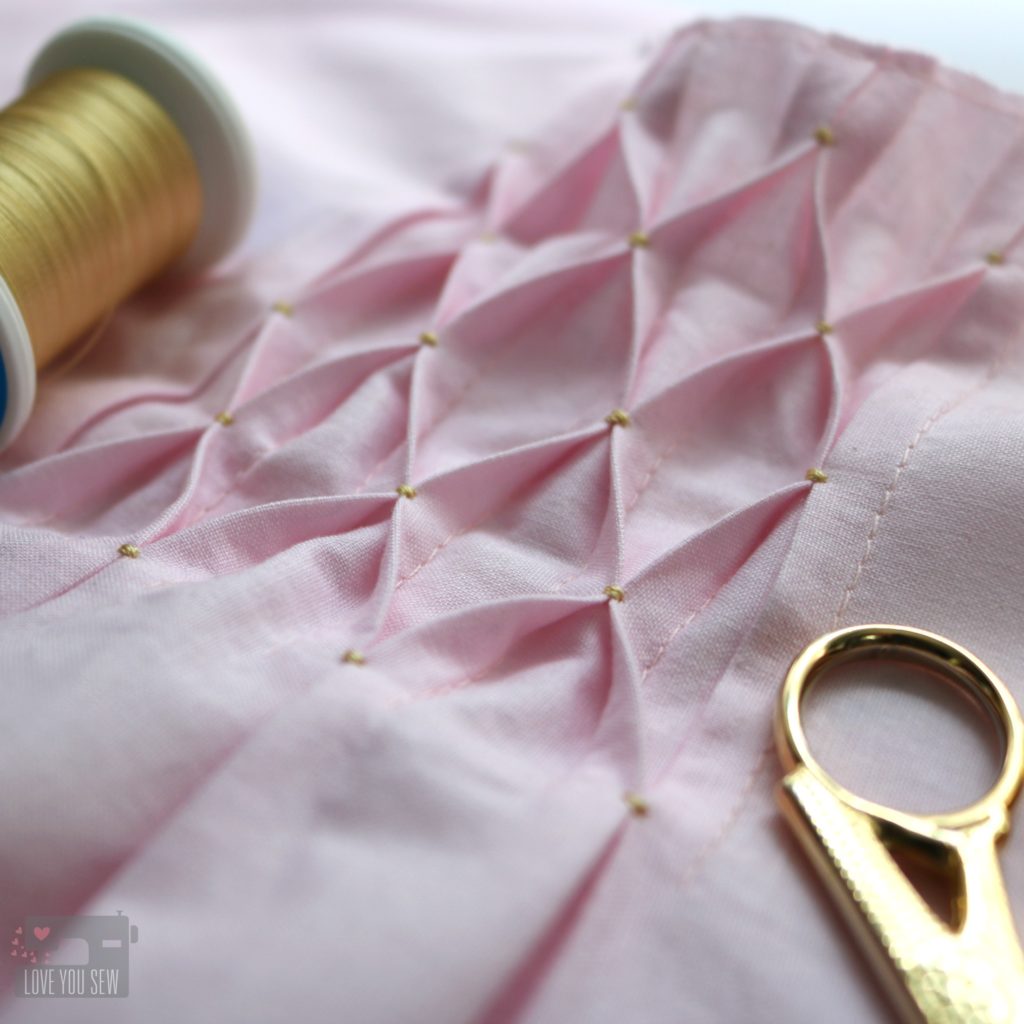
Speaking of…can you believe this was my first time making the honeycombs?  I did have to read and re-read the instructions a few times to wrap my head around the concept.  But luckily, An had a number of great pictures AND a video tutorial to help this newbie.  I made sure to evenly mark my seams, sewed slowly for nice even pleats, and pressed well for a defined shape.  Gold thread really helped to highlight the technique and brings out the metallic details in the fabric.

With the honeycomb detail, I kept the sleeves simple with the cap option. It gives such a nice clean style and the dress can be put on and taken off easily too.

For the back, I opted for the ribbon closure. The fabric is just so sweet that only a bow could work IMO.  I was debating back and forth with ribbon color and settled on a shade that was darker than the body of the dress, but picked up in the print.  It gives the dress some balance and brings your eye up to that keyhole detail.

The Nova was SUCH a fun make. It helped to stretch my comfort level and I learned a new skill in the process…which wasn’t as hard as initially thought! This is another reason I enjoy making little girl dresses. It’s nice to work on my garment skills on a smaller scale…and for a less discriminating audience. Haha.

Project Details:

Make sure to also follow Straightgrain Patterns on Instagram for more inspiration and tutorials to help you along the way.  #novapattern #straightgrainpatterns


Check out the other participants in the Nova tour:

Sisko by MiekeBel’EtoileZowiewo Petrol & Mintsewpony Fairies, Bubbles & Co
Elizabeth LittleMaker Mountain FabricsBetter Dressed Child Just Add FabricMy Petite Sophie
Frances SuzanneI Sew BlancheLily & WoodyMy Minnie Mie
Love You Sew (you are here)- Thread Riding HoodAriane Blog


The Nova pattern was provided by Straightgrain Patterns as part of the blog tour.  All thoughts and opinions are honest and my very own.  

This post contains affiliate links under Project Details

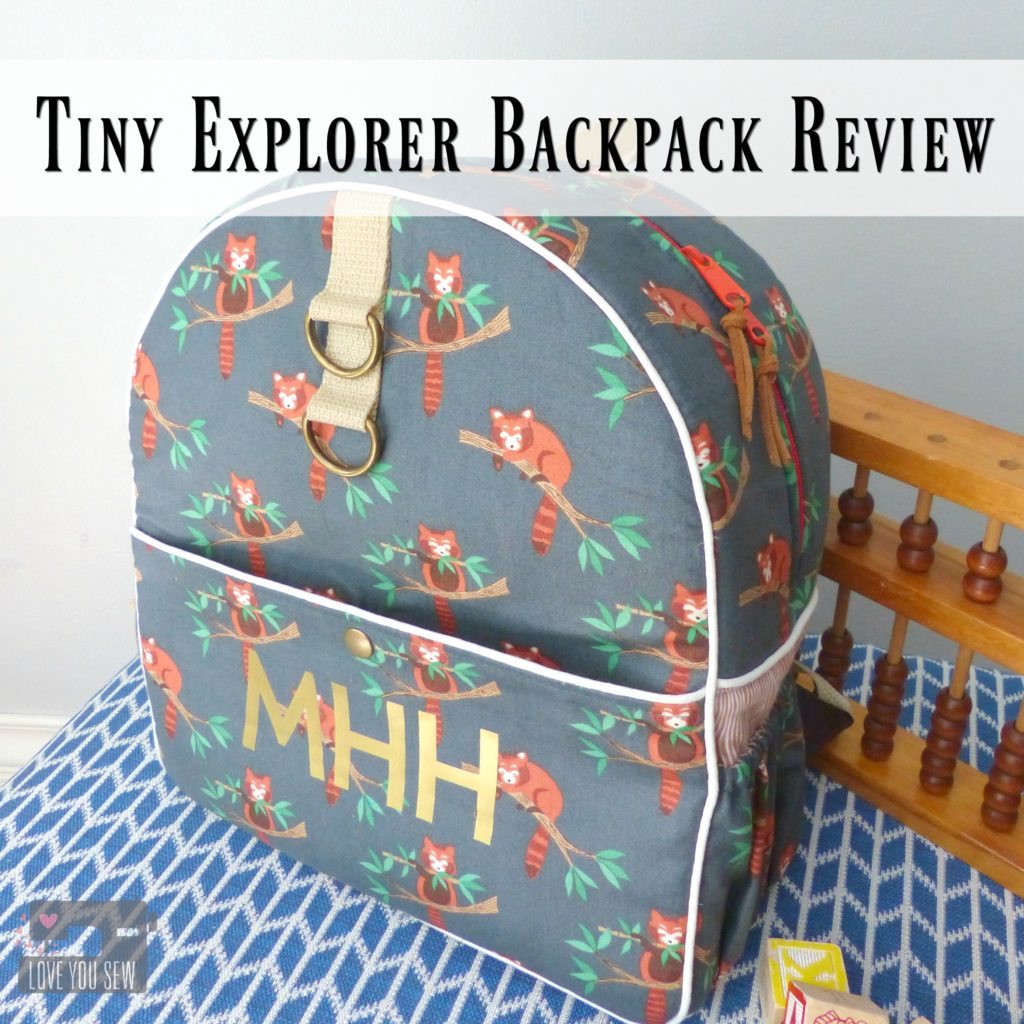
Tiny Explorer Backpack Review

TinyExplorerBackpackTitle

Its’s back-to-school season and that was enough motivation to [finally] get me to blog about the Tiny Explorer Backpack I made all the way back in June for my niece.  I wanted to make something special for her first birthday which she could grow into and use for awhile.

This toddler-size pattern by the fabulous Erin Morris of  Diedel*Bug Handmade, was exactly what I wanted.  If you’ve been sleeping under a rock and don’t know her work, you’ll have to check out her Facebook and Instagram pages.  She makes the most amazing bags and because of this, I knew her own pattern was going to be well written with lots of pictures.  There was no disappointment here!

IMG_5698

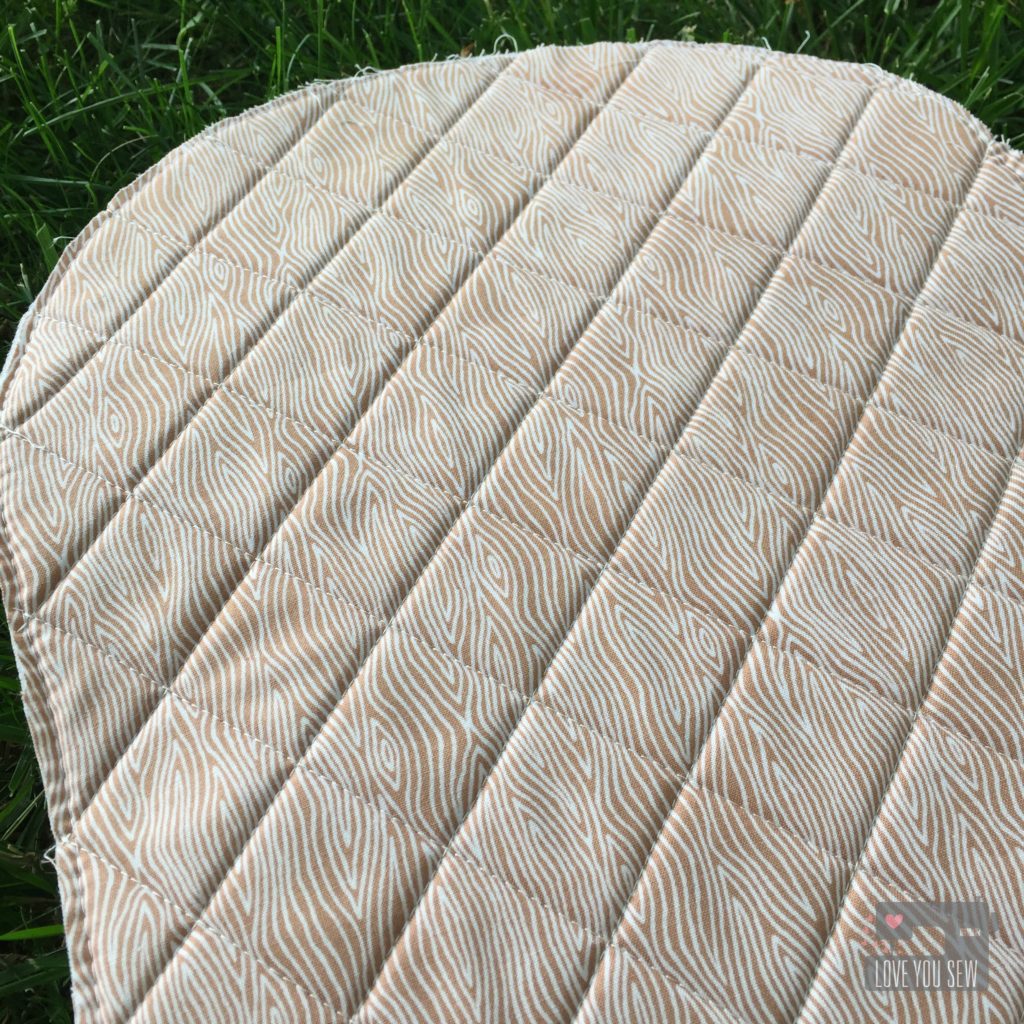
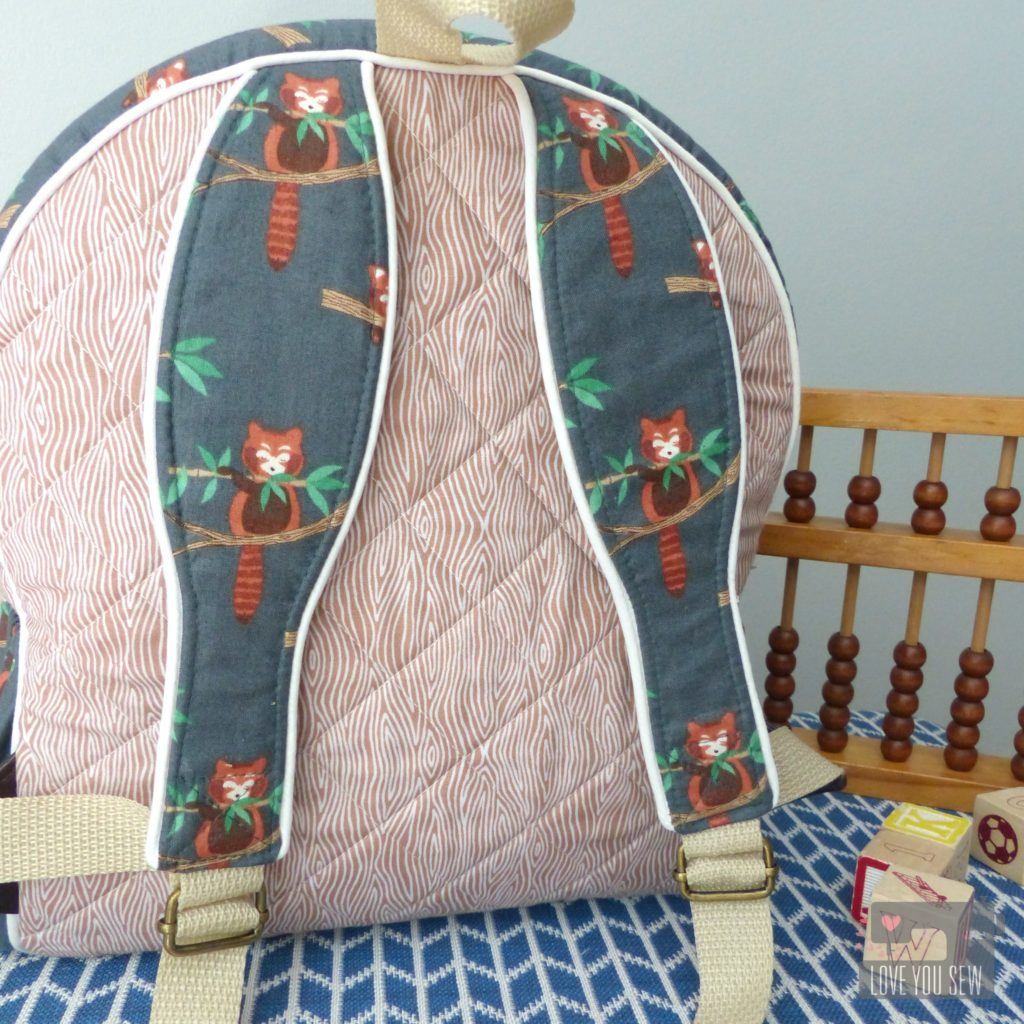
From the get-go, I decided to use Soft & Stable instead of the recommended fusible fleece.  I was inspired by some store bought backpacks to quilt the back for a nice feature but to also cushion the back.  Plus, how can I ever pass up the opportunity to do a little quilting, right?!?

TIP: Cut the back pattern pieces a little larger and quilt.  Then use the pattern template to cut to size since you’ll lose some area depending on how much quilting you do.

IMG_5700

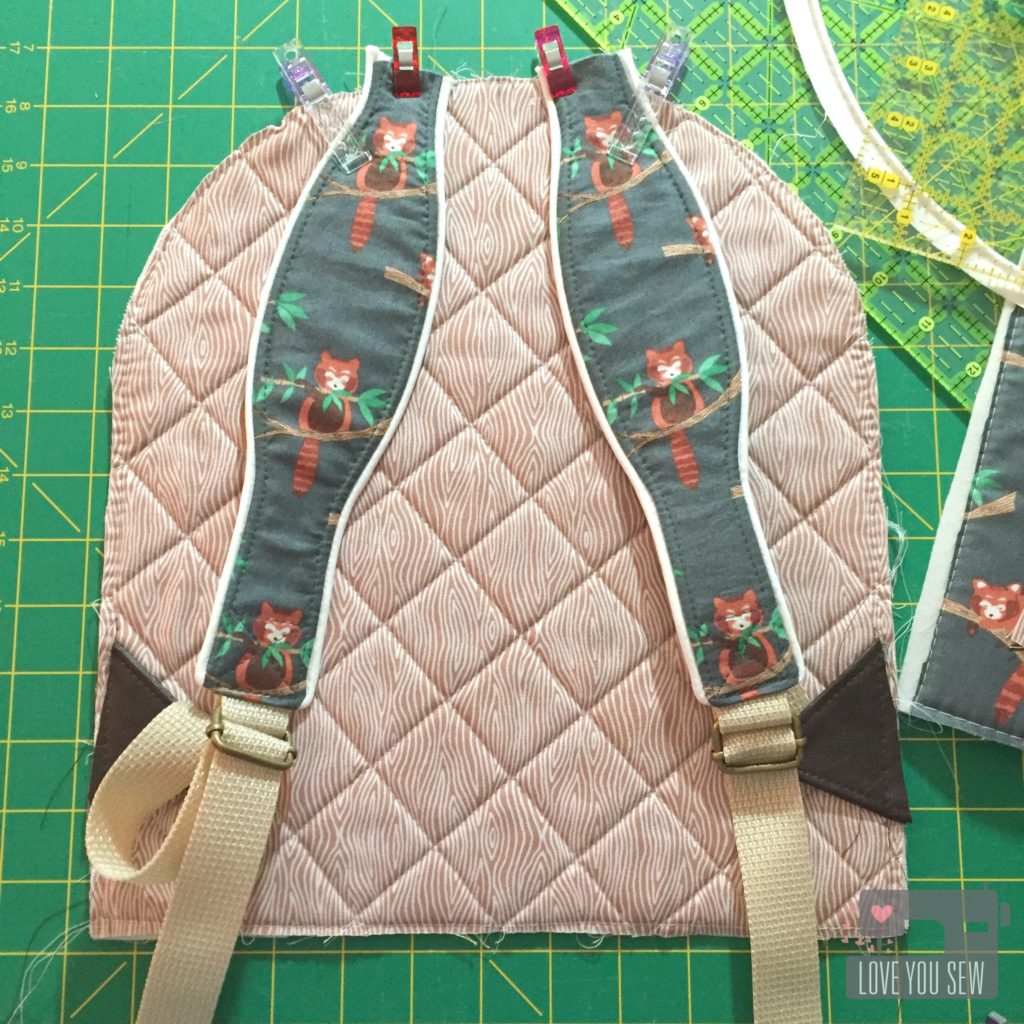
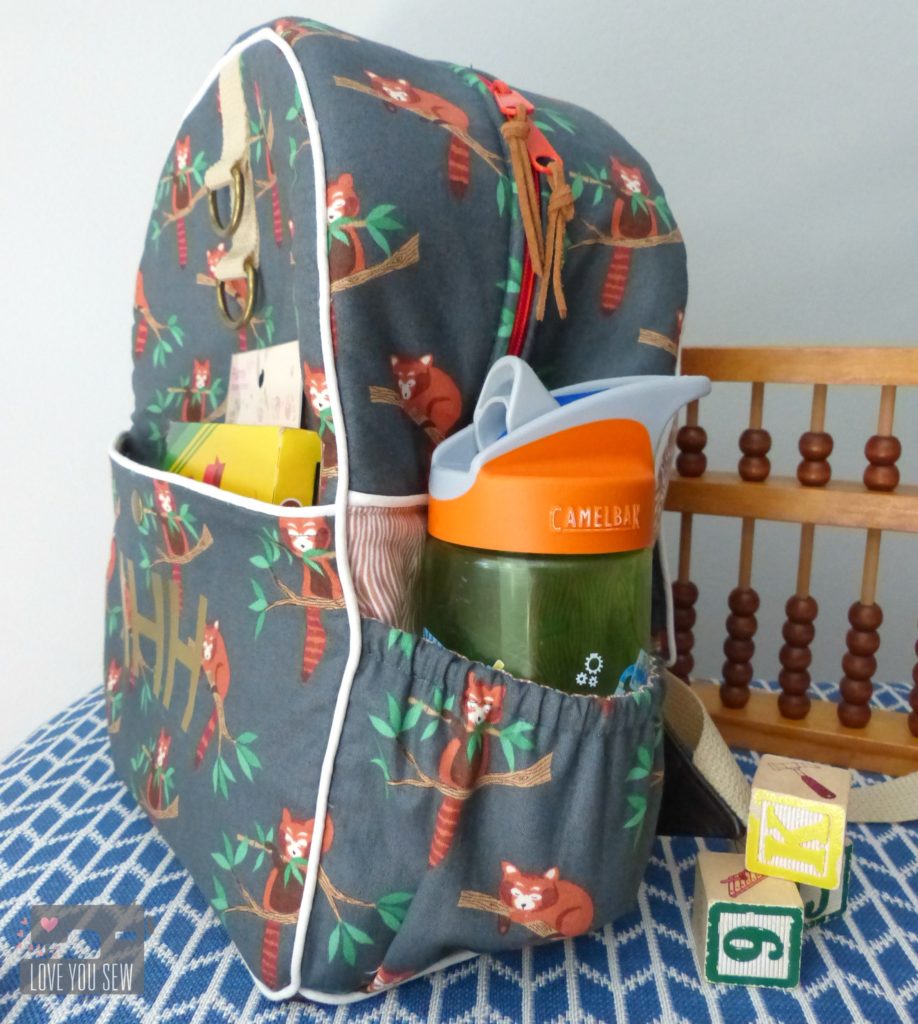
Red pandas are my niece’s favorite animal and I could not resist snatching up this MinShan fabric by Lewis & Irene.  The woodgrain is Gentle Forest by Tea and Sympathy for Studio E Fabrics.

TIP: To keep the fabric nice and tight on the Soft & Stable, baste with 1/4″ seam allowance.  Gently tug on the fabric as you sew to keep it smooth.

IMG_5699

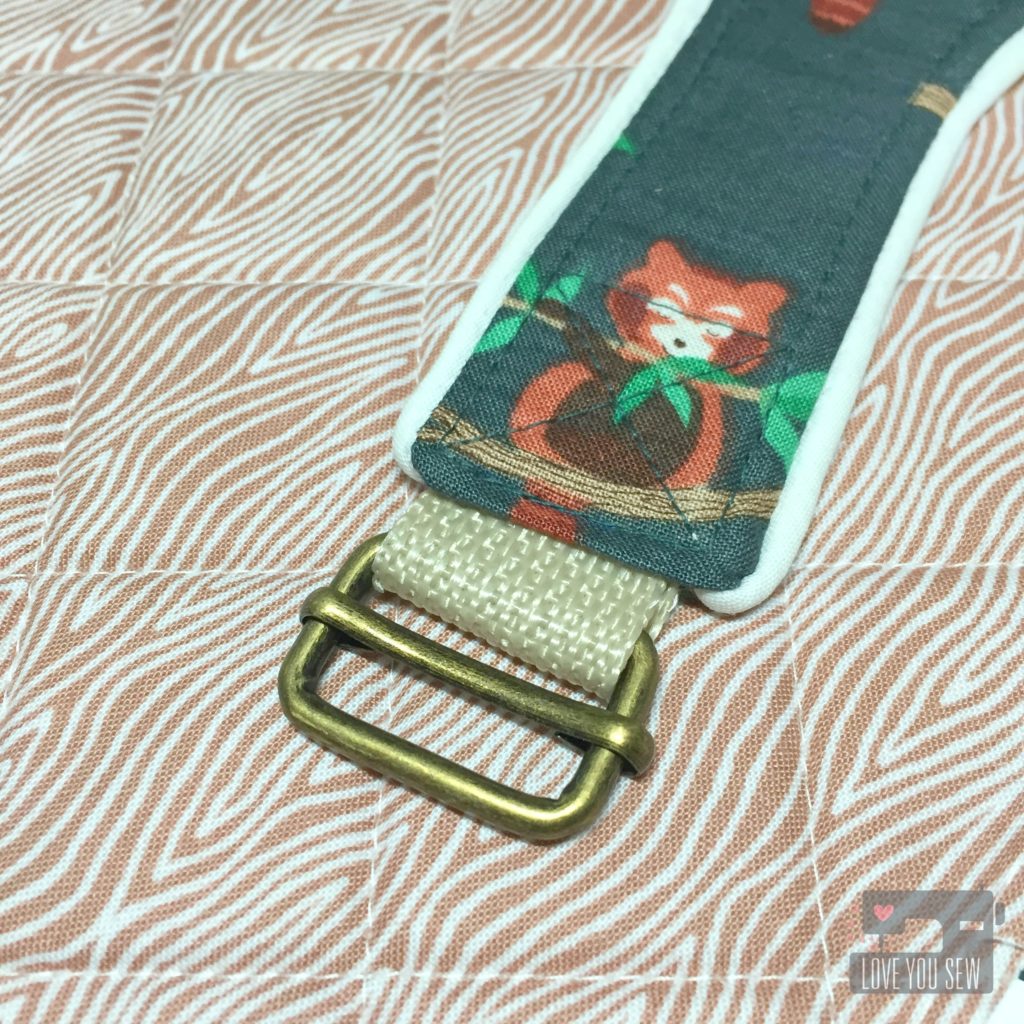
Aren’t these little guys, the cutest?  All hardware was from Emmaline Bags and the webbing was from Joann’s Fabrics.

TIP: Heat seal the ends of the webbing with a lighter before sewing.  My webbing had unraveled at the edges and pulled out after being sewn.  Sealing will prevent this from happening.

P1060497

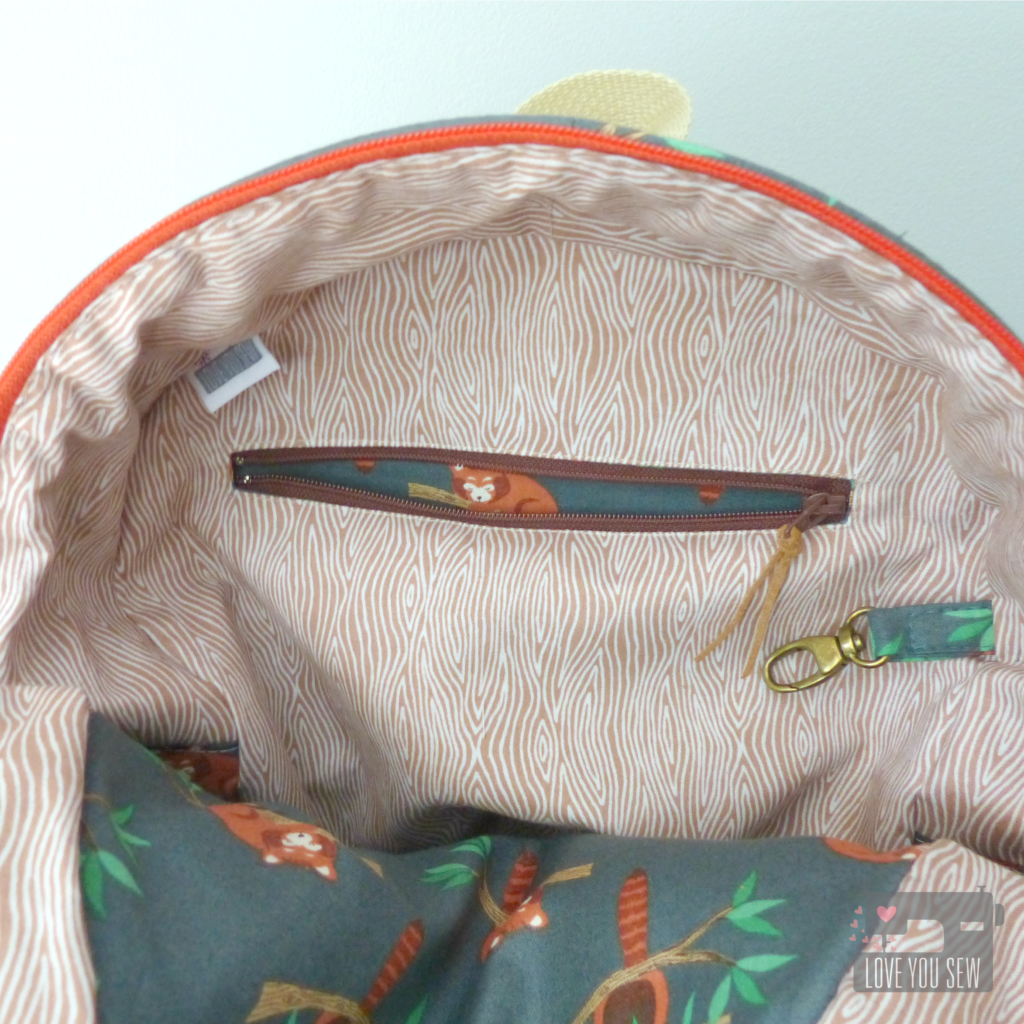
I also used Soft and Stable for the side panels of the bag to keep it’s shape.  As a little toddler, I figure it would be easier to find toys that way.  I added this key fob to the interior in case mom and dad ever need it 😉

TIP:  Add zipper pulls to help little fingers open and close pockets.  I use some leftover suede to complement the fabrics.

P1060495

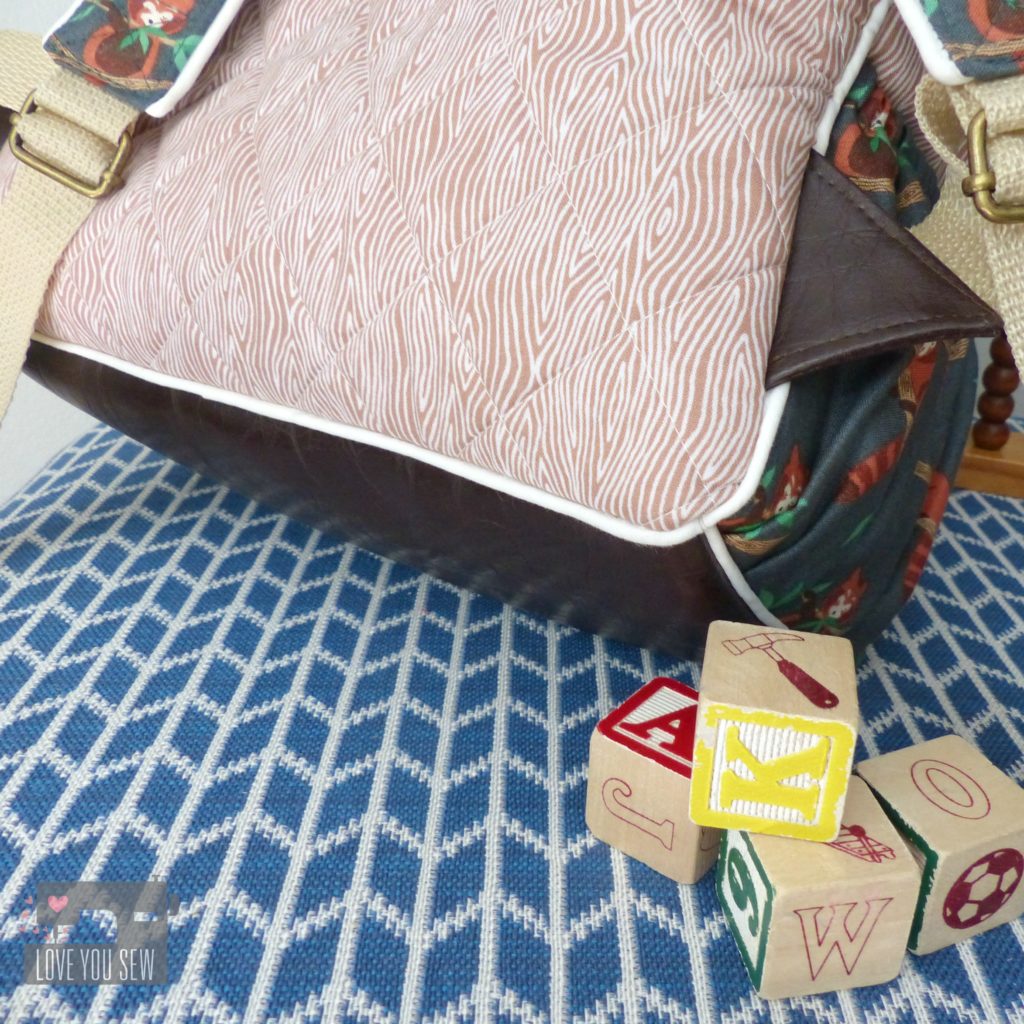
As I assembled the exterior, it was difficult to stitch close enough to the piping through all the layers.  I had to hand-stitch these bottoms corners a little bit to clean them up and make them match.  It might have been a little OCD, but since this was a gift, I just had too!

TopView

With this directional print, you do have to account for a little extra fabric, especially fussy-cutting the shoulder straps and side panels like I did.

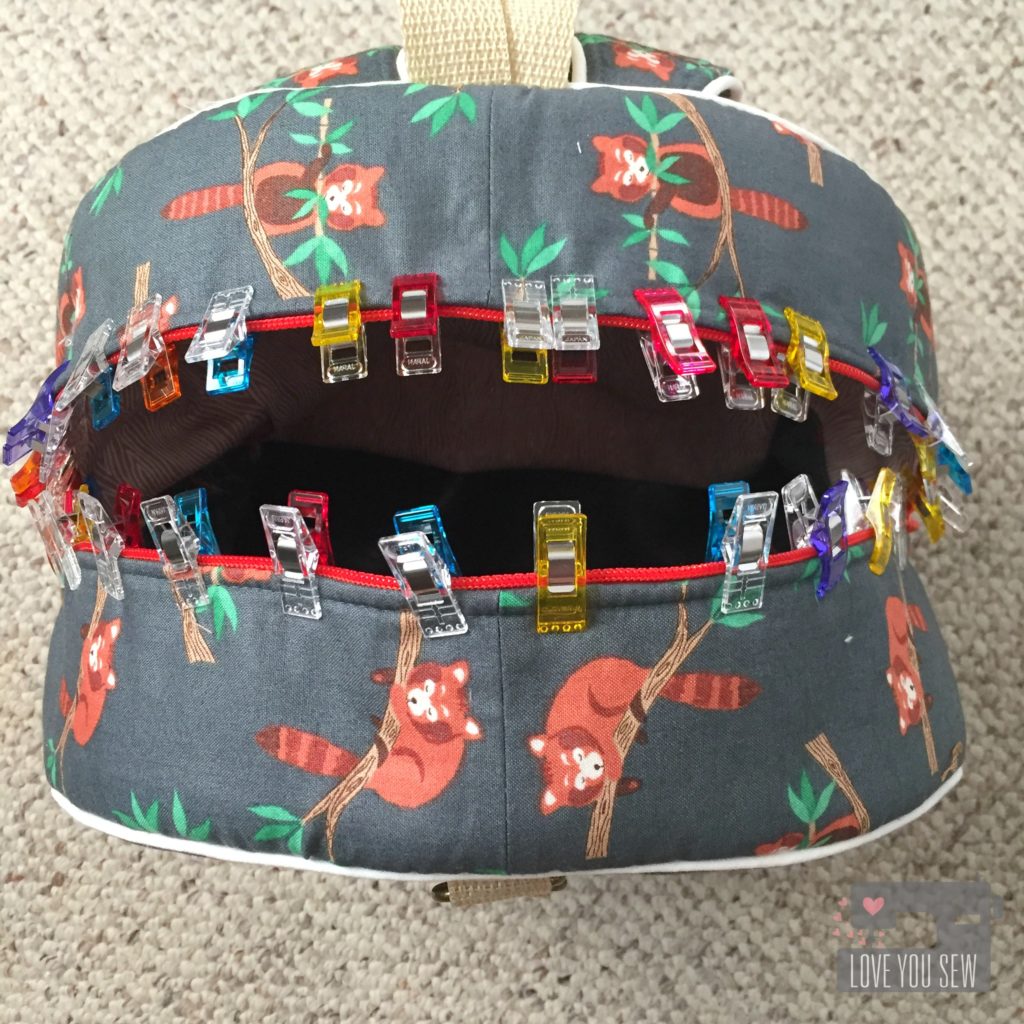
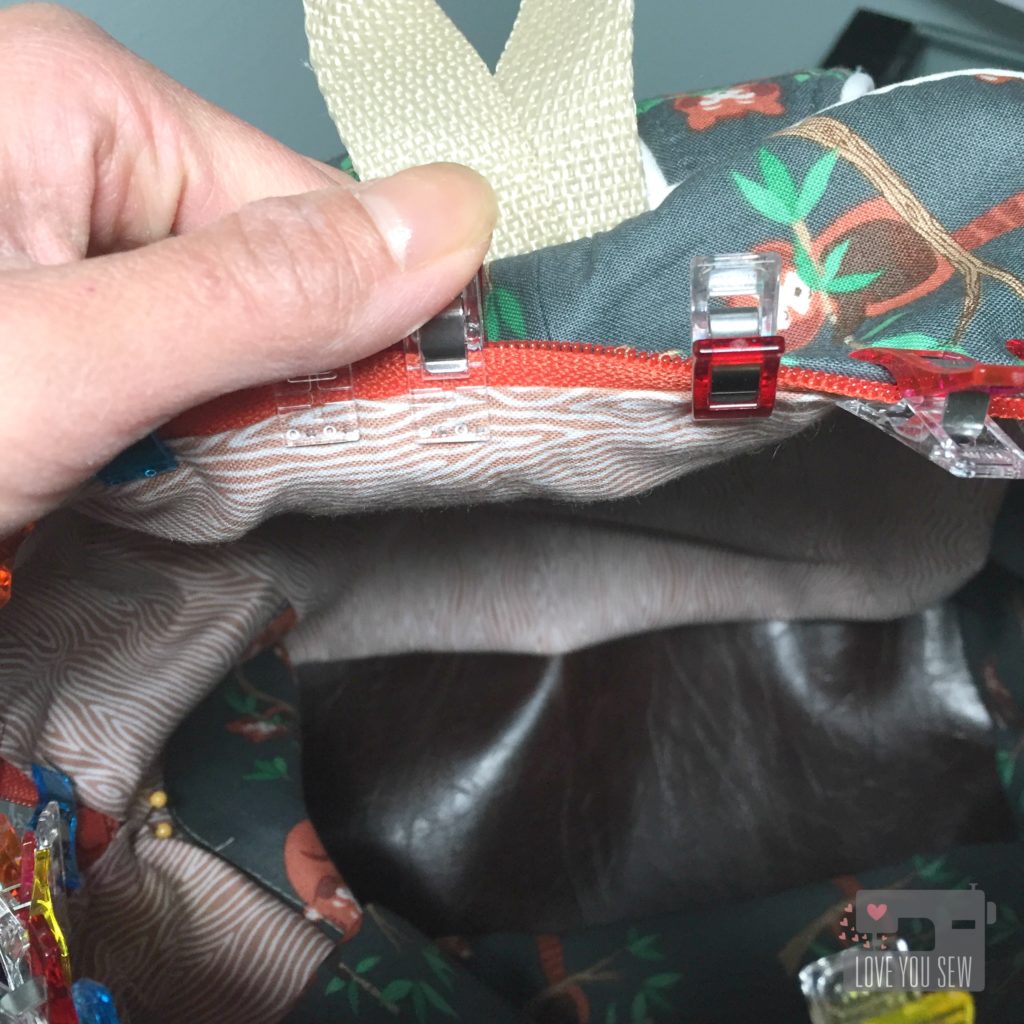
TIP: The entire lining is drop-in.  I used lots of clips to keep it centered and secure before top-stitching it into place.

IMG_5753

With kids, there are always spills, so I used some vegan leather on the bottom to help with easy clean up and for better wear and tear.

TIP: Pull the lining up to just barely cover the zipper stitches.  This way you’re guaranteed to catch it as you top-stitch.

P1060490

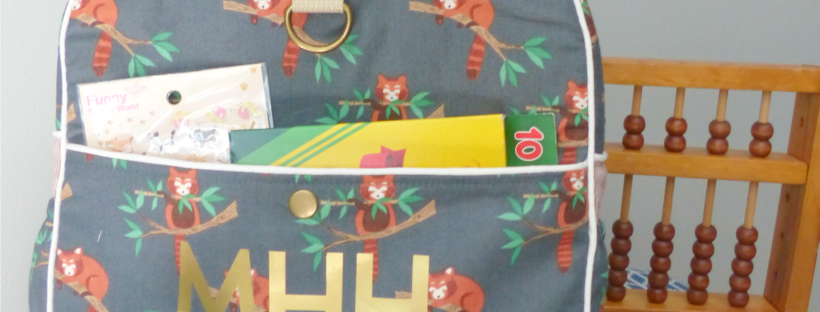
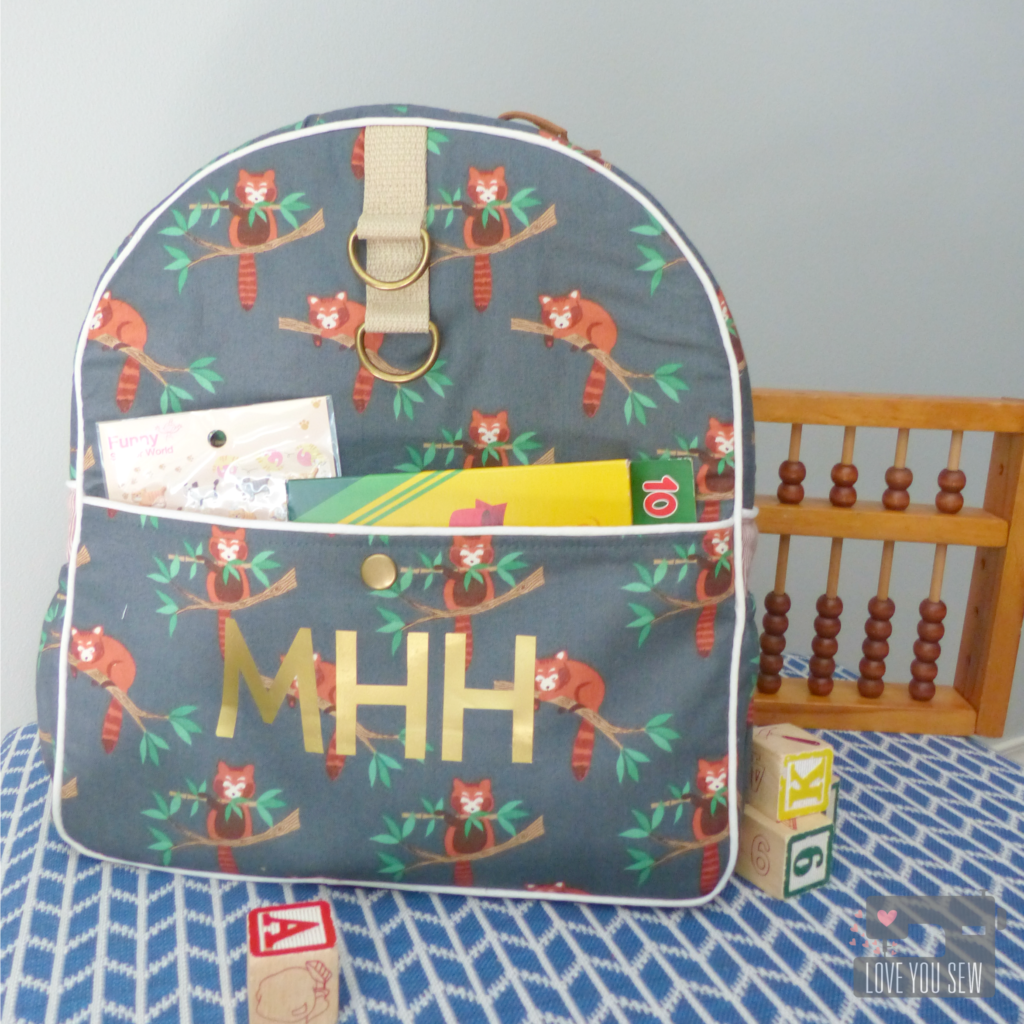
There were three additions made to the front of the bag —  Two D-rings were sewn on with leftover webbing so toys could be clipped on.  I also added a snap to the main exterior pockets to keep little treasures safe.  The most noticeable are my niece’s initials.  I used my Silhouette  Cameo machine to cut the gold heat transfer vinyl.

TIP:  If you would like to add a snap, place it centered 1″ down from the top of the pocket and secure into place before sewing in the lining

TE Sideview

Since I used a long-pull double zipper, I decided to to exclude the zipper tabs.  I also omitted the side pocket binding just to streamline the look a little bit.  Don’t leave the pockets off entirely though…they are great for holding drinks and snacks!

P1060499

Voila!  A fun toddler backpack for my little niece!

MayaBackpack

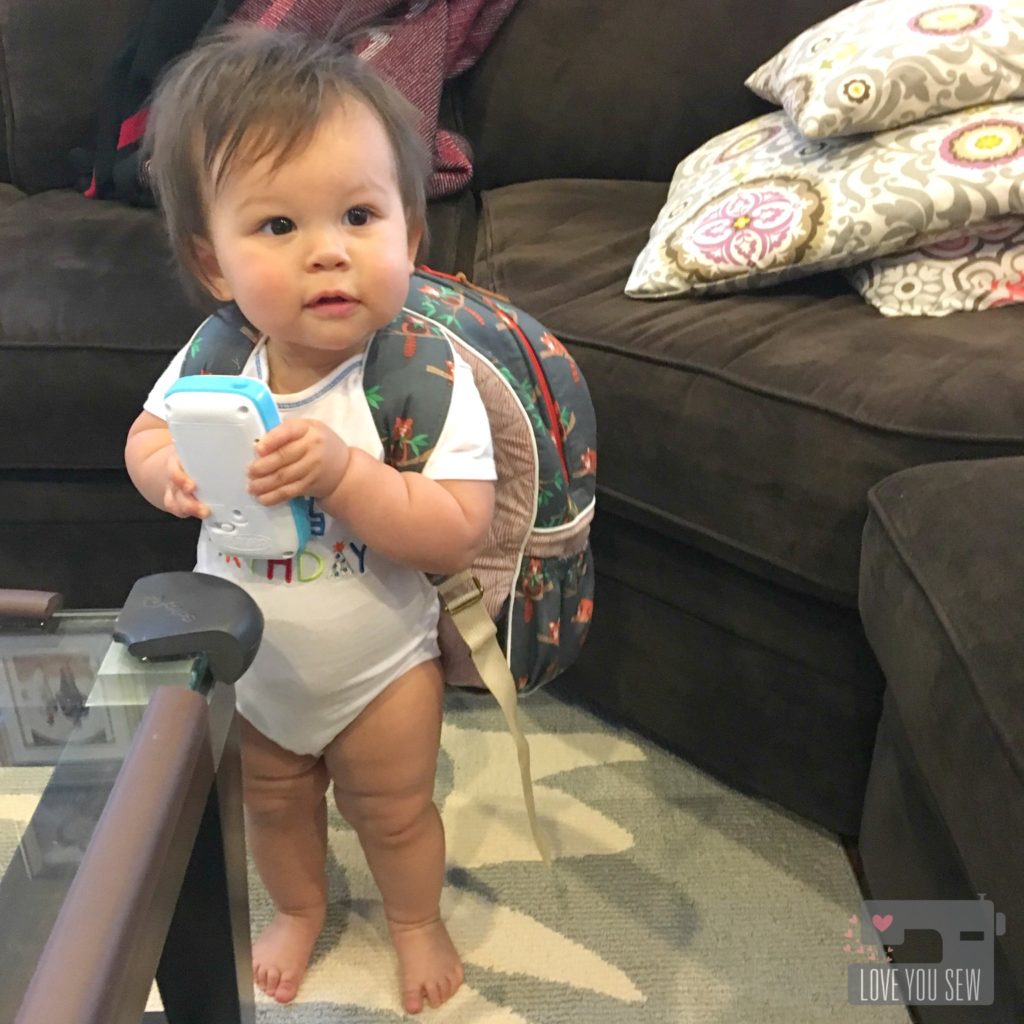
Here is my little munchkin with her bag.  Look at her rolls on rolls! <3  Doesn’t she look like she’s ready to catch some Pokemon 😀


Happy Sewing,

Cristy


This was not a sponsored post.  I purchased the pattern and all opinions are my own.

Fundraiser Sewing

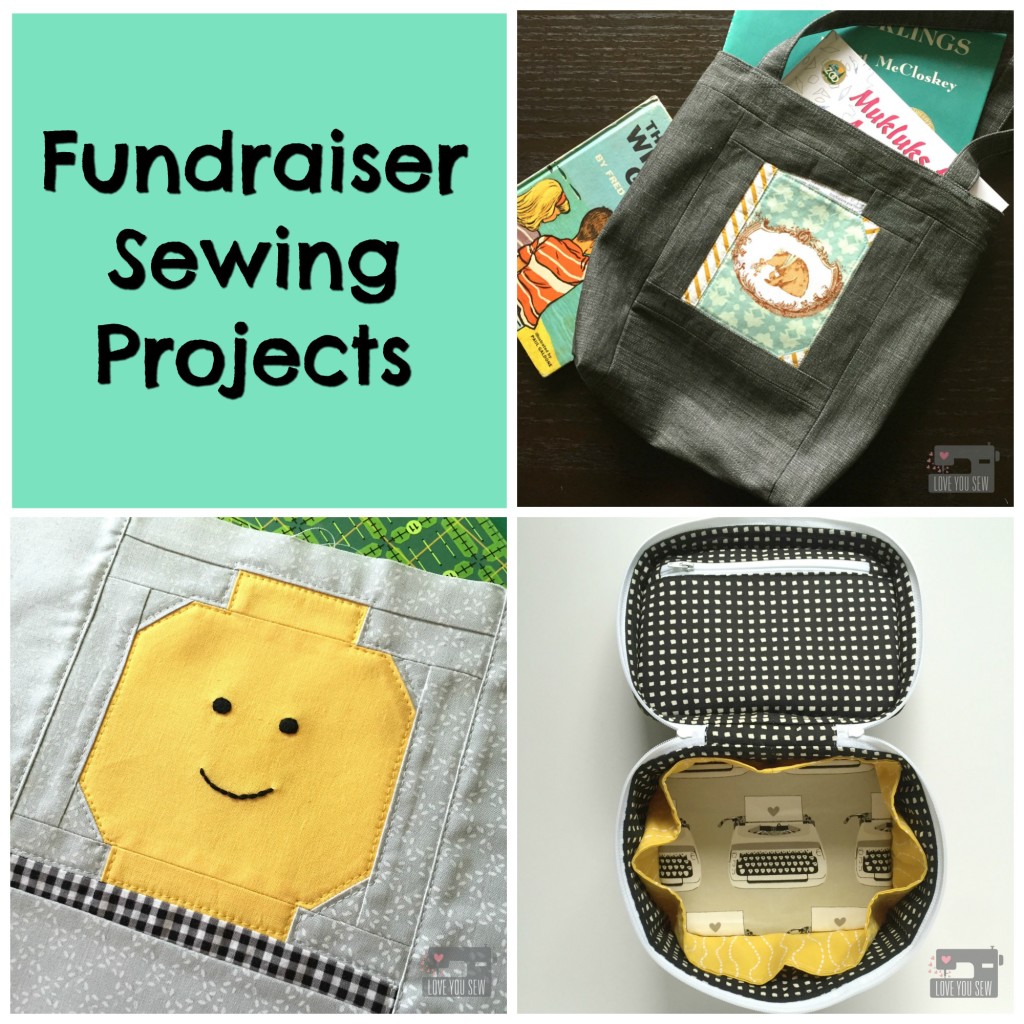
Fundraiser Sewing Projects

Whether you sew for hobby, for business, or for necessity, it’s always nice to sew for a cause.  I’m a stay-at-home-mom who has to continually stretch a buck, so I like to help how I can…and that means through sewing.  These past few weeks have provided me a few opportunities to use these skills to help some great local organizations.

My boys go to the same preschool and the Parent-Teacher Organization (PTO) asked me to contribute a few items for a big auction event.  Of course, I said yes. I love this school and am so happy my boys do too.  Although I know I won’t generate a ton of money, I know every little bit helps. I get to help the PTO and get a little local publicity so it’s win-win for me.

Last year I donated gift certificates to my Etsy shop and this year I decided to make a few items to possibly generate more money once the bidders can touch and feel what they are receiving.  With a GC, there is a finite value, but with custom made, hand-sewn products, there is more more perceived worth…at least I hope!

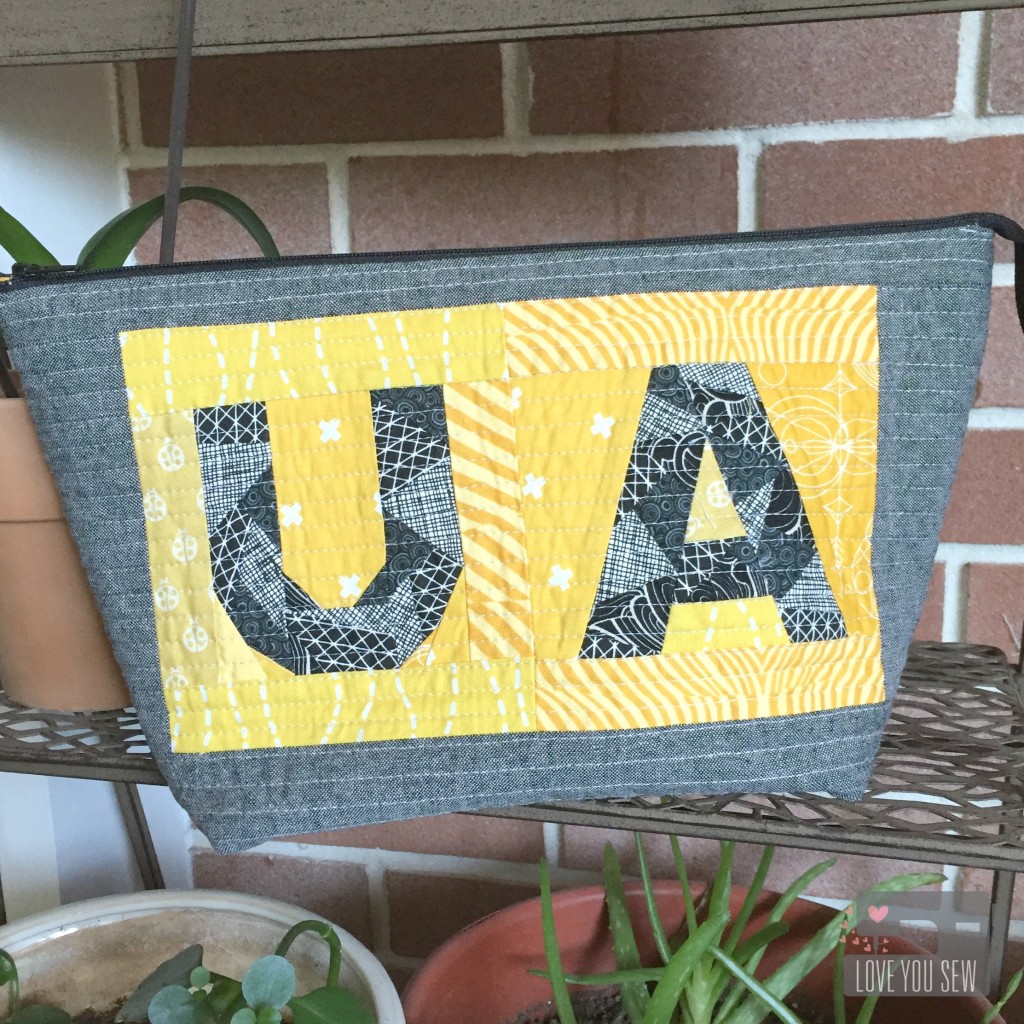
UA Open Wide Pouch

It’s always so hard to choose fabrics for someone, never mind someone you don’t know.  But since this is a school fundraiser, you can’t go wrong with simple patterns in the school colors…so yellow and black it is.  I used Quiet Play’s Geometric letter pattern and Noodlehead’s Wide Open pouch pattern to show some hometown love.

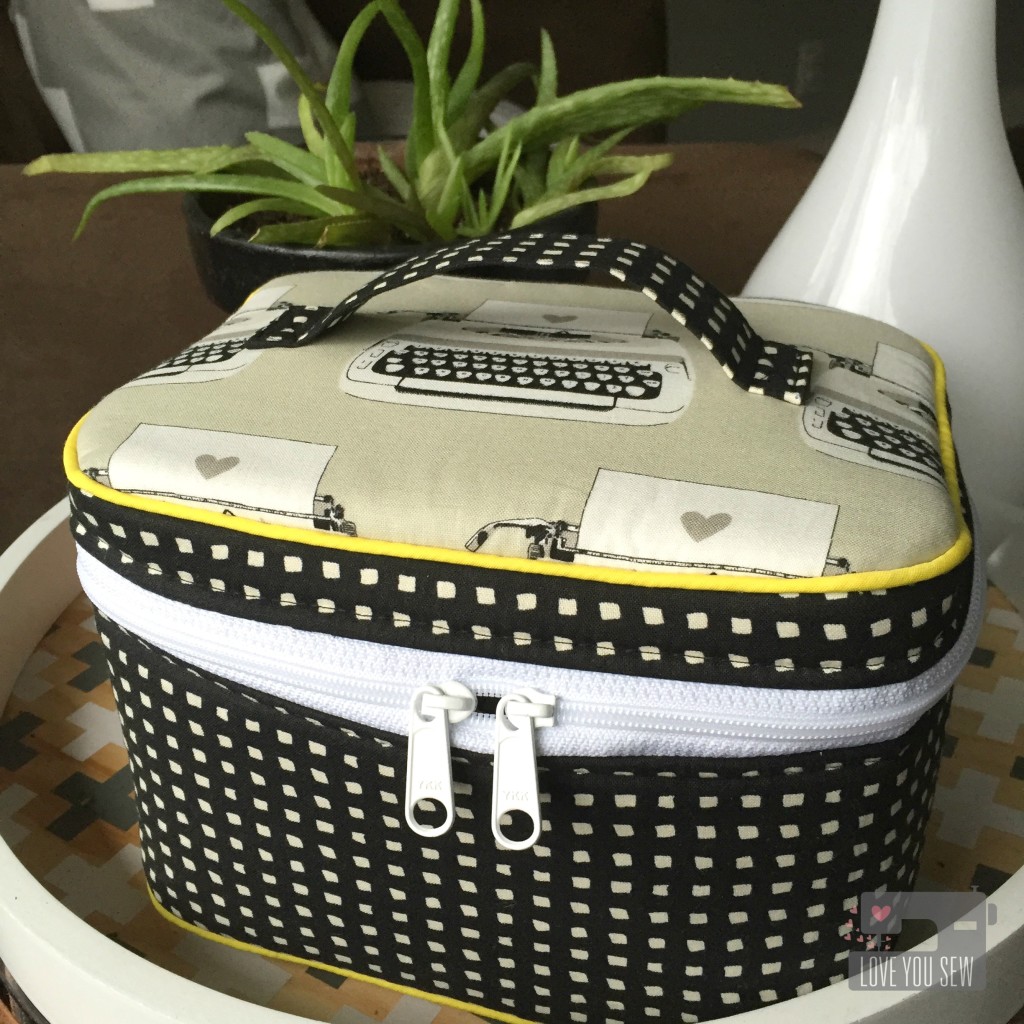
Traincase Outside

The Crimson and Clover Train Case by Sew Sweetness is one of my favorite patterns. Its so versatile in it’s usage….whether to hold makeup, toys, or other treasures.  I used Cotton and Steel Black and White fabrics with the typewriters being  a play on the school and added little yellow accents.  The shot of yellow piping is definitely my favorite.

Each of my son’s classes is also responsible for putting a large basket together. There is a theme and the point is to have all the families contribute a little something in order to make a sizable basket worth buying. One class has a “Lego” theme and the other has “Books.”

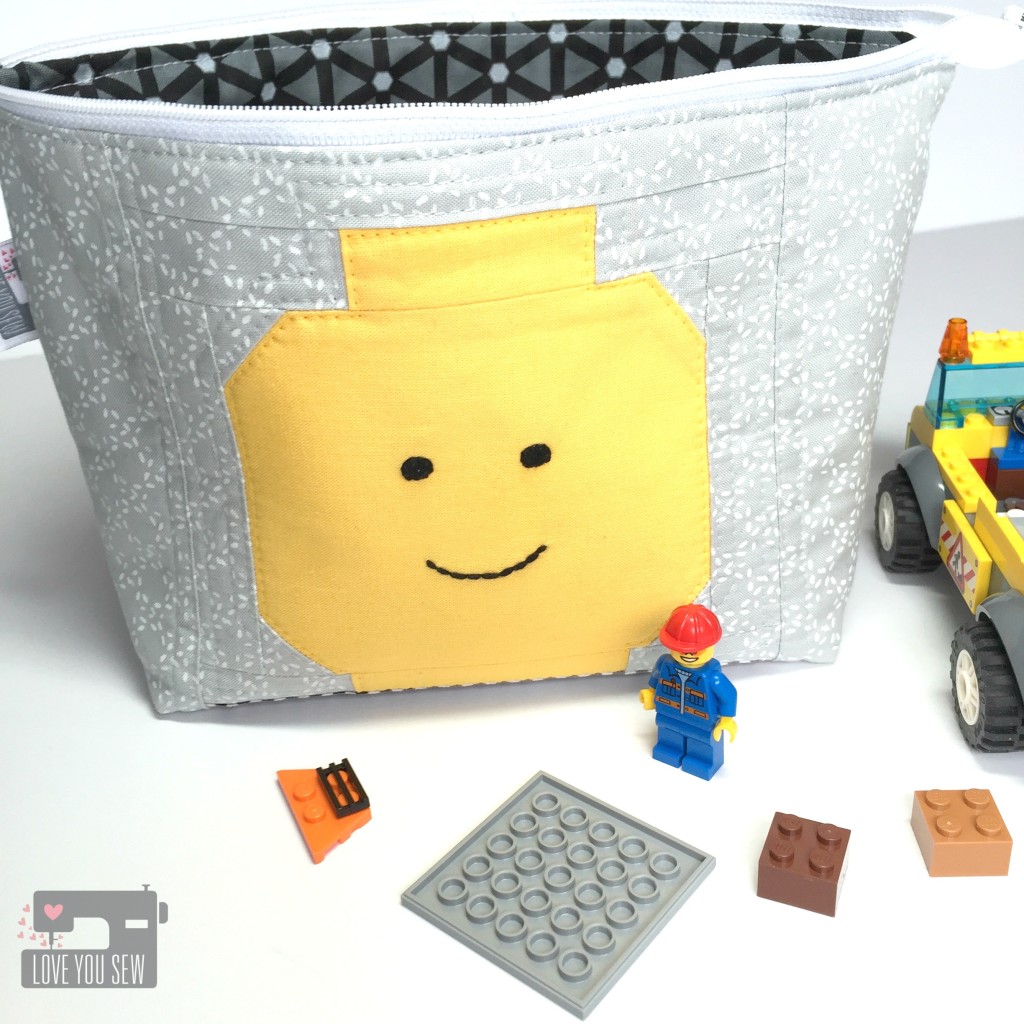
Lego Open Wide Pouch Outside

Instead of just buying a box of Legos, I knew I wanted to sew something to hold all the toys. I’m constantly stepping over Legos in my own house and I made some see-through vinyl drawstring bags to combat the mess.  I thought I would make one for the basket but then after browsing Quiet Play’s Craftsy shop, I saw the Lego man. Hello!

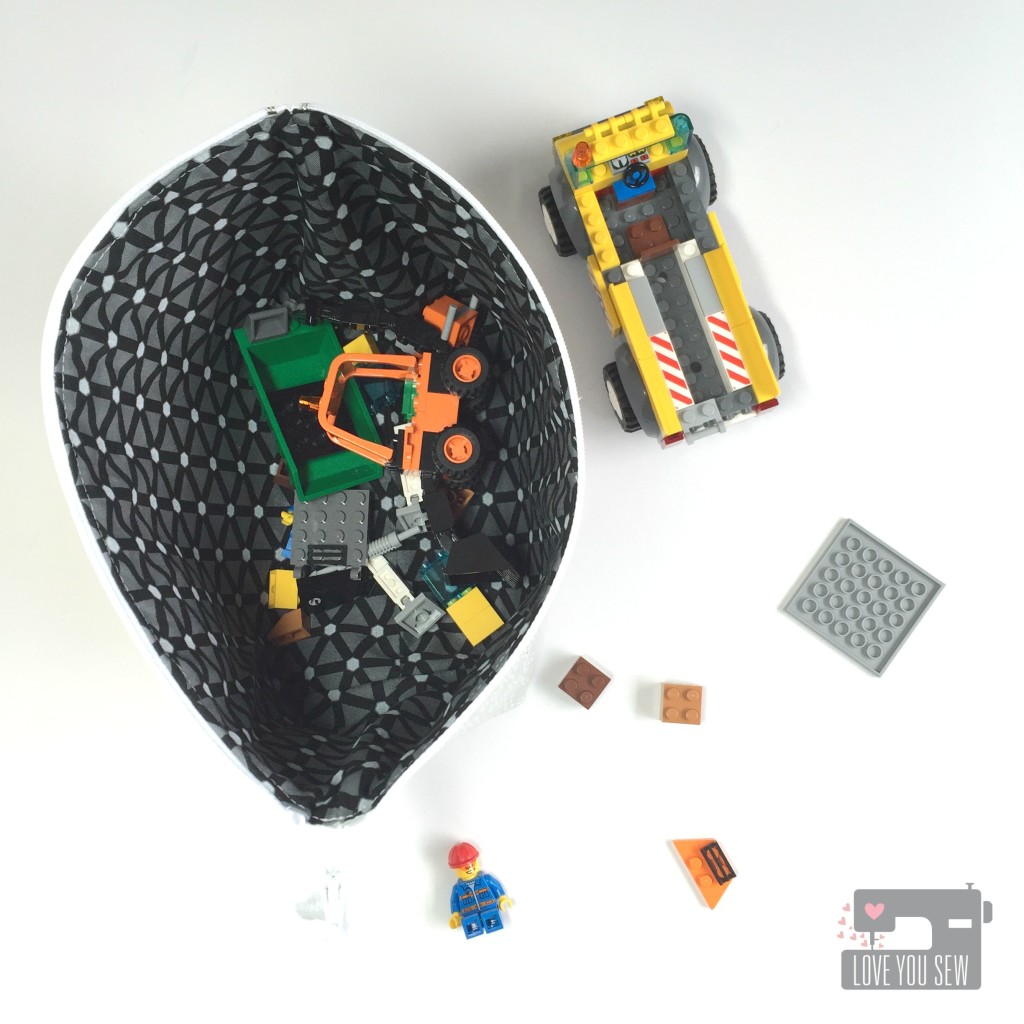
Lego Open Wide Pouch Inside

The Lego head pattern is free (yay!) and I used Noodlehead’s Open Wide Pouch again.  It’s design is so perfect for little hands to reach in and out easily.   I added a little embroidery to make the Lego Man’s face and (hopefully) this bag will help keep all of these little pieces off the floor.

Library Bag Closeup

For the “Books” theme basket, I knew right away I would make a library bag. My boys have cute canvas ones they love to fill up and I figured one of their schoolmates would too.

Library Bag

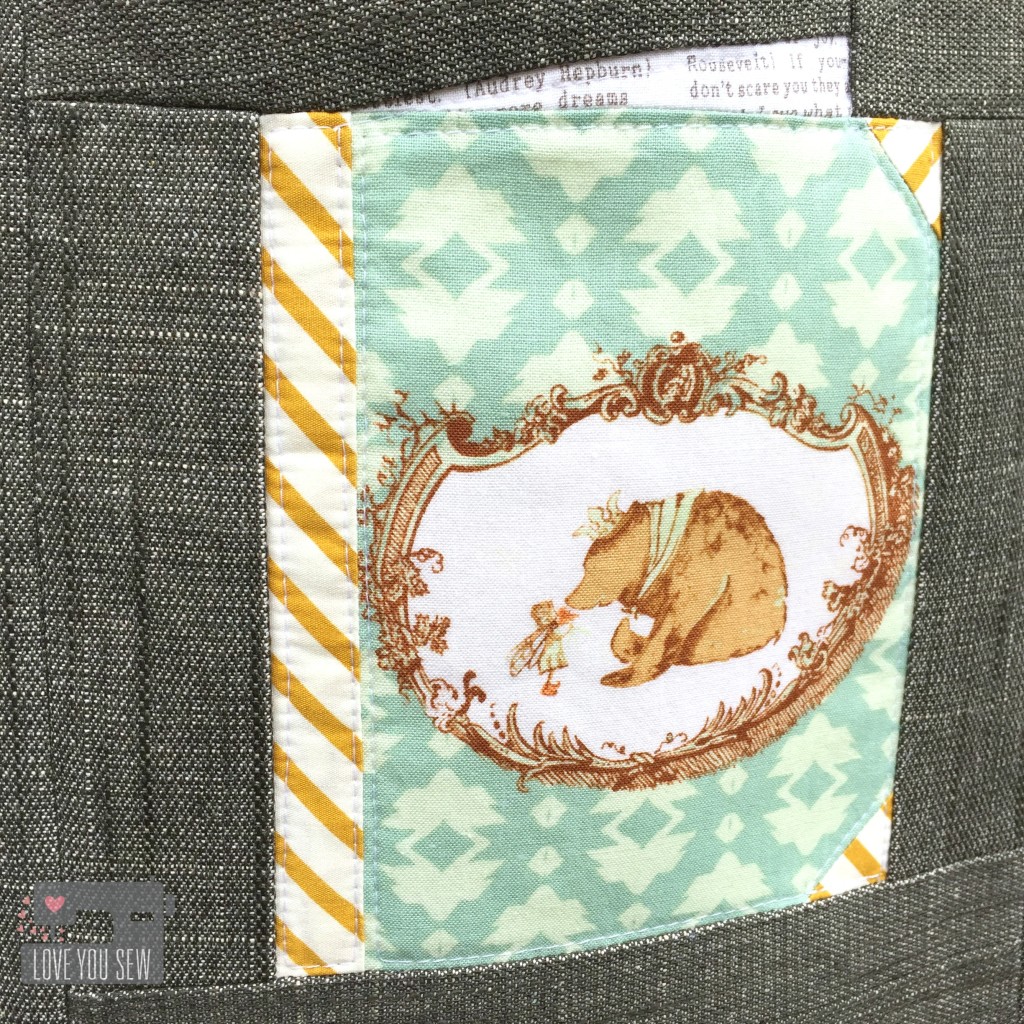
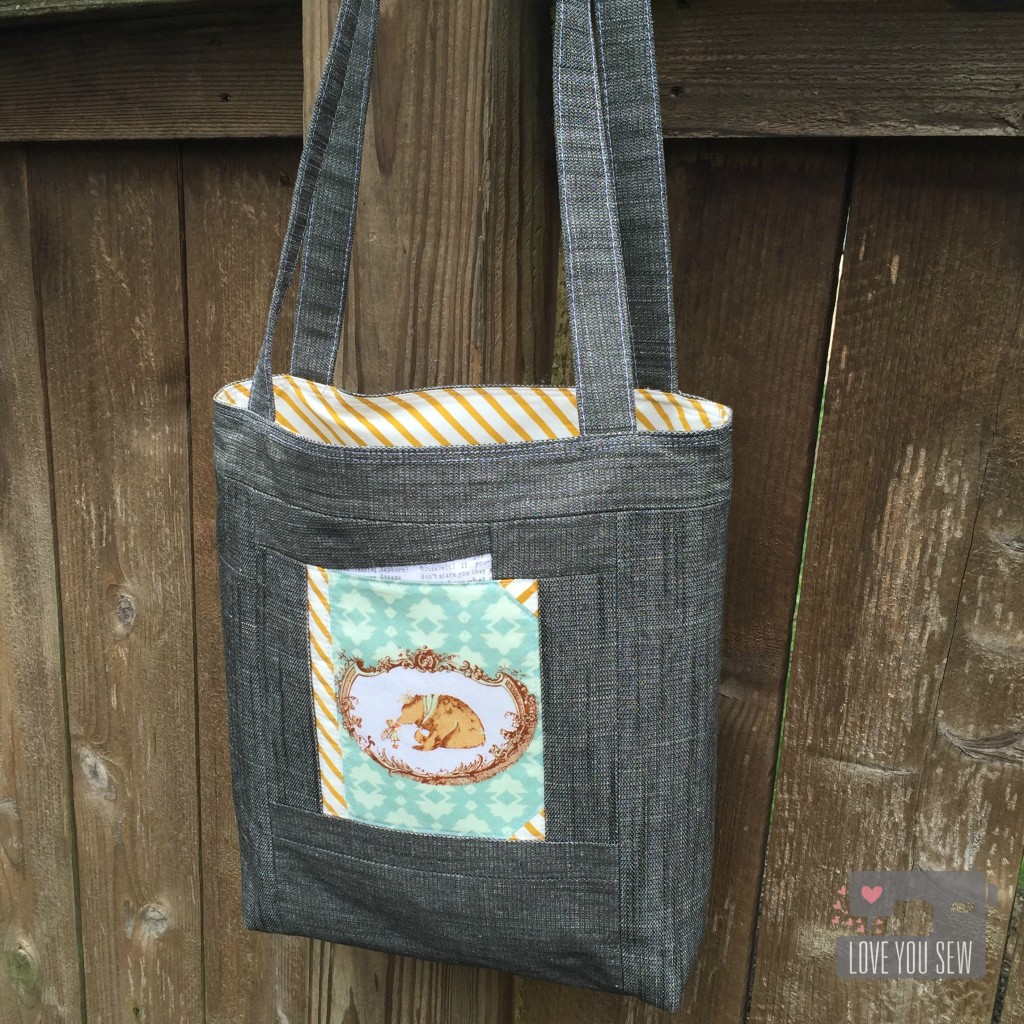
The bag is made with Art Gallery Fabrics Denim Studio so I didn’t need any interfacing to give it structure. I used a very simple tutorial from Skip to my Lou and altered it so I could incorporate this super cute book paper-piece pattern from Patchwork Please! by Ayumi Takahashi.

Besides all these PTO donations, I was asked to contribute some items from my Etsy shop for a Pelatonia fundraiser. This is one of the largest bike races in Columbus and generates millions of dollars…all which toward cancer research.  Some large companies have donated money to cover administrative expenses so that 100% of rider fundraising will go to charity.  How awesome is that?

Baby Travel Set

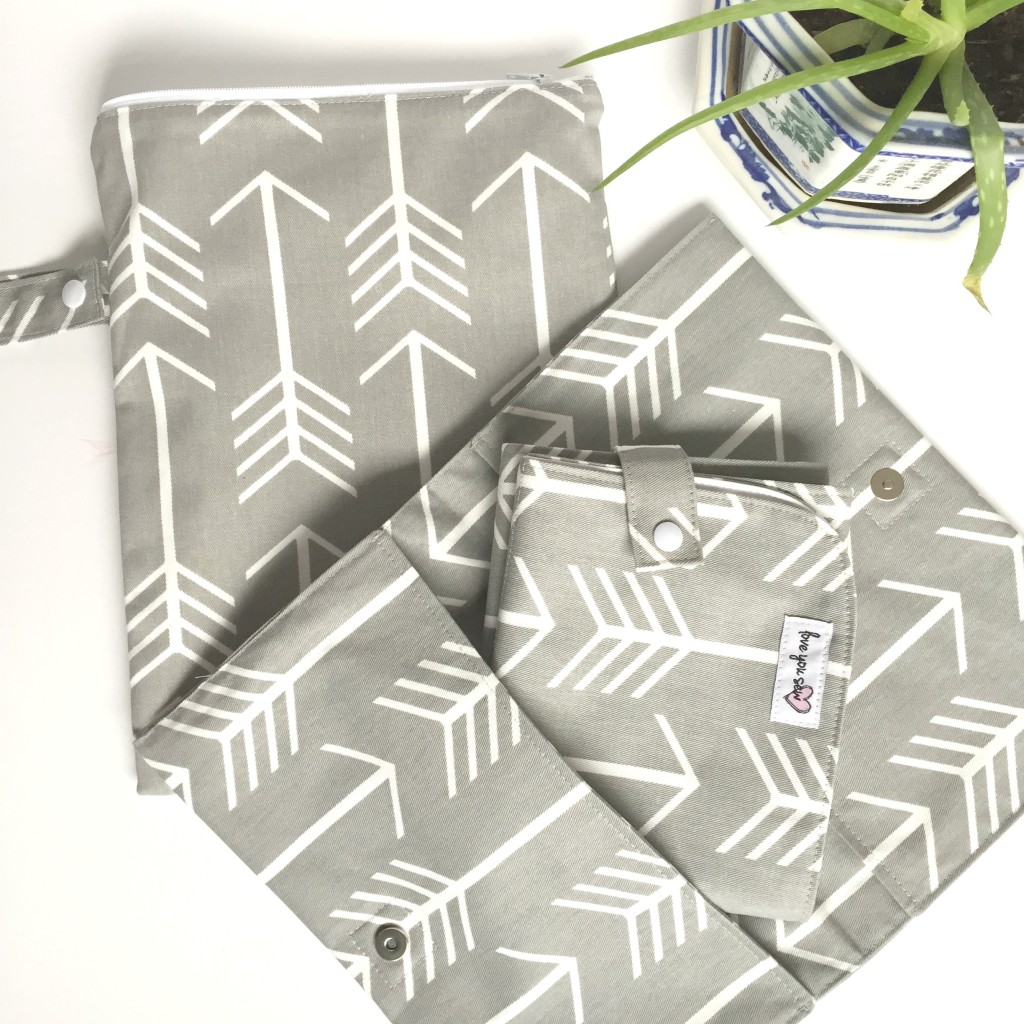
I donated a full set of baby travel items with arrow fabric since the Pelatonia logo is also an arrow. The group I’m assisting is bringing in a whole cross-section of items and I’m crossing my fingers that these pull in lots of money!

Have you donated some sewn items for fundraising?  How did they do?


Happy Stitching,

Cristy


***This post may contain affiliate links which help me on the back end to fund this site.  Compensation is only through your own purchase. 

Hello Bear Triangle Quilt

HBTriangleQuiltTitle

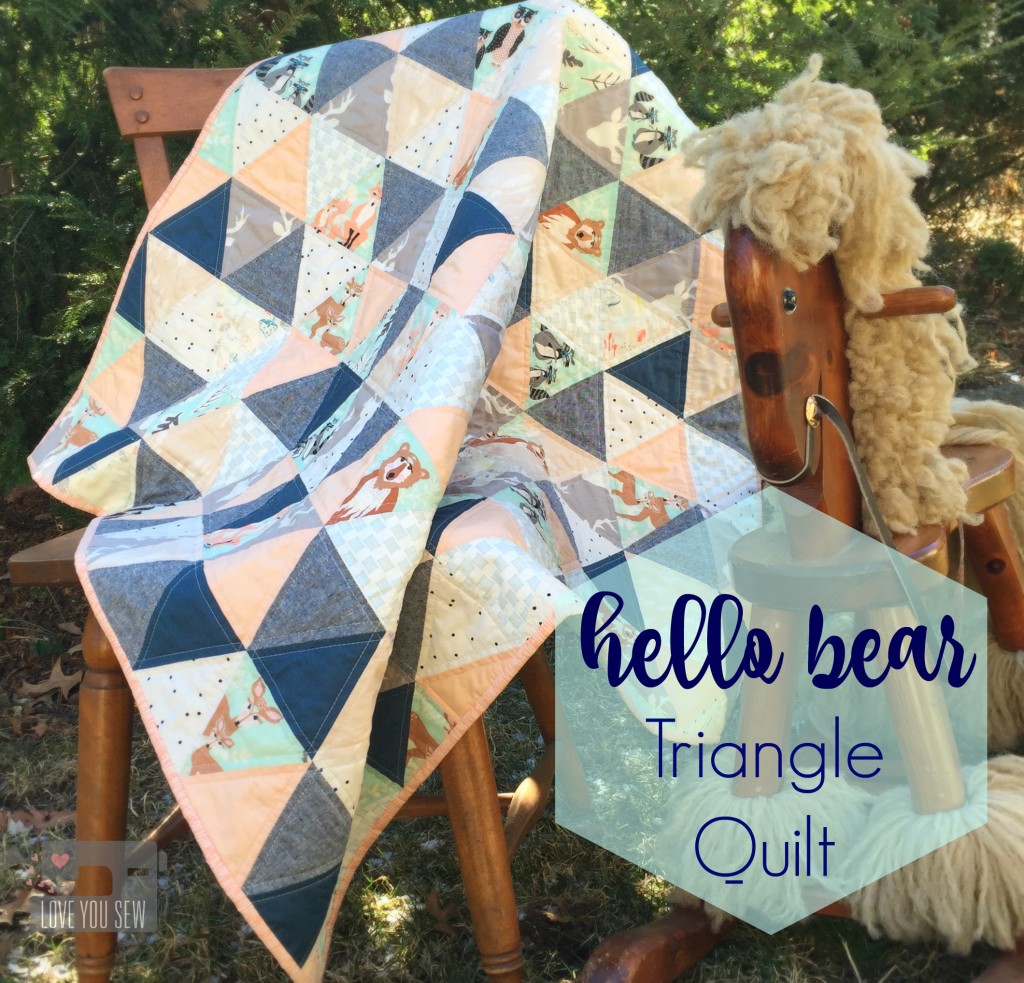
One of my dearest friends is expecting and I knew I wanted to make something very special for her.  The Hello Bear collection by Bonnie Christine for Art Gallery Fabrics came to mind immediately…especially, since I just made the Dwelling Quilt with it.  It’s whimsical and playful with such a soothing palette…and best of all, it’s gender neutral!  My girlfriend wants to be surprised with the baby’s sex, so I chose colors that could go either way.
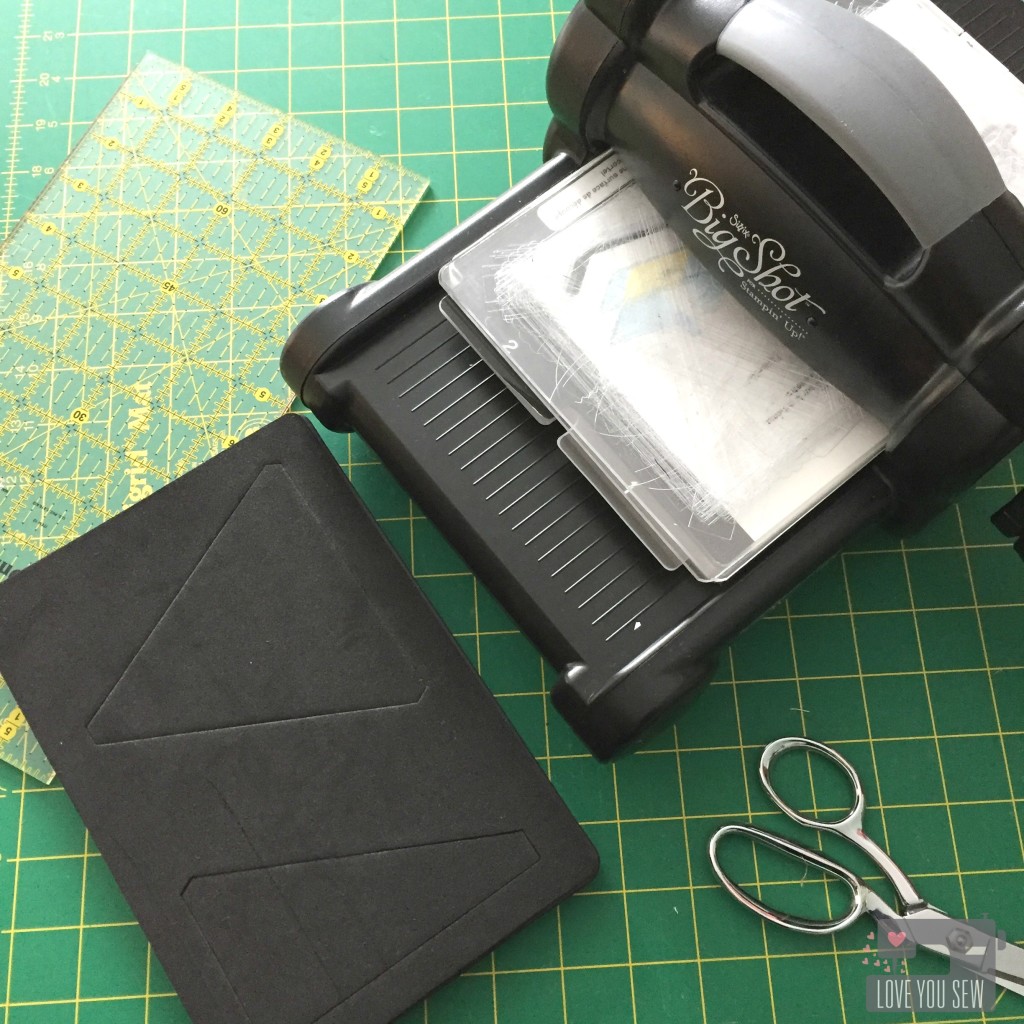
SizzixTriangleDie

On Black Friday, I picked up several Sizzix Quilting dies, including this 4.5″ Isosceles triangle one.  I made one other triangle quilt awhile back and definitely cut off all the tips as I pieced the top together. There is such a striking look with all the triangles and I knew getting a die to help me cut my fabric would help me keep the point intact!

I have a paper-crafter friend who bought a new Big Shot for herself awhile back.  She then sold me this one for less than half the price….score!  I initially just wanted to use it for paper but quickly found out about the fabric dies.  These are a bit pricey, but I’m hoping to add to the collection as I scout out good sales.  Let me know if you ever see one 😉

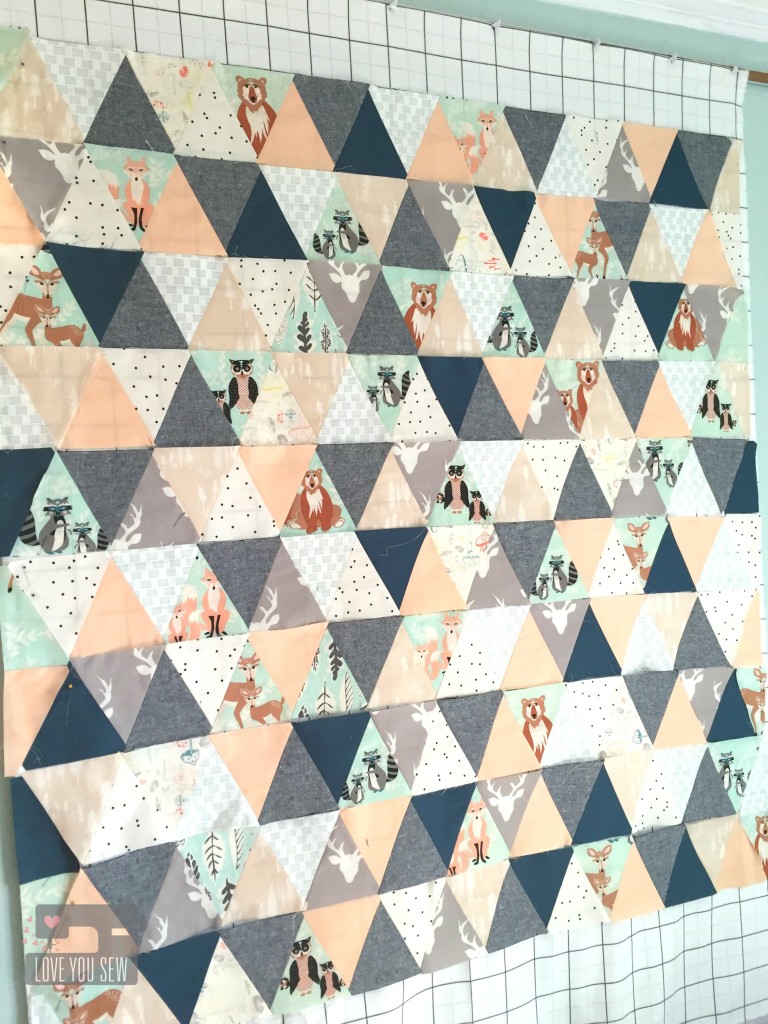
HBTriangleQuiltDesignWall

Since there is a finite width to the Big Shot, some pre-cutting is needed to fit the fabric on the dies.  But since I could cut up to 4 layers of fabric in one turn, this was still the faster way to go.

HBTriangleQuiltPointsMatch

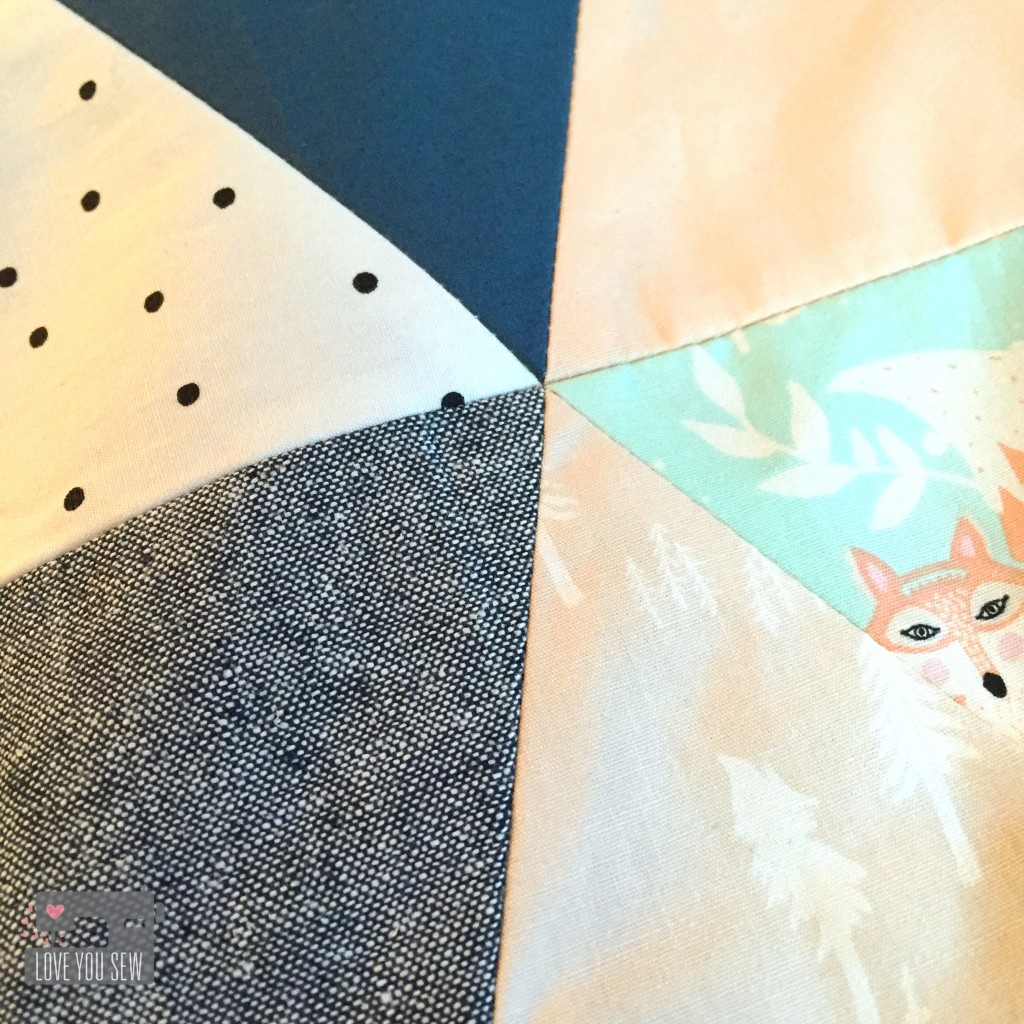
The die gives you the perfect notches to make piecing SO much easier and more accurate.  I’m pretty proud of these beautiful points (above!)  And did you know, you don’t have to trim after piecing?  That’s the winning feature for me because I despise trimming.  That is probably my least favorite thing to do…

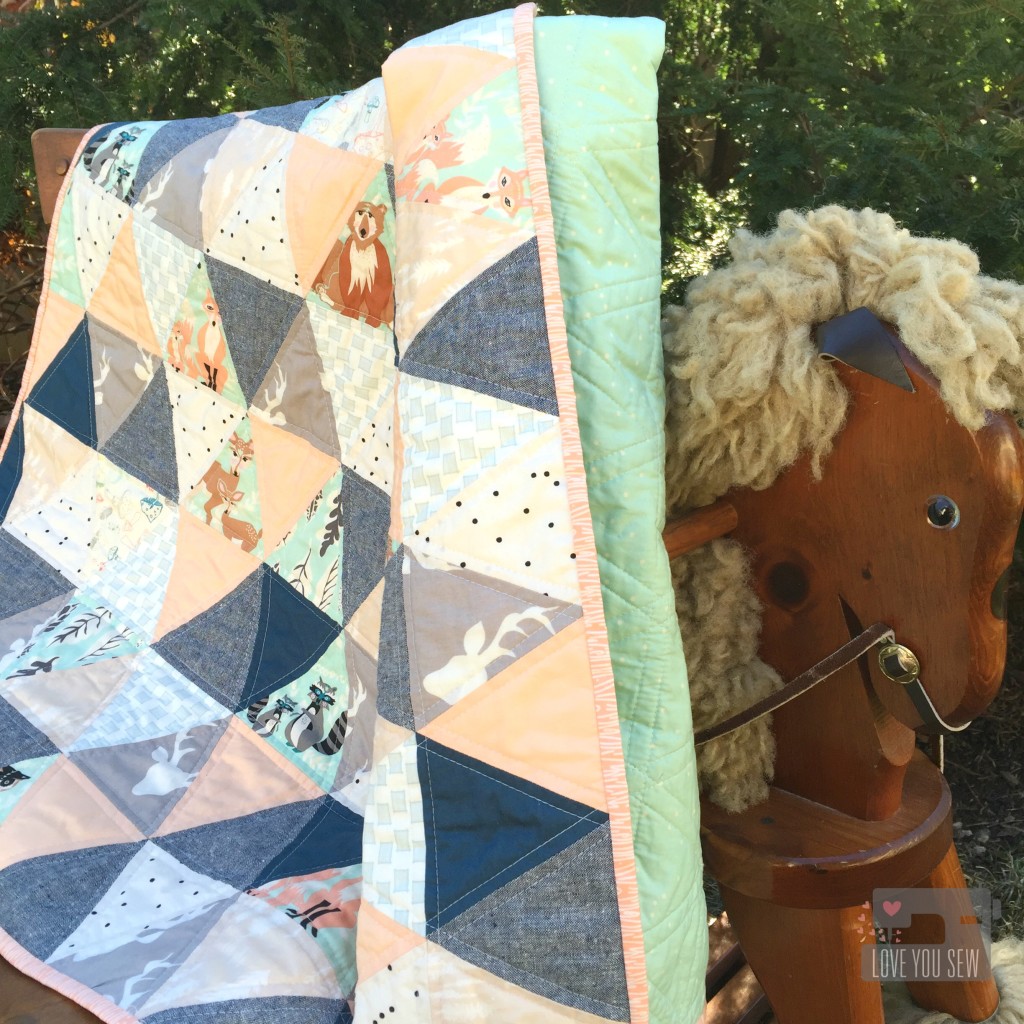
HBTriangleQuiltCloseUp

To add more texture and variety to the Hello Bear fabrics, I used Robert Kaufman Essex Linen in Indigo.  You can also see some solids from Art Gallery’s Pure Elements and I added a splash of Bound from April Rhodes.

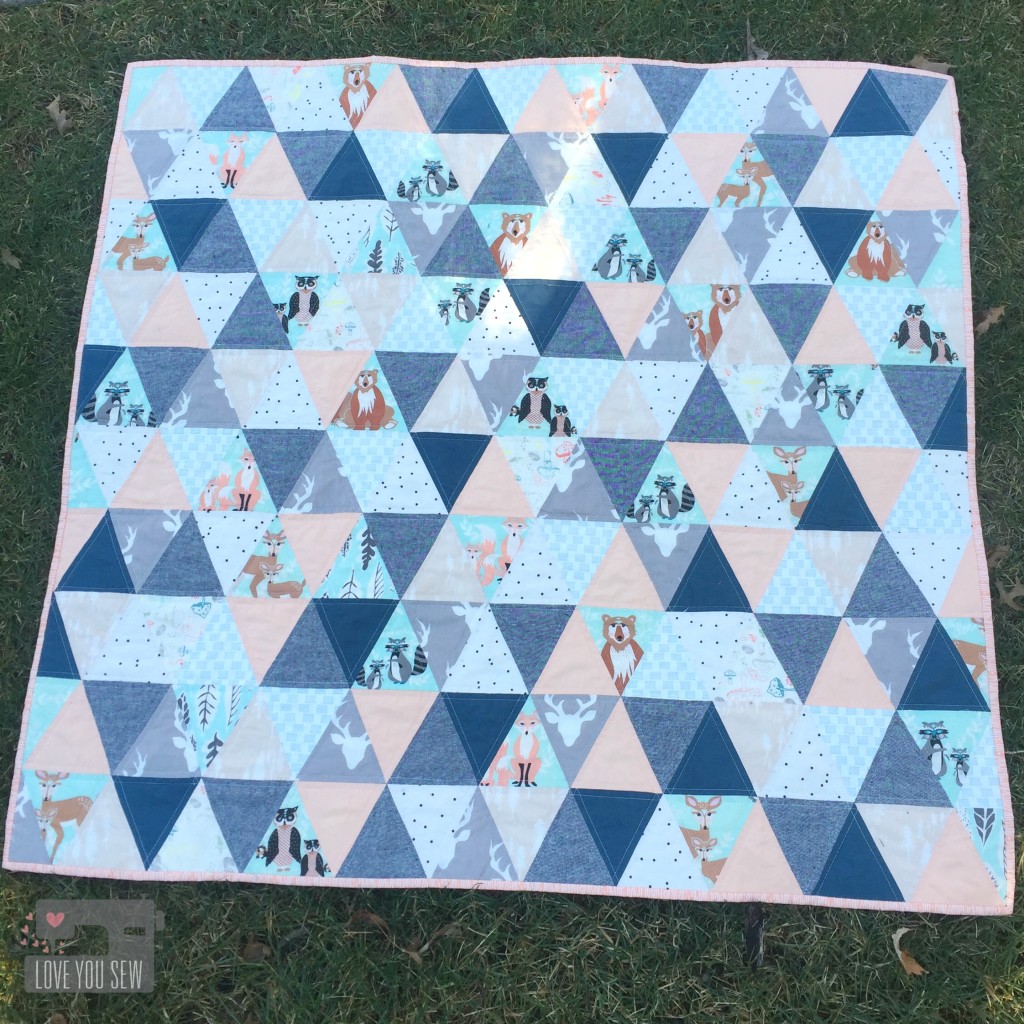
HBTriangleQuiltFullProfile

The finished baby quilt is 40″ x 40″.  I quilted along the triangle edges to not distract from all the fun forest creatures you can see here.  This was such a fun quilt to make as I tried out my new Sizzix “toy”….but it was more special because this is going to such a dear friend.  <3  I can’t wait to see her baby wrapped up in this quilt!!!


Happy Stitching,

Cristy