A Traveling Quilt {The Start}

geesetitle

I was late to the Instagram game, but have completely fallen in love with the community spirit on this media platform.  Who knew there were so many other sewists out there….like me?!?  You follow people, start to “heart” posts, then make comments.  All of a sudden you are asked by one of your IG friends to be part of a “Traveling Quilt” group.  And this is where I am today.

To be perfectly honest, I had never heard of a “Traveling Quilt” until I was asked (or maybe I was tagged) by the hostess.  Of course, I “Googled” it before committing and am so glad I did.  Have any of you been a part of a group like this or something similar?

It is a group of quilters who start off making one block per person.  It then gets shipped off to another member and you in return, receive one that you add upon.  This happens every month on a rotation until you have a completed quilt top.  The size of each block depends on the number in your group (11 in mine) and what size quilt you ultimately want in the end (a throw.)

After seeing inspiration posts (#EpicTravelingQuilt2016) and what my group started to work on, I knew I needed something good.  I quickly realized that my first block needed to be REALLY good and well thought out because it was going to set the tone for everyone else to follow.  So…I pushed it off…

geese

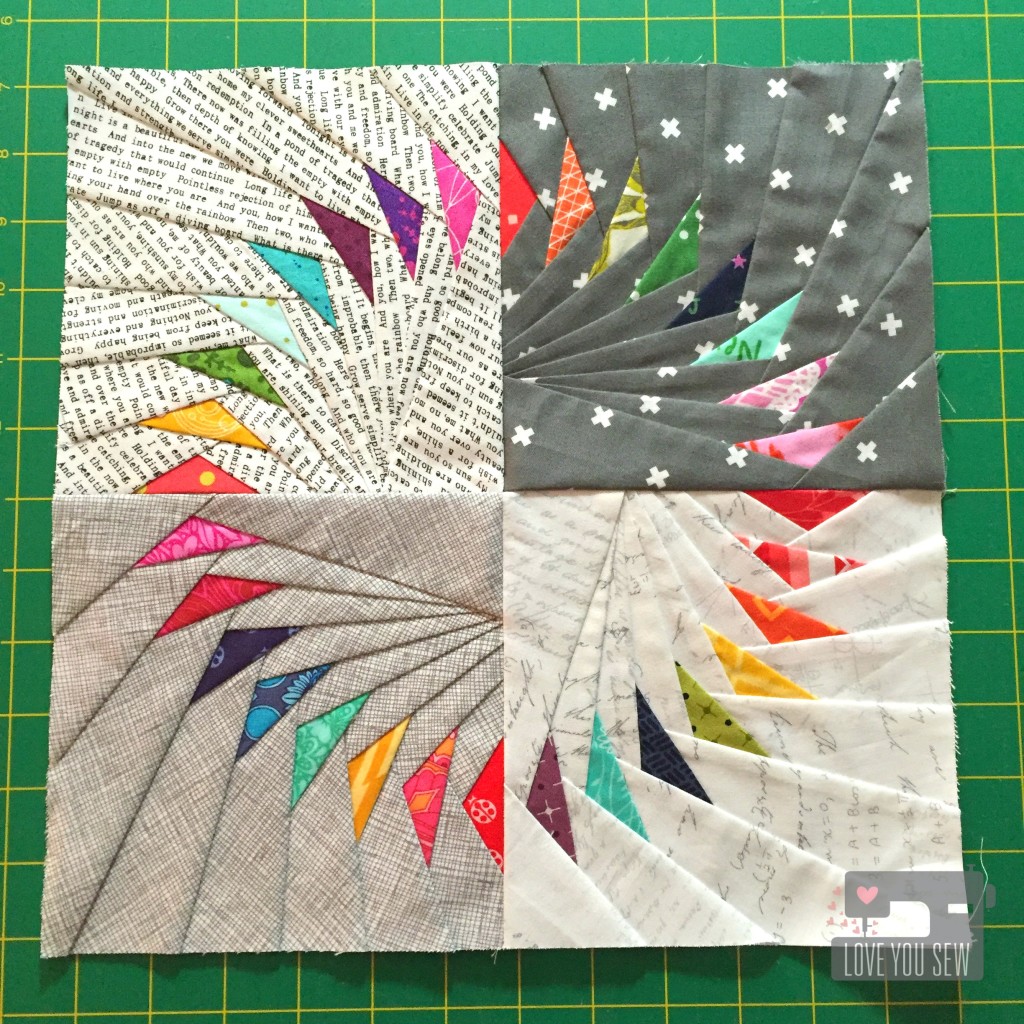
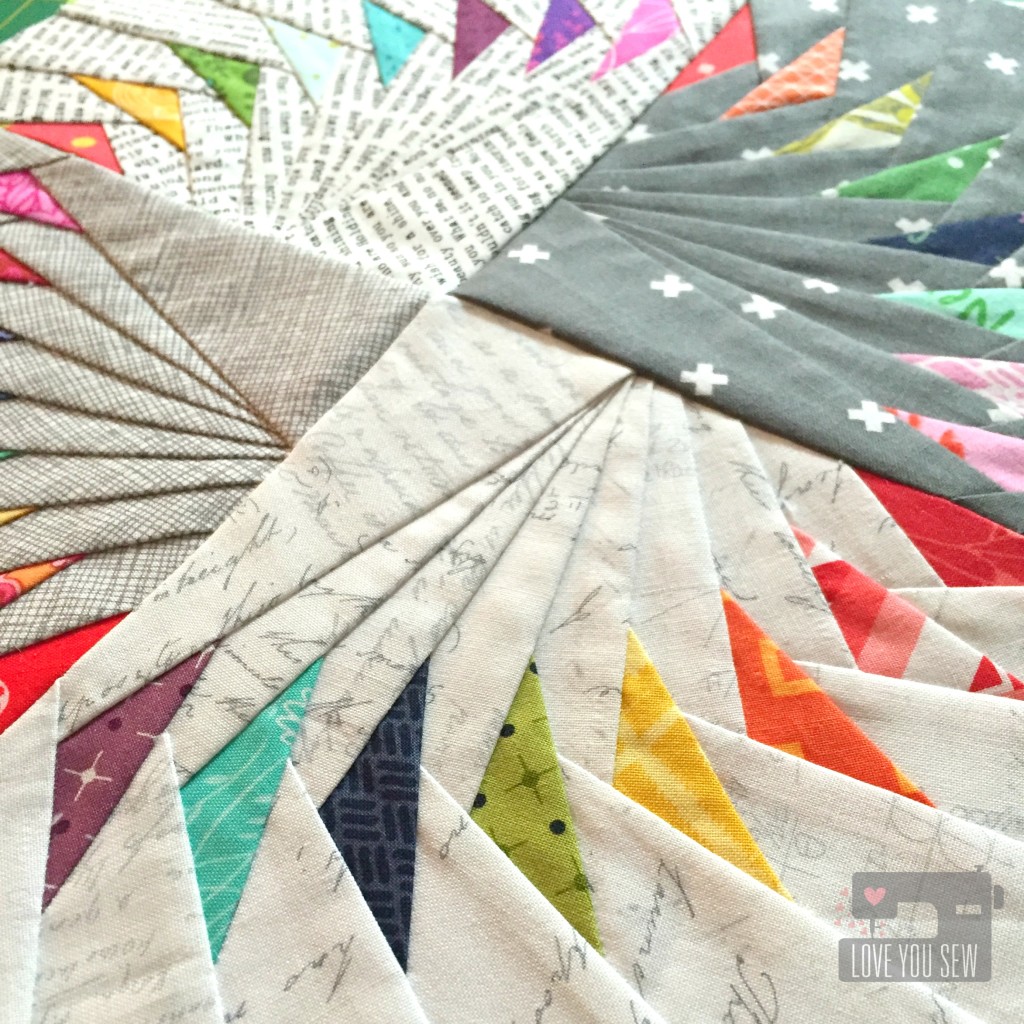
Many time inspiration just strikes at me and I will know what to do in that lightning flash.  That’s pretty much what happened…and the pressure of being a week off from ship time 😉  I decided to use one of JeliQuilts patterns (again!) but this time it was Juicy Goosey.  At first, I wanted to use something different, but then there was a reason I’m always so drawn to these circles of flying geese….they’re my style and that needs to be represented in this first block!

geesecloseup

I used many of my favorite designers with bright saturated colors.  This was not only because the fabrics are SO pretty, but I wanted to give all my group members something for which to work.  I’d rather the focus be on the effort and design rather than having to go out and order new fabric just for my quilt.  We only have a month turnaround for each block, so I thought it was pretty important to have my inspiration block be easily companioned….or so I hope!

This is just the start of a year-long process and I’m happy to know that I will be touching and adding to 10 people’s quilts along the way.  This will be lots of fun and I hope to update you periodically on the progress.  Wish me luck!


Stitchin’ It Real,

Cristy
 

Dwelling Quilt {Pattern Testing}

DwellingTitle

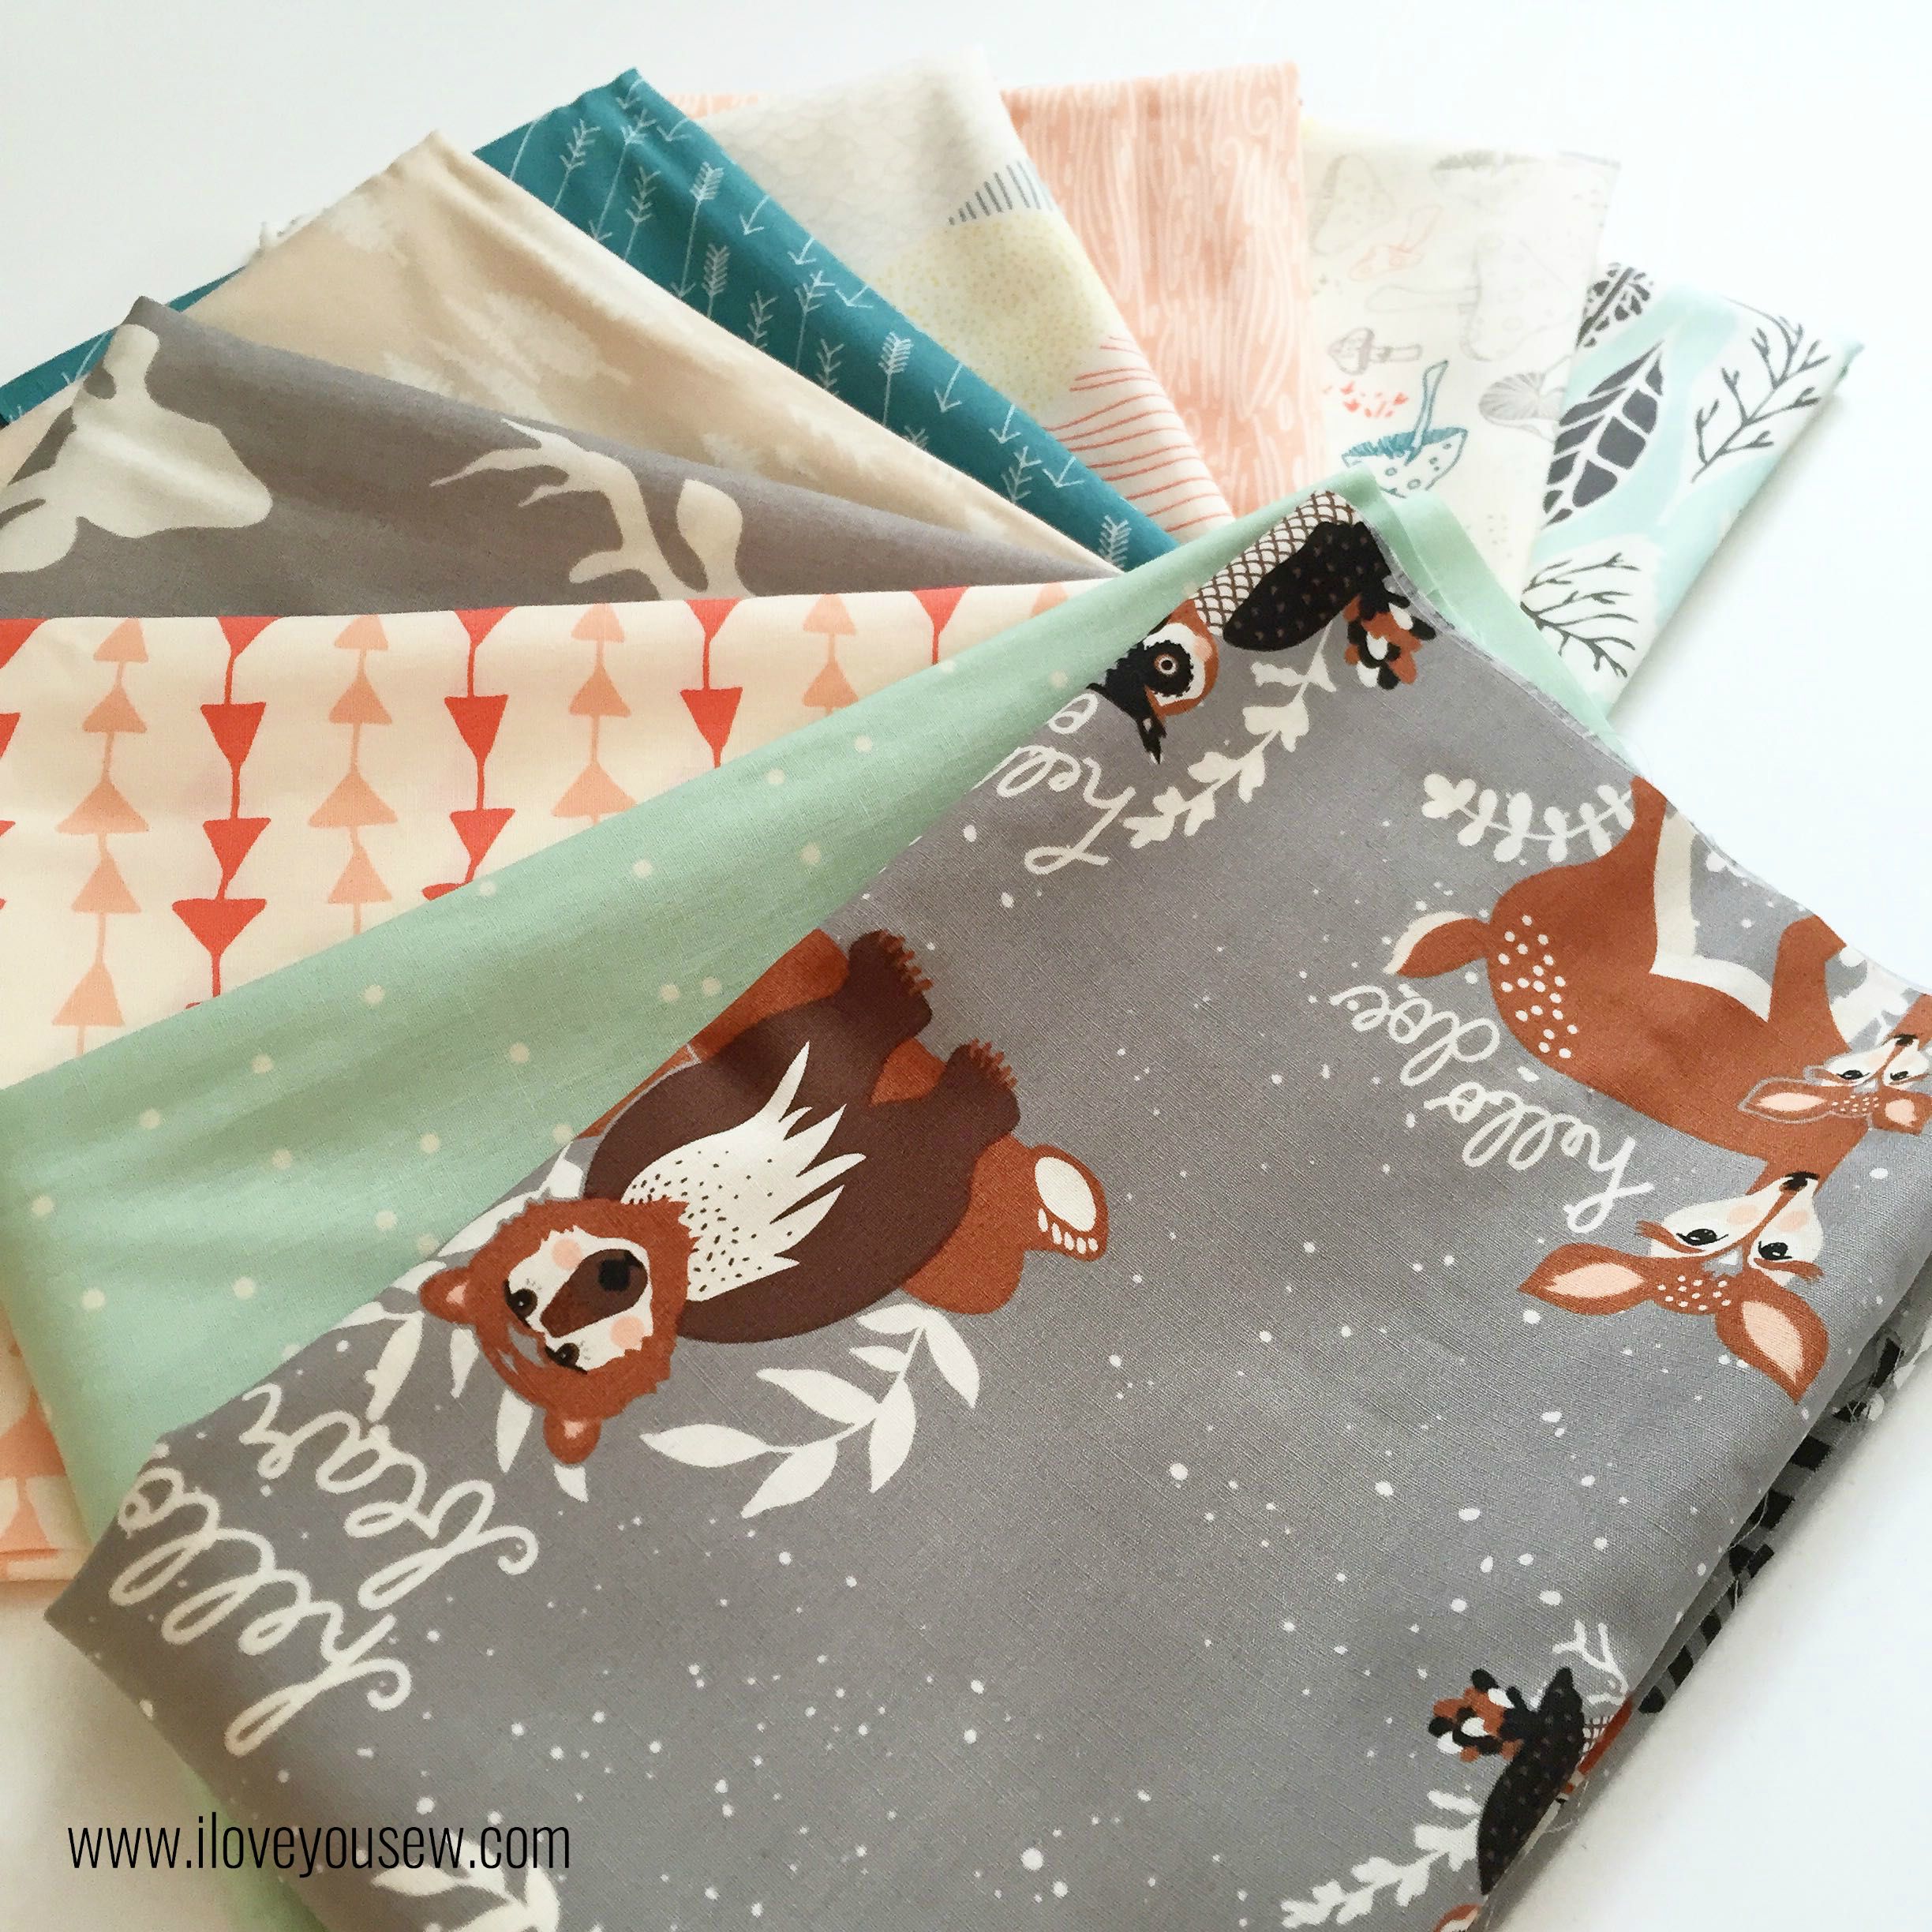
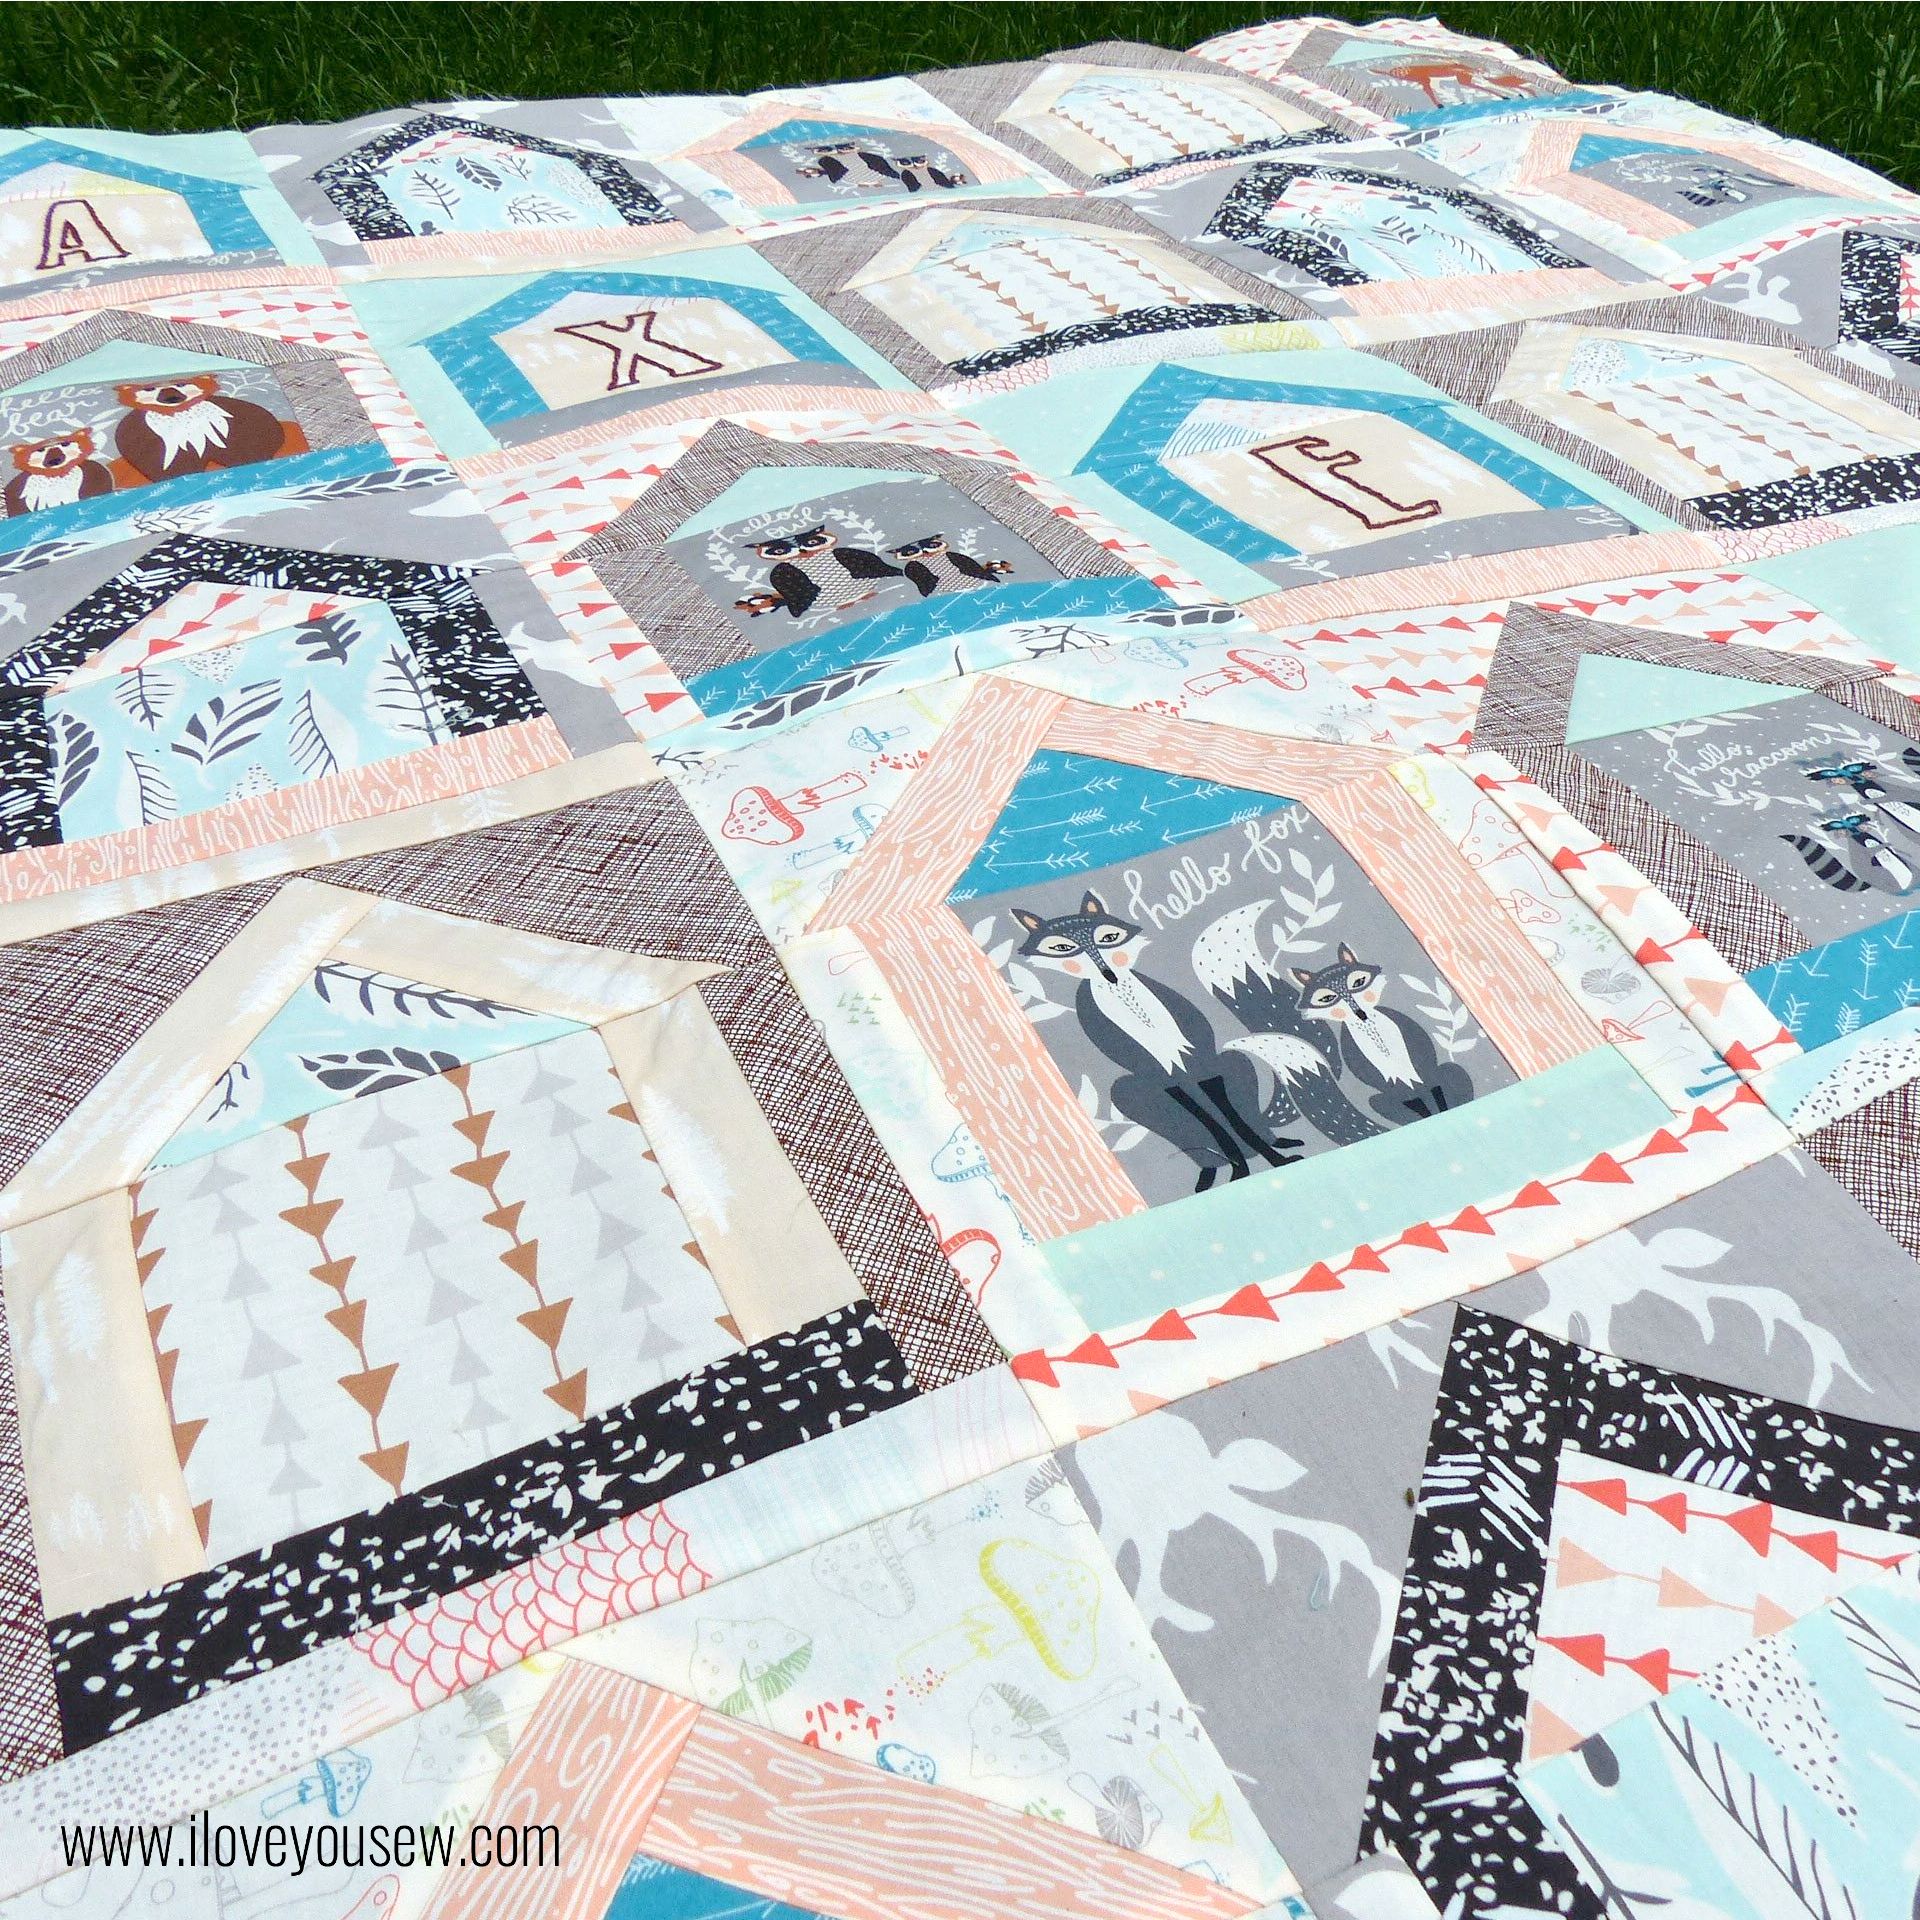
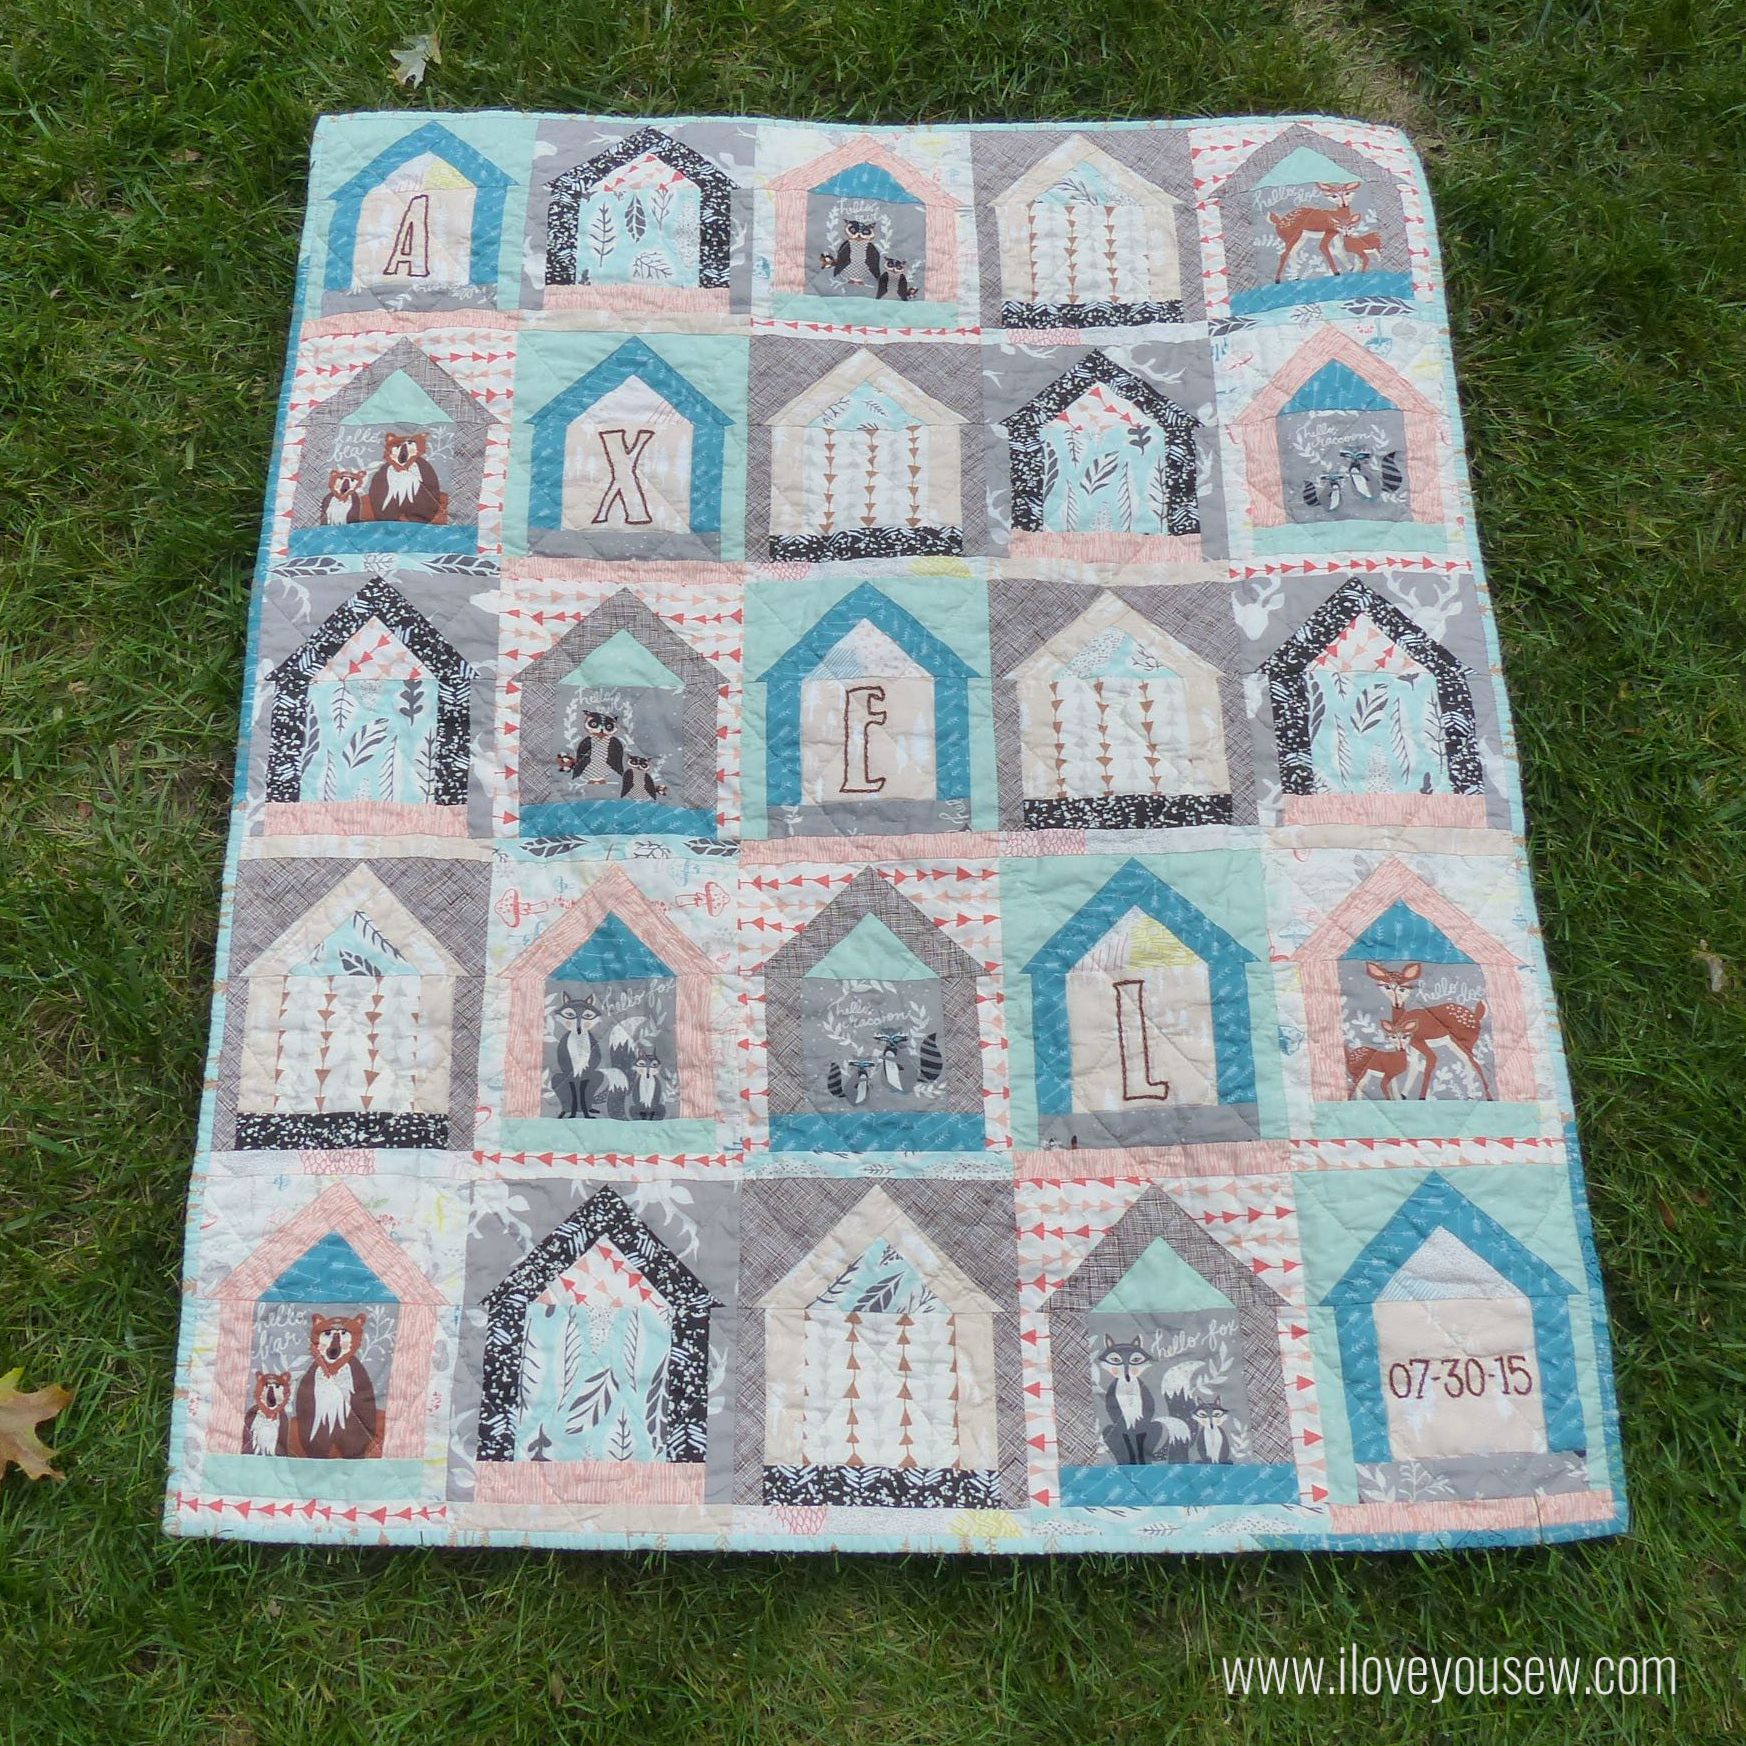
I was holding onto my Hello Bear fabric for awhile, waiting for the right quilt pattern (and baby) to come along.  Well, both happened to coincide recently!  A dear childhood friend recently had a baby boy and Holly Gets Quilty was getting ready to release this Dwelling Quilt Pattern. You can find this Mug Rug I made using the smaller block from the same pattern.


HelloBear

I just love the modern whimsical palette of this collection.  The teal and mint play so wells with the grays and browns.  This is just a beautiful collection for babies and children.  I mean, who can resist these woodland creatures???


Embroidery

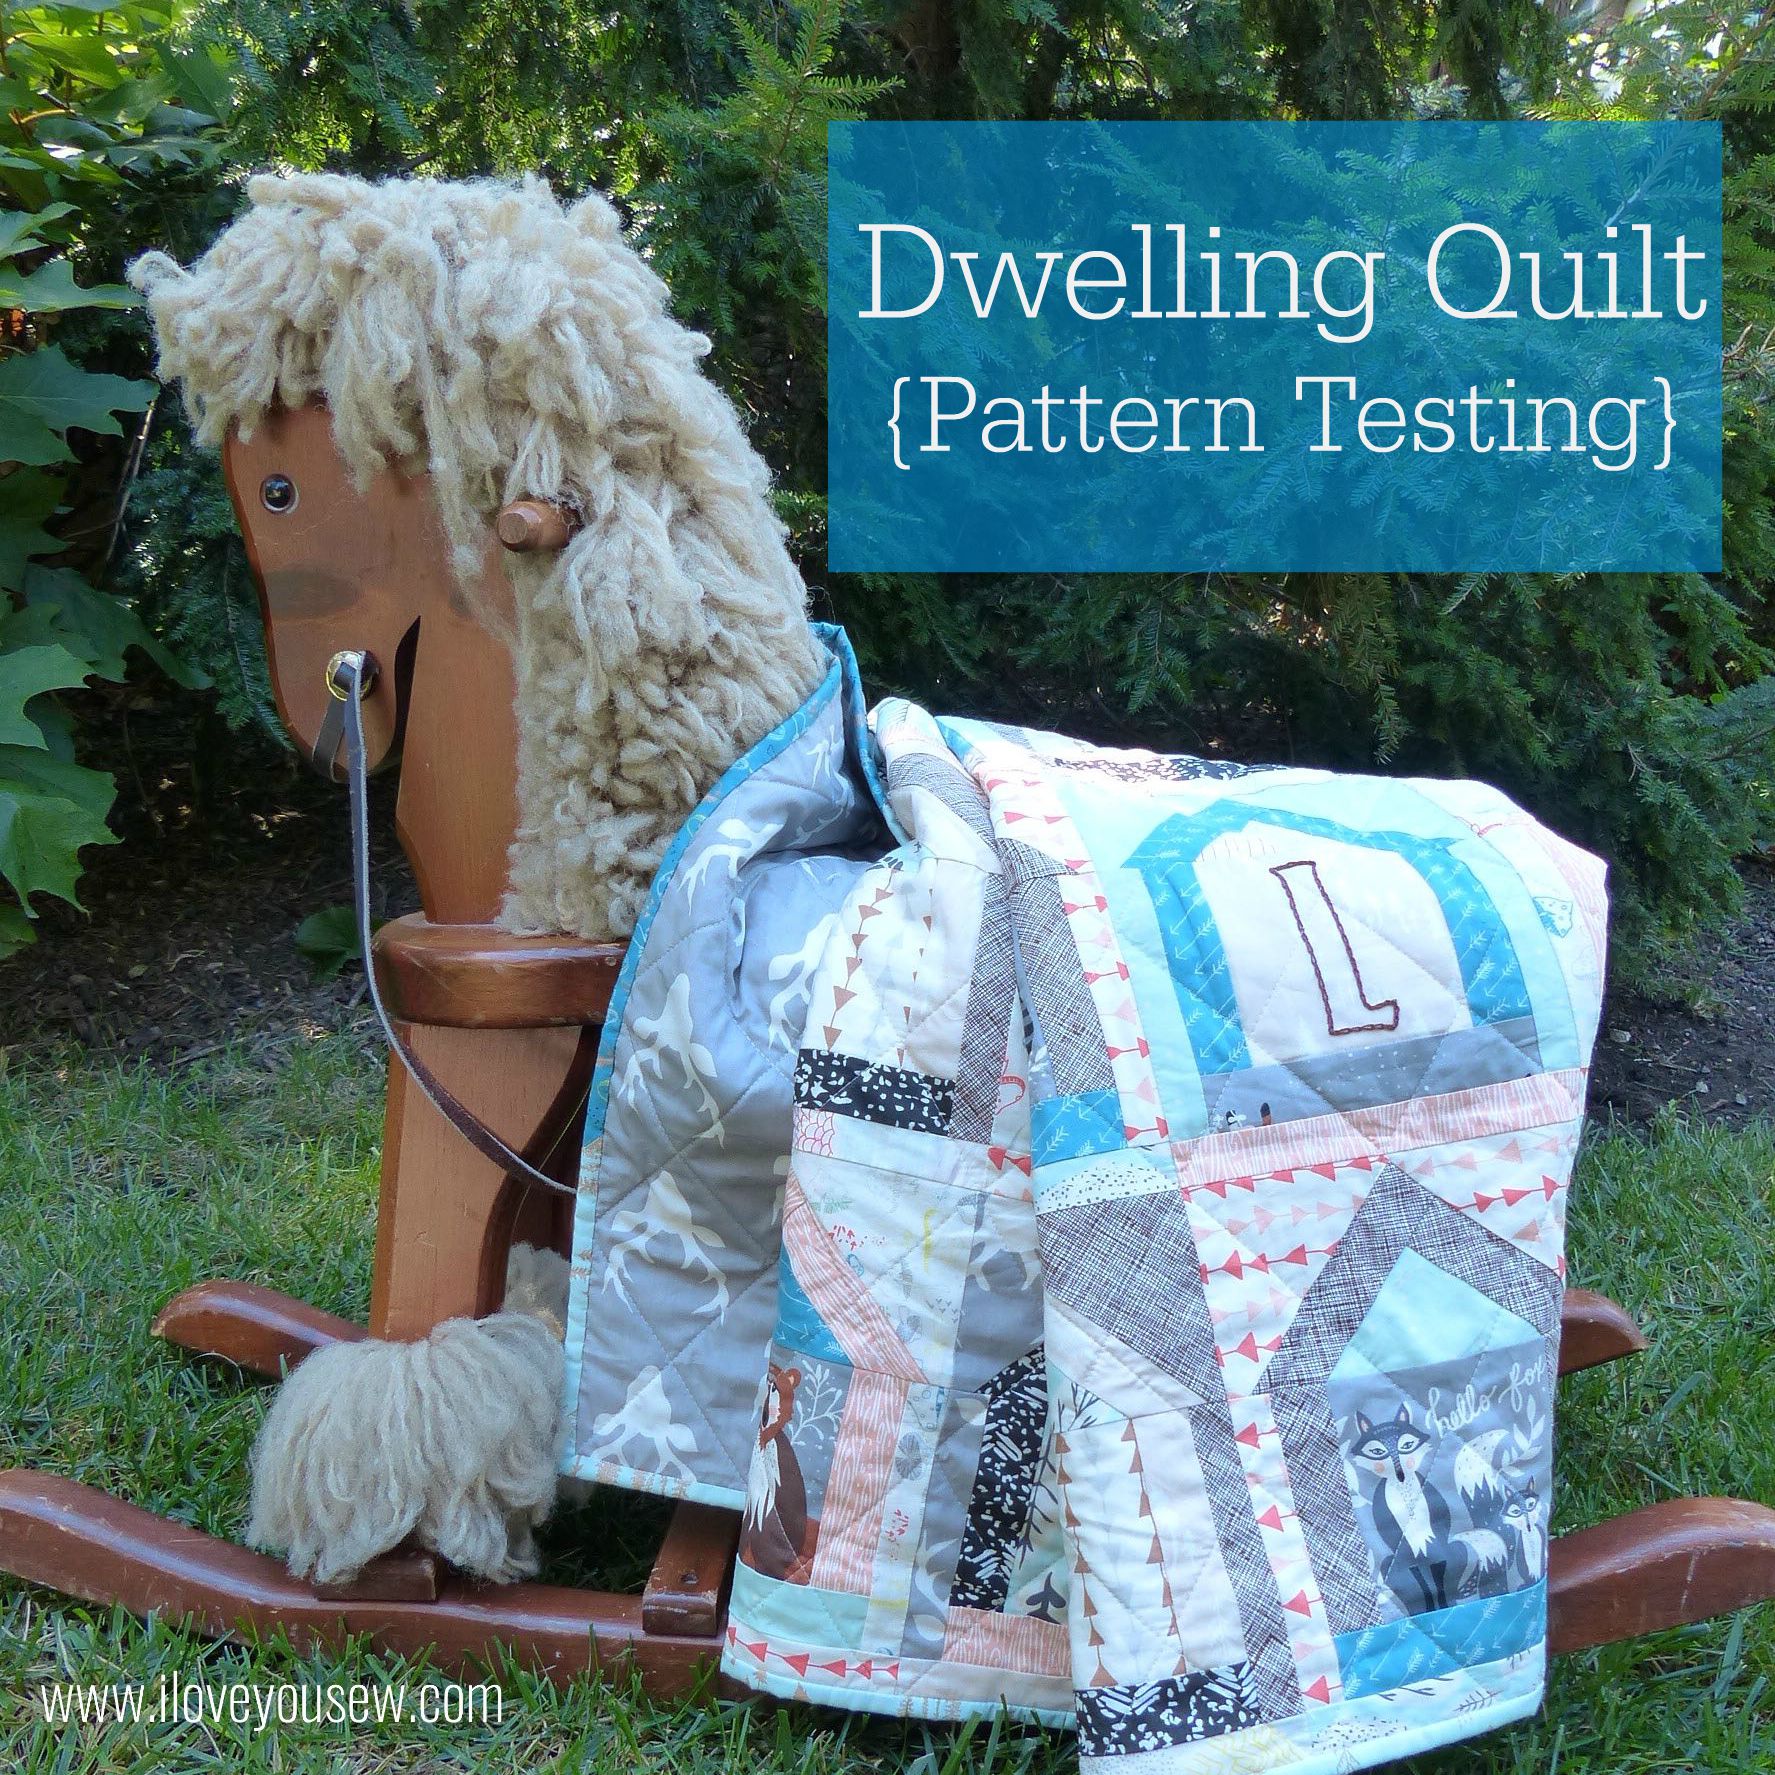
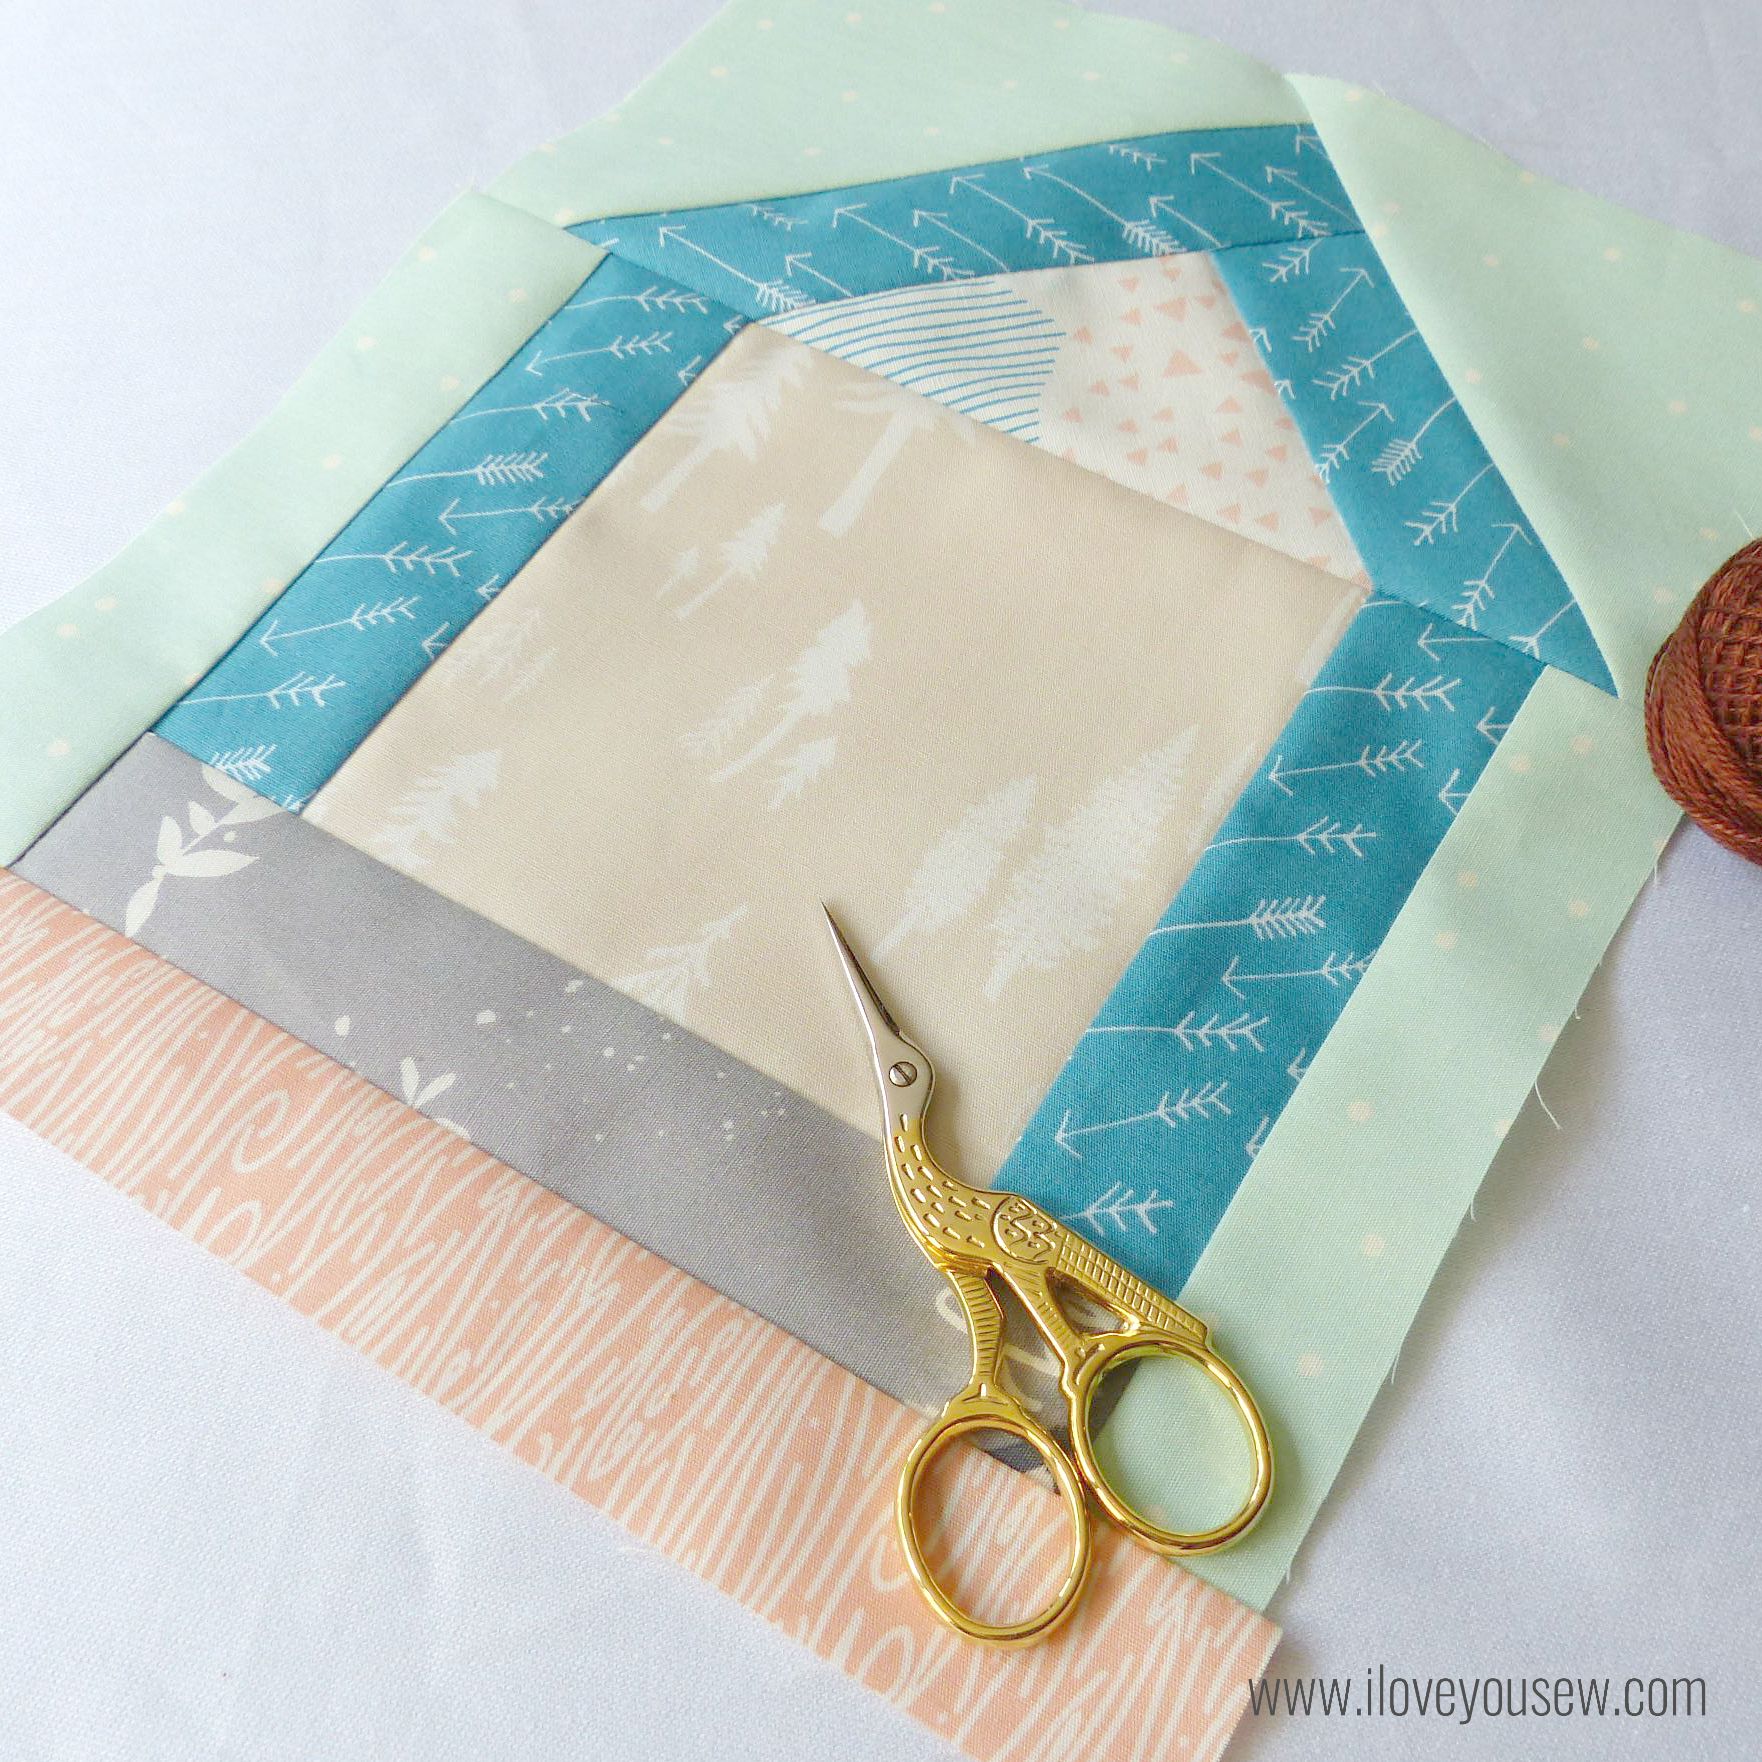
For this quilt, I used the larger of the Dwelling Quilt paper-piecing templates.  It creates a 8″ x 9 3/4″ unfinished block.  I went for a scrappy house look with some fussy cutting for this baby quilt.  Who knows what kind of mess this will be exposed to…so the various colors and patterns works to camouflage any potential incidents  😉

Pieced

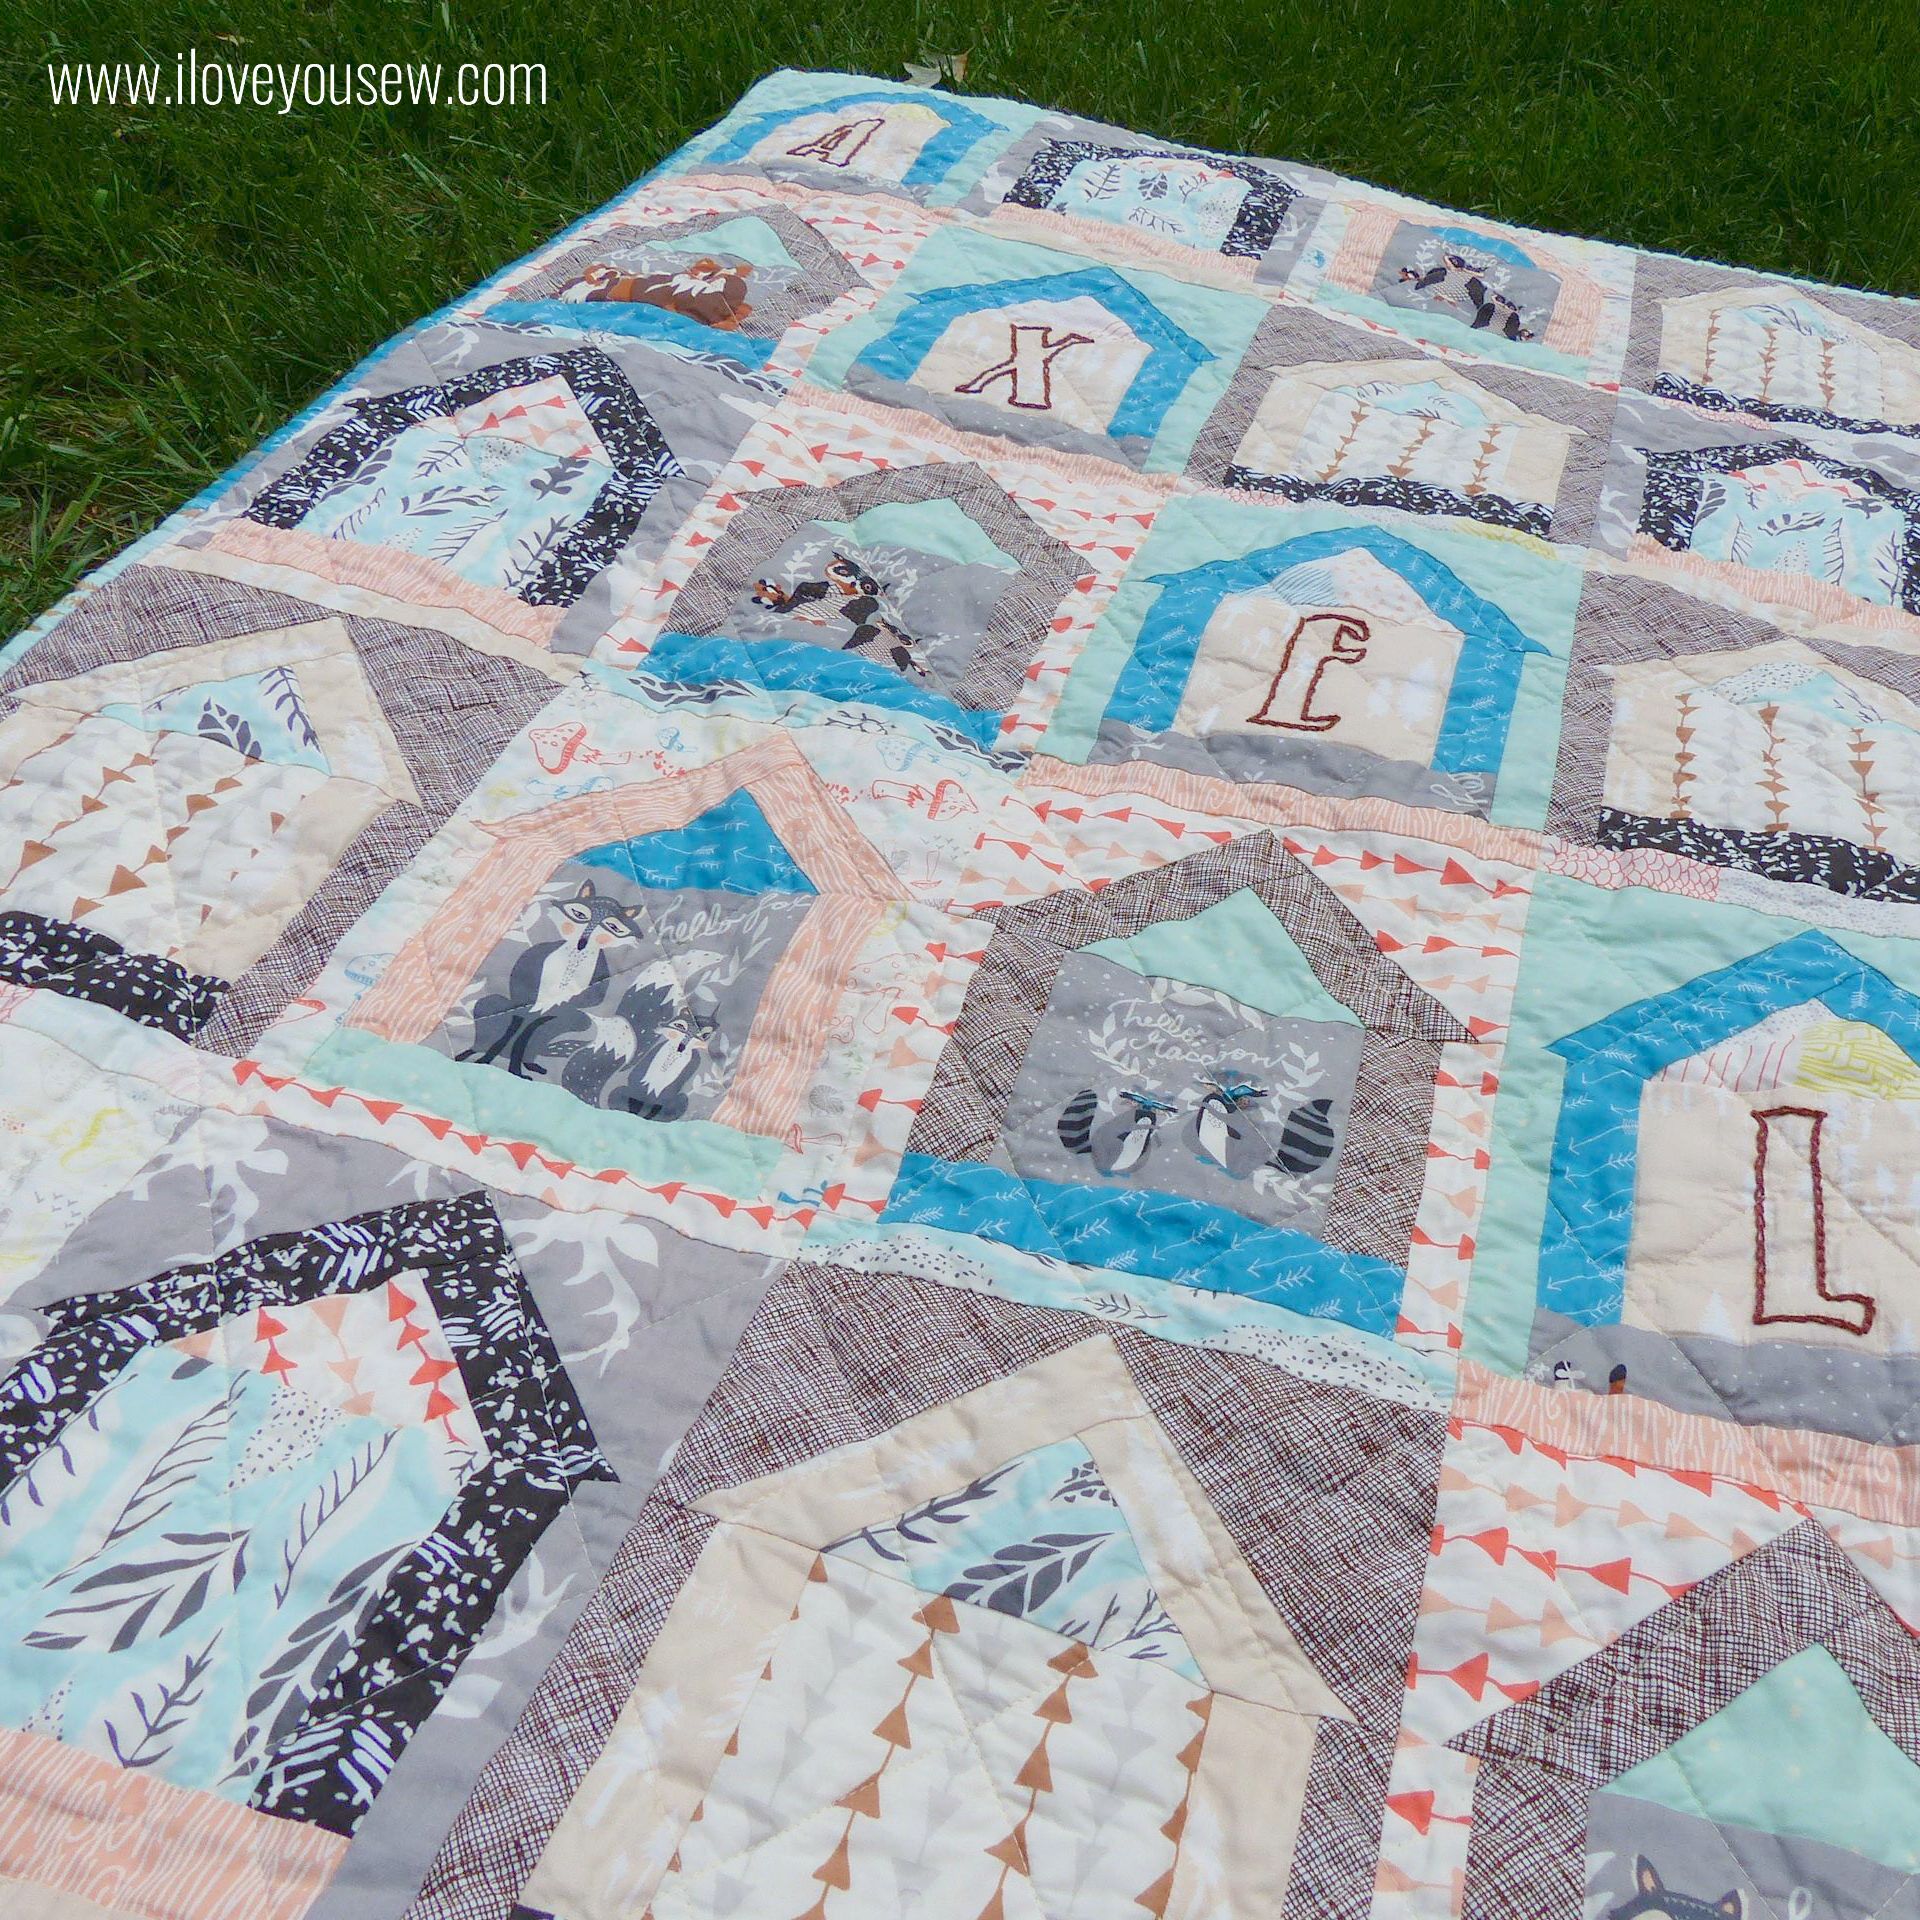
This was a 5 x 5 block design which created a 35″ x 43 3/4″ finished baby quilt.

DwellingCloseUp

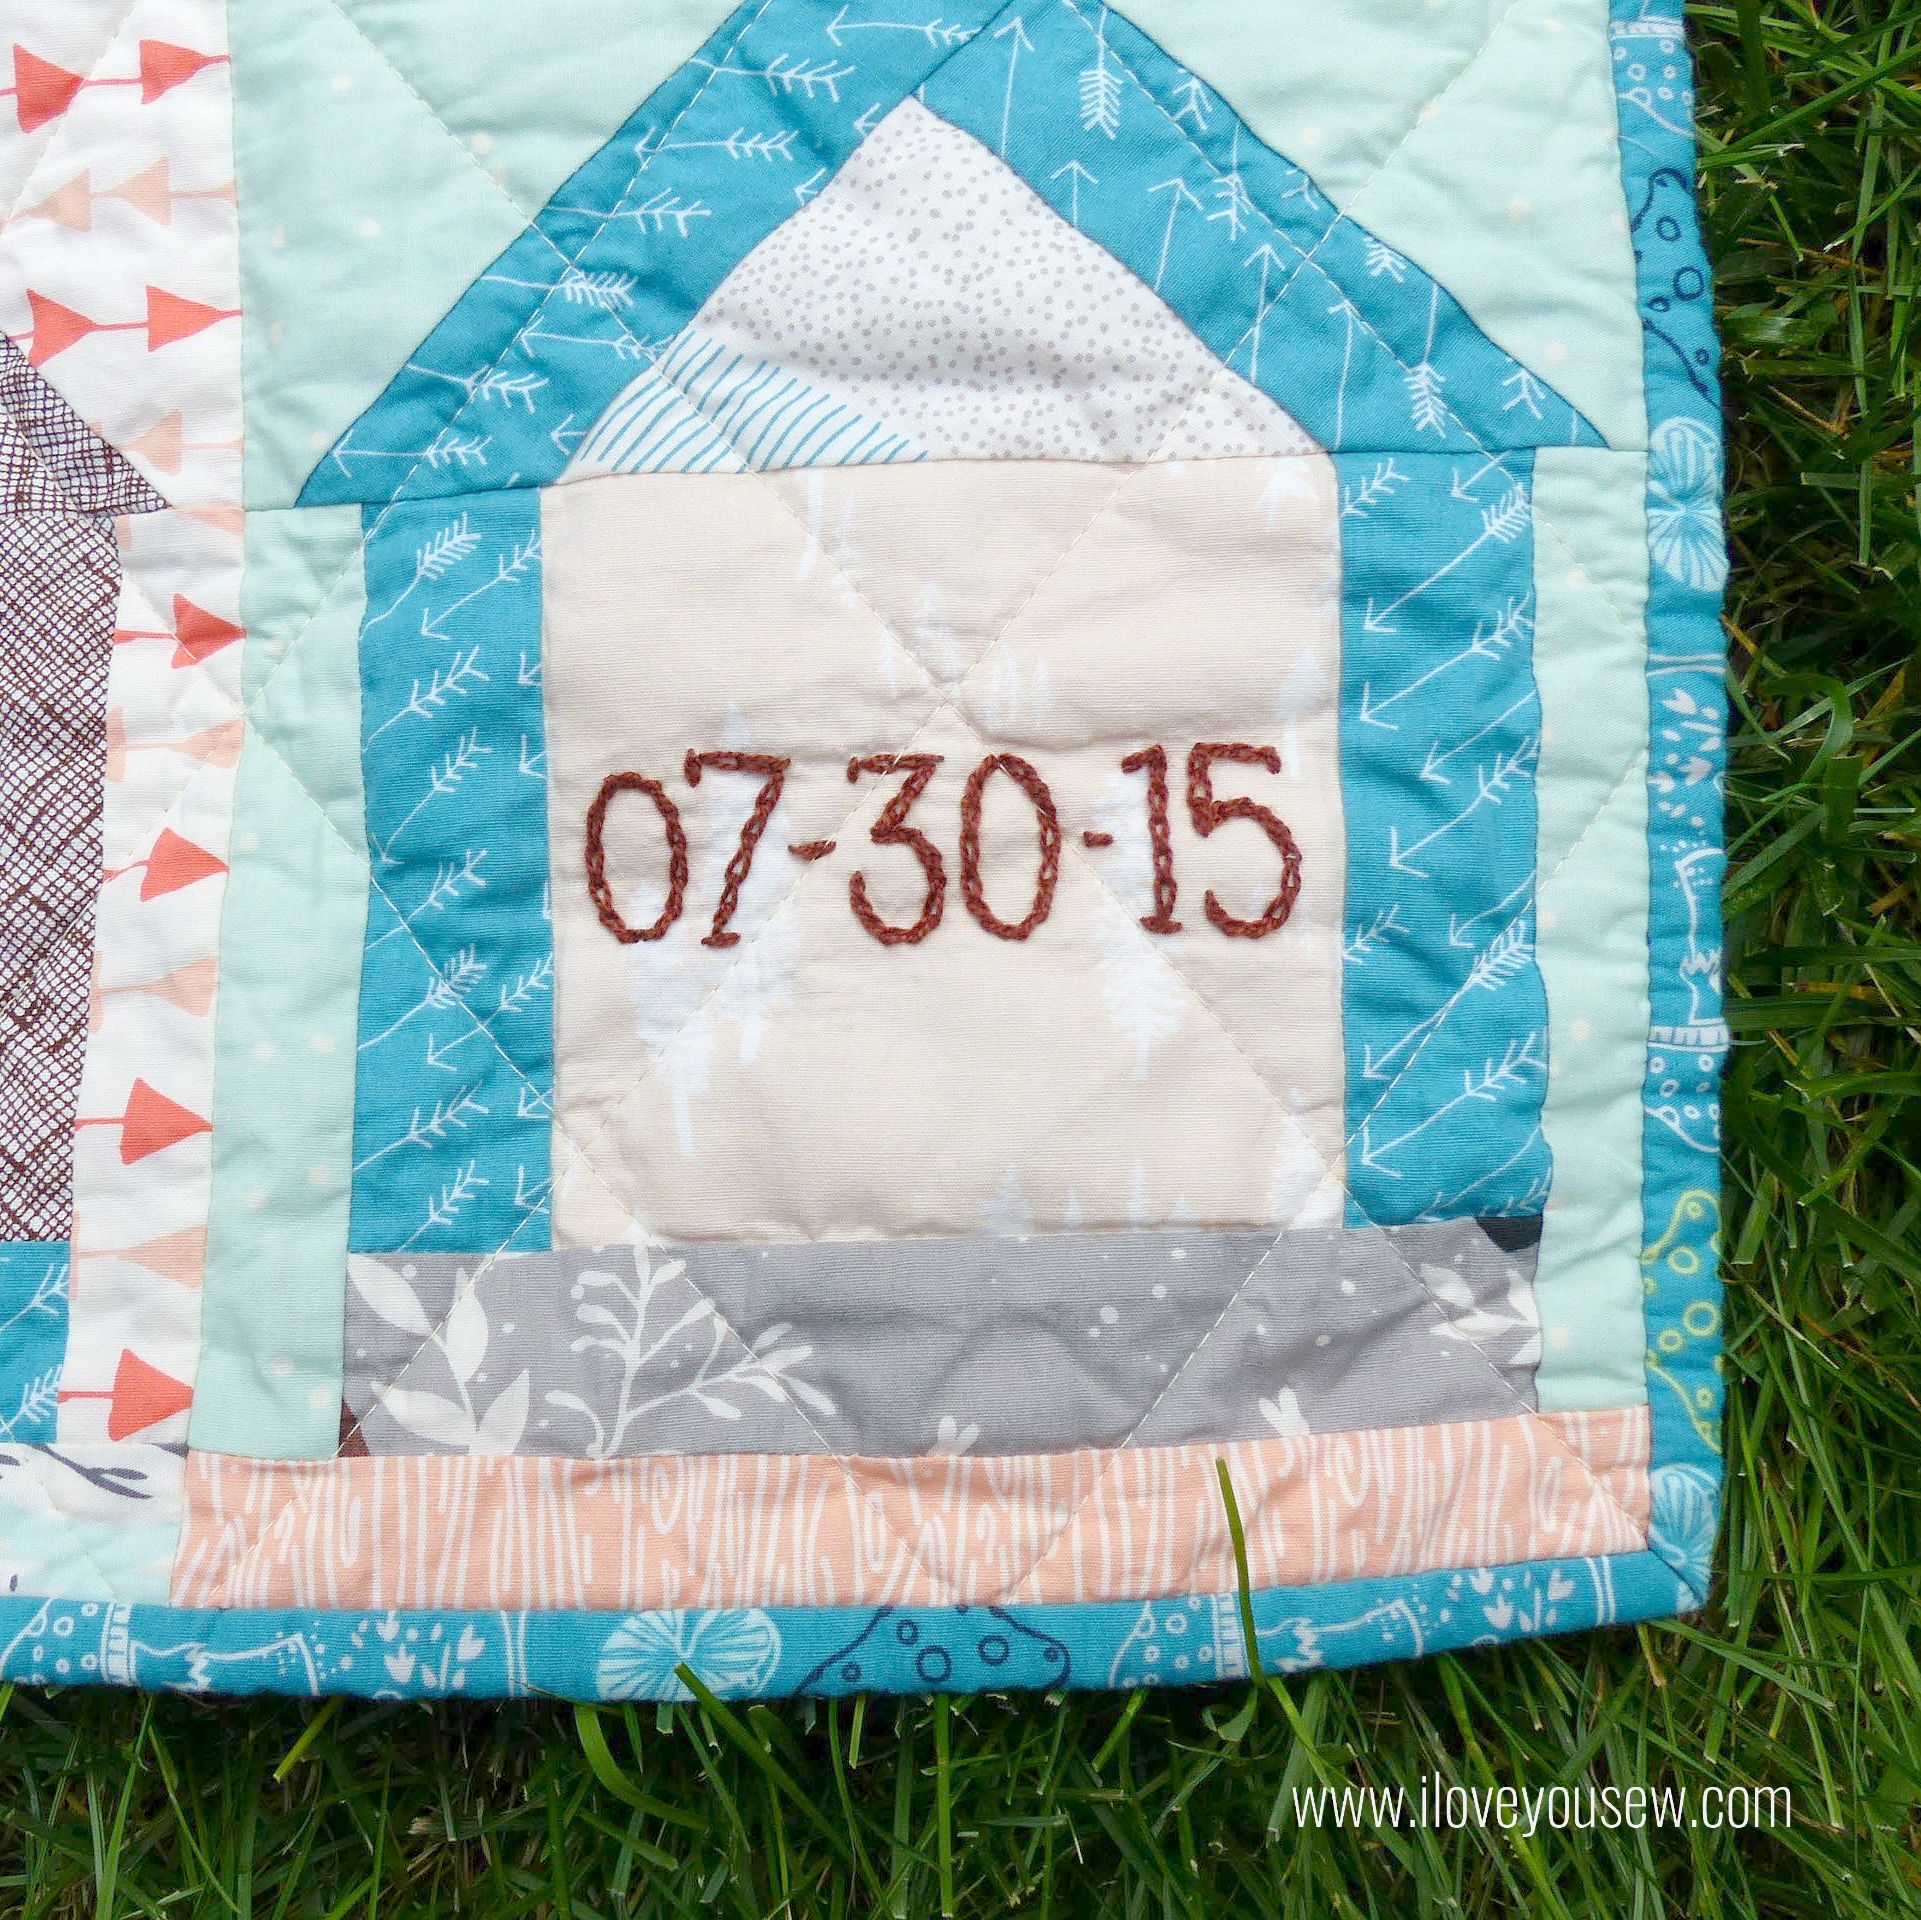
As you can see, I added embroidery to the blocks with Valdani Perle Cotton Size #8 Thread in 171  Rich Brown .  It was fun to add some extra texture and of course, that personal touch.  Hopefully, Baby Axel will love this quilt and appreciate the extra love put into it 😉

EmbroideryCloseUp

To get the embroidery lines, I printed the letters on paper in the Return to Sender font.  I like this font because it was masculine and wide enough to work with this quilt.  The letters were traced onto the fabric using a water-soluble fabric pen along with a bright light source so I could see the letters from underneath the fabric.

DwellingQuilted

The quilting was straight-line in a diamond configuration with Aurifil 2310 Light Beige for the top and 2615 Aluminum in the bobbin.  Timberland Green was used for the binding with some fun Adventure Springs accented in to keep with the scrappy feel.

BackingCloseUp

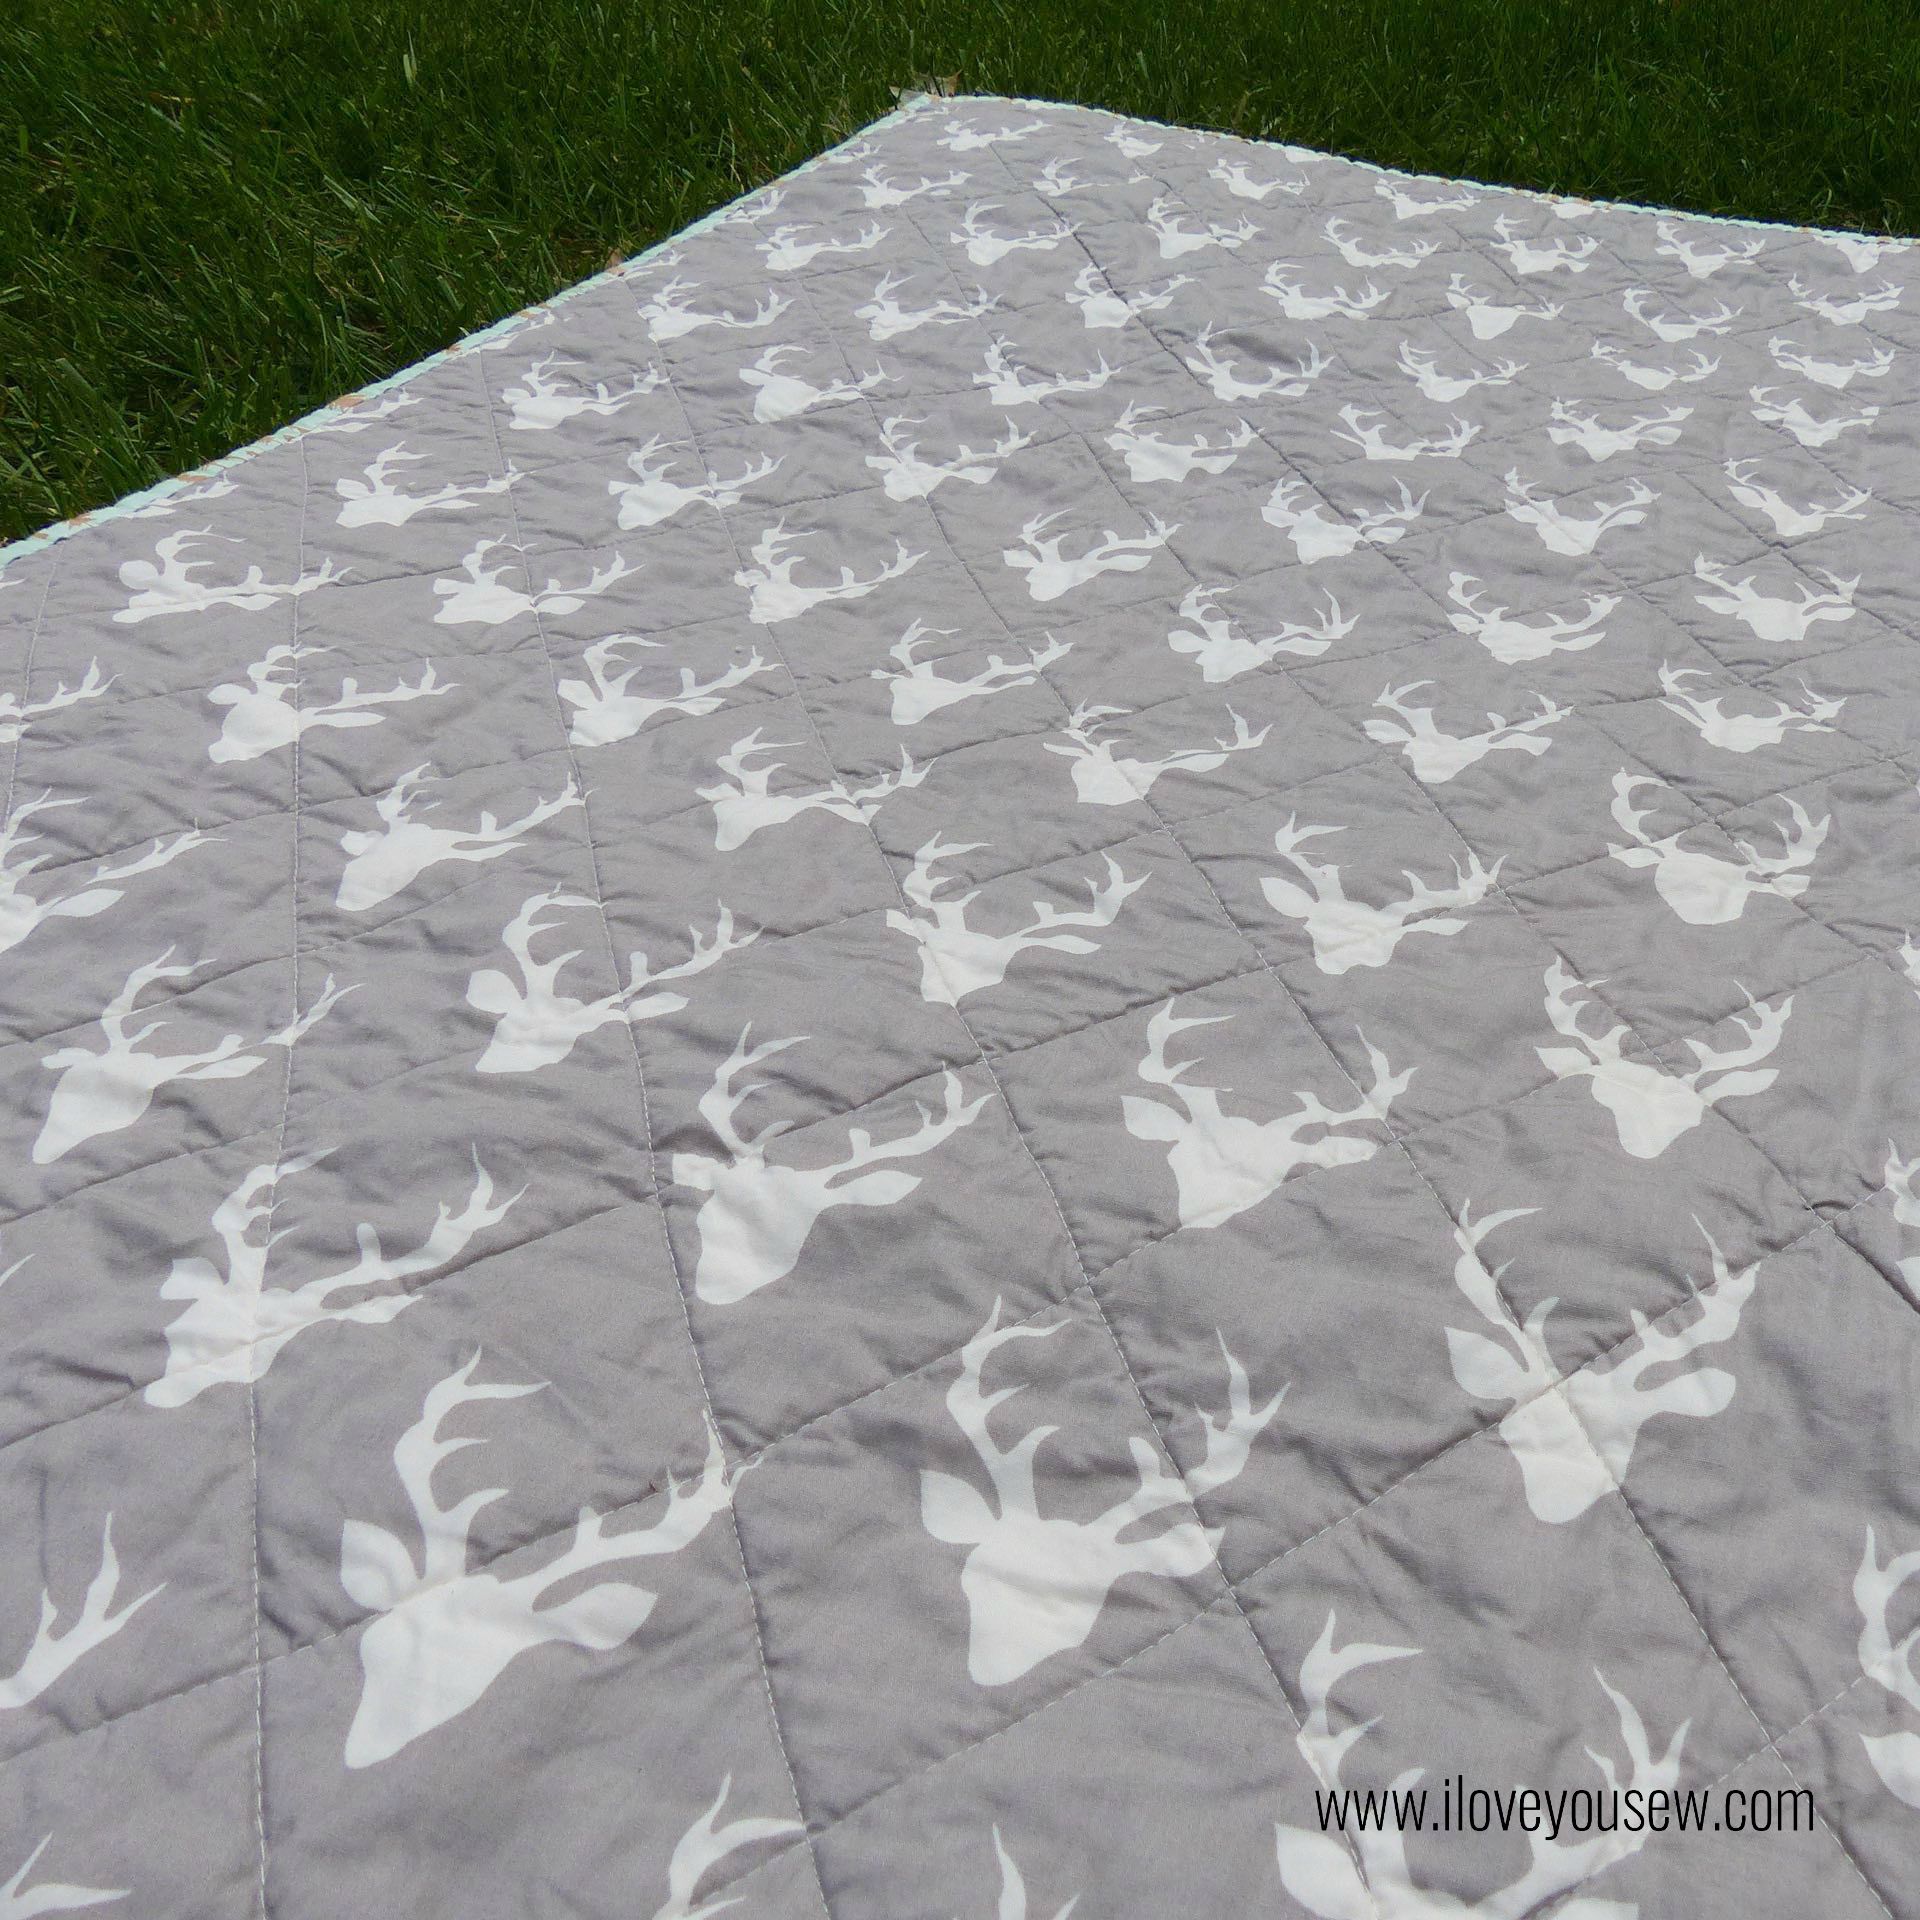
Buck Forest Mist was the perfect backing.  It’s a very masculine print and the gray lends to easy baby management…er….laundry 😉

I can’t wait to see Baby Axel wrapped up and enjoying this quilt 🙂


Happy Stitching,

Cristy
 

***This post may contain affiliate links for which I do receive a very small commission.  They help keep this site up and running 🙂

What to Do When You Forget to Pre-Wash High Contrast Colored Fabrics (in a Quilt)

What to Do When You Forget to Pre-Wash High Contrast Colored Fabrics

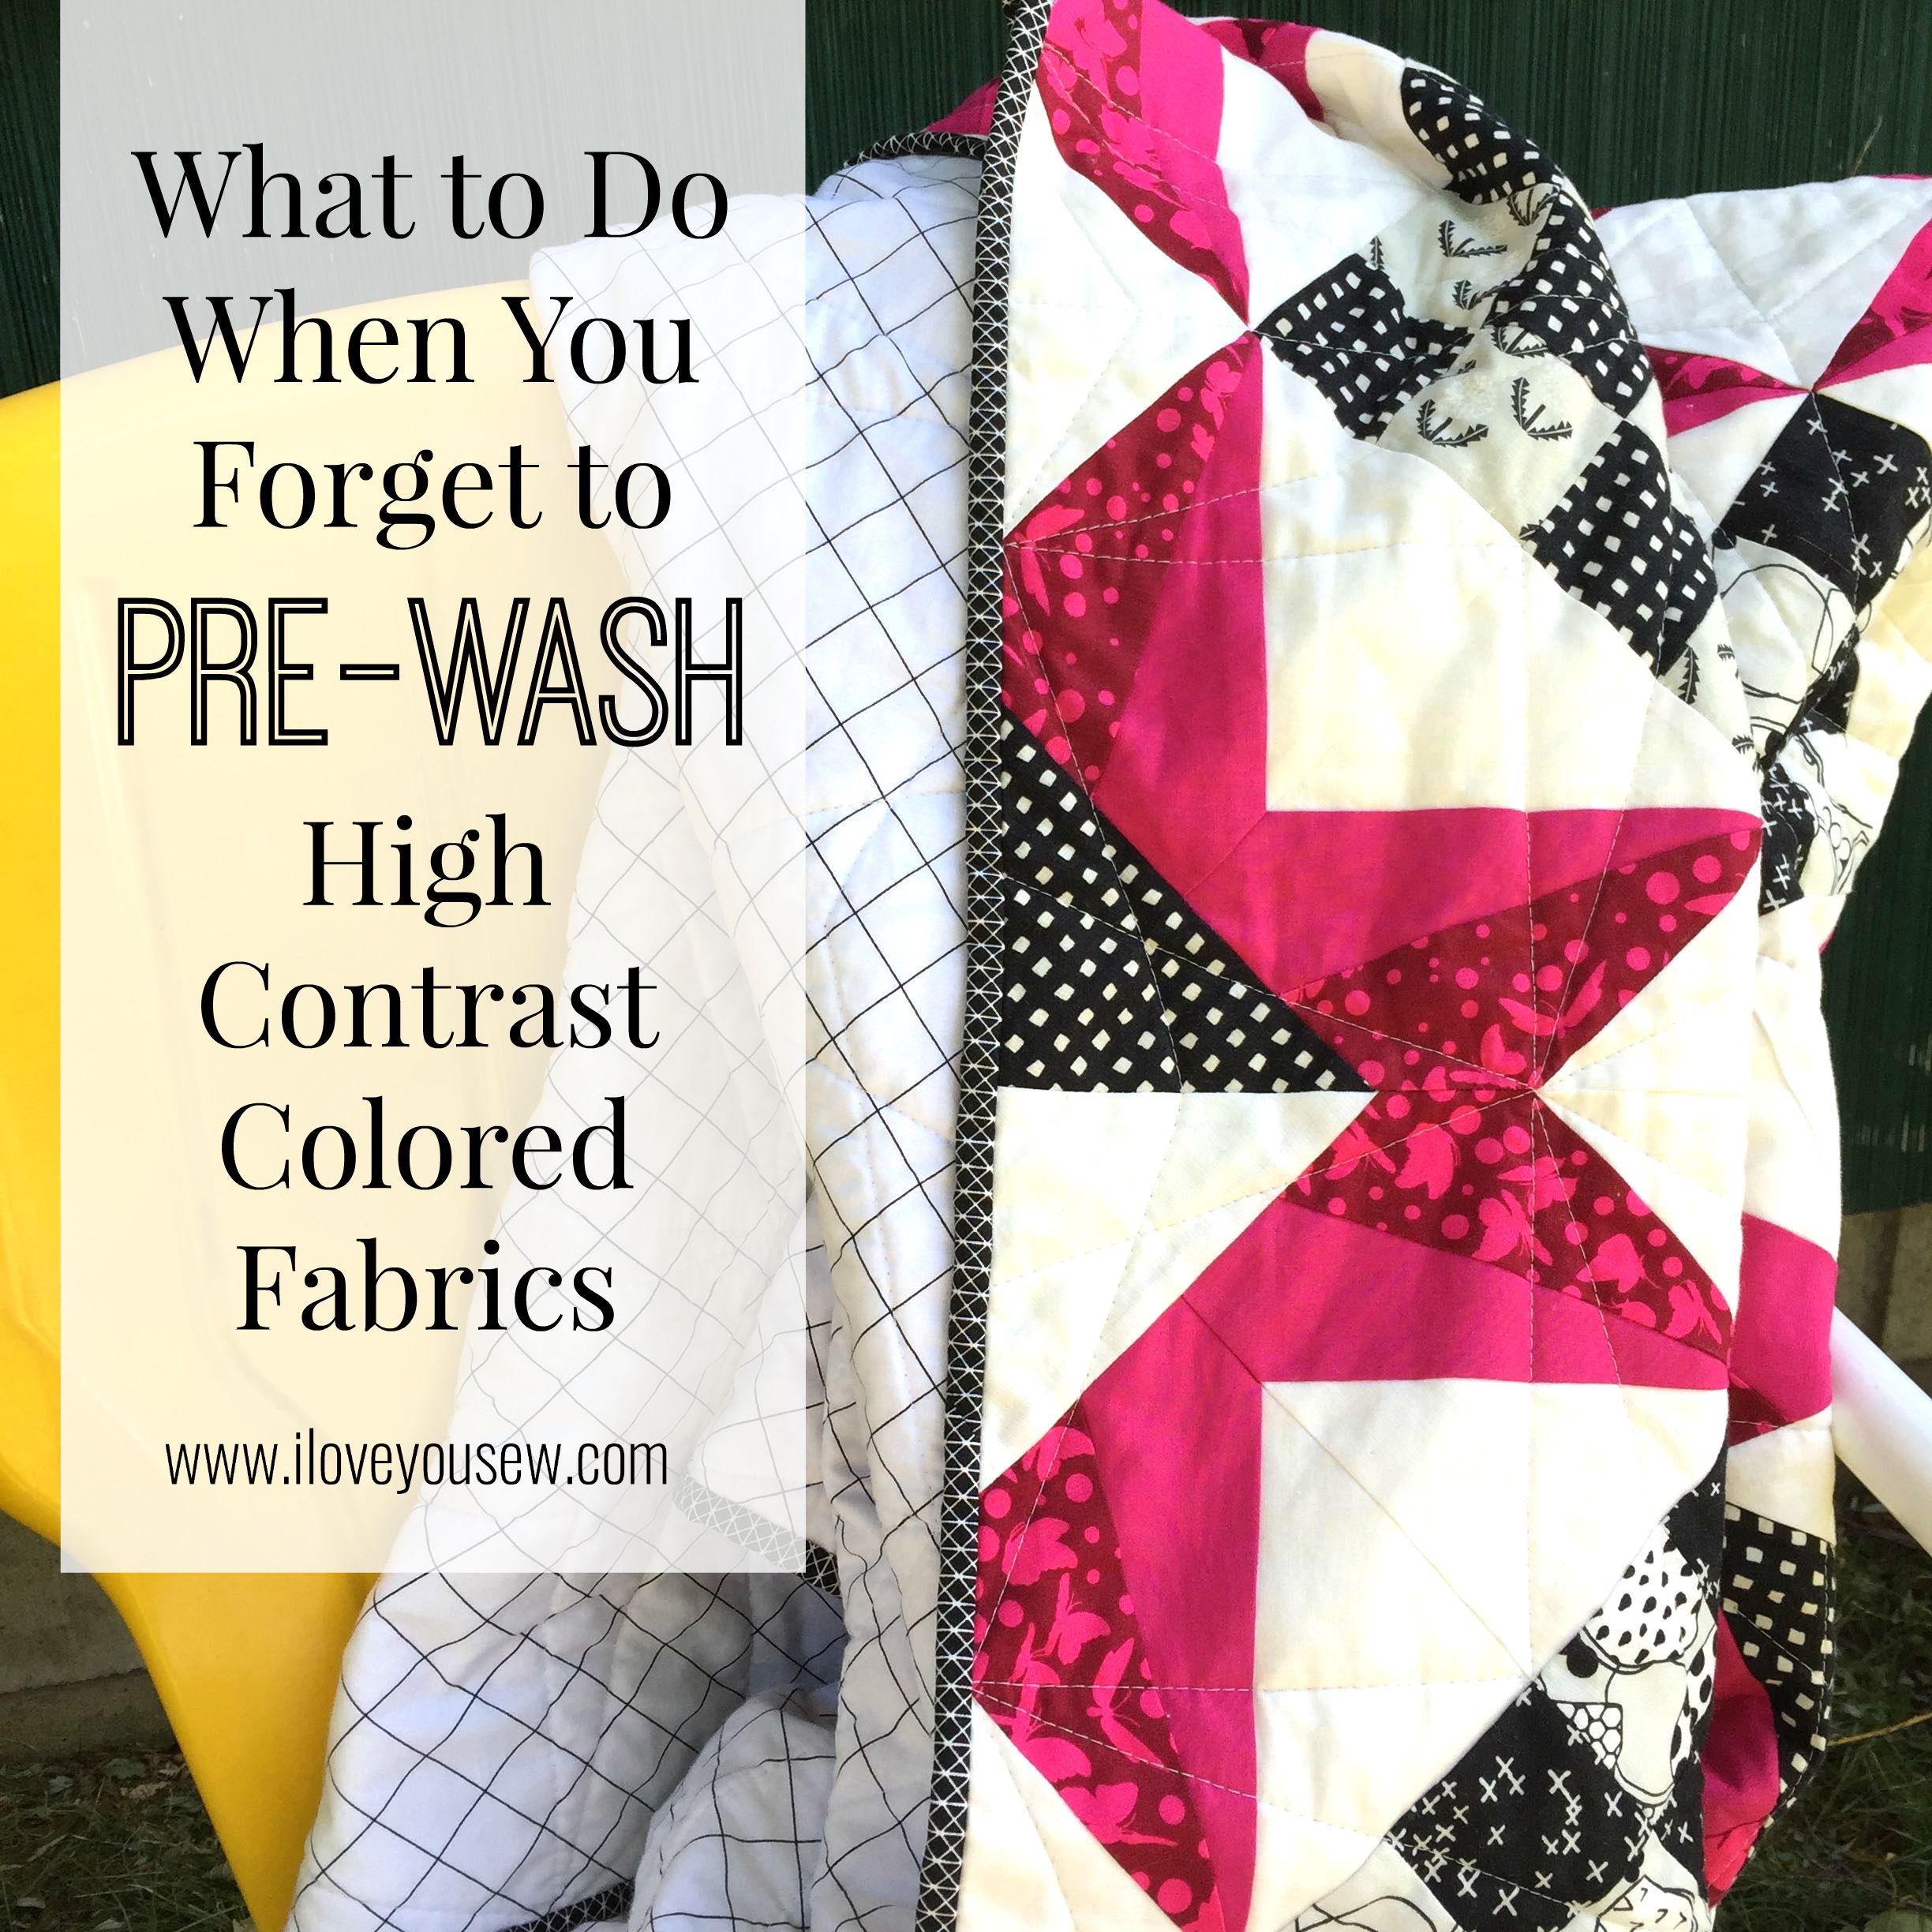
After picking the high contrast fabrics for one of my latest quilts AND after cutting into it AND after piecing it…I realized I should have pre-washed it!  How was I going to prevent bleeding on my project???

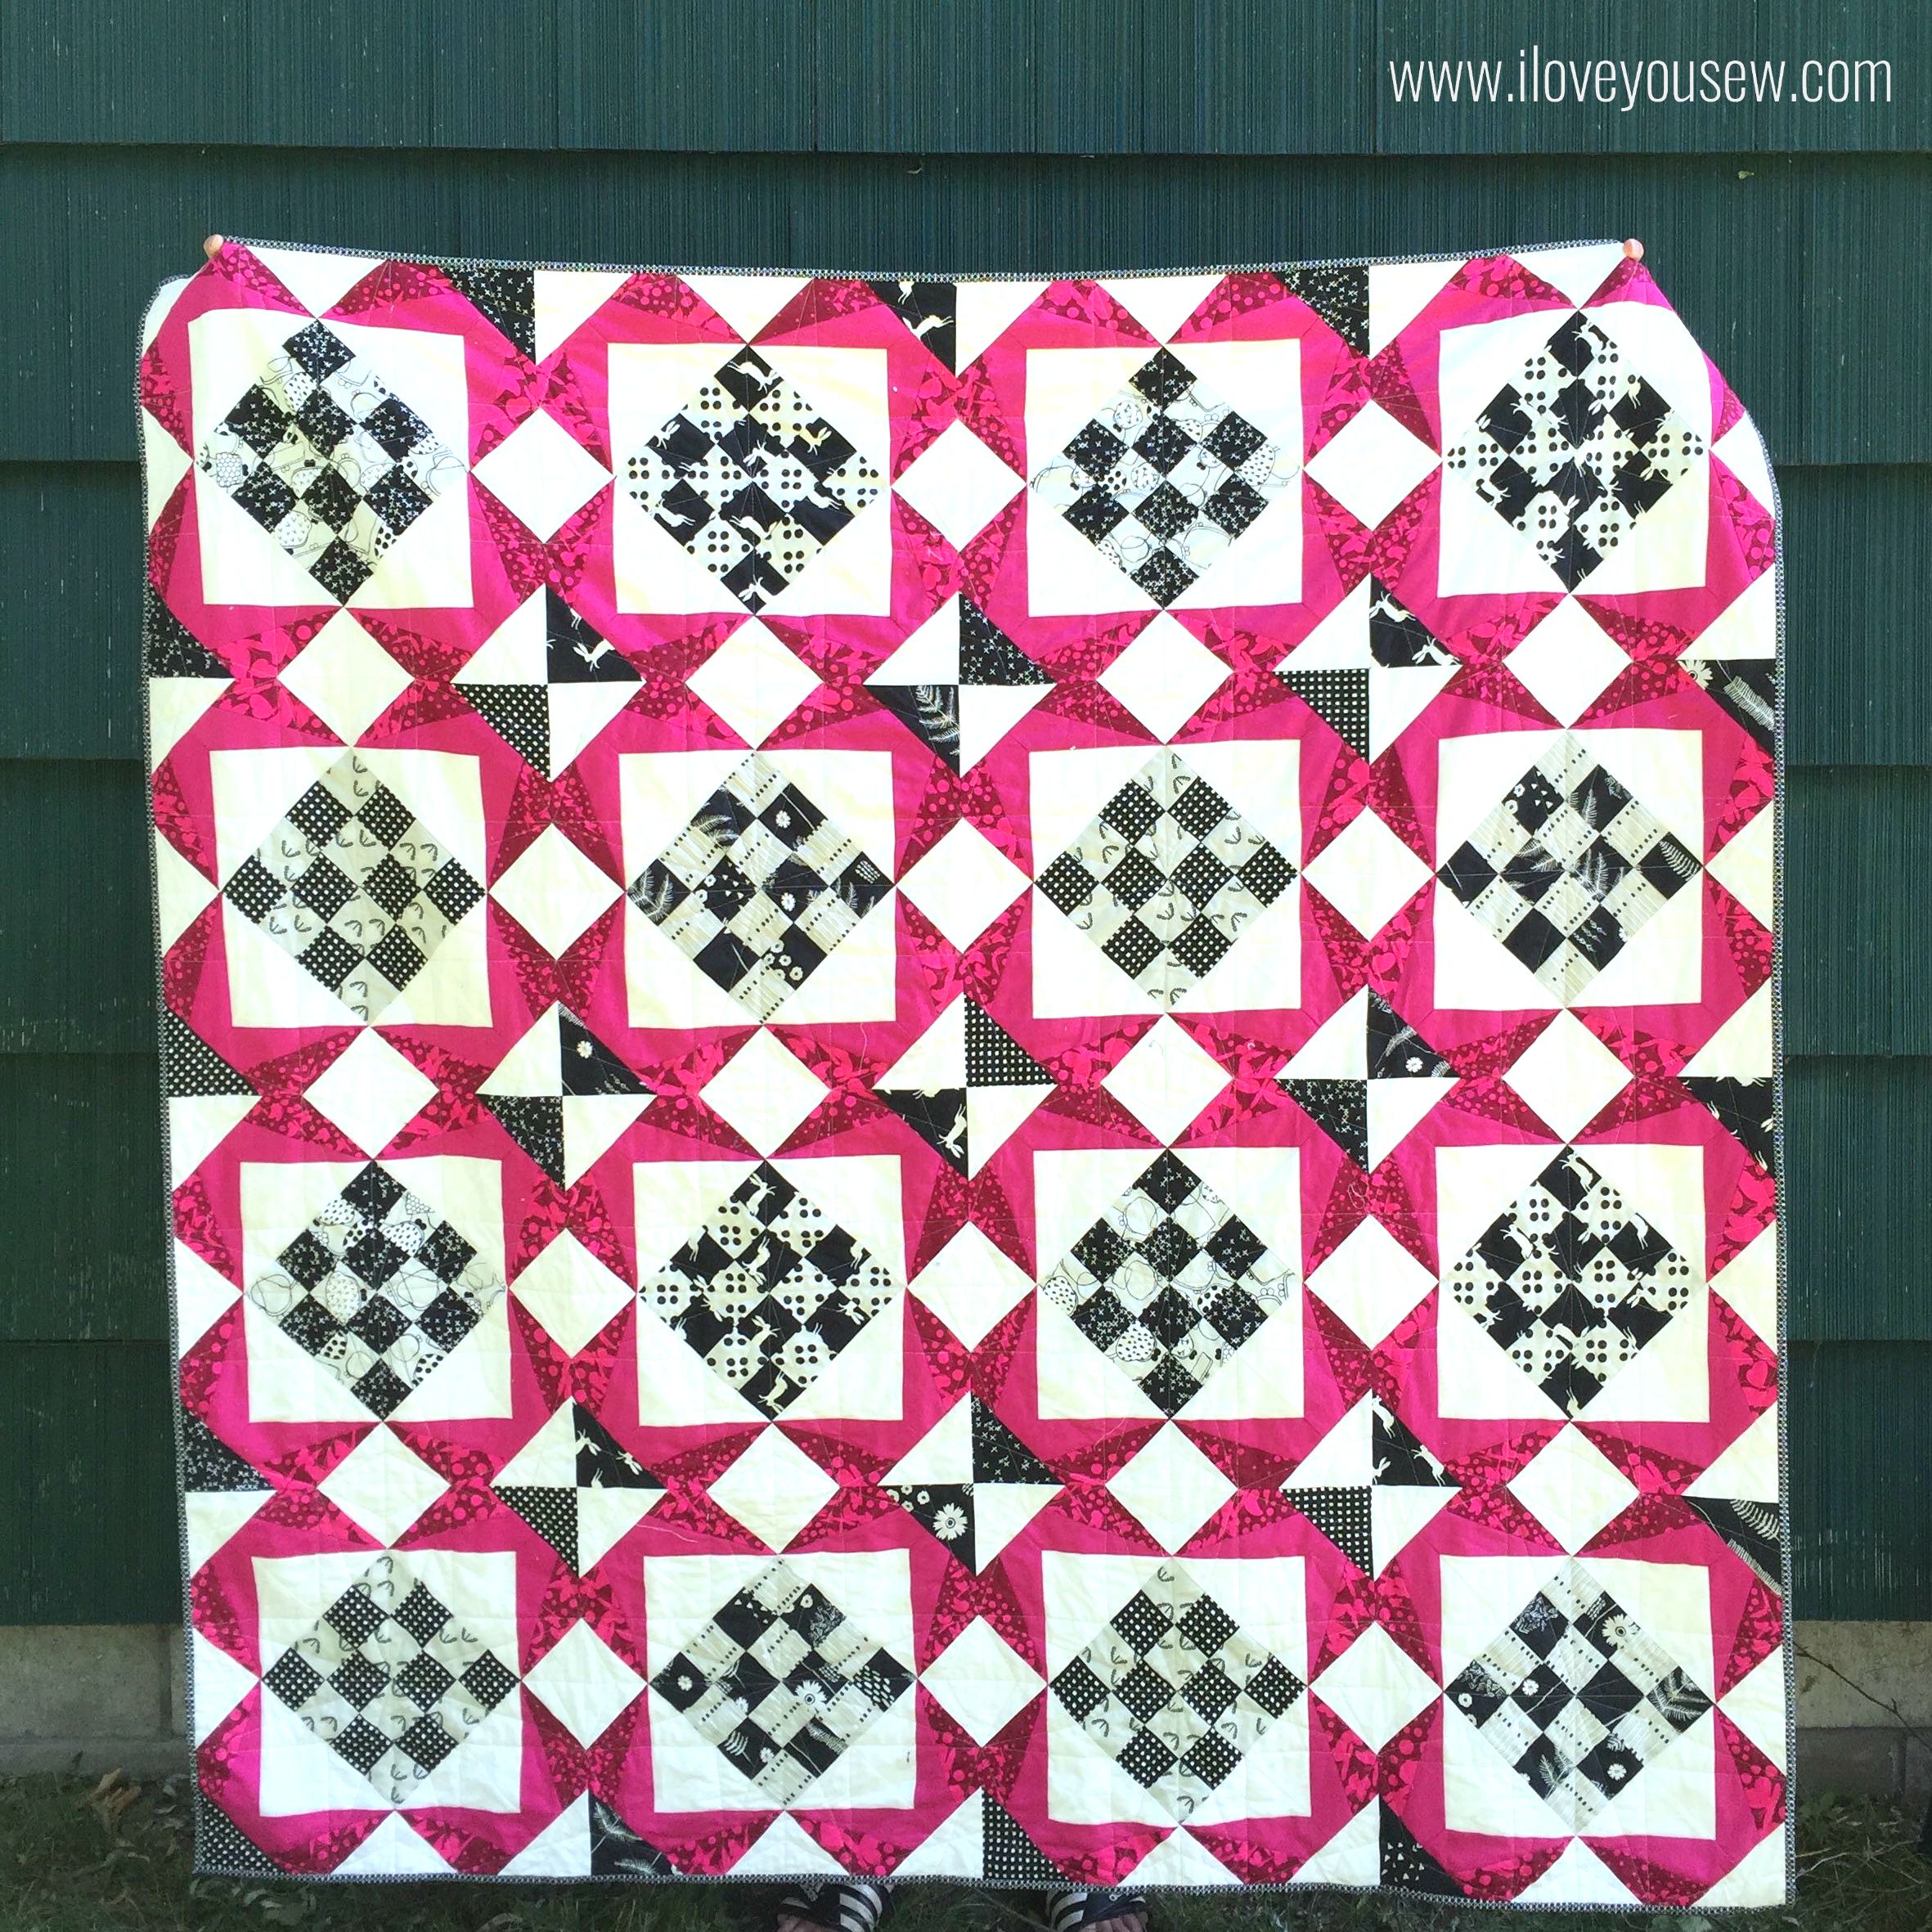
When I thought to pair magenta, black and white fabrics together in my recent Jacks Quilt, the thought of pre-washing never crossed my mind.  For quilts, I am not a pre-washer and so I went about my normal way cutting and piecing until it hit me…that all the saturated colors could bleed onto all of that white! I wanted to cry in that moment because there was NO way I was going to buy new fabric and start over. My pockets and my sanity wouldn’t allow it since I had cut hundreds of pieces already.  I couldn’t wash all the  small pieces I had because the threads would fray and there would be considerable size distortion…

I know there is a divided camp among those who always pre-wash fabrics no matter what and those who don’t.  Personally, I don’t wash because I DO love that crinkly texture after a quilt is finished and then laundered.  Also, many times I make quilts that will be photographed and need that crisp color that is fresh off the bolt. Which side of camp do you belong to?

WashingQuiltTools

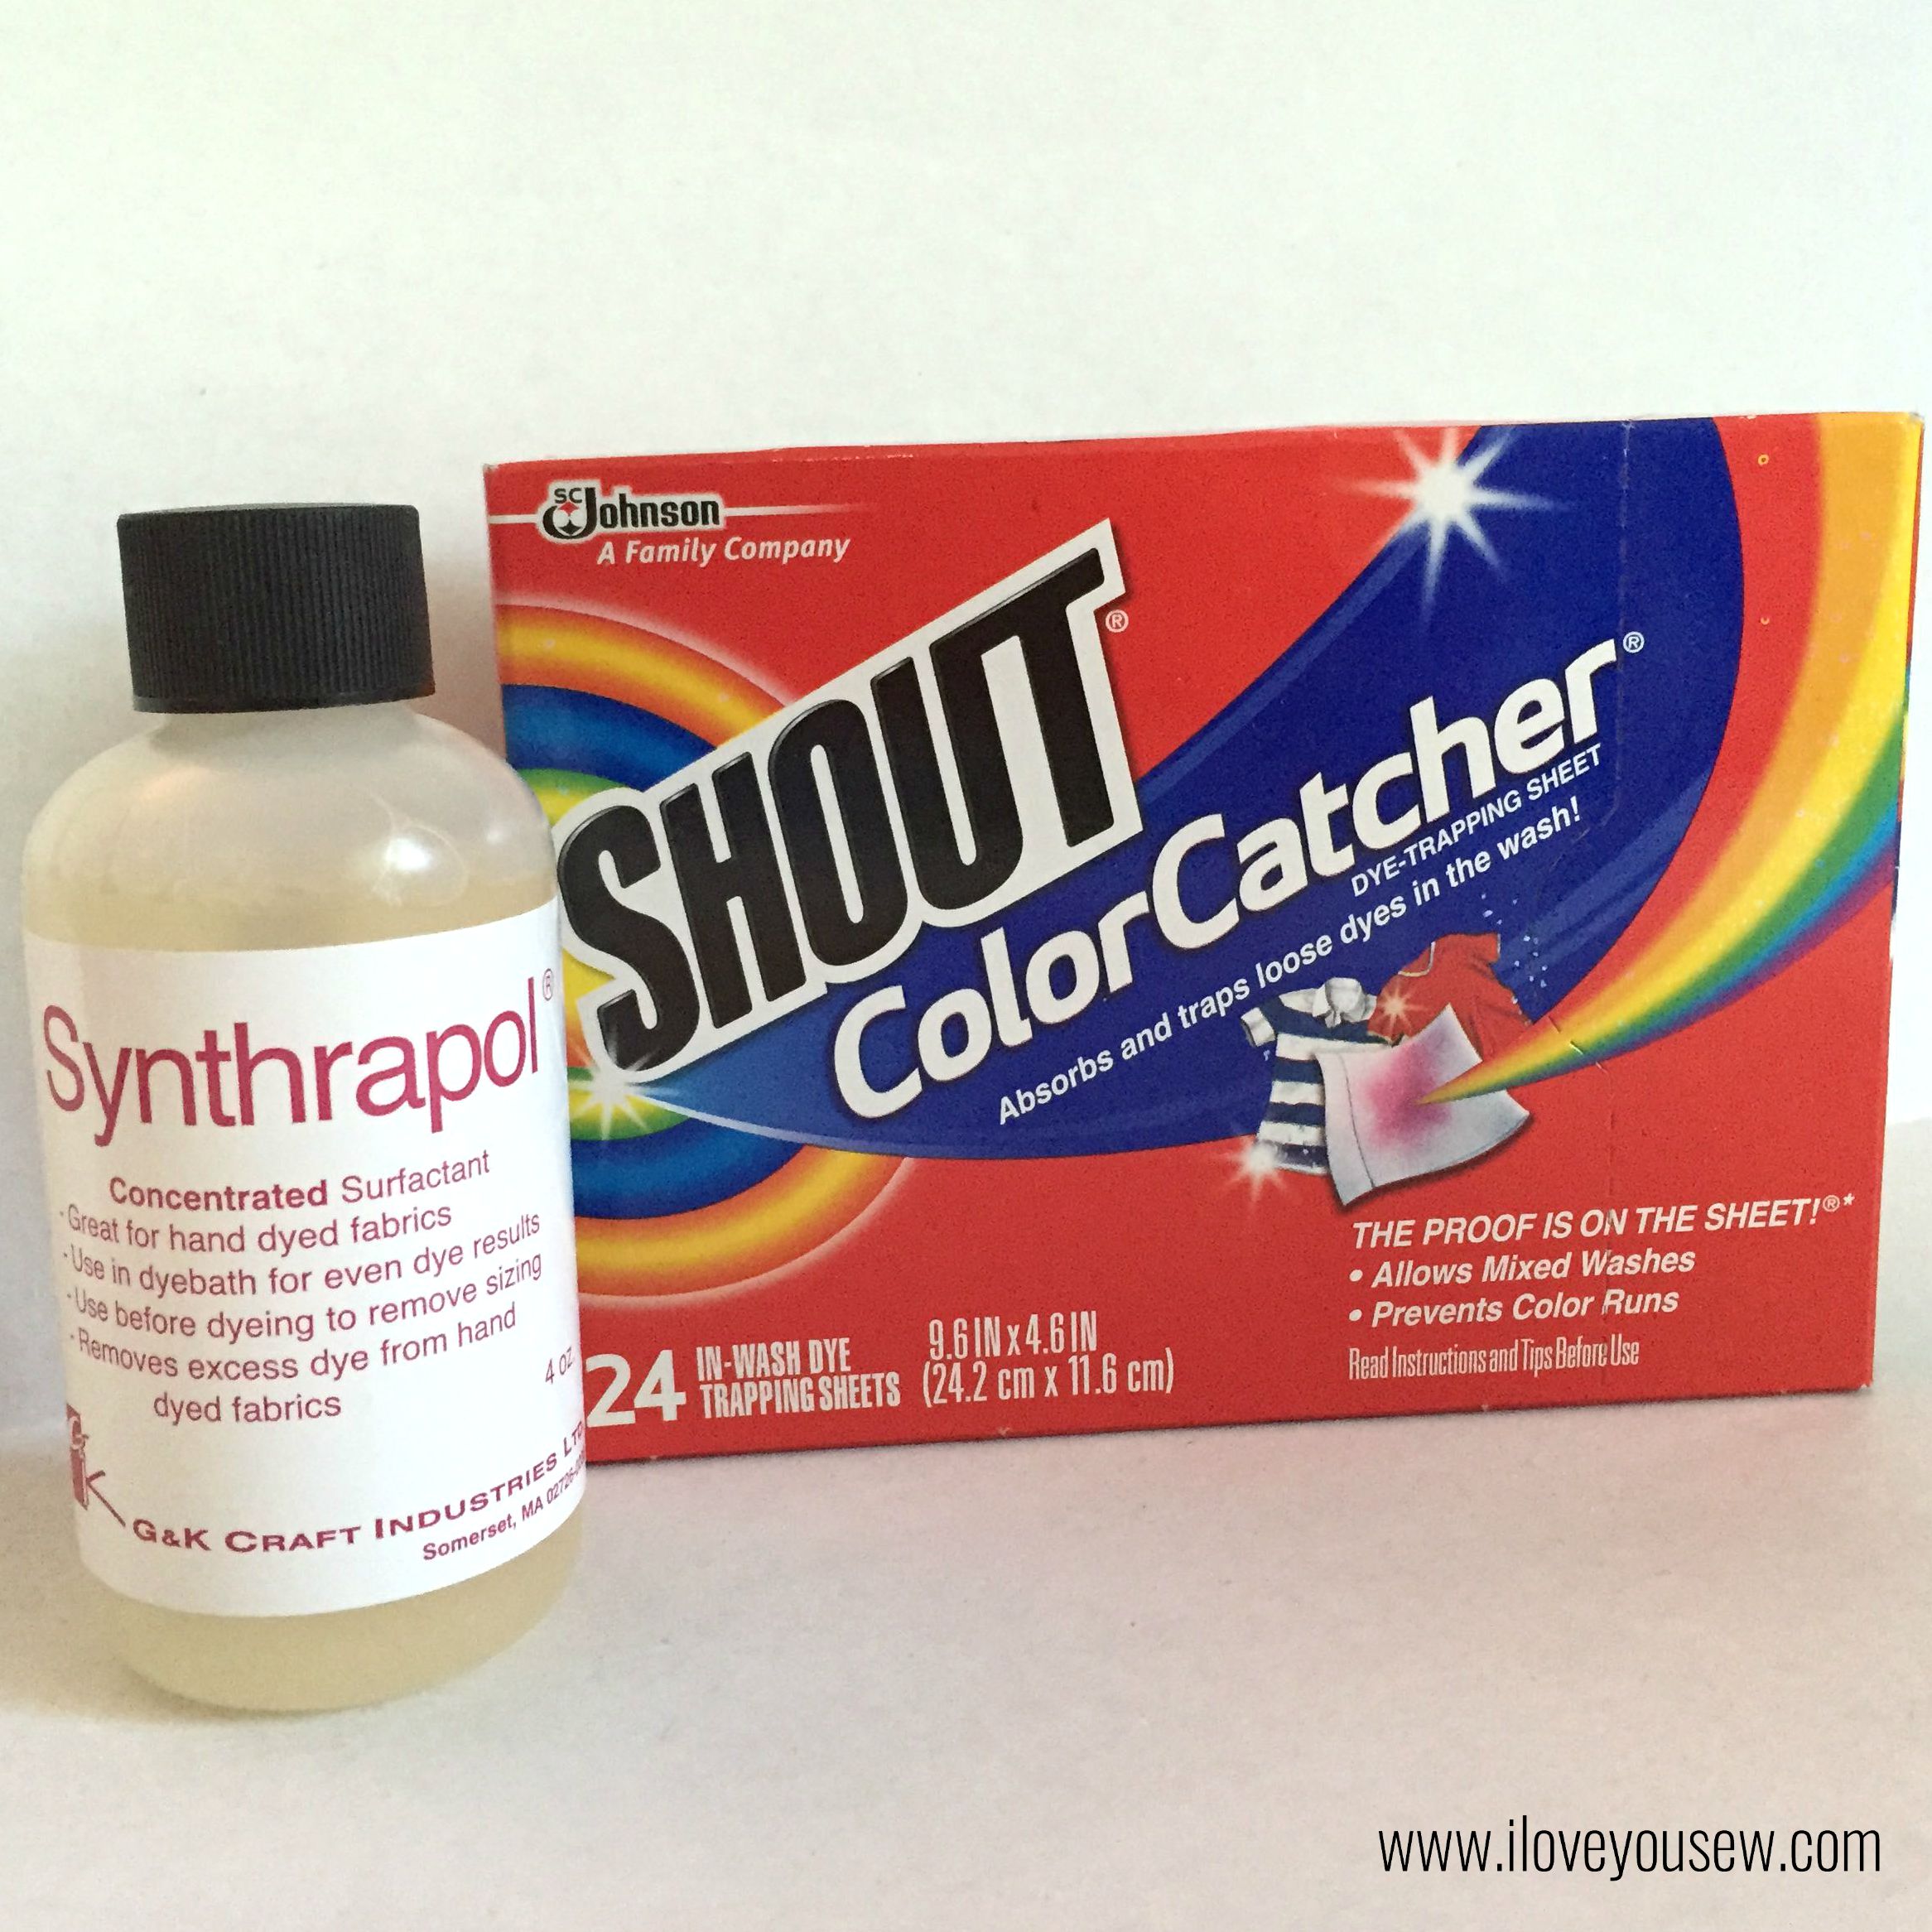
So off I went to find out how I could prevent any bleeding from occurring.  I consulted with a few quilty friends and good ol’ Google to see what was out there.  Synthrapol kept coming up as the go-to detergent to help dyes from re-depositing back onto the quilt. I also received many recommendations to Shout Color Catchers for this dilemma and to use in pre-washing going forward.  I decided why not try both products since I didn’t want to chance ruining my new quilt?

ColorCatchers

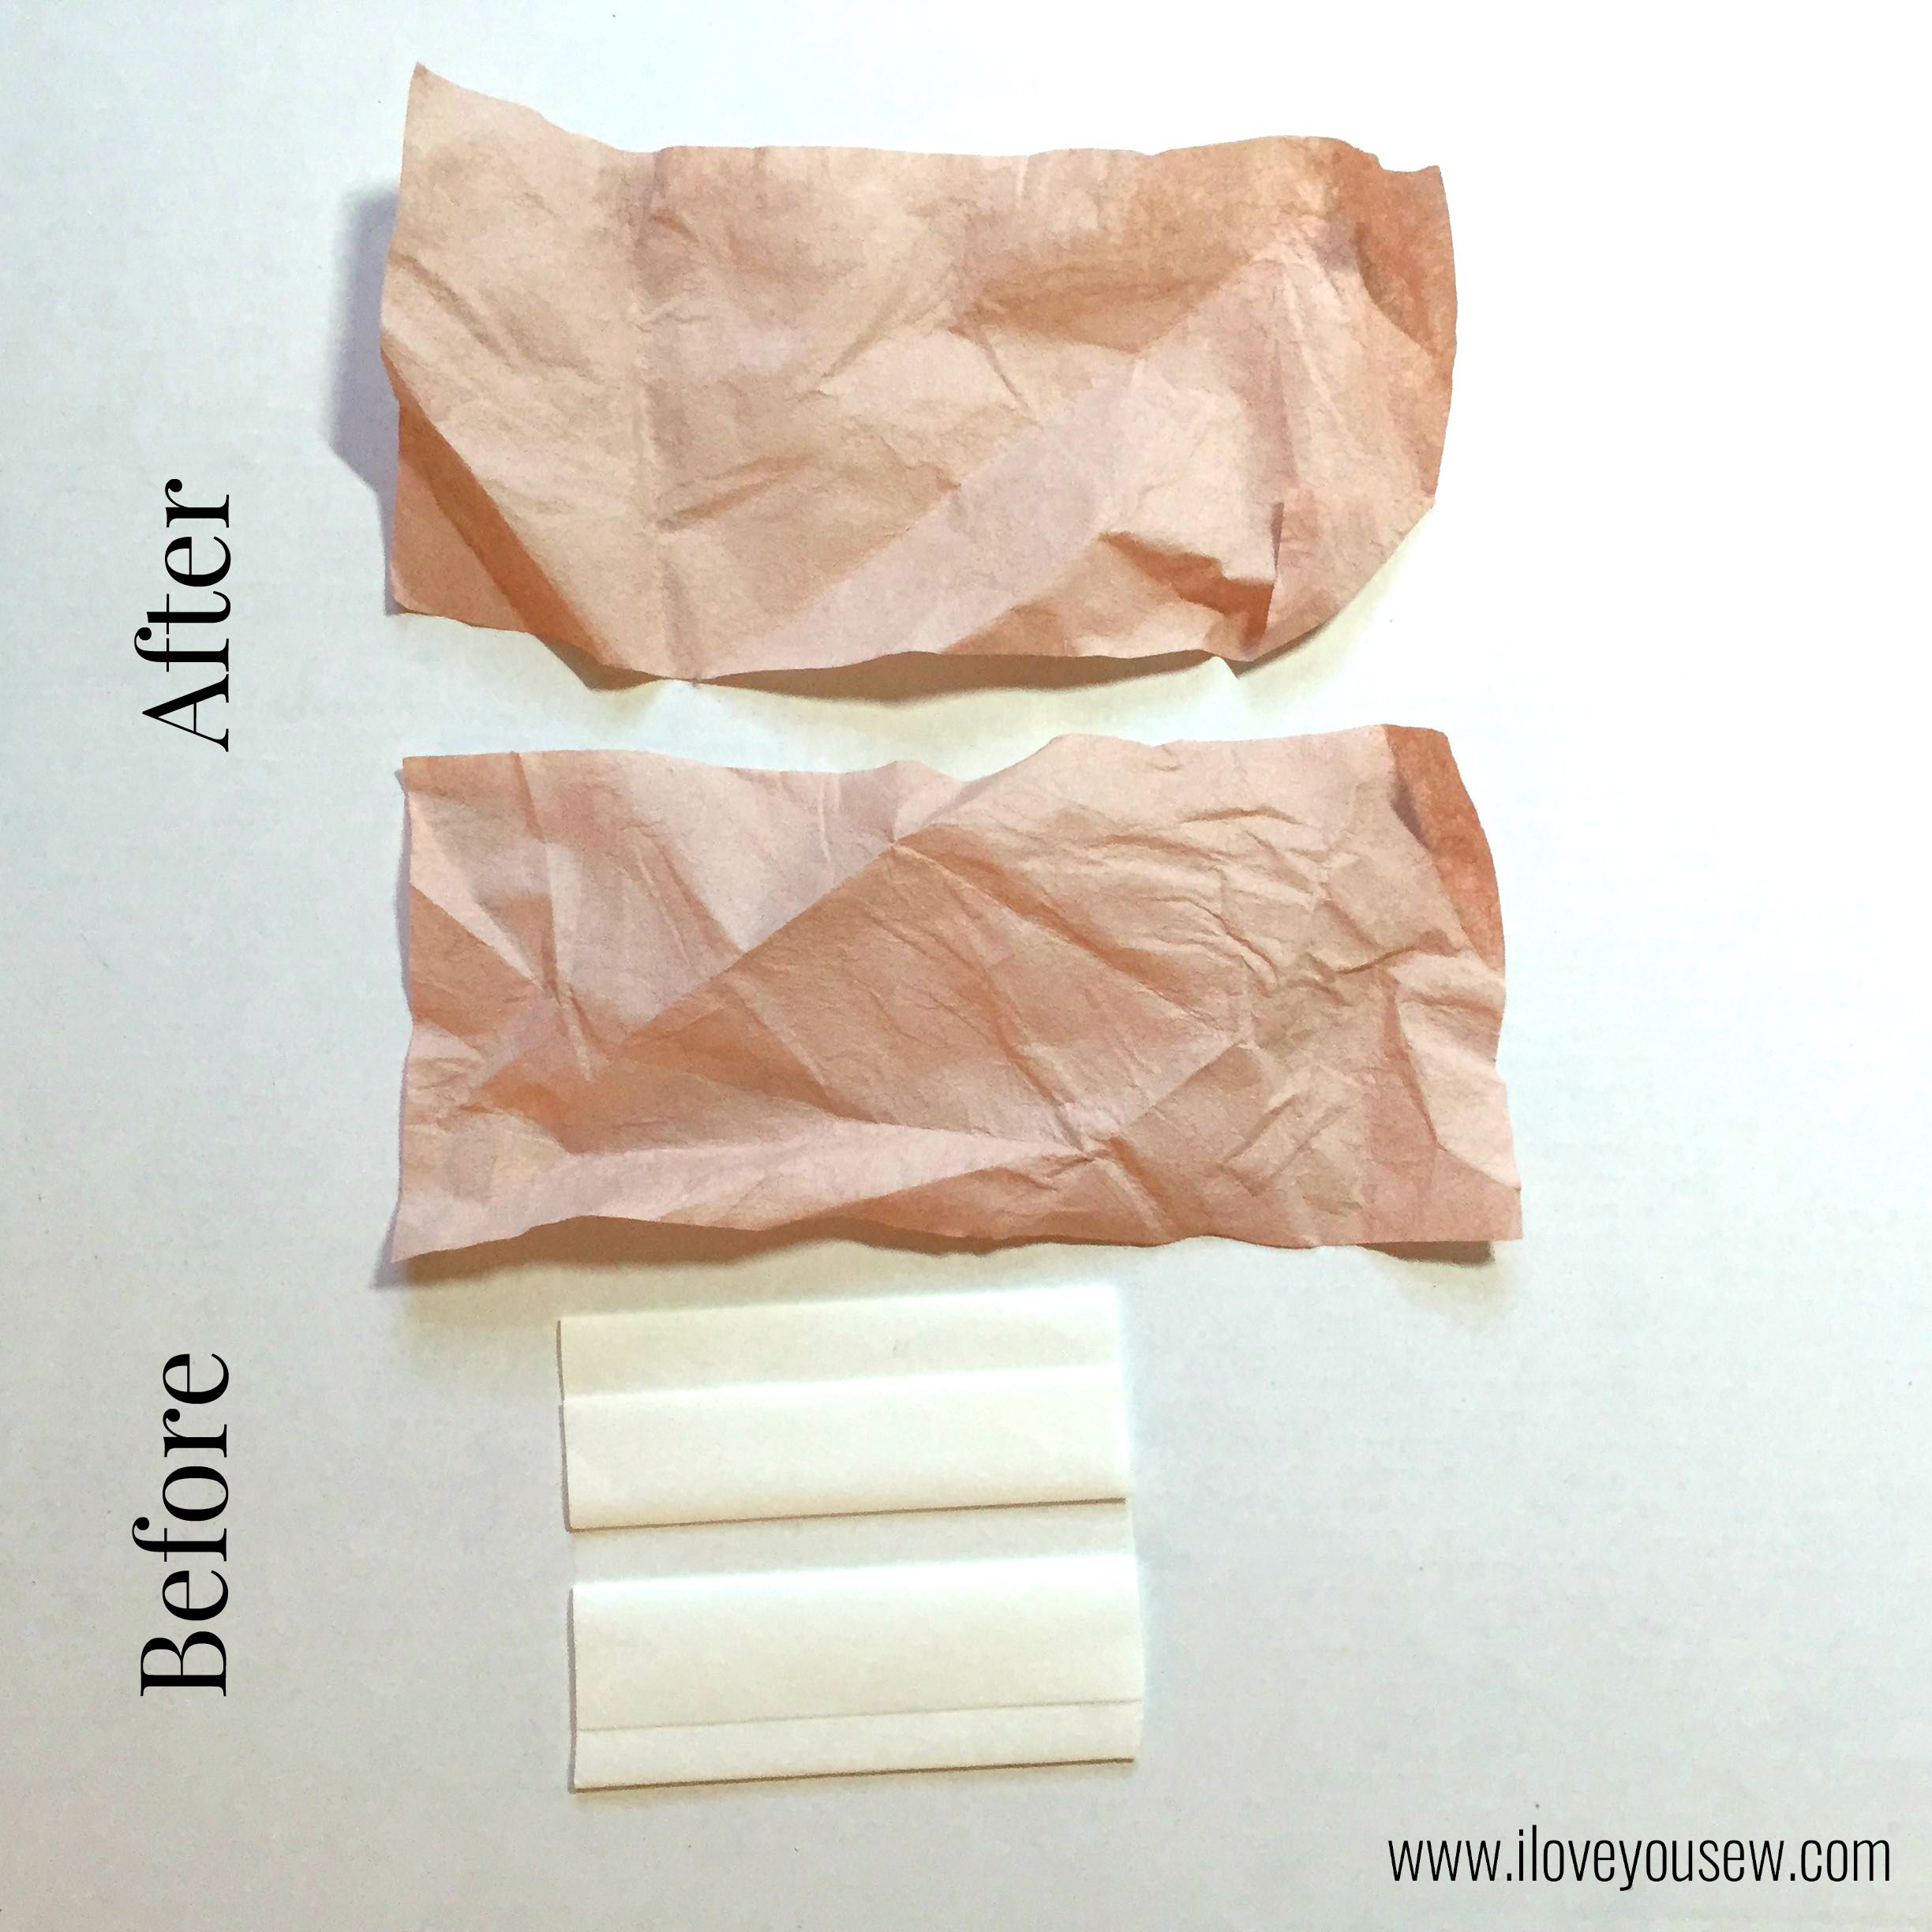
I followed the instructions on the bottle of Synthrapol to use only 1 tablespoon for my quilt without any additional detergents.  I did add two Color Catchers into the load as well.  Why two? I figured the magenta and black fabrics held such strong pigments that two catchers might be needed. As you can see, both Color Catchers did their jobs and caught a good bit of dye (Sigh of relief!)

IMG_0983

The quilt came out without any bleeding…which I was still astonished to see despite my efforts.  The image about is after washing.  You can see there were no runs with the magenta or the black dyes onto the white.  Hallelujah!!!

IMG_0984

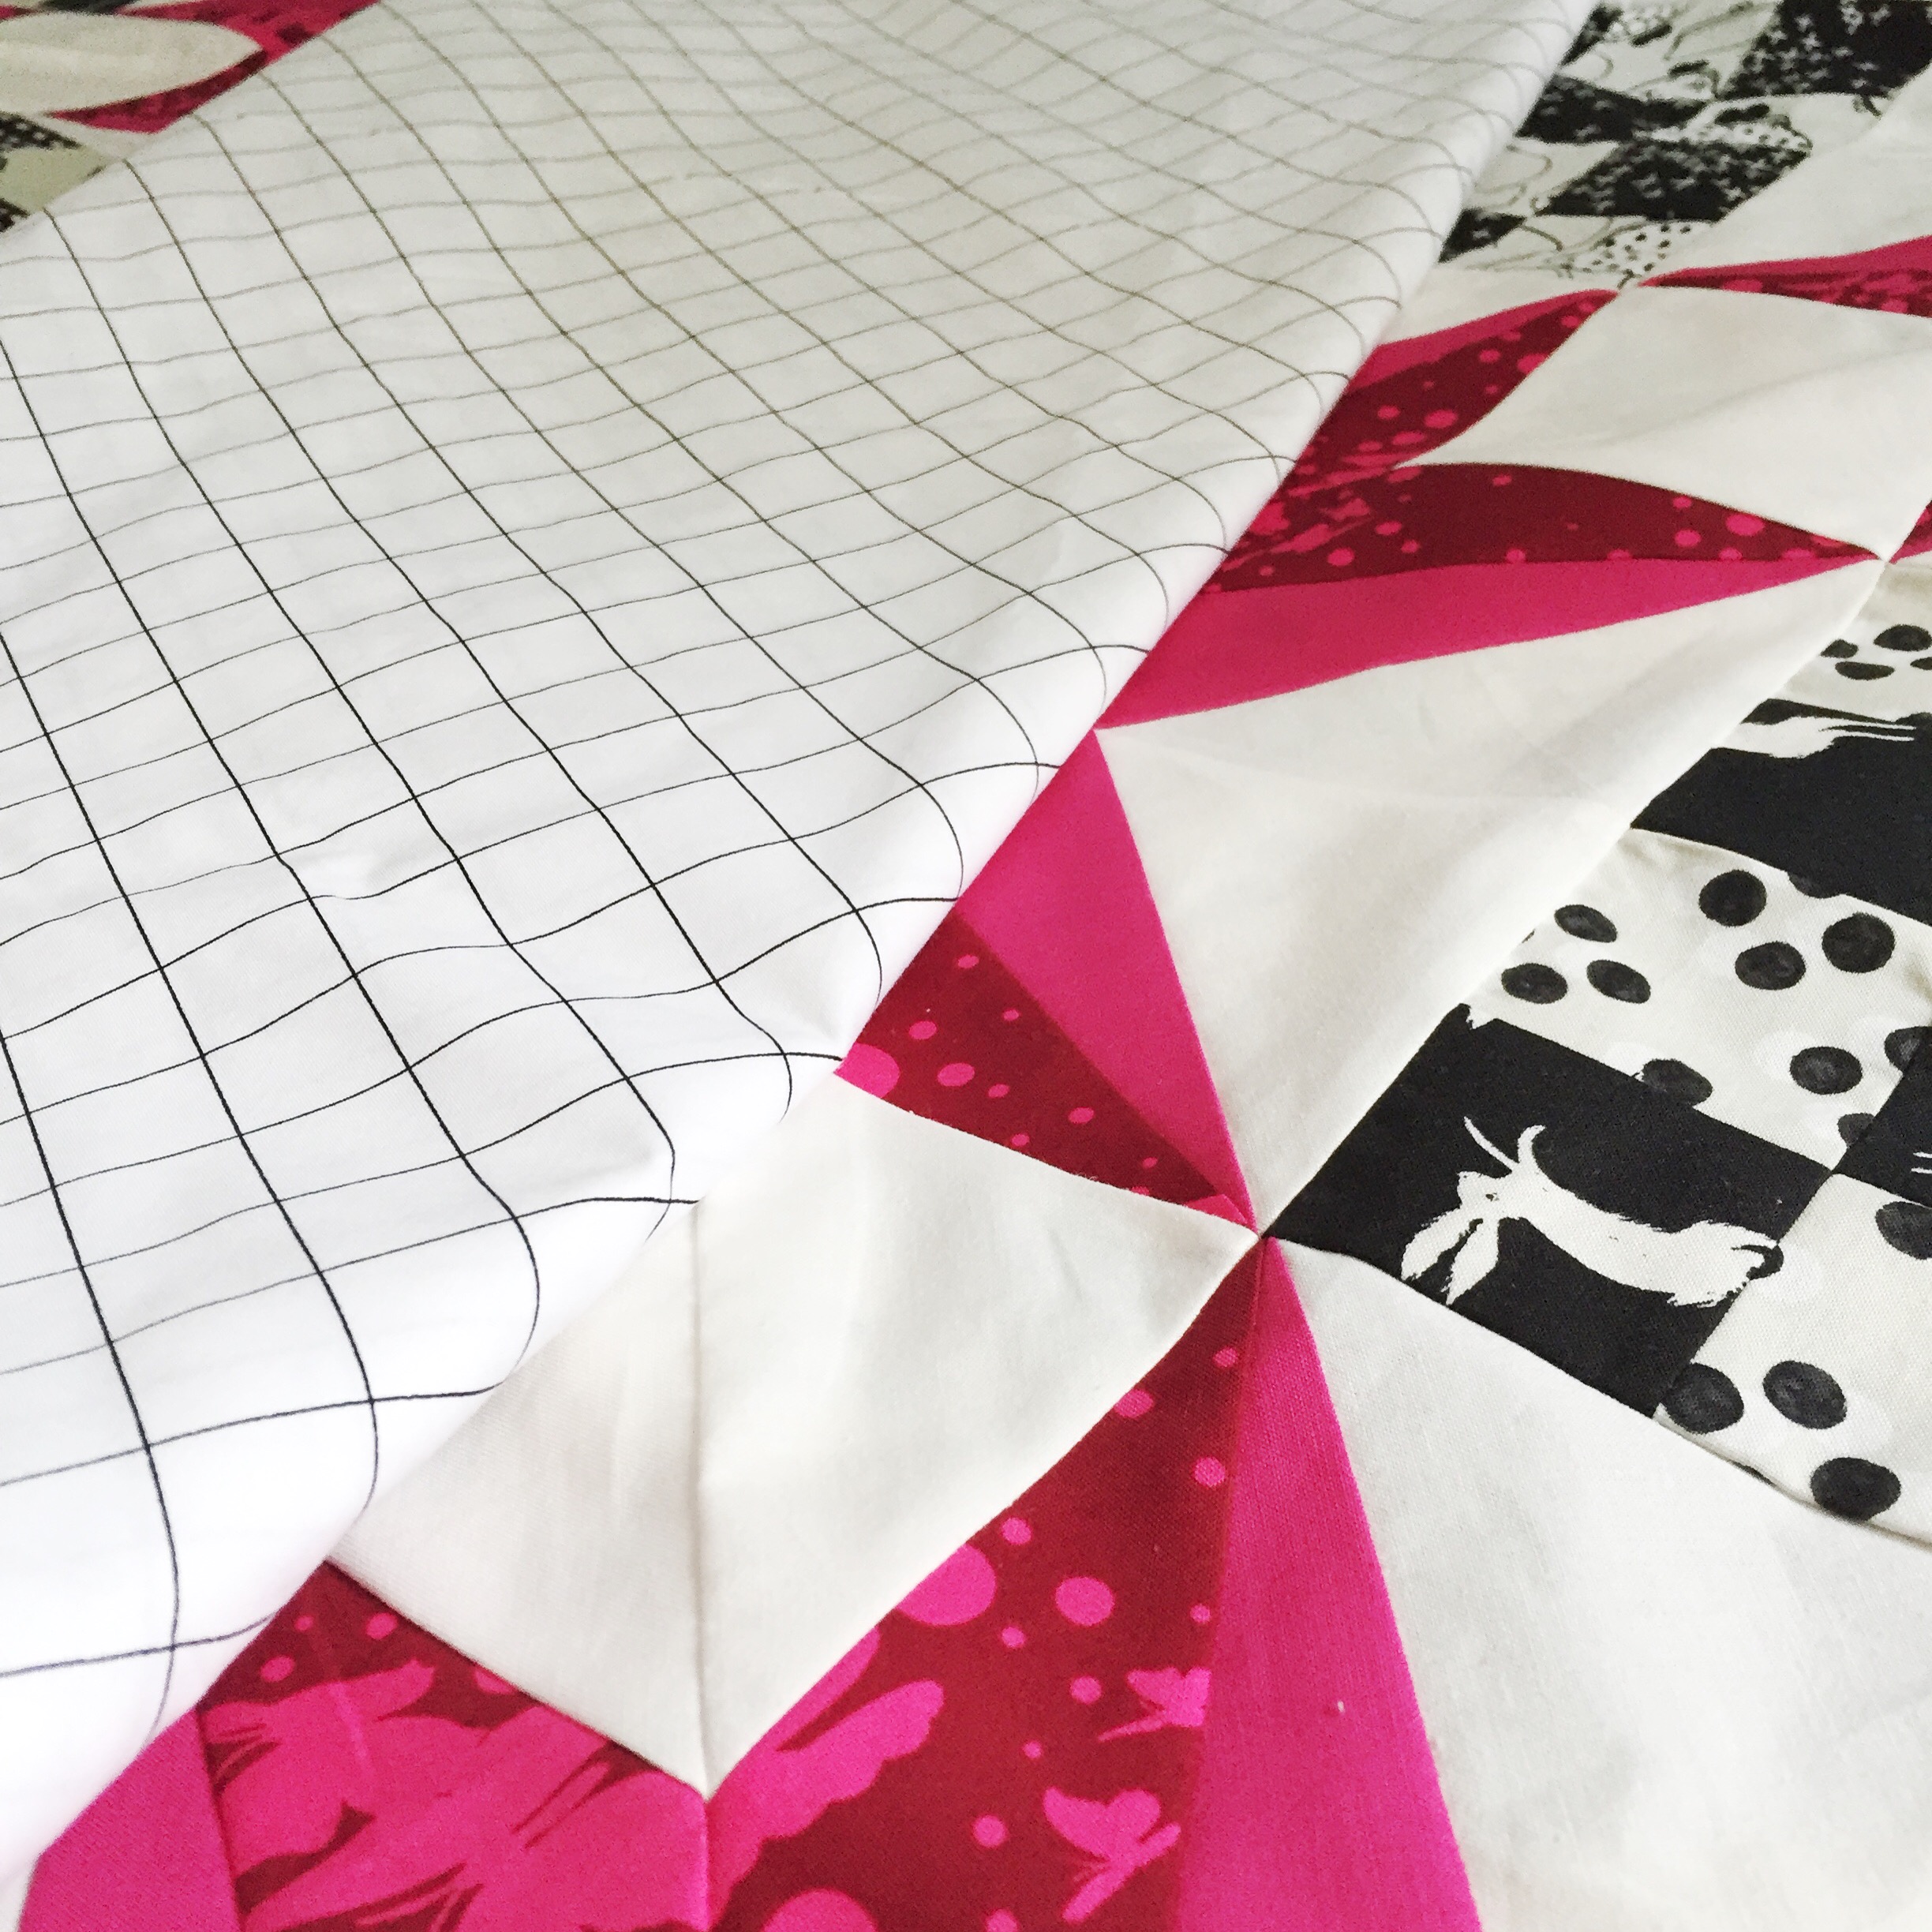
I flipped over to the back of the quilt to see if there might be any bleeding there as well.  It was completely clear!  The Synthrapol and Shout Color Catchers worked!

Although I’m glad this all worked out, my lesson has been learned to pre-wash high-contrast fabrics next time.  I plan to still use these products for washing all quilts afterwards…just in case 😉  What do you use to wash your quilts???


Hugs and Stitches,

Cristy


***I was not sponsored for the content of this post. All opinions and experiences are my own and have not been influenced by third parties.

***This post may contain affiliate links.  The nominal compensation helps keep this site safe and running.

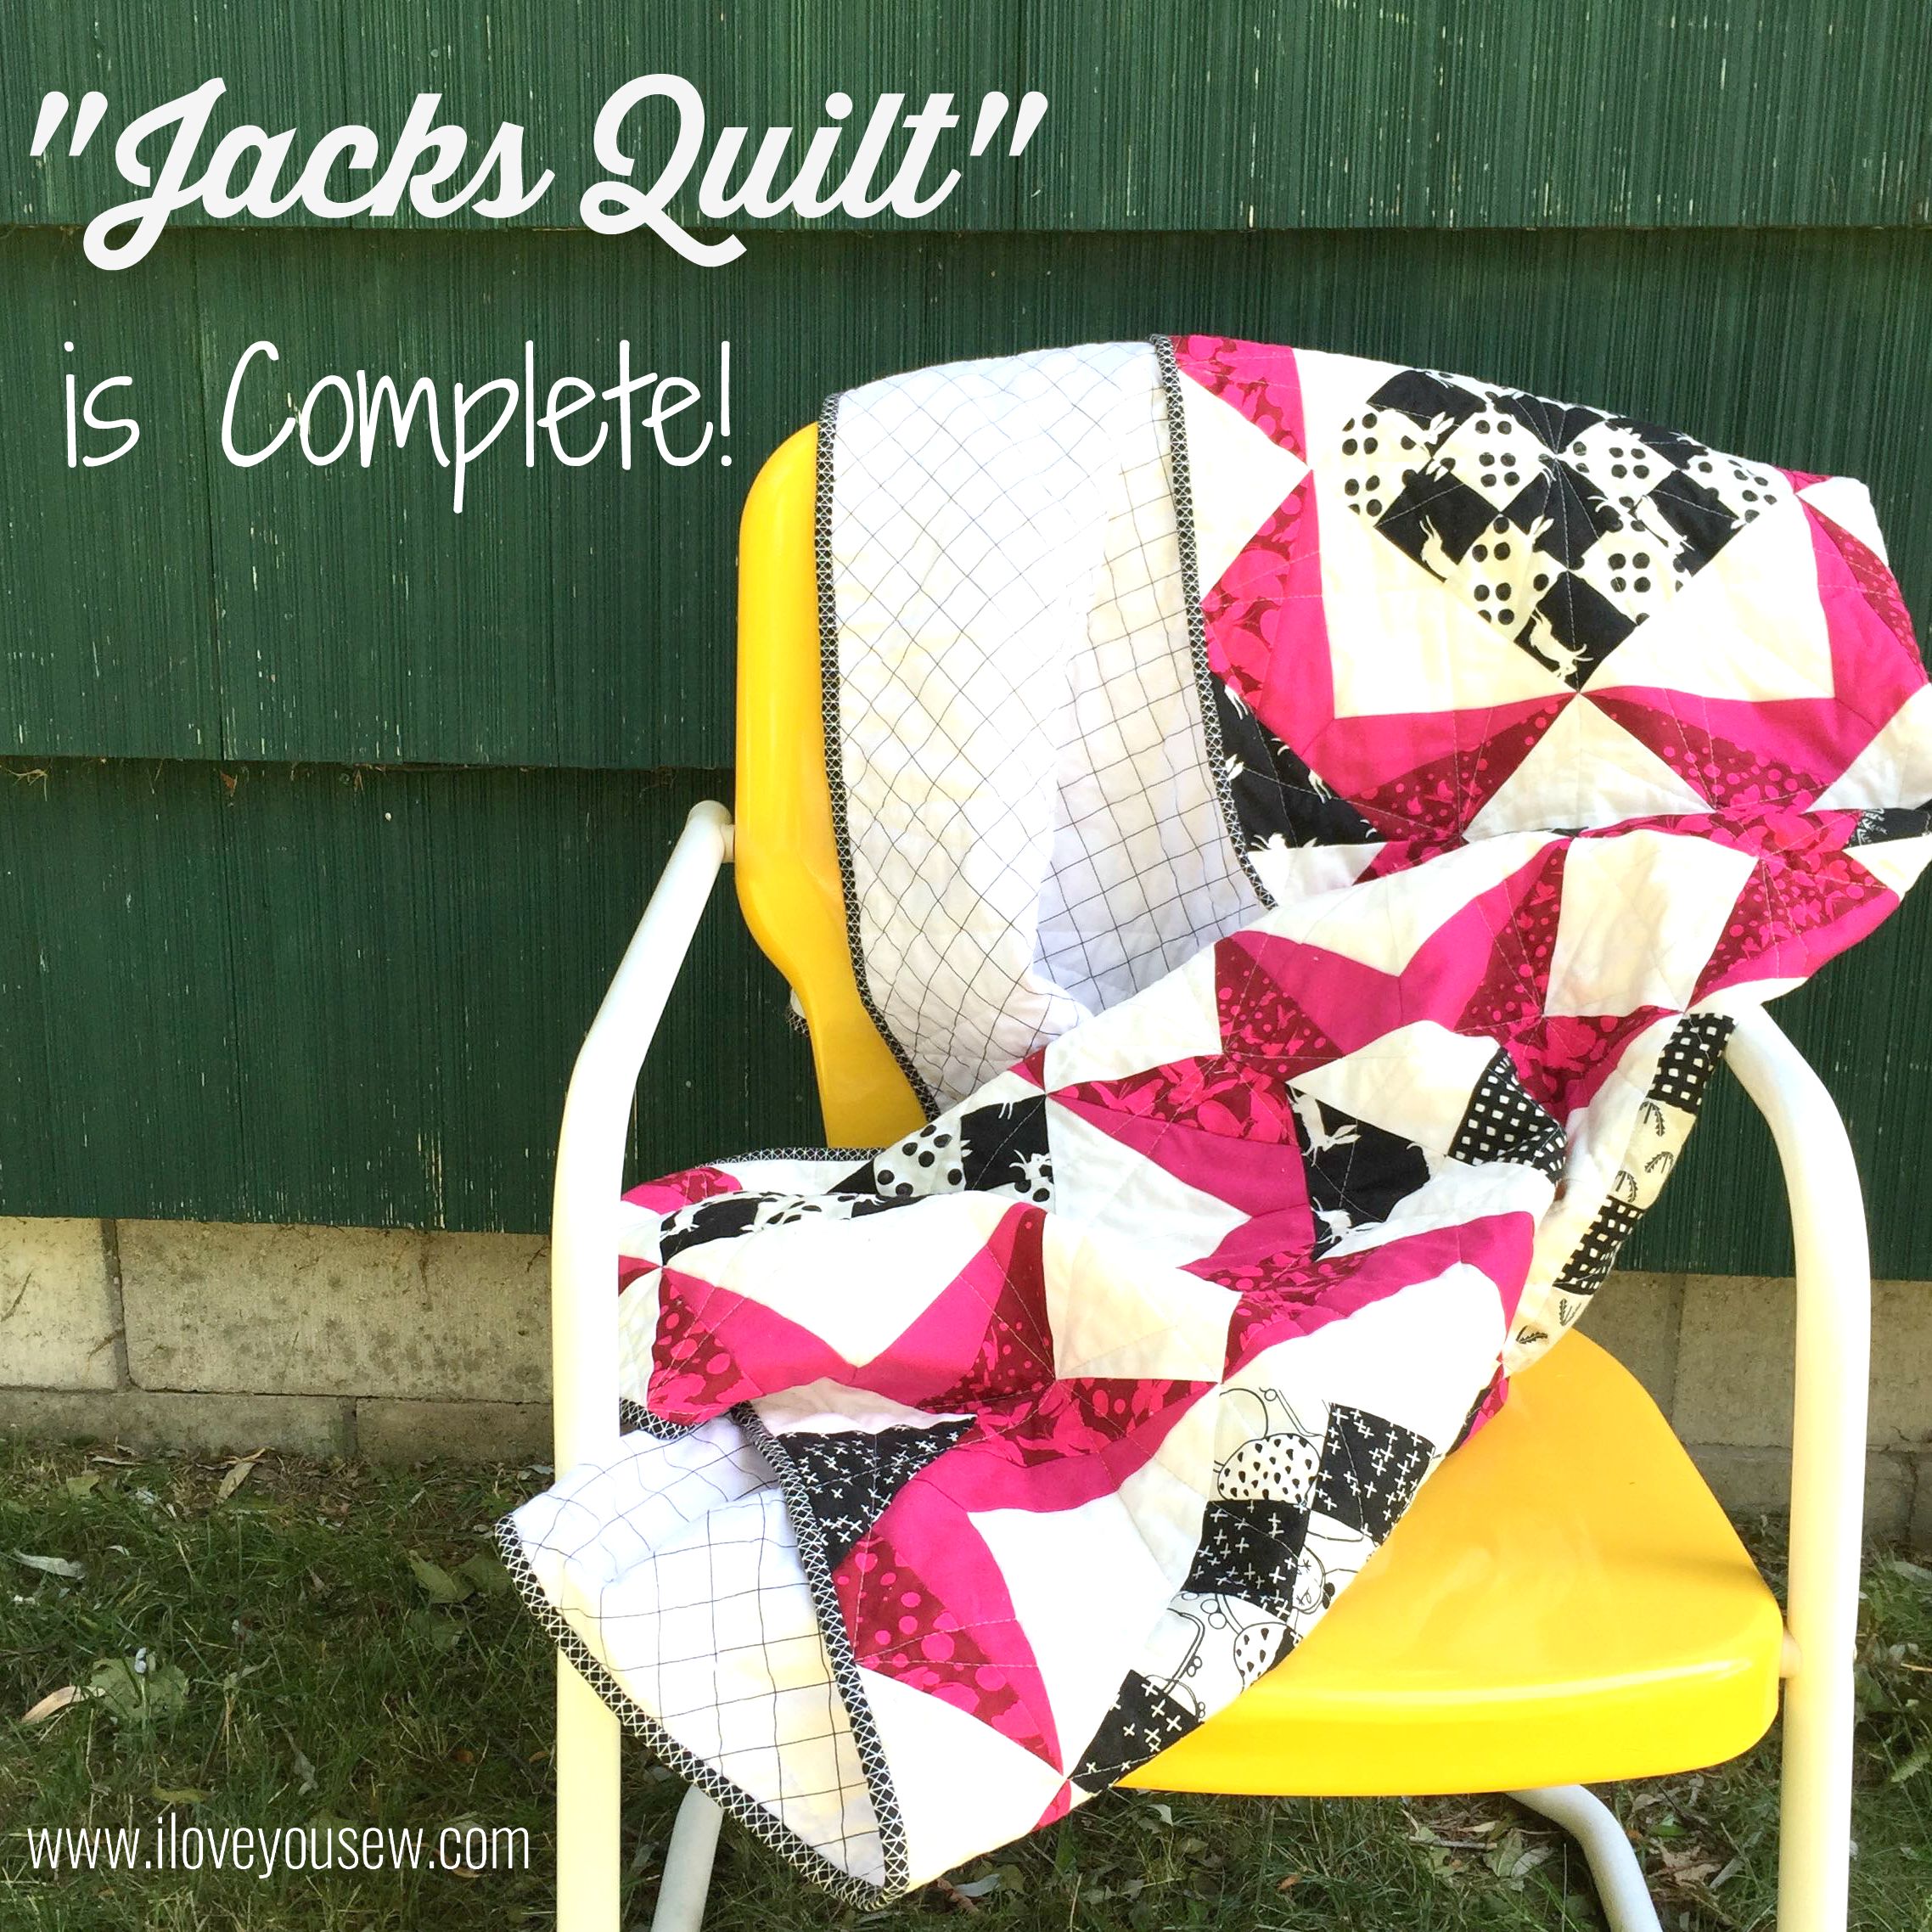
“Jacks” Quilt is Complete

DrapedOnChair

Remember the “Jack’s Quilt” Pattern I posted a few weeks back by Bryan House Quilts?  I’ve finally quilted and bound it…plus, I have a bonus project using scraps from the paper-piecing!

Widescreen

With the strong fuchsia colors in my quilt, I wanted to balance it out with more black and white.  Carolyn Friedlander’s Widescreen in white fit the bill perfectly. The gridlines play well with the graphic piecing and who doesn’t love a wideback?!?  I MUCH prefer a single wideback fabric panel than piecing a few together.

ColoringSheet

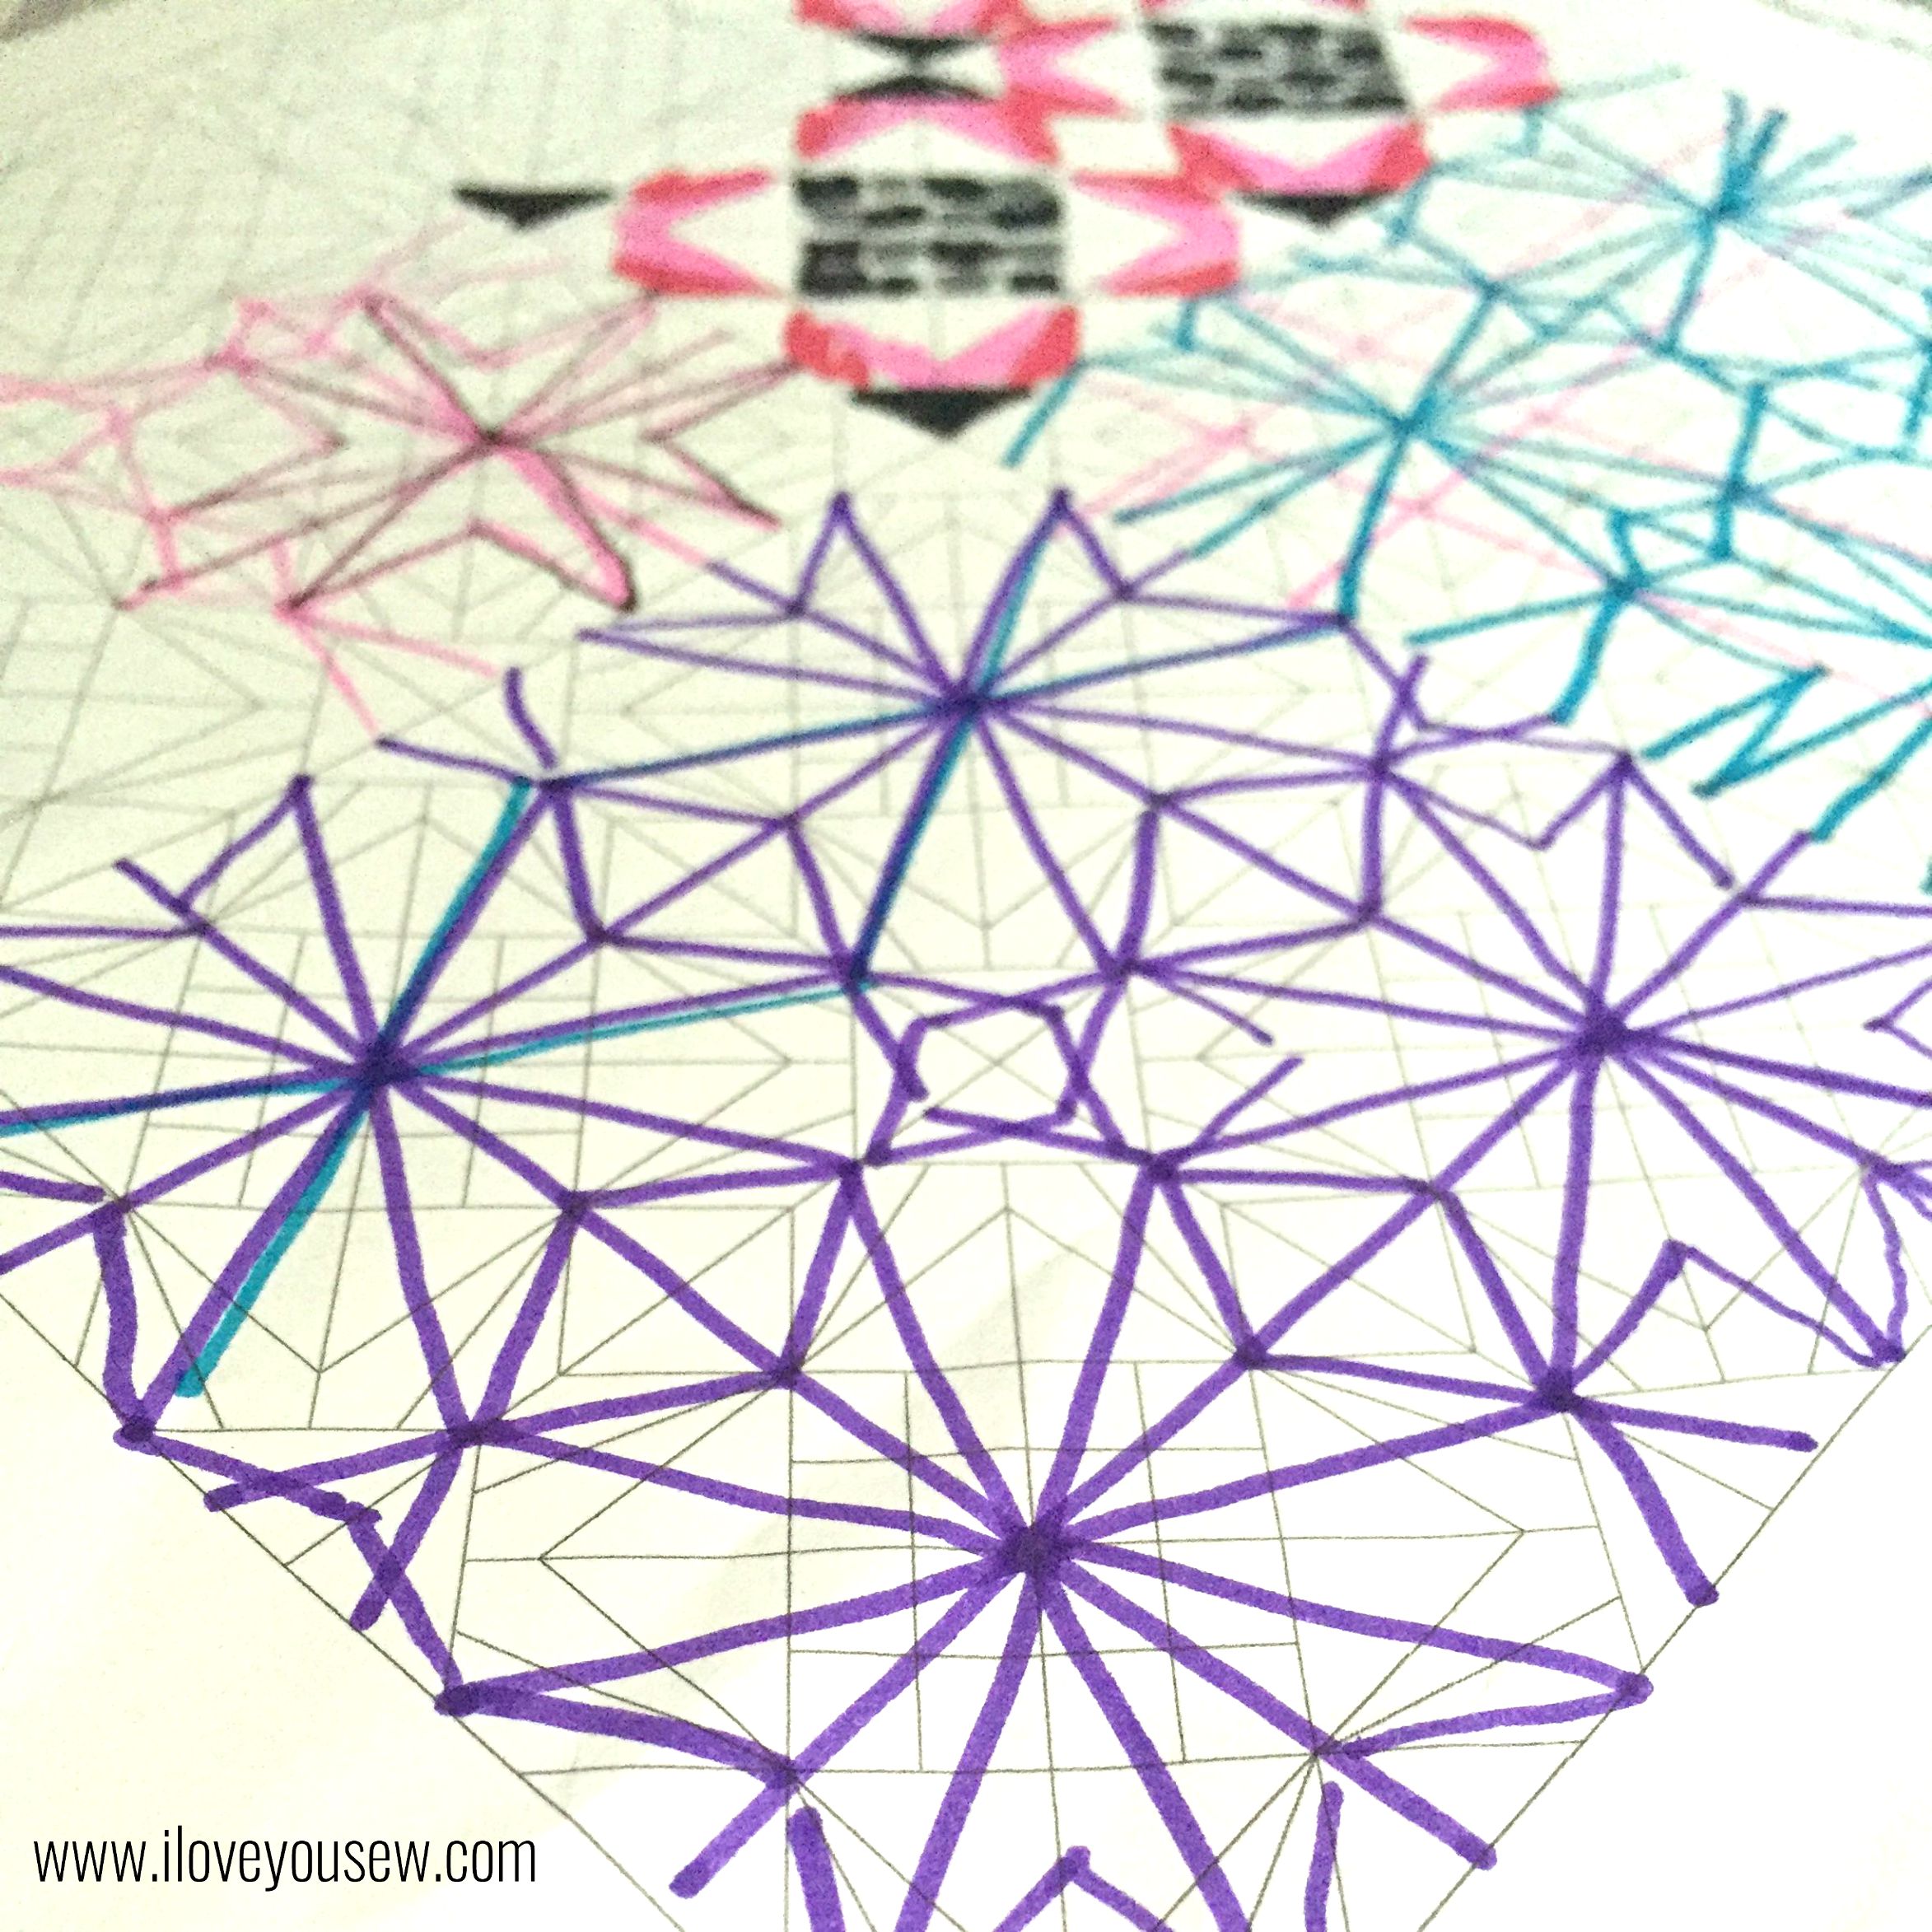
Did you know when you purchase this quilt pattern, it comes with a coloring sheet?  I LOVE having coloring sheets to help me pick out colors and fabrics.  Best of all….it helps with figuring how I am going to quilt everything together!  I’m all about straight-lines and I wanted to follow the star spokes.  I tested a few designs and settled on this purple one.  I wish coloring sheets came standard with ALL quilt patterns 🙂

QuiltingCloseUp

This simple quilting was exactly what I wanted…something to extenuate the pattern design without being too busy AND with lines that could continue from end to end of the quilt.  I am definitely not a fan of burying threads, so I try to avoid it whenever possible!

Sunset

We had a family trip coming up while I was working on this quilt, so I knew I needed to quilt it quickly and attach the binding so I could hand finish it while we were vacationing.  I don’t know about you, but I always like to have some hand-sewing around whenever I’m away from home. You never know when you have some free time…and I was able to sew on the binding right on this hammock watching the sunset! {Heaven}

CSBinding

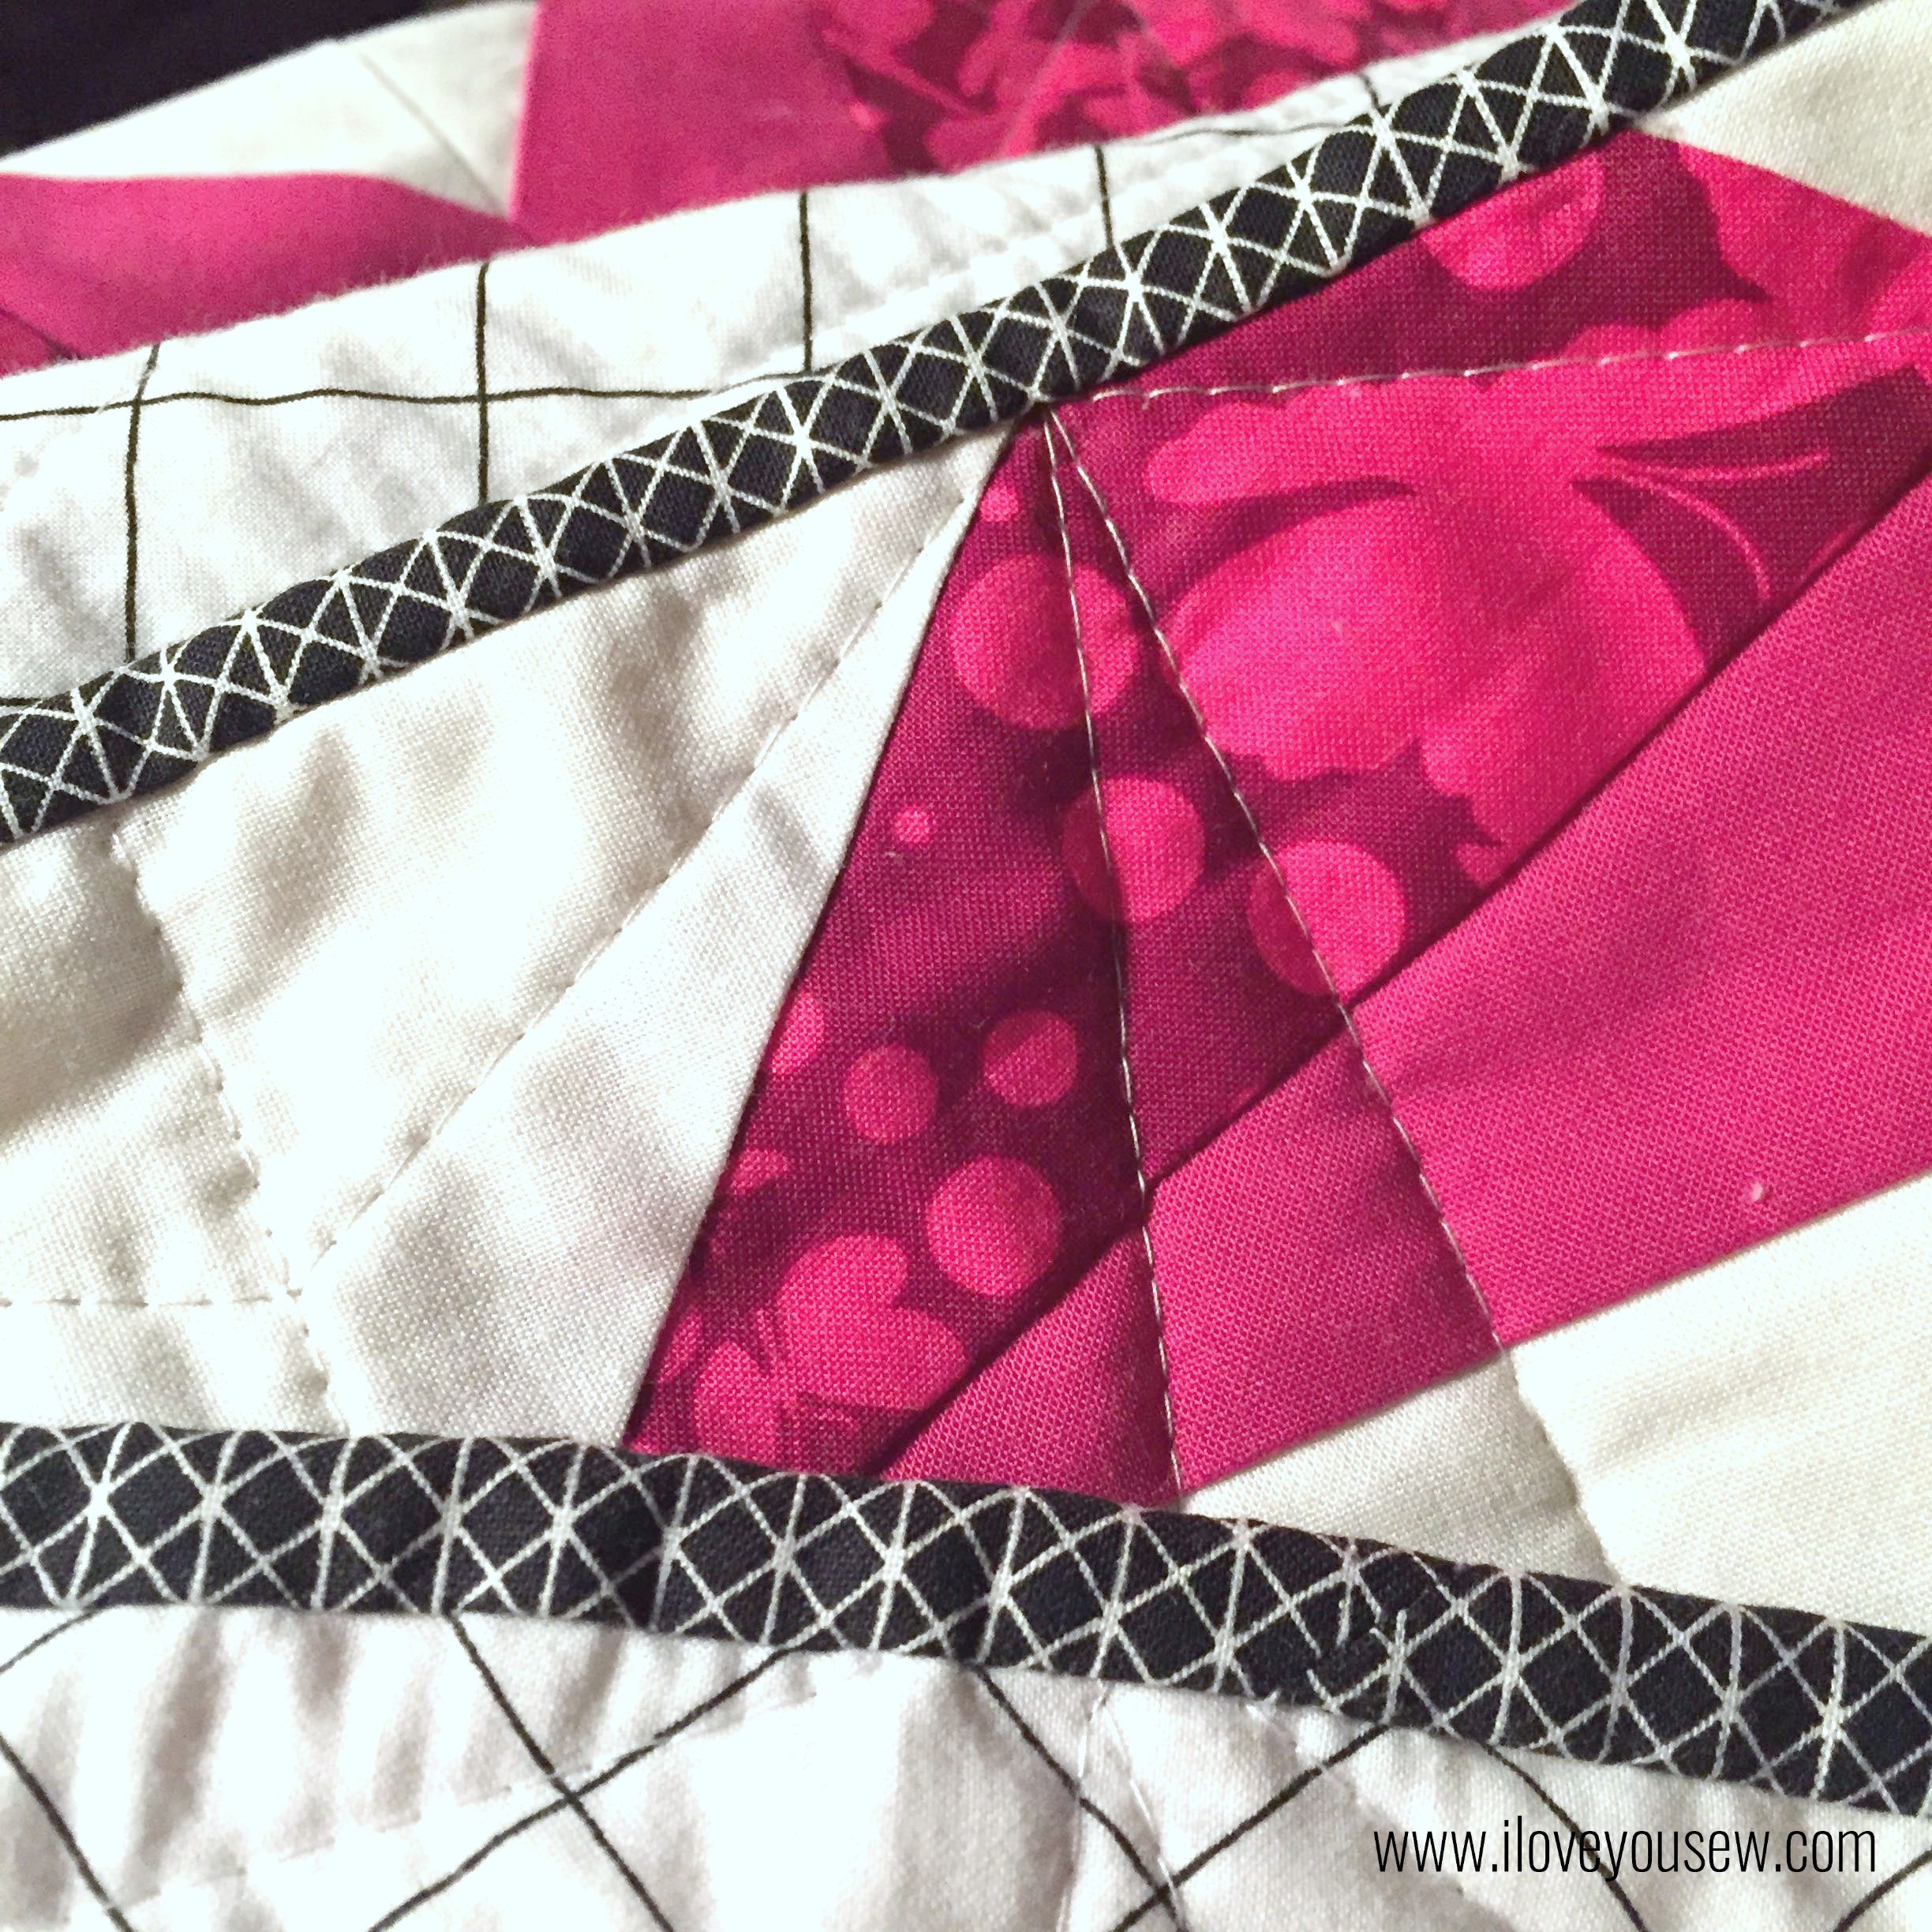
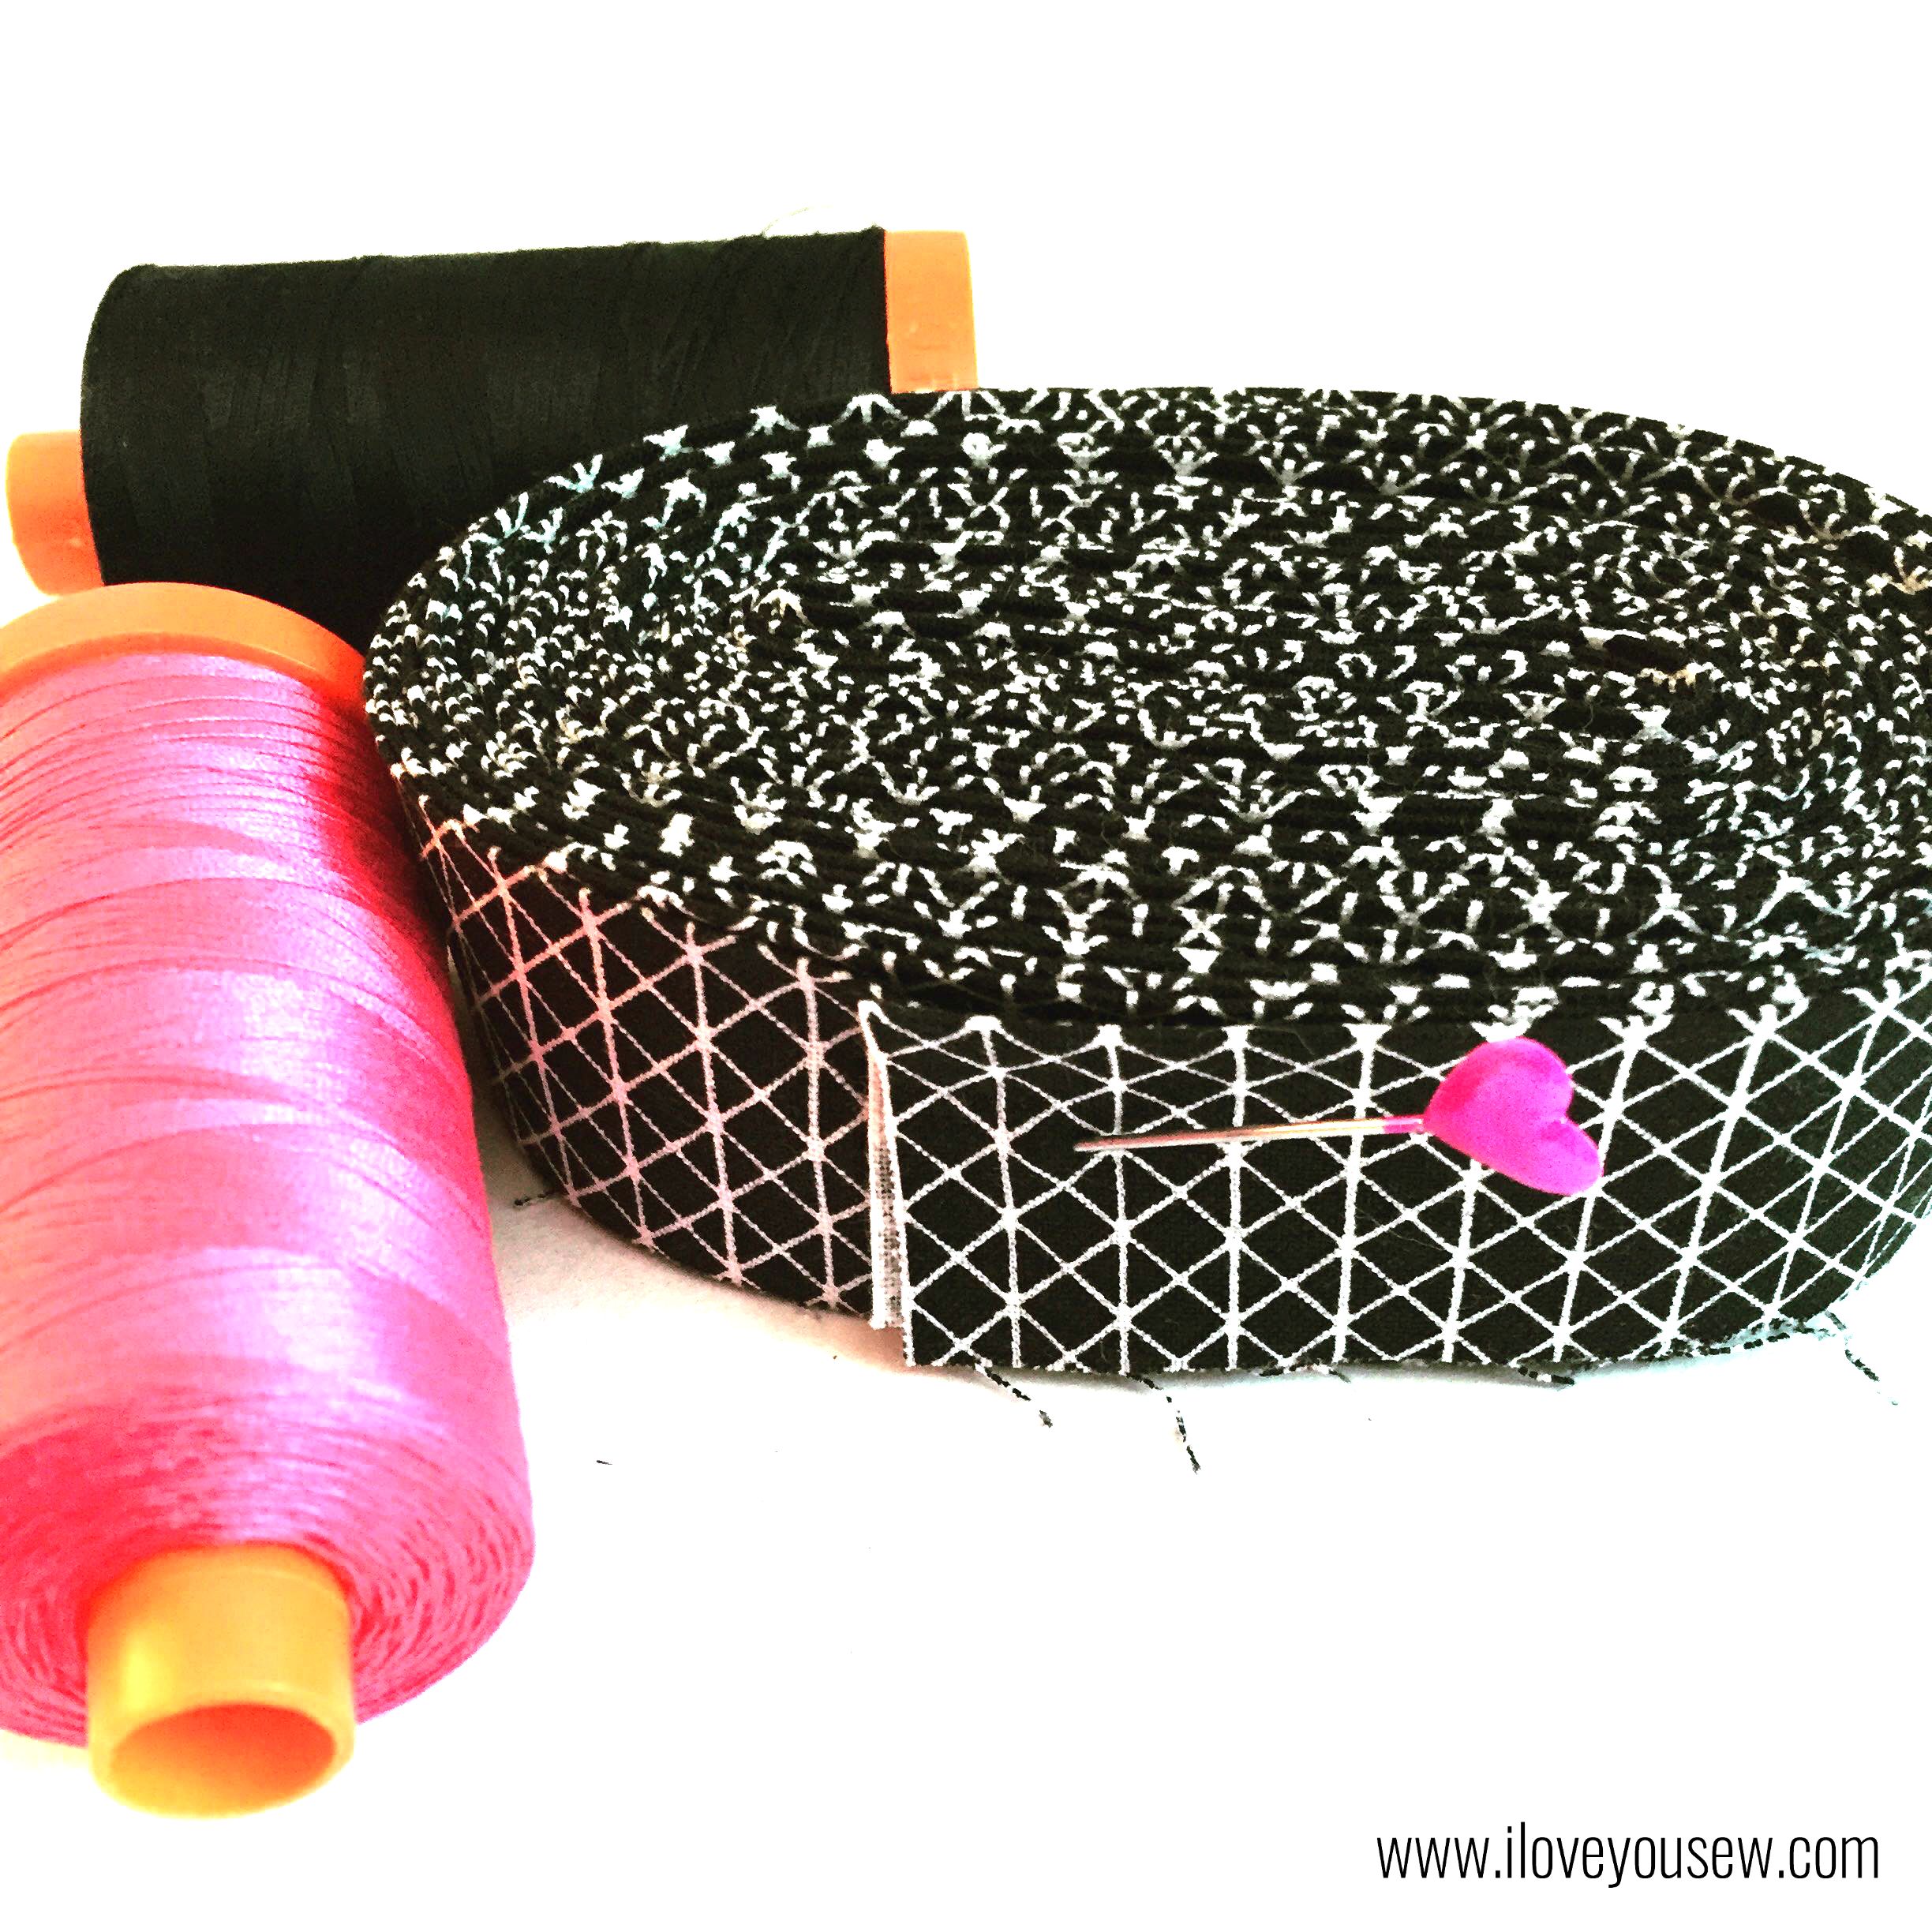
For the binding, I initially thought I would use Carolyn Friedlander’s Architextures Grid in Black.  But since the lines are more “free-hand,” the irregular lines didn’t go together with all the strong shapes of the quilt and backing.  I played with stripes and dots, but ended up with Cotton and Steel’s Netorious basic in Black Cat.  The lines in this pattern are graphic and matched the overall feel of my quilt.  The black binding really made the fuschia pop as well!  I really love how it all came out.

Corner

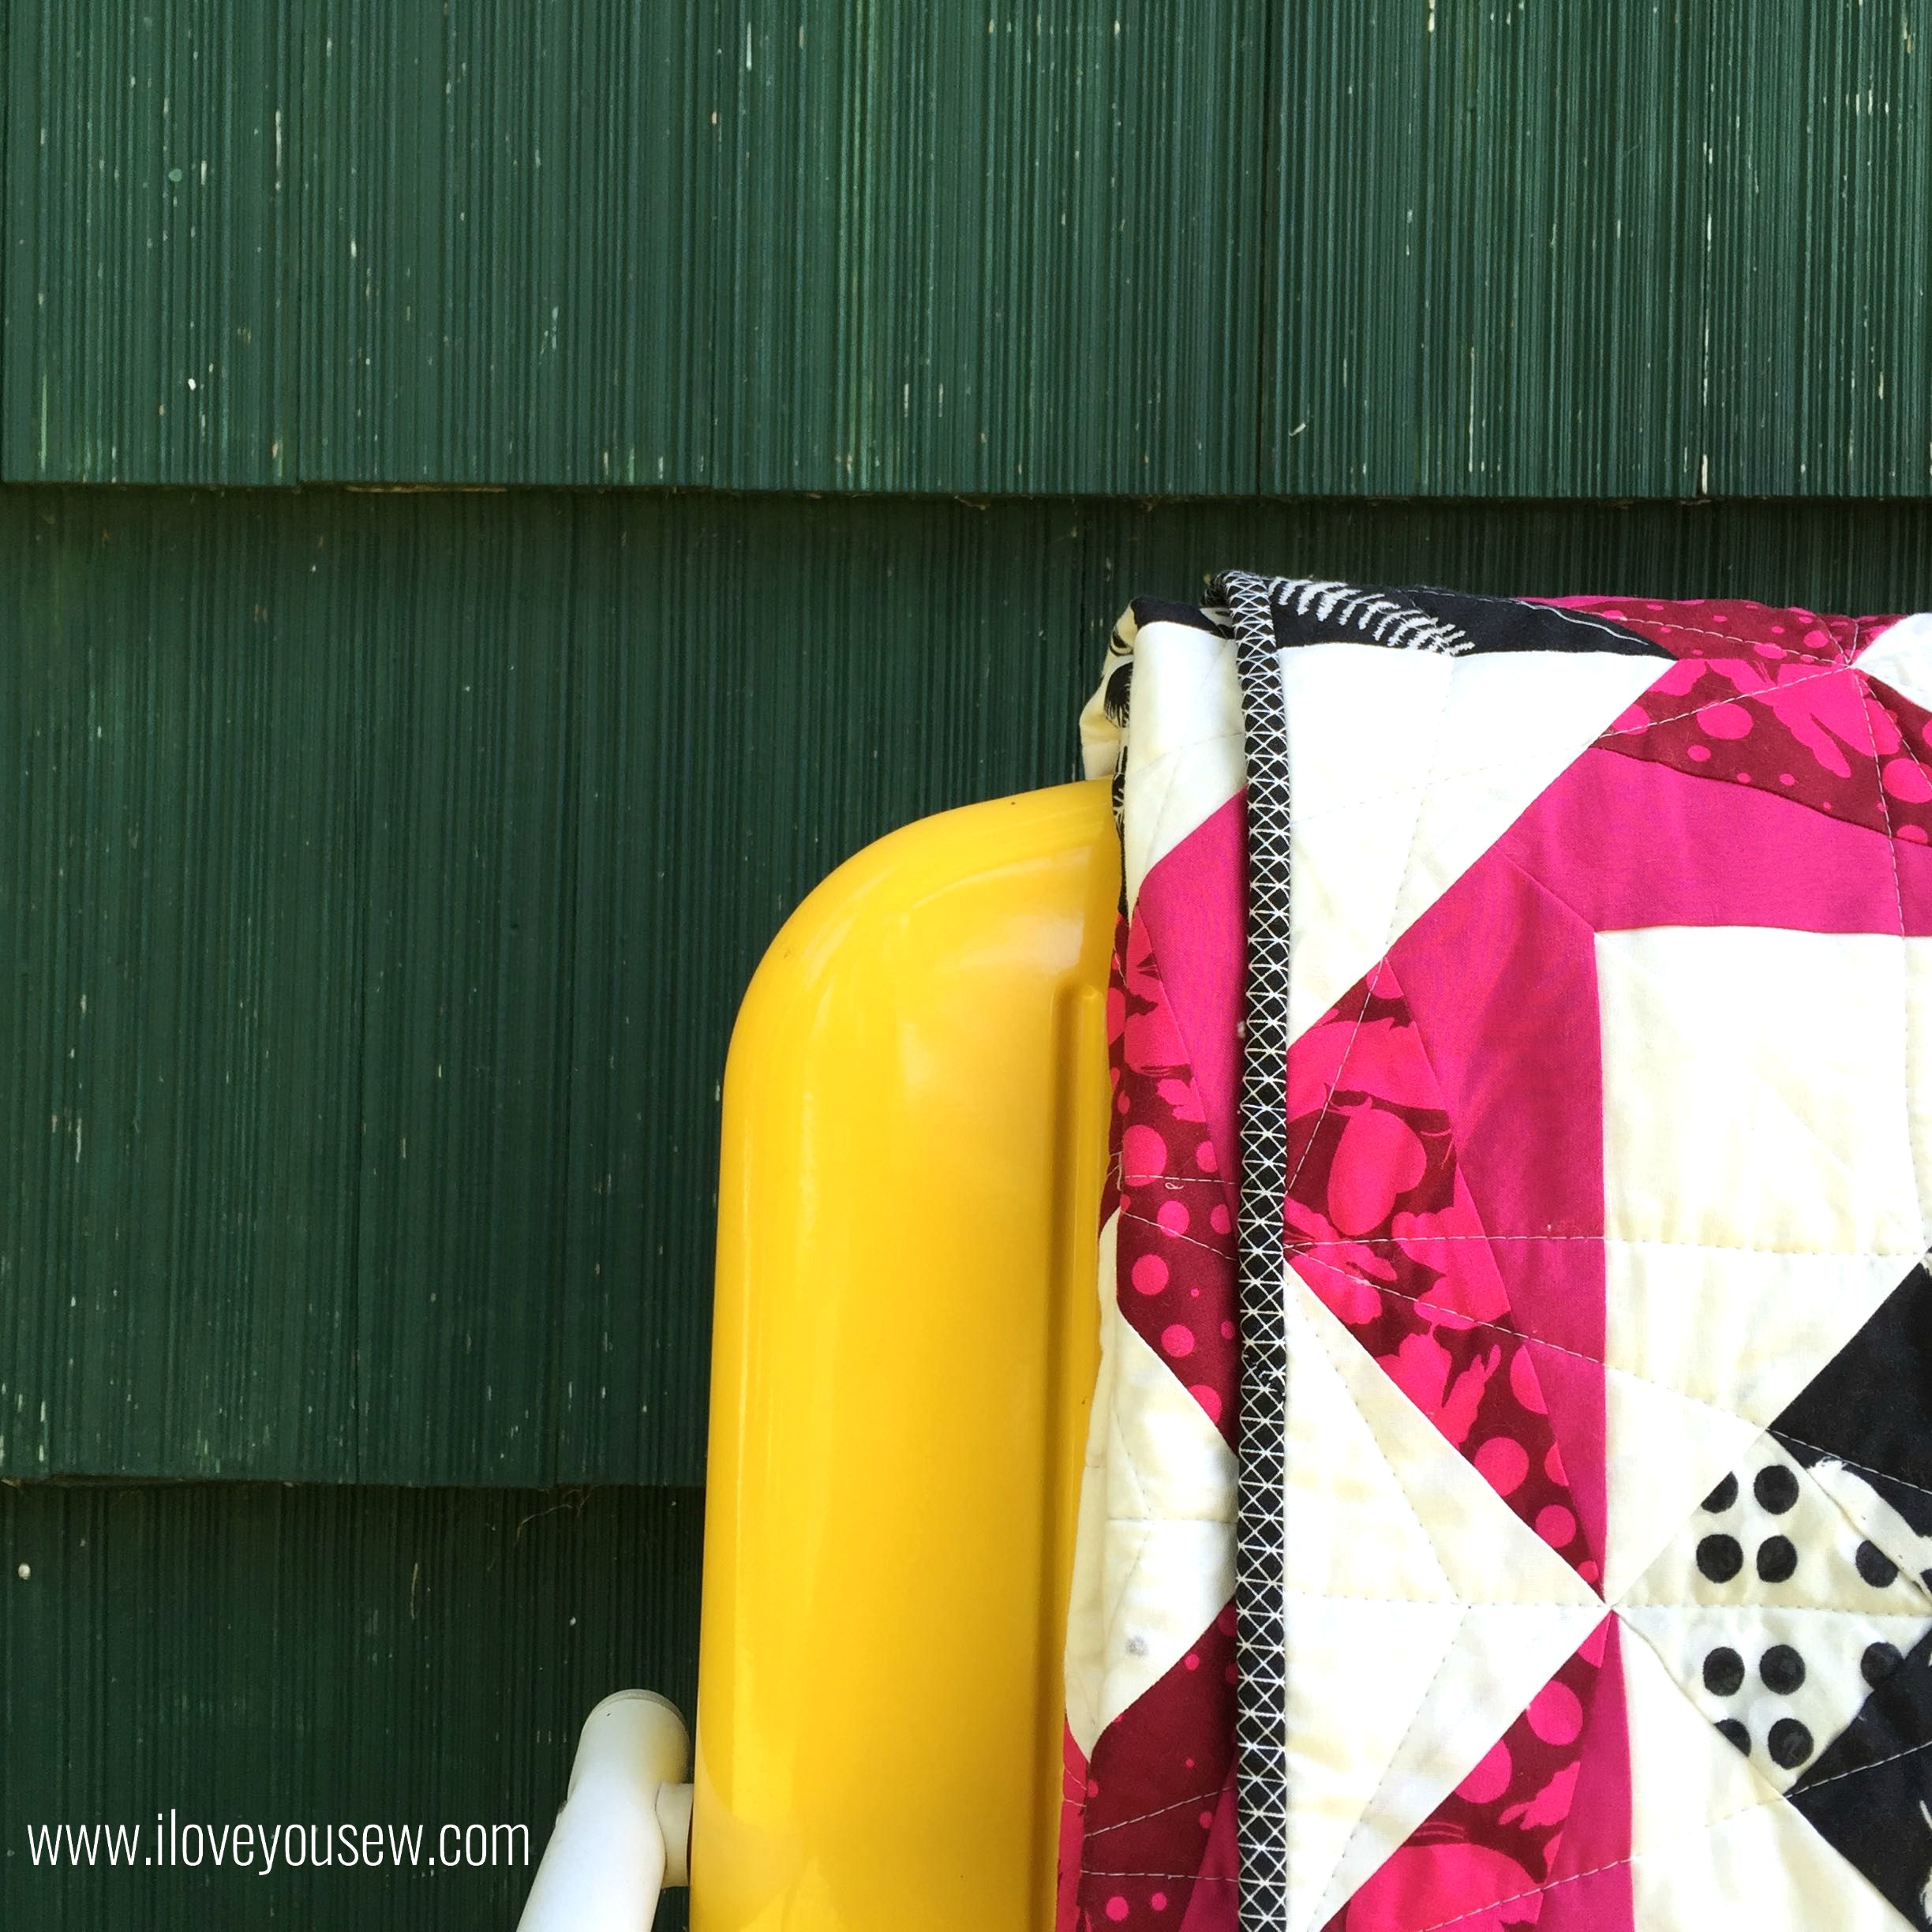
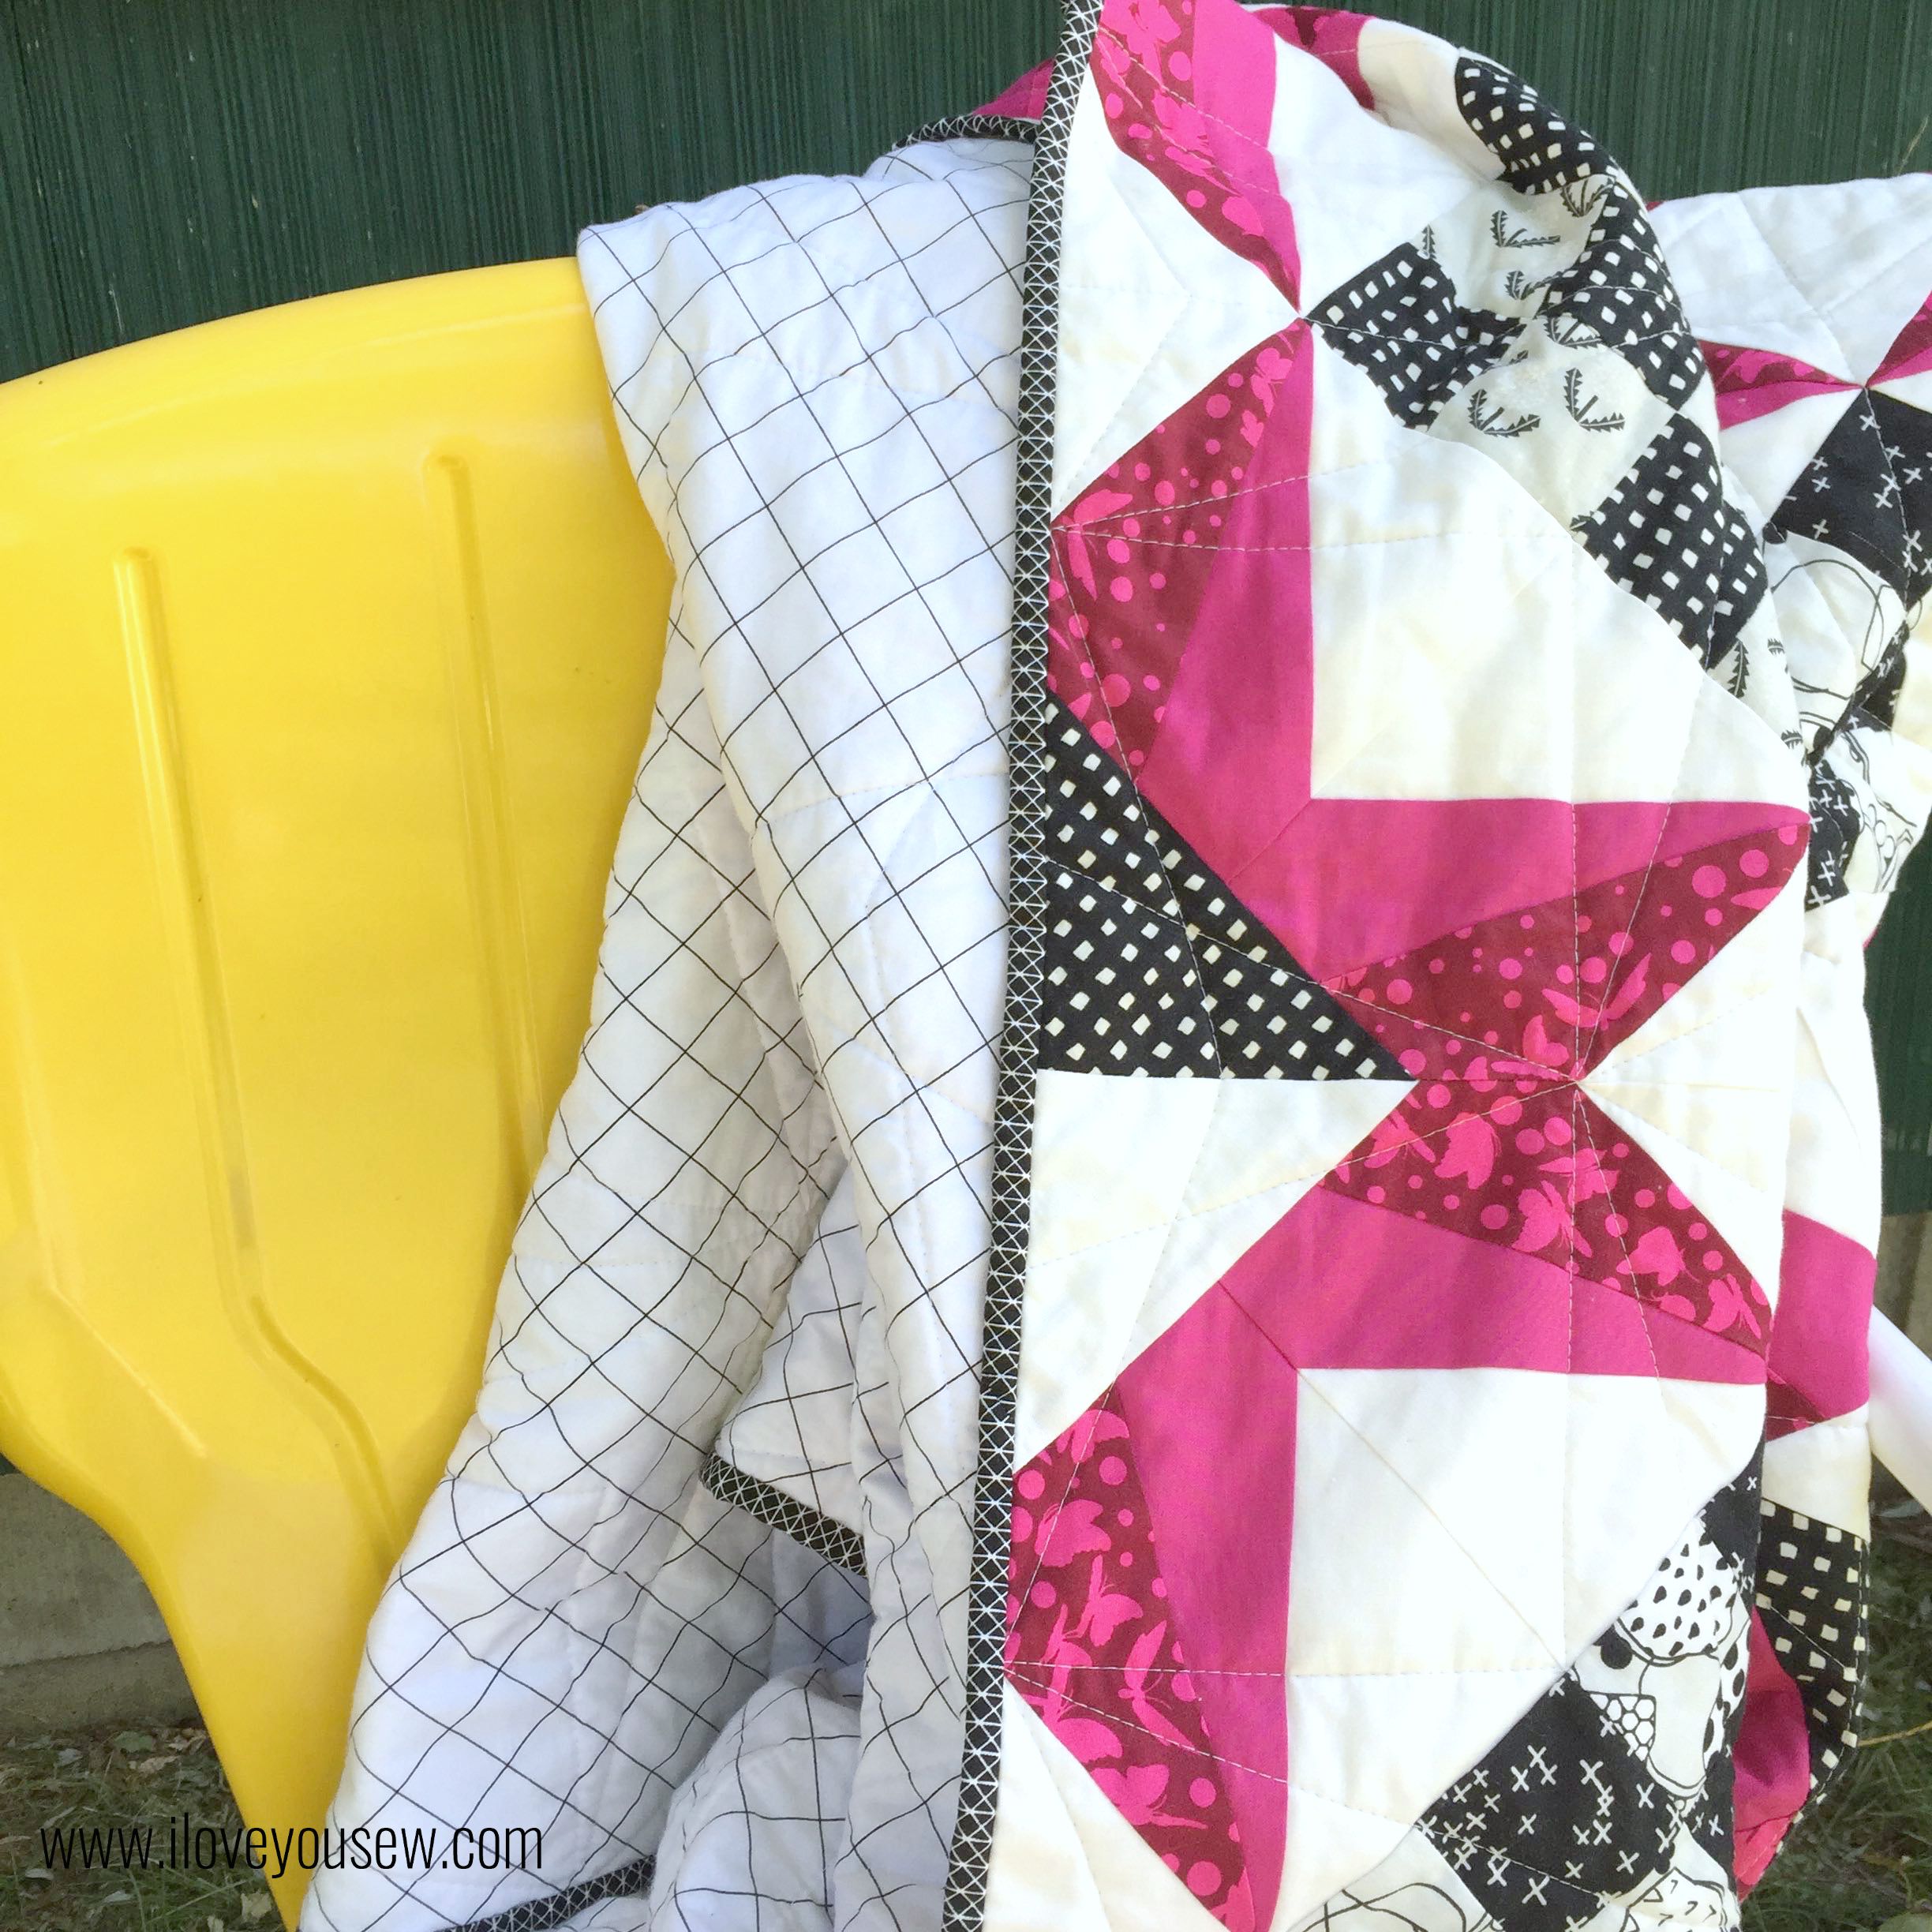
If I’m working on a quilt, I like to take that along in case any perfect photo opportunities present itself as well…you just never know.  It’s turns out I didn’t have to go far to find some great backgrounds and props.  This is the exterior of my in-laws cottage and they had these great bright yellow “vintage” inspired chairs.  The sharp color contrasts with my quilt were just stunning!  

CloseUpOnChair


FullQuilt


As mentioned above, I have a BONUS project from the quilt pattern!

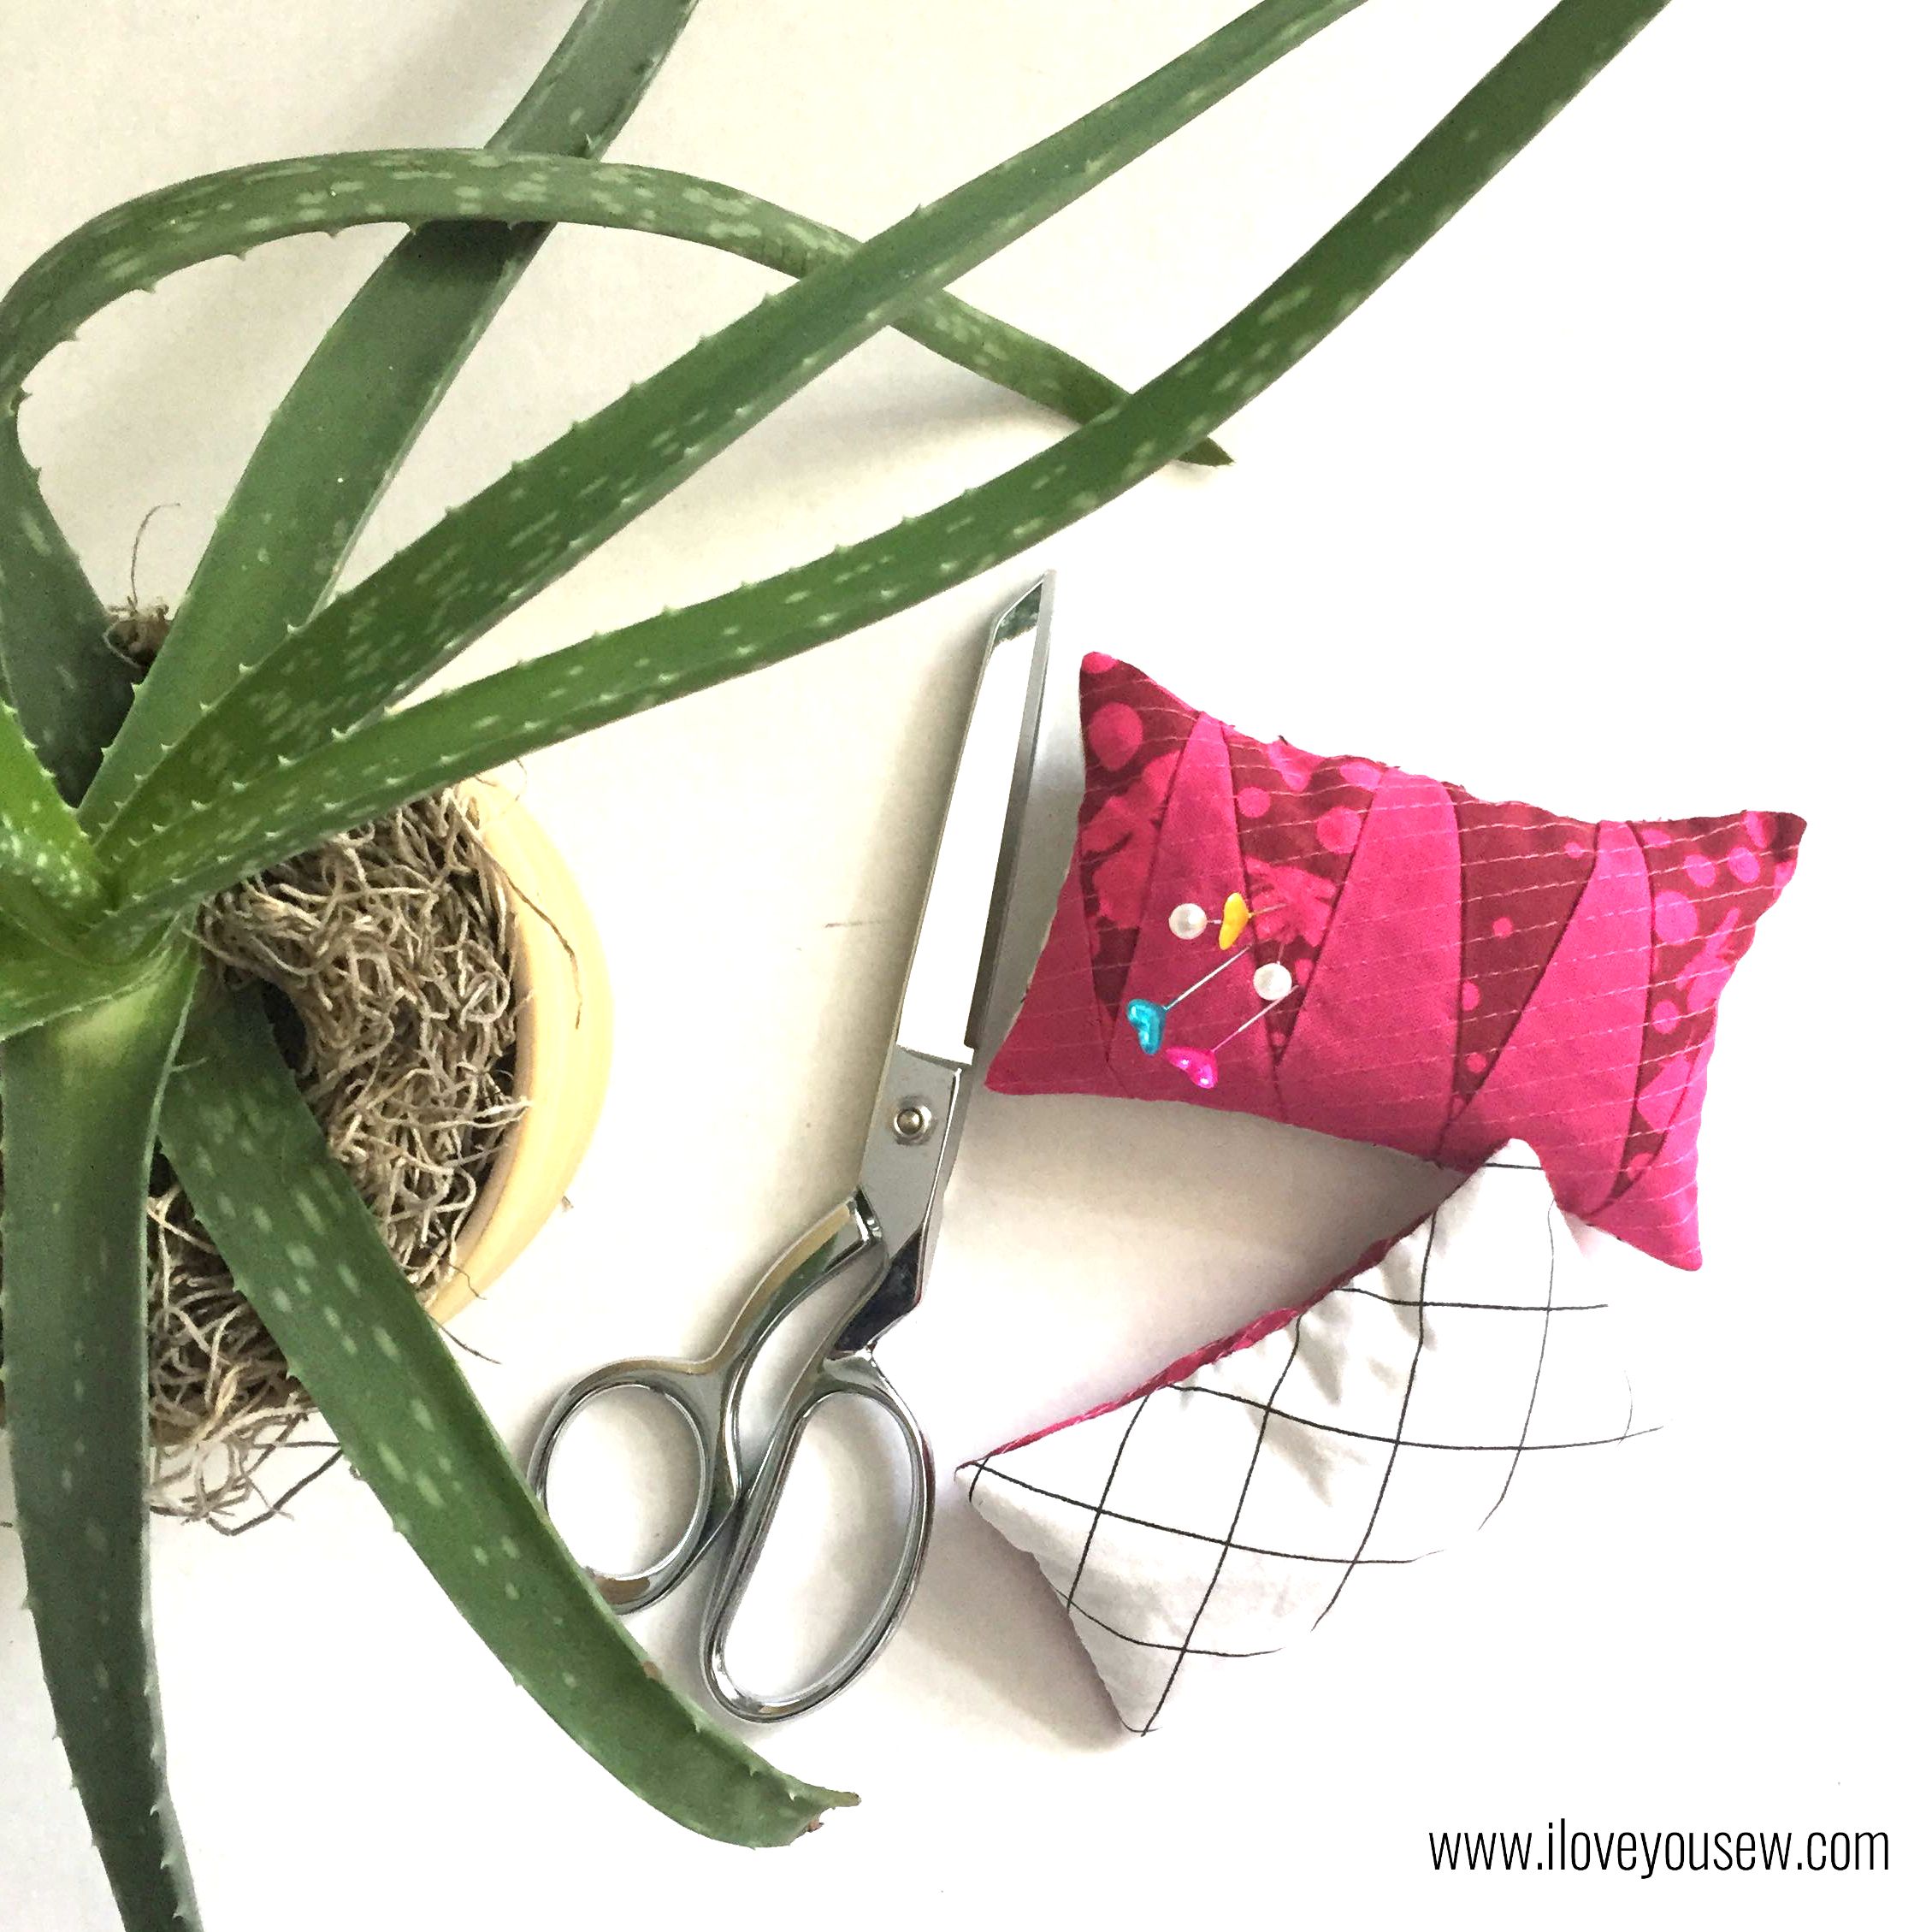
PinCushion

The paper-piecing of the spokes produces a good bit of triangular scraps.   I used them to improv a pincushion.  I just alternated the direction of each triangle of similar sizing and then trimmed the piece to a rectangle.  There was plenty of scraps from the backing as well, so I used the Widescreen to back these and filled them up.  You could make the improv piecing larger and also make mug rugs and even pot holders!

What fun secondary projects have come out of your quilt scraps?


Happy Quilting,

Cristy


The pattern was provided by Bryan House Quilts as part of testing. All material was purchased and selected by myself. All opinions and comments are my own and have not been influenced by 3rd parties.

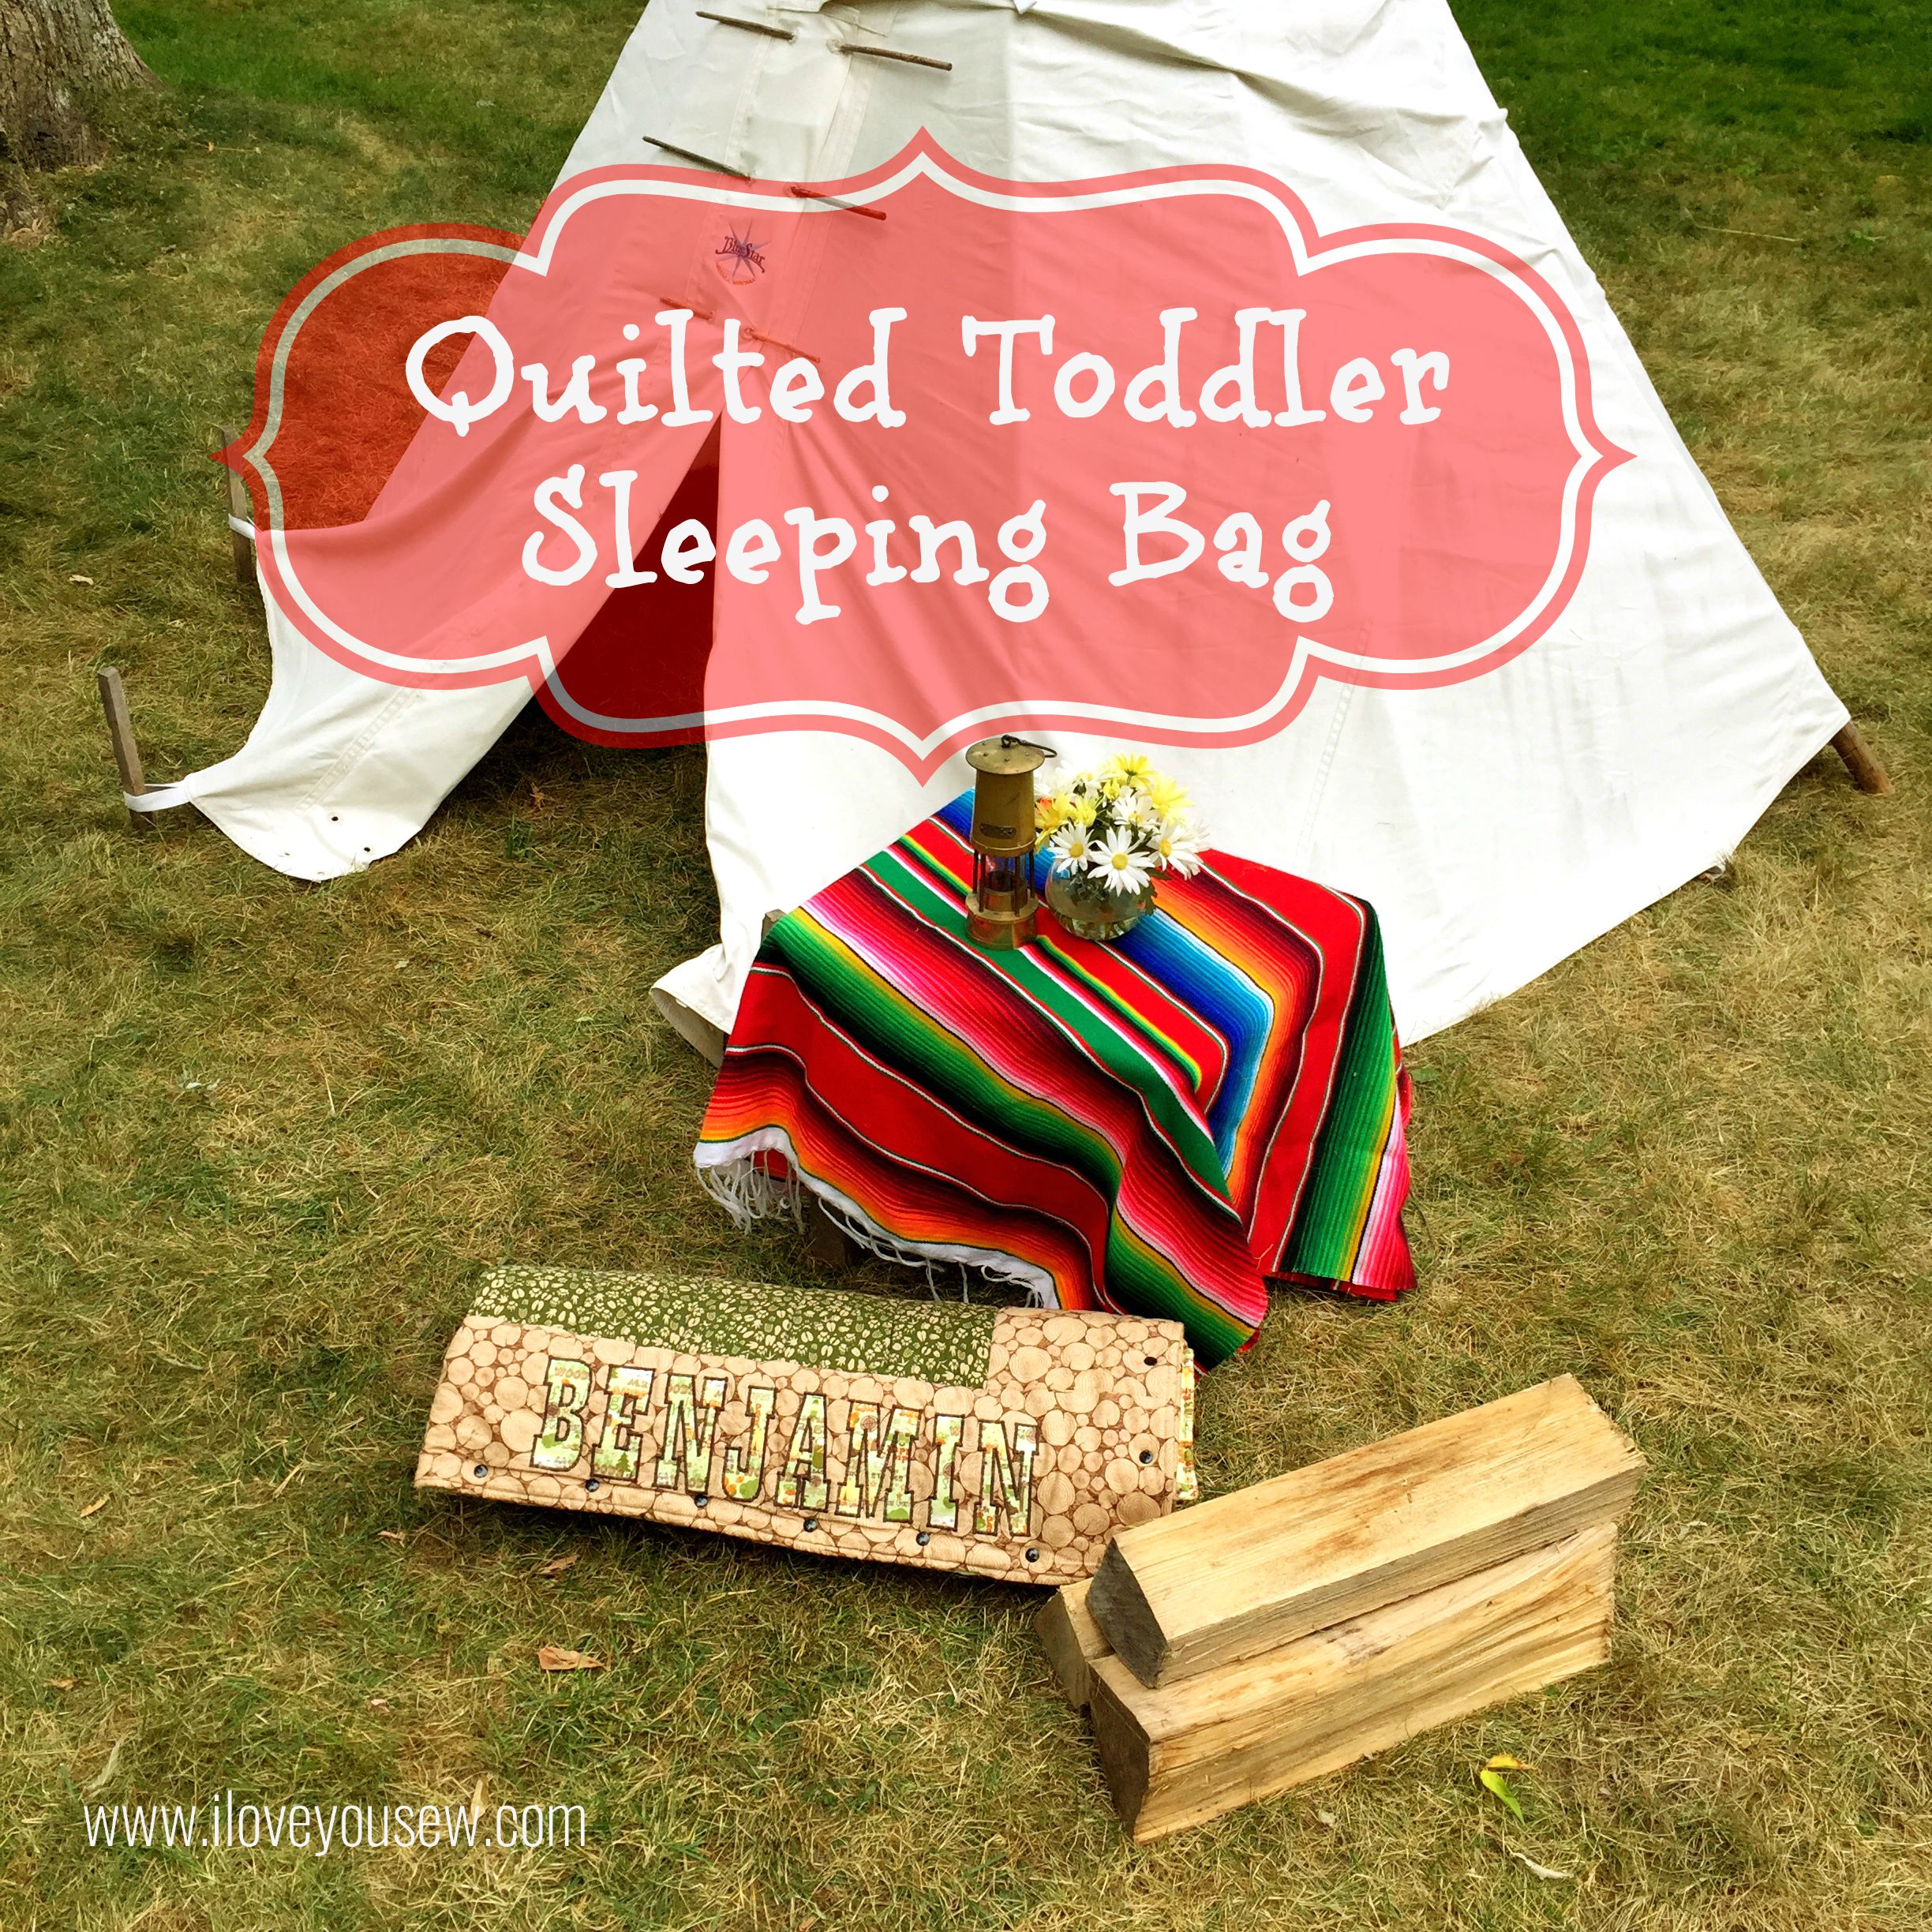
Quilted Toddler Sleeping Bag

SleepingBagTitle

This week, I’m doing a little throw-back of toddler sleeping bags I made for my boys last year.  I wasn’t a blogger then and figured I’d write a post in honor of our annual trip to the lake.  We brought these puppies along for each of our sons and I couldn’t help take some fun new photos along beautiful Lake Leelanau in Northern Michigan.

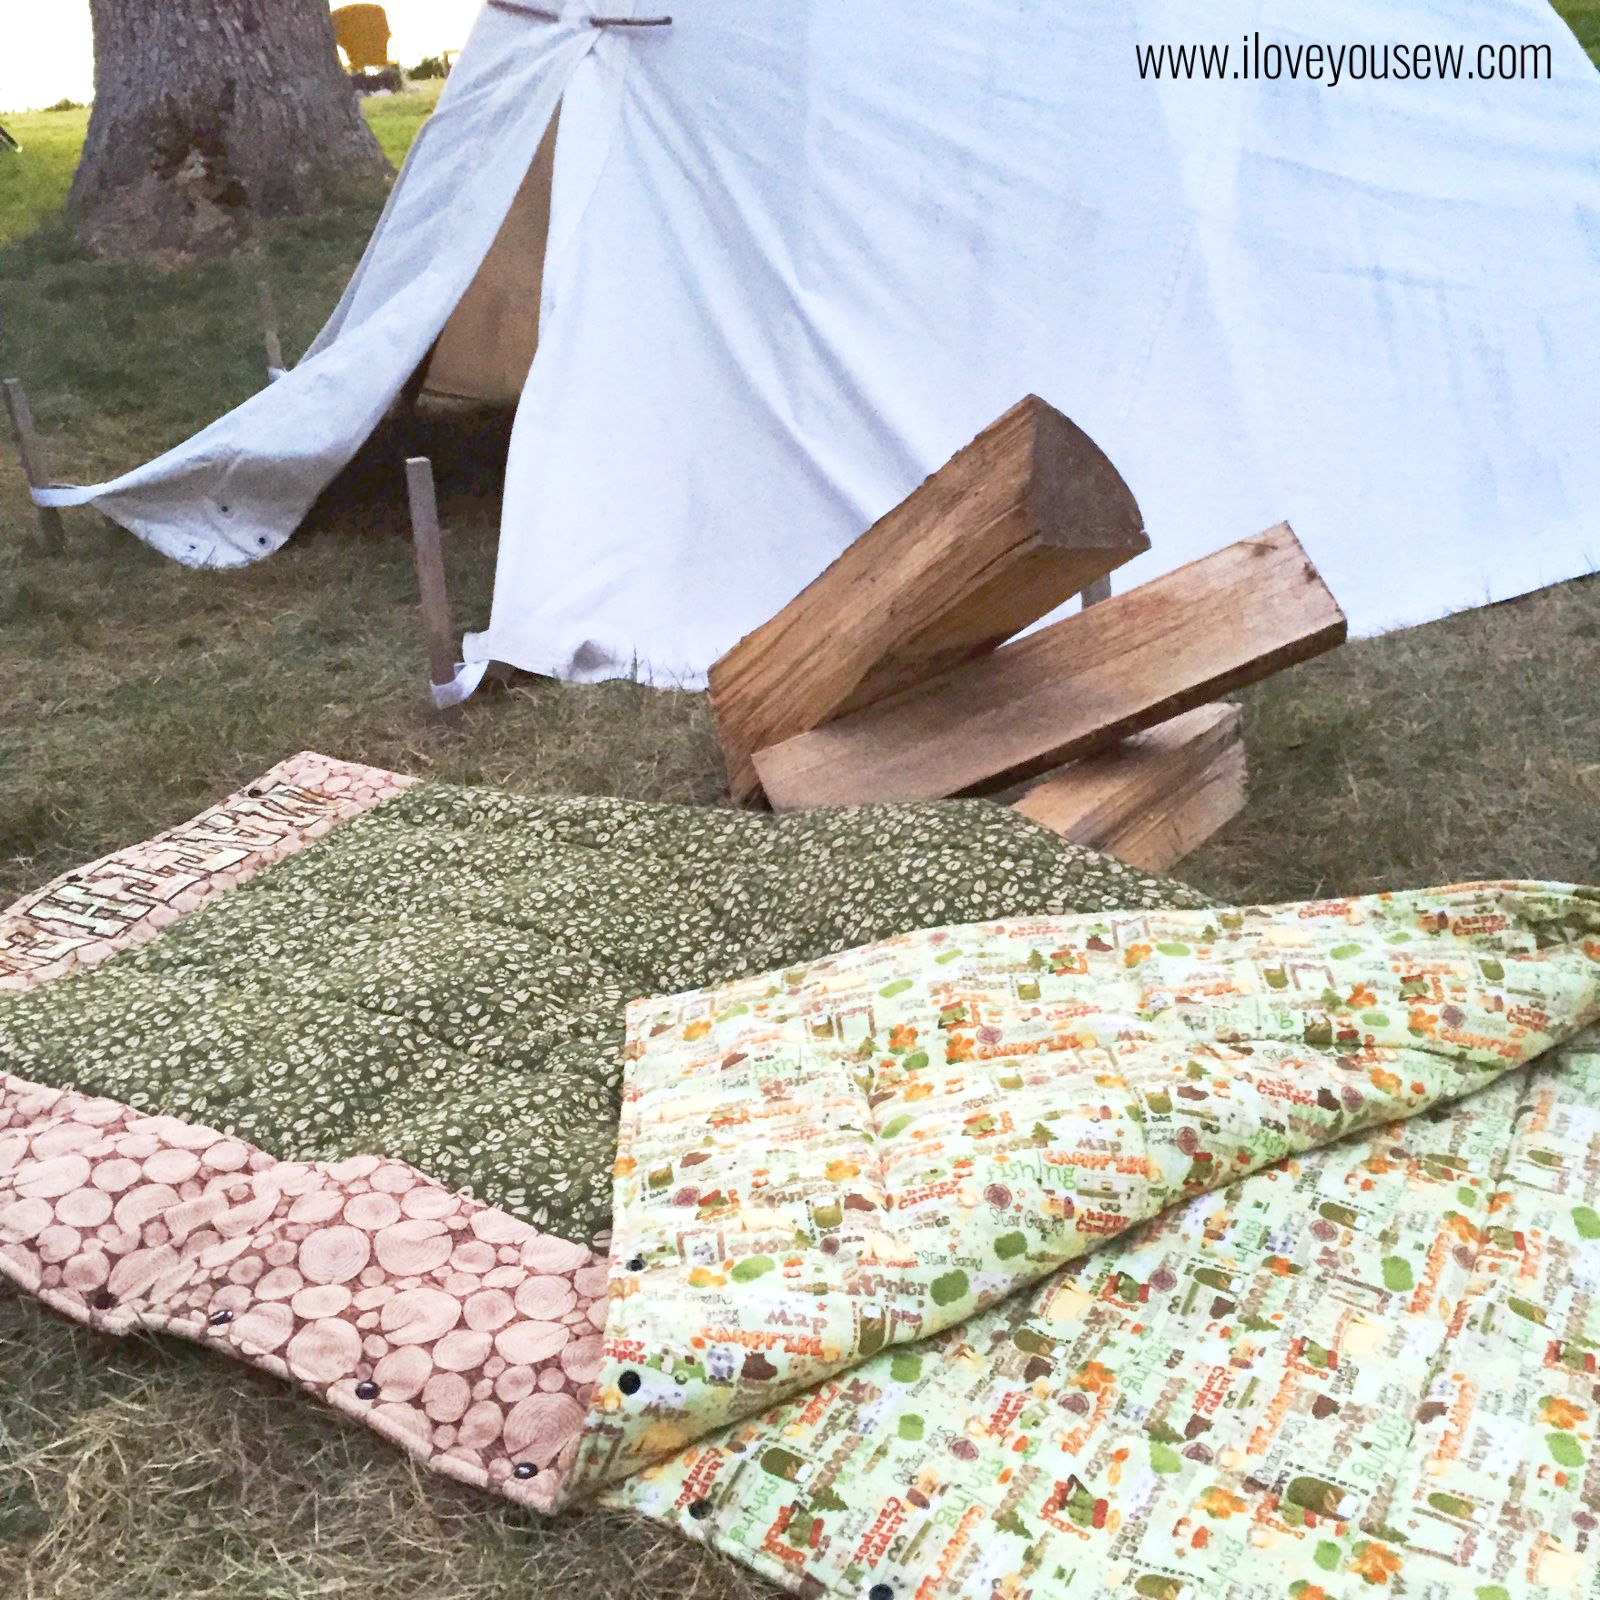
SleepingBagHalfOpen

My boys are at a fun age when we can now have little sleepovers in the family room.  This adorable sleeping bag was exactly what I wanted for each of my kids to have their own.  I LOVE the idea of having the sides snap so that you can pull them apart and have a great throw blanket!  Duel-purpose items are key!  The pattern and tutorial can be found on The Sewing Rabbit’s blog.

SleepingBagOpen

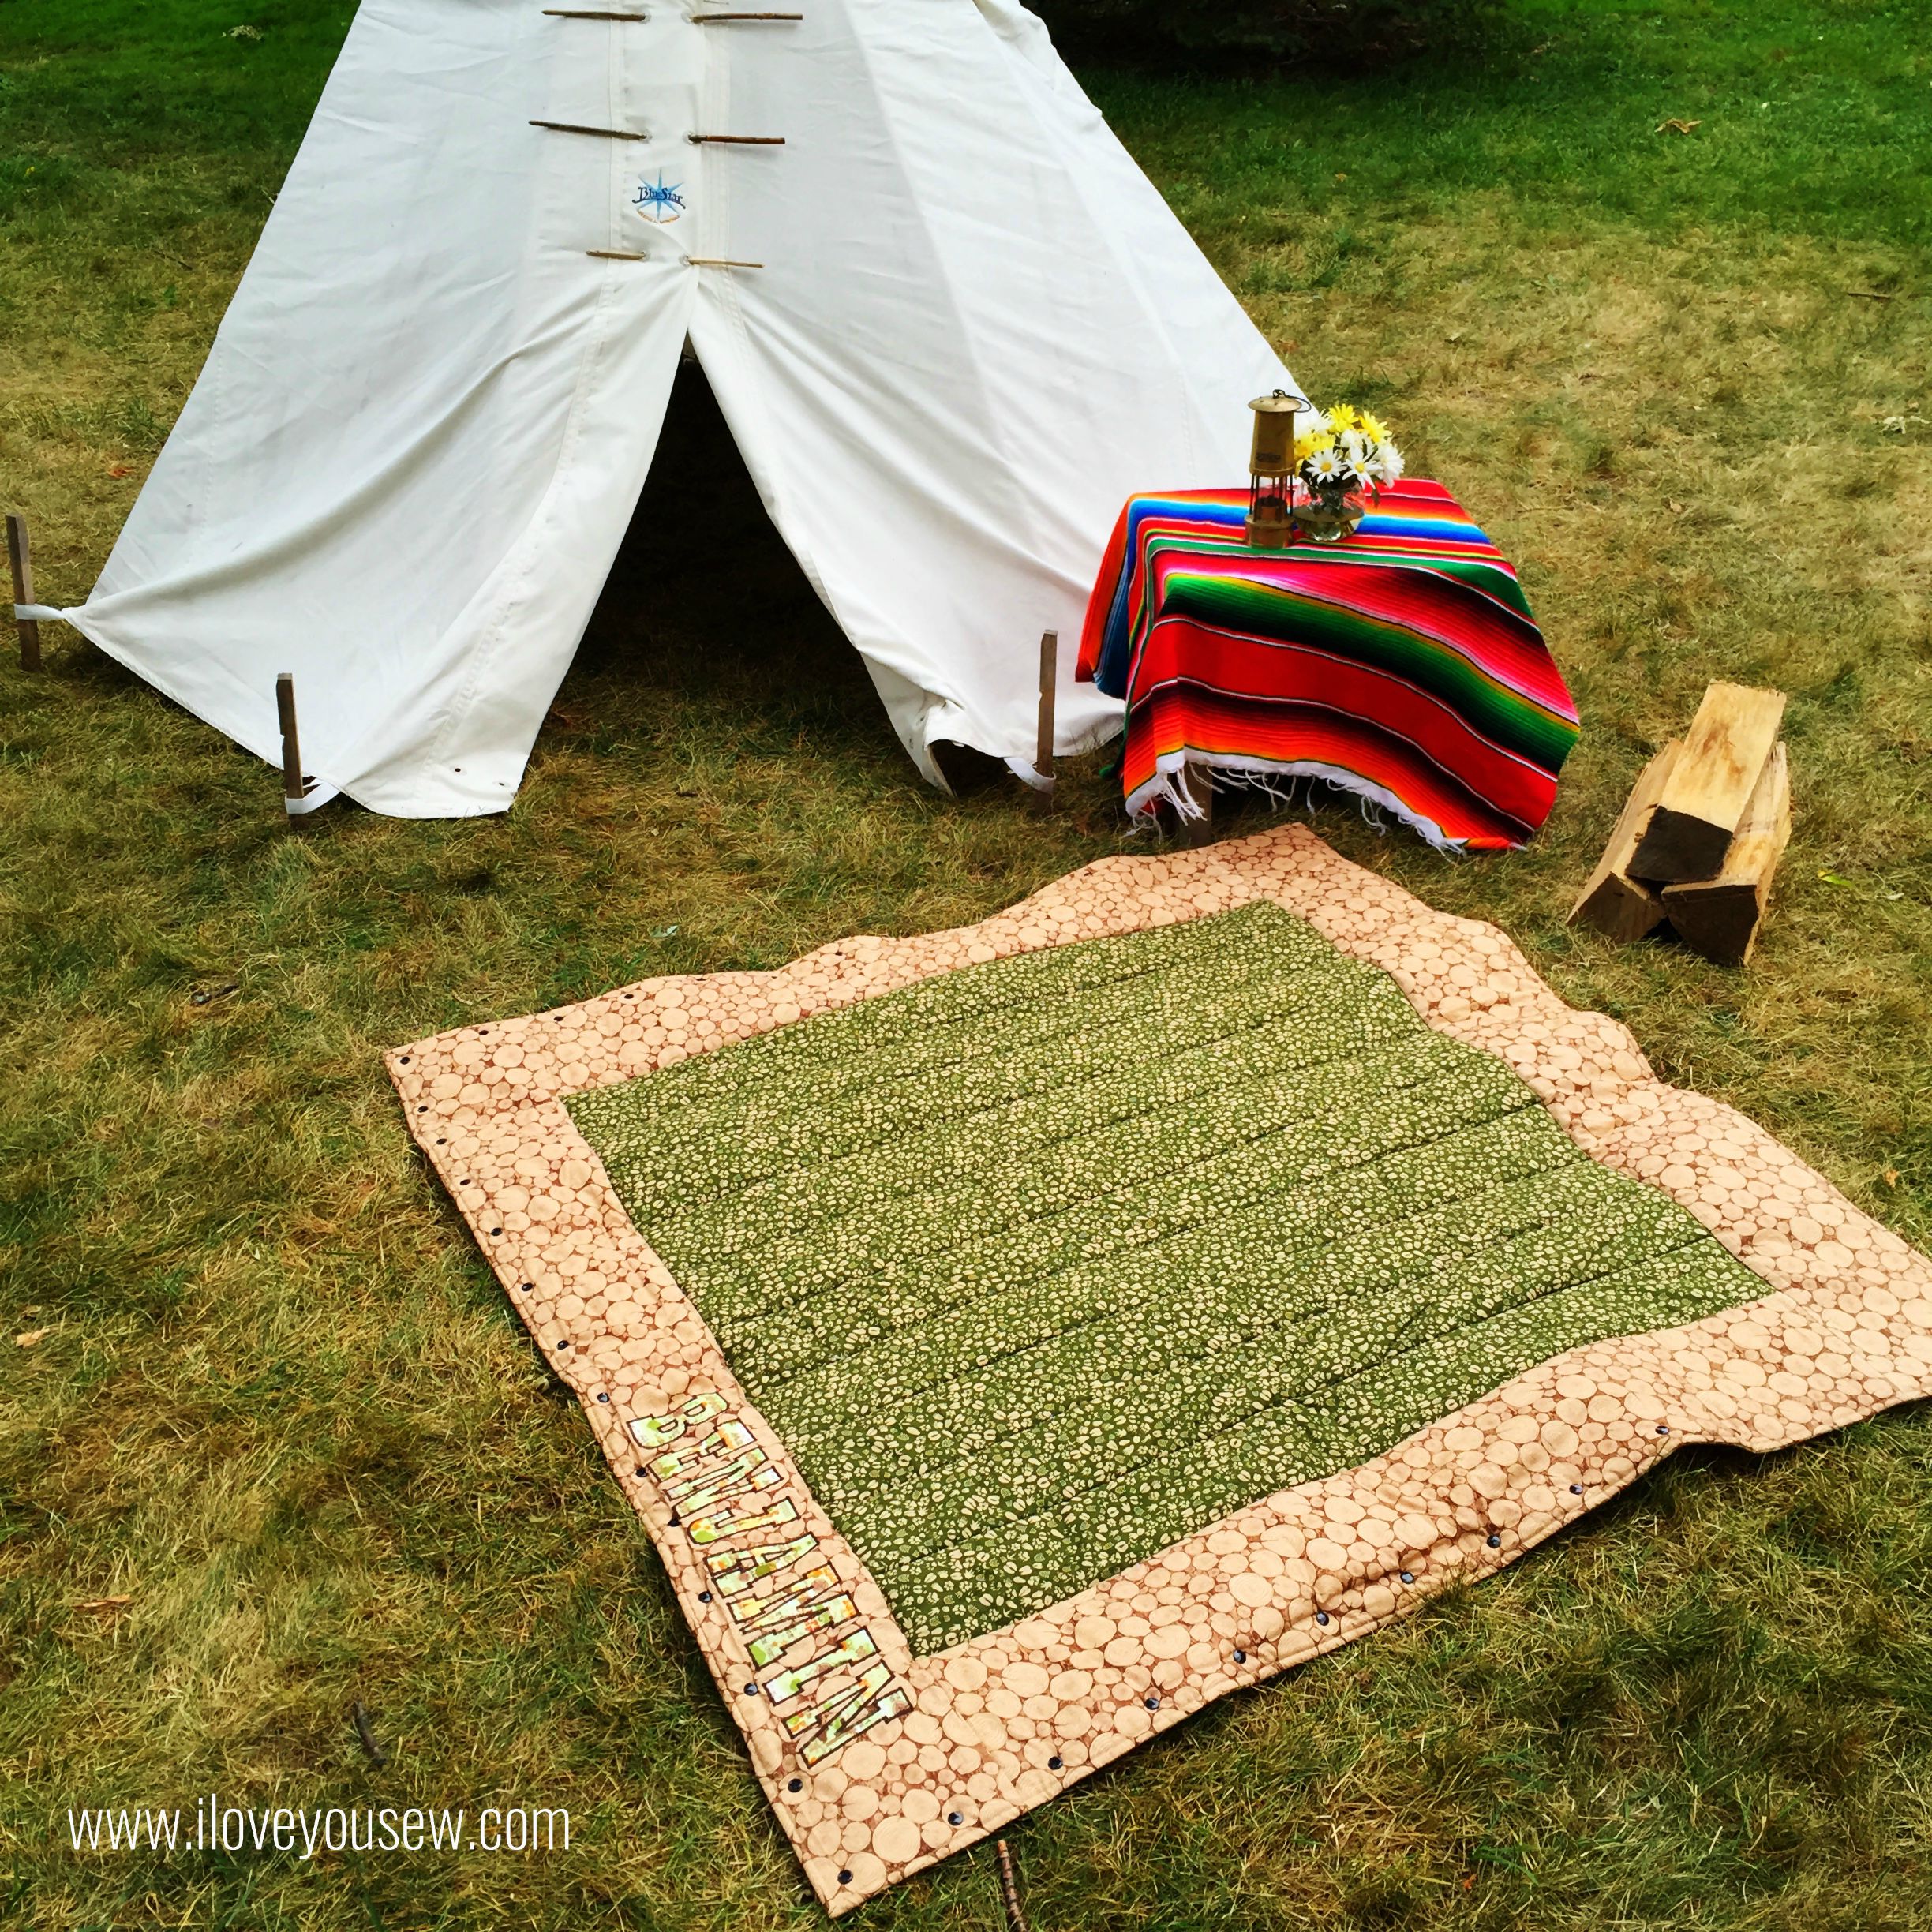
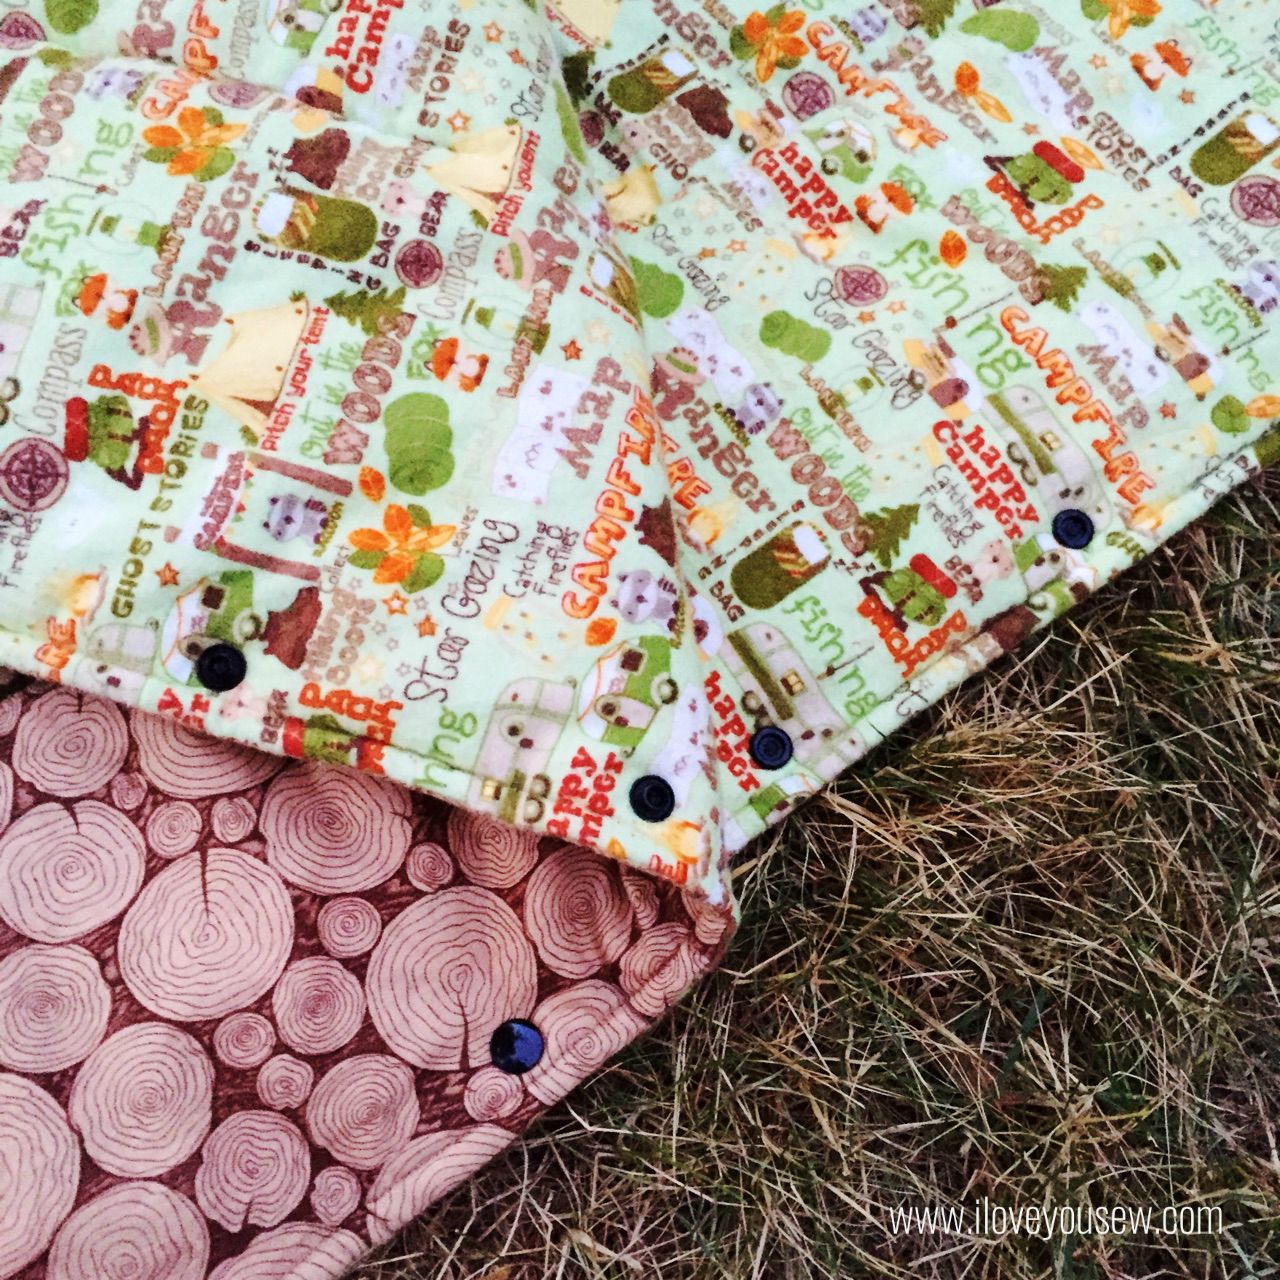
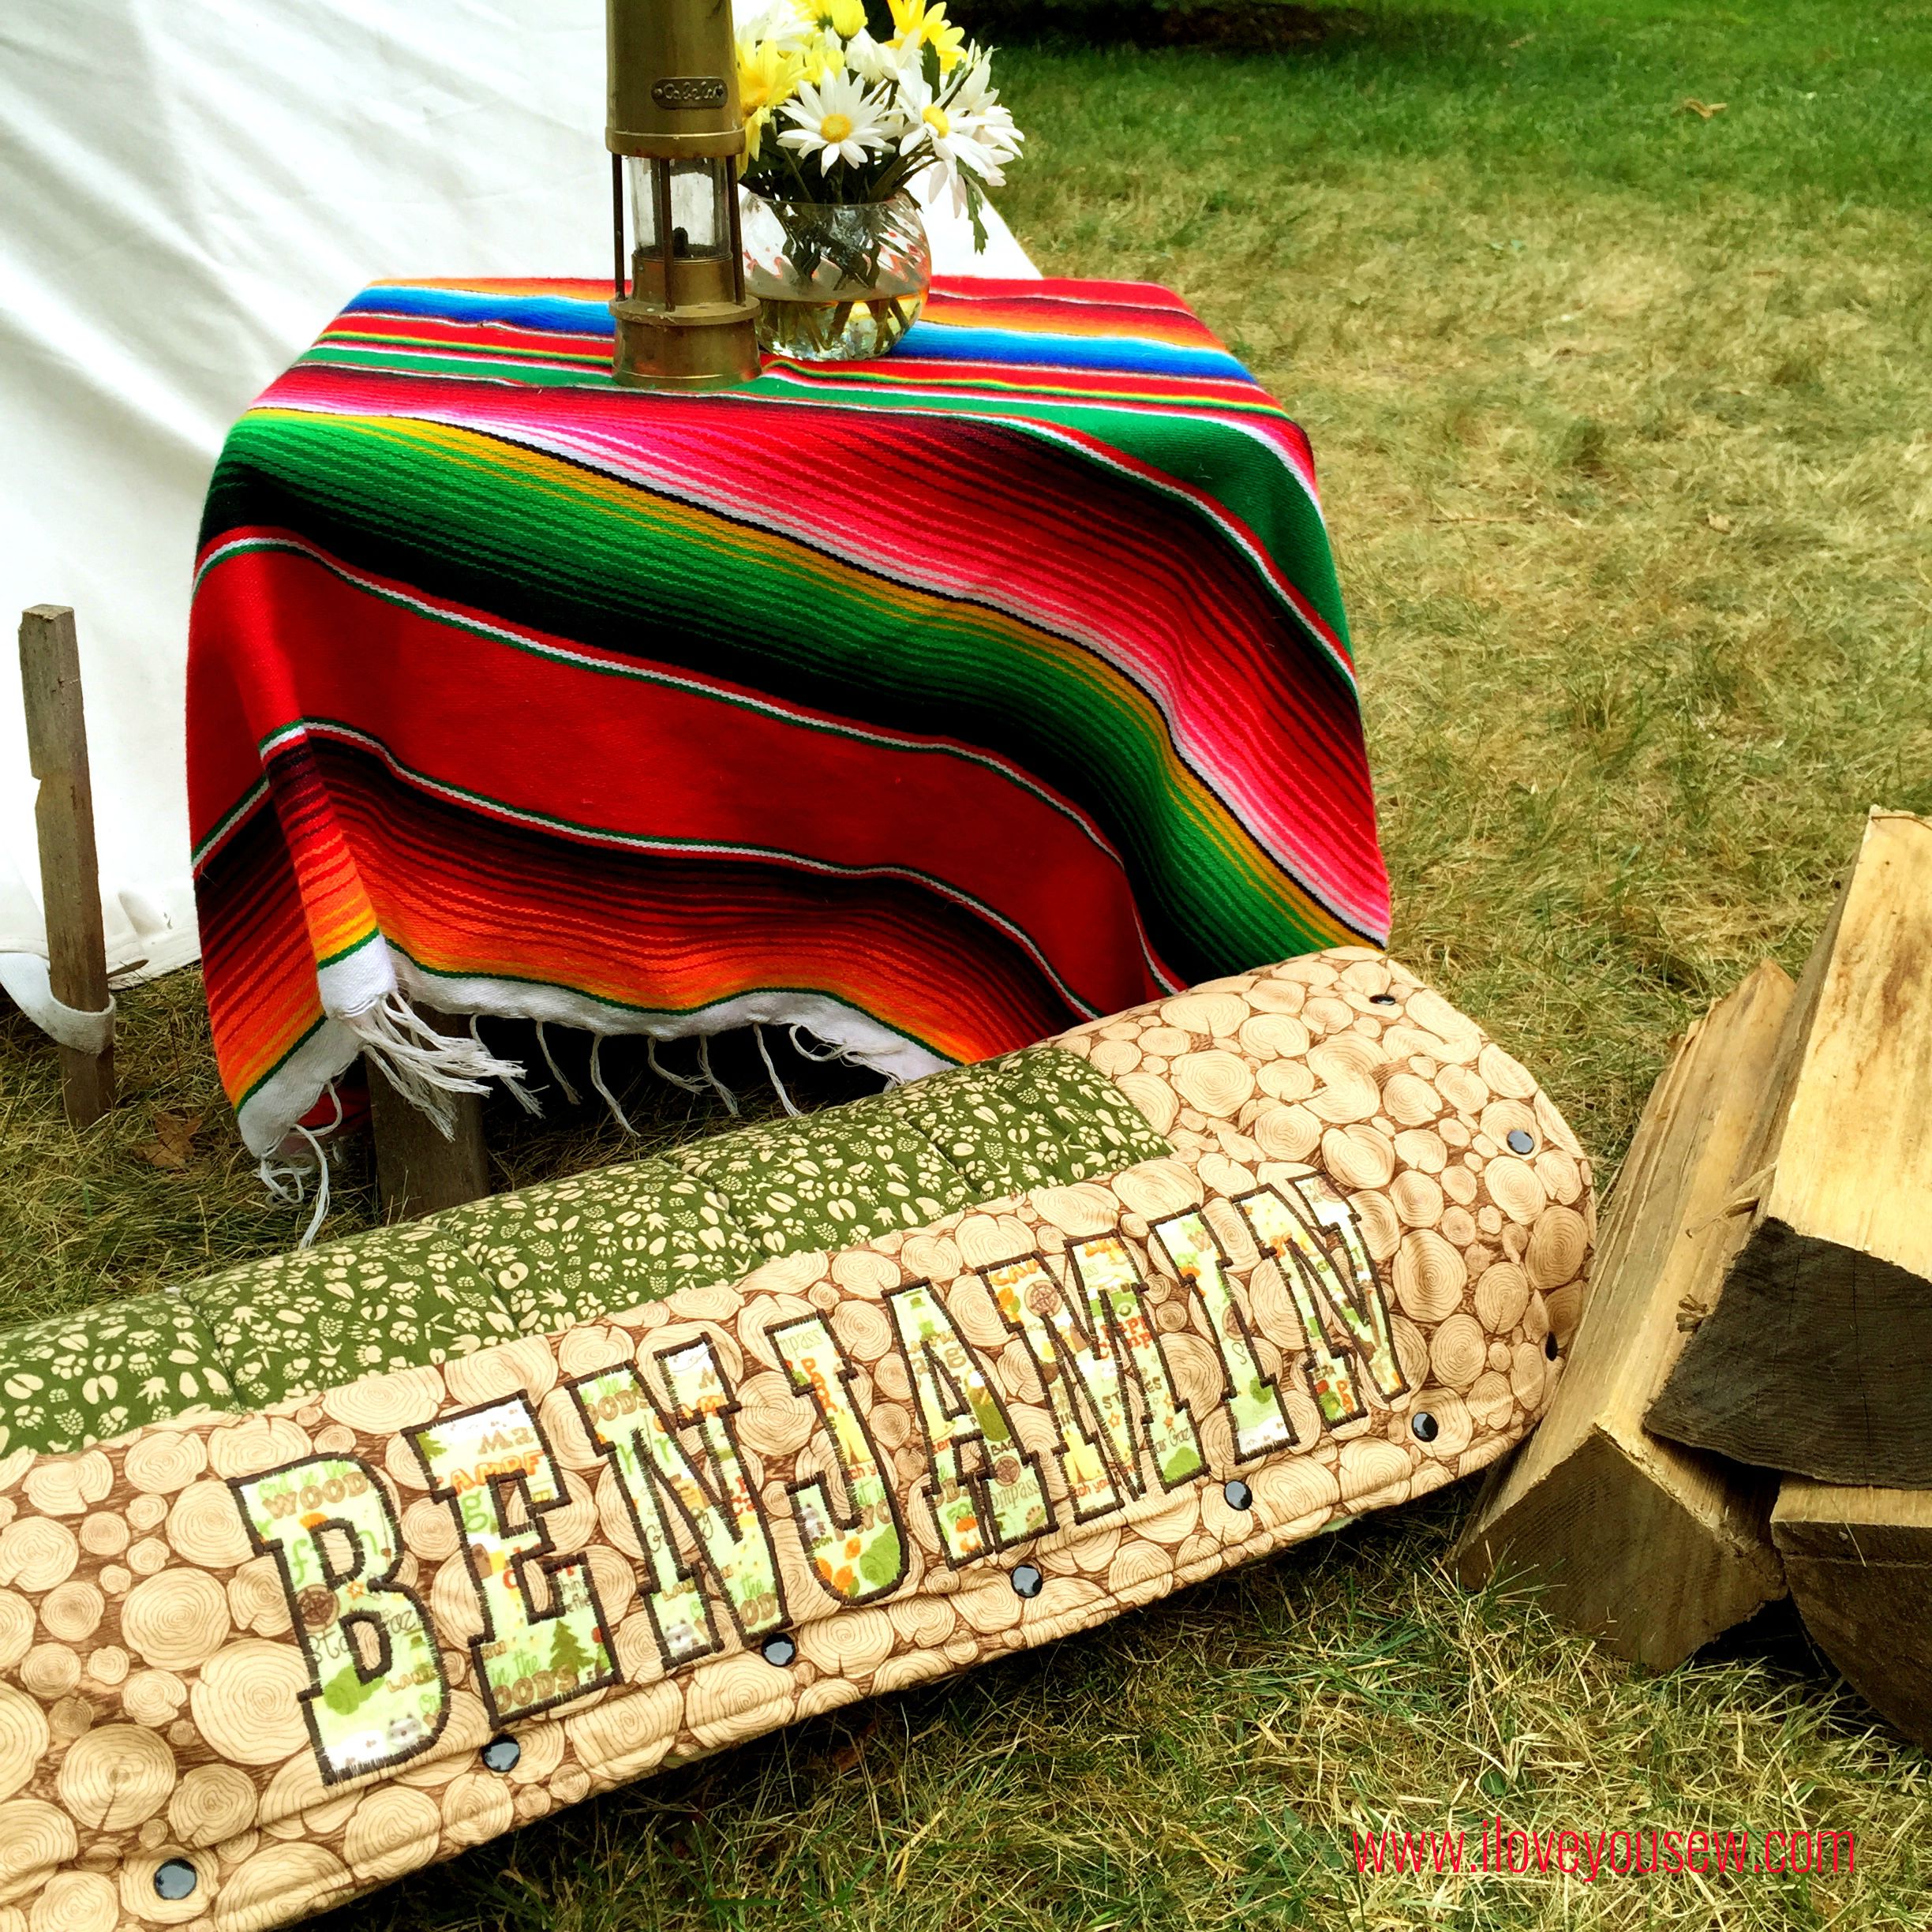
For the fabric, I used some fun outdoor-inspired designs from the Camp-A-Lot collection by Bo Bunny for Riley Blake Designs.  Unfortunately, all of the fabrics are out of print (OOP) but you can still find certain patterns online.  I used quilt weight Firewood in chocolate for the border, Tracks in green for the center and then Main in green flannel for the backing.

SleepingBagInterior

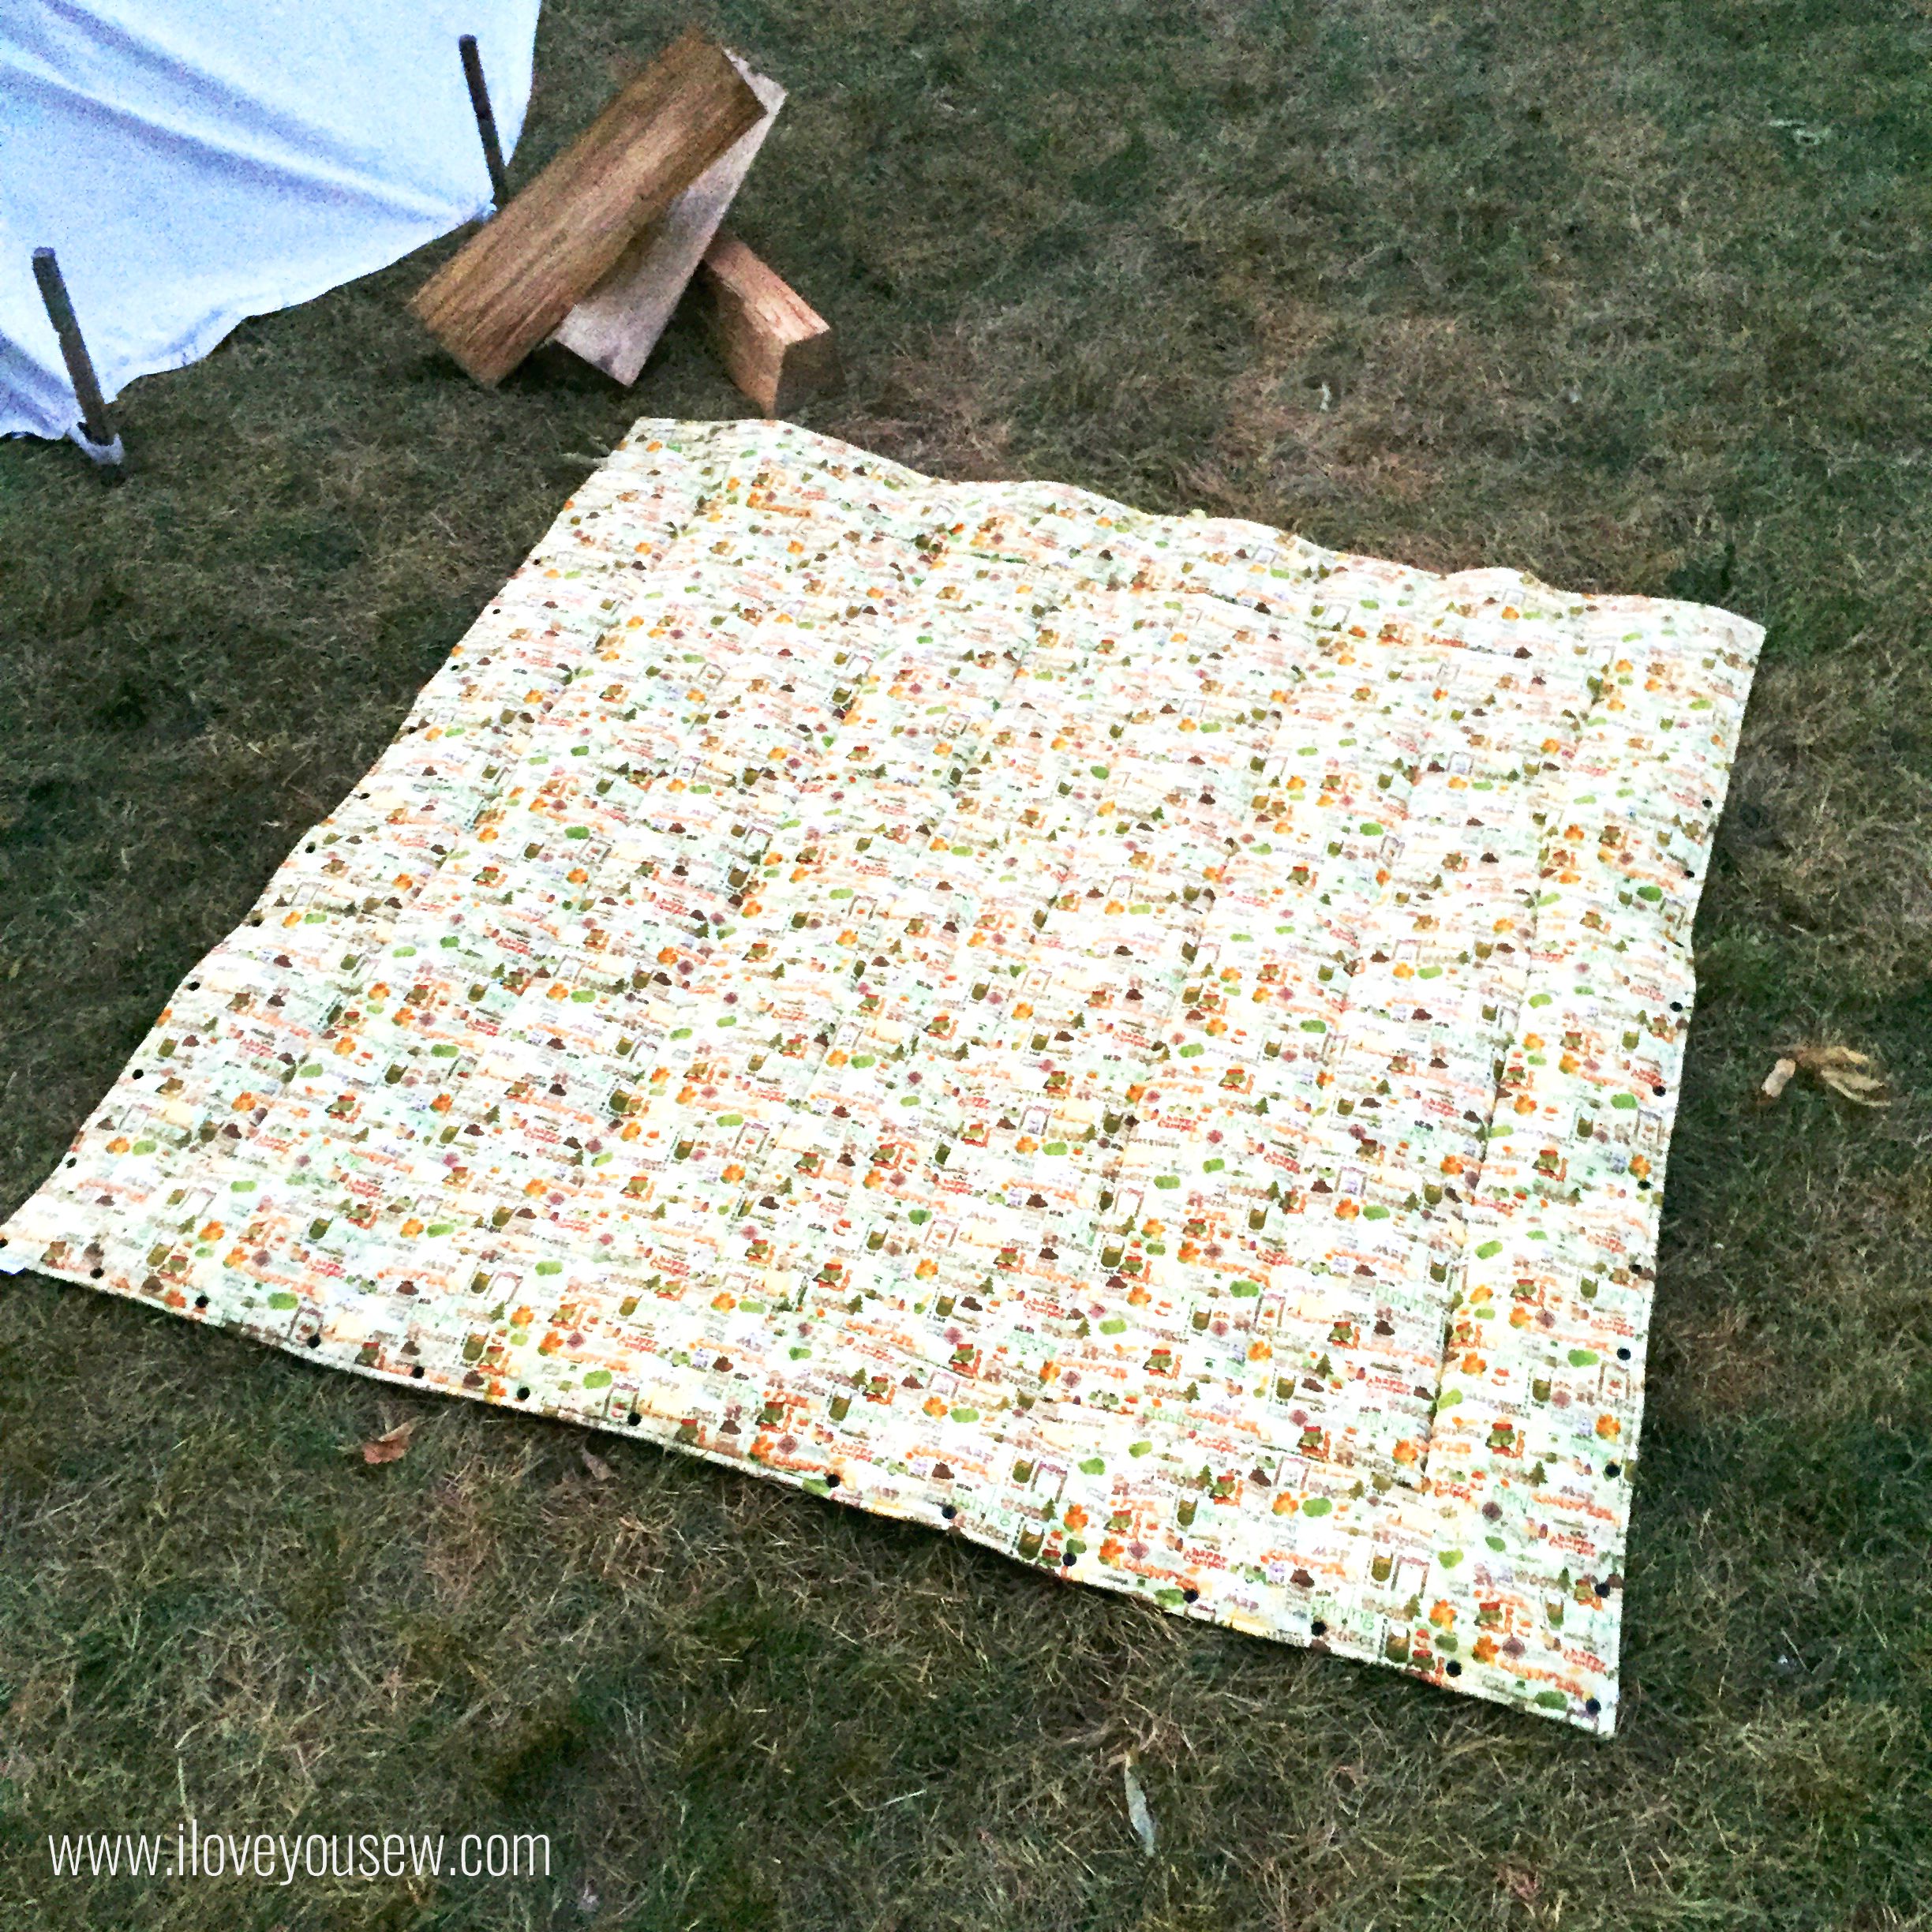
My boys are still young and I wanted fun patterns for them that weren’t too mature.  They are already growing up too fast!  Plus, I just loved the flannel backing. It makes for an awesome “I Spy” game…bonus!!!  These sleeping bags should last them awhile for indoor fun, but I know we’ll have to get them “real” outdoor ones soon enough.

SleepingBagSnaps

Luckily, I’m a very loyal fan of KAM Snaps.  If there is a reason to use them, I do!  I was so happy to see them in this tutorial because I have a ton of colors in my craft stash.  They hold well, but are easy enough for little hands to fasten together. There is spacing in between that allows air to come through on the bad, but remember, these are not intended for outdoor use….so I’m perfectly happy to use them!

SleepingBagRolledCloseup

The only modifications I made to the tutorial were increasing the width between quilted lines to about 4″ apart.  As you know, I’m not a fan of actual quilting, so this made for light work!   I also added appliqué letters to personalize each bag.  As a mom, I know how important it is to avoid any fights and keeping each boy accountable for their own stuff helps!  And yes, monograms are also super cute and special 🙂 To attached the appliqué letters, I used a tight zig-zag stitch to cover the edges and to mimic embroidery.  This process takes awhile but the results are worth the extra time!

I hope you are all enjoying your summer (northern hemisphere, peeps!) and get to make a special little person one of these sleeping bags!  Back to some family fun for me…


Hugs and Stitches,

Cristy