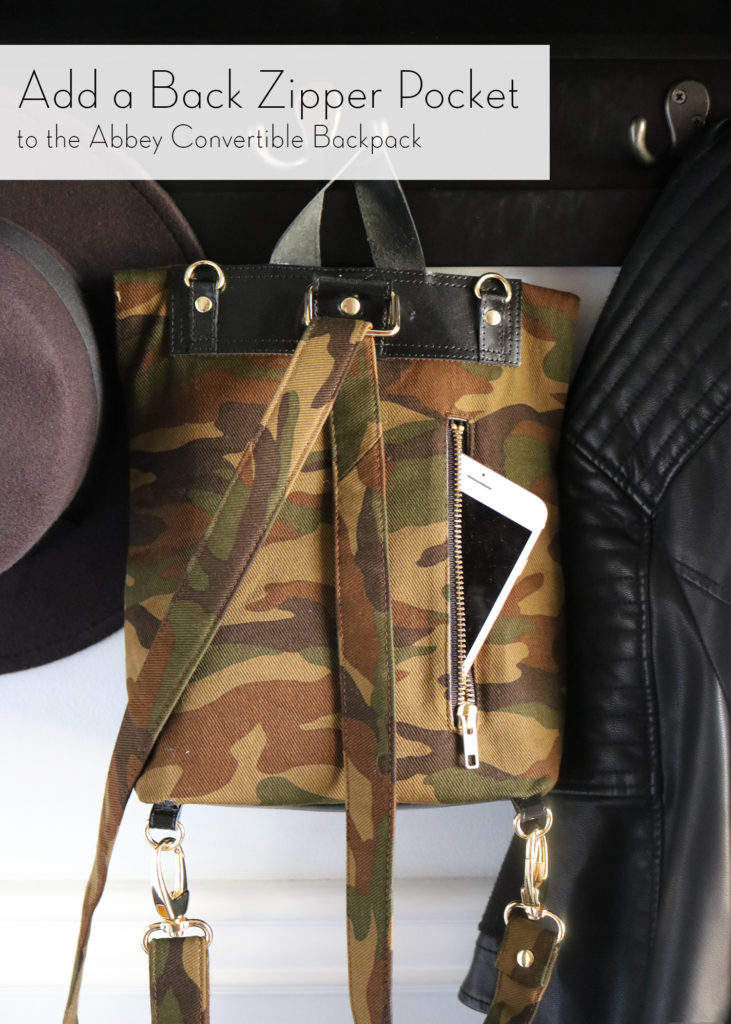
Add a Phone Zipper Pocket to the Abbey Convertible Backpack

The Abbey Convertible Backpack is my go-to bag when taking day-trips with my kids. I like having it out of the way but still being able to hold the essentials. But being a designer, I constantly have new ideas and wish there were different features with every bag I own.
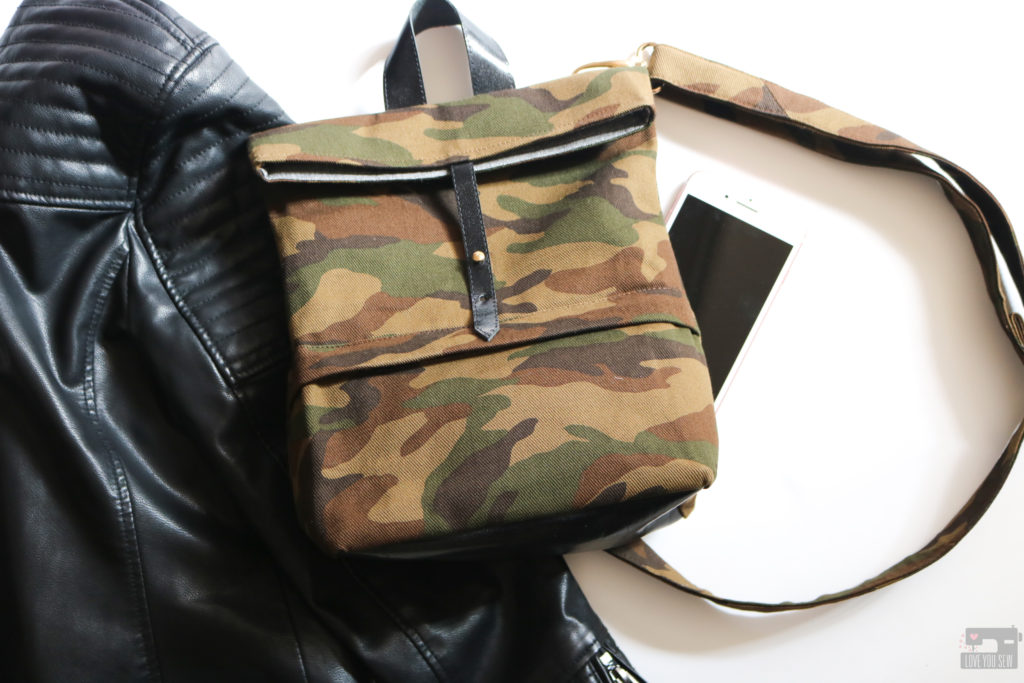
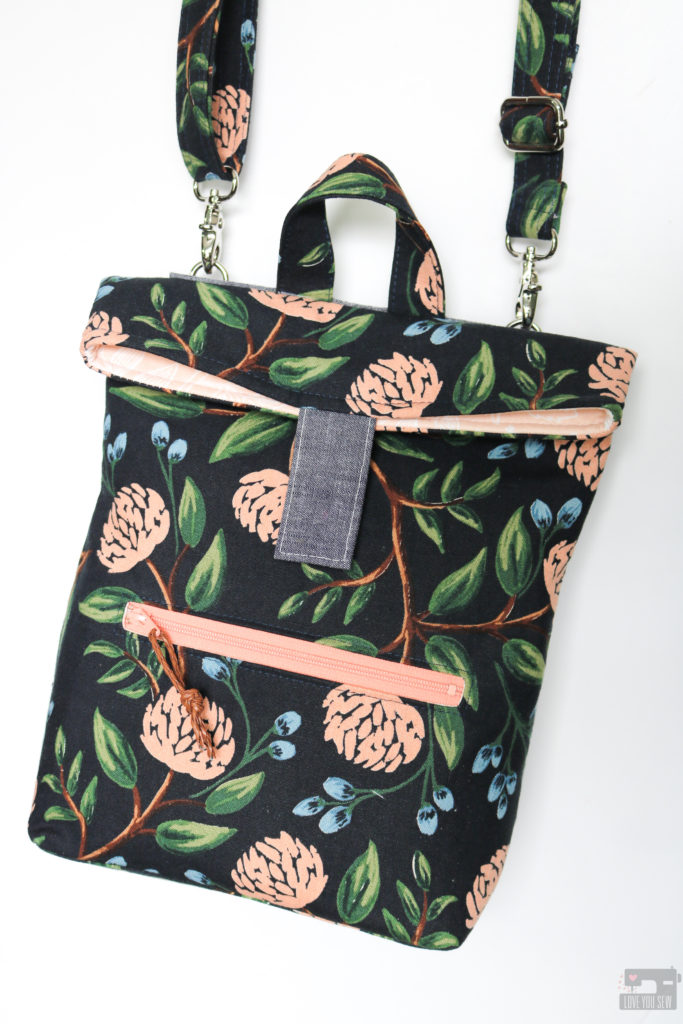
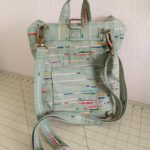
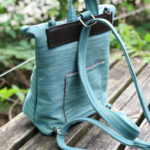
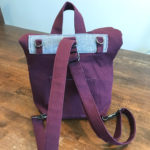
On the back of the Abbey, there is a slip pocket. I added the feature with the intention that it would be a quick spot to hold your phone or keys without having to open the main compartment as frequently. But since I happen to wear my bag more as a backpack, I have to swing it around to access the pocket and felt that a slip pocket just isn’t as secure for an expensive smartphone — and BOOM, I have the idea for the back welt pocket hack.
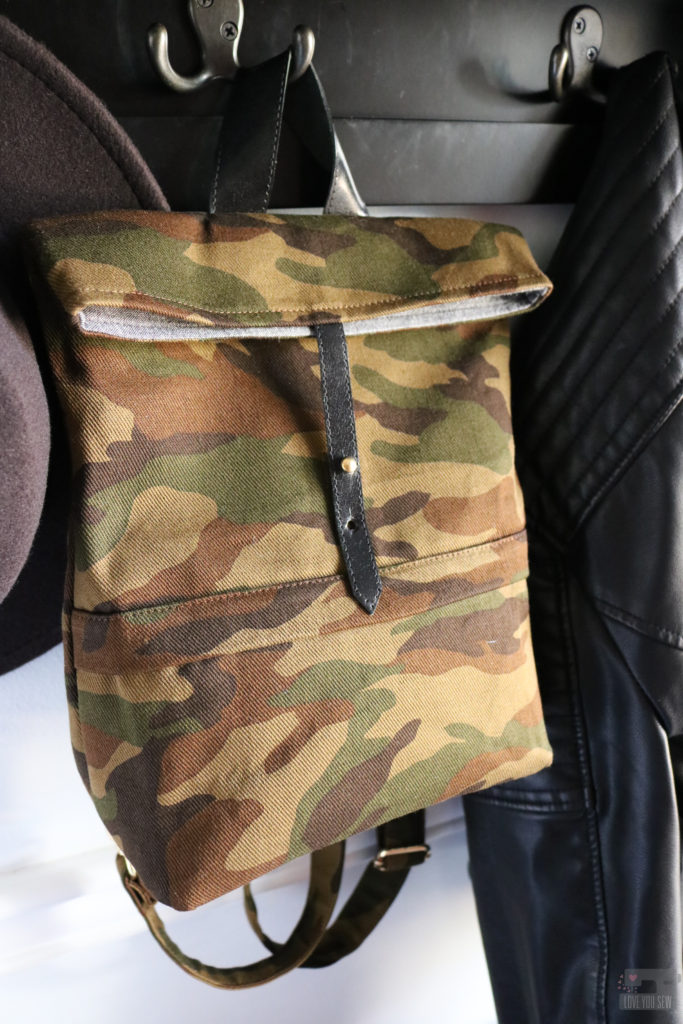
Back Welt Pocket Tutorial
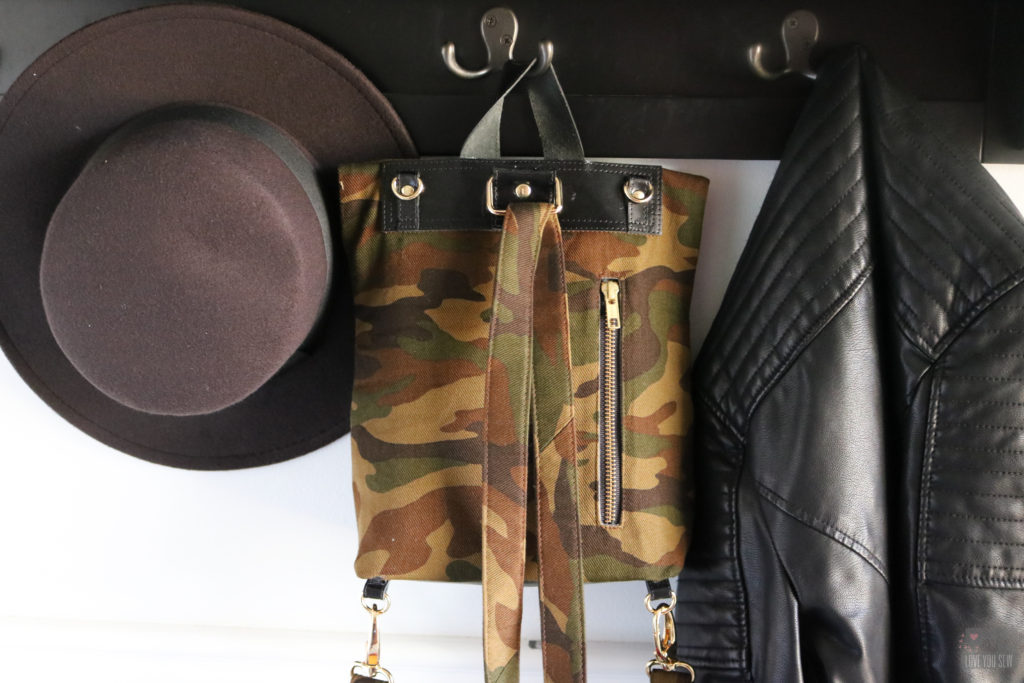
You will need the original instructions and templates for the Abbey Convertible Backpack which you can find here. Additionally you will need:

  • 6″ Zipper
  • 8 3/4″ x 12″ Lining Fabric + Interfacing (this is large enough to fit an iPhone 7+ with a thick Otterbox case.)
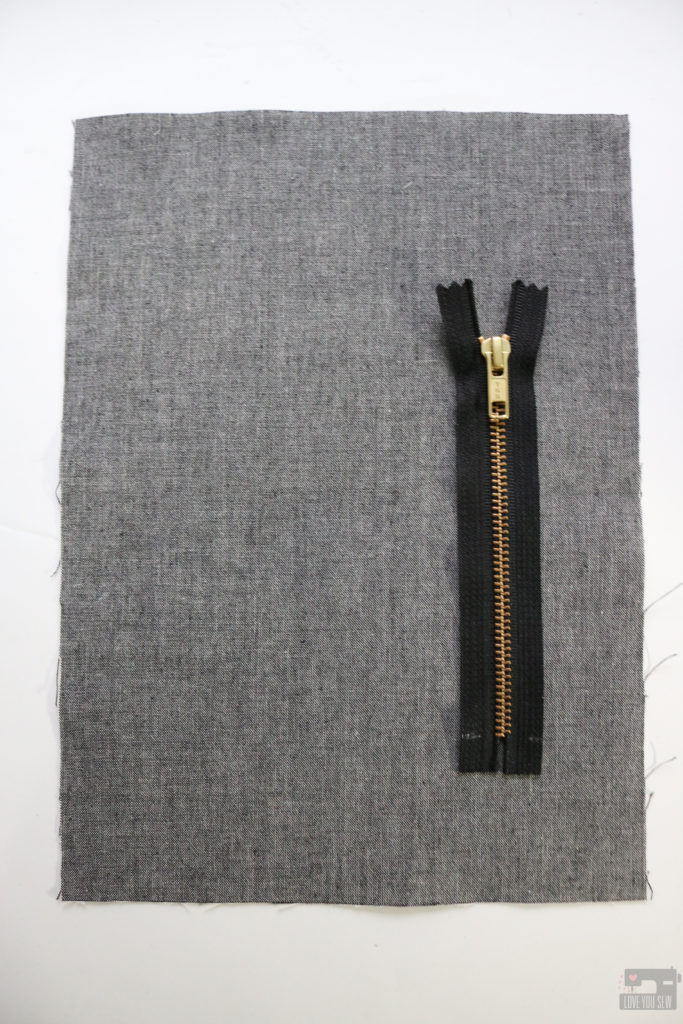
To make the Back Zipper pocket, you will omit all of the fabric and interfacing for the Slip Pocket and move through Step #41. (Please note I don’t have connectors added to my handle base at this point since I used leather and added them later.)

Draw a rectangle measuring 6″ x 1/2″on the wrong side of the Pocket Lining centered and parallel to the short side as shown. The Zipper will run vertically.  There should be 1 3/8″ above and below the rectangle and 3/4″ space to the right. 
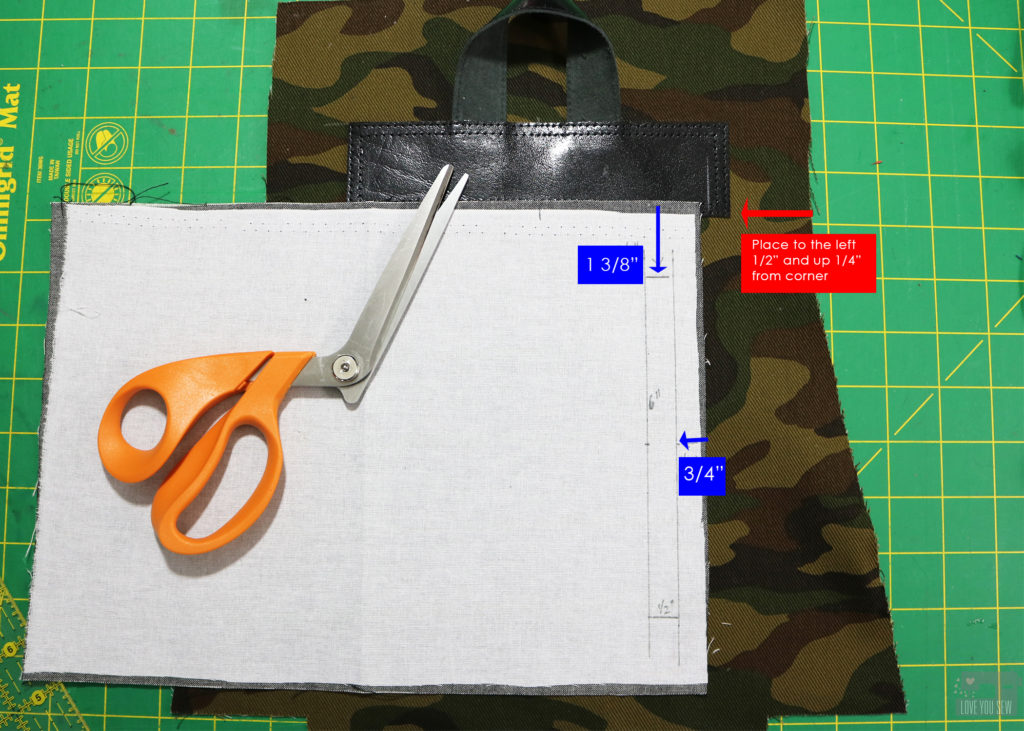
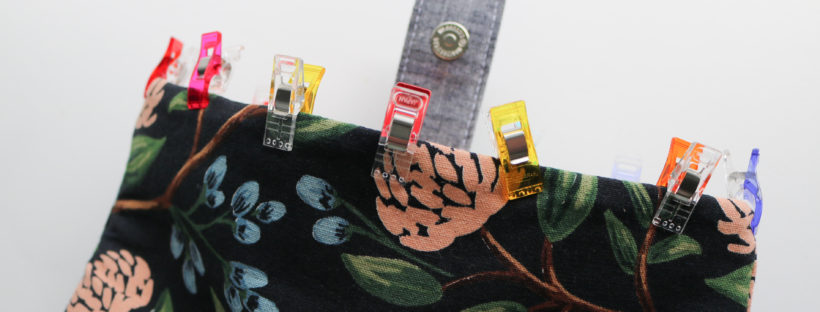
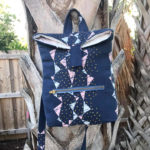
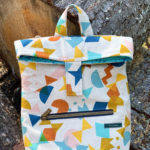
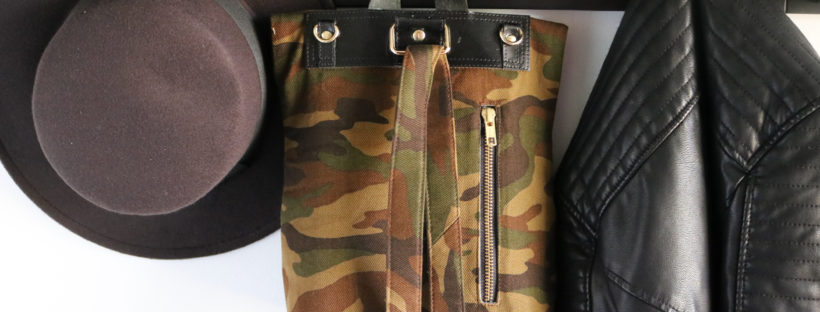
Line up the Pocket Lining as shown with the right edge 1/2″ in and up 1/4″ from the sides of the Handle Base. Pin the Pocket Lining in place. Go back and follow Steps #21-28 to finish the pocket! Voila – a chic looking vertical zipper pocket to keep your phone or other valuables a little more safe as you sling the backpack around.
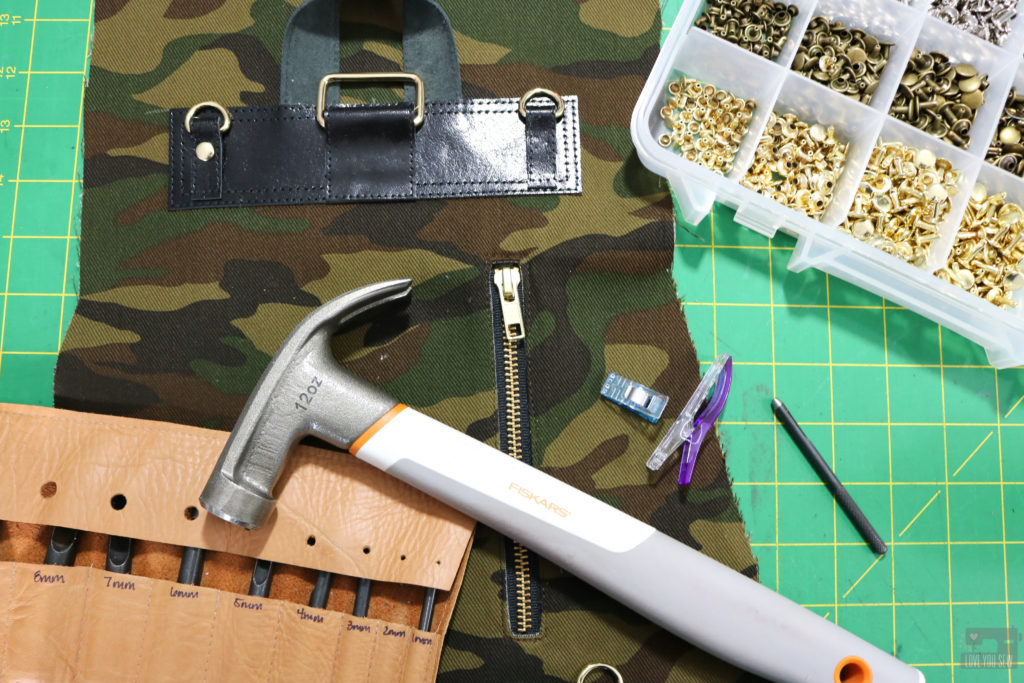
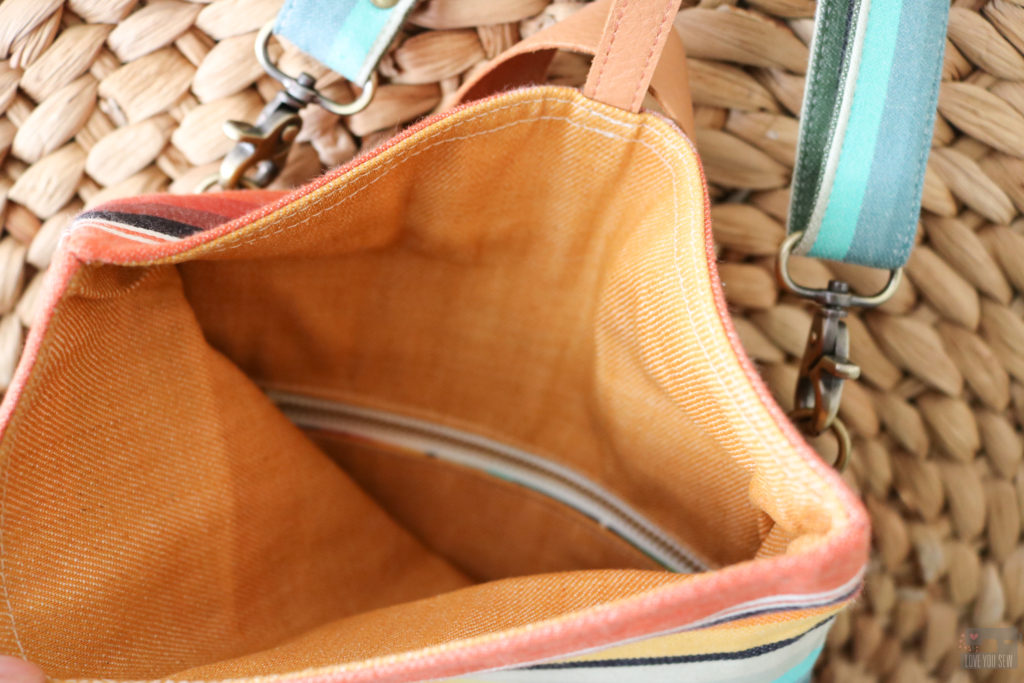
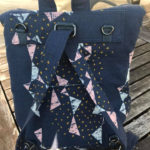
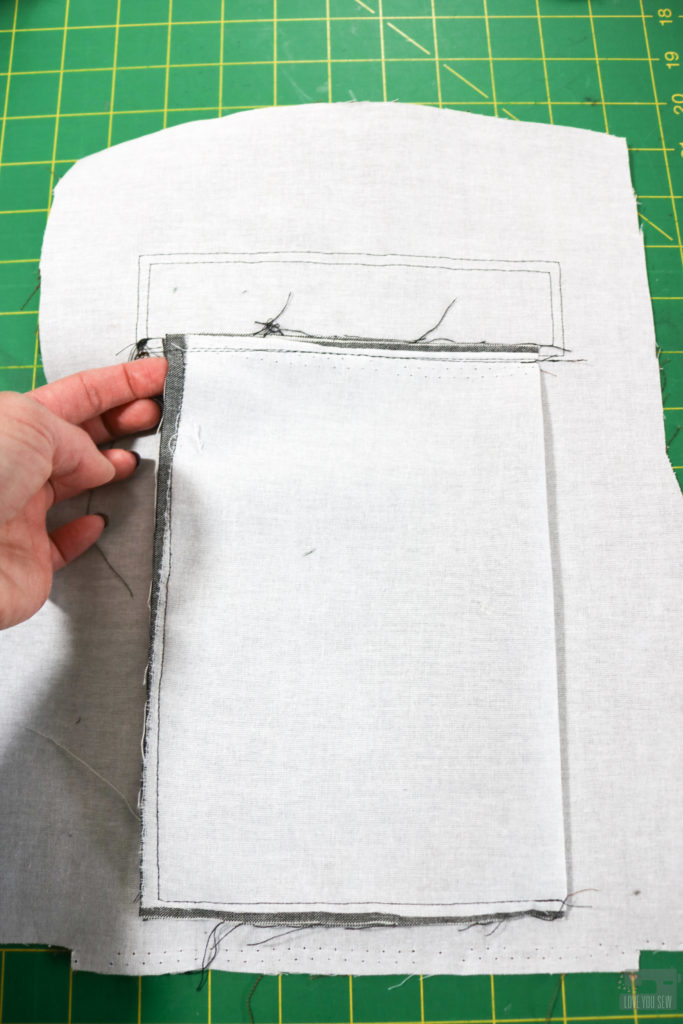
Since the Pocket Lining hangs vertically instead of horizontally, the weight of a phone would make it drag awkwardly and pull on the zipper.  So, the Pocket Lining needs to be anchored horizontally so the weight can hang straight down naturally.  To do this, flip the back of the bag right side up and sew directly below the Handle Base from corner to corner catching the Pocket Lining.  Back-stitch well.
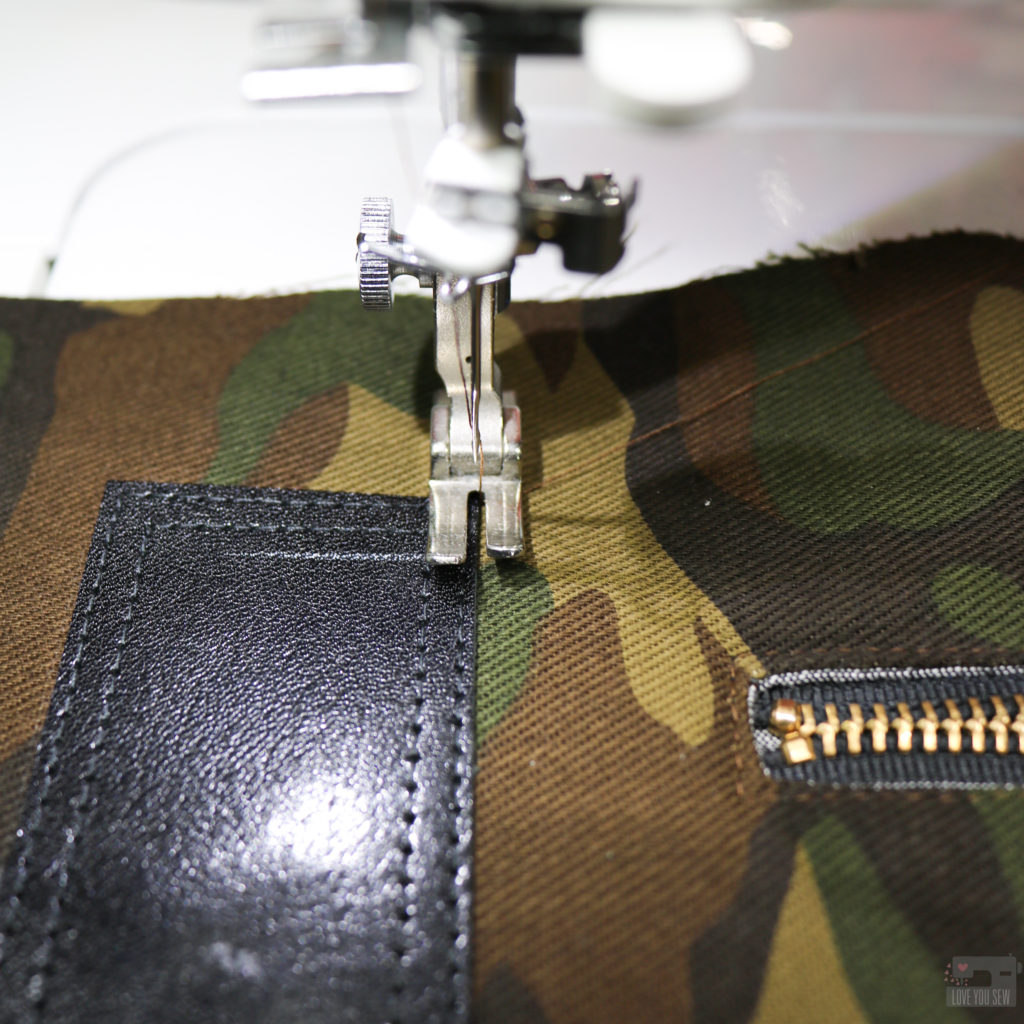
This is the wrong side after securing the Pocket Lining.  The weight of the phone is evenly distributed and won’t distort the structure of the bag.
Additional Modifications

You know I cannot resist using leather in my personal bags!  I had this great glazed black upholstery leather I got from Tandy which I used to make a few Kelly Waist Bags.  The scraps are great for all of Abbey’s accents like the connectors, handle and closure tab.
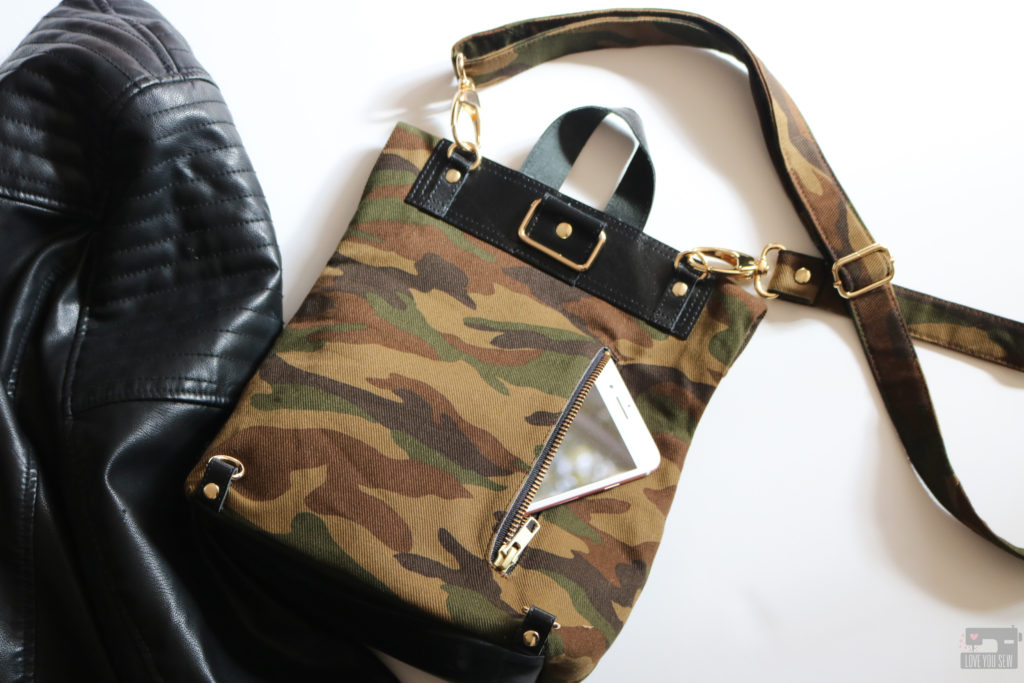
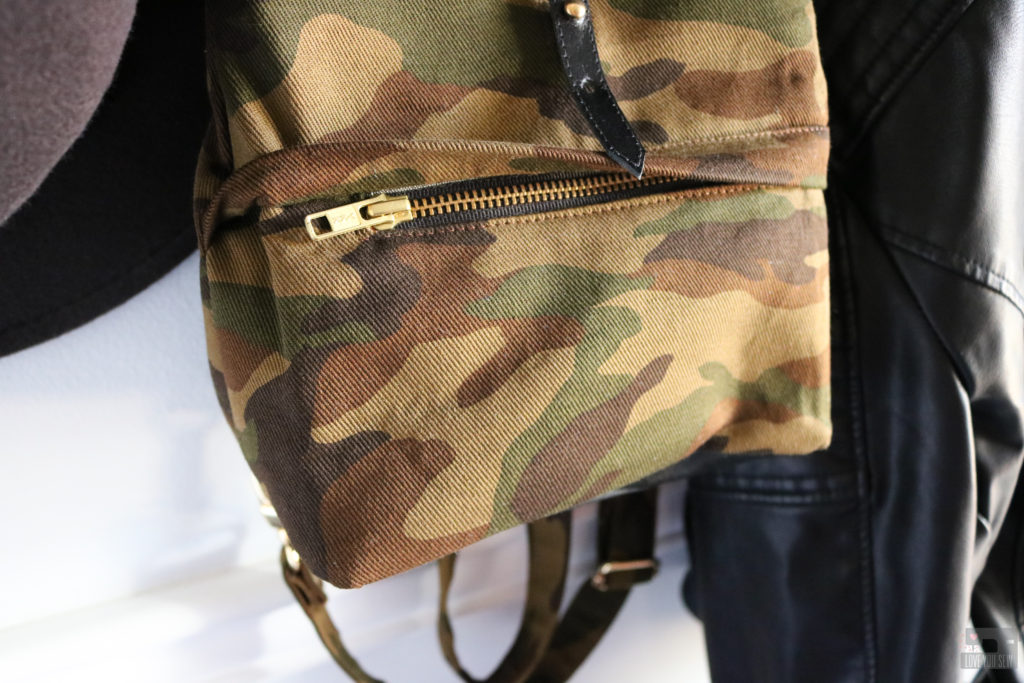
I also used my other Abbey Backpack Zipper Cover and Button Stud Hacks which you can find here.  I like the clean look from the front and just love using button studs with leather.
Project Details

I hope you enjoy this hack and even use it for other projects!  Don’t forget to use #abbeyconvertiblebackpack and #loveyousewpatterns on social media so everyone can see your fabulous makes!

Hugs and Stitches,

Cristy


This post may contain affiliate links which I use to keep this website pumping along.  Please visit my Disclosures page for all  the info on my affiliate relationships.
Abbey Hacks by Love You Sew

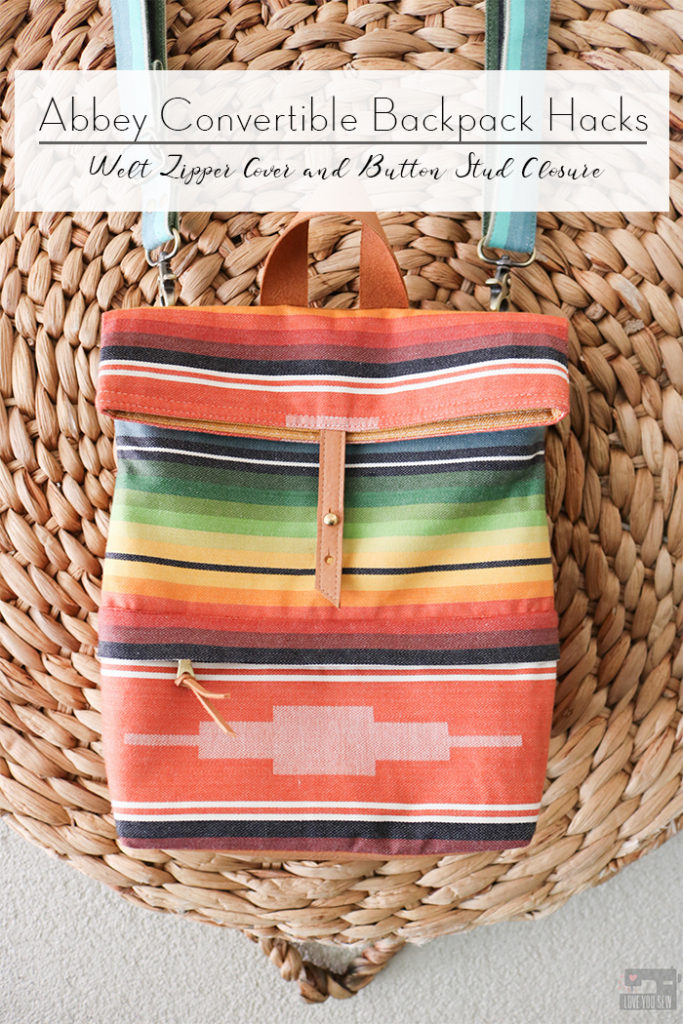
Abbey Convertible Backpack Hacks with Welt Zipper Cover + Button Stud Closure

Abbey Hacks by Love You Sew title

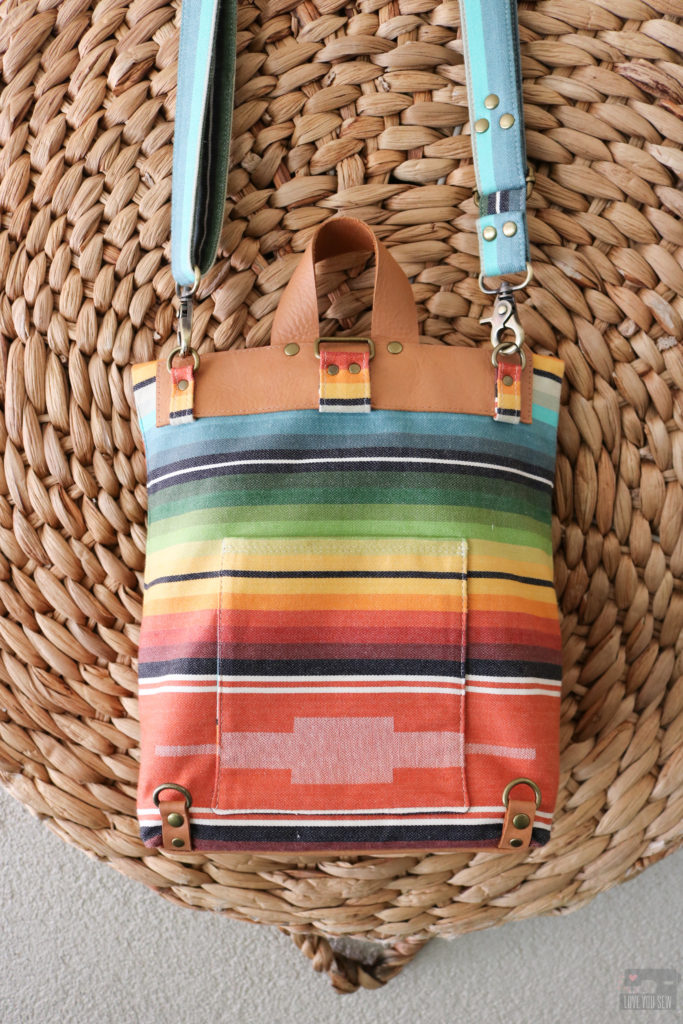
Hacking patterns is just so much fun when you can add more personal details to a project. Today, I’m sharing what I did for the backpack I made for real-life Abbey (the bag’s namesake.)  This post includes a cover for the front zipper, button stud and leather accents, and where I’ve added rivets. The Abbey Convertible Backpack is the latest pattern I’ve published and you can read up more about here, as well as check out all of the incredible tester photos for inspiration.

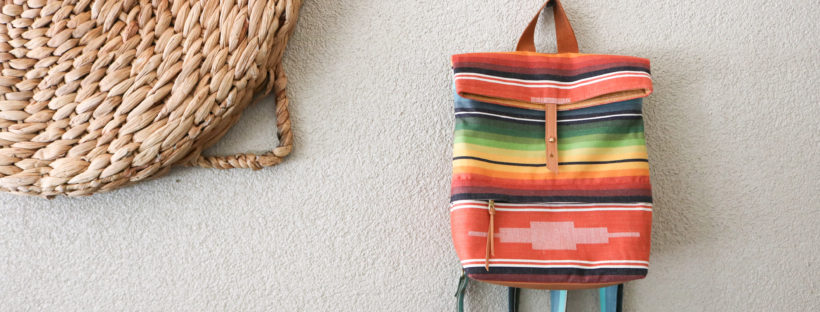
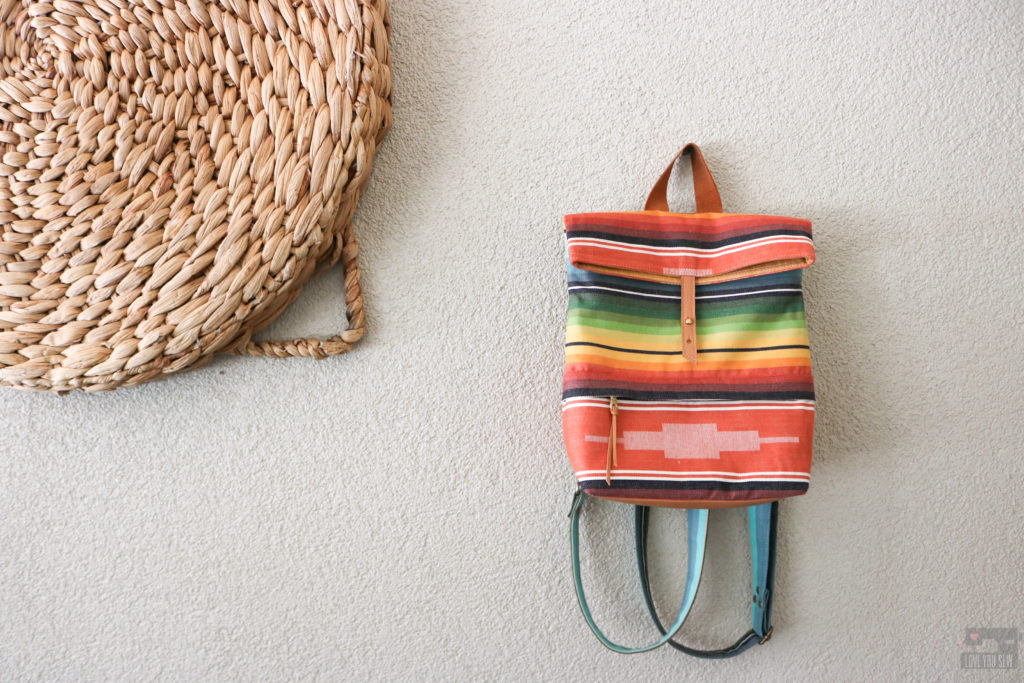
My Abbey is one of my nieces with a such a kind heart and adventurous spirit.  She is incredibly intelligent and is now a physical therapist in Michigan.  She has always been a straight shooter and that’s why I love her and hope to catch her sometime this summer.  Abbey is quite the outdoors-person and goes backpacking on her own all the time.   This southwestern-insprired woven fabric reminds me of her and all the probable sunsets (and sunrises) she’s seen on her many trips.
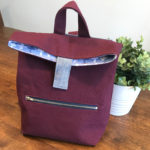
Front Zipper Cover

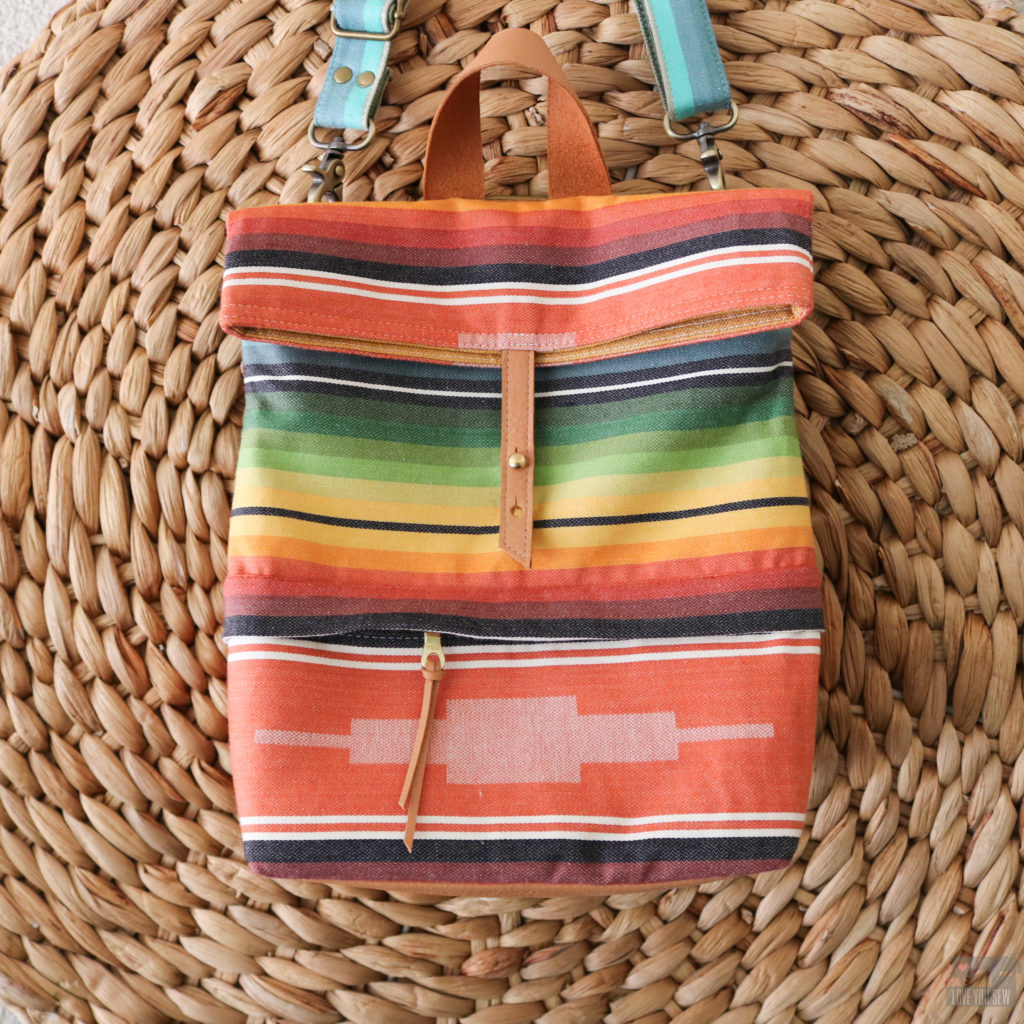
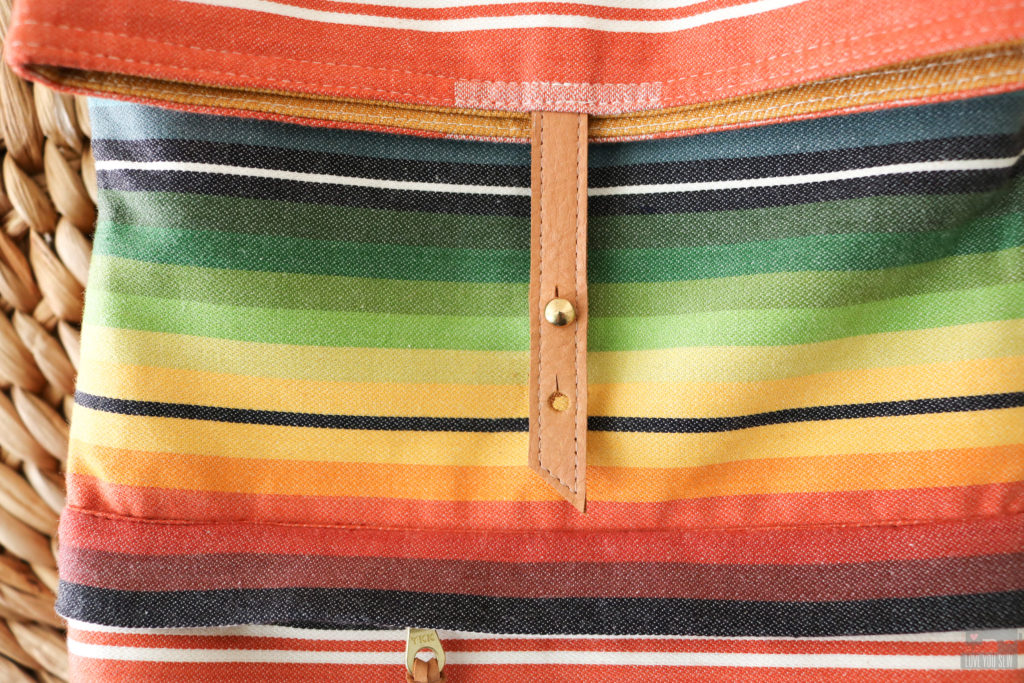
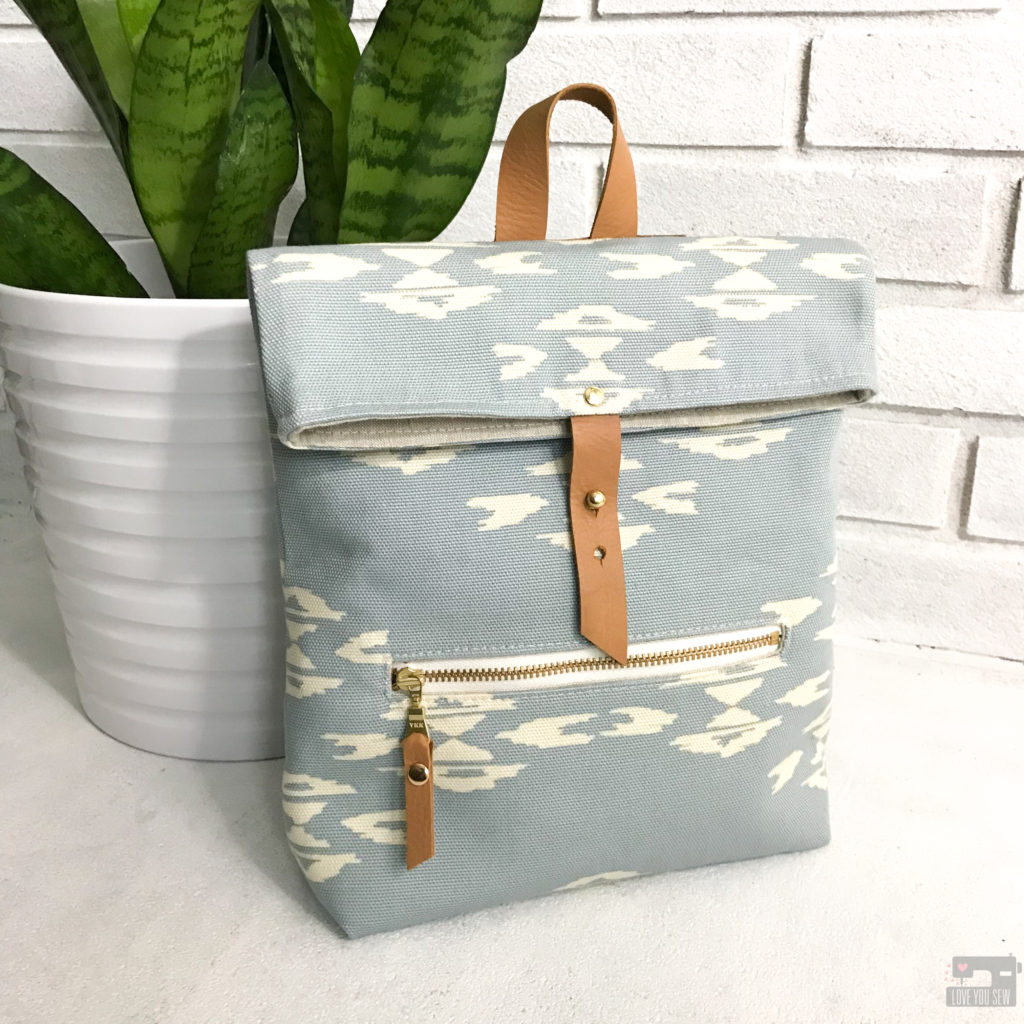
With the bold stripes on this woven fabric, I thought the exposed welt zipper on the original sewing pattern broke up the fabric design too much.  I wanted the stripes to continue all around the bag to show off its beauty and not compete with it.  So, I made a simple cover by creating a tube which runs the length of the bag and is secured right above the zipper opening.

To make the cover, follow all of the steps to complete the welt zipper pocket on the original pattern found here and then:

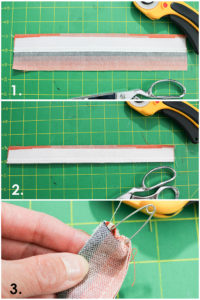
  1. Cut (1) 12″ x 2 1/2″ of Main Fabric and (1) 12″ x 1″ of Woven Interfacing.  Fold the Cover in half length-wise with right sides together.  Place the long edge of the woven interfacing wrong side together against the fold. Fuse the interfacing per manufacturer’s instructions.
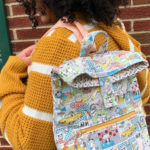
  2. Re-fold the Cover with RST and sew 1/4″ seam along the raw long edge creating a tube. Back-stitch well
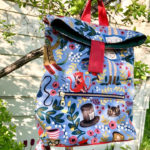
  3. Use a safety pin and attach it within the seam allowance.  With the safety pin closed, push it through the tube.
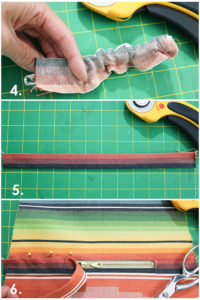
  4. Carefully direct the safety pin through to the other side of the tube pulling the tube right side out.
  5. Press the tube flat with seam at the top.
  6. Line up the Cover with the Welt Zipper opening covering the top-stitching and extend that line all the way out to the sides of the Front Exterior.  Pin the Cover into place.  Carefully top-stitch the cover to the Front Exterior with a 1/16″ seam allowance using a zipper foot and moving the zipper pull out of the way, as needed.  Trim the sides of the cover to match the sides of the Front Exterior.  Sew the rest of the Abbey as instructed.

Rivet Accents

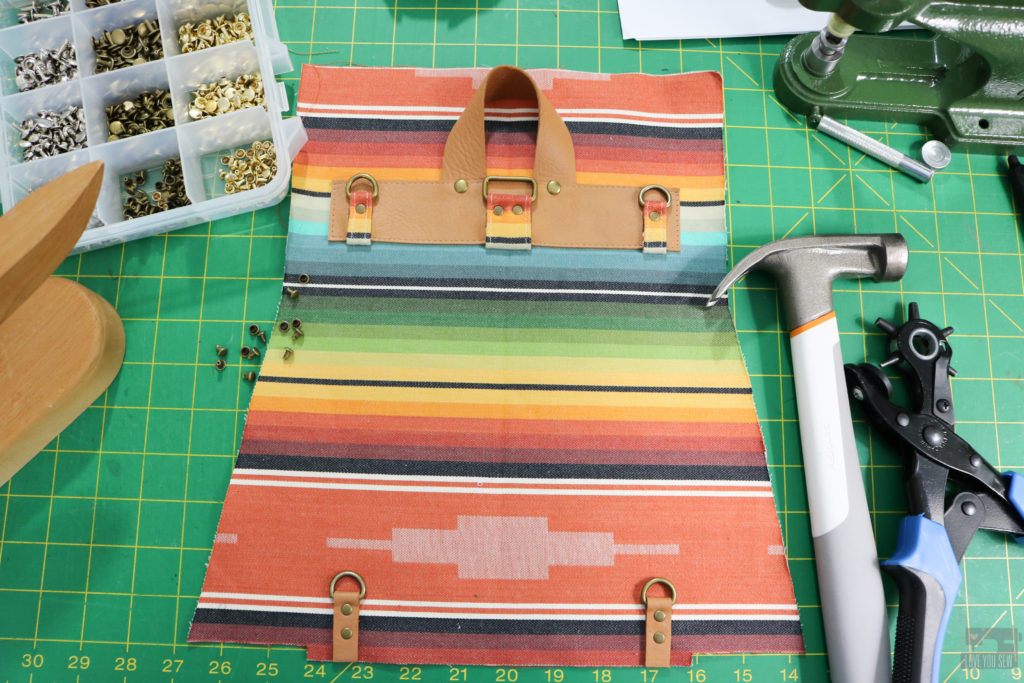
I LOVE adding rivets to my bags.  They give such a professional and polished look which really elevates any handmade accessory.  The best part is they are also functional — allowing me to secure parts (especially thick substrates) of the Abbey together which would otherwise have to be sewn.

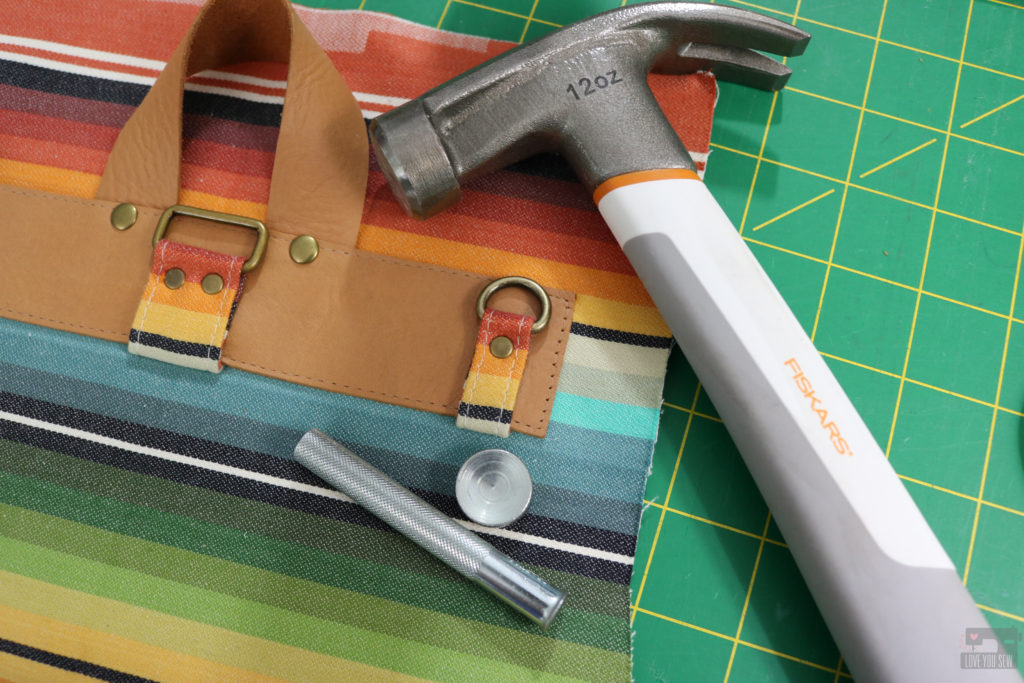
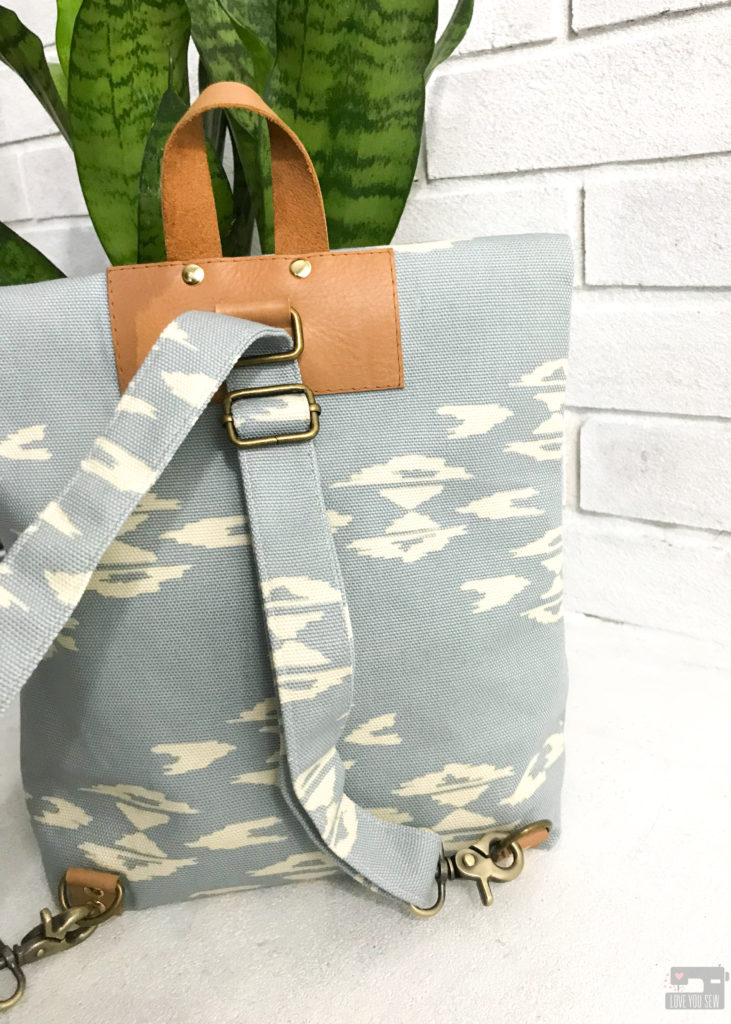
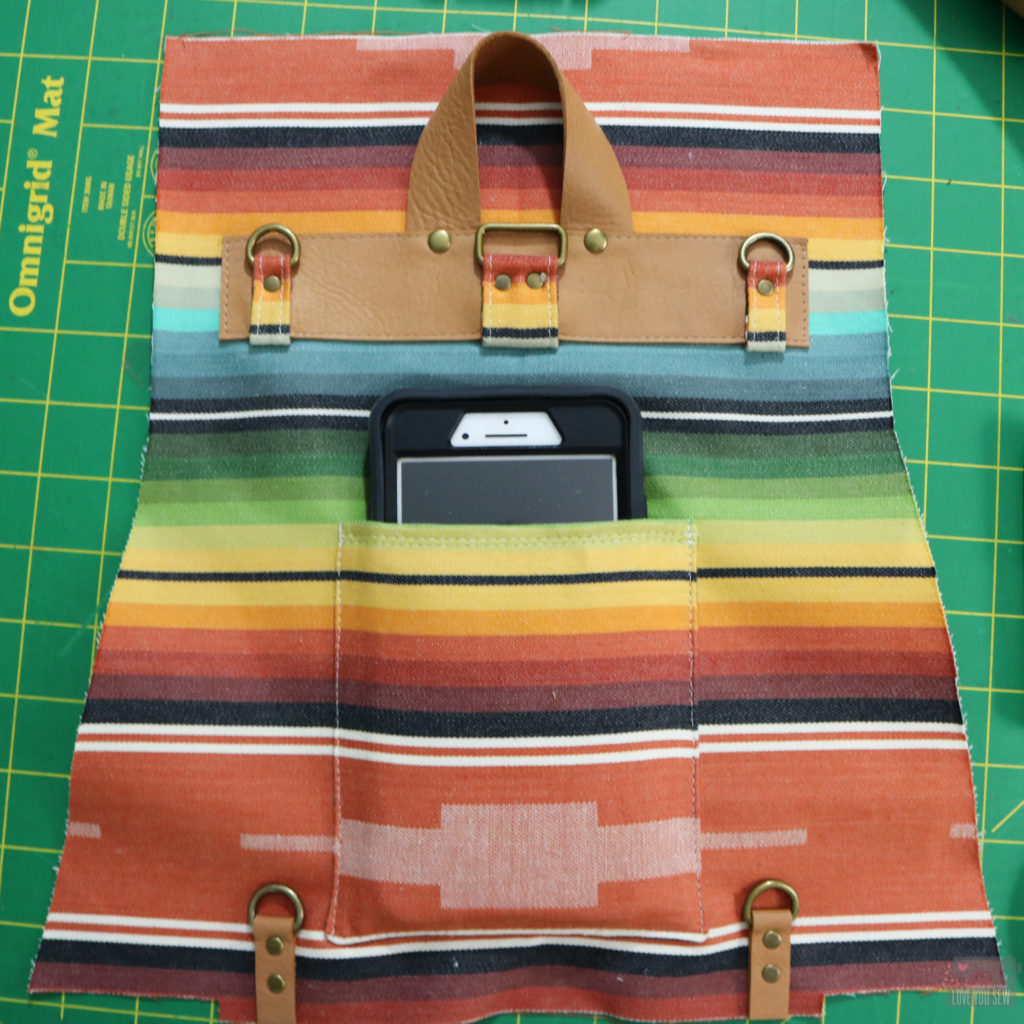
Rivets were used in making the strap and also at many of the connection points with all the hardware connectors. You can see how I used two different sized caps to vary the look.  I use a hardware press to install most of my rivets, but when I need to get close up to the rings like here on the Handle Base, I’ll use manual setting tools like this set from Tandy Leather (aff link.)

Leather Closure Tab with Button Stud

As part of the cutting instructions of the Abbey Convertible Backpack, I also added in finished dimensions if you would like to use leather, vinyl, cork or suede accents, like I did with this bag.  I used leather with the Handle, Handle Base, lower D-Ring Connectors, Bottom and Closure Tab.  However, I did change up the Closure Tab with the addition of a Button Stud.

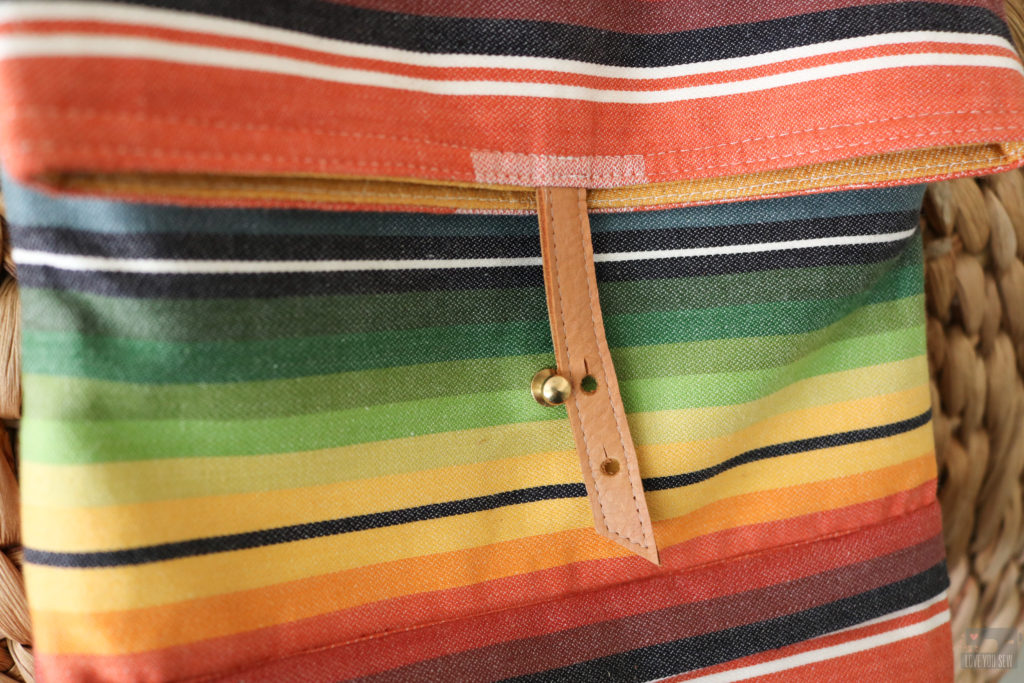
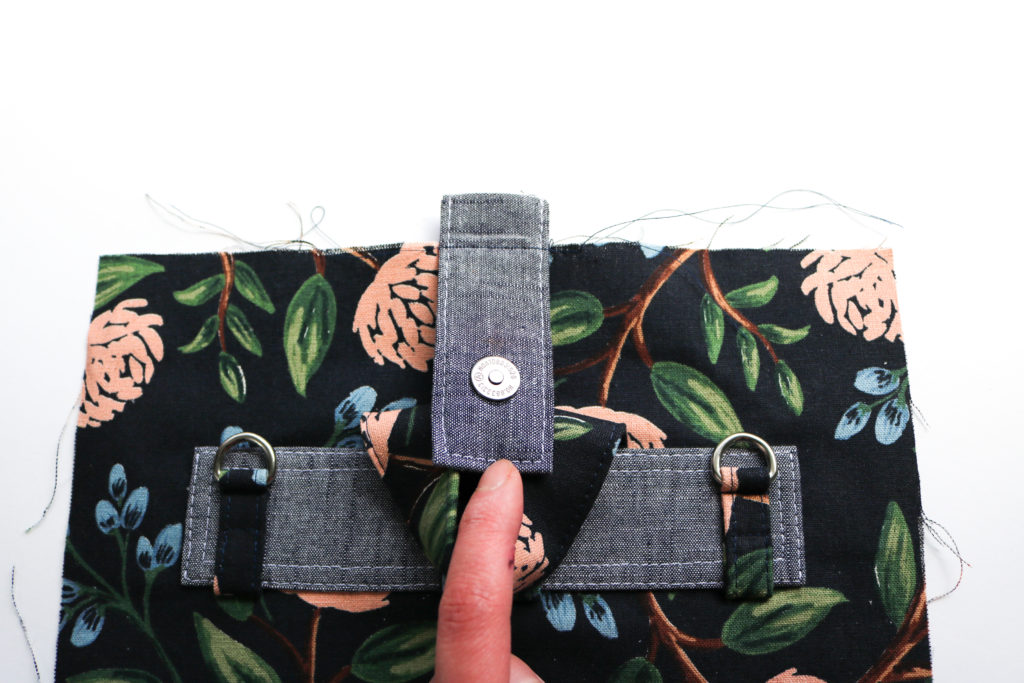
I used a 8mm brass screw-in Button Stud (aff link) in lieu of the magnetic snap to keep the bag closed.  It was attached it to the Exterior front by punching a hole for the screw (using the same placement as the magnetic snap) and adding a touch of glue inside the stud to hold.  It’s really that easy and a big reason why I love  to use them, just like with my free Kelly Waist Bag Pattern.

For the Closure Tab:

  • Cut (2) 1/2″ x 4 1/4″ pieces of leather and glued them wrong sides together. Cut an angle on one end 3/8″ down for just some visual interest.
  • Top-stitch 1/8″ all around the closure using a walking (or Teflon) foot and leather needle
  • For the button holes, use a 4mm hole punch to cut (2) holes –  1″ and 1 3/4″ from the longest end of the Closure Tab.  Add a 1/8″ vertical cut at the top of each opening.  This allows the Button Stud to fit through the hole, but not to fall out on it’s own with movement and wear.  TIP:  I would recommend adding the holes after the bag is fully assembled so you can check placement.

These are all simple hacks to really change up the look of the Abbey Convertible Backpack and to make it personal.  The leather accents help to add more sophistication to the look as well.  Who can tell this bag is even handmade?!?  I hope Abbey loves her new bag and continues to enjoys her outdoor treks!

Project Summary:


Are you digging the hacks to my bag patterns?   Let me know if there any you would like to see in the comments below.  I will try to make them happen!


Happy Sewing Friends,

Cristy


This post may contain affiliate links for which I may receive a small commission if you would make a purchase.  Any compensation goes directly to running this website and keeping it as ad-free as I can.  Thanks for your support!

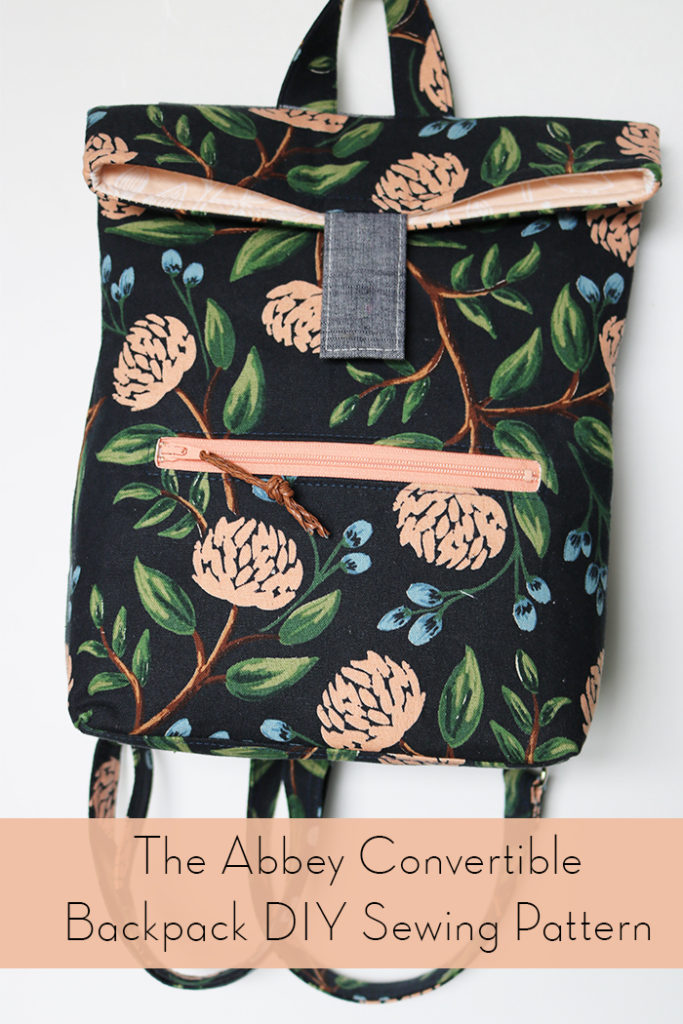
Abbey Convertible Backpack DIY Sewing Pattern

I’ve been on a long pattern writing break and look at me….I have two out in less than a month!  It might be all the inspiration I’m feeling or maybe it’s the fact that I’ve learned quite a bit more about designing now 🙂  It really is a combination of all the above along with clearing my plate of other sewing commitments so I can focus!  You can check out the FREE Kelly Waist Bag pattern  just released a few weeks ago here and keep on reading for the long awaited Abbey Convertible Backpack

Abbey Backpack by Love You Sew

At the end of 2017,  I was looking for a fun bag idea for my toddler niece.  But since she’s a little fashionista, I wanted to make her a “non-kid bag” and more of an “adult-bag”….just in a miniature size. With boho style hot at that minute, I remember seeing so many hiker style backpacks around with southwestern prints.  I had this great canvas fabric in my stash from April Rhodes and knew it would be perfect for my niece.

I made this little backpack just thinking it would be a one-off project — that was until I posted it on my Instagram.  That’s when all the comments and inquiries flooded in.  I had at least half a dozen people wanting to buy it.  But no, it was only for my niece. <3  Although I didn’t want to sell the actual bag, I knew I had a great design…especially as a kid-size bag that’s modern and something an adult might like….

Fast forward a year after learning to use some proper drafting software and I was set to tackle the longest and most involved bag I’ve written to date.  From the first design, much has changed.  The body is slightly larger and more pockets have been added inside and on the back. The most significant change is the additional hardware to make the Abbey a completely convertible adult bag too!

Abbey Crossbody by Love You Sew

With a quick switch of the swivel clasps from the lower connectors up to the top ones, the backpack changes to a cross-body!  This allows the Abbey to be such a versatile bag and can change with you depending on the situation.  ‘Sometimes you just want your bag out of the way and sometimes you need all the access to it — I get it!  Additionally, the Abbey also has these features:

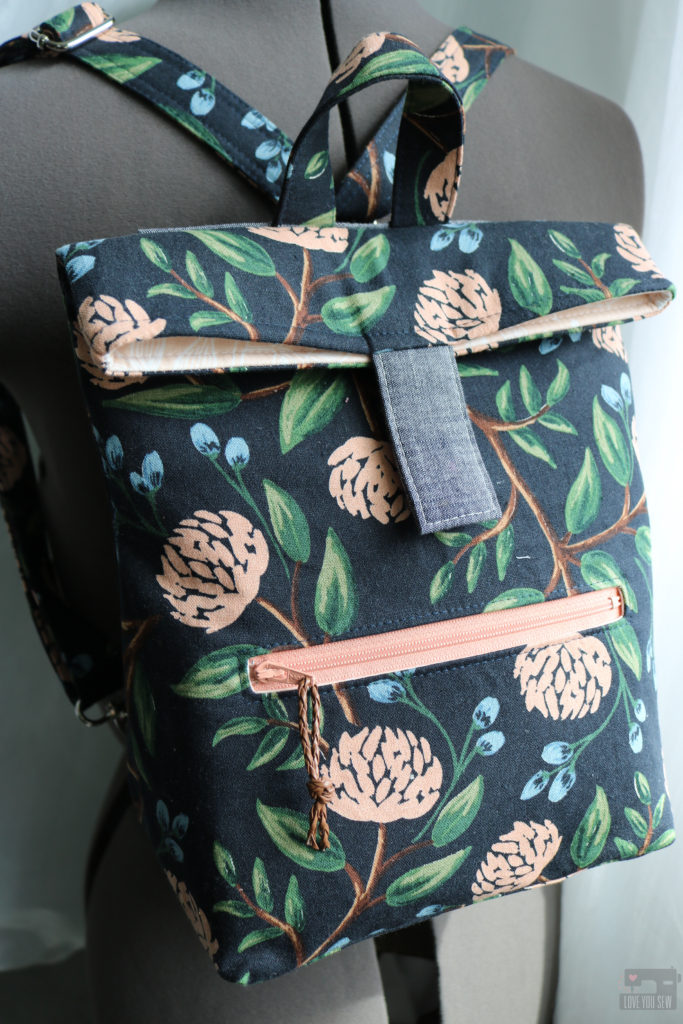
  • Convenient front zipper pocket for keys, chapstick or change
  • Magnetic snap tab closure for easy access to the main compartment
  • Back slip pocket – perfect for your phone, boarding passes or concert tickets
  • Interior zipper pocket to keep valuables safe
  • A generously sized adjustable strap which can be used for the backpack or crossbody

As a bag-maker, you will love having this unique design which you can (of course) keep, but also gift to friends and family, both young and mature.  I’m thinking some mommy and me versions would be so cute!  You will also learn some great techniques such as:

  • Installing magnetic snaps (with my tips to prevent the prongs from wearing through your fabric!)
  • Using three different types of interfacing for a structured, yet pliable bag
  • Creating zipper welt pockets
  • Making an adjustable strap
  • Construction style which leaves a clean and seamless base.
  • And I’m already working on some hacks to leave you with more options and ways to customize each bag you make 😉

Sonata Abbey Backpack

For some inspiration, you can check out my Sonata Fabric Showcase Tour here.  These were both prototypes as I was testing out interfacing combinations and still checking out which features to keep in the pattern.

  • The blue bag used foam interfacing which I thought was just too much.  The bag was not able to fold very well.  However, it uses leather accents which I do include in the cutting table.  (I will write a blog post for the zipper frame soon!)
  • For the pink bag, this was a test to see how quilt cotton would hold versus the recommended canvas.  It still had great shape and pliability, but some structure is lost.  Once the bag is filled up, it’s not that noticeable though.  This version is the lightest weight and great for using all of those cute quilt cotton prints for little ones.

If you need even more inspiration, you have to check out all of these amazing creations from my tester group.  These ladies are absolutely amazing and I could not make this pattern without all of their help!  You can click through each image below to direct you to the maker.

Pattern Summary:

I hope you enjoy this pattern as much I do!  Happy Sewing!


Cristy


Sonata Abbey Backpack

Abbey Convertible Backpacks with Sonata Fabrics

Happy New Year! Amy Sinibaldi is not wasting anytime bringing joy and beauty into the new year. She has a brand new fabric collection, Sonata, with an ode (pun intended) to classical music by Ludwig van Beethoven. Like Amy’s previous collections, these fabrics feature the most beautiful and delicate artwork. I love how her drawings are set against some sharp pinks and dreamy complementing blues with this release.

Abbey Backpack by Love You Sew with Sonata Fabrics

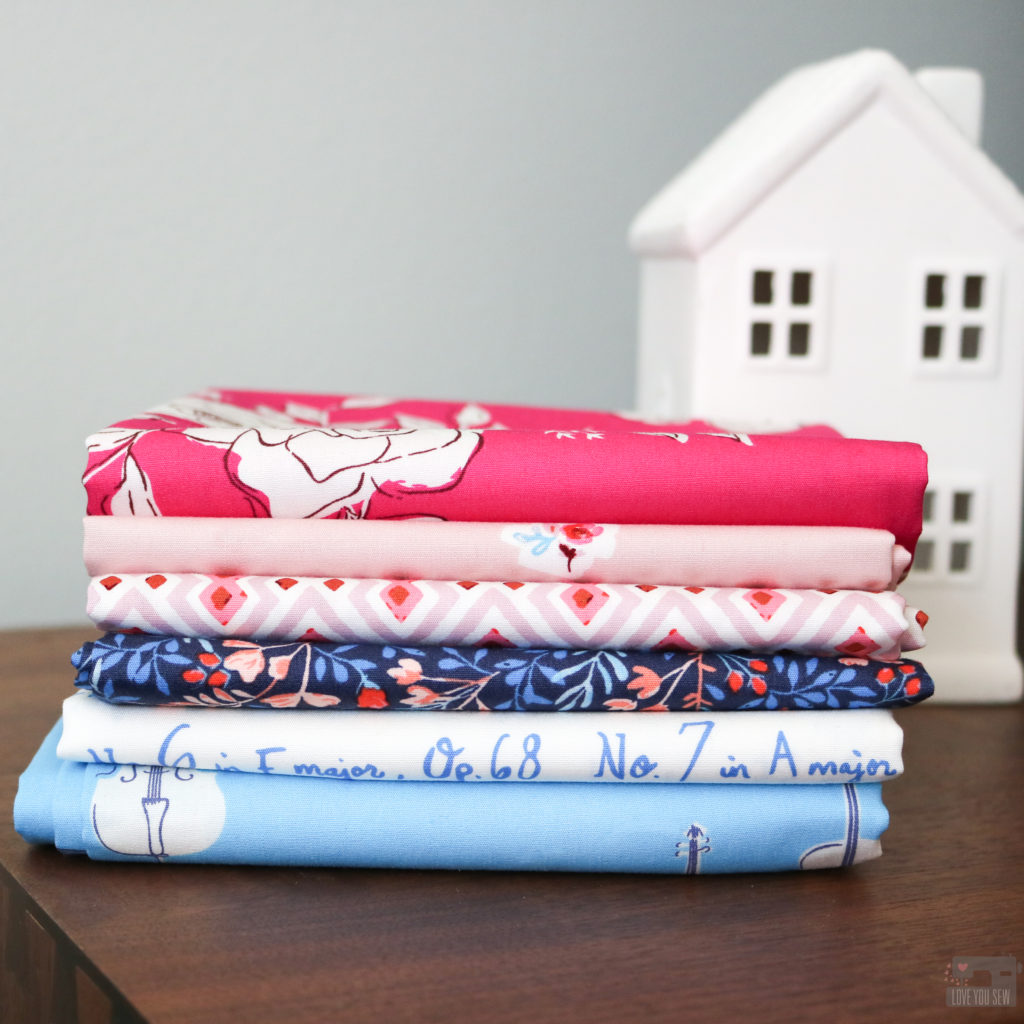
When I first laid eyes on these fabrics, I knew they would be perfect for my next bag pattern, the Abbey Backpack (estimated release in early spring.) These fabrics are so sweet and darling, that I had to pari them with my pint-sized mini bag. I chose the following fabrics from the collection (from top to bottom:)

Abbey Backpack by Love You Sew with Sonata Fabrics

When I first drafted this pattern, I though it would be a one-off design as a present for one of my nieces. But with the power of social media, you convinced me to turn my design into the Abbey Backpack. It’s been over a year since I made the first and only one…so trying to remember all that I did was a bit tough…

Abbey Backpack by Love You Sew with Sonata Fabrics

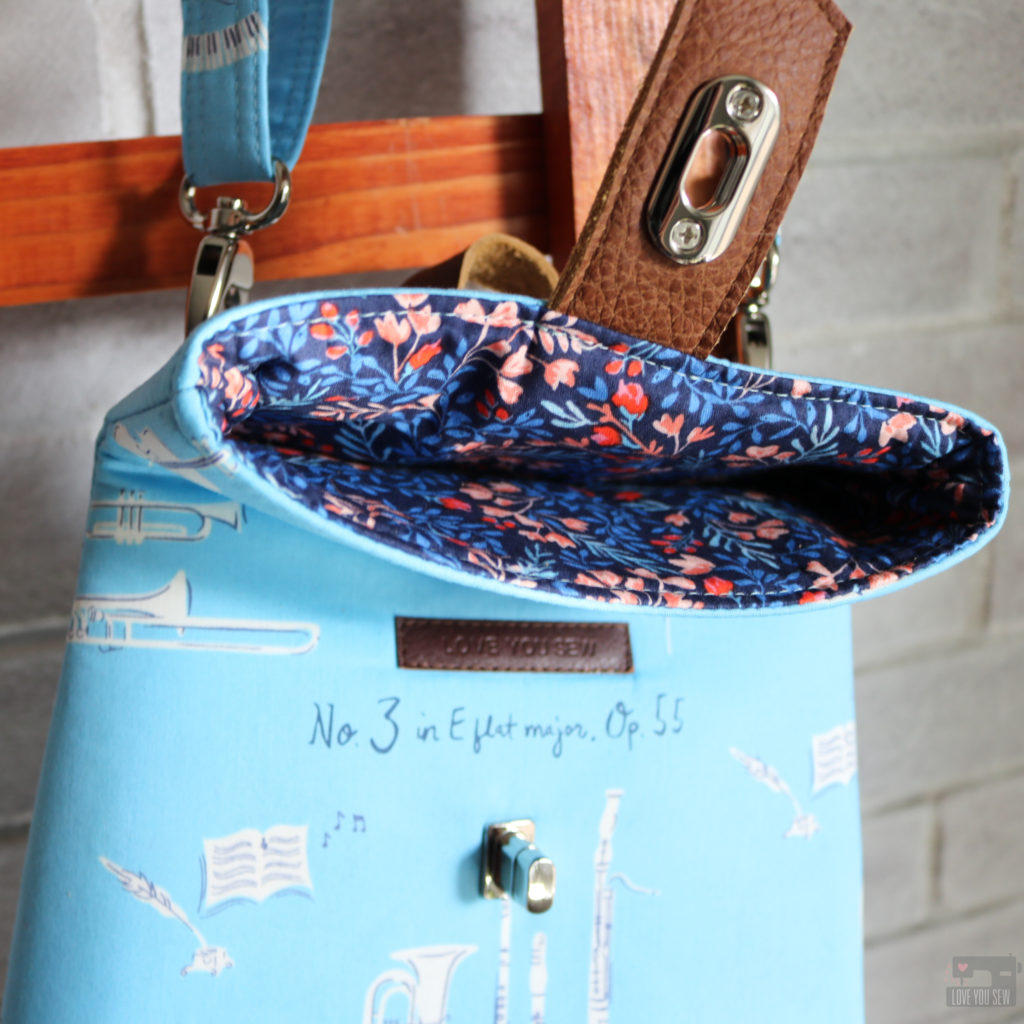
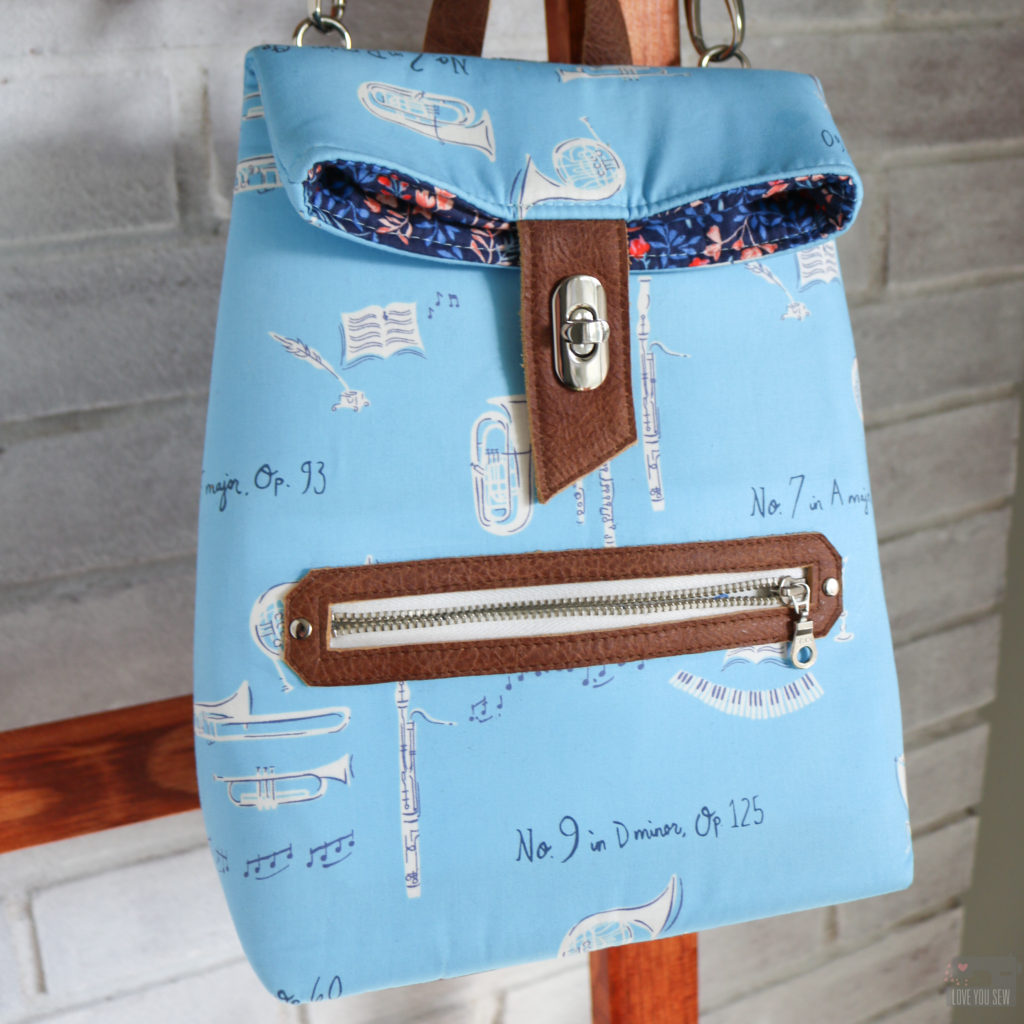
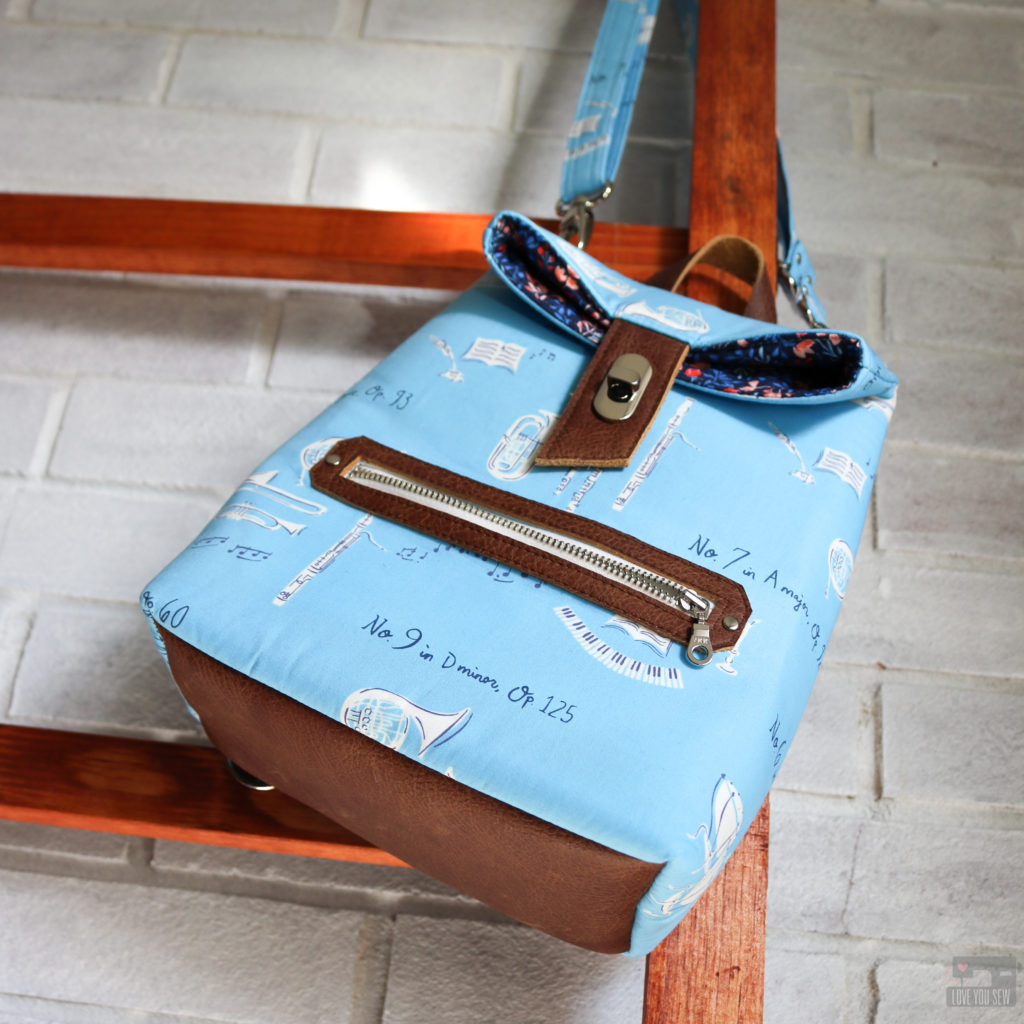
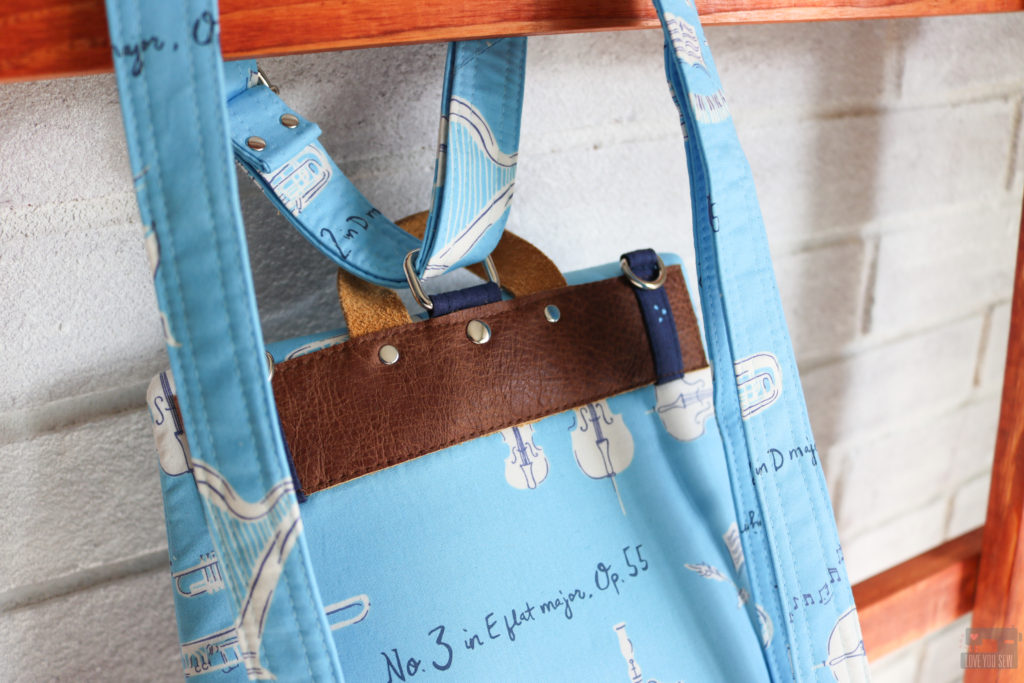
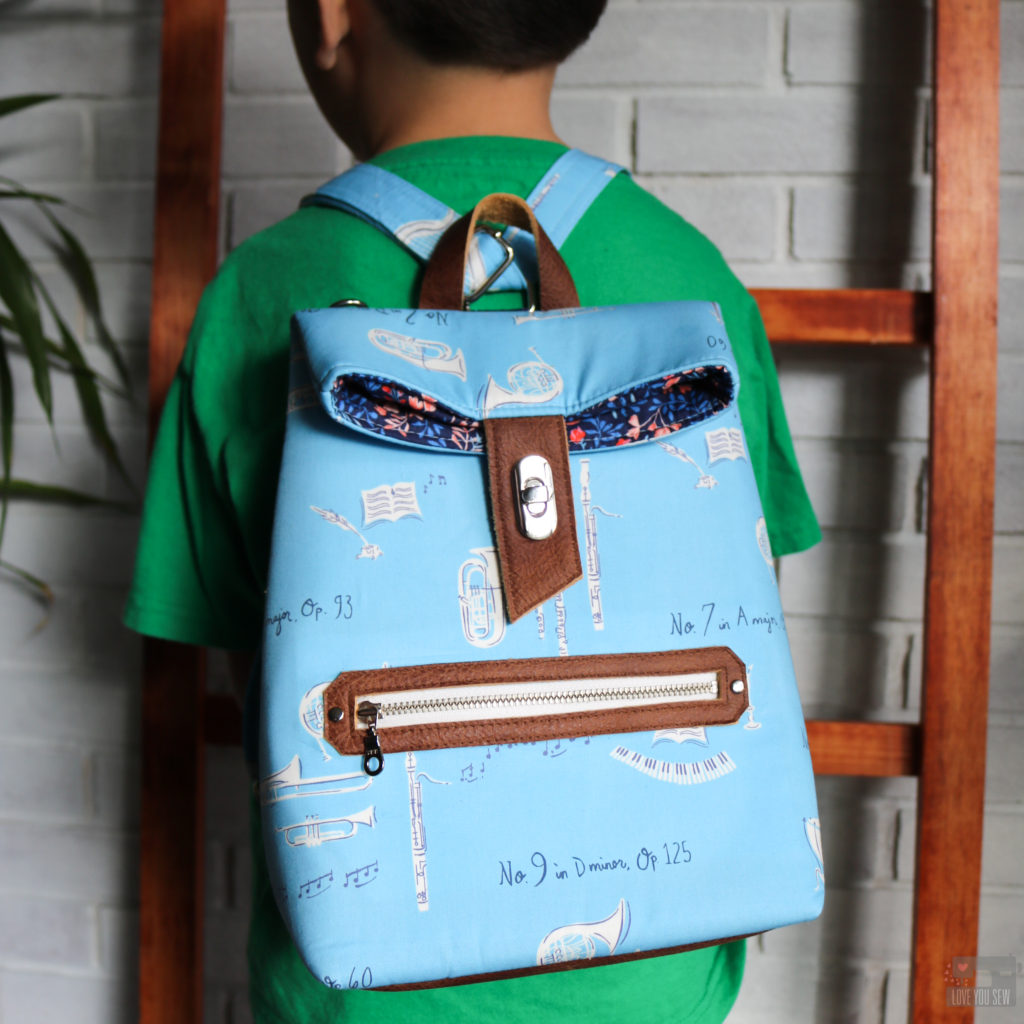
But I love a good challenge and like to play around with textures and techniques. With the blues of Sinfonie in Danube, I knew I wanted to make this bag a bit more masculine and added leather accents including this bit to frame the front zipper…and did you see the instruments?!?! In LOVE!

Abbey Backpack by Love You Sew with Sonata Fabrics

This deep cocoa brown leather was just a beautiful contrast…So I used it on the handle, on the back, the bag closure, and even on the base to help protect the contents.

Abbey Backpack by Love You Sew with Sonata Fabrics

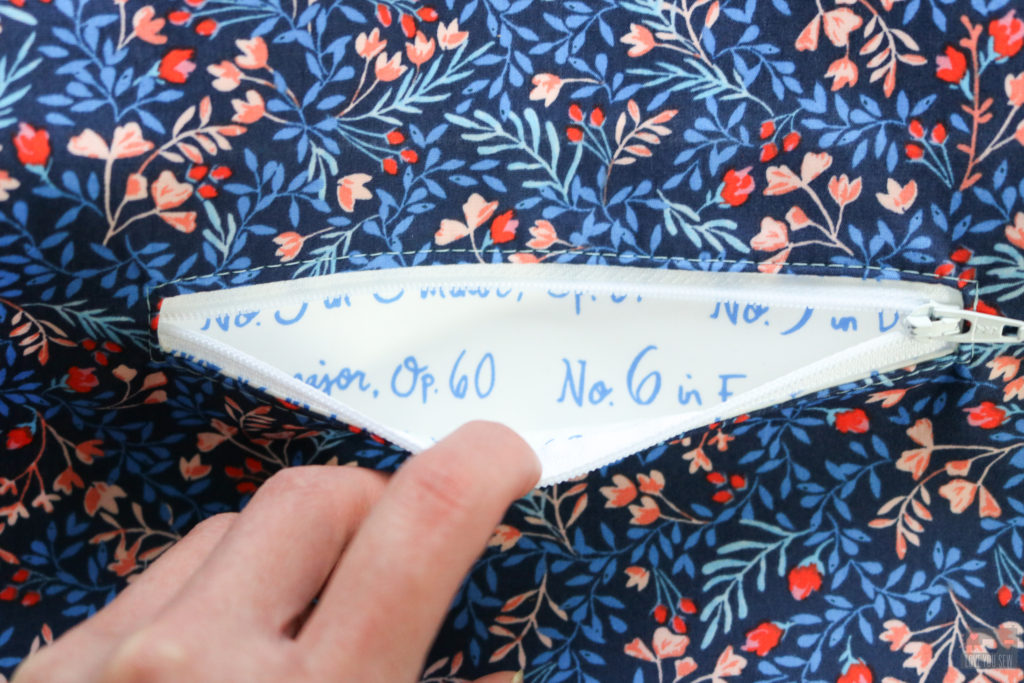
For my bags, I always love a good lining with some personality. Floral No. 9 Bold is just that. The coral and orangey-red flowers really pop against the navy background.

Abbey Backpack by Love You Sew with Sonata Fabrics

I also love a surprise in the pockets. When digging around, it’s nice to have pockets a different fabric from the lining so you can see where to put your belongings…amirite? 1812 is an elegant low volume print and perfect pocket lining.

Abbey Backpack by Love You Sew with Sonata Fabrics

As with most of my plans, there is always a change. I snuck in some of the Ink Thunder print with all of the hardware connectors to break up the free space on the leather and the exterior print.

Abbey Backpack by Love You Sew with Sonata Fabrics

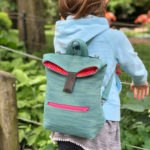
Since I designed this backpack for my young niece, this bag is smaller than your typical schoolbag, but still is great for all ages. Here is my (soon-to-be) 6 year old son modeling the Abbey.

Abbey Backpack by Love You Sew with Sonata Fabrics

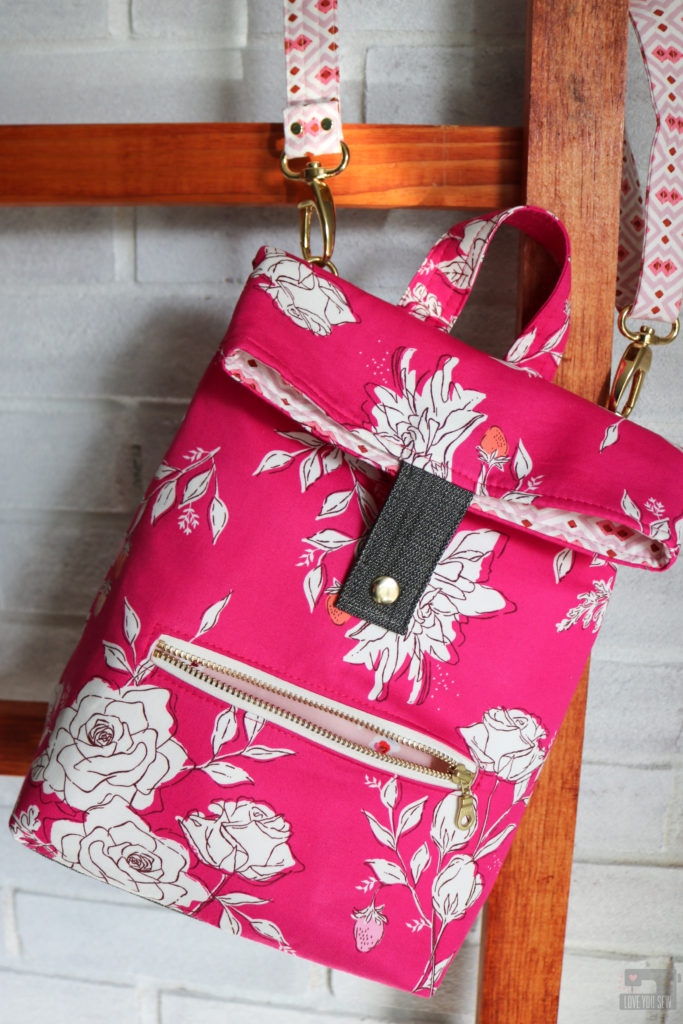
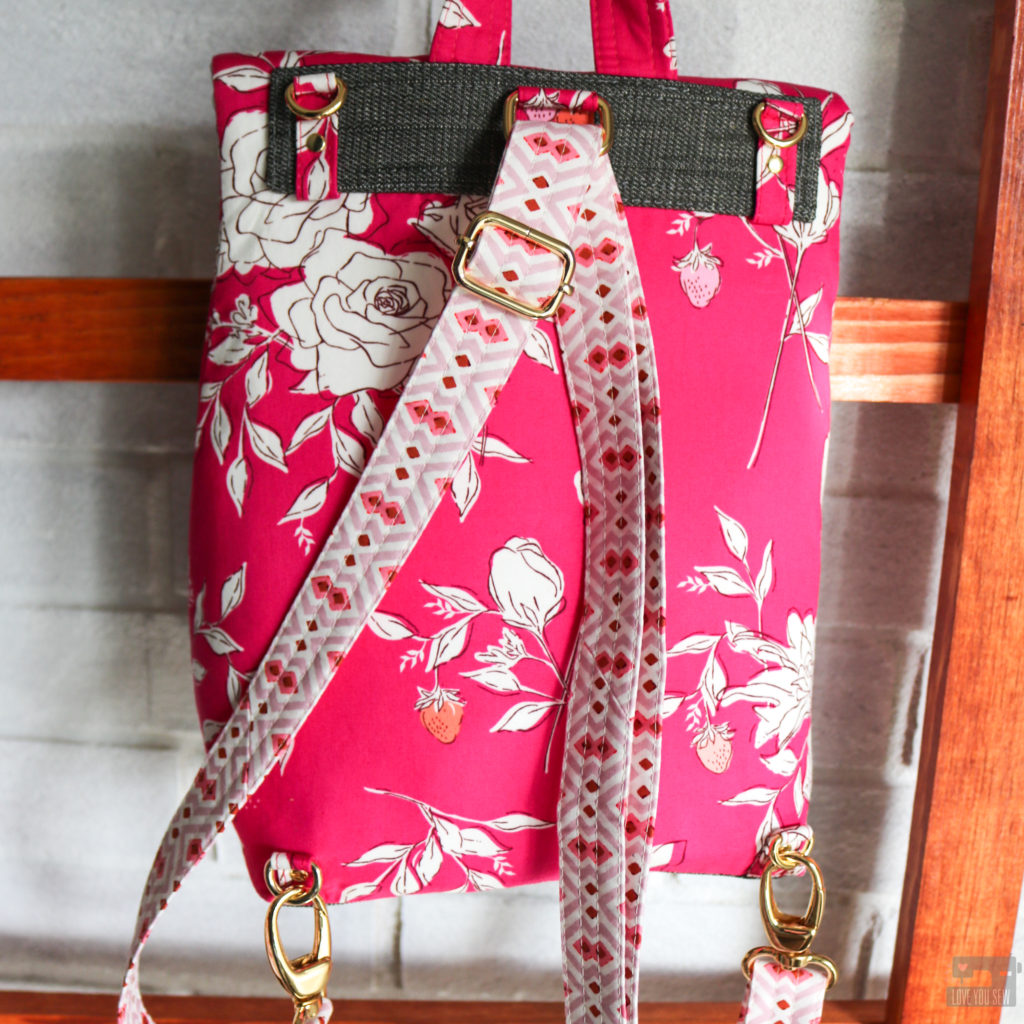
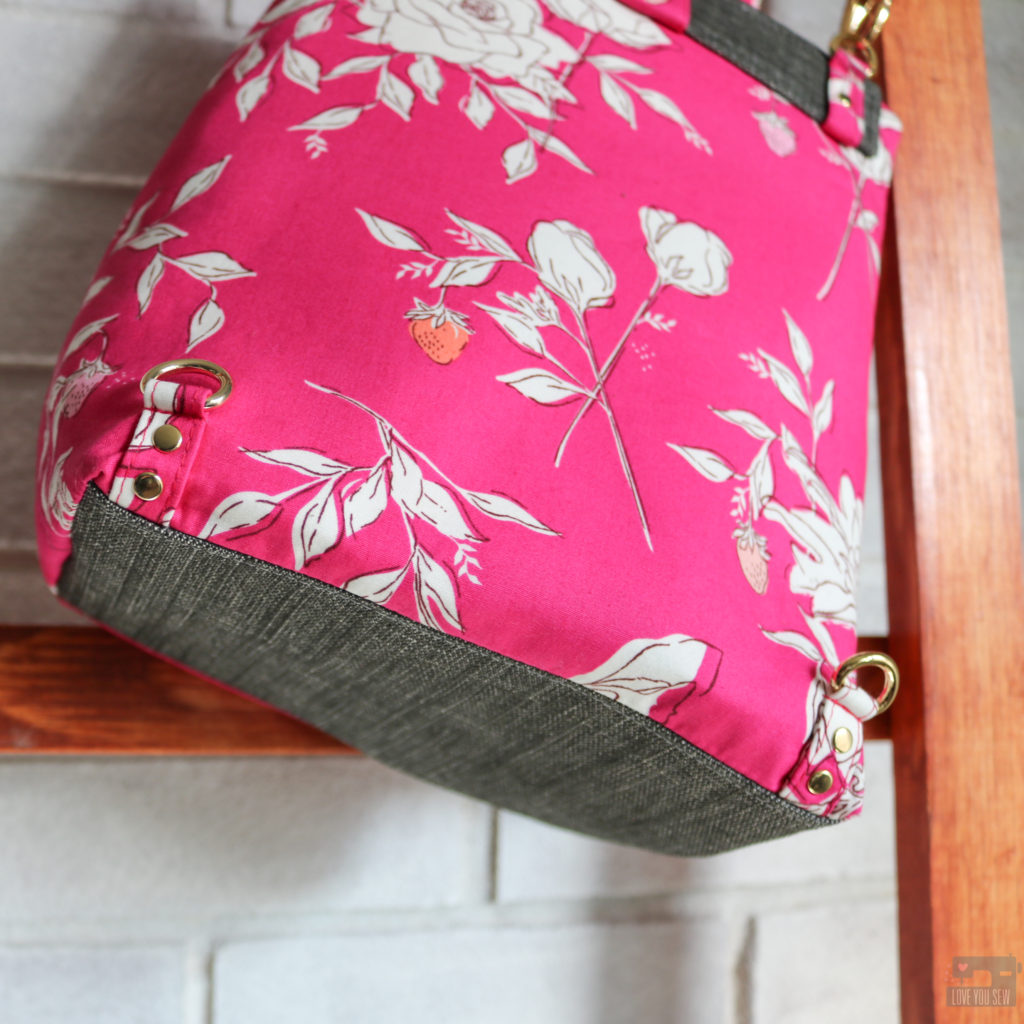
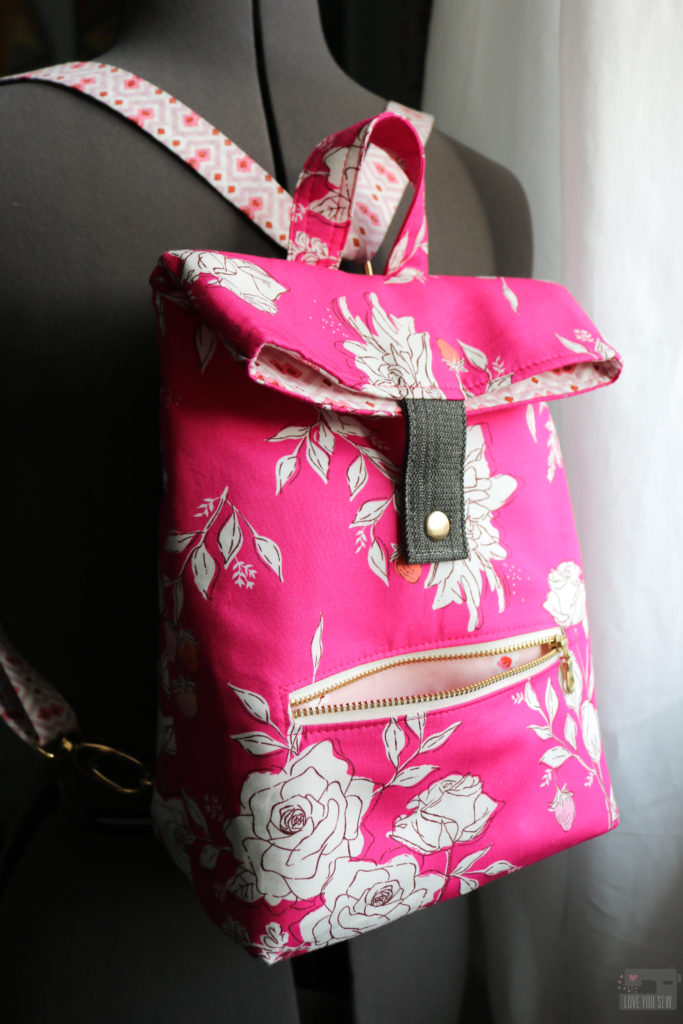
With two separate color ways found in Sonata fabrics, I couldn’t help but also make two bags! I changed up many of the details to give the same bag, a completely different feel — including switching up where the strap connects on the Pastoral Magenta (with the itty-bitty strawberries!)

Abbey Backpack by Love You Sew with Sonata Fabrics

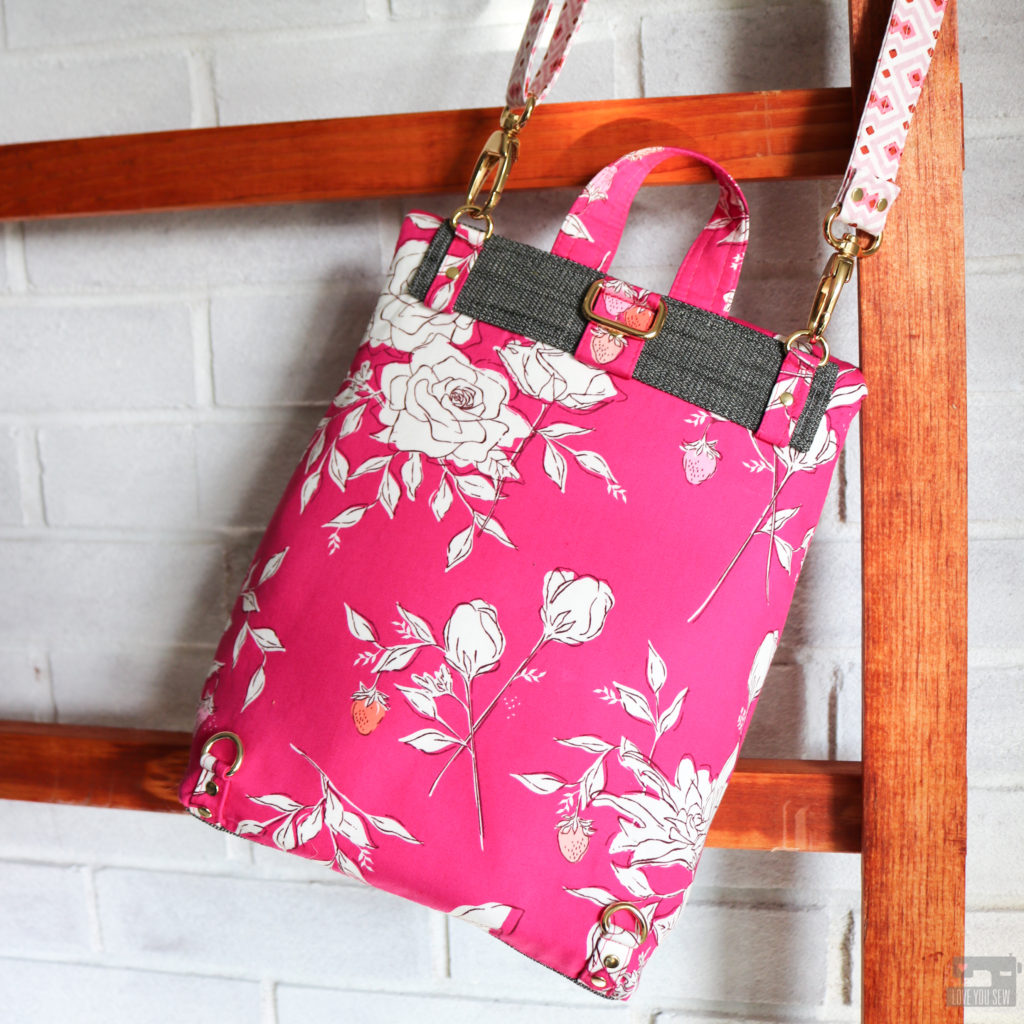
With the swivel clasps changed from the bottom D-rings to the top ones, the Abbey Backpack is now a cross-body bag! The adjustable slider allows you to change up the length of the strap for backpack or handbag use.

Abbey Backpack by Love You Sew with Sonata Fabrics

To change it to a backpack again, you detach the swivel clasps, adjust the strap length, fish it through the middle rectangle ring, and hook the swivel clasps back onto the bottom D-rings. Ta-da!

Abbey Backpack by Love You Sew with Sonata Fabrics

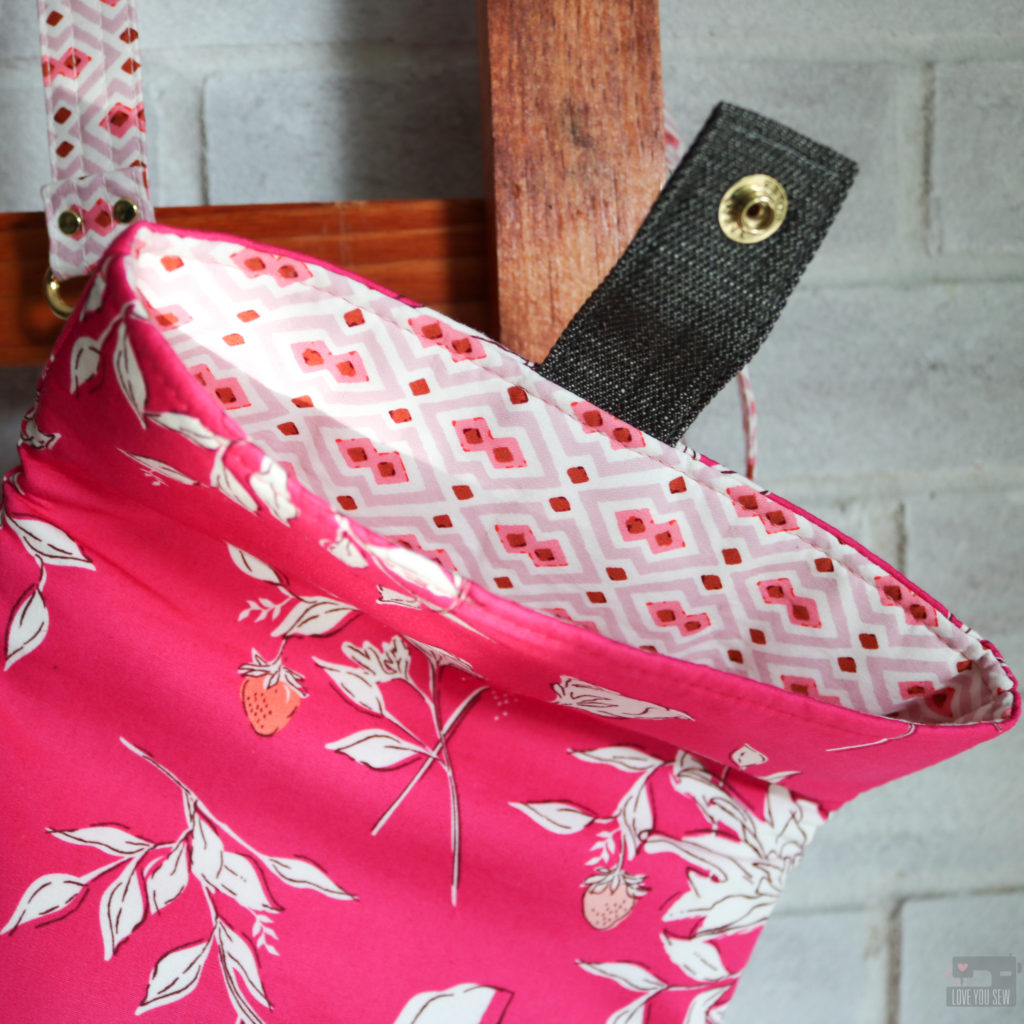
As the contrast substrate, I used AGF’s Solid Textured Denim in Evergreen Slate to line the bottom of both the exterior and interior of the Abbey Backpack. Since not everyone sews with leather, it’s nice to show another fabric like denim.

Abbey Backpack by Love You Sew with Sonata Fabrics

I loved Octet as the lining of the bag so much, I ended up using it also for the strap. The contrasting fabrics make the backpack so much more fun this way.

Abbey Backpack by Love You Sew with Sonata Fabrics

It was hard to photograph, but you know I got the Josephine Poetic in as my contrast pocket lining. You can see the pocket against this amazing magenta and the solid background shows again the Octet lining.

Abbey Backpack by Love You Sew with Sonata Fabrics

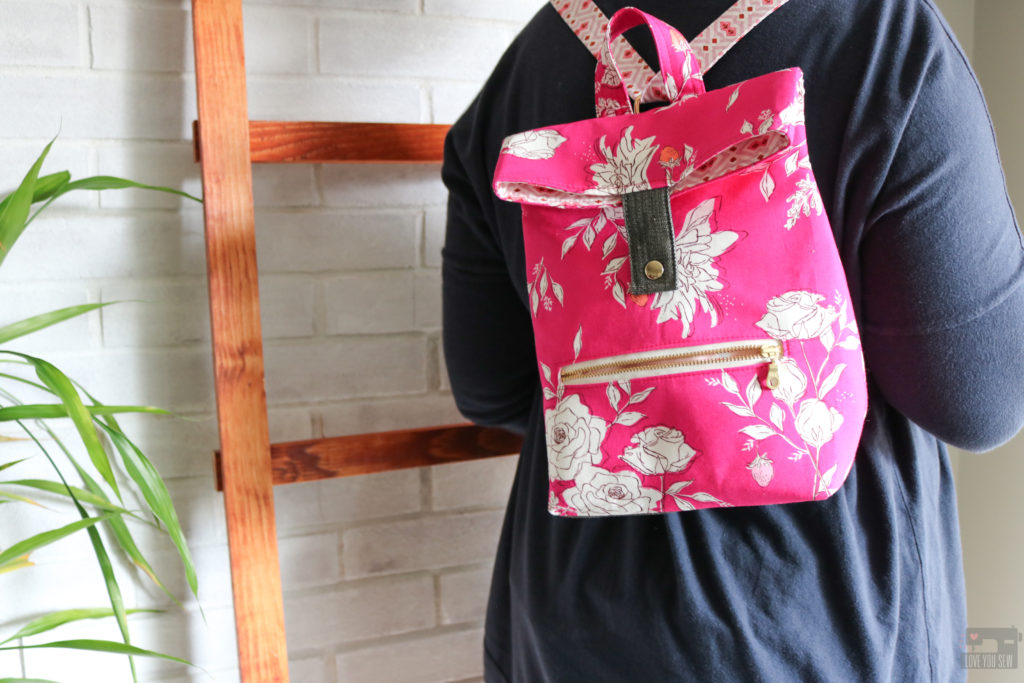
Look! The Abbey is just big enough so you can rock it as well. This is great light backpack for day-tripping or just running around town. When you get tired of taking it on and off, switch to a cross-body. How’s that for service? 😉

I hope you enjoyed some of my experimentation and thoughts on bag details. I’m not sure what will stay and what will go once the backpack pattern is published, at this moment. Let me know in the comments what you love the most, so I make sure to include it!

Don’t forget to swing by Amy’s blog to catch the whole Sonata Showcase. There are some incredible makes!

Happy Sewing, friends!

Cristy


Fabrics for this post were provided by Amy Sinibaldi as part of the Sonata Showcase.  All thoughts, opinions, and Abbey backpack design are my own.