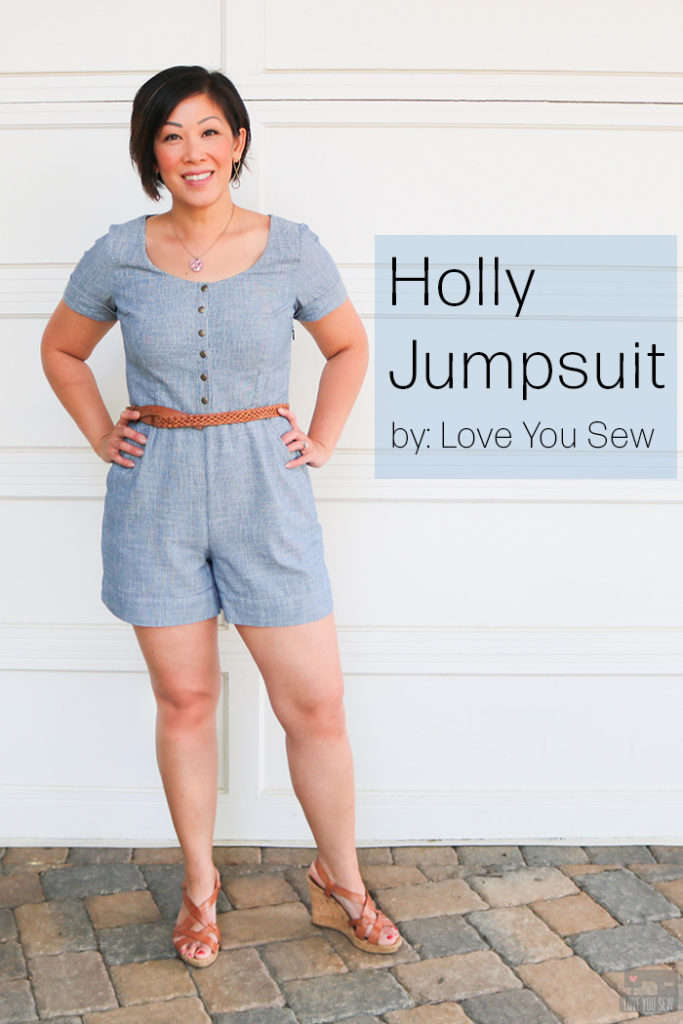
When I sew my own clothes, I like to know they will last for awhile. So when the jumpsuit and romper trend came out, I was very hesitant to make one. I wasn’t sure the one-piece look would be right on me. Oh, and there IS that issue of completely undressing when using the restroom! But alas, after a couple of years seeing so many different versions of a romper, I finally took the plunge with the By Hand London Holly Jumpsuit.
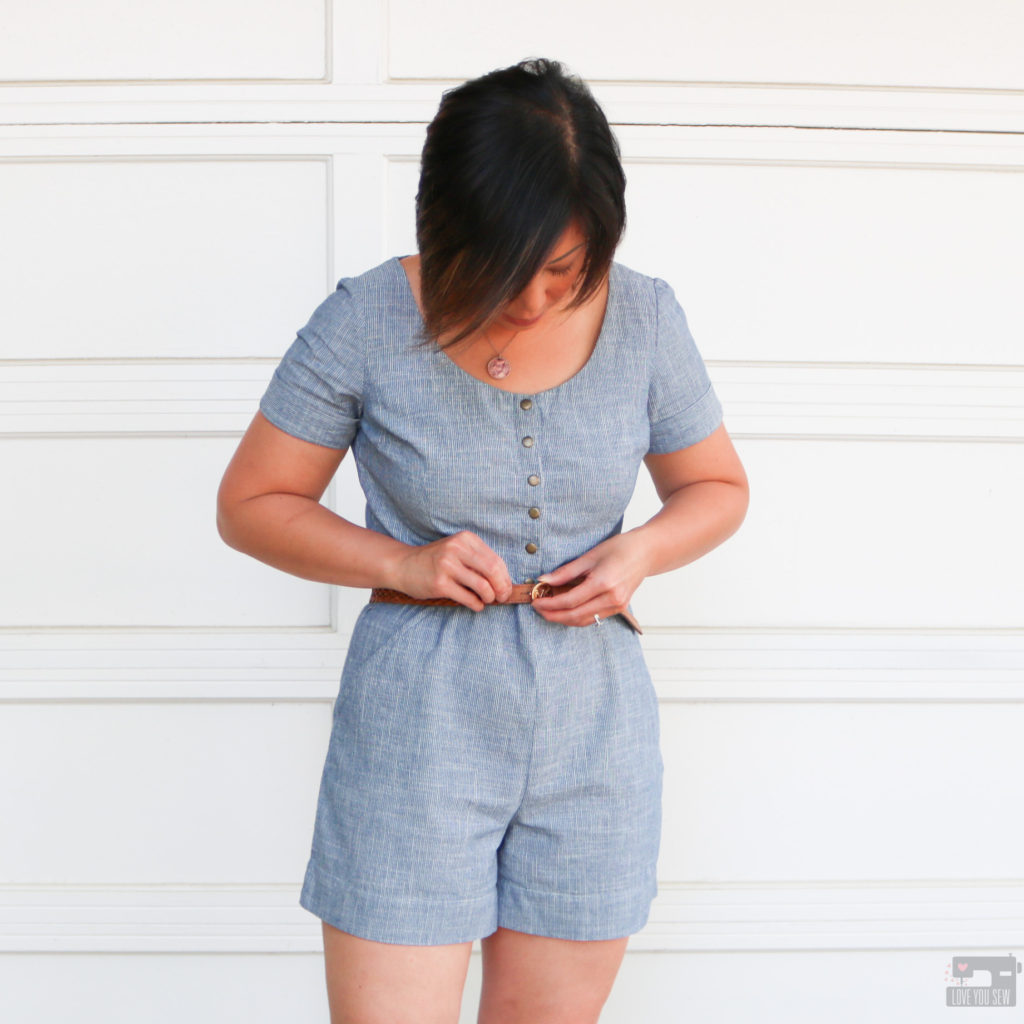
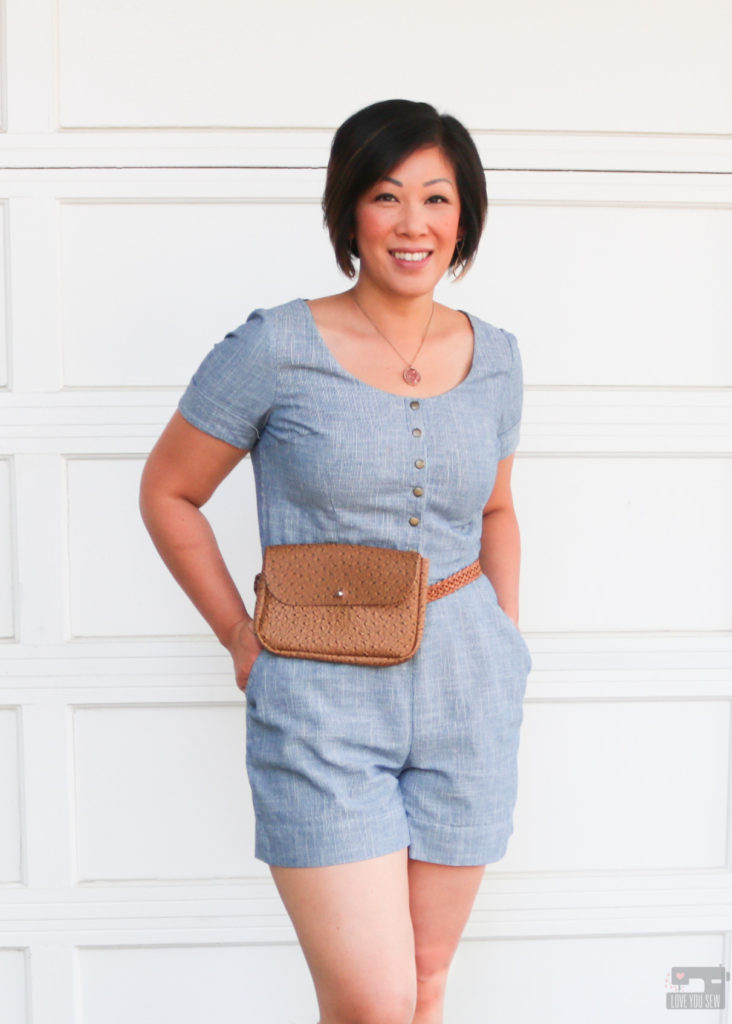
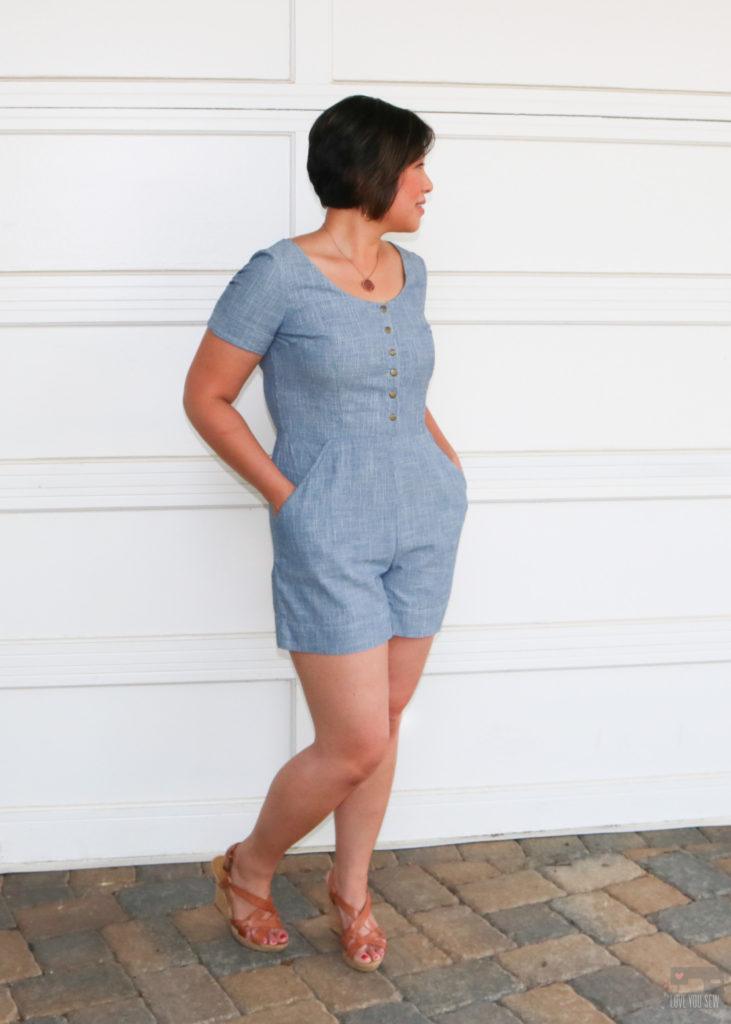
With many of the RTW rompers I’ve seen, they either have a very loose low v-neck wrap (probably for easier bathroom breaks) or the bottoms are way too short for my age bracket. I fell for the Holly Jumpsuit with the nice open scoop neck (while still being modest,) the tailored waist and the 4″ inseam which is long enough for me, but could be a little too short for all of you over 5’3″.

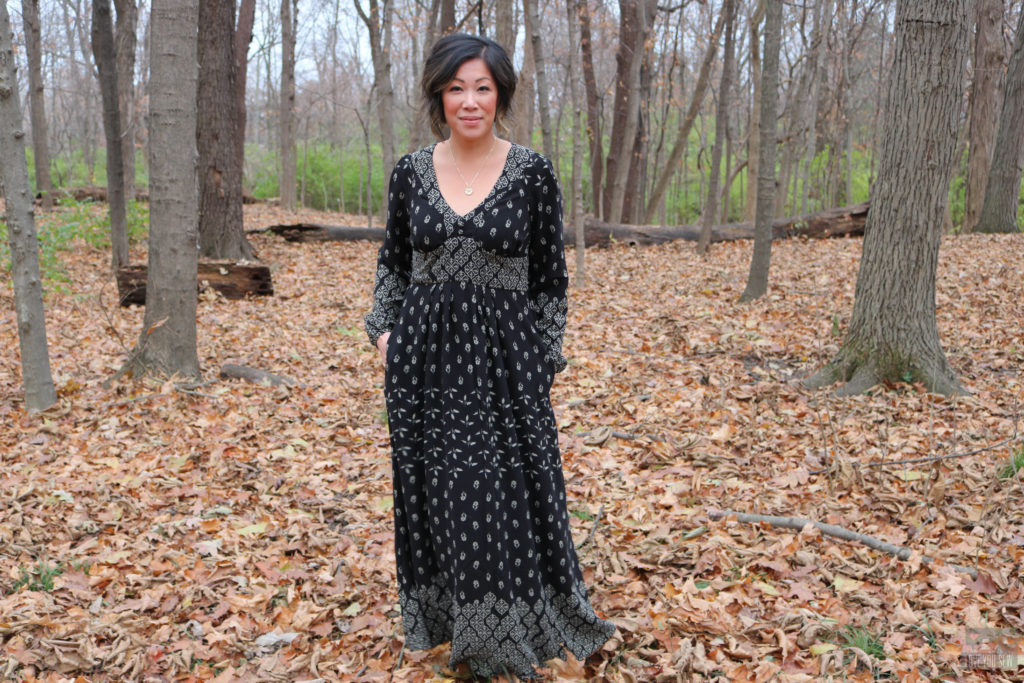
I initially bought the Holly Jumpsuit for the trouser view to help make a traditional Vietnamese Áo Dài. I loved the wide leg, high rise, and the clean waistband which was perfect. However, it’s now been a few years and the Áo Dà has yet to be sewn…I know, I know…it will eventually happen! However, I have made a pair of culottes using some rayon twill seen above. These are such a great summer make.
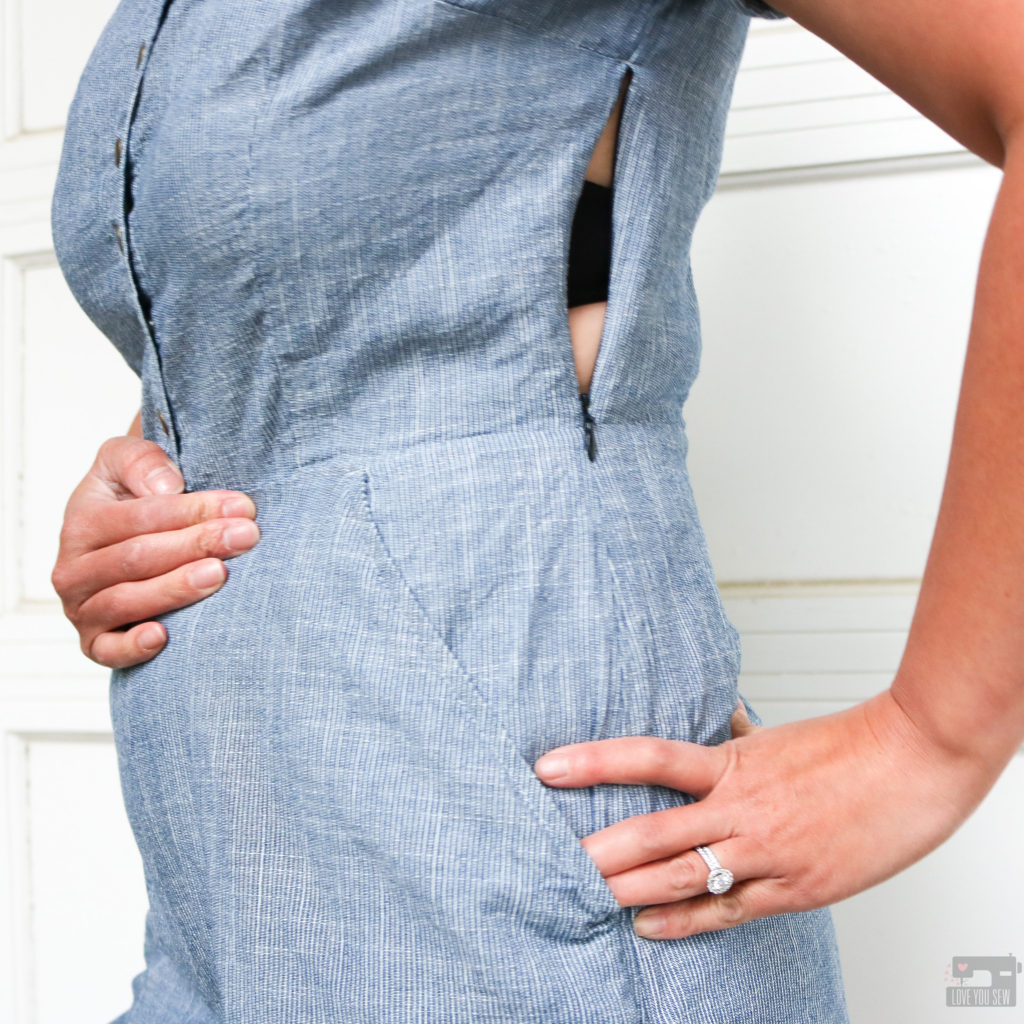
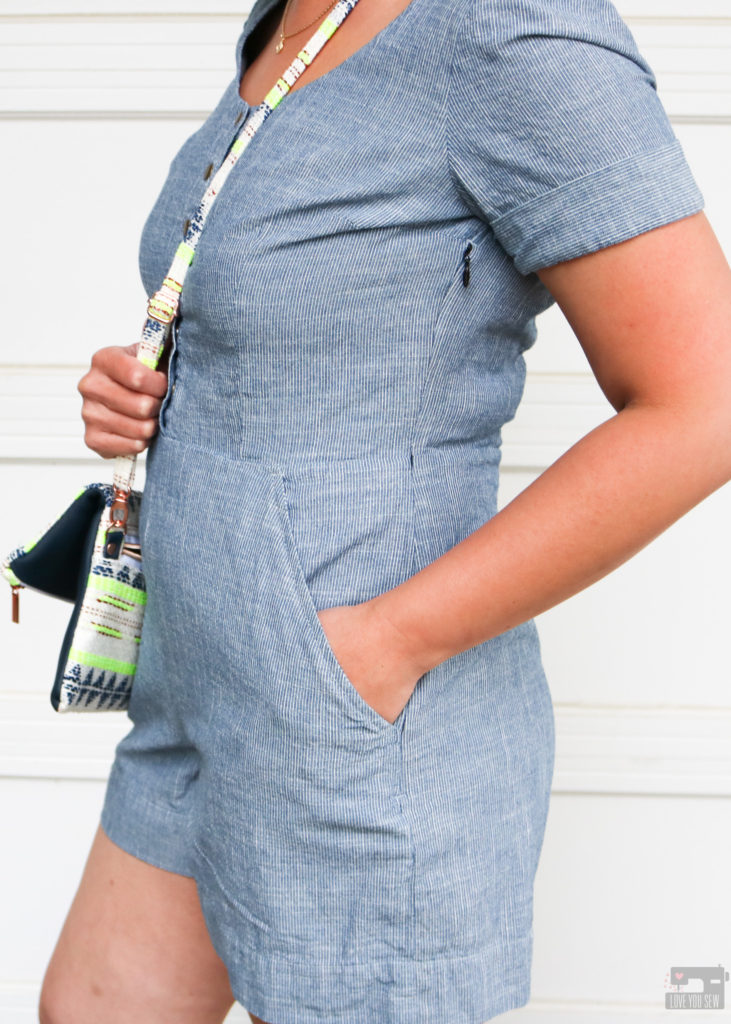
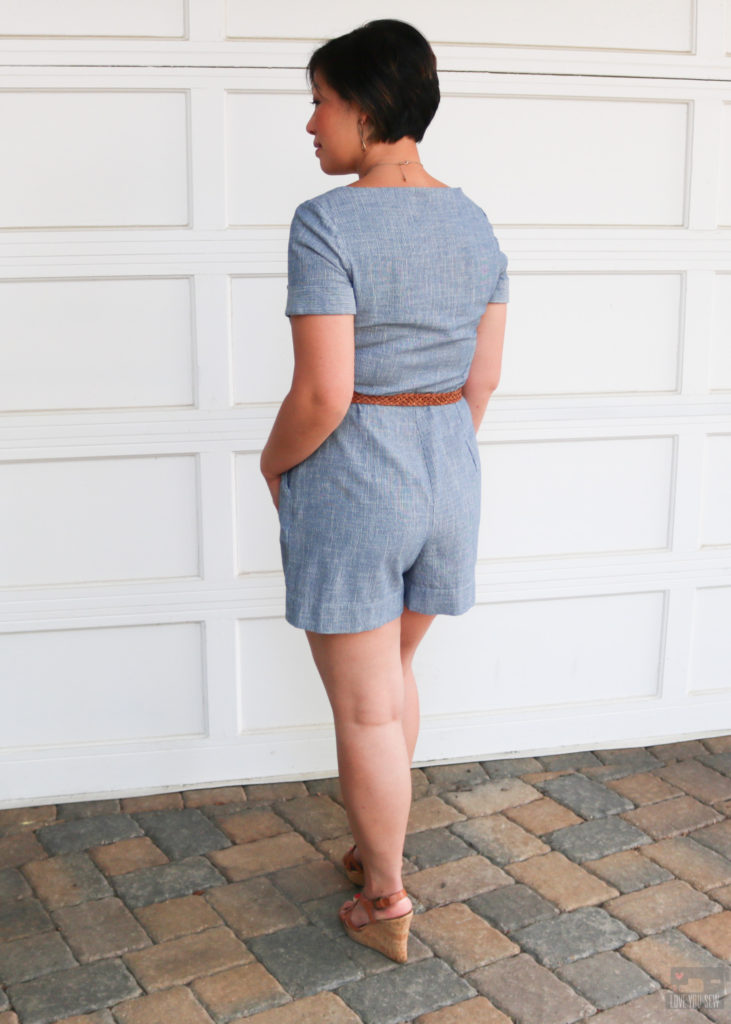
I know what you’re thinking….The big question with all rompers and jumpsuits is always, “How do you pee?” There is a nice long invisible zipper which extends from the side dart down to the hip. This allows you to slip the romper on and off in combination with unbuttoning the placket. I wish I had a blue zipper to match my Holly when I was making this in time for a party, but I went with the only invisible zipper I had on-hand — black. With the smart placement of the zipper, you can only see the pull when I have my arm up…and it’s still very discreet.
Fabric
When I was looking for fabric, I wanted something light enough to wear during warm weather, but structured enough to hold it’s shape and not wrinkle easily. Since this was my first romper, I also was looking for a simple print that could help camouflage any imperfections.
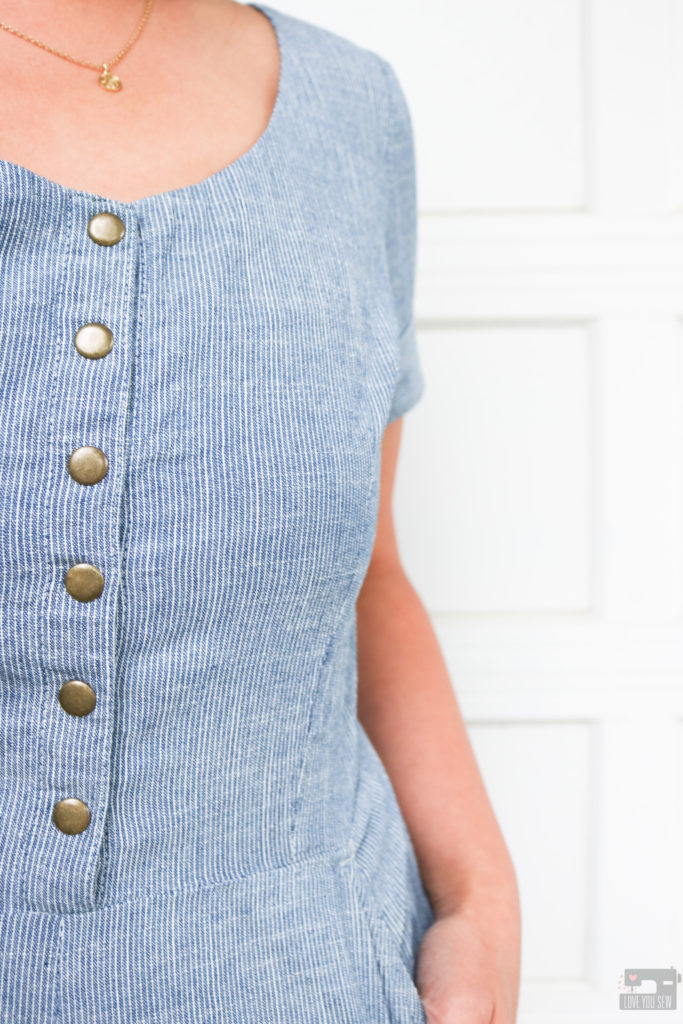
I was happy to find this great Vintage Chambray Stripes at Imagine Gnats. It’s a classic micro stripe with that railroad-esque feel. I love the blue and how neutral it is for any occasion. I can just switch up accessories to give it a different feel. At 4.5 oz this is still light enough with a soft hand and the 100% cotton content makes it breathable for the summer.
Pattern
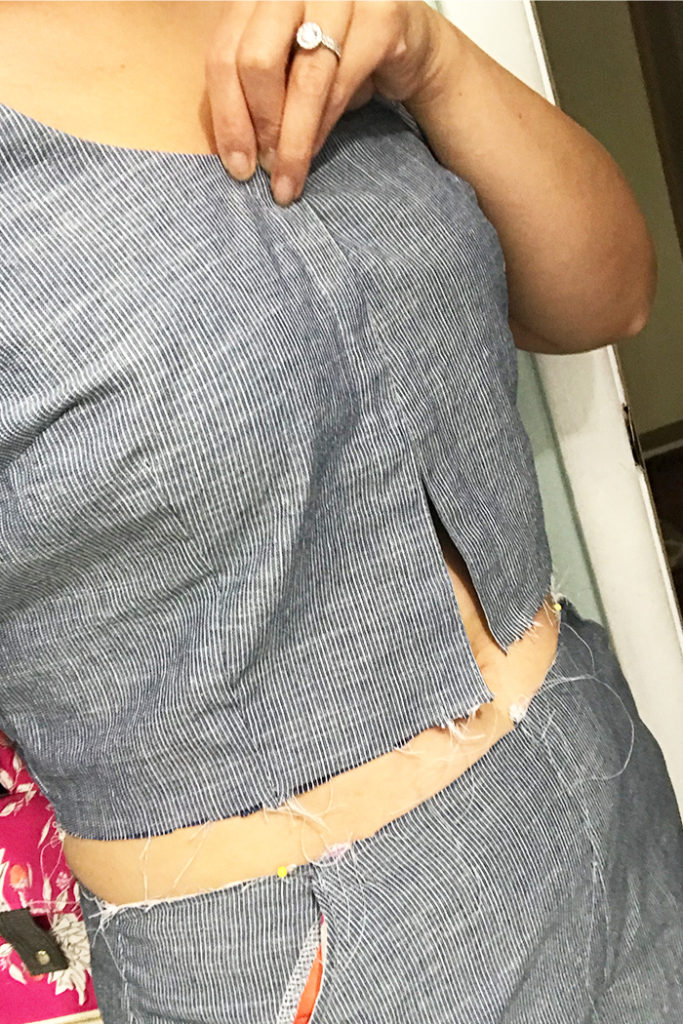
For the romper, I used view A and made a size UK10/US12 for both the bodice and bottoms based on my measurements. Since I already made the culottes, I knew I wouldn’t need any adjustments on the bottoms, but I did forget to take into account that I shortened the rise on them previously. So, my romper ended up being too short! *Cue head-slap* Fortunately, I had enough fabric (thanks to the extra wide WOF) left to remake the bottoms. Since there is no fly, it wasn’t too much of a set-back. I’ll turn the first set with the lower rise into shorts by adding on the waistband found in View C. Phew!
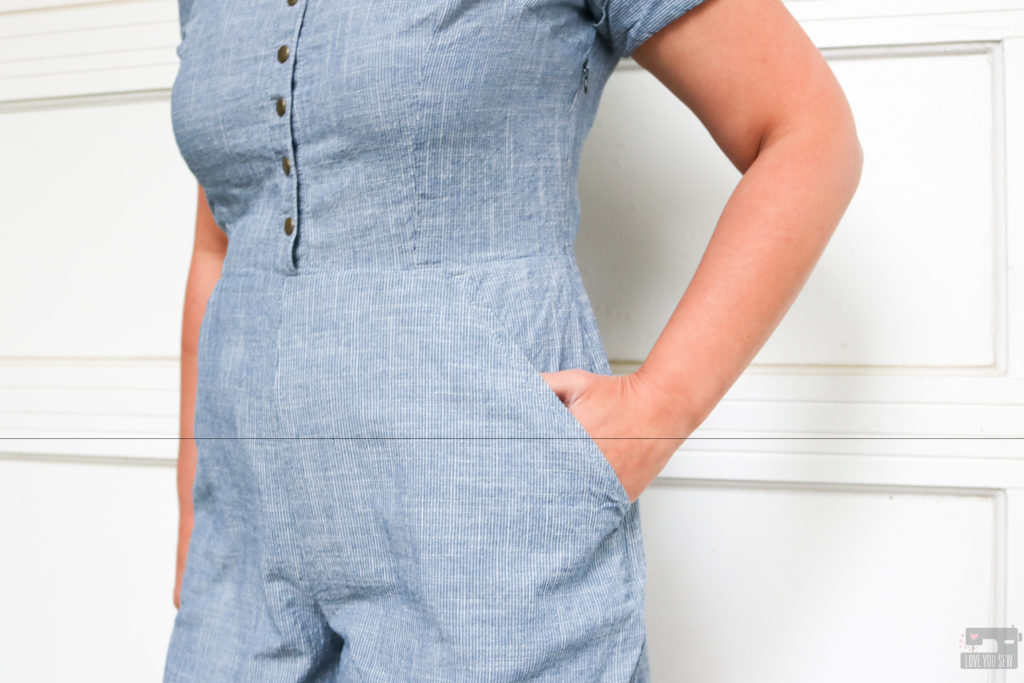
These are the additional modifications I made to the Holly:
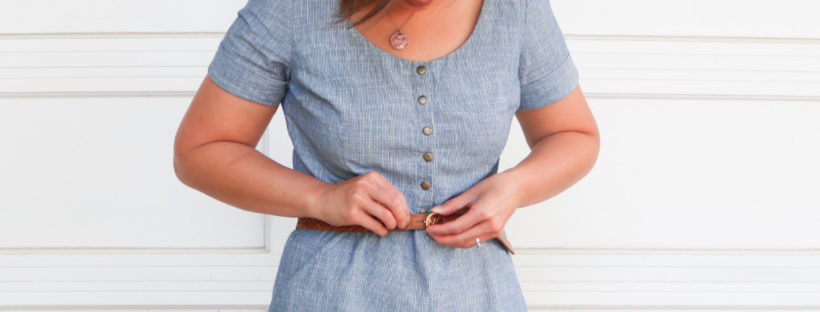
- Added lightweight woven interfacing in the placket to hold the snaps, but I would add it even if I used buttons for more stability
- Used metal snaps instead of buttons for faster bathroom breaks 😉
- Added slash pockets by drafting a pocket and the facing (the one thing missing with the pattern)
- Decreased the seam allowance for the sleeve and increased the armscye to match
- Reduced seam allowance to 3/8″ between the bodice and shorts for more crotch room
When I make this again, I would consider the following modifications:
- Slight broadback adjustment – There is a little bit of tightness across my shoulder blades.
- Bicep adjustment for even more ease – After wearing this to an event (with lots of sweating!) I think adding in more arm ease would allow more air flow and an easier time getting the romper off and on.
- Increase the bodice length by 1/2″ – I’m only 5’3″ but if I raise my arms all the way up, I get some cameltoe, which is surprising. Most patterns are drafted for 5’5″-5’8″ that I’ve seen, and usually I have to shorten the bodice on a pattern.
- Lower the side darts by ~1/2″ – Everything looked good when I was finished, but after an additional washing, the darts look a little too high.
Final Thoughts:
For my first romper, I am SO pleased with this make. I love the slim fit around the waist and the ample ease around the buttocks and thighs. This is a great pattern for my fellow pear shapes! But it is certainly still great for other body shapes as well with just simple changes to the darts. This fabric was great for the pattern but I may use a woven with just a little stretch next time and probably won’t need those broadback and bicep adjustments.
Project Summary:
- Pattern: By Hand London Holly Jumpsuit – View A
- Fabric: Stripe Chambray from Imagine Gnats
- Bags: Free Kelly Waist Bag and Claire Fold-over Clutch patterns by Love You Sew
- Snaps: Spring Snaps from Gold Star Tool
- Thread: Gutermann Mara 100 – Color 1 (aff link)
- Machine: Juki TL-2010Q (aff link)
- Serger: Juki MO-2000QVP
Now that I’m done with my very first romper, I think I’m ready for another. Do you have any good romper/jumpsuit patterns to recommend? Let me know in the comments. I would love to hear your thoughts!
Happy Sewing,
Cristy
This post may contain affiliate links for which I may receive compensation. This helps keep ads off the blog and helps me to keep this website afloat. Thank you for your support.
