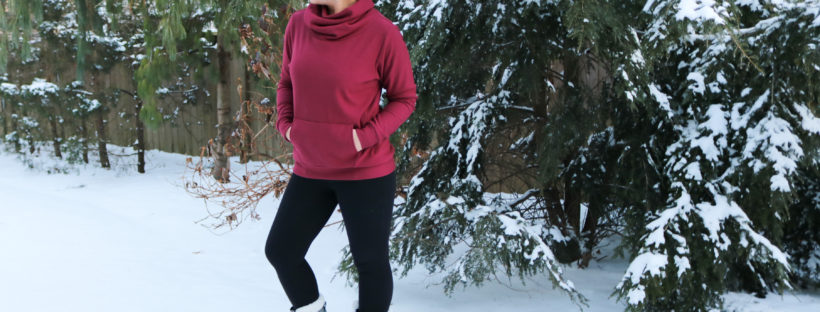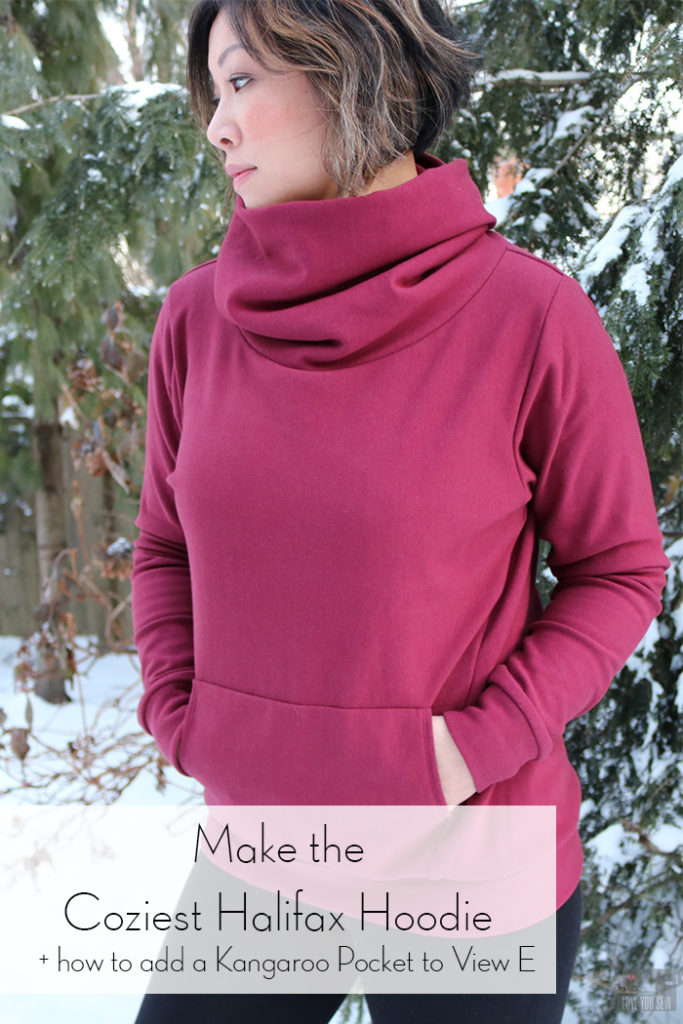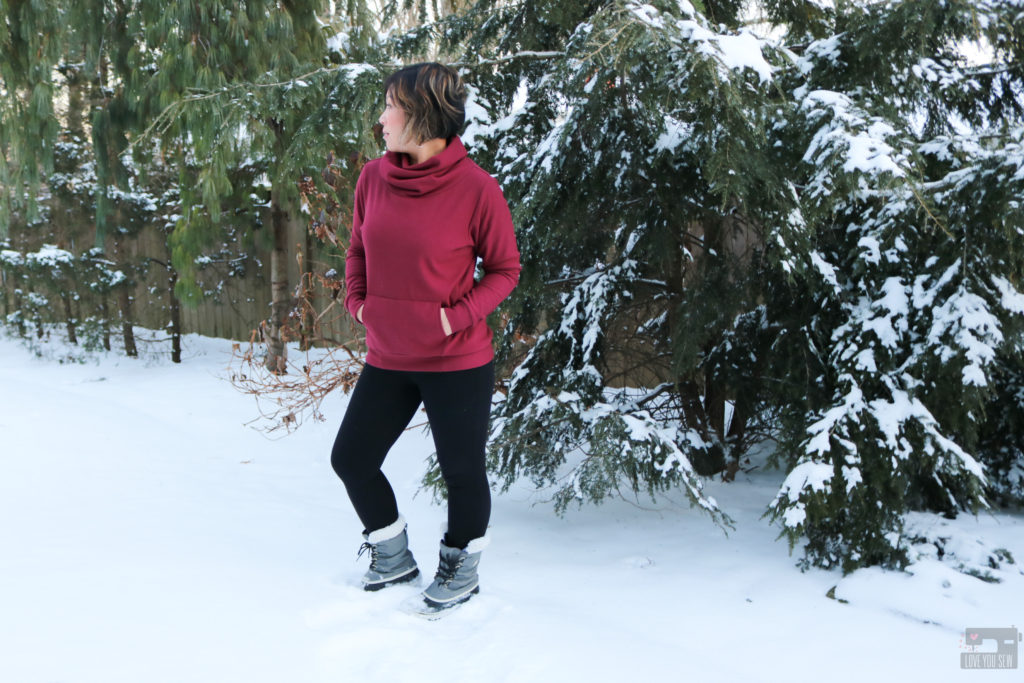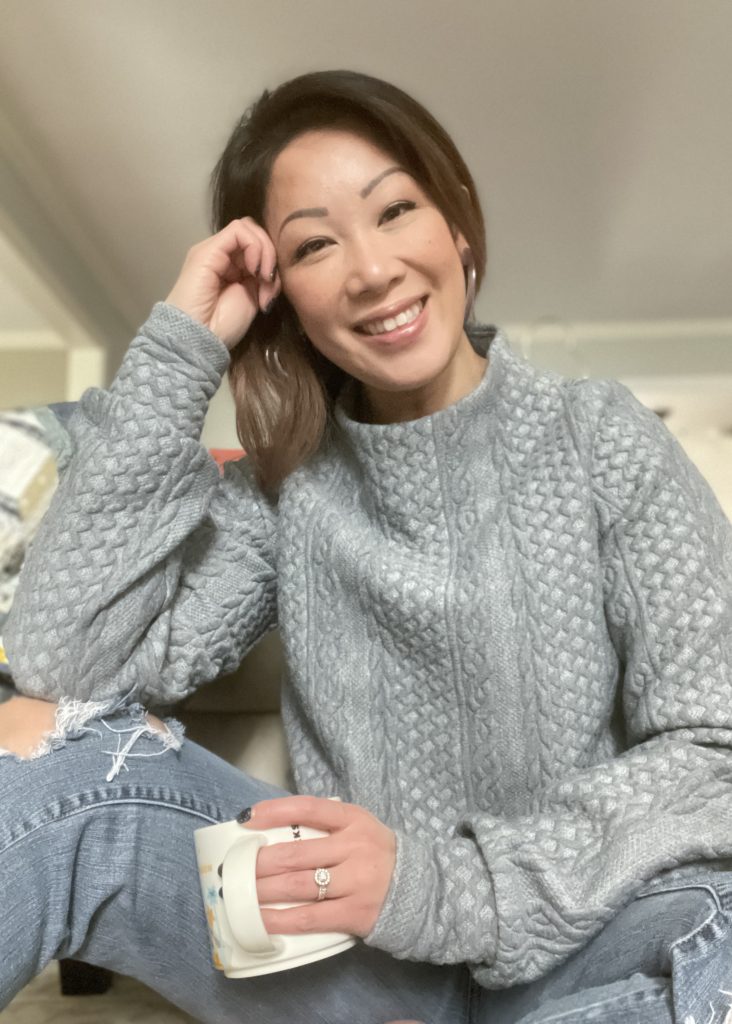
Split Hem Sheridan Sweater

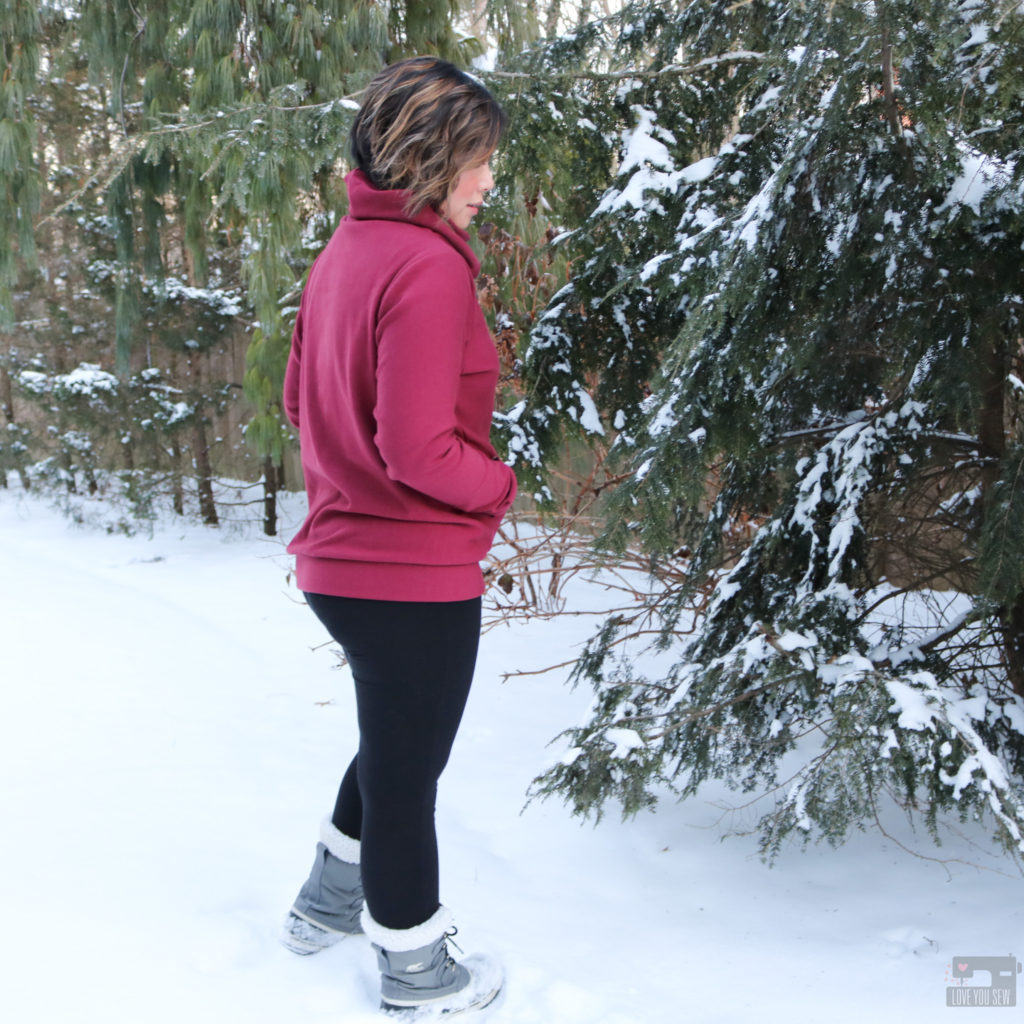
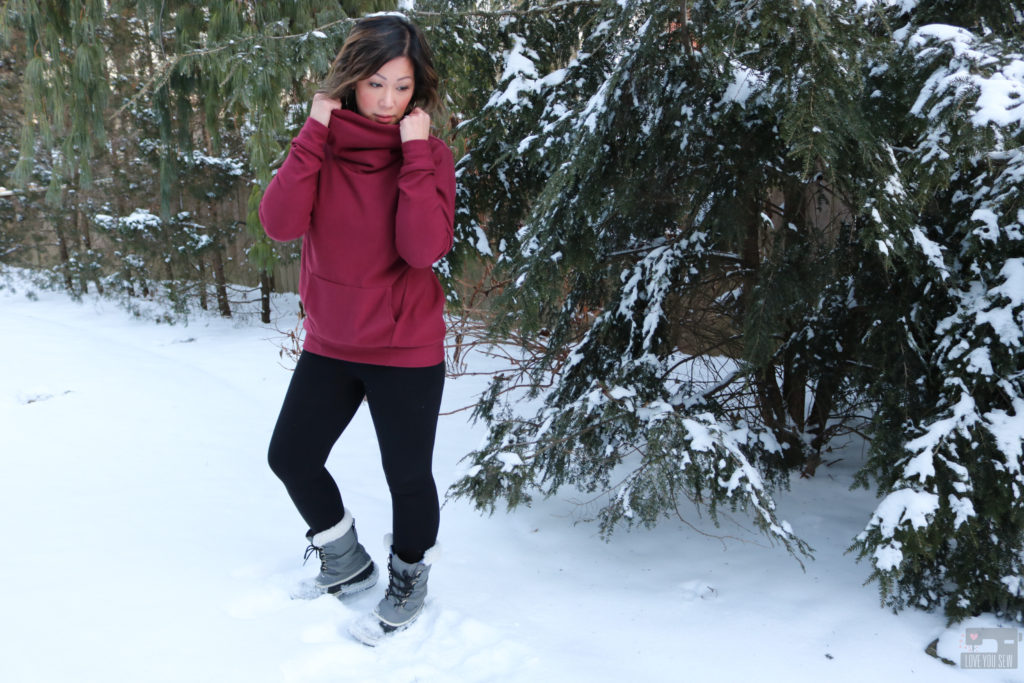
Winter finally hit here in the midwest.  And by winter, I mean the below-freezing temps with wind that just bites at your face!  Since I walk my dog everyday, I’m out in this cold whether I like it or not.  In the mornings, I usually just throw on a sweatshirt over a few layers, but for 2022, I feel like I need “nicer” cozy clothes.  Don’t get me wrong, the dog walks will probably always include a sweatshirt, but I would stay in them all-day long and that’s the cycle I want to break.  It’s been two years of sweatsuits and I’m ready to get out!  So, with this sweater knit I bought last year and  my TNT, Sheridan Sweater, I’m working to get out of this rut.
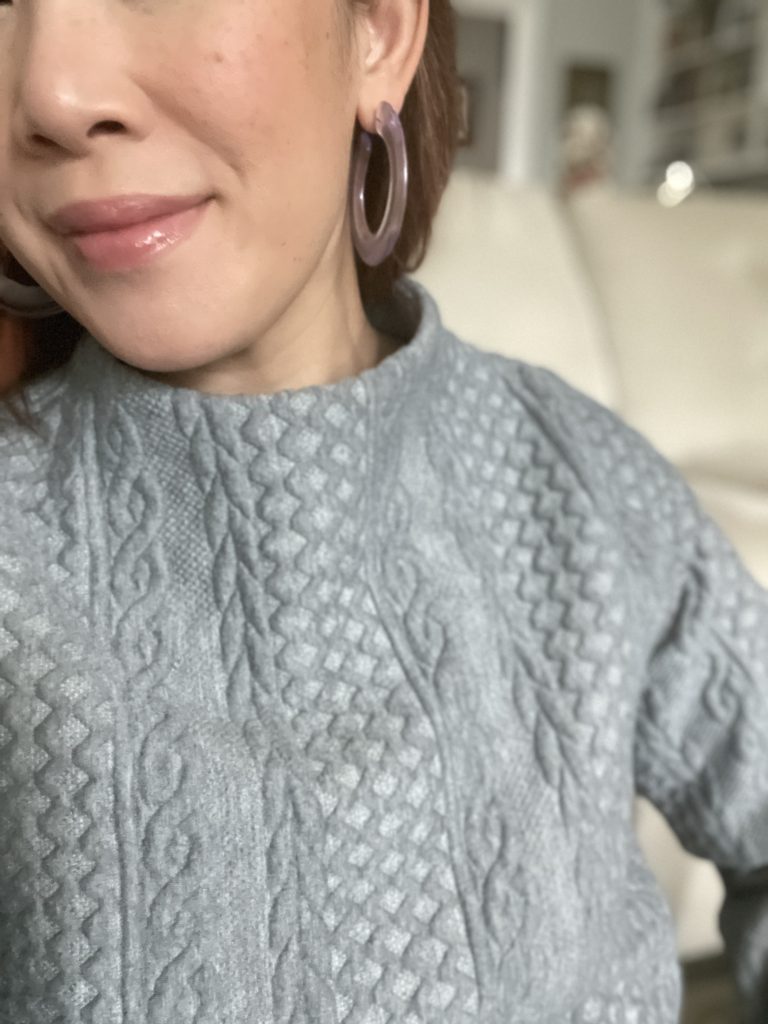
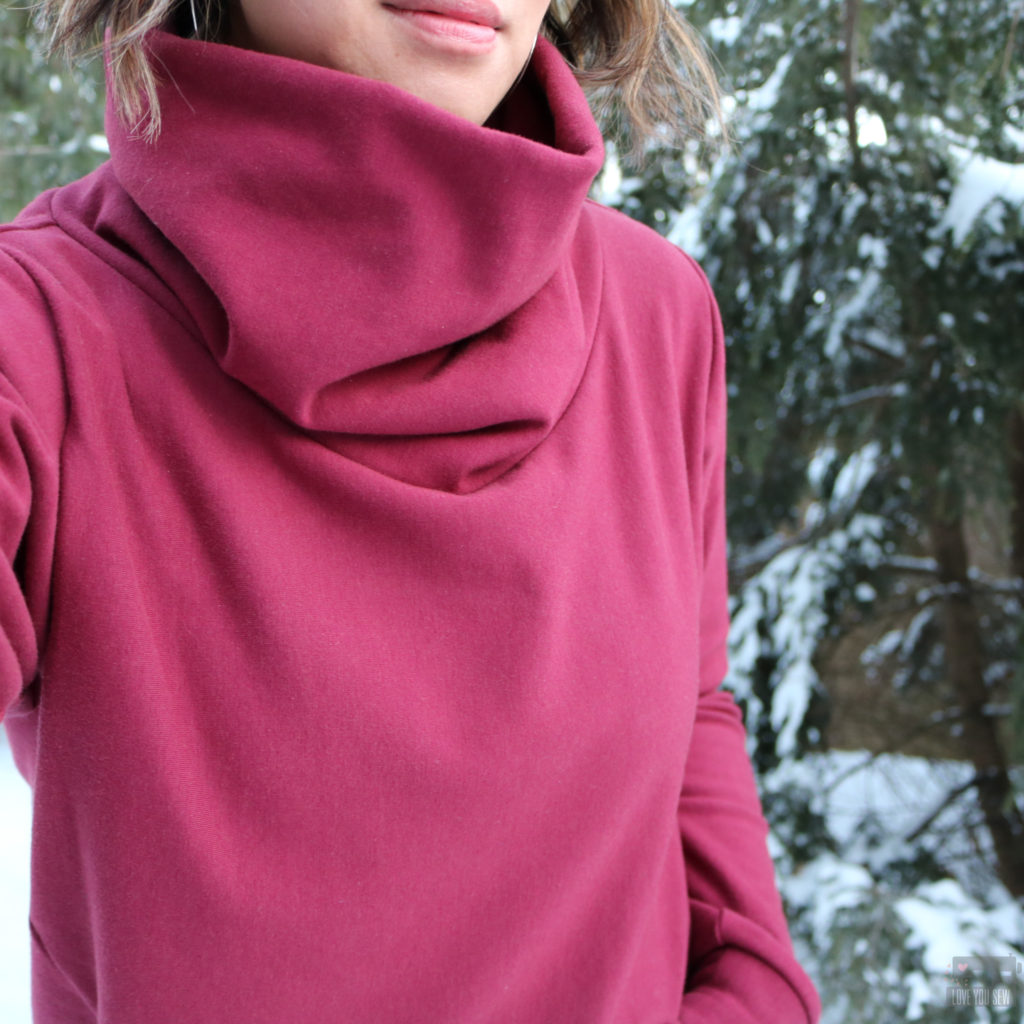
I know I need more texture in my tops (not just the knit sweatshirt/jersey look) and sweaters would bring it in.  But since I don’t knit or crochet, I have to bring it in through other ways.  For sure, I have to do some thrifting, but I also had this incredible cable knit-look fabric in my stash. I bought this from Fabric.com  after seeing so many other makers use it and it certainly delivers.  The fabric is a really nice thick knit that isn’t too heavy but has the feel of a real sweater.  While the inside “stuffing” frayed a bit depending where you cut the fabric, I was able to use my regular sewing machine, serger, and even cover-stitch to make this top.
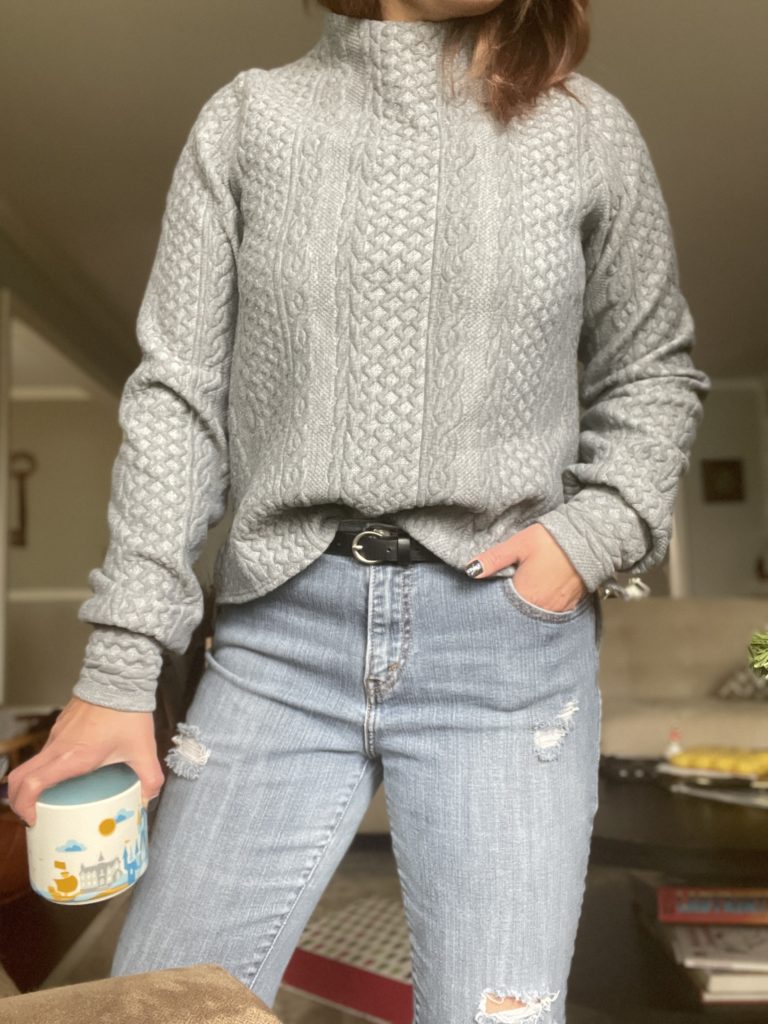
This is the fourth time I’ve made the Sheridan Sweater, a pattern by Hey June Handmade.  You can check out two I made on this post.  I’m a big fan of this pattern and really love the funnel neck view.  I’m always the “cold” one in the family and I like to have my neck covered, but I’m not a fan of turtlenecks.  My skin is pretty sensitive with fabric textures, so I always like some kind of loose covering like a cowl seen here in my Halifax Hoodie or this funnel neck.  Since I already have two Sheridans that are identical with the exception of color, I knew this one had to be different.  In addition to the fabric, I also hacked the pattern to make an uneven split hem, which is perfect for to half-tuck into my jeans.
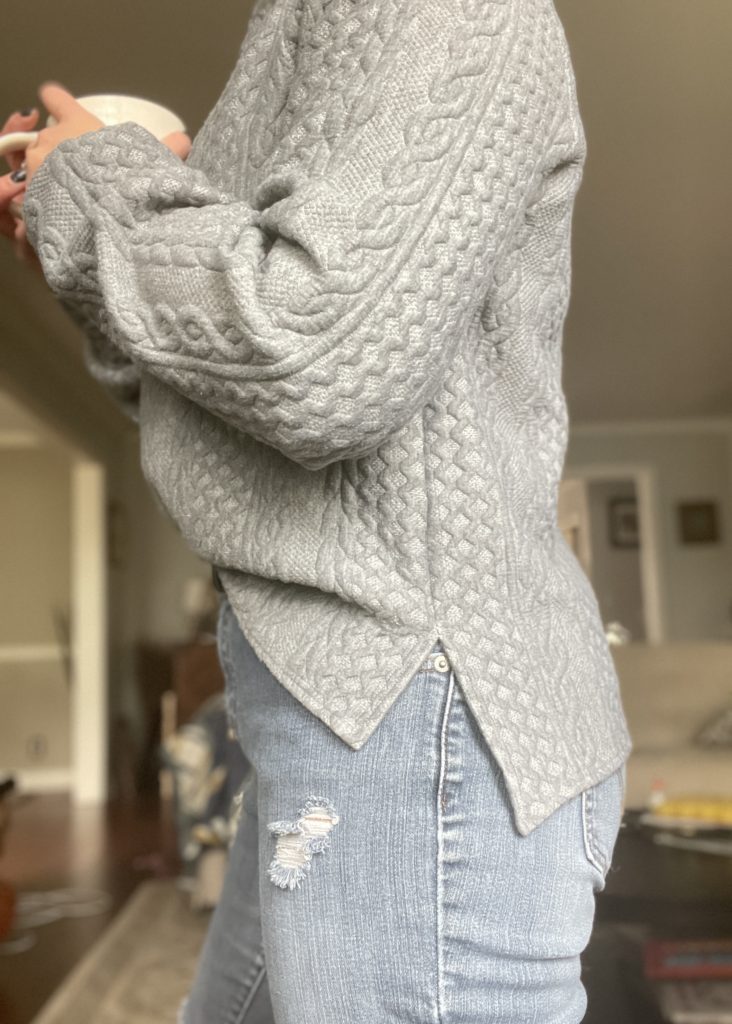
These are all of the modifications on my size 10, view B Sheridan:

  • Increased the funnel neck by 1/2″
  • Omitted interfacing on the neck facing (fabric is thick enough)
  • Lengthened full front by 1″ and the back by 2 1/2″
  • Marked 3 1/2″ from the bottom front for the split hem
  • Used 3/8″ single fold with cover-stitching for hem
  • Made a 1/2″ narrow shoulder adjustment (typical for me with HJ patterns)
  • Narrowed out the sleeve 2″ on each side (4″ total) for a less formal balloon sleeve
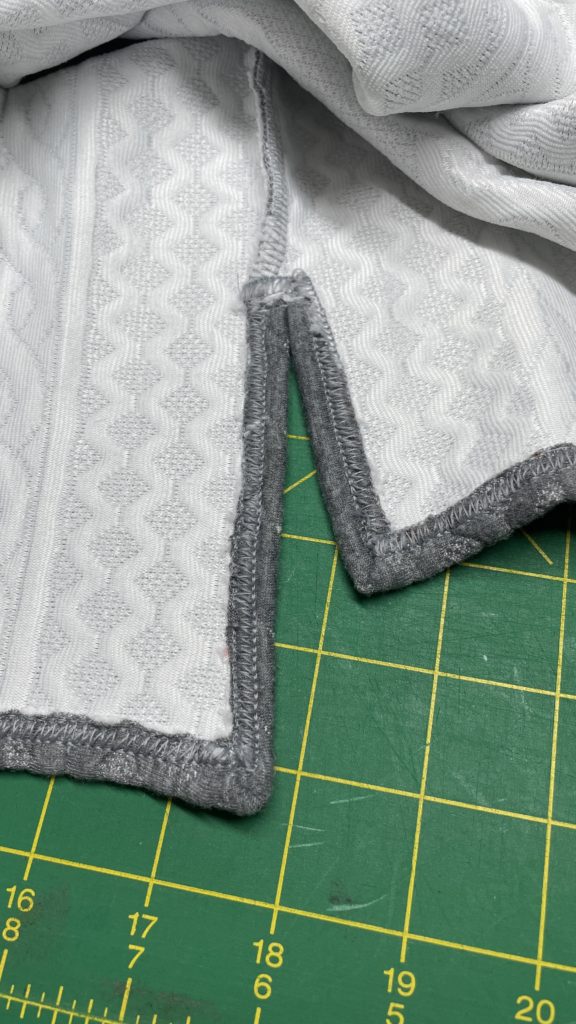
I was “winging” the split hem (which I kinda regret now) and wished I added more length to the hem and especially at the side seams for the split.  While this isn’t the prettiest cover-stitching, you can’t really tell from the outside (thank goodness!) it worked out in the end.  I used some Mettler Seraflex to help tack down the hem right at the split (on the side seams) and after using my cover-stitch, realized I should’ve just used it on the hem this whole time — Lesson Learned! It’s a great thread that has stretch which you use with a straight stitch.  Since the hem is loose and not getting much strain, the Seraflex would’ve been a good alternative to cover-stitching.  I also used it in the cuffs (for less bulk than my serger) and also for tacking down the funnel neck to the facing.
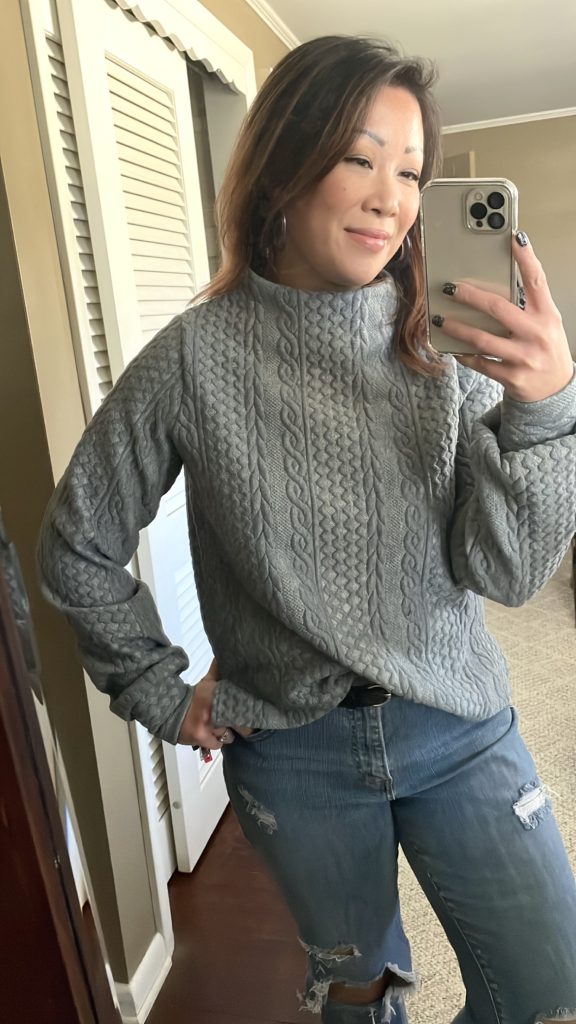
Despite the small regret with the hem, I’m really pleased with this Sheridan Sweater.  It has the comfy-cozy, cable knit look I needed and it’s VERY warm too!  This was a great wardrobe addition  while I brace this bitter cold!  Do you like this knit-look without being a real sweater?  I think I may have to invest in some more of this fabric!

Happy Sewing,

Cristy


This post may contain affiliate links.  You can read my disclosures, here.
Make the Coziest Halifax Hoodie + Kangaroo Pocket Hack for View E

After the holidays, January is such a drag. Then, throw in the Polar Vortex that hit the Midwest this week and it’s just downright depressing.  We can’t go anywhere, school had been cancelled two-days in a row, I can’t send the kids to go out and play….plus, it’s just so friggin’ COLD! I am thankful, however, to have made this Halifax Hoodie the other week. The plush softness of this fabric combined with a comfy cozy sweatshirt design is keeping me pretty warm through this cold spell.

FABRIC:

I picked up this heavyweight bamboo/cotton sweatshirting in Heretic from Imagine Gnats.  Right now, the shop carries a number of different colors of this fabric, as well as matching ribbing!  When I bought my fabric, they were sold out of the ribbing (which was a bummer,) but the 25% four-way stretch in this sweatshirting is more than enough for the cuffs and waistband.  I love how soft the fleeced inside of this fabric is from the bamboo…even after multiple washings.

PATTERN:

The Halifax Hoodie by Hey June Handmade is a very popular pattern with it’s classic casual design and multiple features.  This is a great pattern for knits and allows for so many different styles and combinations….whether you want a full zip-up hoodie or just a crew-neck sweatshirt.

I opted for View E with the angled side seams this awesome funnel neck.  I’m a big fan of Lululemon athleisure-wear and they tend to have higher necks in many of their jackets and tops.  I love this feature since I’m always cold and can’t say no to a built-in scarf 😉 I even raised the funned neck an additional 1.5″ on the fold (3″ overall,) to add even more of the cozy factor.  The thickness of the sweatshirting helps the funnel neck stand up and provide volume. If you are using a regular weight knit, you may end up with more of a cowl look instead.

KANGAROO POCKET HACK:

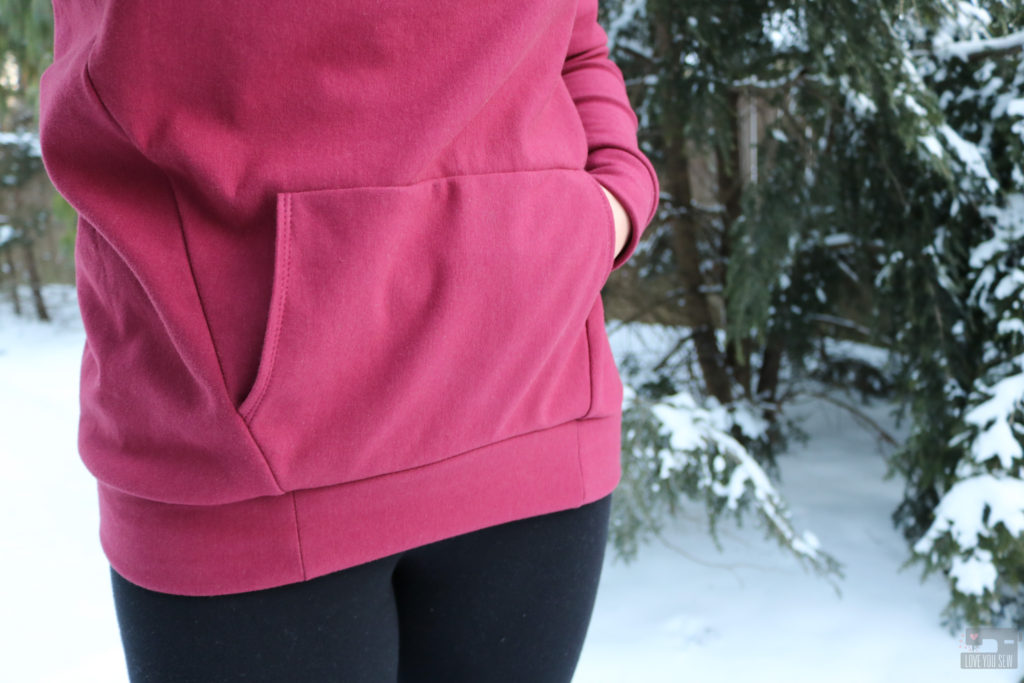
While the other views of the Halifax had pockets, View E did not.  When I was planning this too, I just wanted the extended neck, but I happened to be wearing a regular crewneck sweatshirt while cutting out the pattern pieces.  I realized how many times I was reaching for my stomach to warm up my hands, just like when I wear my hoodies.  I decided I definitely needed a kangaroo pocket and you can follow how I made one below.

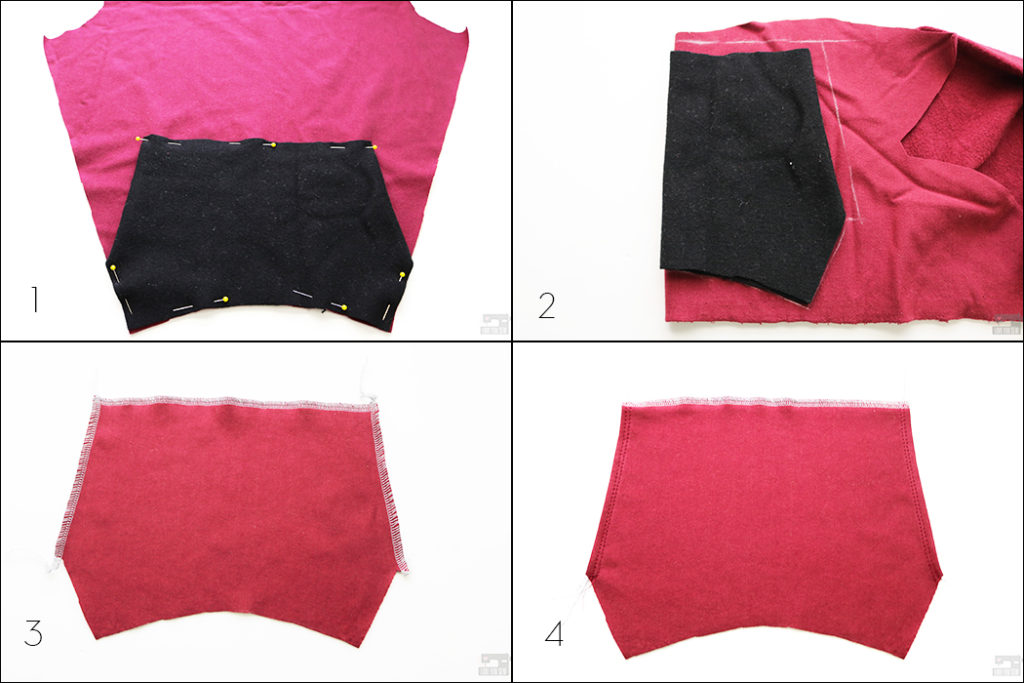
1. With the angled side seams. I wanted to make sure the pocket followed the same sharp lines and thus, didn’t use the pocket pattern included (which has rounded openings for the hands.) I used a scrap piece of knit fabric to create a new pocket.  The scrap was laid down and I played with the sizing by folding the scrap until it looked right.  I used my own hands to make sure the opening was big enough for me to easily access the pockets.  Then I trimmed up the scrap to match the lines of the front sweatshirt hem and side seams.

2. Folding the new template in half, transfer the design to my fabric and added 1/2″ seam allowance at the top and side hand openings.

3. Open up the pocket and finish the top and side hand openings by serging or by using a zig-zag stitch.

4. Fold under the side pocket openings by 1/2″ and top-stitch.  I stitched at 1/8″ and at 1/4″.

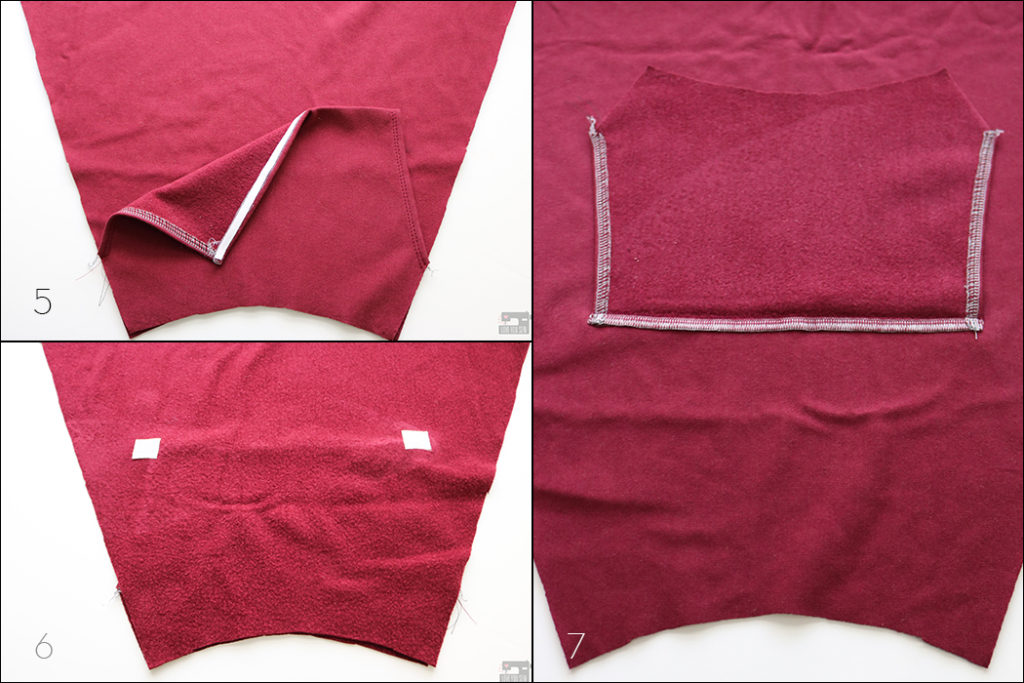
5. Press under the top of the pocket by 1/2″.  Add some Wonder Tape along the seam allowance and remove the backing.  Press the pocket into place centered on the front to prevent the pocket from shifting.

6. On the wrong side of the front, fuse small scrap pieces of interface at the top corners of the pocket.  You can feel the corners through the fabric.

7.  With the right side of the front facing up, flip up the pocket and sew along the top of the pocket. Backstitch well at the beginning and end

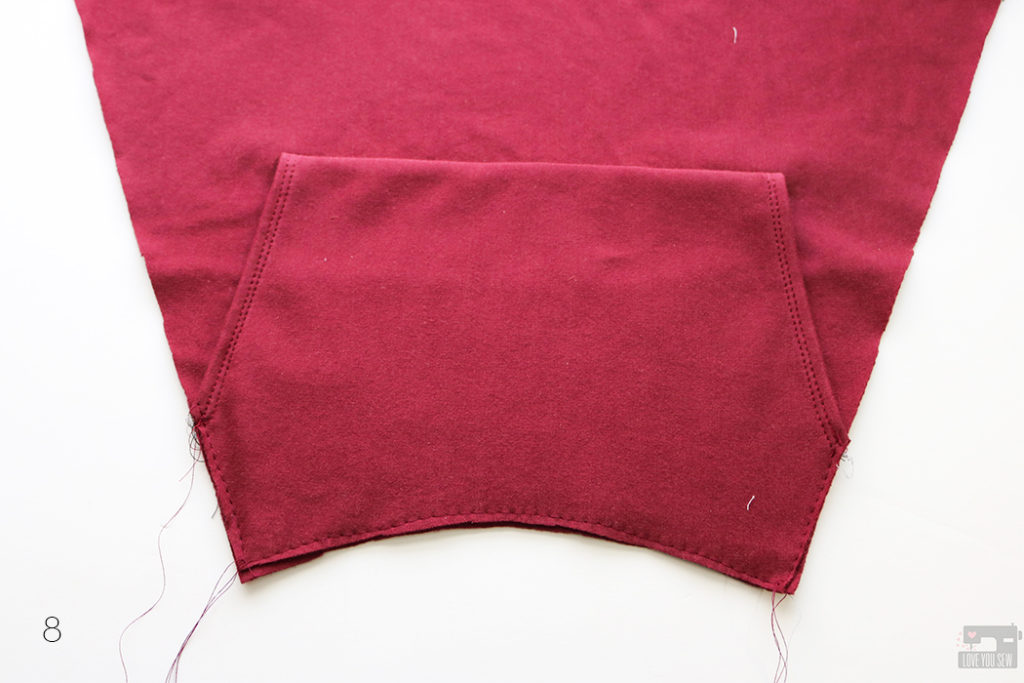
8. Flip the pocket back down and baste the sides and bottom of the pocket to the front.  After I took these pictures, I went an extra step and tacked down the top corners of the pockets for extra strength.

SIZING

I’m a 36″ bust, 40.5″ around the hips and made a straight medium. Being 5’3″, I usually have to make a sleeve length adjustment, but left it all the same to keep the slouch and ease. I love this generous fit and the stretch in this fabric allows for great movement. I probably won’t make any adjustments when I make my next Halifax.

I hope you are all staying warm or have fled to warmer climates! In the meantime, I hope you checkout the Halifax Hoodie and this tutorial to add a pocket to View E.


Happy cold-weather sewing!

Cristy

Amalfi Dress with Indiesew

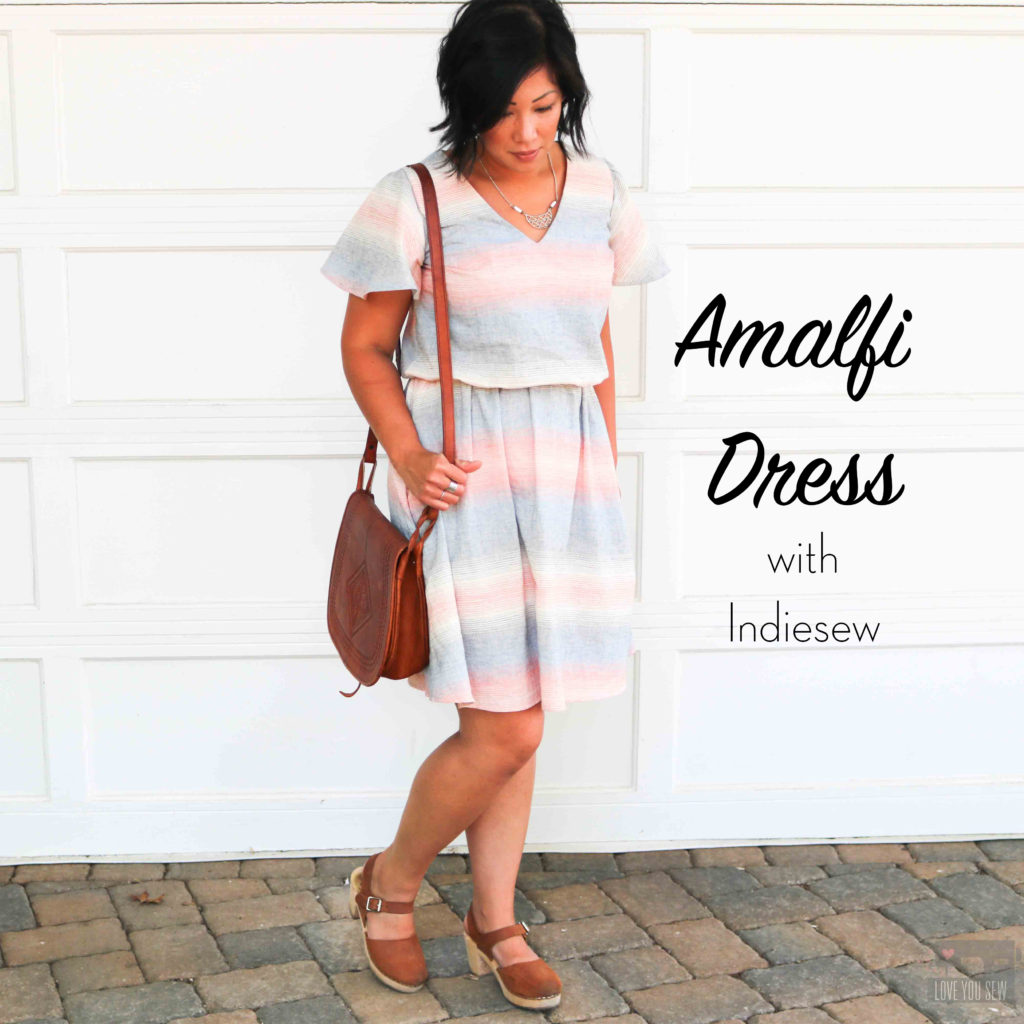
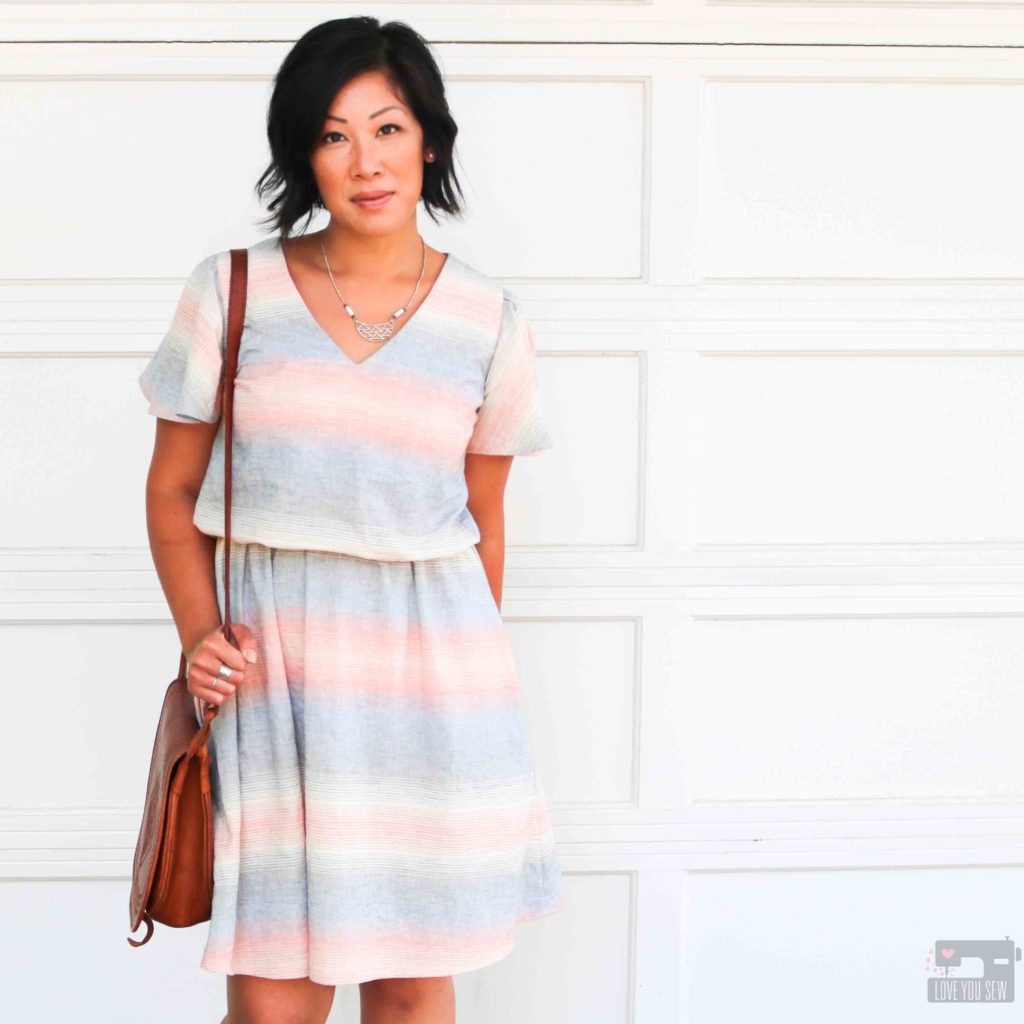
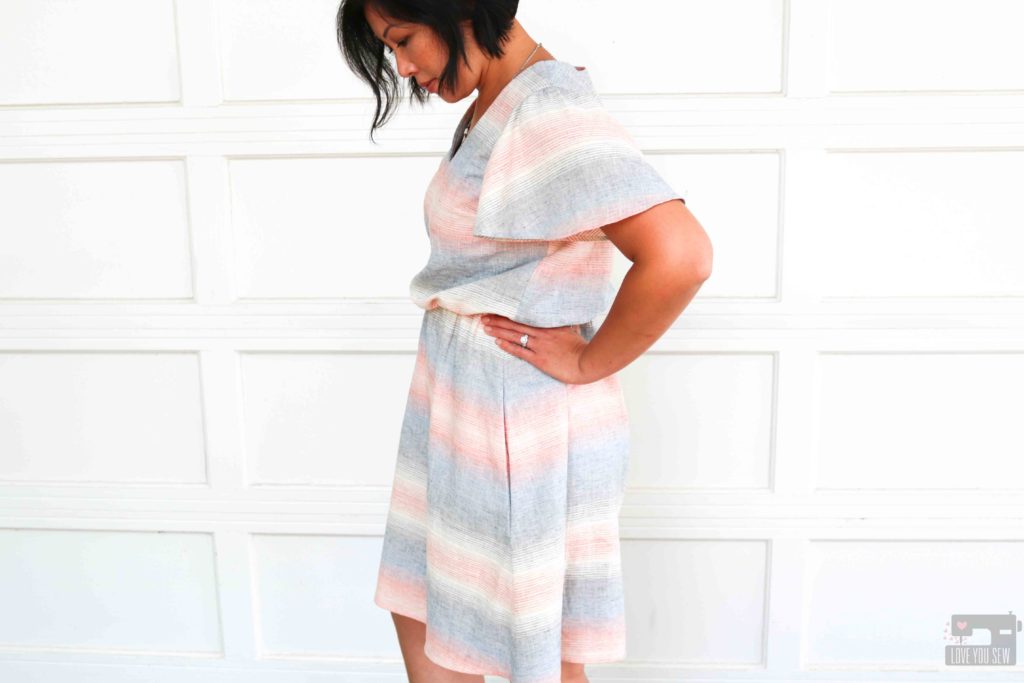
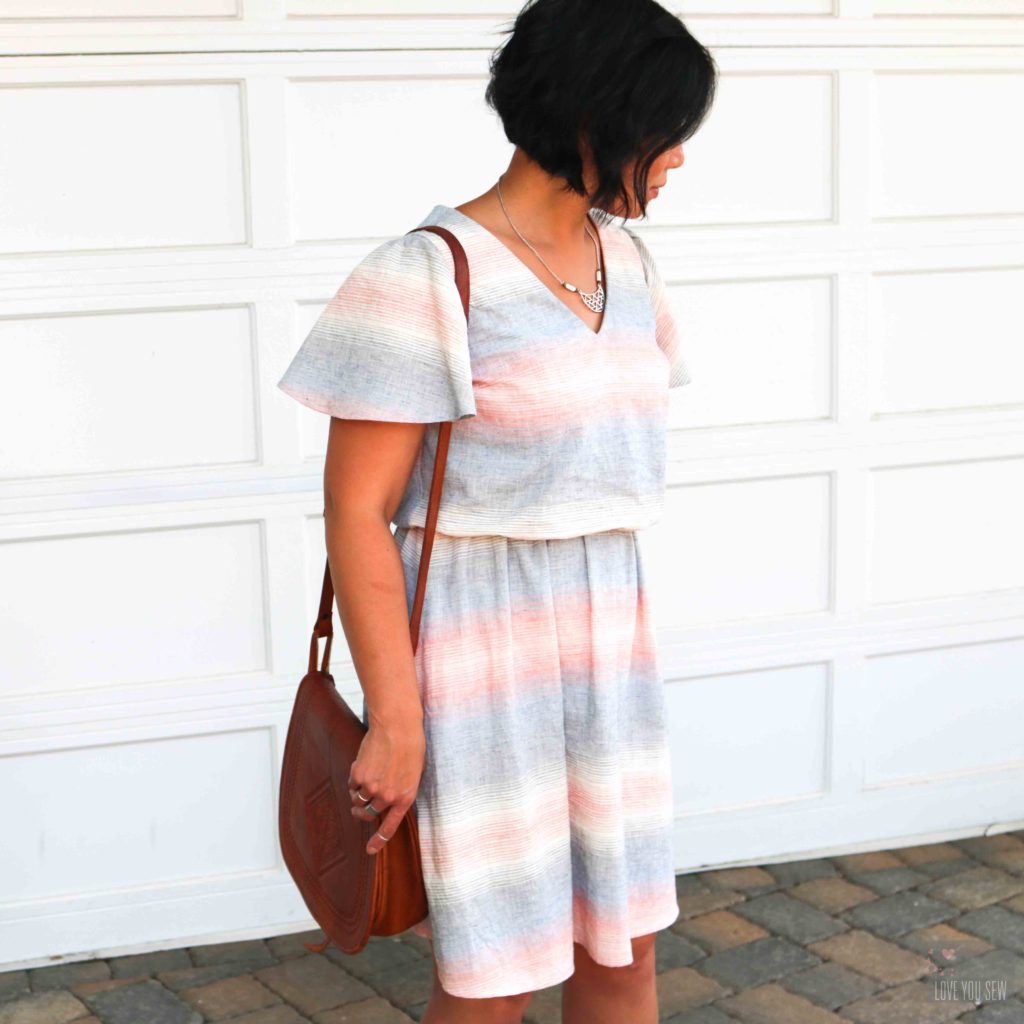
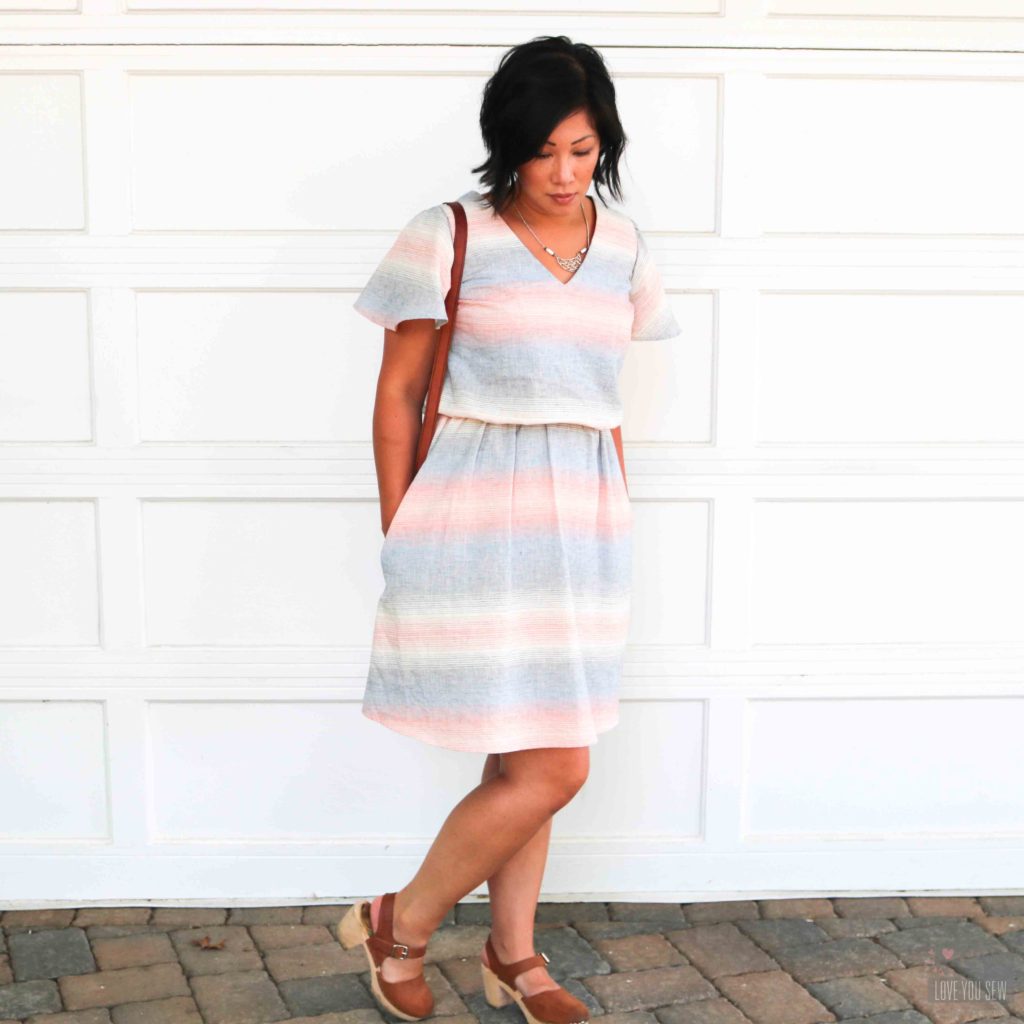
My family and I traveled quite a bit this summer.  With two boys and a pop-up camper, we have been driving all over the midwest (with another adventure planned later this fall!)  We just got back from camping along Lake Ontario (close to Niagara Falls) and every sunset reminded me of this Retro Striped Cotton Linen fabric from Indiesew.  It has such a gorgeous soft palette with a 70s vibe which made it a perfect pairing with the relaxed fit of the Amalfi Dress designed by Hey June Handmade.

Linen is perfect for these dog days of summer with its breathability and soft feel.  This blend with cotton gives it a bit more structure so it doesn’t wrinkle as easily as 100% linen does. The best part of linen is how it gets even softer with each wear and washing, not to mention it’s an easier woven to sew versus a rayon challis or crepe.

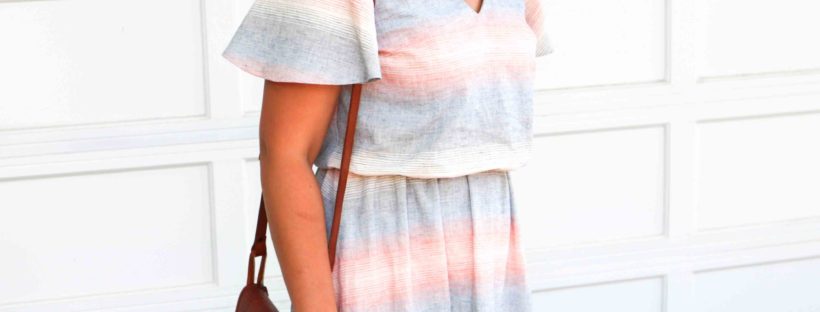
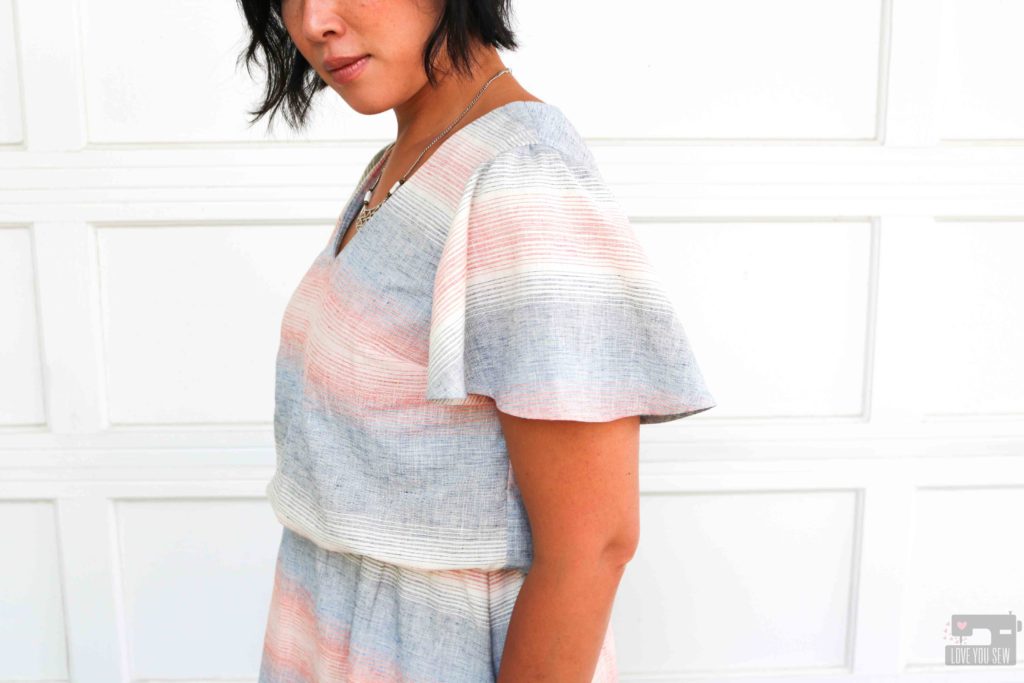
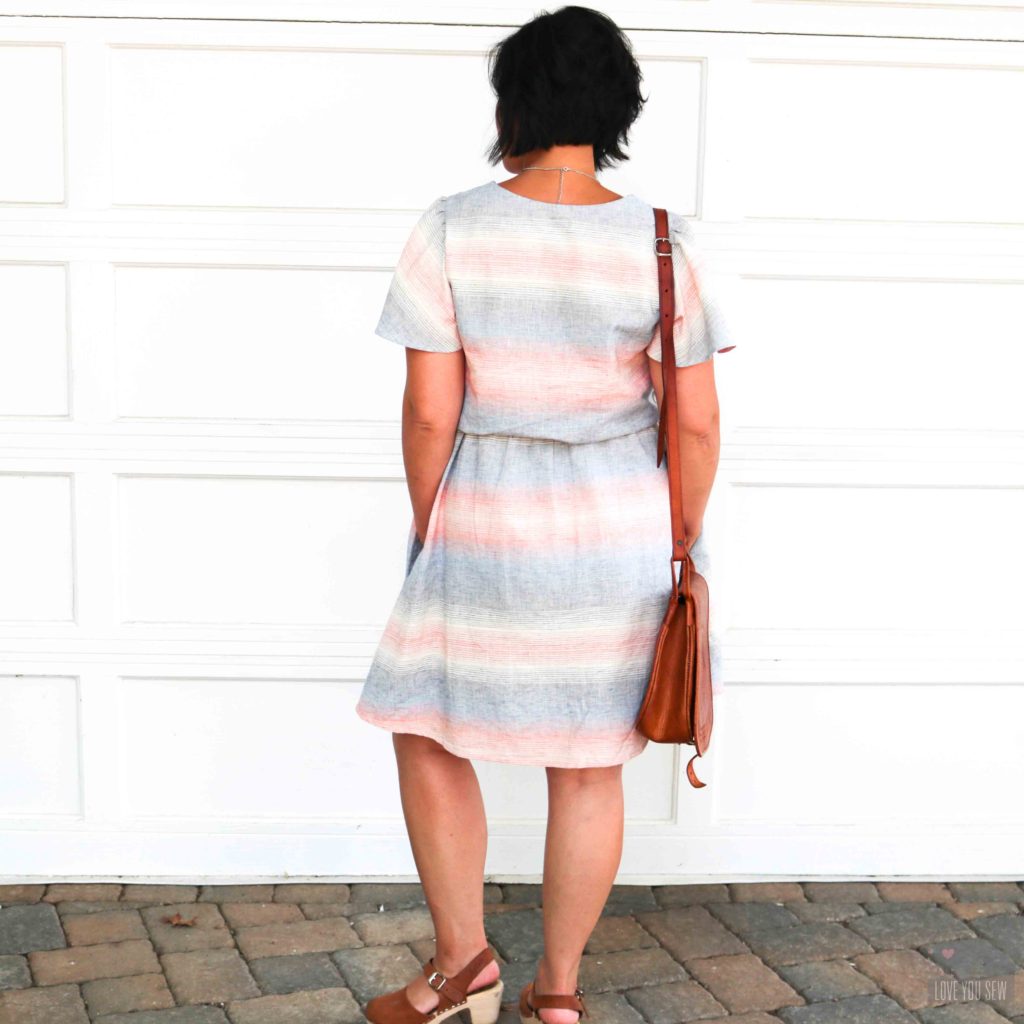
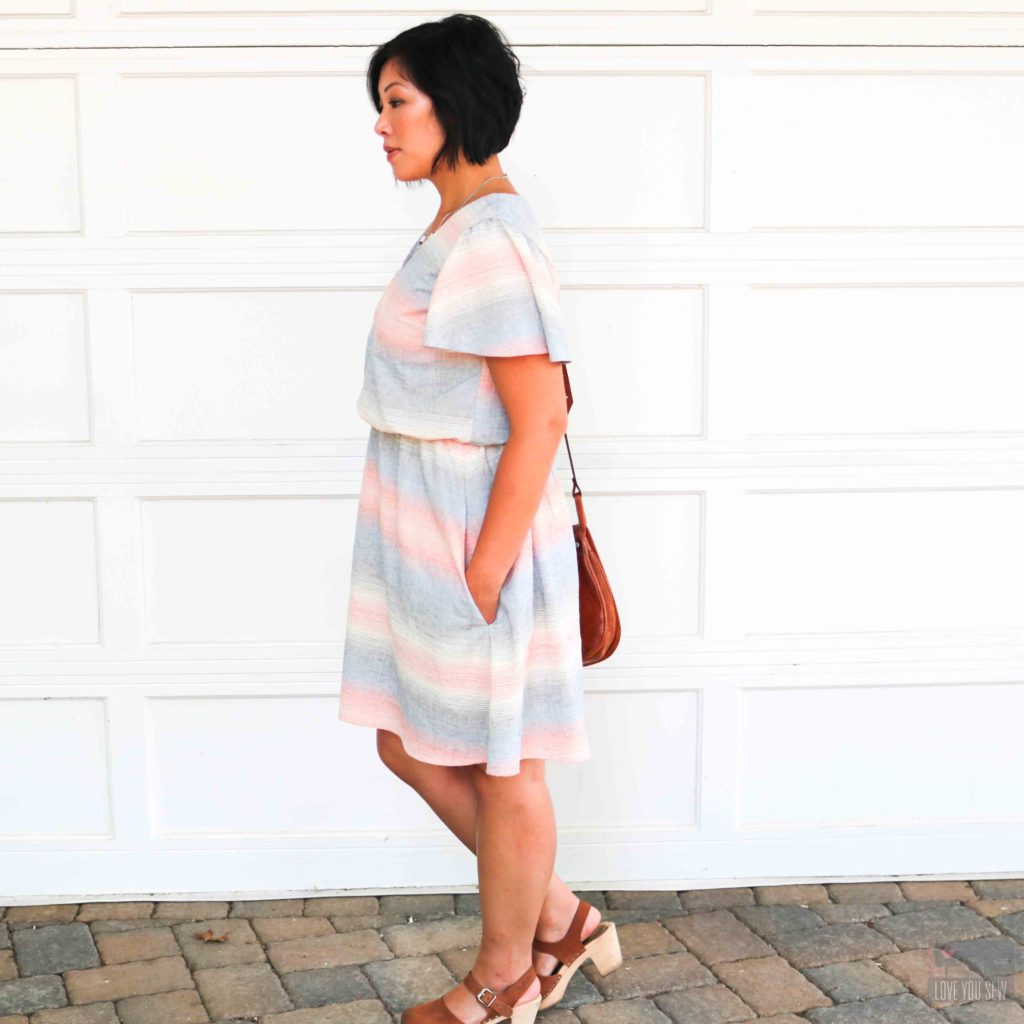
With the Amalfi dress, I decided on the flutter sleeves with the throwback feel of this stripe print.  I debated for awhile whether to make the midi or short skirt length and since I’m short with wide calves, midi lengths cut me at my widest point and make legs looks larger than they are.  So I opted for the short length and hemmed it a full 1″ to get it to the right spot above my knees.

With the fabric being described as “semi-opaque,” I wasn’t sure how that would translate for  dress.  But sure enough, It’s fine!  After washing, the fibers contract closely together and only the cream parts have the slightest bit of transparency.  I made sure to have the darker parts of the striping across my rear, just in case.  With nude colored undergarments, you can’t see a thing!

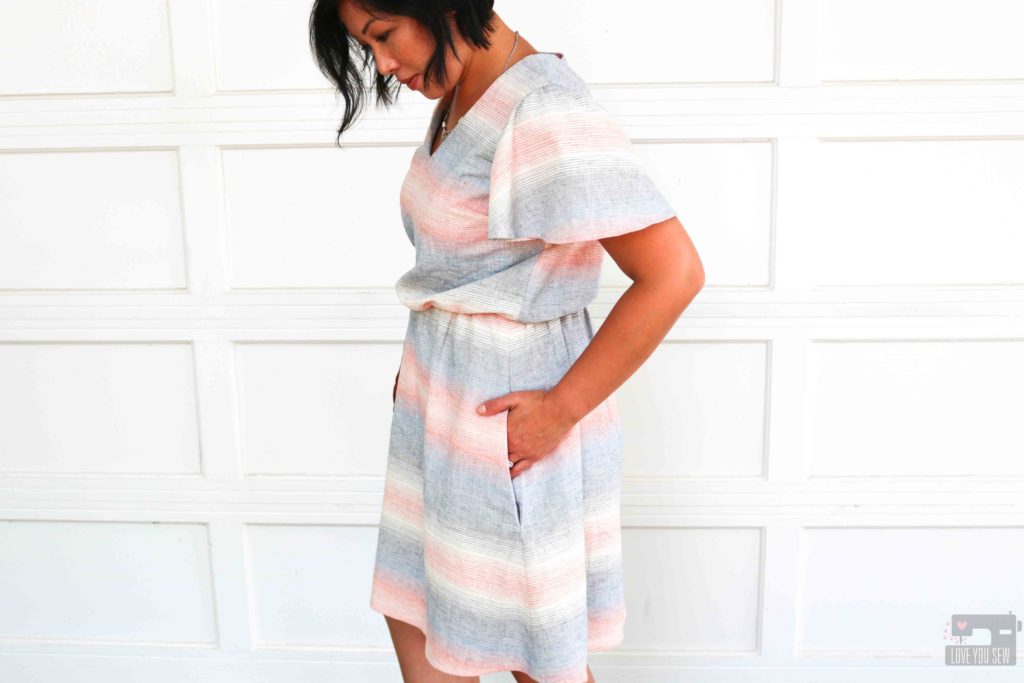
Any dress pattern with pockets gets and extra star in my book.  I LOVE these deep in-seam pockets!  With the fullness of the skirt, you don’t have to worry about odd bulges when you are made to carry your kid’s actions figures and Pokemon cards.

You know I made sure to match my stripes 😉  It takes more time, so much more patience and lots of extra pins, but this is the beauty of home sewing.  I love how the skirt looks and you can hardly tell there are pockets at all.  When matching the bodice, I did match the stripes at the armscye.  But with the bust dart, it throws off the pattern just a little bit…but that’s what your arms cover!

Since I am petite, V-necks tend to lay low on me and I was very happy to see I didn’t have to make any adjustments to this neckline.  It’s the perfect depth to fit over your head while still being modest and keeping the “ladies” hidden.  I like the neck facing to keep these lines nice and crisp.

The elastic waist is such a great feature.  I love the shaping and this dress will move with weight fluctuations.  I happen to be a bit heavier right now (thanks to all of those campfire hotdogs and s’mores,) so I’ve been making garments with a bit more ease or have elastic.  Thank goodness for  stretch!

I received so many compliments with this Amalfi dress already.  My husband even said it was such a pretty print!  I hope you enjoy making this dress or just pick up some of your own Retro Striped fabric!

Project Summary:


Happy Sewing!

Cristy


Fabric was provided by Indiesew for this blog post.  All thoughts and opinions are always my own.