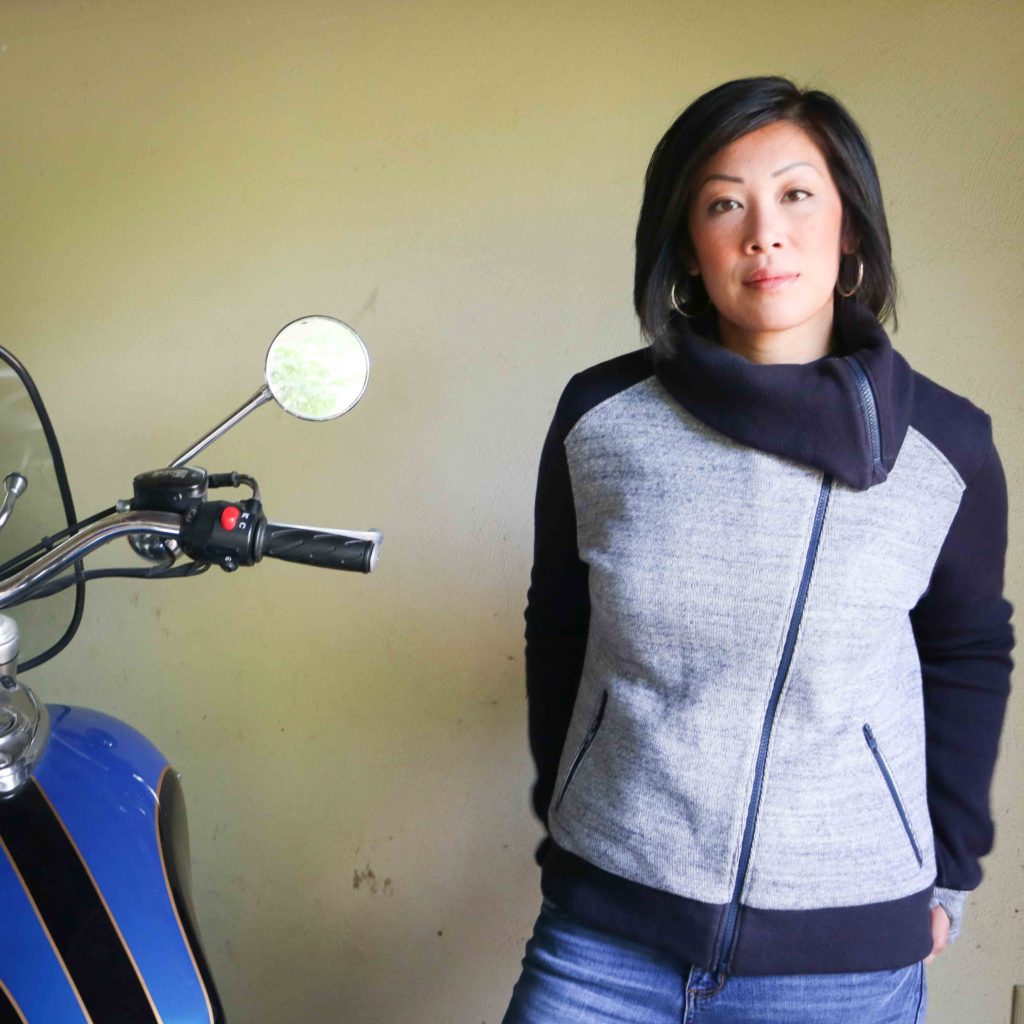
What you might not know about me is that I’m an “Old Lady”…a very proud one, in fact. As you can probably tell, it’s not by age or because I quilt (ha!), but because I love my husband AND his motorcycle. I really enjoy riding with my guy and even though I haven’t gone very much after having kids, I still love that moto style. So when I saw this collaboration between Indie Sew and Seamly for the Moto Sweatshirt, I knew I HAD to make this pattern!
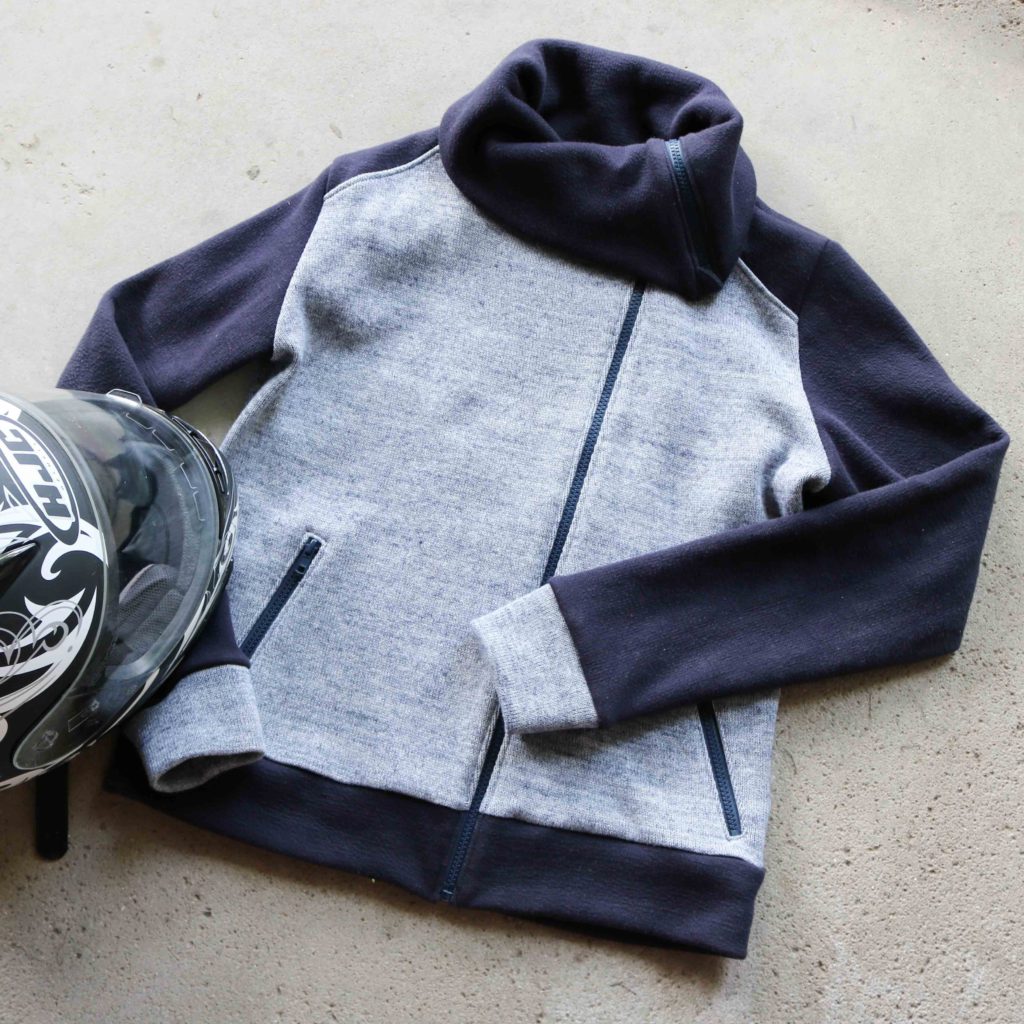
The Moto Sweatshirt is such a great stylish and edgy jacket designed for knit fabrics. After seeing Allie Olsen’s tester version, I knew I wanted the same double-knit from her shop. There is so much more versatility with a double-faced fabric (you can use either side of the same fabric) and it is perfect for some color-blocking. Since this is also a sweater knit, it makes the jacket SO comfy and warm for those cool summer rides.
It’s usually not a good idea to procrastinate with a project, but in my case, it turned out to be the best thing I did..er…didn’t do 🙂 I wasn’t aware there would be a sew-along of the Moto Sweatshirt when I picked this garment to make. Needless to say, I was so pleased to see it announced and you know I read through every post before starting on my own project.
The first recommendation I took was to make a narrow shoulder adjustment. I saw how the shoulder seams were low on many of the testers and other versions online. I’m pretty narrow in the shoulders as a 5’3″ woman and knew this was for me. However, the next time I make this sweatshirt, I would probably will take in another 1/4″ off the shoulders. You can read about how to make the simple changes here.
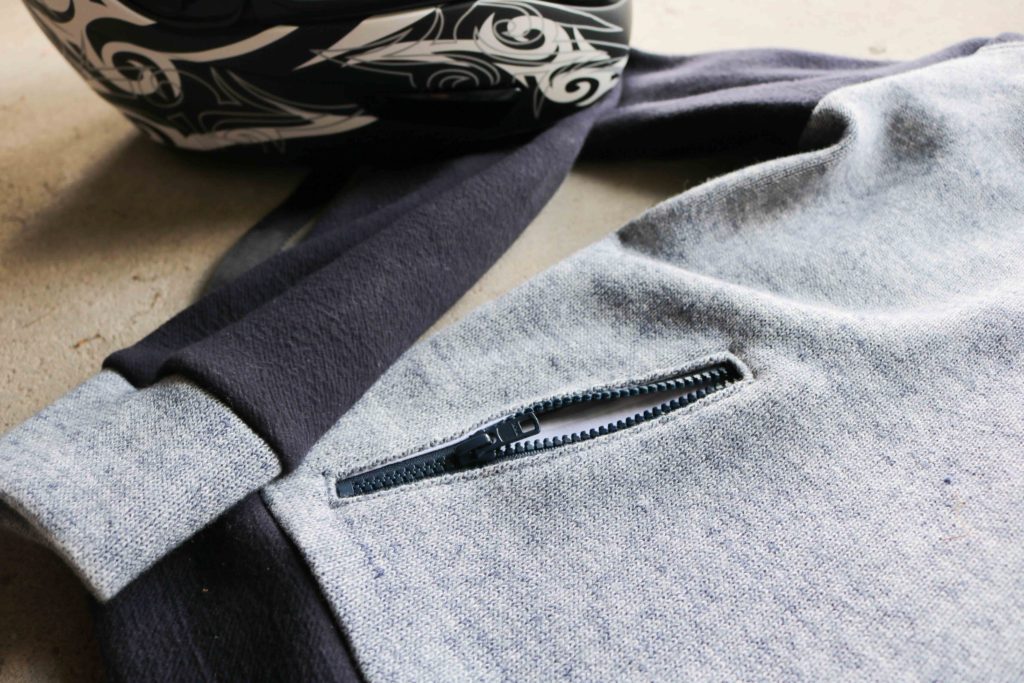
If you have never used a double-faced sweater knit before, it’s thicker than most jersey knits. That’s why I decided to use a quilt cotton for the pocket linings. Not only does it provide a thinner fabric to sew through, the woven nature makes it MUCH more stable. If you have not sewn a zipper welt pocket before, I would highly suggest using the quilt cotton to save the stress and potentially extra time with your seam ripper…
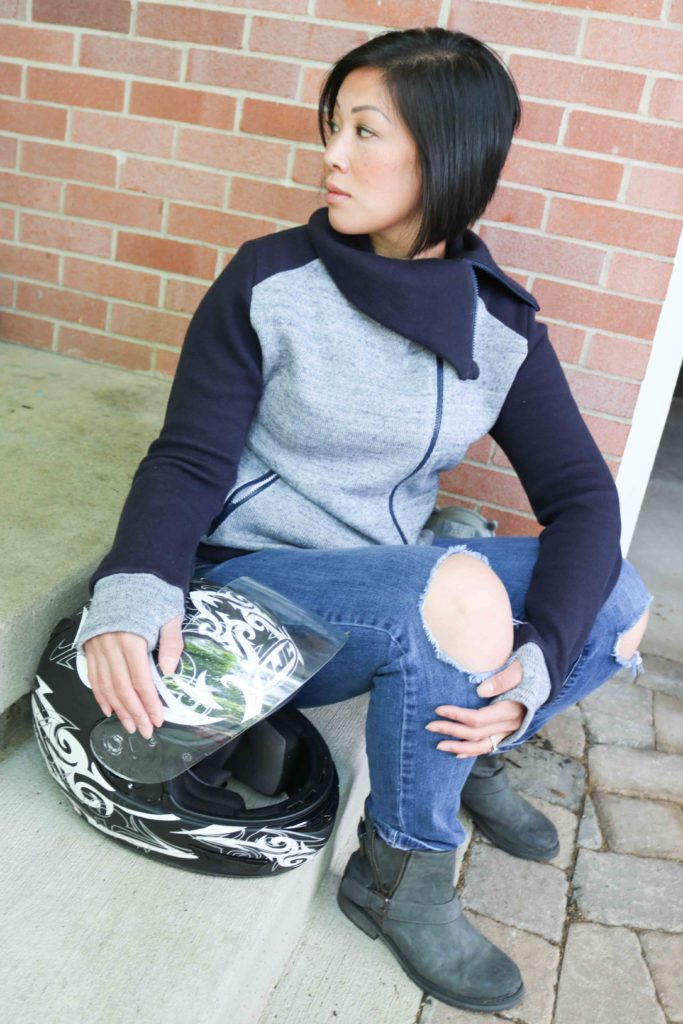
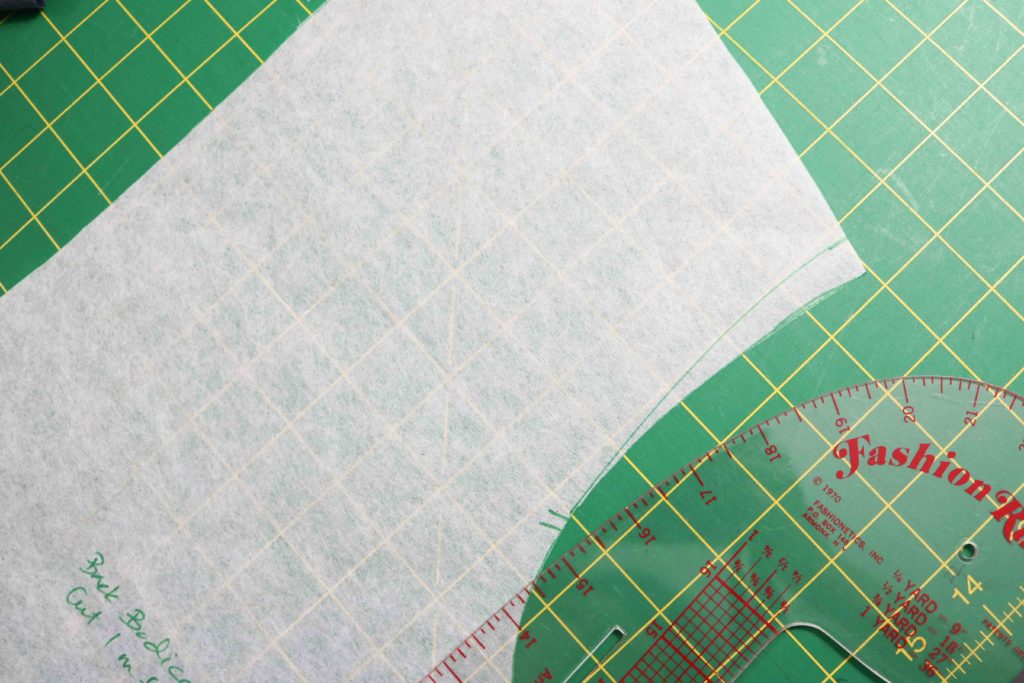
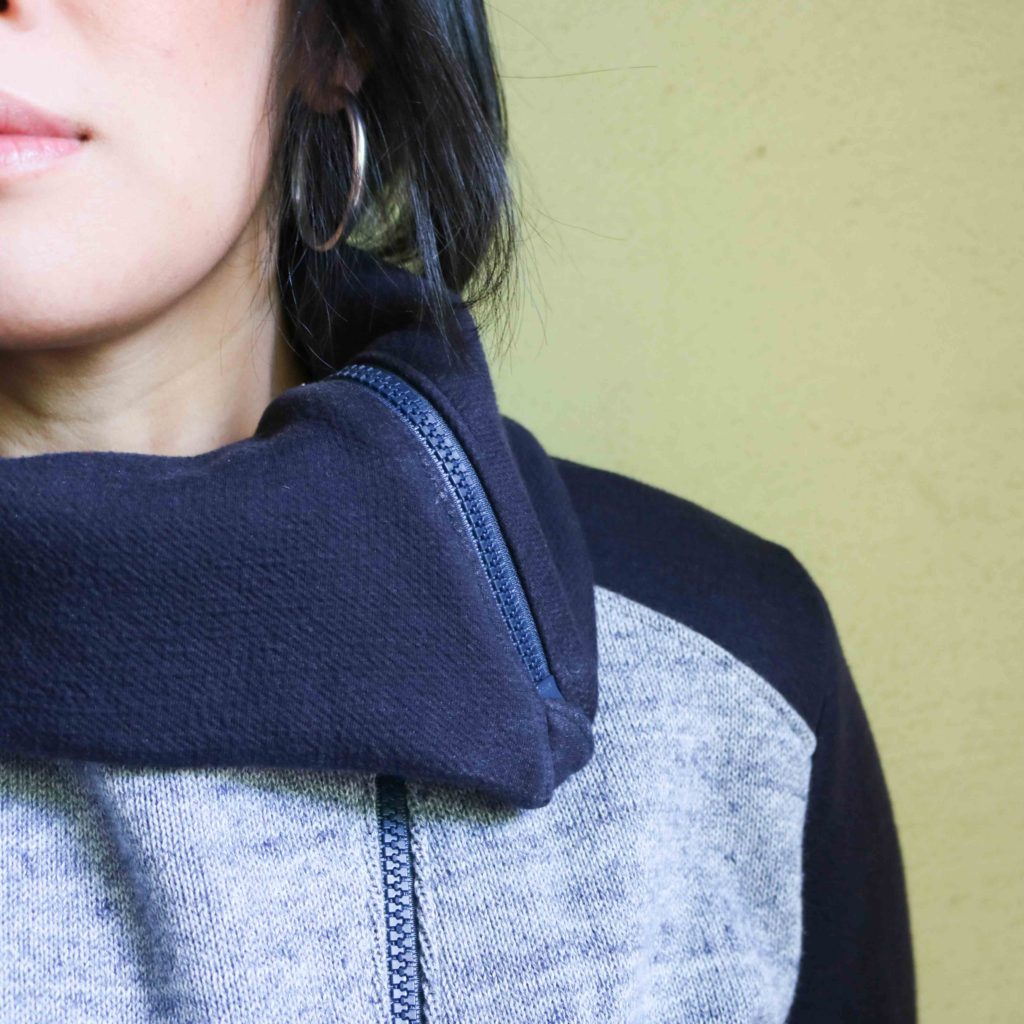
One of the biggest changes I made to the bodice patterns, although still very subtle, is the shoulder accent. I blocked out each shoulder (front and back) with the dark navy side of the sweater knit. This is a safety and design feature in many moto jackets in case you may fall off a bike. I made my own pattern pieces by drawing the shoulder line, cutting out the pieces and then added the seam allowances back in. I was pretty nervous doing this type of hack, but it worked…after many tests against the original pattern pieces. (It’s always good to check and to re-check!)
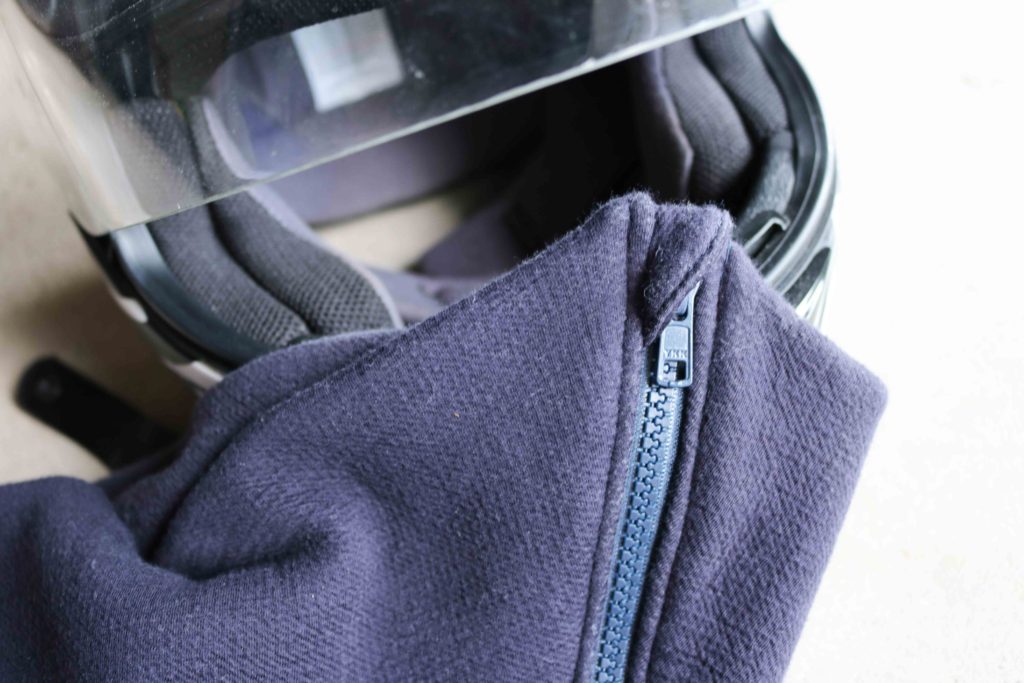
Since I made this sweatshirt for actual motorcycle riding, I wanted to make sure this was safe enough for the road. The large folded collar is great for sun protection and for warmth, but I was afraid the zipper may have the potential to flip up depending on our speed and weather conditions. That’s why I made sure to add in a cover for the zipper head. When pulled all the way closed, the zipper’s pull is completely encased and isn’t dangling down.
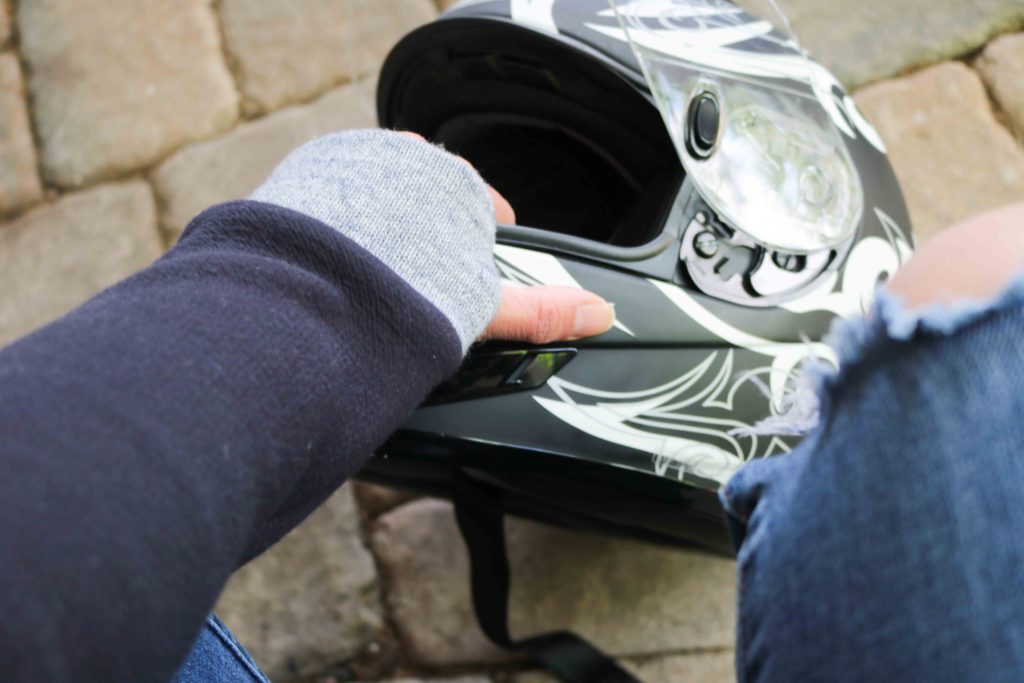
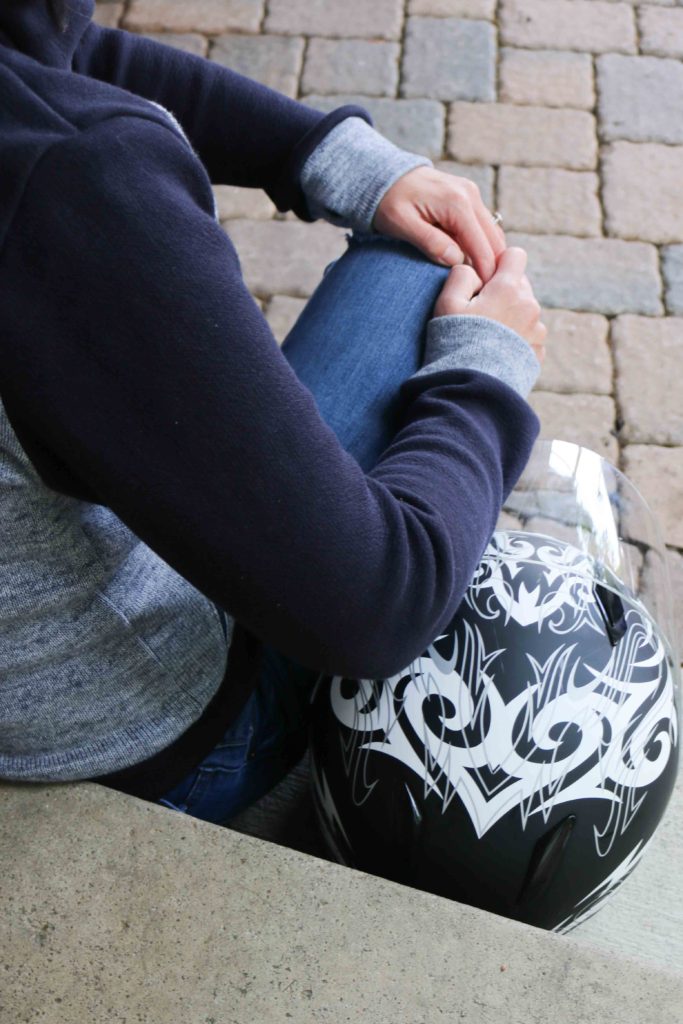
With almost all sweatshirts I make now, I like to add in thumbholes. They are so great if you are like me and always cold. But from a functionality standpoint, these are also perfect features to help keep my sleeves down. Sometimes the air flow can push things back and I certainly won’t let my husband go just to readjust sleeves!
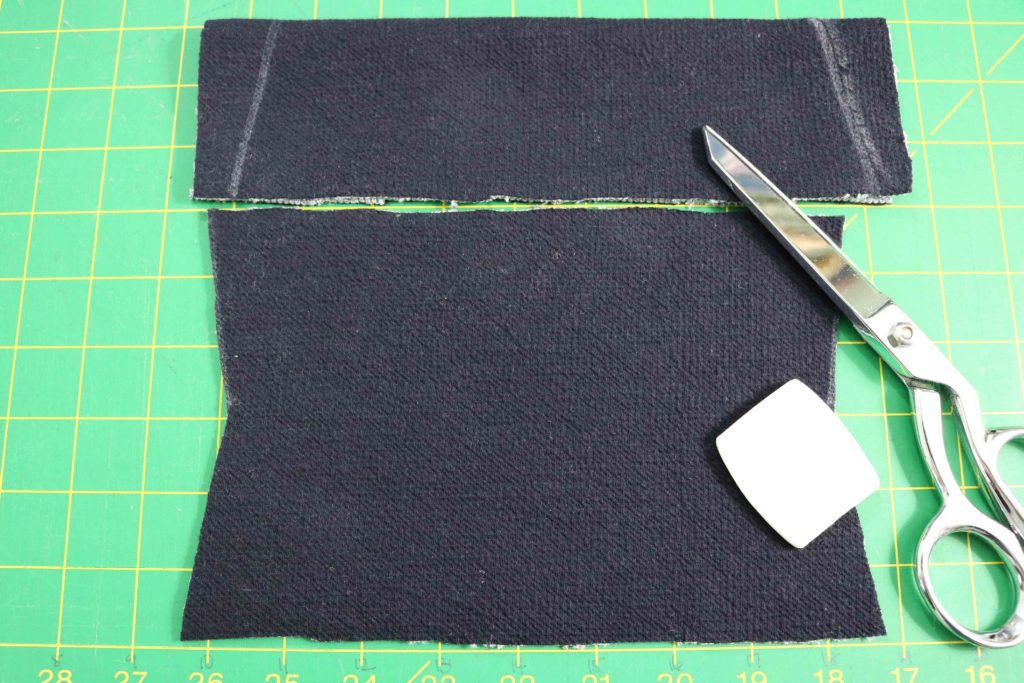
And with that in mind, I made sure to narrow out the entire cuffs themselves. Again, with air pushing against me as I ride, I wanted to make sure these were more snug on my wrists. I took 1/2″ off both sides and angled in 1″ where the cuff folds for a cleaner look.
Overall, I’m very pleased with the sizing and fit (after adjustments) with this Moto Sweatshirt. The instructions and graphics were pretty clear, but it’s always nice to have extra visuals. The sew-along on the Indiesew Blog was very helpful with showing additional pictures of each step. I’m very grateful it was available and it made this project go much faster than anticipated. Yay!!!
Project Summary:
- Pattern: Moto Sweatshirt – If you want to grab the pattern, click here.
- Fabric: Double-Faced Japanese Sweater Knit from Indiesew
- Zippers: Molded Plastic Jacket style from Wawak
- Thread: Gutermann
- Machines: Juki MO-2000QVP Serger and Juki TL-2010Q
I hope you enjoyed this review and my hacks to the pattern. Will you wear your Moto Sweatshirt while walking or while riding???
Happy Sewing, Friends!
Cristy
The Seamly Moto Sweatshirt pattern and Double-faced Sweater Knit were both discounted by Indiesew for this blog post. But as always, the make is my conception and all thoughts and opinions are my own.
