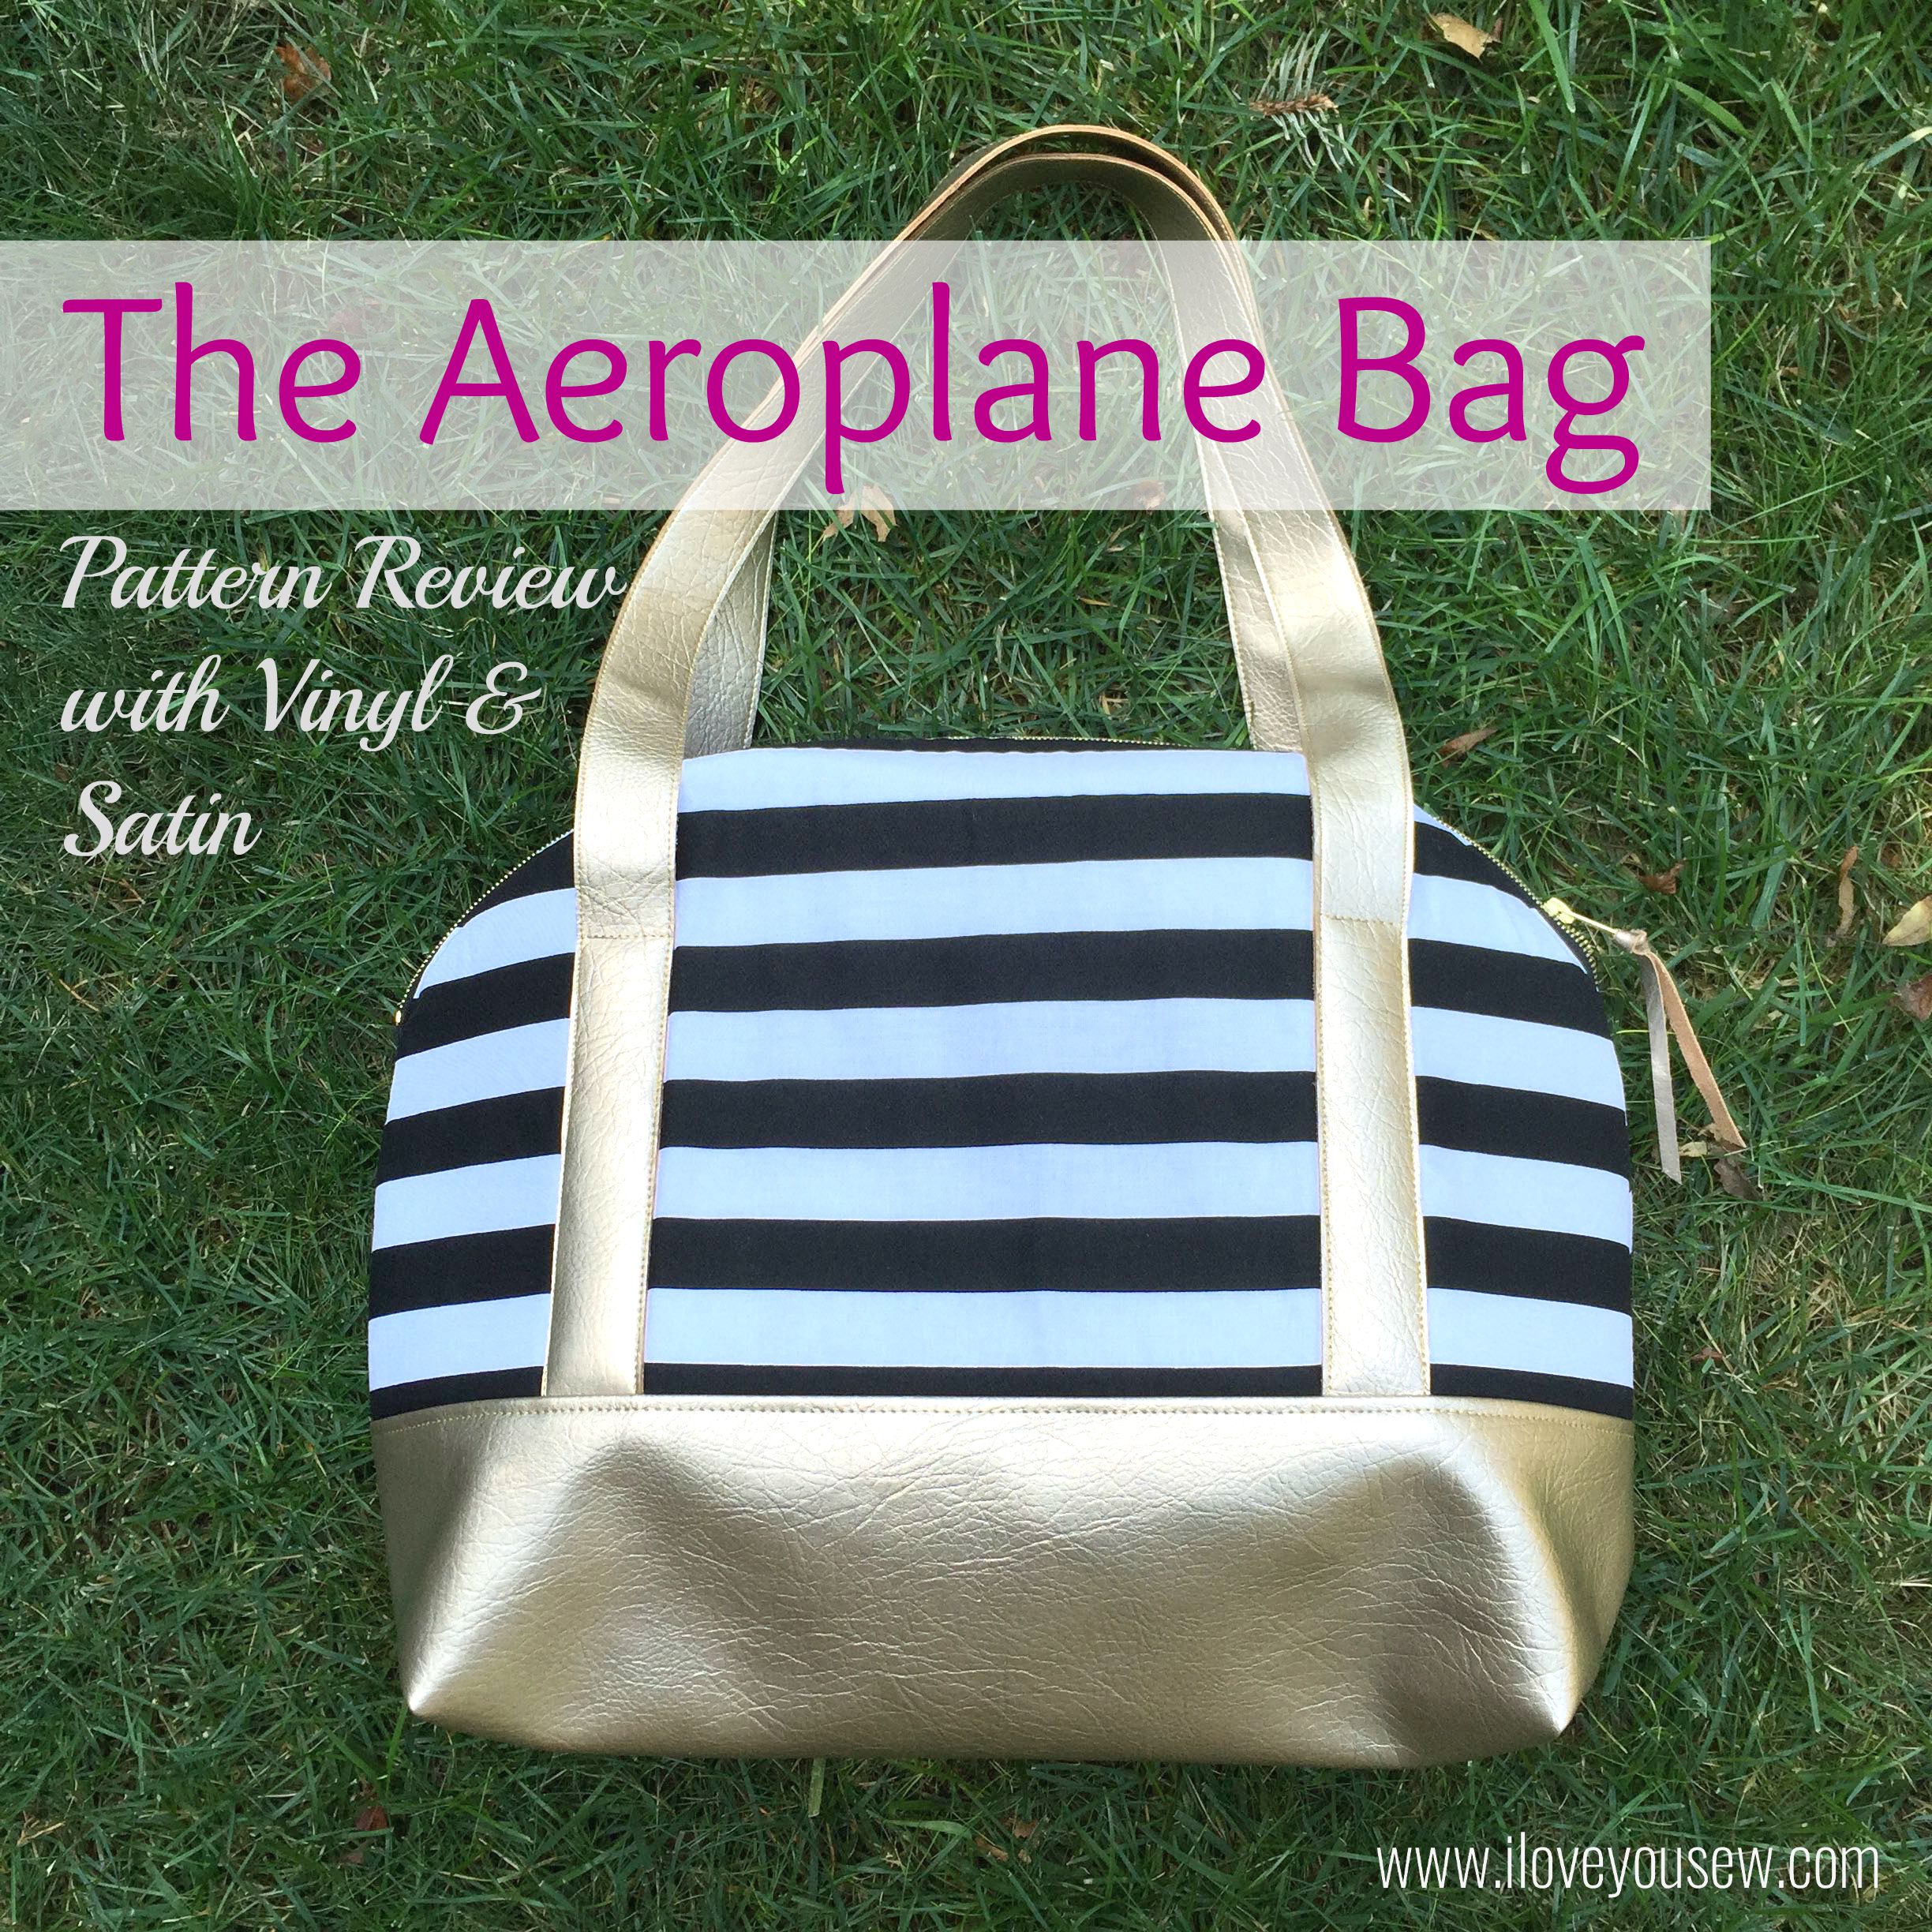
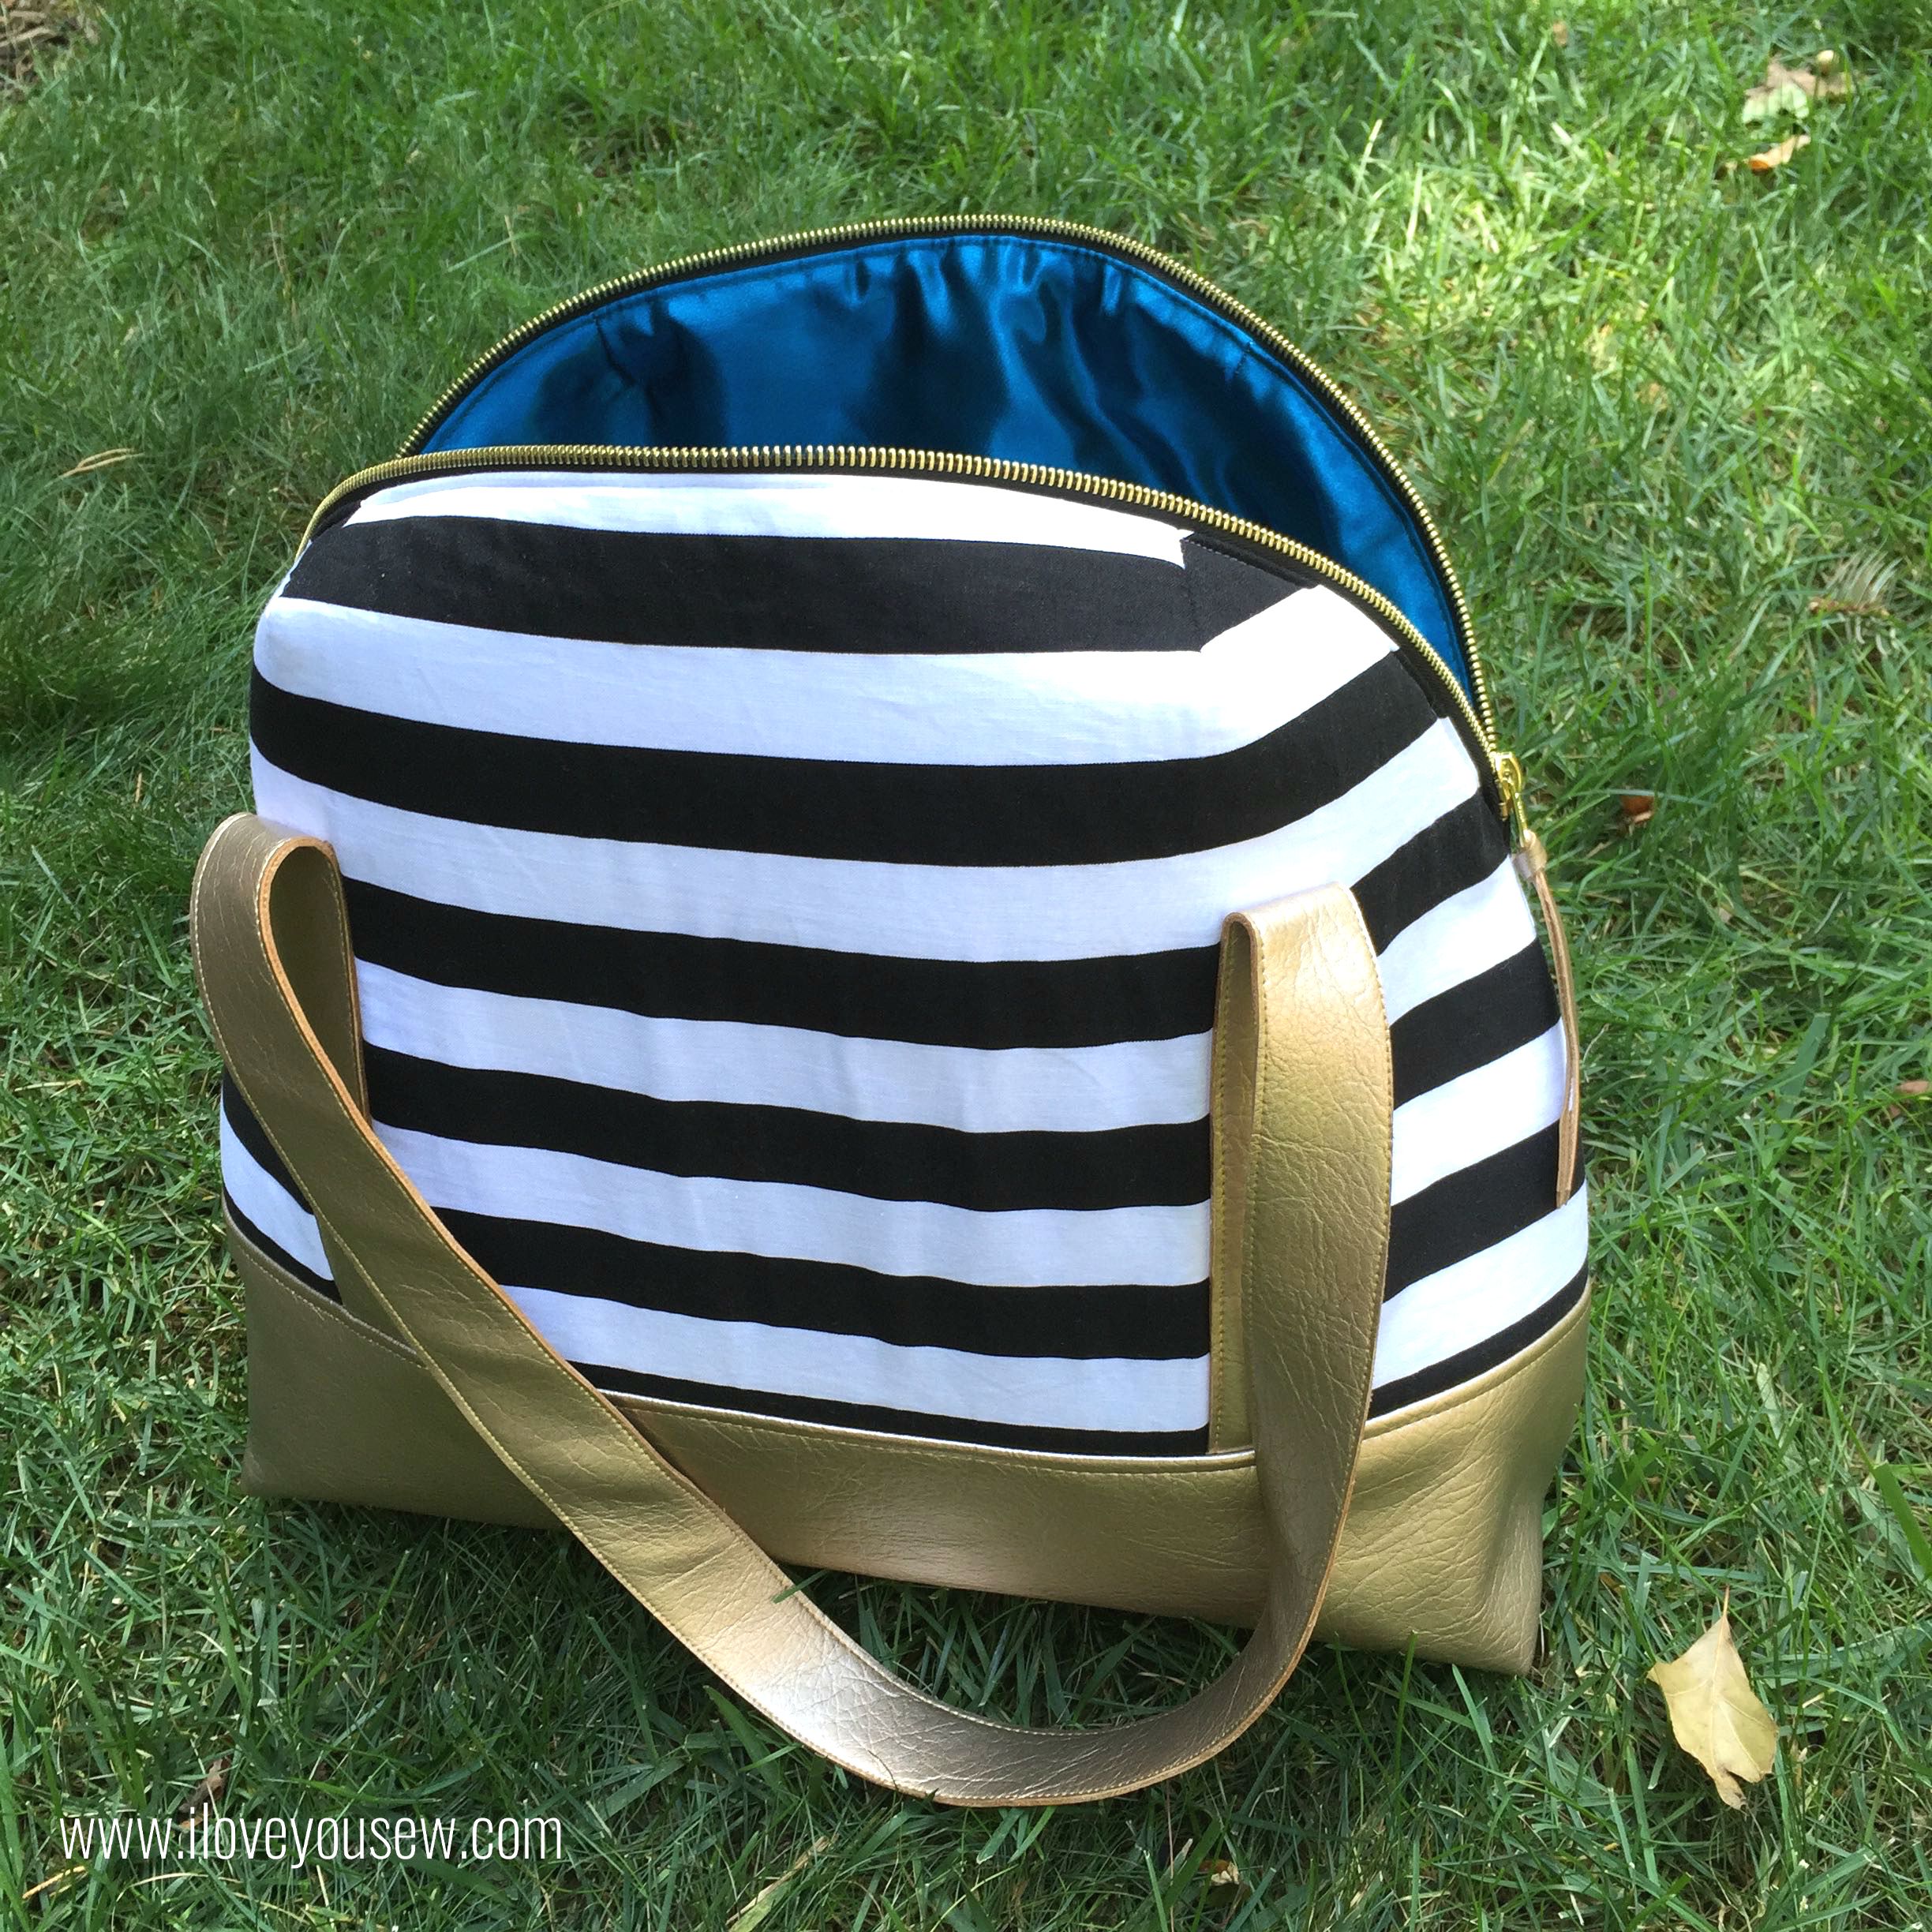
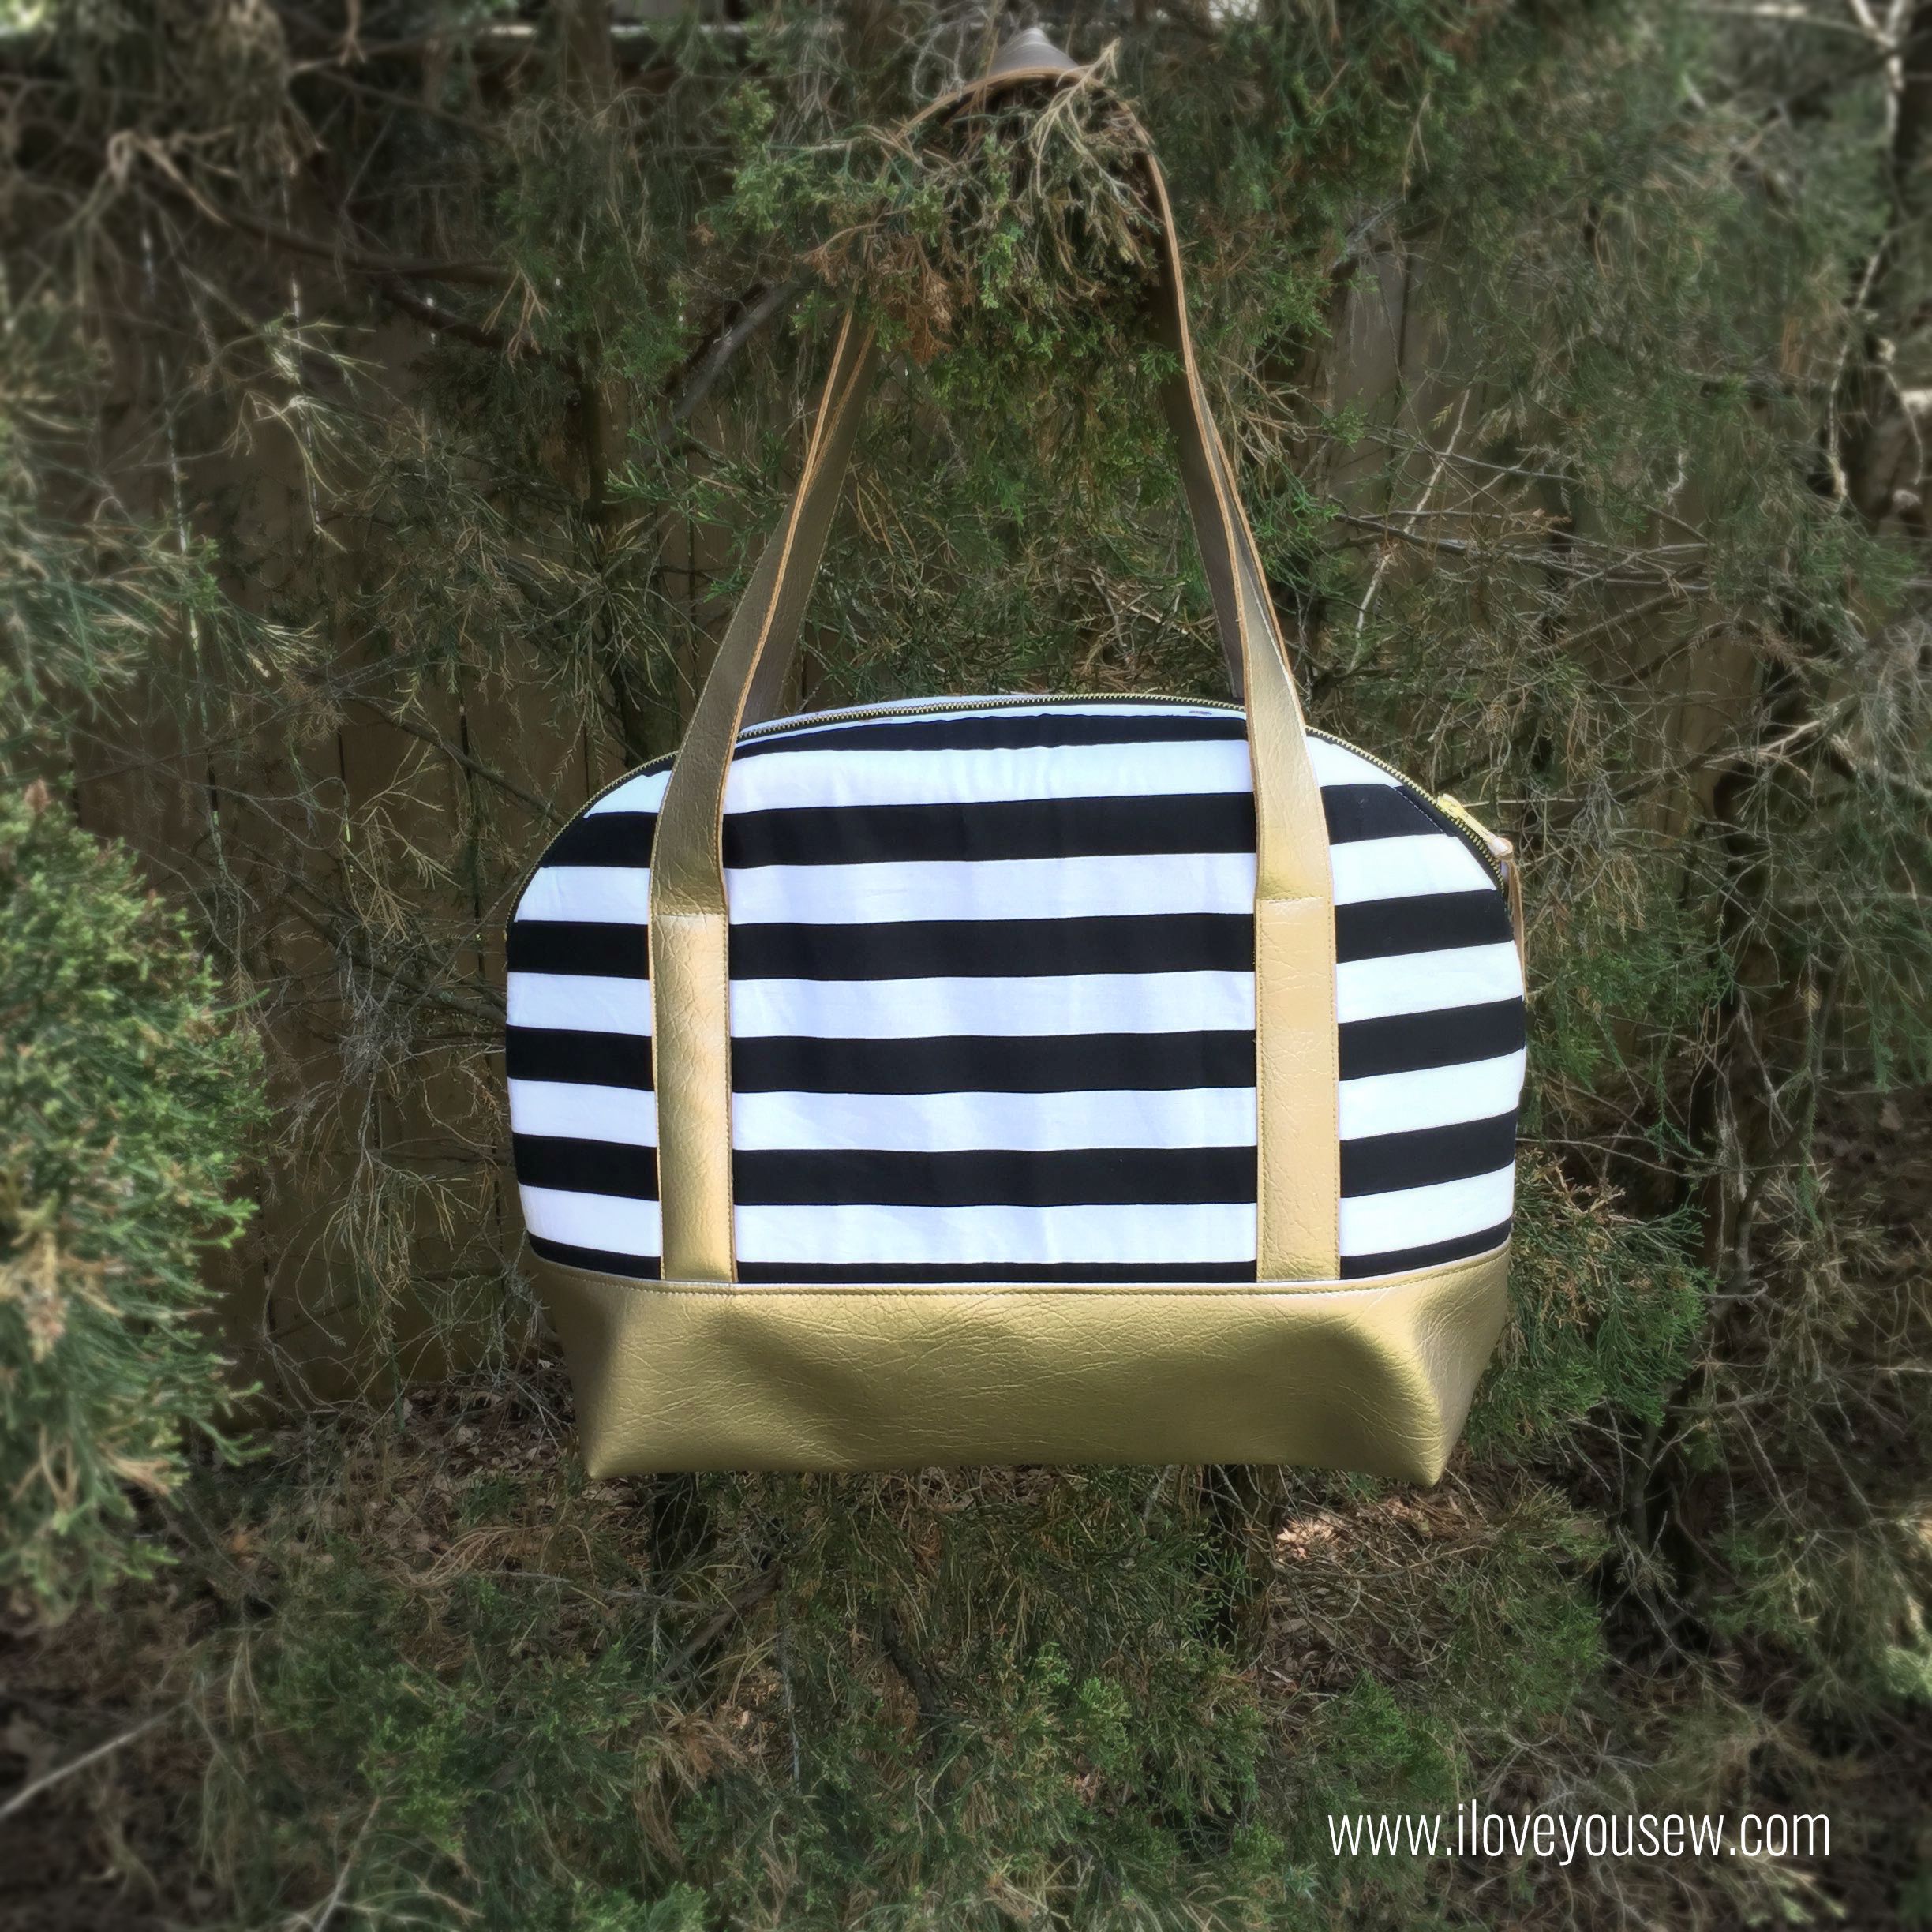
I know there are a ton of pattern reviews on Sew Sweetness‘ beloved Aeroplane Bag, but I REALLY love how the gold metallic vinyl (pleather), bold stripes and teal satin turned out! I was debating if it deserved a post, but after so much love on IG, I decided to share what I made and what I learned on the way 🙂
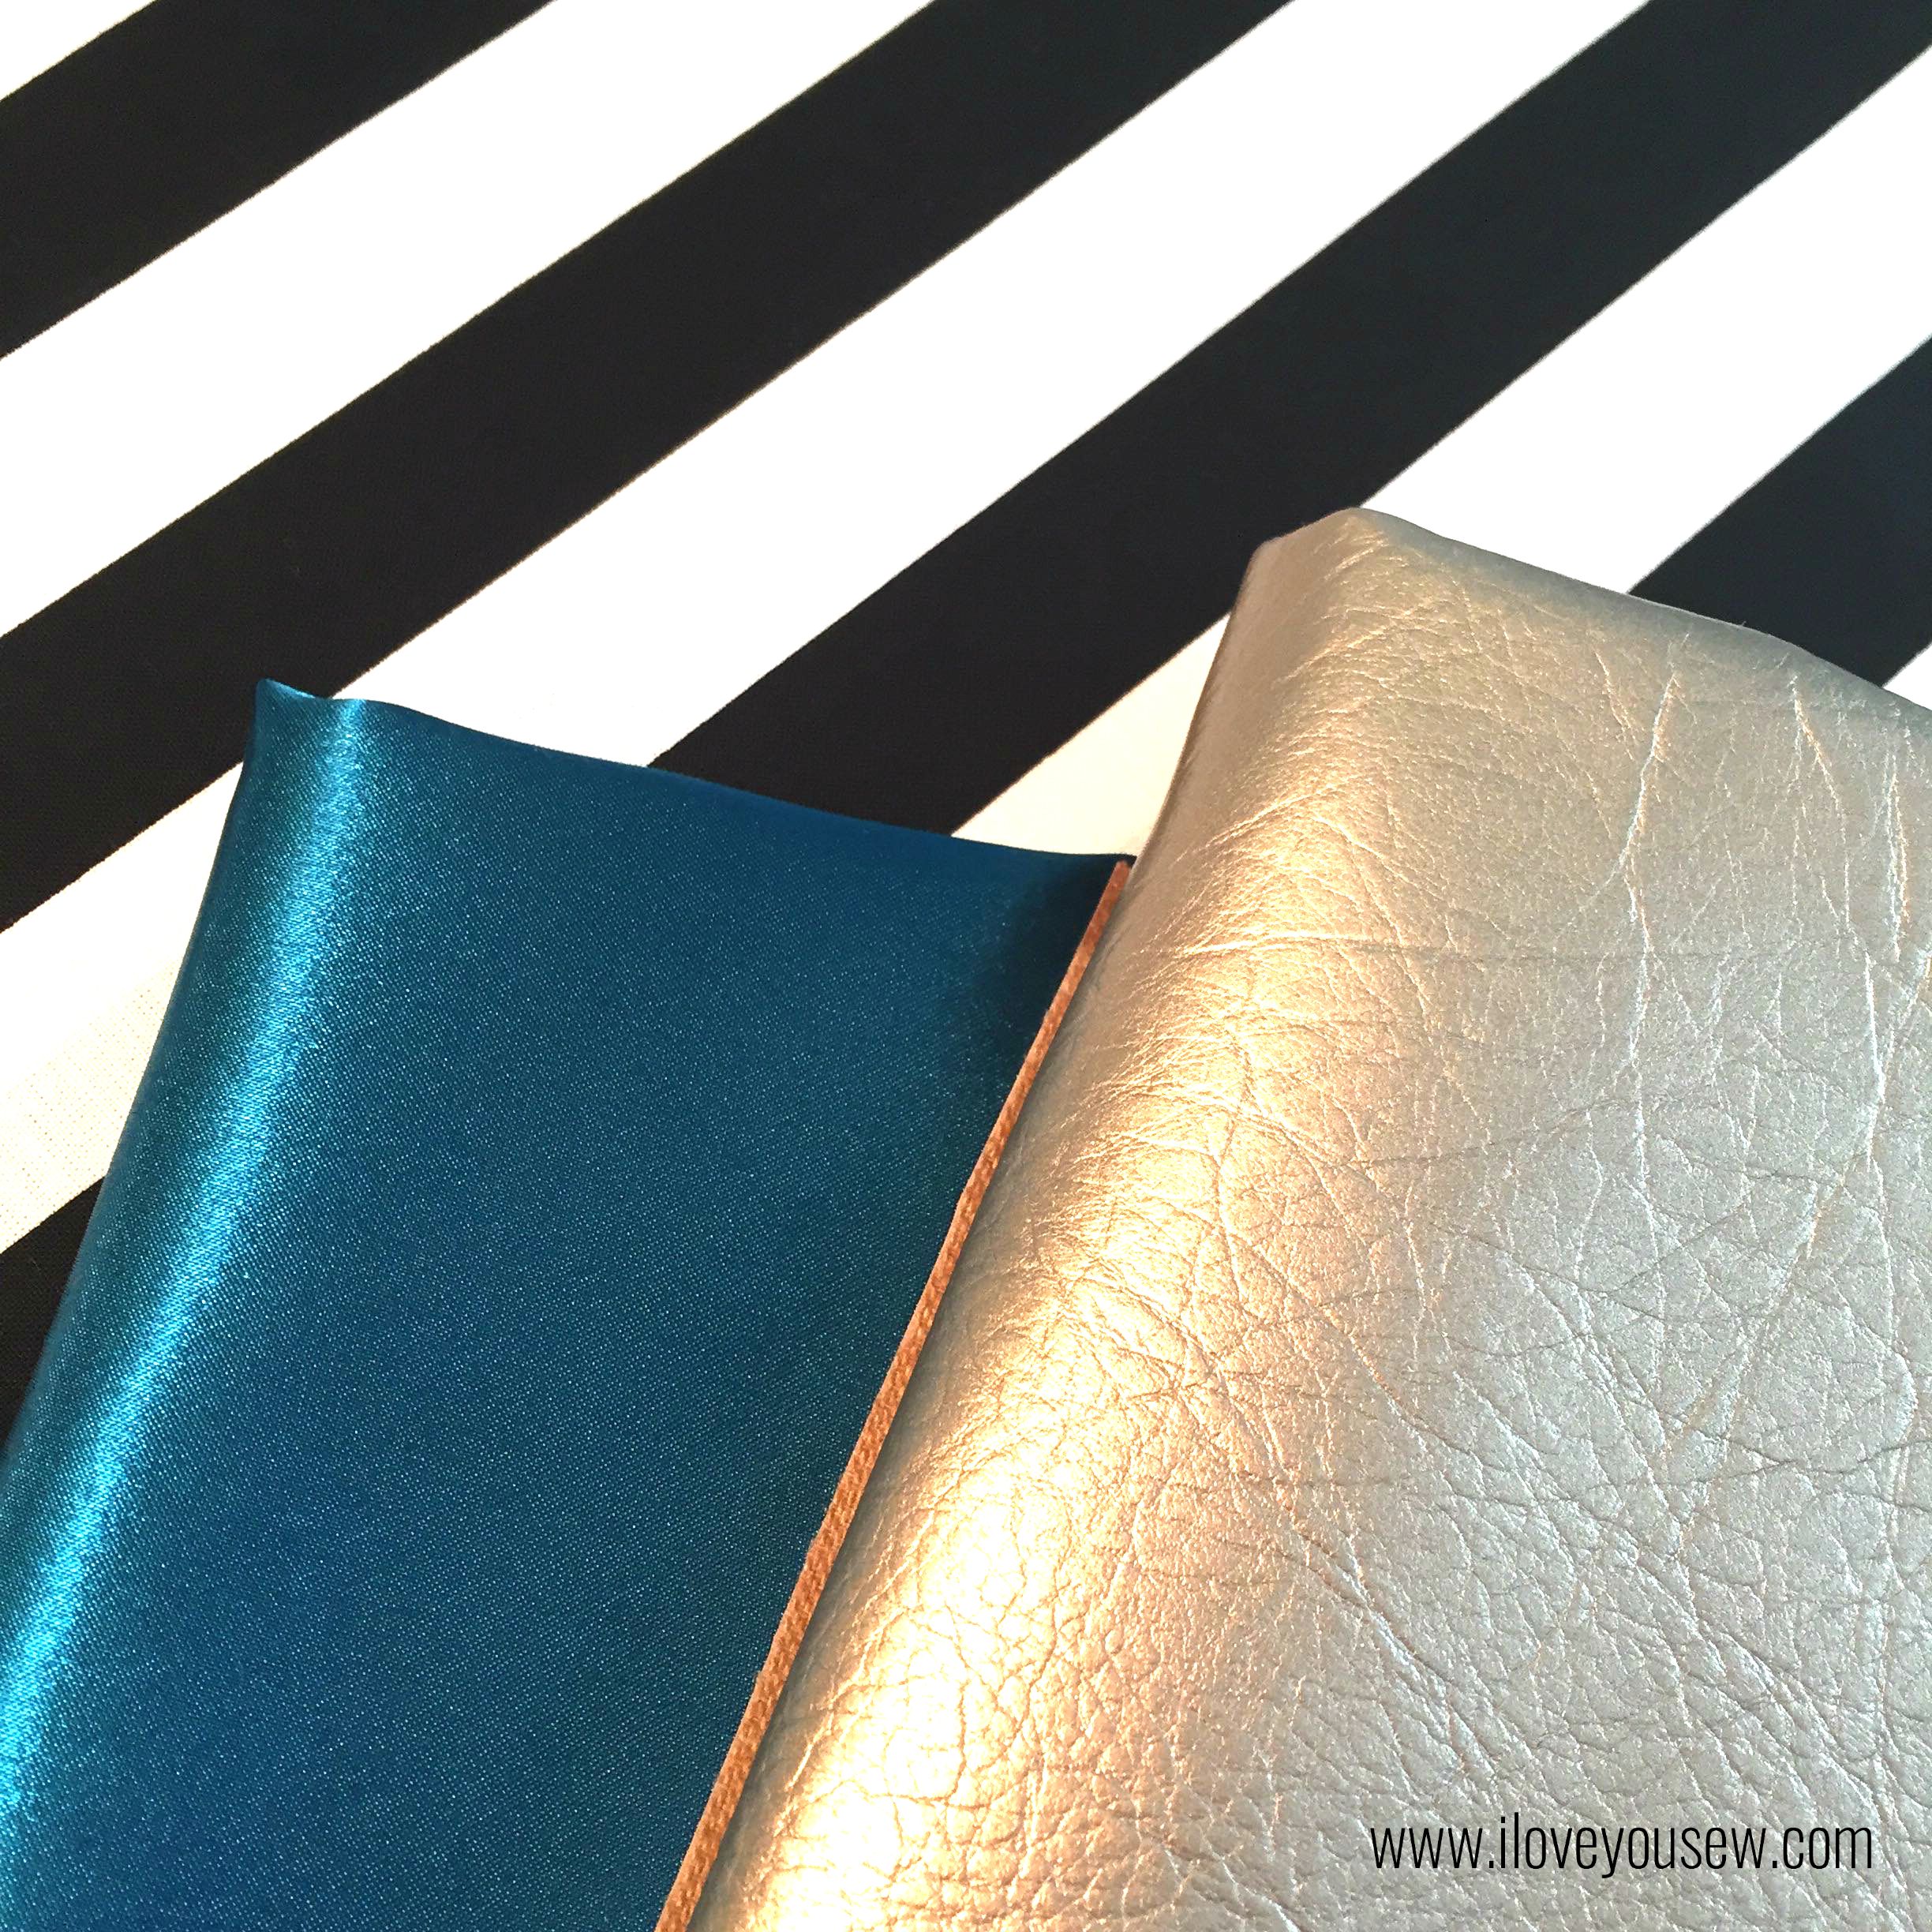
This fabric pull was inspired by my good friend over at Platopoo. We made a crafty trade – she made me some awesome vinyl cut t-shirts and I would make her a custom bag. I love a good barter…don’t you??? Well, her business cards are black and white stripes with some gold accents and I wanted to kick up this bag a notch, so we came up with this great combination:
- 1″ Black and White Stripes – Riley Blake Designs
- Teal Satin – fabric.com
- Metallic Gold Vinyl/Pleather – JoAnn’s
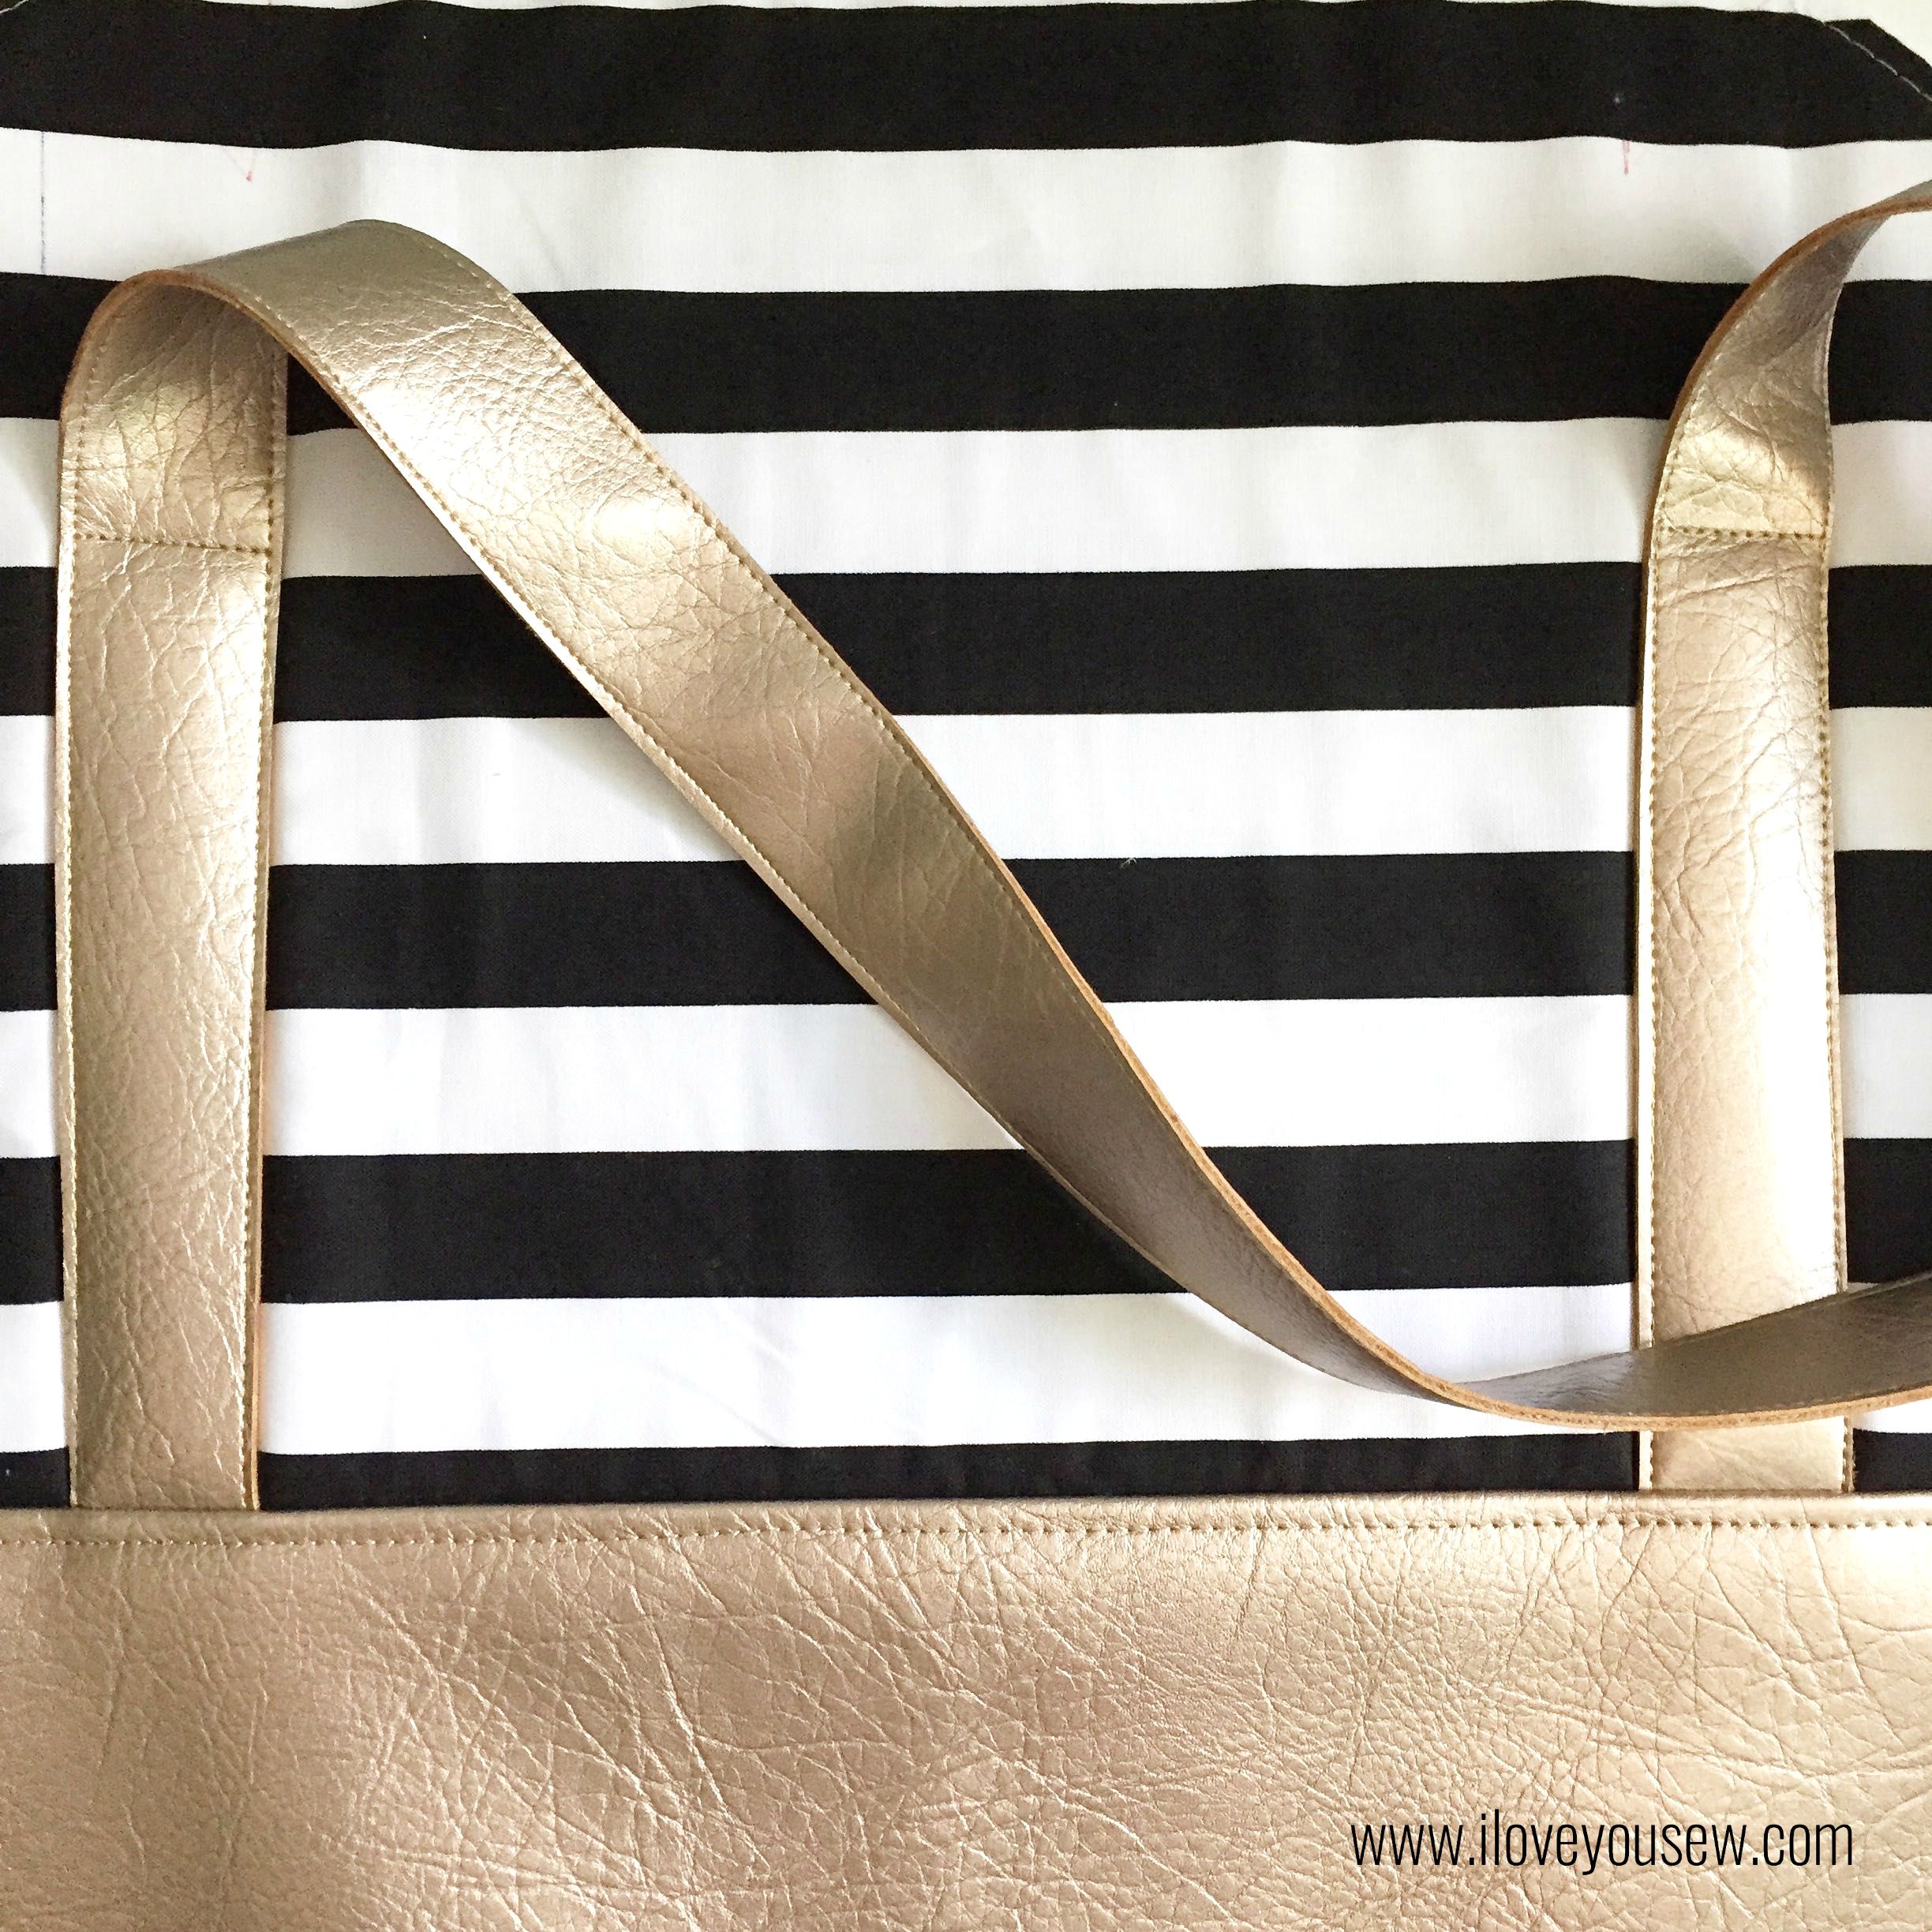
Since I was using the vinyl for the bottom and straps, there were a few adjustments that had to be made:
- Omit the strap interfacing
- Cut 2 straps to 1.5″ width. Since the WOF (width of fabric) on the vinyl is 54″, the straps were then cut to 42″ in length
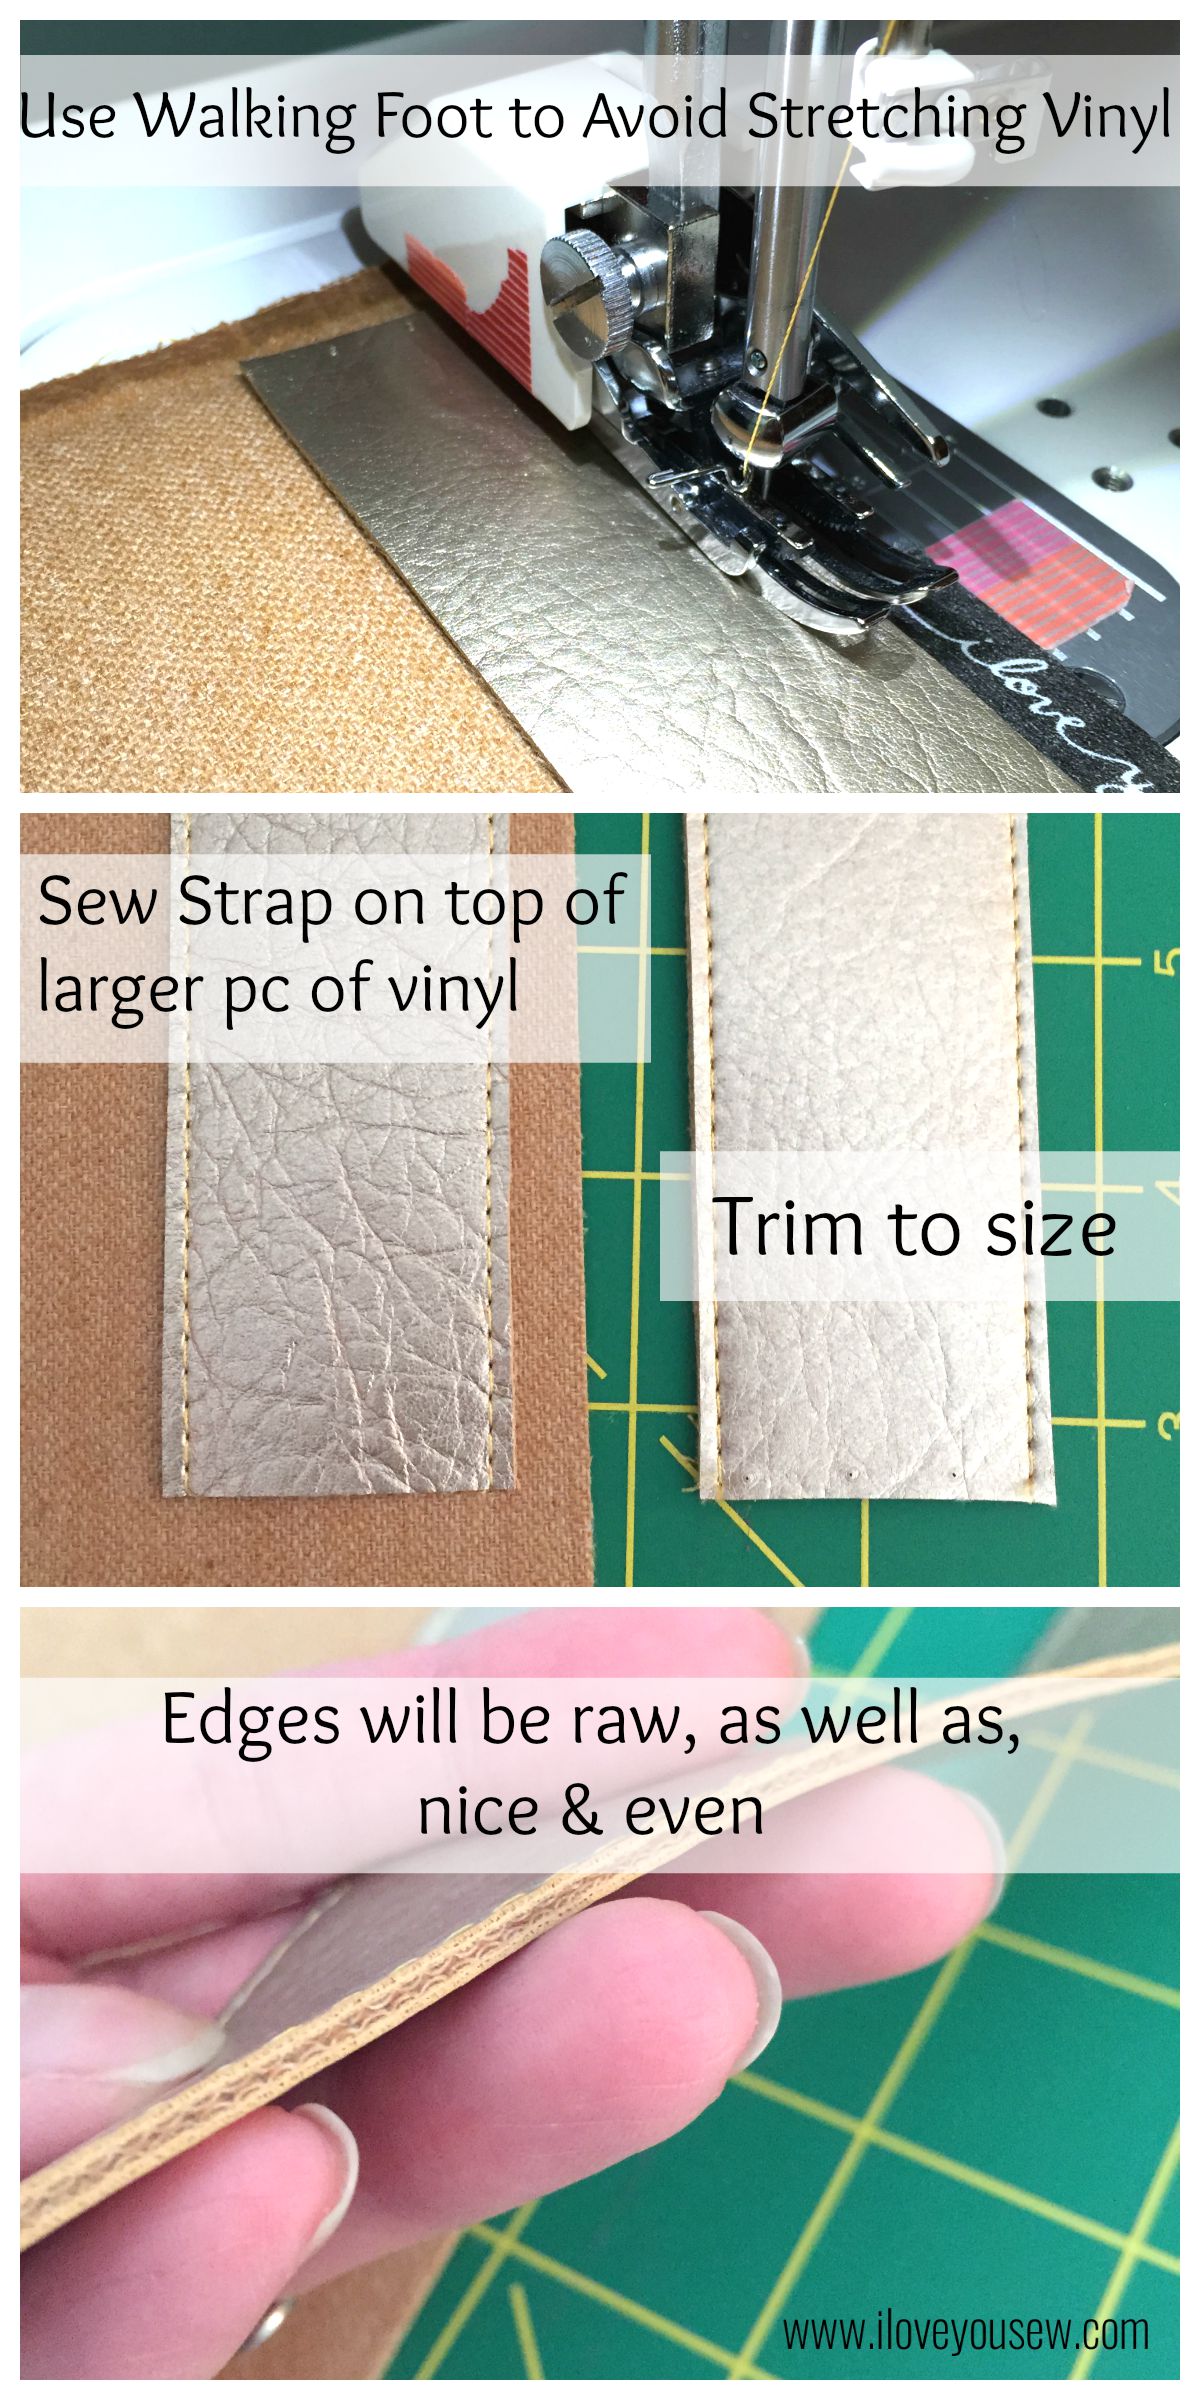
- TIP: Take one 1.5″ x 42″ strap and sew it onto a larger piece of vinyl. Sew with 1/8″ seam allowance. Trim the excess of the larger piece to size. Repeat with 2nd strap. (This allows you to have even top and bottom strap pieces.)
- Be sure to use your walking foot to not stretch out the vinyl
- Edges of the straps will be raw. You can use some permanent fabric glue or Fray-Check to “seal” the sides if you wish. Some vinyls do fray the slightest bit over time…
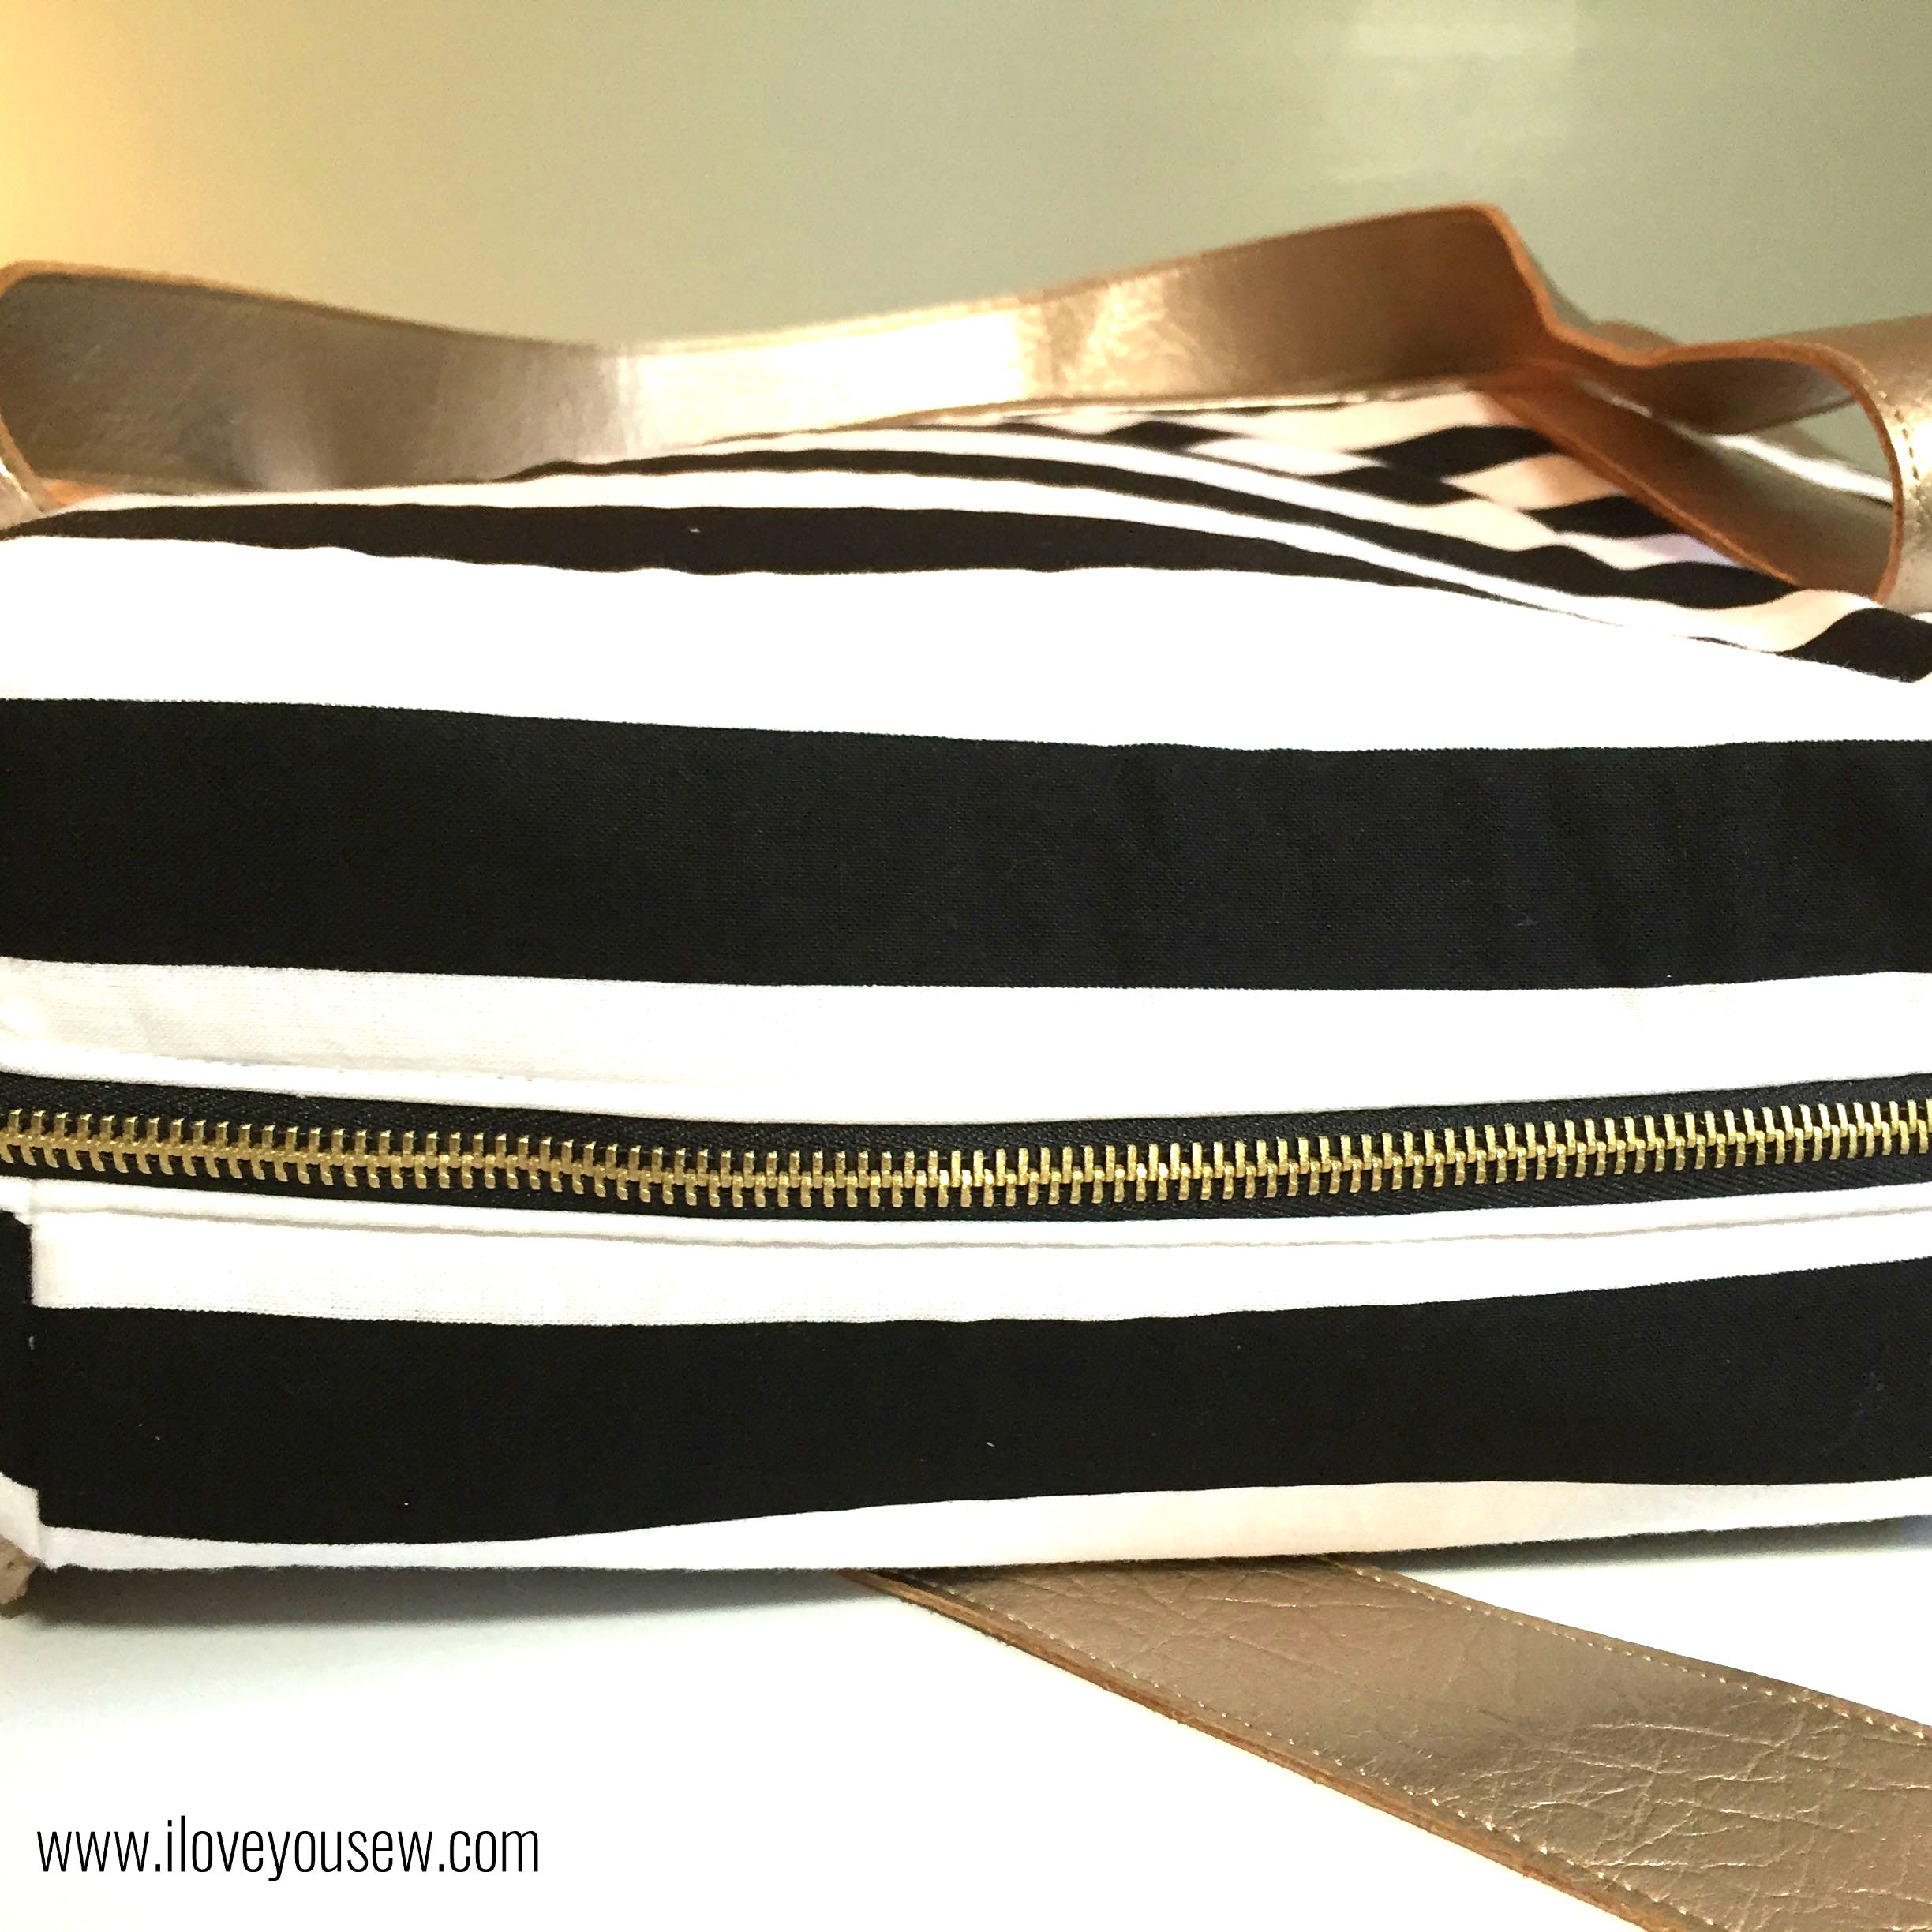
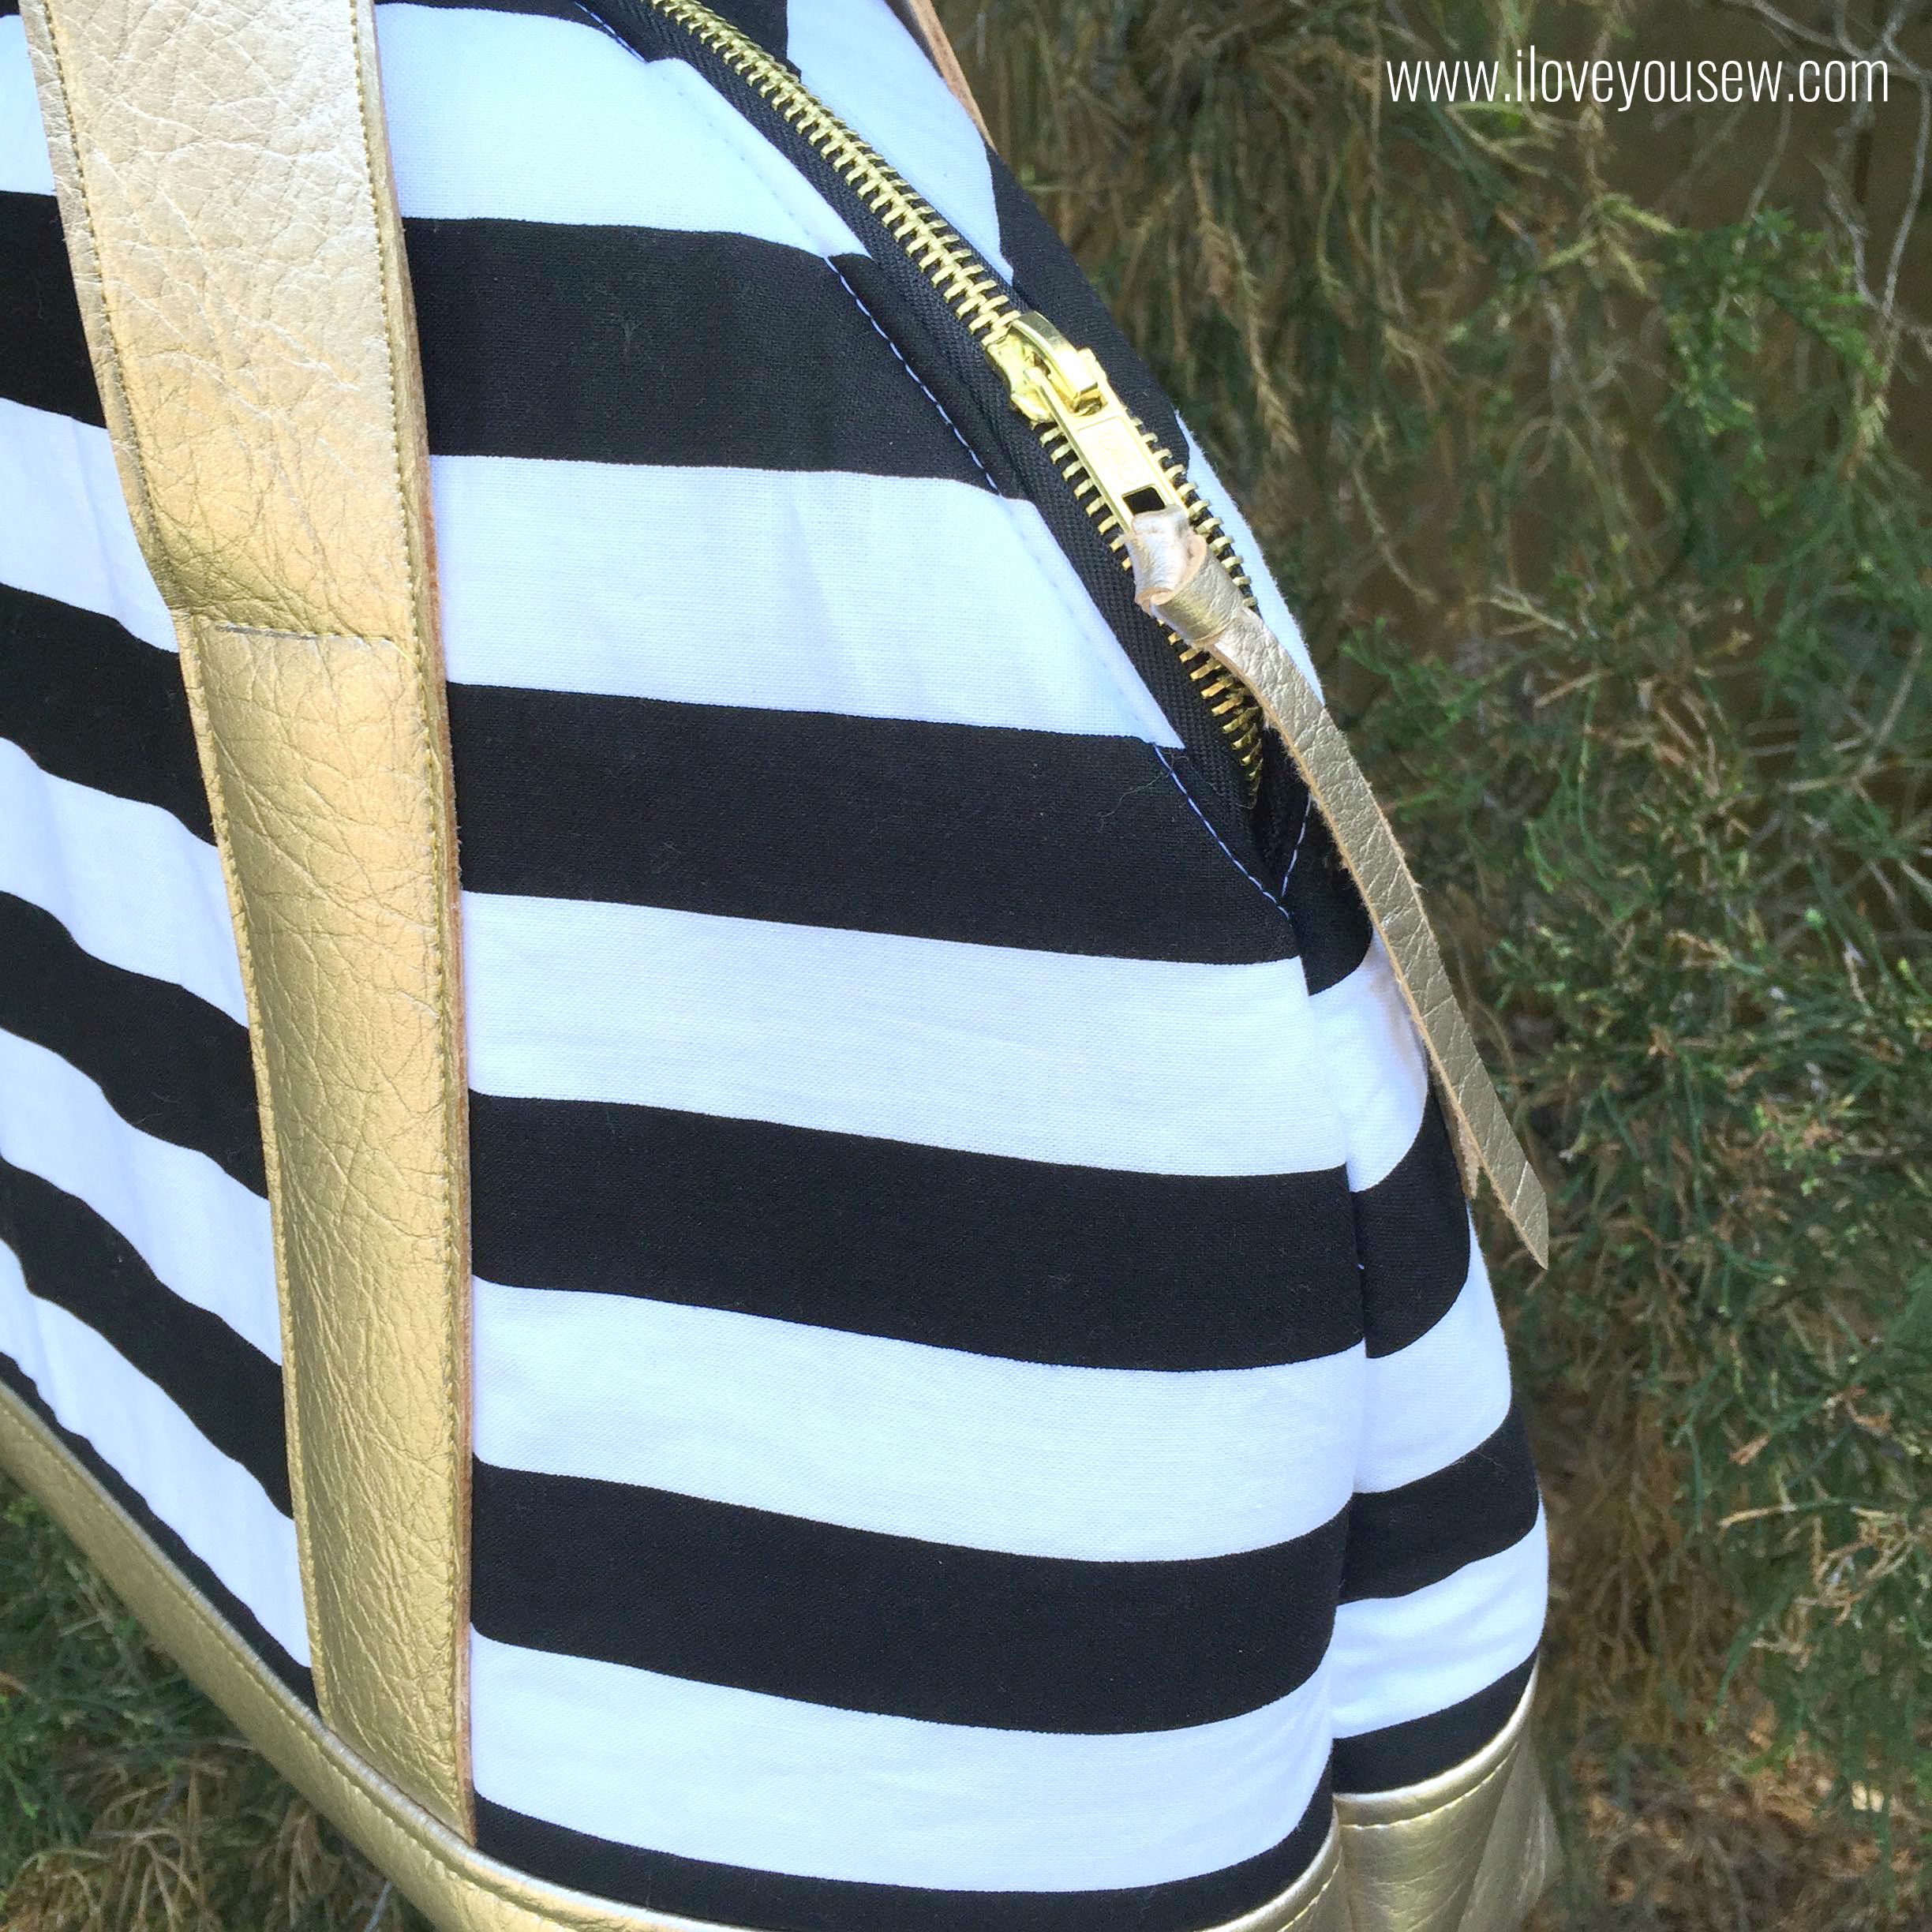
Another detail to amp up this bag was the zipper. I found this great black one with brass teeth at JoAnn’s as well. It matches perfectly with the pleather and adds that extra professional look.
TIP – I used my walking foot to topstitch over the zipper. There is quite a lot of volume between the exterior, lining and Flex-Foam (used in place of Soft & Stable.) This allowed me to get more even stitches without having to tug on the fabric as much.
Additionally, I cut off 1/4″ by about 8″ of scrap vinyl to add a pull on the zipper. Again, this little detail helps make the bag look more polished and pulls in more of the metallic look. Plus, those little pulls are never long enough!
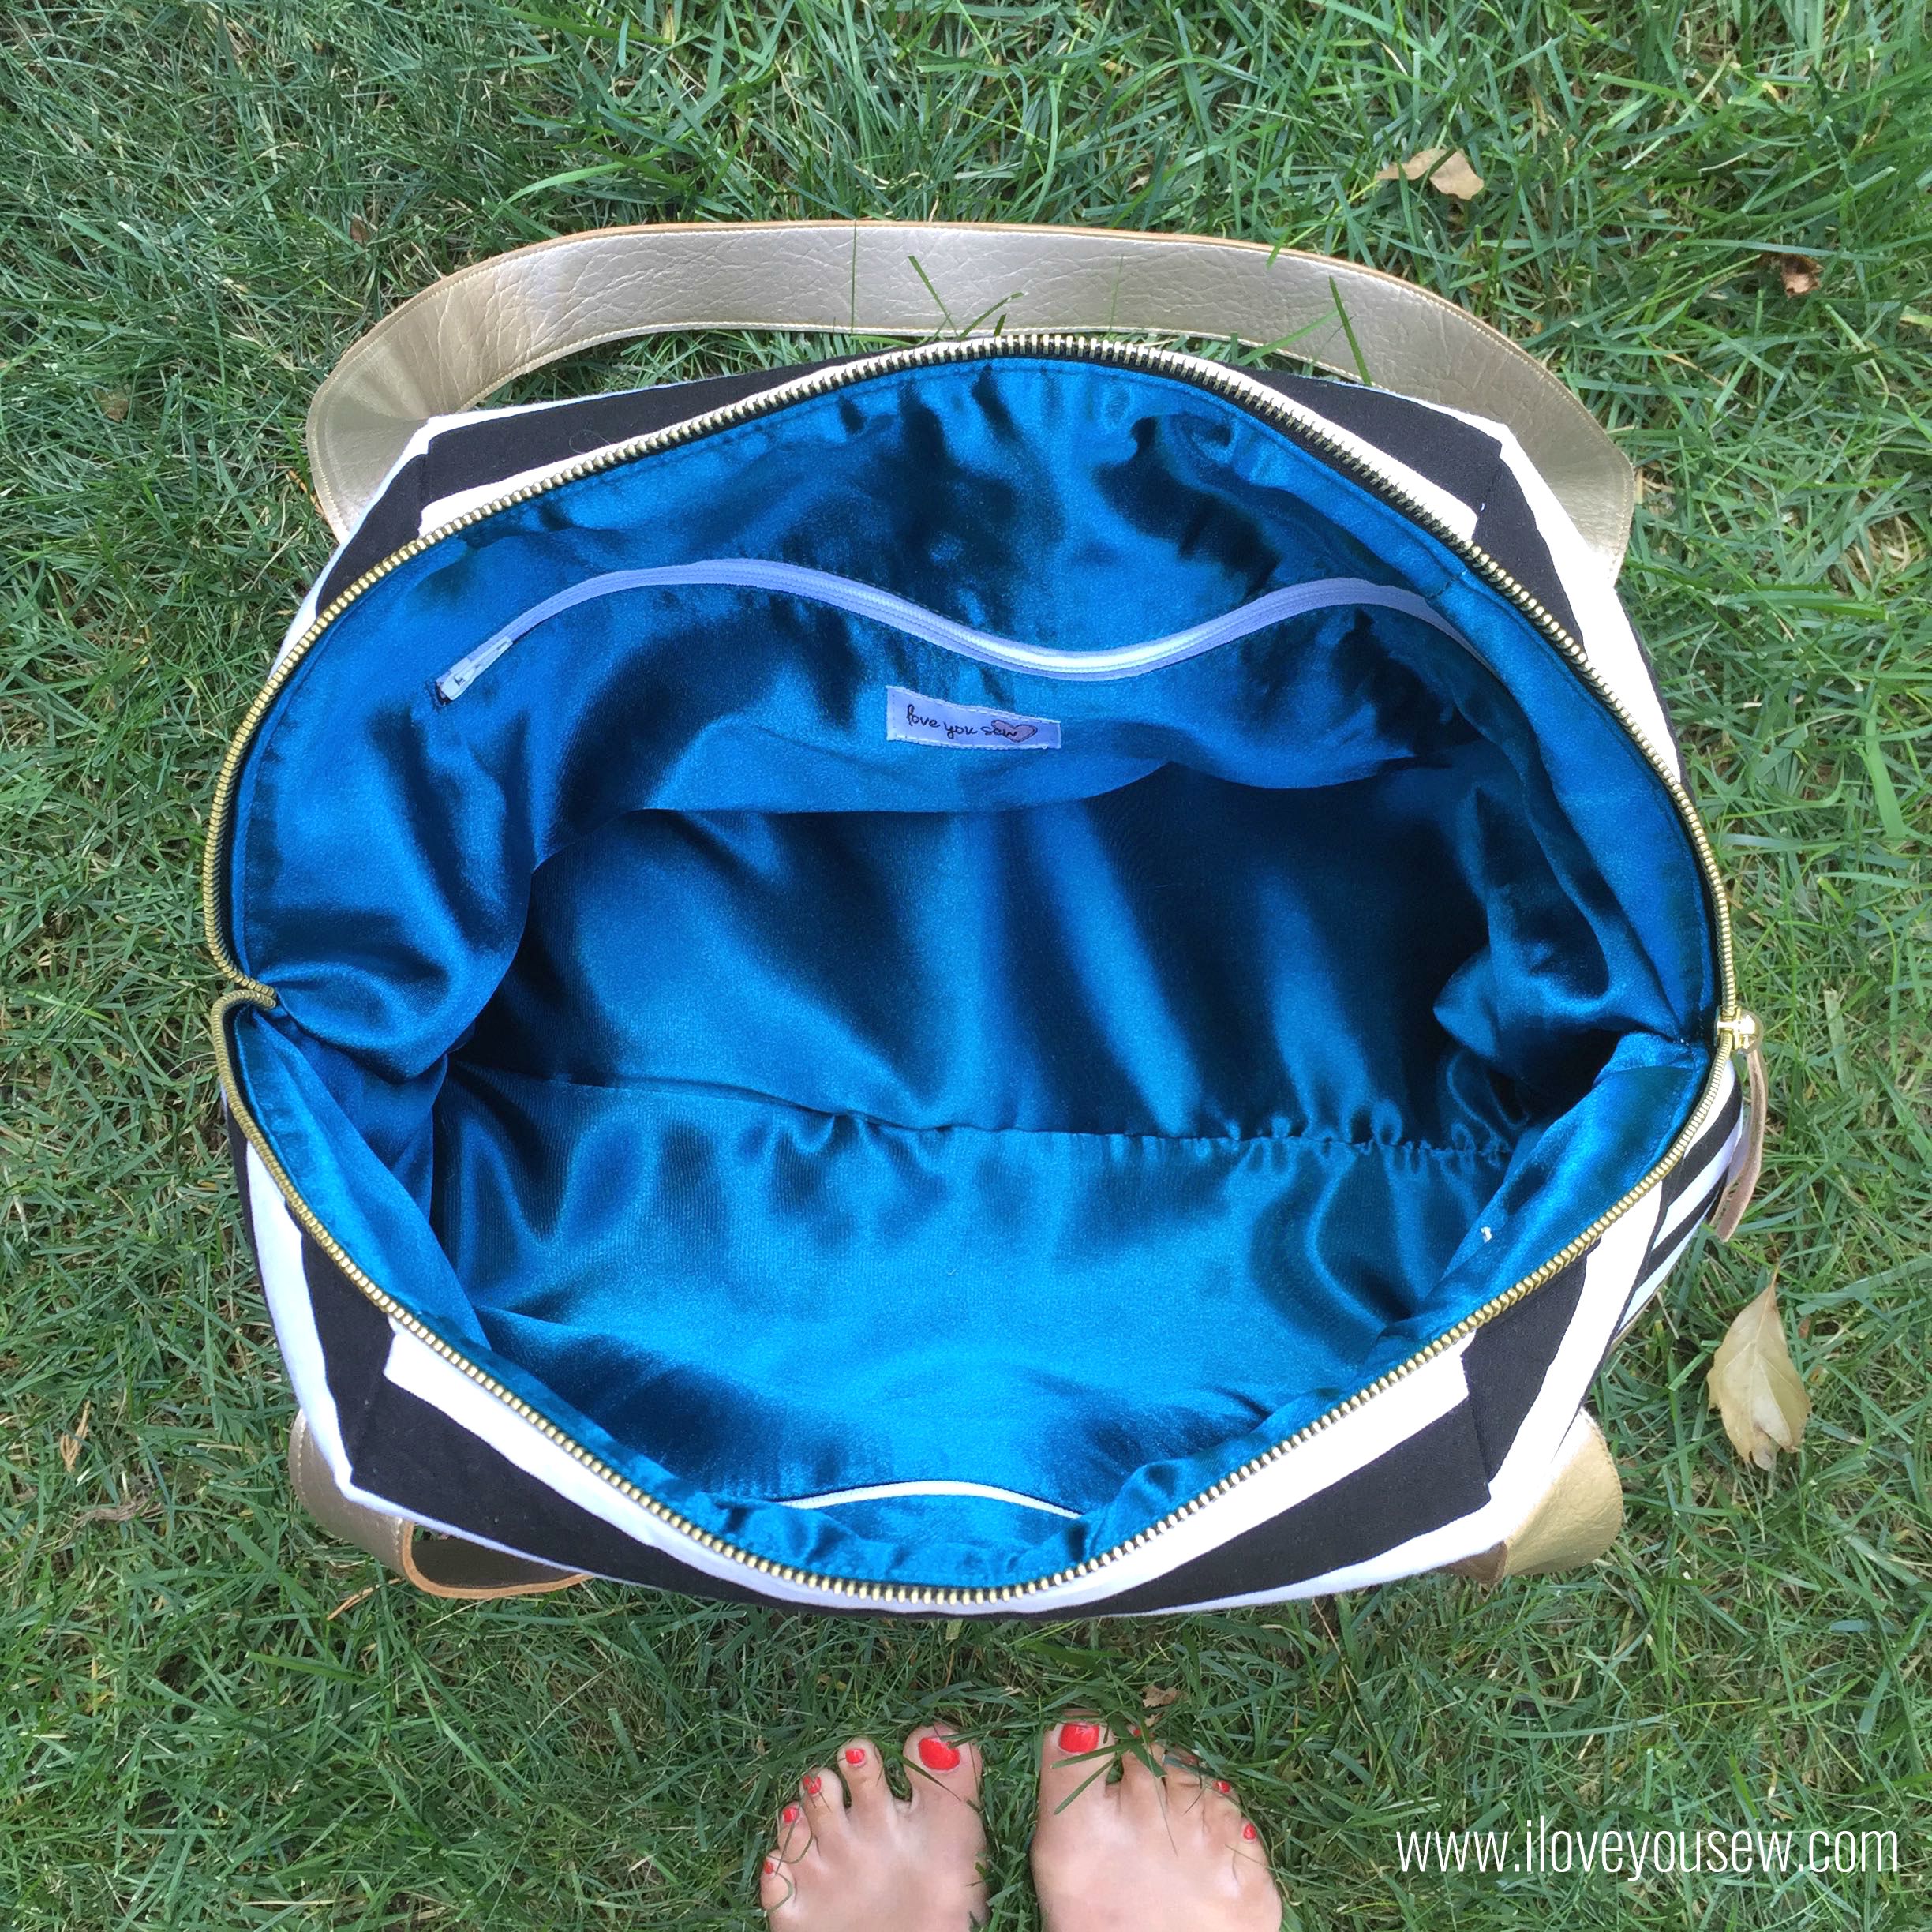
Do you like the satin interior? I am digging this pop of color and the change in texture for the interior. I also love the 14″ zippered pockets. They are generous in size to hide lots of goodies. The only thing I wished I had were brass zippers for these pockets. (I got the wrong size from the store and was not going back anytime soon…I was already there twice in one week!) They would have completed the look, for sure…
TIP – Cut the Shape-Flex larger than the interior pattern and fuse it onto the satin before cutting. The satin is delicate and can unravel pretty easily. It is easier to handle if you iron the interfacing on first.
I love the wide opening of this design. There is ample space to get your weekend gear into this bag….and this is just the “regular” size. I can’t wait to try out the “long” pattern!
This was a fun project but definitely at the confident beginner to intermediate level. Be sure to check if your machine can handle up to 6 layers of vinyl and Peltex at a time. I have a Juki TL-2010Q that can sew through with a Heavy Duty Organ Needle, but I still broke one needle in the process!
It’s going to be sad when I have to part with this baby, but at least I can make more 😉
The Newest Aeroplane Bag Fan,
Cristy
This post may contain affiliate links for which I do receive a small compensation…It helps me keep this site running 🙂
