2015 New Quilt Bloggers – Blog Hop

As I mentioned in an earlier post, I’m a part of a special group of new bloggers who have a passion for quilting! Today marks the 2nd week of our Blog Hop hosted by:

Cheryl @Meadow Mist Designs

Yvonne @Quilting Jetgirl

Stephanie @Late Night Quilter

Terri Ann @Childlike Fascination

All of the New Quilt Bloggers have been divided into “Hives” and my group is called the “New Bees” led by Cheryl.  Below are my fellow hive members on the block this week.  Stop by their blogs and you also get the chance to win some awesome sewing prizes! (Check out the hosts blogs above for more information.)

*Edited to include all weeks of the Blog Hop

Week 1 – Monday June 15th

Ashley @ www.craftyashleyb.com

Gayle @ pedalsewlightly.blogspot.com

Sarah @ http://123quilt.blogspot.com/

Hayley @ Www.moobird.blogspot.com.au

Week 2  – Monday June 22nd

Cristy @ www.iloveyousew.com

Patty @ www.walnutstreetquilts.com

Sarah @ www.goer.org/sarah

Eileen @ eileeninstitches.blogspot.com/

Week 3 – Monday July 13th

Abby @ https://hashtagquilt.wordpress.com/

Shelley @ http://thecarpentersdaughterwhoquilts.com/

Mary @ http://quiltingisinmyblood.com

Week 4 – Monday July 22nd

Kim @ lelandavestudios.com

Cassandra @ http://thenotsodramaticlife.com

Kathryn @ Ourplacequilts.wordpress.com

Colleen @ https://colleenscustomquilting.com/

Deb @ newcreativestate.wordpress.com

Megan @ www.sewstitchingcutequilts.com

>>>

A little about me….I used to work in Finance and Accounting so I love numbers and Excel.  I’m a complete geek when it comes to understanding my sewing costs, margins and of course, profit!  This information helps me tremendously with my shop, craft shows and pricing custom orders for clients. I have plans for a few templates (you know I will share) to help you understand your costs.  Is there anything you would like to see or understand when it comes to pricing your sewing projects?

Fun Fact –  I was named after Cristy Lane, the country singer.  My parents are Chinese-Vietnamese immigrants to the United States.  A sweet woman who helped my family with the assimilation process, thought the song “One Day at a Time” spoke to their journey.  My parents wanted to give me a “Western” name to honor their first American baby, and thus, I received Cristy (without the “H.”)

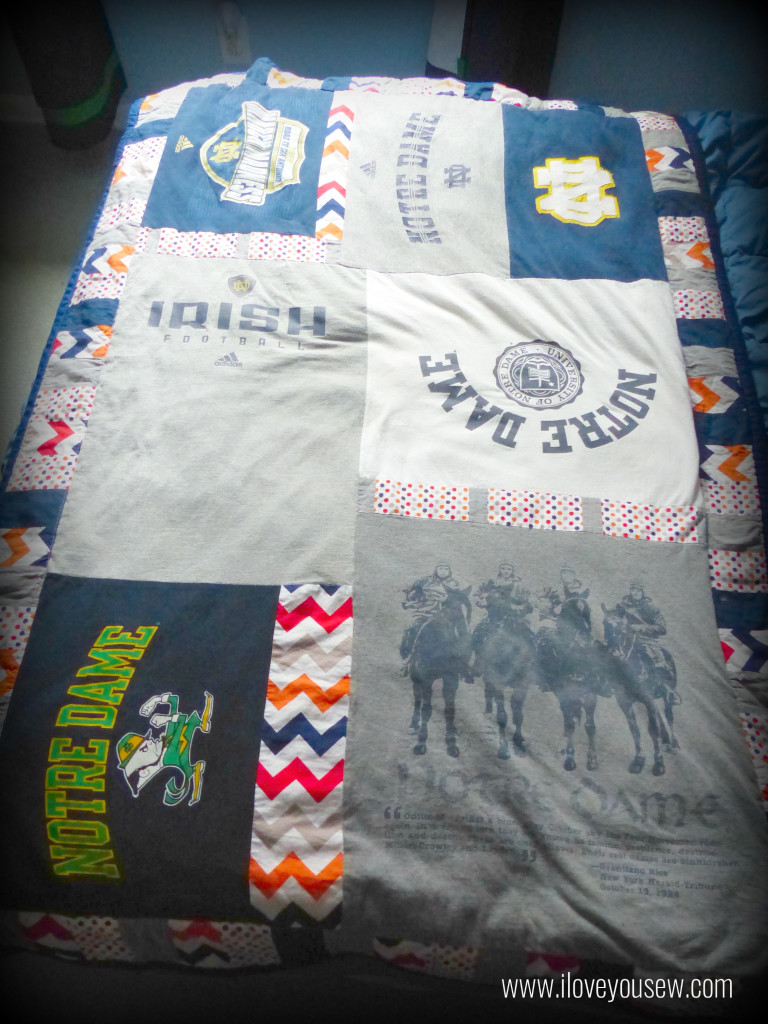
Below is the first quilt I made for my first-born with my husband’s old T-Shirts.  Can you tell it has the most minimal quilting I could do?!?  It’s just about all “stitch-in-the-ditch.”  As you can see, we’re an Irish loving family and it was fun to pull this all together. This quilt by no means is elaborate, but it was for my son…so I can’t help but love it and be reminded of where I started…

Notre Dame T-Shirt Quilt

Admittedly, I love more of my recent work as I’ve improved some skills and increased my fabric stash 😉 Quilted Sunset has the rich deep orange-red-mustard tones I just adore. The Quilted Hoops have been my newest obsession and I can’t get enough of their compact cuteness. Spectrum of Gingham is a rainbow of love and helped my dear friend raise money to fight Cancer.Fave Quilt Mosaic
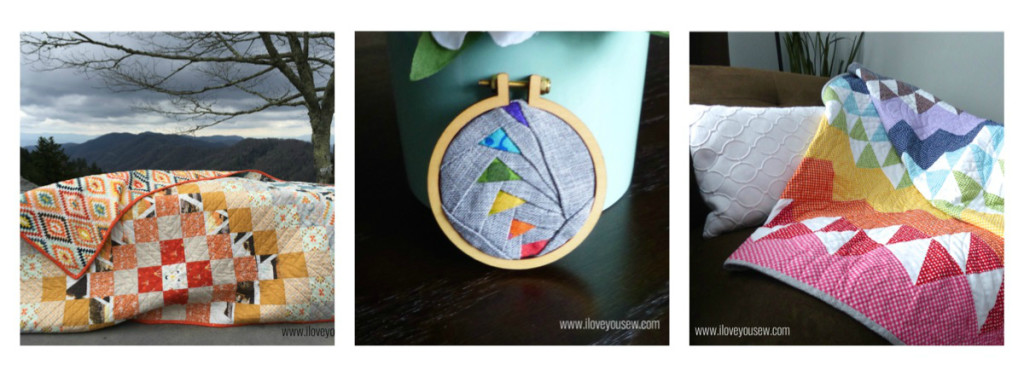
With all of this quilting and sewing, I’ve found the best advice it to go slow and steady.  It’s so easy to take short-cuts…thinking you don’t need pins or you can just sew at the fastest speed allowed.  But it will pay-off when you don’t have to rip out stitches when your fabrics don’t align or your stitches become noticeably uneven…TRUST ME…

I’ve been sewing heavily for about 5 years, have had my Etsy shop for about 2 years and have participated in about half a dozen craft shows, but am juuust starting with blogging. Without formal teaching (beside junior high Home Ec) I’ve learned a lot of my sewing techniques through other bloggers and wanted to give back to the community through my own experience and spin.

So far, I’ve learned to use my WordPress app as my on-the-go tool to help me capture ideas, make edits and upload pictures.  Since I’m a stay-at-home mom, my family always takes precedence.  I don’t always have time to sit in front of my laptop between life and sewing items from my shop.  The app allows me to work on posts whenever I do have a few minutes…any free time I have is precious!

I hope you enjoyed learning a little more about me 🙂  Don’t forget to visit my fellow 2015 New Quilt Bloggers to get to know them as well!


Happy Stitching,

Cristy
Love You Sew


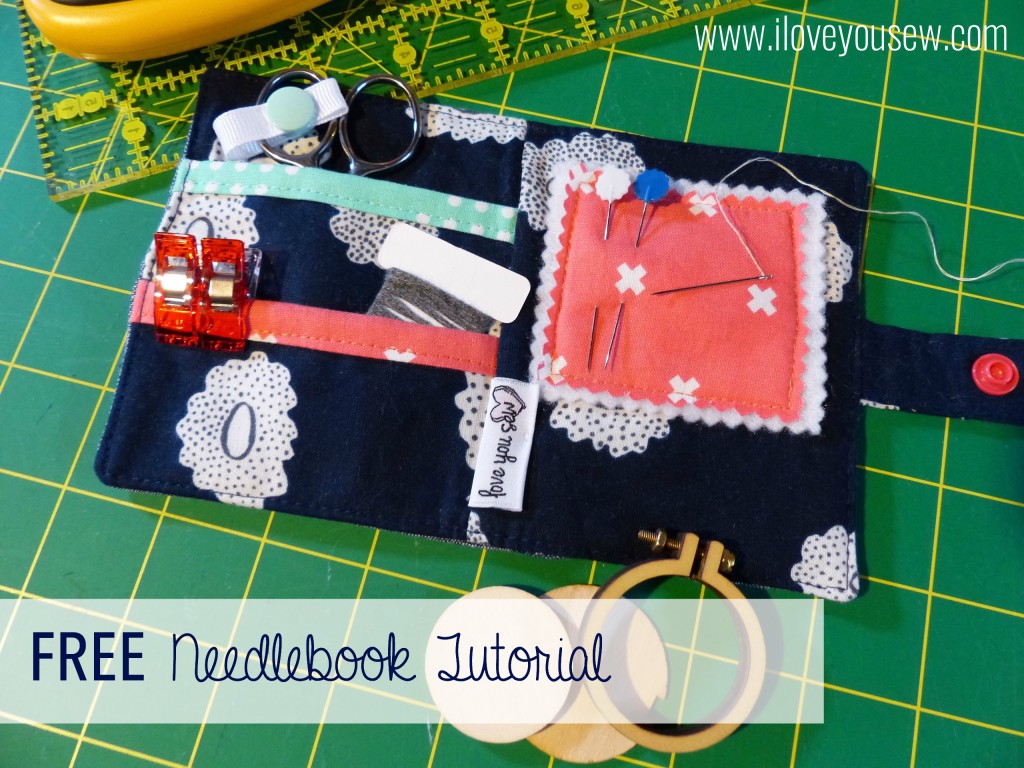
FREE Walking Geese Needlebook Tutorial

Love You Sew Needlebook Tutorial

I’m new to the world of Swaps.  I’ve seen and followed quite a few through Instagram and finally signed up for a few.  The #IGneedlebookSwap was my second sign-up, but my first which has been sent and received.  After looking at a few online, I wanted to design my own and share it for FREE with you!!!  If you are unfamiliar, these swaps have a theme (in this case, a needle book) and you have to post progress shots on your IG account.  They are usually secret and you have great fun finding out…aka “stalking” your partner’s tastes and preferences.    I like it because you get work on something new and it’s challenging to have some parameters set….including a deadline!

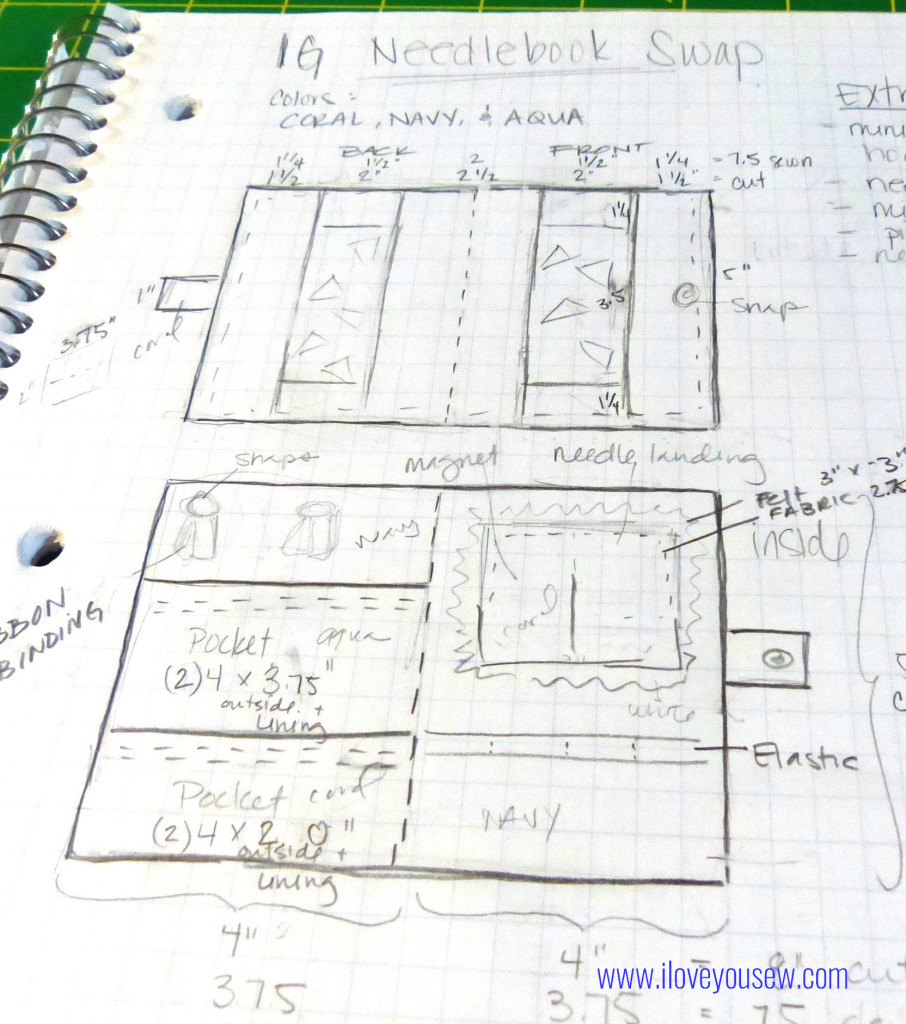
My partner asked for a Needlebook with a pocket to hold a small set of scissors, so I went about designing one myself!  How can I screw up the math on something that finishes at 4.5″ x 7″ (open) and 4.5″ x 3.5″ (closed), right???  My partner also specified using navy, coral and aqua…so I incorporated a design to showcase all of those colors.

Needlebook Sketch

Needlebook Sketch

==========

Material Requirements:

  • Exterior Fabric (shown in Robert Kaufman IndigoChambray)
    • 1.5″ x 5″ rectangles [cut 2]
    • 2″ x 5″ rectangle [cut 1]
    • 1.25 x 2″ rectangle [cut 4]
    • Goosing Borders [sew 2]
  • Interior Fabric (shown in Cotton + SteelHatbox – Navy Desert Flower)
    • 4″ x 5″ [cut 2]
    • 4″ x 7″ [cut 1 for pocket A]
    • 4″ x 4″ [cut 1 for pocket B]
    • 2″ x 3.75″ [cut 1 for snap closure tab]
  • Accent Fabric 1 (shown in Cotton + Steel Dottie in Bluebird)
    • 2.5″ x 4″ [cut 1 for pocket A]
  • Accent Fabric 2 (shown in Cotton + SteelXOXO in Coral)
    • 2.5″ x 4″ [cut 1 for pocket B]
    • 2.75″ x 2.75″ [cut 1 for needle-landing]
  • Felt for needle-landing
    • 3″ x 3″ [cut 1]
  • Batting
    • 5″ x 8″ [cut 1]
  • KAM Snaps [2 sets]
  • 2″ Grosgrain Ribbon
  • 3/4″ Magnet

Use 1/4″ seam allowance unless noted.

==========

FPP Geese Close-up

FPP Geese Close-up

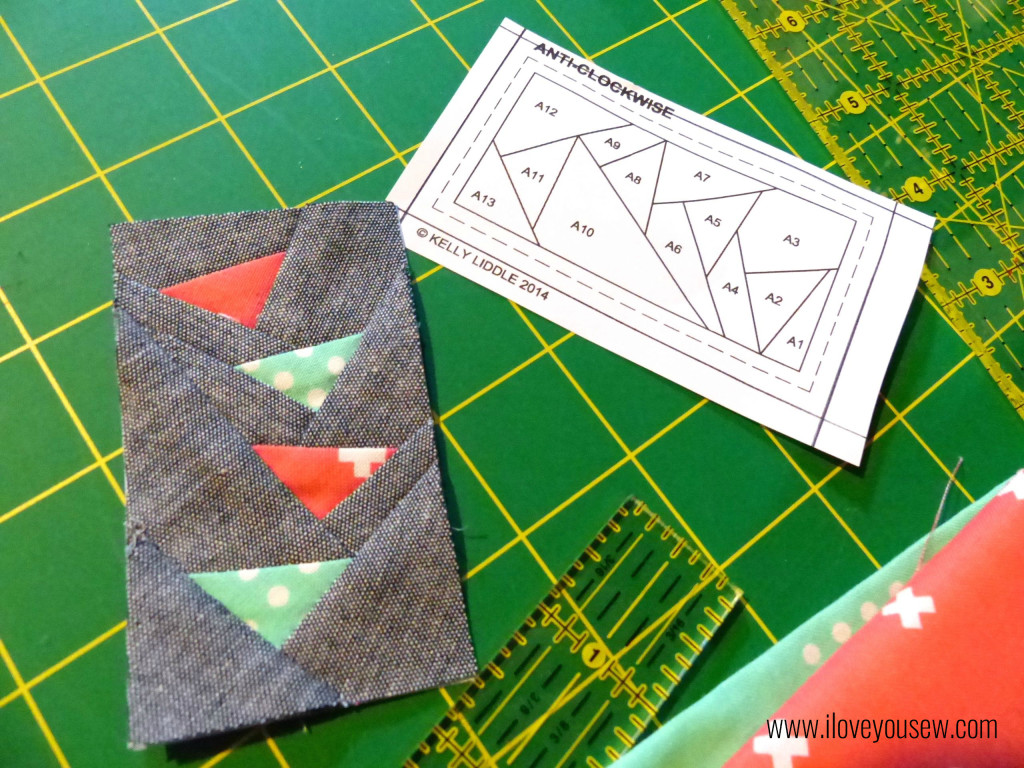
For the outside of the book, I used Jeli Quilts’s (surprise!) Goosing Borders and shrank the design down to 50%.  The geese are Cotton + Steel basics in Bluebird and Coral.  For the background and borders of the exterior, I used Robert Kaufman’s Chambray in Indigo. I love chambray for a clean sophisticated look and the added texture.  It’s definitely one of my go-to fabrics and always keep some in my stash.

For a nice video on Foundation Paper Piecing (FPP) click here.  I watched this to help me wrap my head around the fabric being sewn as a mirror image.  This technique takes some practice but you will quickly become addicted, like me 🙂 The finished Geese blocks should measure 2″ x 3.5″.  Attach the 1.25″ x 2″ rectangles to the short-sides of each Geese Block.  Then attach the 1.5″ x 5″ blocks to one side of each block.  Use the 2.5″ x 5′ rectangle to attach the Geese blocks together.  Quilt the exterior to the batting and trim 5″ x 7.5″.

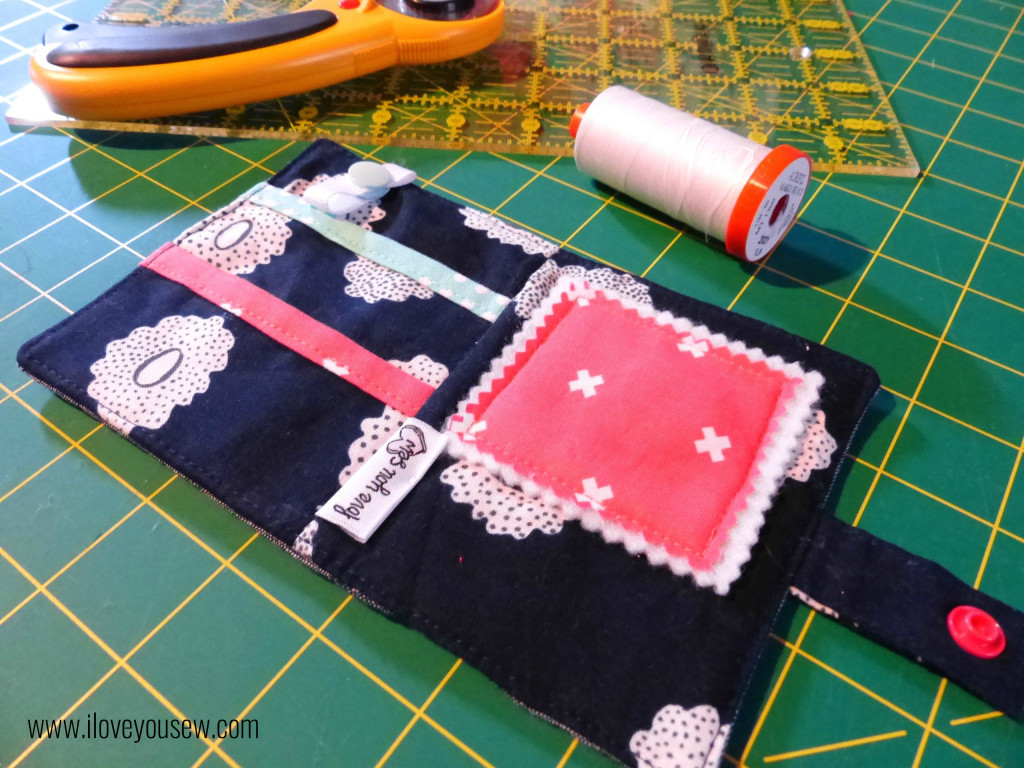
Interior left with Pockets

Interior left with Pockets

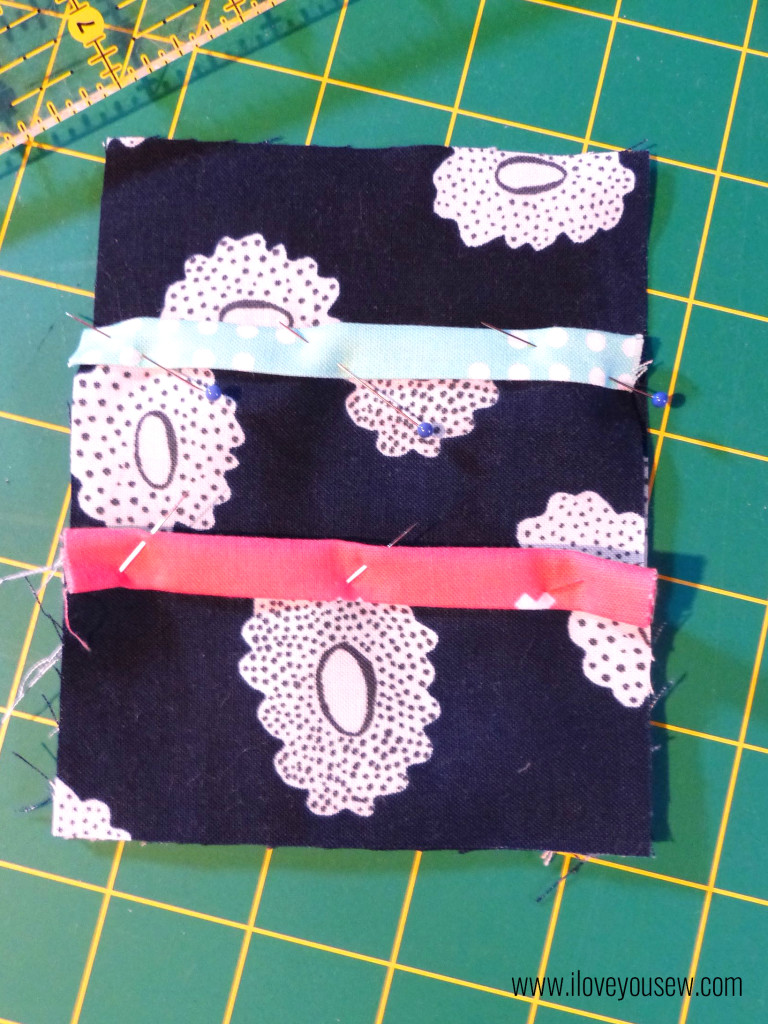
On the inside, I chose another Cotton + Steel fabric.  This time, a navy from Hatbox by Alexia Abegg.  I decided to make two pockets – a larger one for scissors and/or a spool of thread or pen.  The smaller pocket could be used to hold floss, clips, or a spare packet of needles.  The binding helps to grip the pockets and adds some visual appeal.

Iron both pockets in half length-wise so [A] is 3.5″ x 4″ and [B} is 2″ x 2″.  Take each piece of binding and machine-bind down just like you would a quilt.  Lay Pocket [B] on top of Pocket [A] on top of 4″ x 5″ interior fabric, matching up corners at the bottom. Pin all in place.

Right above the Pocket [A], I cut a 2″ piece of grosgrain ribbon, sealed the ends, and made a loop to hold the scissor handles in place.  I am a big fan of KAM Snaps and used them with the ribbon as well as with the closure of the entire Needle-book.

Preparing Needle-landing with built-in Needle-minder

Preparing Needle-landing with built-in Needle-minder

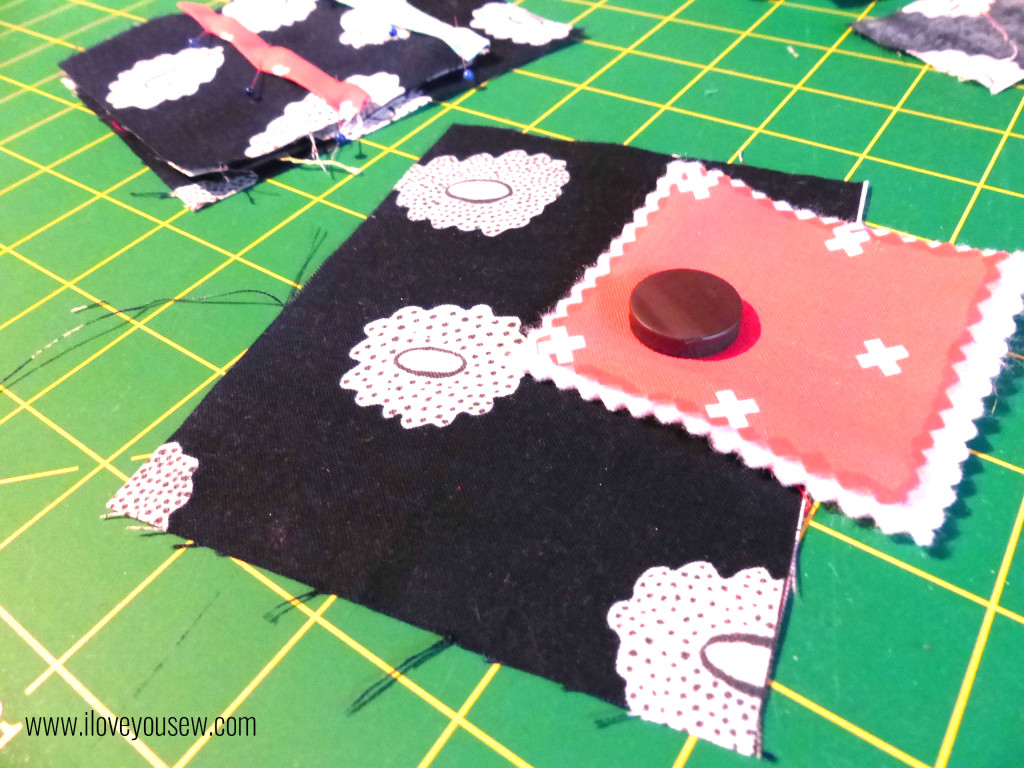
On the right side, there needed to be a needle landing (because it wouldn’t be a needle book, otherwise, right?!?) I just used craft felt and my Gingher serrated scissors to cut out the rectangle.  But I wanted some more color, so I added the same Coral fabric on top as a nice accent.  I sewed 3-sides up with a 1/8″ seam along the Coral and slipped in a small 3/4″ magnet for a built-in needle-minder!  Then I sewed up the last side making sure the magnet was fully enclosed. With right-sides together, sew the two interior panels together to create a center seam.

Needlebook Exterior

Needlebook Exterior

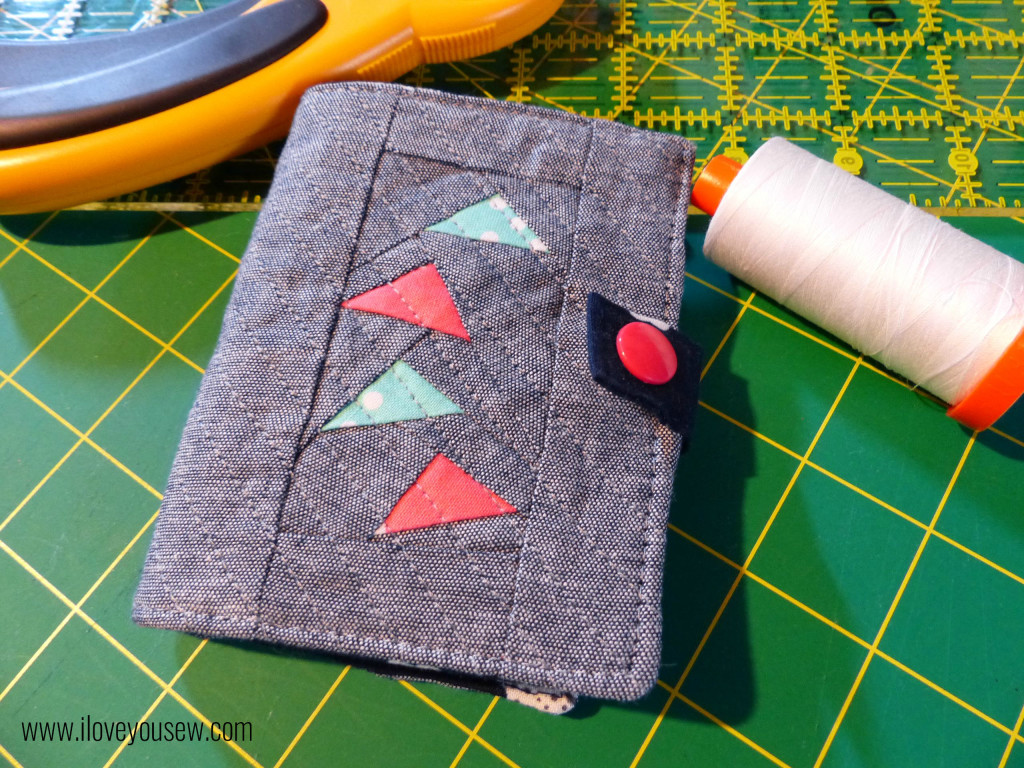
To create a tab, press the fabric lengthwise in half then open.  Press each long-side to match the center fold then fold in half, matching up the short-ends.  Top stitch all around to secure.  Attach KAM Snap at this point. Pin the tab half-way on the right interior panel facing in.

On the exterior panel, mark where the tab will meet and attach your other KAM Snap.  With right sides together, sew the Interior and Exterior  panels to each other leaving a 3” opening to turn. Snip corners, turn the Needlebook right-side out and press.  Top-stitch 1/8″ all around the book to close up the opening.  “Stitch in the ditch” along the center inside seam to allow the book to easily fold.

Completed Interior

Completed Interior

And….that’s it 🙂  This was a nice easy sew that you could use as a “Swap Extra”  or a stocking stuffer for a good sewing friend.  If you are not a snap person or do not have any on-hand, you can alternatively use a button and elastic cord closure or long pieces of ribbon to tie it all together.  If you looked closely at my sketch, I was initially going to add some elastic loops under the landing, but decided to omit them to keep this simple…but it’s a great idea if you want to add an additional feature.

Since I’m not a seasoned tutorial author (yet!), please let me know if you have any questions. Don’t forget to share pictures of any completed projects as well!

I’m linked up to Late Night Quilters Tips and Tutorials Tuesday.  Please visit the page to see some more great sewing and blog related pointers!

#WalkingGeeseNeedlebook #IGNeedlebookSwap #LoveYouSew


Hug and Stitches,

Cristy

Love You Sew

Instagram Giveaway for 500+ Followers

  
There ARE some perks to following my different social media outlets…different Giveaways!!!

I have hit the 500 Follower milestone and I really can’t believe it!  It took me awhile to jump on the Instagram band-wagon…mainly because I ran out of memory on my old phone.  Pictures of my kids were WAY more important than any other ones and of course, I couldn’t delete any of my babies 🙂  But after receiving an amazing birthday present (thanks hubs!) in the form of a new smartphone with a ton of extra memory….I revved up my account. I am truly humbled that this many people want to follow my sewing, my life and put up with my ramblings.  But I am honored and hope to add a little life to your feed and inspire some fun sewing projects!  Thank you…thank you..thank you!!!

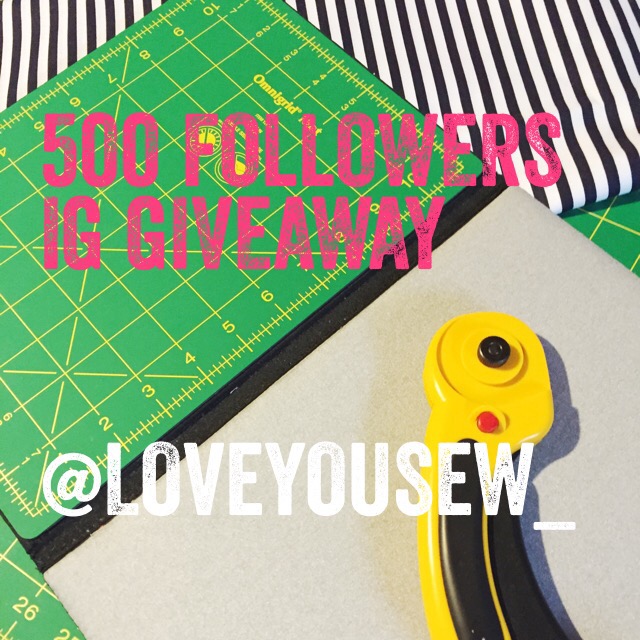
Head on over to Instagram and follow me @loveyousew_ if you are not already and “LIKE” the photo that you see above, plus tag a friend 🙂 One entry per person please.

I’m gearing up to giveaway a brand new Omnigrid® Tote-size FoldAway™ Portable Cutting and Pressing Station! This is an 8.75″ x 11.75″ (22.2cm x 29.8cm) folded gem. It has a black canvas outside cover and Velcro-closure to keep everything together.

It is my favorite tool for Foundation Paper Piecing (FPP) so I don’t have to keep getting up to trim or press my fabric. I keep it to the right of my sewing machine and it allows me to keep my projects moving! I love this size as it is slightly larger than a sheet of paper and travels very nicely, as needed.

Giveaway will be open until June 5, 2015 8pm EST and a random winner will be announced then.

>>Edited>> The contest is now over and winner was announced on Instagram.

***This is not endorsed by Omnigrid® or by Instagram. Open to US and international parties. If you are outside the U.S., you are agreeing to pay your own shipping minus $5.50USD and any associated insurance, tariffs, customs costs etc.


Enjoy!

Cristy

Love You Sew

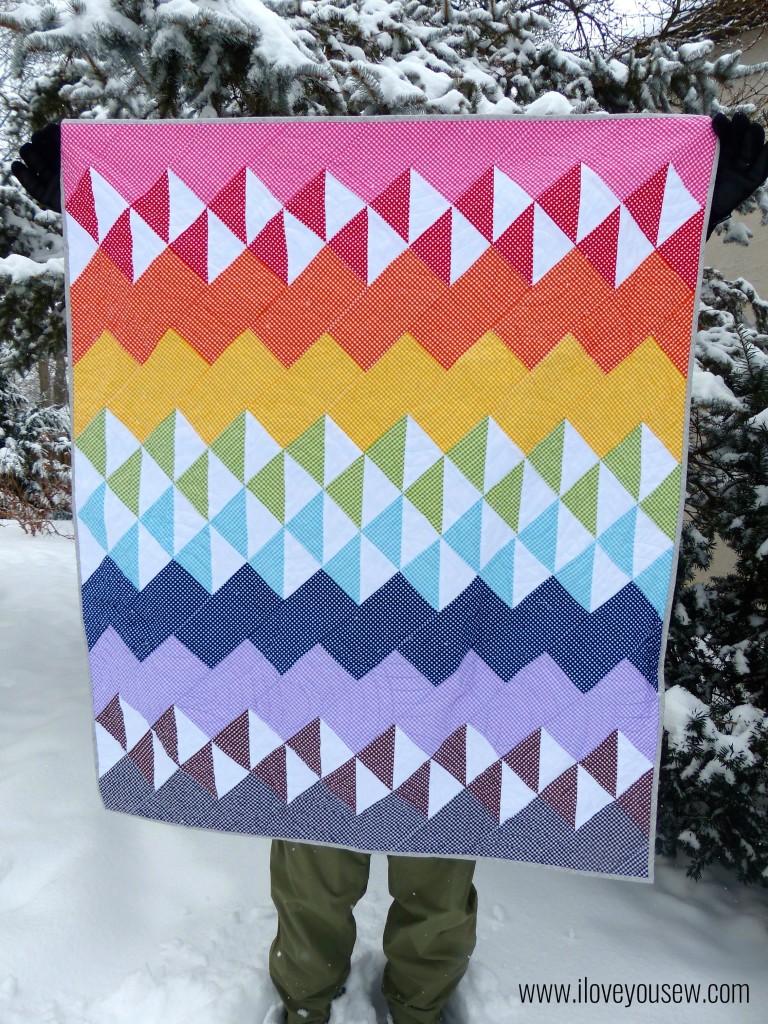
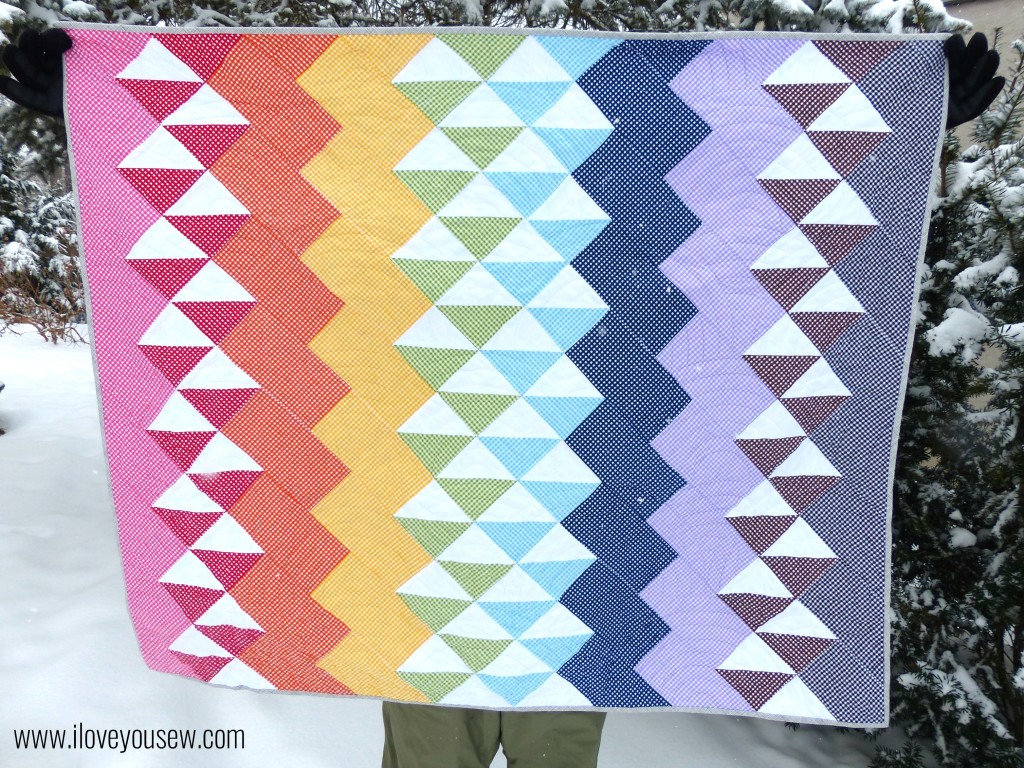
A Spectrum of Gingham Quilt

Spectrum Quilt

Spectrum Quilt using RBD Small Gingham

I know it’s summer already, but I gotta catch up on all of my quilt posts 😉

It was the dead of winter here in Columbus and I was in desperate need of a pick-me-up. The Spectrum Quilt pattern popped up on Riley Blake Designs (RBD) blog and I knew it was going to be my next project….especially since I had a FQ stack of Rainbow RDB Gingham sitting on my shelf!  (*Make sure you scroll down through the comments on the blog post. There is an edit to the instructions there!)

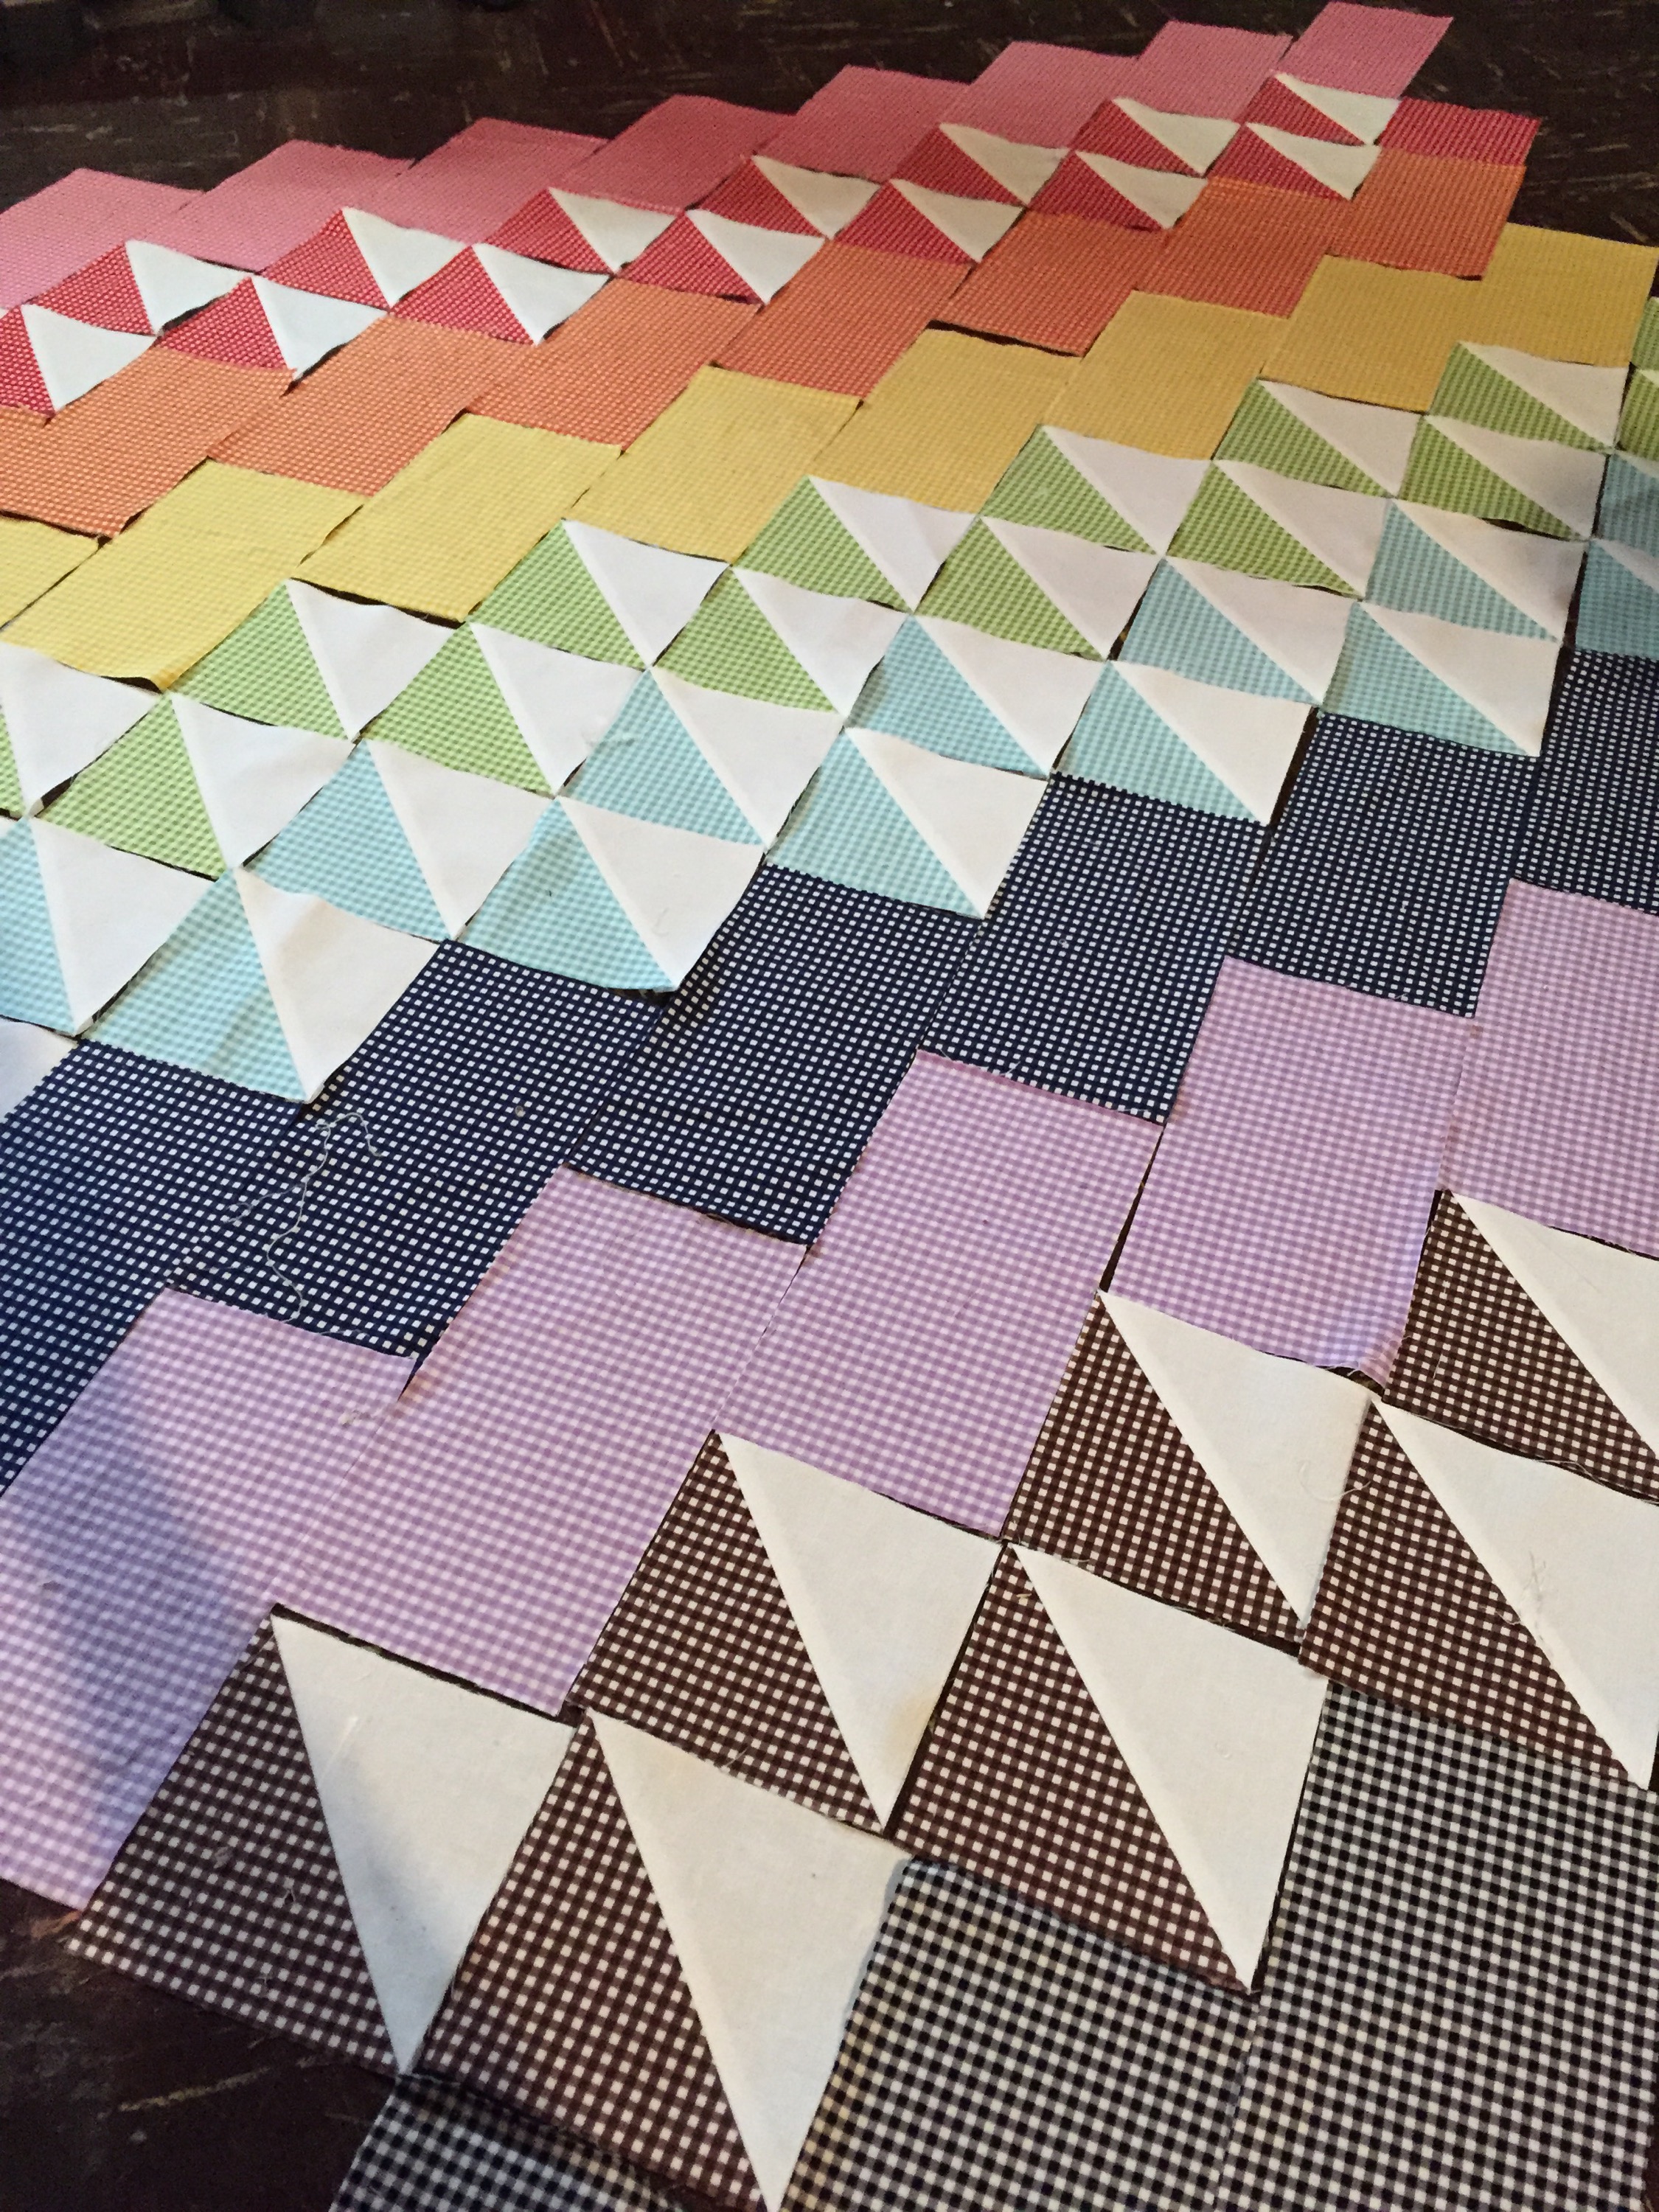
This is a perfect project for a beginning quilter…Lots of plain squares and enough Half-Square Triangles (HSTs) to challenge you. But the quarter turn of the squares make it so visually interesting and sets it apart from “another” block quilt. You eventually have to cut off a bunch of triangles to square the quilt off, but I’m sure the more ambitious can bind around all the angles…not me yet!

Laid out and Ready to Piece

Laid out and Ready to Piece

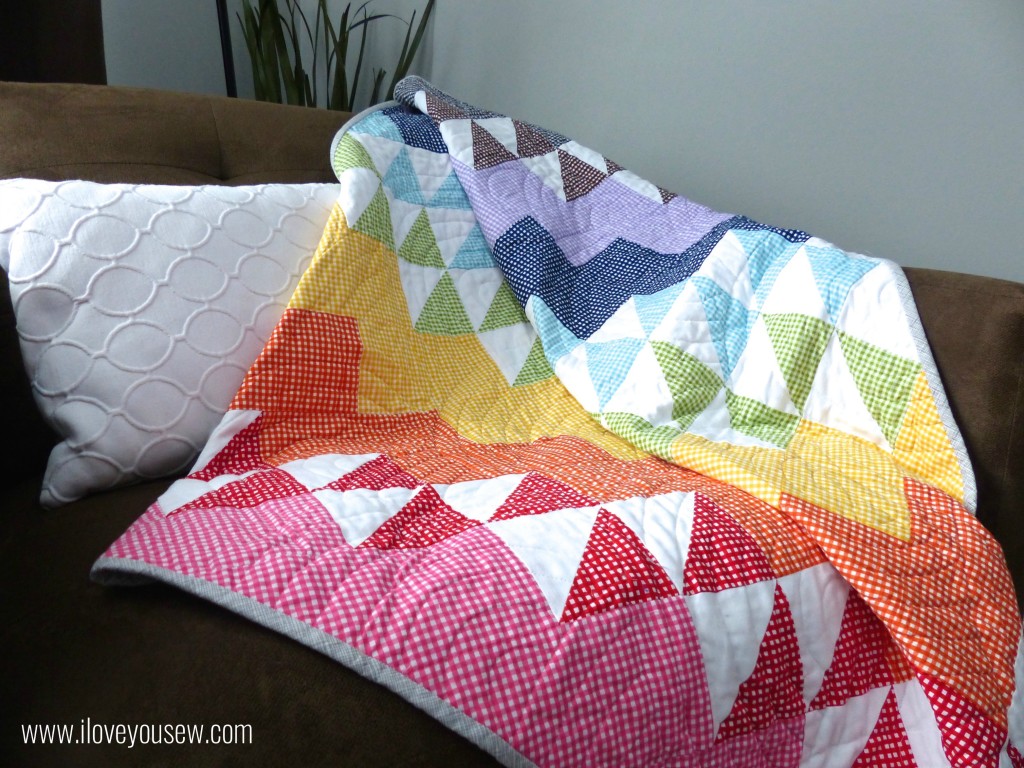
An Aqua Medium Chevron Wideback (not pictured) from RBD was used as the backing. It was so perfect because the Aqua gave the Rainbow a “Sky.” The binding was made of Architextures Grid in Shadow by Carolyn Friedlander for Robert Kaufman. The binding reminded me of the clouds and was a great neutral for all the colors in the quilt.

Spectrum Quilt Close-Up

Spectrum Quilt Close-Up

The hardest part of this project was the quilting for me….it’s always the quilting! I’m not very good at Free Motion Quilting (but I’m working on it!) and thus why you see lots of straight-lines in most of my other projects. In this case, I used a template to draw out all of my “Rainbow” curves. It was long and tedious. Using my waking foot to quilt this all was even longer…I’m talking the entire winter season. No joke.

In the end, I love this quilt. It’s a bright and cheery rainbow….and who doesn’t love a rainbow?!? However, my most important lesson learned: I need to find a long-arm quilting friend ASAP…or work on my FMQ skills 😉

P1050165

Spectrum Quilt Side-view

This quilt has been donated to my dear childhood friend, Capri, who is raising money for the Leukemia and Lymphoma Society‘ Eastern Pennsylvania Chapter and is a finalist for their Man/Woman of the Year Campaign. It will be on silent AND online auction at the Grand Finale Gala on June 13, 2015. If you are interested in donating to the cause, please visit Capri’s donation page here….

This is truly the best part of sewing.  I love being able to use my craft to give back.  How have you used your sewing to give back???


Hugs and Stitches,

Cristy

Love You Sew

Bound Fabrics – Quilt Market Fall 2015 Booth Projects

I have never been to Quilt Market…but like almost every quilter I know, I want to….so much!  For those who don’t know, it’s a semi-annual  trade show for companies to exhibit their newest fabrics lines and related sewing products.  It’s a way to see the newest stuff AND be able to get your hands on it months before they hit the general public.

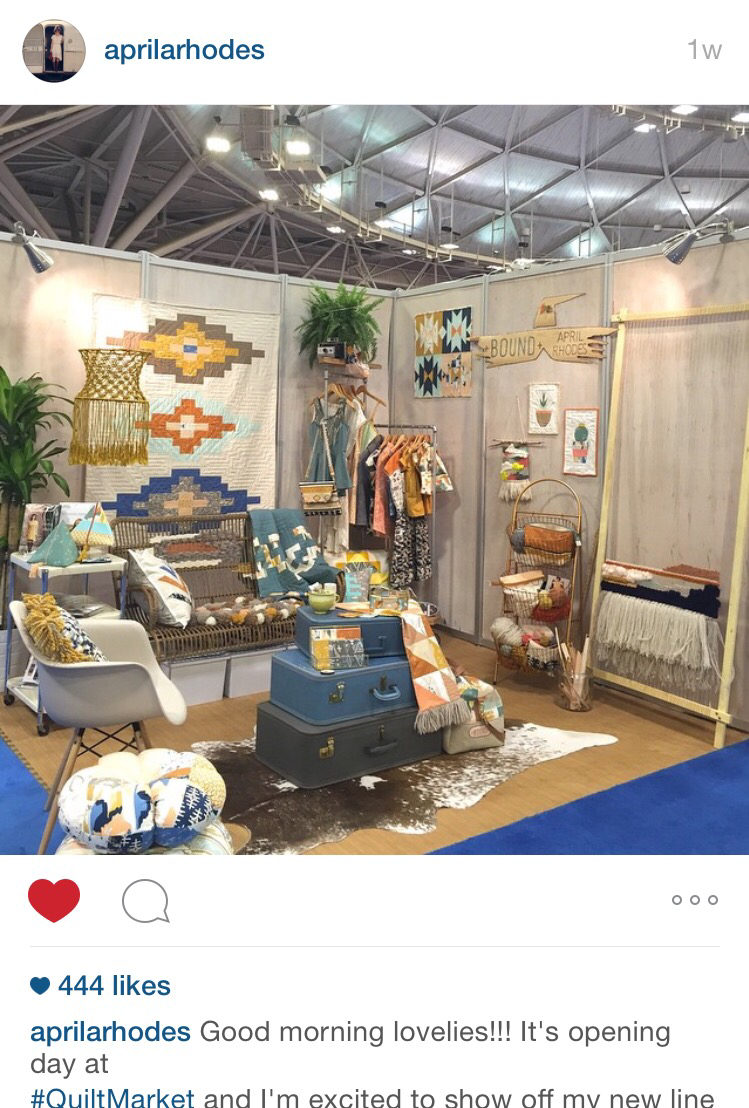
Although, I haven’t been to Market, a part of me has.  I had the great honor of working on a few items for April Rhodes‘ new fabric line, Bound for Art Gallery Fabrics.  In true April design, it has a southwest feel with her bohemian flair….so you know I LOVE it!  It is her most personal collection with her own organic drawings and influences from her love of macrame and fiber arts.  Needless to say, when I was asked to make a few pieces, I jumped at the chance.

Photo from IG @aprilrhodes


Below are the three items that made it into April’s amazingly gorgeous Quilt Market booth:

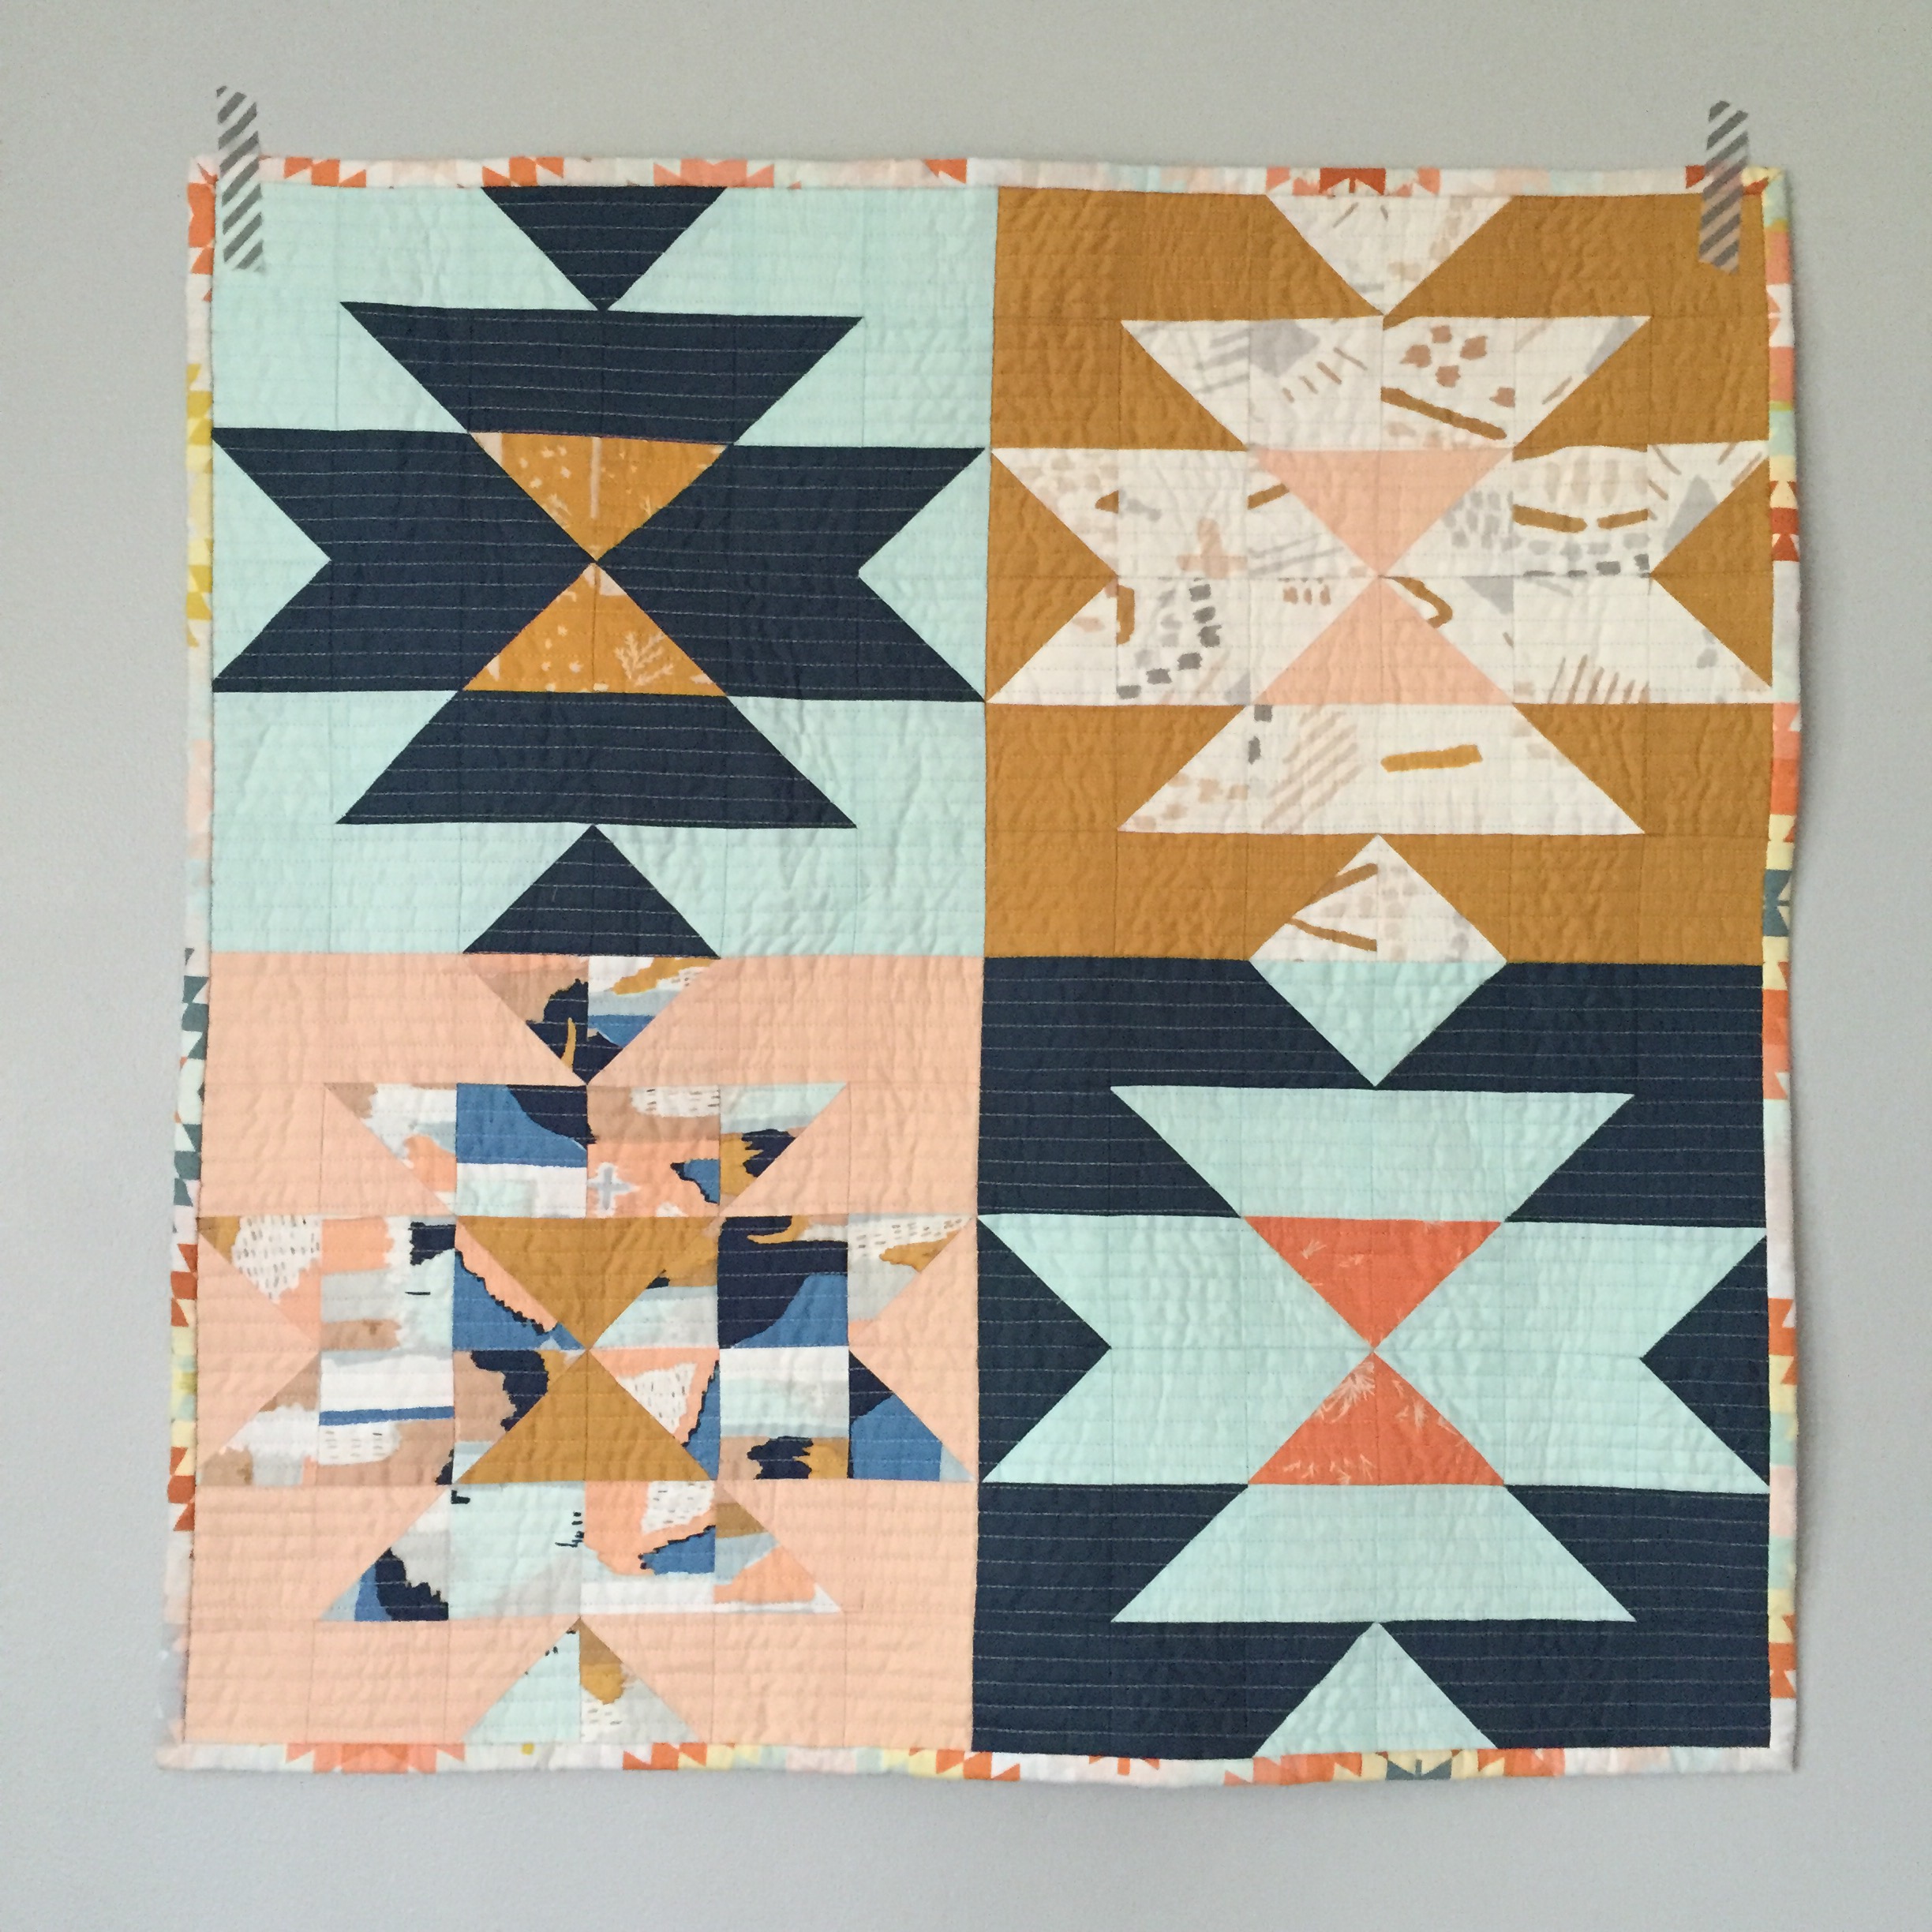
1.) “Squash Blossom Bouquet” Mini Quilt

Squash Bouquet

Squash Blossom Bouquet

For this quilt, I used Holly Gets Quilty’s Squash Blossom pattern.  It was incredibly easy to follow, especially if you are used to HSTs (half-square triangles.)  I used the 12″ block measurements and made 4 blocks.  The blocks needed to each have their own feel by playing with the feature and accent fabrics and mixing them with Art Gallery’s amazing Pure Elements solids in Nocturnal, Icy Mint, Peach Sherbet, and Honey. I love how these Squash Blossoms are able to showcase April’s larger prints, Painting Morale and Macrame Cave as the feature fabric.  But at the same time, you can use the smaller prints, Survey Orche and Growth Joy as the accent with as much impact.

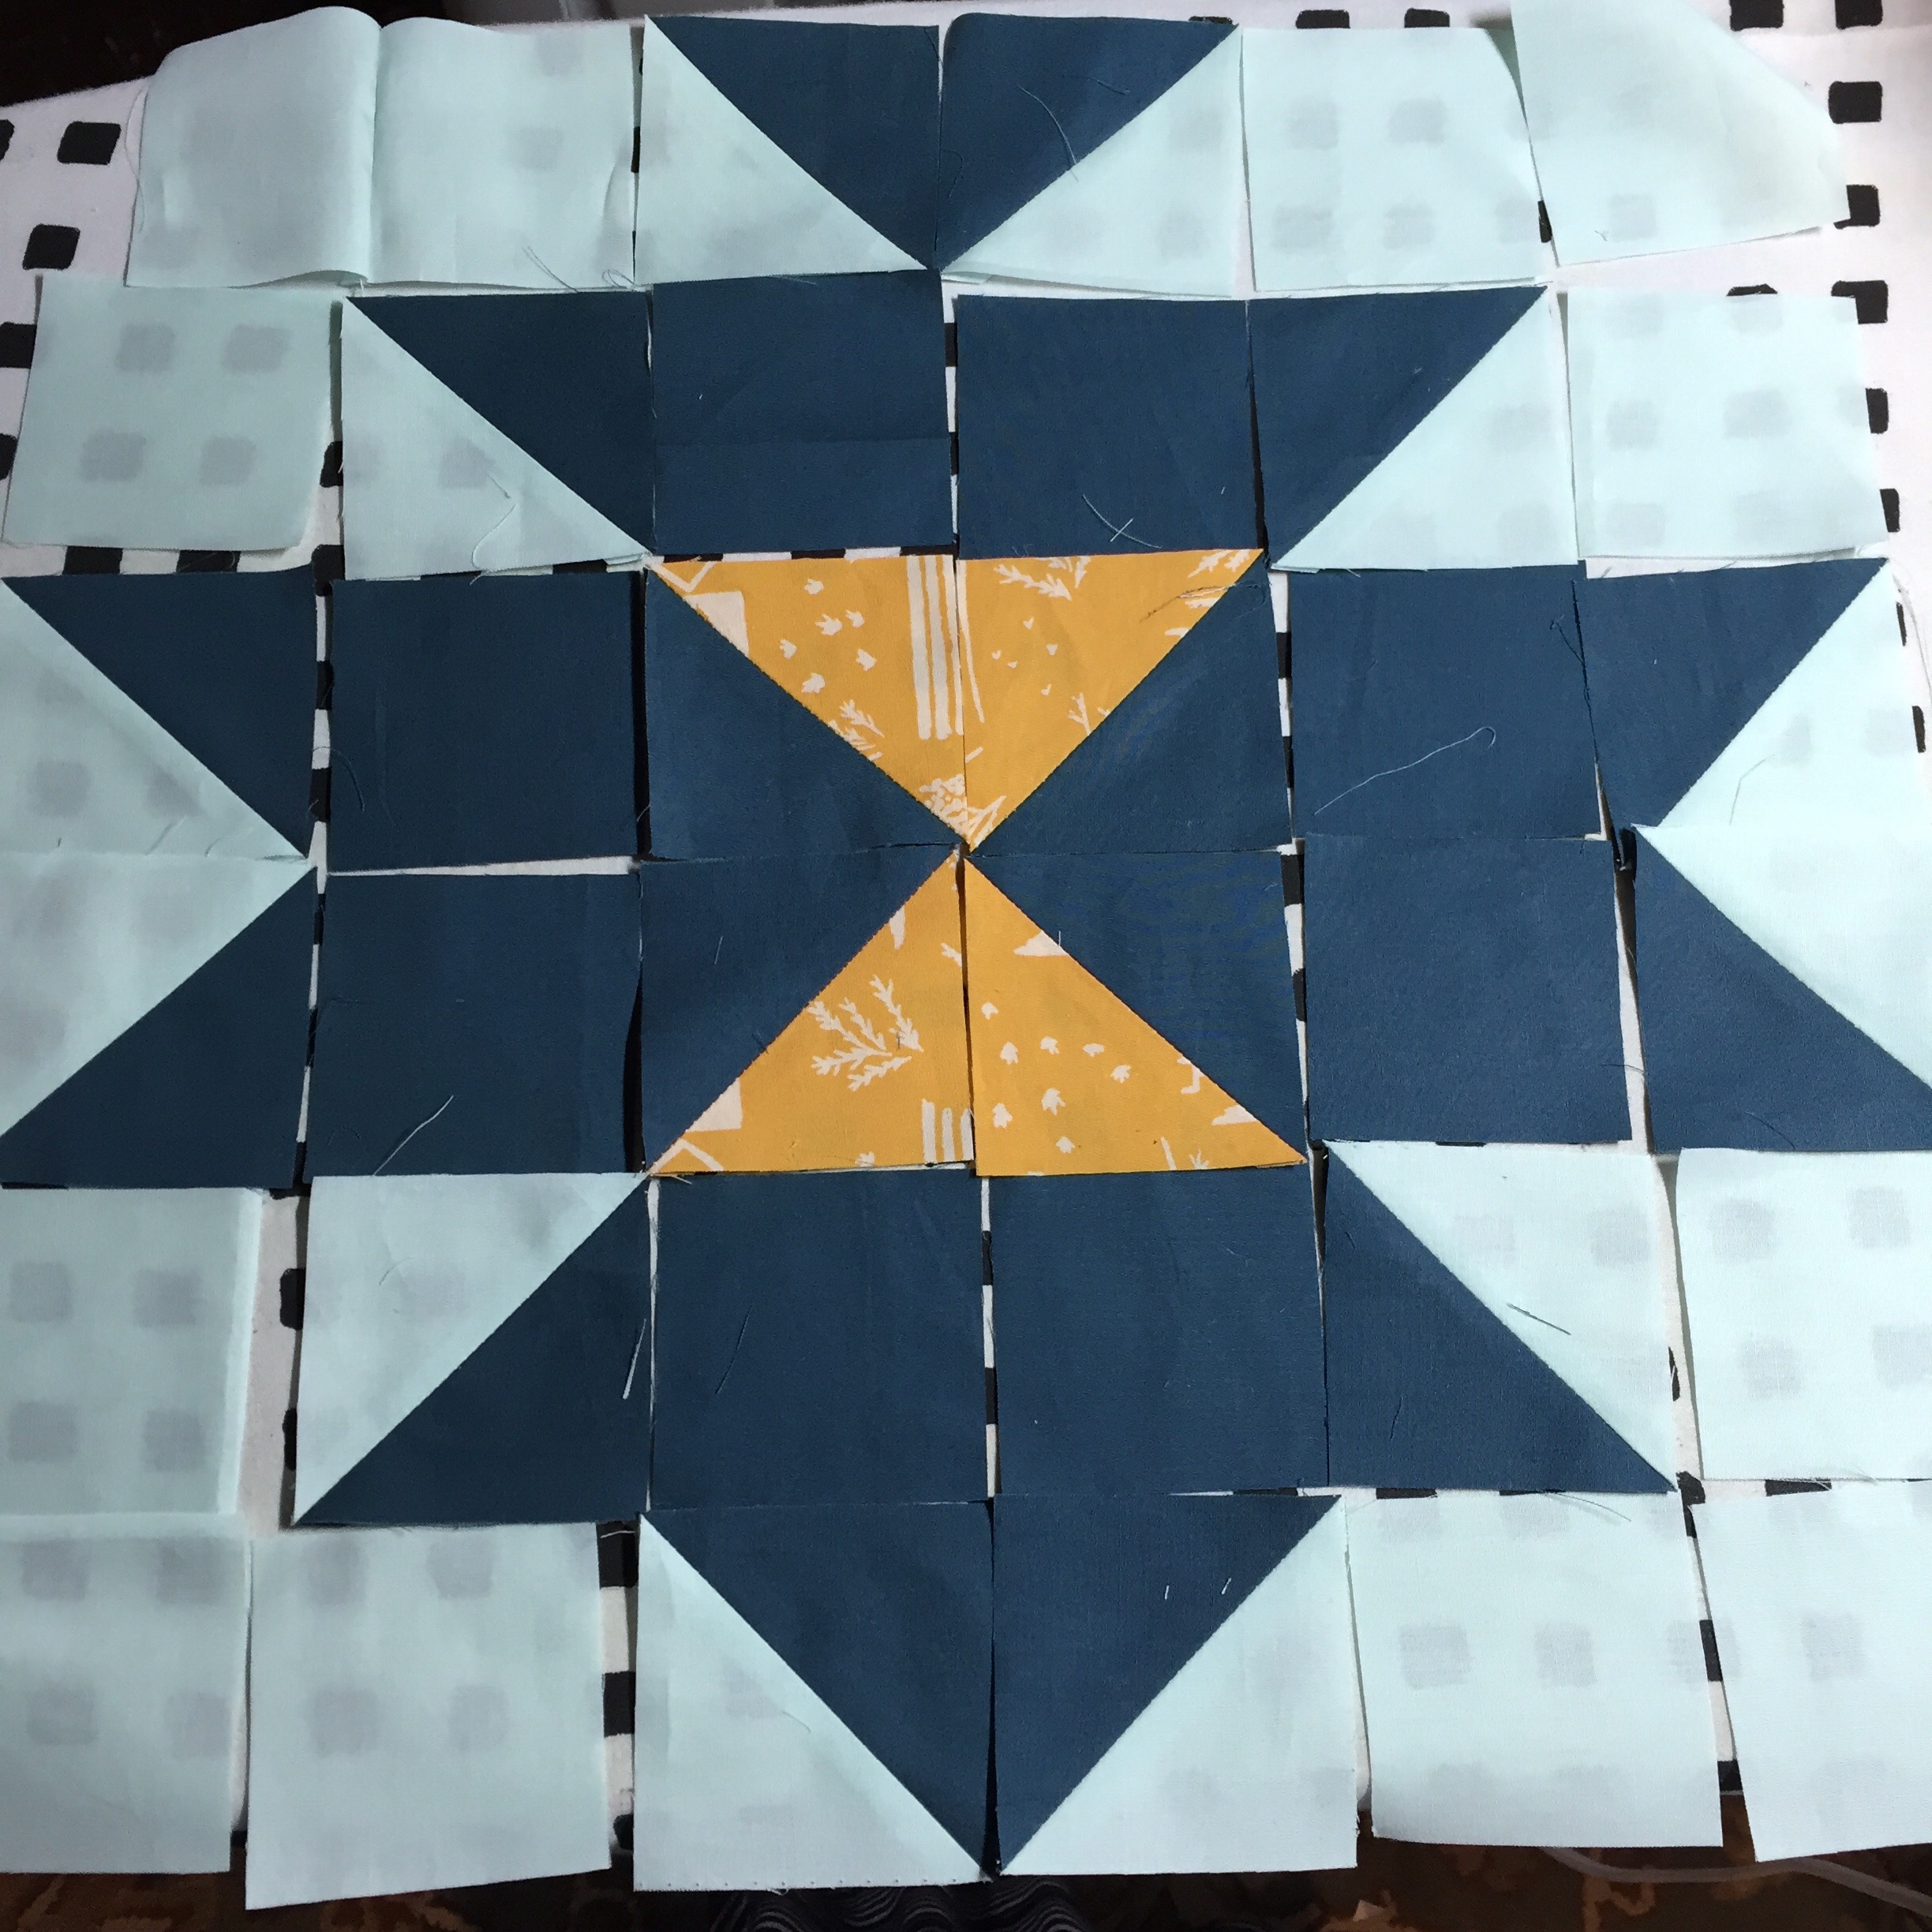
HSTs made are ready to be chain-pieced to the squares

HSTs made and are ready to be chain-pieced to the squares

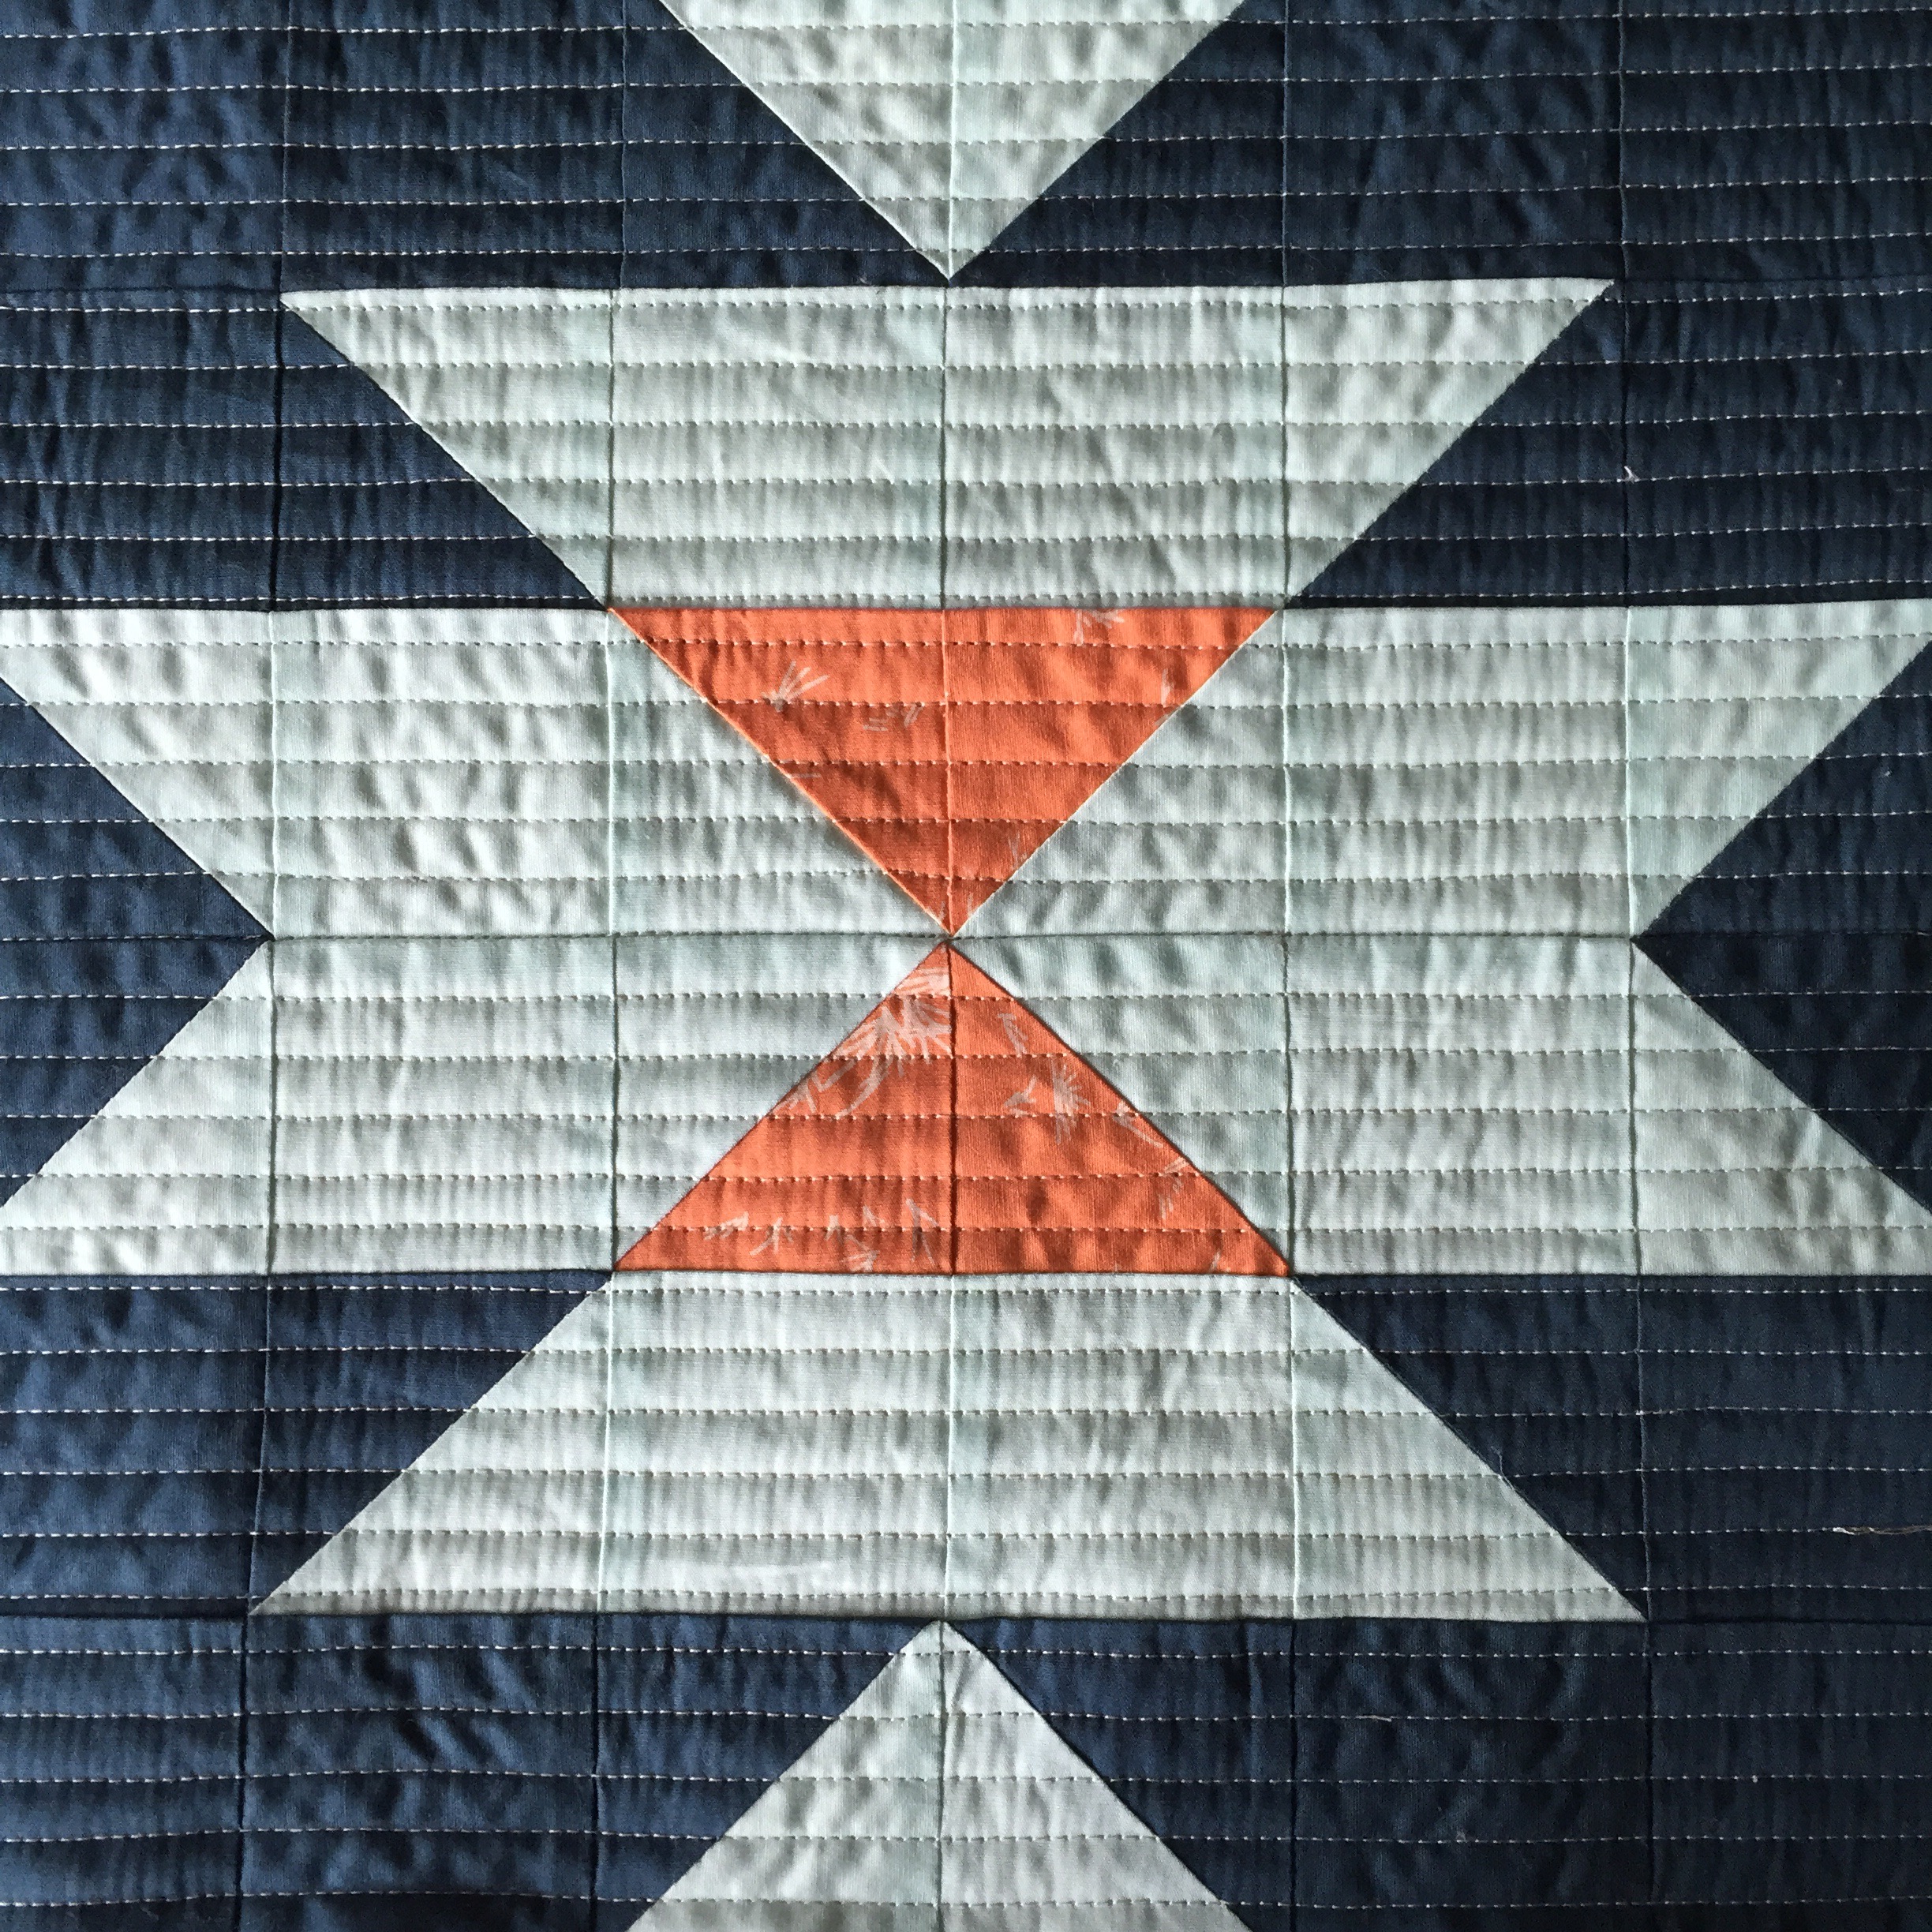
For the quilting, these Squash Blossoms screamed for some straight lines following the horizontal seams.  I just used my presser foot as my guide and checked it against the seams to make sure I wasn’t accidentally veering to the wrong side (eek!) As usual, Aurifil was used for both the piecing and quilting in 2312 50 wt.  This was the perfect beige color with this fabric selection.  I like 50 wt to blend into the fabric for this particular project.

Close-up of block one using Nocturnal, Icy Mint and Growth Joy

Close-up of block one

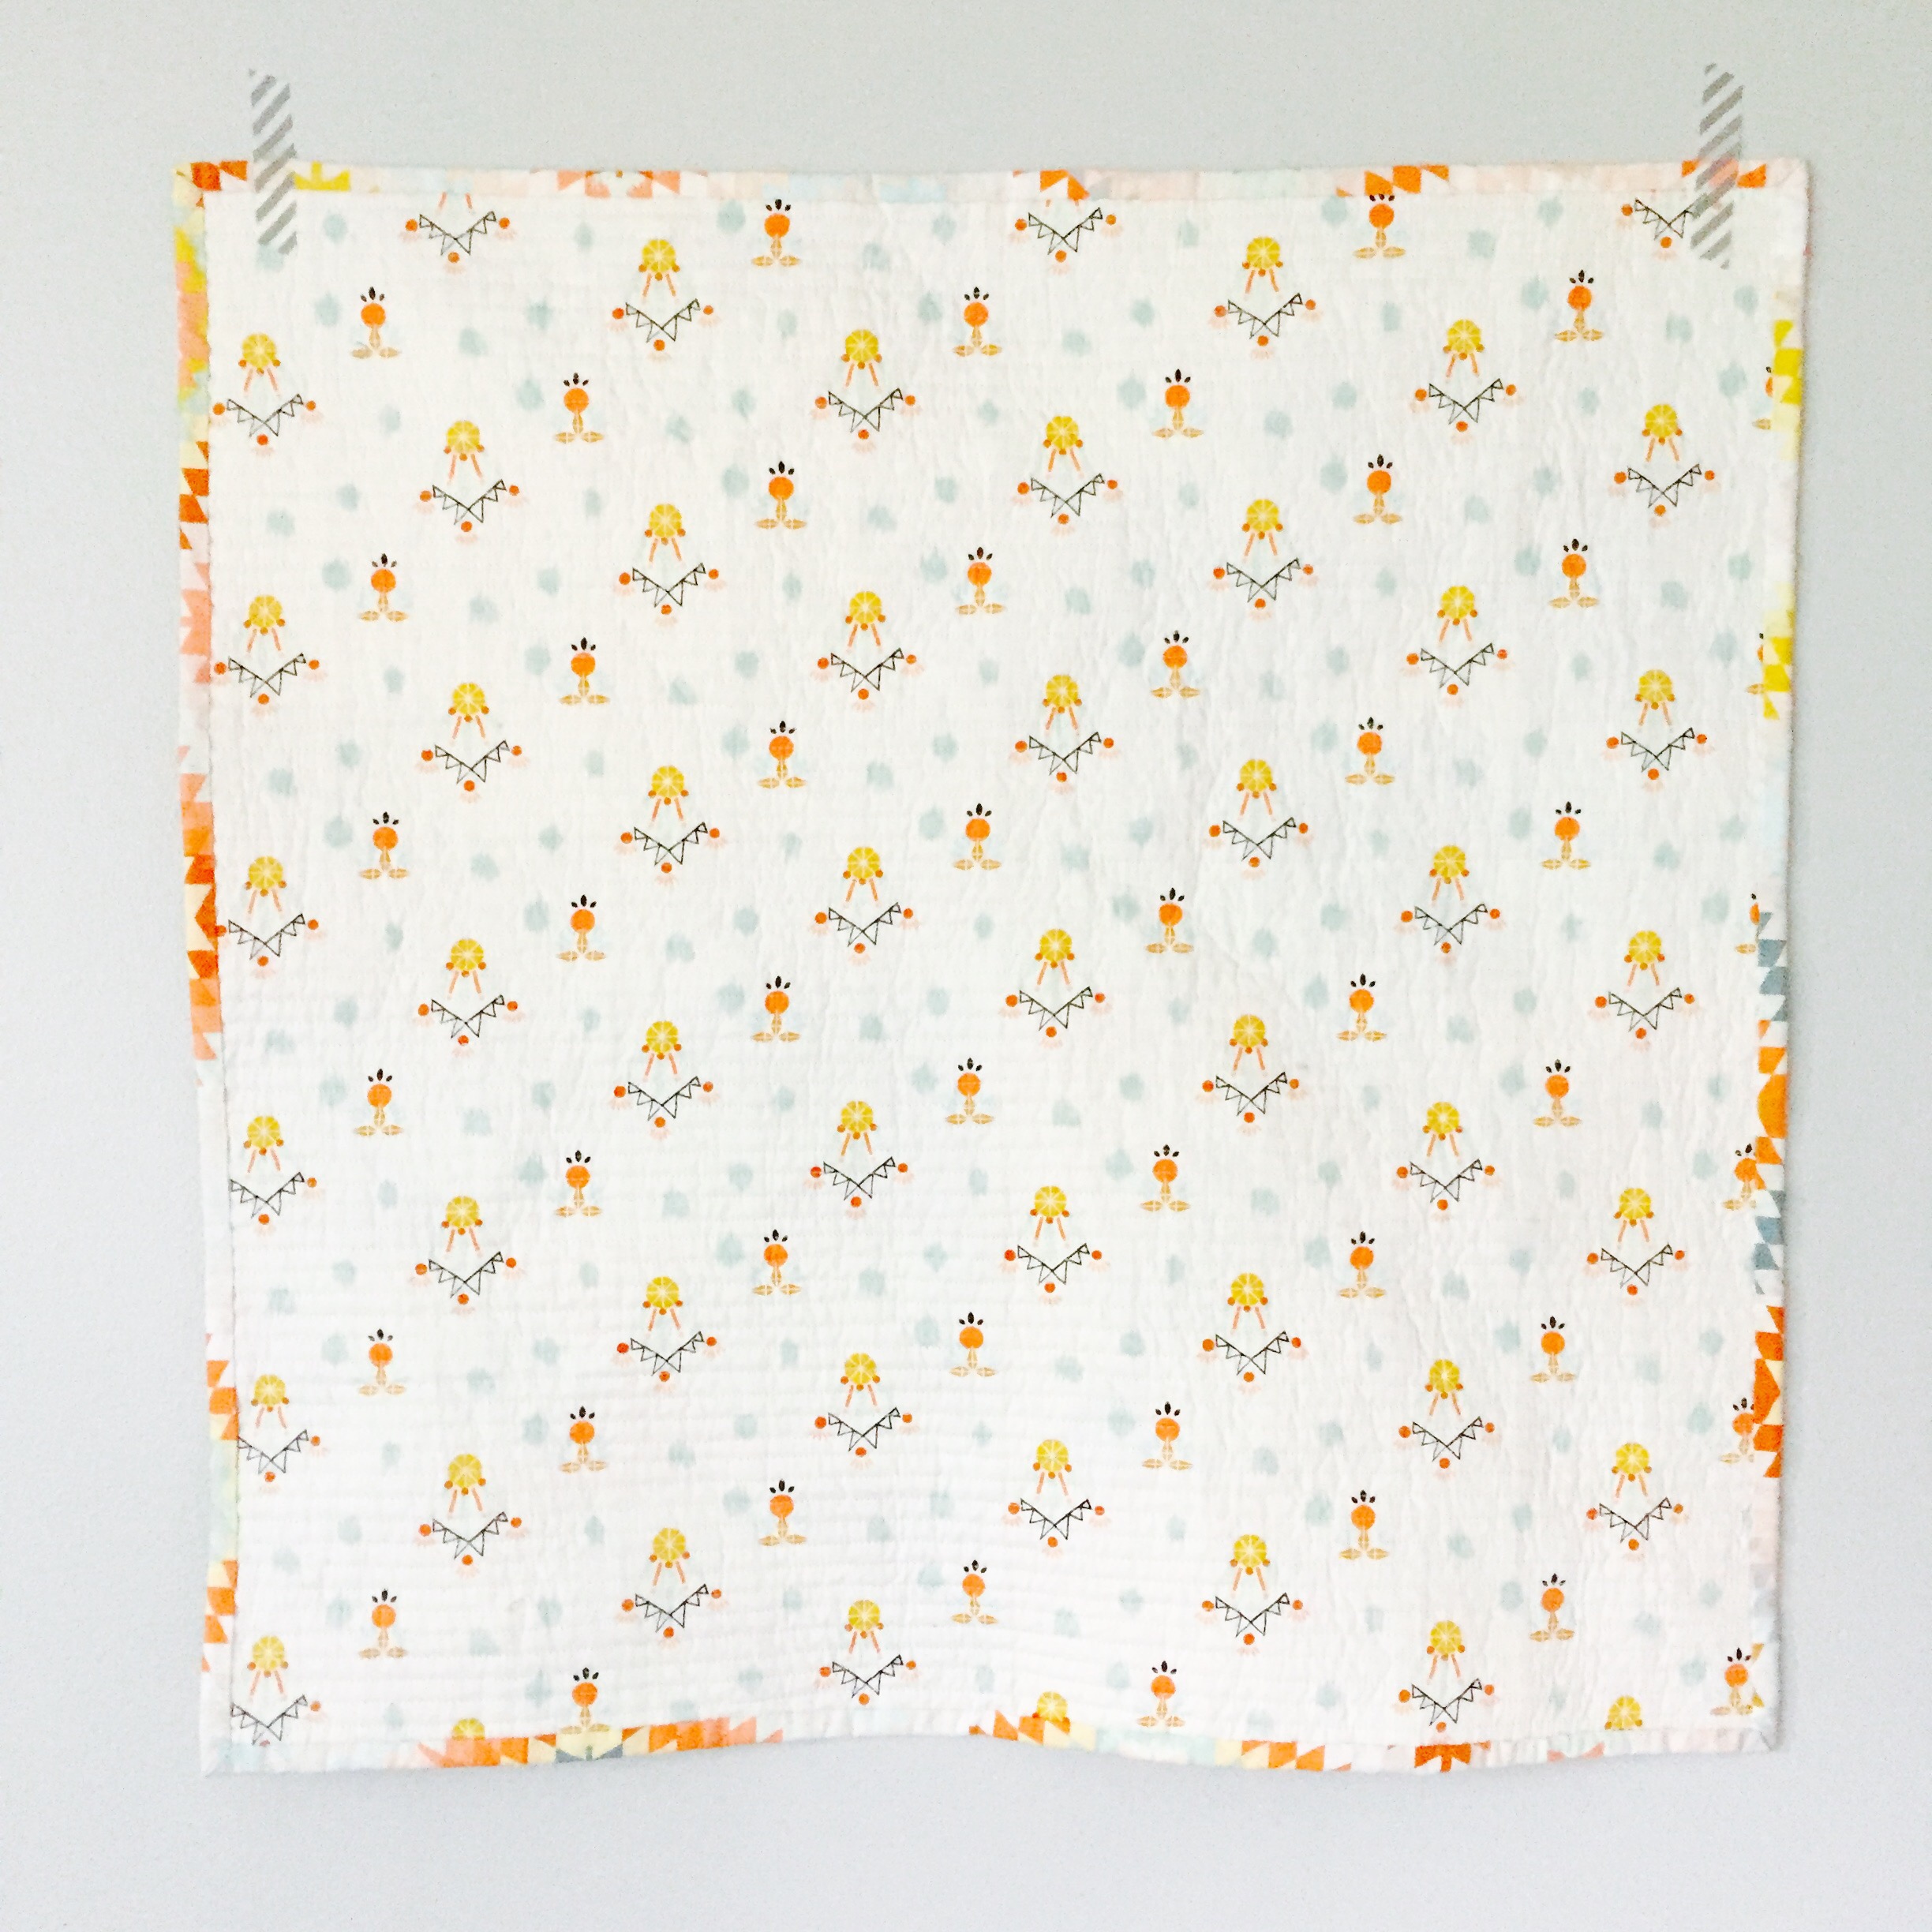
For the backing fabric, Dream-catching Celeste from the Wanderer collection was the best choice.  It is just a beautiful light pattern that really complements the colors in the whole quilt. For the binding,  Serape Dream was selected.  I love all the different colors and how you get a different feel at every inch and angle all around the quilt.

Finished, this mini is 24″ x 24″, so it makes for a quick project (which I like!)  If you are new to HSTs, this would also be a good starter since there are not to many of them.

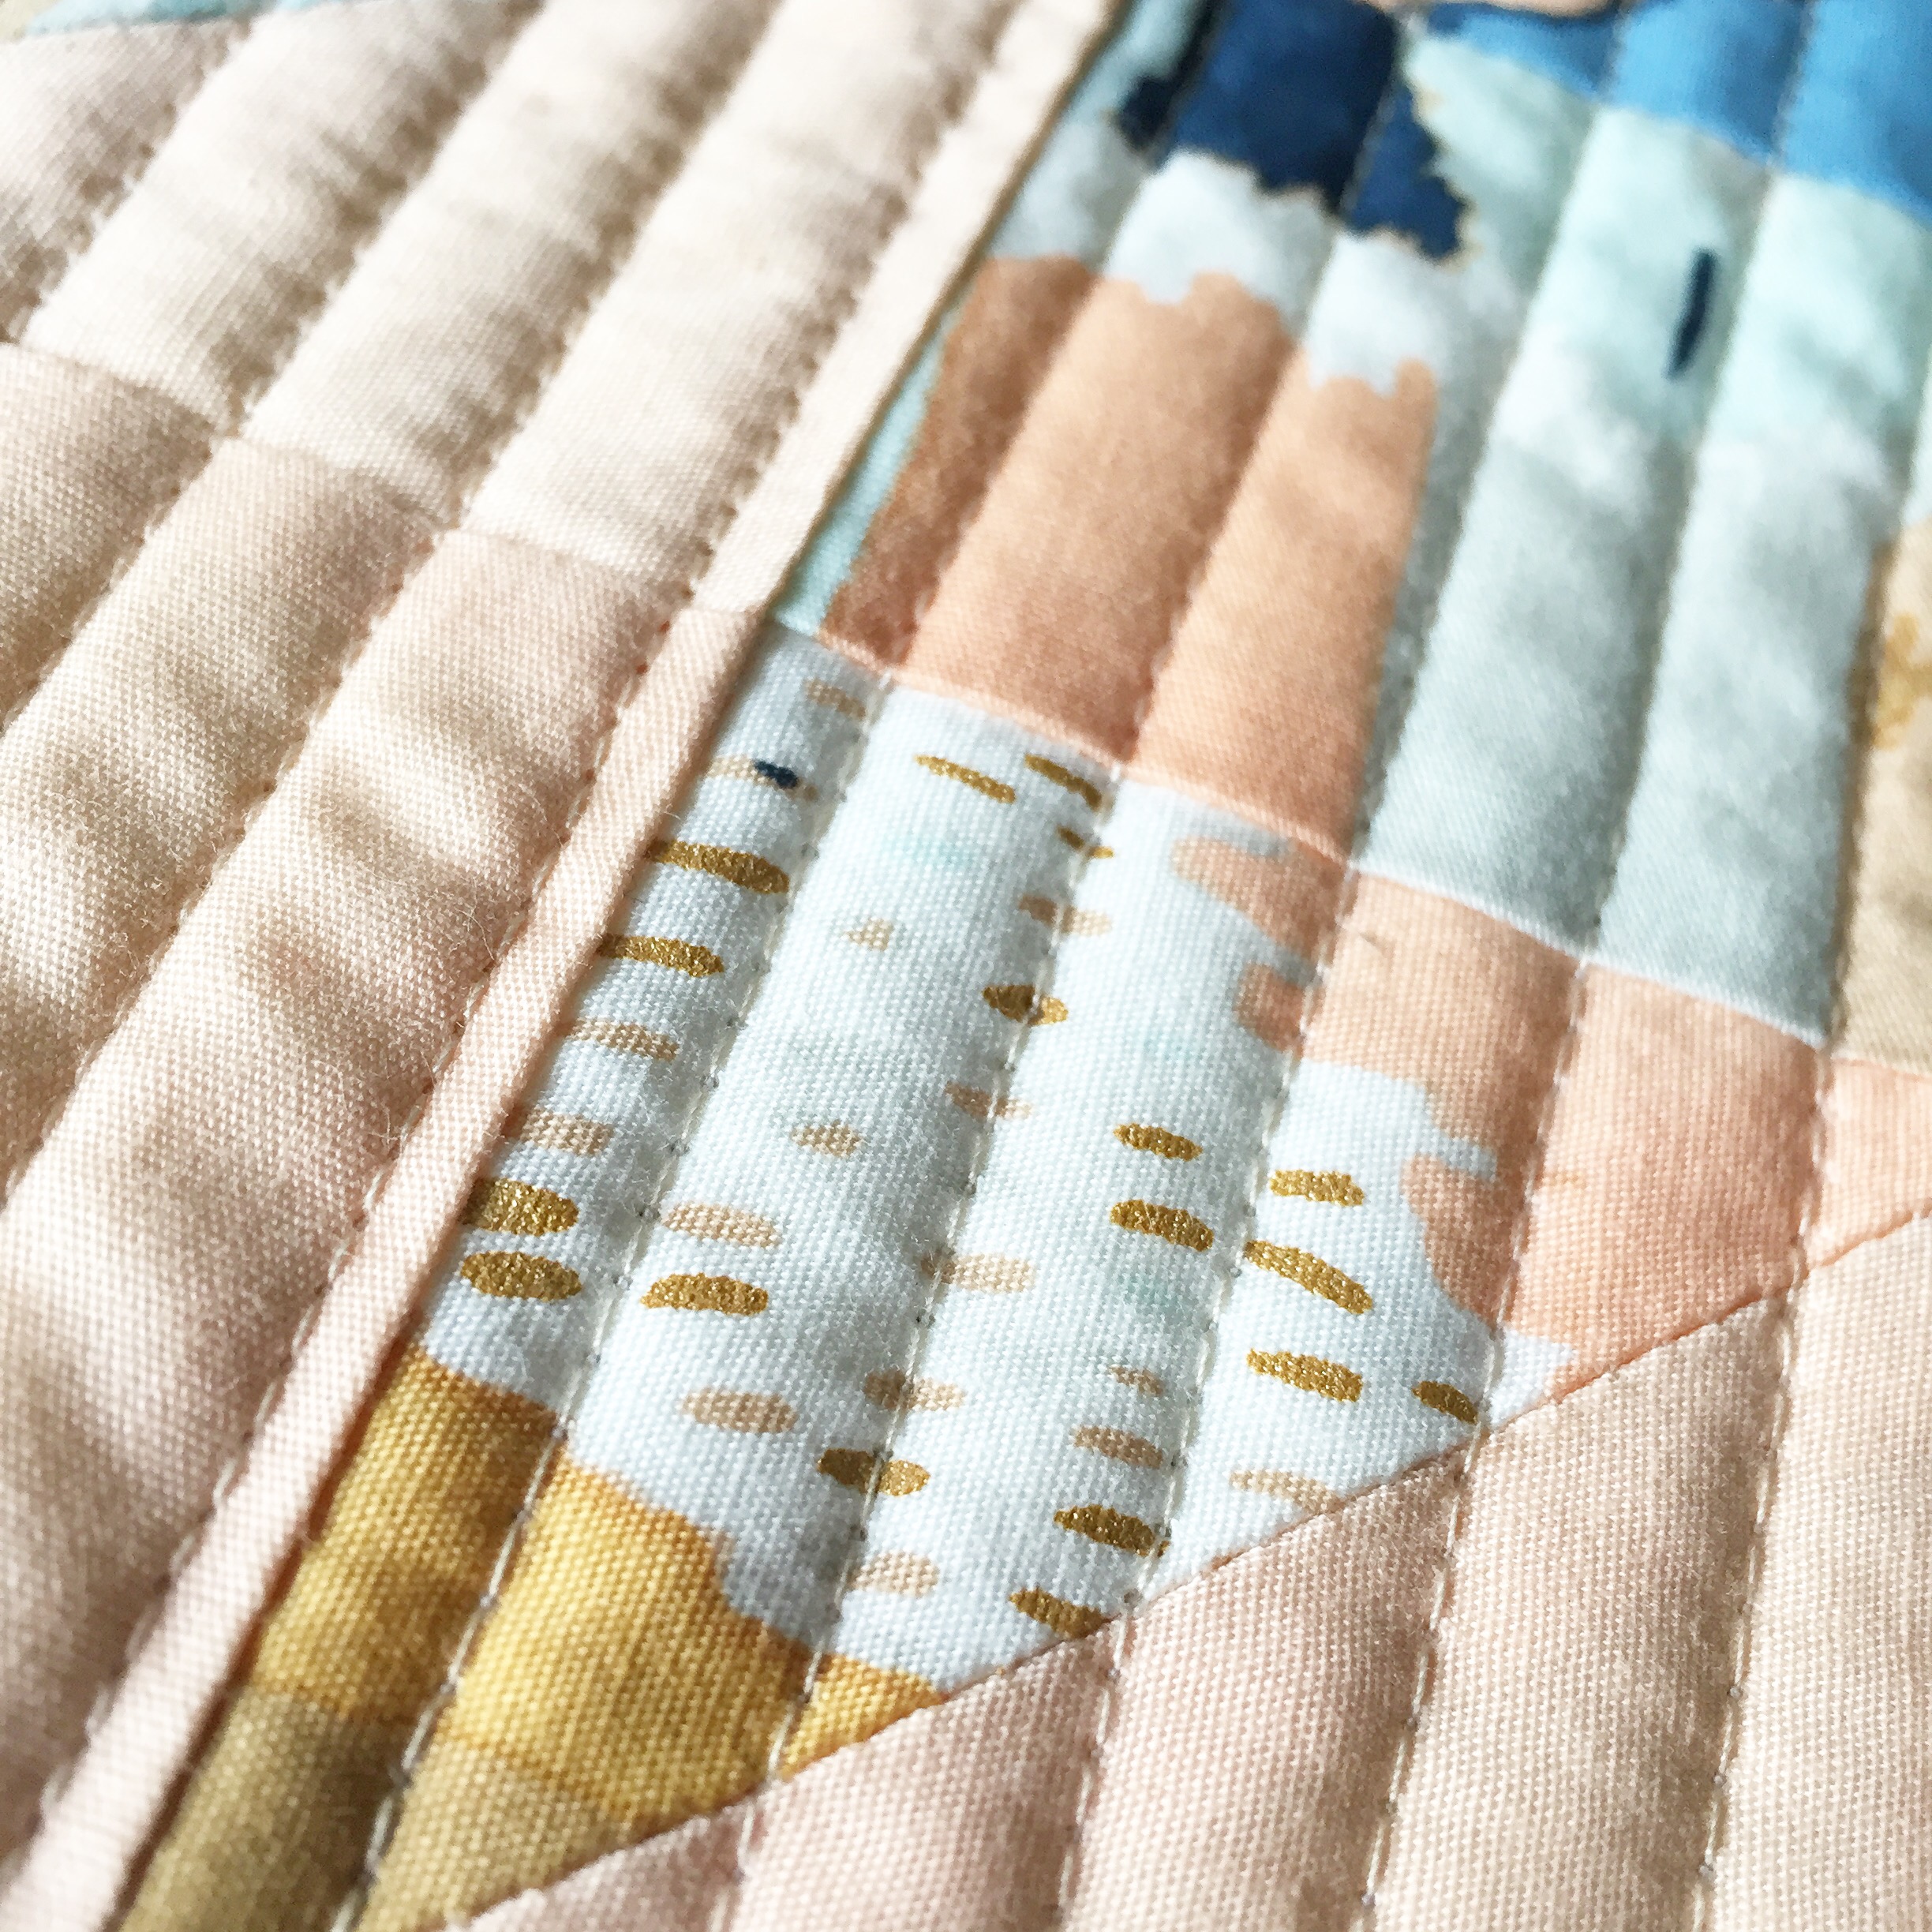
Close-Up of Metallic Detail


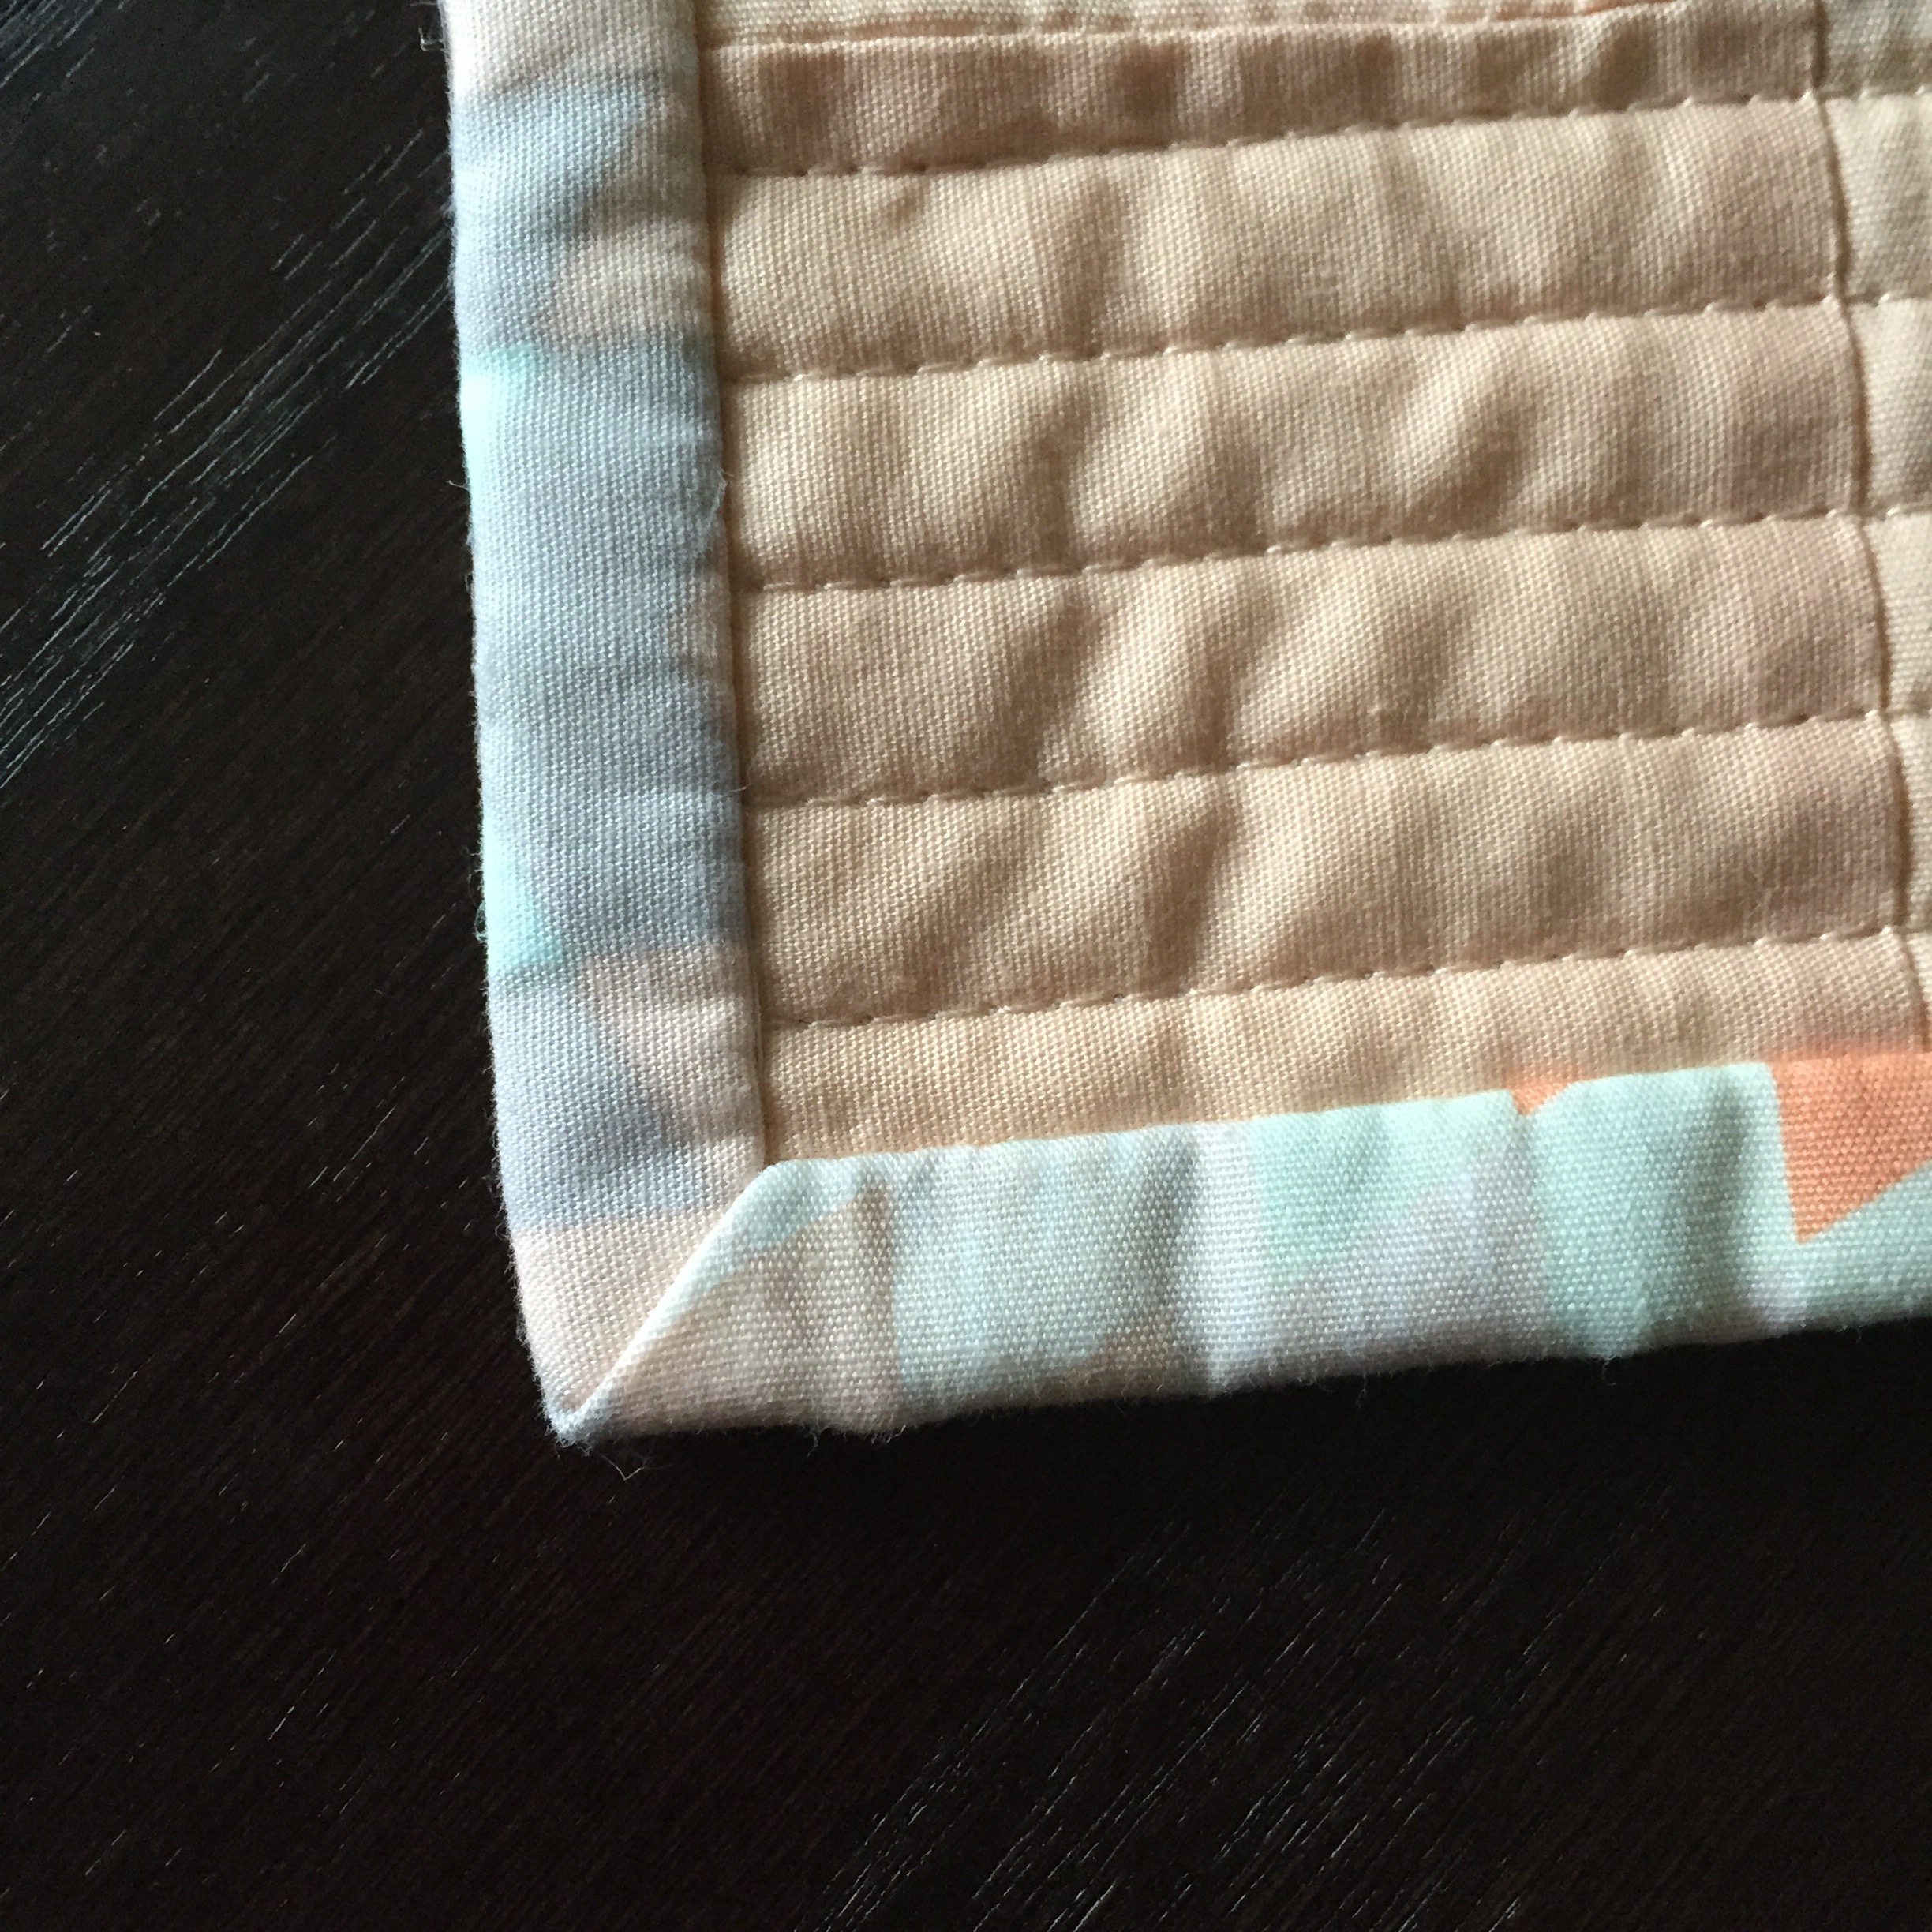
Love a Beautiful Mitered Corner

Love a Beautiful Mitered Corner


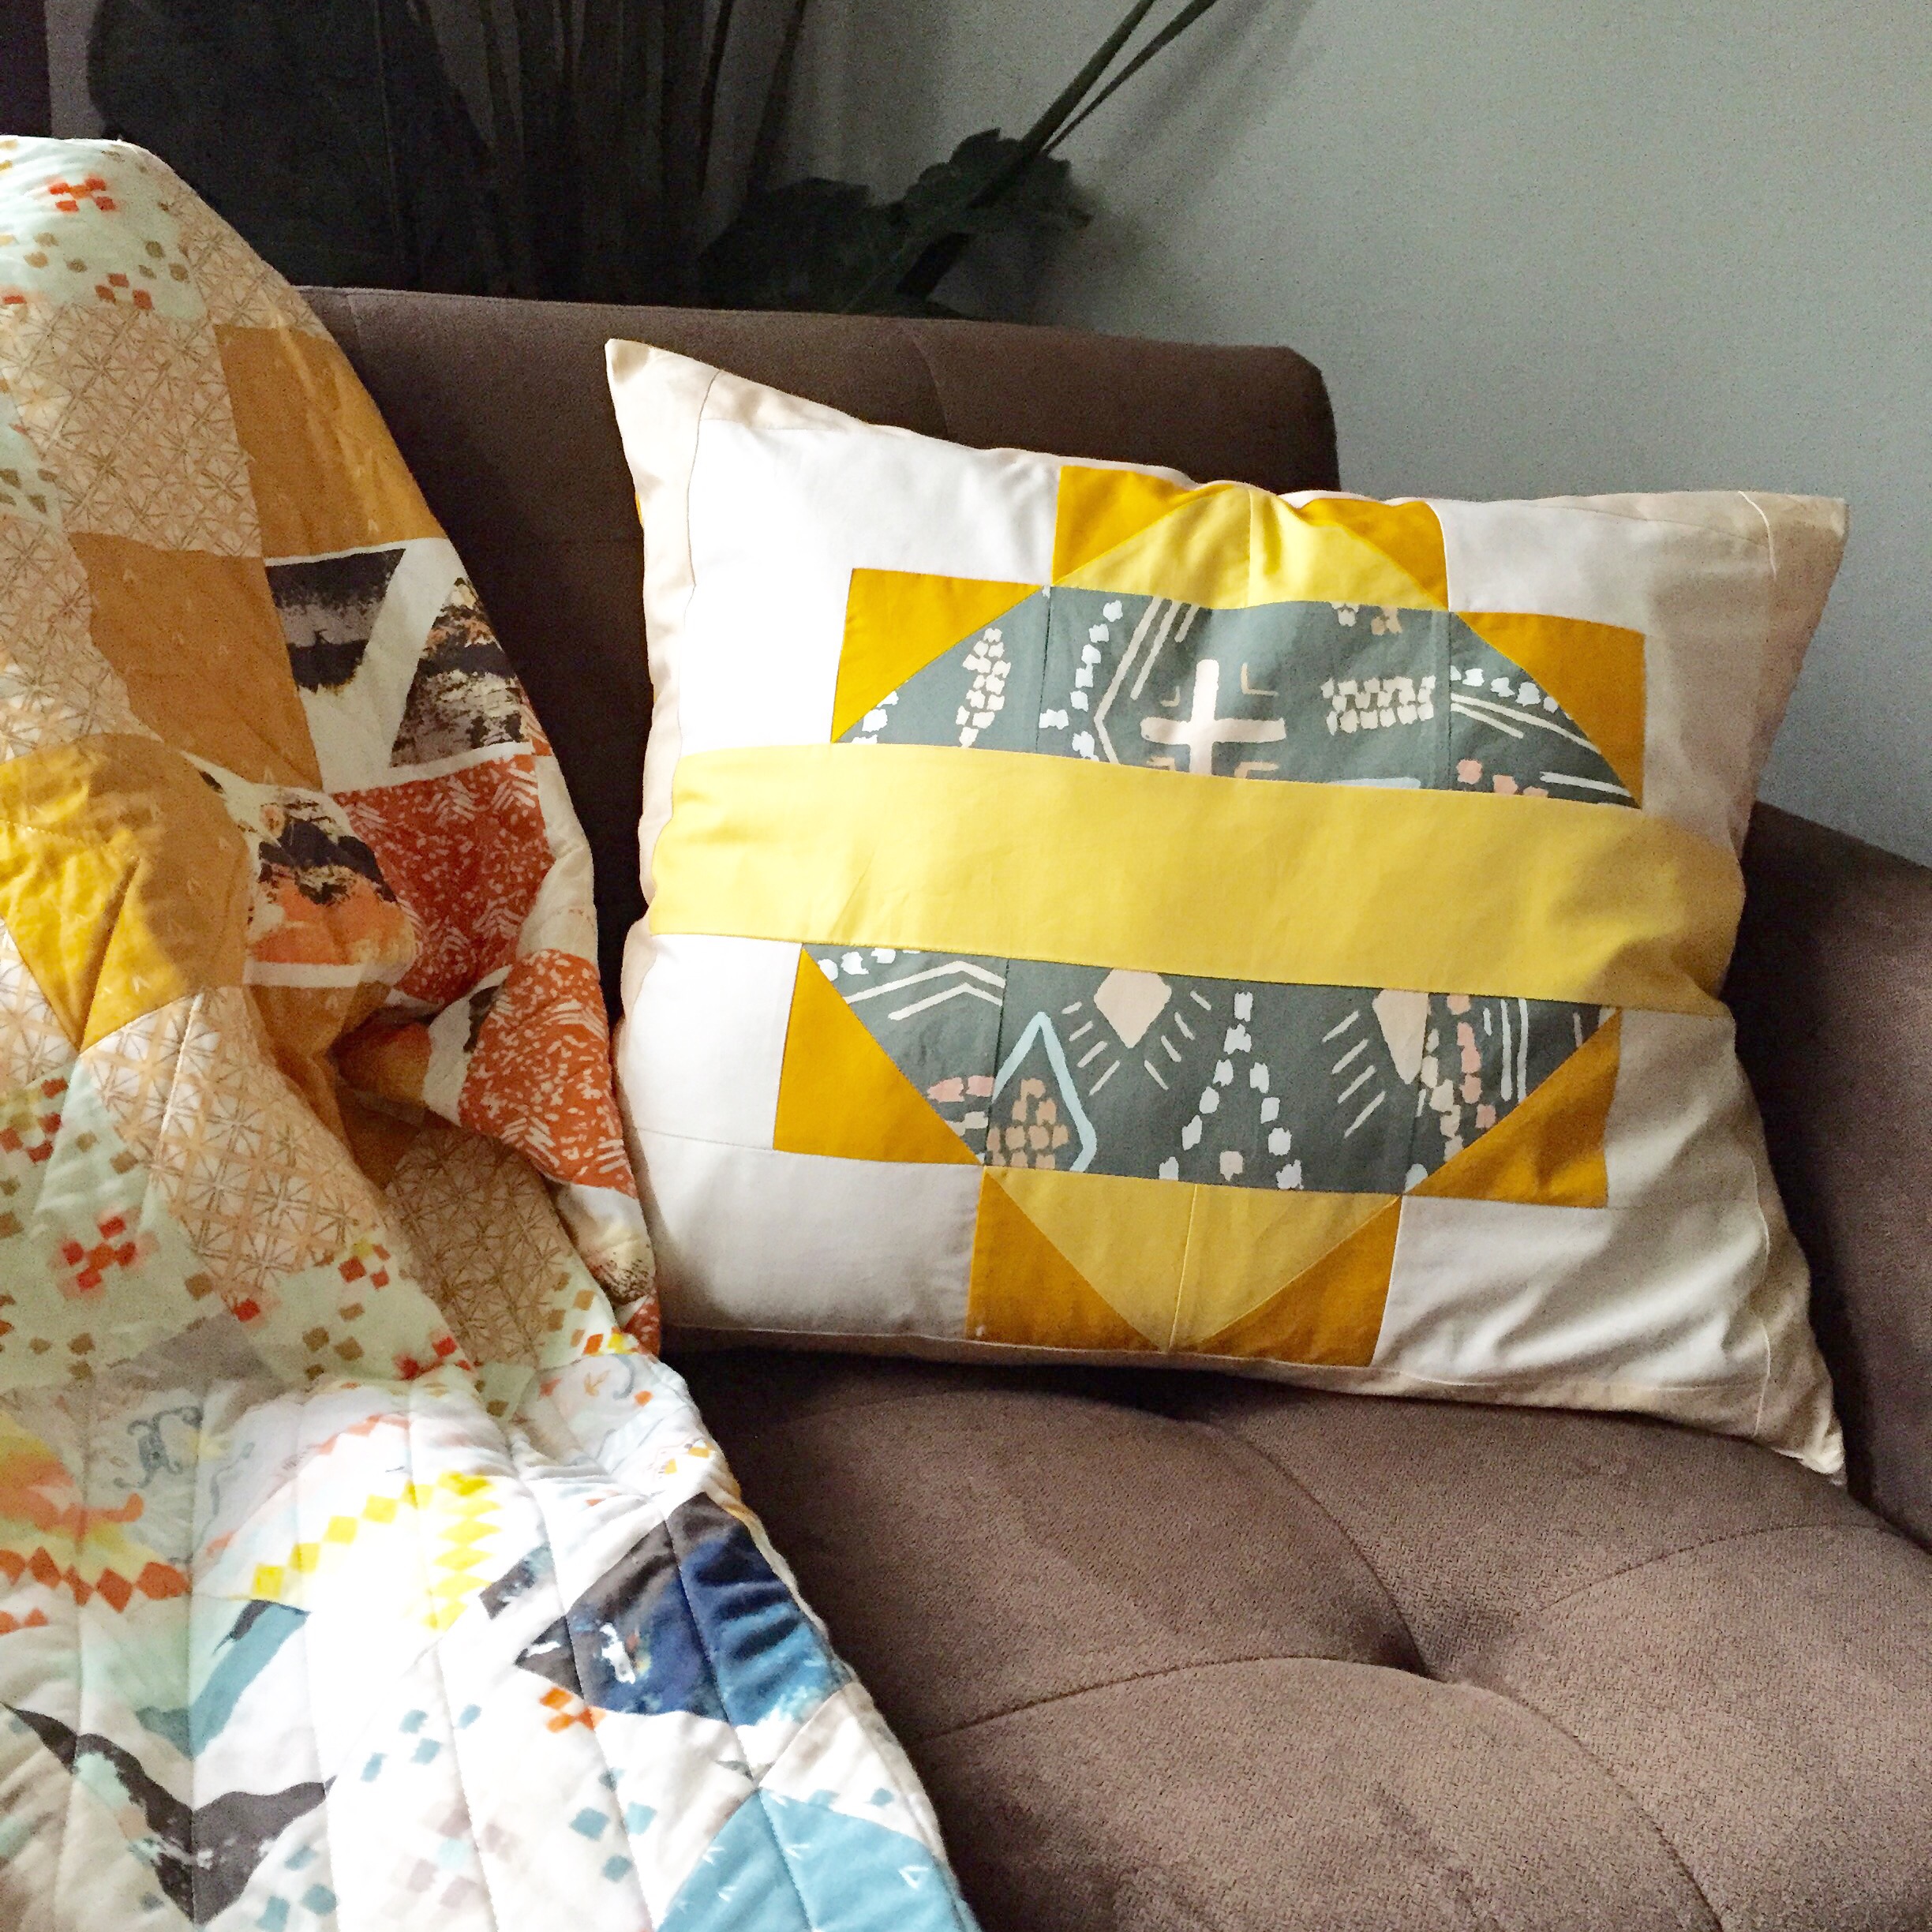
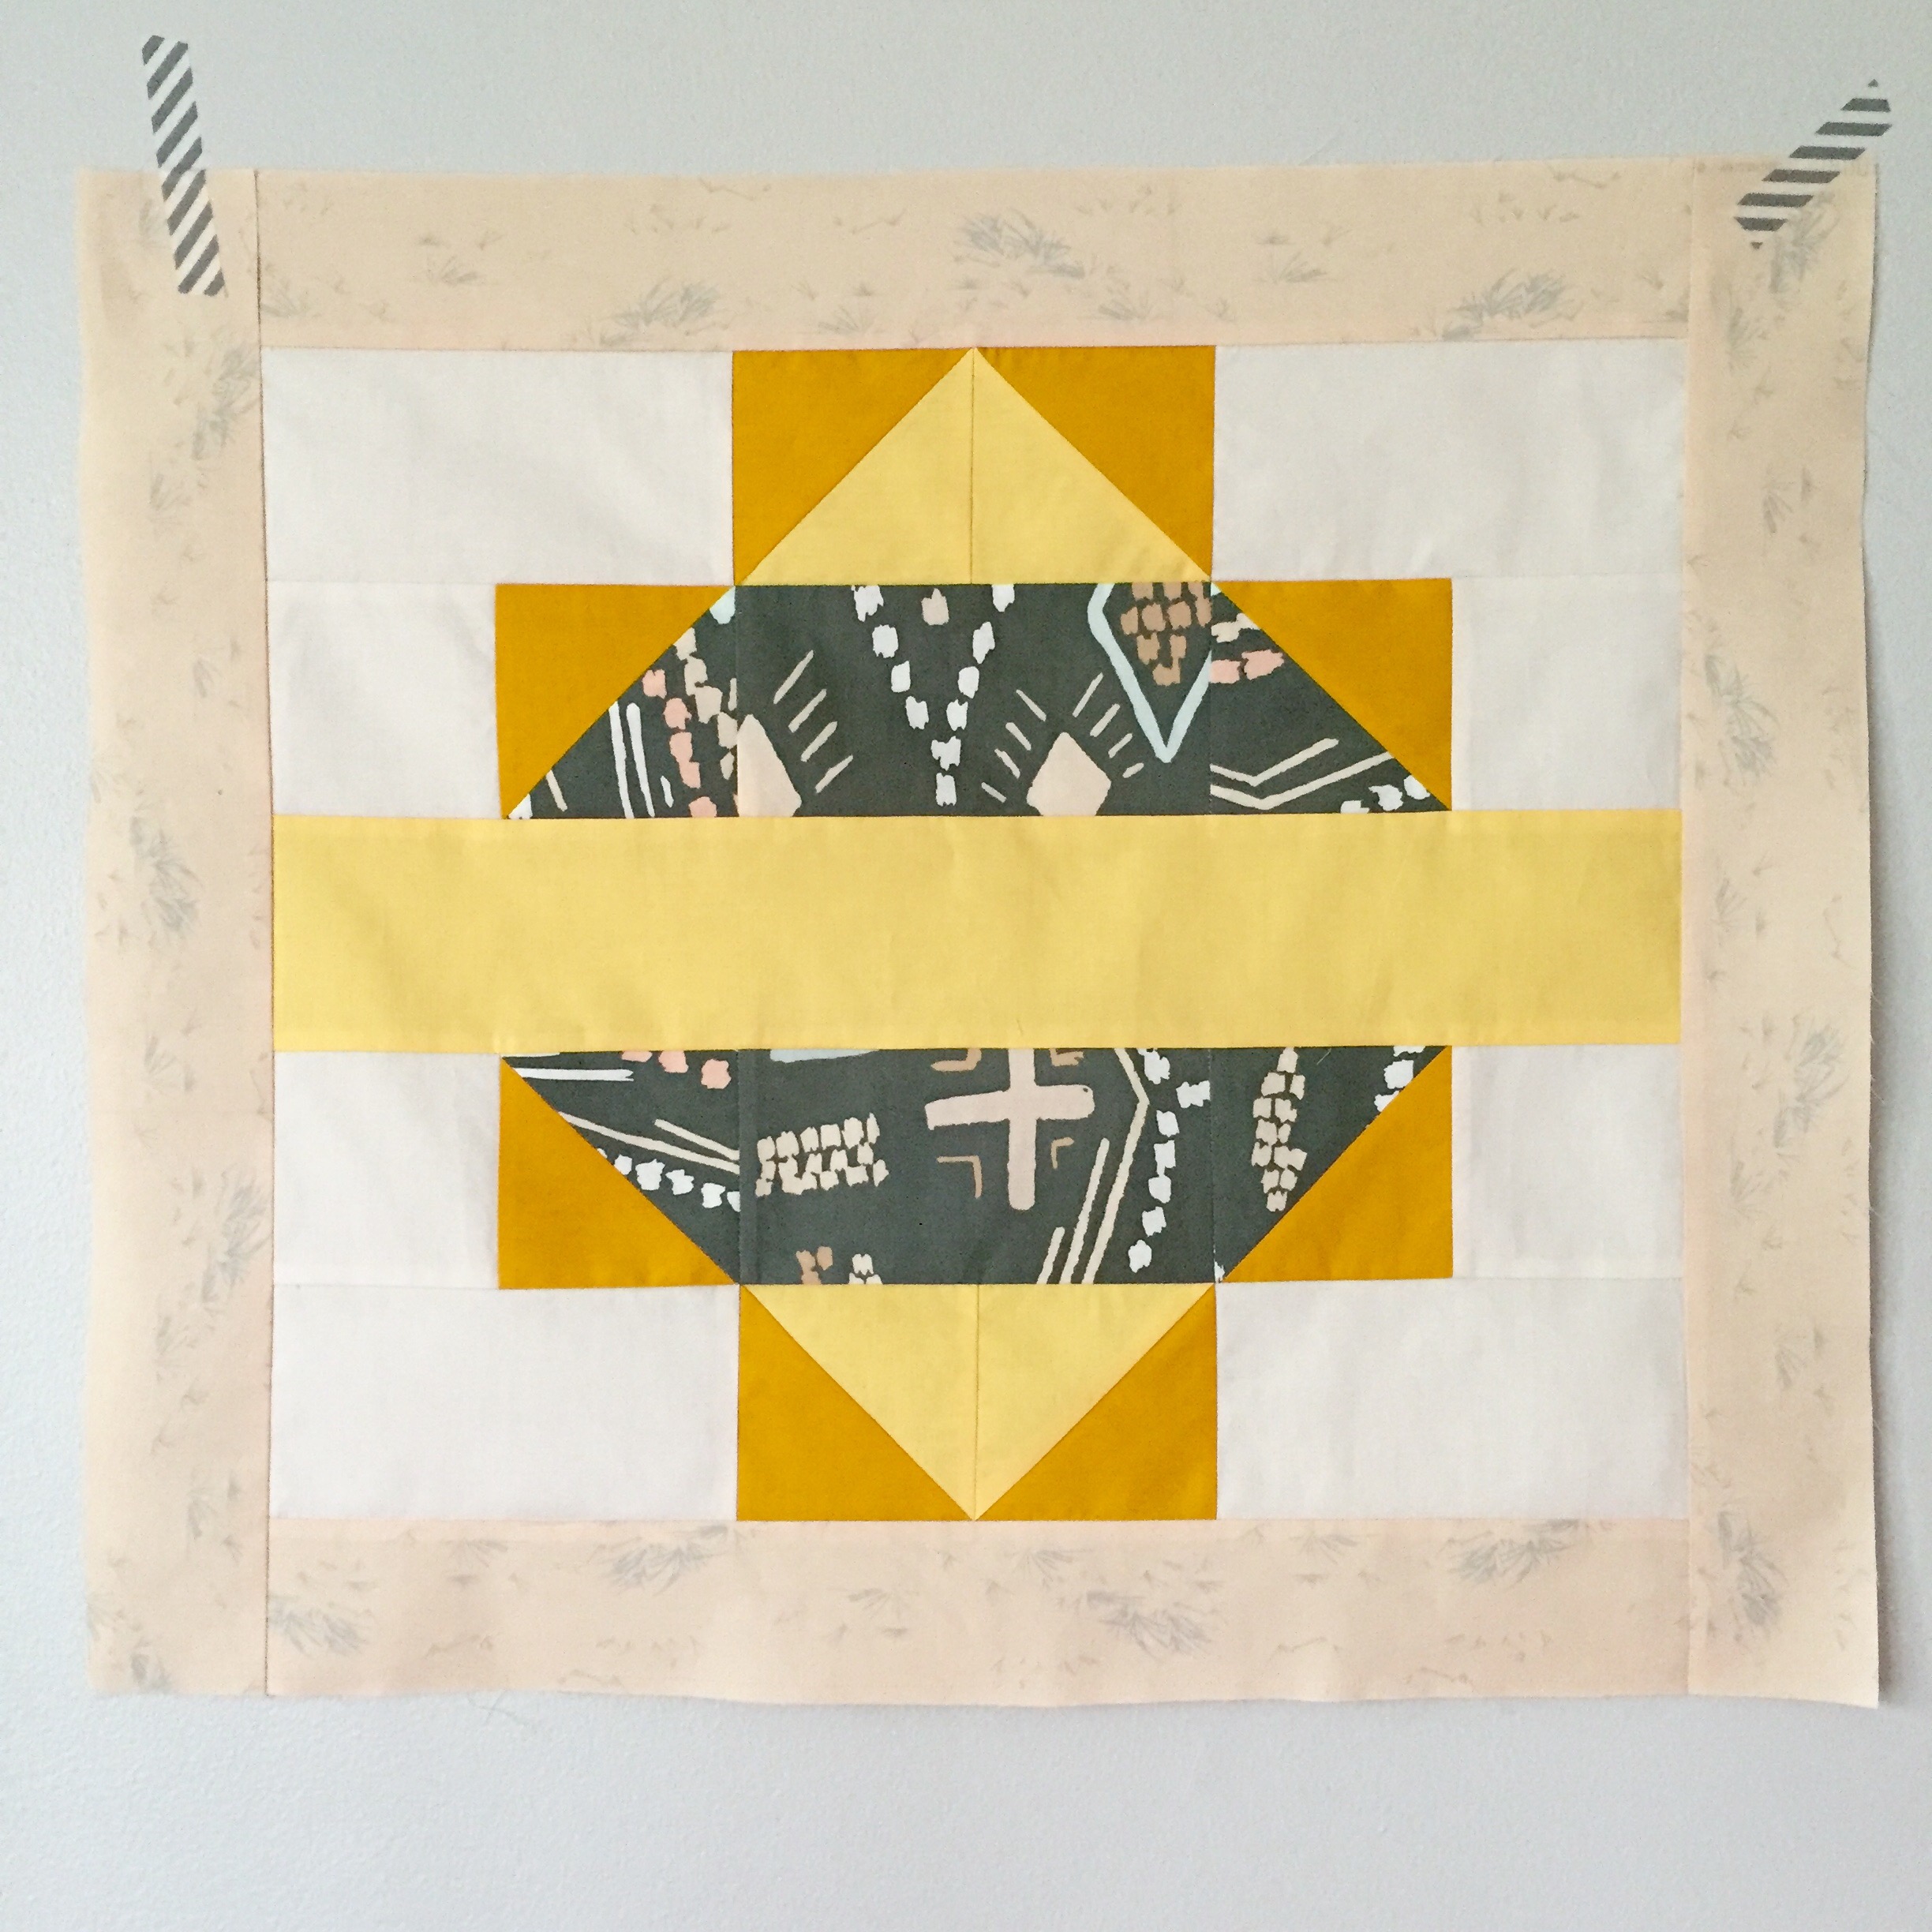
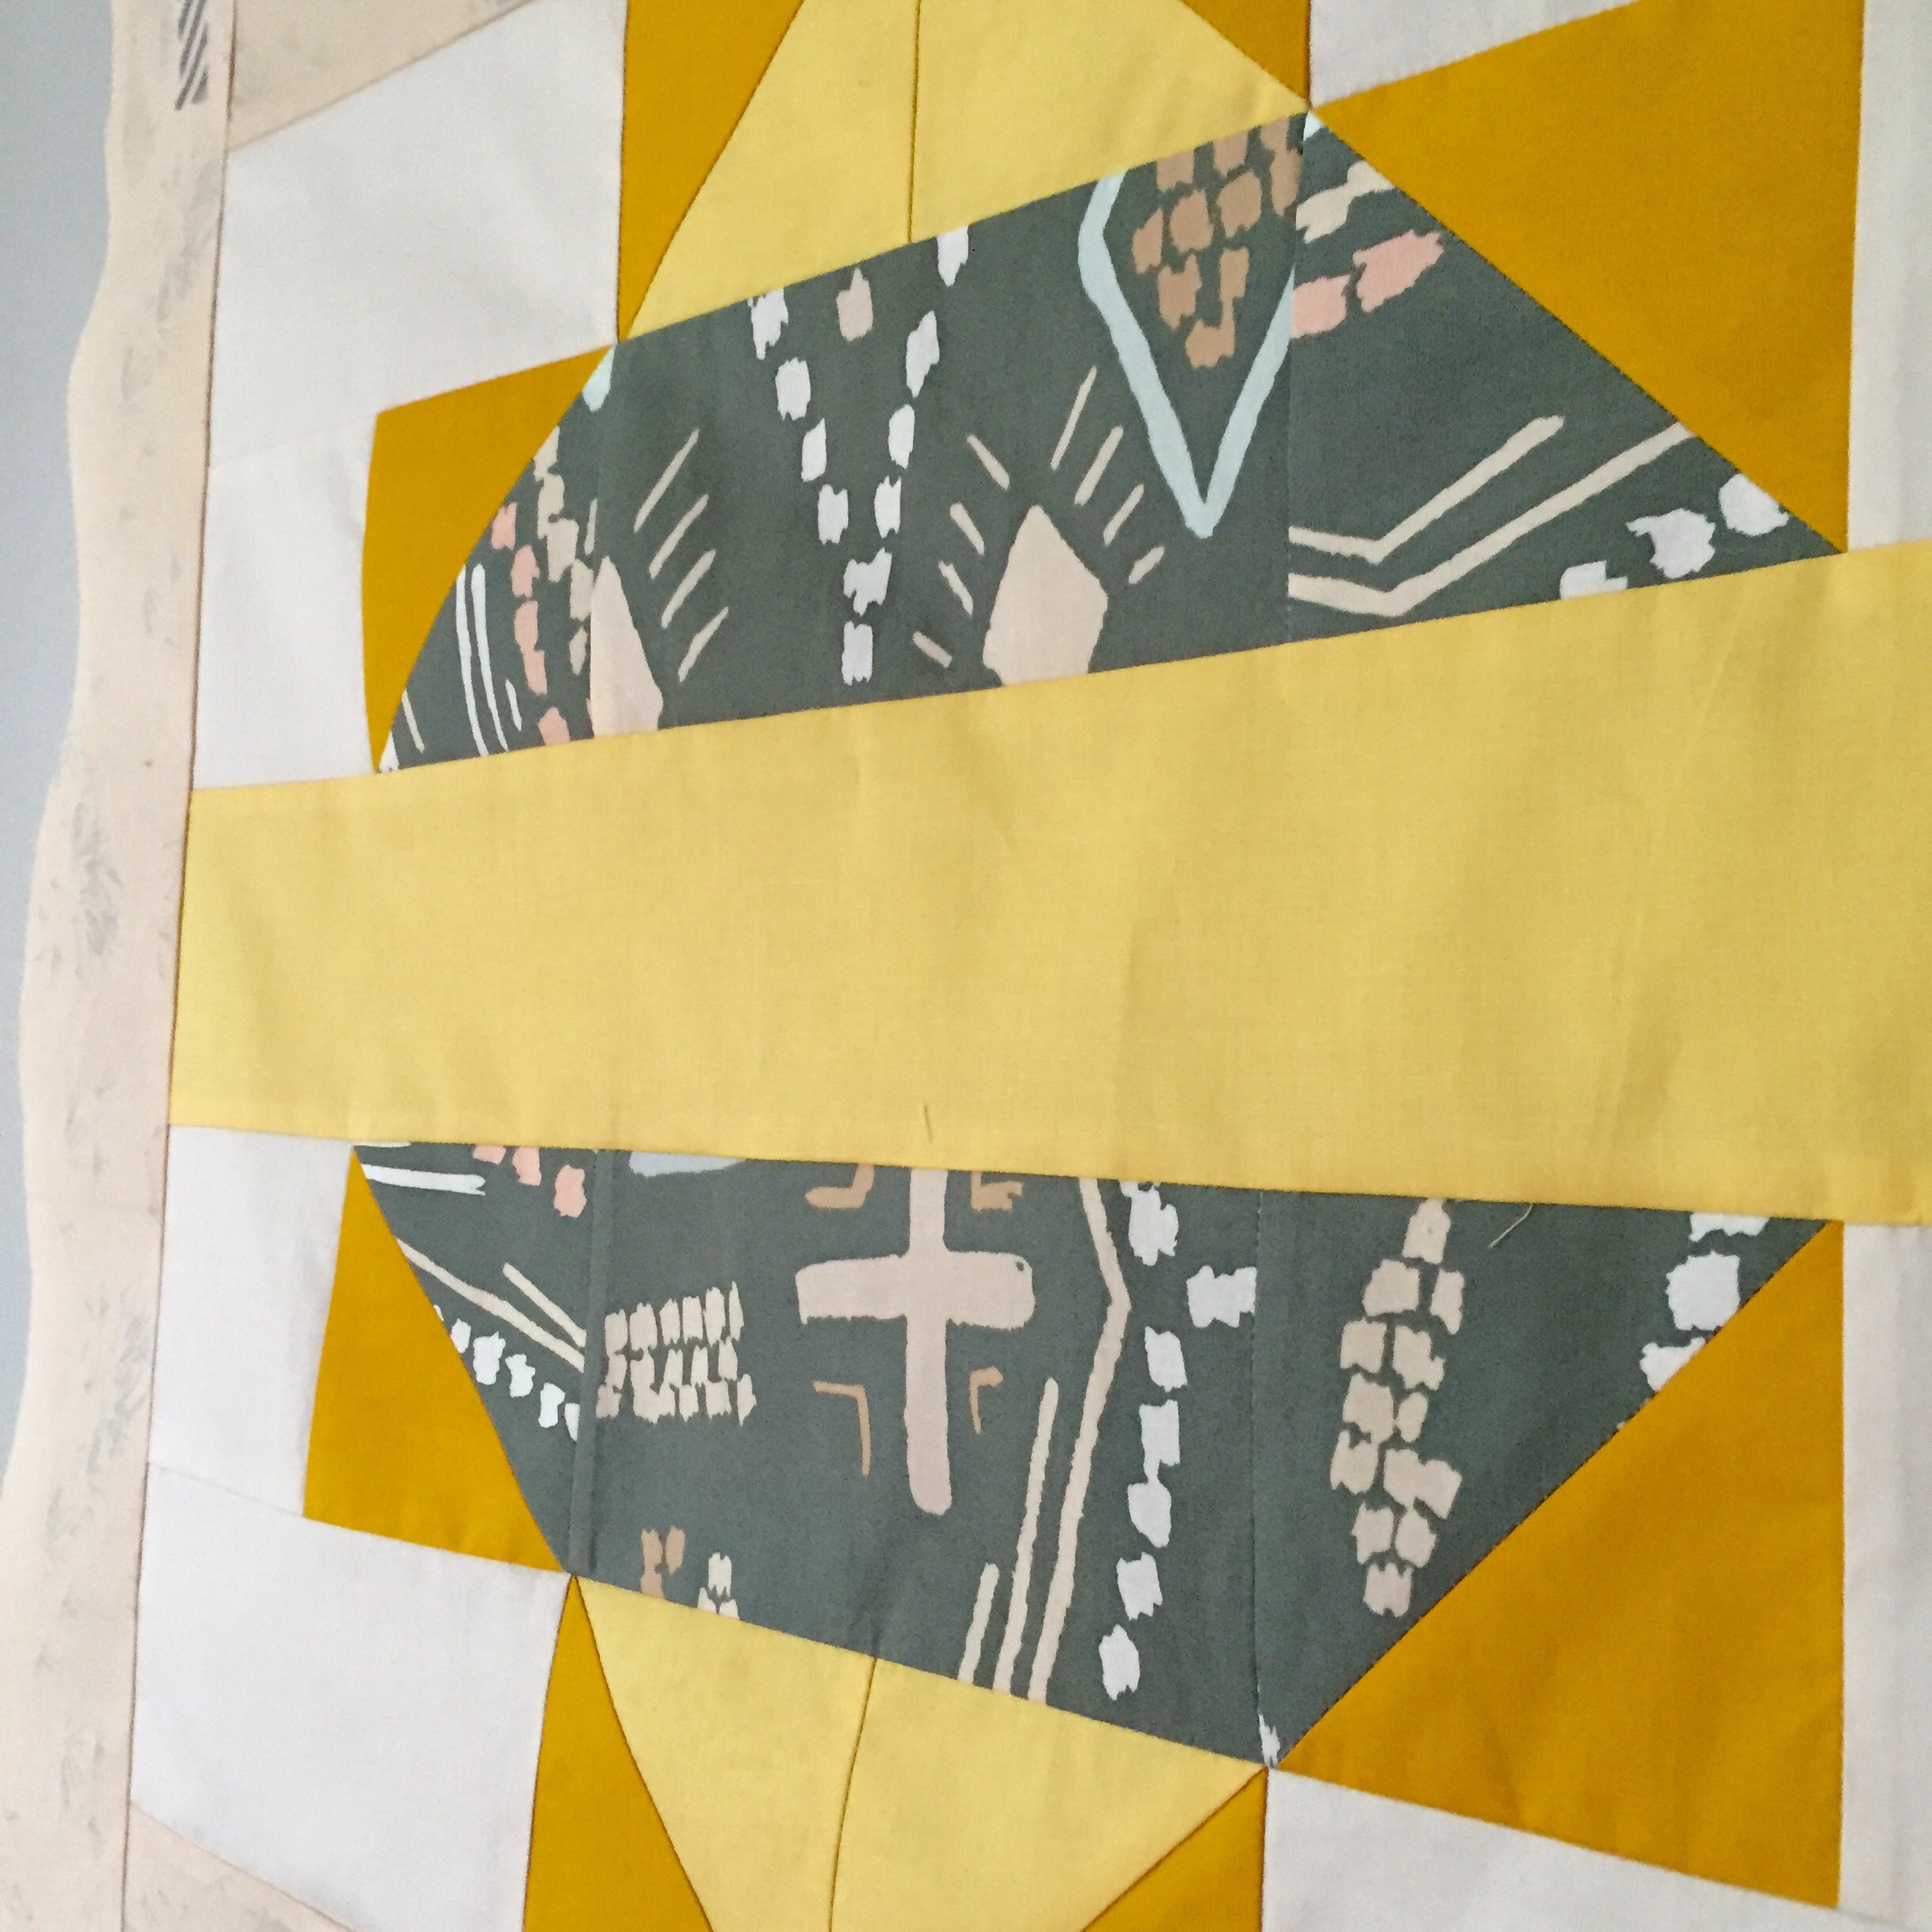
2.) Ancient Lands Pillow

April made the fabric pull on this pillow and it turned out beautifully…No surprise, right?  She is able to use unexpected color combos and make them all work!  I am not usually a yellow/mustard kind of girl (maybe because it blends into my own skin???) so I tend to stay away from these fabrics.  But I think I may start broadening my horizons….

   This pattern is free on Art Gallery’s Blog site and utilizes some HSTs as well.  It’s another great quick beginner project. The fabrics used are Macrame Clay, Growth Stone and Pure Elements Tumeric, Banana Cream, and Linen White.

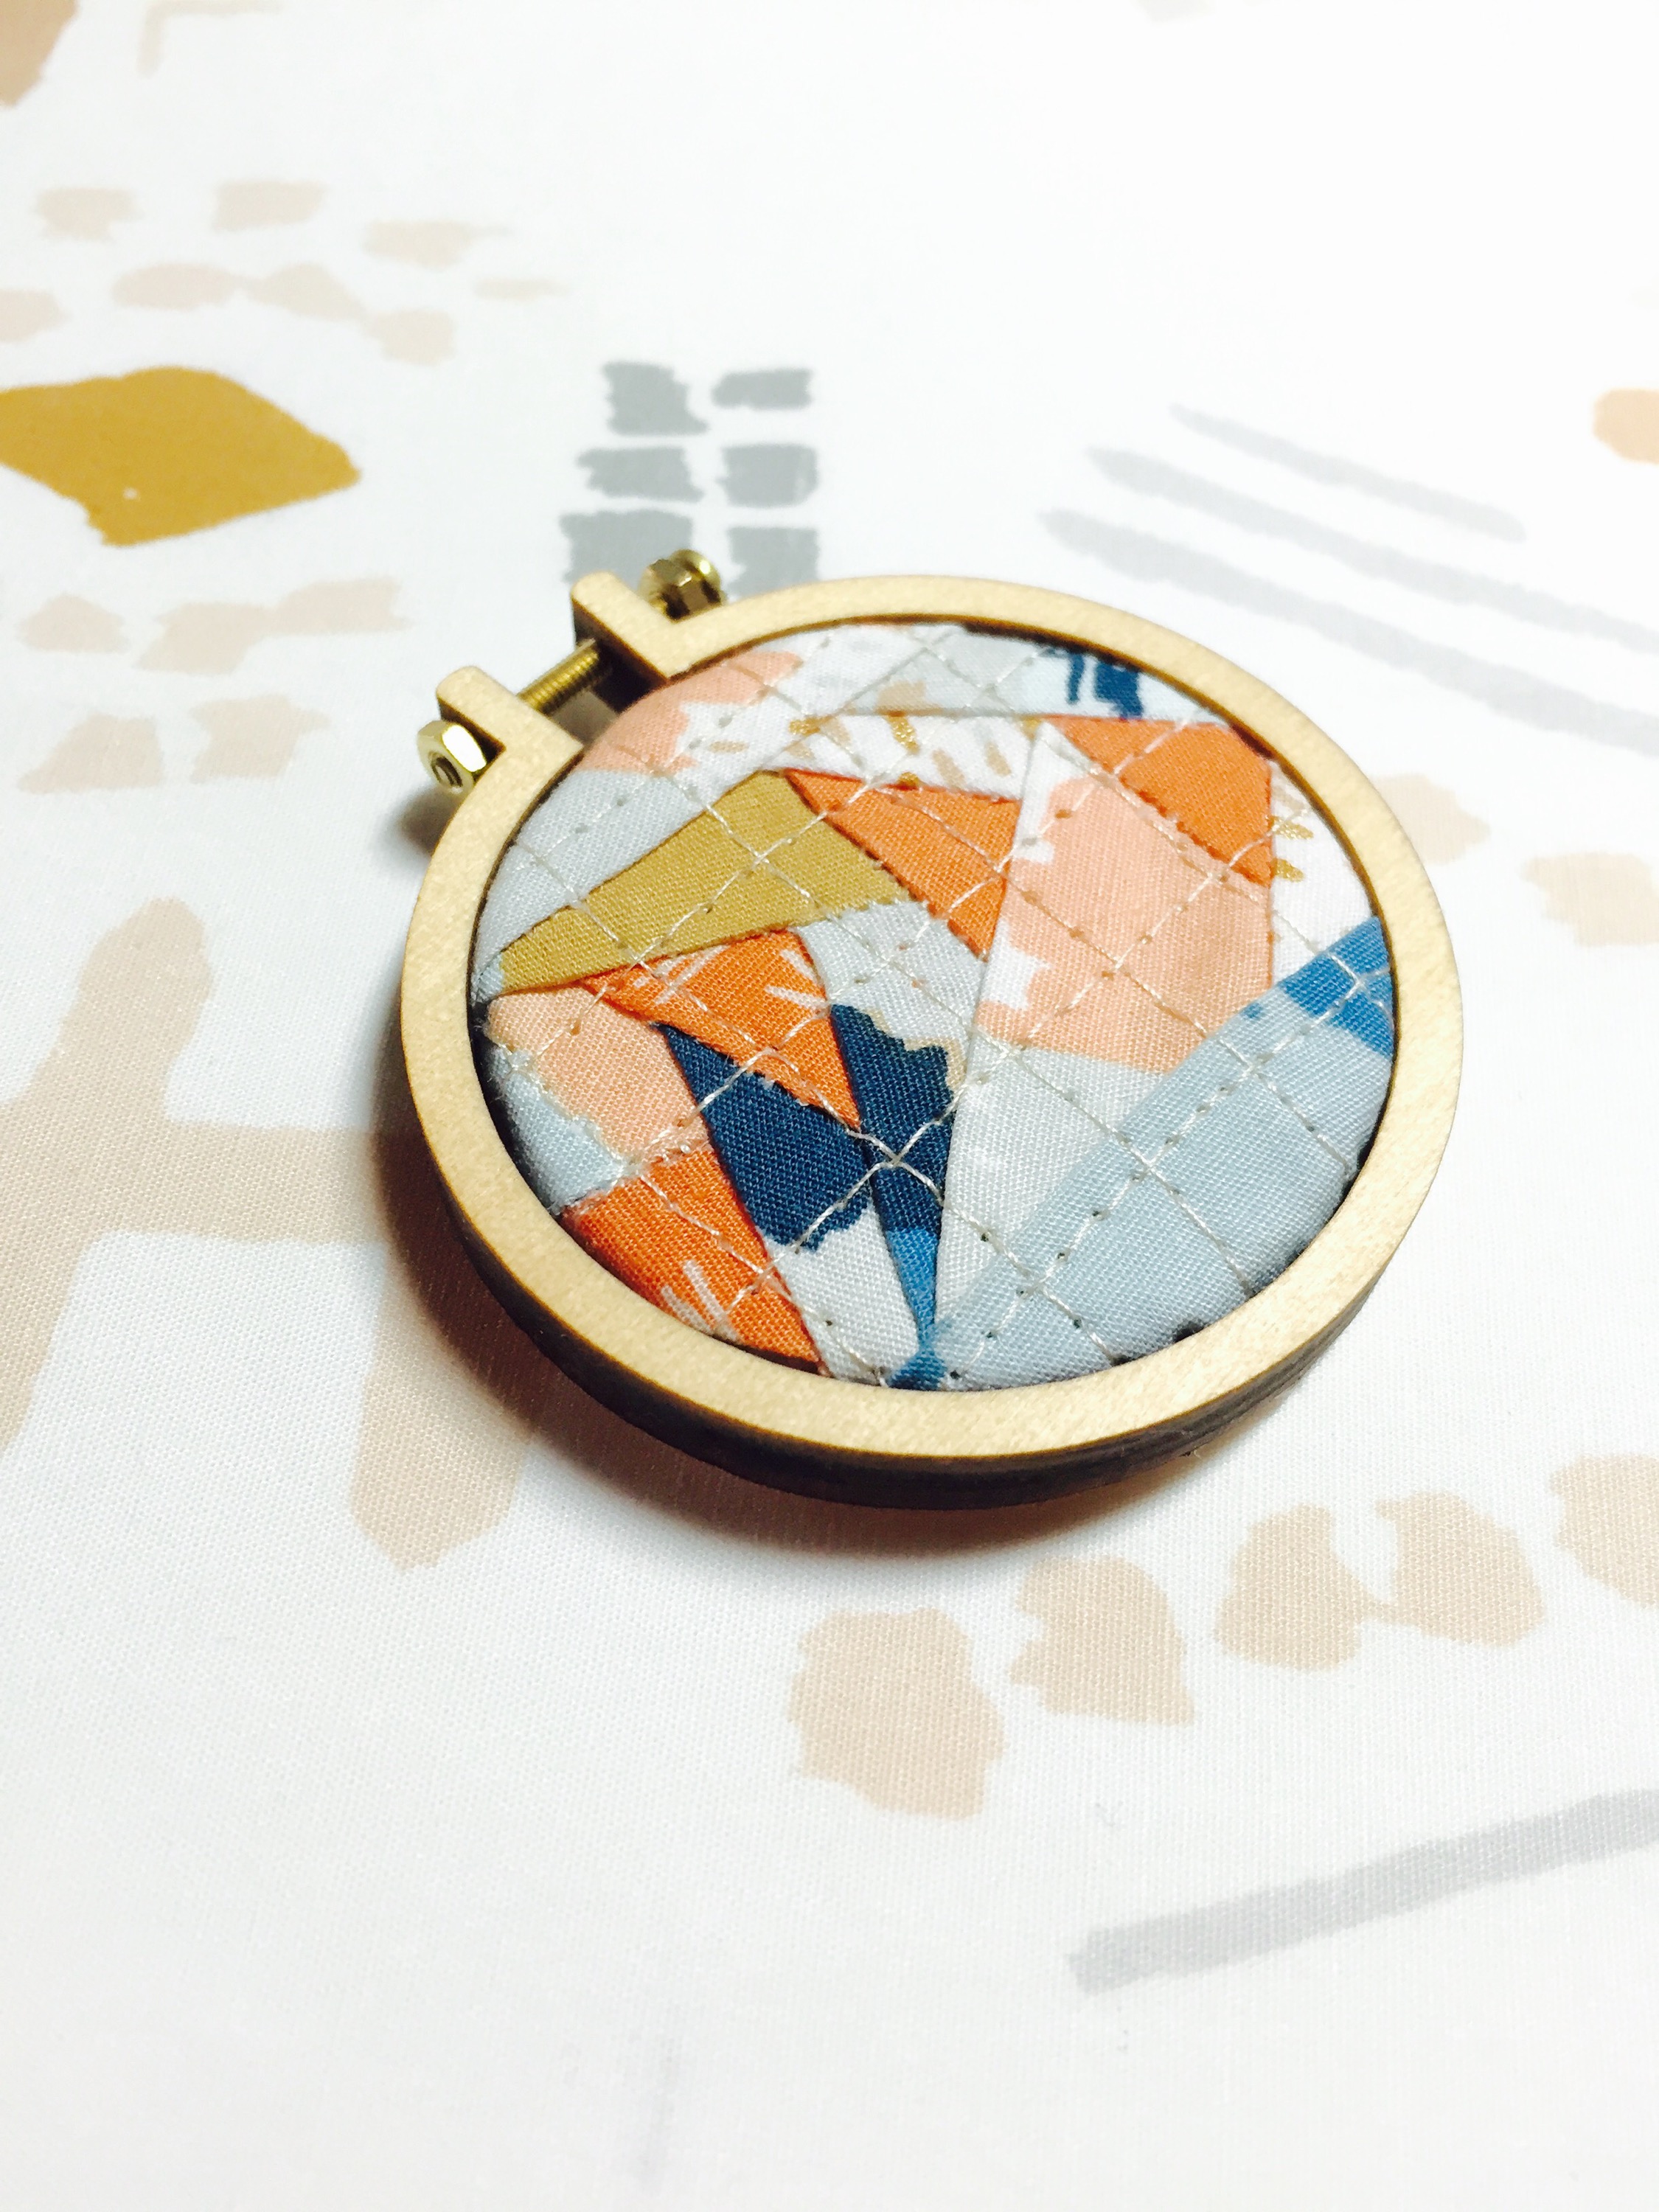
3.) The Geese Go Painting

If you don’t know already, I love Flying Geese, Foundation Paper-Piecing (FPP), and Mini-Embroidery Hoops…all together.  It’s fun to make these little quilt hoops…they are a quick project…trust me!

The quilt pattern is called “Goosing Borders” by Jeli Quilts (of course!) and is a FREEBIE!  This is a great pattern to practice to see if you would like the other patterns by Jeli Quilts (I have a feeling you will…)

I used Growth Joy for the geese and Painting Morale as the background.  After downloading the pattern, the printing was set to 25% of the original image to shrink it down enough to fit into this cute Dandelyne 2.2″/ 5.5cm hoop. An extra 1″ was added at the top and bottom as well.

When making these geese, I usually like them to stand out against a neutral background.  But Bound fabrics has such fantastic imagery and detail that you have to look a bit closer and study the design.  I wanted these geese to do the same…so they were “camouflaged” a bit against the different colors in Painting Morale.  The quilting added to the “camouflage” while helping to keep all the piecing intact.  The thread is the same Aurifil 2312 50 wt used in all of these projects.

#quiltedhoop #miniminihoops

========

If you make any of these projects, please send me project pictures via IG or email. I would love to see them!!!

Happy Stitching!

Cristy

Love You Sew