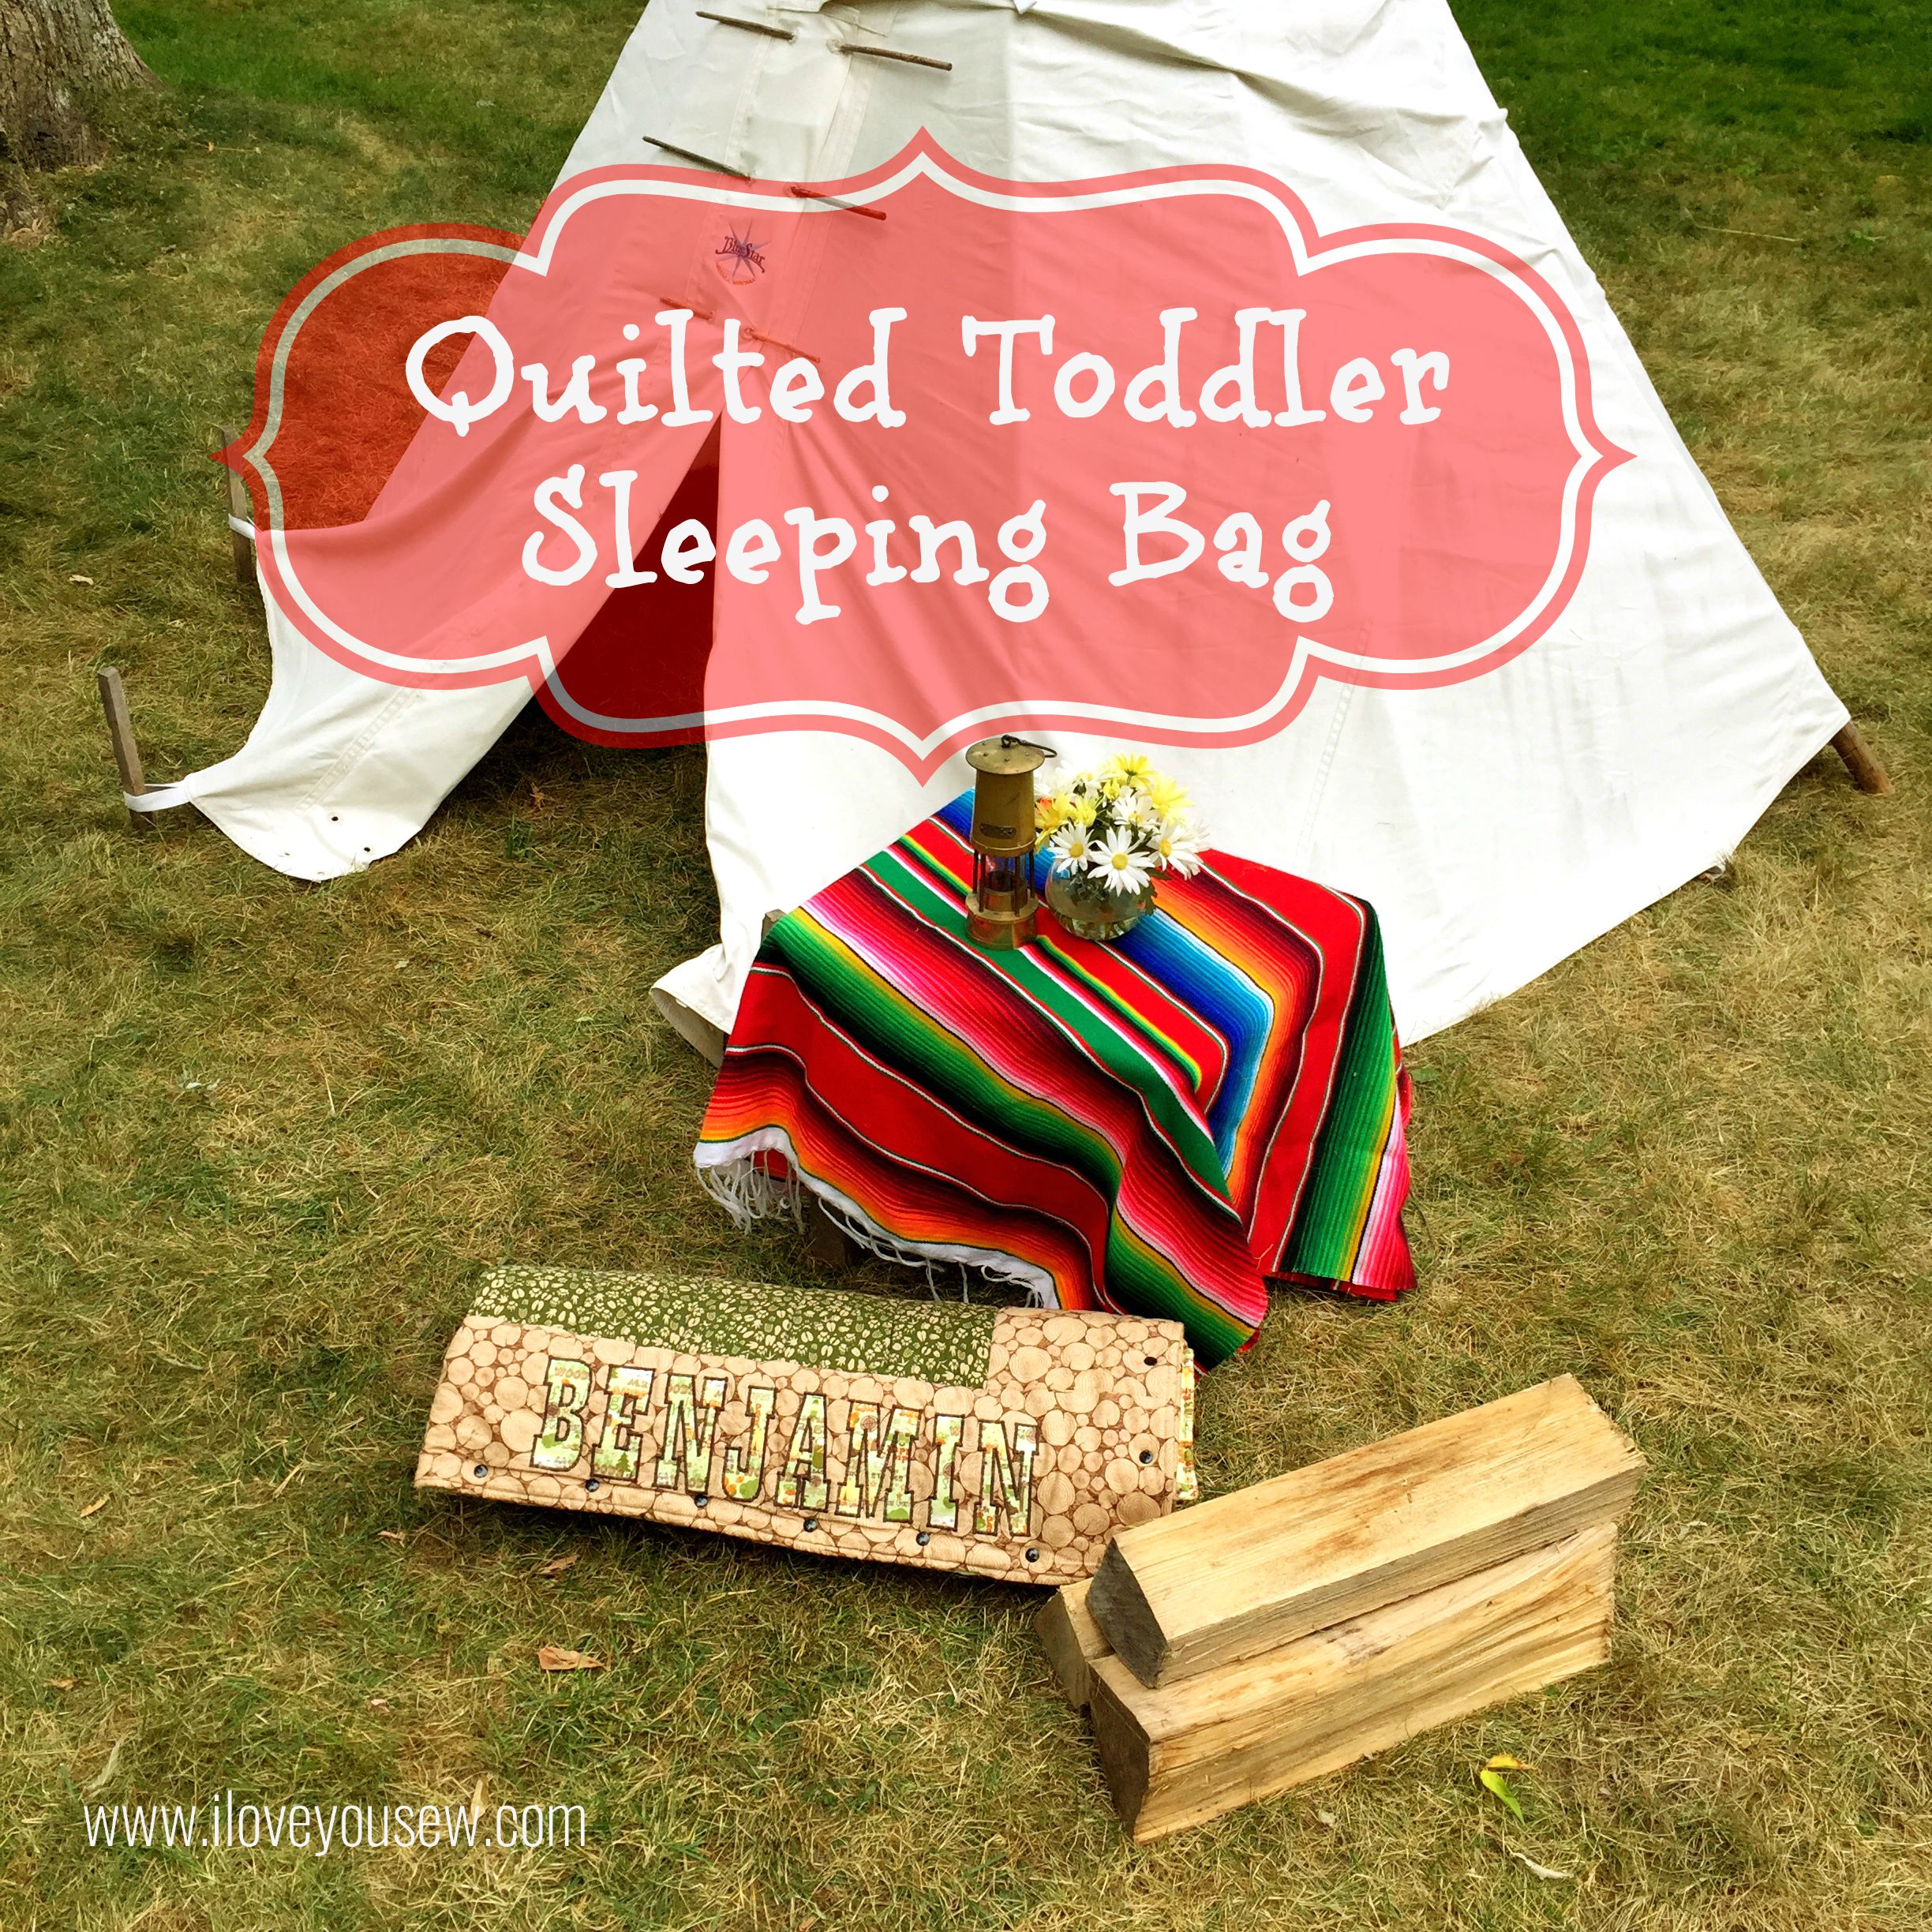
Quilted Toddler Sleeping Bag

SleepingBagTitle

This week, I’m doing a little throw-back of toddler sleeping bags I made for my boys last year.  I wasn’t a blogger then and figured I’d write a post in honor of our annual trip to the lake.  We brought these puppies along for each of our sons and I couldn’t help take some fun new photos along beautiful Lake Leelanau in Northern Michigan.

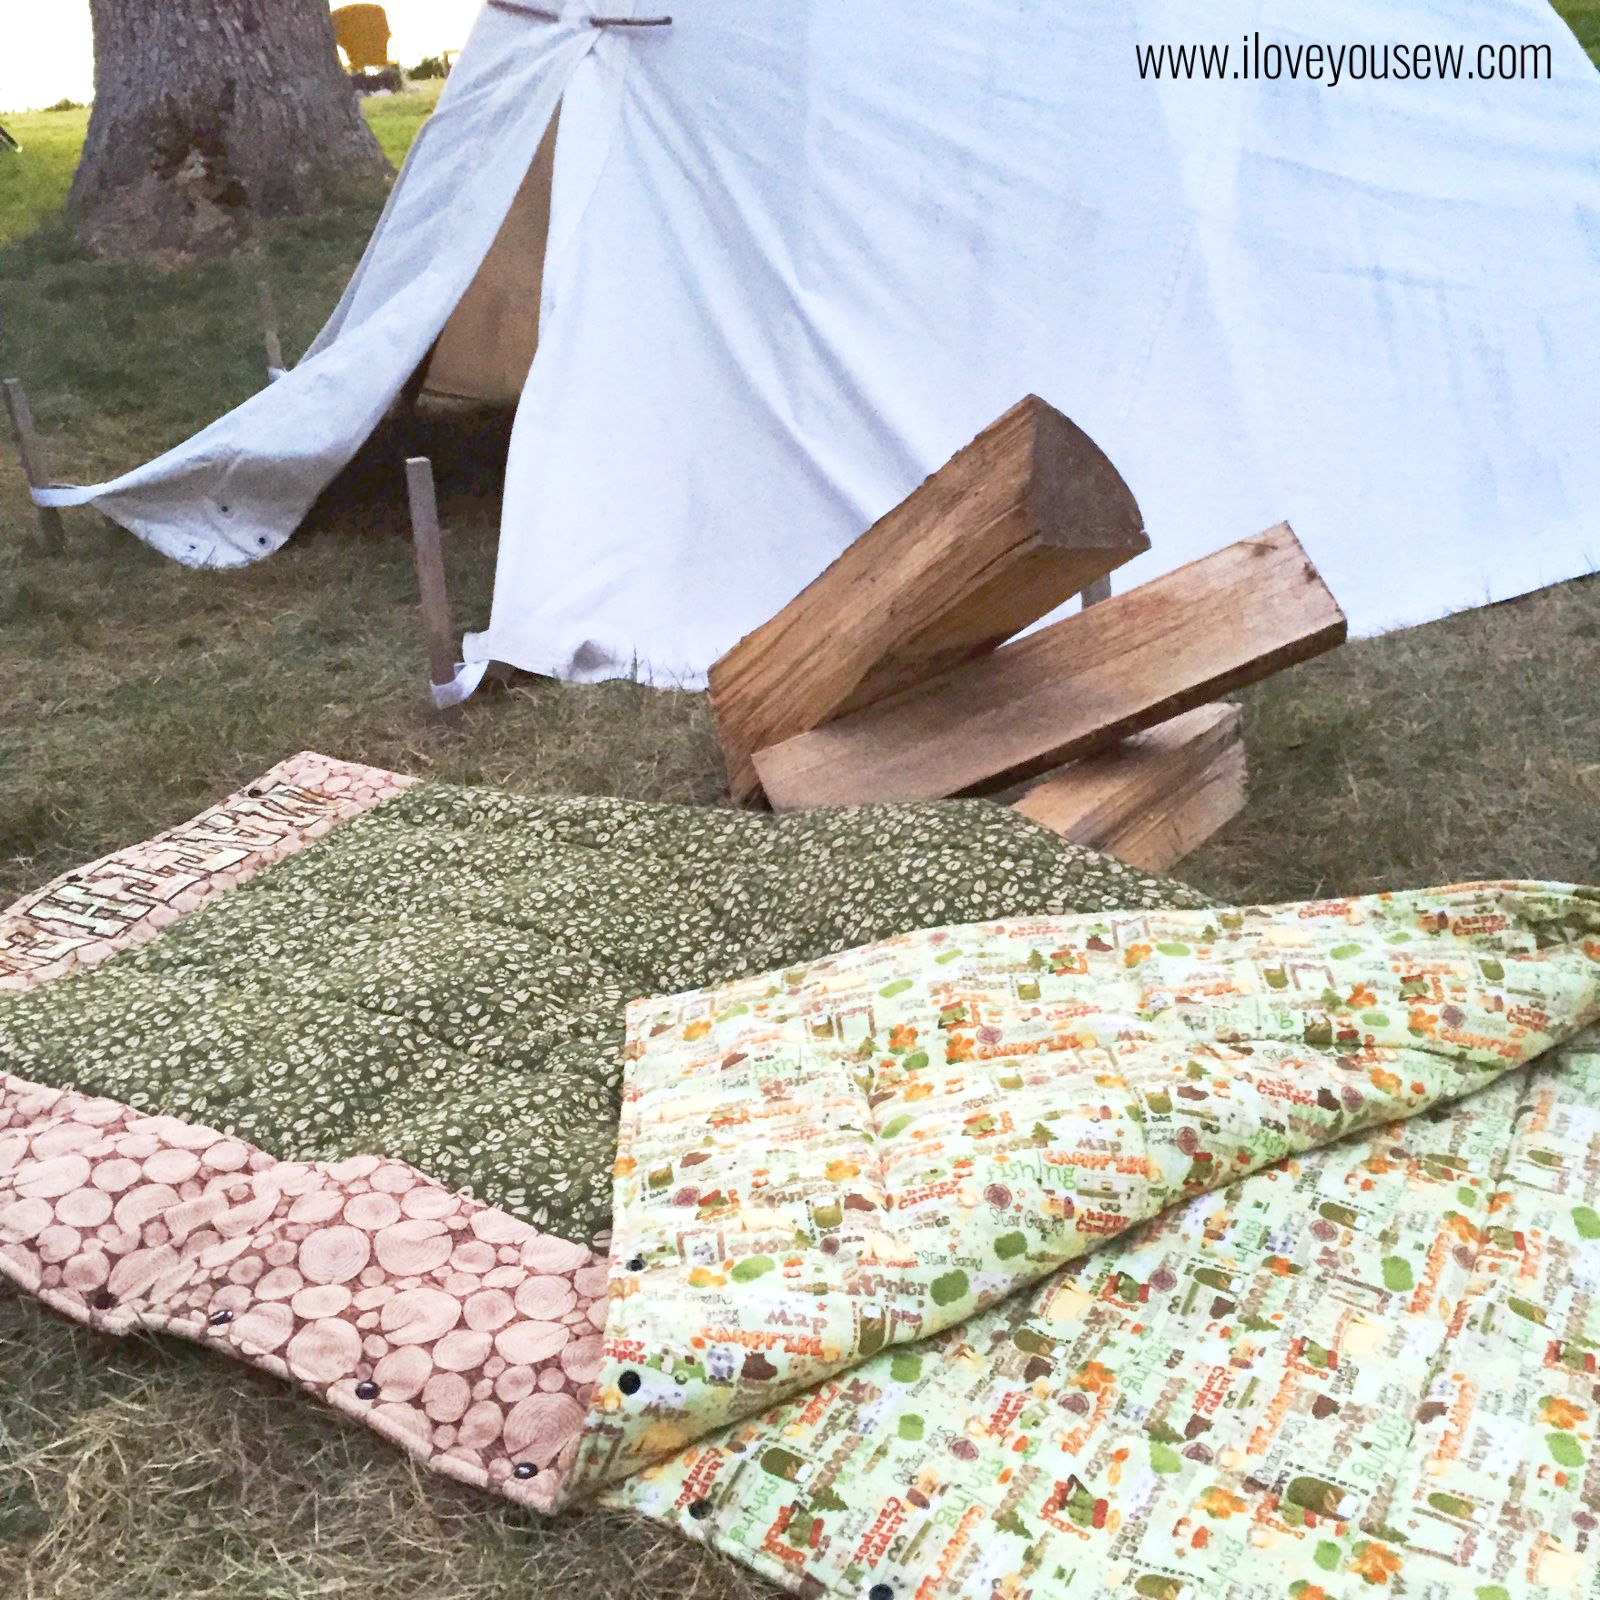
SleepingBagHalfOpen

My boys are at a fun age when we can now have little sleepovers in the family room.  This adorable sleeping bag was exactly what I wanted for each of my kids to have their own.  I LOVE the idea of having the sides snap so that you can pull them apart and have a great throw blanket!  Duel-purpose items are key!  The pattern and tutorial can be found on The Sewing Rabbit’s blog.

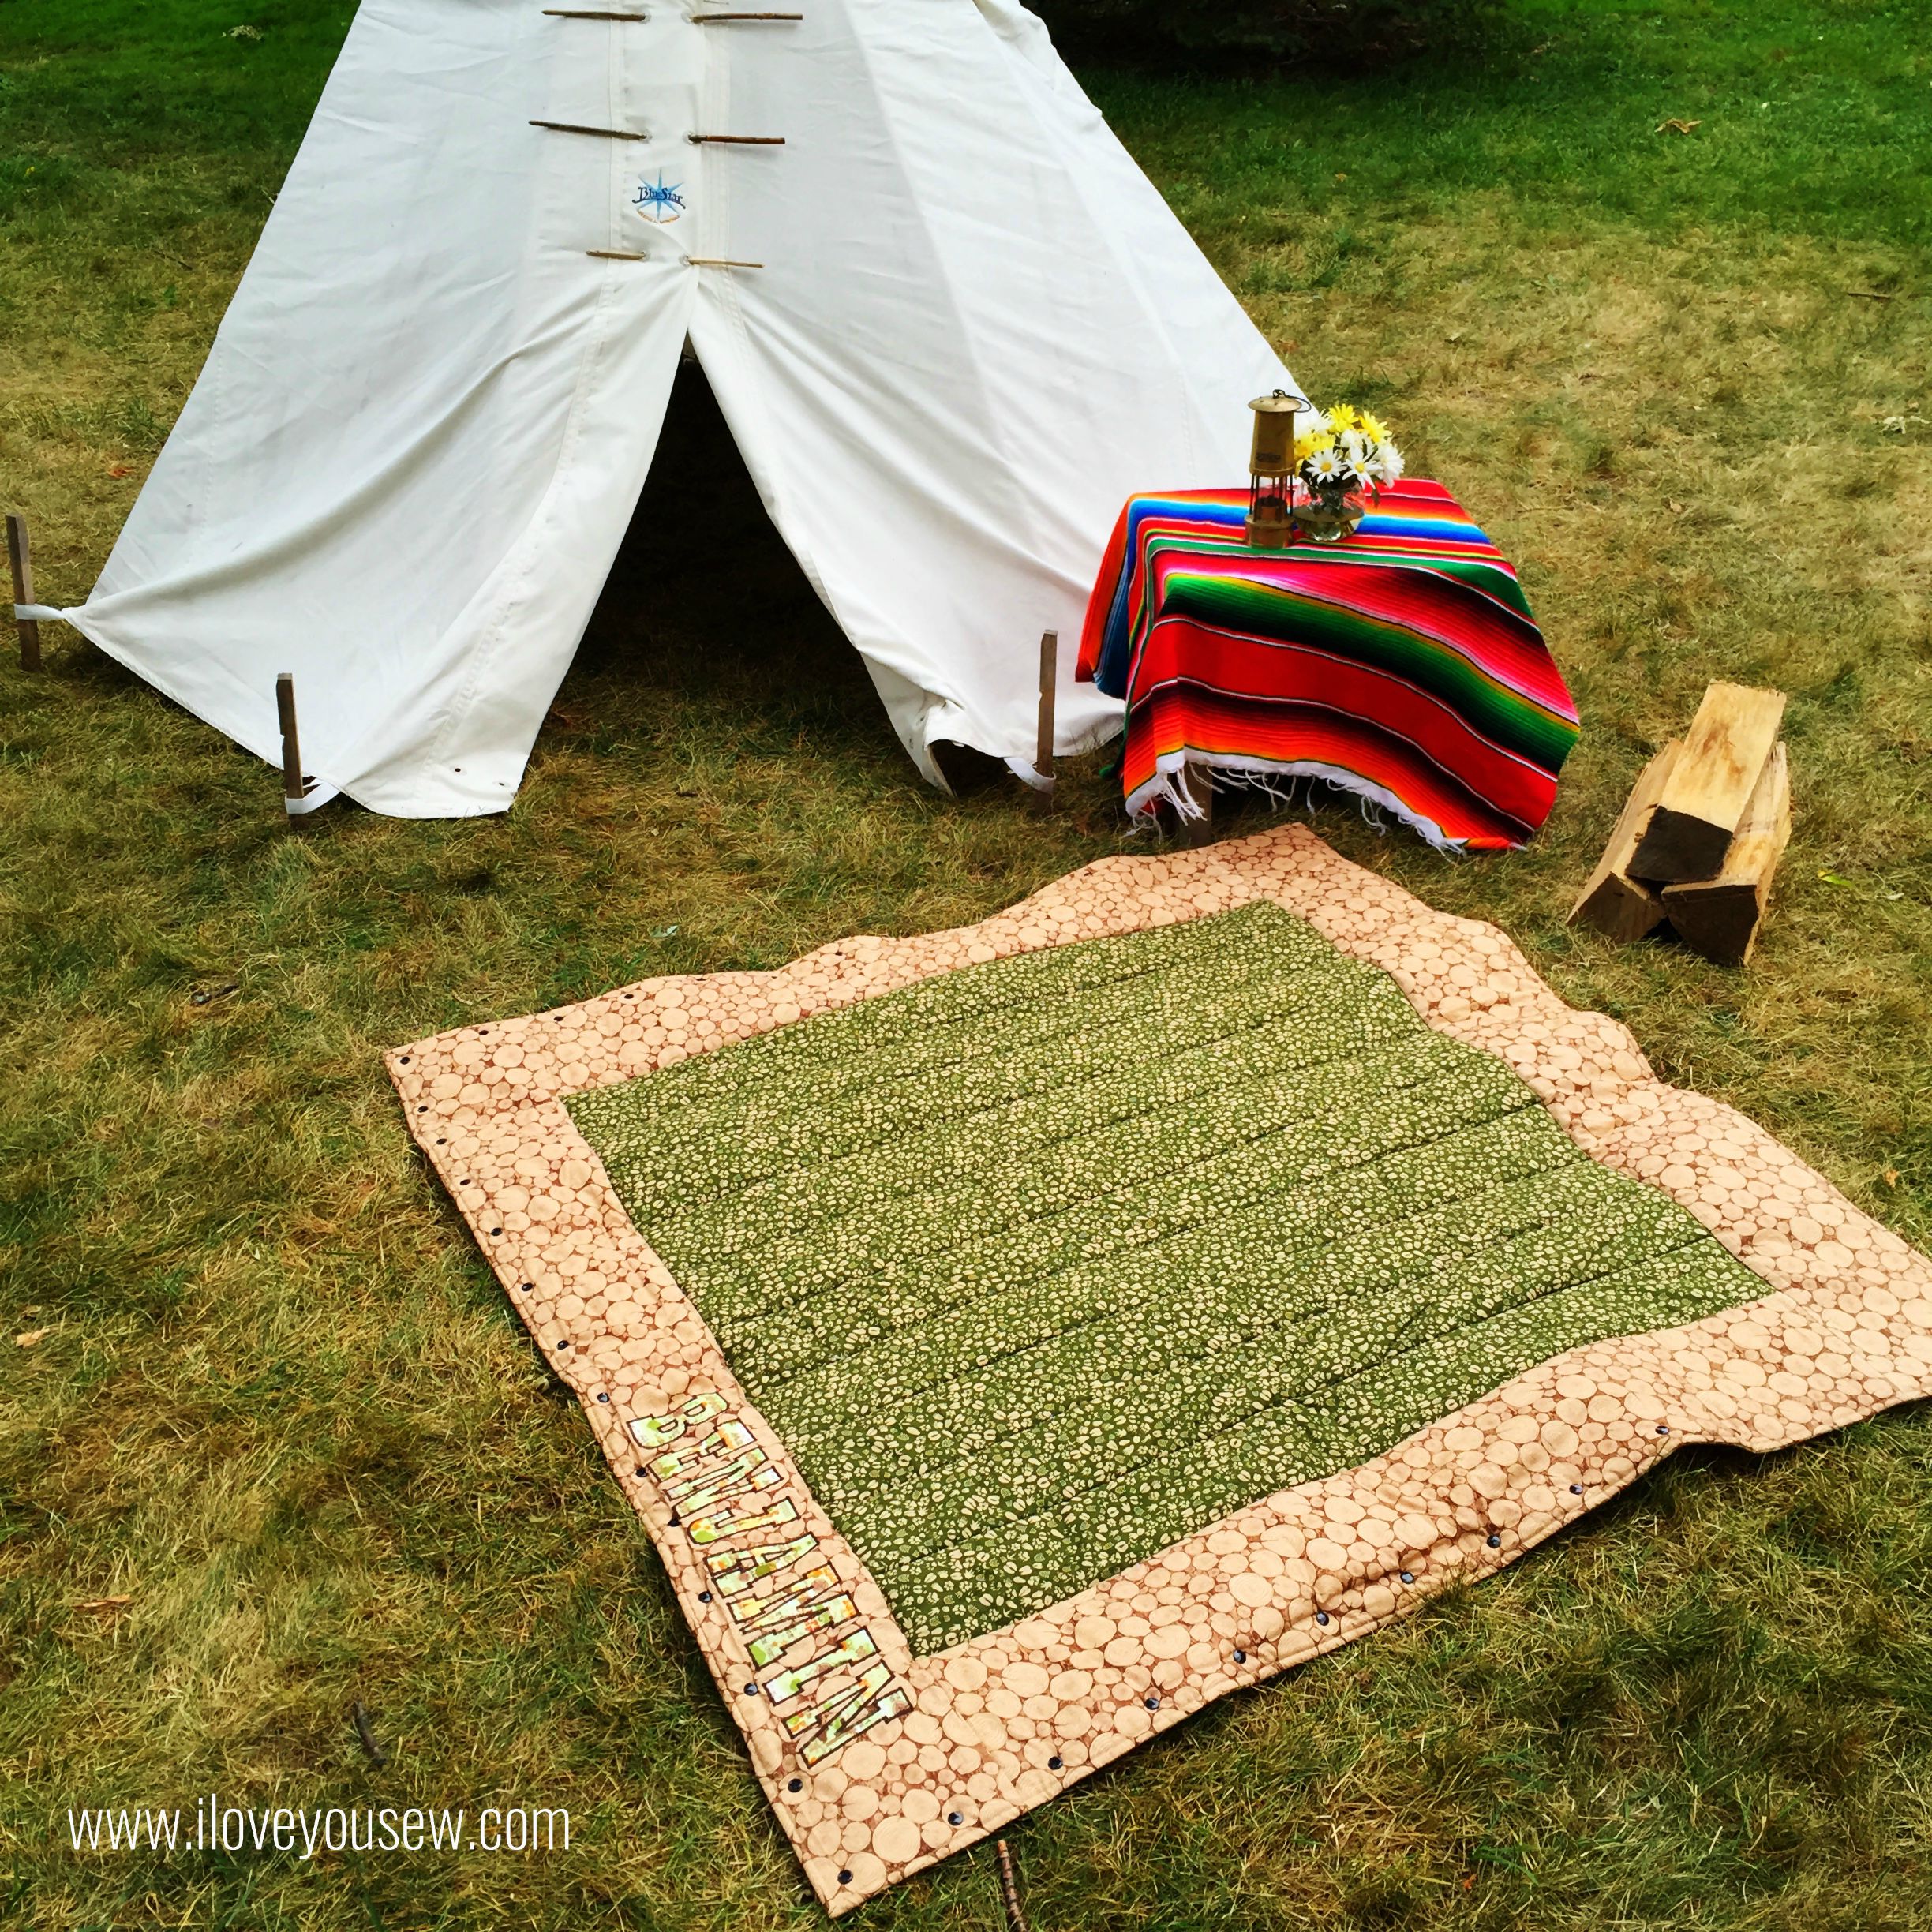
SleepingBagOpen

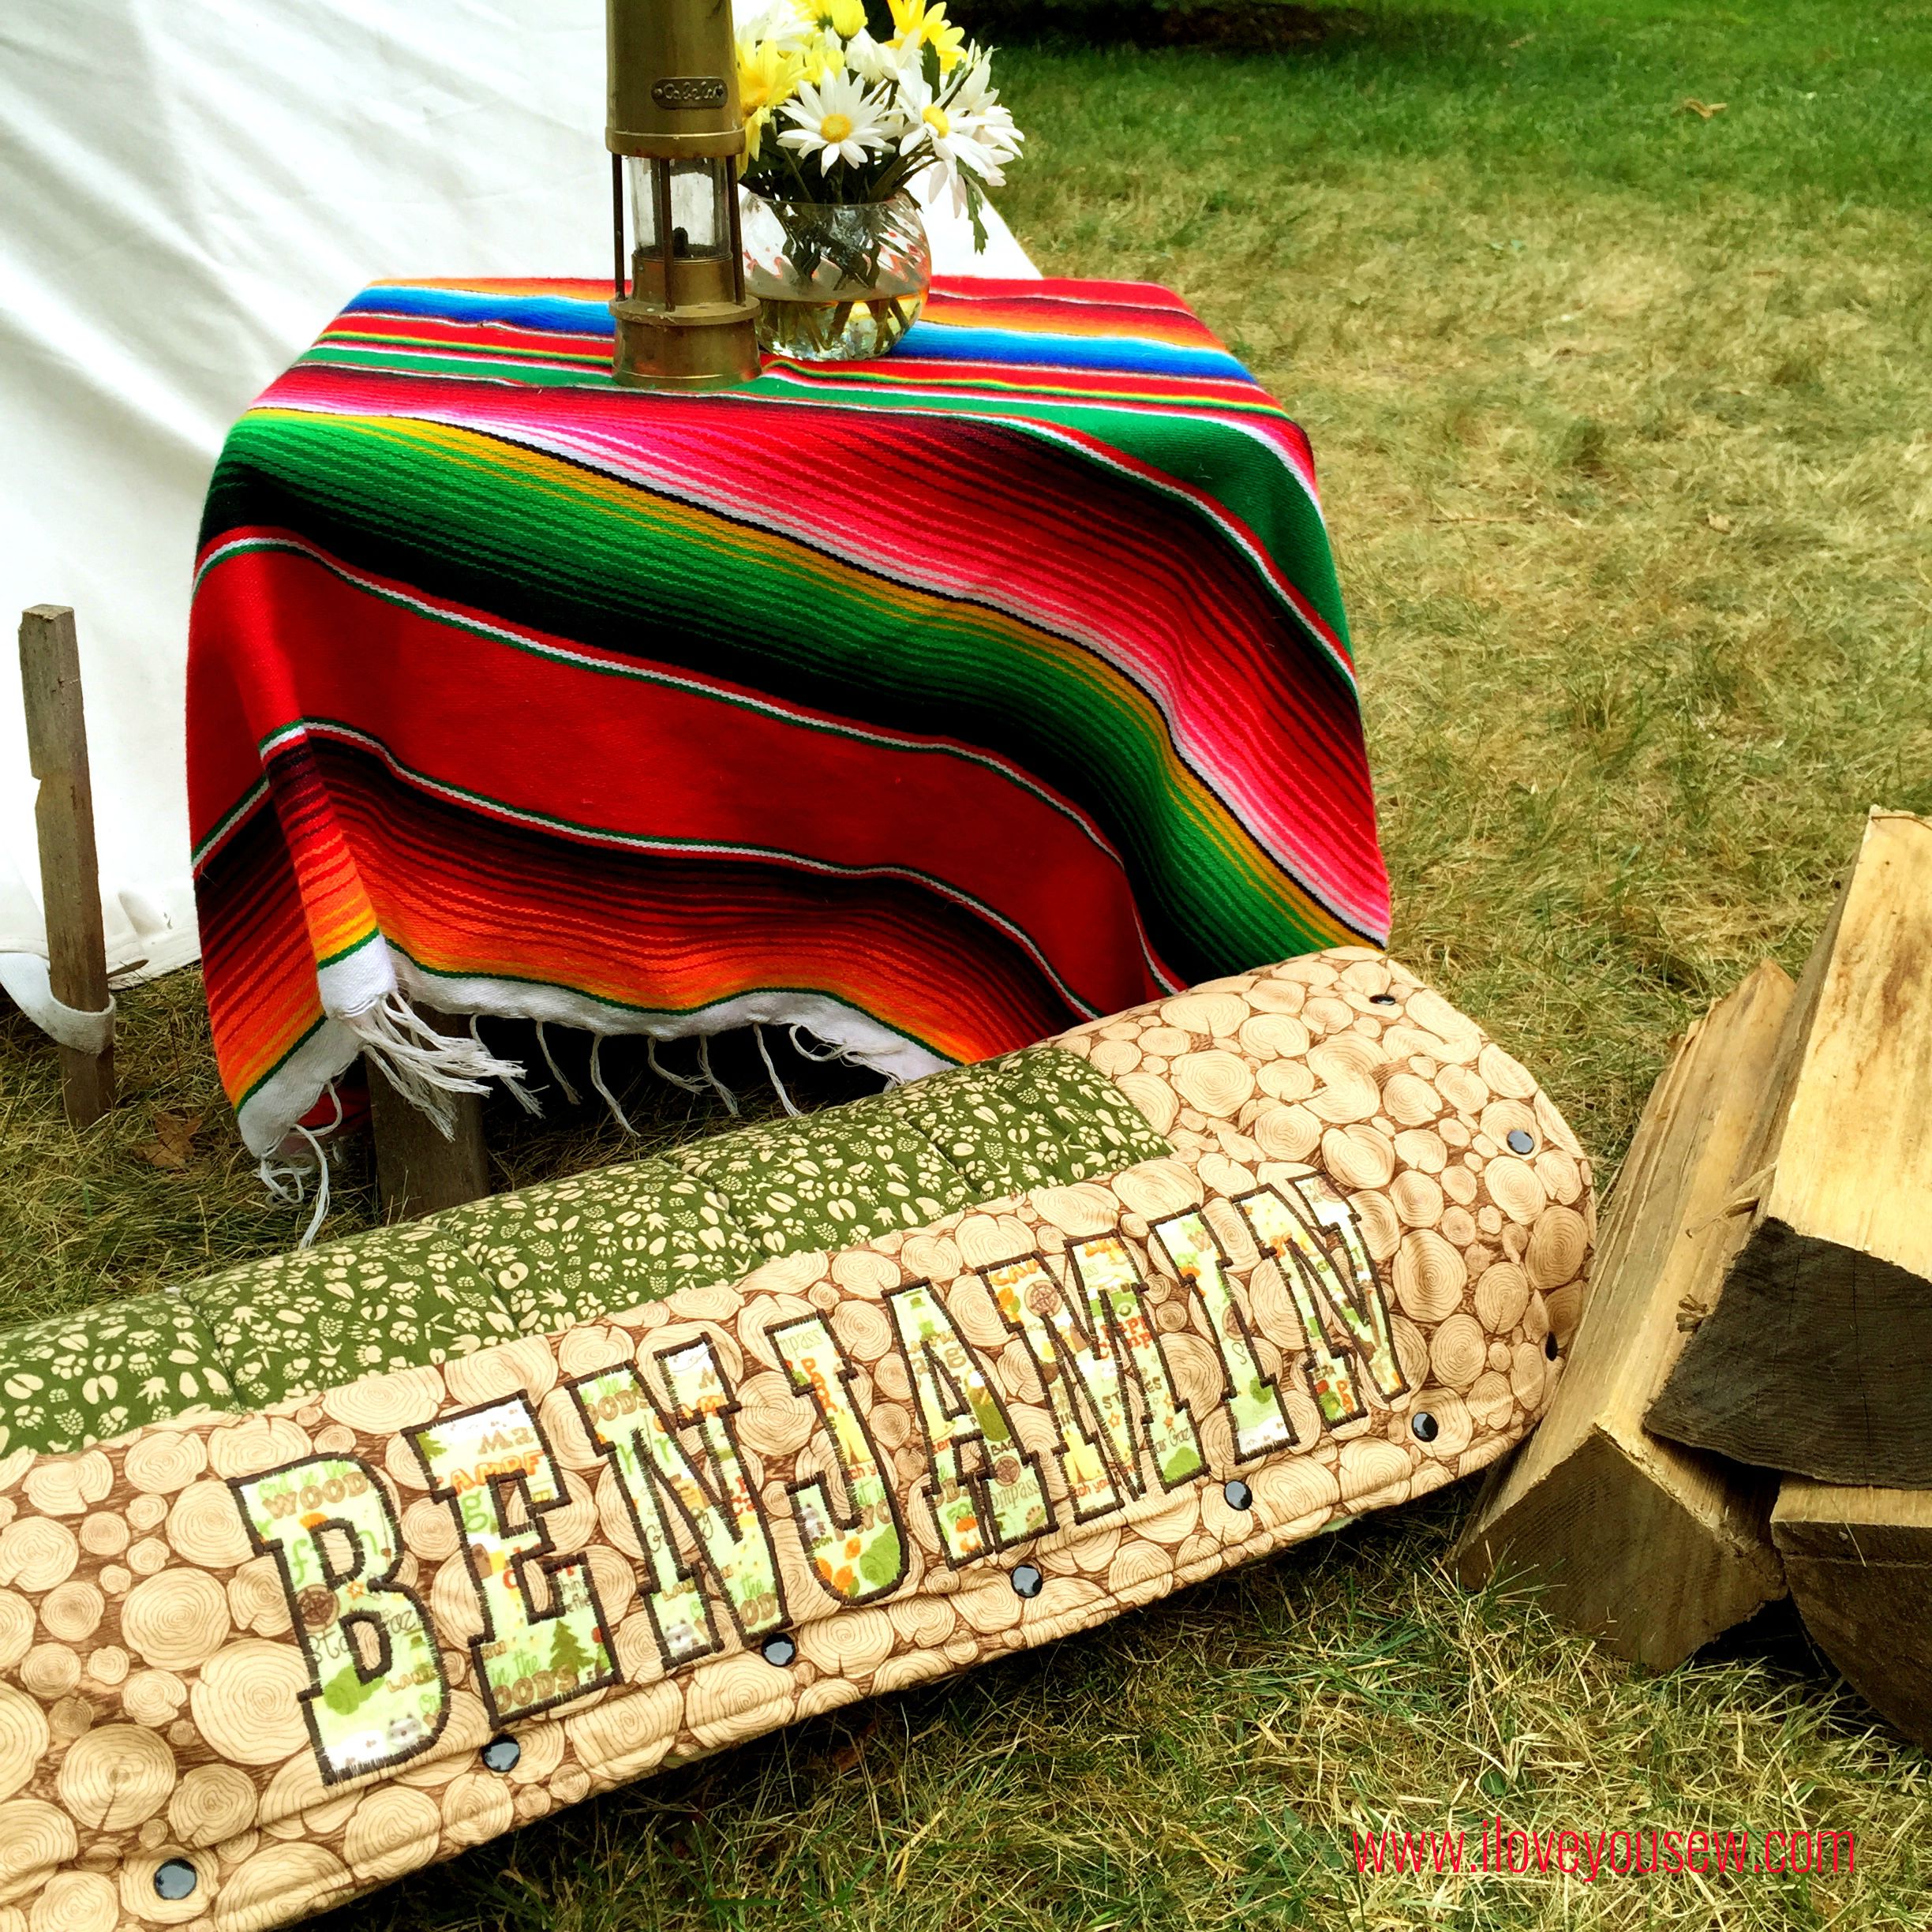
For the fabric, I used some fun outdoor-inspired designs from the Camp-A-Lot collection by Bo Bunny for Riley Blake Designs.  Unfortunately, all of the fabrics are out of print (OOP) but you can still find certain patterns online.  I used quilt weight Firewood in chocolate for the border, Tracks in green for the center and then Main in green flannel for the backing.

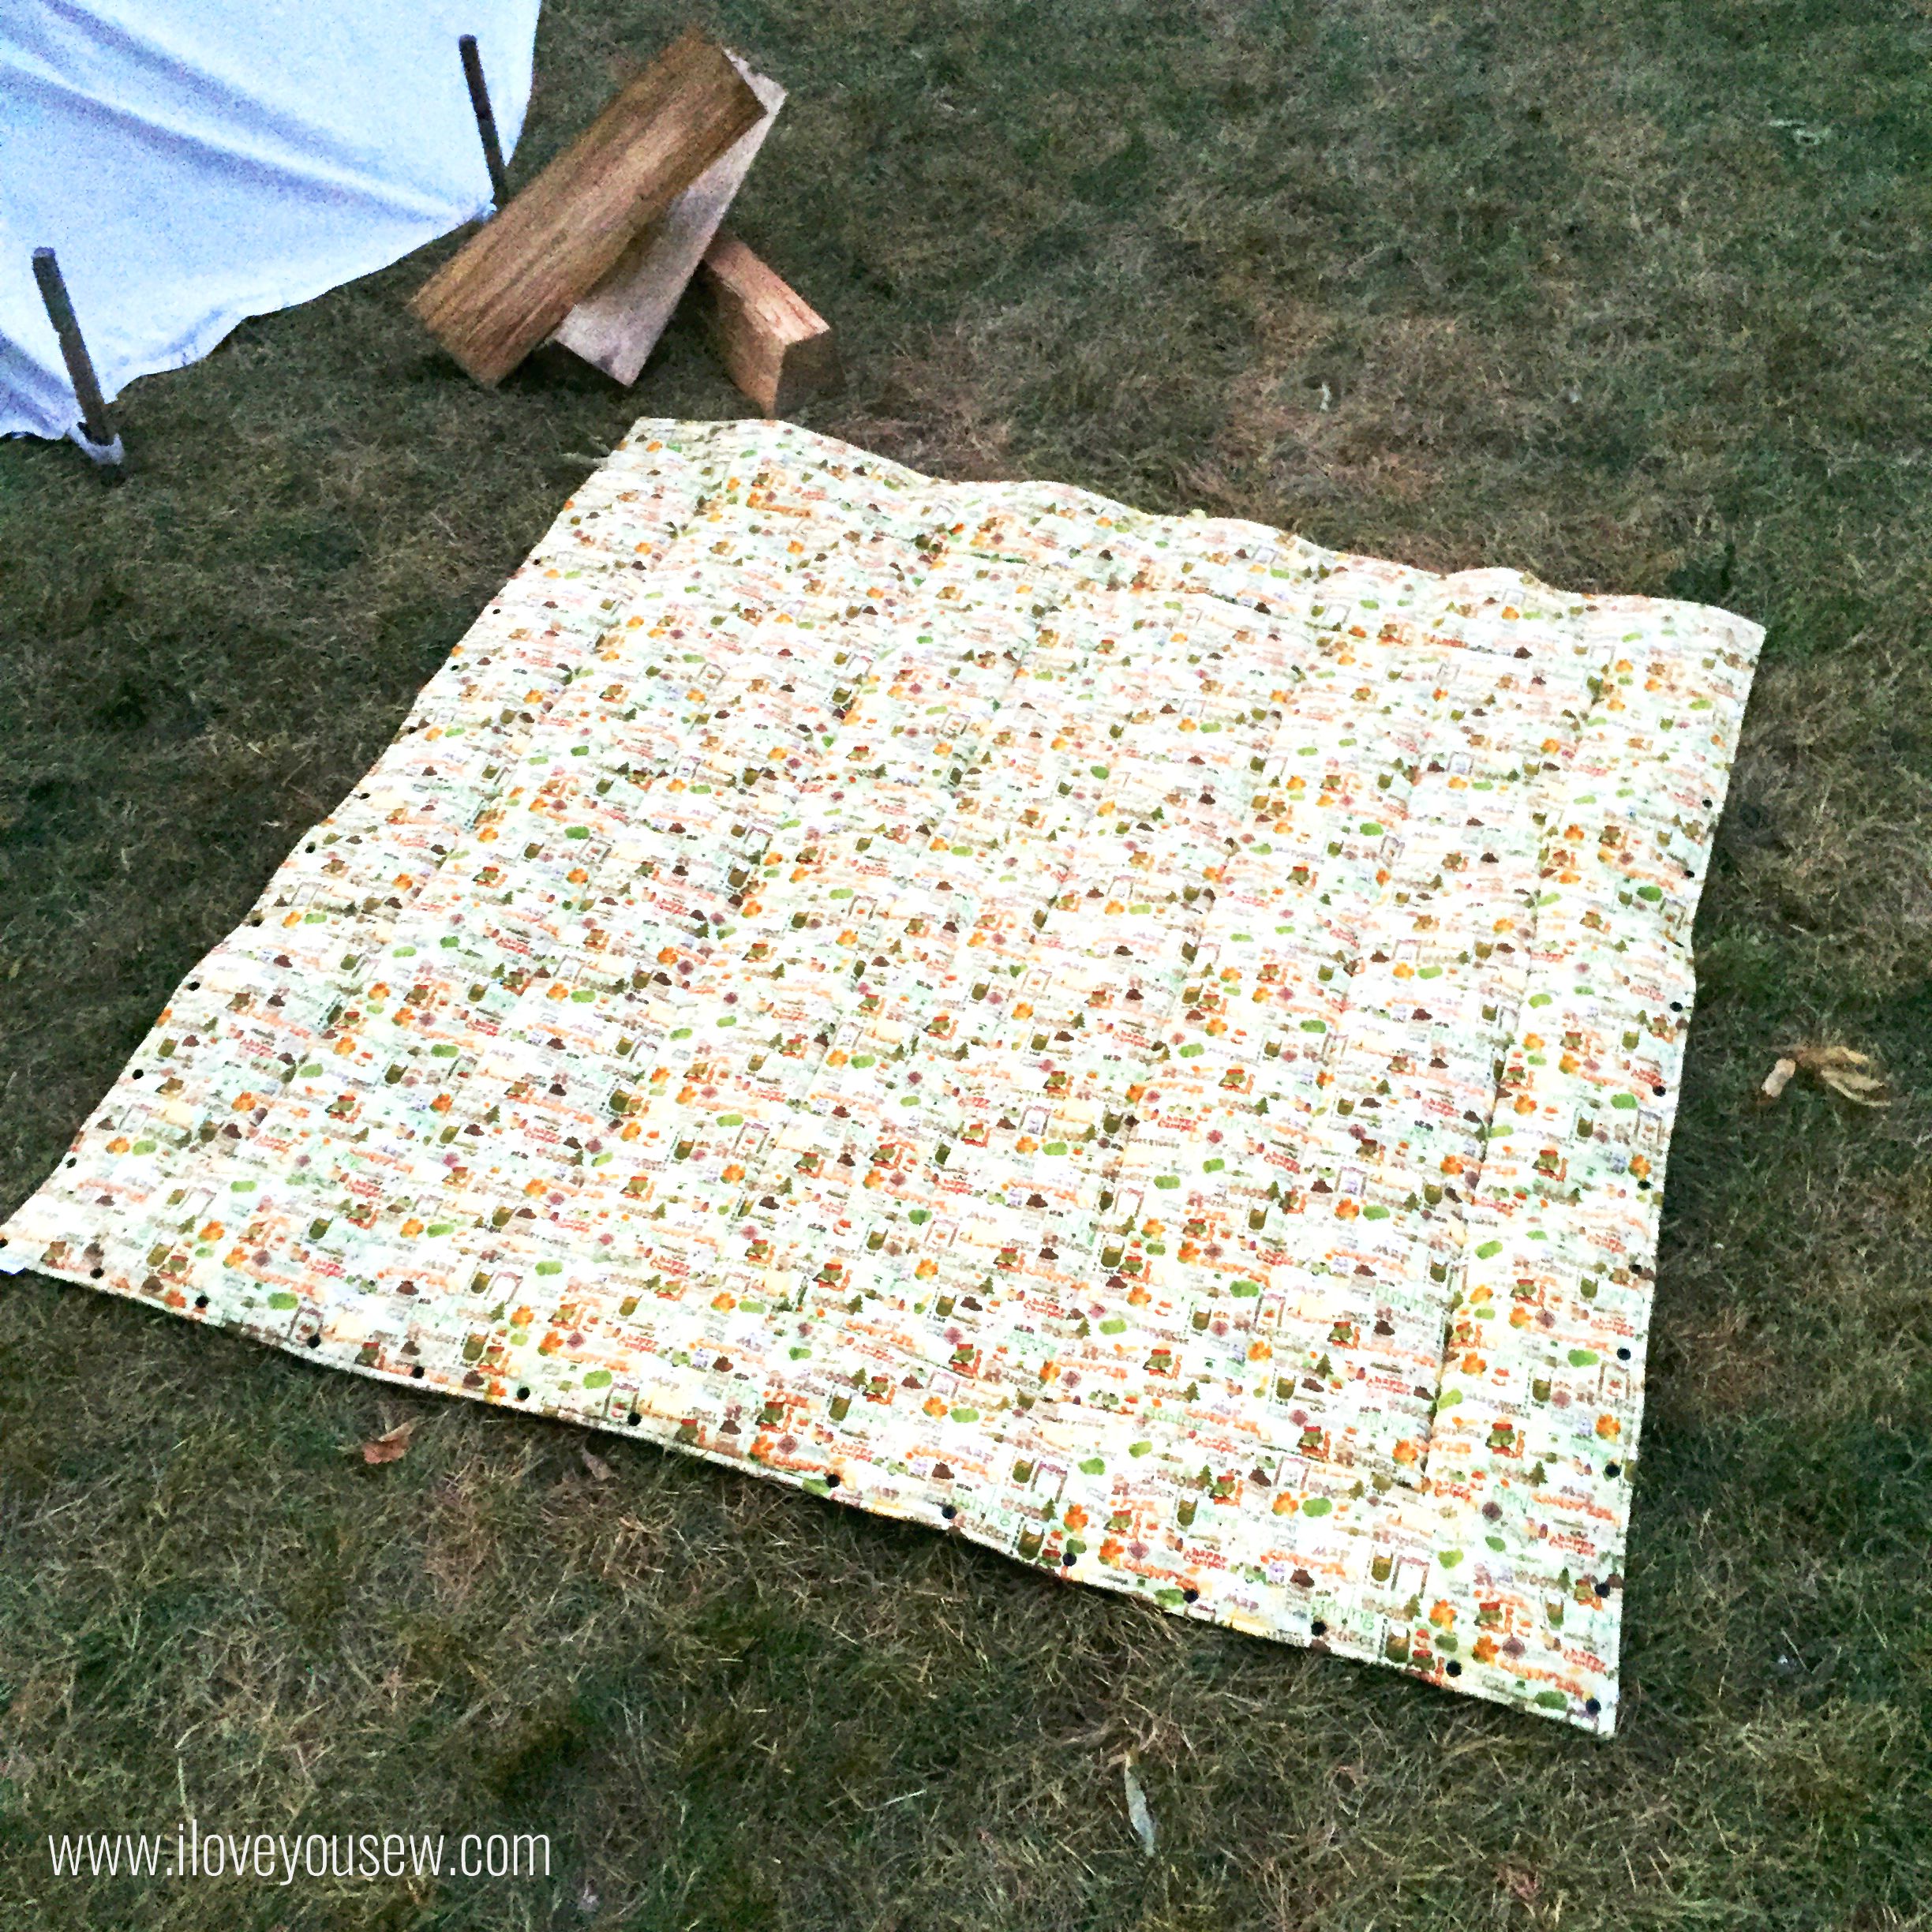
SleepingBagInterior

My boys are still young and I wanted fun patterns for them that weren’t too mature.  They are already growing up too fast!  Plus, I just loved the flannel backing. It makes for an awesome “I Spy” game…bonus!!!  These sleeping bags should last them awhile for indoor fun, but I know we’ll have to get them “real” outdoor ones soon enough.

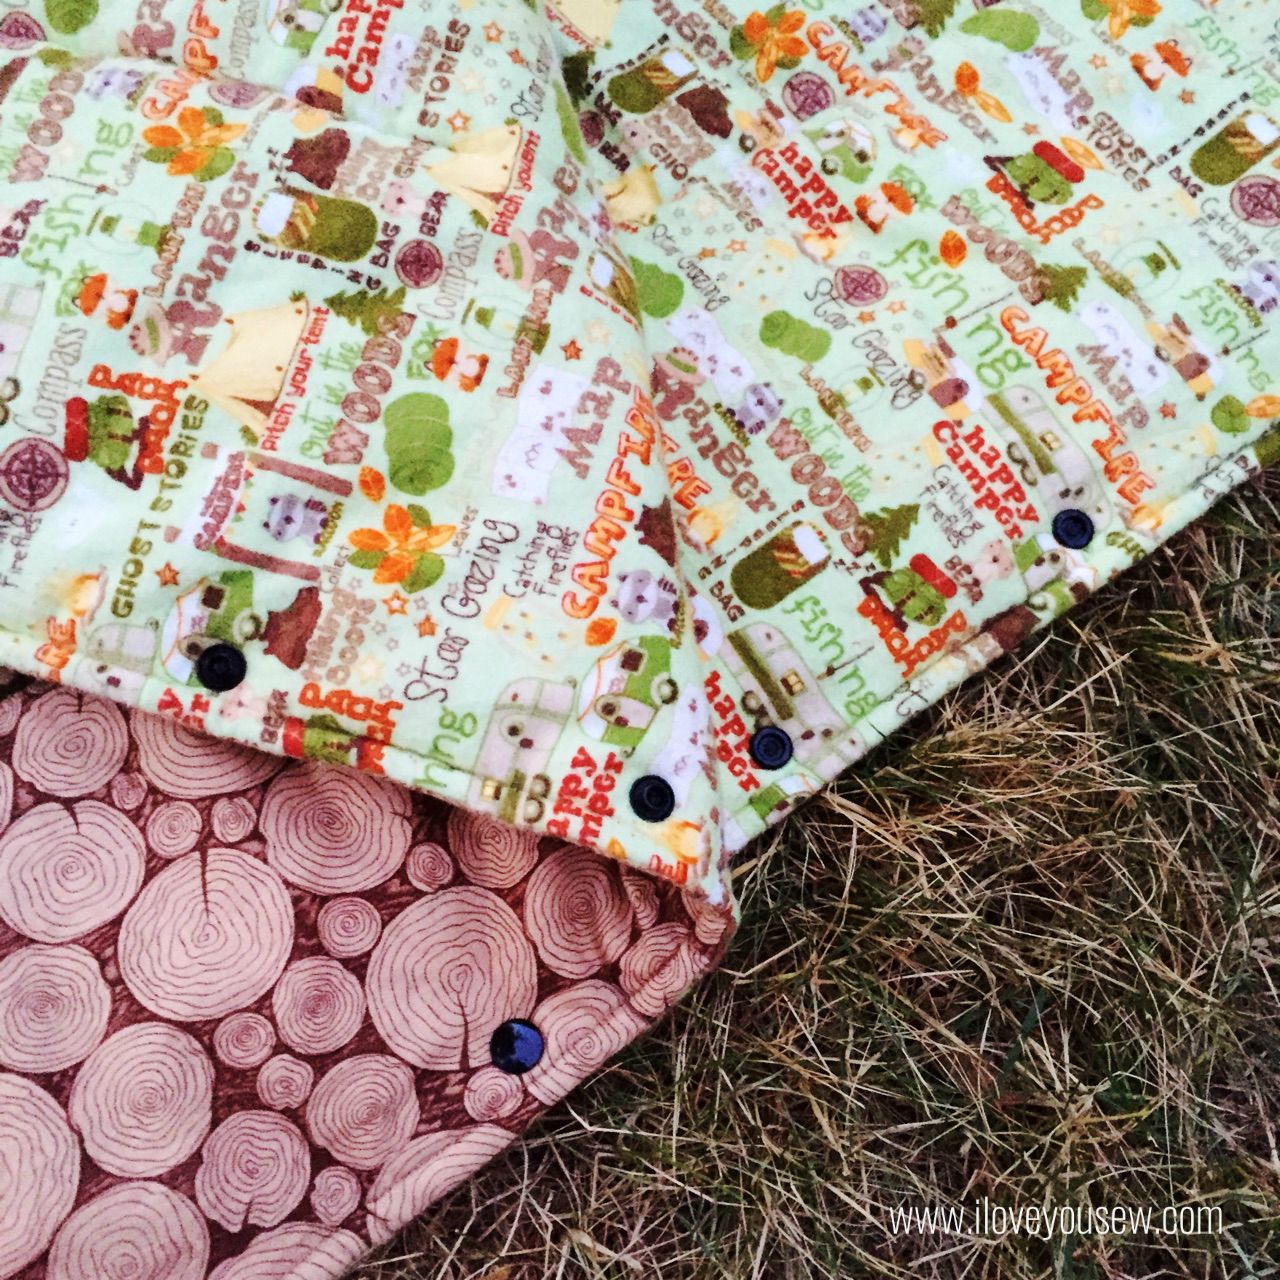
SleepingBagSnaps

Luckily, I’m a very loyal fan of KAM Snaps.  If there is a reason to use them, I do!  I was so happy to see them in this tutorial because I have a ton of colors in my craft stash.  They hold well, but are easy enough for little hands to fasten together. There is spacing in between that allows air to come through on the bad, but remember, these are not intended for outdoor use….so I’m perfectly happy to use them!

SleepingBagRolledCloseup

The only modifications I made to the tutorial were increasing the width between quilted lines to about 4″ apart.  As you know, I’m not a fan of actual quilting, so this made for light work!   I also added appliqué letters to personalize each bag.  As a mom, I know how important it is to avoid any fights and keeping each boy accountable for their own stuff helps!  And yes, monograms are also super cute and special 🙂 To attached the appliqué letters, I used a tight zig-zag stitch to cover the edges and to mimic embroidery.  This process takes awhile but the results are worth the extra time!

I hope you are all enjoying your summer (northern hemisphere, peeps!) and get to make a special little person one of these sleeping bags!  Back to some family fun for me…


Hugs and Stitches,

Cristy


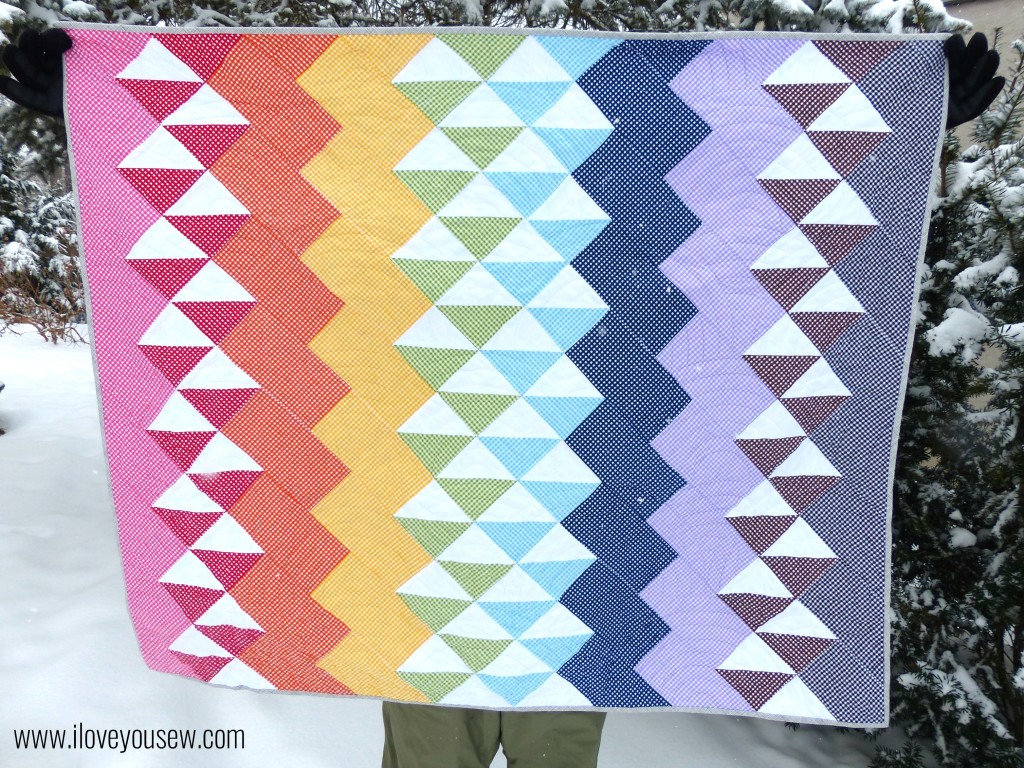
A Spectrum of Gingham Quilt

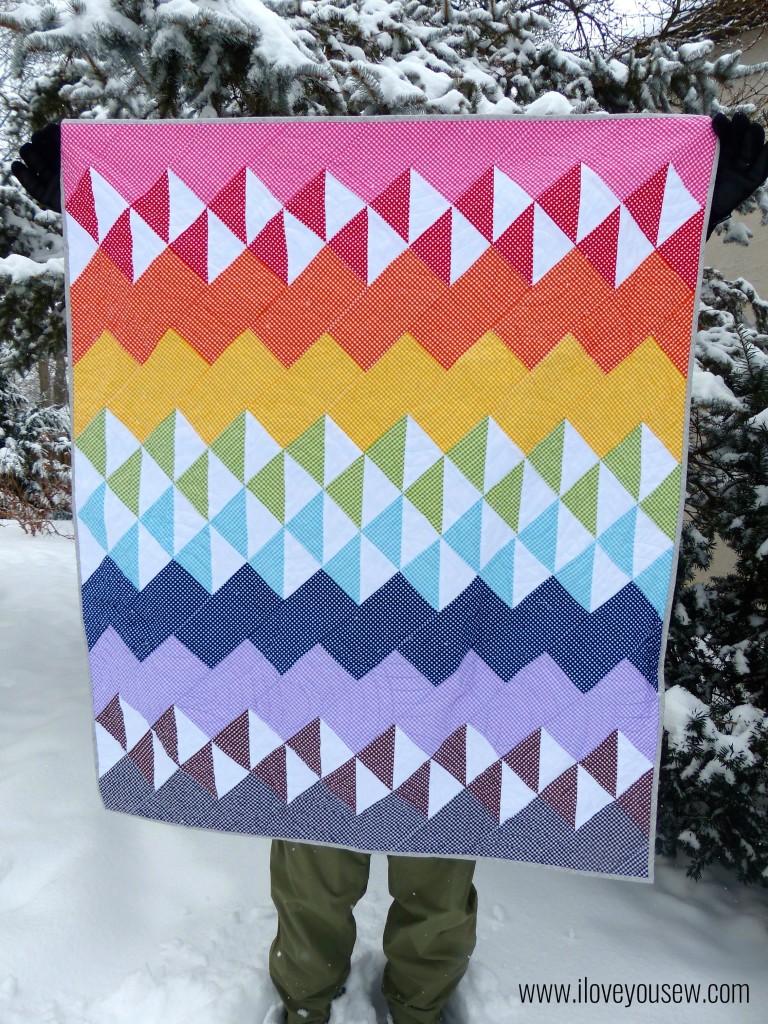
Spectrum Quilt

Spectrum Quilt using RBD Small Gingham

I know it’s summer already, but I gotta catch up on all of my quilt posts 😉

It was the dead of winter here in Columbus and I was in desperate need of a pick-me-up. The Spectrum Quilt pattern popped up on Riley Blake Designs (RBD) blog and I knew it was going to be my next project….especially since I had a FQ stack of Rainbow RDB Gingham sitting on my shelf!  (*Make sure you scroll down through the comments on the blog post. There is an edit to the instructions there!)

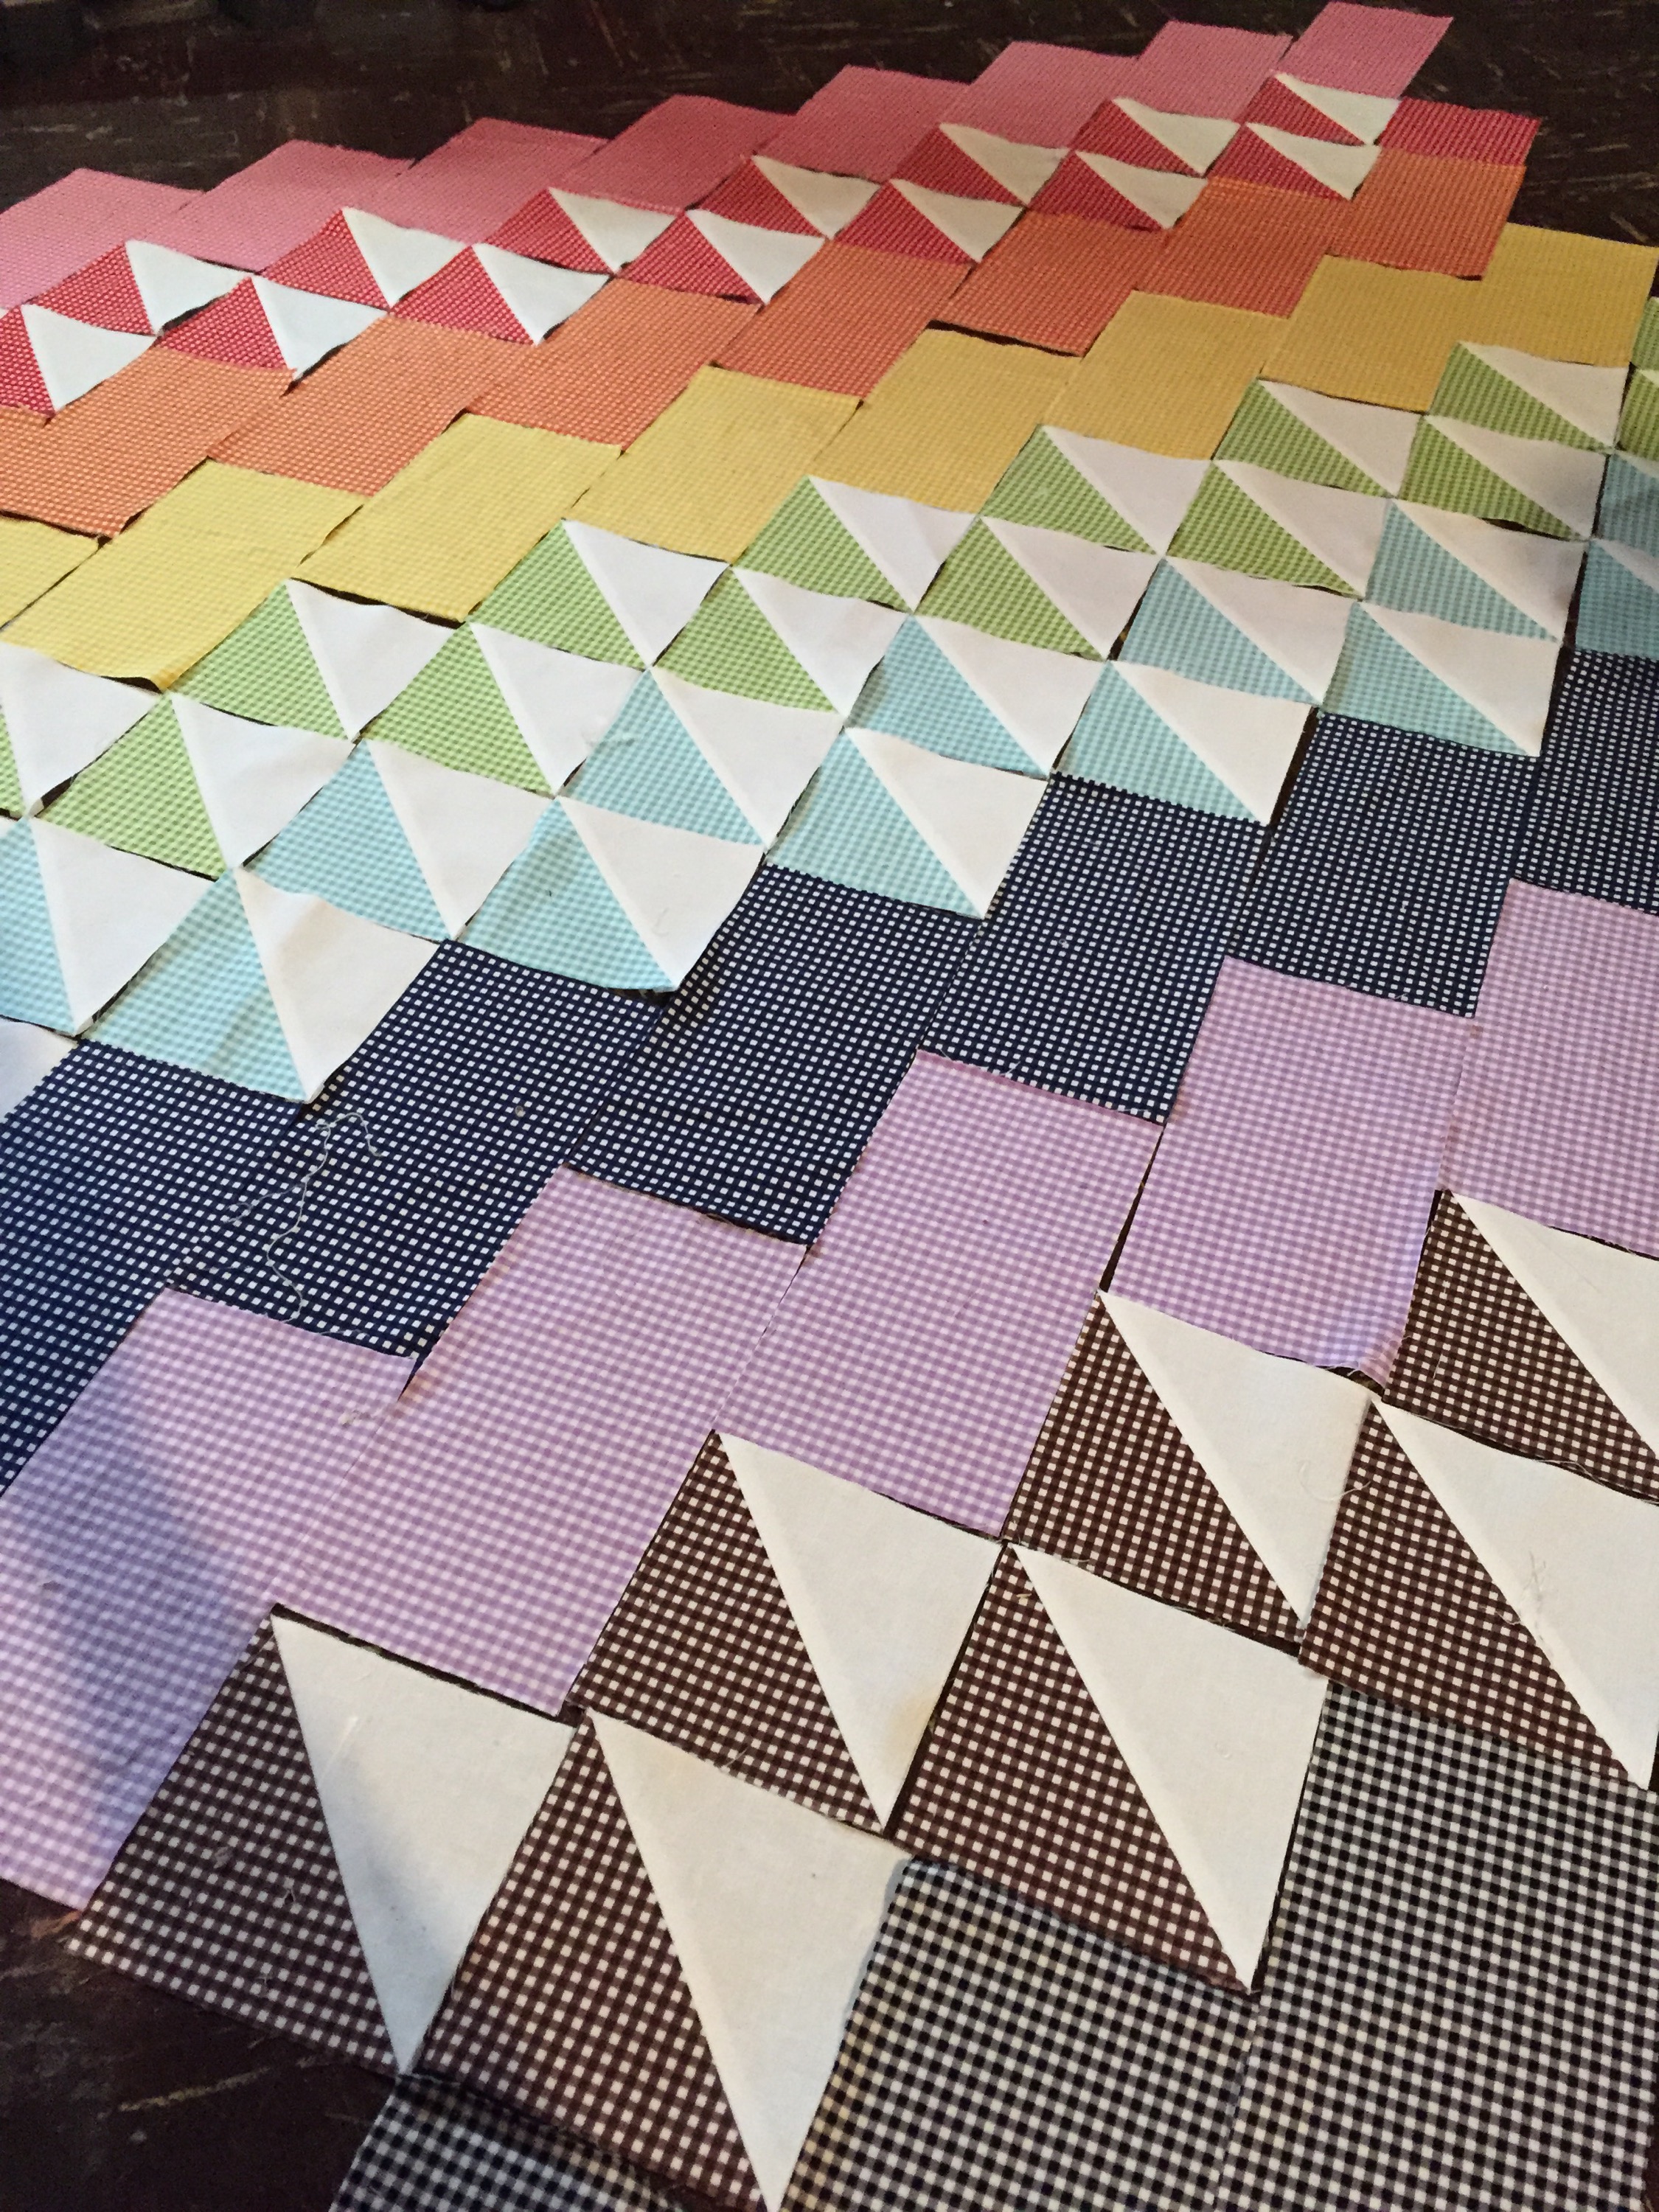
This is a perfect project for a beginning quilter…Lots of plain squares and enough Half-Square Triangles (HSTs) to challenge you. But the quarter turn of the squares make it so visually interesting and sets it apart from “another” block quilt. You eventually have to cut off a bunch of triangles to square the quilt off, but I’m sure the more ambitious can bind around all the angles…not me yet!

Laid out and Ready to Piece

Laid out and Ready to Piece

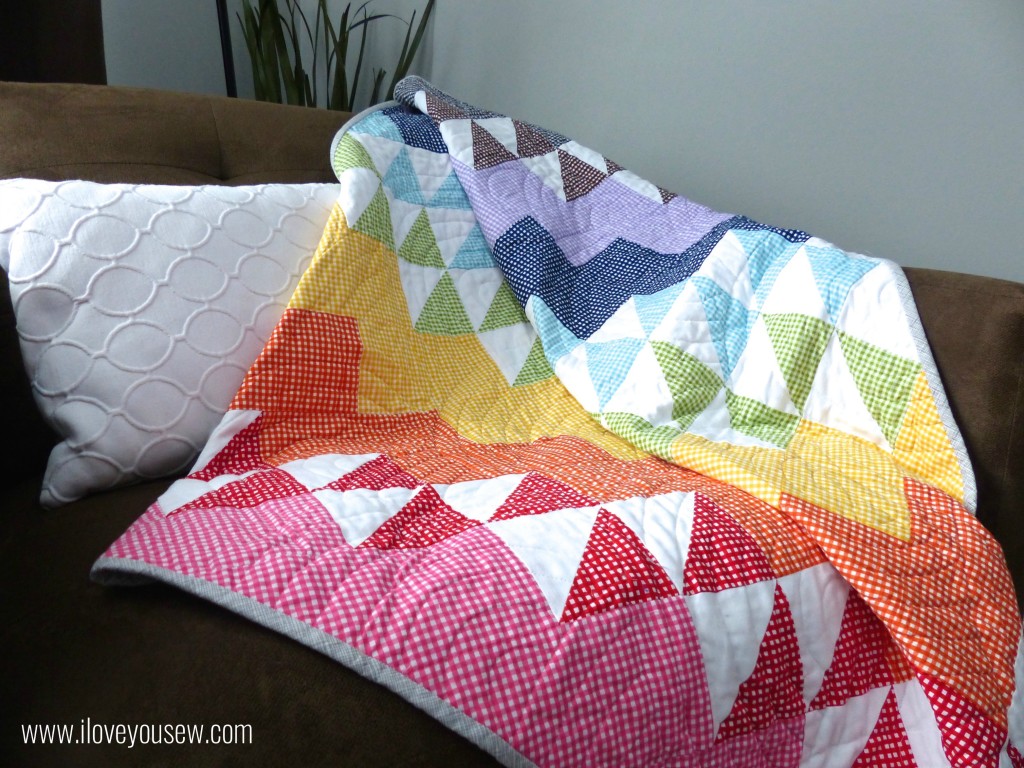
An Aqua Medium Chevron Wideback (not pictured) from RBD was used as the backing. It was so perfect because the Aqua gave the Rainbow a “Sky.” The binding was made of Architextures Grid in Shadow by Carolyn Friedlander for Robert Kaufman. The binding reminded me of the clouds and was a great neutral for all the colors in the quilt.

Spectrum Quilt Close-Up

Spectrum Quilt Close-Up

The hardest part of this project was the quilting for me….it’s always the quilting! I’m not very good at Free Motion Quilting (but I’m working on it!) and thus why you see lots of straight-lines in most of my other projects. In this case, I used a template to draw out all of my “Rainbow” curves. It was long and tedious. Using my waking foot to quilt this all was even longer…I’m talking the entire winter season. No joke.

In the end, I love this quilt. It’s a bright and cheery rainbow….and who doesn’t love a rainbow?!? However, my most important lesson learned: I need to find a long-arm quilting friend ASAP…or work on my FMQ skills 😉

P1050165

Spectrum Quilt Side-view

This quilt has been donated to my dear childhood friend, Capri, who is raising money for the Leukemia and Lymphoma Society‘ Eastern Pennsylvania Chapter and is a finalist for their Man/Woman of the Year Campaign. It will be on silent AND online auction at the Grand Finale Gala on June 13, 2015. If you are interested in donating to the cause, please visit Capri’s donation page here….

This is truly the best part of sewing.  I love being able to use my craft to give back.  How have you used your sewing to give back???


Hugs and Stitches,

Cristy

Love You Sew