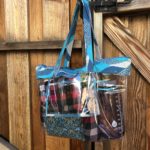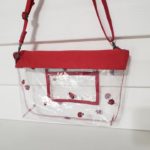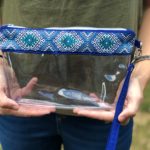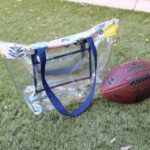
Emma Stadium Bag by Love You Sew

The Emma Stadium Bag – Intro

Emma Stadium Bag by Love You Sew

Right before I left for a college football game last year, there was just something that made me check the stadium’s bag policy, even though I’ve attended games at the same venue for years.  Thank goodness I did because it turned out, I couldn’t bring in the bags I always used to!  I could either bring in a small wristlet that couldn’t even fit my phone, or opt to bring in a clear bag to accommodate more of my stuff.  With this game being out of state and lots of walking around the campus, I knew I had to bring a clear bag.  With some remnant vinyl and scraps of canvas from my stash, the Emma Stadium Bag was born.
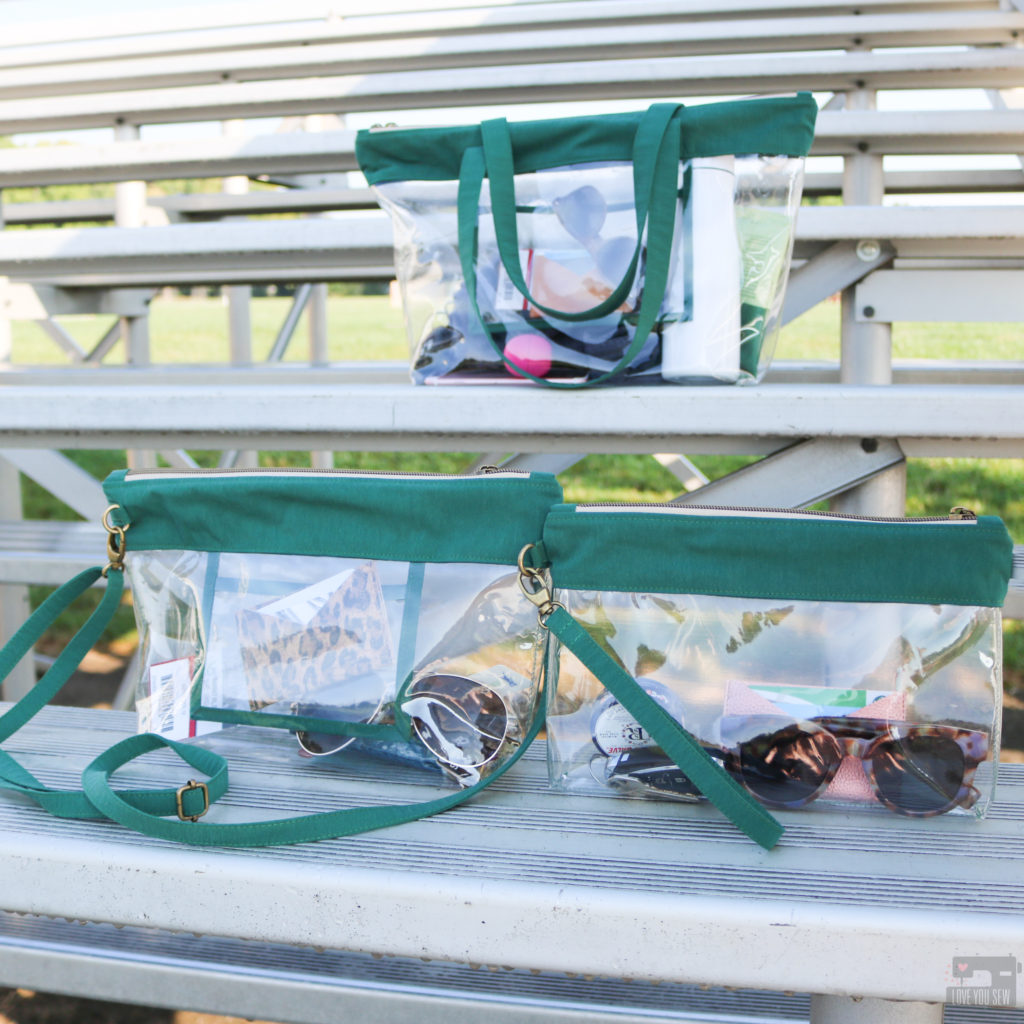
At first, I didn’t think this bag would be a pattern.  It was a just a quick late night project based on need rather than want.  But with public safety on the forefront of large gatherings, there has been a continuous change of bag policies across other public venues and schools.  We are seeing the need for more and more clear bags to ensure safety for all.  Even with this movement, I know us, bag-makers still love to add our own personal spin to a make.   We have the power to make things our own and I hope you are able to use the Emma Bag to keep your own style and show off your personality while out and about.
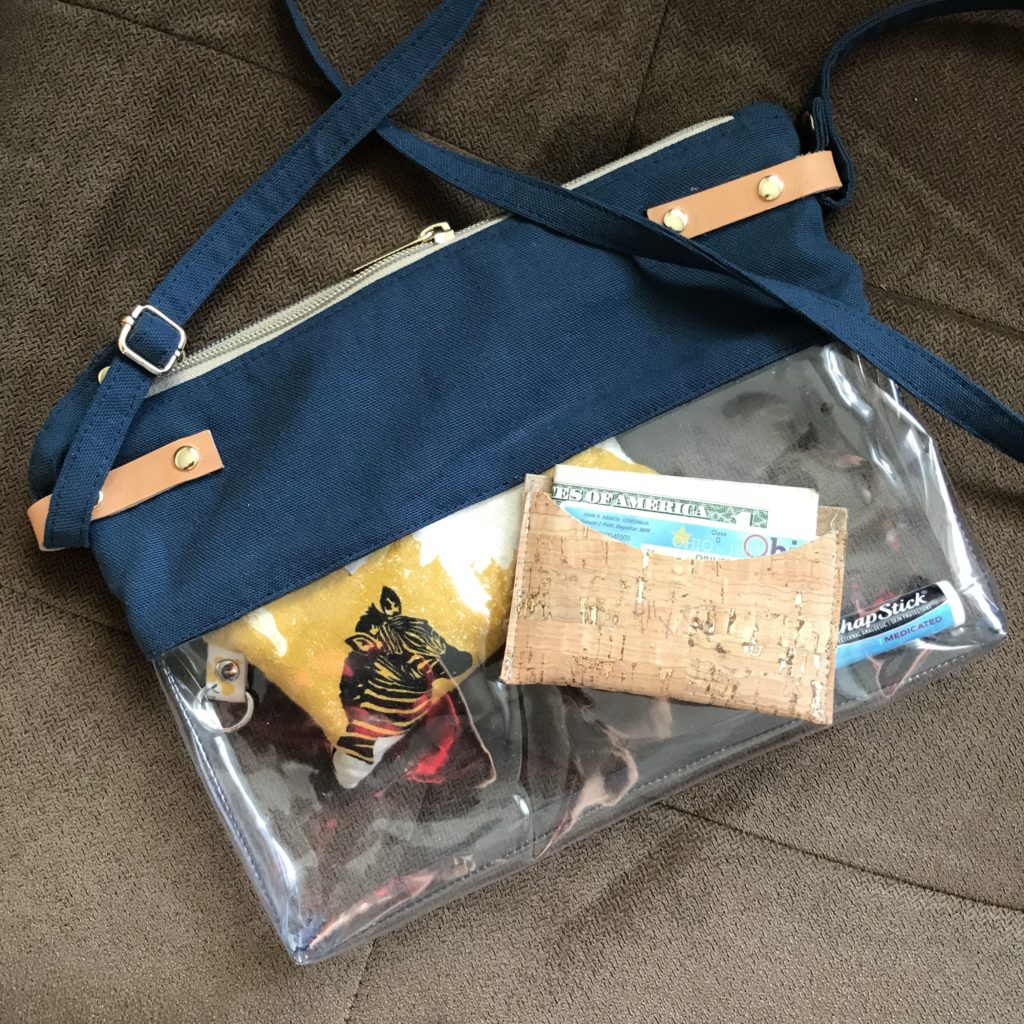
Original from Fall 2018 – I didn’t have the right hardware late & improvised with leather and plenty of rivets

The Namesake
As with all my bag patterns, they are named after one of my eleven nieces.  Emma is the youngest girl on my husband’s side of the the family but she is far from the “baby” of the bunch.  This young lady has so much grit and confidence from being her household’s resident jock.  Emma has played travel, club, and high school soccer which allows her to criss-cross the midwest for tournaments.  She is also an incredibly talented track star, so it’s only fitting that the bag inspired by sports venues is named after my strong and beautiful Emma.

Features
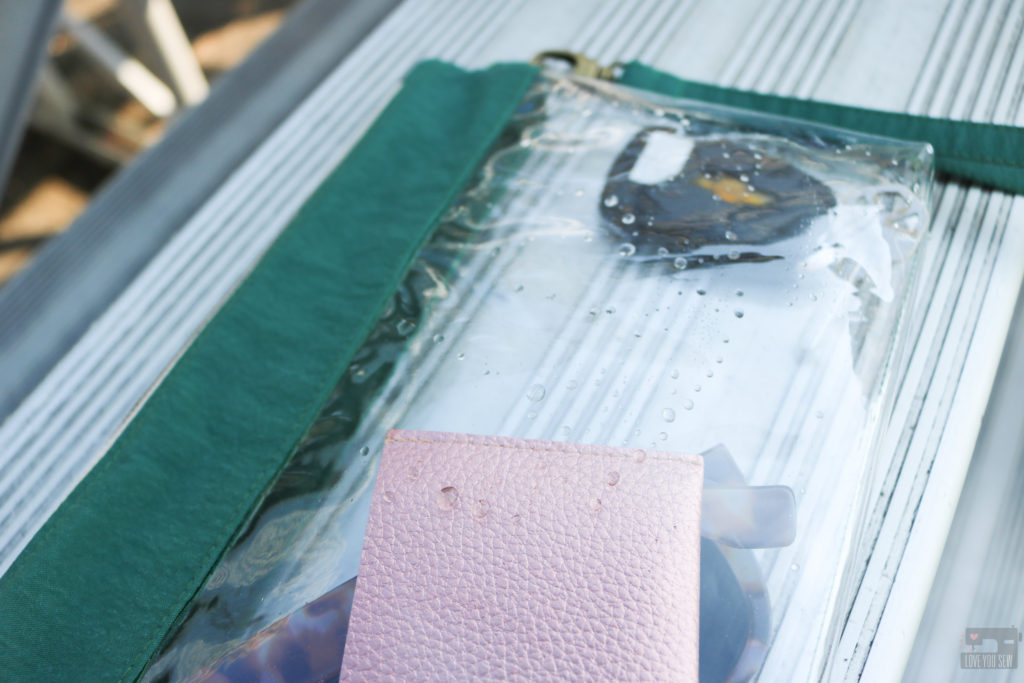
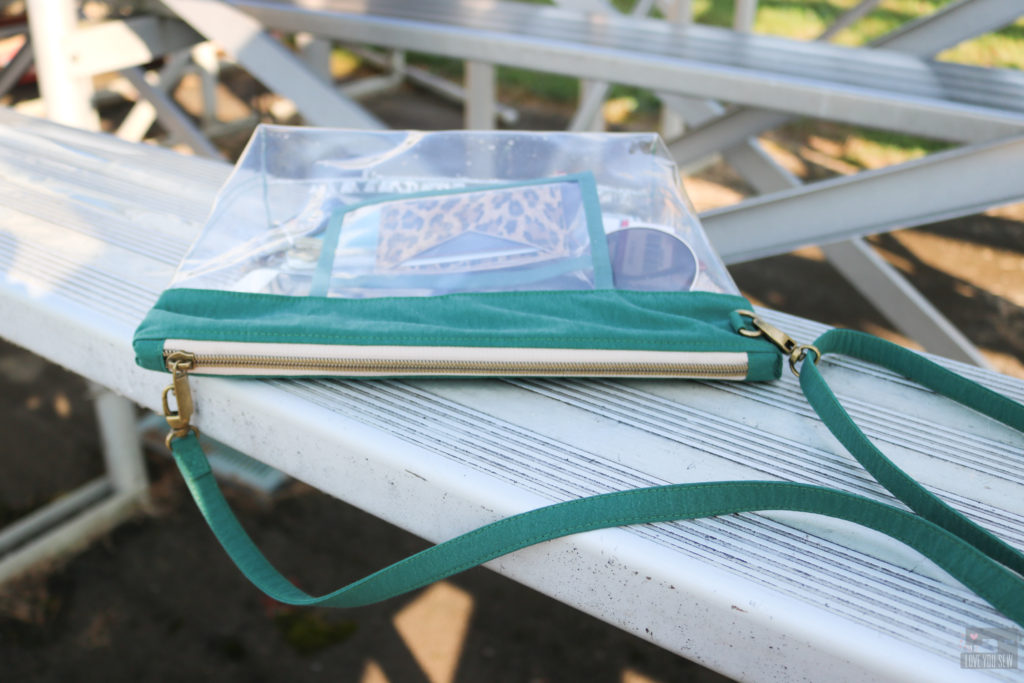
The Emma Stadium bag is based on using clear vinyl as the main body with a fabric zipper top.   This makes the zipper easier to sew on and allows you to use your favorite fabric to stay unique and stand out from the crowd. Not only does the zipper keep your belongings from falling out, it keeps strangers’ hands out too.  It helps protects your phone and wallet from the elements, as well as from that possible beer spill 😐
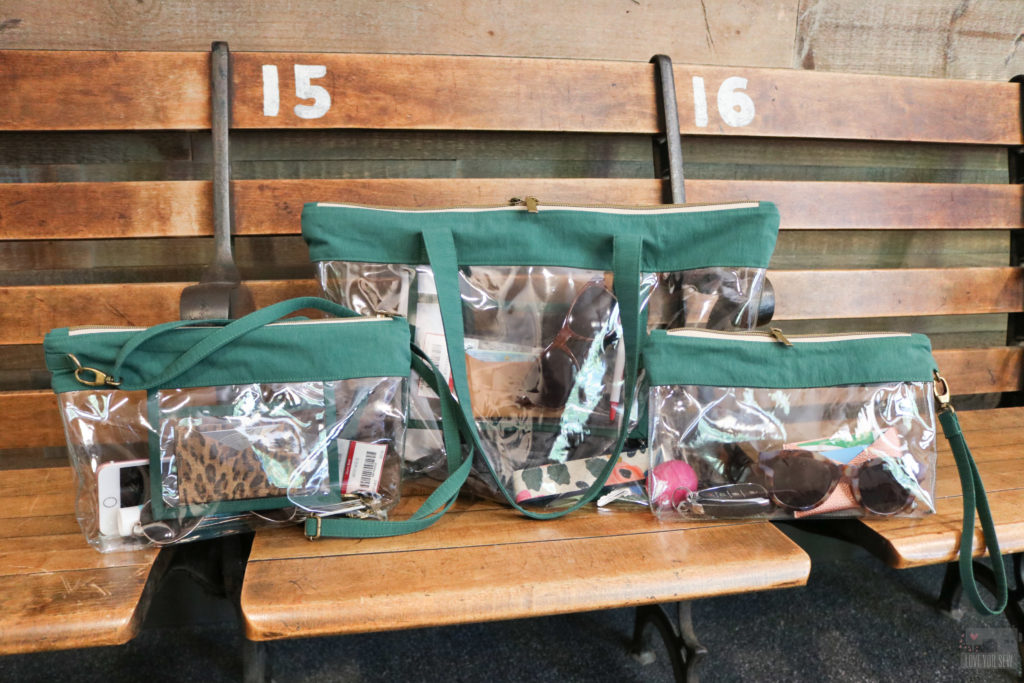
This is my first pattern offered in multiple sizes.  I did a little crowd-sourcing on Instagram and asked all of you about my ideas for this bag.  Initially, I thought I would write a pattern for the maximum sized bag allowed in the NFL – thinking you would want to maximize your space.  But you told me smaller was actually better!  So, I listened hard and have THREE different sizes available for all of your needs.
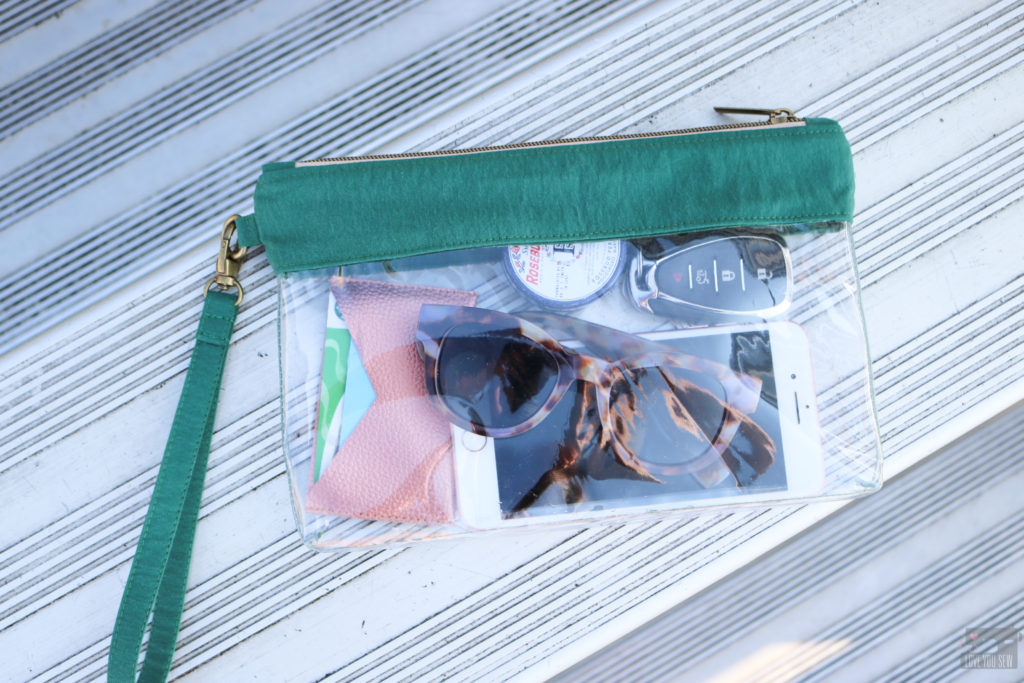
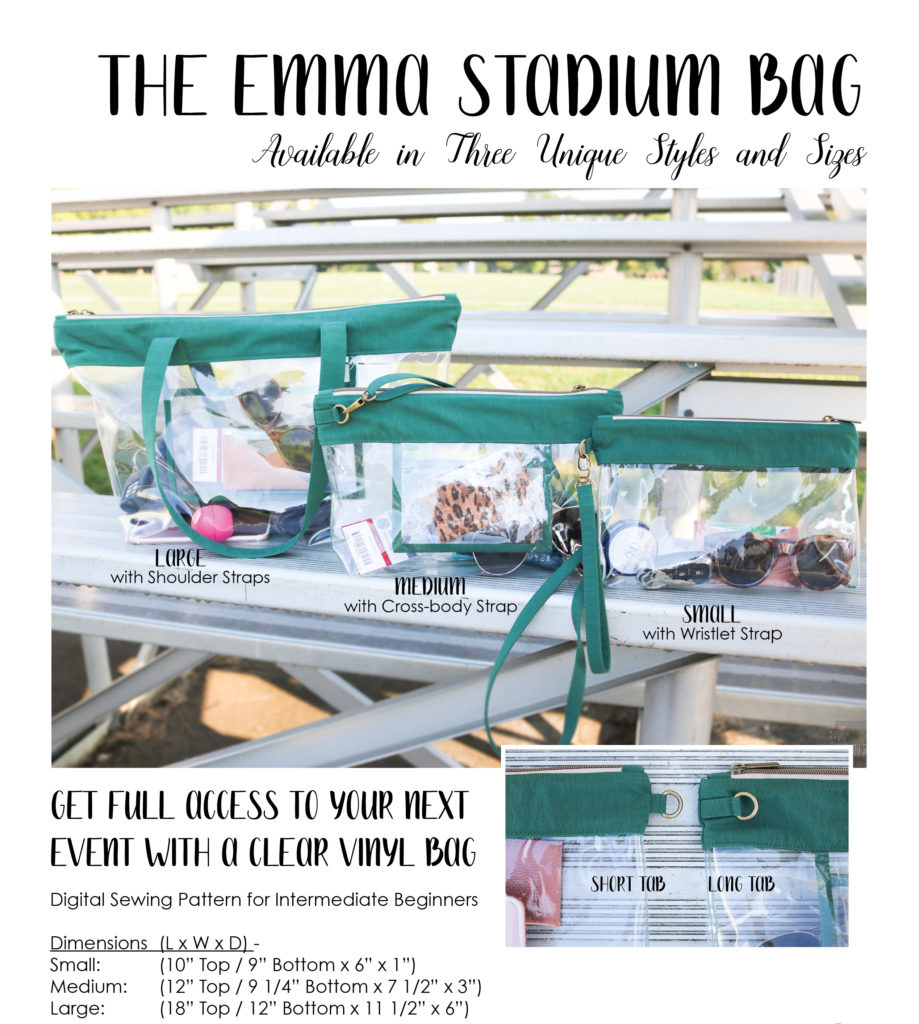
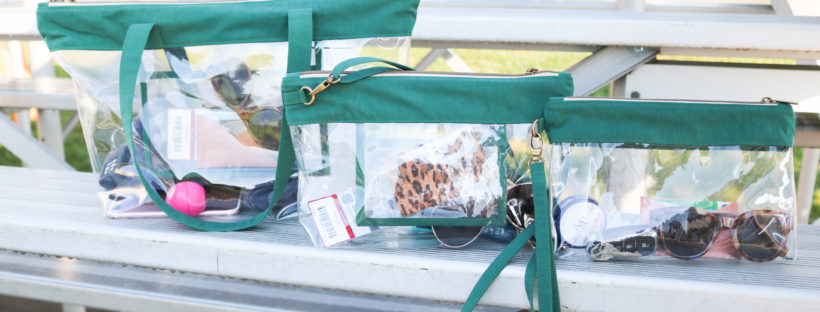
  • Small with Wristlet strap – This size is for the light packer who just needs the essentials.  It fits a cell phone, sunglasses, a small wallet like the Shuffle Cardholder, plus tissues, keys and lip balm.
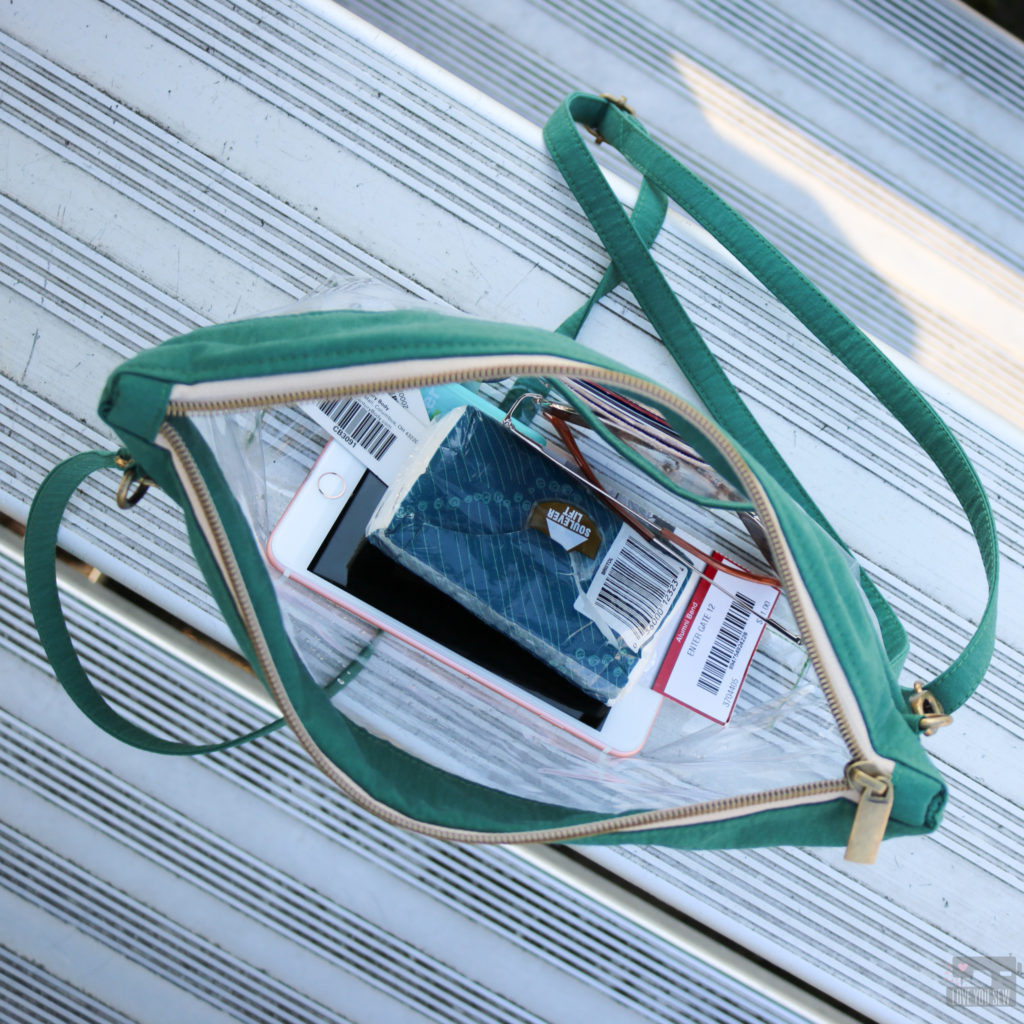
  • Medium with Cross-body Strap- This a great size to hold more items while still having the ease of a cross-body.  You can hold items for a whole day’s worth of activities from tail-gate to the game.  I like this size in colder weather to hold earmuffs, hand warmers, and gloves.
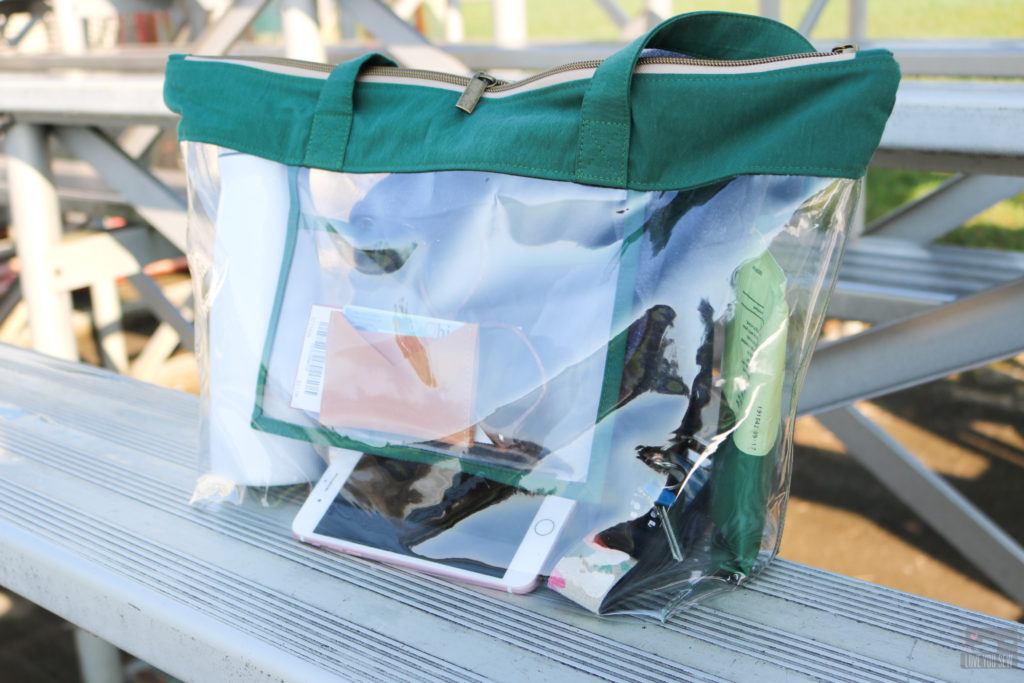
  • Large with Shoulder sStraps- The large bag, will hold the most when you want to bring in all of the above plus an extra sweatshirt or blanket.  It can hold seat cushions and all the game-day merch you want to buy!  *While it does not exactly conform to the NFL/PGA policy.  It IS the same on a volume basis.  I don’t know if you would run into issues, since all security is different.  You can open the zipper when going through security if they ask to measure the bag.
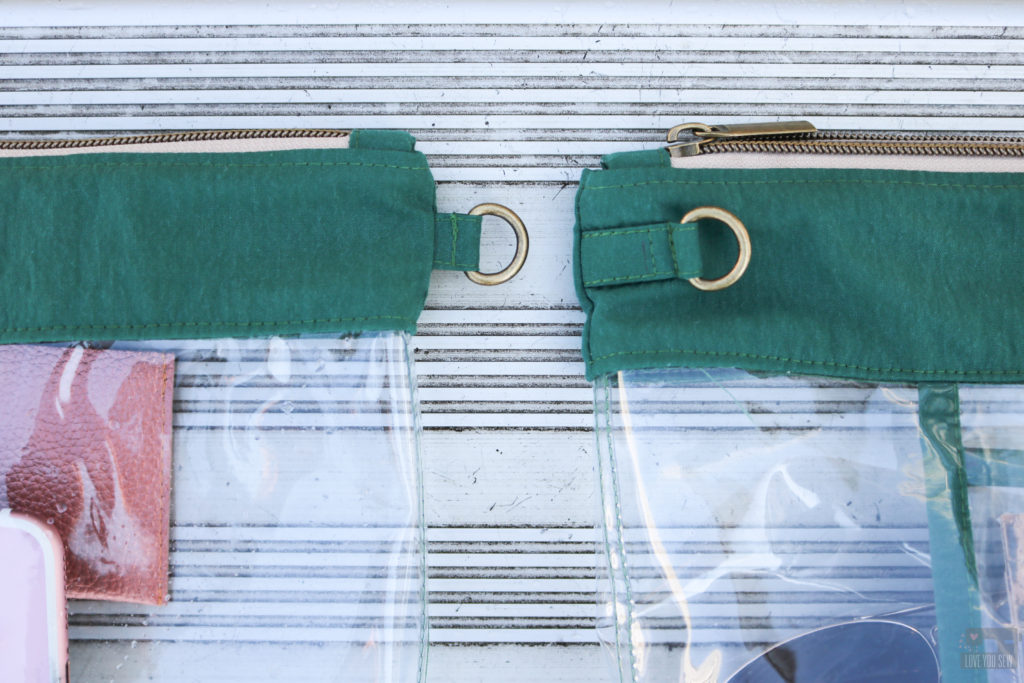
  • Although each size has it’s own instructions for straps, you can mix and match the styles along with two different ways to attach D-ring tabs.  There is a short optional that leaves an “ear” on your bag while the long option sews the tab back onto the body for a smooth side silhouette.
  • Pockets – The medium and large sizes include instructions to include slip pockets for extra organization.  This is perfect for your tickets and slim wallets.
  • Vinyl side seams are sewn down for smooth interior – Your hands won’t be scratched by hanging seam allowances, especially if using a more rigid vinyl.
  • Fabric Zipper Top completely encloses the vinyl body for a clean finish inside and out
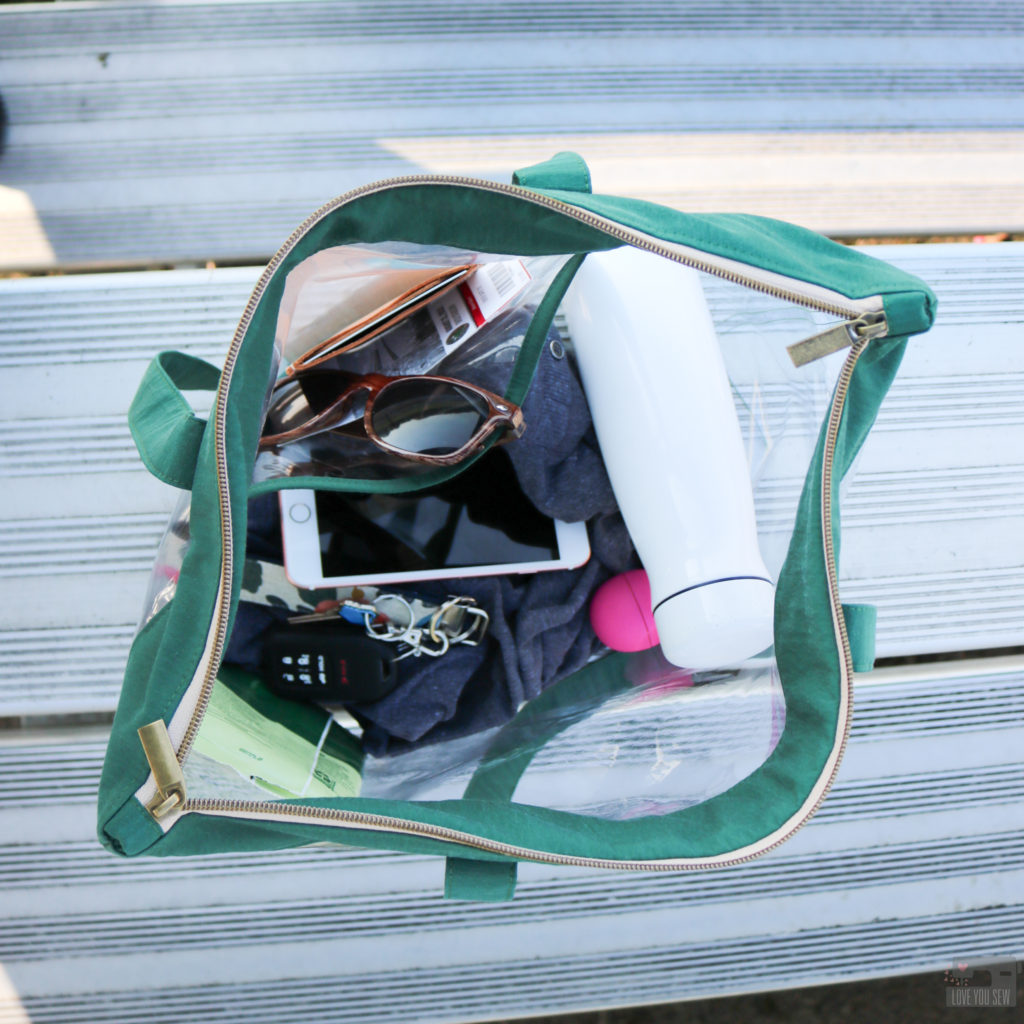
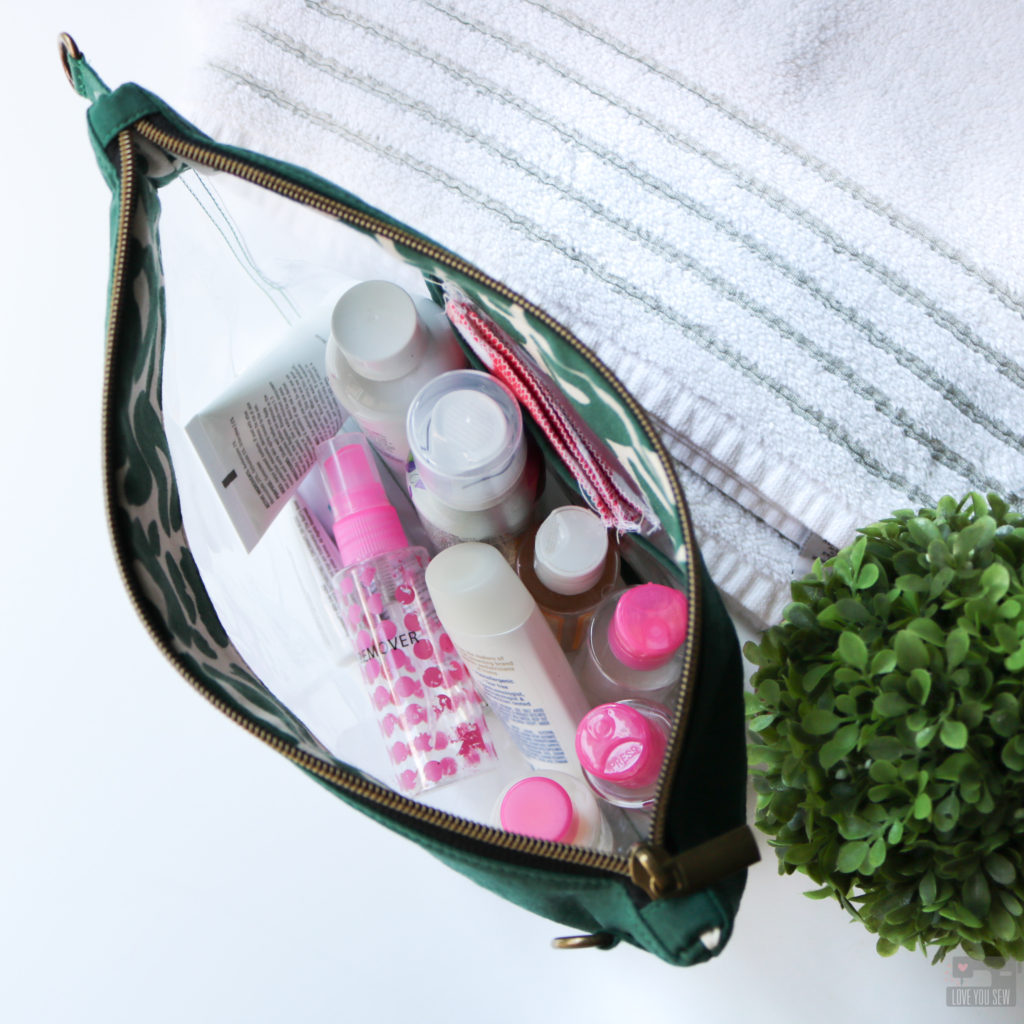
The Emma Stadium Bag is definitely not just for sporting events.  Many concert halls have similar policies and many schools are adopting a clear bag policy.  If you’ve ever worked in retail, there has generally been a clear bag policy to avoid theft.  The large size can double as a school/work bag with its generous sizing.   The medium size makes for a great project bag for yourself or the kids!  It can hold lots of art supplies and you can easily wipe down the sides.  It’s also a great toiletry bag for travel and the gym.  With the TSA a permanent fixture at airports, the small can be used in lieu of all of those quart sized bags – saving the planet and your contents from spillage!
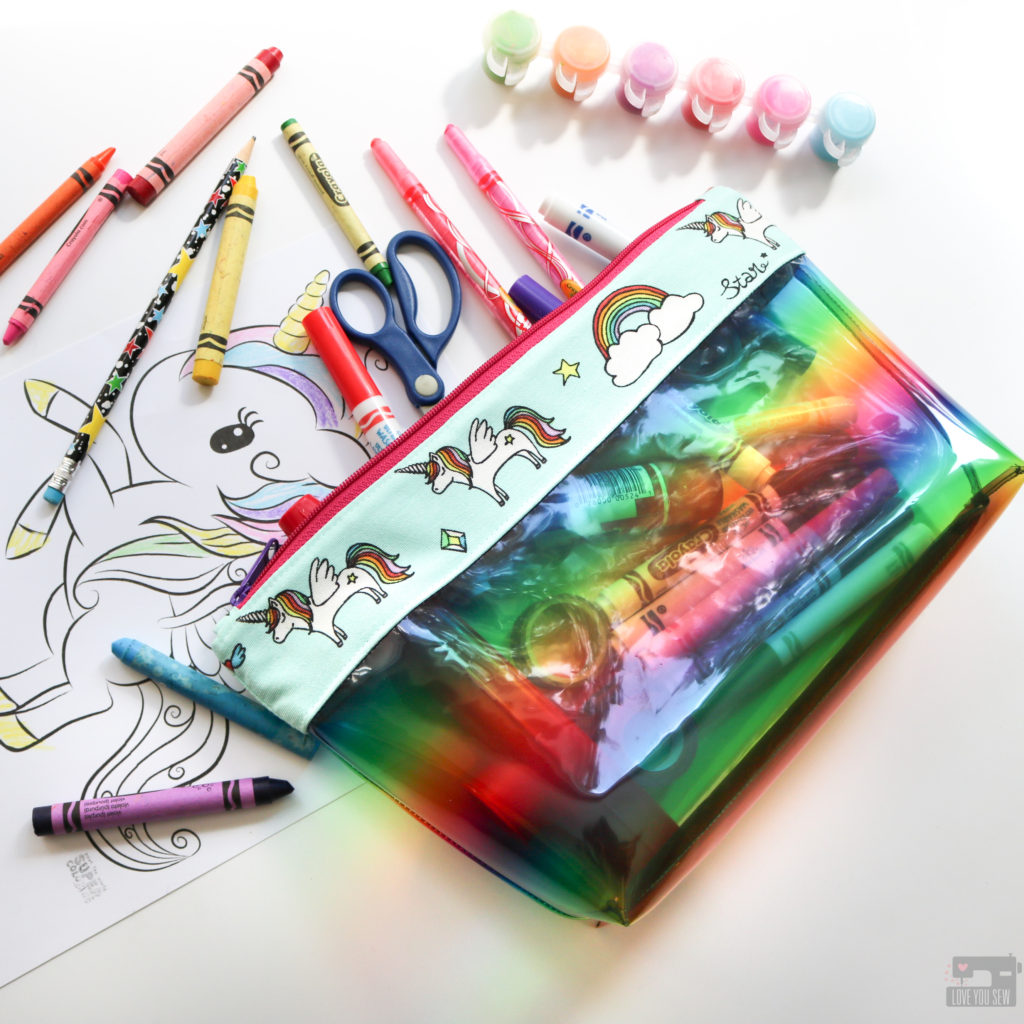
Fabrics

The body of the Emma Stadium Bag is about 2/3 vinyl, so there is not much fabric involved to make this bag.  The zipper top was designed to use Quilt Cotton and other similar weight woven fabrics.  This allows you to use your favorite fabrics and customize each of your makes.  All of my examples are using a waterproof lightweight canvas which makes them great for the outdoors and for my traveling adventures with the family.
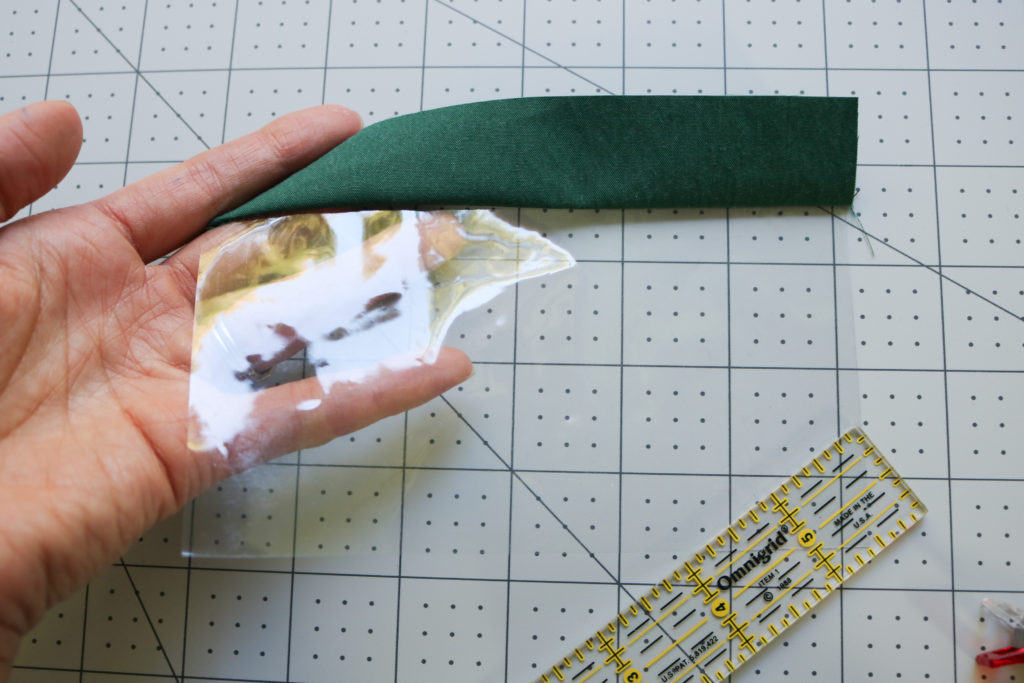
Vinyl thickness is measured by gauge number – with the smaller number being thinner compared to a larger number.  A 20 gauge will provide a more rigid bag, but a 12 gauge is easier to sew and more pliable when trying to manipulate your bag under your sewing machine.
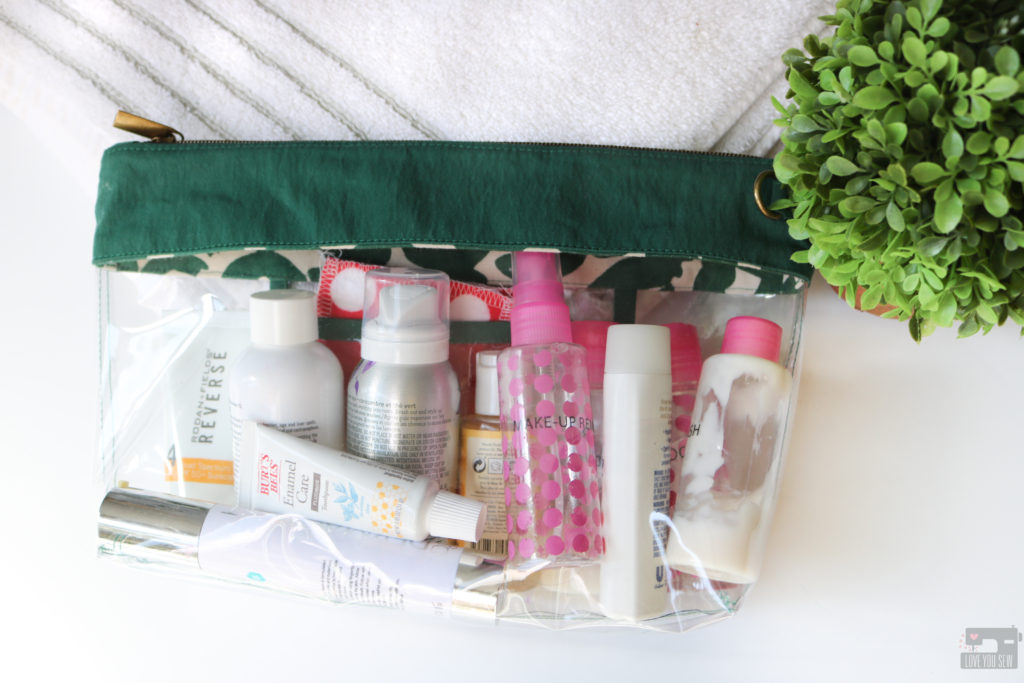
Supplies

Tester Inspiration

Check out all of the amazing tester versions of the Emma Bag.  I love their uses of different fabric and how they decided to use their bags.  Click on each image to find the maker on Instagram.

I hope you enjoy making the Emma Stadium Bag as much as I have loved designing it!  You can find other examples of the bag by following #EmmaStadiumBag and find my other patterns with #LoveYouSewPatterns.

Hugs and Stitches!

Cristy


This post may contain affiliate links.  You can read about my Disclosures here.
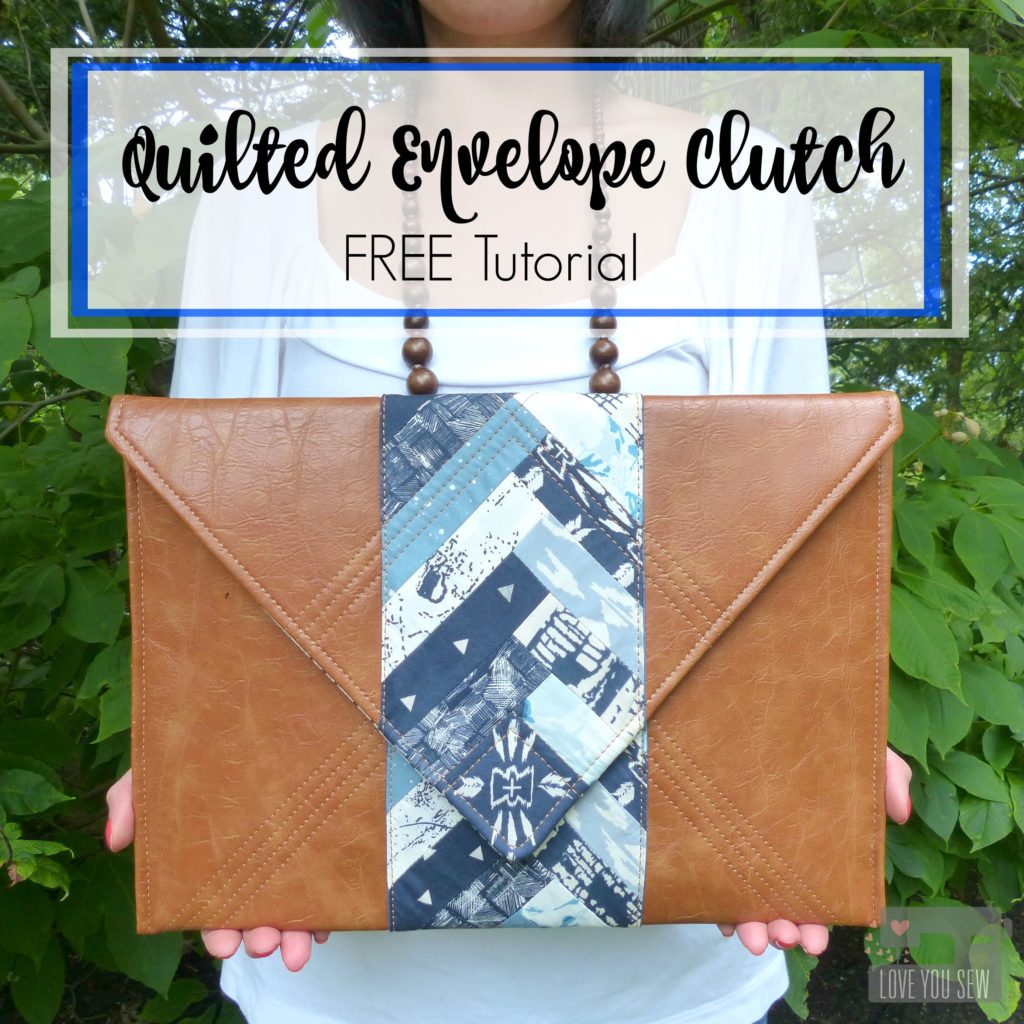
Quilted Envelope Clutch :: Free Tutorial

quilted-envelope-clutch_title

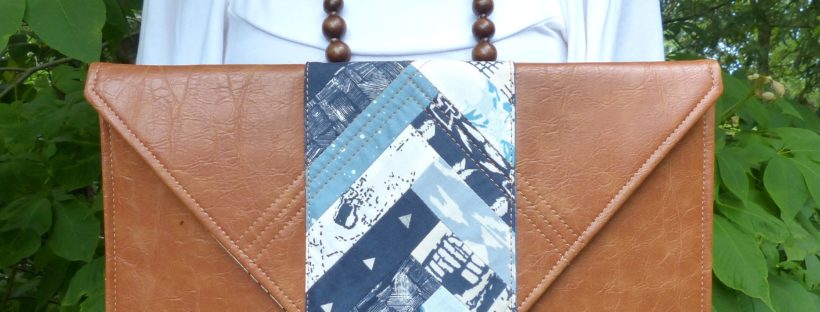
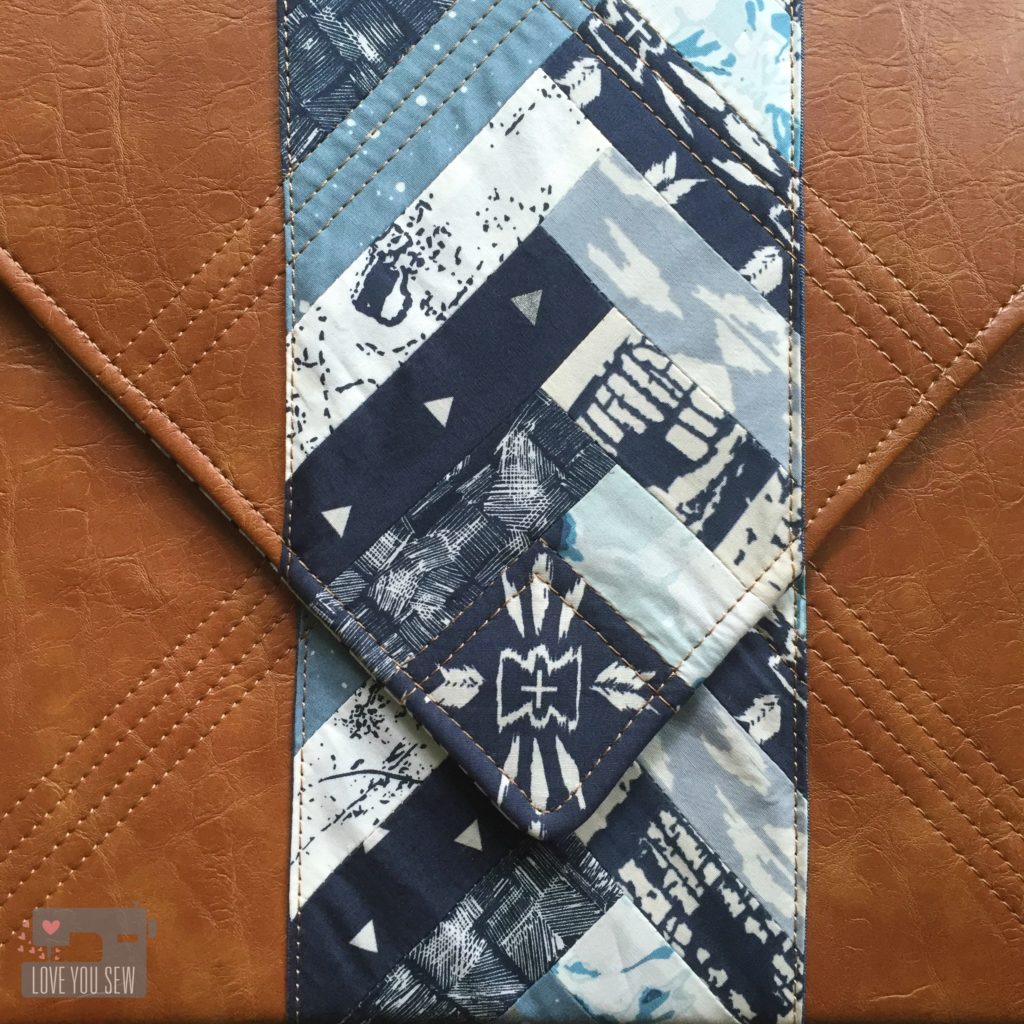
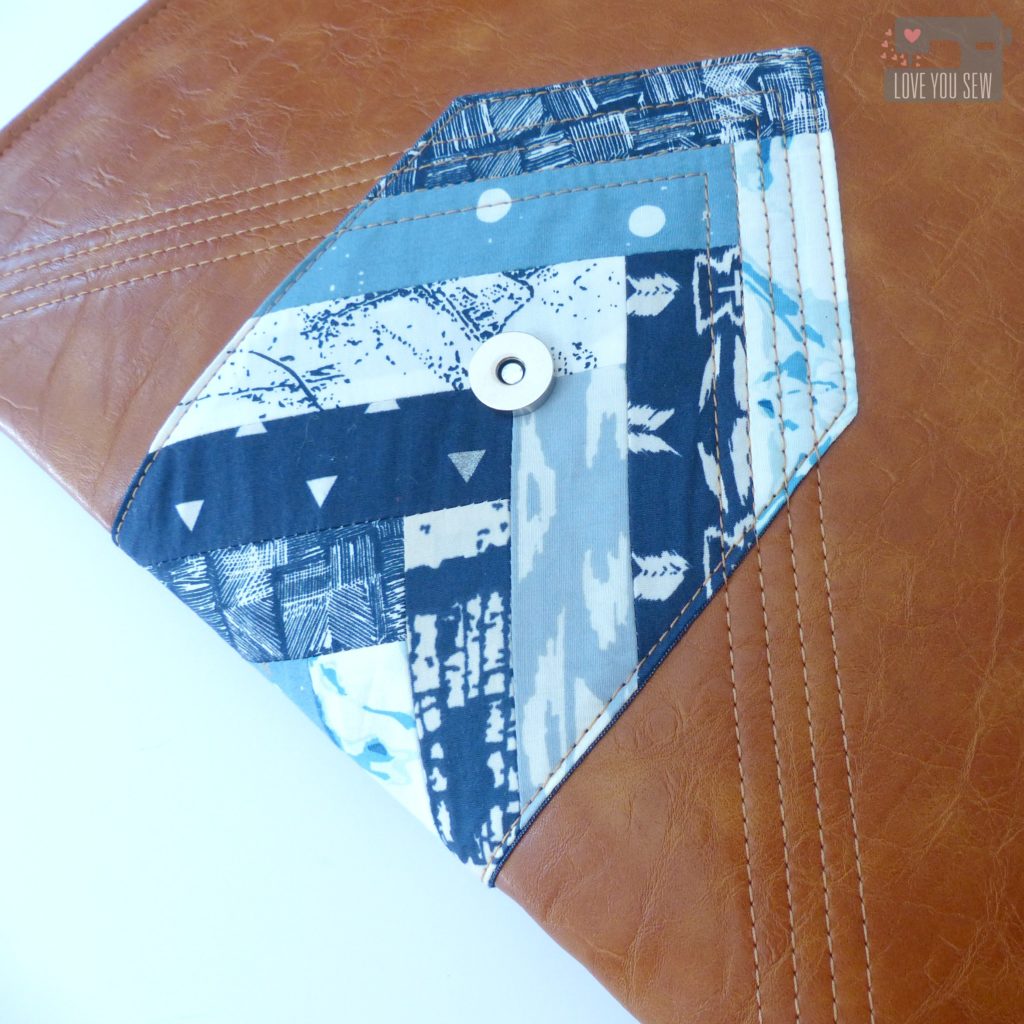
Envelope Clutches are everywhere right now and I was inspired by it simple and timeless shape.  This Quilted Envelope Clutch design is over-sized to give you ample room for all of your essentials, but still is nice  enough to go from day to night.  It’s a sleek bag when paired with the right faux (or real) leather.  Coincidentally, this clutch design also fits a MacBook Pro perfectly, so its versatile and you can change up the fabrics to make it as laptop holders.

As I wrote in last week’s post from the Observer blog tour here, I like to show how hip and modern quilting can be.  I love how the piecing of a half log-cabin accentuates the envelope shape and the monotone palette keeps it chic.  Simple quilting adds enough texture and detail without being over-the-top…or over-worked.

This tutorial is for the faux leather version and finishes at approximately 14 3/4″ x 10 1/2″.  As with all patterns, don’t jump the gun…please ready through the instructions in their entirety.  Shoot me an email and/or leave me a comment if you have any questions.  Enjoy!

Materials Required:

  • Faux leather/ Vegan leather / Vinyl (1/2 yd)
  • Lining & Pocket Fabric (1 yd)
  • Pieced Panel scraps (1/4 yd)
  • Pieced Panel Lining Fabric (1/4 yd)
  • Woven Fusible Interfacing [Pellon SF101] (2 1/2 yds)
  • Ultra-firm Sew-In Interfacing [Pellon 70 Peltex] (1 yd)
  • 9″ Zipper
  • Magnetic Snap
  • Coordinating Thread(s)
  • Poster Board (optional for cutting pattern templates)
  • Spray Baste or Fabric Glue Pen (optional)
  • Clover Clips

 Cutting Instructions: 

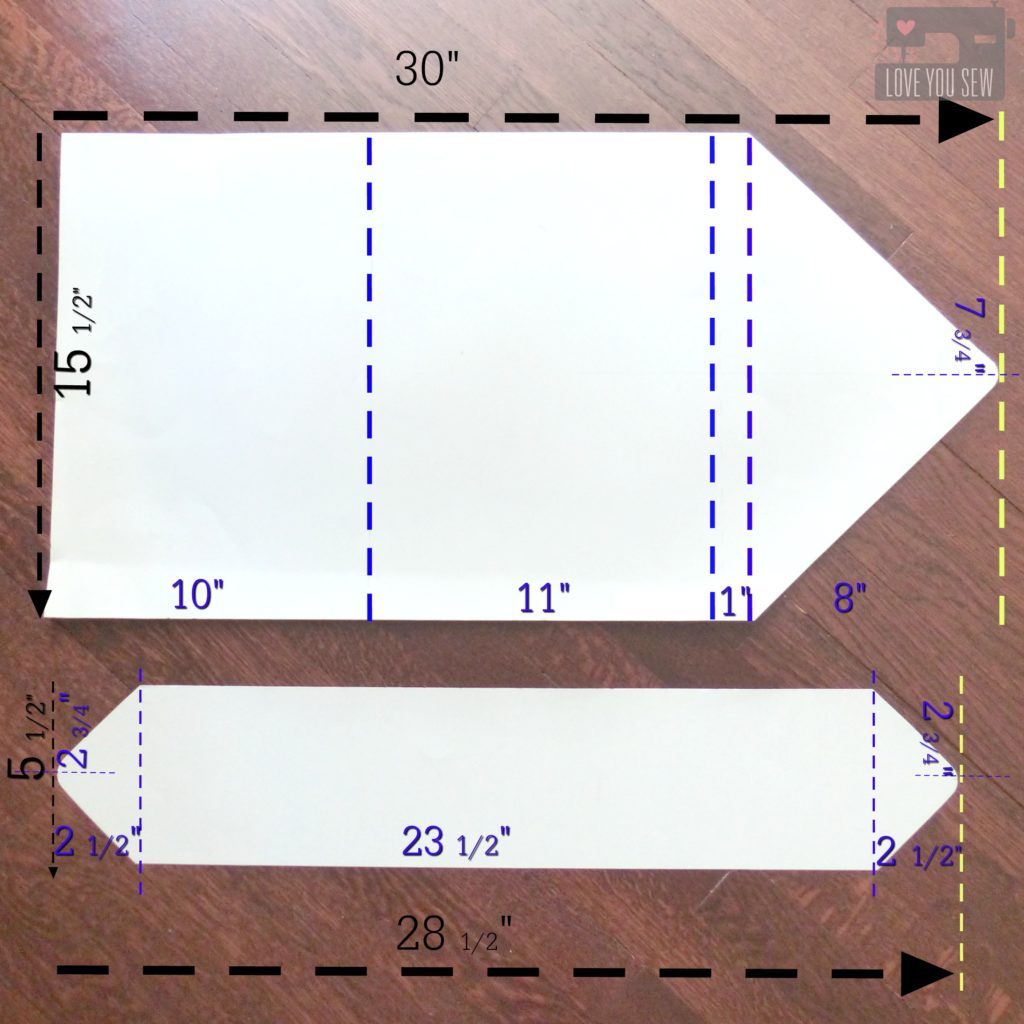
  1. Create the body and center panel cutting templates following the black numbers.  Make markings for the numbers and lines in purple.
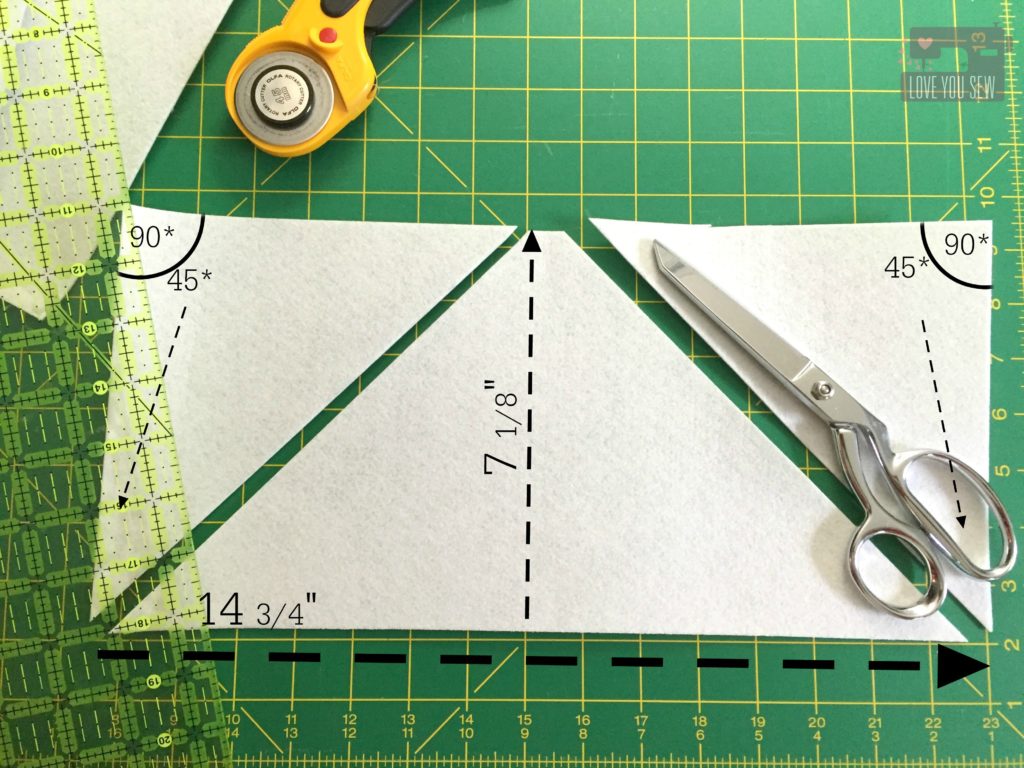
    • Cut the angles by finding the mid-point of the short-sides of each template.  cutting-template
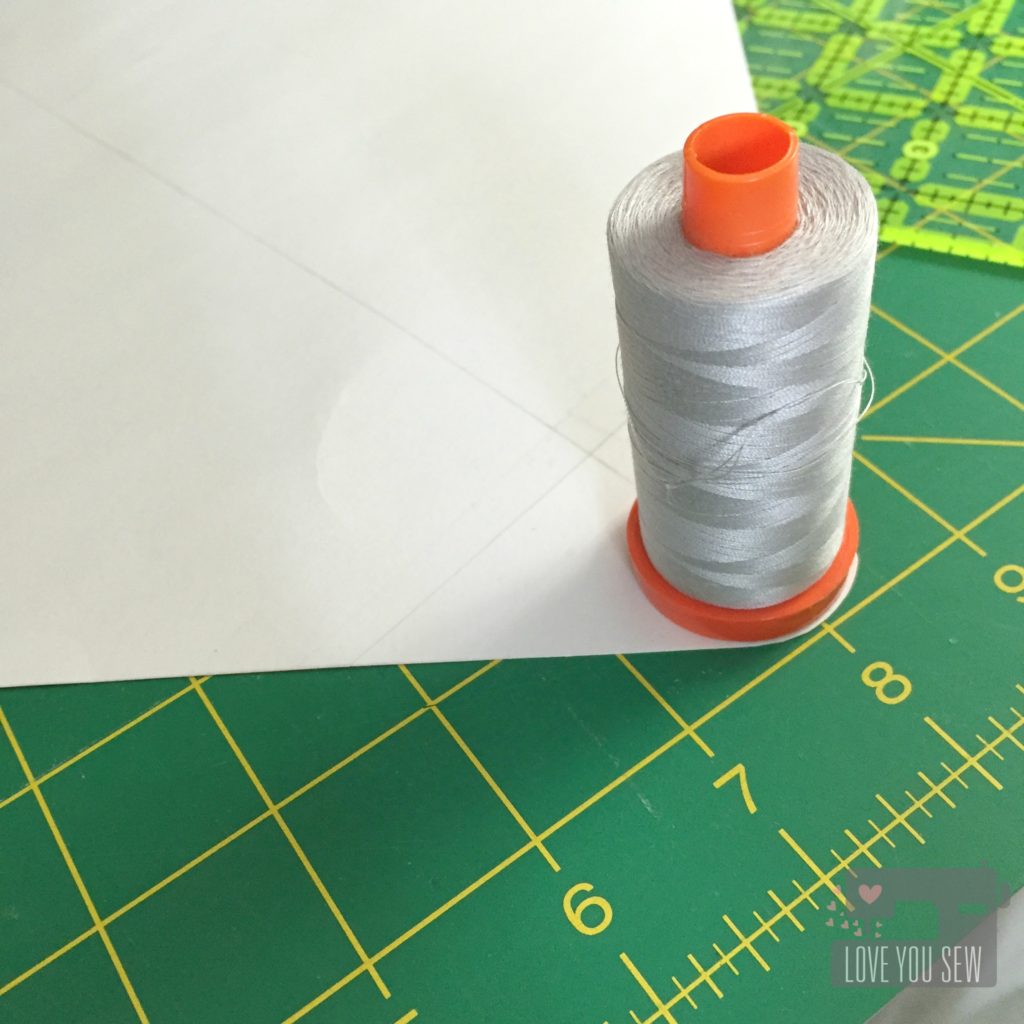
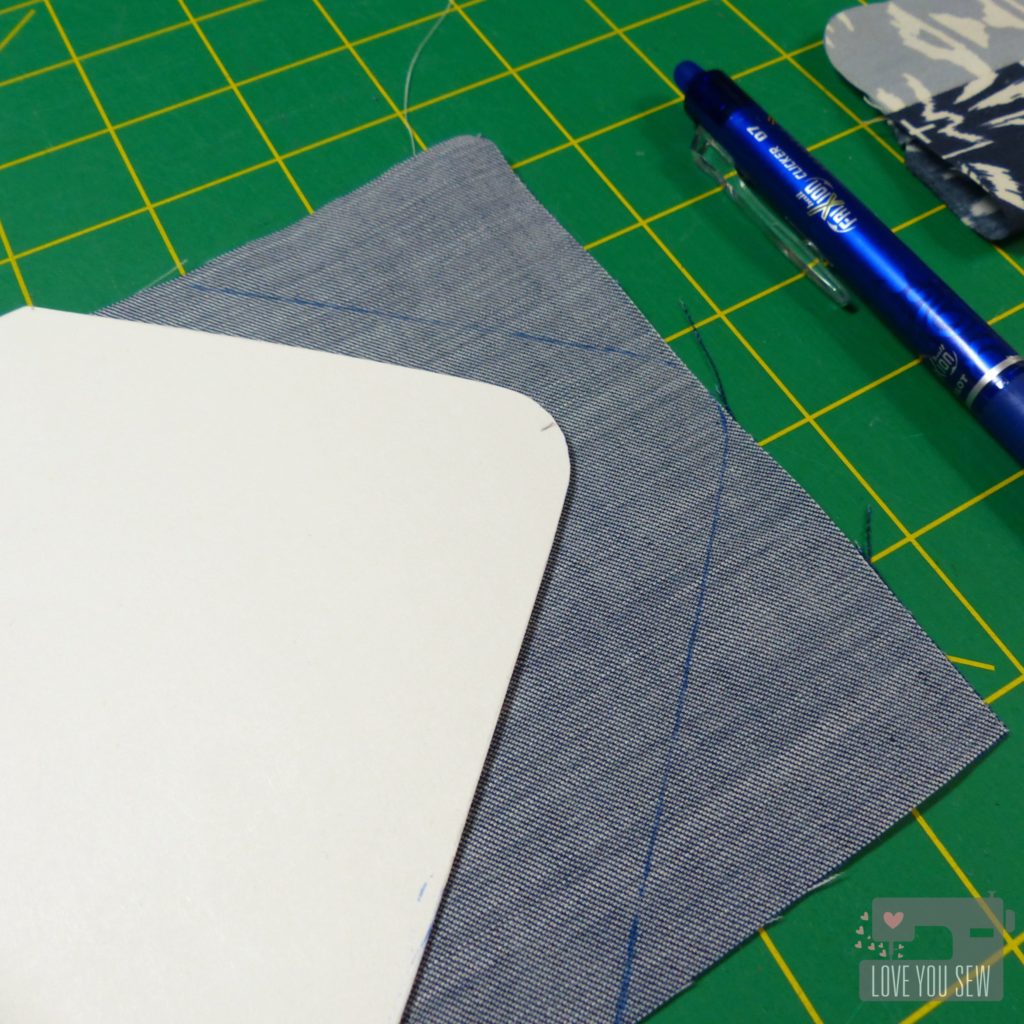
    • Round out each of the “envelope points” using a large spool of threadimg_7001
  2. Use your larger template to cut:
    • (1) Body with faux leather
    • (1) Lining
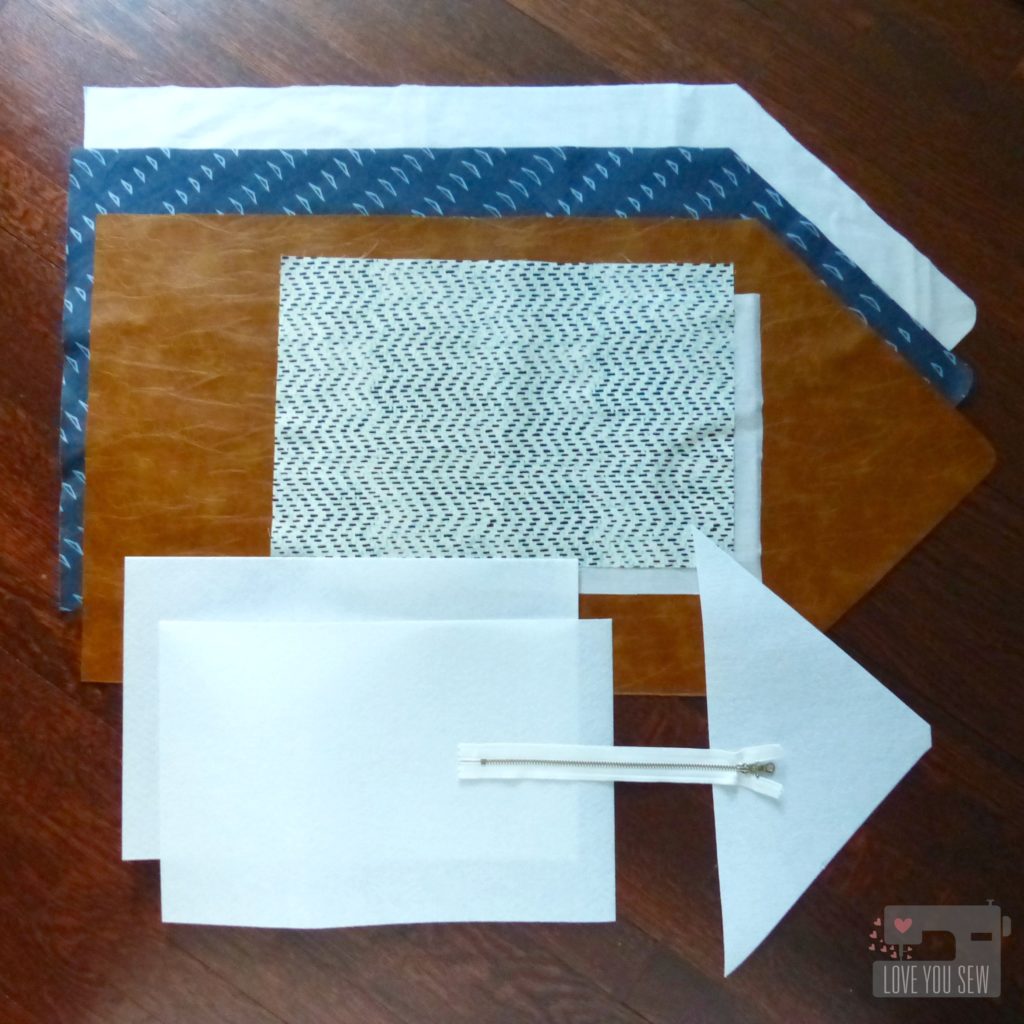
    • (2) Woven Fusible Interfacingsp1060660
  3. With the Firm Sew-In Interfacing, cut:
    • (2) 14 3/4″ x 9 3/4″ rectangles
    • (1) Triangle per the following photo:img_7014a
  4. For pieced Center Panel (as a half log-cabin), cut:
    • (1) 2 1/2″ x 2 1/2″ square
    • (34) 5″ x 1 1/2″ strips
    • Use smaller template to cut (1) Center Panel liningp1060674
  5. For Lining Pockets, cut:
    • (1) 16″ x 11″ rectangle with the lining fabric
    • (1) 16″ x 11″ rectangle with fusible woven interfacing
    • (1) 9″ x 4 1/2″ rectangle with faux leather

Construction:

(1/4″ seam allowance unless otherwise noted)

  1. Interface the body.  *Please check and test the heat settings beforehand.  Not all vinyl/faux leather is created equal.

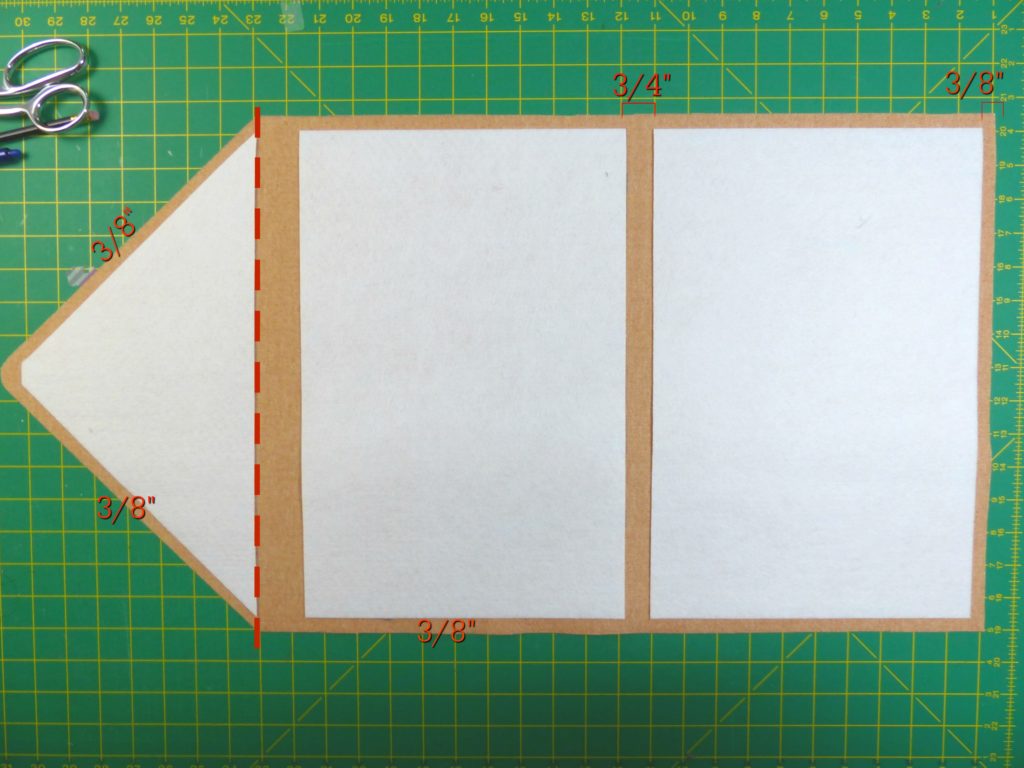
    • Place the Peltex pieces per the following photo.  Leave 3/8″ allowance all around the edge of the vinyl.  Keep 3/4″ in between the (2) 14 3/4″ x 9 3/4″ pieces.  Make sure you align the Peltex triangle long edge with the top corners of the vinyl.  You can can secure them in place with a little spray baste or with Sewline glue pen.  *It’s important to have the Peltex split into 3 pieces to give the ease and flexibility where the clutch will fold.  It will also alleviate some of the “cracking” appearance that can happen with interfacings that are forced to moved a lot.p1060663
    • Use one of the fusible woven interfacing pieces and fuse on top of the firm sew-in interfacing.  You may need to work the edges of the SF101 around the Peltex with your iron. Set aside.interface-vinyl
  2. Fuse the 2nd piece of fusible woven interfacing to your lining.  Set aside
  3. Fuse the pocket fusible woven interfacing to the pocket lining fabric.  Set aside
  4. Prepare Center Panelp1060670
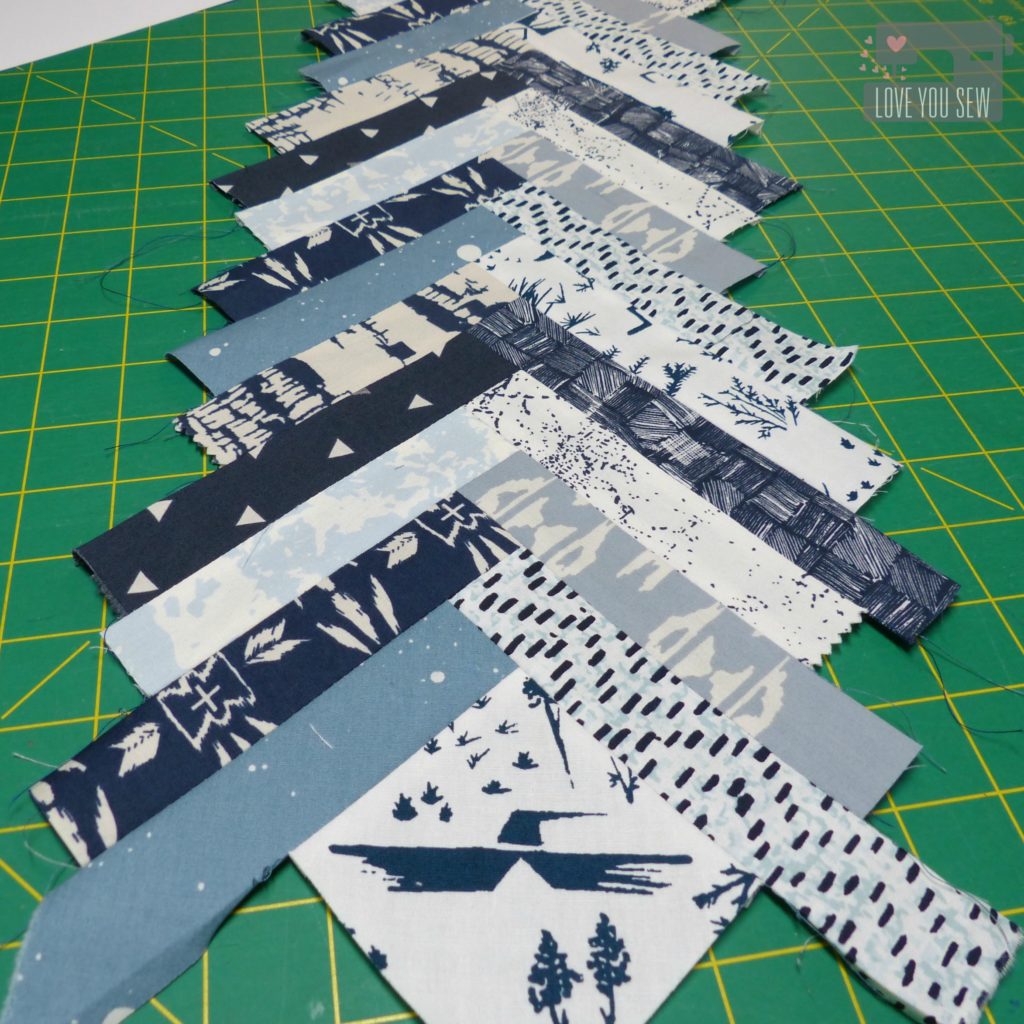
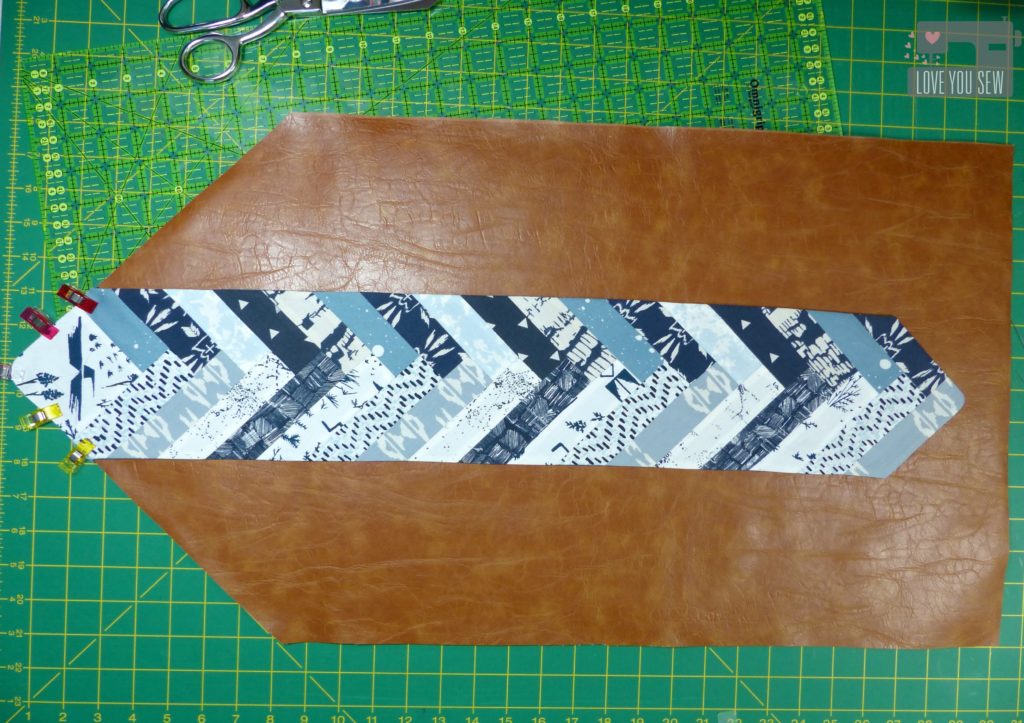
    • Piece as desired.  I used a traditional half log-cabin design, but you can use anything that you like as long as it can be trimmed to the Center Panel template you created earlier.
      • Line up the short-end of the first strip (gray-blue speck) with the edge of the square (eagle) and sew with 1/4″ seam allowance.  Press open
      • Line up the short end of another strip (navy dashes) with the opposite edge of the square (eagle) and sew.  Alternate sides until you have used all 34 strips.
      • Use Center Panel template and trim to fit.
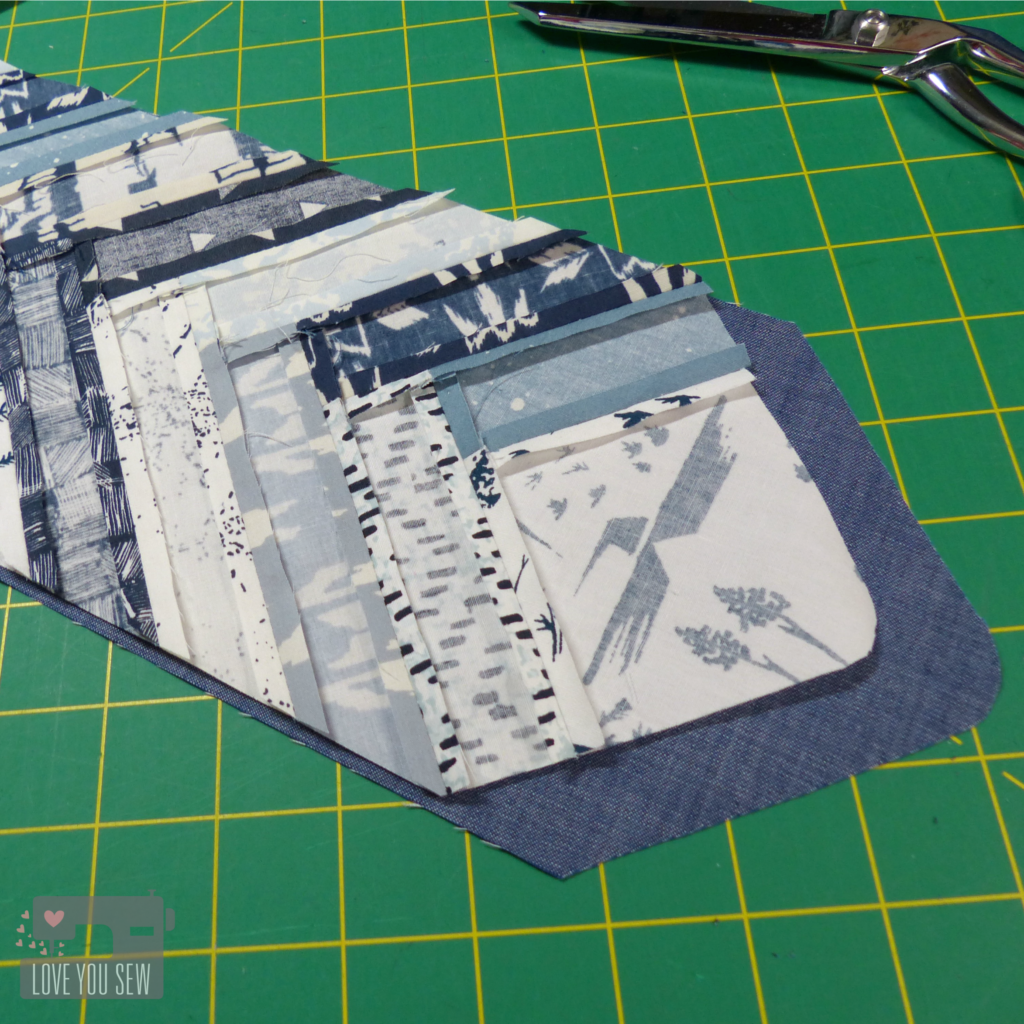
    • Assemble the Center Panel by placing the right-sides of the center piecing with the center panel lining.p1060675
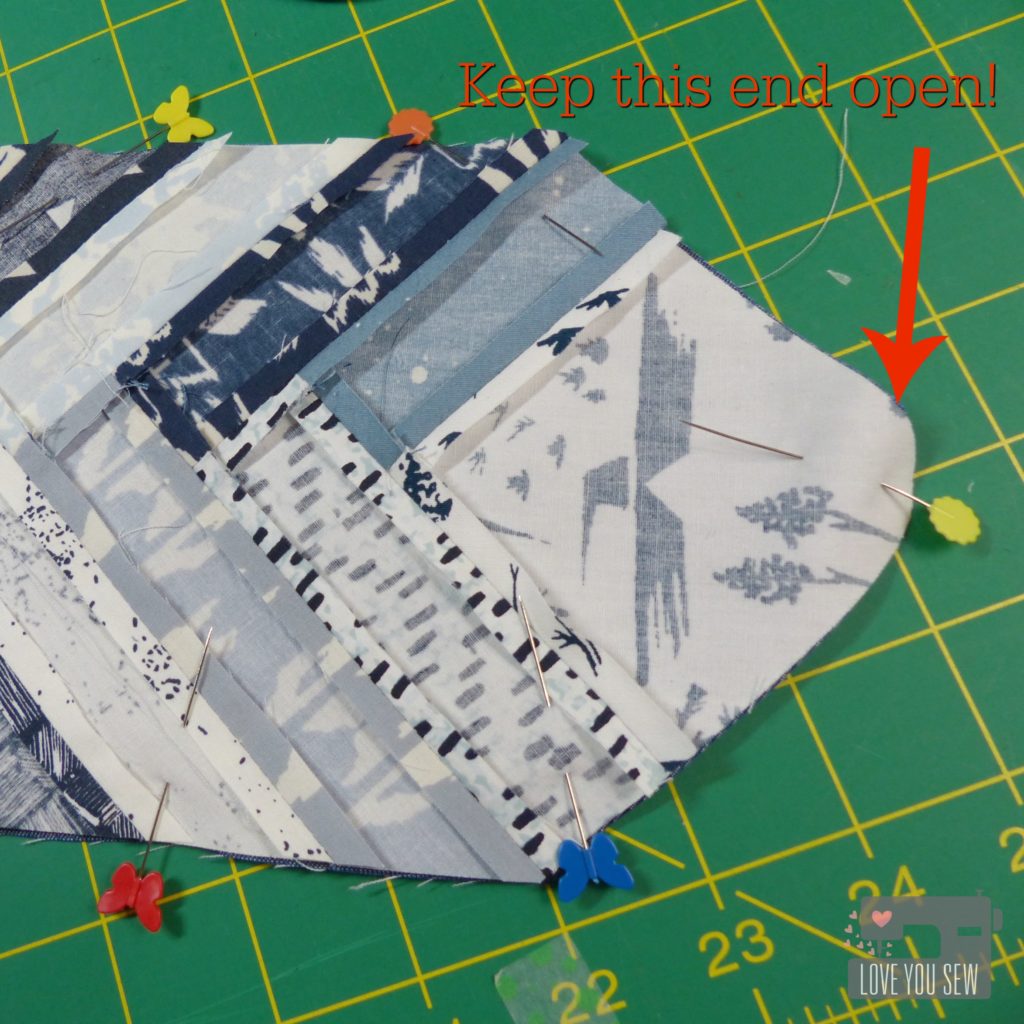
    • Sew all around leaving an opening at the TOP to turn.p1060676
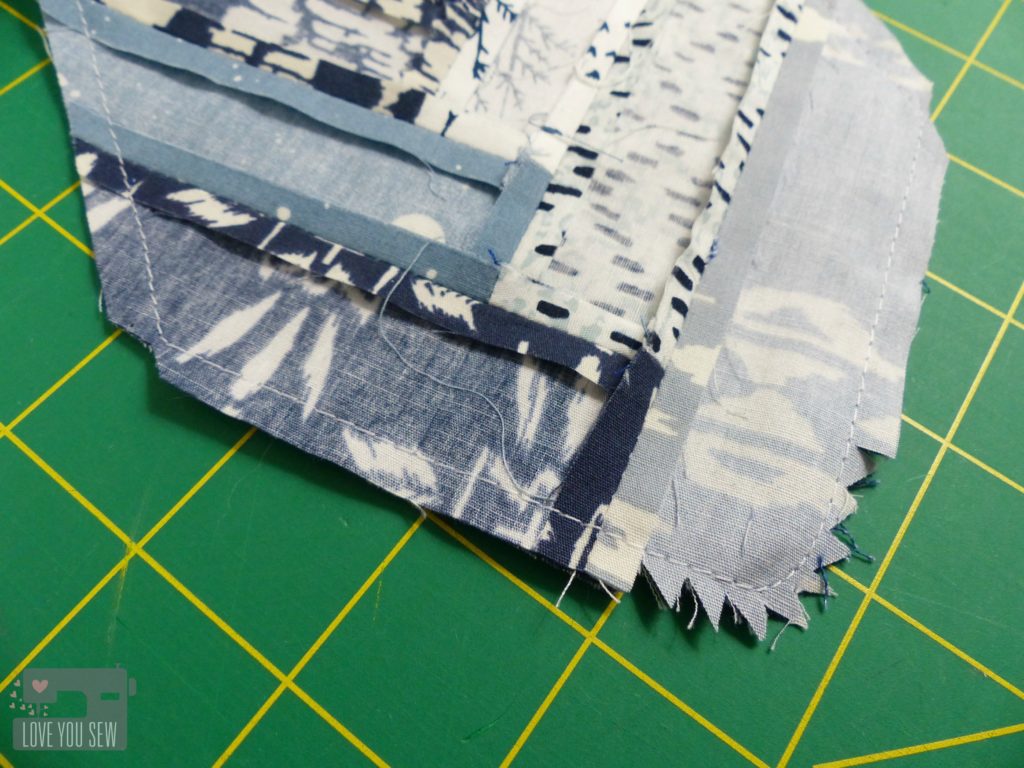
    • Notch out the BOTTOM and all cornersp1060678
    • Pull right-side out and press
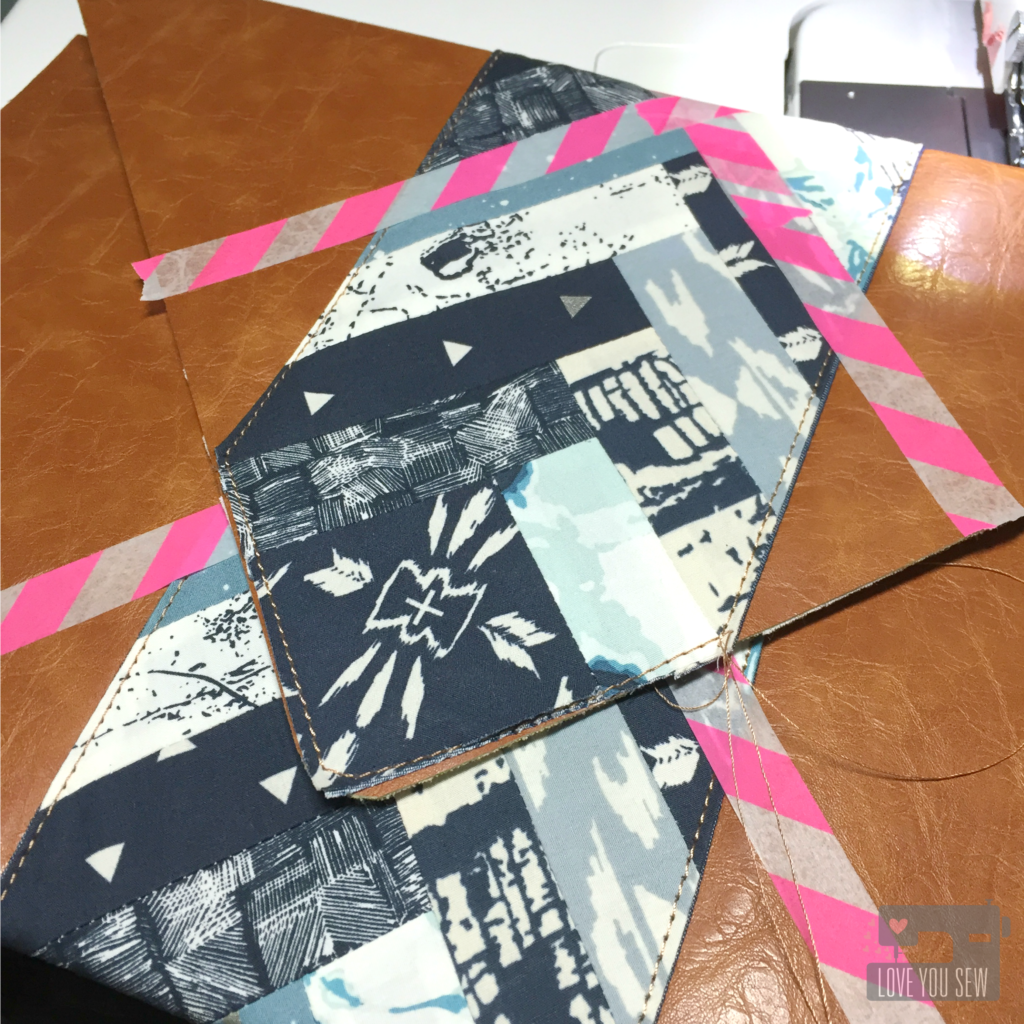
  5. Line up the center panel on top of the right-side of the faux leather.  Make sure it’s even on both sides of the panel.  You can secure it into place using pins since you don’t see the faux leather.p1060680
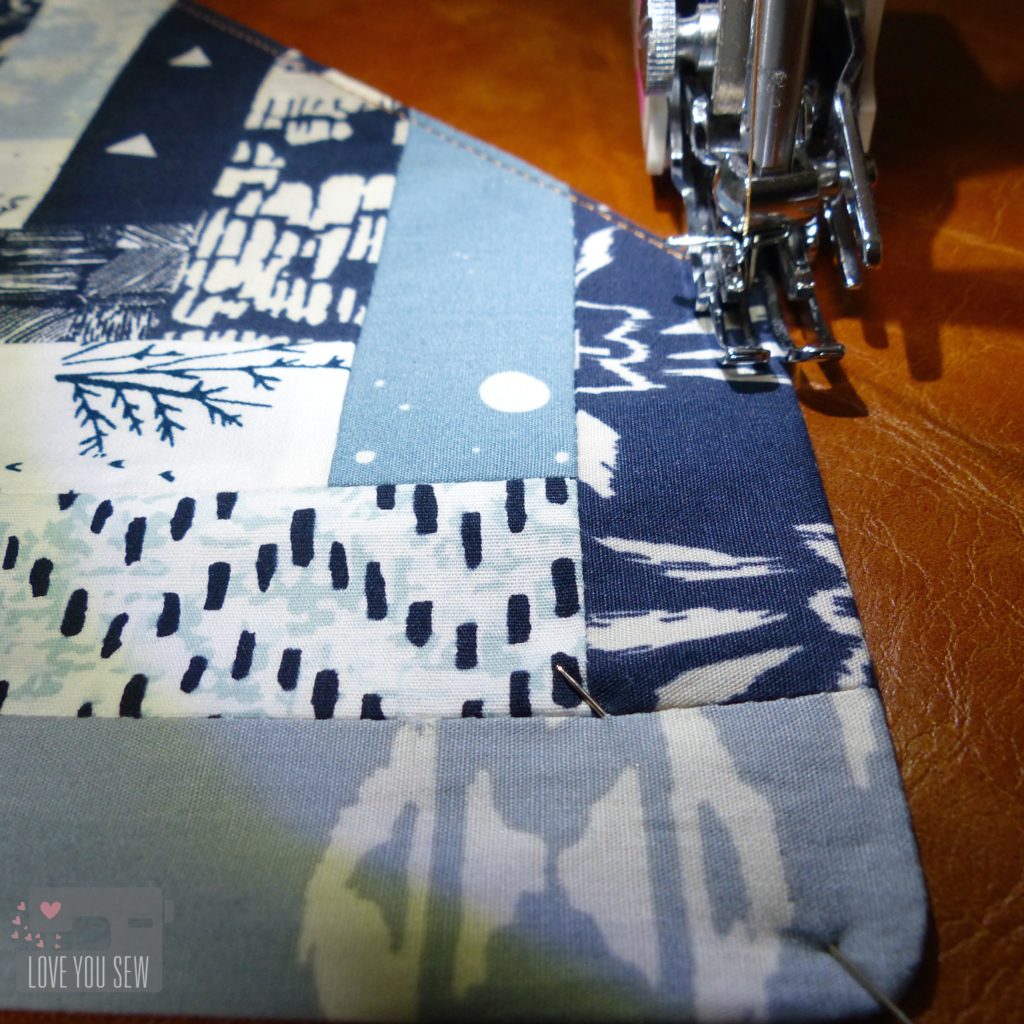
  6. Topstitch into place.  It may seem easier to have sewn this panel onto the vinyl before all of the interfacing, but this is how you will secure all of the Peltex into place and prevent any shifting with use.p1060683TIPS:
    • Use upholstery thread or any other nylon/polyester thread.  I like the upholstery for the heavier weight, the sheen, and it glides well through all of the layers.
    • Increase your stitch-length to at least 3.0 for a nice look
    • Use a walking foot for even stitches
    • You may need to increase your needle size if the thread is not pulling through and/or you are getting skipped stitches
    • Keep matching all-purpose polyester thread in the bobbin.  It helps with skipped stitches.
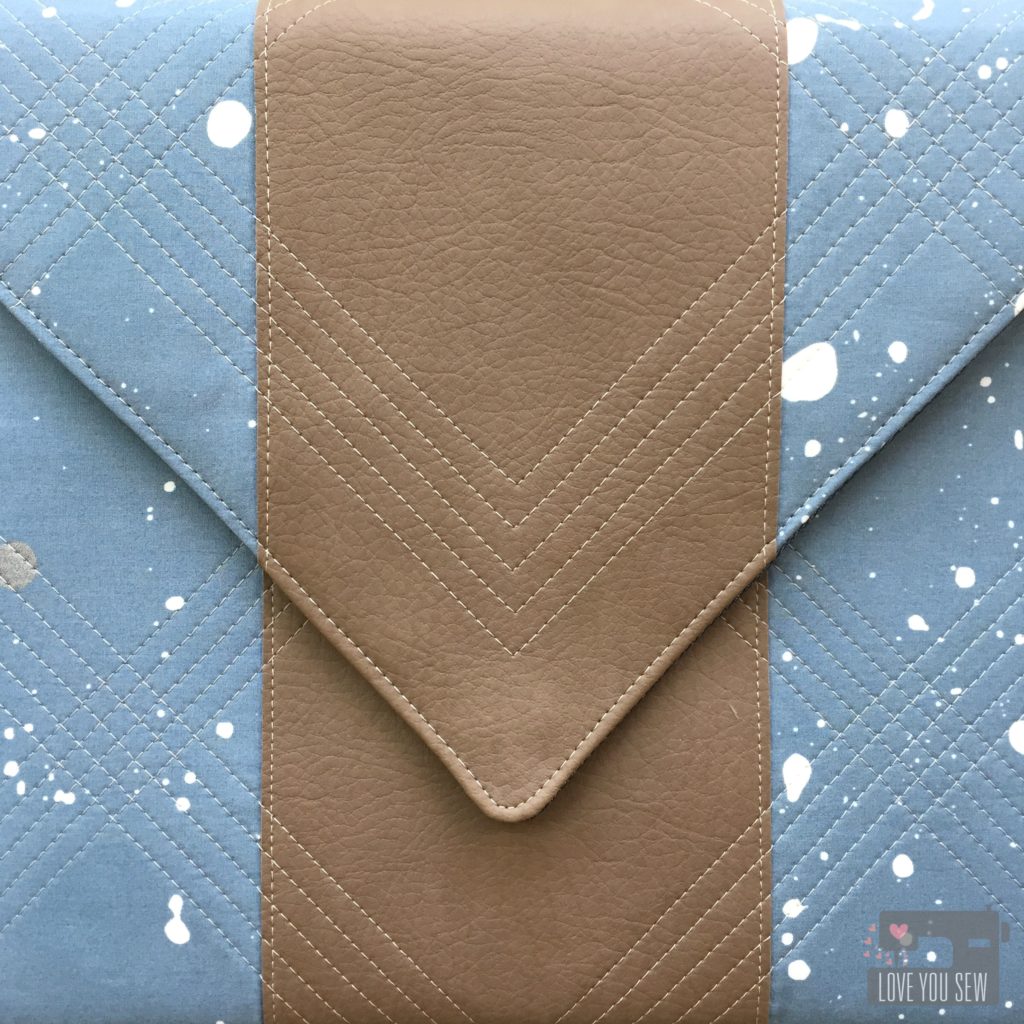
  7. At this point, you can quilt the vinyl, if desired.  Set the body aside.IMG_6780 IMG_6880
    • TIP:  Use washi tape for your guidelines. Chalk and pen will easily smear off the faux leather.IMG_6772
  8. Attach pockets onto lining
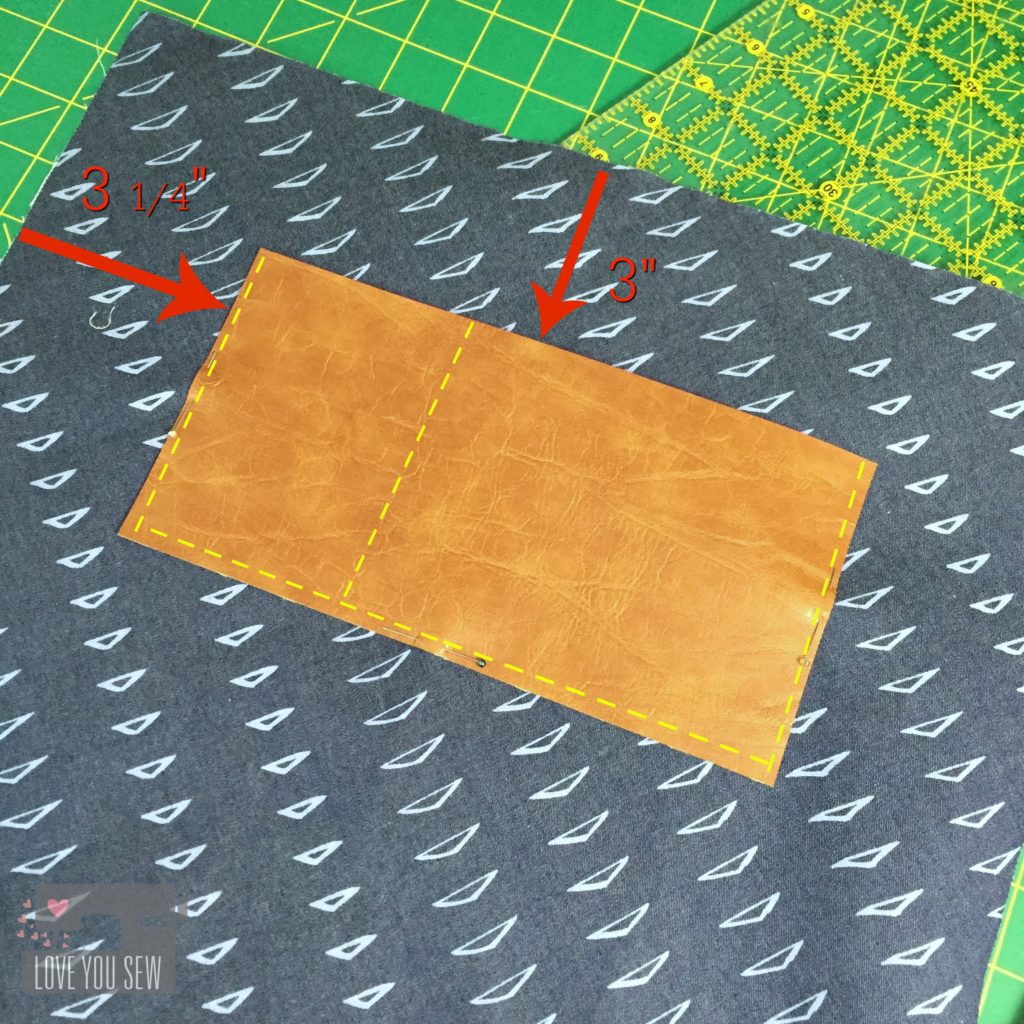
    • With the flat edge of the lining on top and right side facing you, measure 3″ down from the straight edge and 3 1/4″ in on either side.  Pin (where you will sew) the faux leather into place 1/8″ from the edges (marked in yellow.)  You can leave this as a large slip pocket or you can divide it for your cell phone.  I marked mine 3 1/2″ in from the edge to hold an iPhone 6. Sew the three edges into place and then the dividing seam (marked by yellow.)img_7026
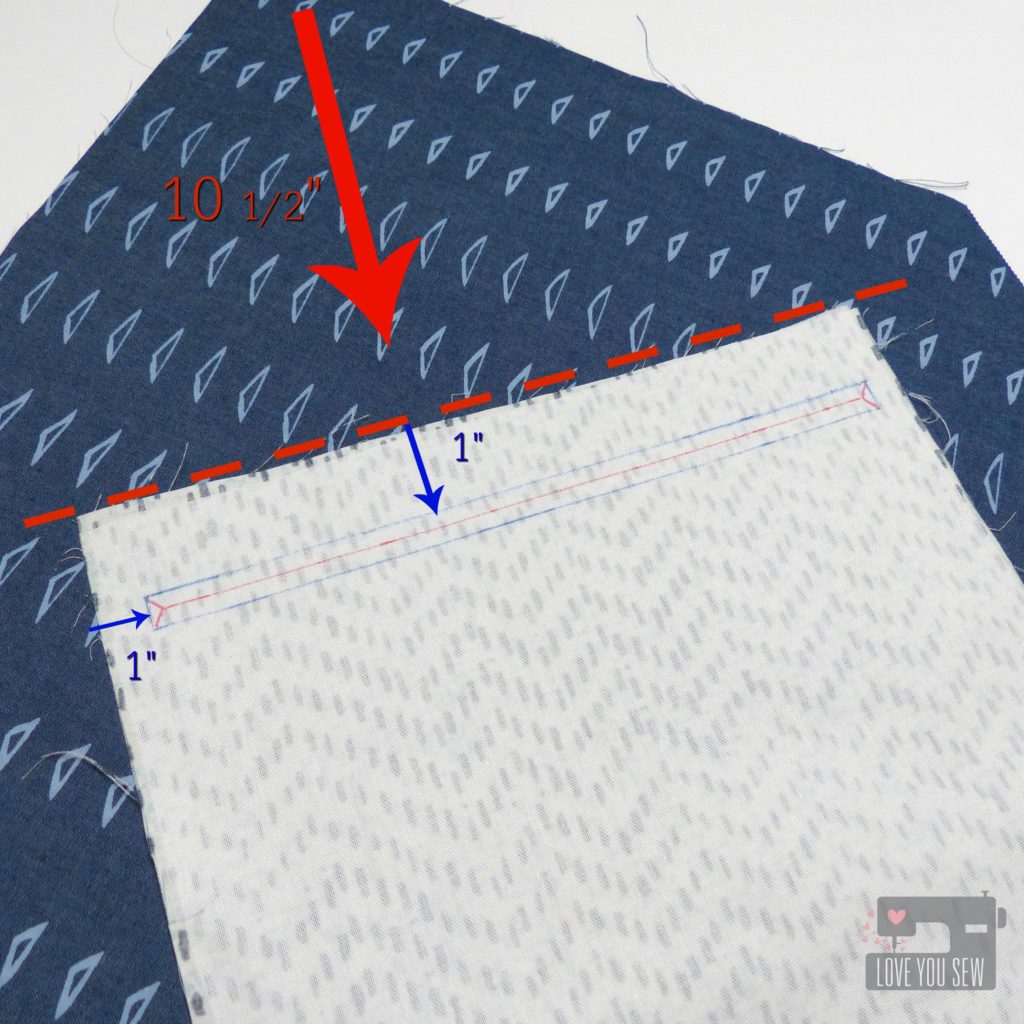
  9. Turn the lining 180 degrees.  With the right-side facing you, mark 10 1/2″ down from the top of the lining and pin the short-side of the  pocket lining fabric there.  Mark a rectangle 1″ down from the top and sides of the pocket that is 9″ x 3/8″ (blue pen.)  p1060690
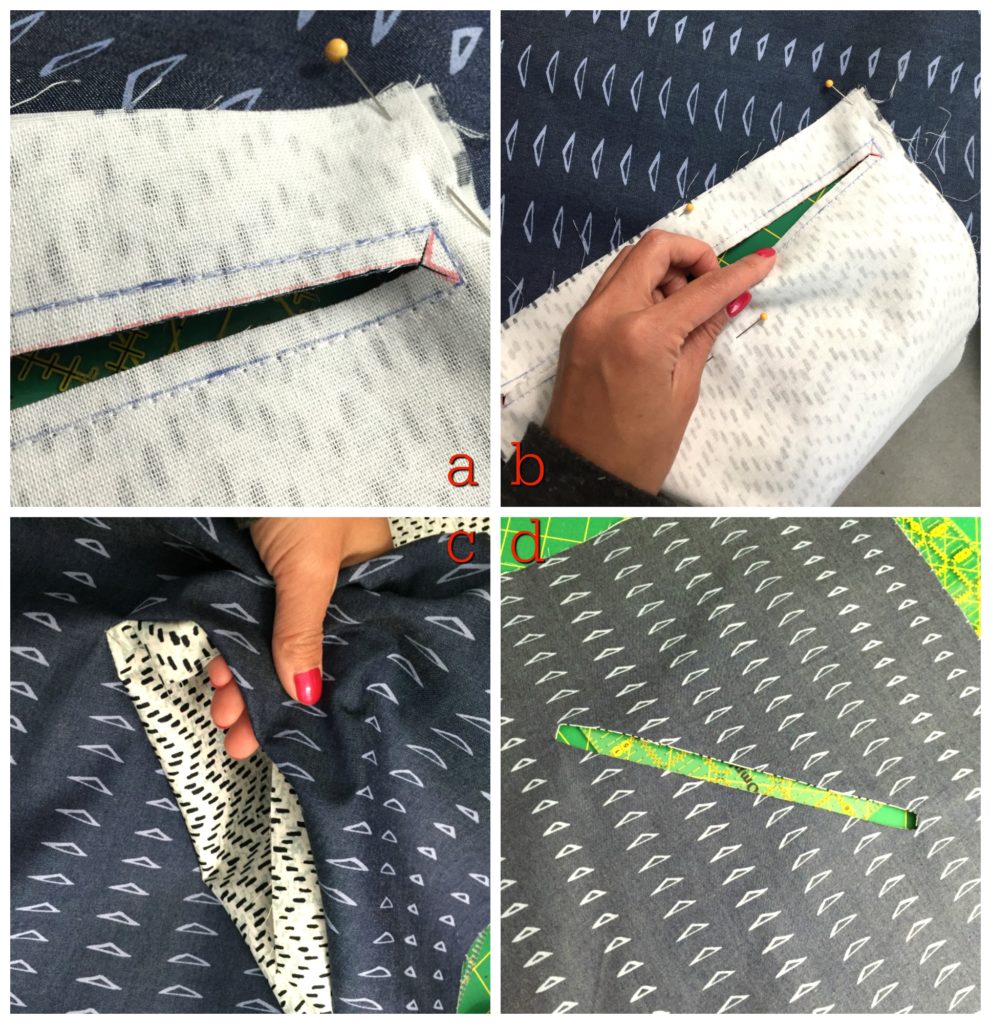
  10. Sew all-around the 9″ x 3/8″ rectangle on the marks you made.  Cut through the rectangle as shown, stopping about 1/4″ from the end (red pen lines.) [Image a]. Make small cuts from the middle out to each corner, getting close to the stitches, but not cutting directly through.  Push pocket through the hole [images b & c] and press [image d].lining-pocket-collage
  11. With the right side of the lining facing you, line up the zipper in the opening just created.  Either pin in place or use Sewline glue pen.  Sew 1/8″ all around the opening.img_7024
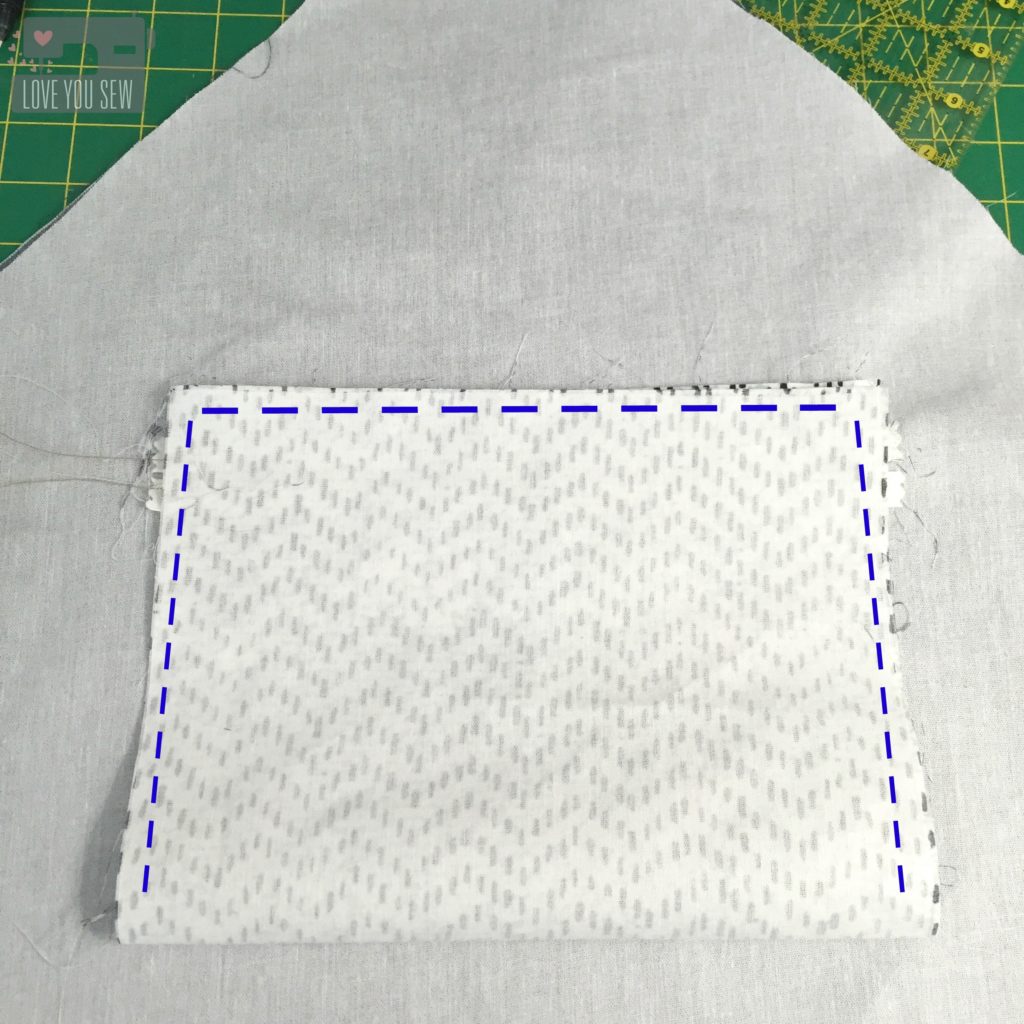
  12. With the wrong-side of the lining facing you, fold up the pocket so the short-sides match.  Press on the fold.  Pin all around the pocket, but not including the lining. Sew pocket shut (following blue dashed lines in pictures.)  Make sure you move the lining out-of-the-way as you sew.img_7025

Assembly:

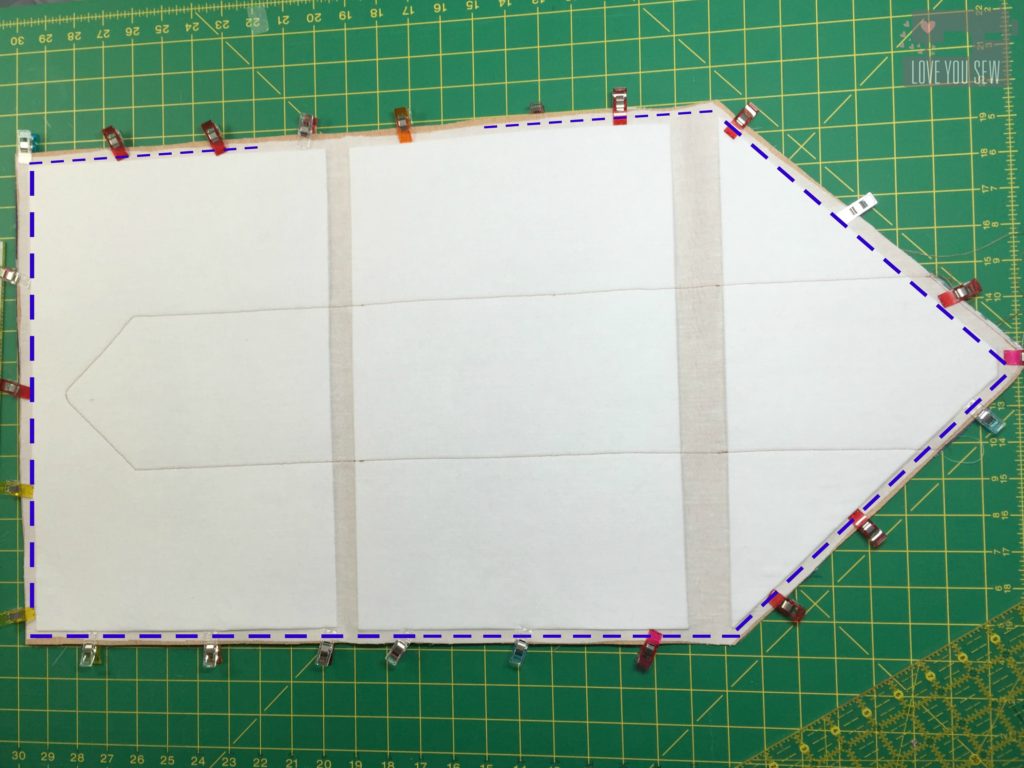
  1. Now match the right-sides of the lining and body together.  Clip in place and sew all around the edge (marked in blue) with a 3/8″ seam allowance.  Back-stitch when you start and end leaving a 5″ opening to turn. Notch out corners and the top of the clutch.  Be very careful not to cut through any stitches.img_7032
    • TIP:  Use a compensating foot or a zipper foot since the Peltex give you can uneven surface. img_7034
  2. With wrong sides together, make markings for your magnetic snap and install per manufacturer’s instructions.  With the point being so narrow at the top of the clutch, you may need to move your snap up or down to make sure there is enough clearance for all parts of the clasp.  For the male part, I marked mine 1 1/4″ down from the top edge of the lining and marked the female where it hit the body (approx. 7″ from straight short side.)
    • TIP: Before you install, reinforce where you will cut with a scrap piece of interfacing.p1060602
  3. Turn the body right-side out and press with the lining facing up.  Be careful not to press the faux leather directly with your iron.
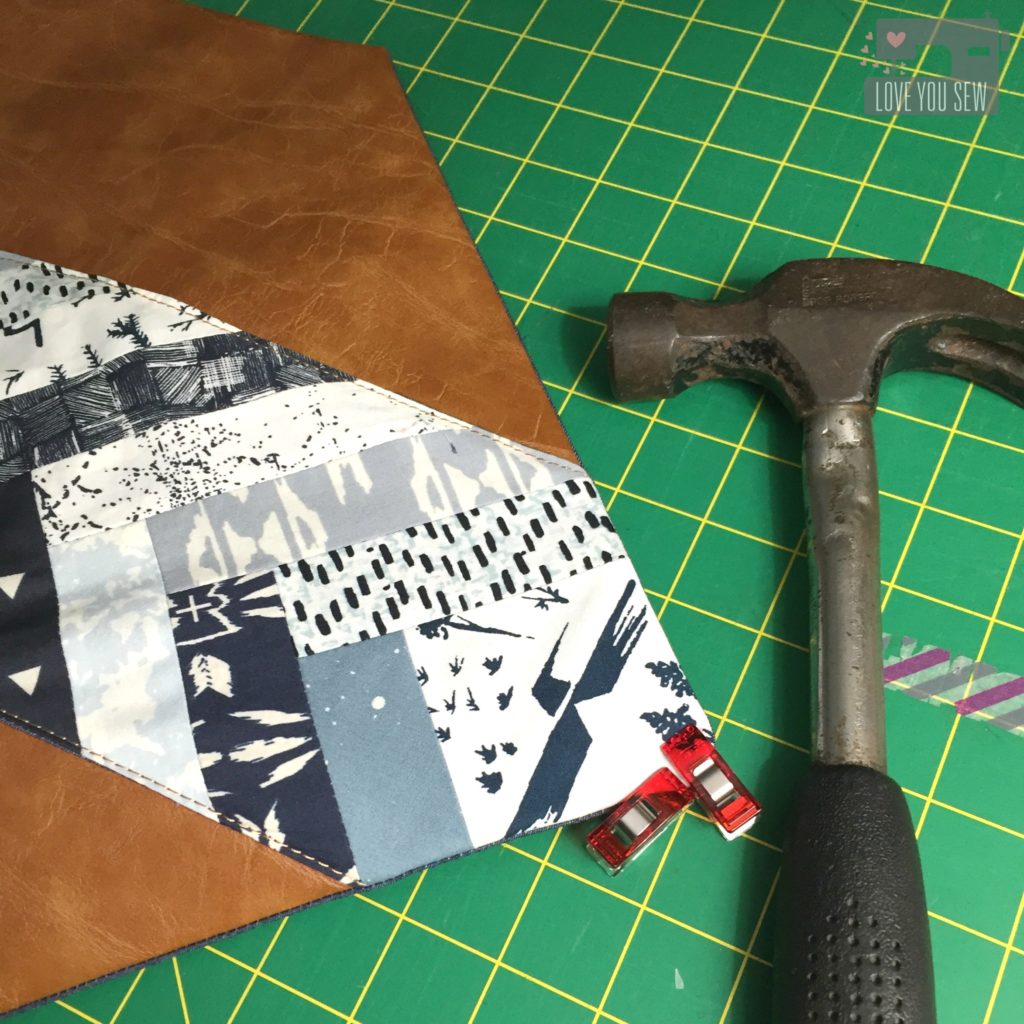
    • TIP:  Use Clover Clips on the edges to help them stay flat and/or hammer them as well.  Hammering helps to flatten the edges so top-stitching will be easier in the next step.  Test the hammer method on scrap to make sure the hammer doesn’t leave marks.
  4. img_7036Time to {finally} make the envelope!
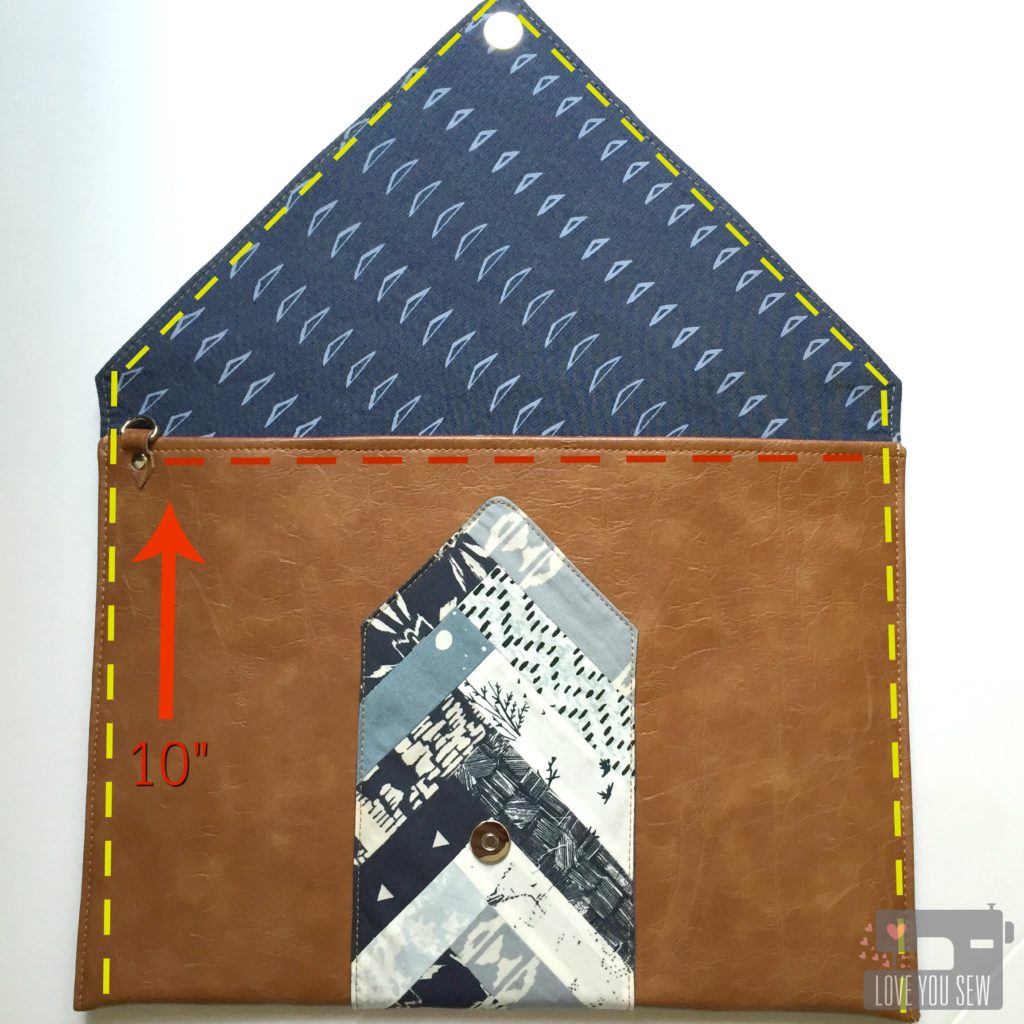
    • Top-stitch along the straight short-end of the body (red dashed line)
    • Fold the front of the clutch up 10″ to create the main pocket and secure the sides into place with Clover Clips
    • Top-stitch all along the clutch (following the yellow dashed line)
      • TIPS:
        • Use a large 16 or 18 needle to get through all the layers
        • Increase stitch-length to 3.5-4.0 and use your walking foot to achieve even stitches
        • GO SLOW so that you do not skip stitches
        • Hammer the edges again, if needed
        • Leave long thread tails so you can pull them through the lining and hide for a cleaner finish
    • Hide thread tails by pulling them toward the lining, knot, then bury.
    • Press the lining

img_7063

If you want to get extra fancy, you can add some additional finishes.  Some examples are:

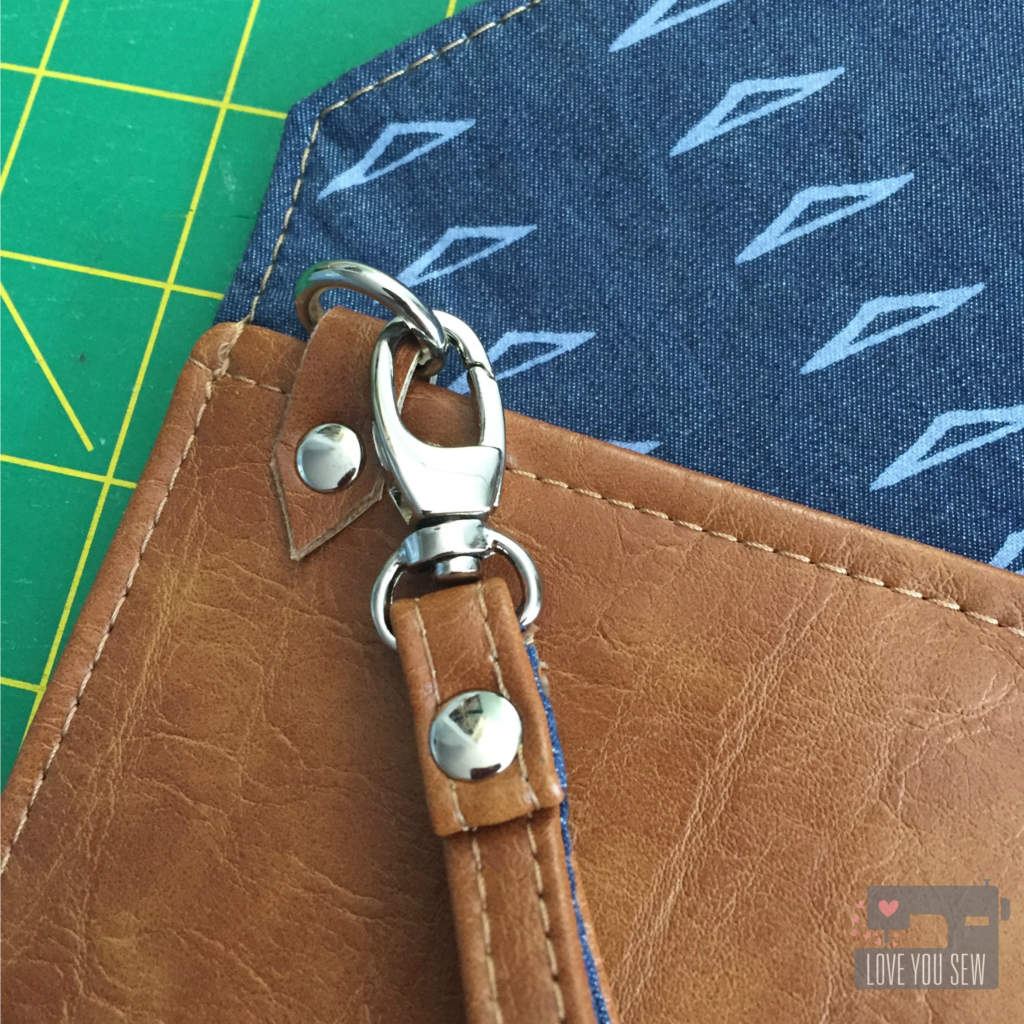
  • Sew a wristlet handle with hardware (as shown)
  • Just add the D-ring so you can attach some fun tassels.
  • Include a key fob on the inside
  • Attach rivets and grommets

img_7042


CONGRATS!!!  You have made a #LYSquiltedenvelopeclutch!  Please, please share your creations.  I would love to see them all!

As long as you credit Love You Sew with the pattern (because it took me a long time to write this all up,) you are free to sell the finished clutch.

Product Details (Sources in Links):

Plaid Flannel Cargo Duffle

CargoDuffleTitle

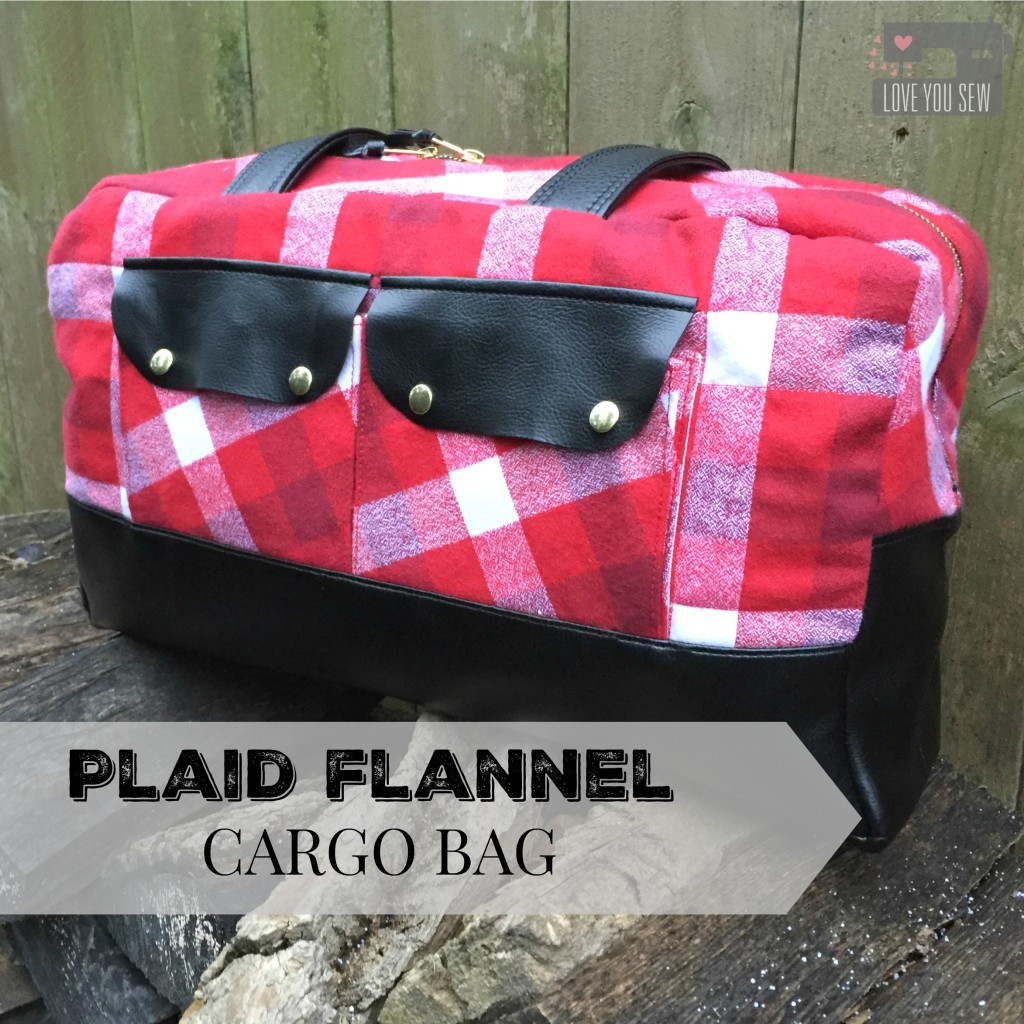
After I made my first Noodlehead Cargo Duffle for Sew Sweetness‘ Pursepalooza shown here, I quickly received a request to have one commissioned.  How many times has that happened to you?  However, the request came from my sister…so you know it turned into a gift instead 😉 Now that Christmas has passed, I can finally show you this version!

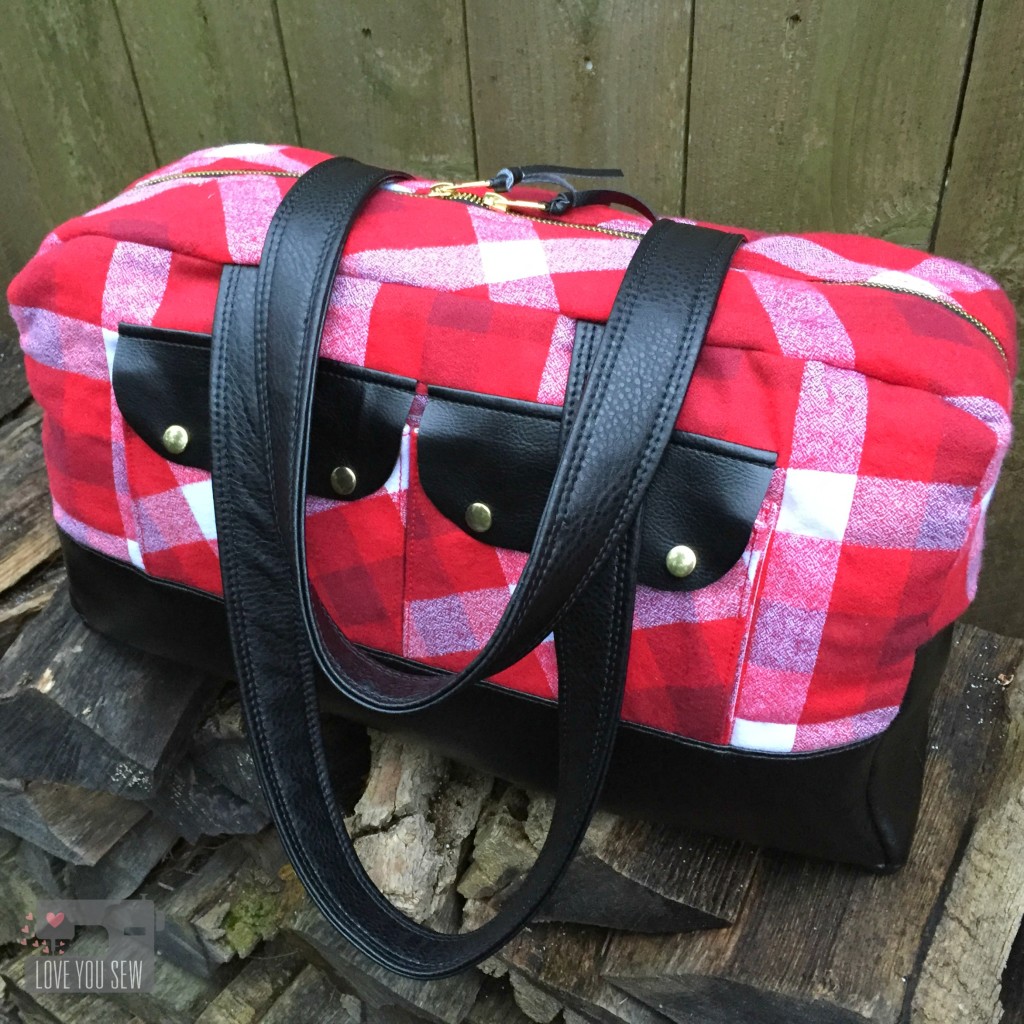
FullProfileWStraps

My sister wanted a plaid flannel just like my original…so of course, I went back to Robert Kaufman’s Mammoth Plaids.  They are just SO soft.  The black vinyl is “suede cloth” purchased from my local JoAnn’s.

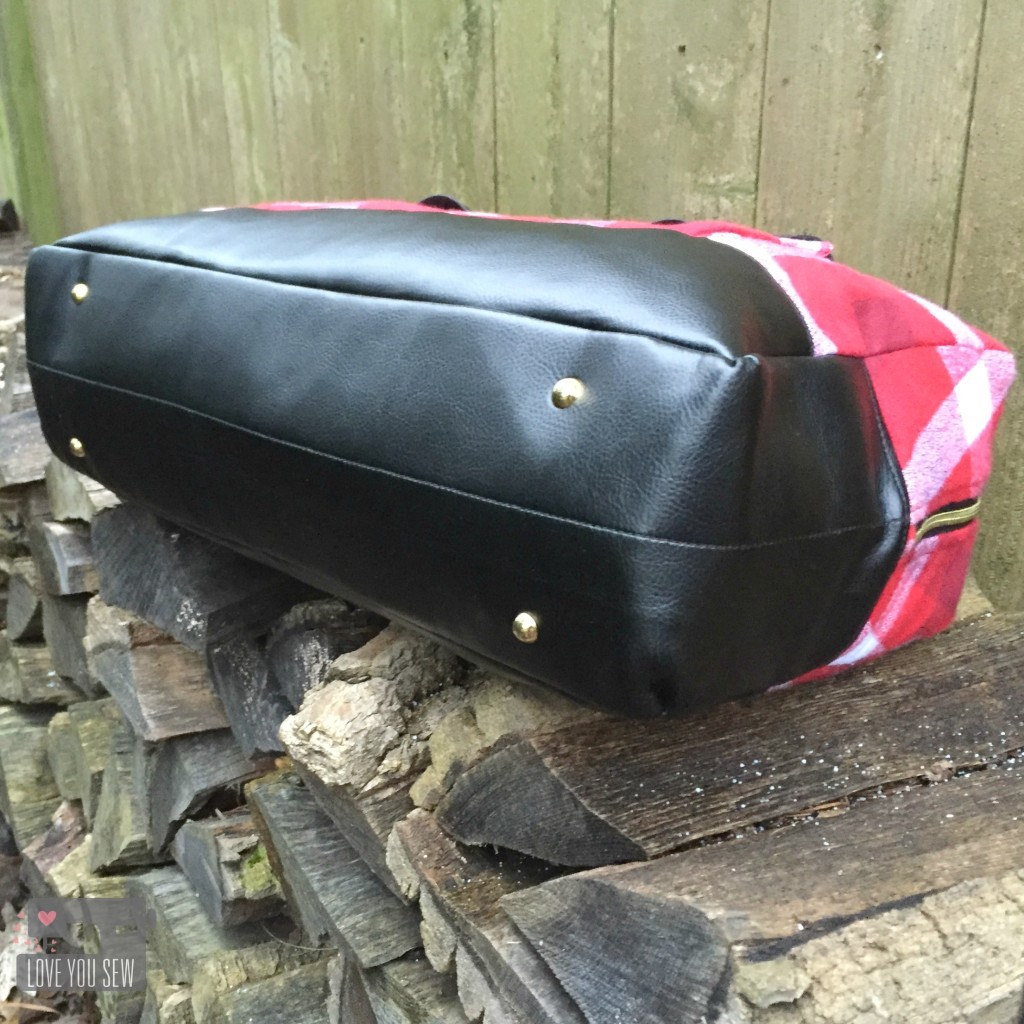
BottomFeet

Purse feet are a great added touch to make a bag look more professional.  These are from Emmaline Bags.  I adjusted the spacing to them vs my original to be a little closer together. They are approximately 14″ apart lengthwise and 1.5″ in from the outer seams.  The pocket snaps are from Tandy Leather.

DuffleTop

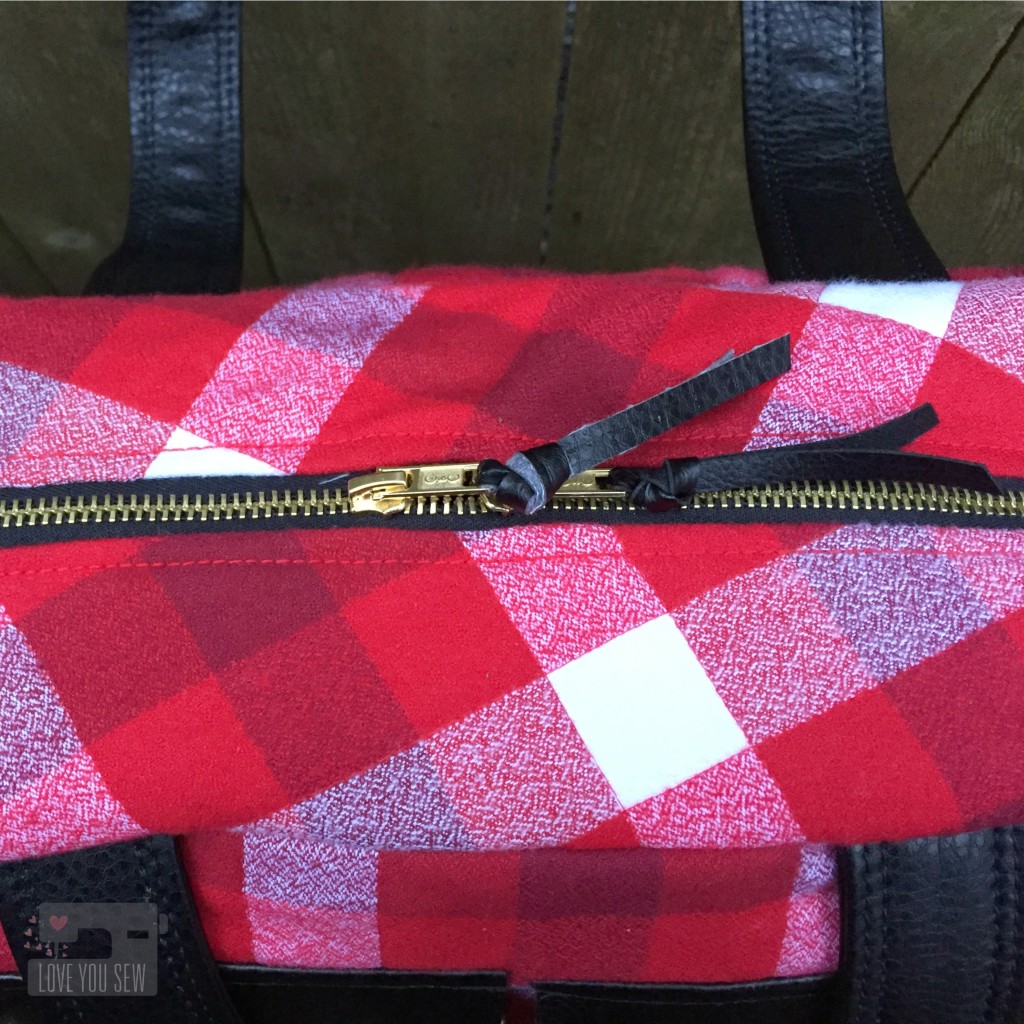
If I can use a metal zipper on a bag, I always will….they are just so pretty!  The outer zipper is a coverall style by Coats and Clark.  The interior zipper is YKK.

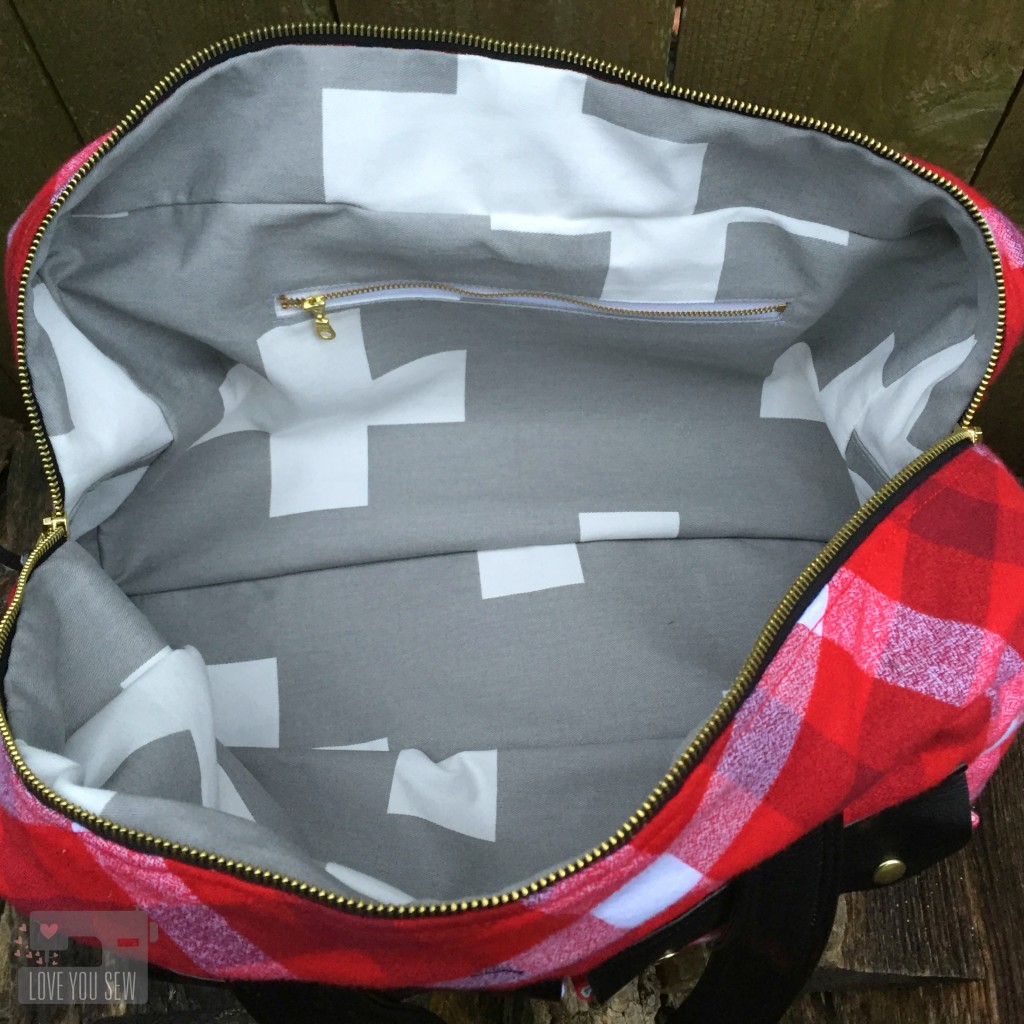
InsideView

The biggest difference with this bag is the interior.  I used this tutorial by Small Town Thread to create a drop-in lining.  I tacked the liner to the bag’s top corners then hand-sewed it to the zipper.  This was just to keep the look clean and keep any extra fabric away from being snagged into the zipper.

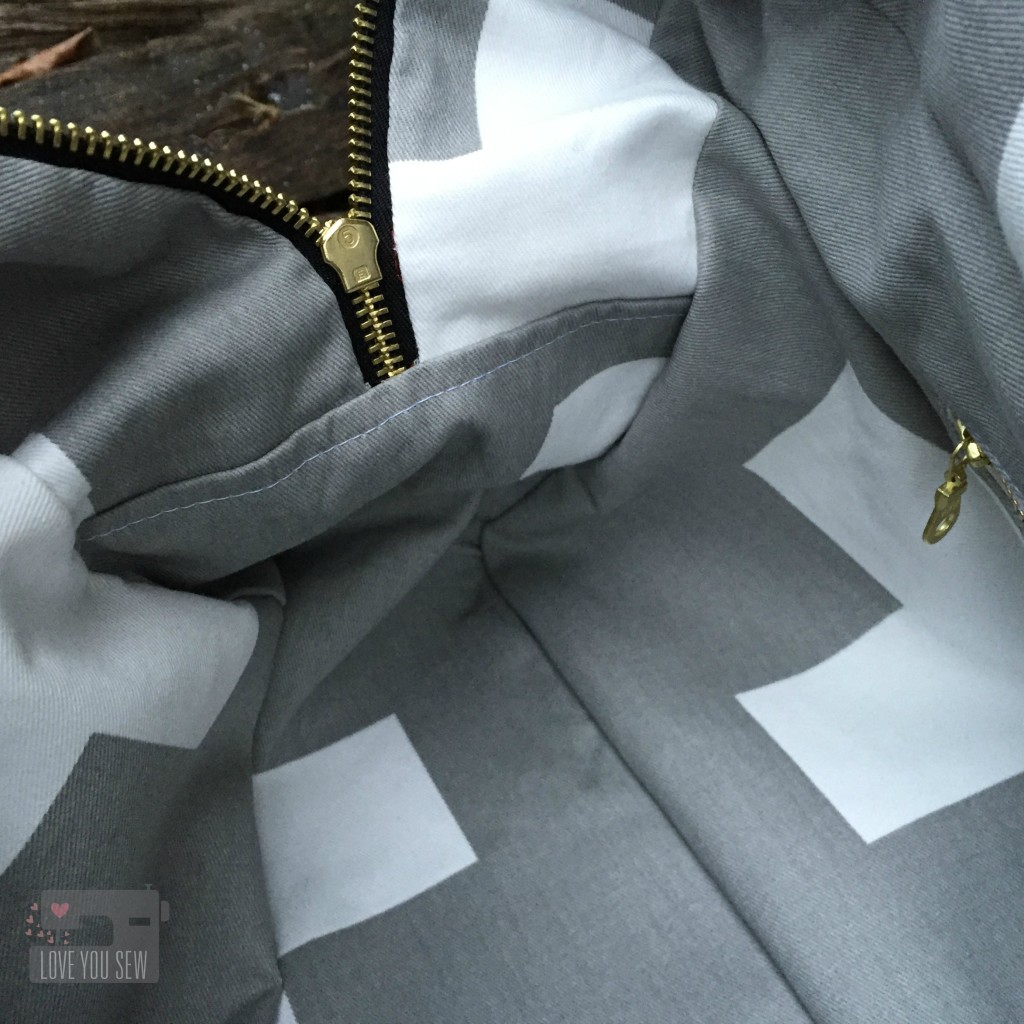
InteriorCloseUp

I use a lot of Premier Prints home dec fabric and this interior fabric is no different.  It is the larger Swiss Cross pattern.  This fabric complements the red and black exterior while echoing the plaid design as well….I really love it 🙂

I’m happy to report my sister loves this bag as well!  She is one of my strongest supporters and also one of my best salespeople.  It is quite flattering that she wanted one of my bags to go alongside all of her designer ones.  Now I’m off to make her another bag….haha!  It never ends, right?!? 😉


xoxo – Cristy


Aeroplane Bag: Pattern Review with Vinyl & Satin

AeroplaneTitle

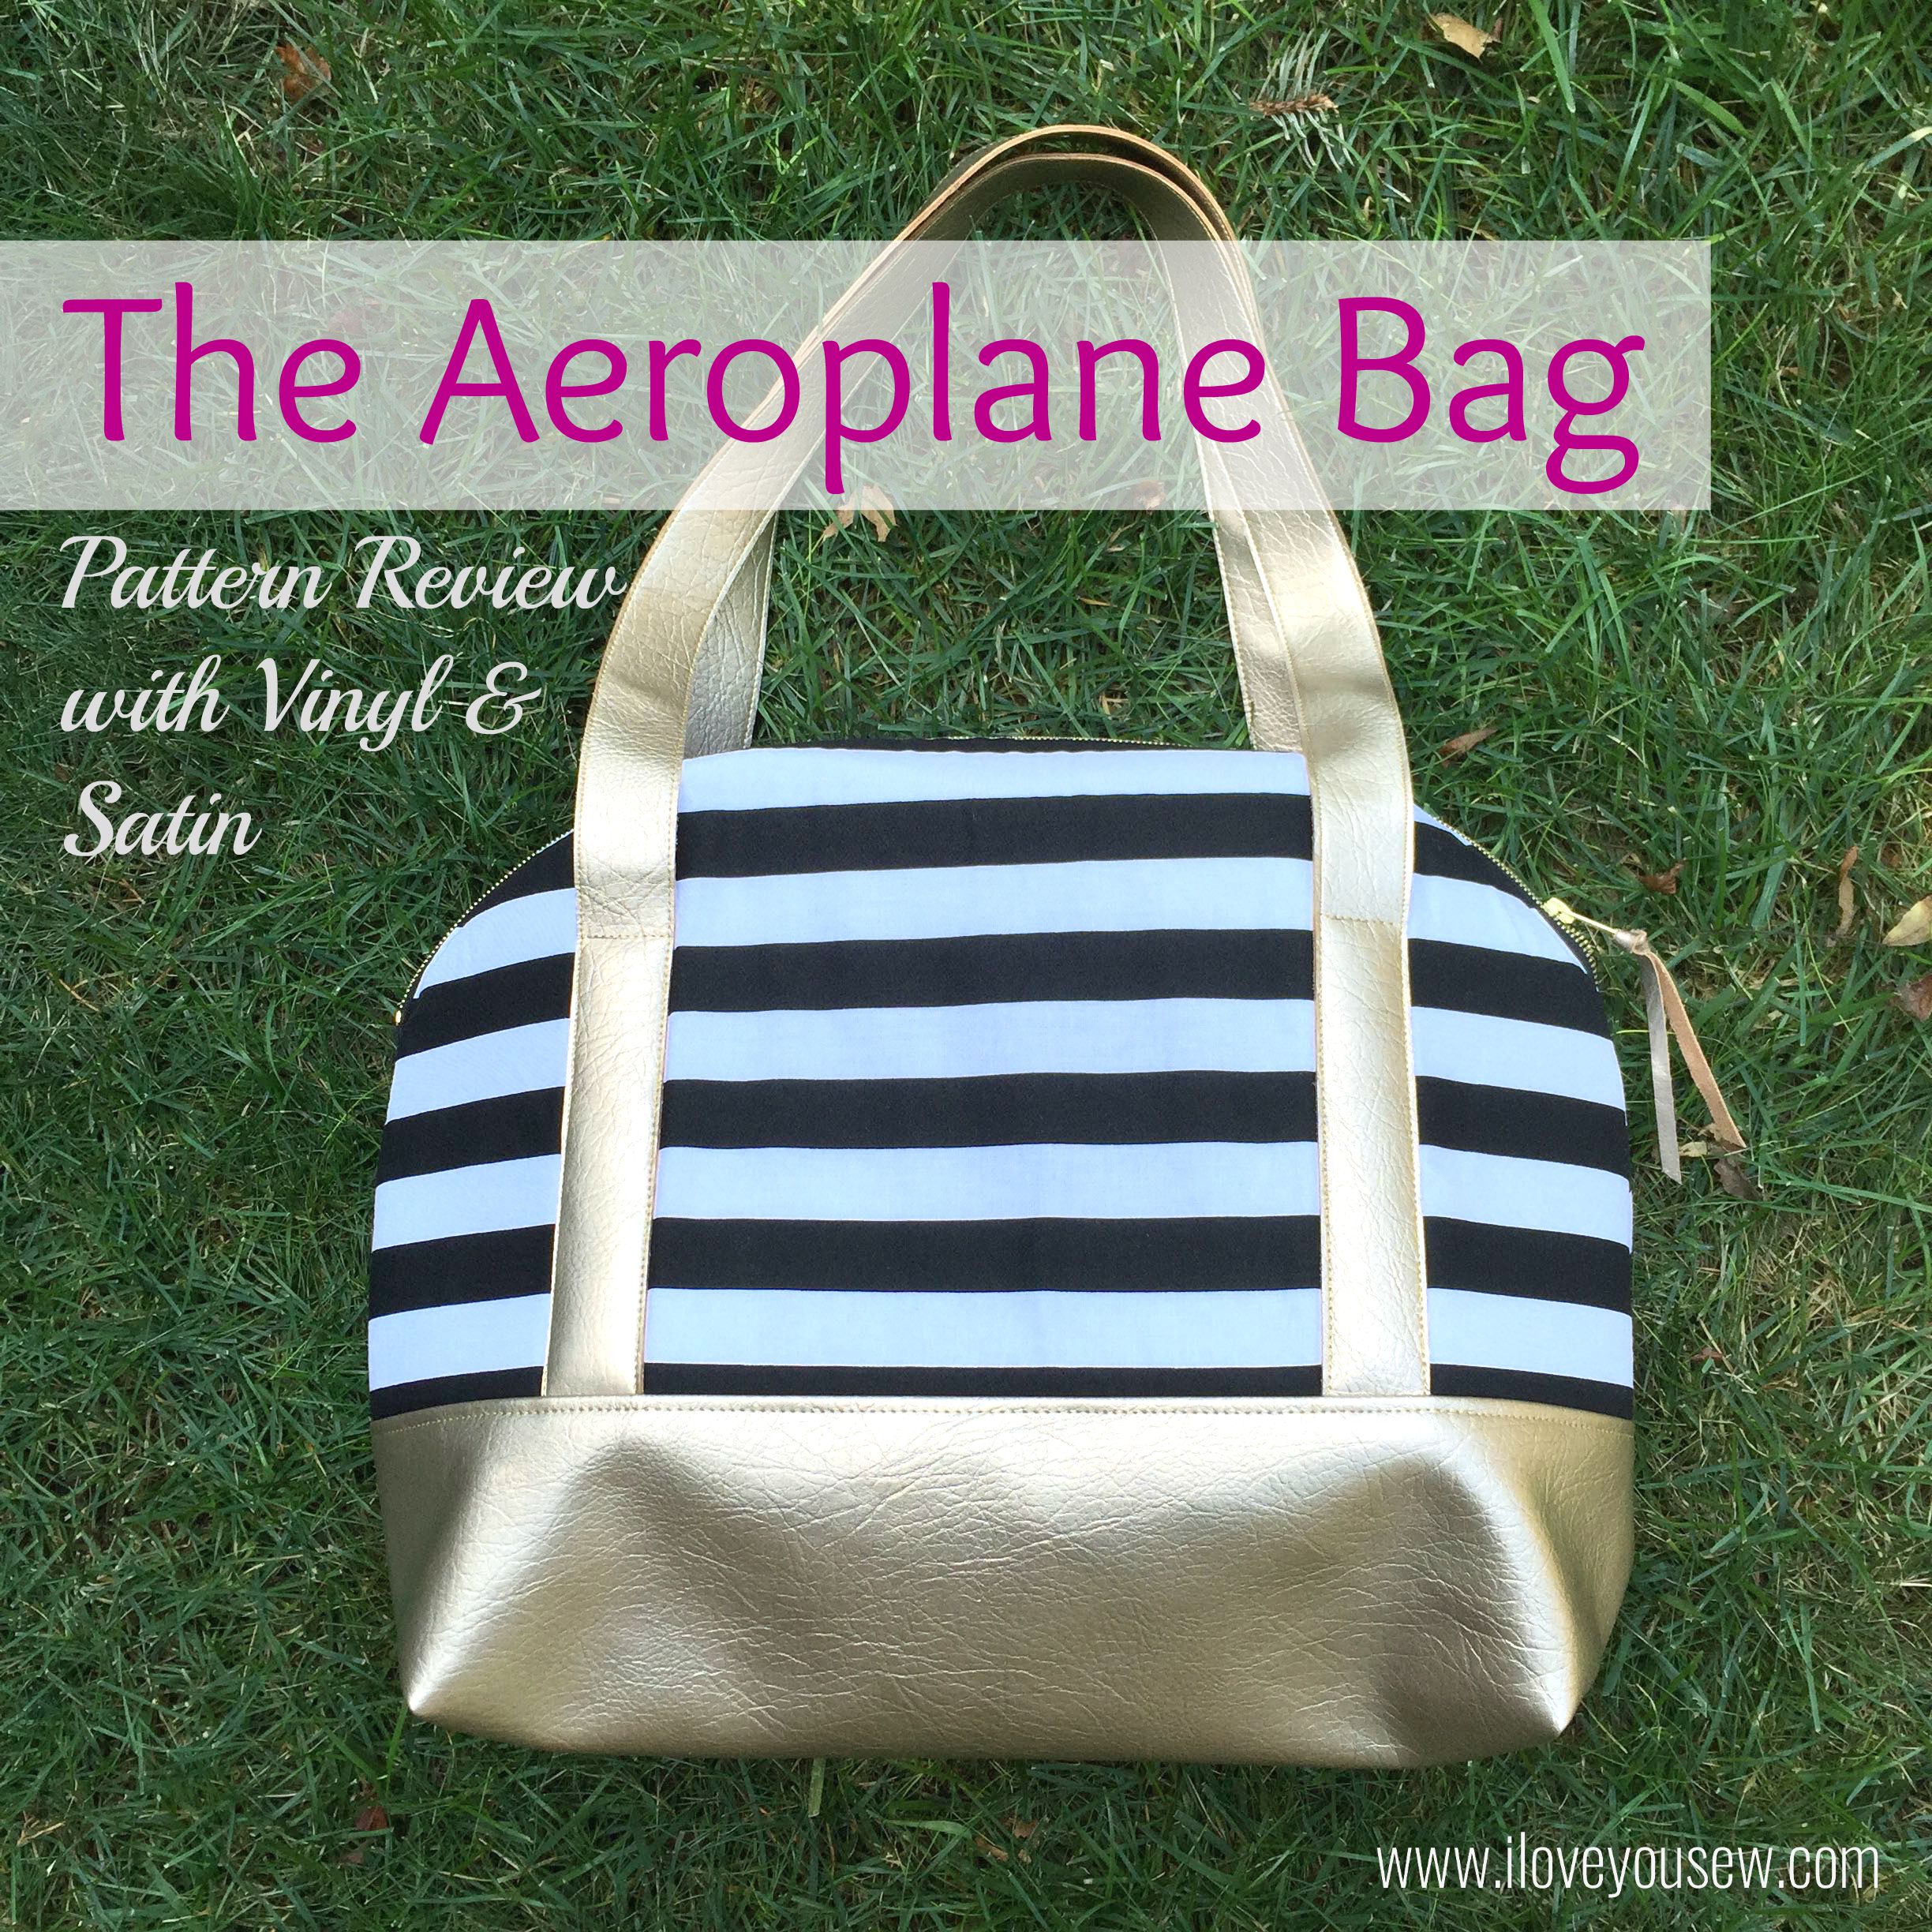
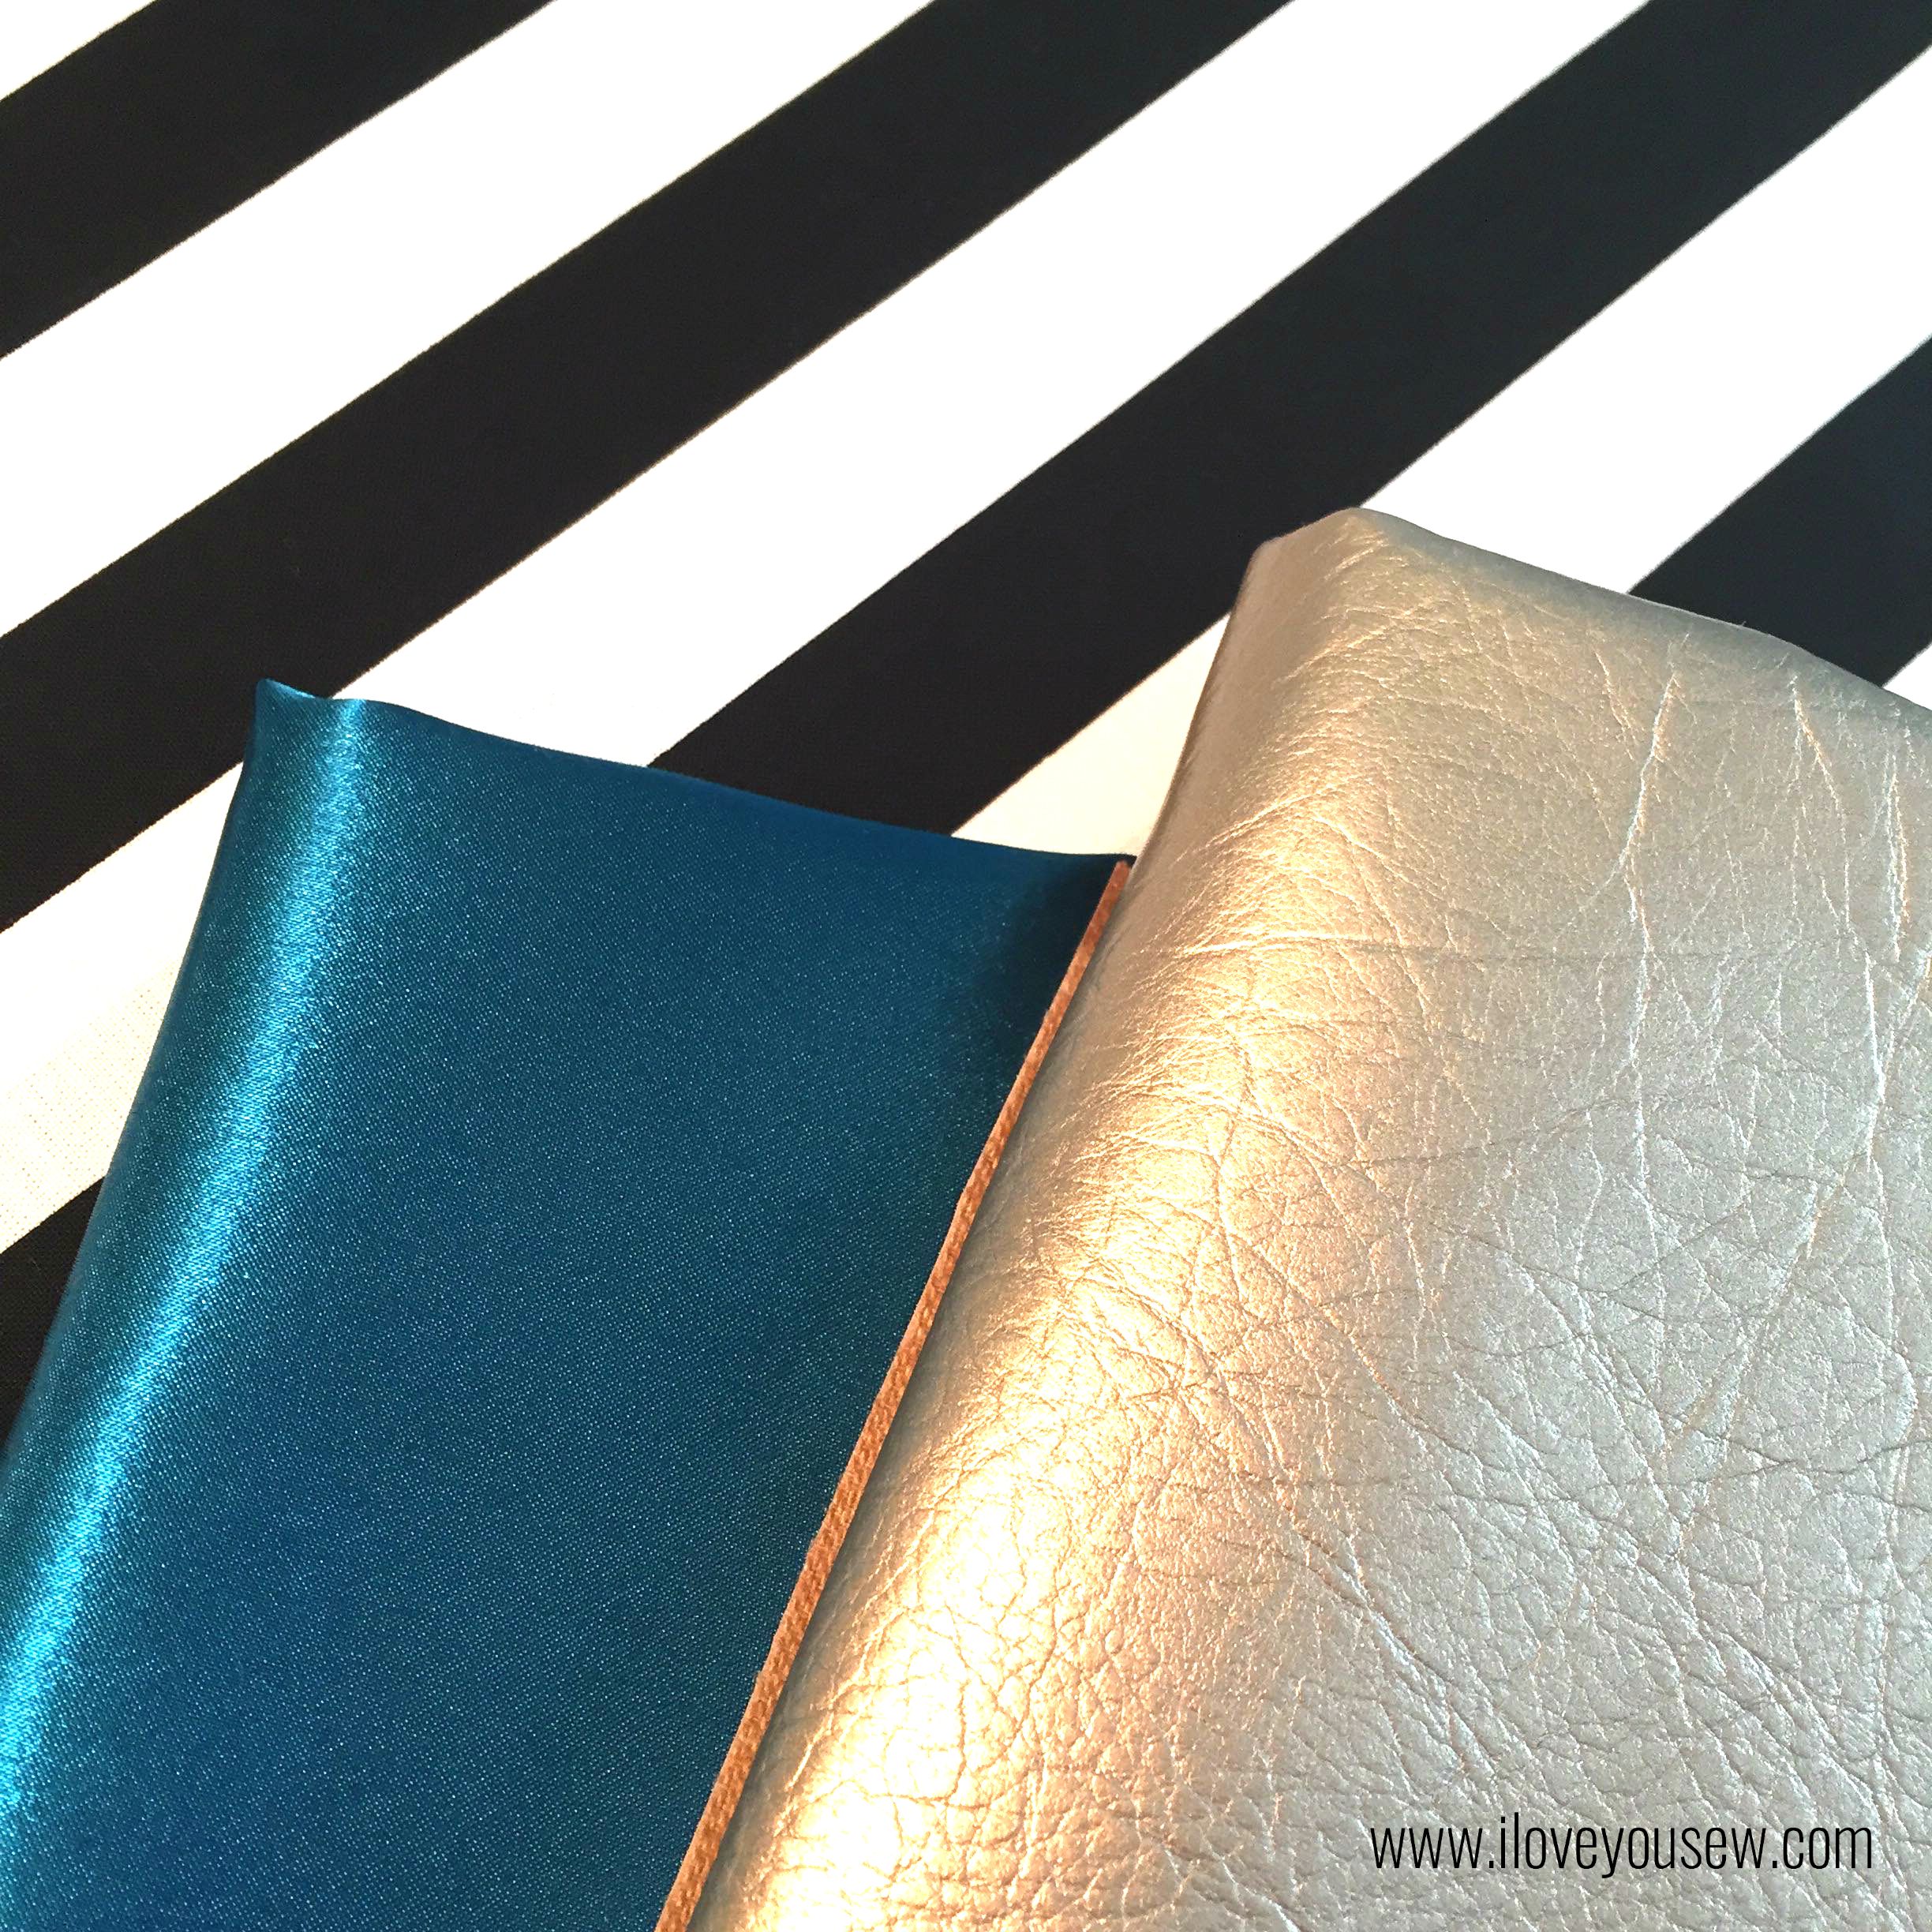
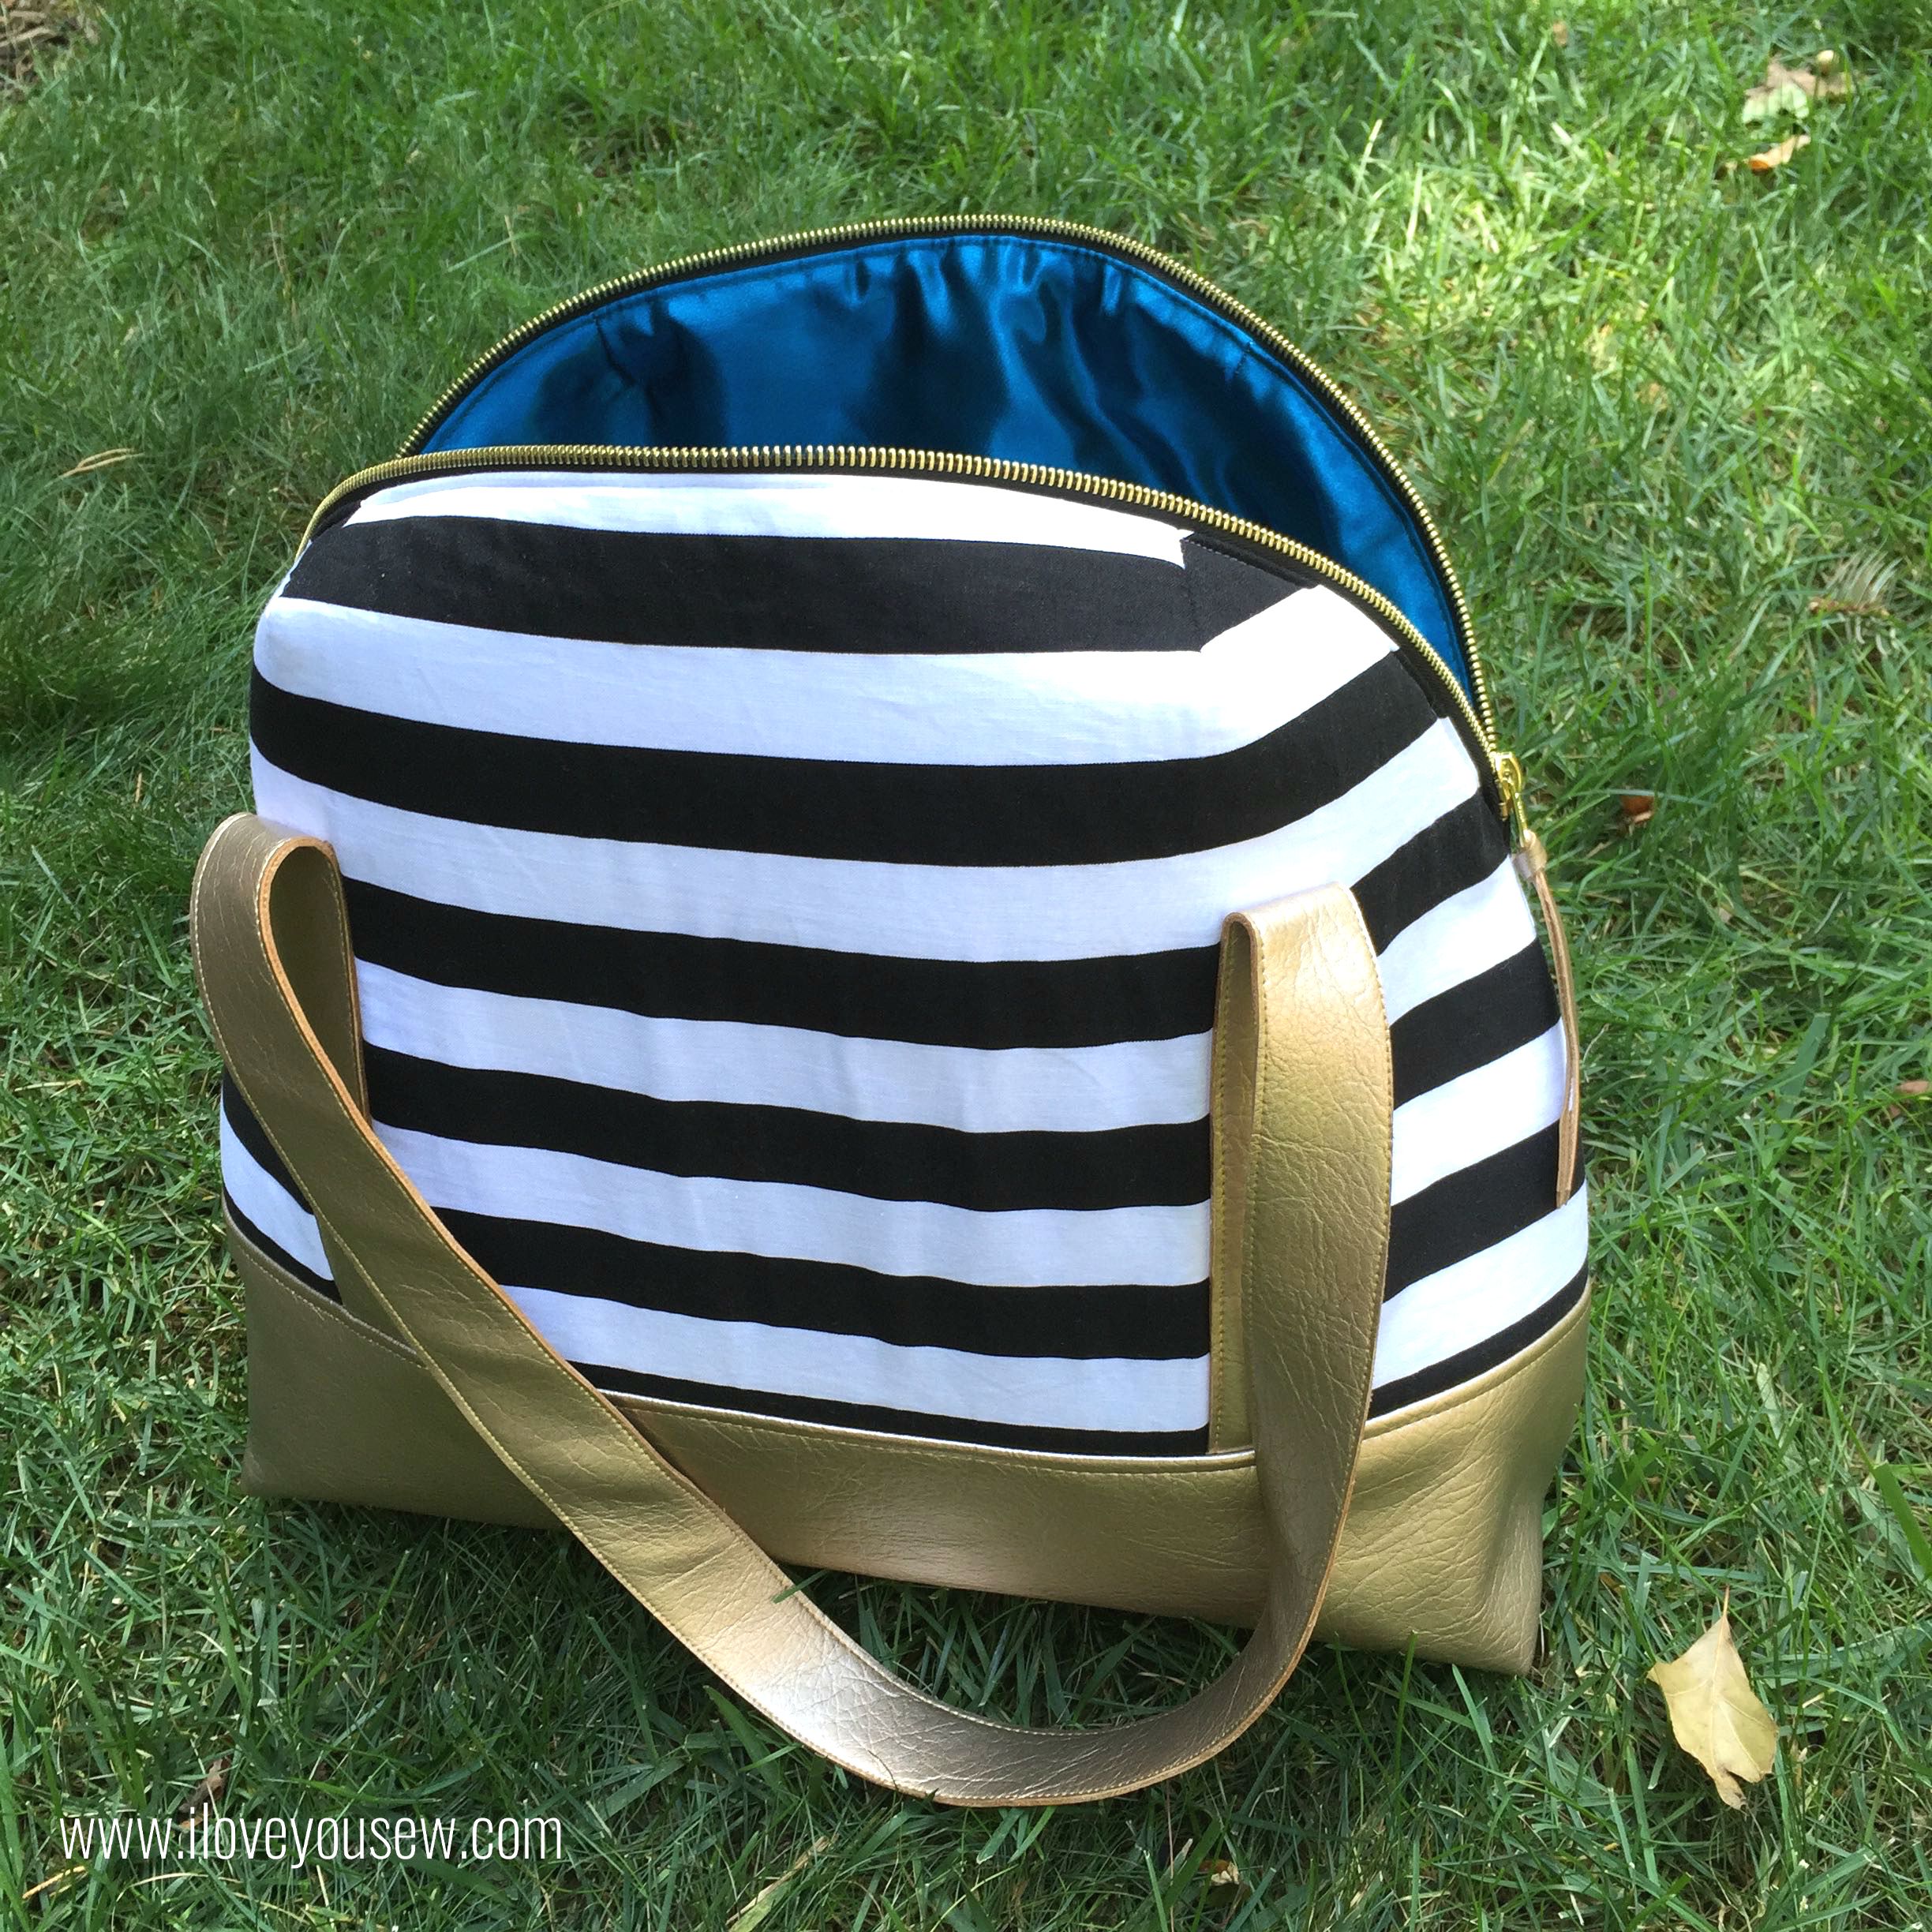
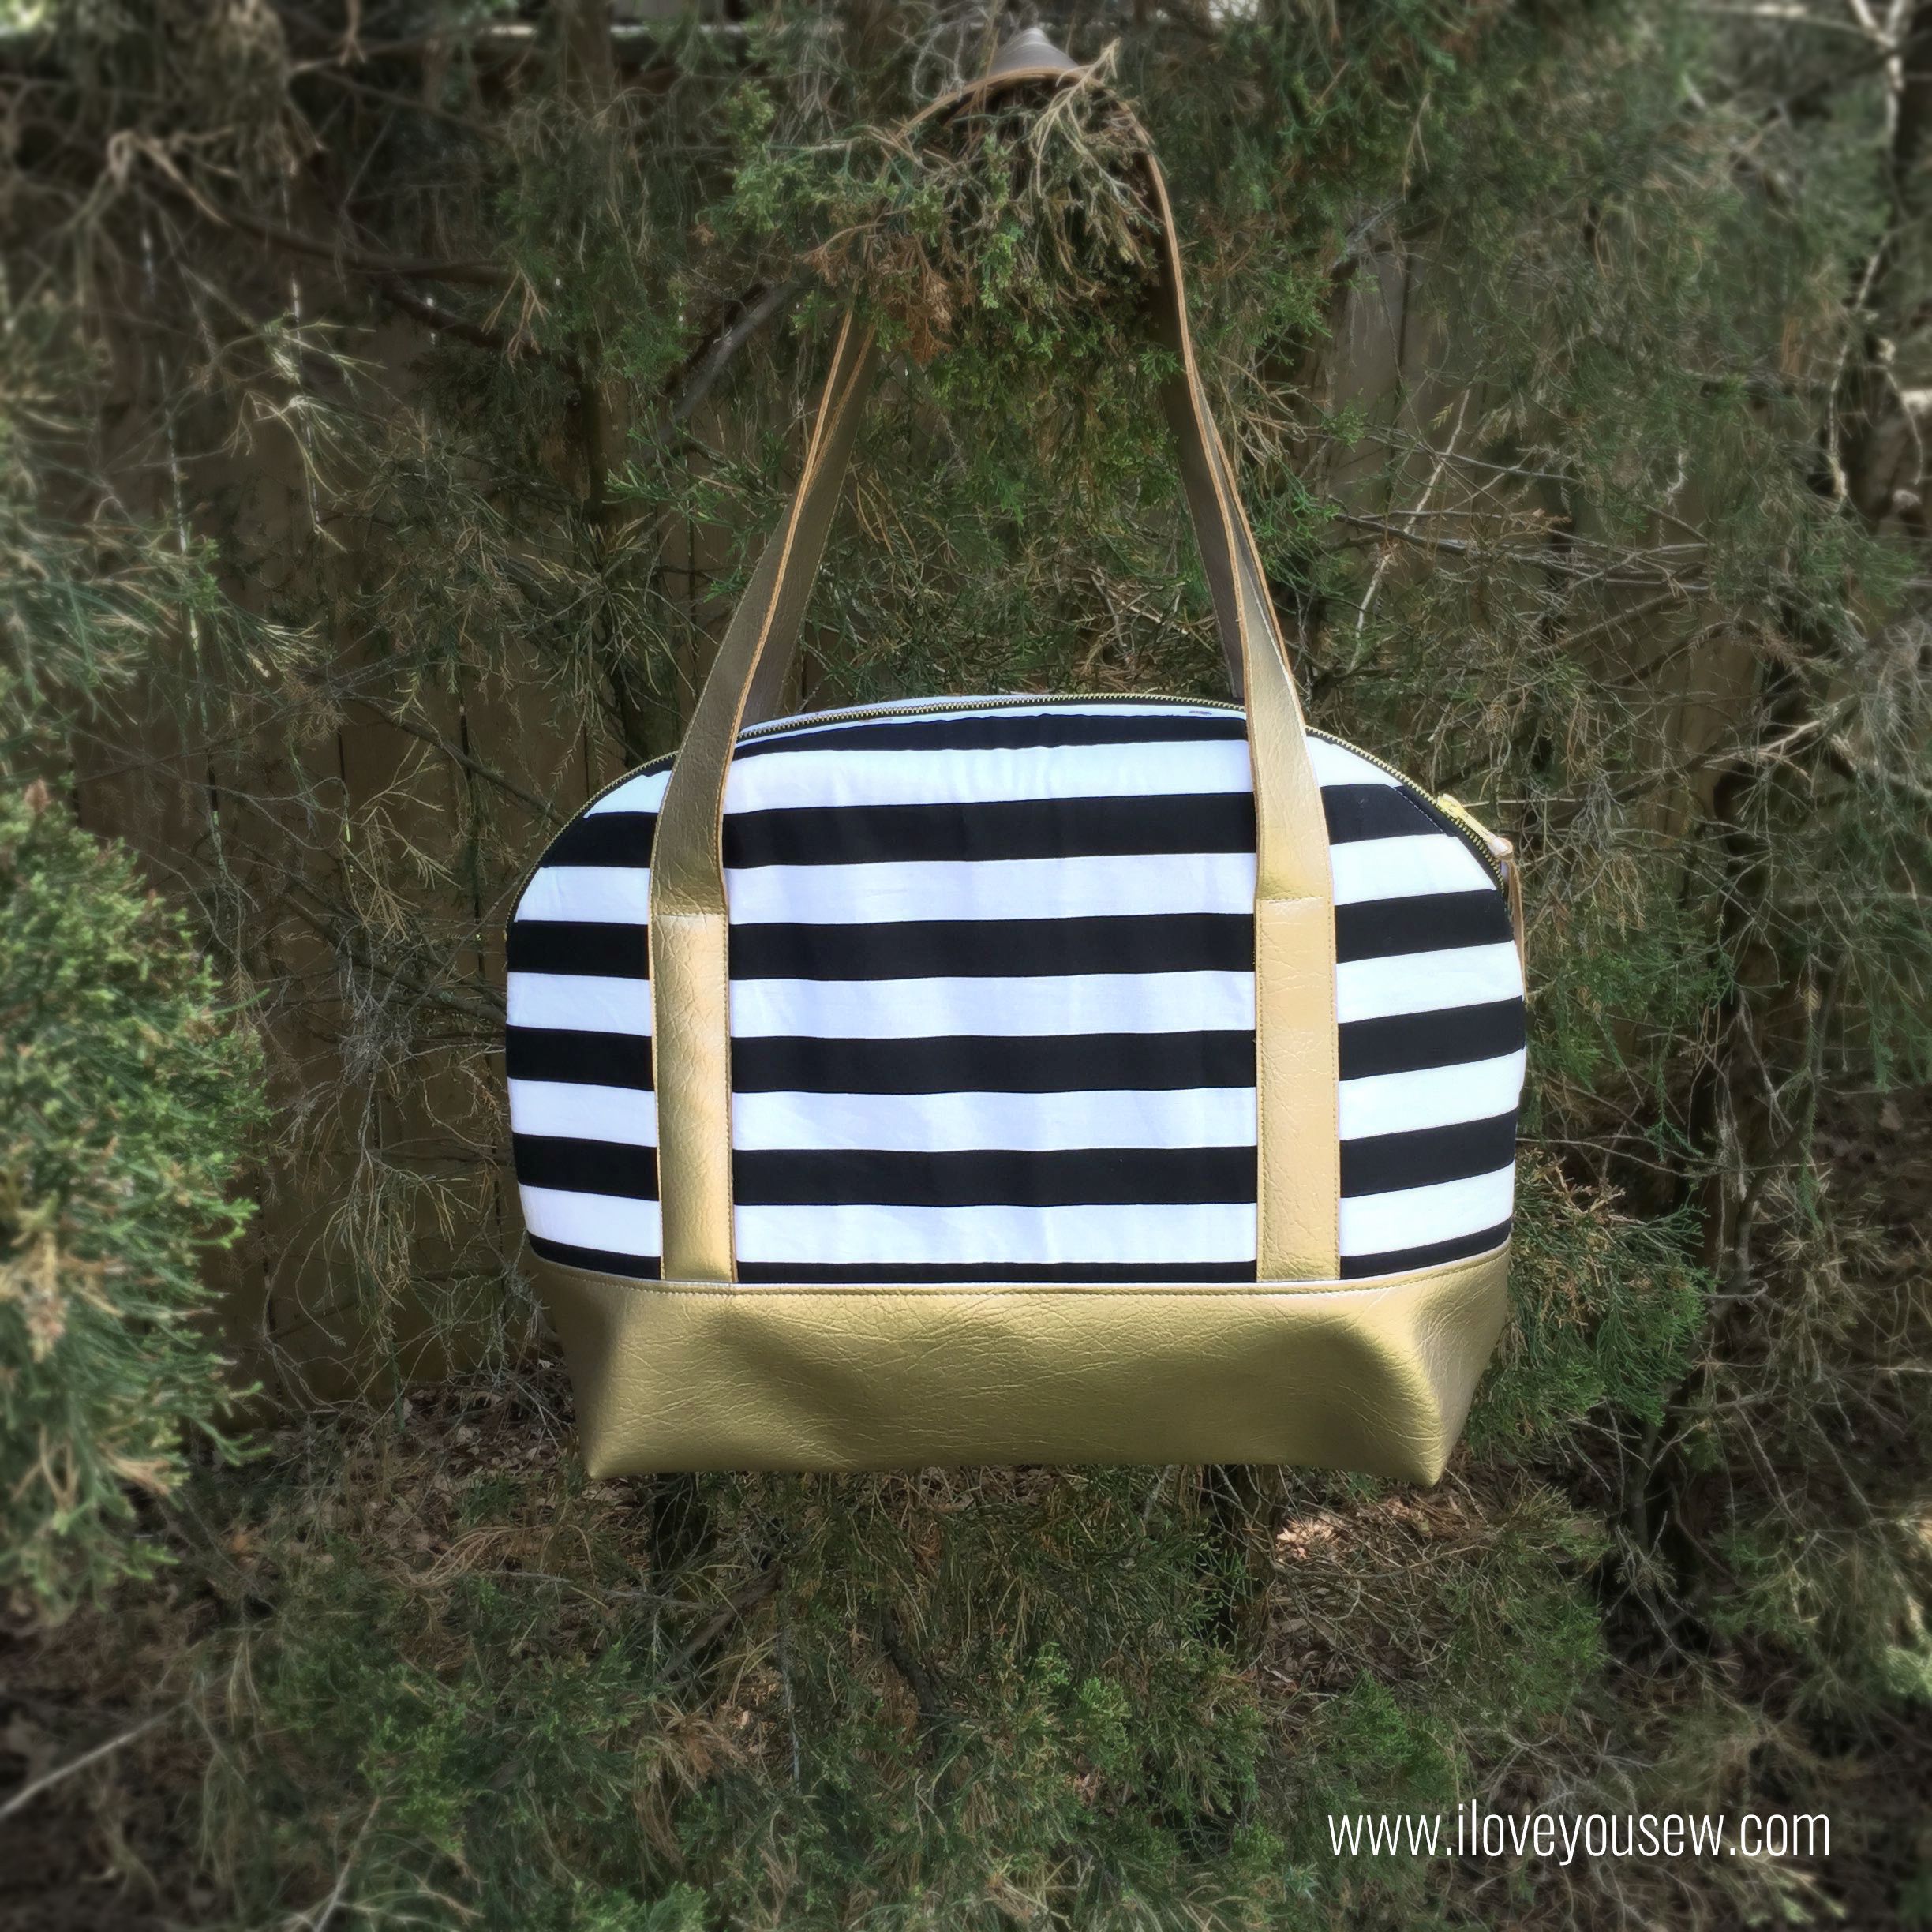
I know there are a ton of pattern reviews on Sew Sweetness‘ beloved Aeroplane Bag, but I REALLY love how the gold metallic vinyl (pleather), bold stripes and teal satin turned out!  I was debating if it deserved a post, but after so much love on IG, I decided to share what I made and what I learned on the way 🙂


AeroplaneFabricPull

This fabric pull was inspired by my good friend over at Platopoo.  We made a crafty trade – she made me some awesome vinyl cut t-shirts and I would make her a custom bag.  I love a good barter…don’t you???  Well, her business cards are black and white stripes with some gold accents and I wanted to kick up this bag a notch, so we came up with this great combination:


StrapsandBottomSewn

Vinyl Strap Collage


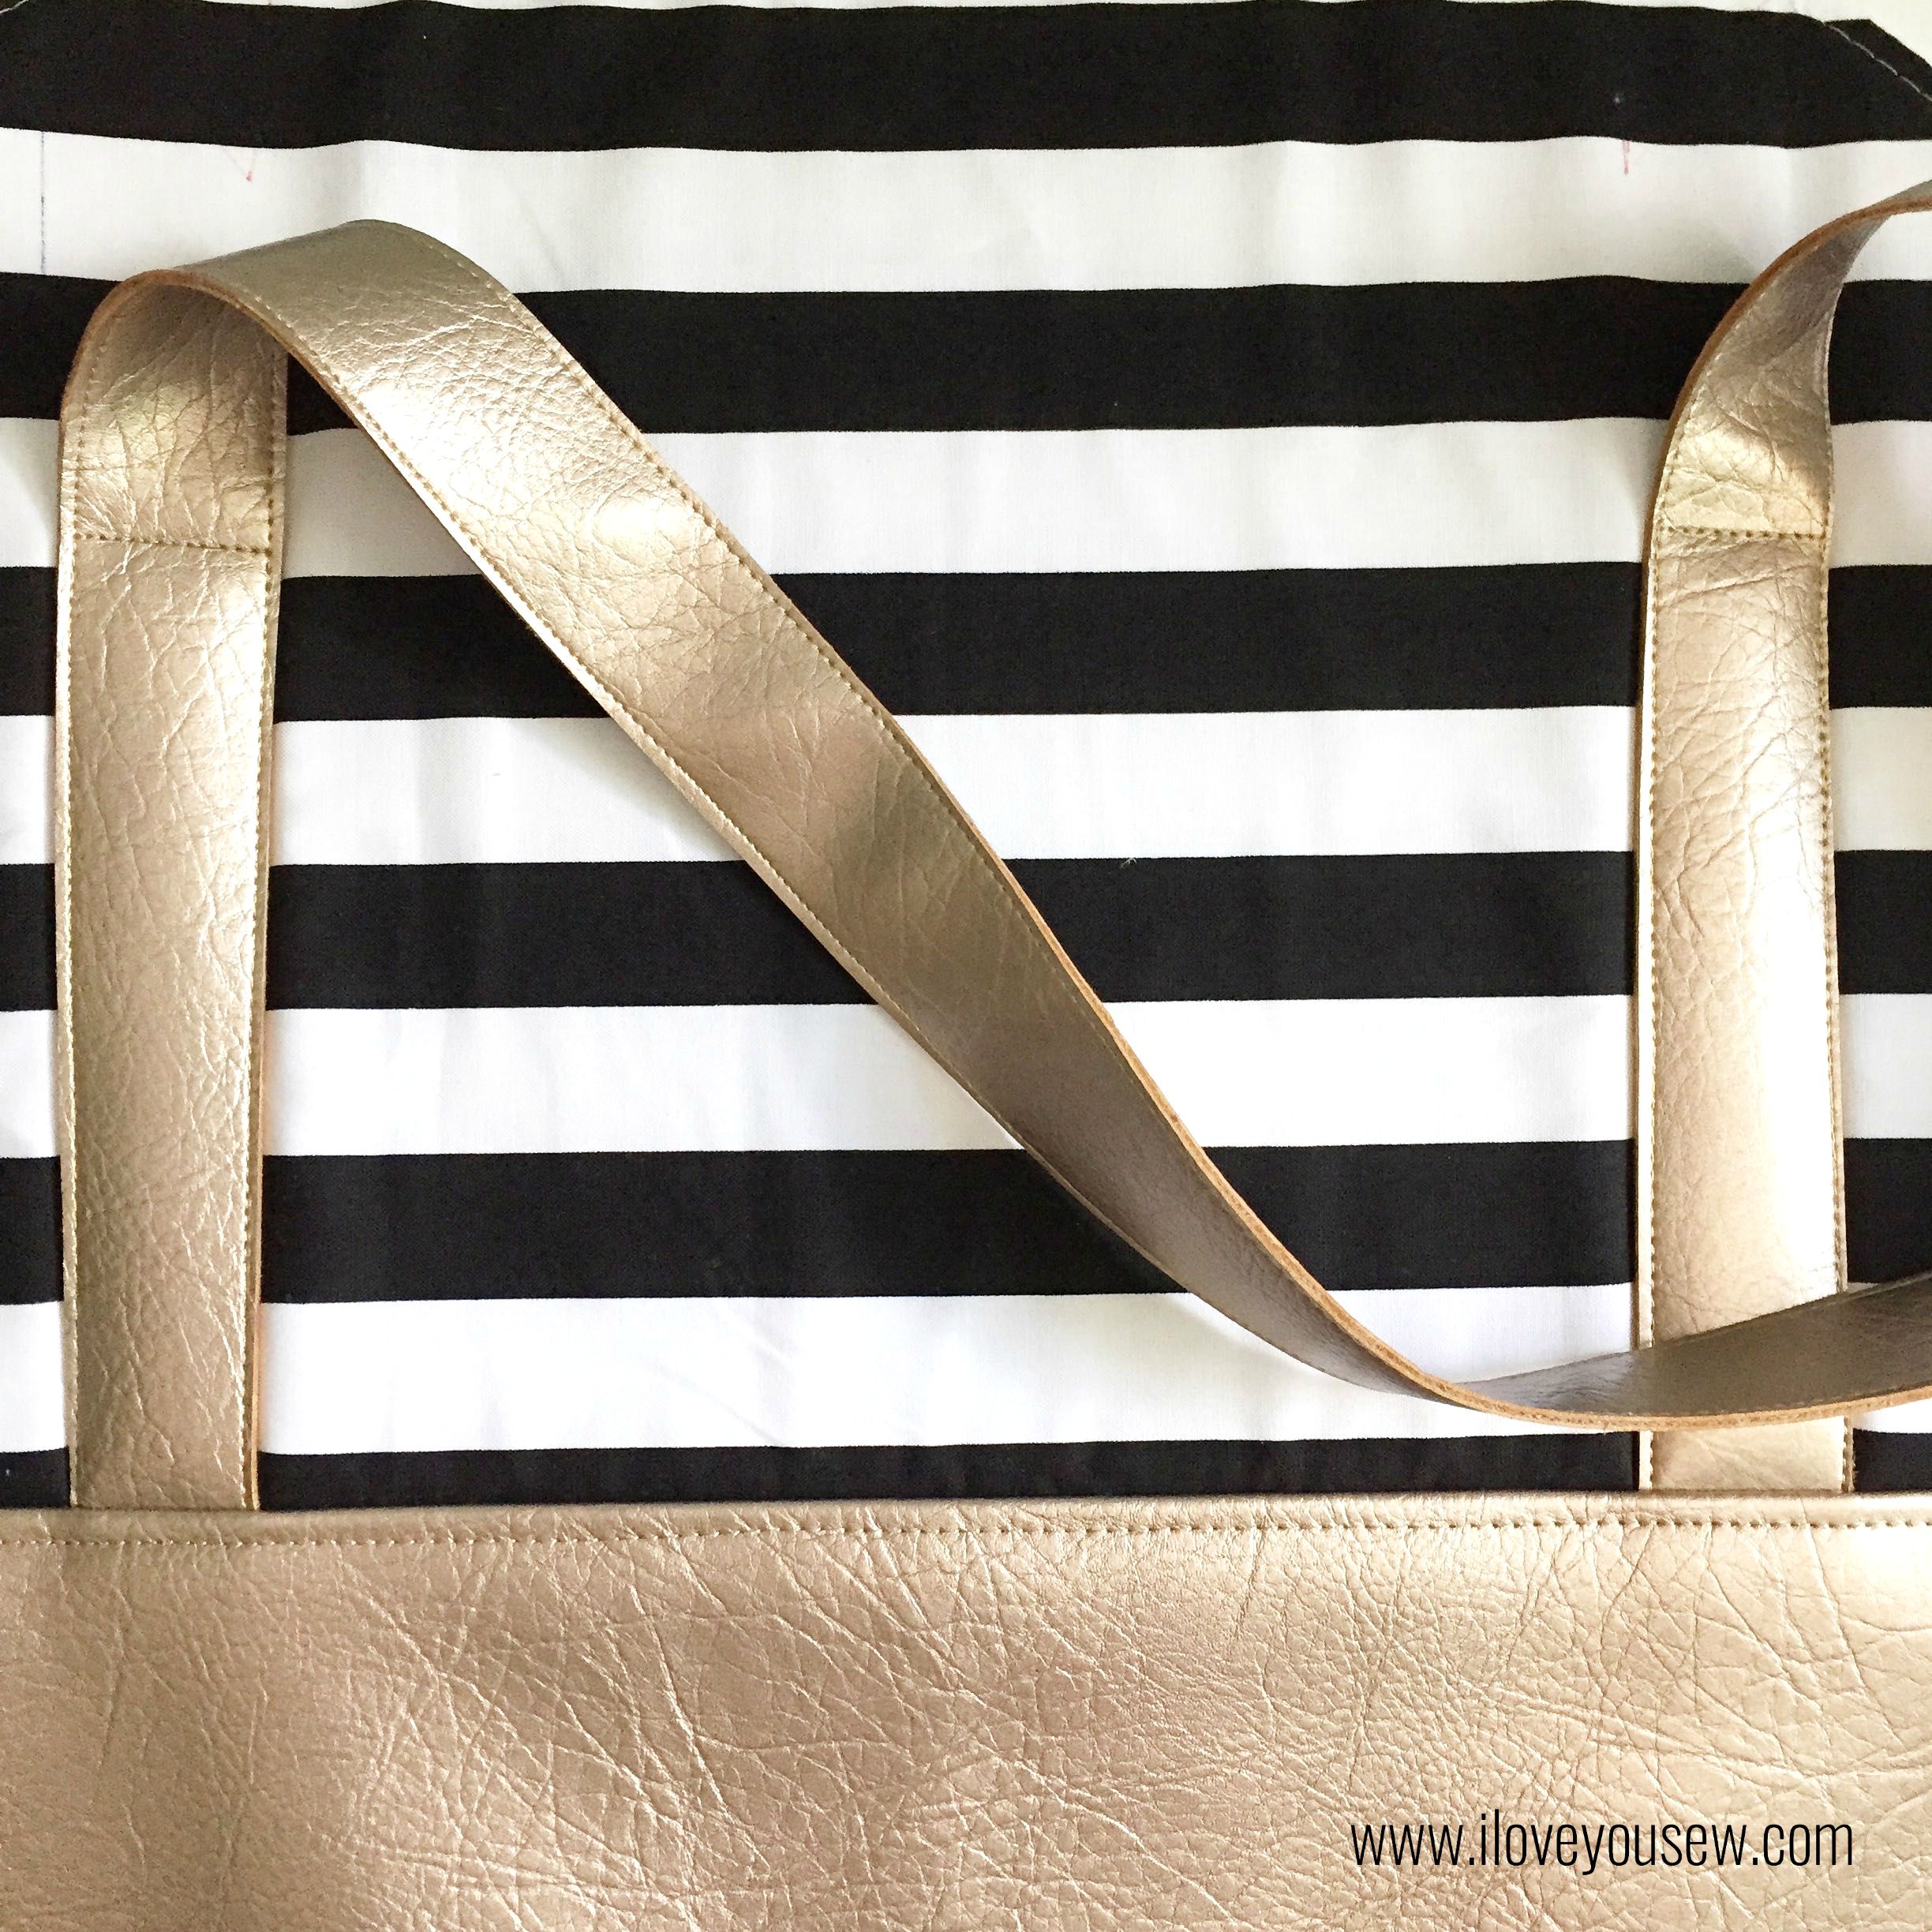
Since I was using the vinyl for the bottom and straps, there were a few adjustments that had to be made:

  • Omit the strap interfacing
  • Cut 2 straps to 1.5″ width. Since the WOF (width of fabric) on the vinyl is 54″, the straps were then cut to 42″ in length
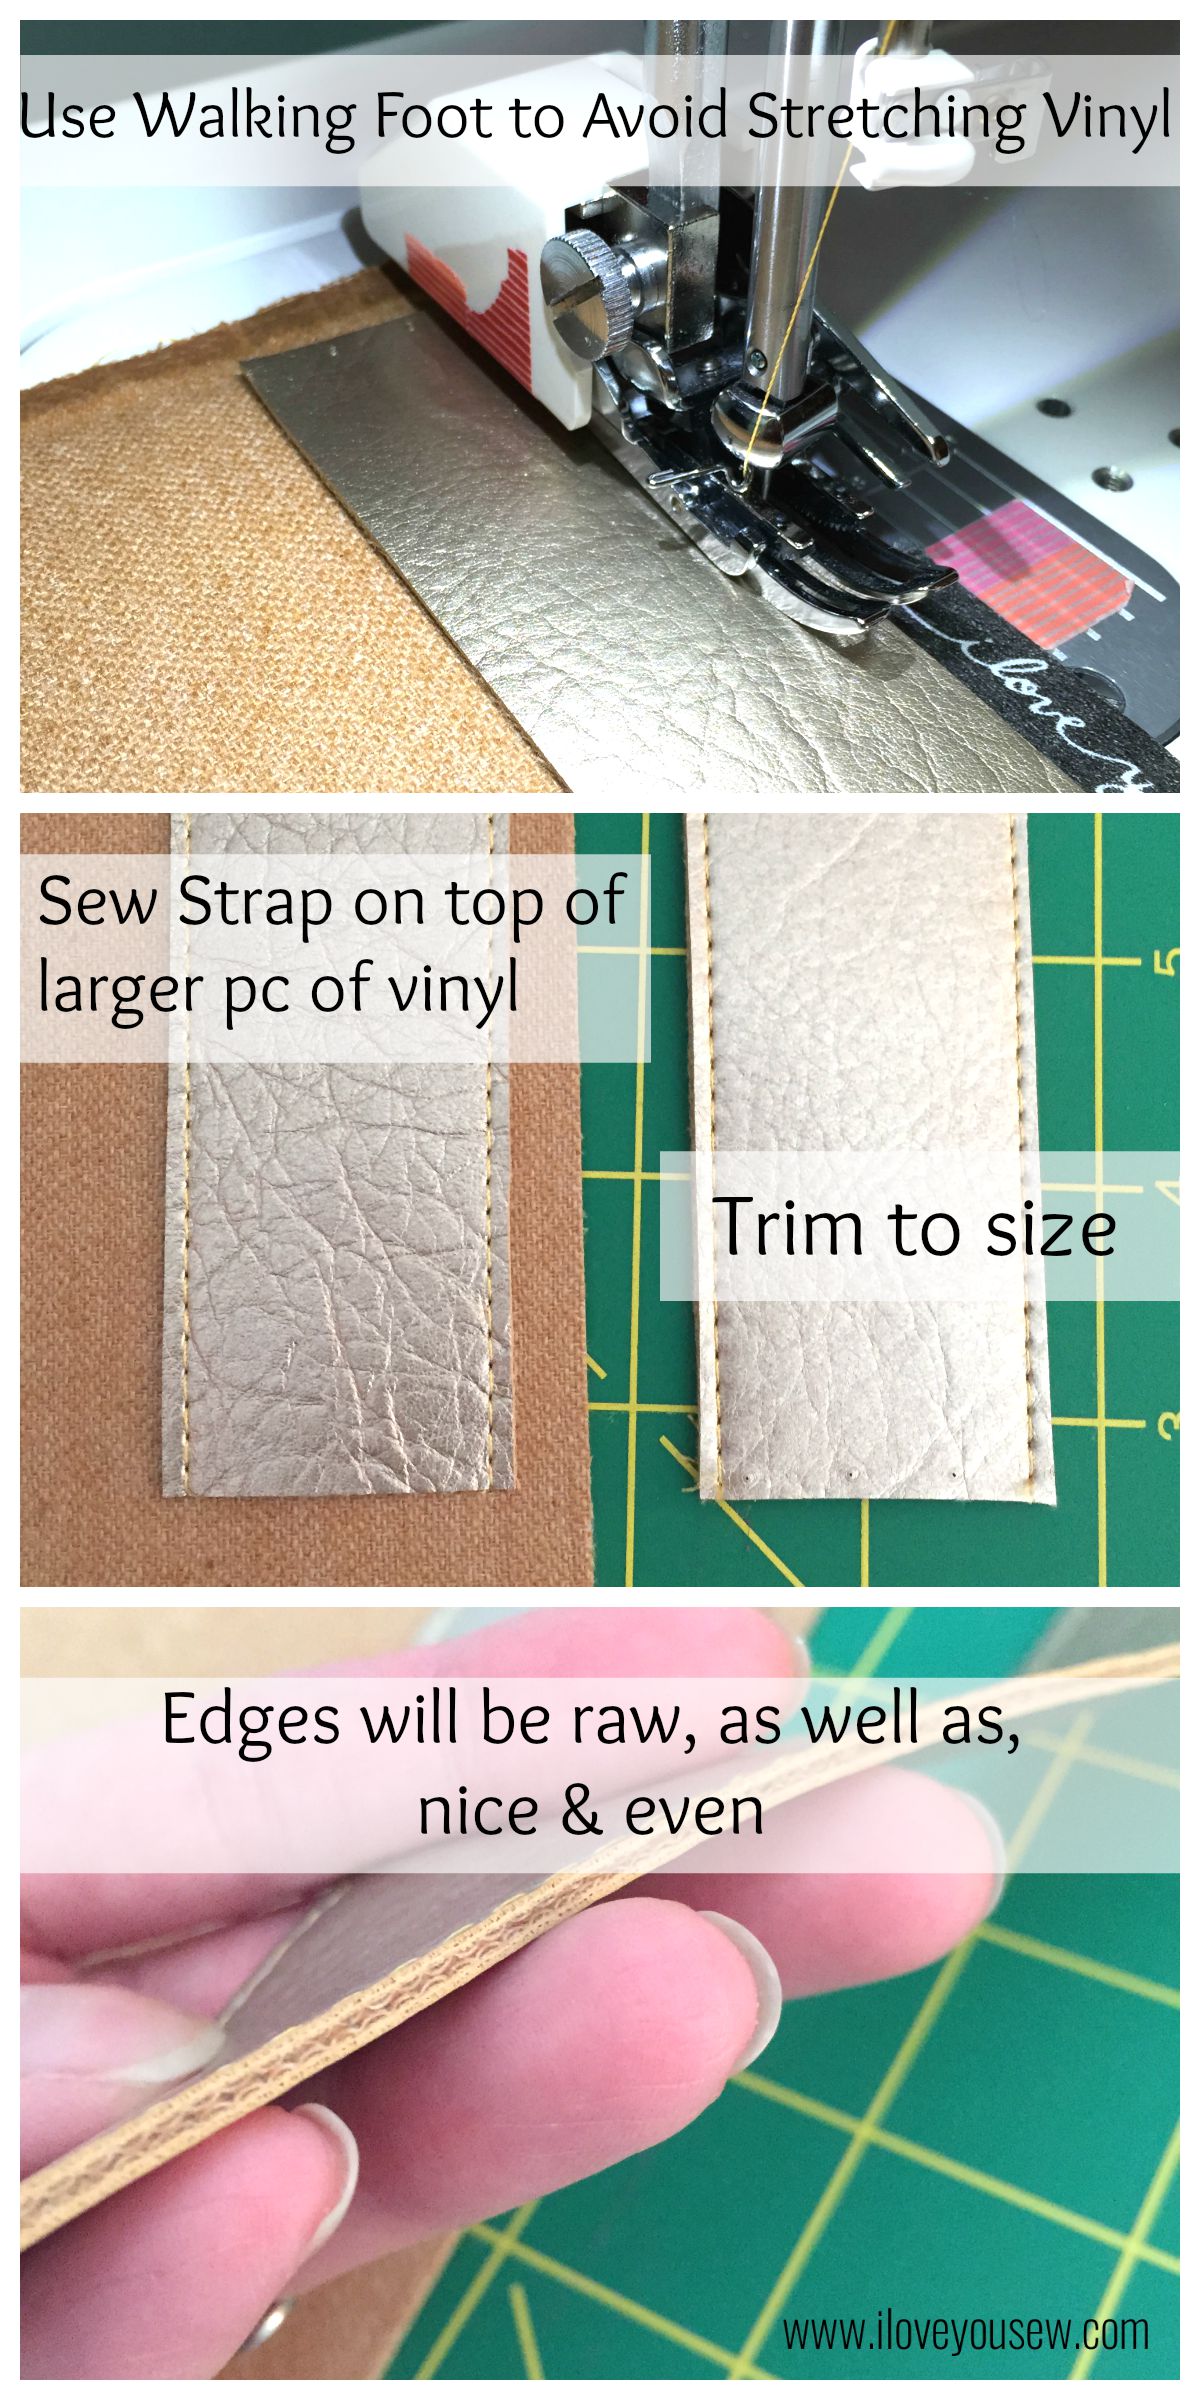
  • TIP: Take one 1.5″ x 42″ strap and sew it onto a larger piece of vinyl. Sew with 1/8″ seam allowance.  Trim the excess of the larger piece to size. Repeat with 2nd strap. (This allows you to have even top and bottom strap pieces.)
  • Be sure to use your walking foot to not stretch out the vinyl
  • Edges of the straps will be raw. You can use some permanent fabric glue or Fray-Check to “seal” the sides if you wish.  Some vinyls do fray the slightest bit over time…


ZipperGrill

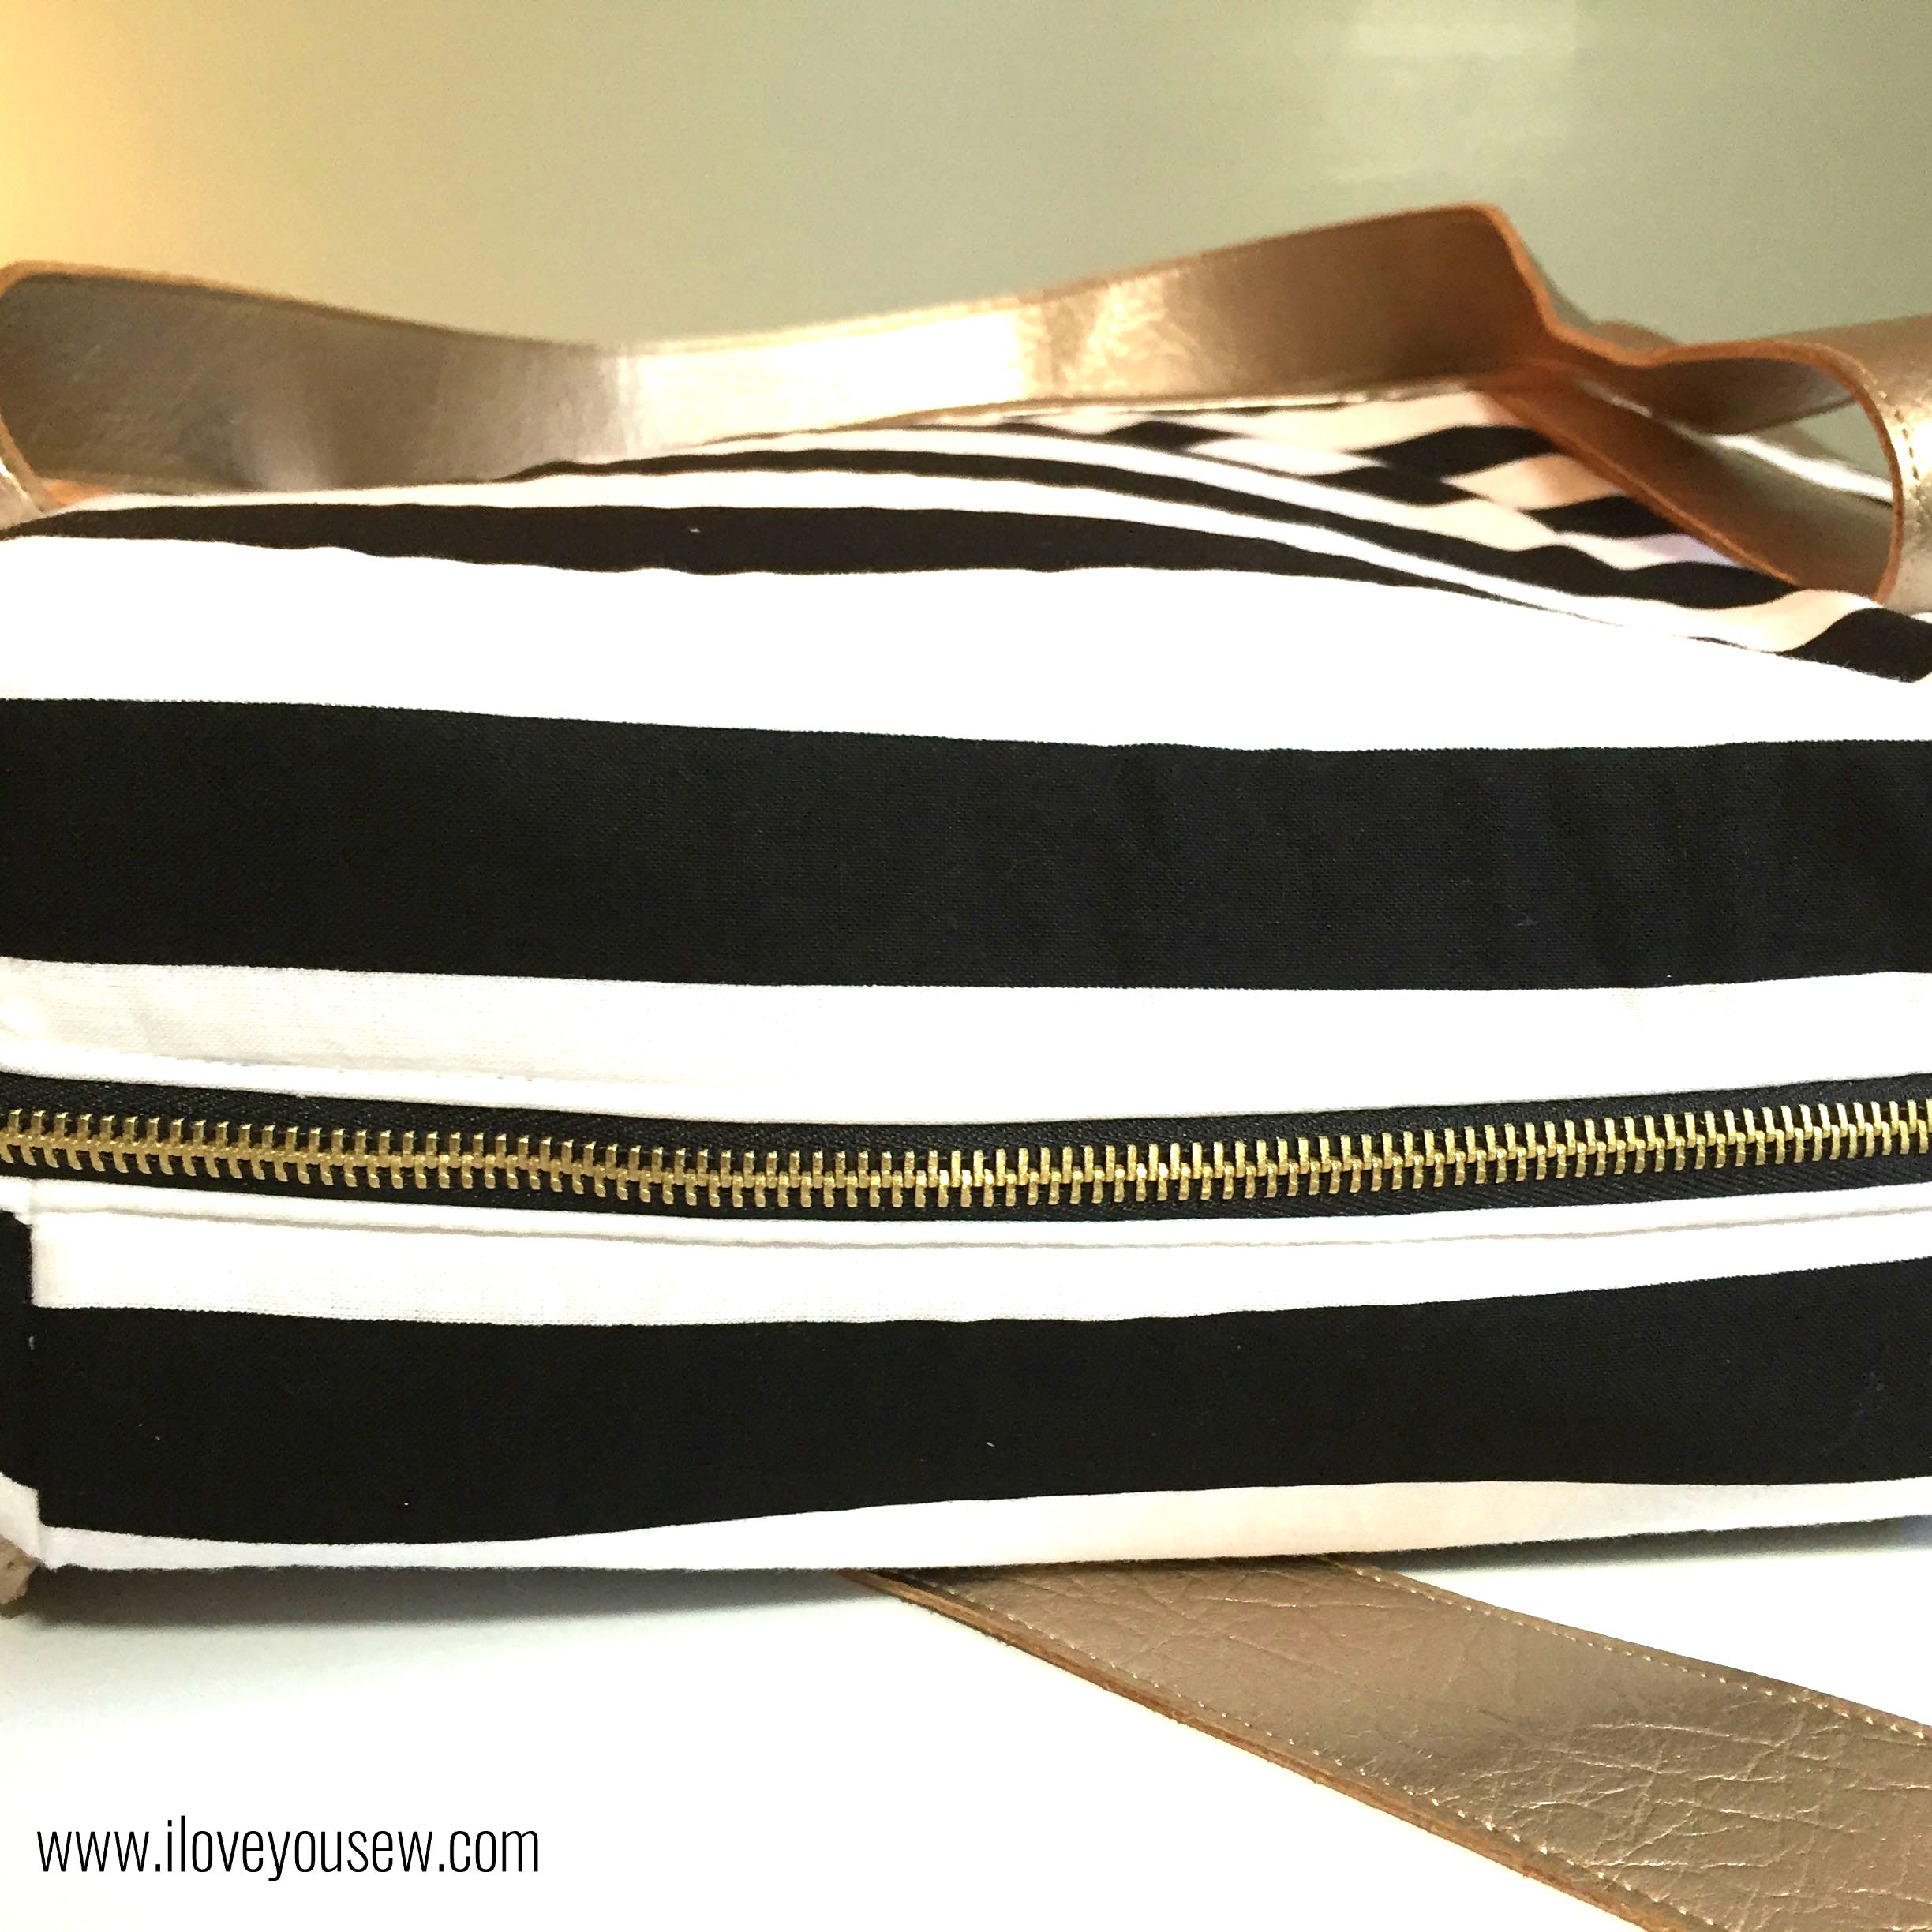
Another detail to amp up this bag was the zipper.  I found this great black one with brass teeth at JoAnn’s as well.  It matches perfectly with the pleather and adds that extra professional look.

TIP – I used my walking foot to topstitch over the zipper.  There is quite a lot of volume between the exterior, lining and Flex-Foam (used in place of Soft & Stable.) This allowed me to get more even stitches without having to tug on the fabric as much.


CloseUpZipper

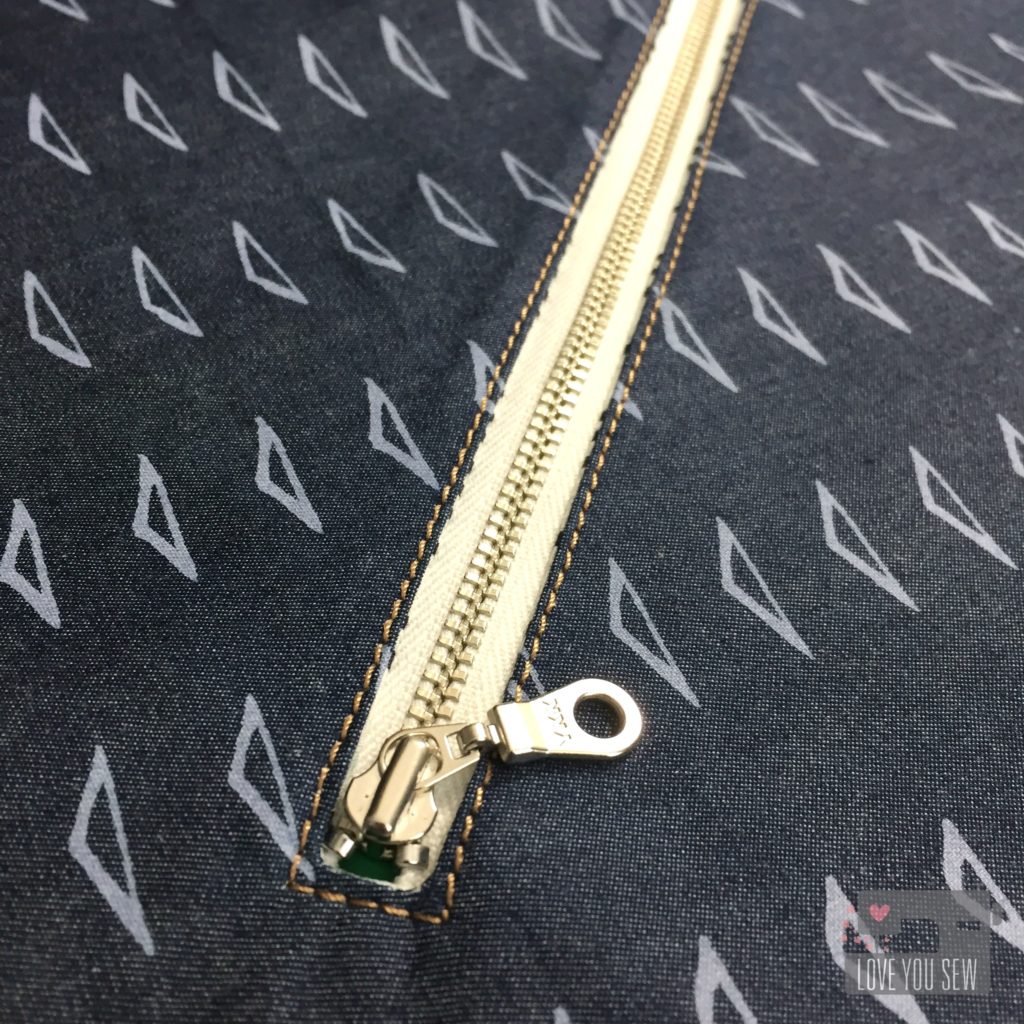
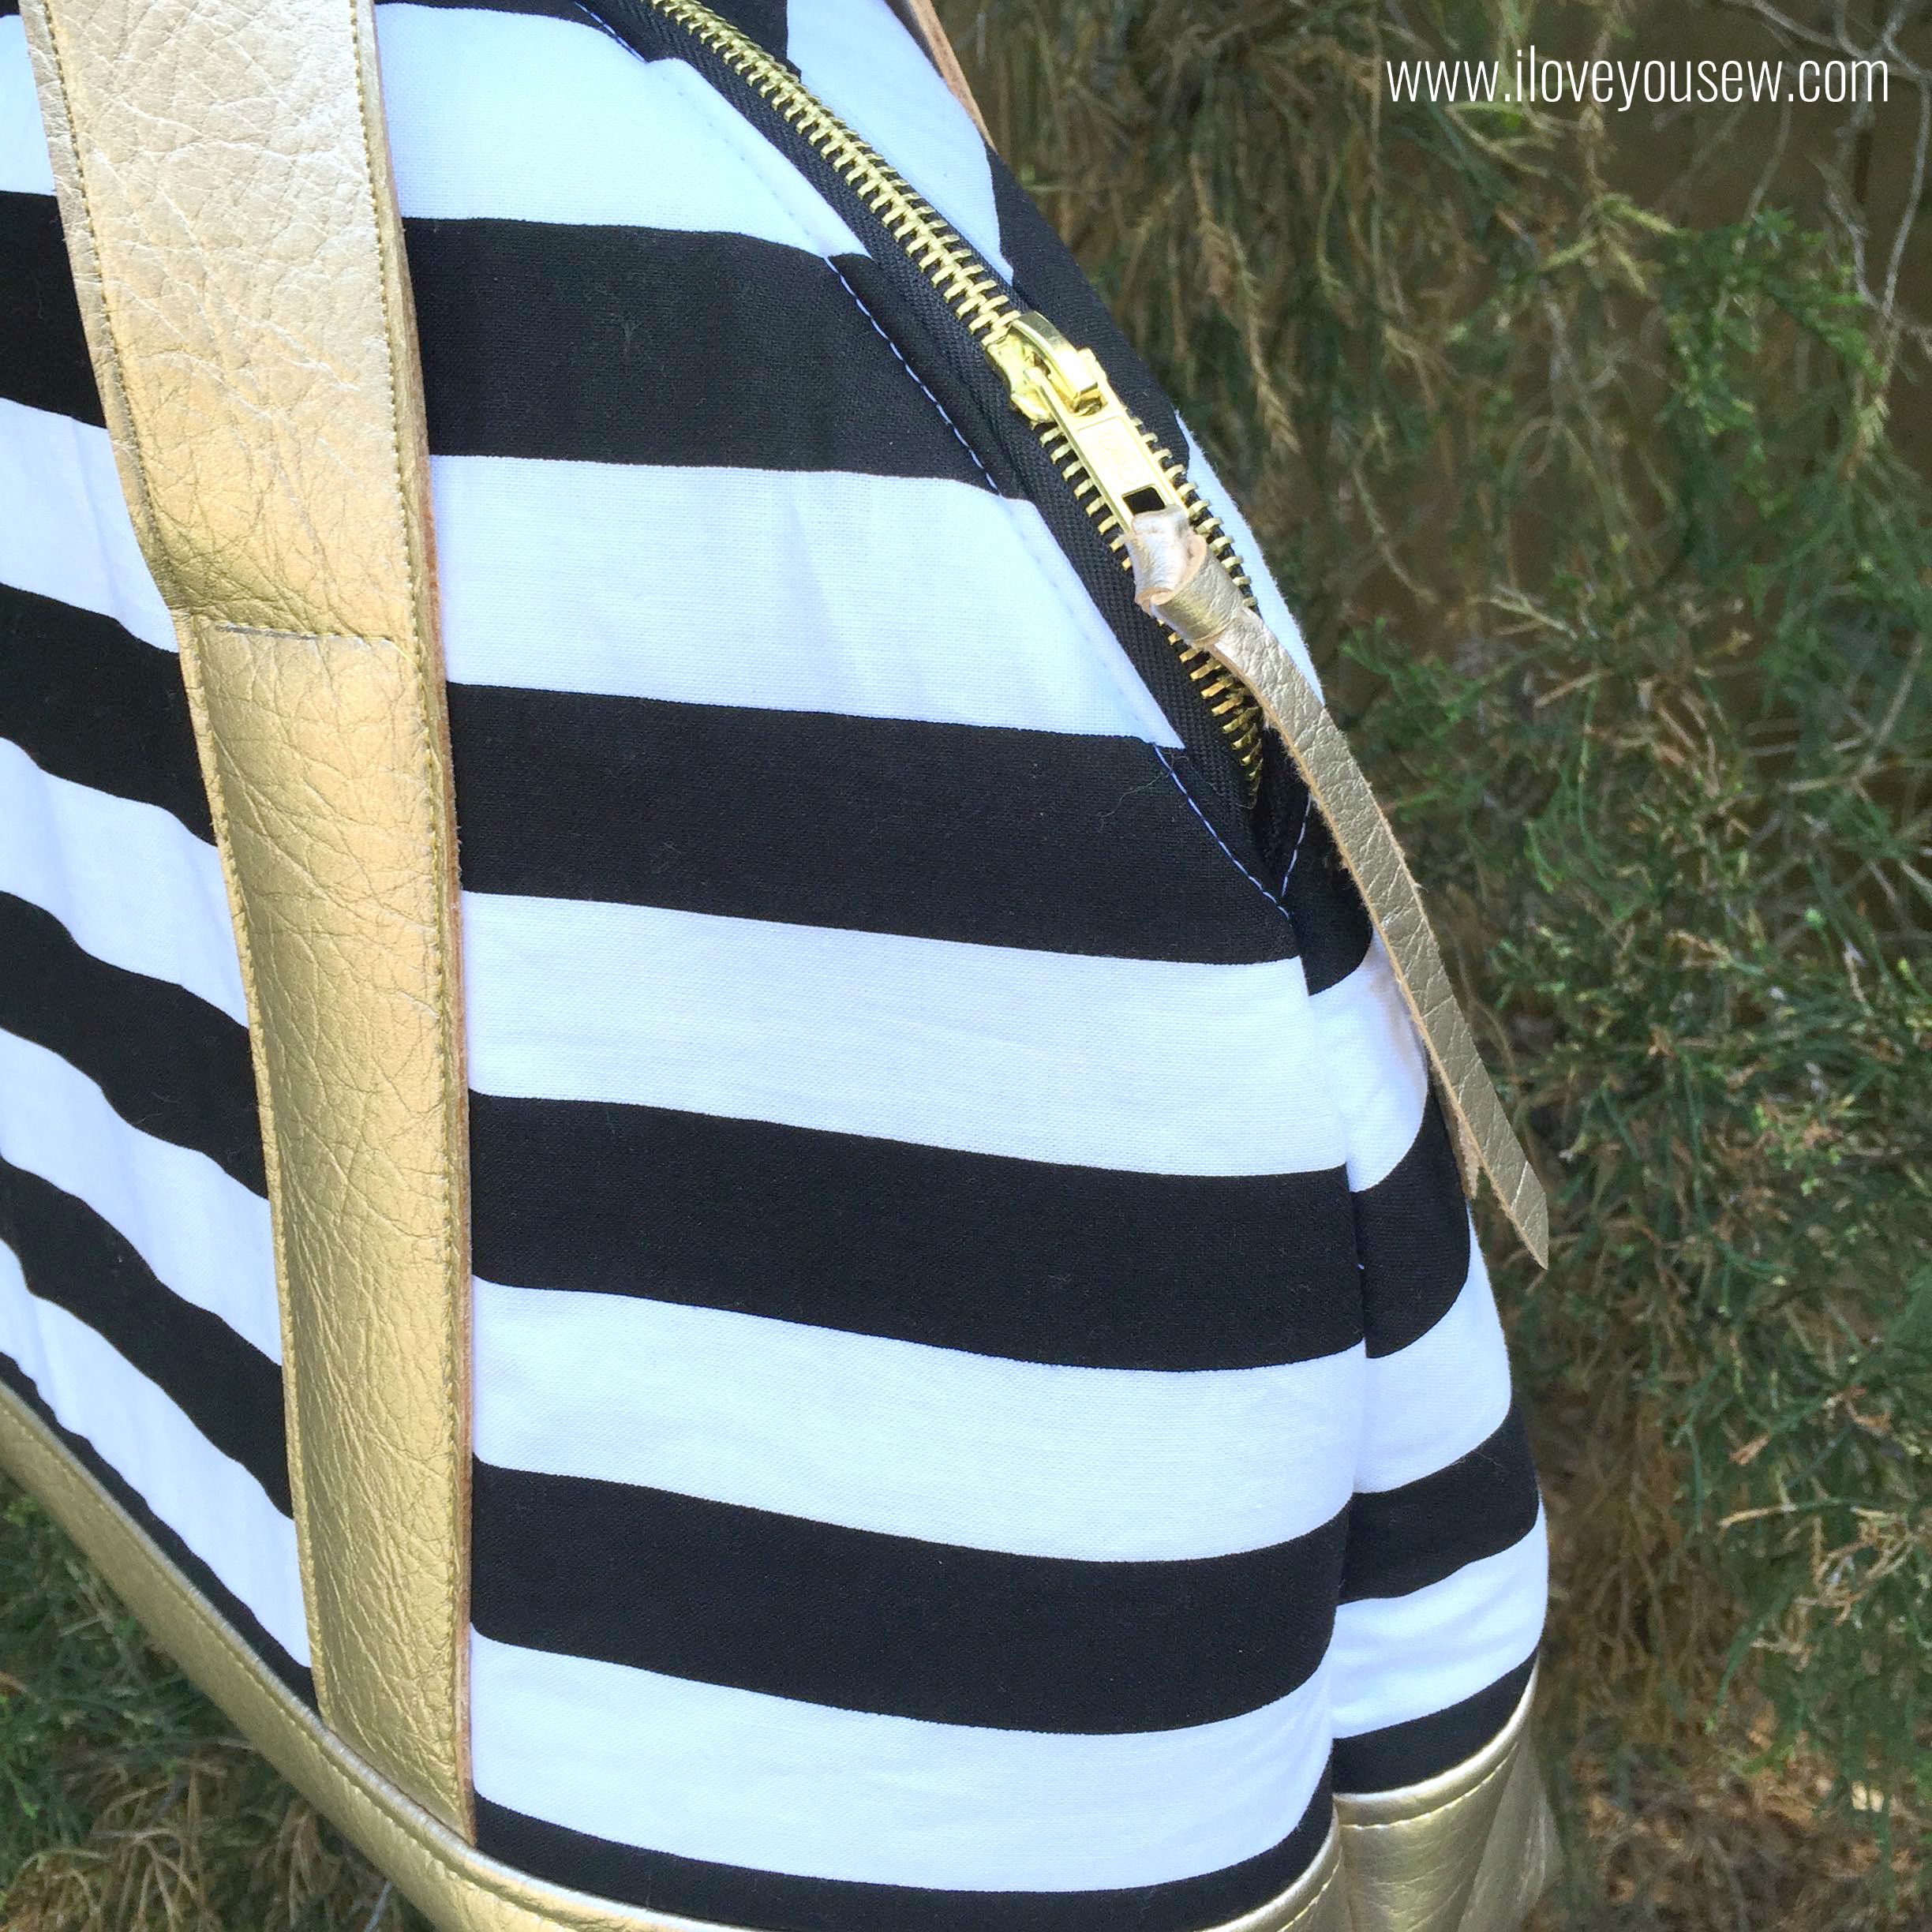
Additionally, I cut off 1/4″ by about 8″ of scrap vinyl to add a pull on the zipper.  Again, this little detail helps make the bag look more polished and pulls in more of the metallic look.  Plus, those little pulls are never long enough!


Interior

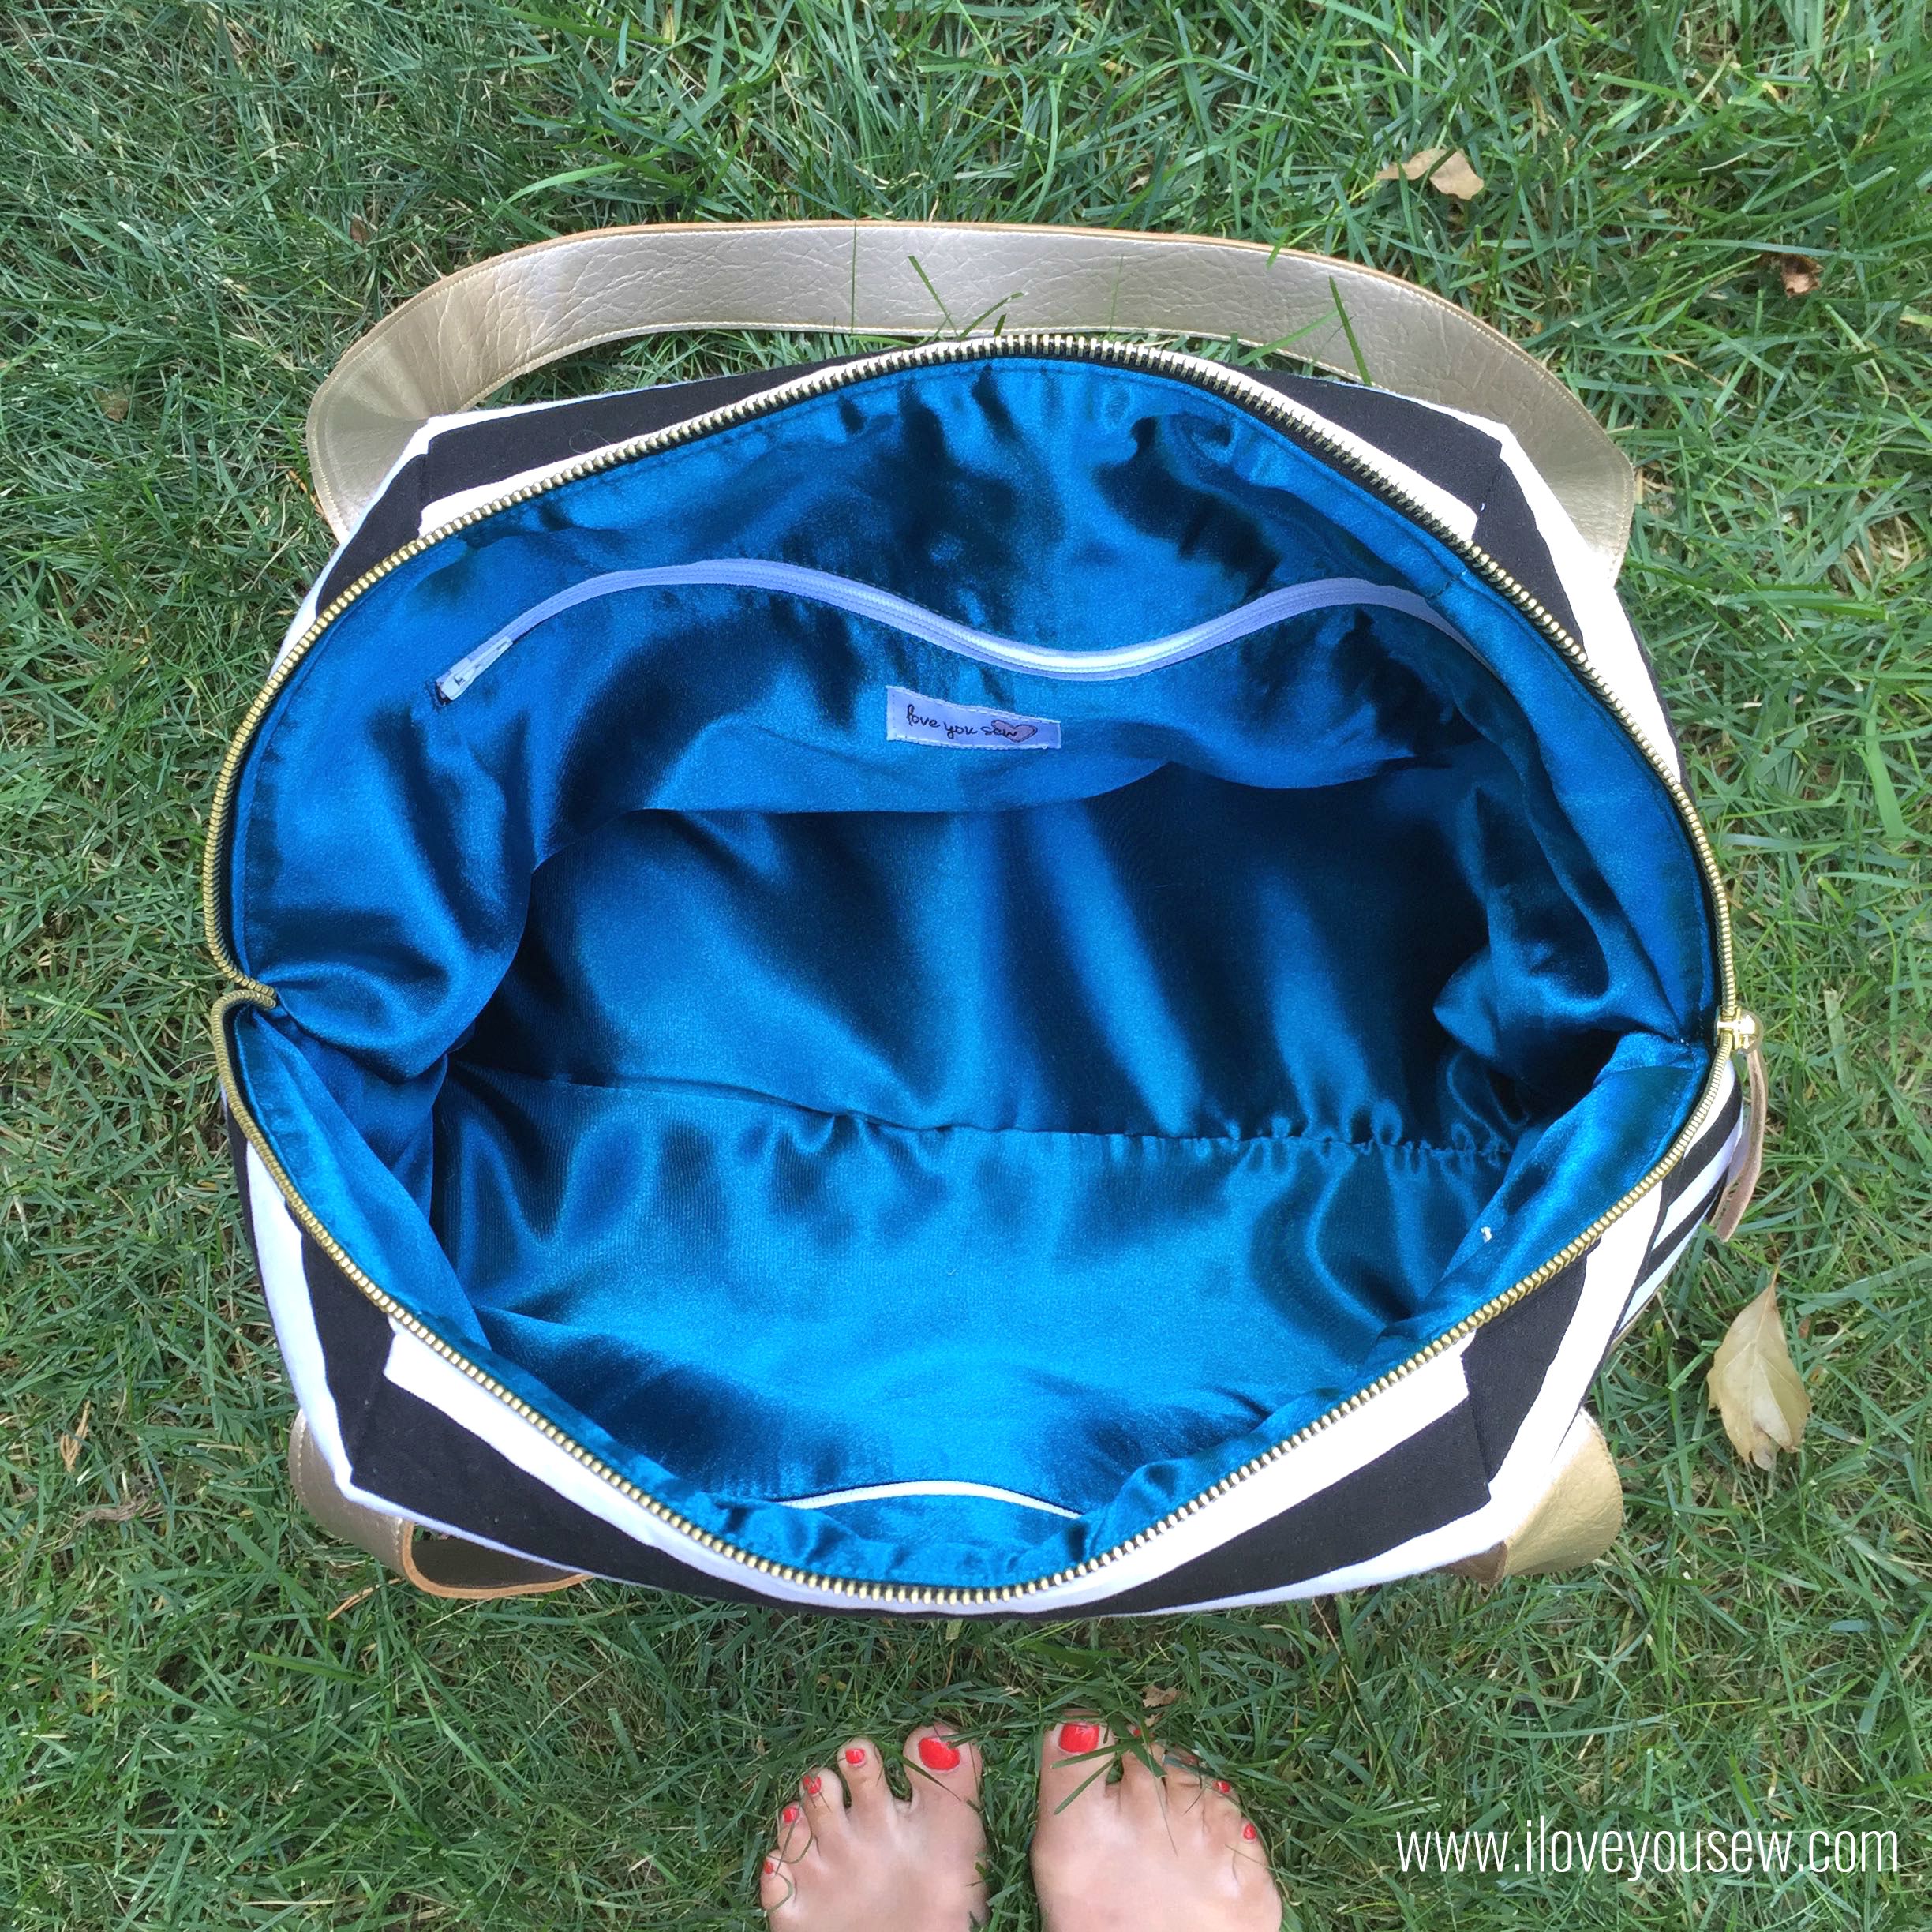
Do you like the satin interior? I am digging this pop of color and the change in texture for the interior.  I also love the 14″ zippered pockets.  They are generous in size to hide lots of goodies.  The only thing I wished I had were brass zippers for these pockets. (I got the wrong size from the store and was not going back anytime soon…I was already there twice in one week!)  They would have completed the look, for sure…

TIP – Cut the Shape-Flex larger than the interior pattern and fuse it onto the satin before cutting. The satin is delicate and can unravel pretty easily.  It is easier to handle if you iron the interfacing on first.

OpenTop

I love the wide opening of this design.  There is ample space to get your weekend gear into this bag….and this is just the “regular” size.  I can’t wait to try out the “long” pattern!

BagonTree

This was a fun project but definitely at the confident beginner to intermediate level.  Be sure to check if your machine can handle up to 6 layers of vinyl and Peltex at a time. I have a Juki TL-2010Q that can sew through with a Heavy Duty Organ Needle, but I still broke one needle in the process!

It’s going to be sad when I have to part with this baby, but at least I can make more 😉


The Newest Aeroplane Bag Fan,

Cristy


This post may contain affiliate links for which I do receive a small compensation…It helps me keep this site running 🙂