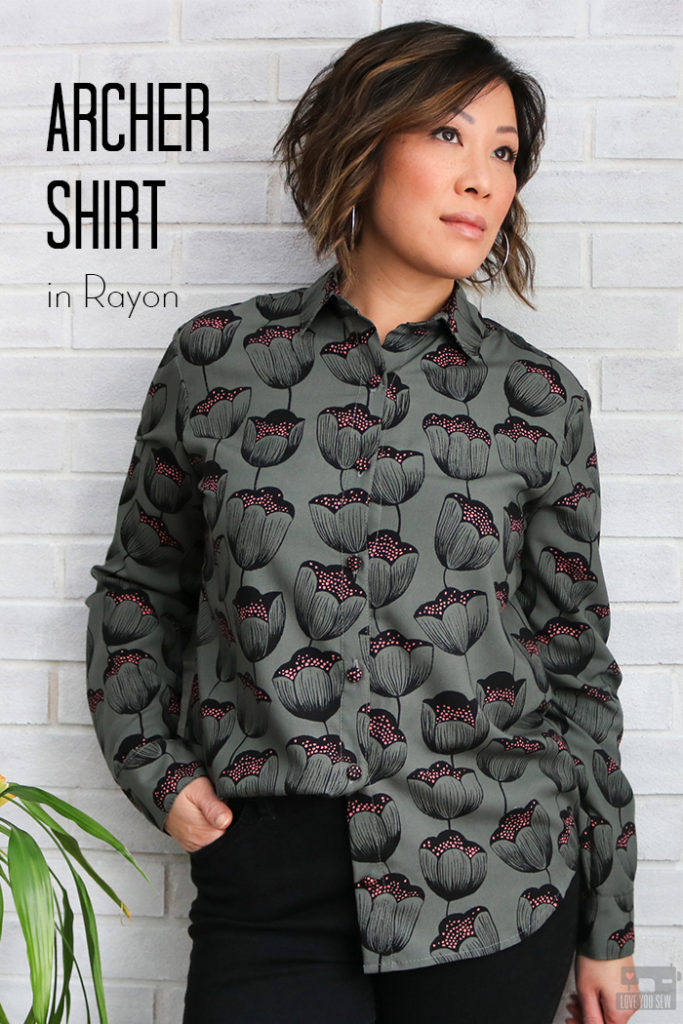
Make the Chicest Archer Shirt with Rayon

Archer by Love You Sew

Everyone knows the versatility of a button-up shirt.  It’s an absolute classic silhouette with ease all around the torso  but a crisp collar keeps the style elevated.  The button-up shirt works well in so many different fabrics.  After making my first flannel Archer Shirt with it’s casual feel here, I knew I wanted to flip the script and sew a “fancier” one for going out.

Because of other blogger commitments I have with other companies, it’s sometimes hard to find time to sew projects with my own fabrics without any constraints.  So when I saw Indiesew was hosting #ShirtMonth again, I knew this would be the time to sew my button-up….This is exactly the motivation I needed!  This month is dedicated to highlighting fabrics,  patterns and techniques for all shirts with a placket.  You can read more about the month here.  I’ve really enjoyed joining in on so many of these sewing challenges on Instagram and hope you do too!

Fabric
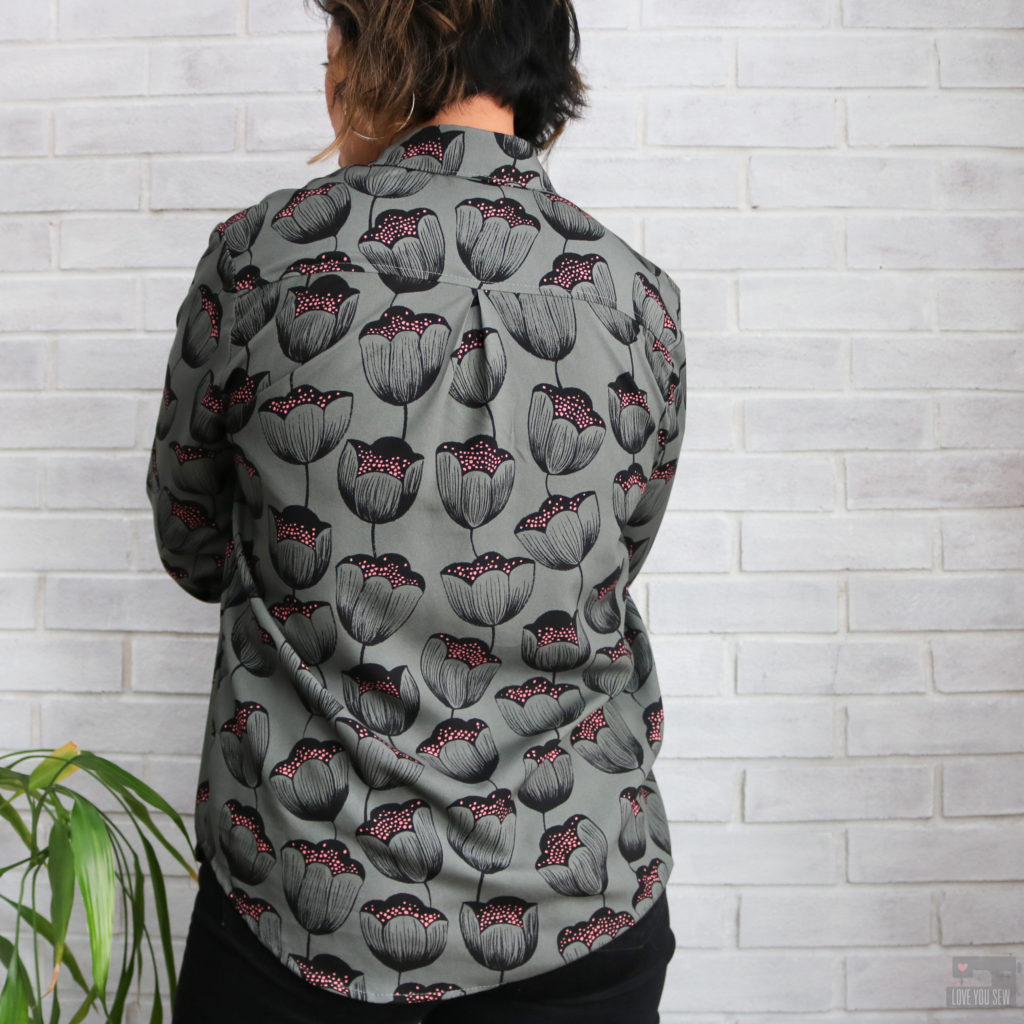
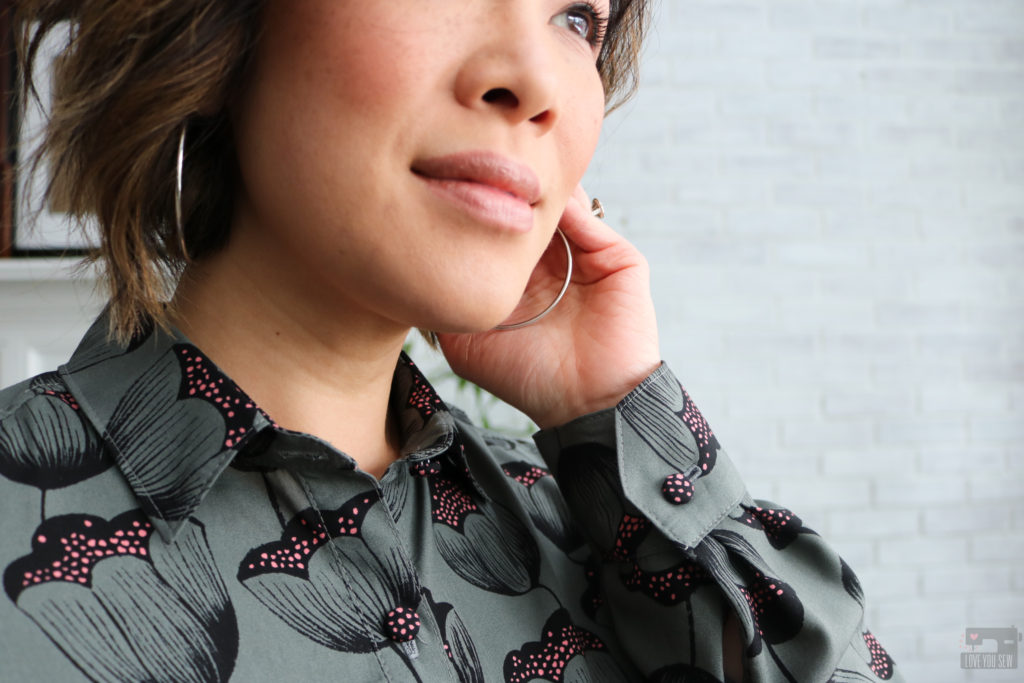
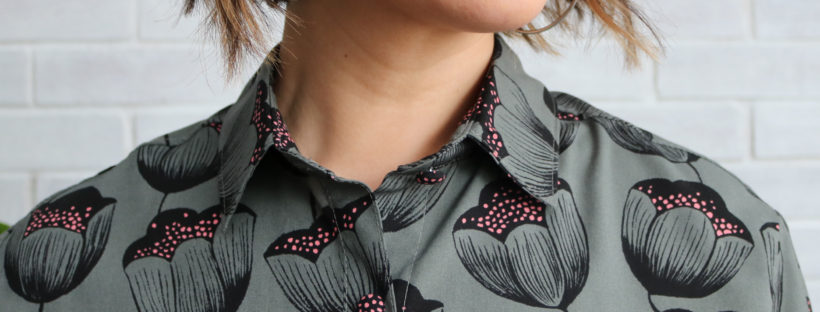
This Cotton + Steel rayon designed by Sarah Watts caught my eye the first time I saw it.  I’m very fond of my dark neutrals and love the extra pops of pink over this moody floral print.  And if you’ve ever felt C+S rayon challis, you know it’s incredibly soft and silky.  The drape is fantastic and makes for beautiful dresses and tops.  I’m a big fan and have quite a bit of their rayon in various prints in my wardrobe.  When this print went on sale at Fabric.com awhile ago (it’s since sold out,) I knew I had to grab 2 1/2 yards of it.  It been sitting in my stash for well over a year and I knew this would make a sharp looking Archer Shirt.

Tips:

  • Use a fine needle – I like a 75/11 or 70/10
  • The fabric can be pretty slippery, so pin more often than you normally would for a quilt cotton
  • Use finer needles like these which leave small holes in your delicate fabrics.

Pattern
I first made the Archer Shirt (pattern by Grainline Studio) in a soft cotton flannel which you can read about here on the Imagine Gnats blog.  It was such a great casual relaxed shirt that I could wear with jeans or leggings.  I wanted the same ease of getting dressed, but knew a rayon Archer would just be so much more sophisticated for the days I need to be dressed up.

Although the thought of making a button-up can seem pretty daunting, there is so much help out there!  Grainline has a full sew-along that has been broken up into very digestible chunks.   since this is also an older pattern, you can find plenty of inspiration on social media with a quick call to our bestie, Google 😉

FIT
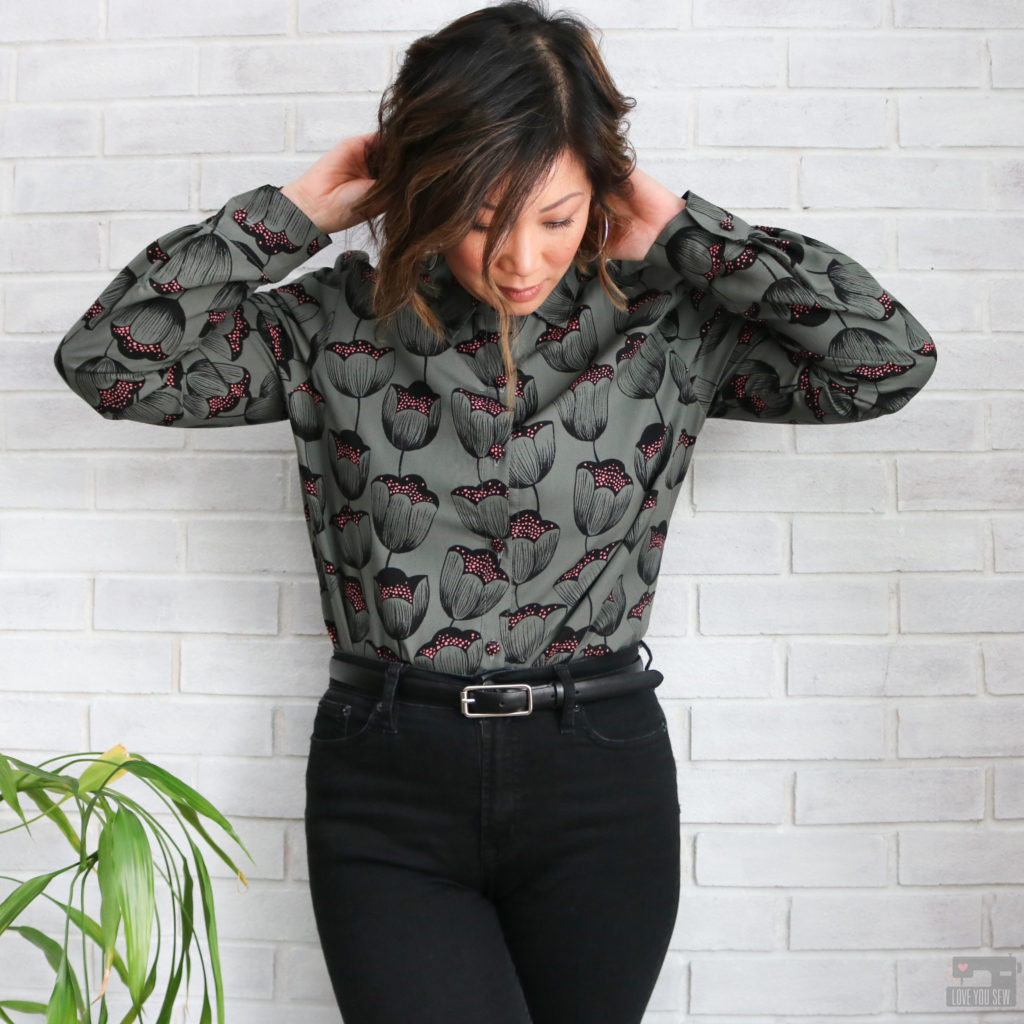
I made a size 8 according to my measurements and graded out a size in the hip like a usually have to do with a woven top (my hips measure two sizes larger than my waist.)  There were no other adjustments made. Although, I would shorten the sleeves on a dressier version by 1/2″ to have it look more polished.  (I like the longer sleeve on my flannel version since it helps keep my hards warm in these colder months.)

Interfacing
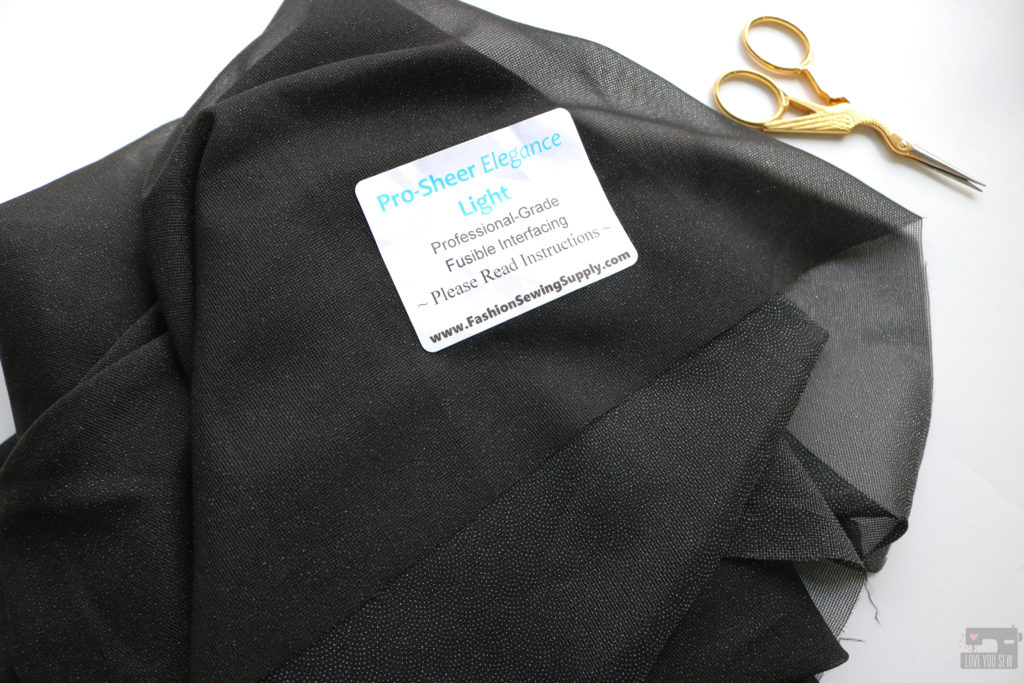
What’s very different for me with this rayon project is the interfacing.  Awhile back, I used Pellon Lightweight Apparel interfacing with this rayon jacket and it has bubbled with use (ugh!)  I have to pretty much re-iron the jacket every time I want to wear it since the bubbling all over the front and back yokes.  What a drag, right???  Thanks to all of you smarties on Instagram, I learned about FashionSewlingSupply.com and purchased a few different garment interfacing like this  ProSheer Elegance in black.  Not only did it fuse well, it still allows for some drape.  I was able to sew the entire shirt while flipping the collar and cuffs inside out…and there was NO bubbling!  I’m completely sold on this stuff and won’t buy my apparel interfacing from the big box stores anymore.  These interfacings definitely costs more, but it’s well worth it to save all of my sewing time!

Based on how lightweight this interfacing is, I used it on both sides of the collar stand.  The patterns calls for it only on the inside, but I wanted to make sure the collar stands up nicely and doesn’t just flop over.  I’m happy with how it turned out and would recommend this if you are using other lightweight fabrics like lawn, voile, crepe de chine, silk and gauze.


Buttons
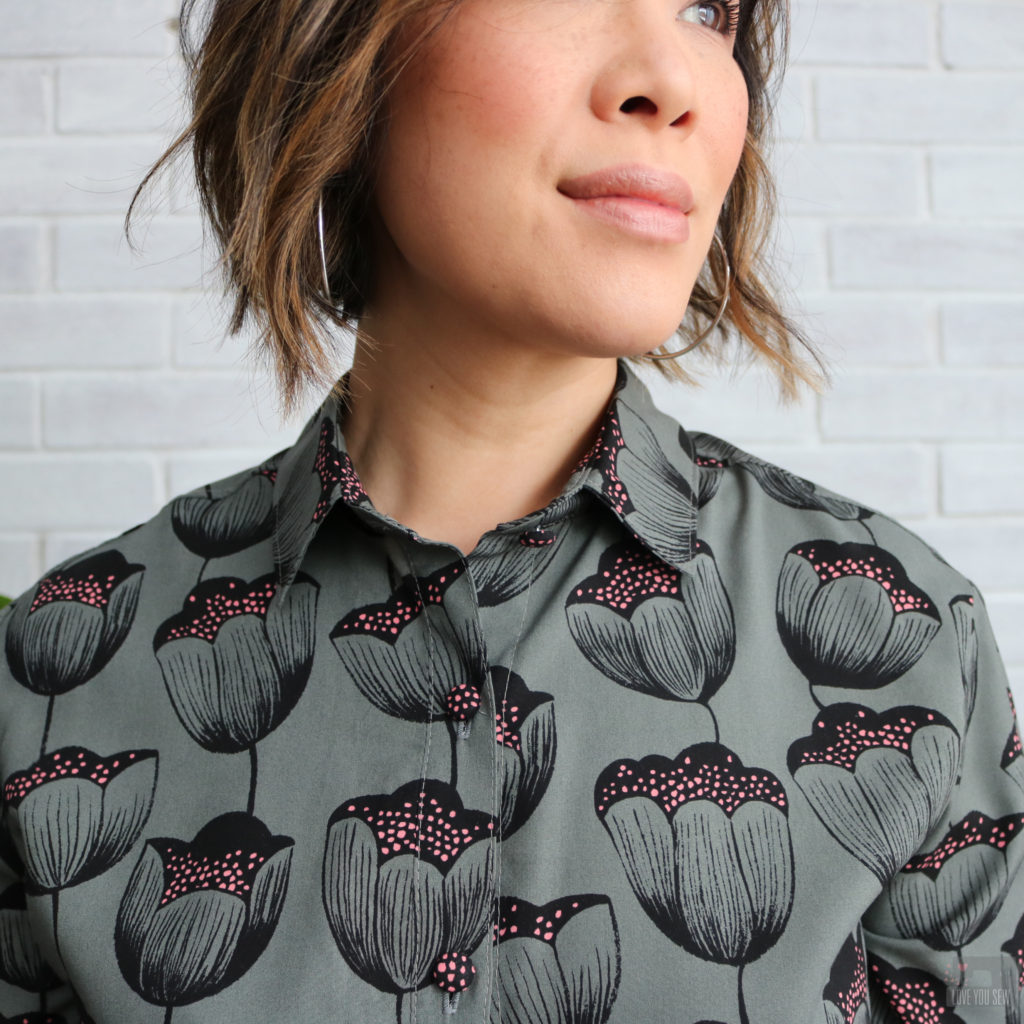
I love being able to use up my MIL’s button stash as much as I can, but I couldn’t find enough plain black buttons for this shirt.  Fortunately, I bought these 1/2″ buttons years ago, which can be covered in just about any fabric.  I was able to use all the scraps to make these buttons.  It’s such a fun and easy way to add special details to a garments which are uniquely my own.  You can see how I used them on this Felix Dress and how I used them on my Alix Dress to cover up some negative space on the yoke.

How I wear it

After investing all this time making the Archer and in the effort to be more sustainable, I want to make sure I can wear all my makes over-and-over again.  I like following other fashion influencers and RTW companies for inspiration.  Below are three ways to wear a button-up for me.
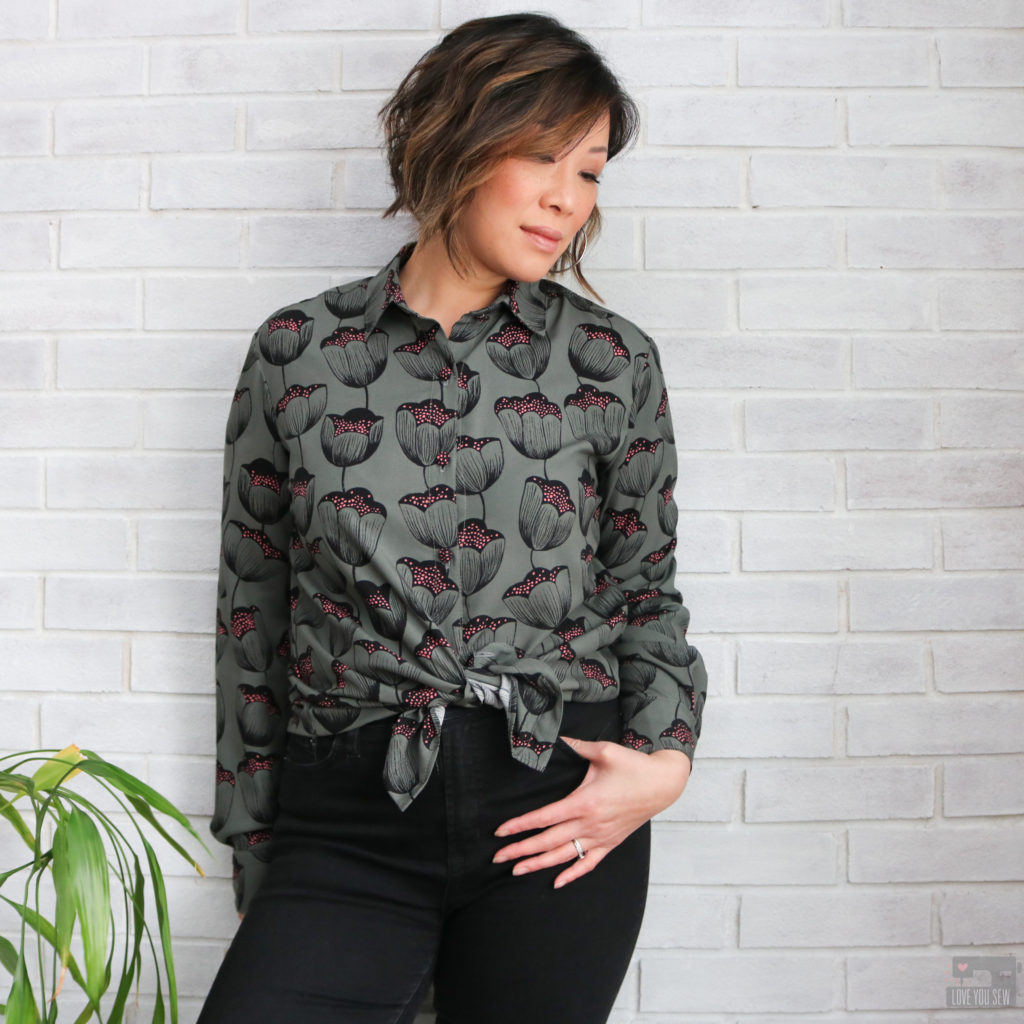
1.  With high-waisted pants on trend, I like being able to tie a button up.  It still can camouflage my mid-section but looks so stylish and playful as well.  Plus, you can conceal a lost button in case that ever happens 😉  I think a flannel button-up tied up over shorts is such a classic summer look too.
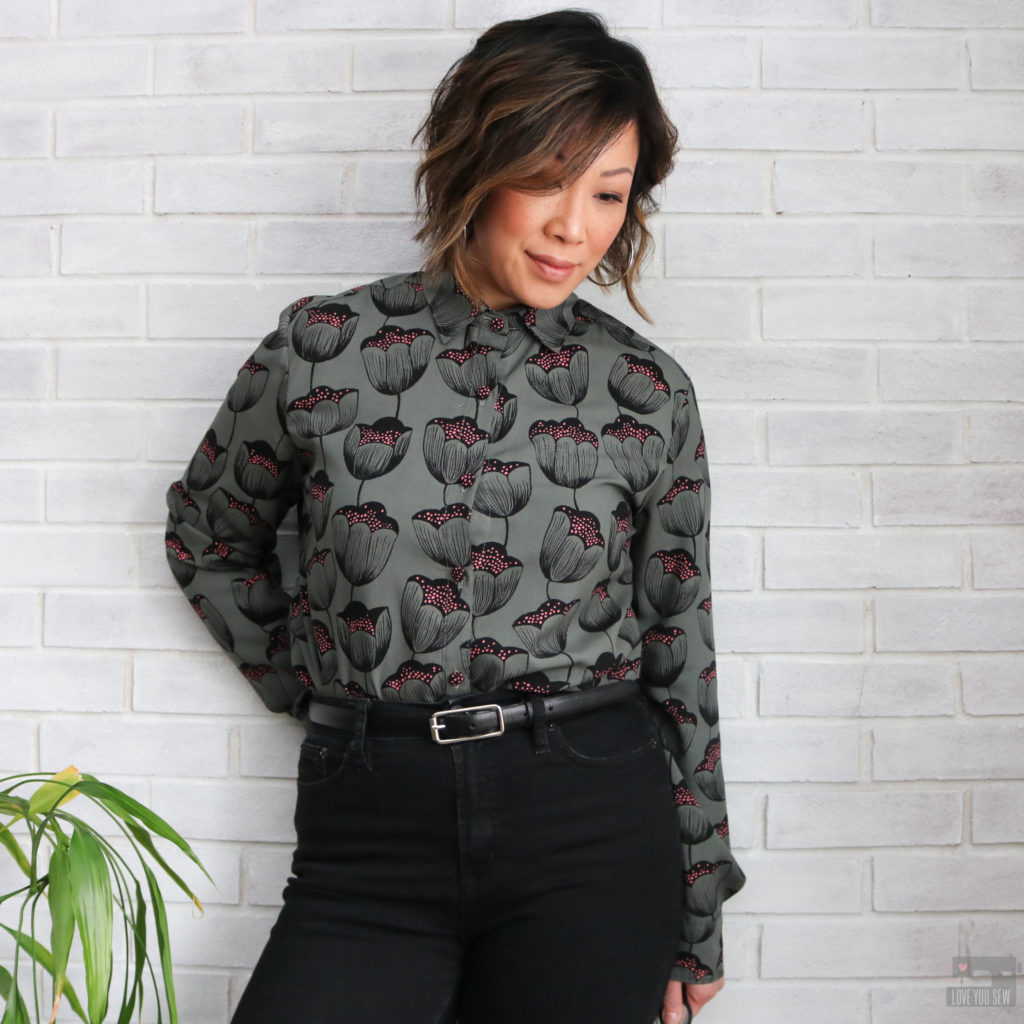
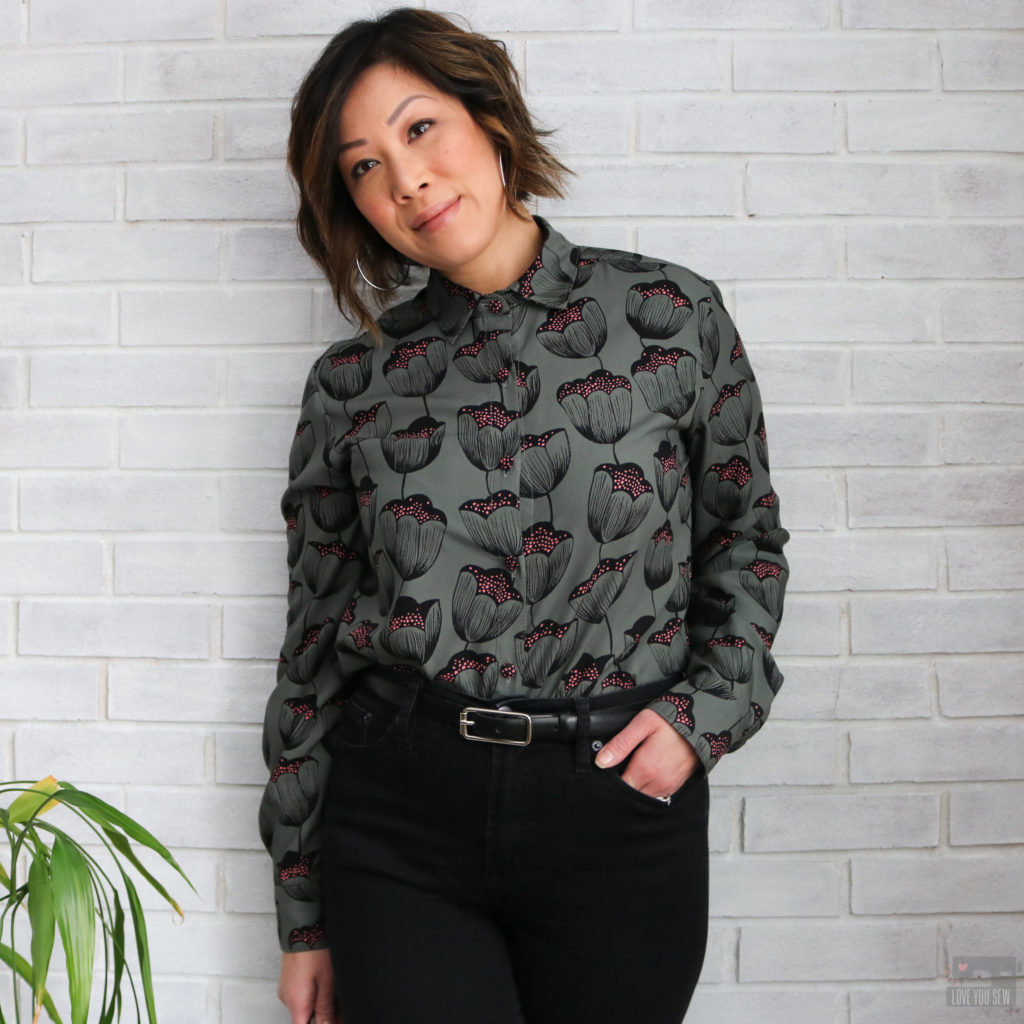
2.  For the hipster look, I like to fasten all the buttons up through the collar.  This along with tucking in the shirt with high waisted jeans (as shown) keeps the outfit polished.  Pair it with a sleek belt and I’m ready for drinks with the ladies downtown!
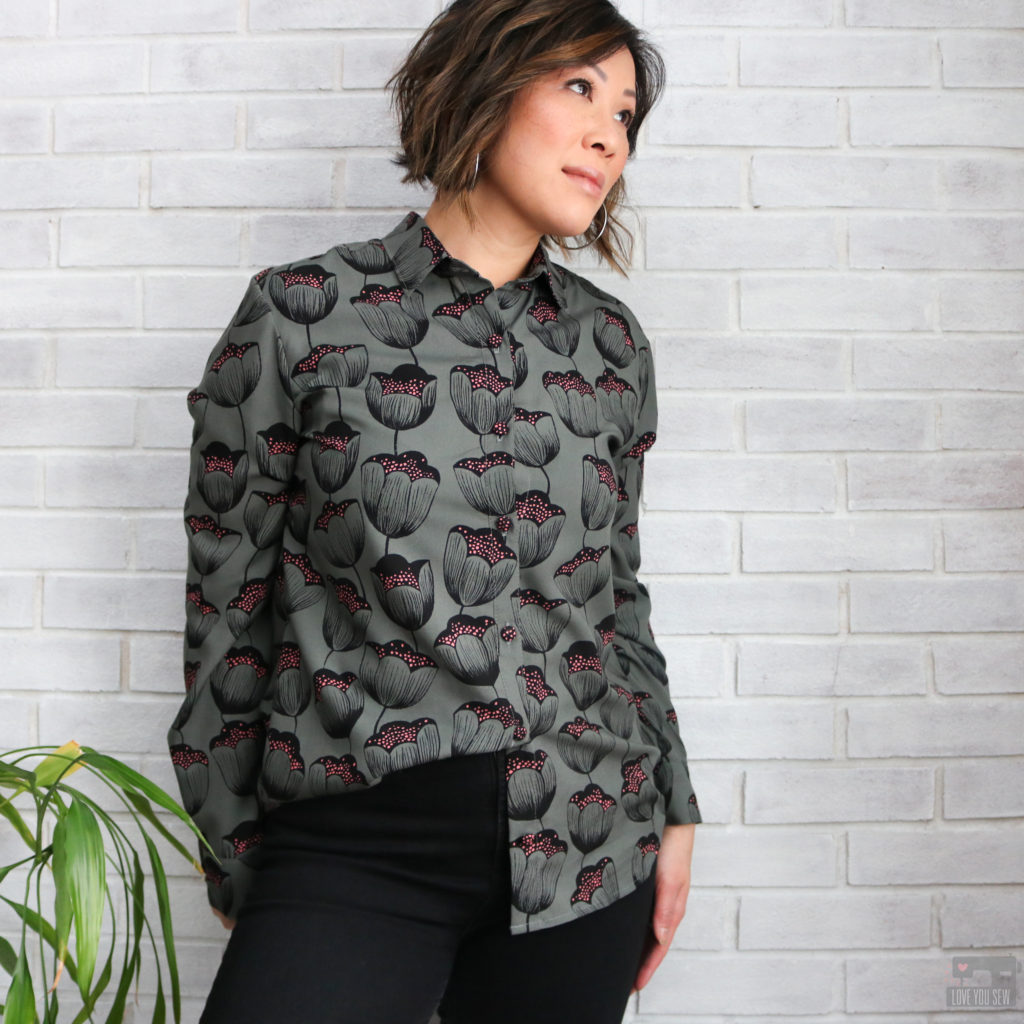
3.  Finally, I have the half-tuck (also known as the French tuck.)  This is definitely another on-trend way to wear any top…whether it be a tee or even a heavy sweater.  I like how it’s more casual and breaks up the hem line for more visual interest.

Which way would you wear your #MeMade button-up shirt?  I hope you enjoyed this post and join in on #ShirtMonth whether it be this year or next!


Happy Sewing!

Cristy


This post may contain affiliate links for which I may receive a small commission only if you make a purchase.  Thanks for support, friends!
Claire Fold-over Clutch :: Pattern Release

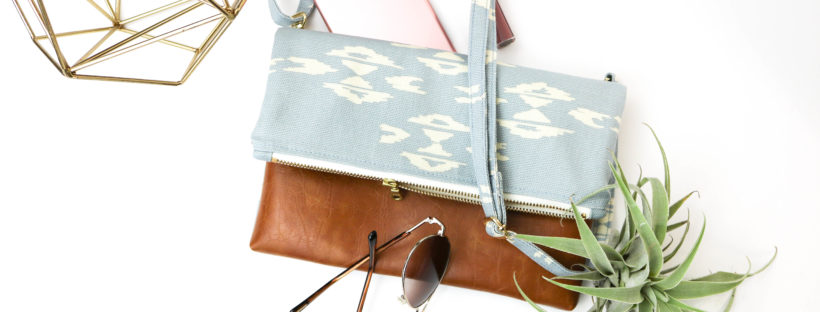
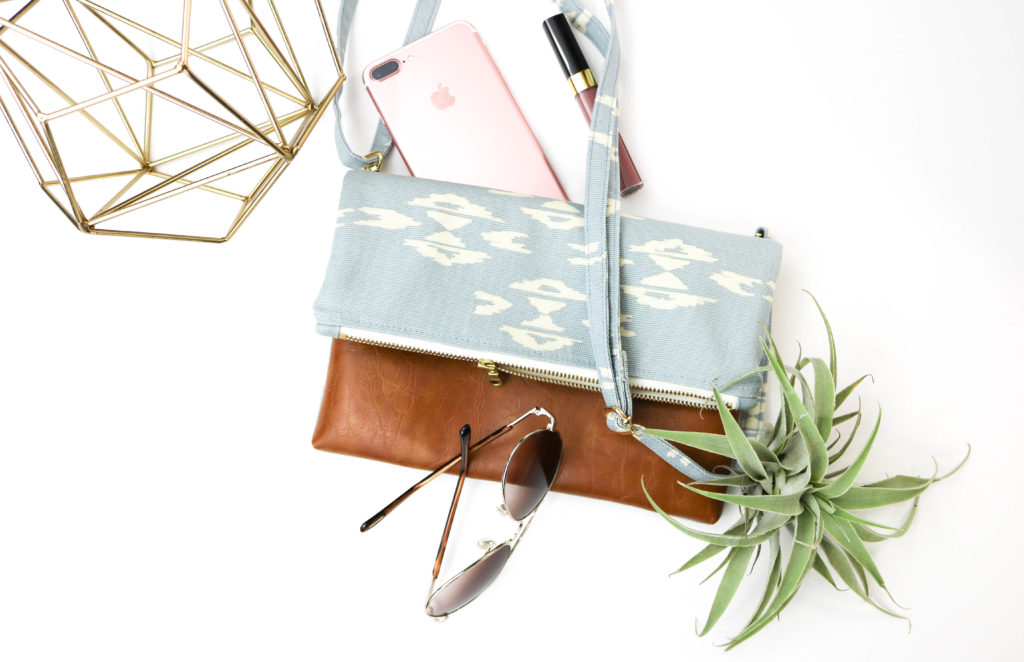
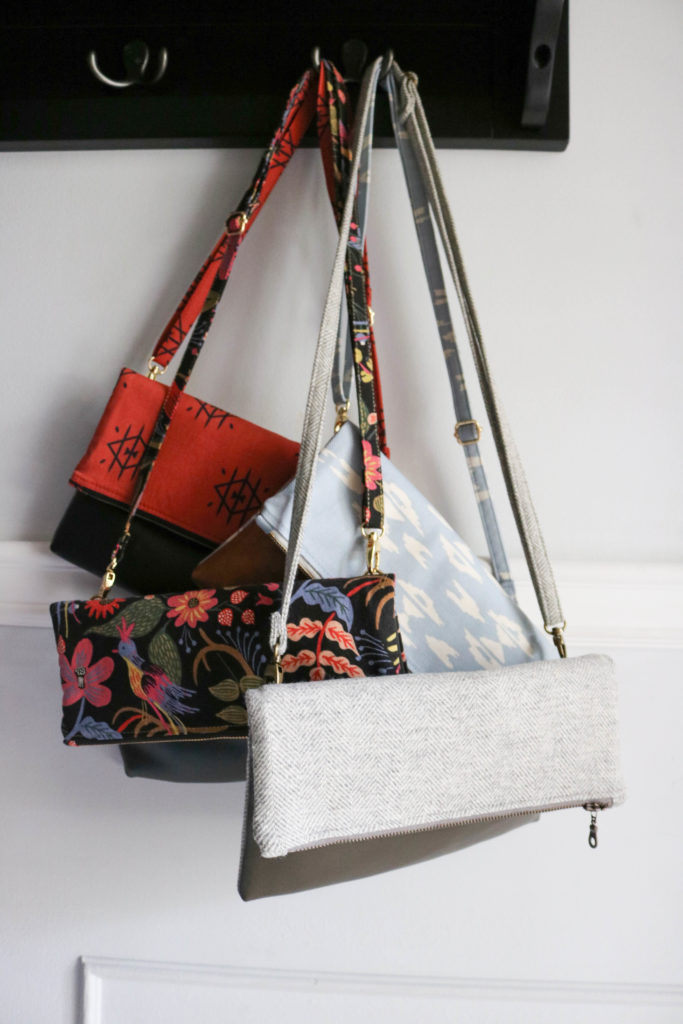
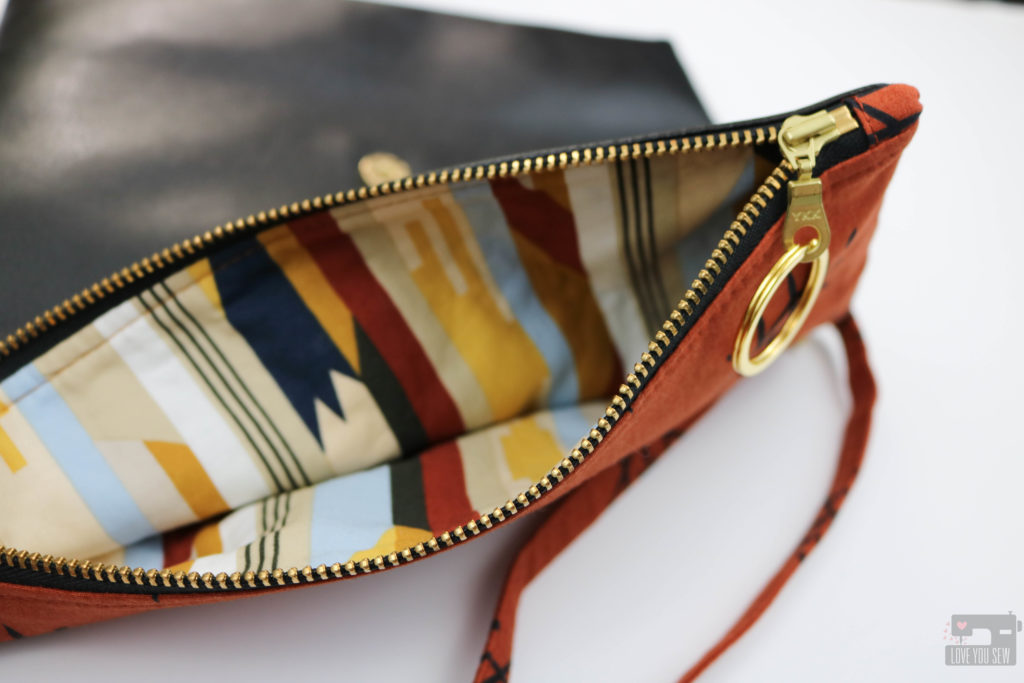
The Claire Fold-over Clutch with cross-body strap is my very first bag pattern release.  ‘Talk about  all the feelings right now!  There is so much to say about this bag, both in it’s functionality and how it just came to be.  If you can bear with me, I’ll dive into both 🙂

Many of you know that I’ve been selling on Etsy for awhile and broke out into local Indie Craft shows just a few years ago.  With the shows, I started to sell more bags to complement my baby accessories and noticed how my wristlets and fold-over clutches were selling over my larger bags.  To differentiate myself from other bag-makers, I had to add some features and finishes to elevate my product…which in turn, became the Claire.

The following are those key features:

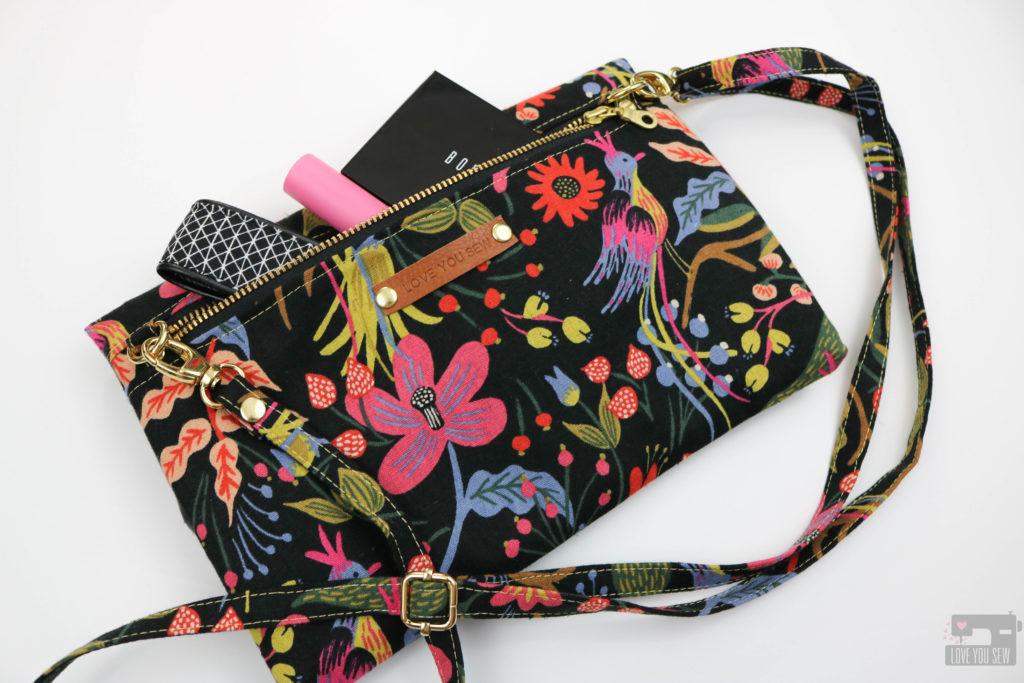
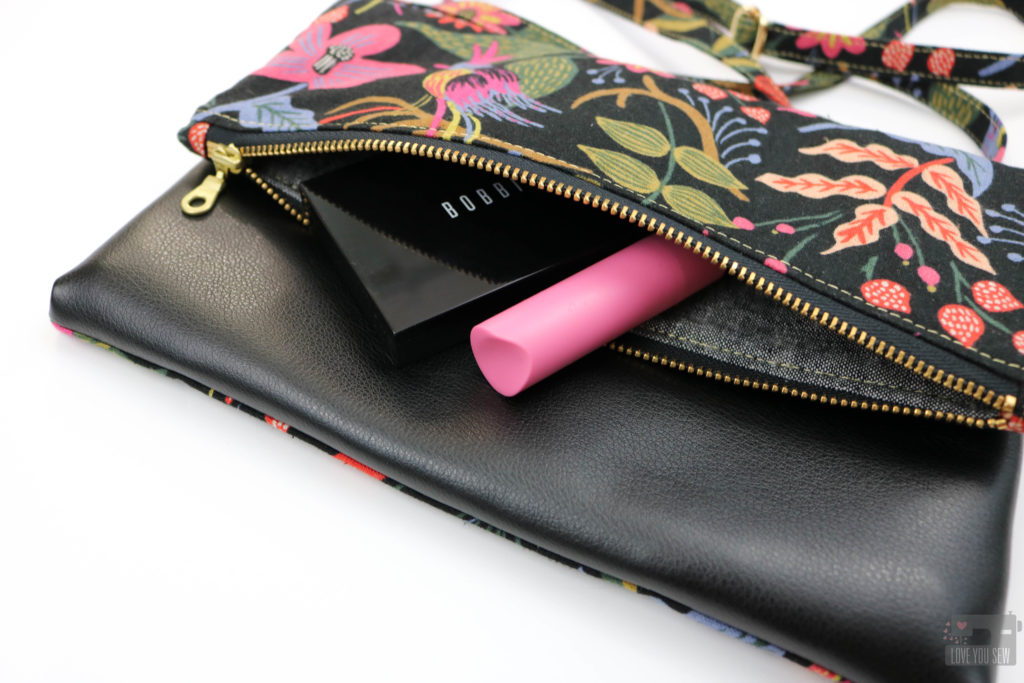
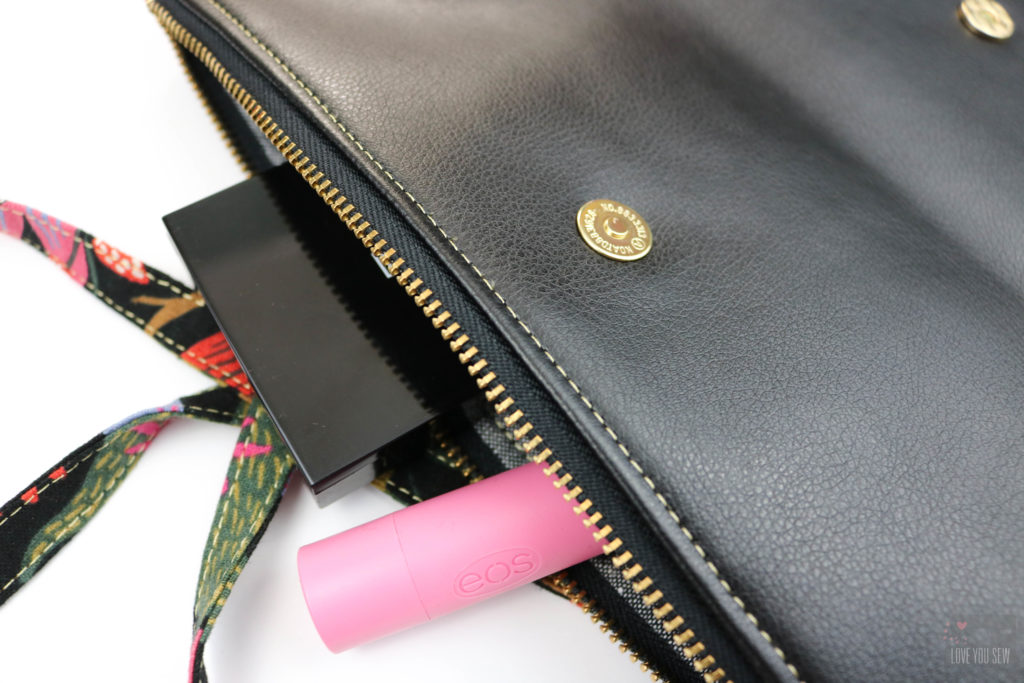
  • Back Pocket – I knew I had to make more of these bags and then a friend came to visit during my holiday sale season.  She had a similar fold-over style bag, but with a front pocket for her phone.  When she reached down and had that immediate accessibility to her phone, the light bulbs were going off.  It seems like we’re all glued to our phones and they just keep getting bigger and bigger…so our back pant pockets are no longer enough.  Since my friend’s bag was by a national manufacturer, there was no easy way I could replicate the front pocket style, but that didn’t mean I couldn’t make a back pocket!

  • Cross-body Strap – I look to my nieces and popular brands for inspiration and I continually see the long straps for the on-the-go millennial and of course, us  busy moms too!  I wanted to make sure it was adjustable and the 60″ strap works for many different body types and all the different occasions in our lives.

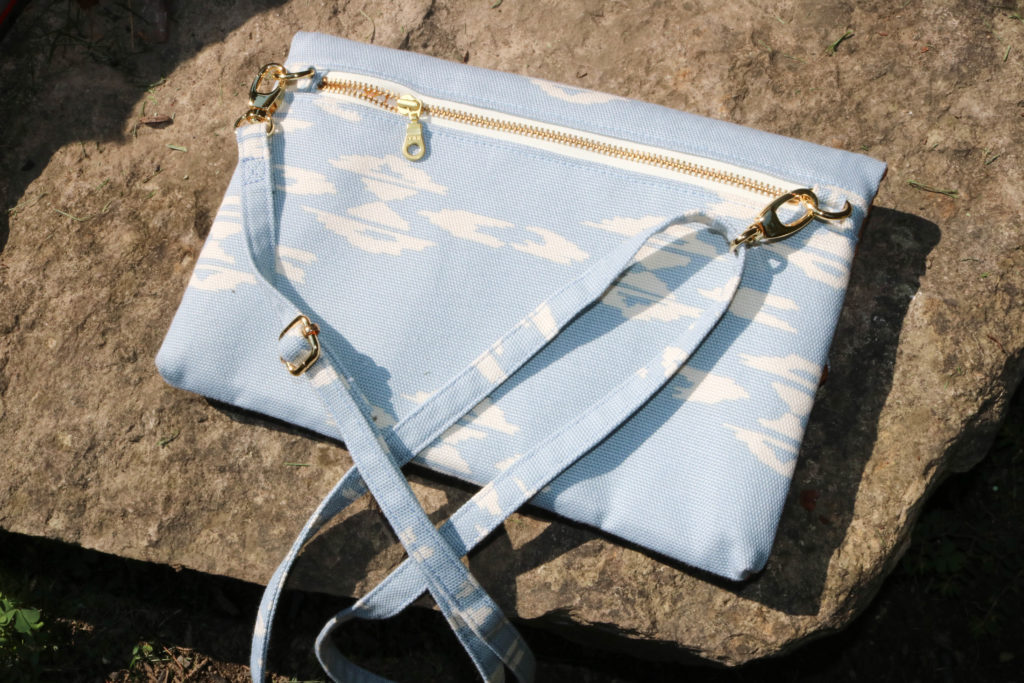
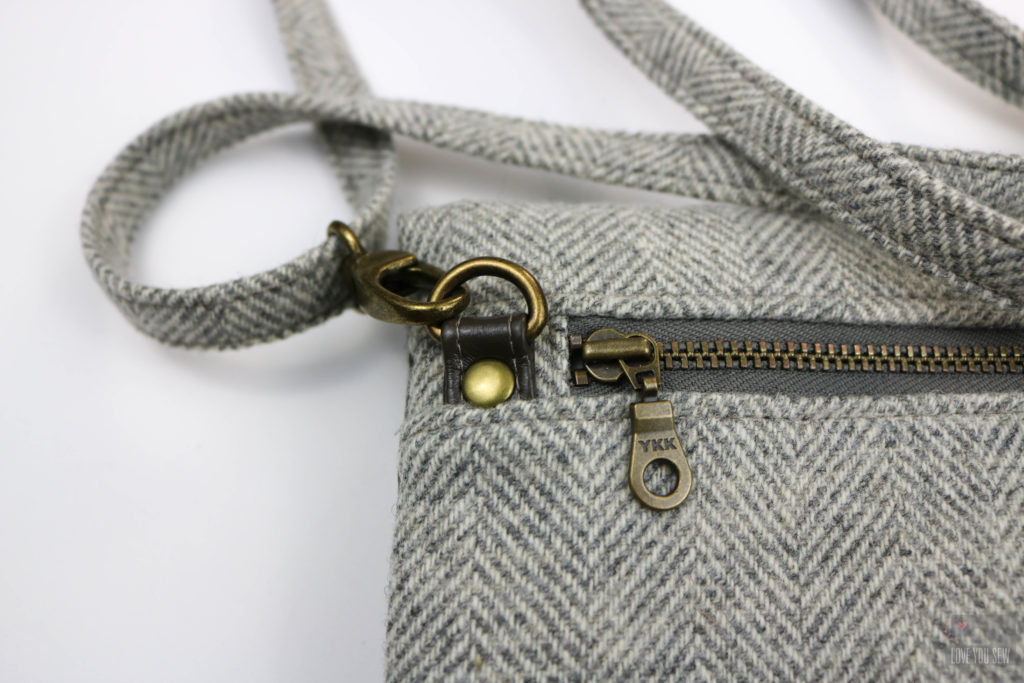
  • Bag to Clutch Versatility – As a clutch, the fold-over style is so cute and I didn’t want hanging side “ears” to get in the way of that classic silhouette.  So the D-rings are set in the back of the bag.

  • Modern and Sleek look – The faux leather panel adds the extra bit of class and style to this bag.  It immediately heightens the looks and your friends will never think you made this bag.

  • Easy to Sew – By keeping the front panel for your accent substrates with either faux leather, cork, or vinyl, you are sewing through the fabric and one layer of the accent.  In other patterns, you can be sewing through 4 layers in addition to the fabric and interfacings.  Not all domestic machines can handle that and I want as many sewists with all different types of machines to be able to make this bag.

  • Interfacing  – I’ve made probably 30 of these bags already…so I’ve played with numerous interfacing combinations.  You want enough structure in the bag, but not too much that it will not fold-over properly.  And most people are like me, we like to use different fabrics and I’ve tried to take the guessing game out when you do decide to switch up.  The interfacing cuts are calculated so you have the strength and structure without having to sew through all of the extra bulk. I’m still looking out for all of my novice sewists 🙂

If you would like to make your own Claire Fold-over Clutch, you can find the pattern in my Etsy and/or my Craftsy shops.

Don’t forget to share your makes on Instagram with #clairefoldoverclutch and #loveyousewpatterns. (Hashtags are the only way I can see your makes if you have a private account!)  I love seeing all of the different versions!


Happy Sewing!

Cristy


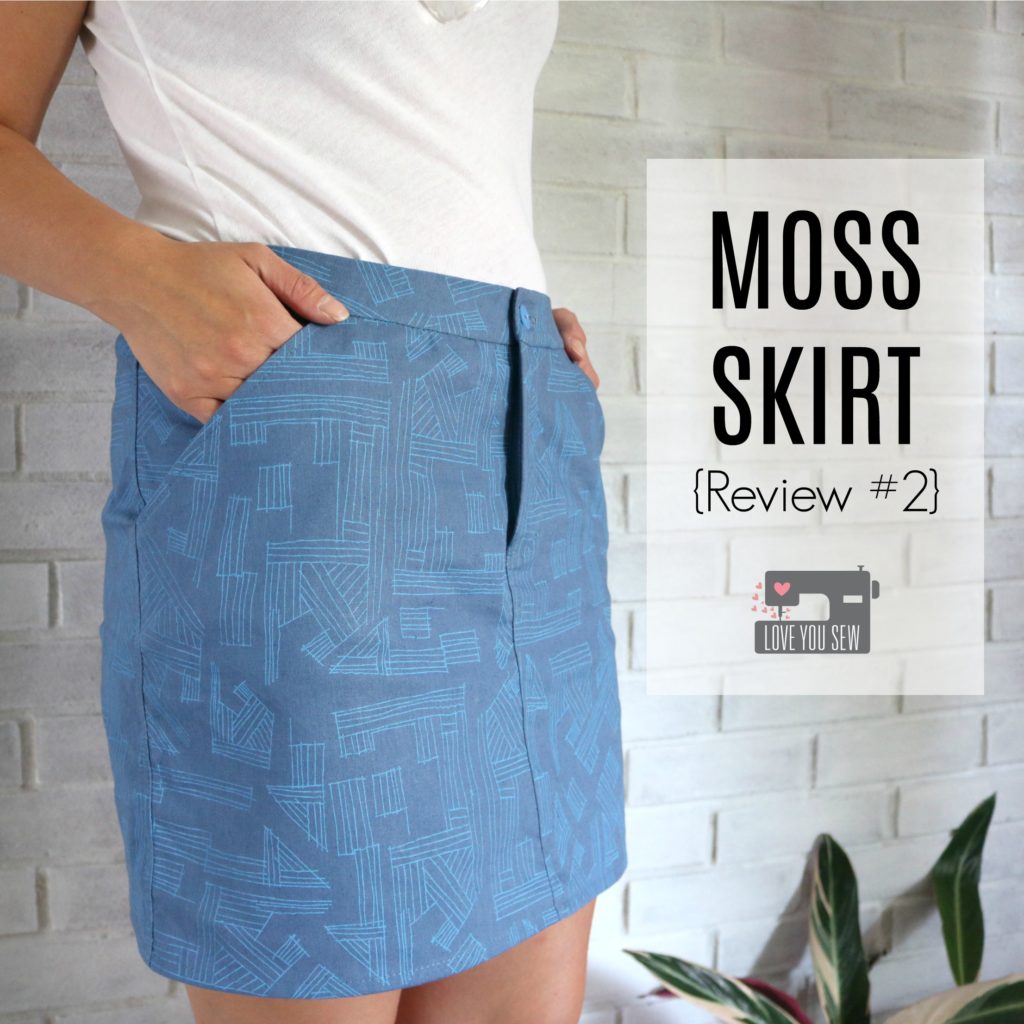
Moss Skirt {Review #2}

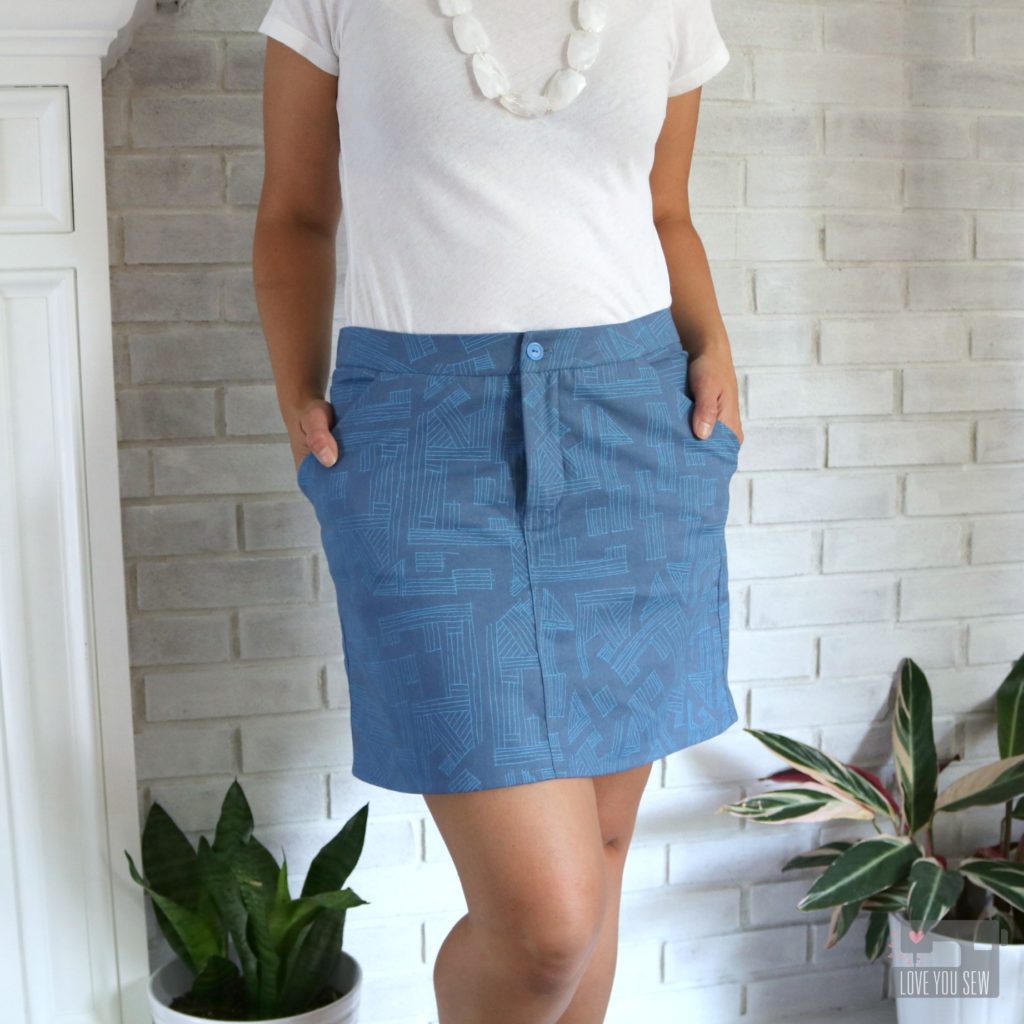
I had my fabric selected for my Moss Skirt by Grainline Studios months ago…hoping to be able to wear it all summer long.  But as you know, life just happens and selfish sewing gets put on the back burner.  This is the second one I’ve made and love it even more than before.  For the first one I made over a year ago, you can read about it here.

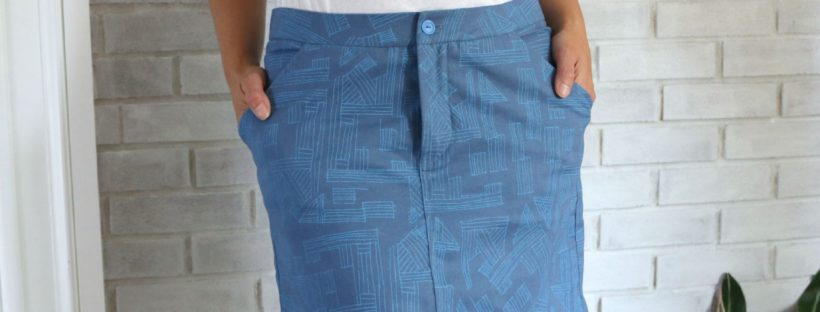
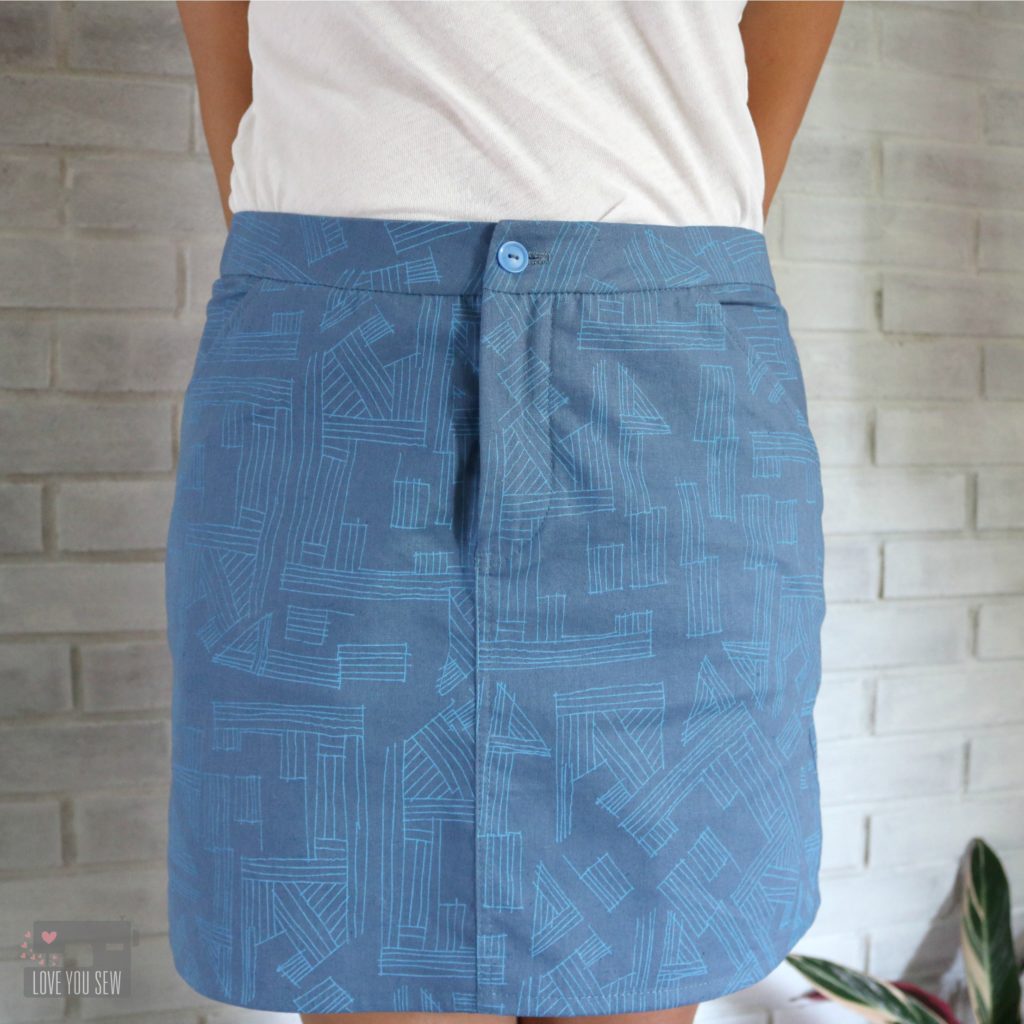
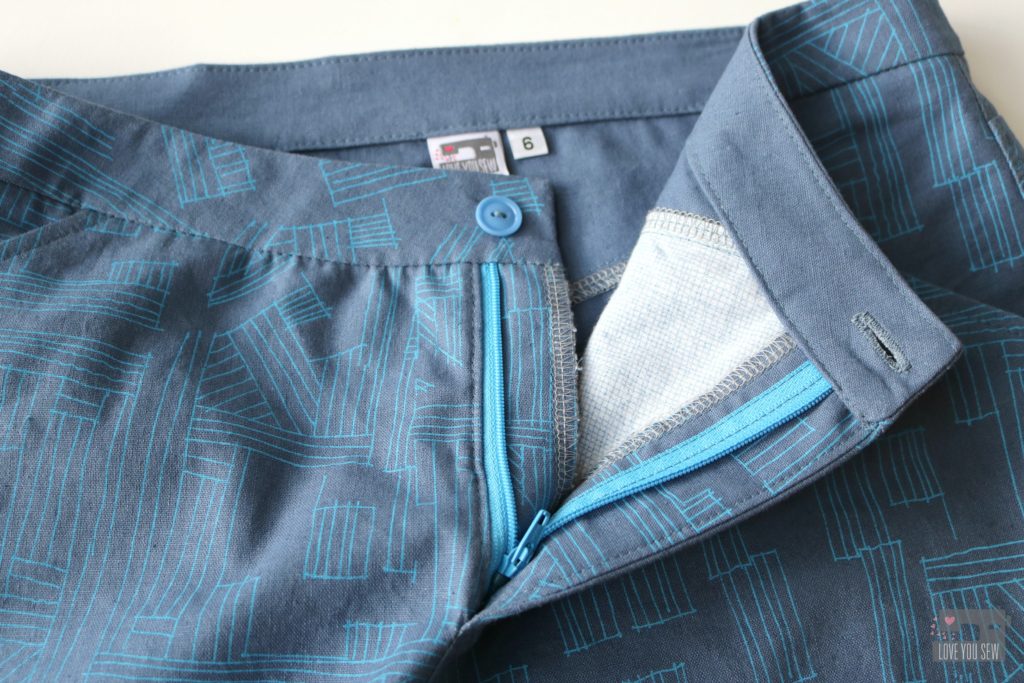
For this version, I used Euclid fabric in Cadet which is a printed linen/cotton blend.  This is slightly heavier than quilting cotton, and makes for the perfect summer weight skirt. With the blend, you get the texture of the linen, but not all the wrinkles. I’m all about less ironing!  By making View A this time, I was able to make this skirt out of one yard of fabric (minus the pockets.)


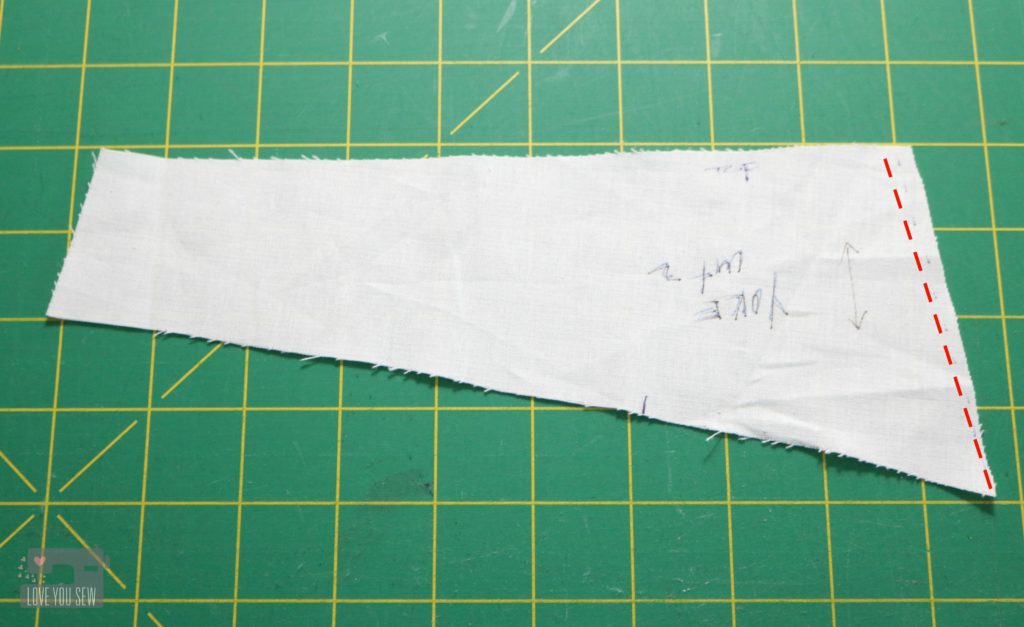
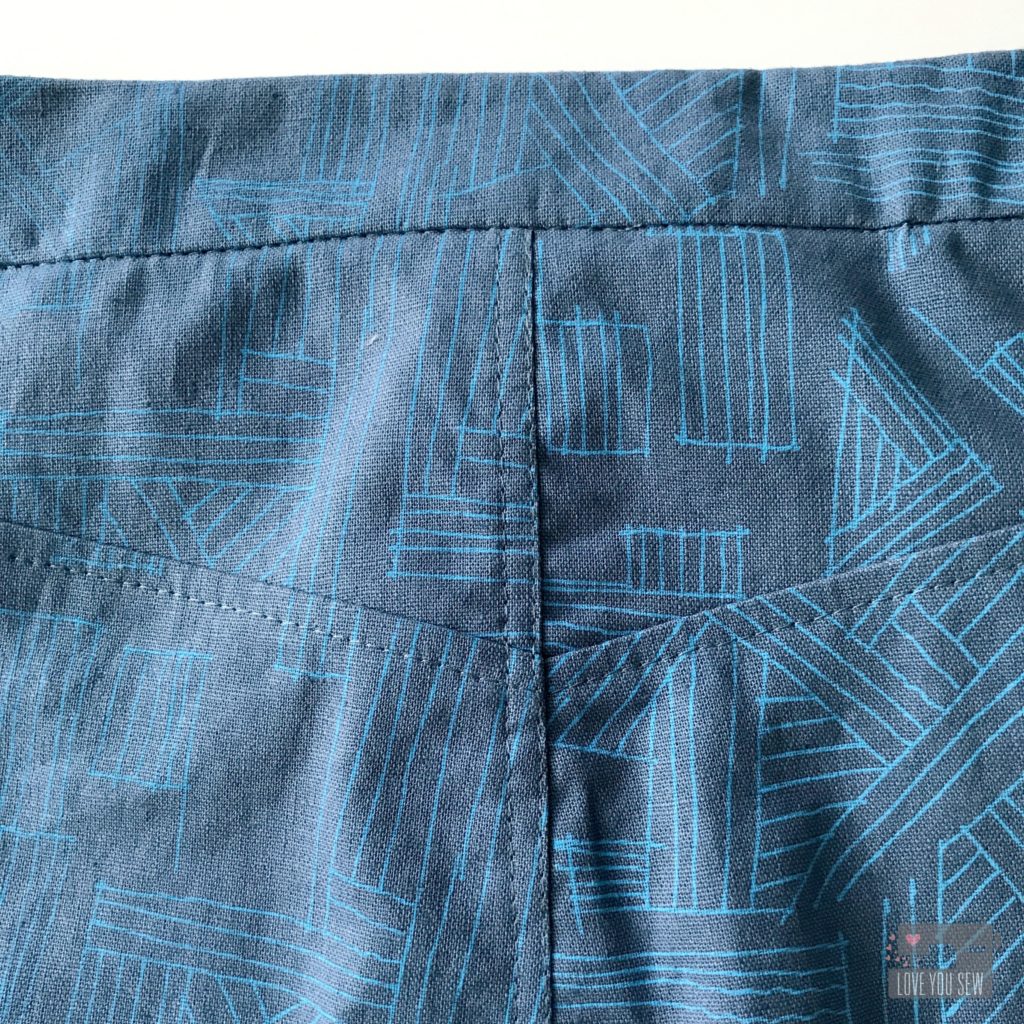
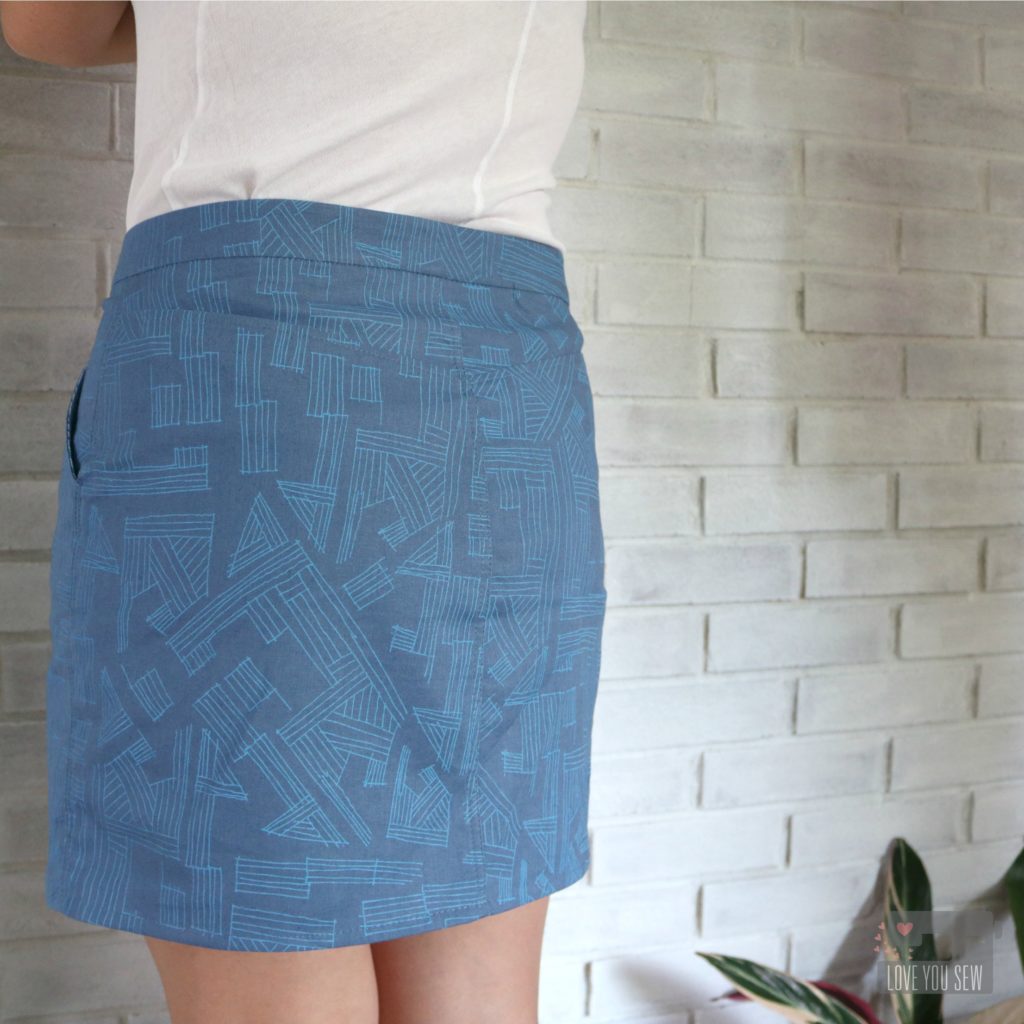
After learning from my first Moss, I knew I had to adjust the back yoke to get rid of the gap. You can see (on the dotted line above) how I cut into the yoke pattern piece on an angle to leave the room for my rear but move the waistline closer to my back.

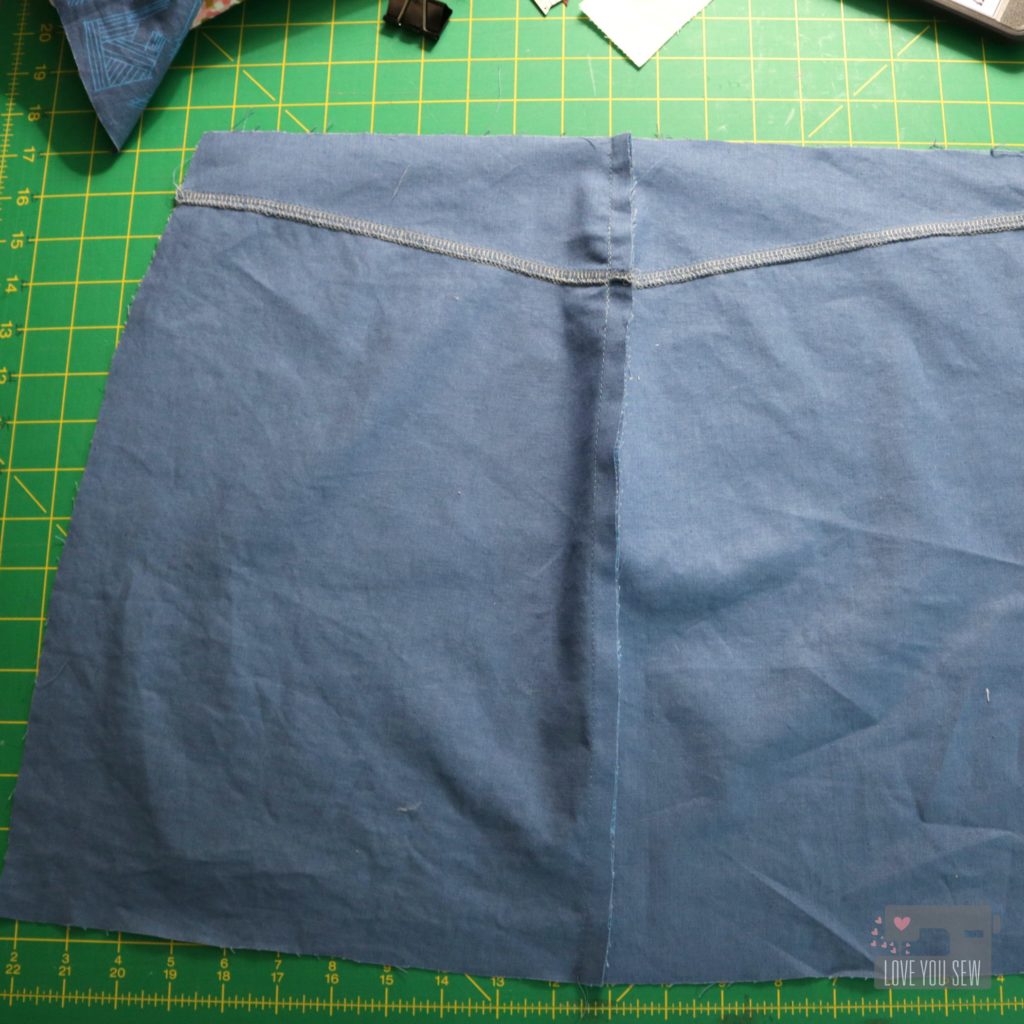
The other other learning was to keep my vertical seams unfinished until I was ready to add the waistband and hem. This allowed me to make just slight tweaks to curve my seams, if needed. Once I was satisfied with fit, I serged my seams.


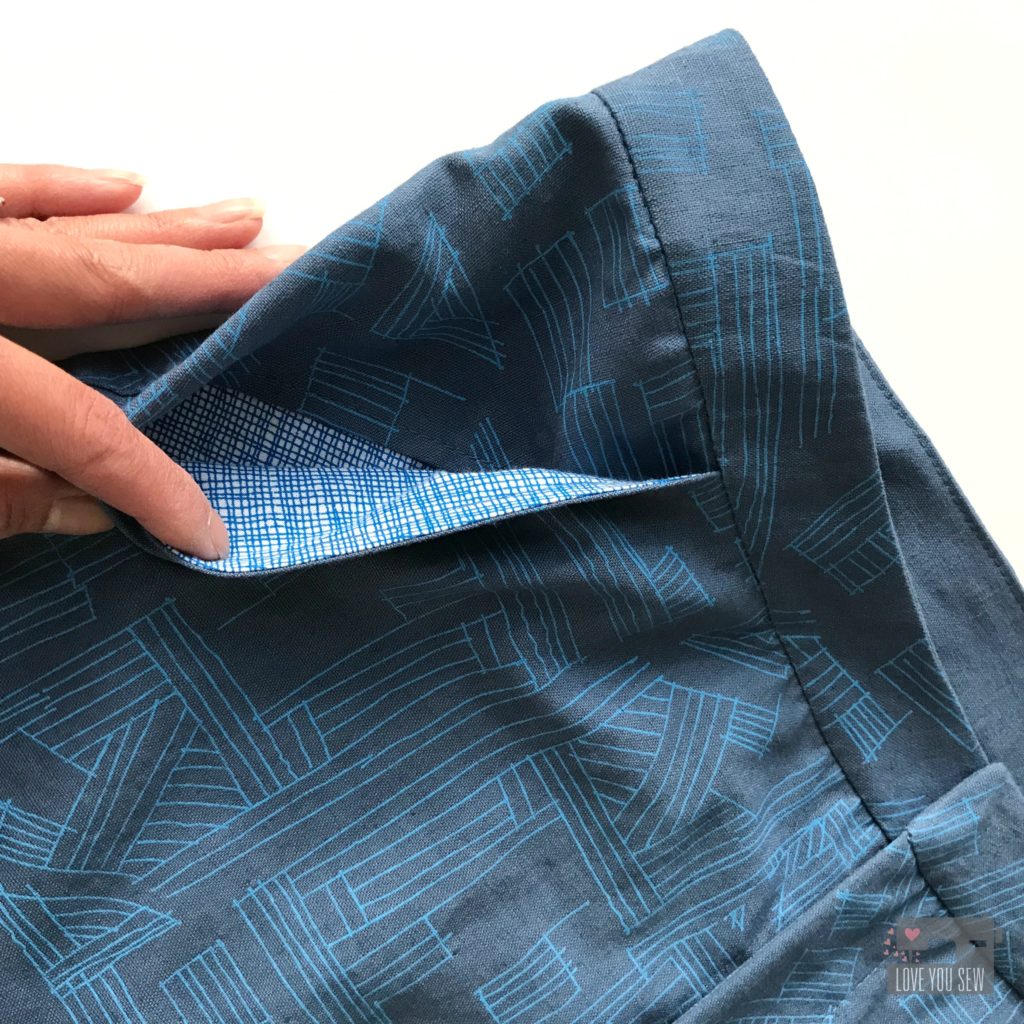
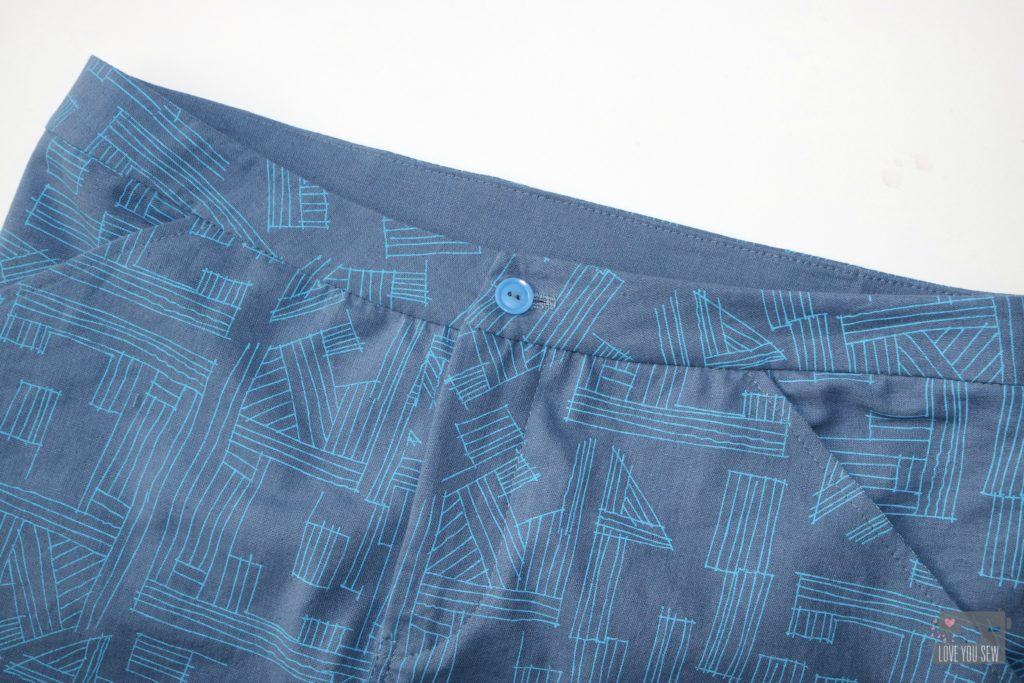
For some fun and to keep the silhouette smooth, I used Architextures Gridlines for my pockets. This allowed me to use some scrap fabric and reduce the bulk if I would’ve kept to the same cotton/linen blend.

As I moved through the pattern pieces, I mimicked the same top-stitching as seen on a pair of ready-to-wear jeans. I love how it turned out! Be sure to increase the stitch length and go slowly to ensure nice straight line.

The great thing about making your clothes, not only for the custom fit, is being able to add so many special touches.  Like the pockets, I added a contrasting zipper and button for fun.  The button came from my MIL’s long hoarded collection and it reminds me of her as I wear this new garment.

For the waistband, I decided to machine stitch the inside down verses slip-stitching it as the pattern calls.  I’m a busy mom and I try to machine wash and dry as much as I can.  For me,  a machine stitch would just hold up better with my lifestyle.  This lady does not have time for all that hand-washing!  I pressed the interior band down just wide enough to just cover the seam and stitches.  (If you have any branding or sizing tags, this is the perfect time to pin them in.)  I used a Sewline glue pen to keep the interior waistband in place while I stitched-in-the-ditch along the exterior.  This allows me to just catch the interior band.


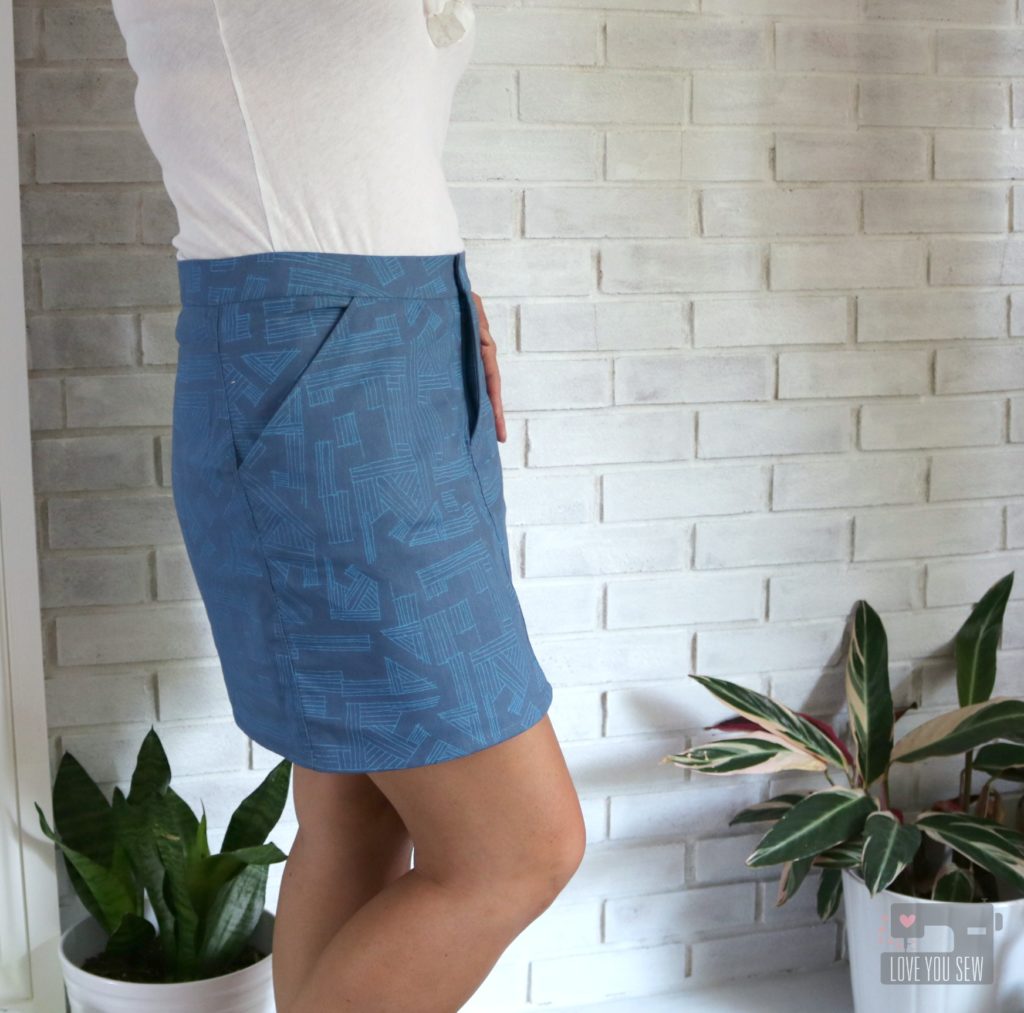
With View A, I hemmed as directed.  This length was perfect on my 5’3″ frame.  It hits a few inches  above the knee, but is perfect for the summer.  If I was any taller, this might be a tad too short for my “mom” lifestyle which requires a lot of bending up and down…and sometimes a bit of unexpected climbing.  🙂

As I’ve been building my handmade wardrobe, I’ve been selective in choosing some slimmer silhouettes for my petite frame.  I am heavier in the arms and legs, thus like to emphasize my waistline.  This is the perfect skirt pattern for just that.  The clean lines and waistband keep everything smooth to draw the eye up and down.  The printing on the fabric is just the right scale to keep everything in place and not over emphasize one part or the other. 😉

I love how I can pair this skirt with just a white tee and the outfit still looks polished.  I’m hoping to extend this skirt’s life with some heavy tights and cute clogs with a slim long-sleeve tee in the fall. Check out my IG feed to see how it pairs with a yellow and white striped tank and the other outfit pairings!


Project Details:

  • Pattern: Moss Skirt by Grainline Patterns
  • Exterior Fabric: Euclid in Cadet by Carolyn Friedlander for Robert Kaufman Fabrics from Fabric.com
  • Pocket Fabric: Architextures Gridlines in  by Carolyn Friedlander for Robert Kaufman Fabrics
  • Piecing and Top-Stitching Thread: Gutermann 236 polyester
  • Zipper: YKK from ZipIt Zippers
  • Button: Vintage (manufacturer unknown)


Happy Sewing!

Cristy


Please note there are affiliate links.

Sewing Room {Pattern Organization}

Pattern Organization Title

It’s funny when I’m asked what kind of sewist I am.  Quilter? Bag-Maker? Garments?  Well….I tell everyone, “I am all of the above.”  I like to dabble in everything — to challenge myself and I just love being able to make as much as I can with my own hands.  With this variety in my sewing repertoire, comes a TON of patterns!

I have a mix of both digital and paper patterns.  If given the option, I almost always take the full printed pattern.  As much as I love the instant gratification of downloading a digital pattern, the extra taping is a bit annoying and I have more difficulty tracing with printer paper.  I know…it’s nice to always have a back-up of a pattern on my computer, but be rest assured, I always make copies.  I trace garment patterns onto muslins and I create cardstock templates of bag pieces.  Which type of pattern do you prefer?

With all of the patterns and their print-outs…and the traced muslins…and the instructions…how do I organize them all?  As much as I would love a one-size fits all solution, it just doesn’t work for me. I have three different methods of organizing my sewing patterns and maybe one, two, or all three of them may work for you.

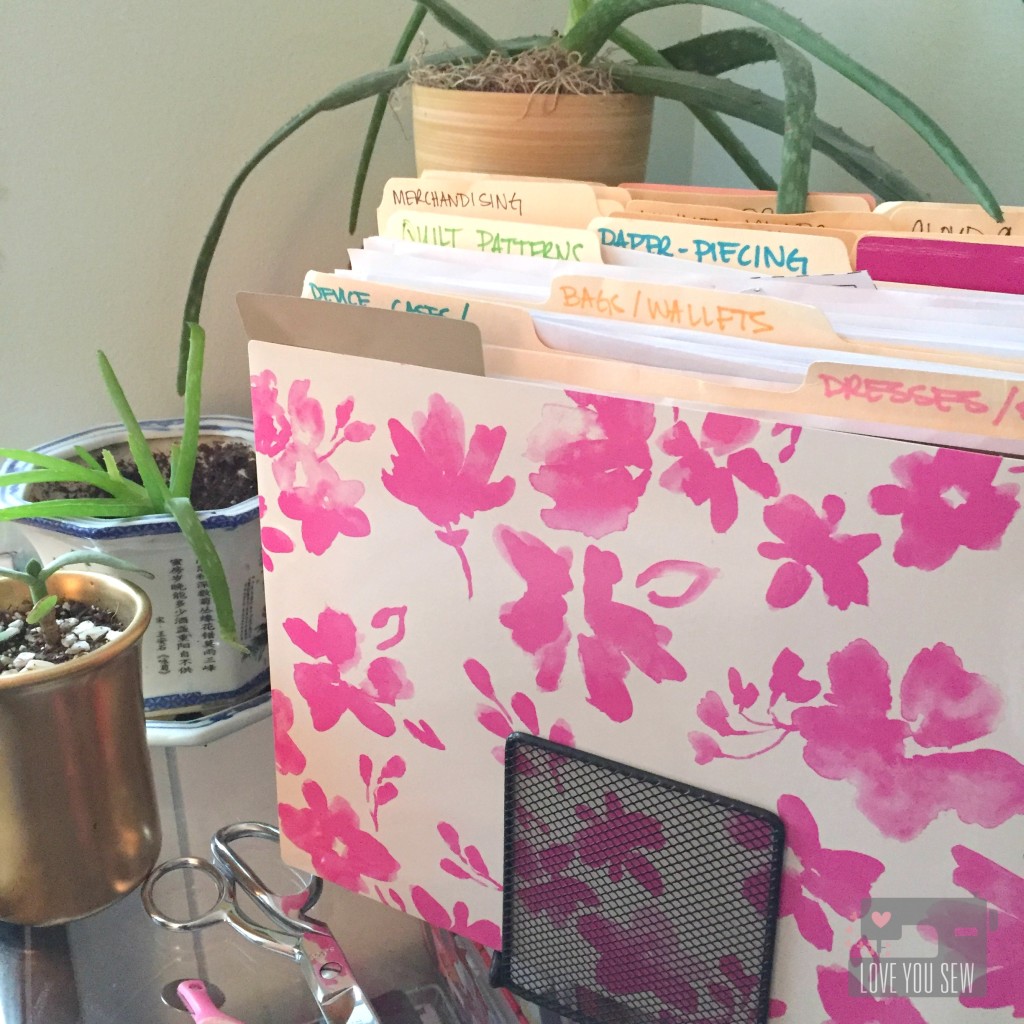
Classic Filing Method

Pattern Organization File Folders

This has place from my former corporate office days.  It also was my first method when started sewing.  Having all the supplies on-hand didn’t hurt either.  I had a stack of file folders, a desktop tiered rack, plastic file boxes and even a metal cabinet.

I use this method to hold my digital patterns and printout of free tutorials on-line.  (Thank you fellow bloggers!)  These are all categorized by my most frequent sews as shown.


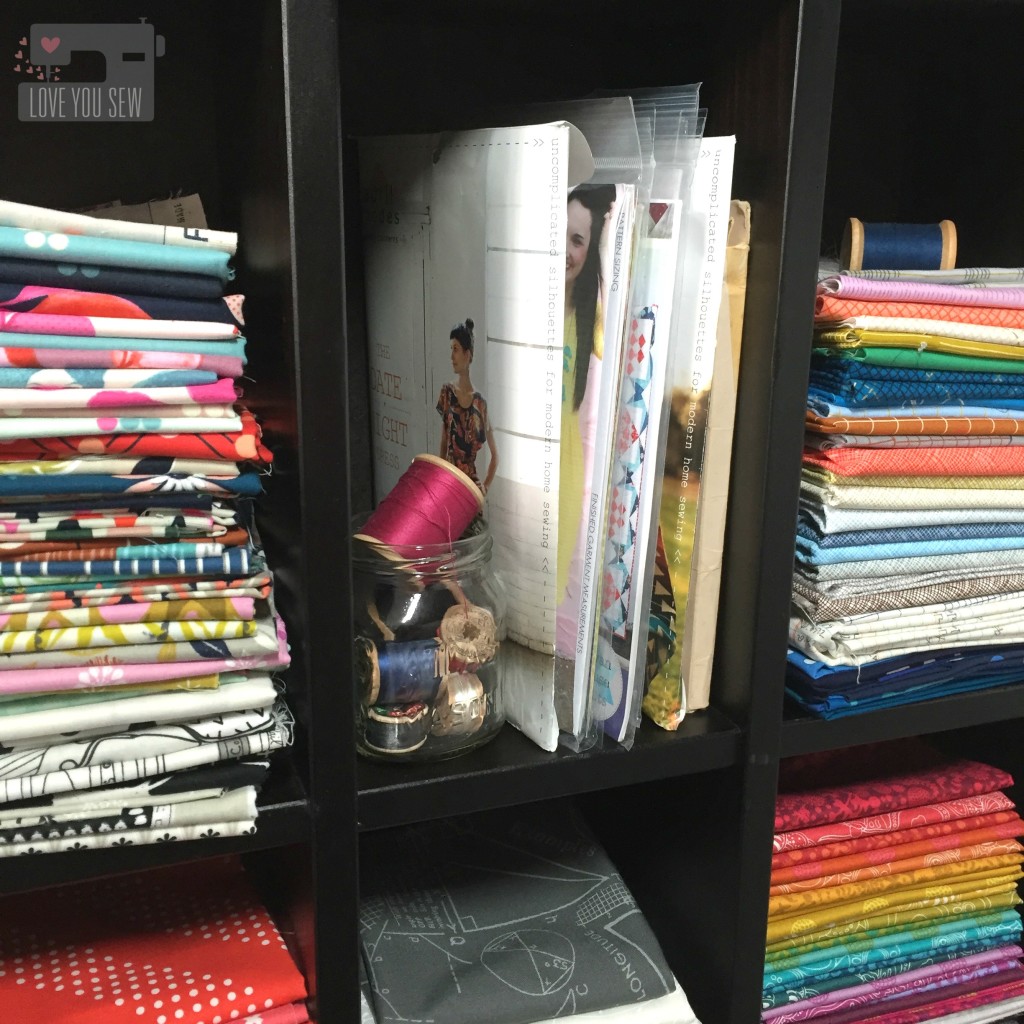
Shelf Method

Pattern DVD Storage

Most physically purchased paper patterns are about 6″ x 10″.  They can easily get lost in regular shelving and other paper storage containers.  For awhile I had mine in cute little wire bins…but the patterns were quickly outgrowing my bins and I couldn’t see them well.

Fortunately, I had a friend who wanted to get rid of a DVD shelf…and it was nice solid piece.  (I bartered a toddler dress for this…score!)  This DVD shelf not only is the perfect size for paper patterns, but it holds fat quarters perfectly.  I love how I can see everything and my patterns are in easy access.


Art Portfolio


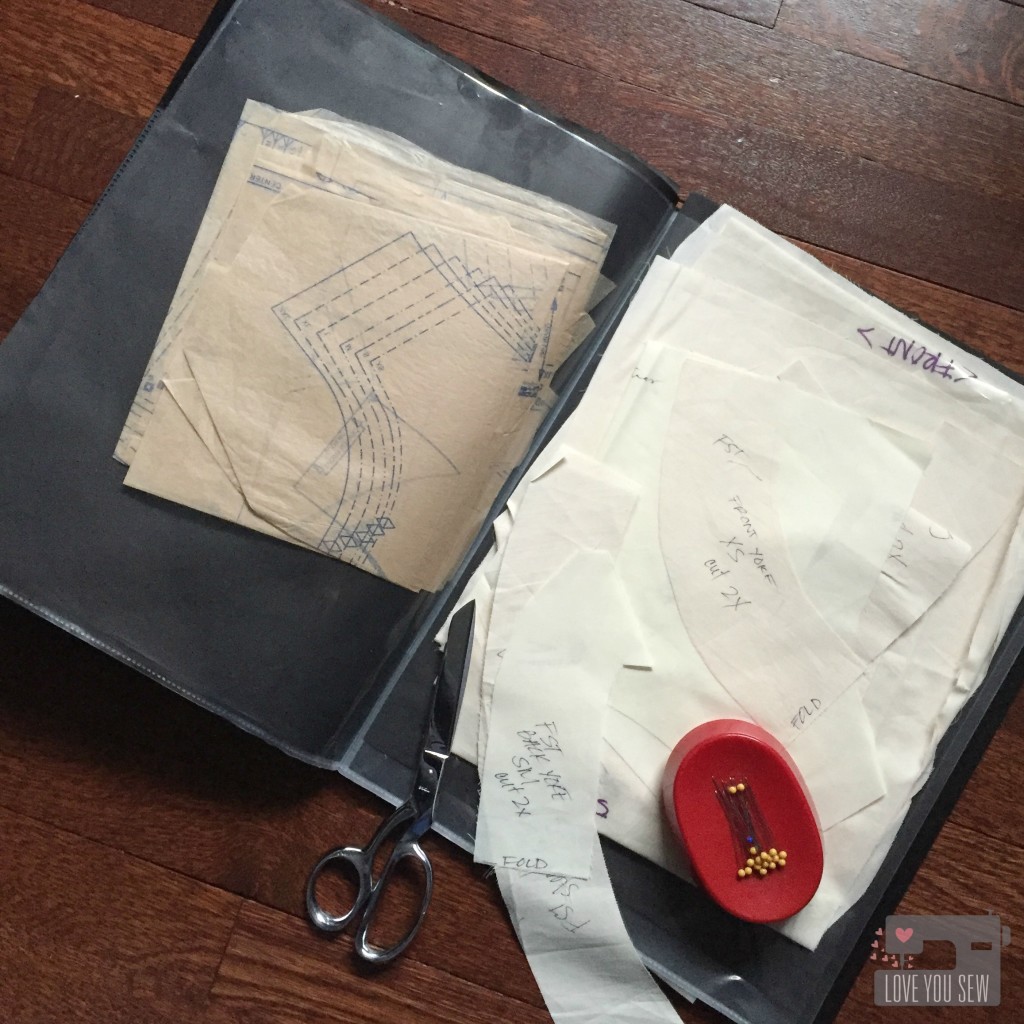
Pattern Organization Portfolio Open

So we tackled, letter-sized patterns and instructions with the file folders and the smaller printed patterns, but what about the big stuff?  For awhile, I folded all the taped pdfs up in those file folders and even used a large binder with those clear plastic sheet protectors, but they didn’t last long.  The patterns were all poking out and the folders got too full too quickly.  I needed something bigger…

When my kids started to bring home arts and crafts from school, I wanted to save all their cute projects.  So I picked up a smaller size art portfolio from my local big box retailer.  I use them to organize each year of school for my guys.  Then….it dawned on me one day that I should use one  for my big paper patterns.

This 11″ x 17″ portfolio size is perfect for my needs.  All of my patterns fit with only one or two folds without needing advanced origami skills to get them back into original form.  I love how it also holds my muslins and the clear pockets allow me to quickly identify what patterns are which.

How do you store all of your patterns?


Have a great week!

Cristy


What to Do When You Forget to Pre-Wash High Contrast Colored Fabrics (in a Quilt)

What to Do When You Forget to Pre-Wash High Contrast Colored Fabrics

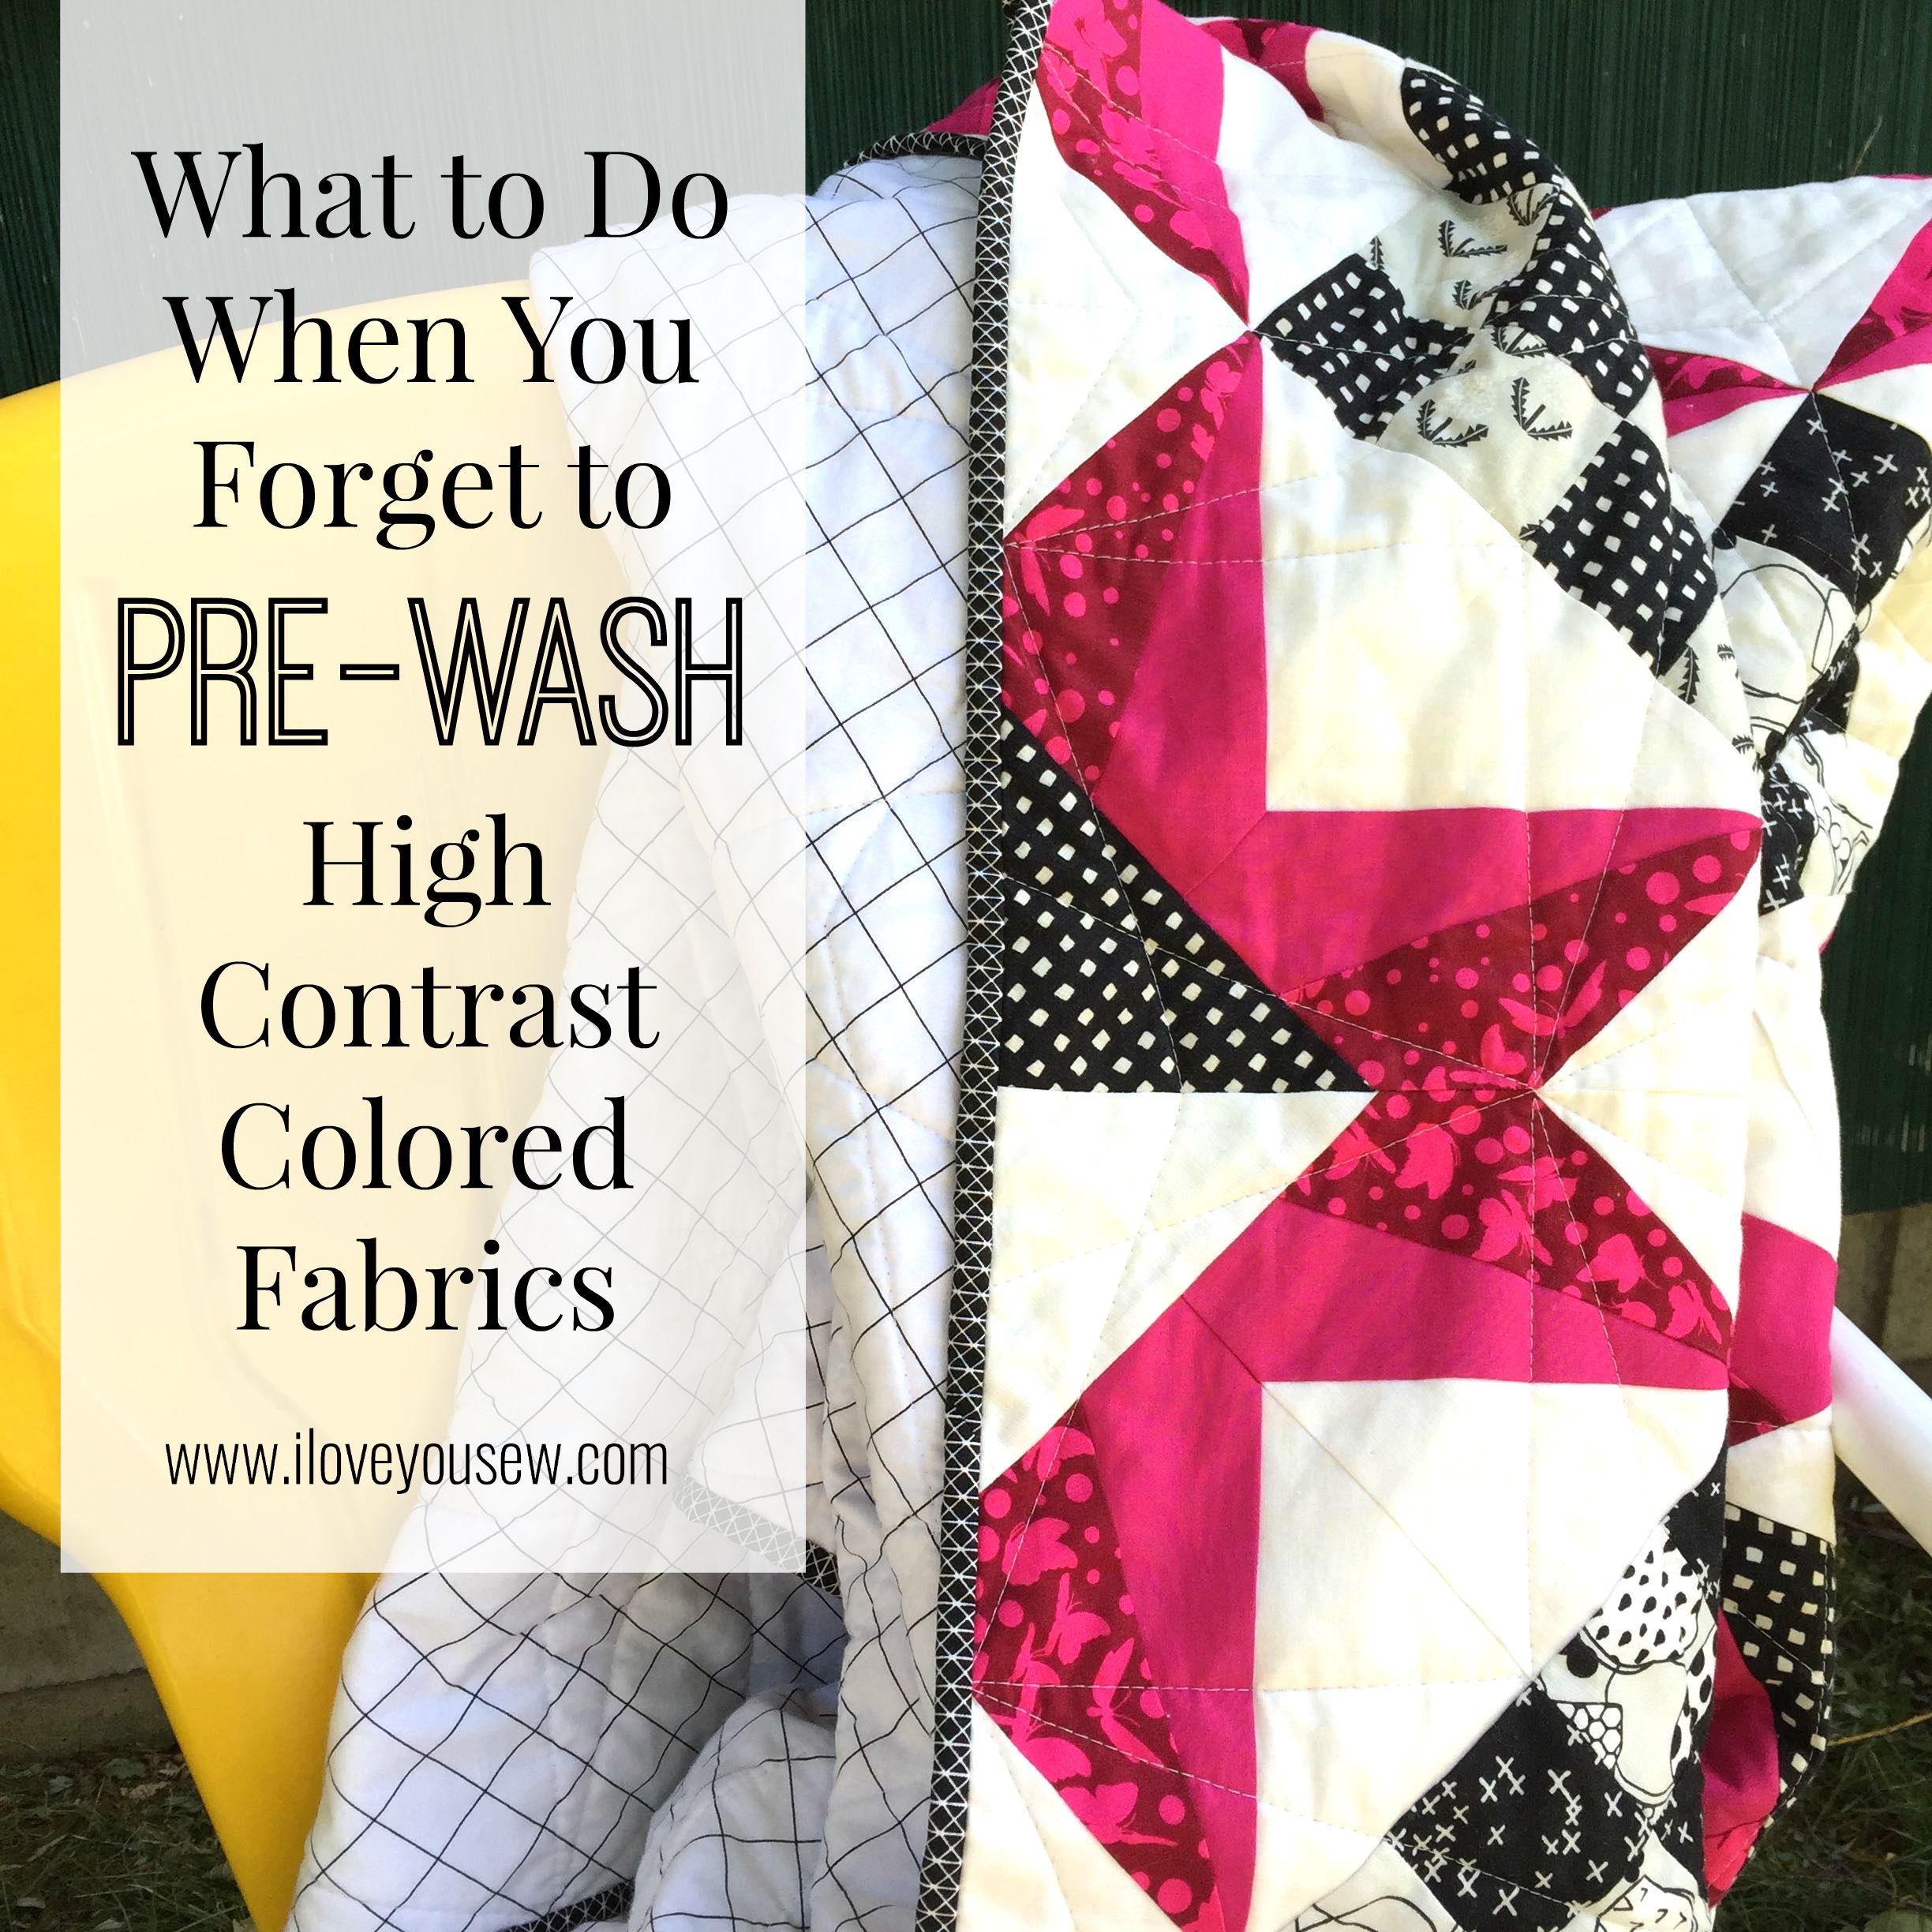
After picking the high contrast fabrics for one of my latest quilts AND after cutting into it AND after piecing it…I realized I should have pre-washed it!  How was I going to prevent bleeding on my project???

When I thought to pair magenta, black and white fabrics together in my recent Jacks Quilt, the thought of pre-washing never crossed my mind.  For quilts, I am not a pre-washer and so I went about my normal way cutting and piecing until it hit me…that all the saturated colors could bleed onto all of that white! I wanted to cry in that moment because there was NO way I was going to buy new fabric and start over. My pockets and my sanity wouldn’t allow it since I had cut hundreds of pieces already.  I couldn’t wash all the  small pieces I had because the threads would fray and there would be considerable size distortion…

I know there is a divided camp among those who always pre-wash fabrics no matter what and those who don’t.  Personally, I don’t wash because I DO love that crinkly texture after a quilt is finished and then laundered.  Also, many times I make quilts that will be photographed and need that crisp color that is fresh off the bolt. Which side of camp do you belong to?

WashingQuiltTools

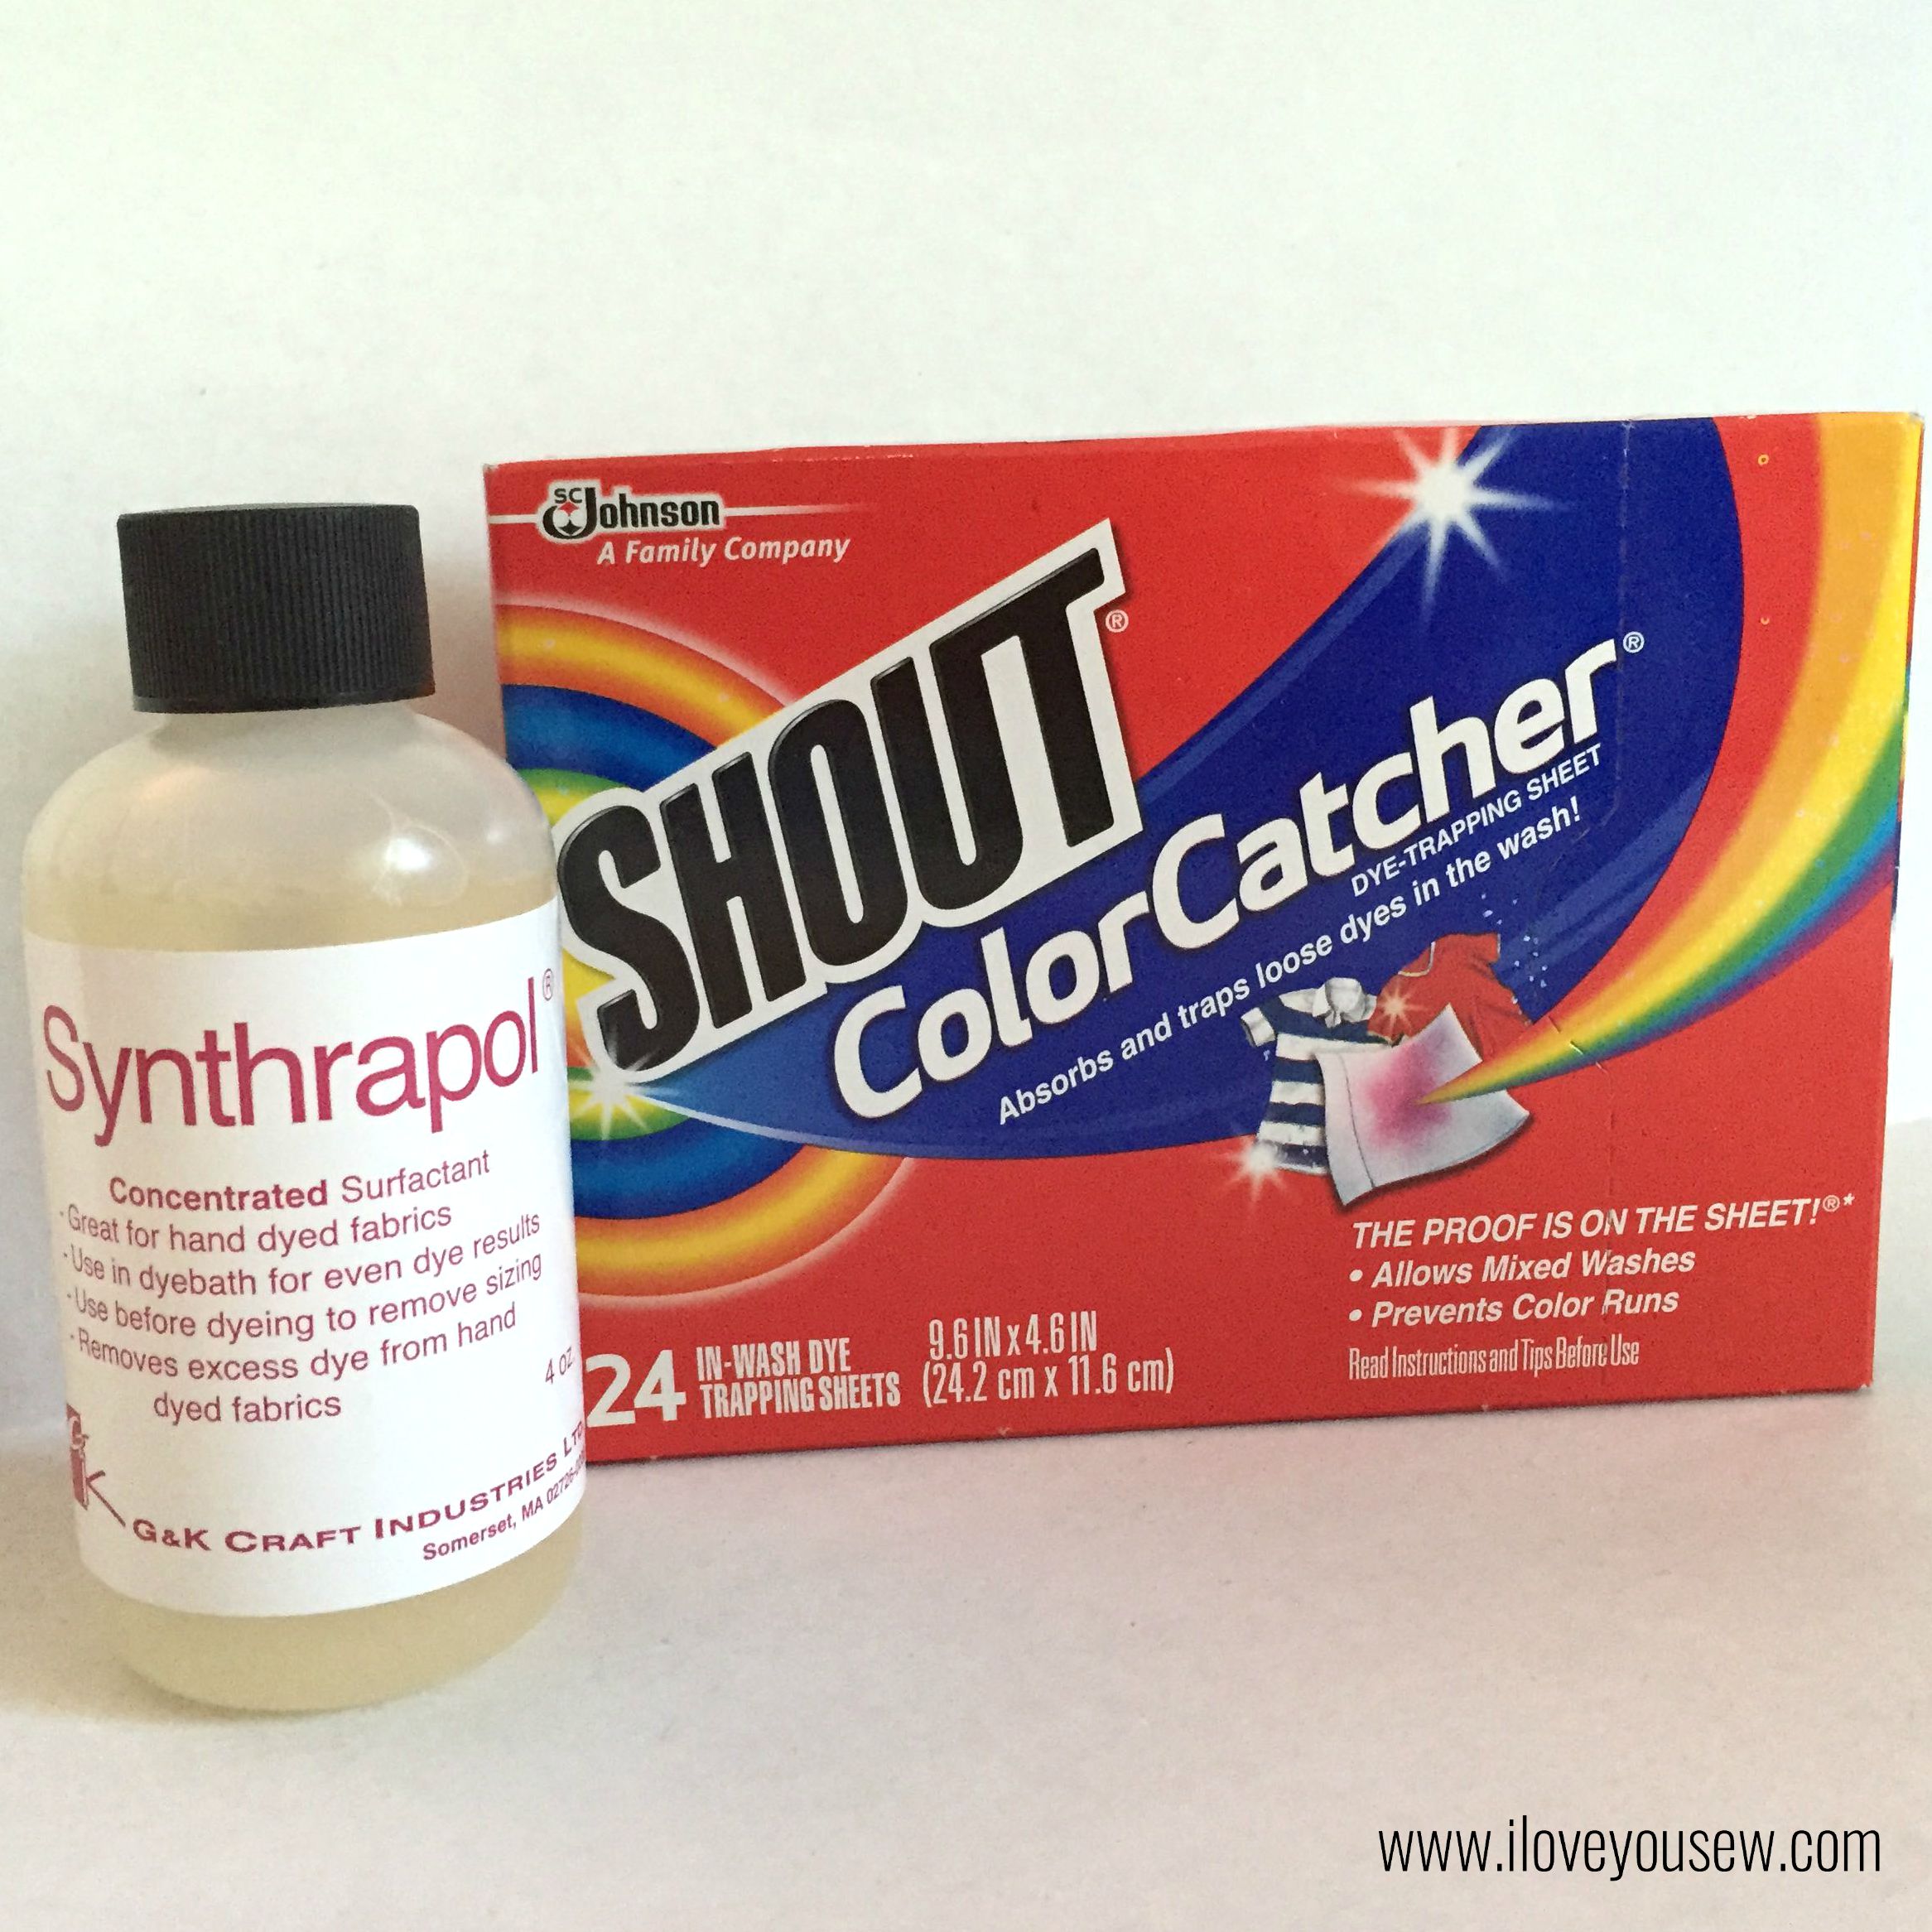
So off I went to find out how I could prevent any bleeding from occurring.  I consulted with a few quilty friends and good ol’ Google to see what was out there.  Synthrapol kept coming up as the go-to detergent to help dyes from re-depositing back onto the quilt. I also received many recommendations to Shout Color Catchers for this dilemma and to use in pre-washing going forward.  I decided why not try both products since I didn’t want to chance ruining my new quilt?

ColorCatchers

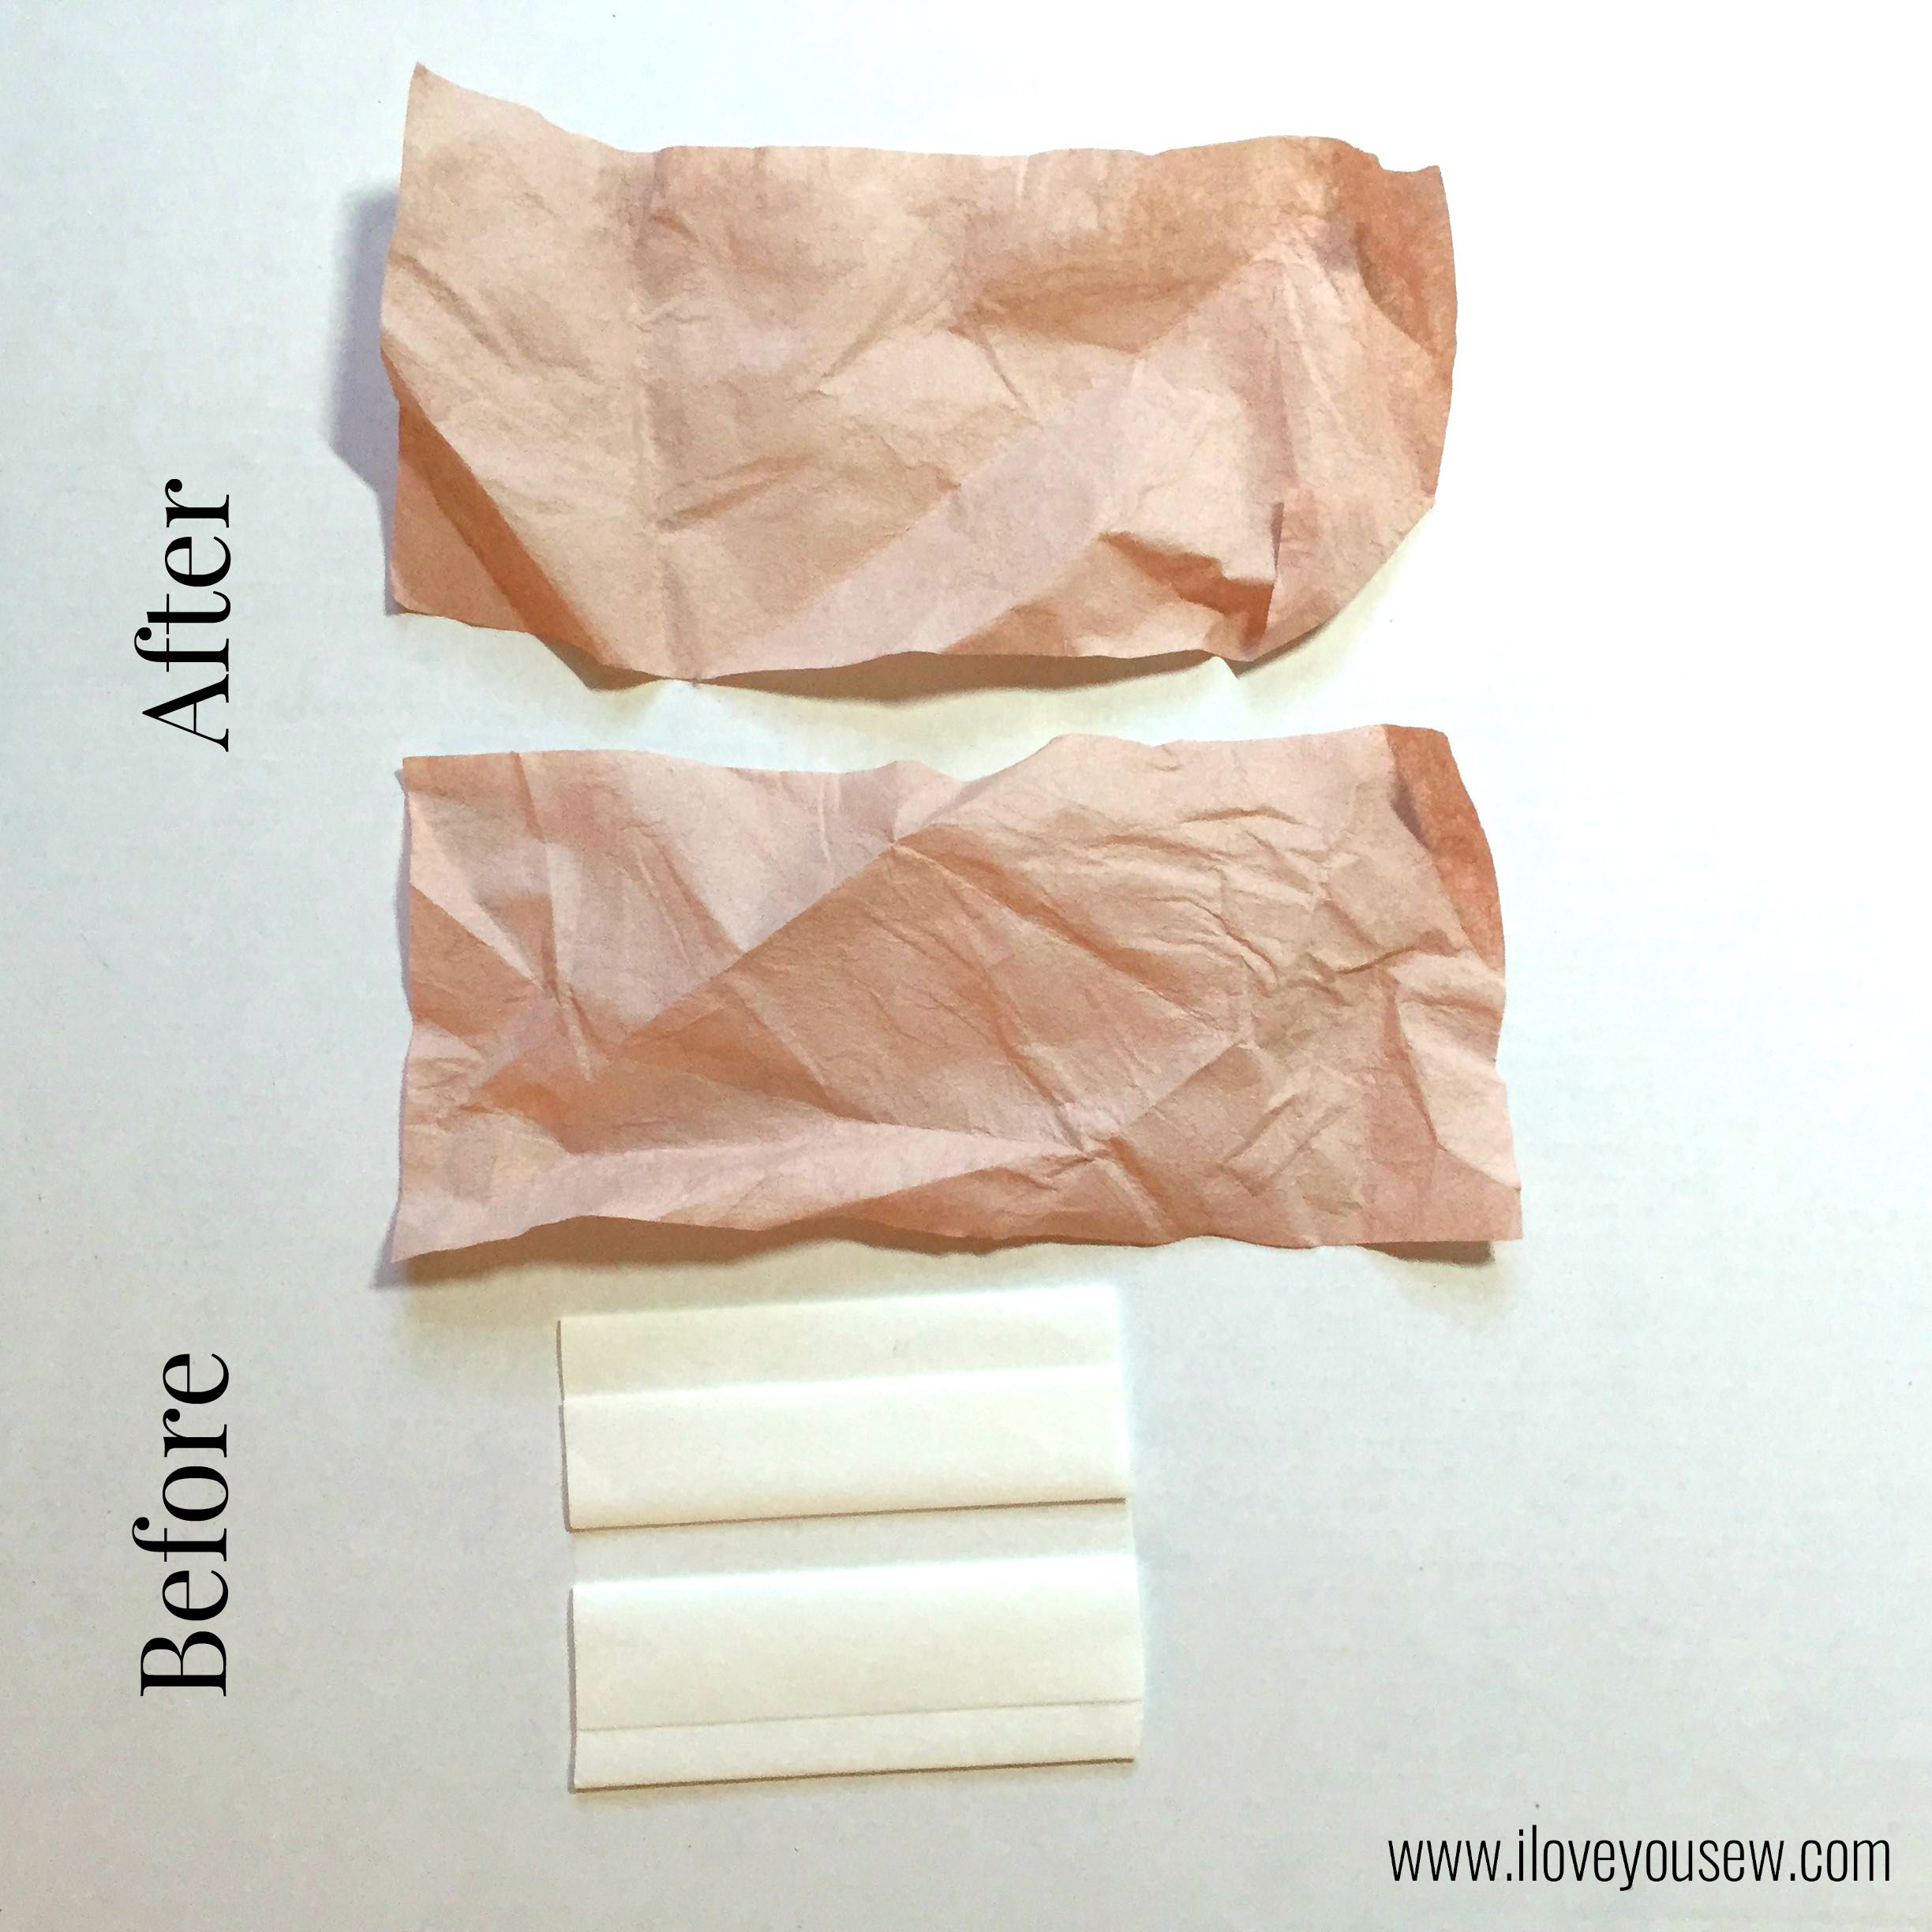
I followed the instructions on the bottle of Synthrapol to use only 1 tablespoon for my quilt without any additional detergents.  I did add two Color Catchers into the load as well.  Why two? I figured the magenta and black fabrics held such strong pigments that two catchers might be needed. As you can see, both Color Catchers did their jobs and caught a good bit of dye (Sigh of relief!)

IMG_0983

The quilt came out without any bleeding…which I was still astonished to see despite my efforts.  The image about is after washing.  You can see there were no runs with the magenta or the black dyes onto the white.  Hallelujah!!!

IMG_0984

I flipped over to the back of the quilt to see if there might be any bleeding there as well.  It was completely clear!  The Synthrapol and Shout Color Catchers worked!

Although I’m glad this all worked out, my lesson has been learned to pre-wash high-contrast fabrics next time.  I plan to still use these products for washing all quilts afterwards…just in case 😉  What do you use to wash your quilts???


Hugs and Stitches,

Cristy


***I was not sponsored for the content of this post. All opinions and experiences are my own and have not been influenced by third parties.

***This post may contain affiliate links.  The nominal compensation helps keep this site safe and running.