Colleen Tote Bag Gemology Tour

Gemology Blog Tour with the Colleen Tote

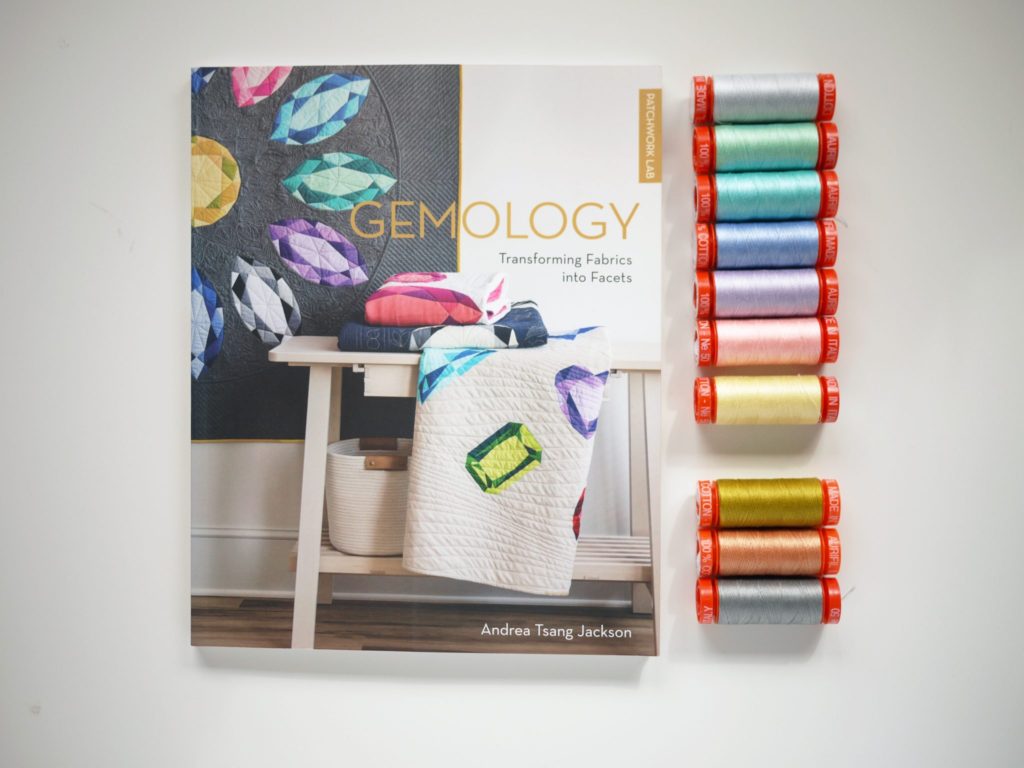
Today is my day on the Gemology Blog Tour supporting my friend, Andrea Tsang Jackson and her new quilting book, Patchwork Lab – Gemology. I had the absolute pleasure of meeting Andrea earlier this year at QuiltCon – Nashville after following her on Instagram with her amazing quilt art for so long.  We met over coffee and had SUCH a great conversation about building businesses in the fiber arts world and also being immigrants in North America.  Our stories are very similar and one of the reasons why I was thrilled when she asked me to be a part of this tour!!!
Colleen Tote Bag Gemology Tour

This new Patchwork Lab – Gemology book is absolutely beautiful and jam-packed with designs featuring nine different gem shapes which you can adjust into four different sizes ranging from a 6″ to a 24″ square block. There are additional instructions to make 5 quilts and a sweet little coin purse. The great thing about the book is that it is not just another quilting book. There is SO much additional information about how light hits the facets producing different colors and info about birthstones themselves.  It really gives you extra appreciation of the blocks as you construct them.
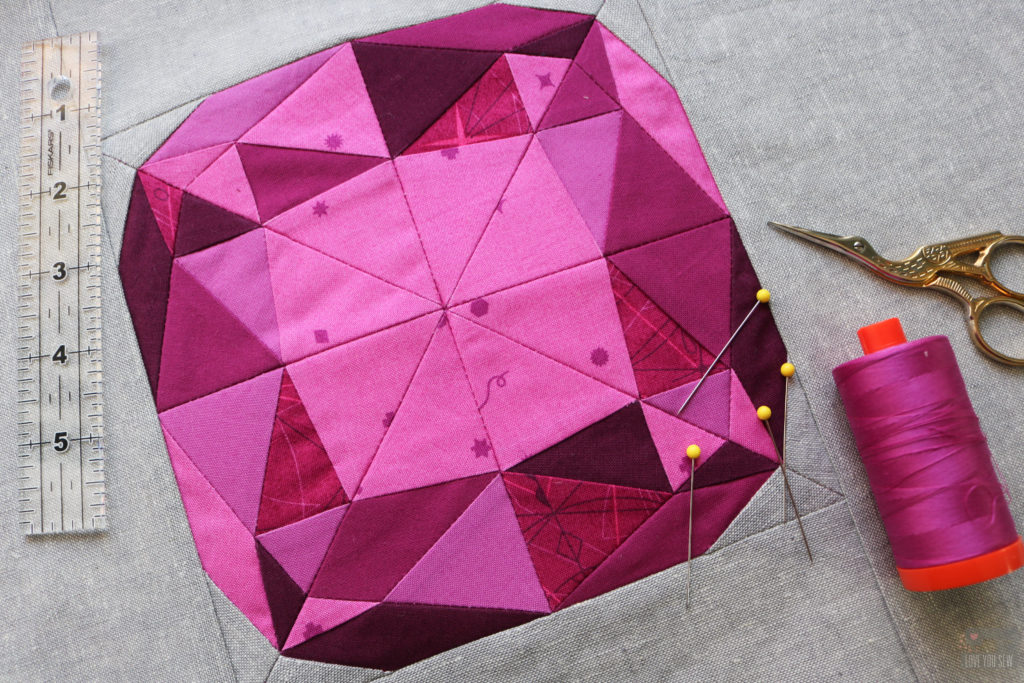
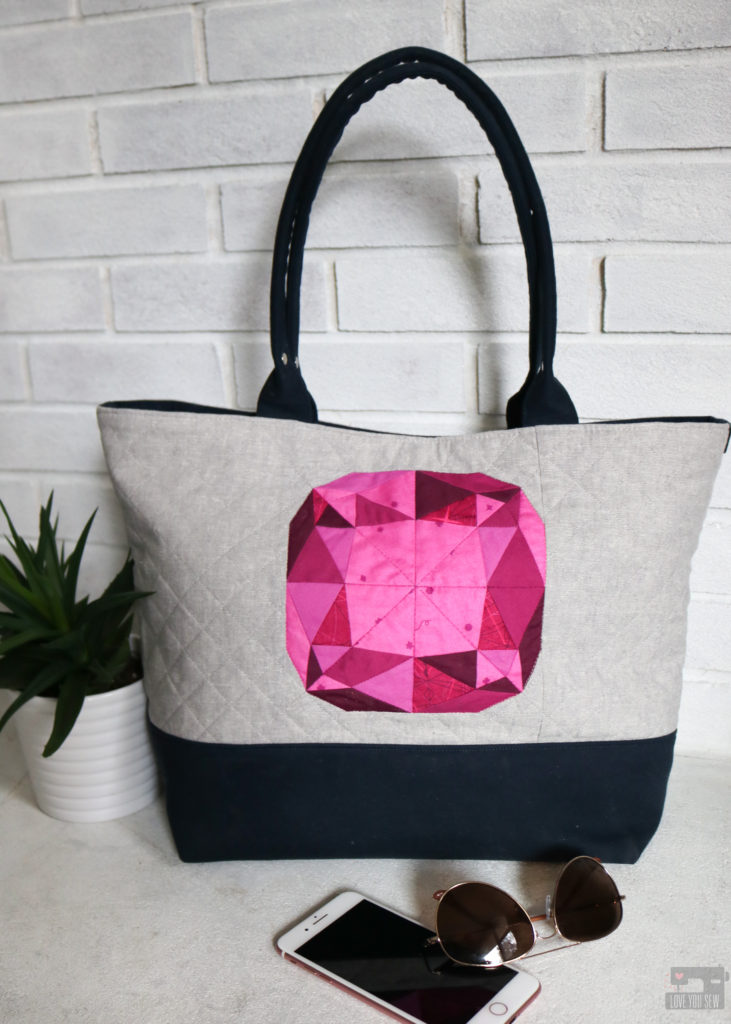
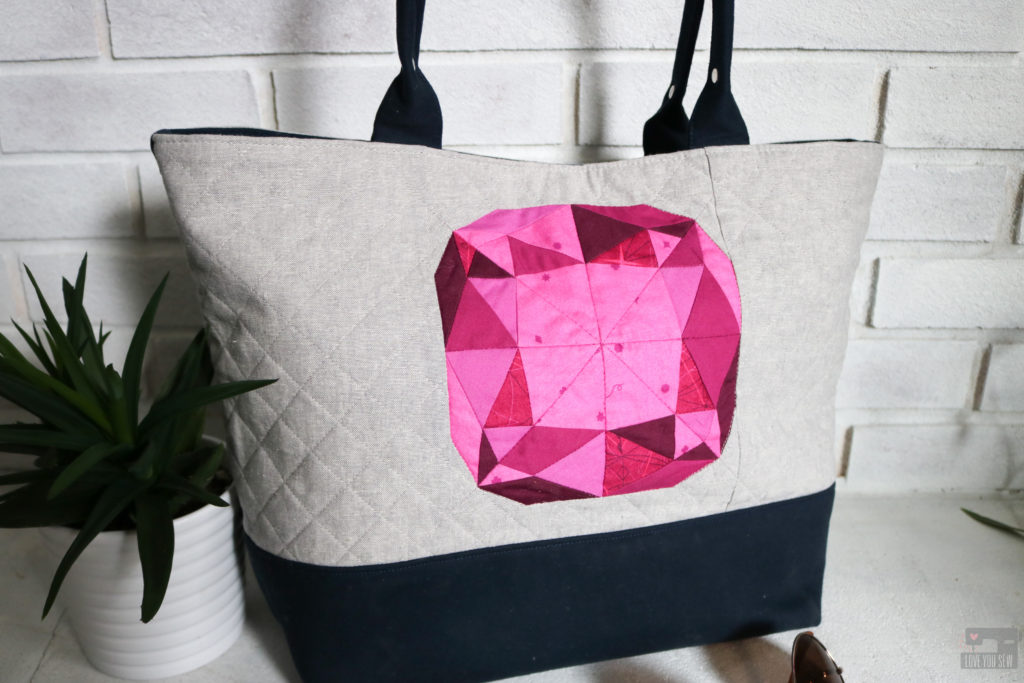
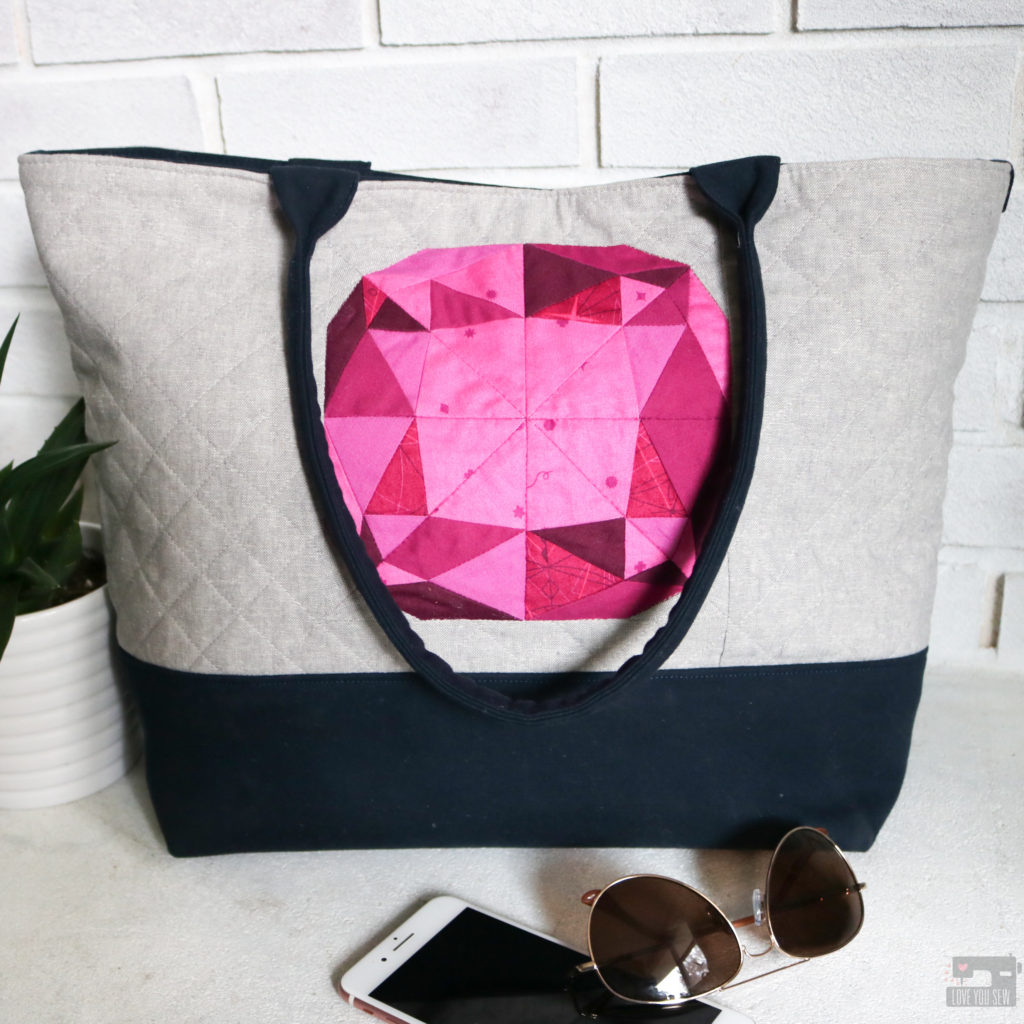
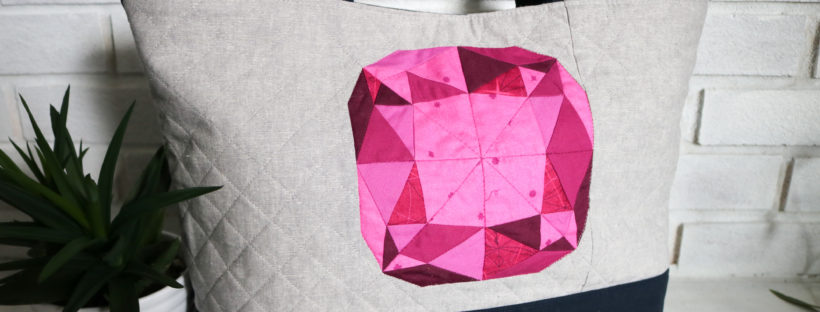
I knew after seeing the book, I would use the  6″ block for the exterior of my Colleen Tote Bag pattern.  When I first designed this bag, the quilter in me wanted enough open space on the exterior to eventually use quilt blocks to add some fun flair to the outside.  I’m so glad I finally got a chance to make this happen with the Cushion cut pattern.
Fabric

There are great fabric suggestions in the book for many of the birthstones, but I decided to use my own stash and make up my own gem. The Swatch Chart reference sheet is definitely a must IMO. It helped me sort out my fabrics and was a great visual reference as I was piecing the block together.
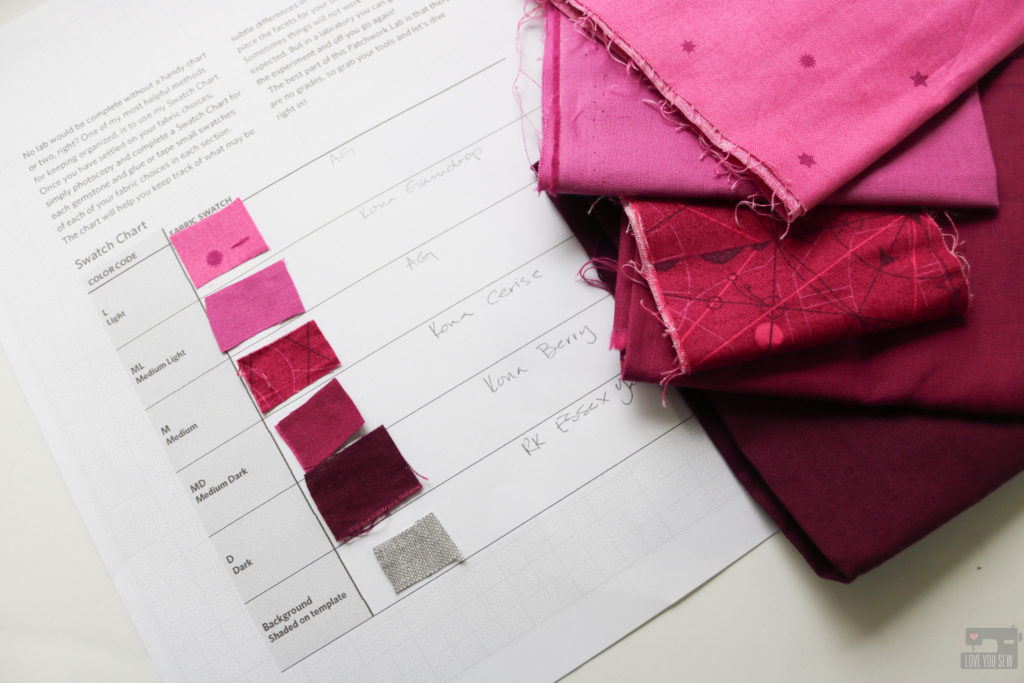
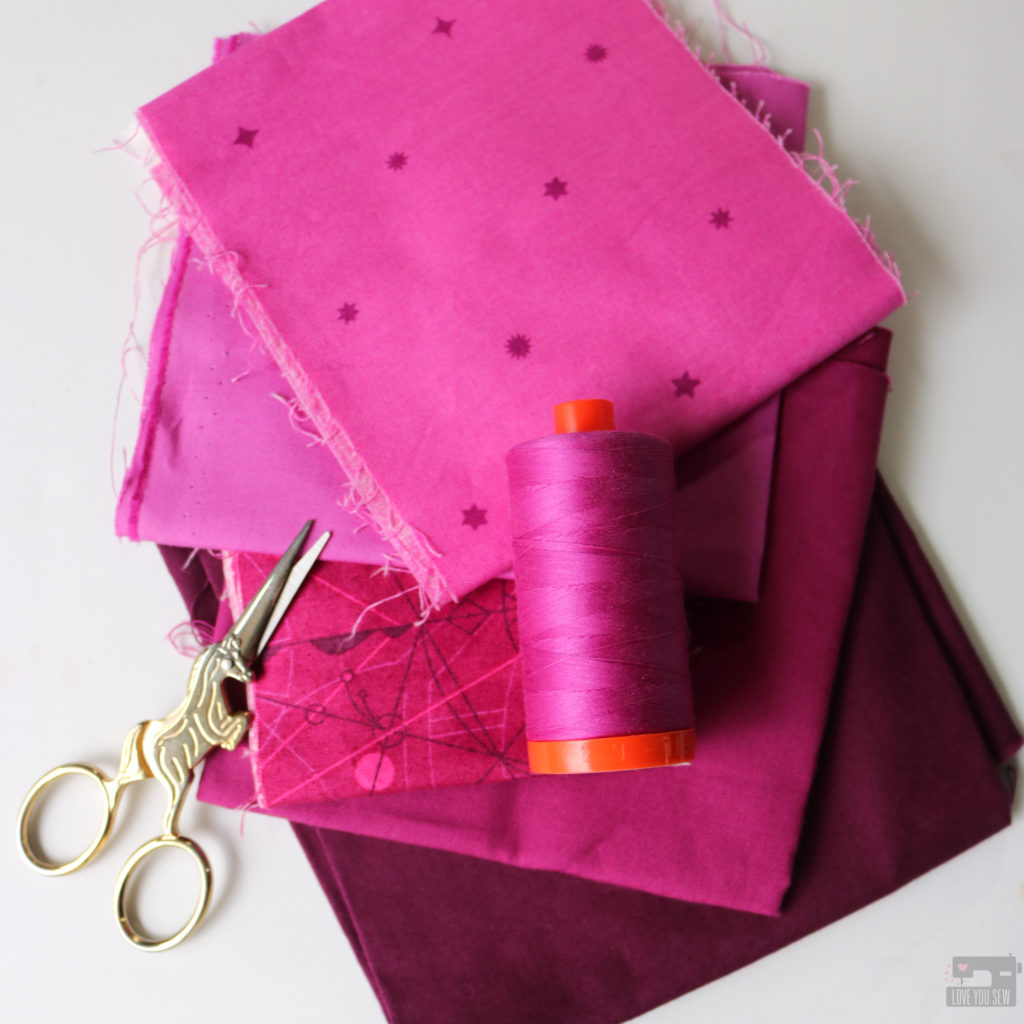
I really wanted the gem to pop on a bag so I used the following in the magenta family: (aff links)

For the rest of the bag, I used:

To Make the Side Panel with Gem Block

With this bag, I knew I wanted the exterior to be quilted for the texture and also to help secure the block to the interfacing. When doing this for a bag, it is always important to cut the fabric larger than what is needed, quilt it, THEN come back and cut it to size. Quilting will always shrink down a block and can become pretty significant difference if you are using more lofty batting or interfacing.
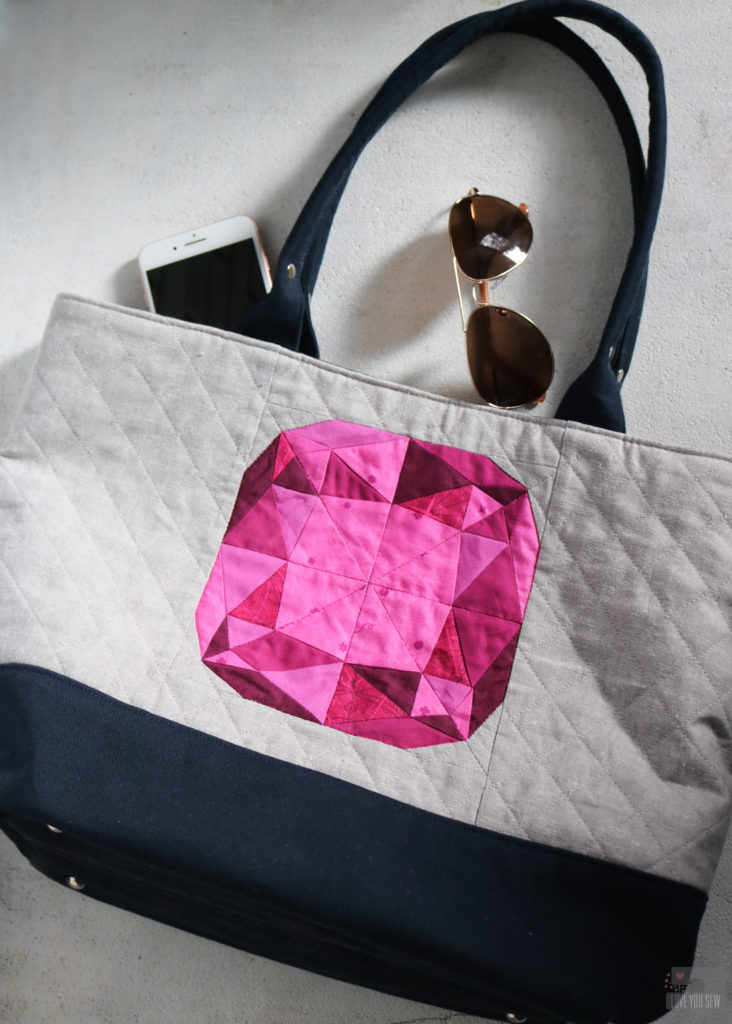
Since the finished panel would be 20 1/2″ x 10″, I added 3″ wide borders to the top and bottom (referred to as the “sides” in the book) and then 12 1/2″ x 7″ to the sides.  Instead of using fusible fleece as the interfacing, I swapped it out with Pellon 988 Sew-in Fleece.
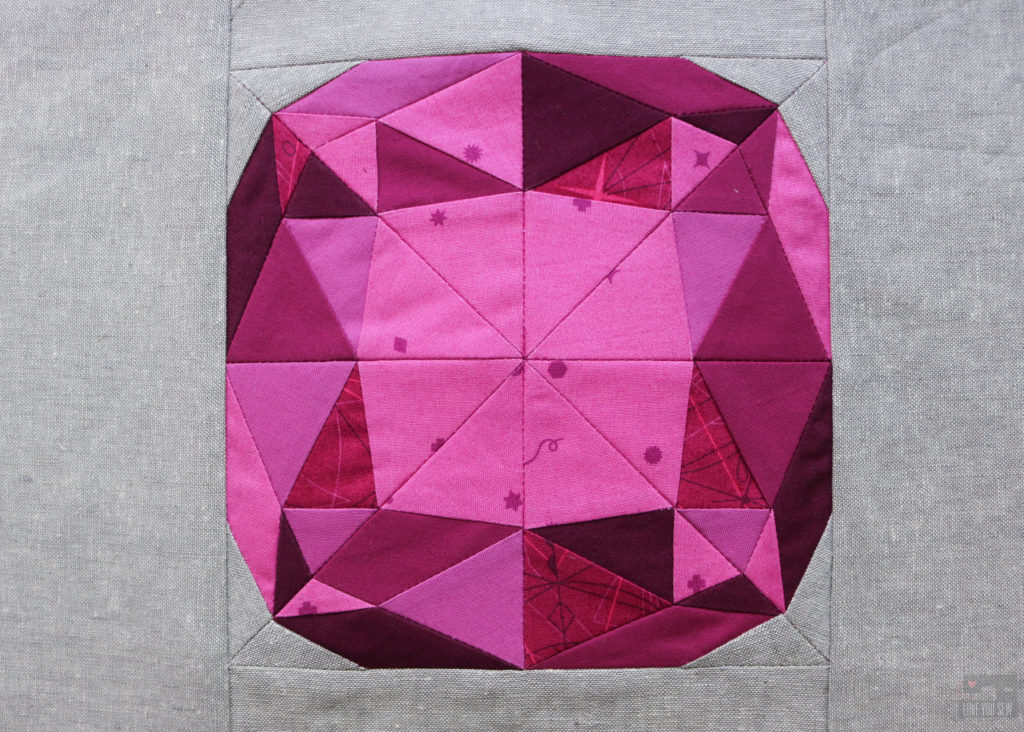
I used matching Aurifil 2535 to stitch-in-the-ditch around the gem and then on all the intersecting seams that ran completely across the the pattern.  For the background, I used Aurifil 2615 to sew 1″ blocks at a 45* angle, stopping when I hit the gem. The nice part about quilting a bag panel is that you can leave the thread tails and just tie them off without having to bury any of them!
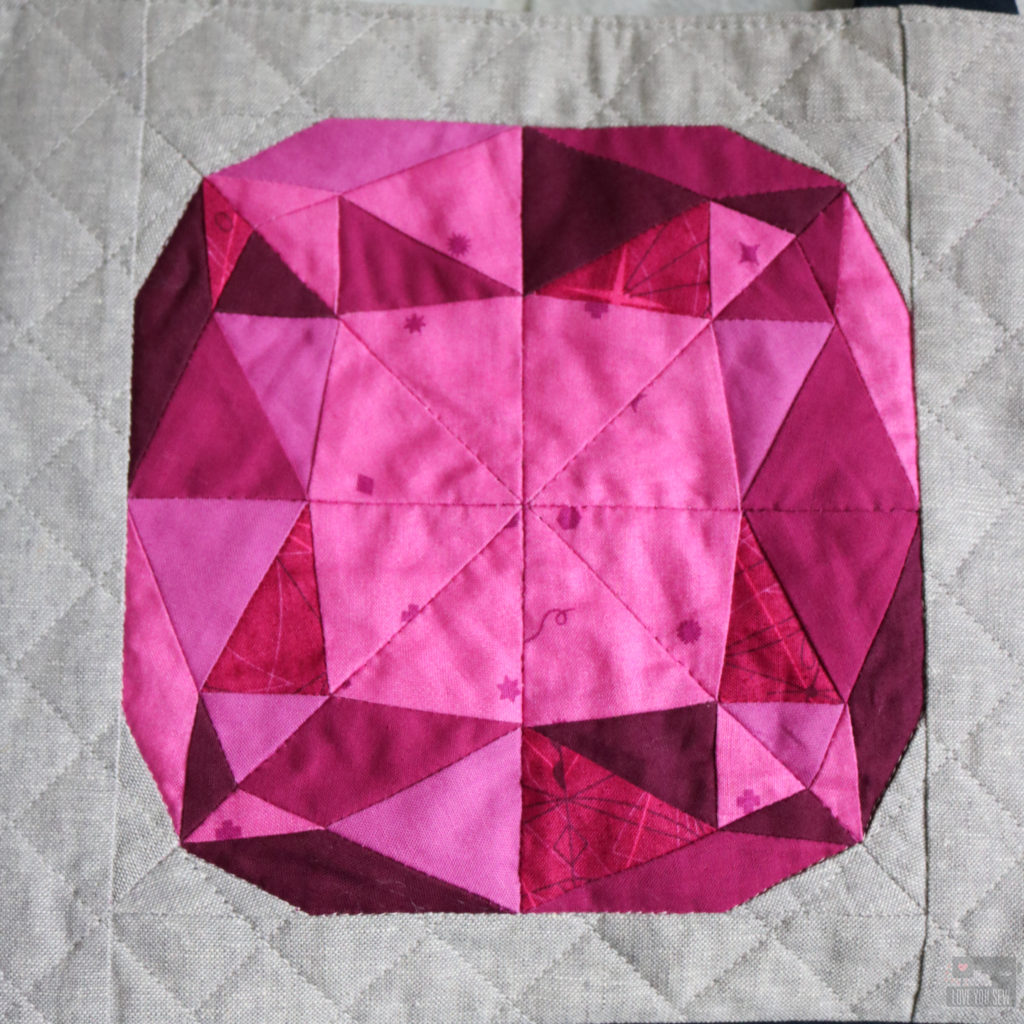
To cut the panel and create equal spacing above and below the block, you find the center horizontally and cut 4 3/4″ below the line and then 5 1/4″ above the line. The measurements are not equal to account for the different seam allowances as written in the Colleen Tote pattern.

Other Modifications
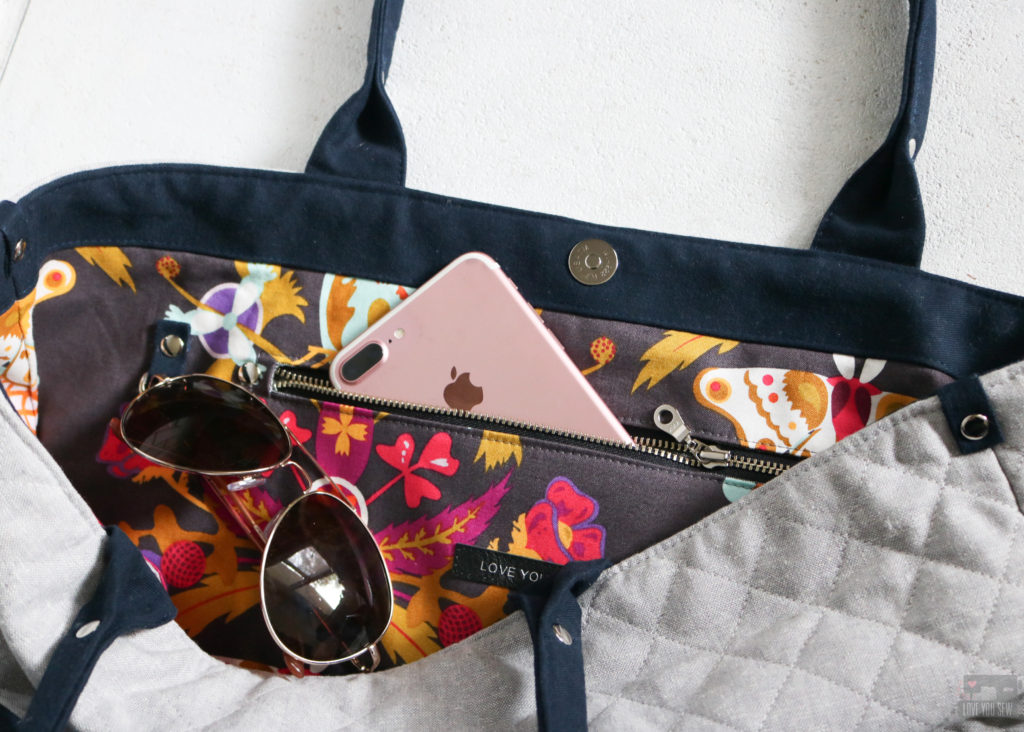
Every time I make a pattern (whether my own or someone else’s) I can’t help but add some different features so each one is unique.  I believe that every bag has it’s own personality and calls out for different features. I made the following changes to this Colleen:

  • Extended the key fob to 16″ in total length
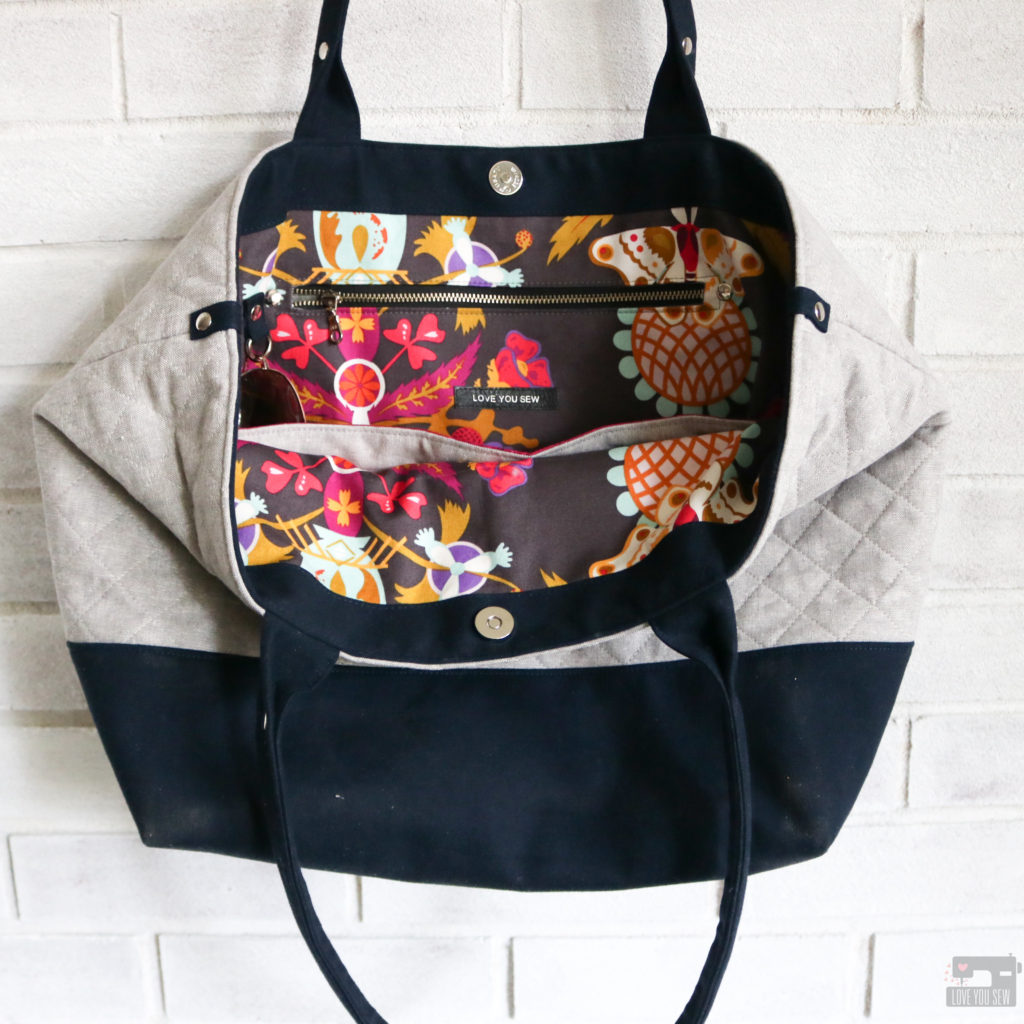
  • Added a interior D-ring
  • Added a magnetic snap to the interior band
  • Pieced the line with some of the Sangria Compass to bring some of the Gem colors to the interior
  • Added Purse Feet following the add-on instructions here.
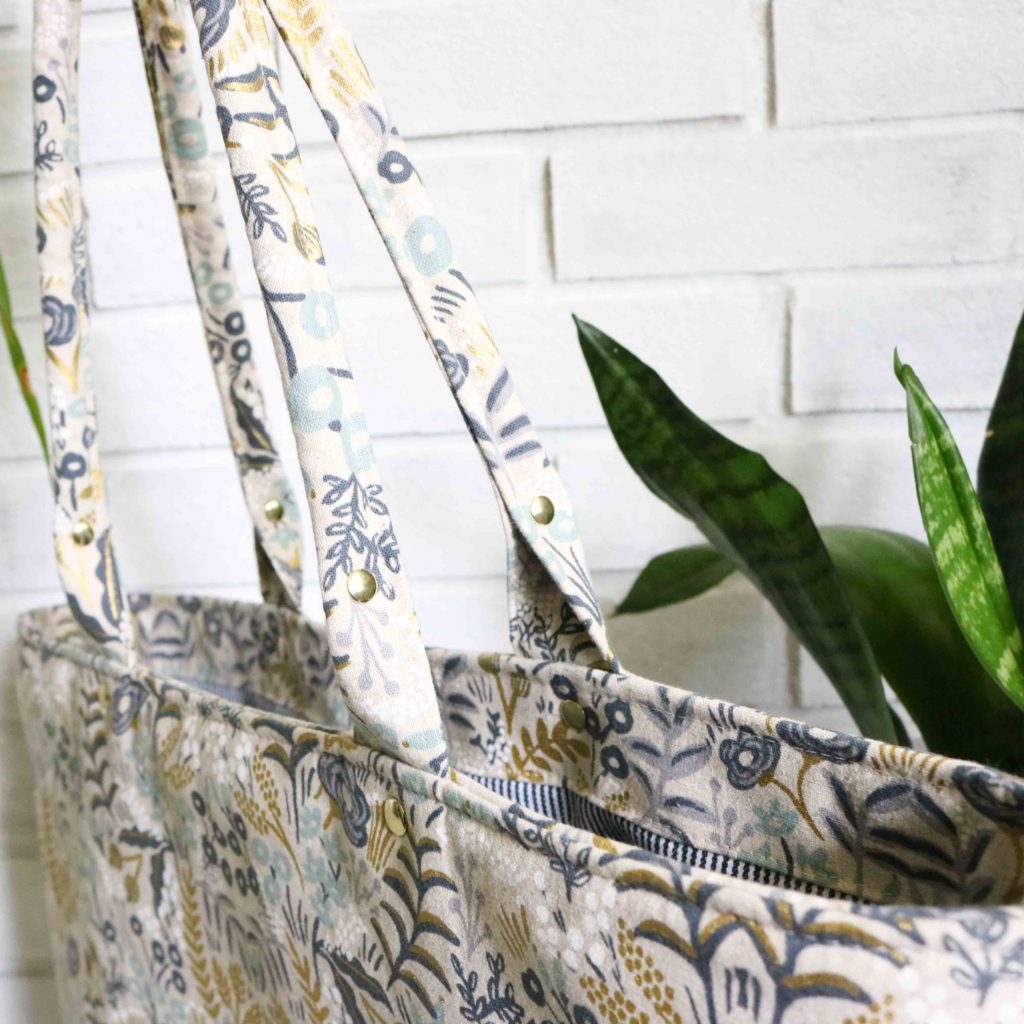
  • Broke up the gray a little more on the exterior with some accent tabs and rivets.
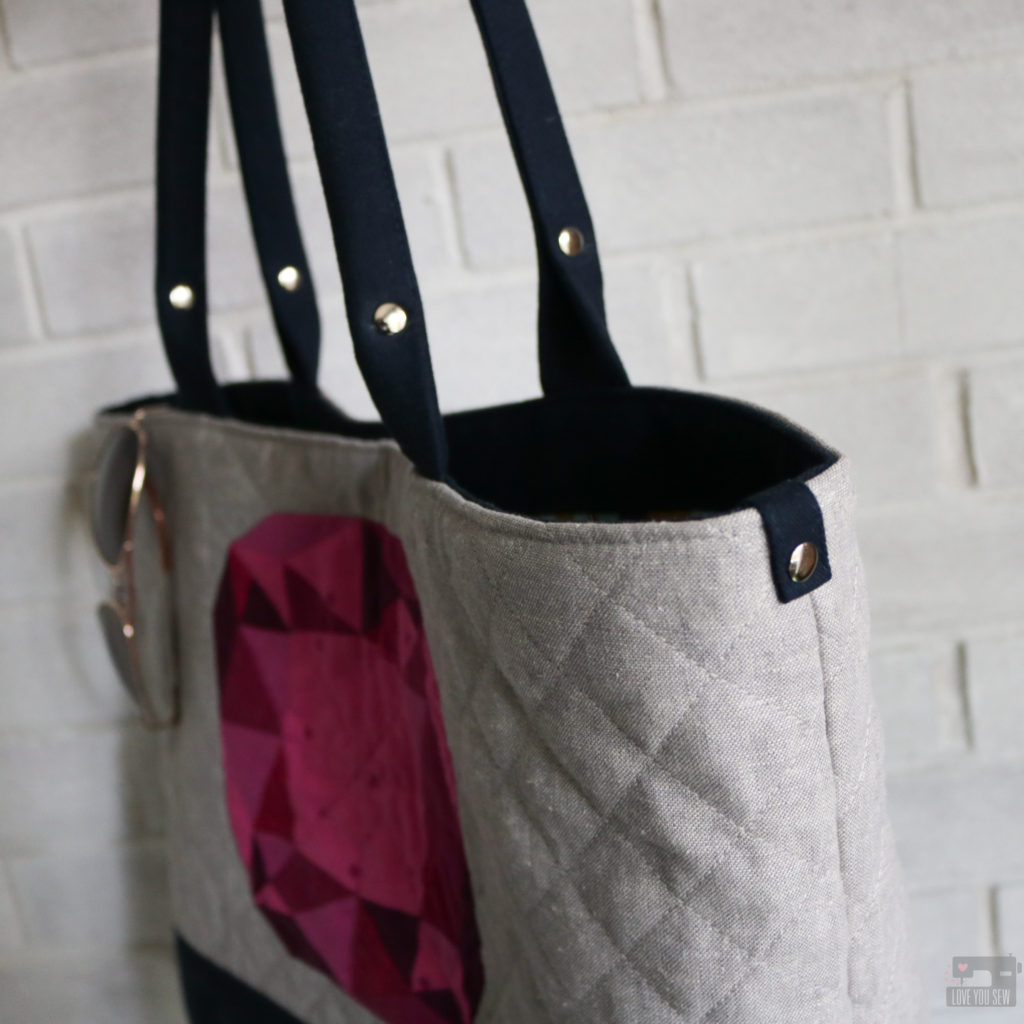
I did this by using the scraps I cut out of the bottom accent fabric.  You will need (2) 3 1/2 x 1″ strips.  Fold each long side to the center creating a single-fold tape and top-stitch 1/16″ along each side.  Fold down each short end by 3/4″ with wrong sides together.
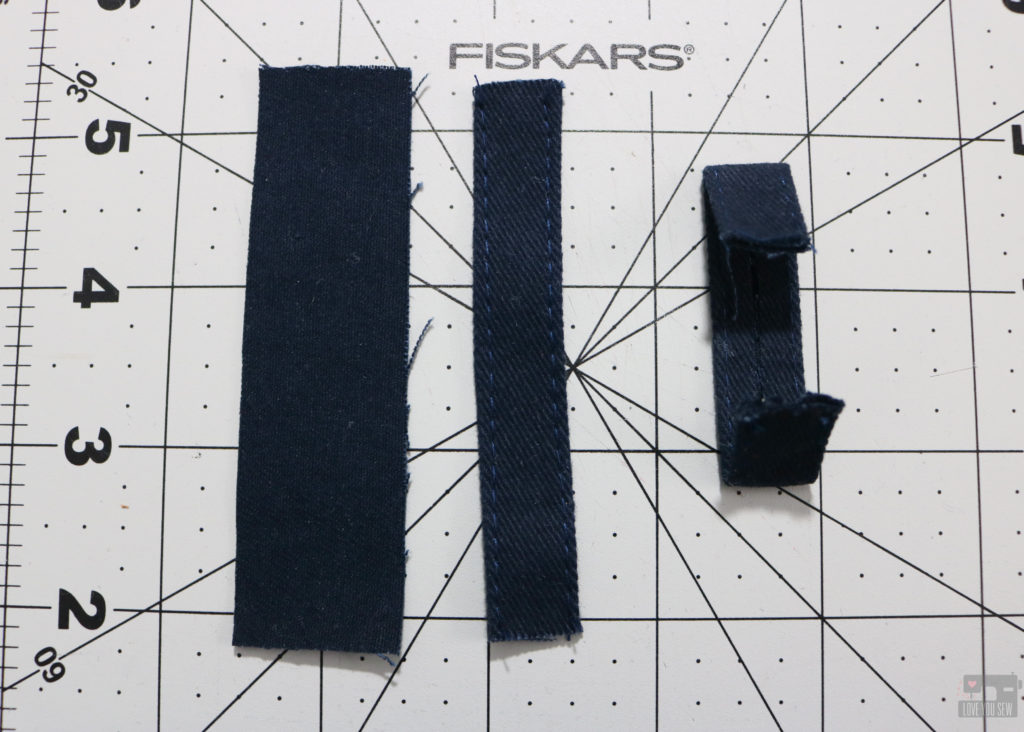
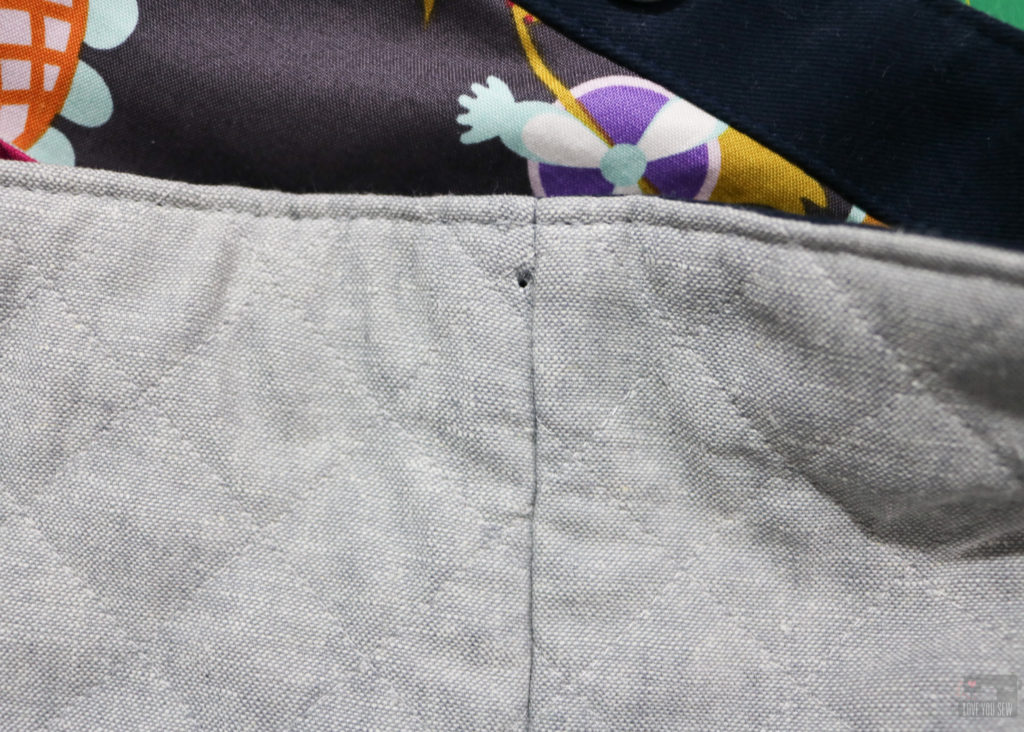
The trick to adding these tabs over the top of the bag is to fold the tab and cut those holes first.  Then place it over the edge of the bag and mark it just to the left of the side seam and cut the hole in the bag.  By moving the hole you won’t cut into the side seam but it will appear that the tab is centered from far away!  Add the rivet and now you have a cute tab that makes this look more high-end.
Please make sure you follow Andrea @3rdstoryworshop to keep up with the rest of the Gemology Blog Tour.  You can find her blog and shop her book here.

Tomorrow, Rebecca Makas is up with her Gemology Project.  Click to find her here.
I hope you enjoyed the new spin on the Colleen Tote Bag and all of the gemstone inspiration from Patchwork Lab – Gemology!


Hugs and Stitches,

Cristy


This post is in collaboration with Andrea Tsang Jackson for which I received a complimentary copy of her book.  //  This post may also contain affiliate links and you can read all the details in my Disclosures here.
Colleen Tote Bag - Add-On Pattern by Love You Sew

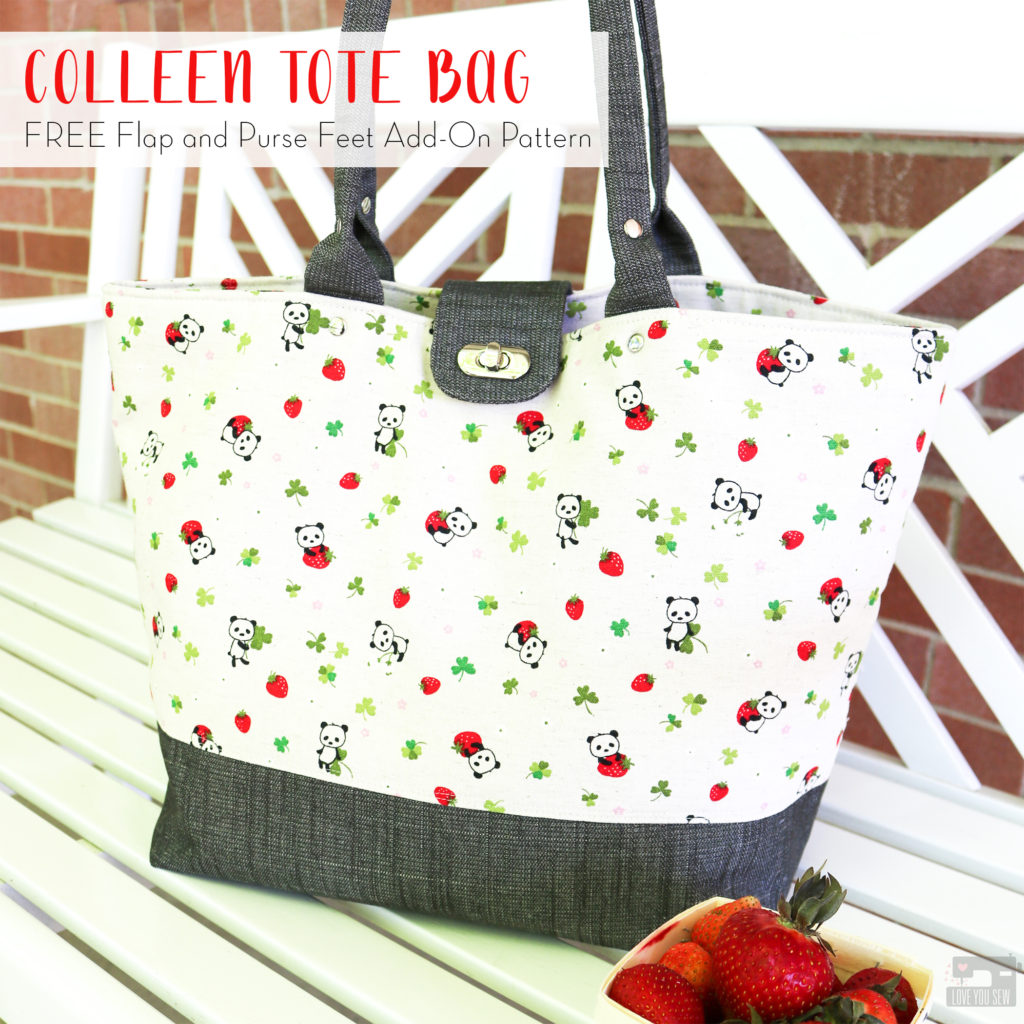
Colleen Tote Bag FREE Flap and Purse Feet Add-On Pattern

Colleen Tote Bag - Add-On Pattern by Love You Sew

I can’t believe a whole year has passed since I released the Colleen Tote Bag sewing pattern!  It’s such a great classic carry-all style for the beginner bag-maker and I’ve been so happy to see all the different versions all over social media with #ColleenToteBag.  With the simple clean lines, this bag comes together quickly and I’ve seen it become quite a popular gift!  Thank you to everyone who has shared their makes with me <3  You can find the Colleen Tote Bag pattern here.

Colleen Tote Bag - Add-On Pattern by Love You Sew

Since you know I love to hack patterns (both with bags and garments) to make uniquely mine,  it should be no surprise that I even hack my own patterns.  You can check out the posh “Shortie” version of the Colleen here with metal ring handles and leather accents.  This time, I added in a purse flap to help keep the contents secure, as well as, adding instructions for purse feet.

Colleen Tote Bag - Add-On Pattern by Love You Sew

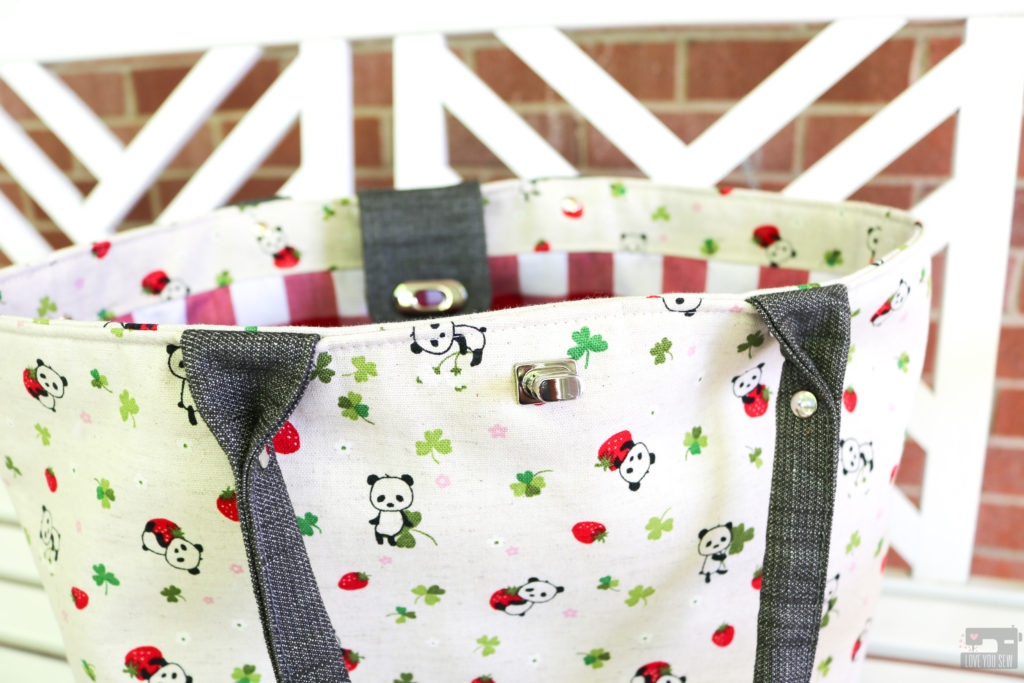
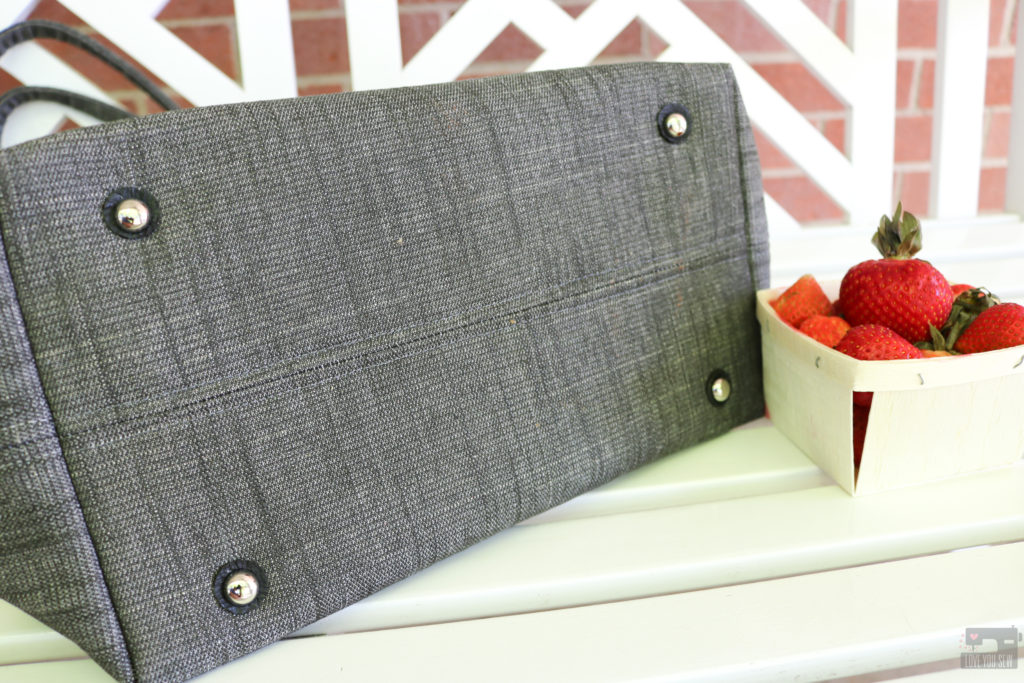
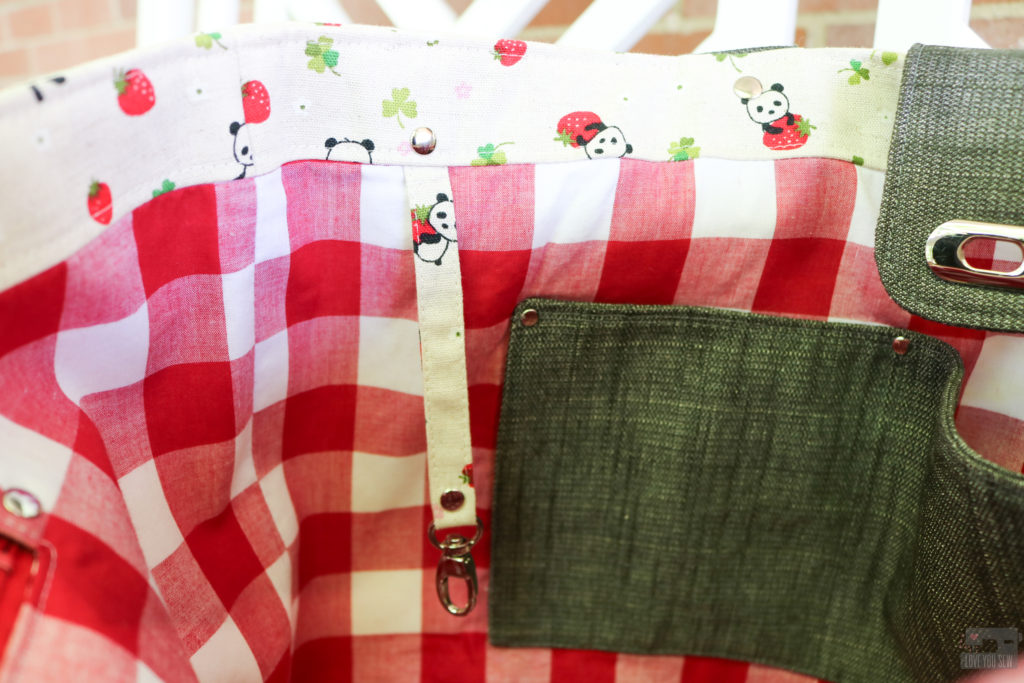
I was recently asked to teach a Colleen Tote workshop with the American Sewing Guild – Cape Fear Chapter and they wanted some additional hardware added on to gain some new bag-making techniques.  I thought this flap would be such a great addition to the bag.  On top of learning how to install a turn-lock and purse feet, the guild also learned how to add special details like rivets to take their bags up to the next level.  It was my absolute pleasure to oblige and created the add-on instructions and pattern templates (which you can find at the end of this post.)

Colleen Tote Bag - Add-On Pattern by Love You Sew

While I was making this sample for the class, I rushed a bit and of course, paid the price for it.  (I wanted to bring this tote along to Jeni’s Strawberry Jam which was just the next day.)  Instead of using the purse feet washer to mark my holes, I accidentally grabbed the washer for magnetic snaps and thus, had my holes for the prongs that were too far apart.  Doh!  Luckily, I have a nice little stash of leather and cut out leather circles to use as exterior washers.  I glued them over the wrong holes and then went back to cut the right ones.  Now,  you would never know I made a mistake!  This process has definitely been used a few times to save my projects….maybe it can help some of your’s too.

Colleen Tote Bag - Add-On Pattern by Love You Sew

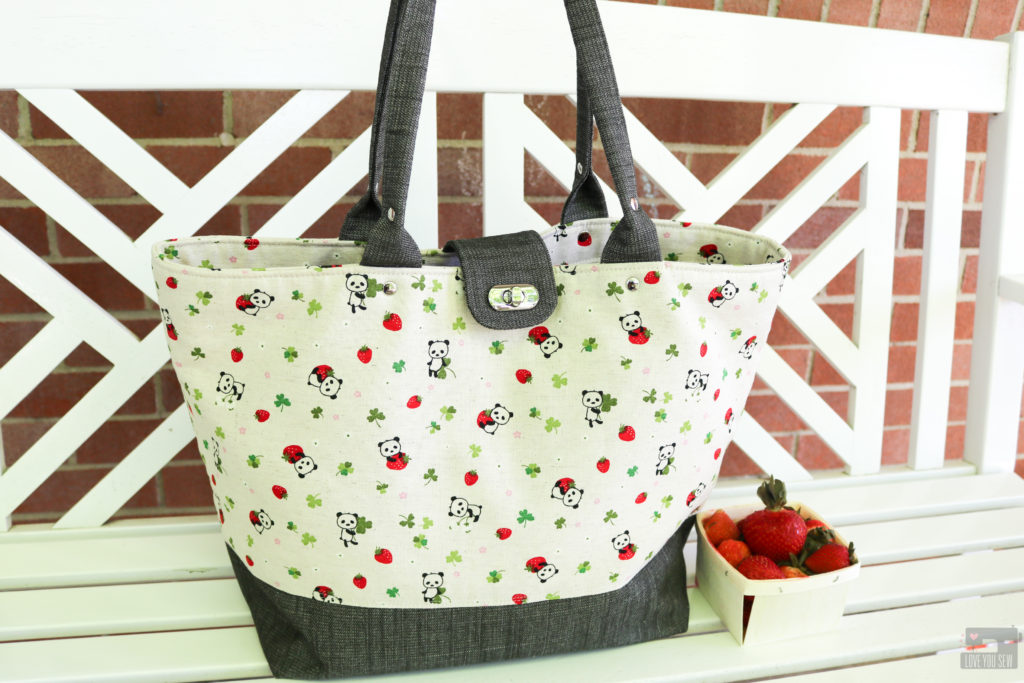
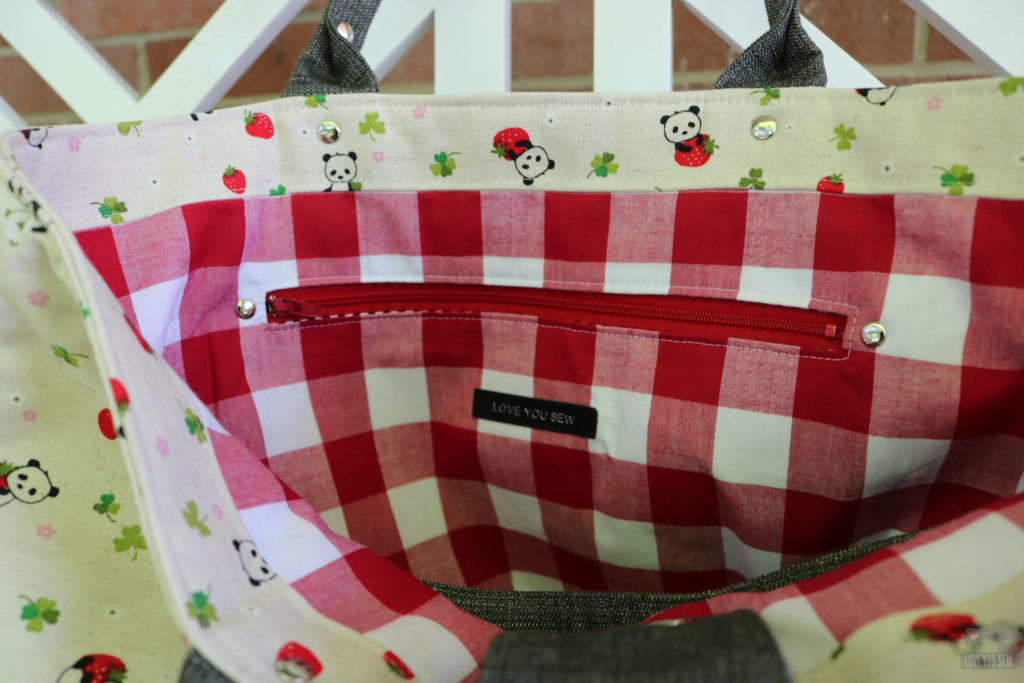
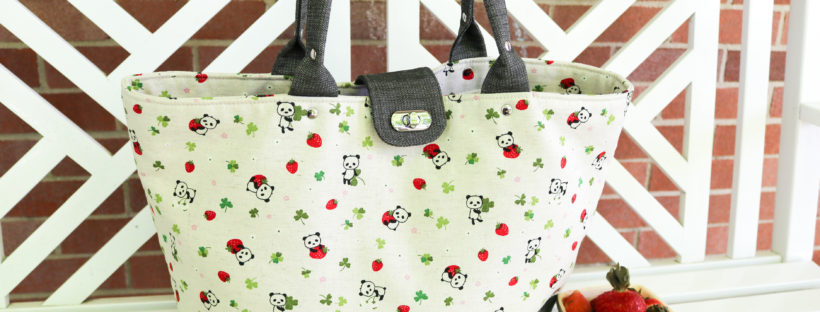
When I was in Austin, TX last year, I grabbed this Japanese canvas from the (now closed) Cloth Pocket.  It’s just the cutest fabric and I’m glad I saved it for this Colleen Tote project.  The pandas are just too cute! The Colleen is definitely a great bag to show off a print, both for small and large scale designs.  For the interior, I used a lightweight shirting from my stash which gives this bag picnic vibes.  The accents are made of Art Gallery Fabrics Textured Denim (aff link) which is nice and heavy — perfect for bag-making.

Colleen Tote Bag - Add-On Pattern by Love You Sew

||  Click here for >> Colleen Tote Add-On Turn Lock and Feet by Love You Sew  ||


Project Summary:

I hope you enjoy the FREE add-ons with your Colleen Tote Bag!


Happy Sewing!

Cristy


Please note this post may contain affiliate links for which I may receive a small compensation if you would make a purchase.  This helps keep my website live and ad-free.  Thank you for your support.


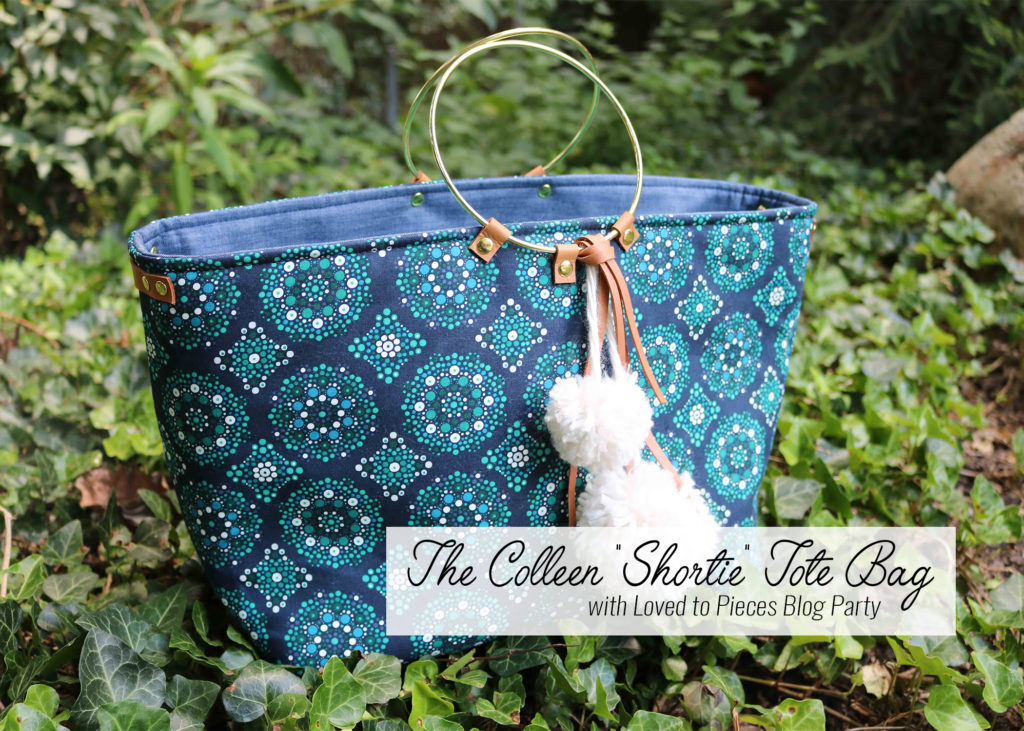
Colleen “Shortie” Tote Bag with Loved to Pieces Blog Party

When Mathew Boudreaux (aka Mister Domestic) throws a party, you know it’s gonna be big and fabulous!  And this Blog Party is living up to all the hype with over three weeks of amazing projects using Mathew’s debut fabric collection, Loved to Pieces.  I’m so honored to be a part of all the festivities, so I thought I would bring my new Colleen Tote along for the ride.

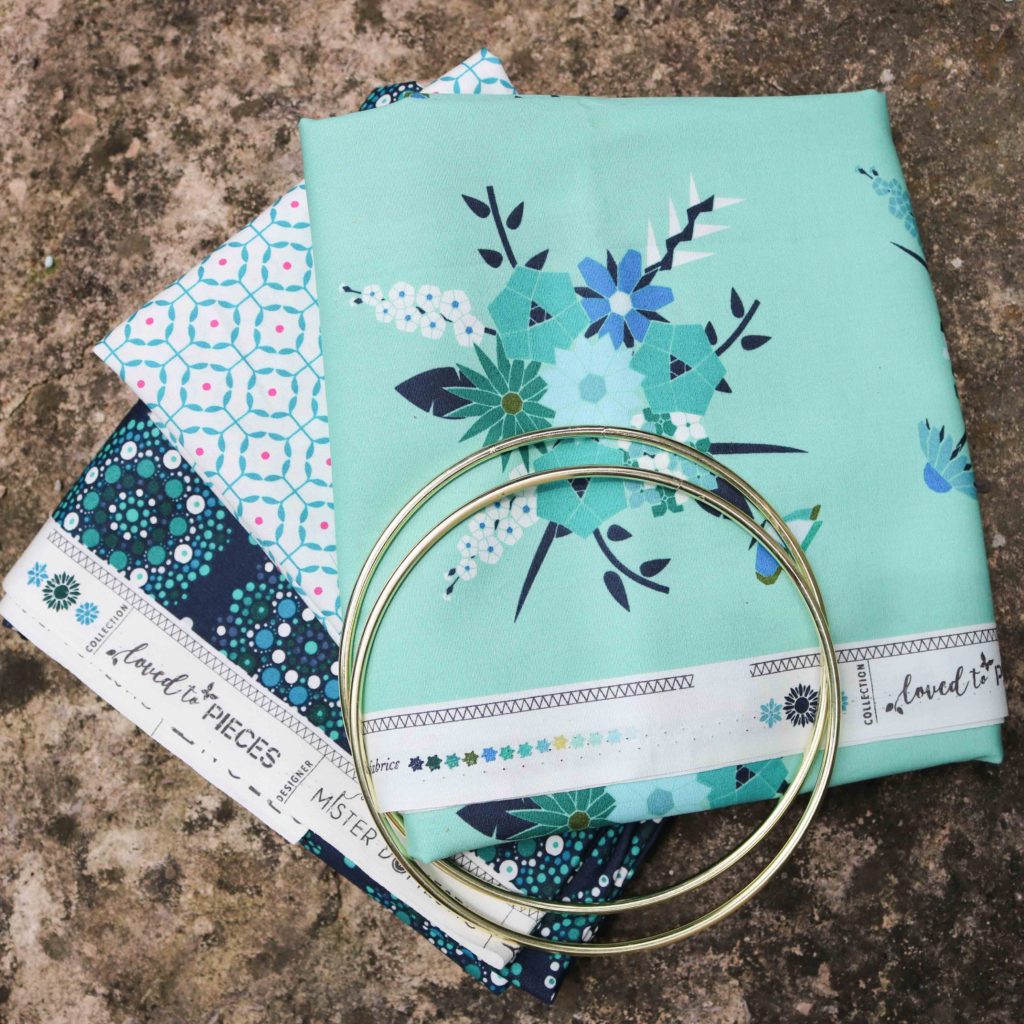
Loved to Pieces is a beautiful fabric collection inspired by Mathew’s love of English paper piecing and his sweet daughter’s love of florals.   I love the mix of blues and teals complemented with sharp pinks for a lot of fun.  There is a great mix of quilt cottons, rayons, and knits for all kinds of great projects. For more inspiration, you can view the look book here.

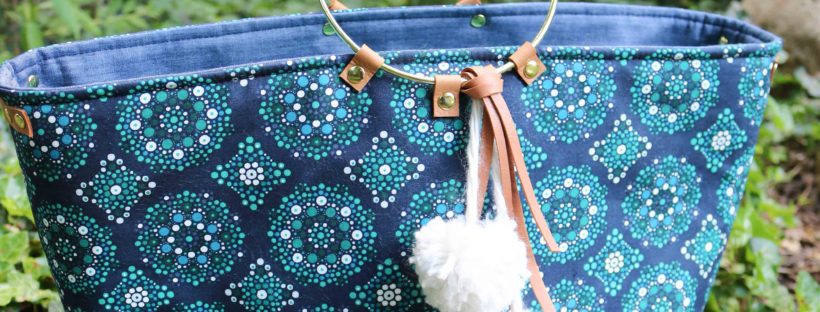
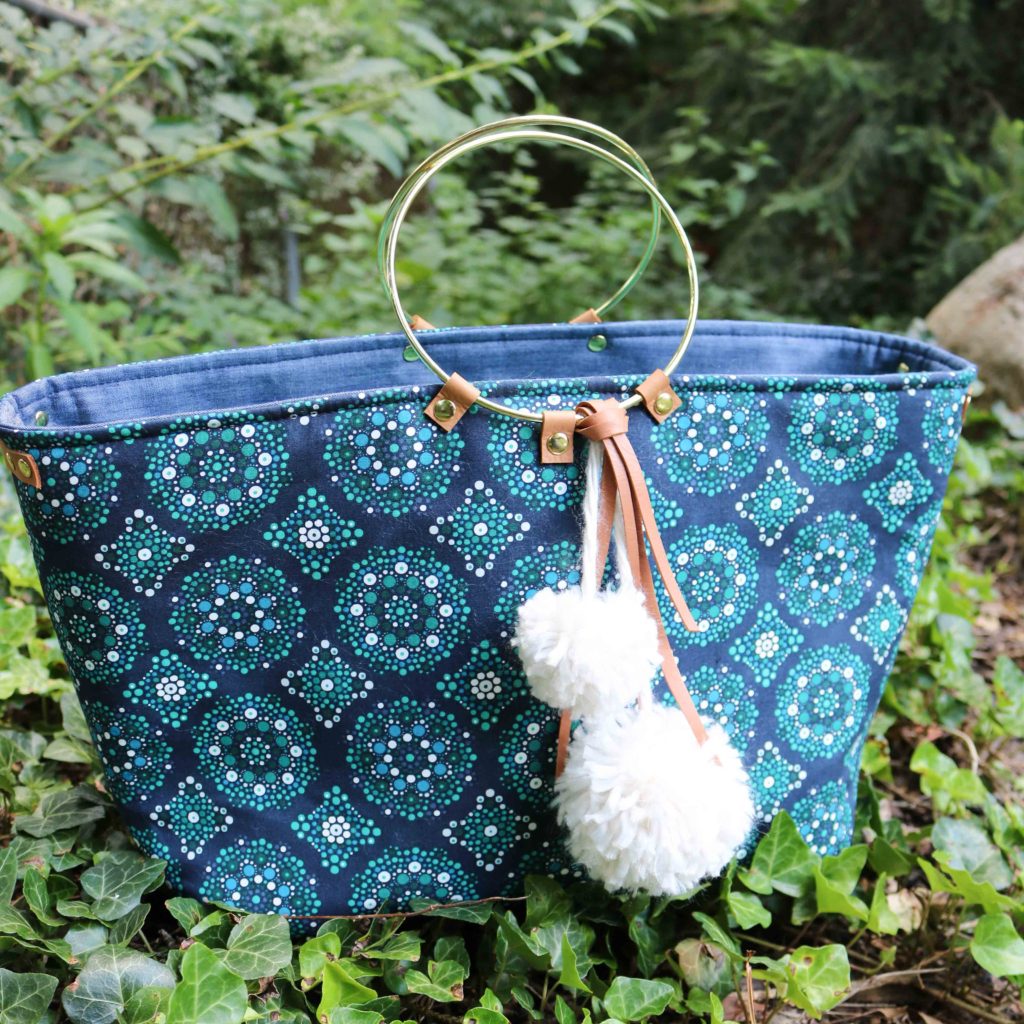
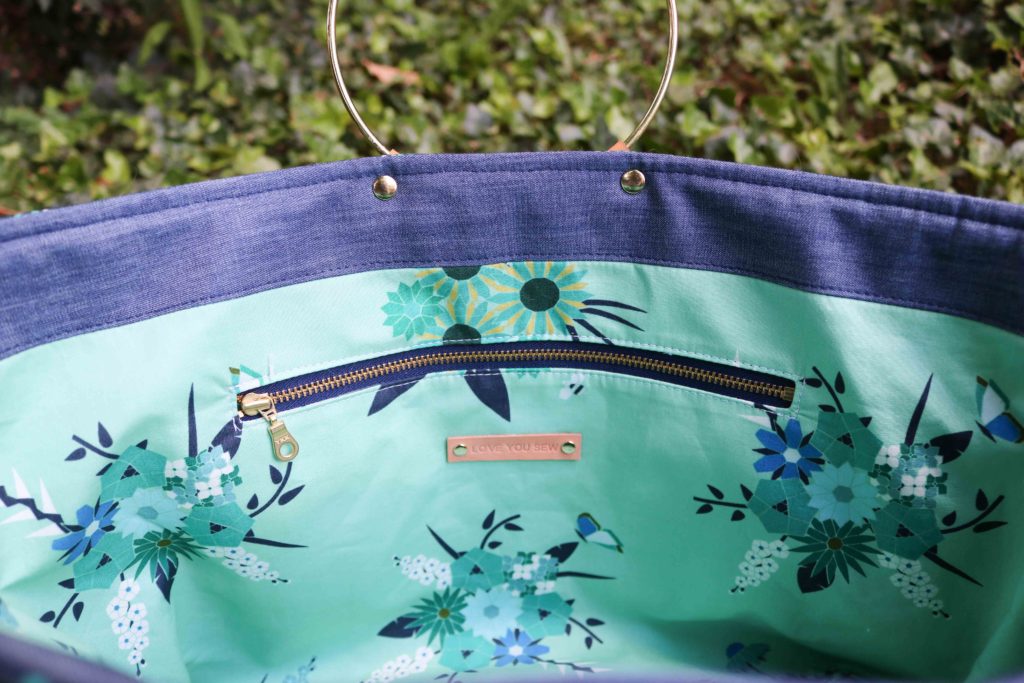
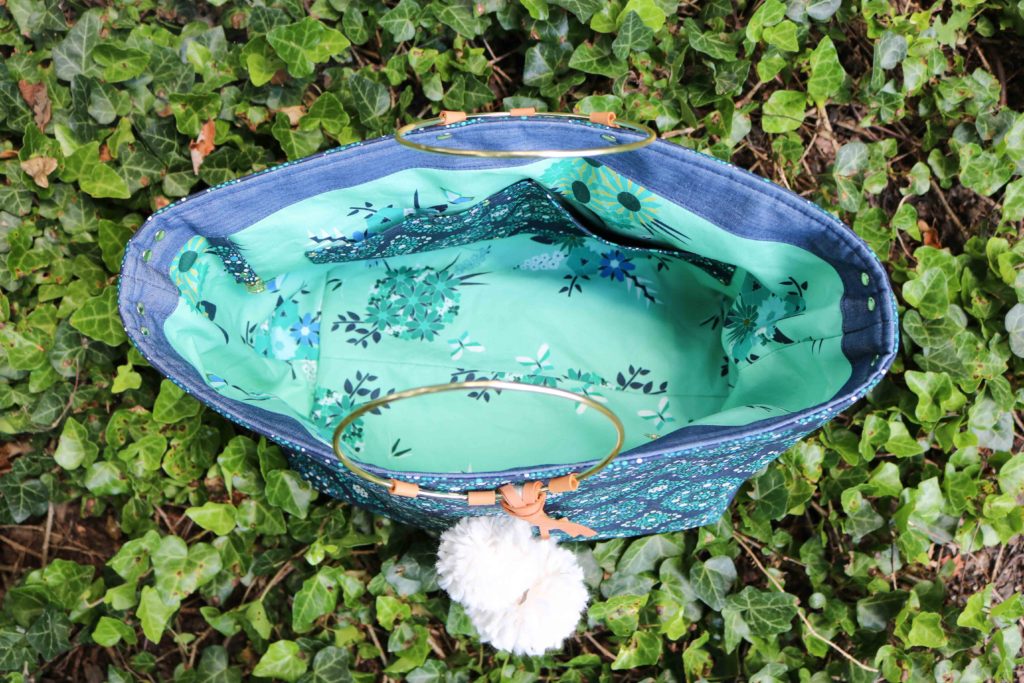
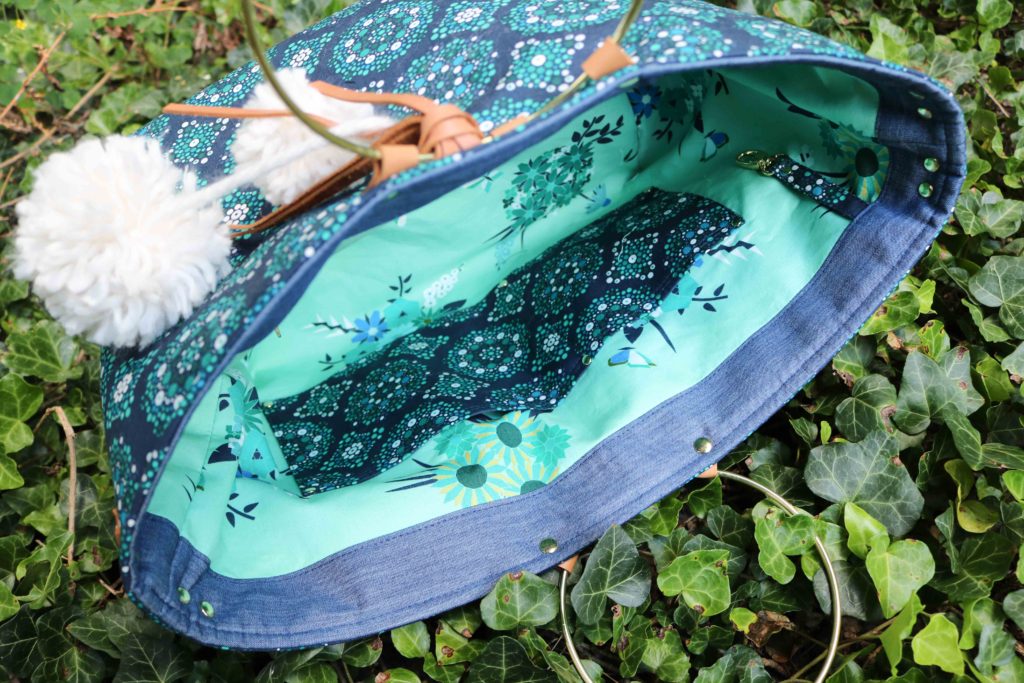
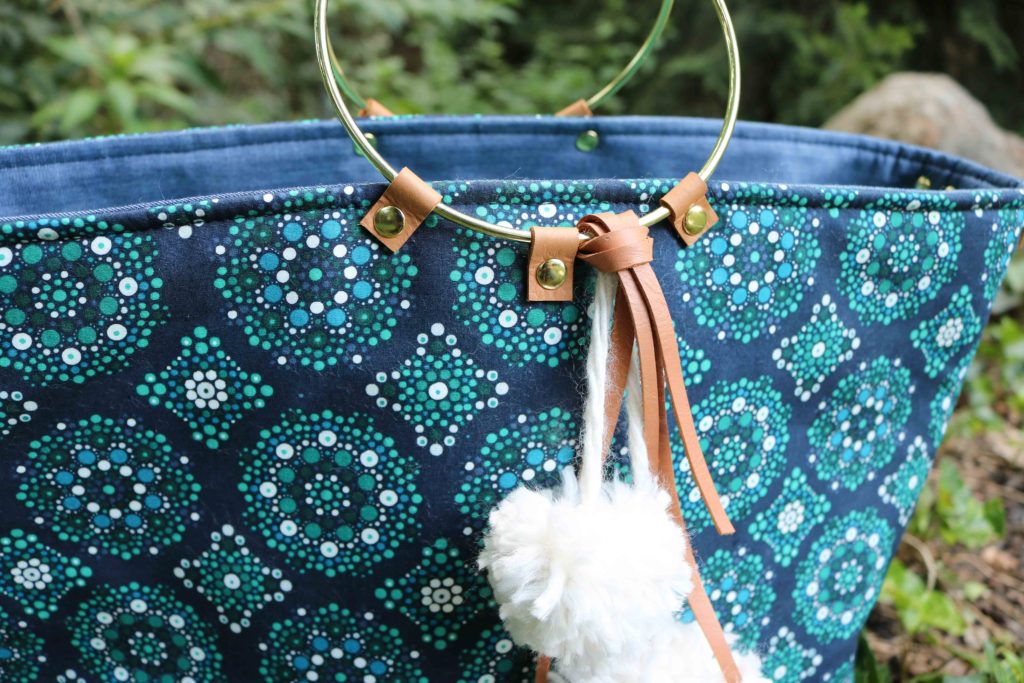
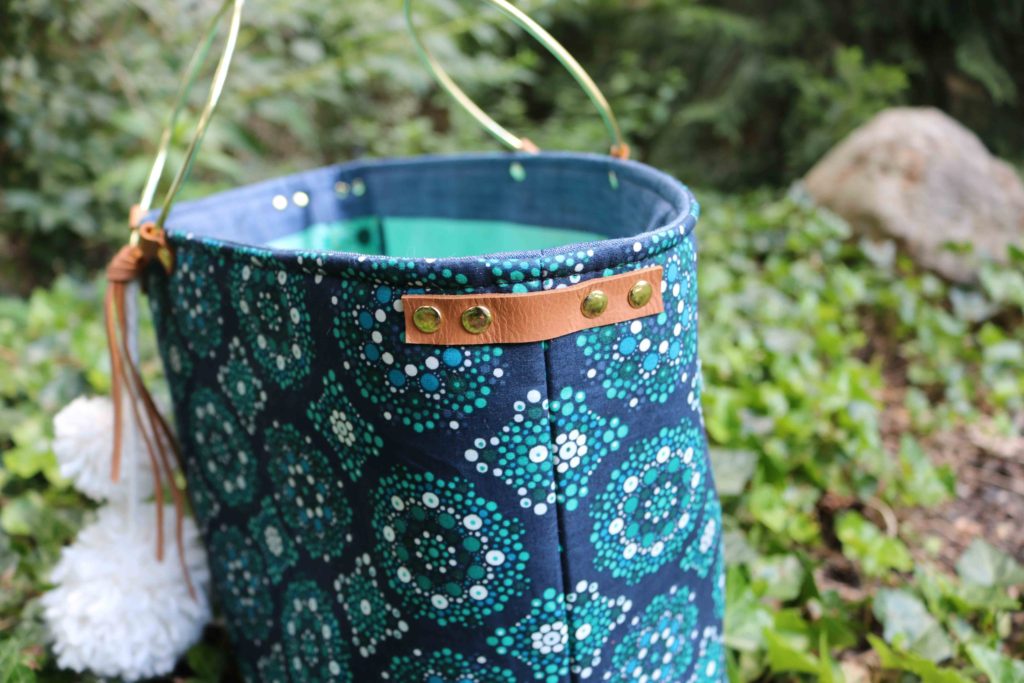
For my Colleen Tote, I wanted to go for a chic look and let the print stand on it’s own. For the exterior, I selected Mandala Drops Midnight with it’s striking and hypnotic design.  Plus, it’s a nice dark print that’s perfect for the exterior of a bag to hide any dirt or debris.  I like the linings to pop a bit, so  Pieced Bunches Cool was ideal with the gorgeous geometric florals.  The pinks in the collection are such a nice complement and I had to add a bit of Reap and Sew Light inside the zipper pocket.  Finally, the interior contrast band is Art Gallery Fabric’s Indigo Shadow Smooth Denim.

I’ve been seeing brass metal rings all over the handmade and fashion world for a little while now.  They are used in macrame weavings, dreamcatchers, floral arrangements and I saw heavy usage of this accent in handbags this past spring.  I was so inspired and I knew I had to add this unique hardware to one of my own bags.

These rings have a solid 5″ diameter and would make fantastic bag handles.  However, to use the rings as handles, I knew I couldn’t make a huge heavy bag.  So I decided to make a “shortie” version of my Colleen Tote pattern.  This entailed shortening the exterior, linings, and coordinated woven interfacings all by 3″.  The zipper pocket was then shortened by 6″ overall.

Instead of using fusible fleece, I used Soft and Stable to keep the bag more structured.  This was in order to hold the weight of the rings and to keep them upright.  The exterior had to be basted 1/4″ all around  the pattern piece to keep the fabric nice and smooth.  The Soft and Stable really  makes the bag look so polished.

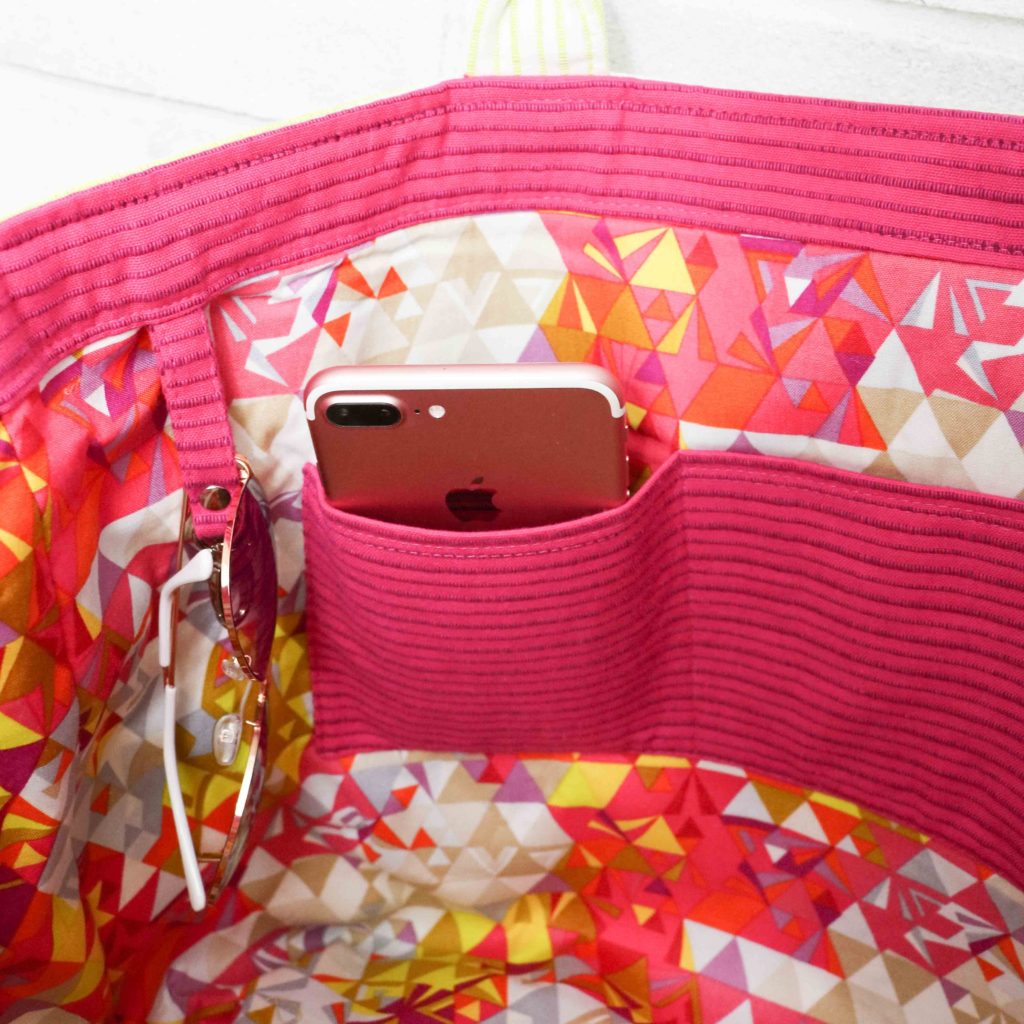
Everything else in the pattern was all kept the same (minus the handles, of course.) There is still a nice roomy slip pocket for your phone and sunglasses and the zipper pocket to tuck away the essentials.  The fob is essential to keeping those keys in check!

These rings could have been stitched into place, but I opted to used leather and rivets to add more texture and interest.  The ring was first secured with the center rivet while the exterior panel was still flat and not sewn on the sides.  Once the tote was completely finished, I then added the other rivets to the left and right of the initial one.  This is why you can only see two rivets on the lining for each handle.

I added some extra leather and rivets to balance out all the hardware around the handles.  With a  nice clean exterior, I decided to add just a little more fun and to keep this bag on trend with some pom-poms and leather lacings (all using scraps from my stash of crafting goodies!)

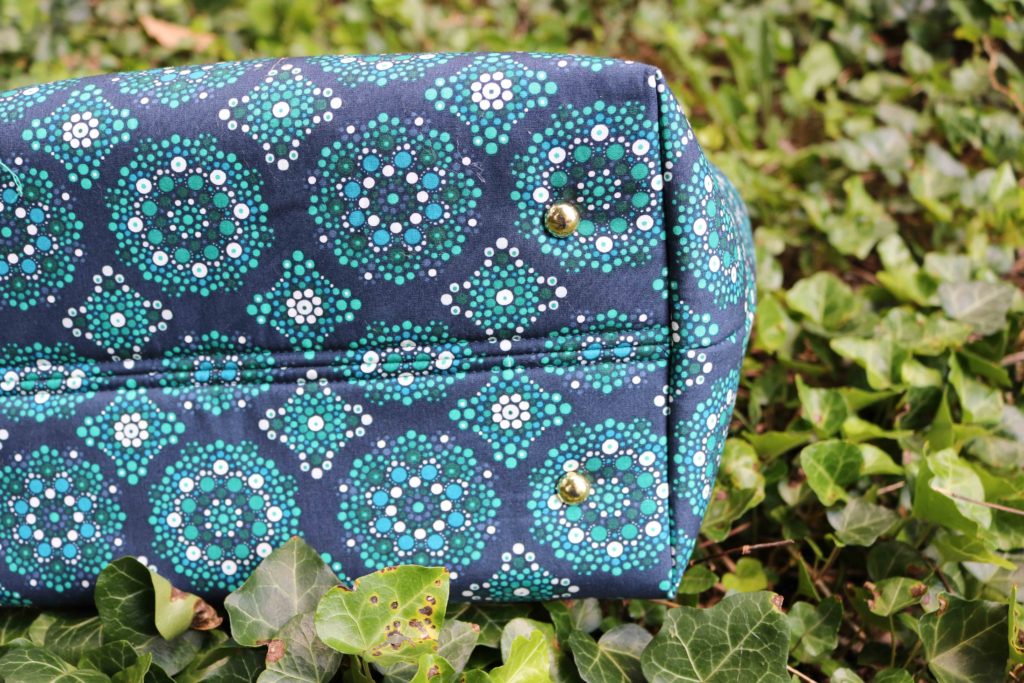
Last, but certainly not least, is the Colleen’s bottom.  With the ring handles, this is not a bag you just sling over a chair back.  So, I make sure to take care of this lady by added some shiny shoes.  Whether the tote has to sit on another chair or (heaven forbid) the floor, she will be protected!


Project Details:


For the full Loved to Pieces Blog party line-up, check out:


Thanks for visiting and partying with me here!  Don’t forget to head over to Mister Domestic’s Instagram feed to see how you can win a bundle of these delicious fabrics!

Happy Sewing,

Cristy


Fabric was provided for the blog post.  However, the project conception and all opinions are my own.  Please note there maybe affiliate links for which I may receive a nominal commission if you make a purchase.  This helps keep the website ticking along.  Thanks always for your continued support!

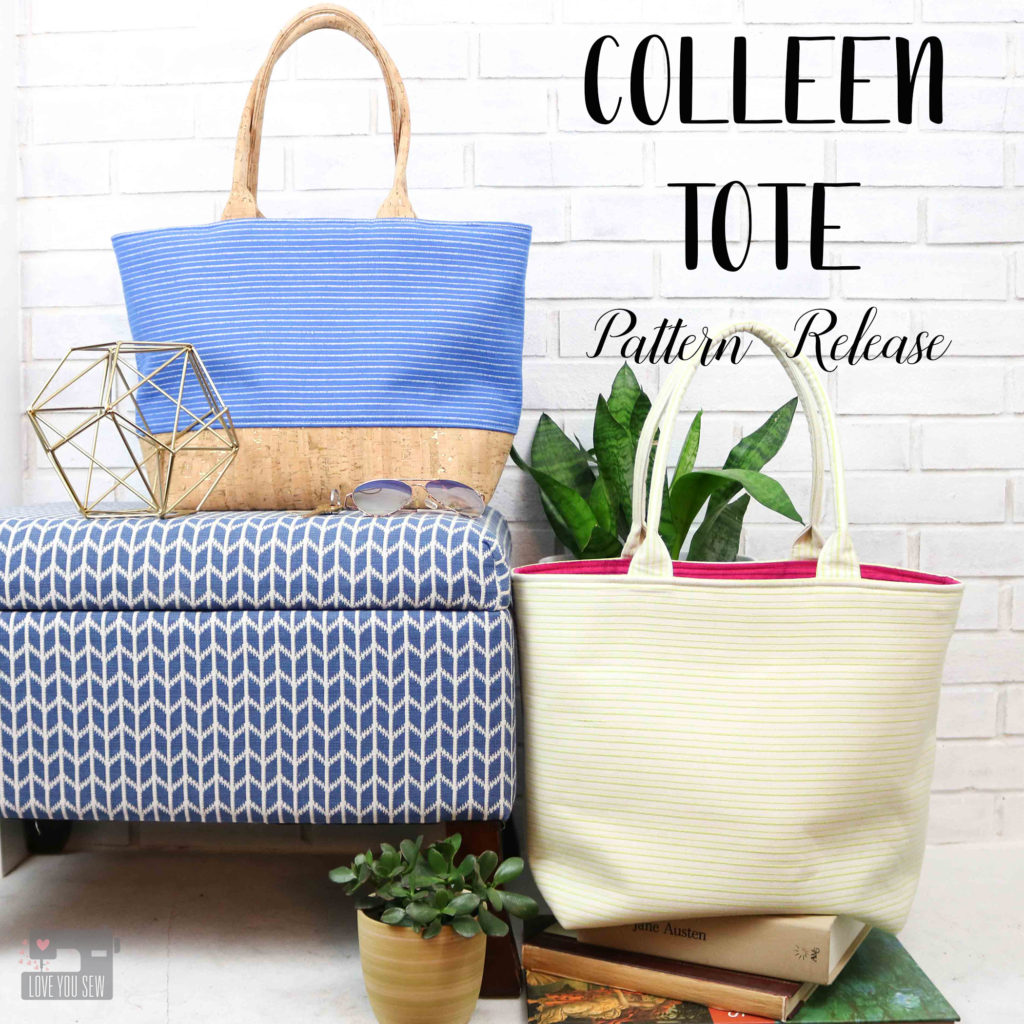
Colleen Tote :: Pattern Release


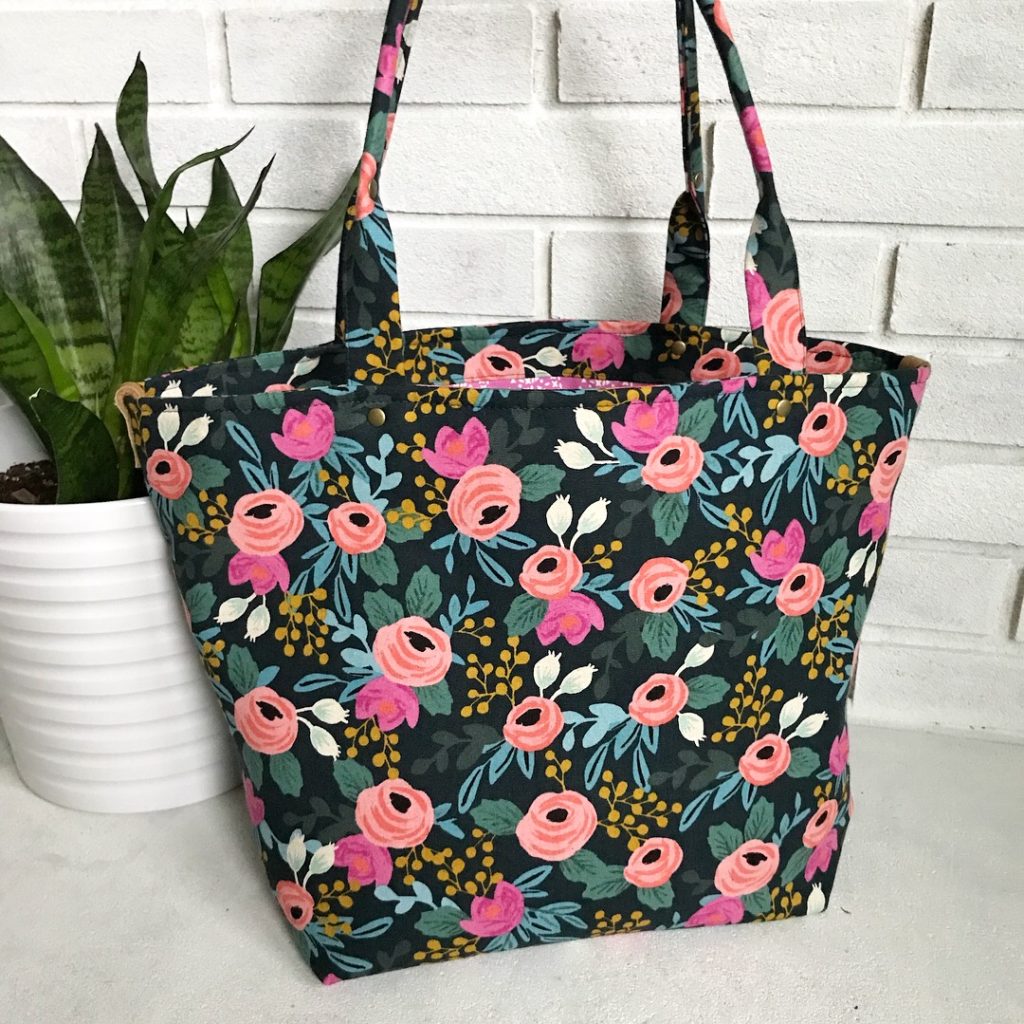
It’s been quite a journey, but I have finally written my Colleen Tote bag pattern! If you’ve been following me on Instagram, you know I’ve been making this bag for well over a year now, but always tweaked the design every time I made it.  As a newbie designer, I just wasn’t comfortable enough to bring it out to the sewing market.  There were people were asking me about the pattern every time I posted a new iteration and I kept pushing it off until…I finally told myself to get out of my own head and just write it!

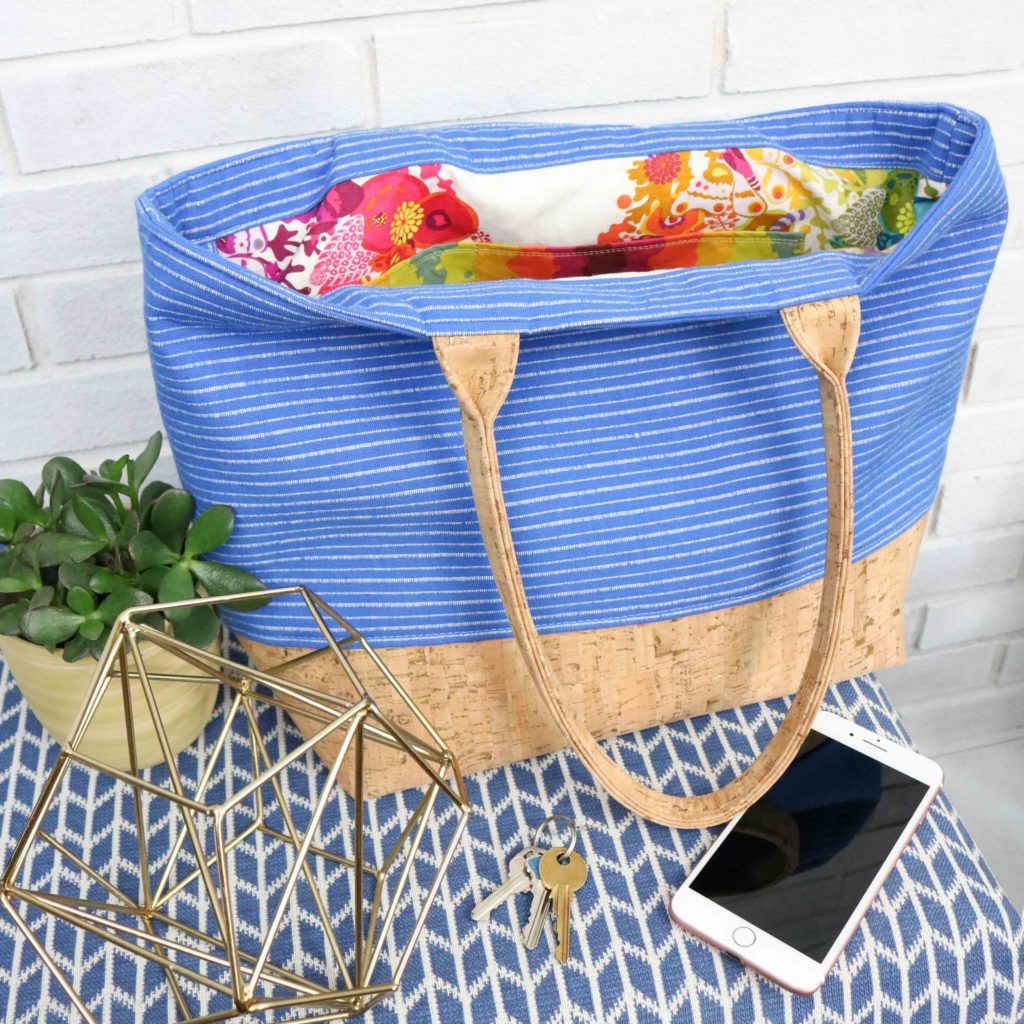
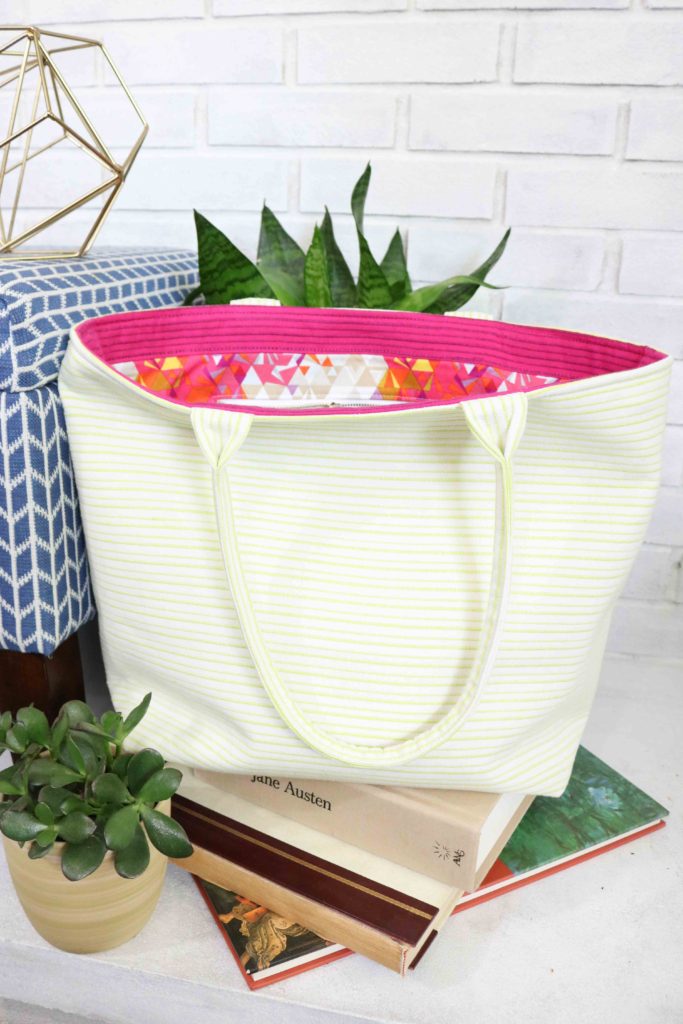
The Colleen Tote was designed to be the classic open tote bag to carry a large number of things. The clean design makes it versatile enough for any occasion…and allows you the creative freedom for customization.  I’m thinking a quilted block maybe in the works 😉   You can use the tote for the beach, as a work bag (large enough for a laptop,) a diaper bag or just a throw-all-your-junk-in bag.  There are so many possibilities.


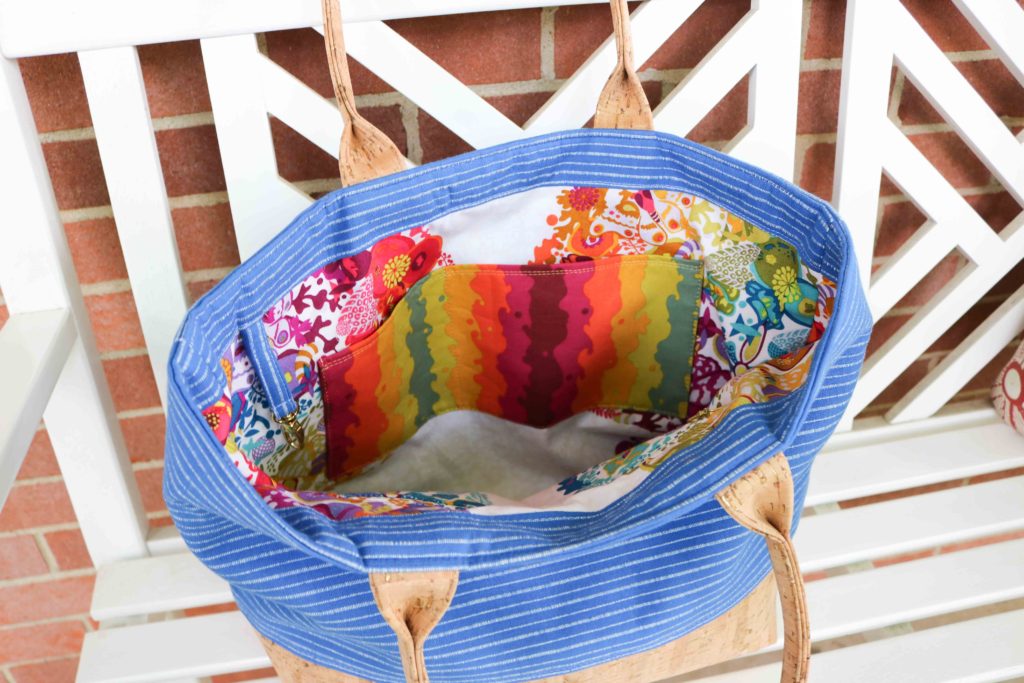
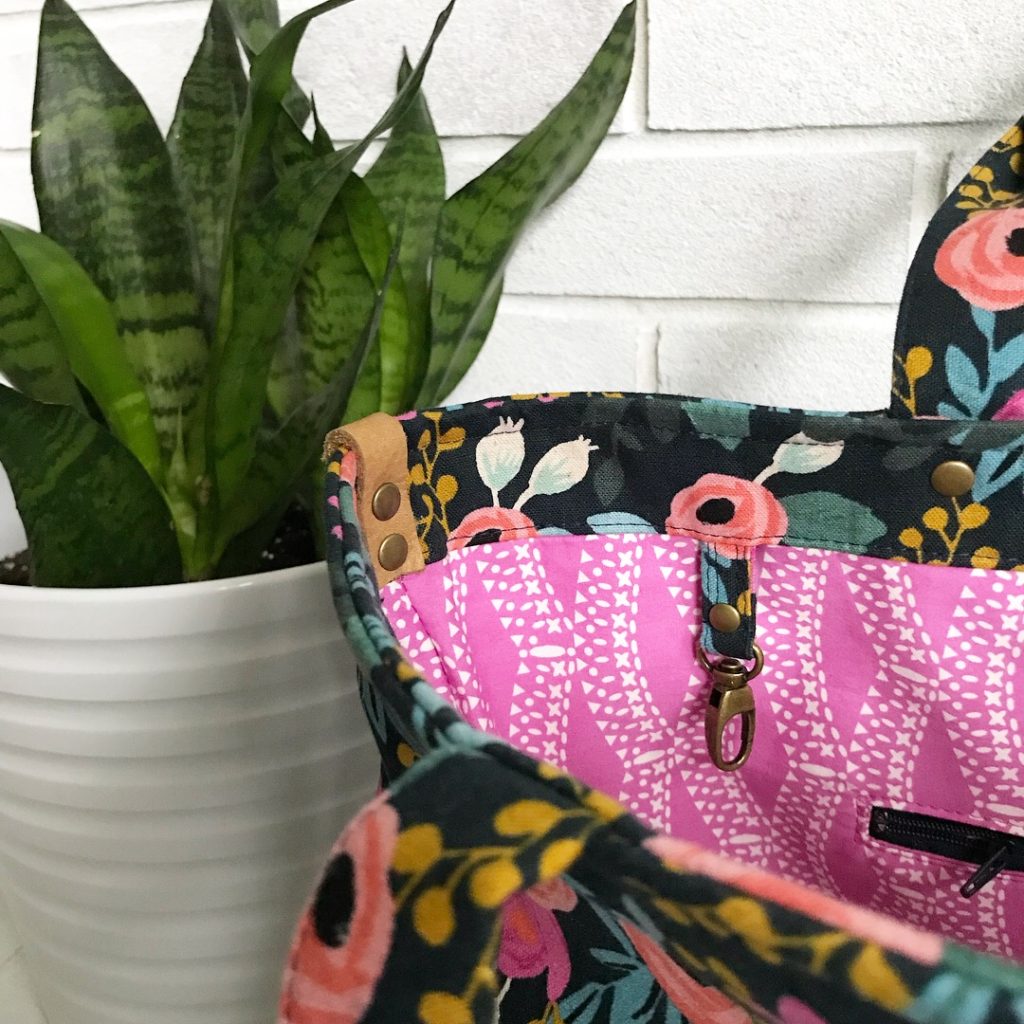
With a roomy open compartment, I made sure to add in a zipper pocket to keep personal items secure and an easy-access slip pocket for a phone and chapstick.  You can also see the fun, yet functional interior band.  This adds deign interest while giving extra support for the weight of the rolled handles.

The next feature added was a trusty key fob.  I have a car with the keyless ignition, so I find myself actually losing my keys or leaving them in my car more than I’d like to admit….so I made sure to add in this feature to quickly allow me to click my keys onto the tote.  The other thing I find myself doing is fishing around for my sunglasses.  I tend to just throw them in my bag, so I made the key fob double duty.  You can hang your glasses through the loop to more easily find and locate your sunnies!

Original Tote Pattern

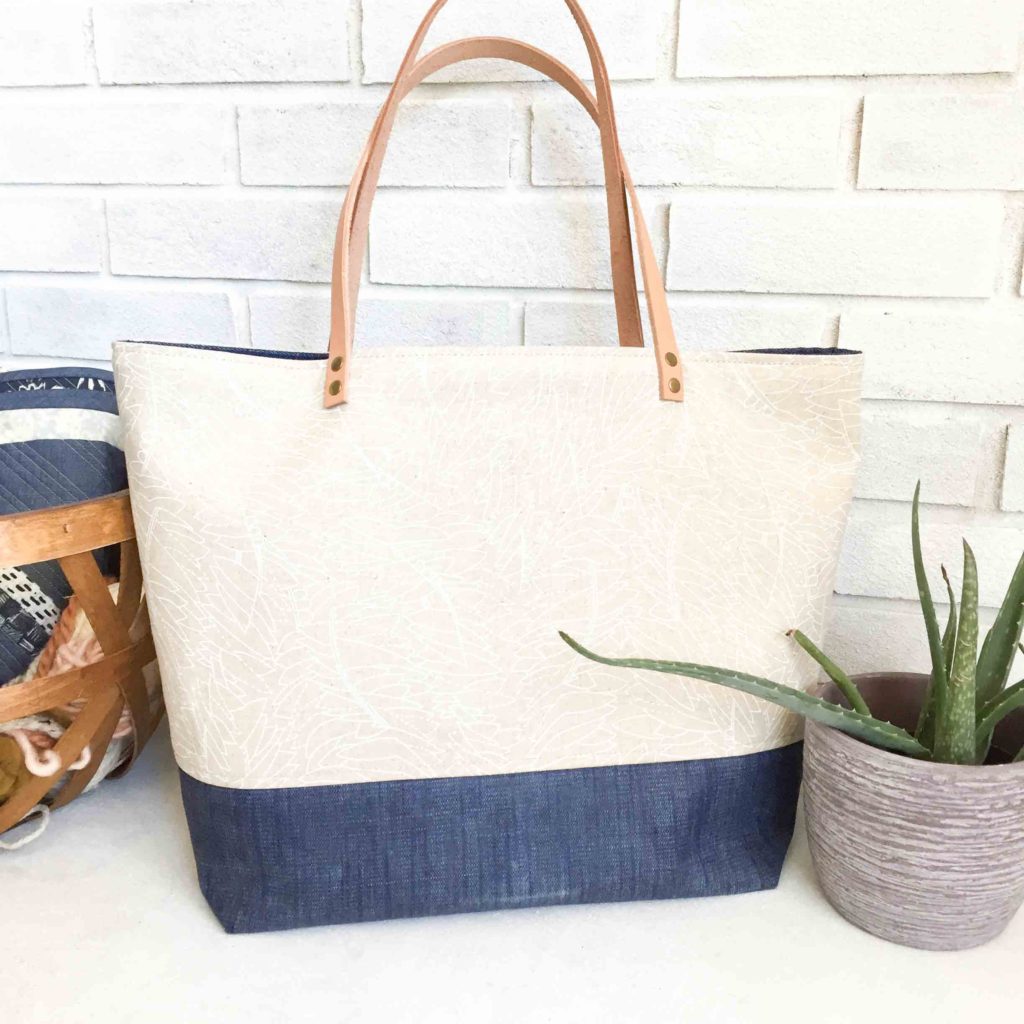
When I first made what would turn into the Colleen, I was testing out waxed canvas and learning to make my own.  I figured a tote would be a great use for this fabric treatment.  I drafted a VERY simple tote with very light interfacing and didn’t even even really create a sturdy bottom.  I cut leather straps and attached them with rivets as shown above.  But this was just the jump off…

Customer Order

Later on,  one of my very best and loyal customers asked me to make a “plain” tote bag as she called it with just one fabric for the exterior without any contrasting bottom or the leather handles.  It’s a joke between us now…because she knows I do not make “plain.”

Beautiful Leather and Rivet Enhancements

That’s when I suggested some rolled handles to make the tote a bit more interesting instead of just flat sewn-in ones.  And of course, I jazzed it up with some rivets and leather accents.  With this special request came the second view of the Colleen along with the rolled handles.

As I worked on the design, I played with different interfacing combinations and thought a combo of woven plus fusible fleece works for me.  If you would like something more rigid, yet soft, some foam would be perfect.  However, the weight of the bag does get heavy….especially when you start to add your own stuff inside.  Peltex lines the base to make the Colleen sturdy and you can swap it out with needlepoint plastic if that’s more to your liking.

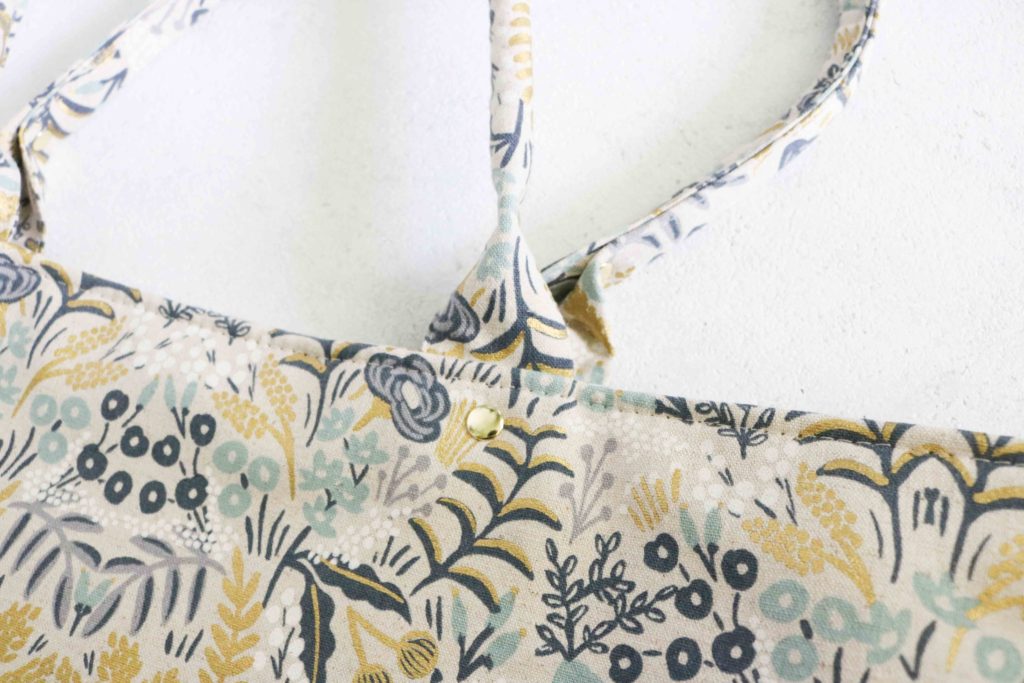
The handles are secured down with two rows of top-stitching, but you can opt to use rivets in place of the second row of stitching.  The extra bit of hardware makes this pattern look so chic and professional.

Additionally, rivets can be added to the handles for strength and for a little more jazz.  These are all fun ideas to help bring your Colleen Tote up a notch!

As part of the release this week, you can purchase the Colleen Tote digital PDF pattern for 20% off in my Etsy shop. Additionally, you can also get my Claire Foldover Crossbody bag on sale as well! (Sale good through July 2, 2018.)


Happy Sewing Friends!

Cristy