Introducing the Audrey Envelope Wallet

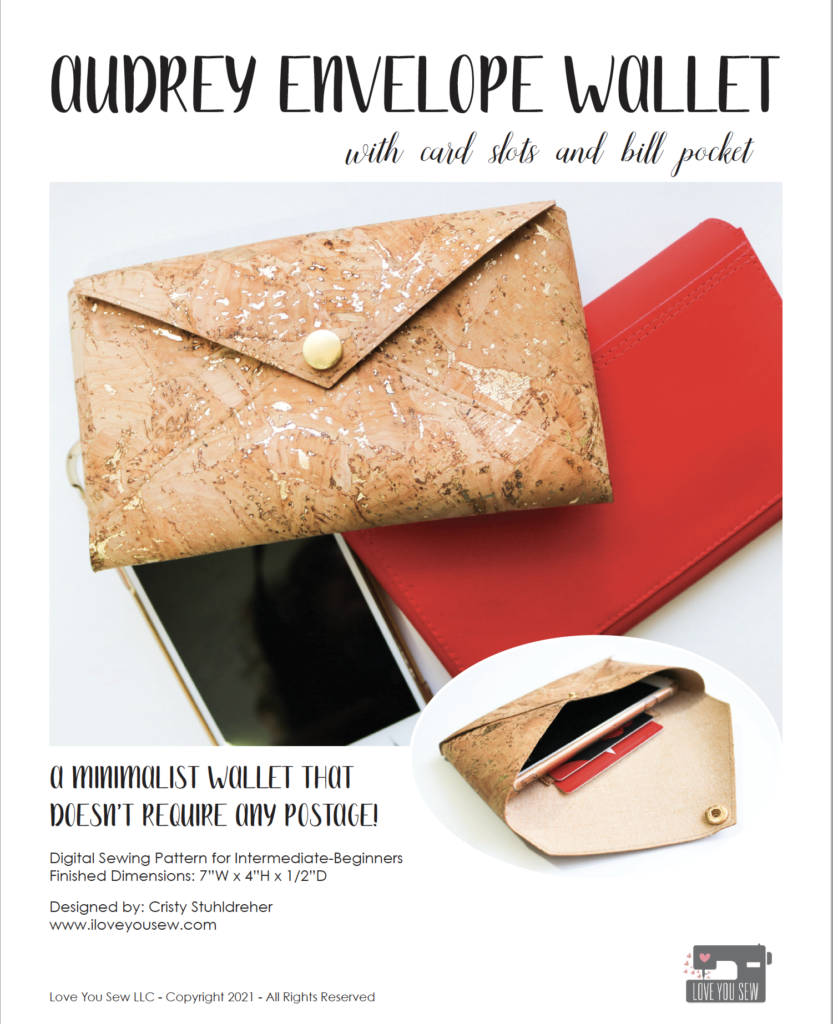
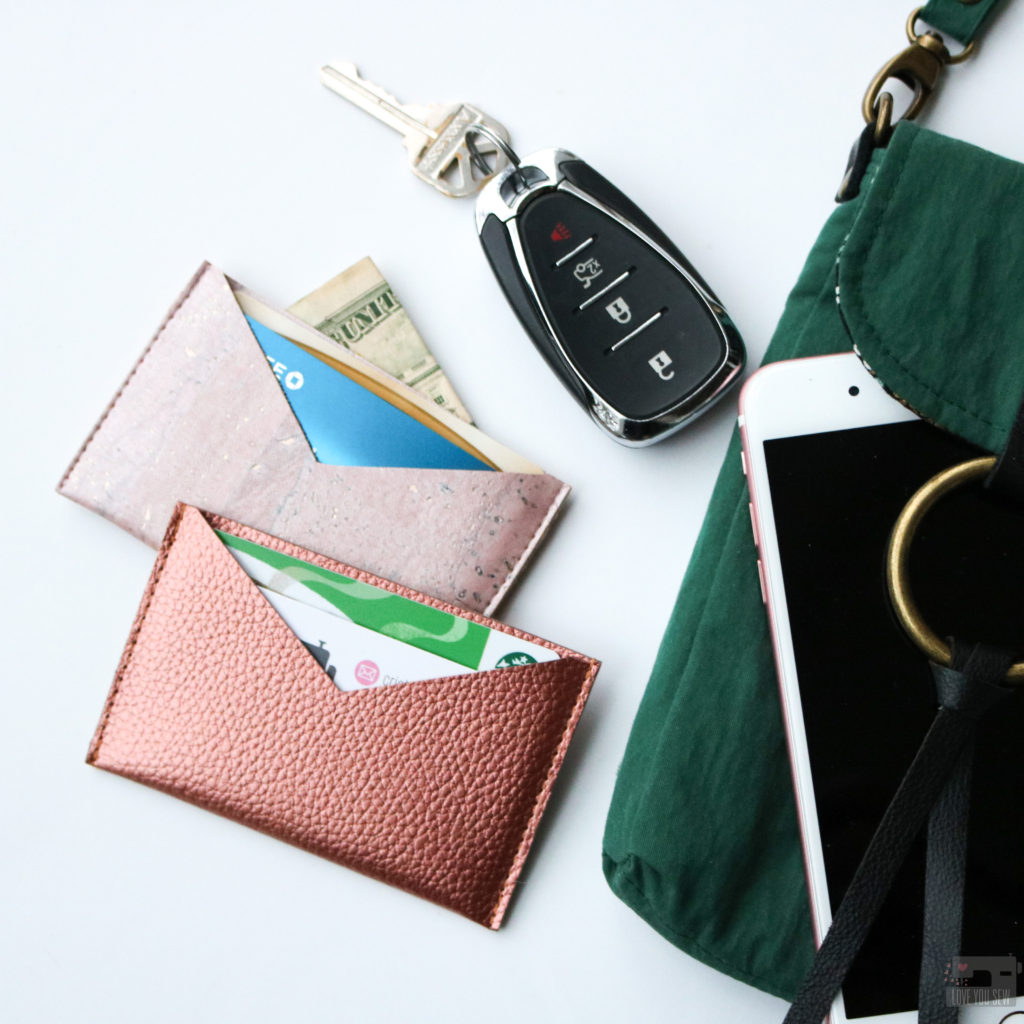
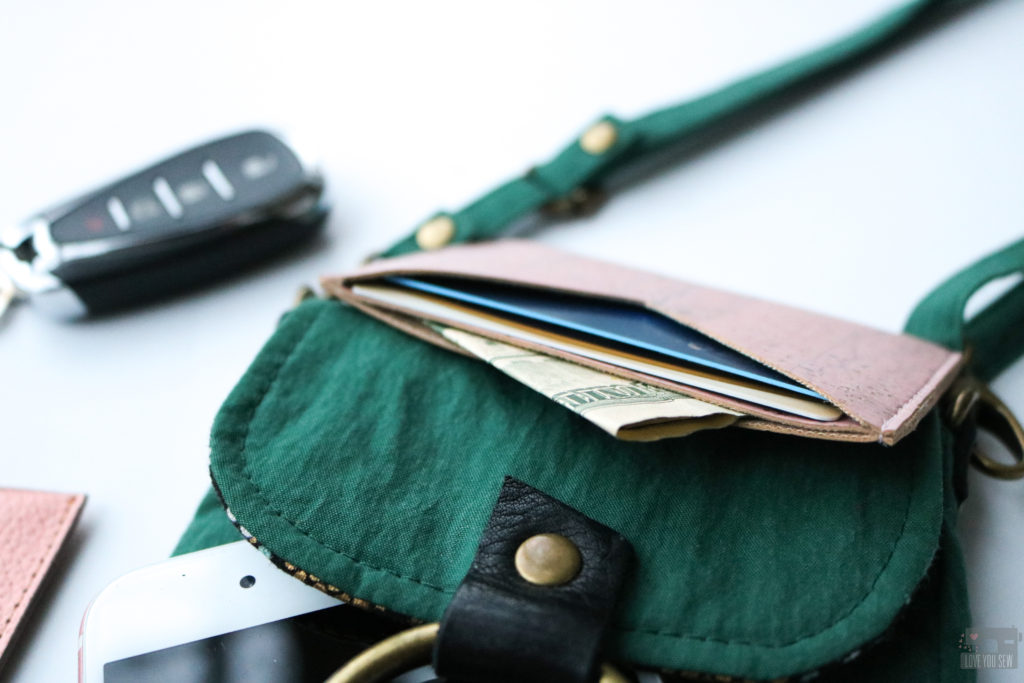
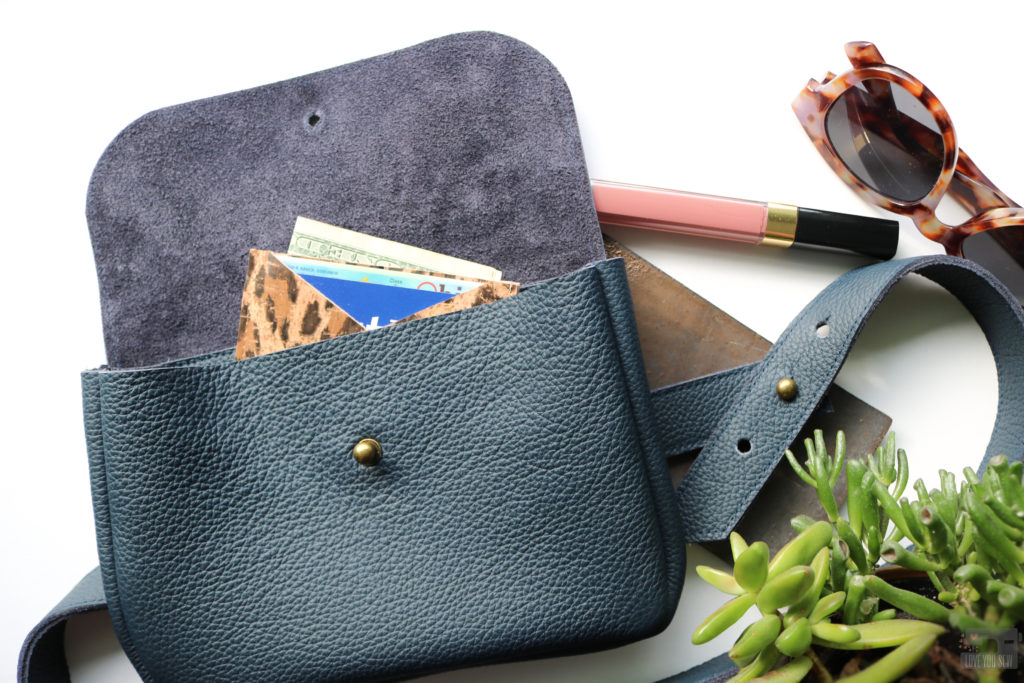
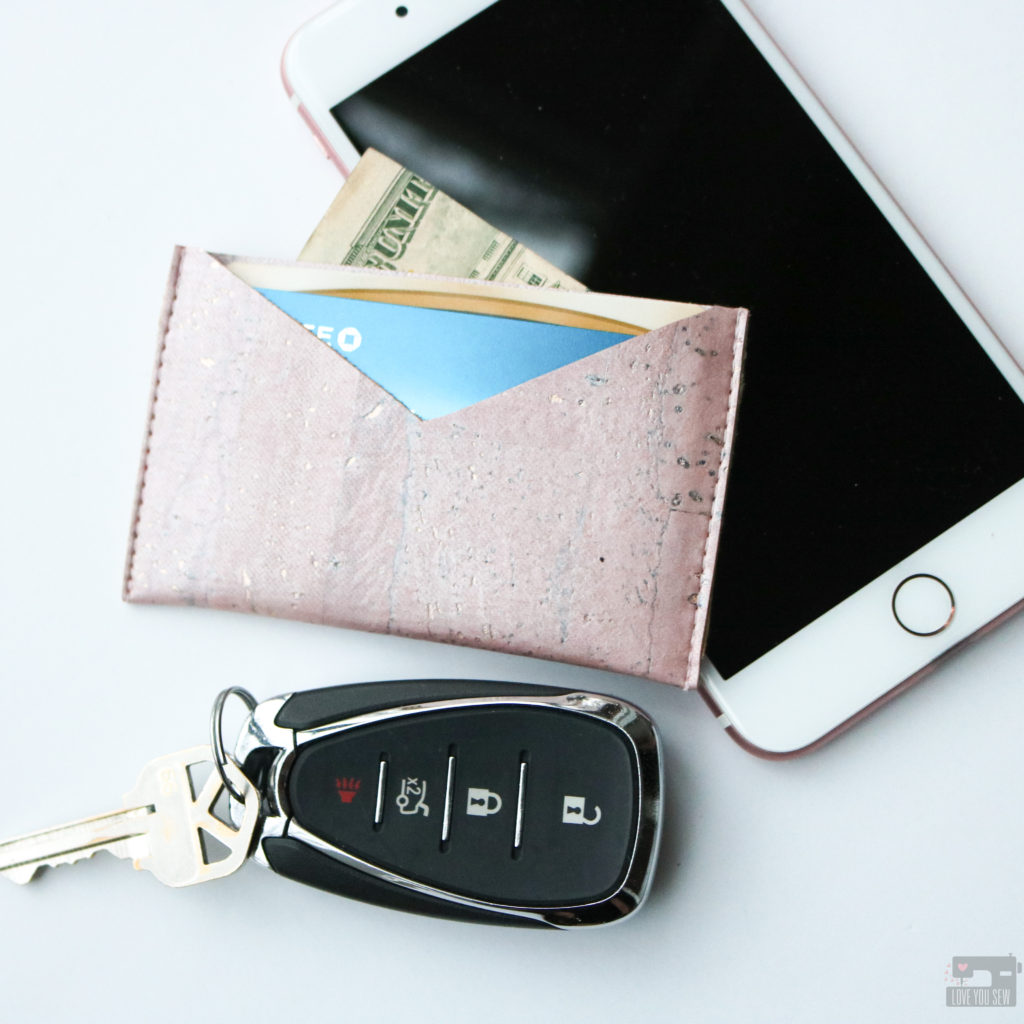
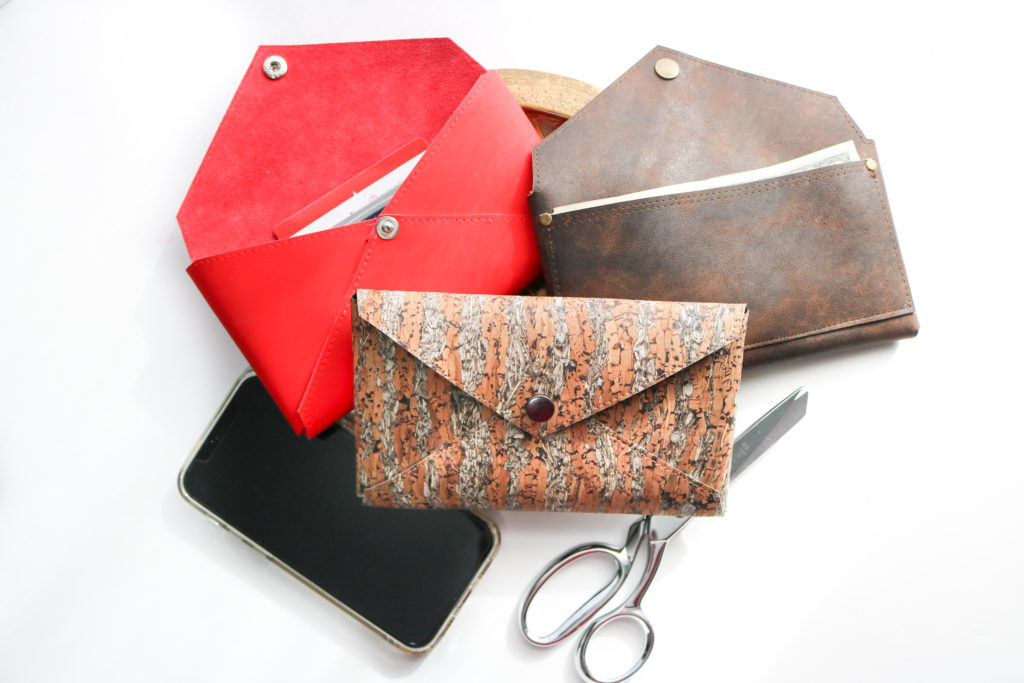
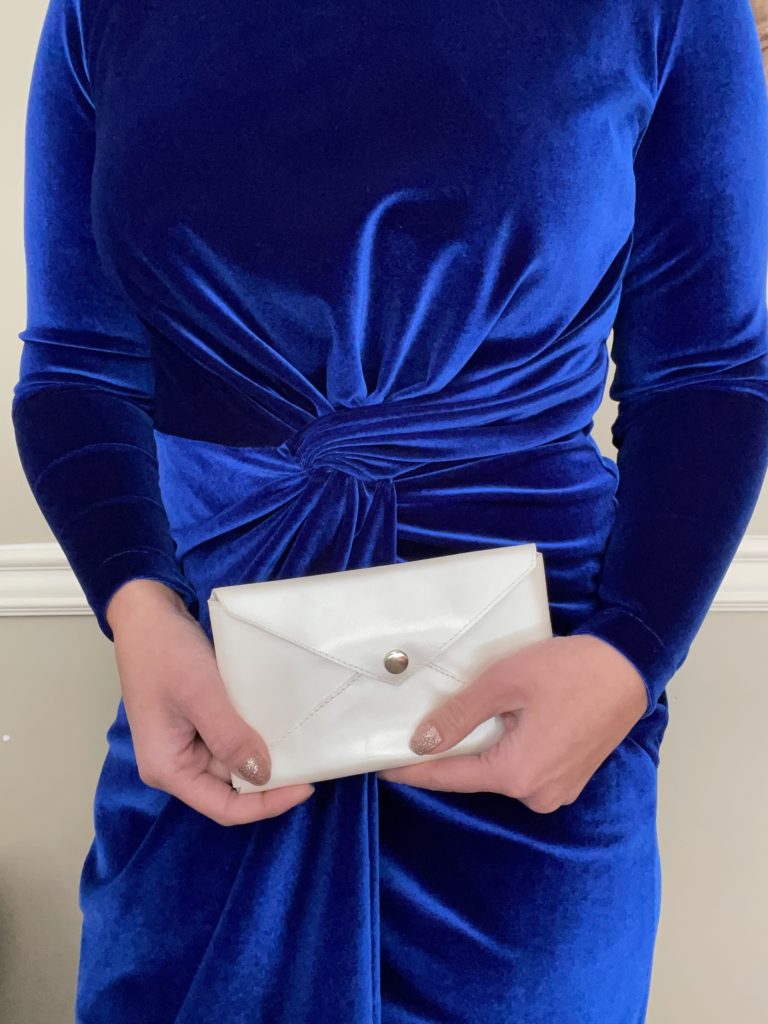
The Audrey Envelope Wallet is a quick and easy project with minimal sewing and tons of style! It has the your classic envelope shape, but also features three card slots and a large slip pocket for bills (which also doubles to hide your stitching.) 
After designing the Christine Sling, I found myself using that bag almost all the time (which also happens after every bag launch…I can’t help it!)  While my “regular” full wallet could fit, it didn’t leave much room for anything else.  I was able to get away with the Shuffle Cardholder for a long time.  But in some recent situations at sporting events, I felt like I could lose the small cardholder since I was constantly in and out of the bag.  So I needed something in between.
Inspiration

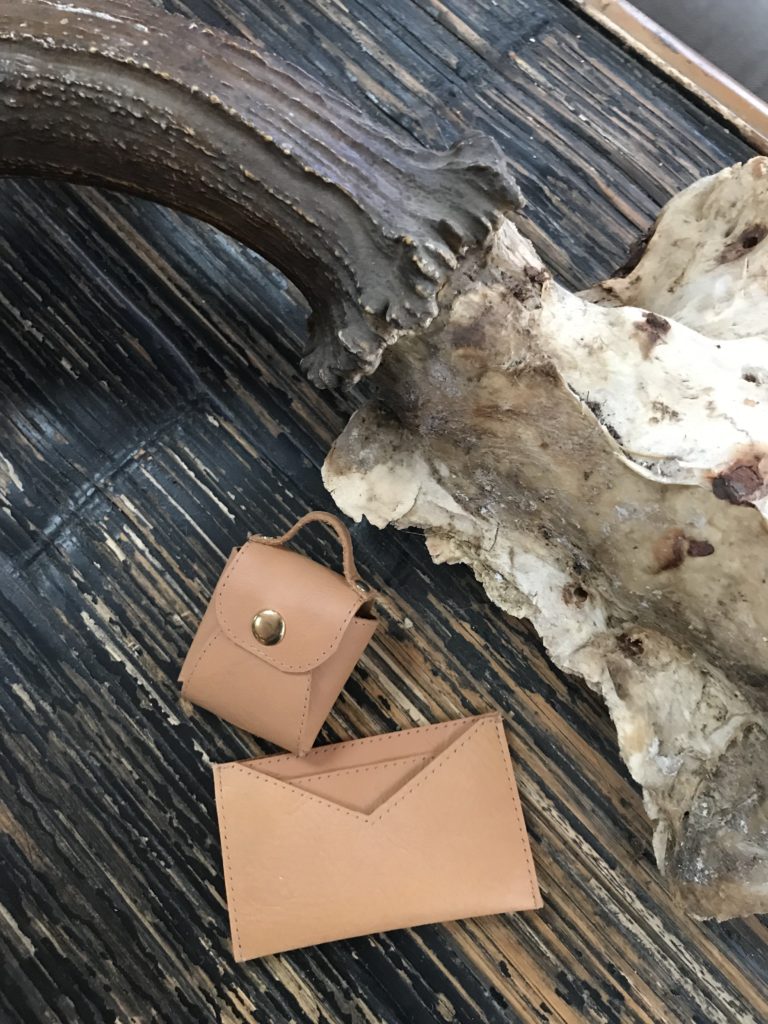
I taught a leather stamping class years ago at a local art studio as a social night out…but with hammers!  I used a smaller envelope design and had the students stamp words onto the wallet and onto the wristlet strap we created together.  The wristlet was pretty cute, but too small for my needs.  I knew back then, the envelope design needed to be bigger for more functionality and adding basic wallet card slots and a pocket for bank notes was needed.

As you know, I really like clean lines and classic styling to most of my bags.  I was really drawn into the simplicity of the envelope shape and how something so functional could be made with limited materials — HELLO stash buster!  With the holidays approaching, I love having a gift that can have an impact (especially in some gorgeous leather) but not take a whole week to make.  Time is precious right now!

It only seems proper that this chic compact wallet be named after my niece, Audrey.  She is a vibrant young woman is likes to be out on the town and is definitely game to join any adventure.  Audrey is lots of fun to be with and to always have around.  She lives all the way out on the west coast, so I definitely miss her a lot!  She also happens to be engaged with a wedding planned for next summer.  I already know I will HAVE to make a clutch with this design just for the occasion!.

Fabric
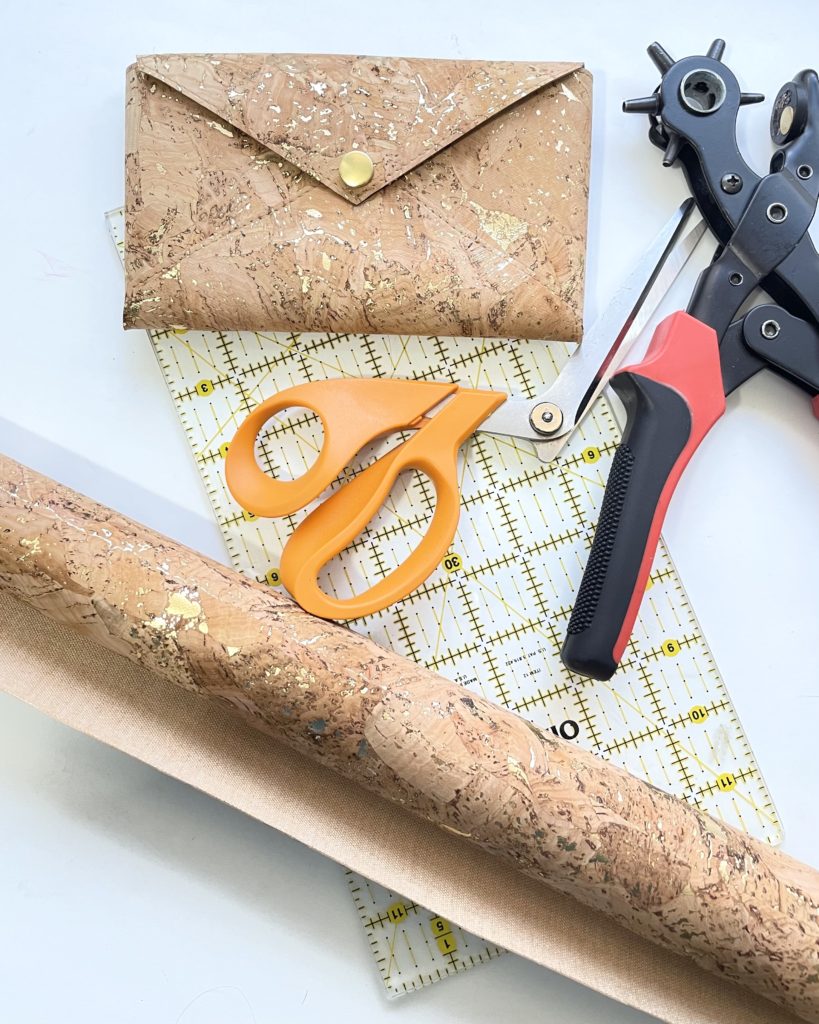
This pattern is written for fabrics which can be left with a raw edge without any additional finishing required. This includes leather, vinyl and cork.  While these substrates can be on the pricey side, the Audrey Envelope Wallet requires very little in material.  If there is no direction to your print or grain, you just need over 1 sq ft of fabric.  This makes it SO great for using up old scraps or upcycling from an old jacket.
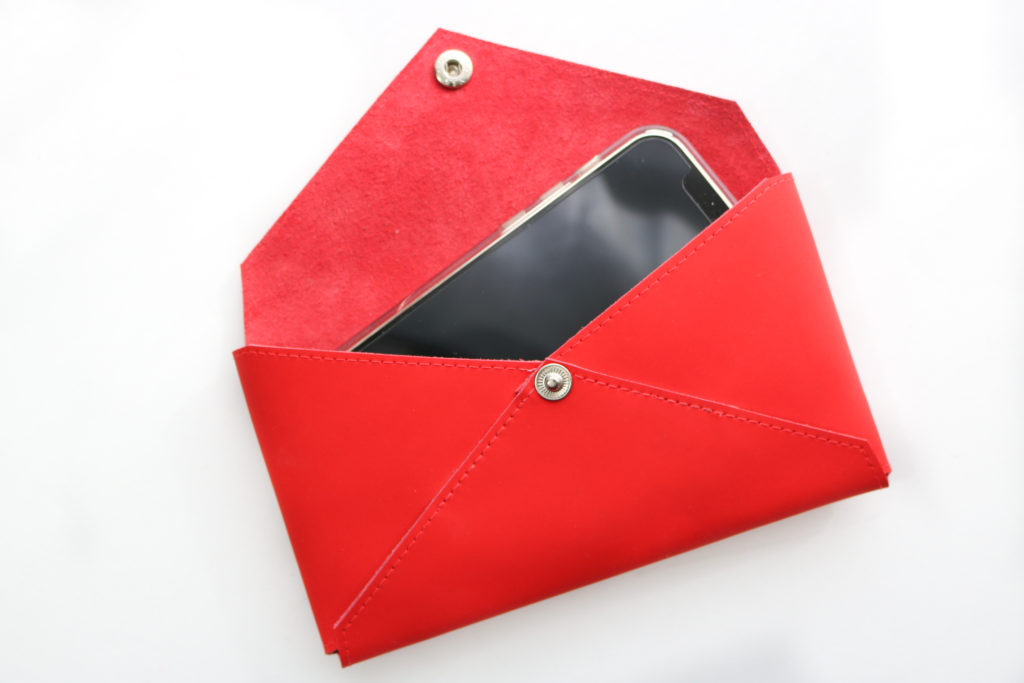
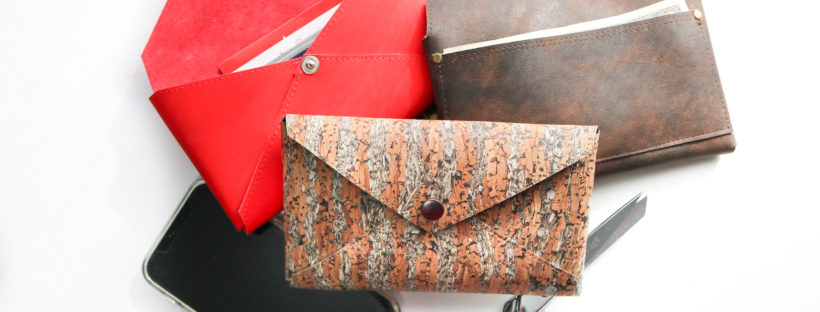
On the cover page, I used a fun Gold-Fleck Cork from Cork and Cloth.  It’s a great high-quality Portuguese cork…I would recommend staying away from any of the cheaper imitations you find at the big box stores.  They tend to flake more than the ones from Portugal.  The other wallet on the cover page (and the one featured in the instructional video) features a Red Matte Firm Temper Leather from Measure Fabrics.  As of the publication of this post, the red version is sold out, but there is a gorgeous cobalt blue hide that’s ready for a maker.  I really loved working with this leather given it’s super smooth finish and firm hand.  It gives the wallet such a nice shape, even when completely empty!

HARDWARE
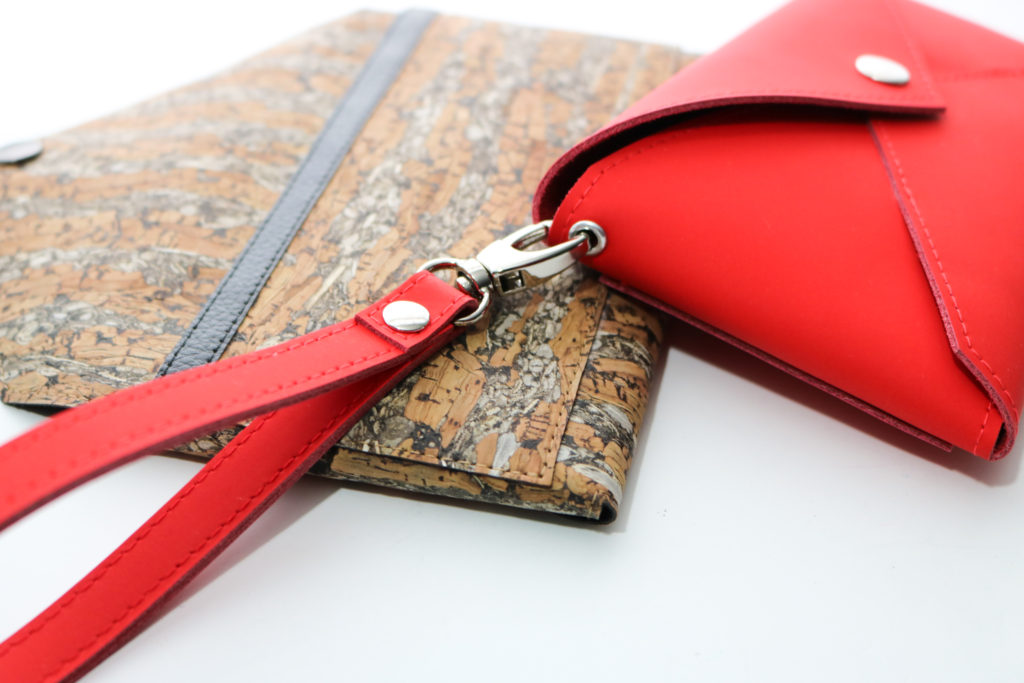
Hacking Ideas: Add a wristlet strap or a contrasting strip to the back pocket

Besides using little material, you only need one fastener for the whole wallet.  In the video and the pattern instructions, I used a set of snaps, but you can easily substitute them for something you have on-hand.  A small turn lock or even button studs would look great with this bag.

As I was playing with the wallet, you can also add an eyelet for a wristlet strap as well.  These are not part of the pattern, but can be easily added for more versatility as a wristlet.  You can even change the card slots with a contrasting fabric or add rivets to help secure the pockets.  There are so many ways hardware can change up the look of Audrey.

Supplemental Video

Since this is a pretty simple pattern of just 6 pages, I already filmed a video to help with construction.  Since the video is for public viewing, you will still need the pattern template for cutting and the instructions for specific measurements.  I hope you enjoy the extra resource to help you through sewing!


I hope all of you enjoy this quick and easy pattern as much I had in developing it!  Who would you gift an Audrey Envelope Wallet to this holiday season?


Happy Sewing!

Cristy


This post may contain affiliate links.  You can read my disclosure here.
Tutorial: Seal Edges of Cork, Leather or Vinyl

If you are looking for a simple way to finish the edges of your non-fraying substrates, this is it!  The following tutorial will help you seal the edges of cork, leather, suede and vinyl.  Many of the man-made substrates have a fabric backing which can still fray over time.  Sealing the edges with  paint ensures that you have a clean finish and won’t see any of that fraying.  This tutorial is great for:

TUTORIAL

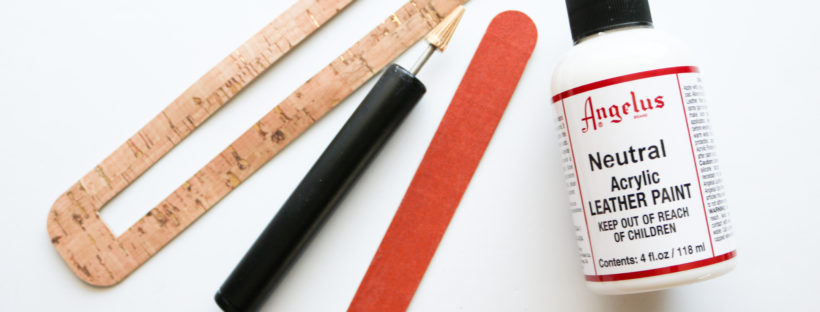
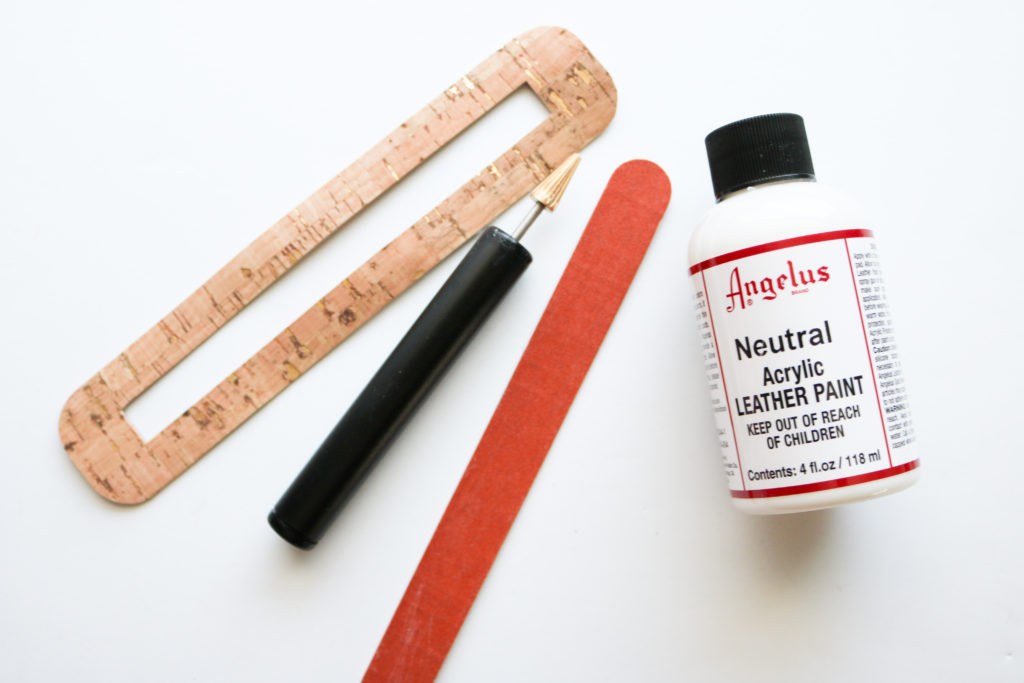
To get started, these are the Materials Needed (with affiliate links):

  • Project – cork, leather, suede or vinyl
  • Leather Paint- I used “Neutral” as an all-purpose clearcoat
  • Paint Applicator – There are many out in the market and this works well for my needs as long as the post is clean and oiled well
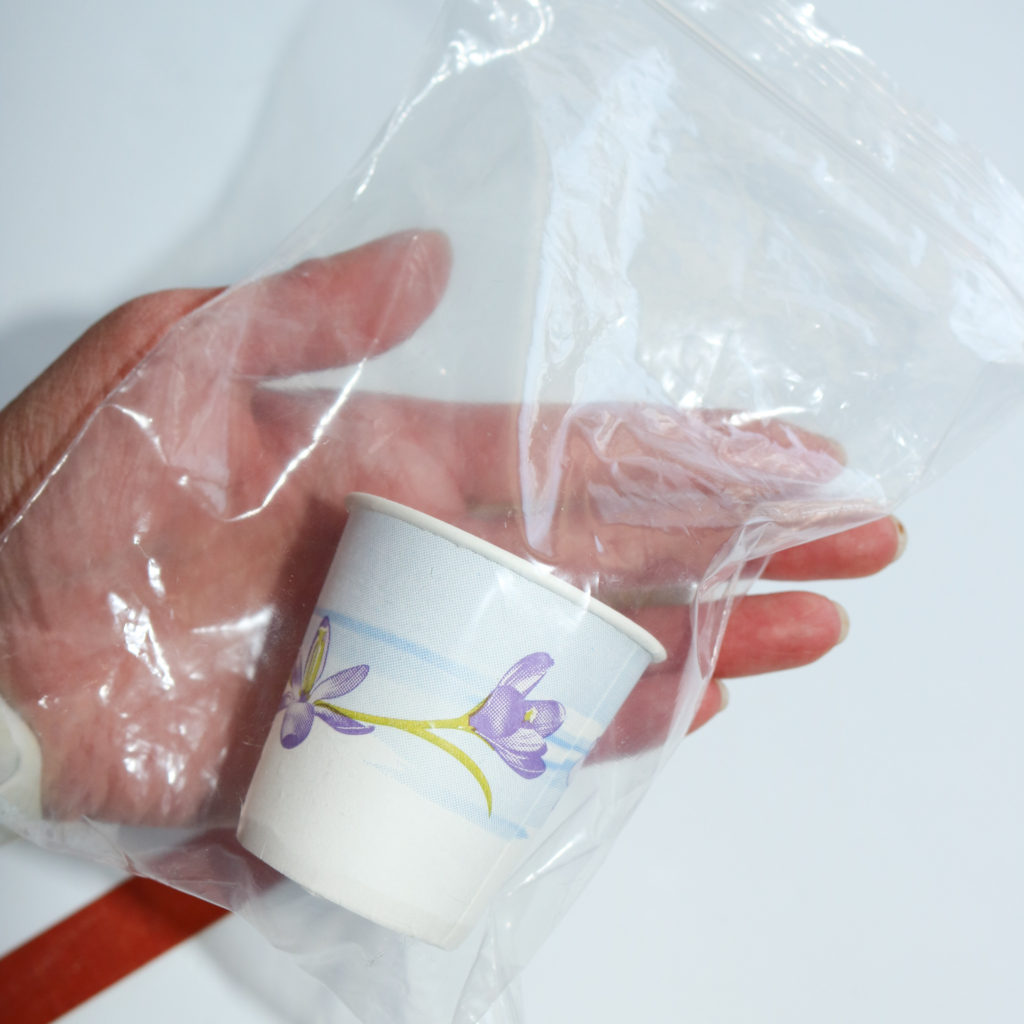
  • Cup/Dish – I use a simple bathroom cup which I can throw away later
  • Emery board or Fine grit sandpaper


Click into the video ABOVE to view the full process.

TIP:  In-between coats drying, I like to seal up the extra paint in a bag so that it doesn’t dry out.  This allows me to maximize the paint and the paint has stayed wet for over a day for me.

I hope you enjoy this tutorial to make your projects look even MORE professional!


Happy Sewing,

Cristy


This post may contain affiliate links.  Please read my Disclosures, here.
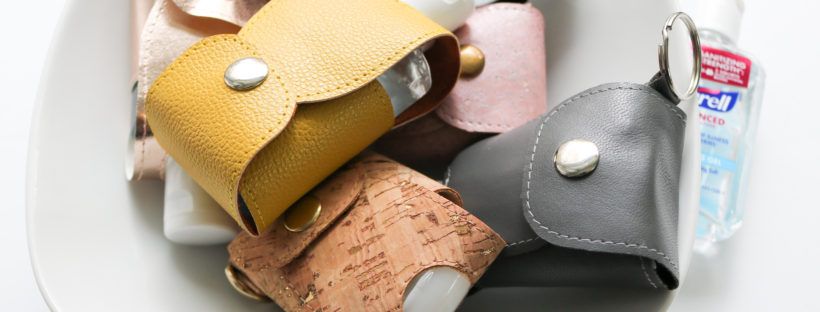
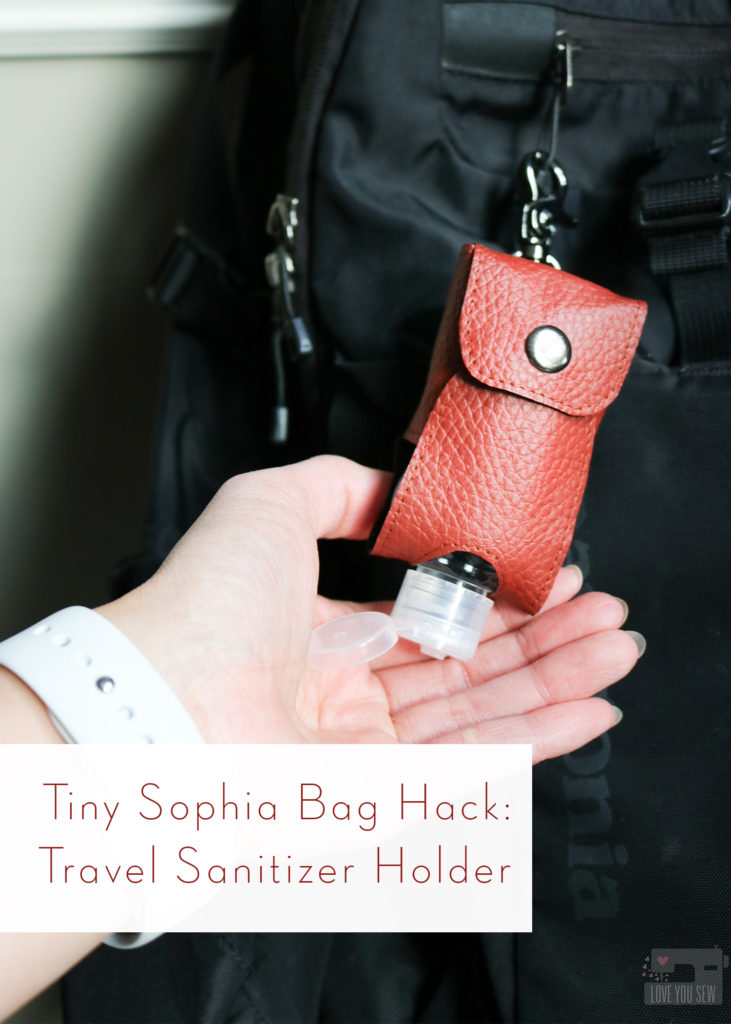
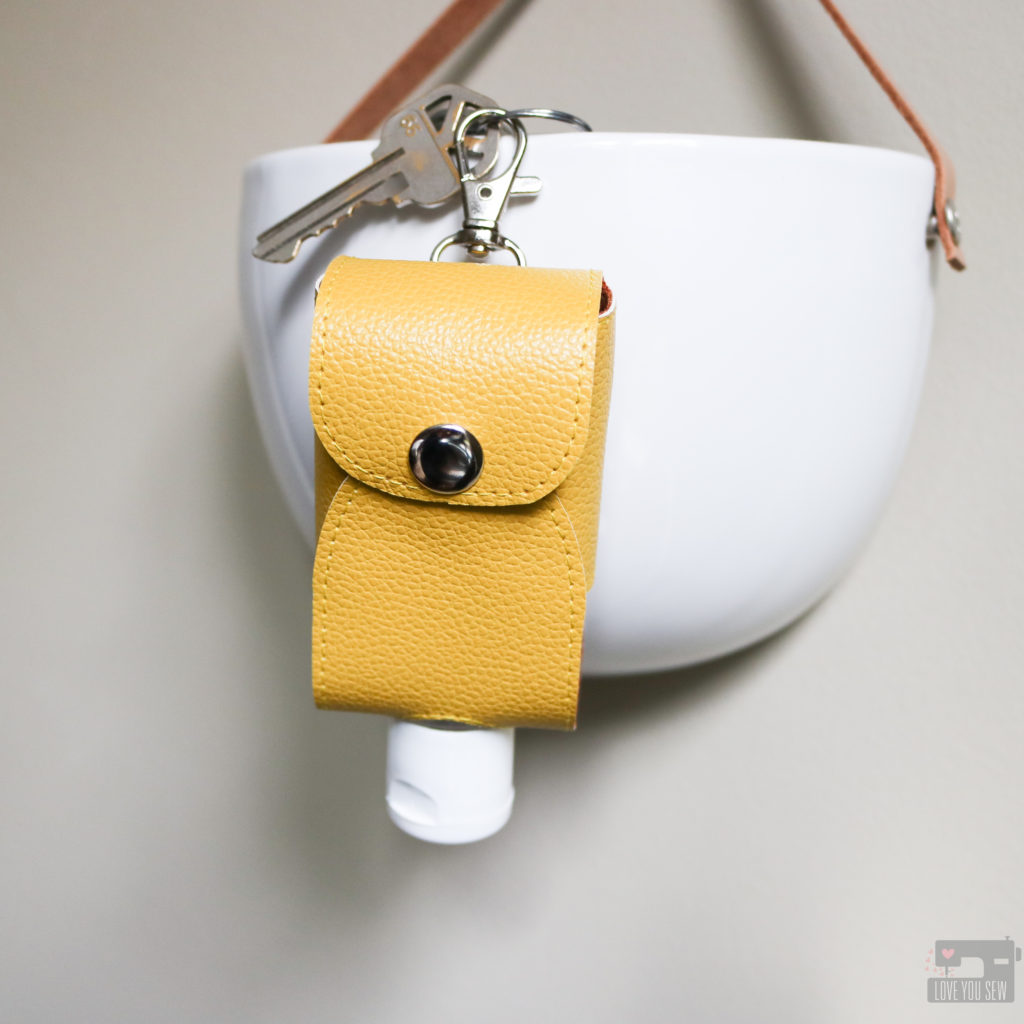
Tiny Sophia Bag HACK: Travel Sanitizer Holder

As the world goes on, we know washing hands and using sanitizer is LIFE right now. It is SO important to stay healthy and protect ourselves against all germs – pandemic or not!  Washing hands with soap is the preferred way to keep them clean, but when there isn’t a sink around hand sanitizer is a decent alternative. You can read more about the benefits of hand-washing here with the CDC.

Like all of you, I want to keep my family safe and have sanitizer on them at all times – especially as school opened up for my kids. But of course, supplies have been (and still are) very bare.  Trying to find those manufactured jelly style travel sanitizer holders was just impossible. That’s when I took it upon myself to make cases for my kids and husband.

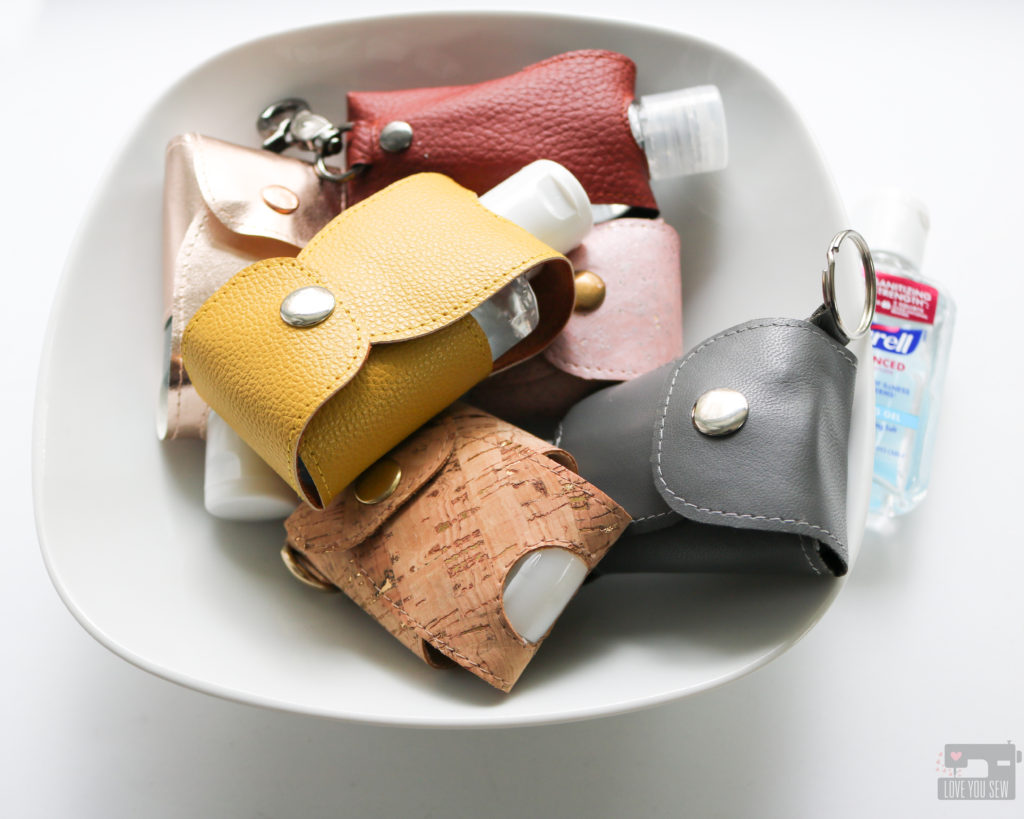
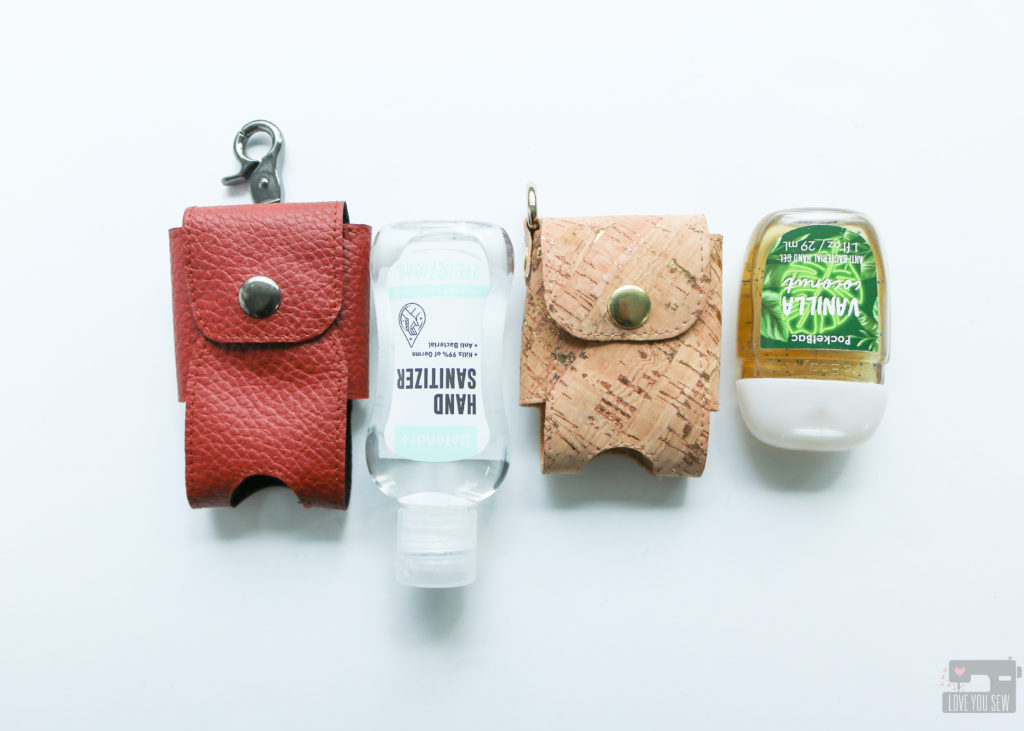
Different size travel bottles

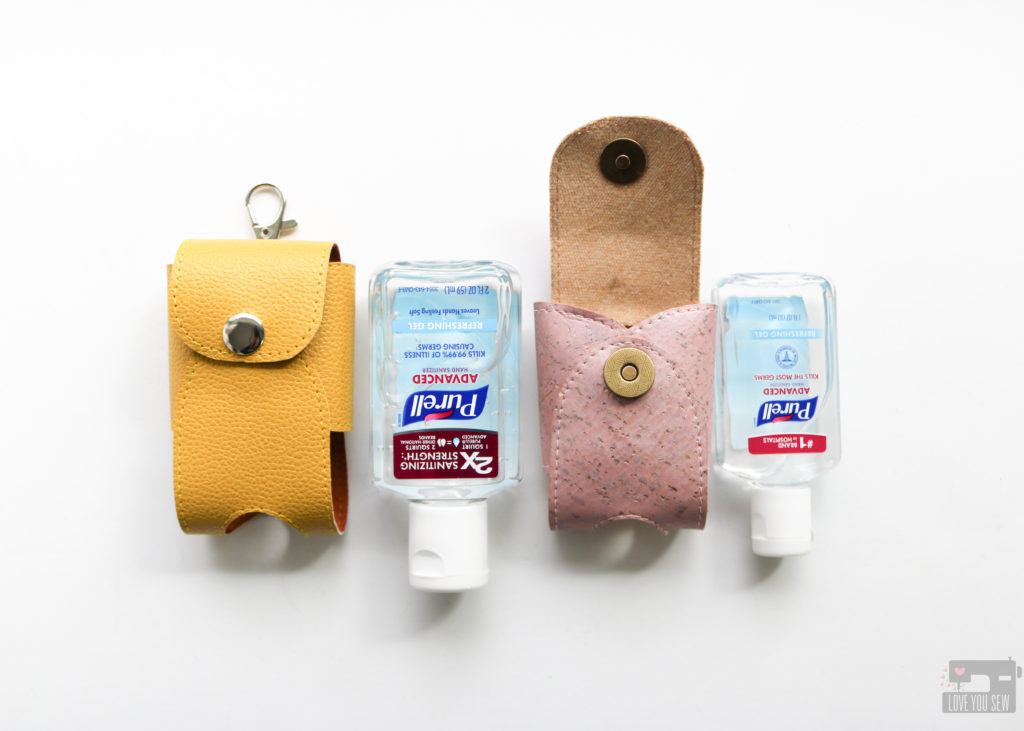
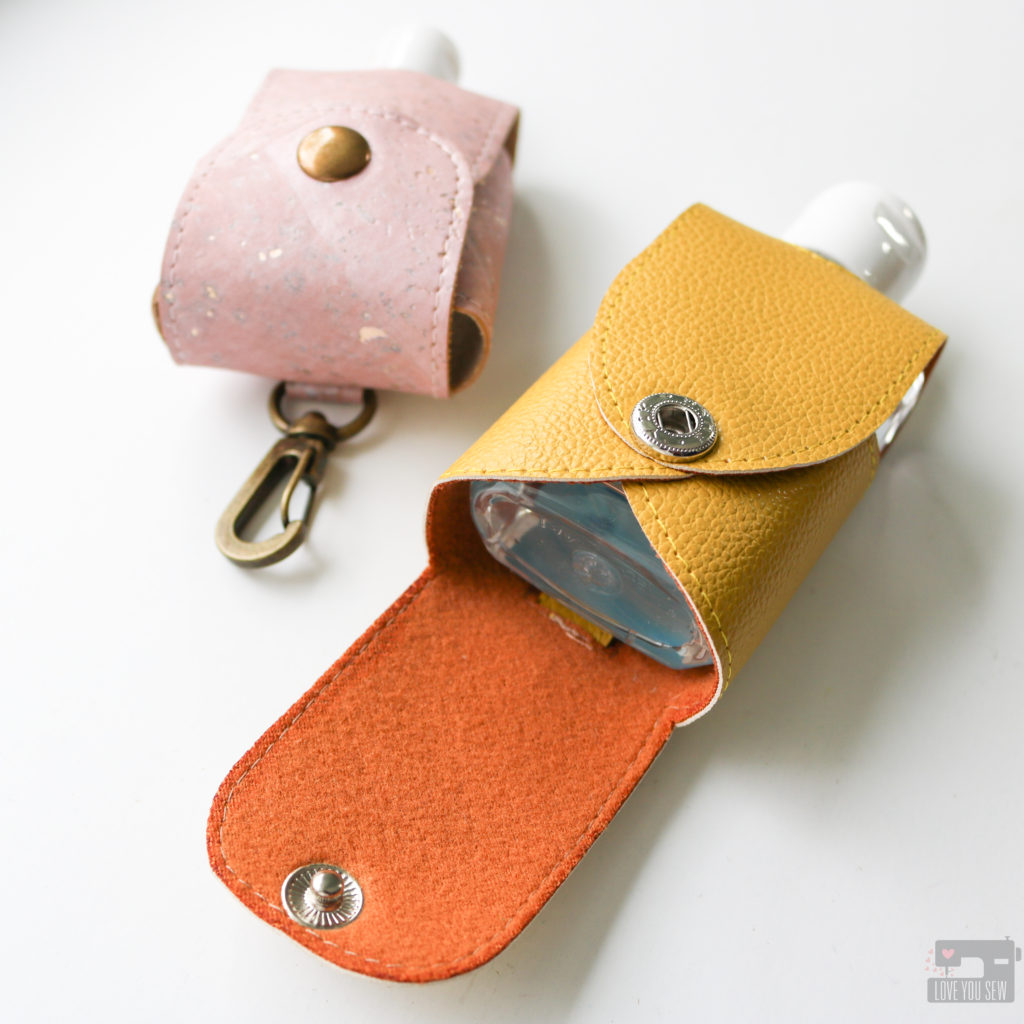
It turns out that the Tiny Sophia Bag (read about it here) is the right width to hold most travel sanitizers! The height just needs to be adjusted and that’s where this hack was born. This hack will take you through the steps to transform your #tinypurse to a sanitizer holder for most 1-2 oz travel bottles.  I tried to find a variety of bottles to test so you can see how they fit and decided to create one version for bottles from 1-1.6 oz and then another version that can fit 2 oz bottles.  If you are using bottles different from any of those pictured, be sure to check the template against your sanitizer BEFORE cutting any material.

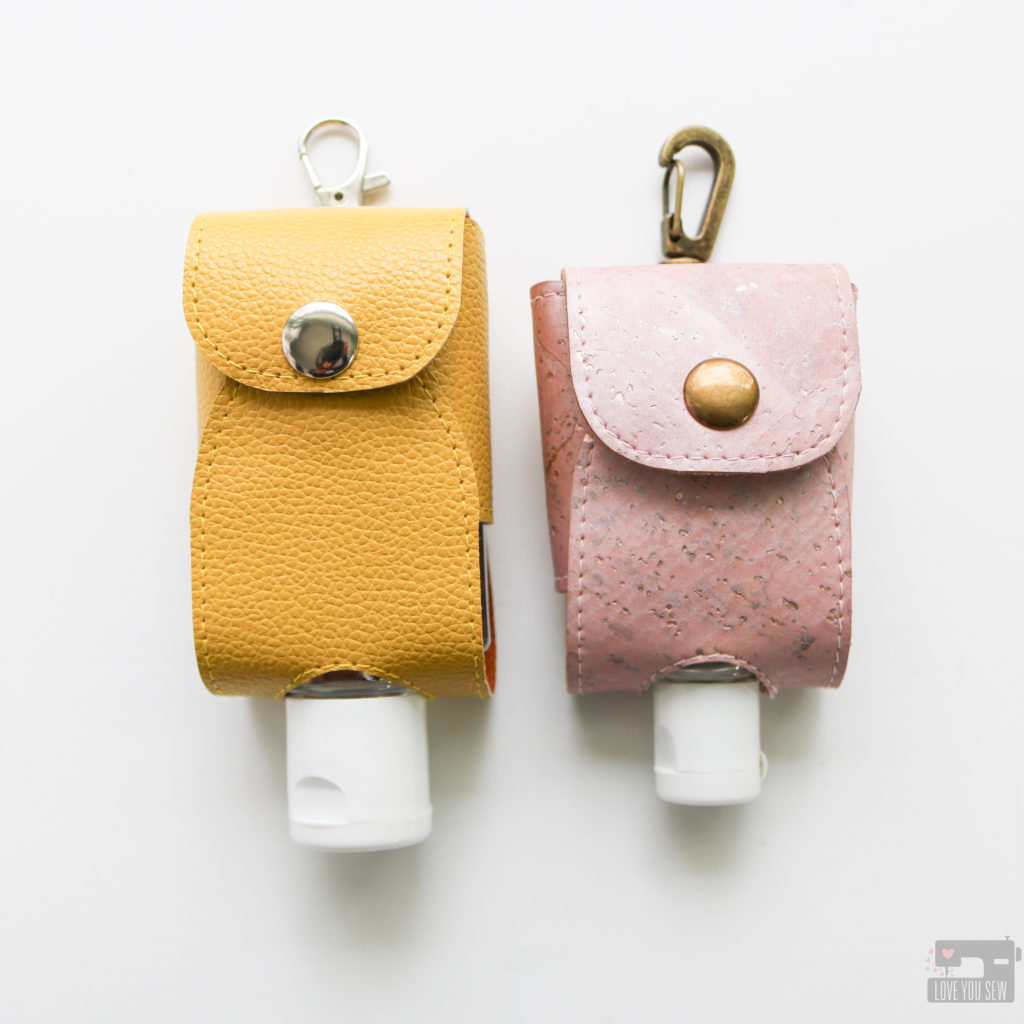
2 oz Holder vs 1 oz Holder


Materials Needed:

  • The Tiny Sophia Bag pattern – found here
  • Ruler
  • Extra paper
  • Marking Instrument
  • Clear Tape

Tutorial

***Please note there are adjustments depending on whether you are making a holder for a 1.0-1.6 oz. bottle versus a 2 oz. bottle.   Please read instructions carefully.

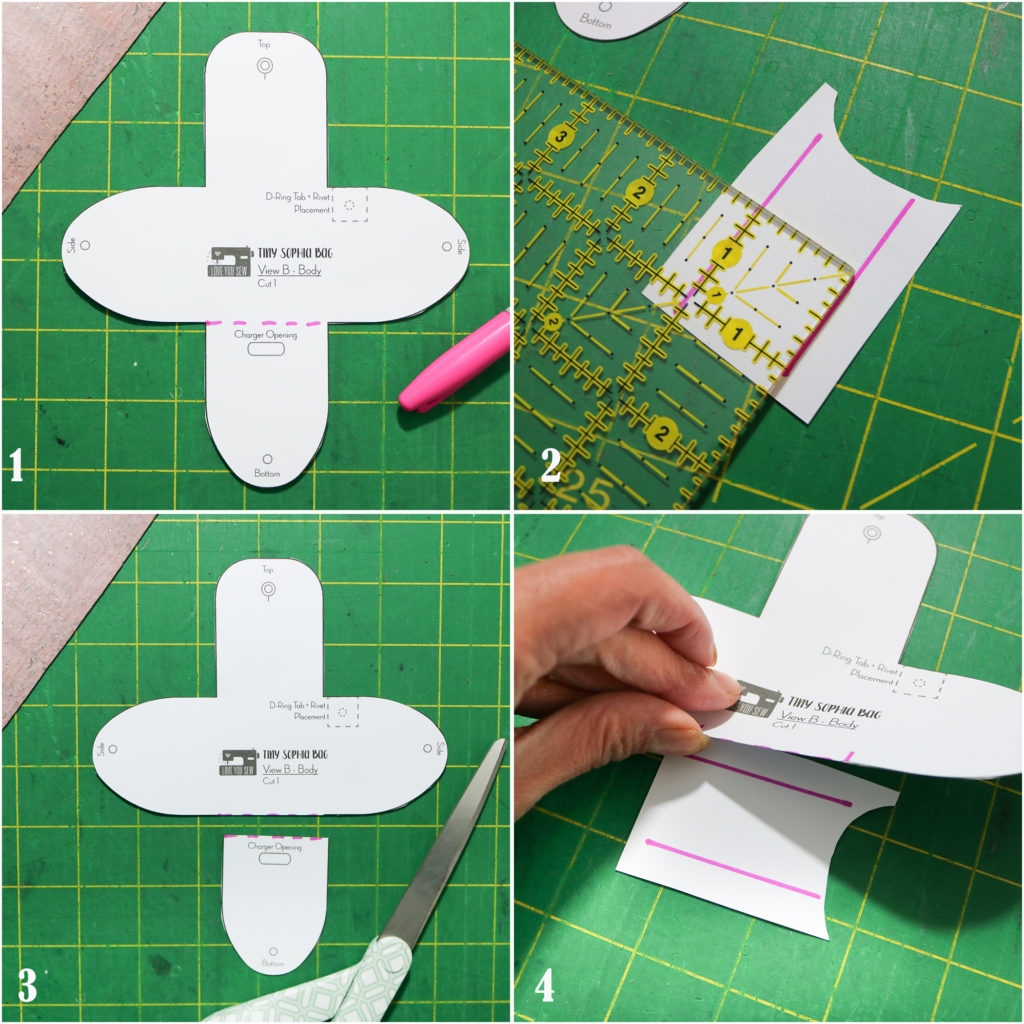
1. Cut the pattern template out per instructions. Mark the cut line along where the bottom flap meets the sides.

2. Take a scrap piece of paper (wider than the bottom flap) and mark a 1″ high extension for 1-1.6 oz. sanitizer bottles. *If you have a 2 oz. bottle, you will want to mark a 2″ high extension.

3. Cut the bottom flap off the bag template following your markings

4. Line up the top of the pattern along the extension and tape into place.

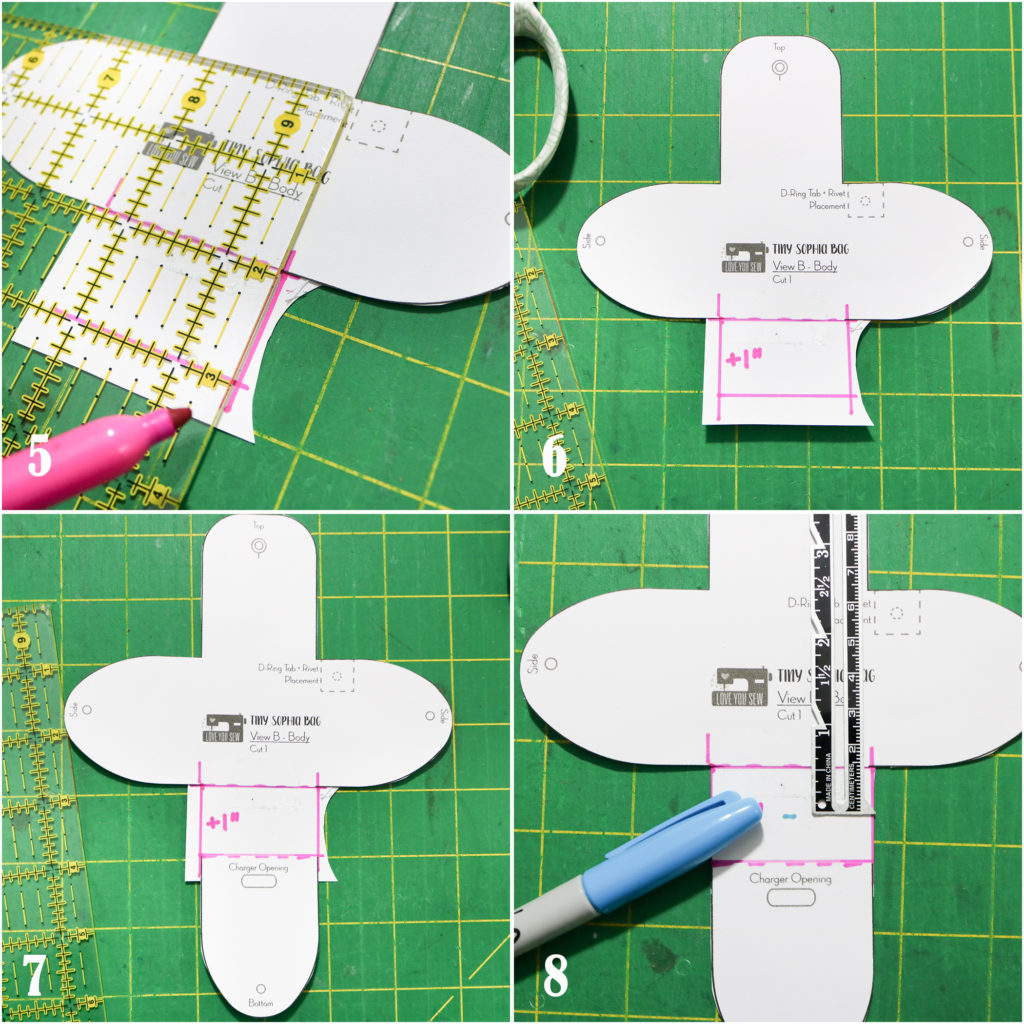
5. Take a ruler and mark the right side of the extension aligning it to the Top flap’s side edge.

6. Repeat on the left side of the extension.

7. Line up the bottom flap to the lower side of the extension making sure it matches the side markings.

8. Trim away the excess paper.  Mark a line 1/2″ from the top of the extension. *If you are making a 2 oz. bottle holder, mark a line 1″ from the top of the extension.

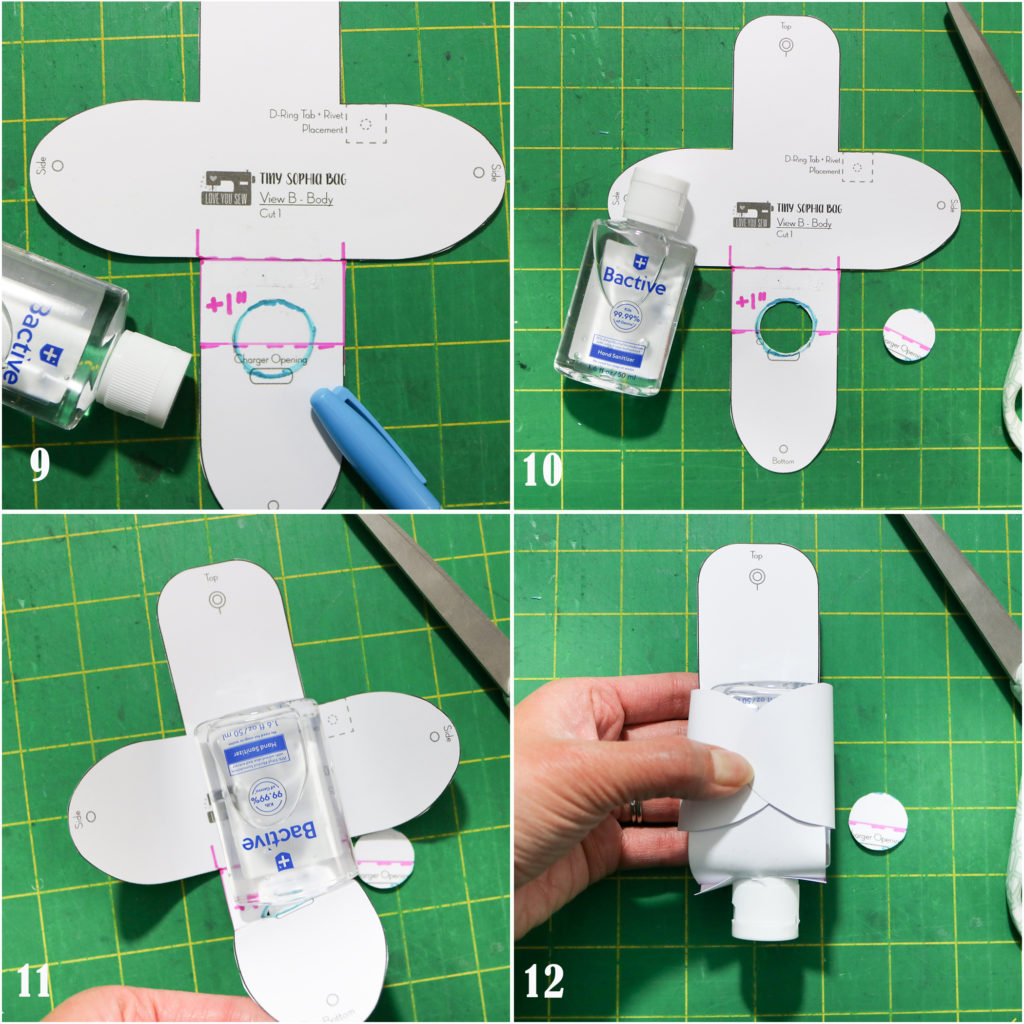
9. Use a sanitizer bottle cap as your opening.  (This replaces the Charger Opening.)  Center it vertically on the template and place it just under mark made in the previous step.  Trace.

10. Carefully cut out the circle with paper scissors.

11. Check that the sanitizer bottle you want to use fits through the opening on the template. Adjust as needed.

12.  Check that the template fits around the bottle by aligning the hardware holes.  Adjust as needed.  Once you are satisfied with the fit, follow the steps in The Tiny Sophia Bag to finish your  travel sanitizer holder!

Notes:

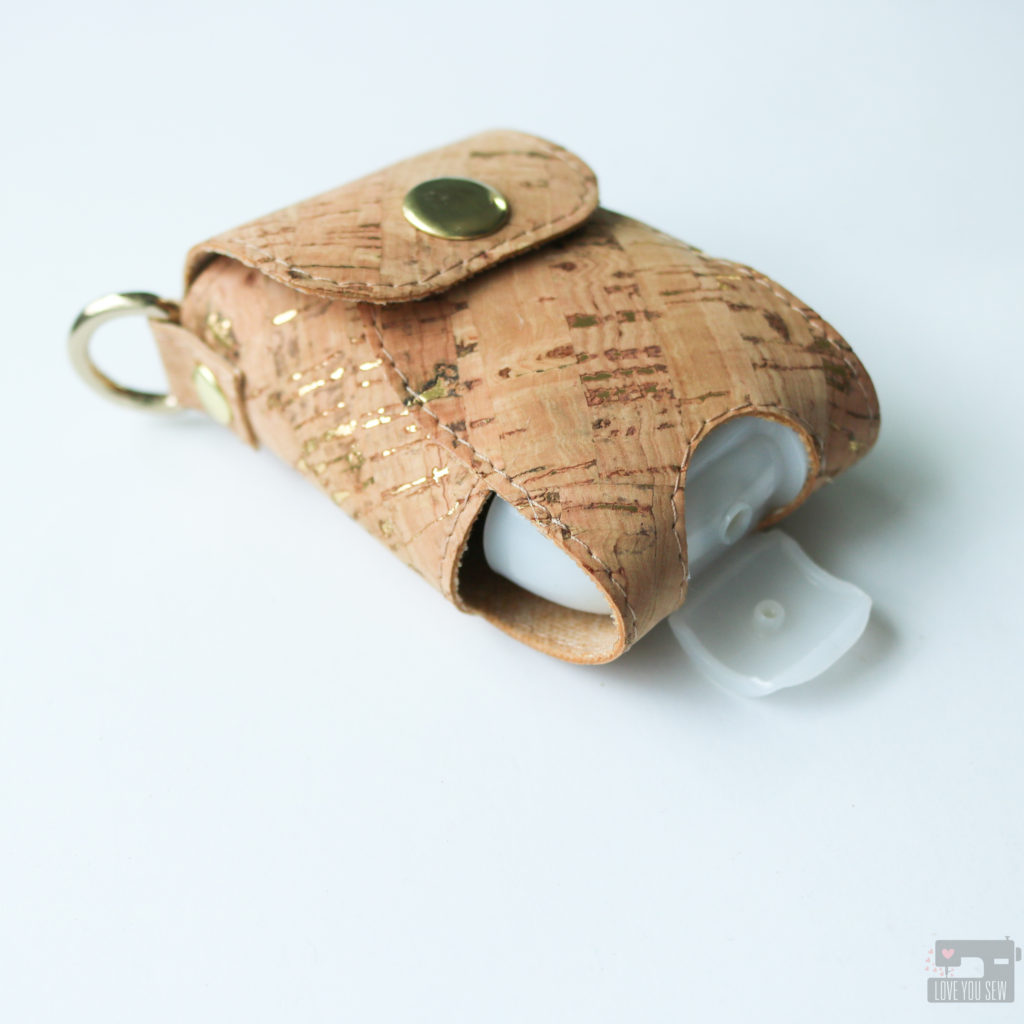
This cork version uses the 1 oz adjustment, but if I were to make it again just for this style of sanitizer bottle from Bath & Body Works, I would make a slightly wider opening to accommodate  that wider flip-cap.

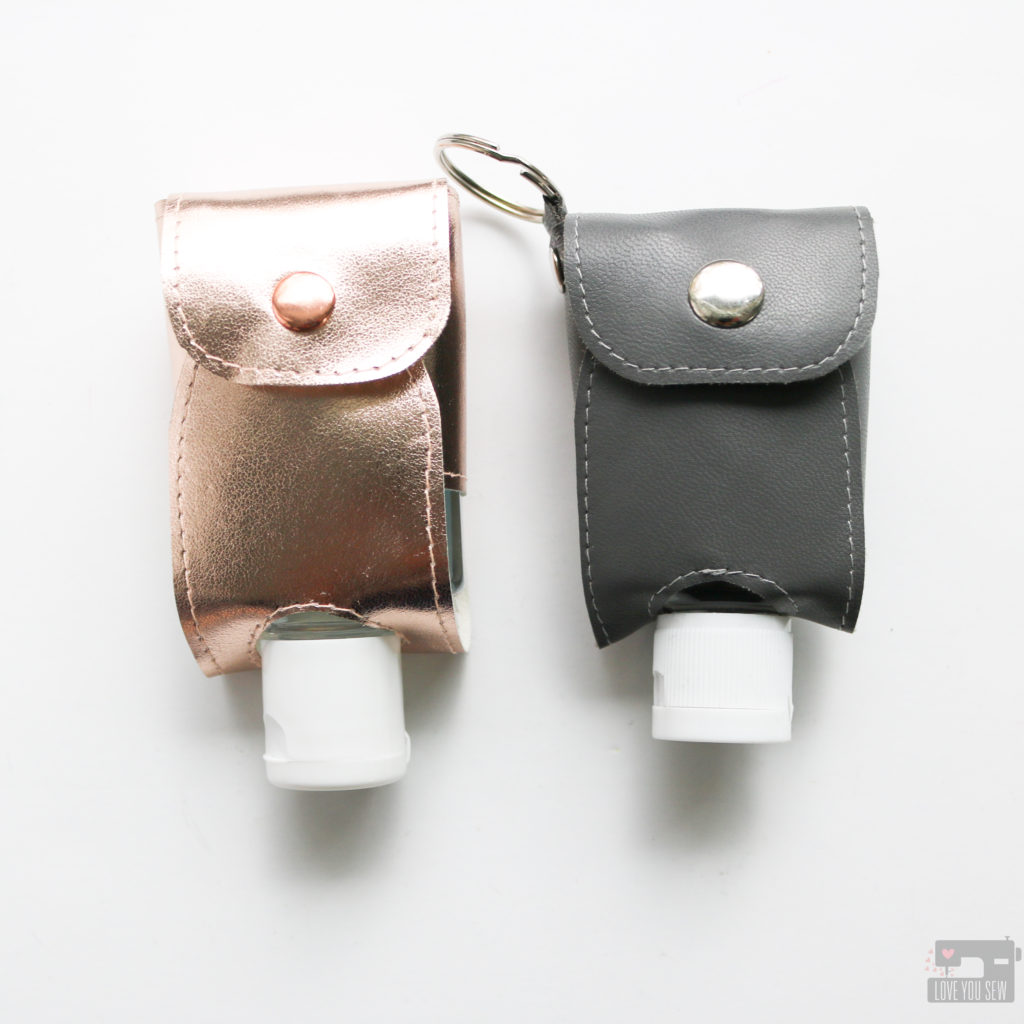
I added stitching to all of my samples in this post, but you don’t have to.  Using faux leather with felt backings like these pictured above leave no fraying and make this a fast and simple project.

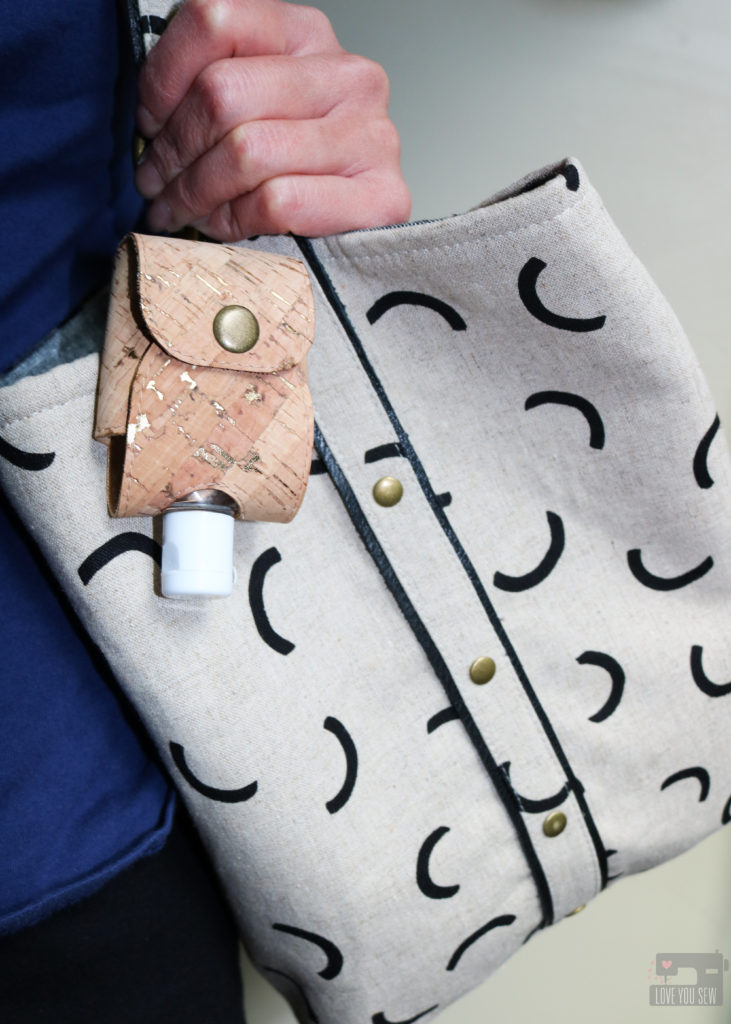
With the holidays ahead, these will make such great gifts!  So I will switch up the hardware to swivel clasps on the back so they can hang easily from key chains, purses and backpacks.

Where to find supplies:

  • For Cork or Faux Leather, I’m a big fan of Sew Sweetness.  Shipping is flat-rate, fast and I think a great deal!
  • For real leather and a variety of finishes, TanneryNYC has remnant bags.  I received small – medium sized cuts and was able to make several Tiny Sophia Bags out of the surprise shipment. These are high quality pieces of soft leather.
  • I love Emmaline Bags and By Annie’s hardware, but if you are looking for a value set for kids, I recently bought these (pictured on yellow case) and these from Amazon.
  • For Snaps, I used spring style ones from Gold Star tool, but recently fell in love with these Rivet Magnets from Kam Snaps (as seen with the pink cork version above.)


I hope you enjoy this hack and find it useful in our current environment.  Please drop a comment and let me know what you think!


Hugs and Stitches,

Cristy


This post may contain affiliate links.  Any earnings go right back into powering this website.  Please read my Disclosures here.
FREE Shuffle Card Holder Pattern

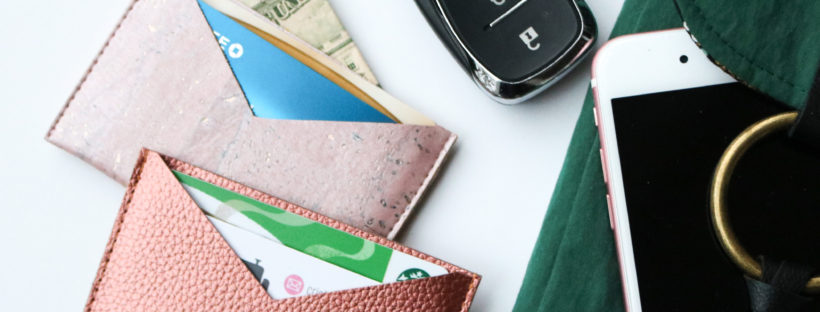
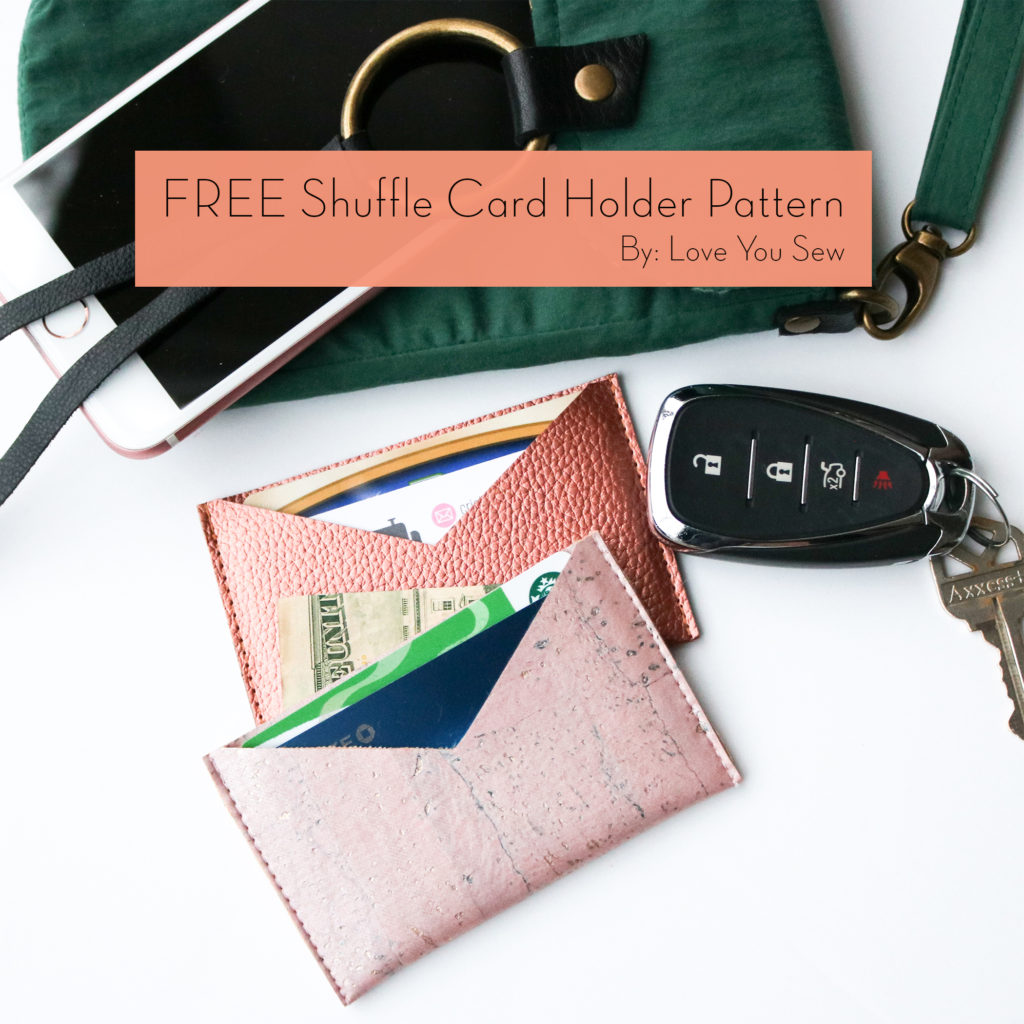
For my Newsletter subscribers, the Shuffle Card Holder isn’t a new pattern to you.  But in light of our current Covid-19 shelter-in-place environment, I’d like to offer the Shuffle Card Holder pattern completely FREE without having to sign-up for anything.  This is a quick and easy project for raw-edge substrates and is a great stash-buster for all of the little bits of cork, leather, suede or vinyl you may have lying around.  If you have ever wanted to learn how to sew on these substrates, now is the time!  A small project like the Shuffle will make things bite-sized and manageable too.

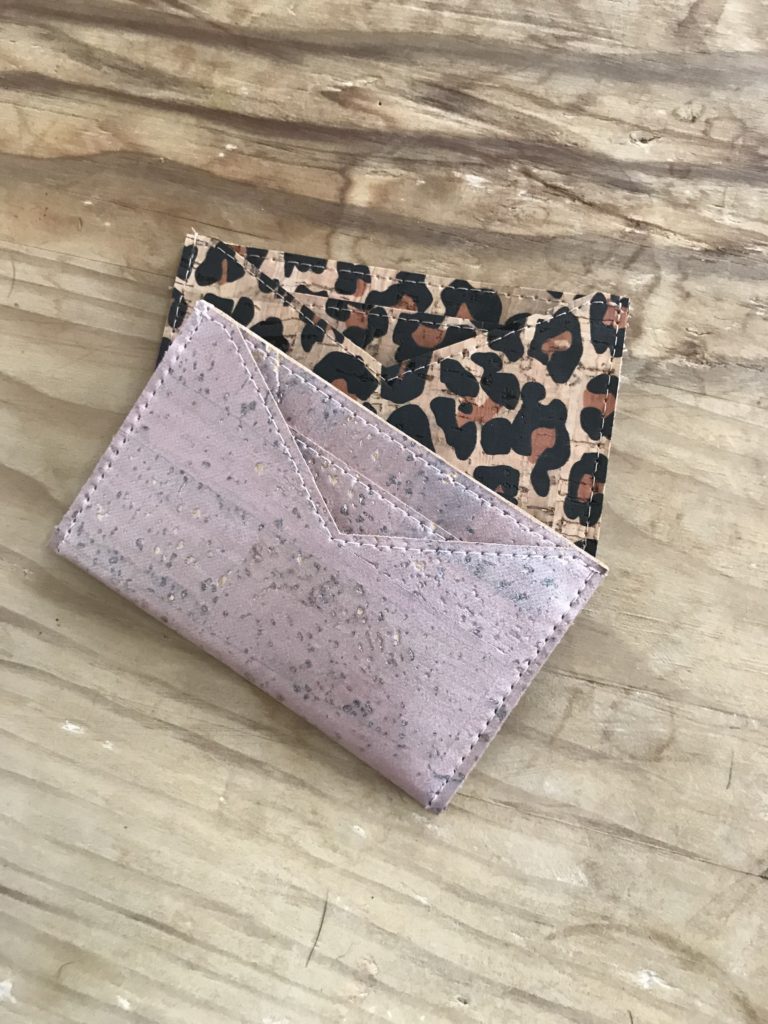
The Shuffle Card Holder is designed with 3 pockets.  There are two in the front — perfect for an ID and debit card.  But there is also a third pocket which is hidden and a great spot for a little stash of cash and even a key!  The front and back are made from a single folded piece of fabric with all sides left raw.

For a more polished look, you can take the extra minute to add some top-stitching at all of the pocket openings.  It adds a nice finishing to make the card holder extra special.

TIP:  Use a Walking Foot for nice even stitches, especially on vinyl or cork where a regular presser foot could stick.

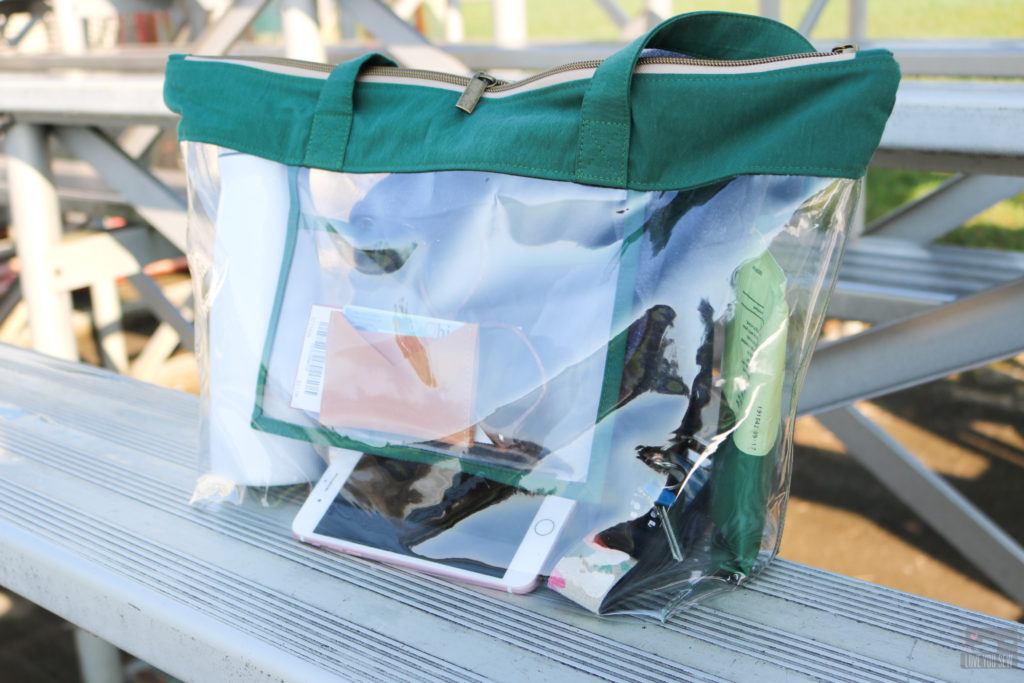
I love using the Shuffle Card Holder when I’m switching between purses and especially when moving into a smaller bag.  It goes perfectly with the Emma Stadium Bag to keep my money hidden at public sporting events and I also love using it with the Kelly Waist Bag to keep things as light as possible.
Emma Stadium Bag by Love You Sew

As we spend more time walking and taking bike rides, the cardholder is perfect for just slipping into your back pocket or in a bike pouch.
Kelly Waist Bag and Clutch

This is also a great way to present a gift card – especially to those who are working essential jobs or just a way to let someone know you are thinking about them at this time.  You can even pair it up with The Tiny Sophia Bag for a complete on-the-go gift set!

||    Click HERE for the FREE Shuffle Card Holder pattern!    ||


Project Details:


Hugs and Stitches,

Cristy


This post may contain affiliate links.  Please visit my Disclosures page for info.

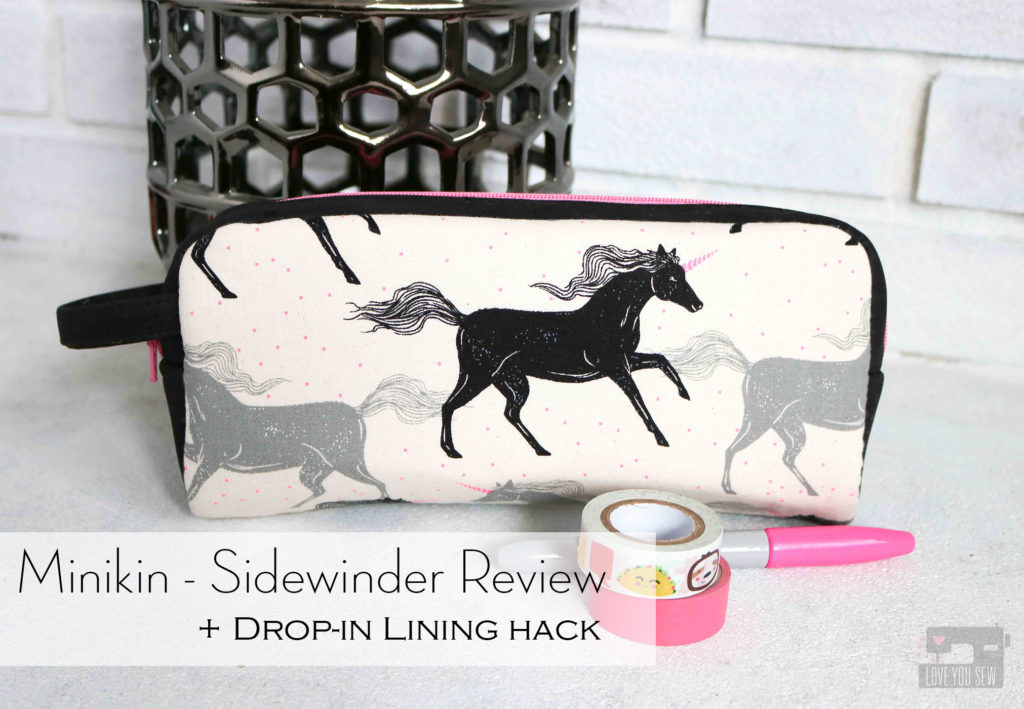
Minikin Sidewinder Review – Plus Drop-In Lining Hack

It is no secret I love Sew Sweetness patterns by Sara Lawson.  I’ve come to really trust her instructions and I love all the innovative ways Sara constructs her bags.  She has written quite a few patterns and has a nice variety of large bags down to small accessories.  You can read about a few of my makes below:

  • Aeroplane Bag – here
  • Crimson and Clover Traincases – here and here
  • Trompe le Monde Bag – here
  • Appaloosa Bag – here

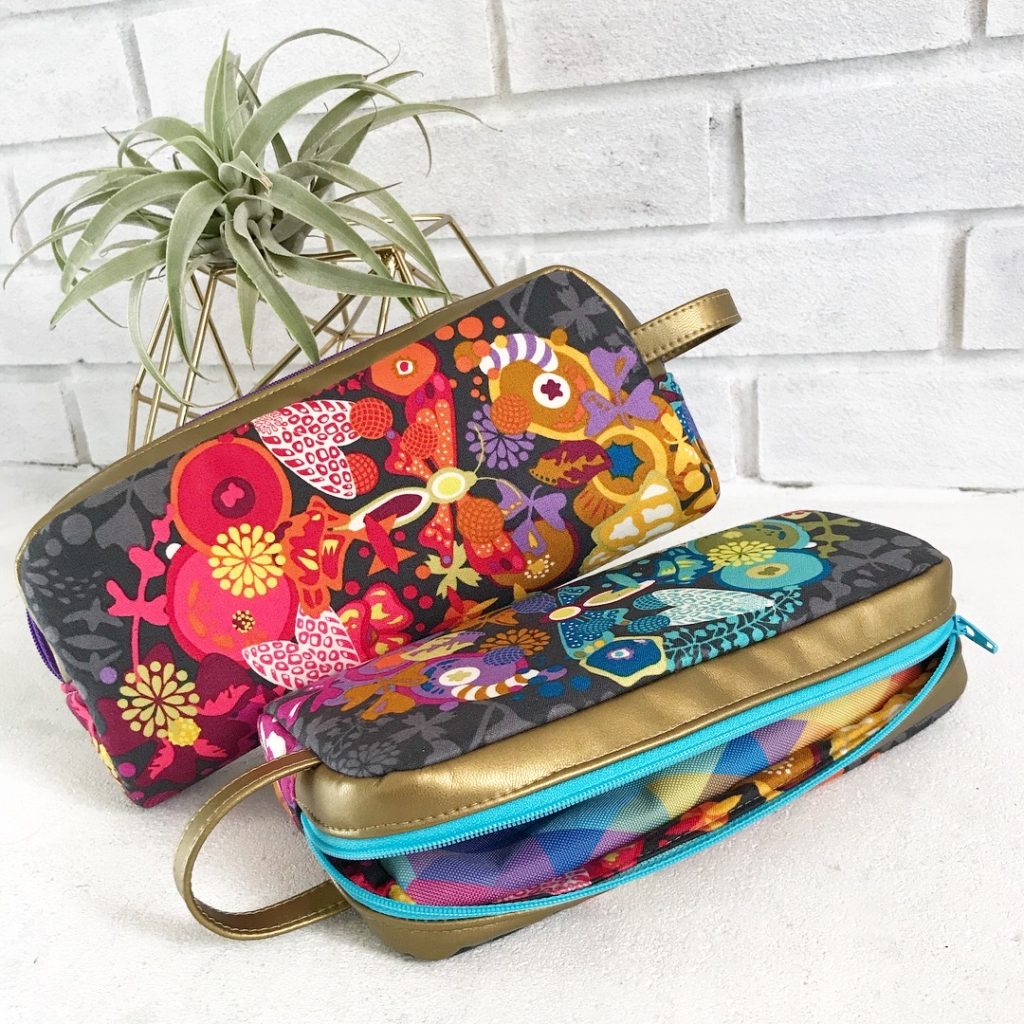
Right before Halloween, Sew Sweetness released a whole collection of 12 small accessory pouches and bags called the Minikins.  These were all designed to be quick sews which use mostly fat quarters.  There are many bags patterns out there which can take several hours and even days to complete.  Sometimes you just need to be able to complete a project in one sitting to feel accomplished and these definitely do just that.

The real bonus is that this pattern collection also comes with 12 step-by-step videos!  How amazing is that?!?  These are great if you are a novice or even like me, who may need help around a few steps.  It’s great to watch them just to pick up some of Sara’s tricks.

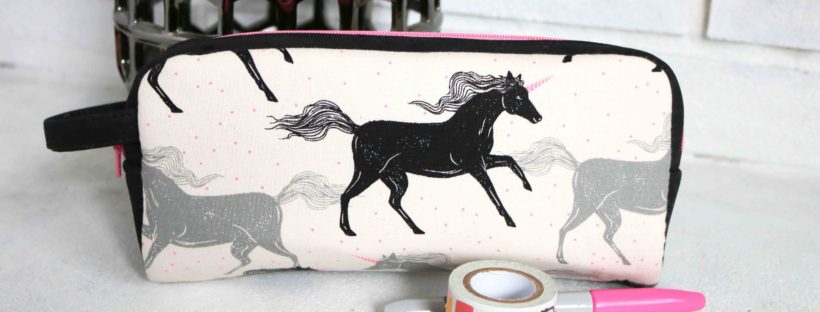
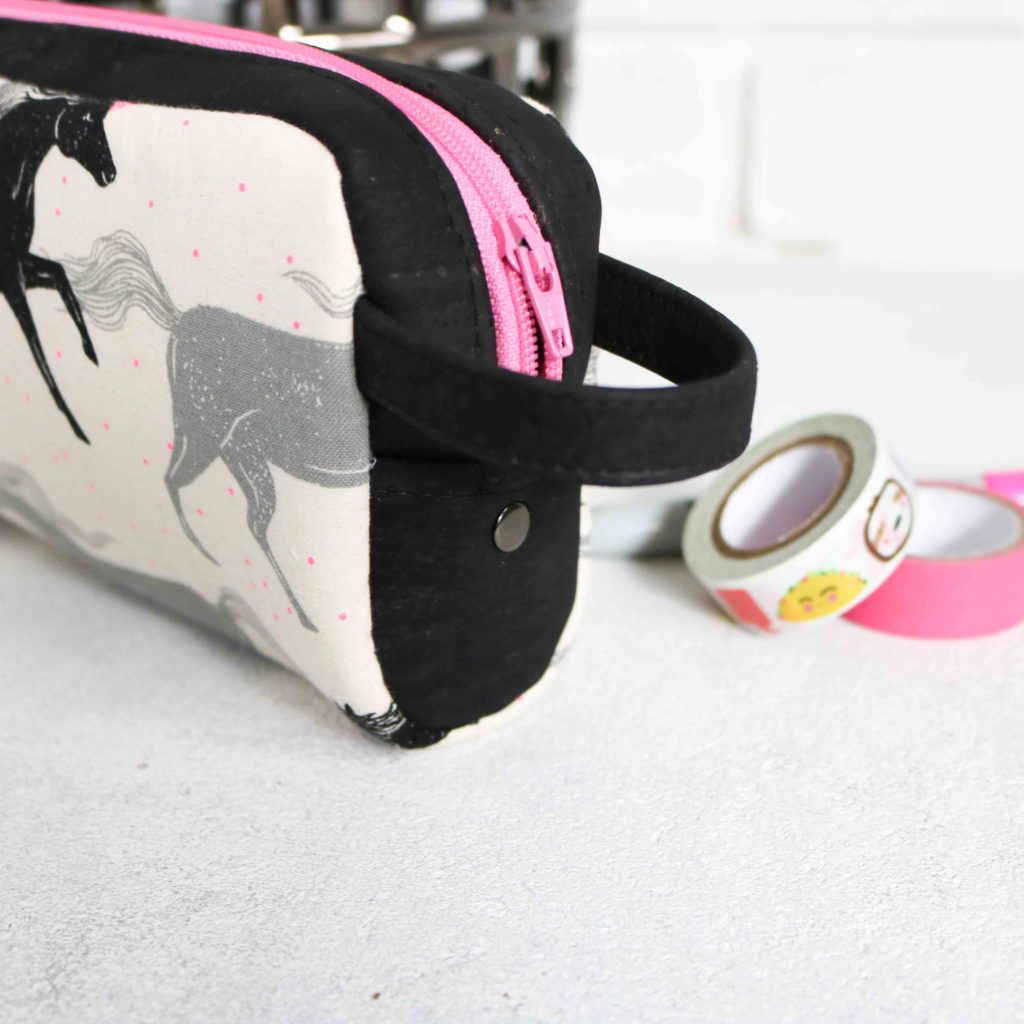
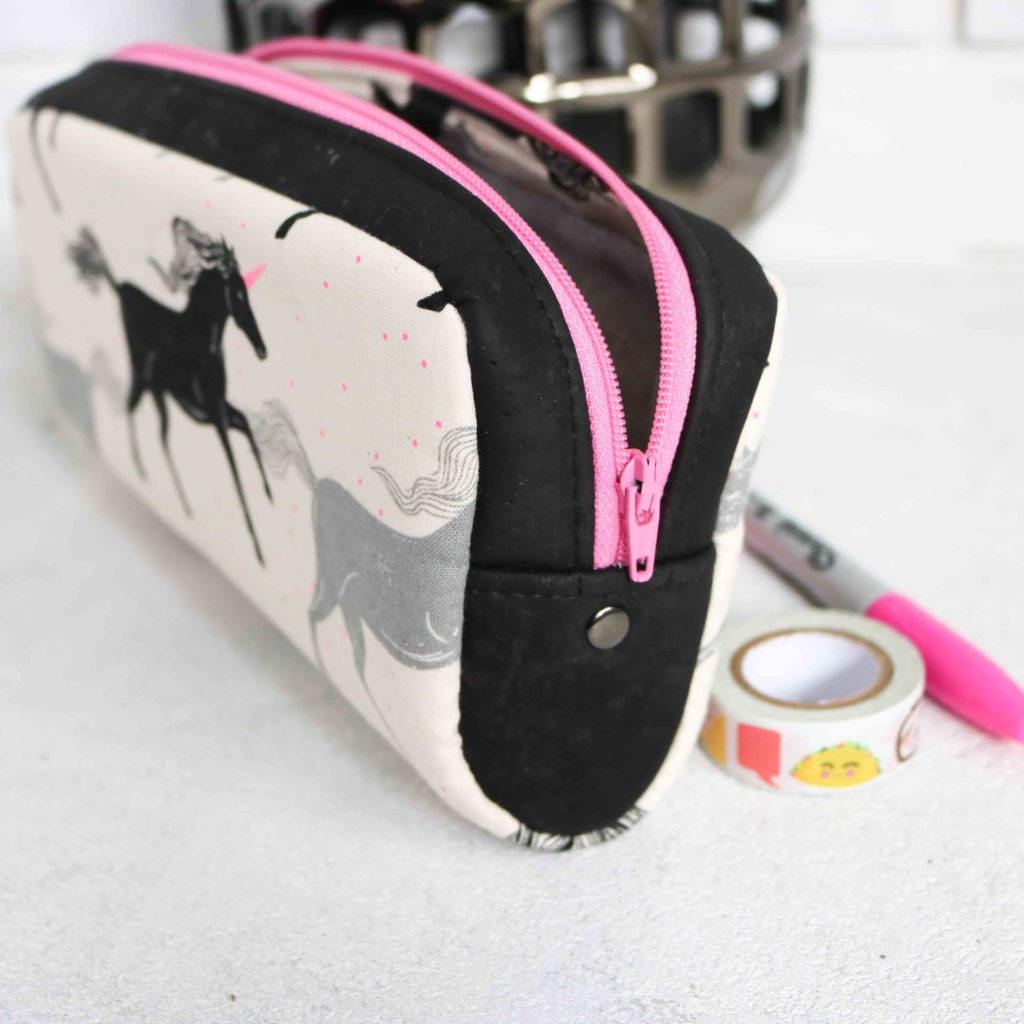
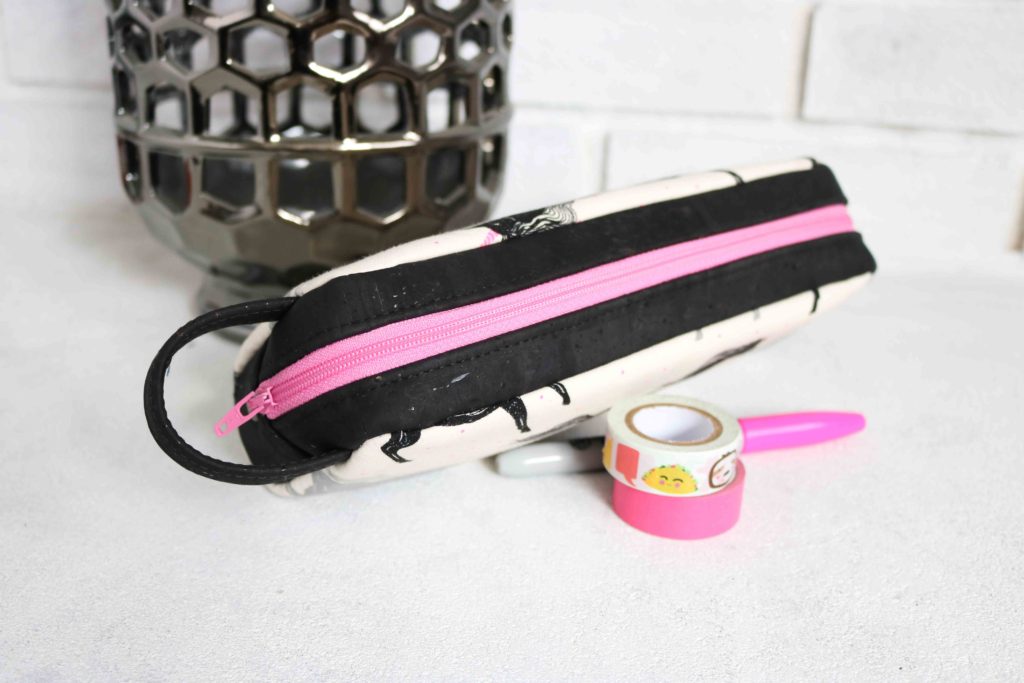
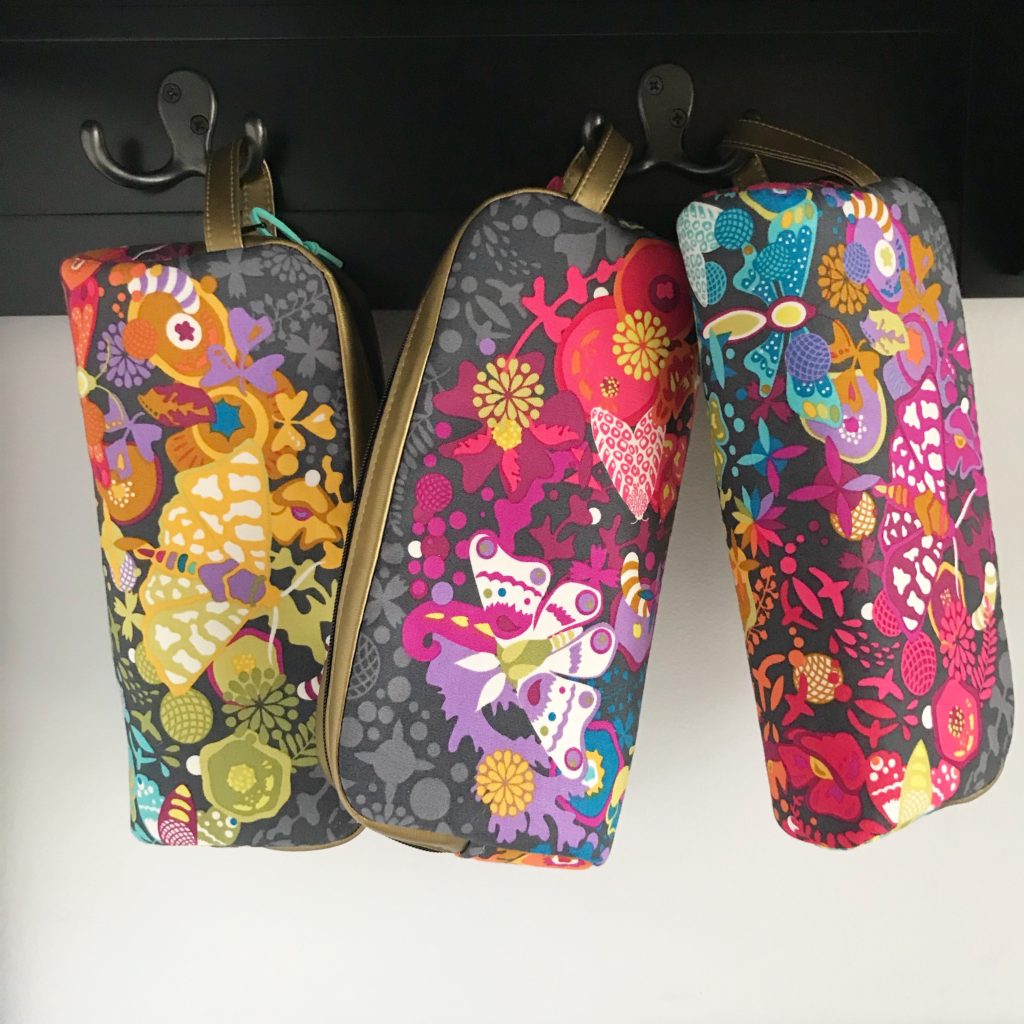
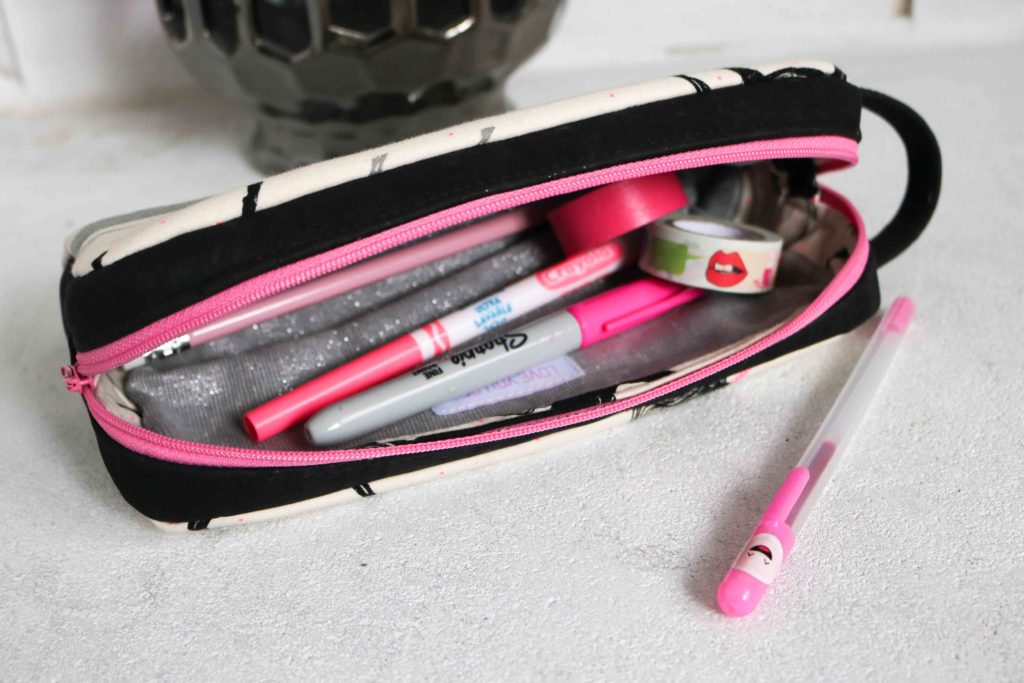
It was so hard to pick which Minikin I would make first.   But since I was heading into heavy craft market mode, I wanted this project to be THE quickest.  So, I selected the Sidewinder because of the curved-no seam-bottom.   This looked perfect for someone short on time and you just need non-directional fabric.  (For these unicorns, I did piece together the exterior because of the direction.)

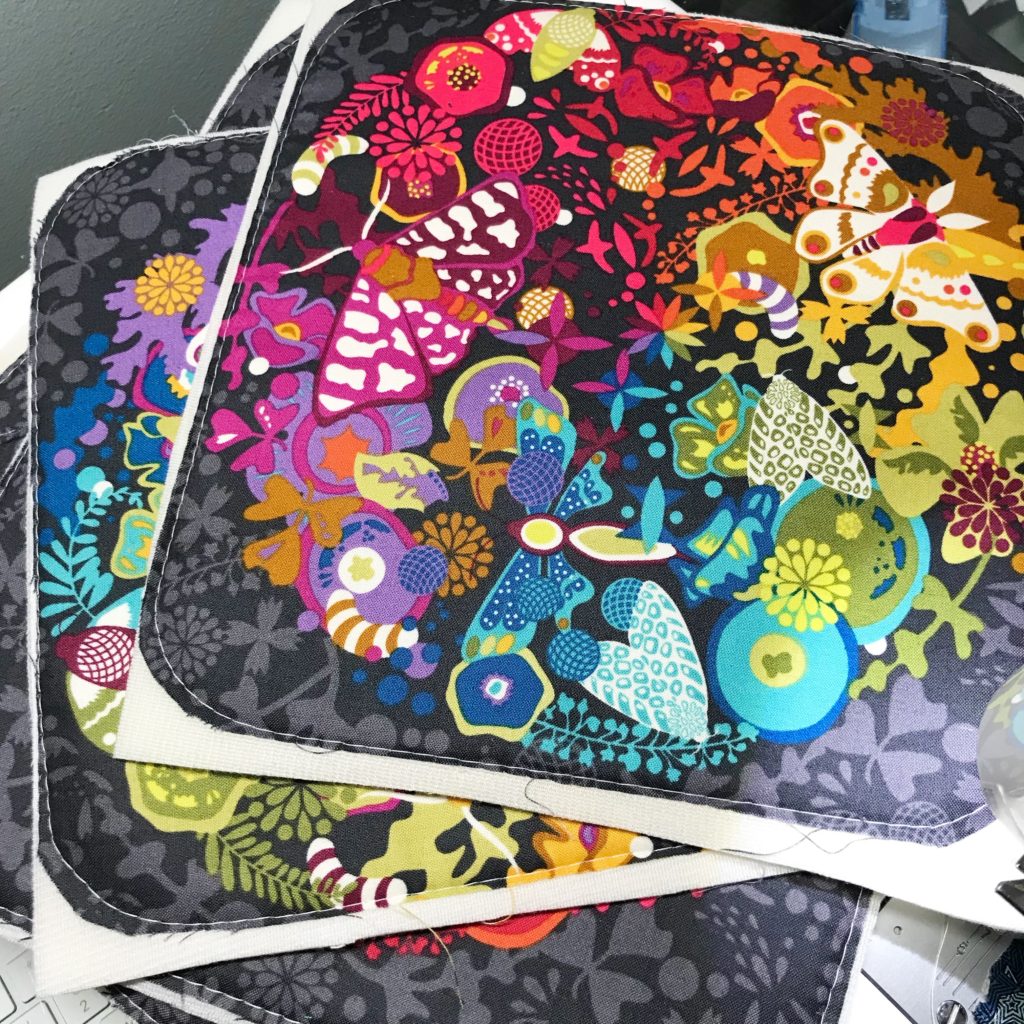
For all of my Sidewinders, I used the recommended Annie’s Soft and Stable, but also interfaced all the quilt cotton (exterior and interior with Pellon SF101 for added structure.)  The Pellon SF101 on the exterior fabric helps prevent extra stretching and puckering when basting with the Soft and Stable.

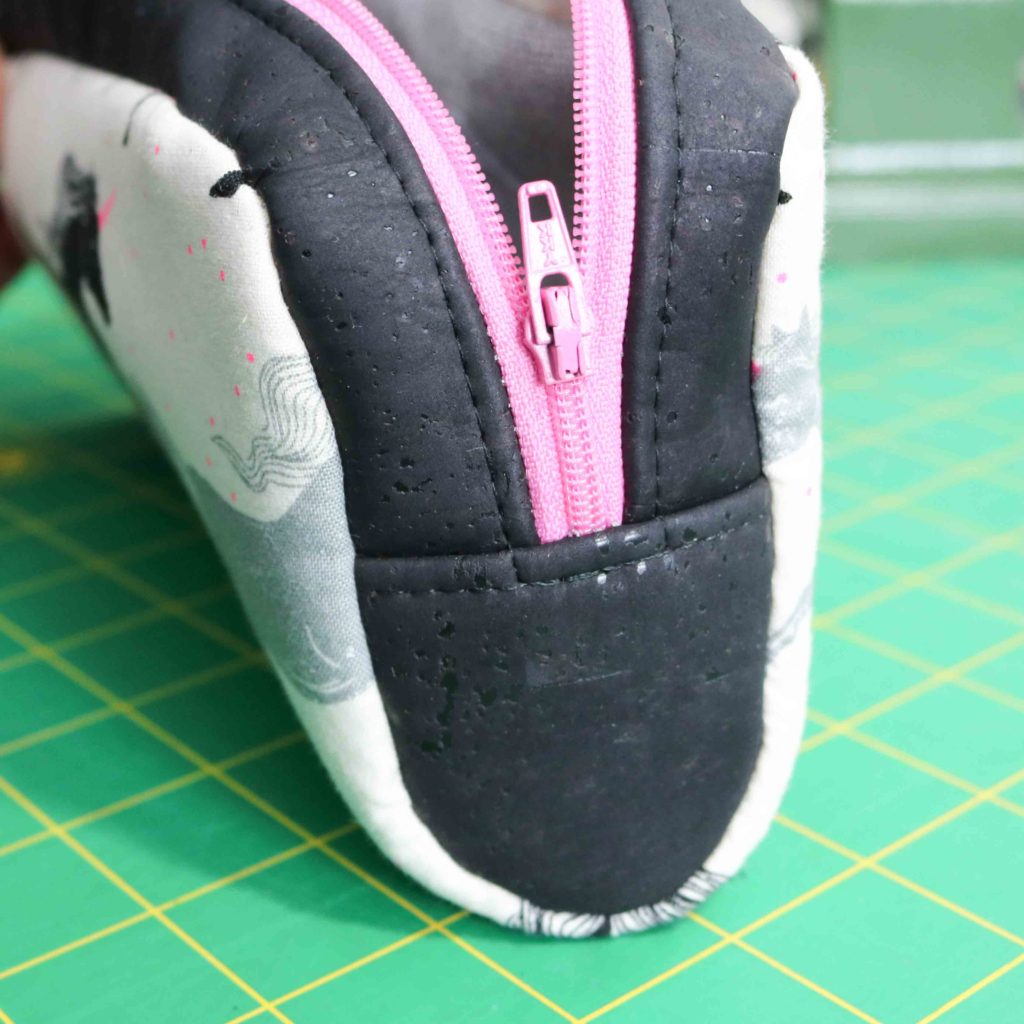
For all of the gussets, I used either cork or faux leather, all found in the Sew Sweetness shop.  It’s nice to find so many substrates all in one place.  (Gotta love that flat-rate shipping too!)  It helps amplify the bag design and really make them look professional with cork or faux leather.  The corners get a little tricky, but you can muscle through it and use Sara’s technique in her video.

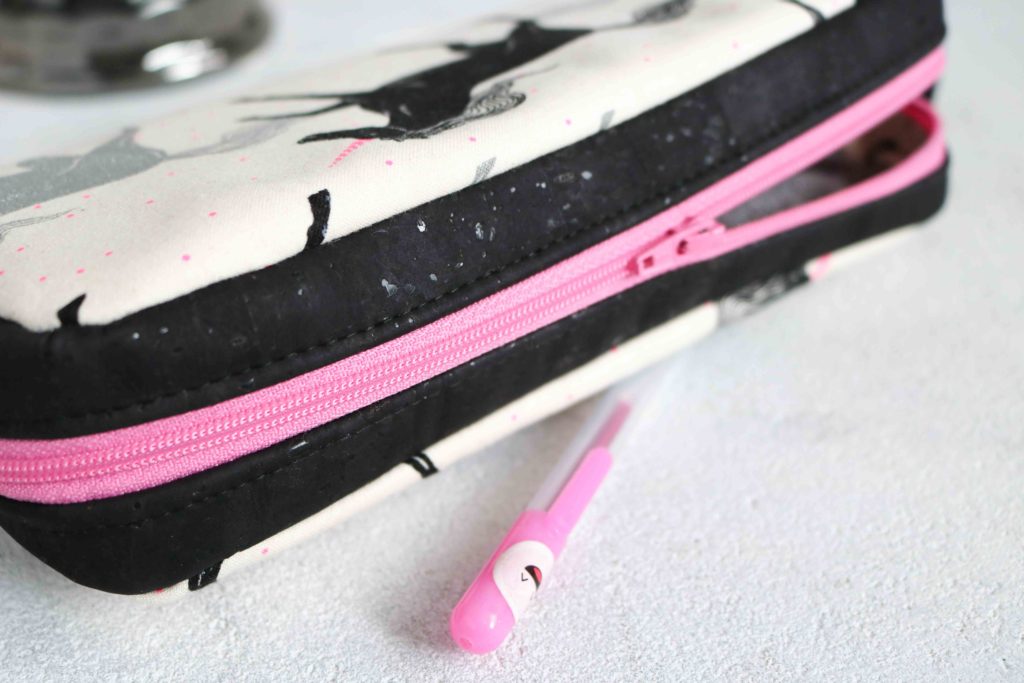
This pattern and some of the other Minikins make use of a drop-in lining.  This is when the lining and bag exterior are constructed separately and then joined together (usually through top-stitching around the zipper.)  Even with all the bags as I have made….I’m terrible at attaching  drop-in linings!  I can’t get my seams to match up so my stitching consistently catches all of the lining…grrr…  I tried pins and even glue basting the linings.  But when I have to maneuver around end of the zippers, something always manages to shift.  I’ve also spent an absurd amount of time trying to hand-sew in the linings…and this girl just doesn’t have time for that!  So, that’s why I devised my own lining hack.

{Edited to reference the step #’s per Sidewinder instructions.}

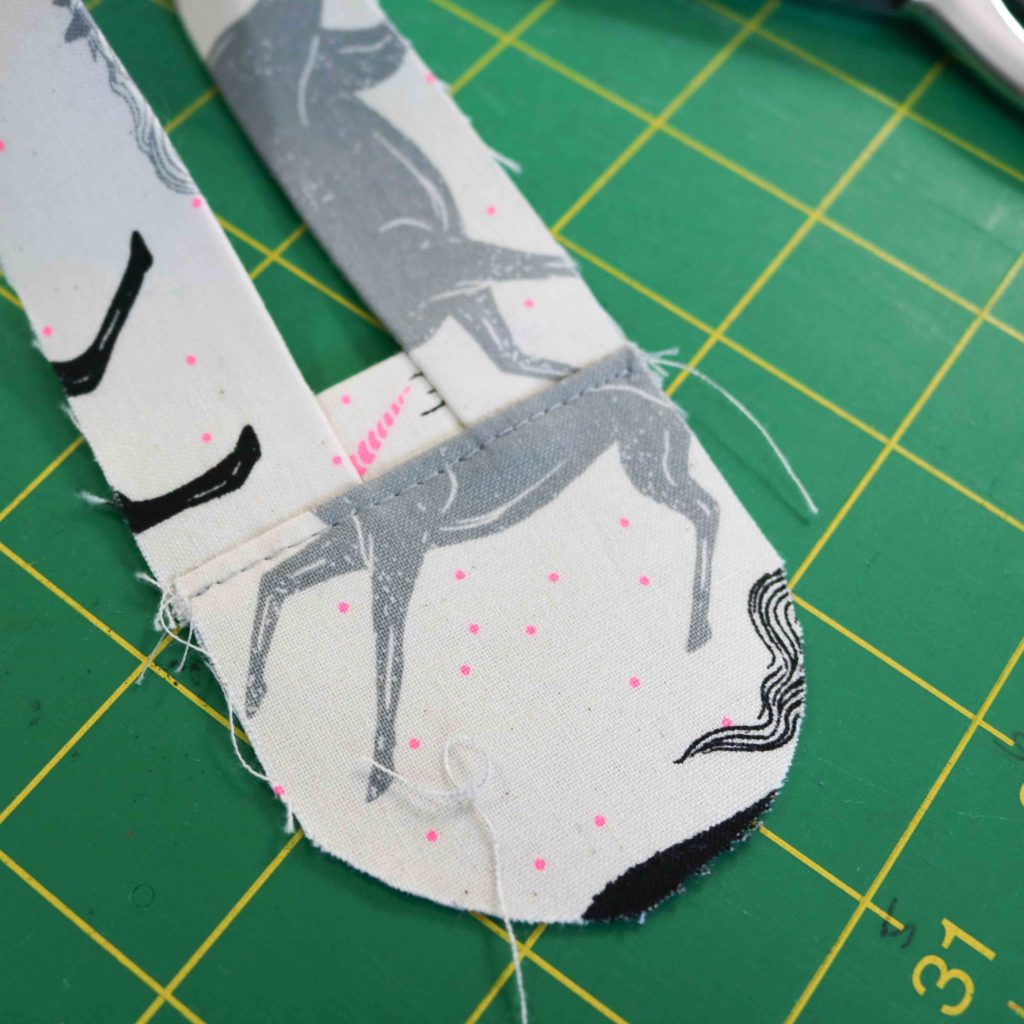
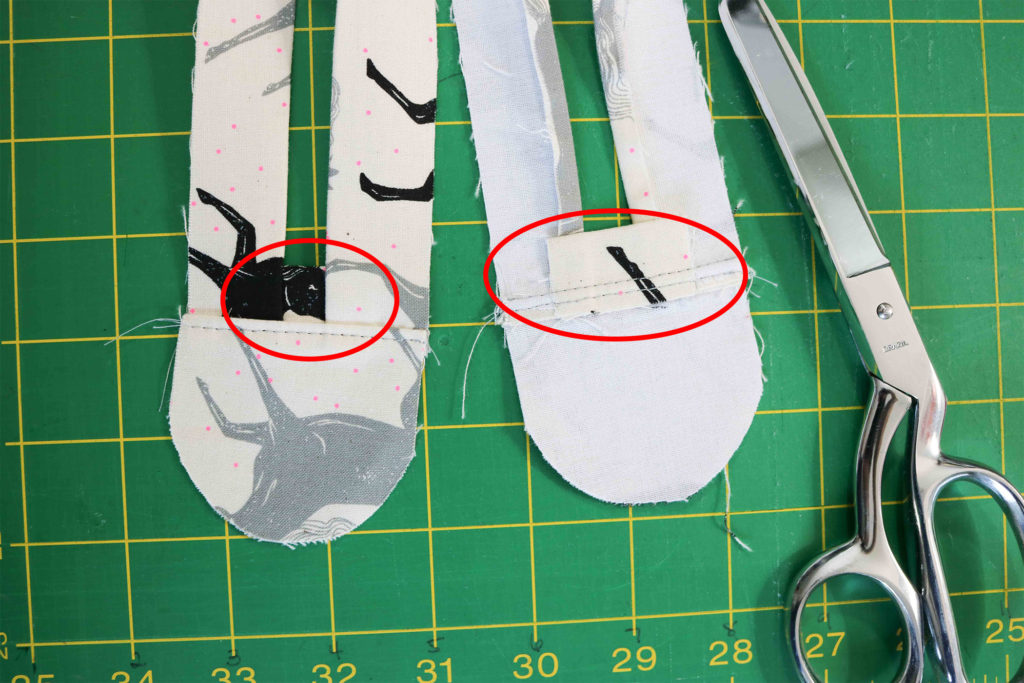
In step #5, skip the top-stitching.  Complete step #7 per instructions, stopping before you top-stitch the Lining Side Panel down.  With left over scraps, I cut approximately (2) 3″x1.5″ rectangles and folded each in half lengthwise.  Each rectangle was centered and placed behind the zipper openings as shown in the red oval. Continue with the instructions to top-stitch the Lining Side Panel, along with these extra rectangles.

This method provides me with about 1/2″ of extra lining for my stitching to catch on either side of the zipper.  The rest of the lining and exterior are completed as instructed.

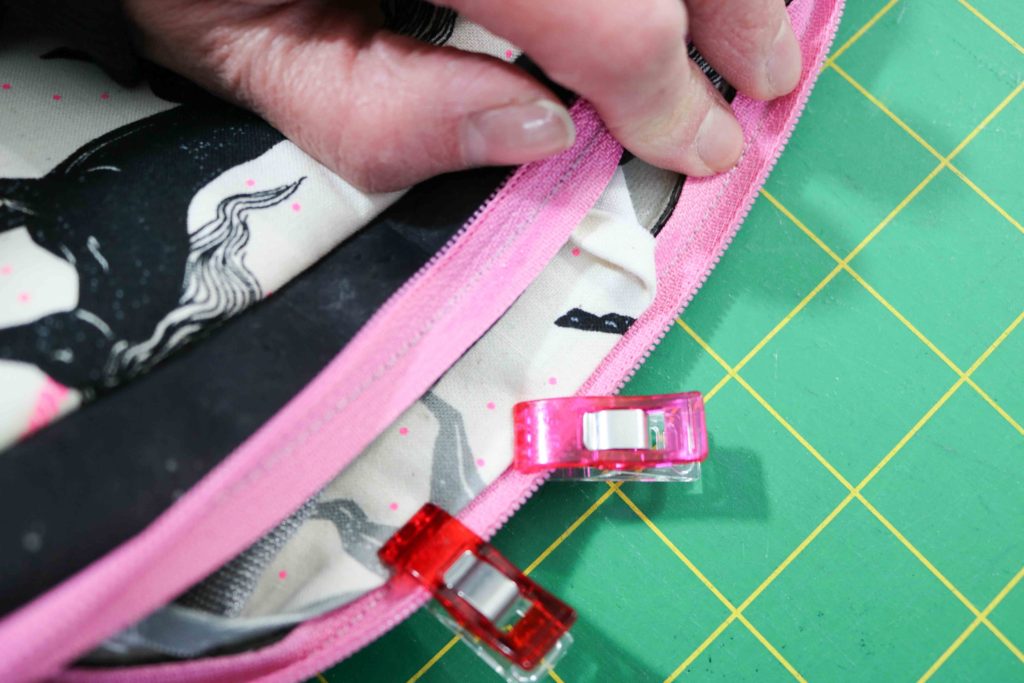
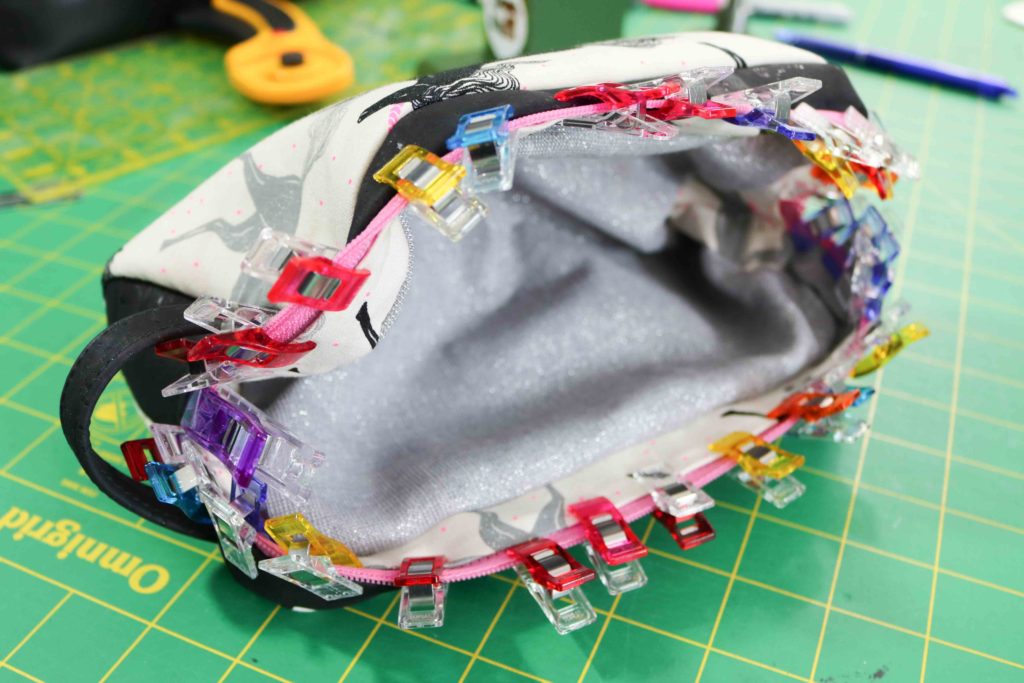
As personal preference, I glue baste the lining to just barely covering my zipper stitches and use clips to hold them into place until the glue dries.

 There is no such thing as too many clips, right?!?

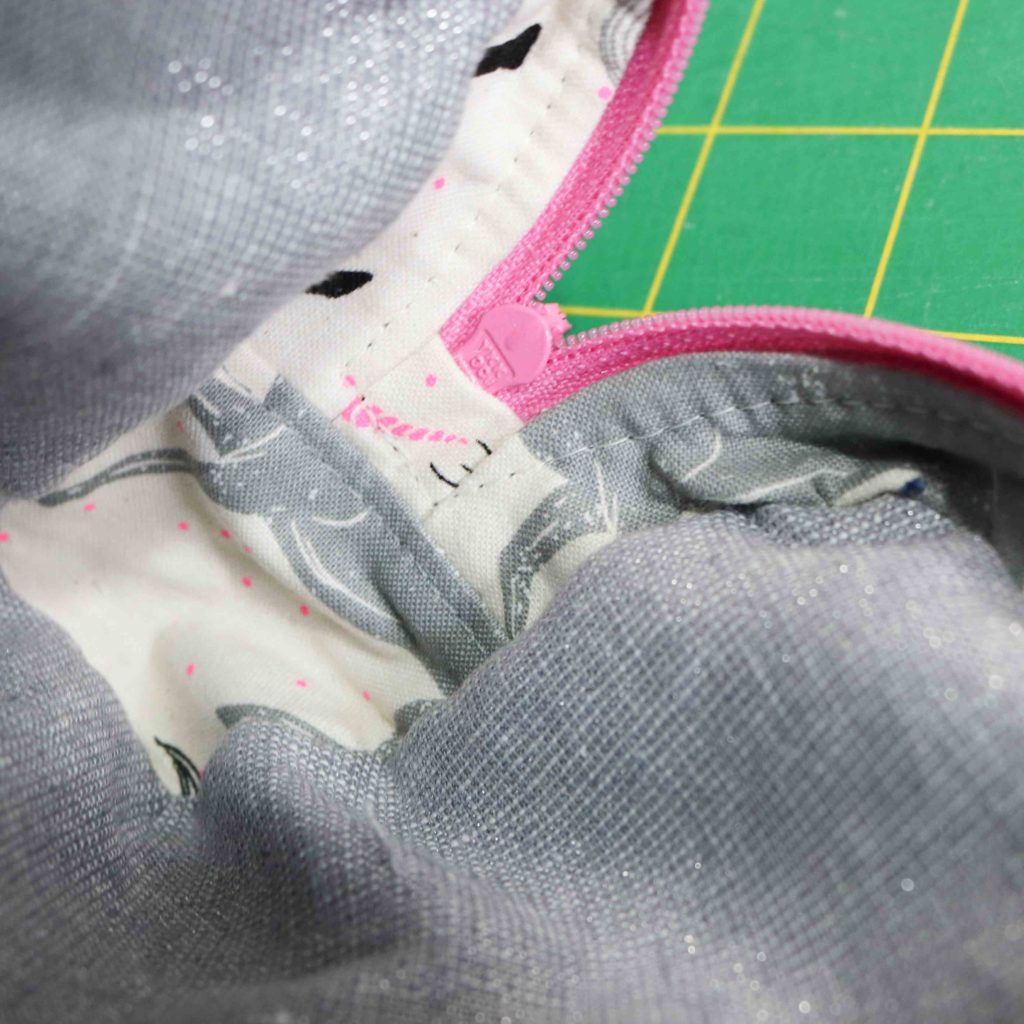
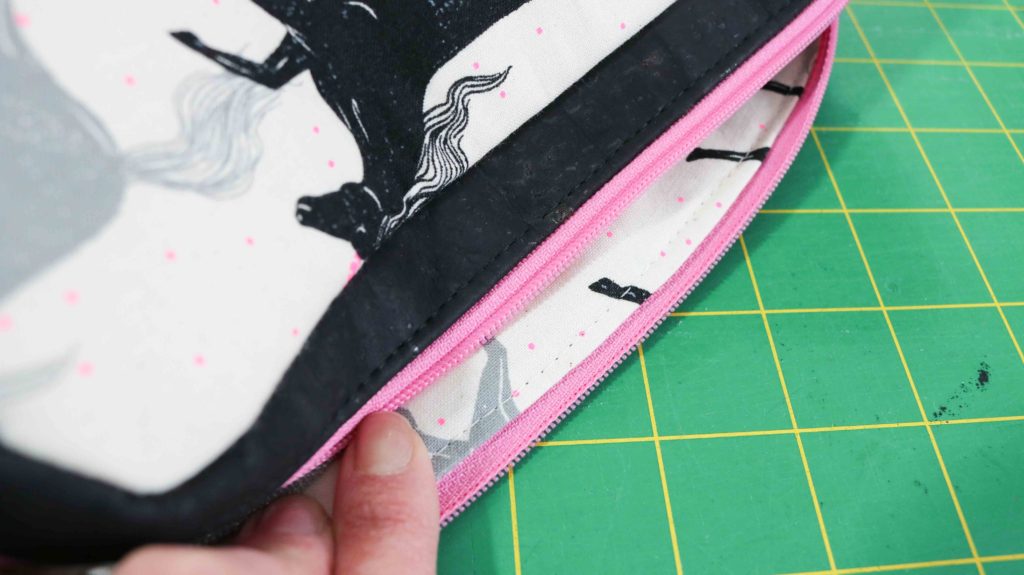
With a larger needle (16,) I top-stitch around the zipper with the exterior panels facing out.  You can see how it catches the lining below.  Using a thread to match the lining helps to hide any wonkiness 😉

I use this method to have one line of stitching versus the method in the pattern.  Personally, I like the cleaner look, but there is no structural difference.  I’ve seen others create two parallel lines of stitching for a nice detail as well.

 You can see at the zipper ends, my sewing isn’t perfect, but I am able to always secure the entire lining no matter how much wrestling I have to do with a bag. The extra lining fabric give me a nice cushion!

I finished the Sidewinder with just a rivet to add a little extra polish to the pouch.  A little hardware goes a long way to make your project look professional.

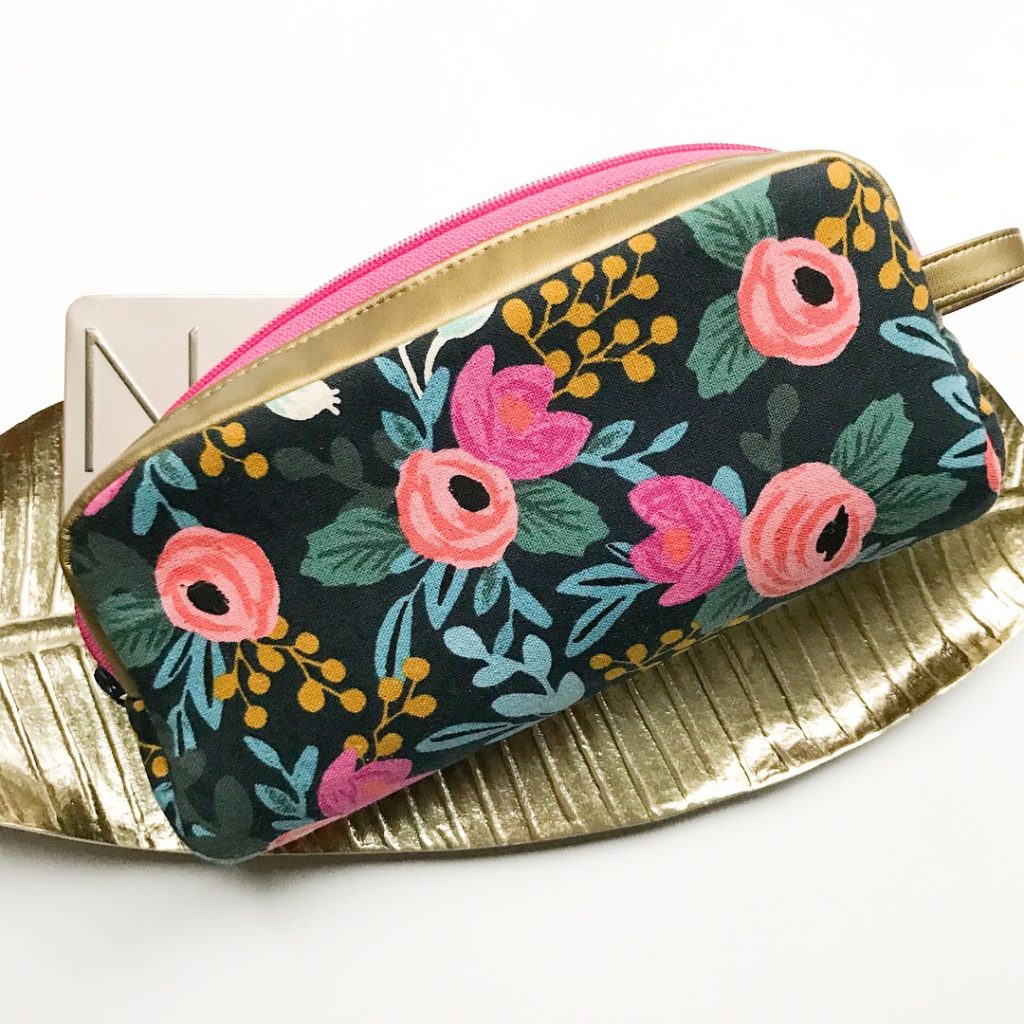
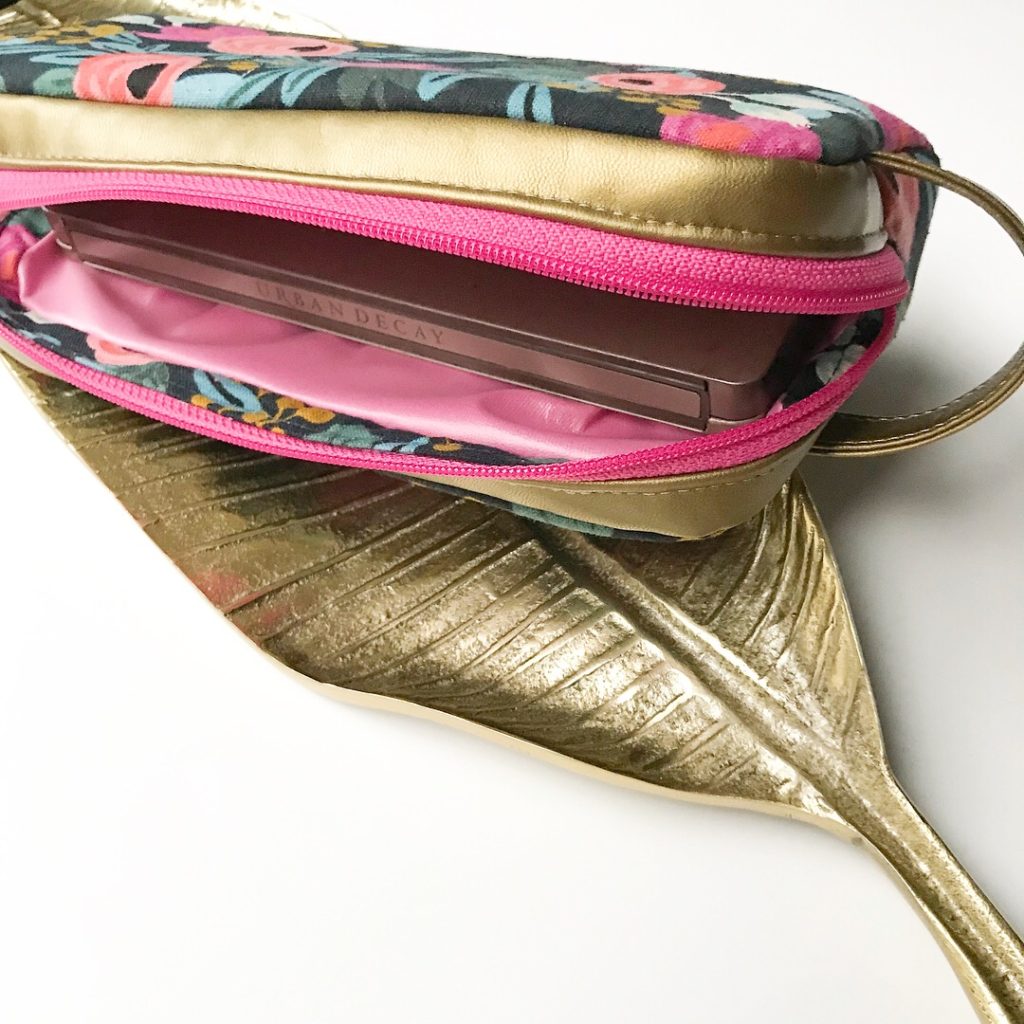
This is great fast sew that has so much visual appeal for being a “pouch.”  It definitely set my products apart from other craft market vendors and I’m SO happy for that!  Check out a few of my different versions below.


Project Details:


Have you tried out the Minikins yet?  I hope you like my drop-in lining hack and let me know how it works for you,  if you decide to try it out!


Keep Sewing Along,

Cristy


Please note this post DOES include affiliate links and I have received the pattern free as part of being a Sew Sweetness bag tester.  I was not required to write a blog post and you know all words are my own.