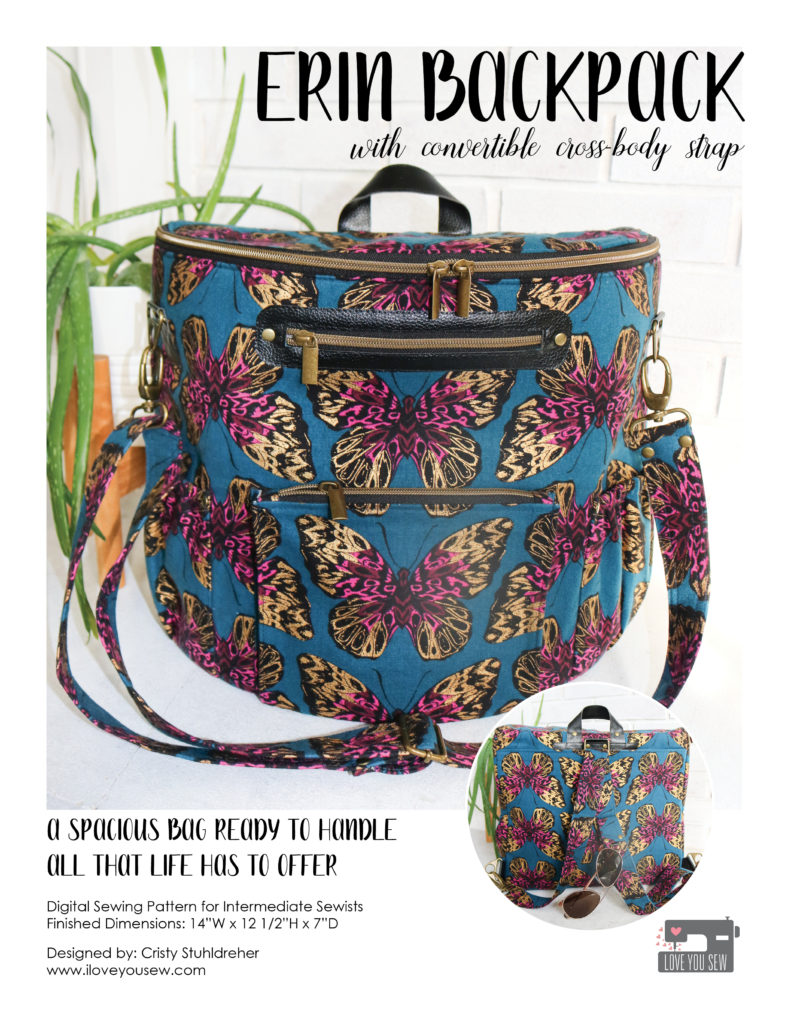
The Erin Backpack sewing pattern is here!!! This new S P A C I O U S bag is ready to be made out of your favorite sturdy fabrics. With a design full of pockets, Erin will be your perfect travel companion — whether for you or for the whole family! Wherever life takes you, the Erin Backpack will be ready! You can grab the digital pattern right here.
It’s been awhile since I’ve released a sewing pattern. ‘Just about a full year has passed by, but my excuse is — of course, 2020. With the pandemic, and social unrest of this country, I was left with very little motivation to design while so many people were suffering. Like many of you, my home life has been flipped upside down and it seems like we have a new normalcy rather than a return to 2019 type of “normal.”
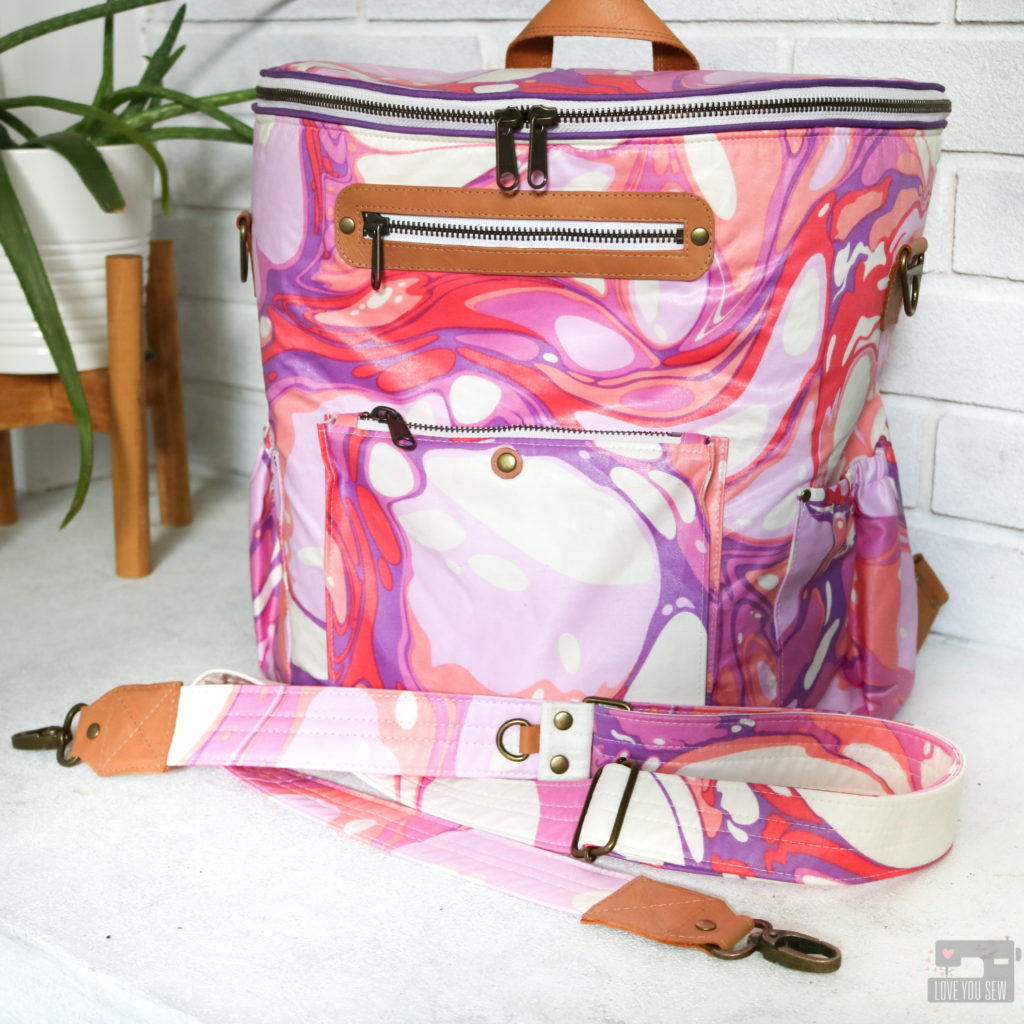
It’s taken me some time, but I got some motivation in the fall to make a prototype of the Erin thanks to the Sew Pink Blog Hop you can read here. Once I made that bag, I was feeling the flow and really wanted to ride the wave of bag-making and designing again!
Inspiration
Original “Erin” Backpack
I made my first Erin (before it even had a name!) for my cousin over a year ago. She was looking for a large backpack for her growing family and wanted something unique and custom…with all the pockets, of course! This was right when 90s fanny packs were reemerging and that half-moon shape was really influencing bag trends. I wanted to test myself and see if I could design a backpack with that half-circle lid while stretching the body into a full-size backpack (since that style was missing out of my line-up.) And that’s how the Erin Backpack was born!
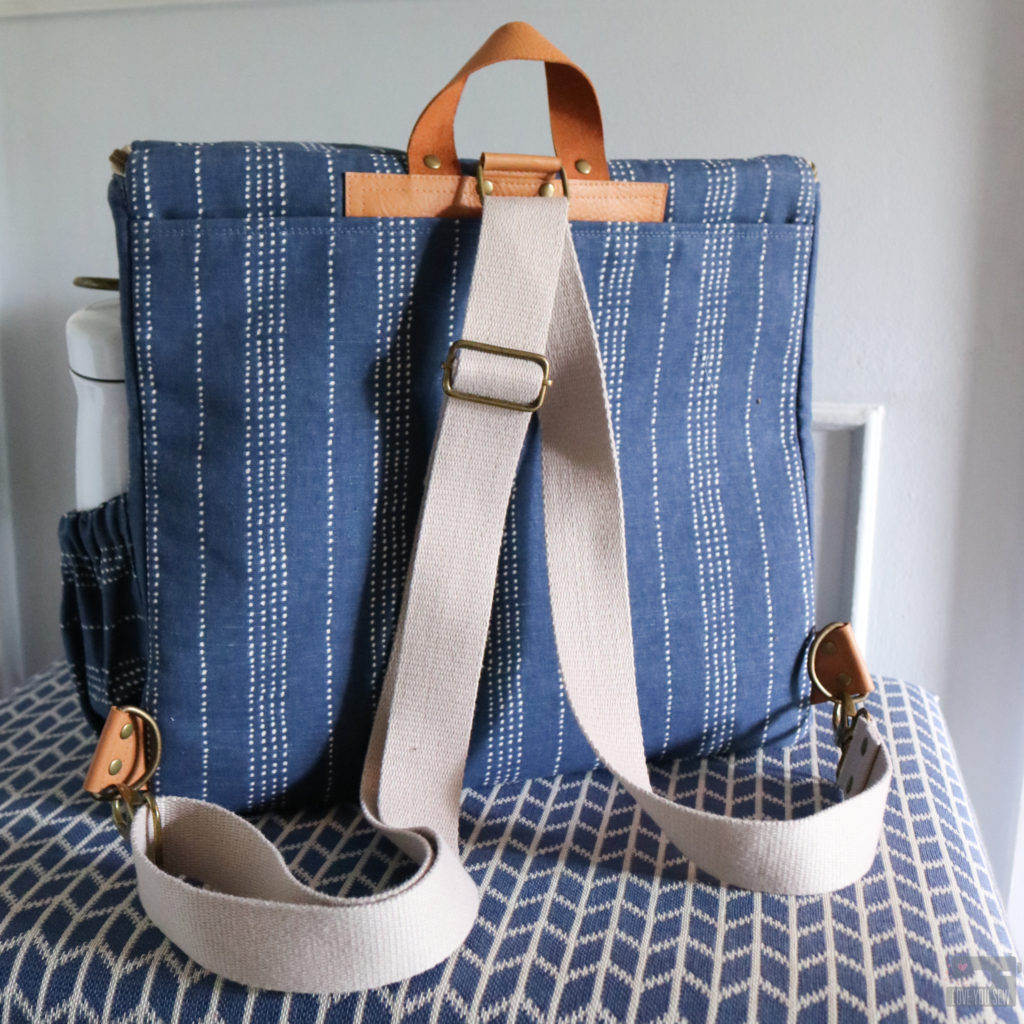
Swapped out the Strap for Heavy Duty Webbing
Namesake
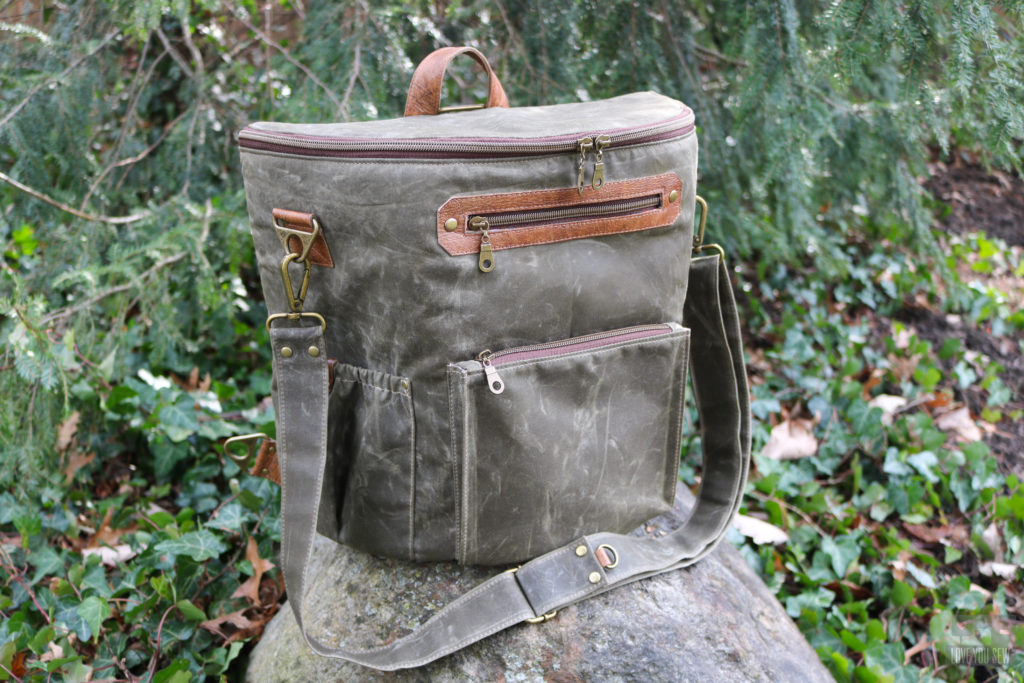
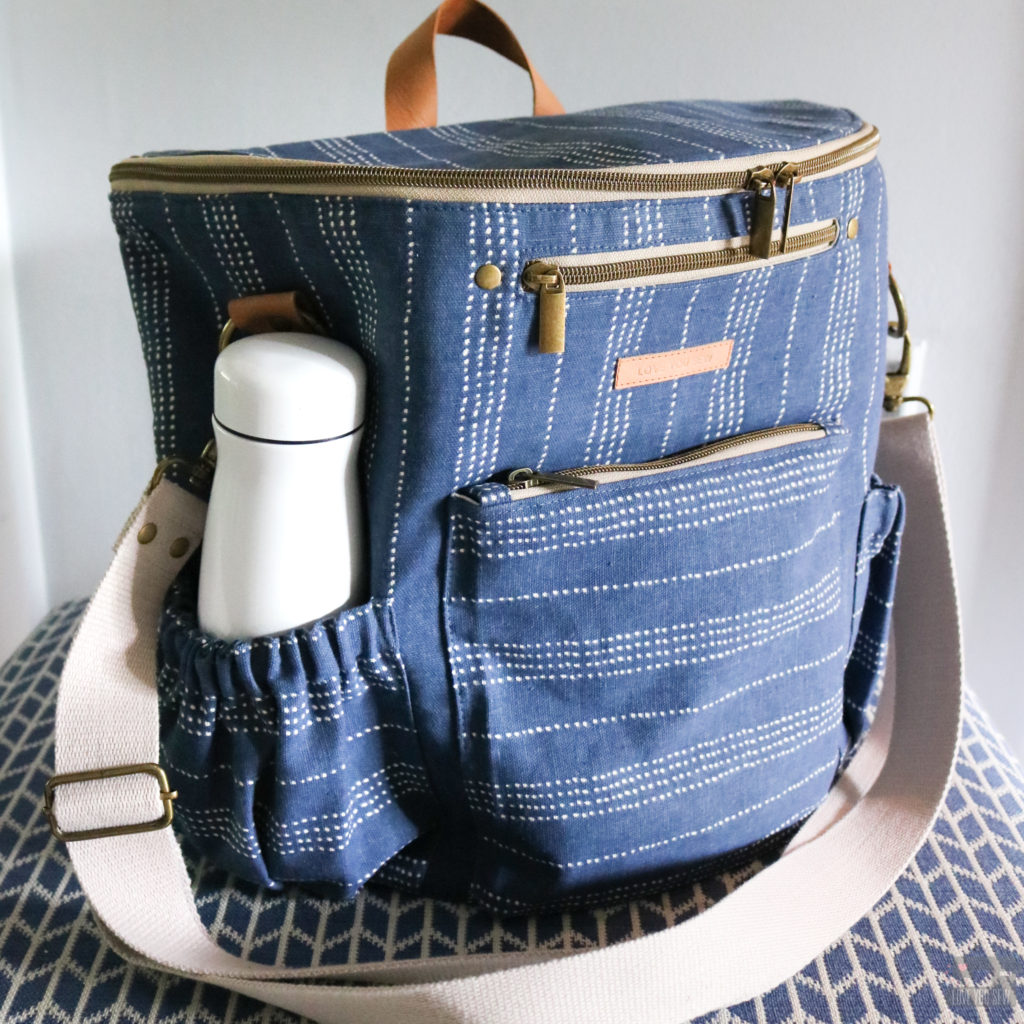
As many of you know I name all of my bags after my nieces. This bag is no exception. It is named after my incredibly sweet niece out in Oregon. One of my first memories was a camping trip to Cape Lookout on the coast. My husband and I were only married a few months and I really didn’t know this side of the family since they lived far away. Well, we had SUCH a great time out west and was welcomed with such open arms. This bag reminds me of our time on the coast — especially the waxed canvas version that definitely wants to be out on an adventurous hike with those HUGE northwest trees!
Sewing Level
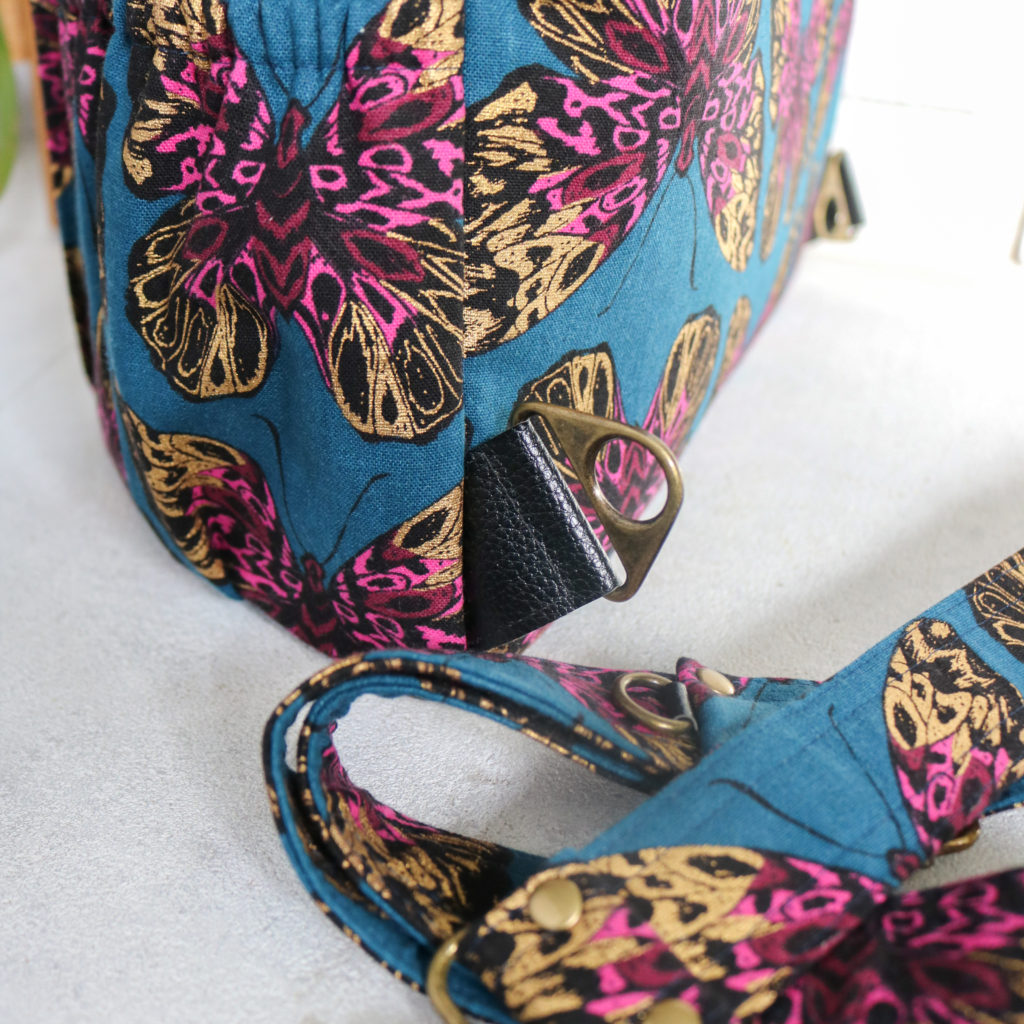
While the Erin Backpack is made for the everyday, the complexity of its construction leaves it for more intermediate sewists. With the half moon shape of the lid and base, the walls are attached with Y-seams. There is nothing to be scared of….Y-seams are just when 3 seams come together and do NOT form a right angle. However, when you throw in thicker bag layers, it can be tricky to wrangle the seams into place.
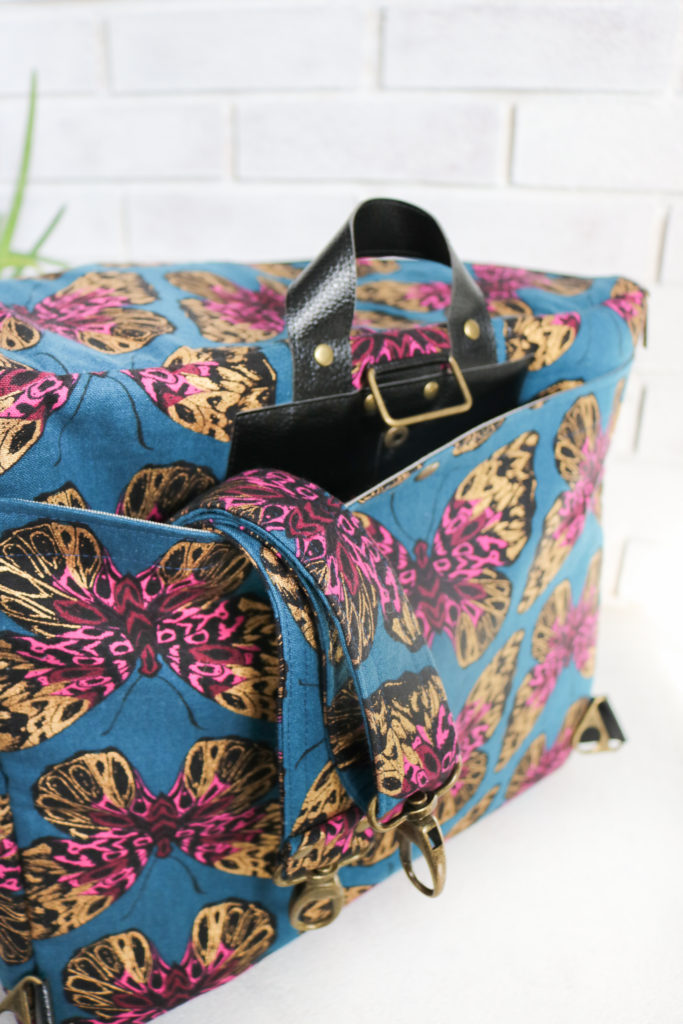
Also, the pattern calls for the use of leather, vinyl, or cork. These can be tricky substrates to use if you are not familiar. You can check out my Tips on Sewing Vinyl here, which have many of the same suggestions I would offer to leather and cork. But my main tips would be to:
- Use a Teflon or Walking foot to stop the presser foot from sticking to the fabric.
- Make sure you have some heavy duty needles, sizes 14-18, handy to handle the layers
- Increase your stitch-length as you work through thicker layers – Hand crank if needed
- Use washi or scotch tape under your Zipper foot to prevent sticking
- If sticking continues, you can also place tissue paper in between the leather and your presser foot
Bag Features
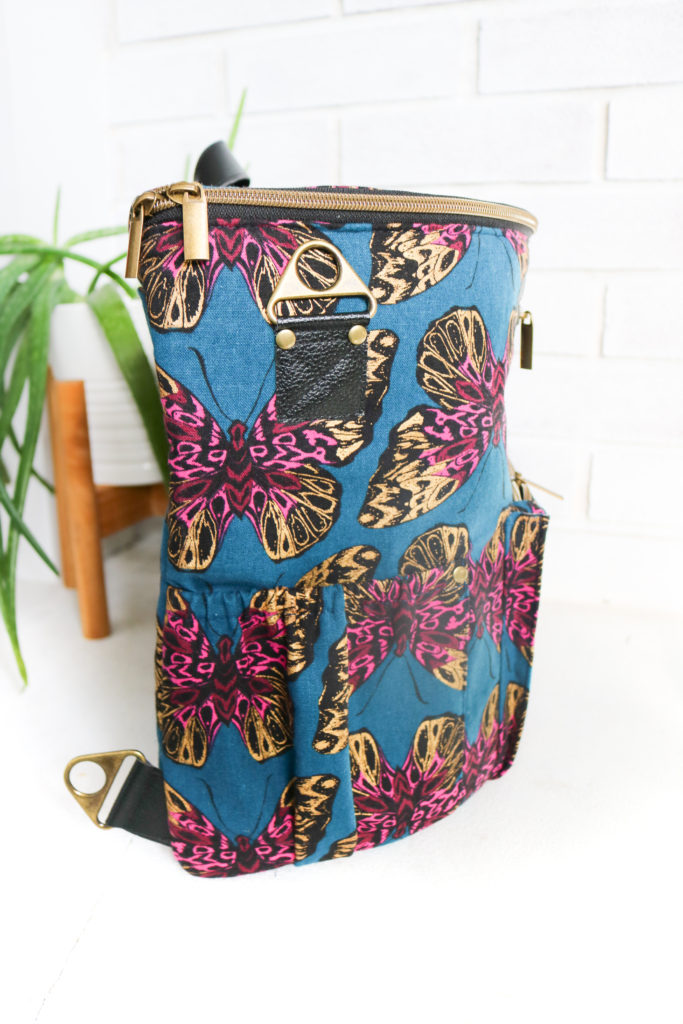
- Body – A distinctive half cylinder shape that melts into the body and is spacious enough to use as overnight travel backpack or even a diaper bag!
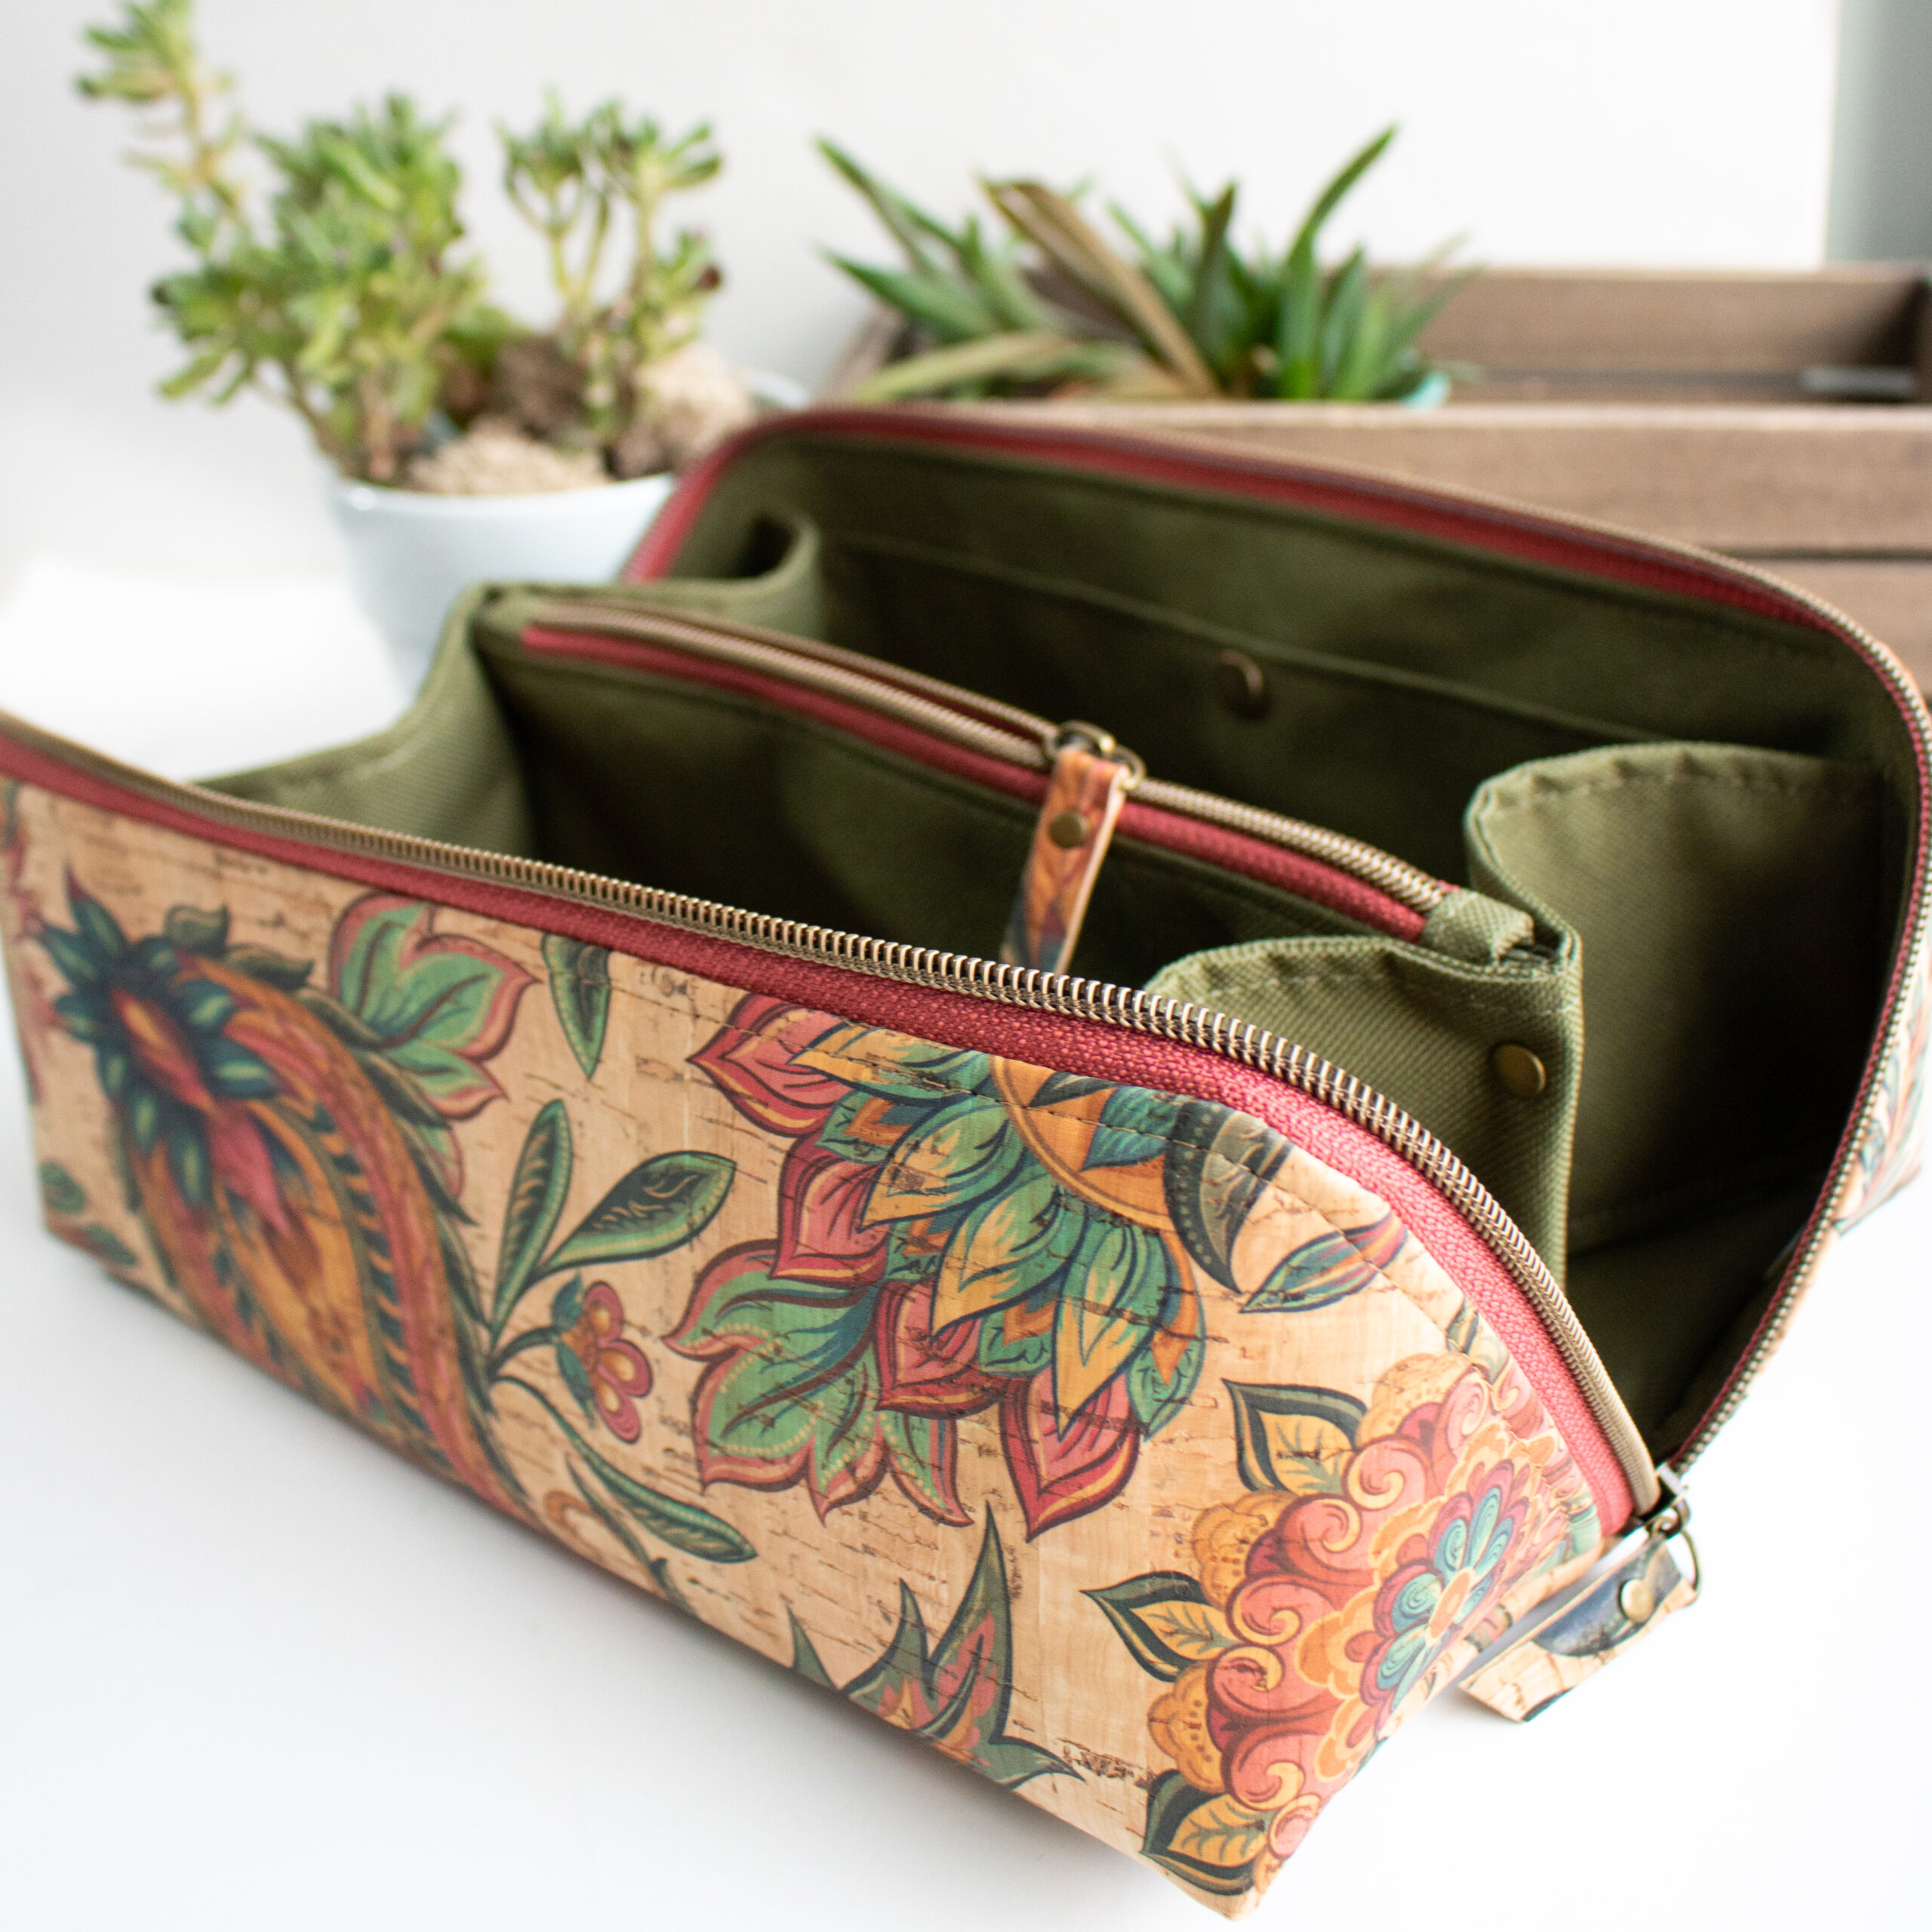
- Zippered Main Compartment – Everything remains safe while accessible with a large opening. The lid can fold back allowing you to see almost everything inside. It’s perfect for staying organized!
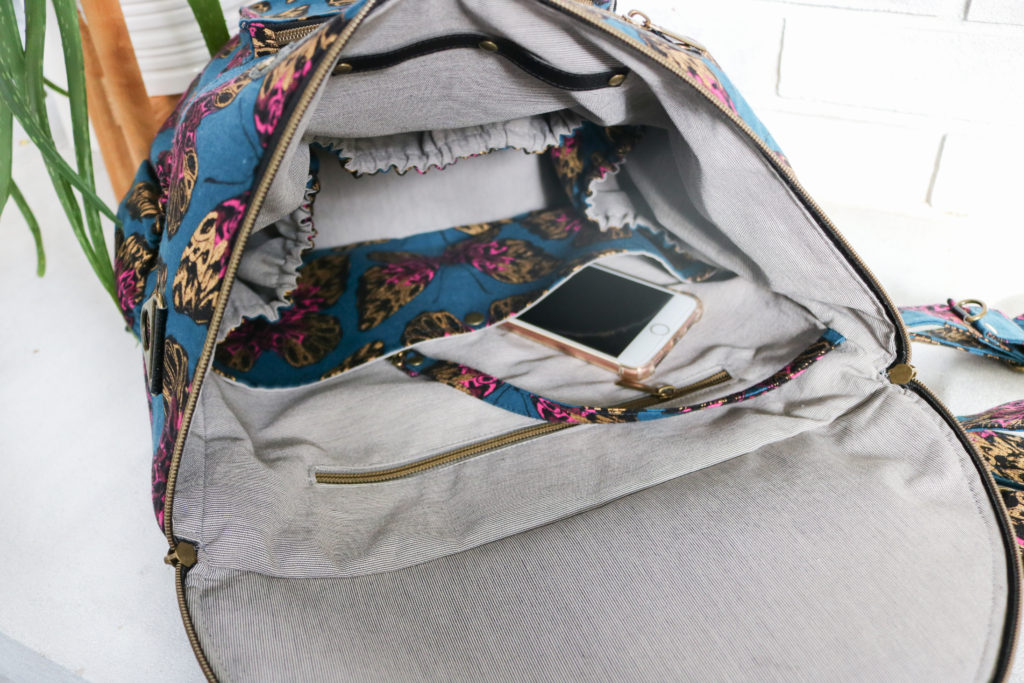
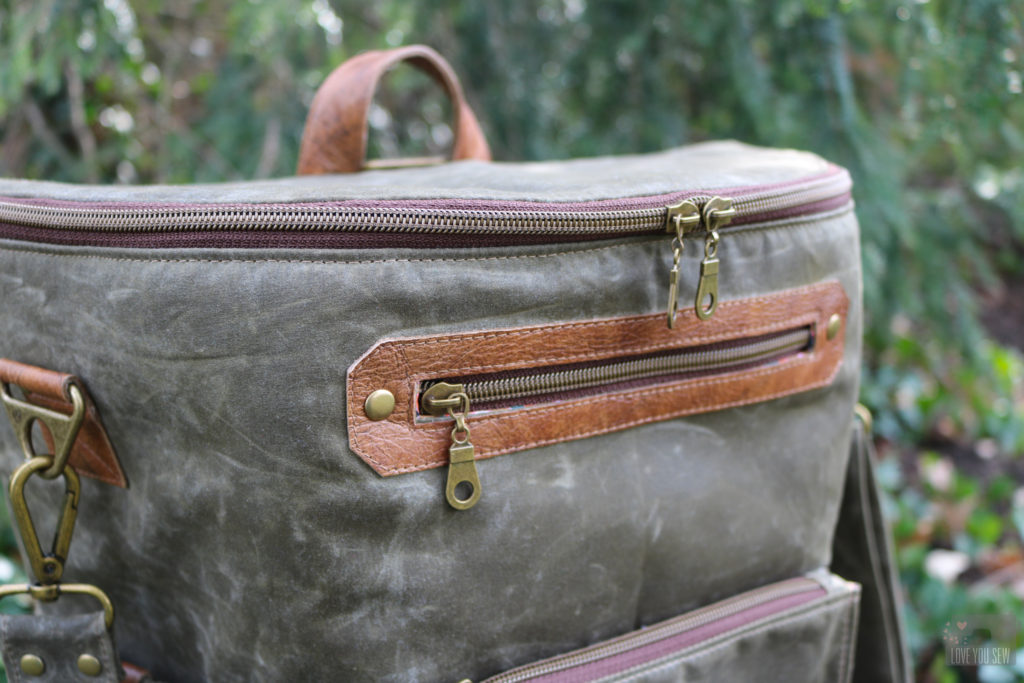
- 10…yes, 10 pockets! – With Zippers, elastic, snap and slip pockets, your bases are covered!
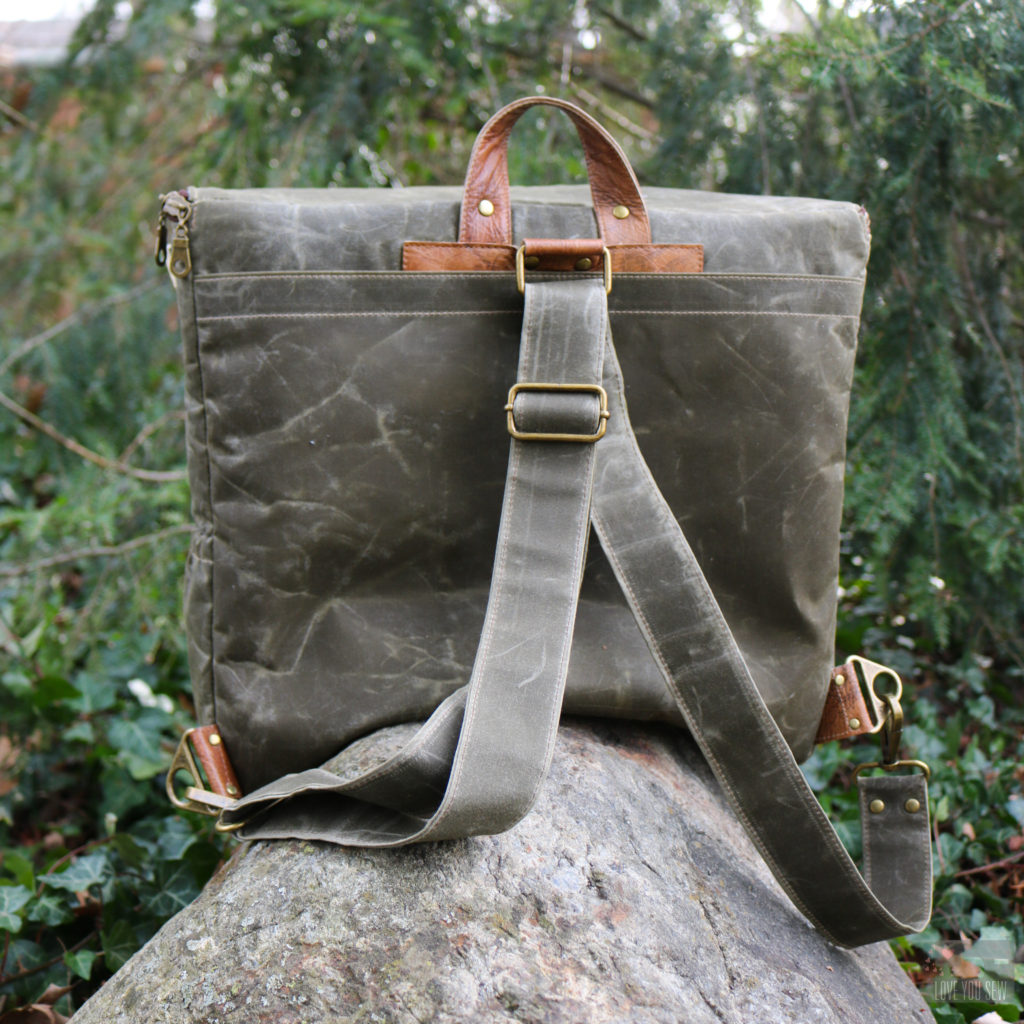
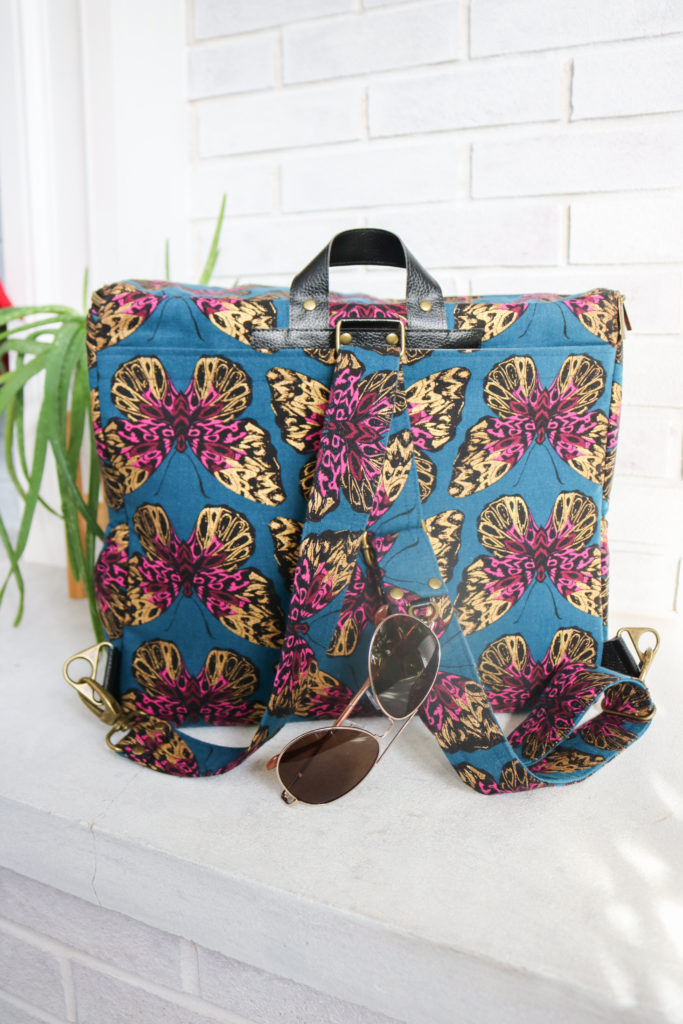
- Converts from a Backpack to a Shoulder Bag – By switching the swivel clasps from the rear to the front and releasing it from the back rectangle ring, you have a new bag!
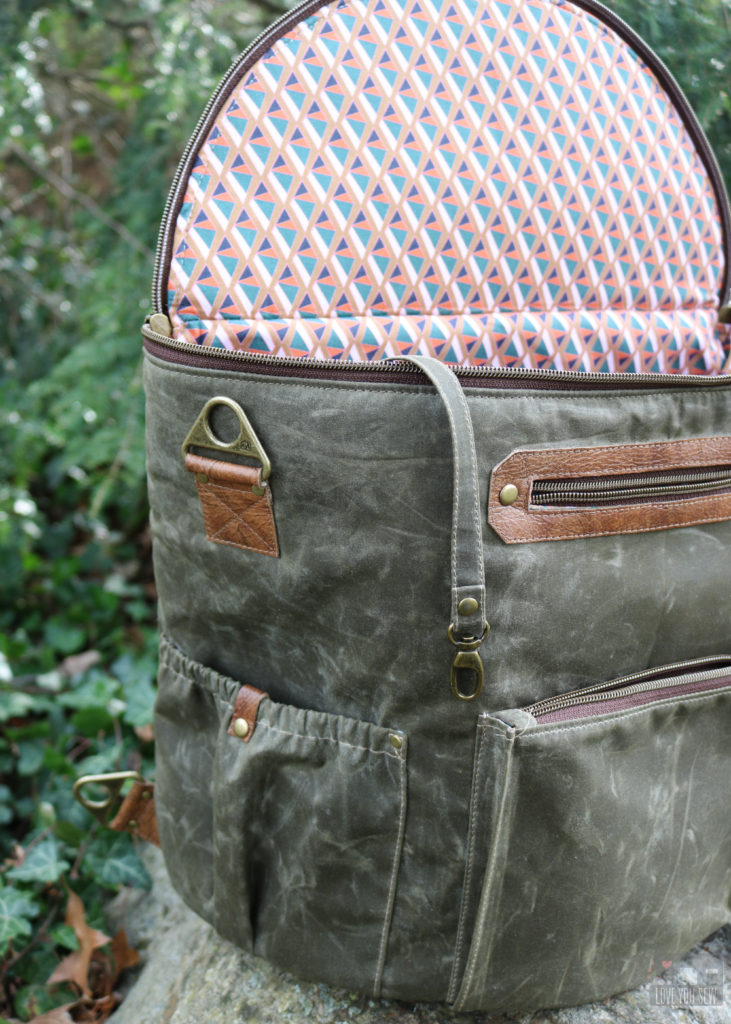
While not a part of the pattern, I added these leather accents to the elastic pockets with the scrap from the zipper plate.
- Key Fob – I always love this feature to find your keys – especially in a very roomy bag!
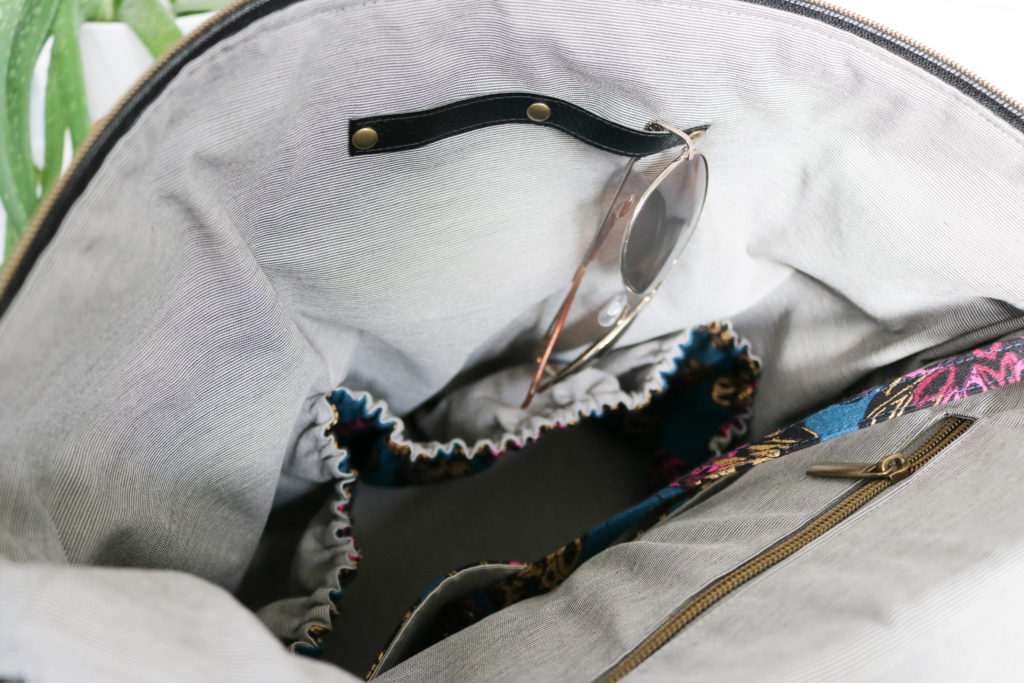
- Accessory Strap – This is another simple feature that can be used to hold sunglasses, a pen or a place to wrap your sanitizer onto. I love the way it visually breaks up the space along the lining as well!
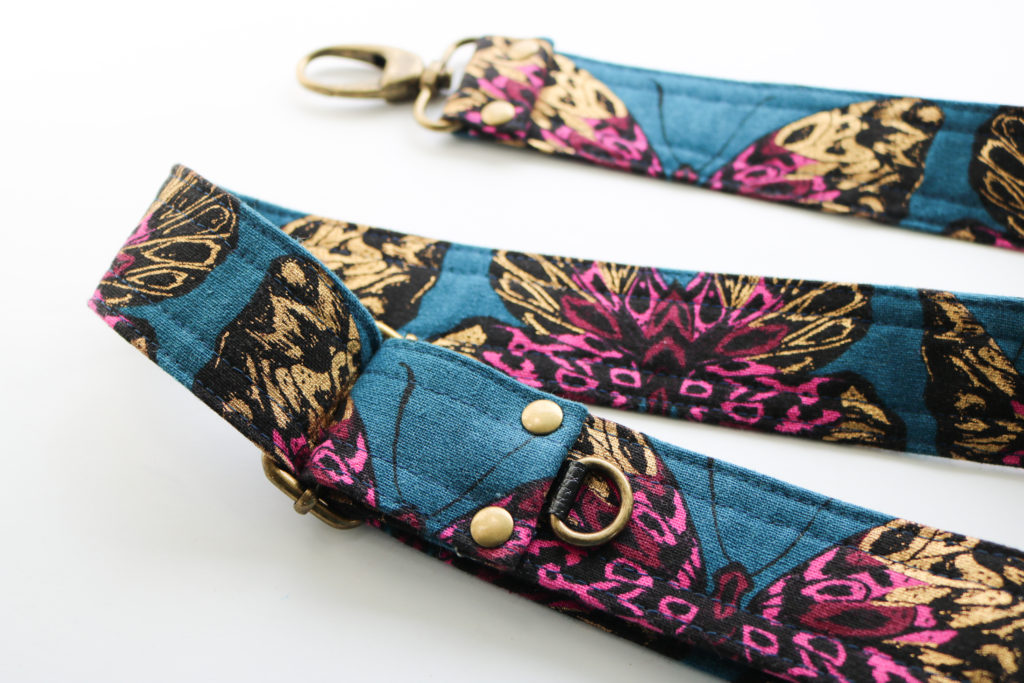
- Adjustable Strap with D-Ring – To be a convertible bag, you need a long adjustable strap. The pattern calls for a 60″ long strap, but does have instructions for piecing a longer one together (if needed.) With the popularity of wireless ear pods, I’ve been seeing this D-Ring feature on all the high-end designer bags. It’s another simple feature to include, but can be so helpful as you are traveling. Check out how to make The Tiny Sophia Bag to hold your ear pod case.
Hardware
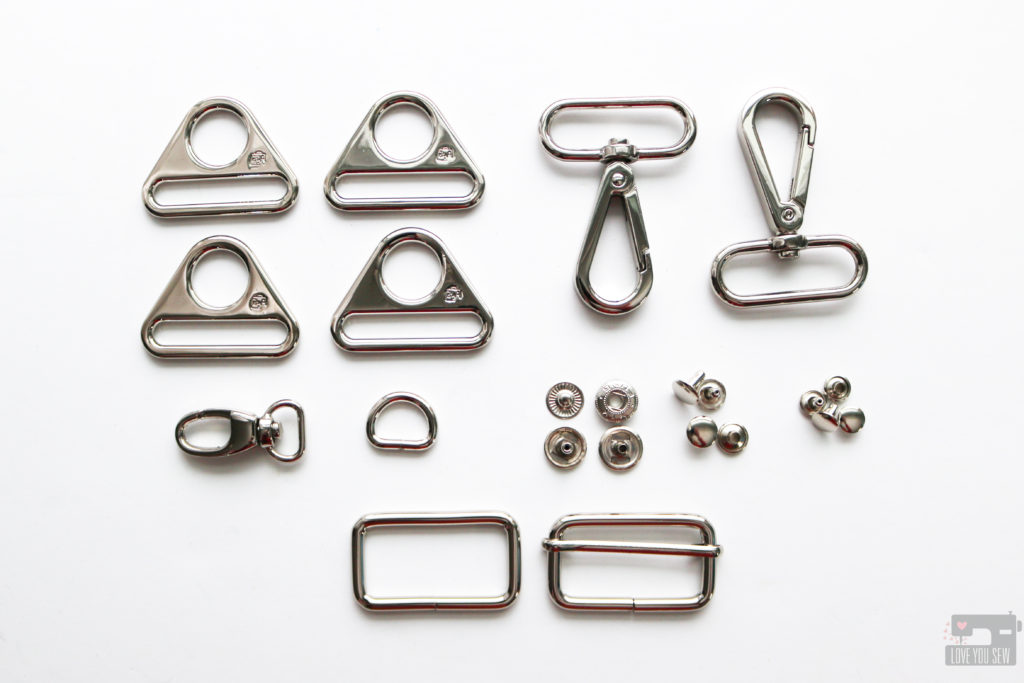
With all of the options in the Erin Backpack, comes quite a bit of Hardware. I’m a big fan of rivets for their professional finish and have added snaps into the mix as well. If you don’t want to source your own, I’ve found high quality options which you can grab a in my shop!
The kit includes:
(4) 1 1/2″ Triangle Rings
(2) 1 1/2″ Swivel Clasps
(1) 1 1/2″ Rectangle Ring
(1) 1 1/2″ Strap Slider
(1) 1/2″ Swivel Clasp
(1) 1/2″ D-Ring
(3) Sets of 12.5 mm Double-Cap Spring Snaps
(5) Sets of Medium Double-Cap Rivets (9mm cap x 8mm post)
(20) Sets of Small Double-Cap Rivets (8mm cap x 6mm post)
The sewing pattern does NOT include instructions for hardware installation or the setting tools.
- Rivets – But you can check out my Rivet Installation by Hand video here and I recommend this rivet setting tool by Tandy (if you want to hand set them.)
- Spring Snaps – You can check Snap installation at the 30 second mark in this Instagram video for help. For the snaps, I recommend this tool which is used in the video. It comes with a few sizes, but 633 would handle the snaps in my hardware kit.
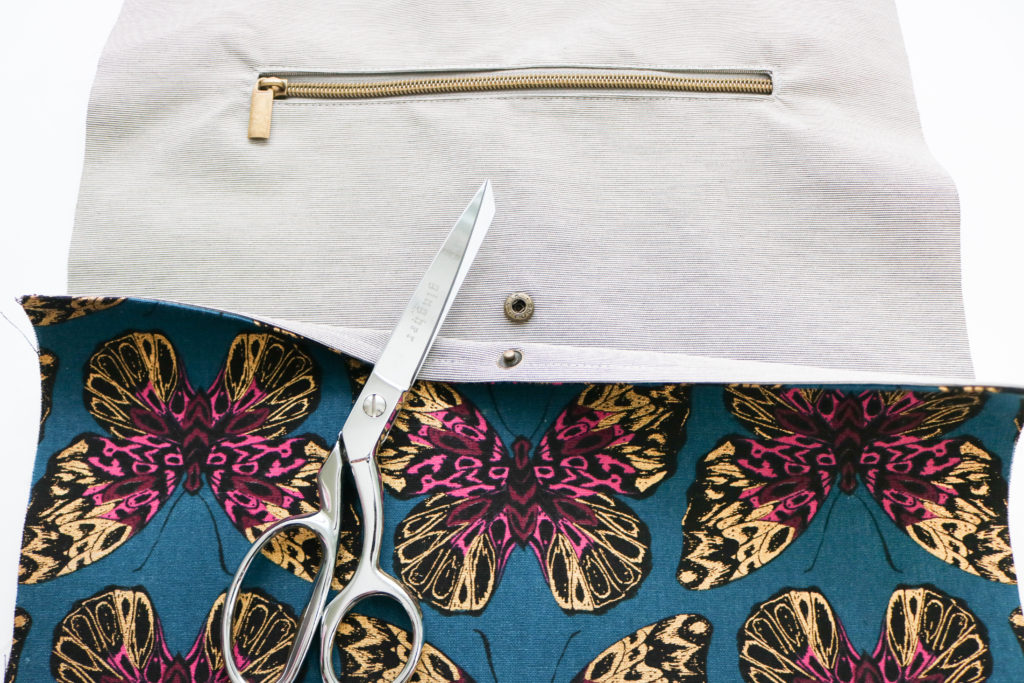
Featured Bags
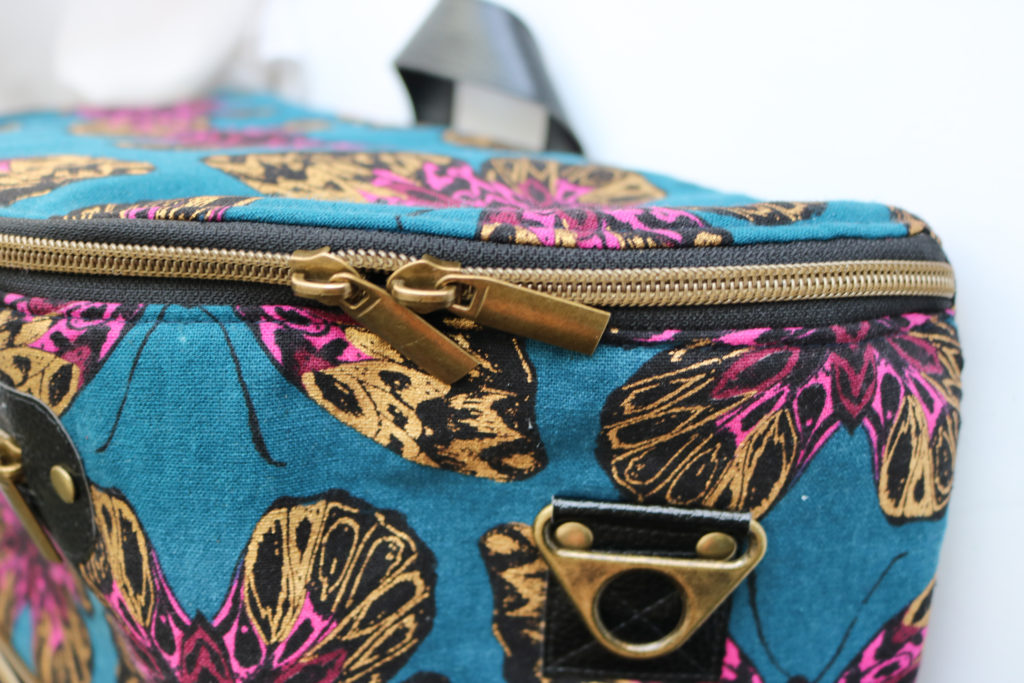
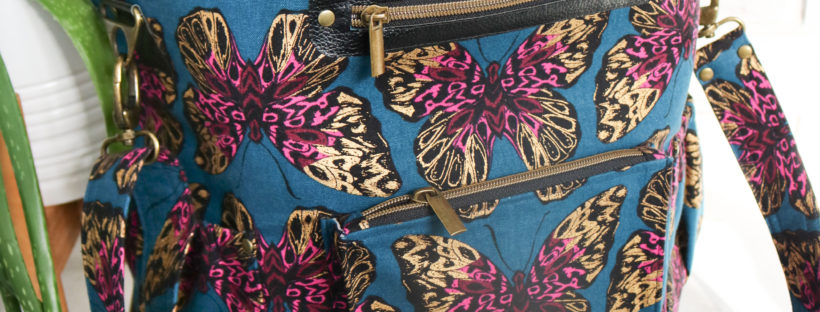
BUTTERFLIES –
- Main Fabric : Ruby Star Society Tiger Fly Canvas
- Lining: Mystery Polyester Railroad fabric leftover from a skirt
- Accent Fabric: Faux Leather from Sew Sweetness
- Zippers: Antique Brass Coil on Black Tape from Emmaline Bags
- Hardware: Triangle Rings from By Annie’s and the rest from Emmaline Bags (same as the kit for sale)
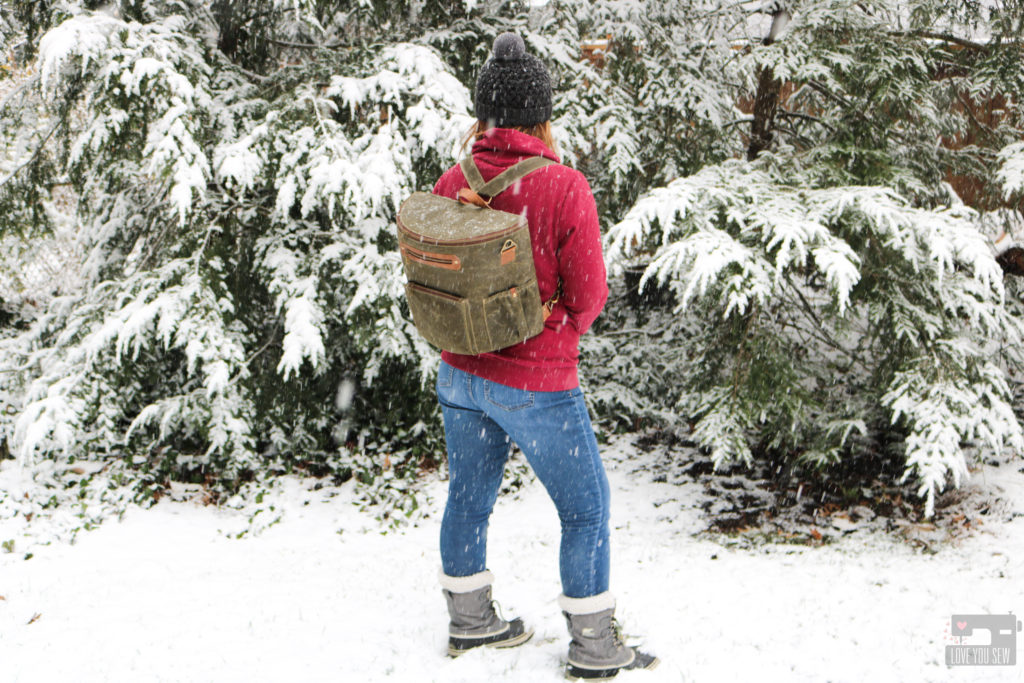
OLIVE –
- Main Fabric : Robert Kaufman Waxed Canvas from Sew to Speak. You can also find it here.
- Lining: Mystery Polyester Railroad fabric leftover from a skirt
- Accent Fabric: Thrifted leather (same as from my beloved quilted duffle bag.)
- Zippers: Metal look nylon Bronze with Chocolate tape from My Handmade Space (get on the mailing list for lots of great coupons!)
- Hardware: Triangle Rings from By Annie’s and the rest from Emmaline Bags (same as the kit for sale)
MANY THANKS
As always, I thank all of you for encouraging me to publish my patterns! This, by far, is my longest and most complicated bag pattern to date. I like to challenge myself to more intermediate and advanced sewing and I know many of you are the same. But my group of testers from all different bag-making levels were able to nail this bag. (I’ll be showing off their makes in another blog post!) Their help was absolutely instrumental in clarifying steps and adding in more information to help you along. I hope you enjoy the #ErinBackpack!
Watch out for a sew-along in the next few months! 😉
Hugs and Stitches,
Cristy
This post may contain affiliate links. Please read my full disclosures, here.
