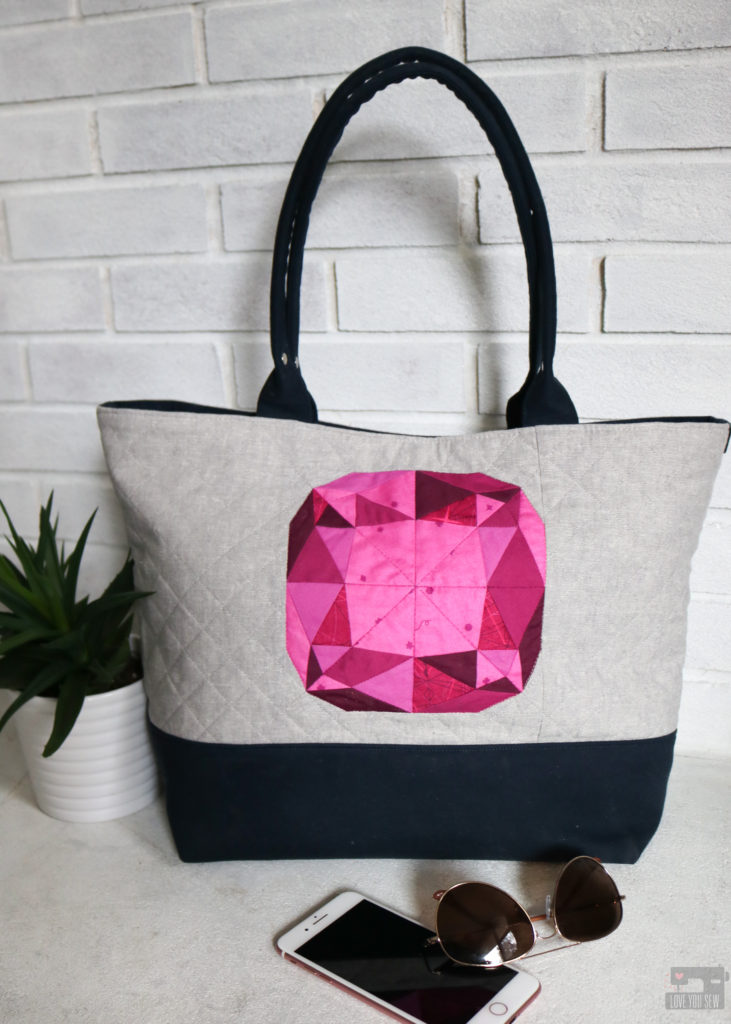
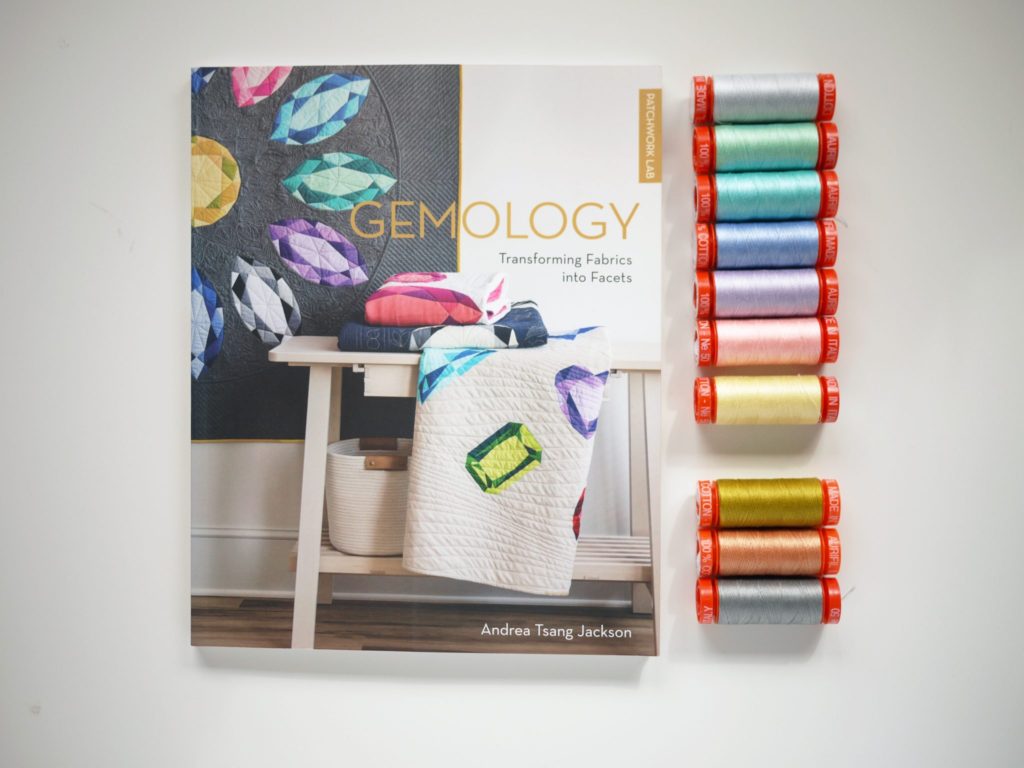
Today is my day on the Gemology Blog Tour supporting my friend, Andrea Tsang Jackson and her new quilting book, Patchwork Lab – Gemology. I had the absolute pleasure of meeting Andrea earlier this year at QuiltCon – Nashville after following her on Instagram with her amazing quilt art for so long. We met over coffee and had SUCH a great conversation about building businesses in the fiber arts world and also being immigrants in North America. Our stories are very similar and one of the reasons why I was thrilled when she asked me to be a part of this tour!!!
This new Patchwork Lab – Gemology book is absolutely beautiful and jam-packed with designs featuring nine different gem shapes which you can adjust into four different sizes ranging from a 6″ to a 24″ square block. There are additional instructions to make 5 quilts and a sweet little coin purse. The great thing about the book is that it is not just another quilting book. There is SO much additional information about how light hits the facets producing different colors and info about birthstones themselves. It really gives you extra appreciation of the blocks as you construct them.
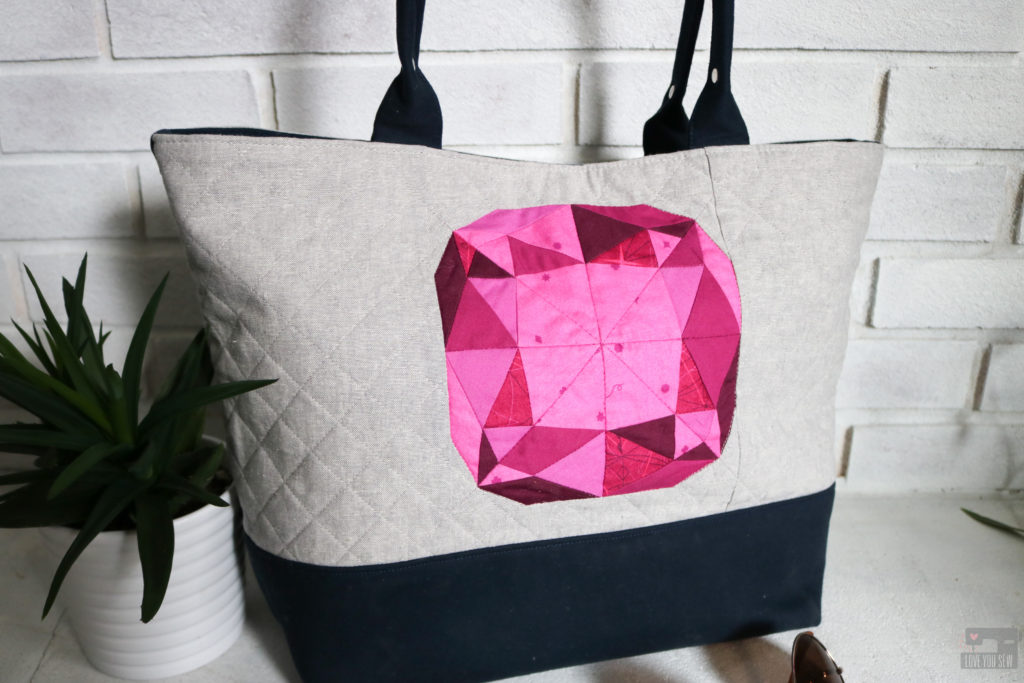
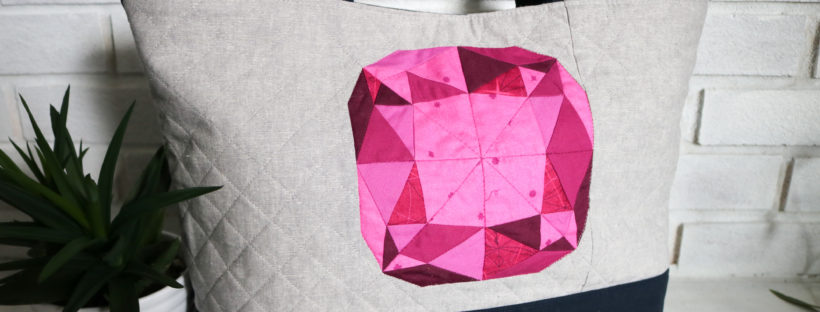
I knew after seeing the book, I would use the 6″ block for the exterior of my Colleen Tote Bag pattern. When I first designed this bag, the quilter in me wanted enough open space on the exterior to eventually use quilt blocks to add some fun flair to the outside. I’m so glad I finally got a chance to make this happen with the Cushion cut pattern.
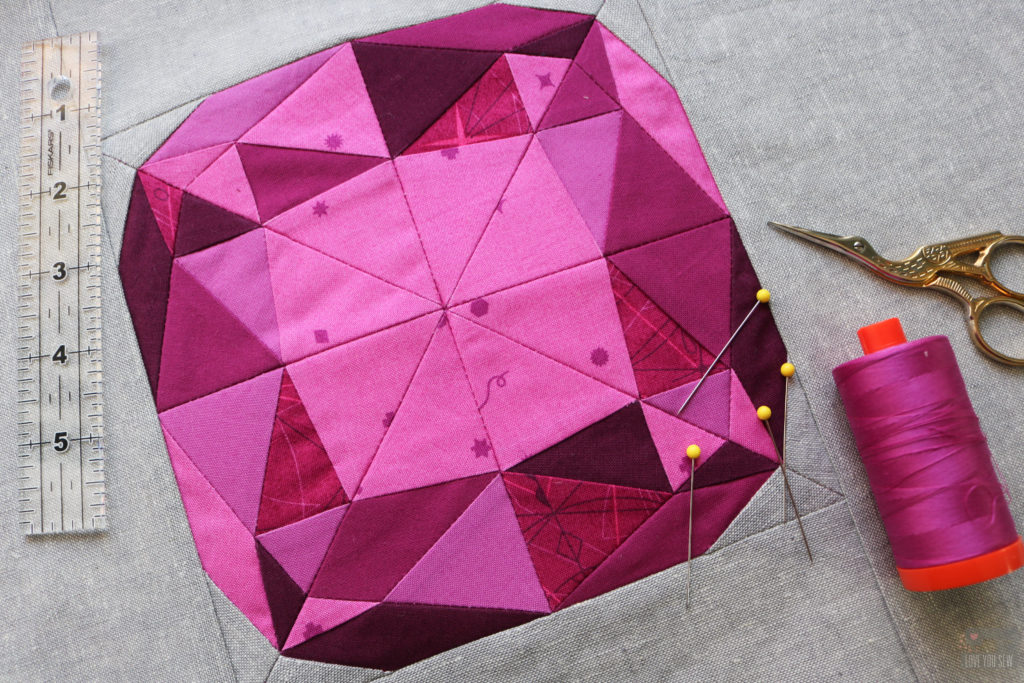
Fabric
There are great fabric suggestions in the book for many of the birthstones, but I decided to use my own stash and make up my own gem. The Swatch Chart reference sheet is definitely a must IMO. It helped me sort out my fabrics and was a great visual reference as I was piecing the block together.
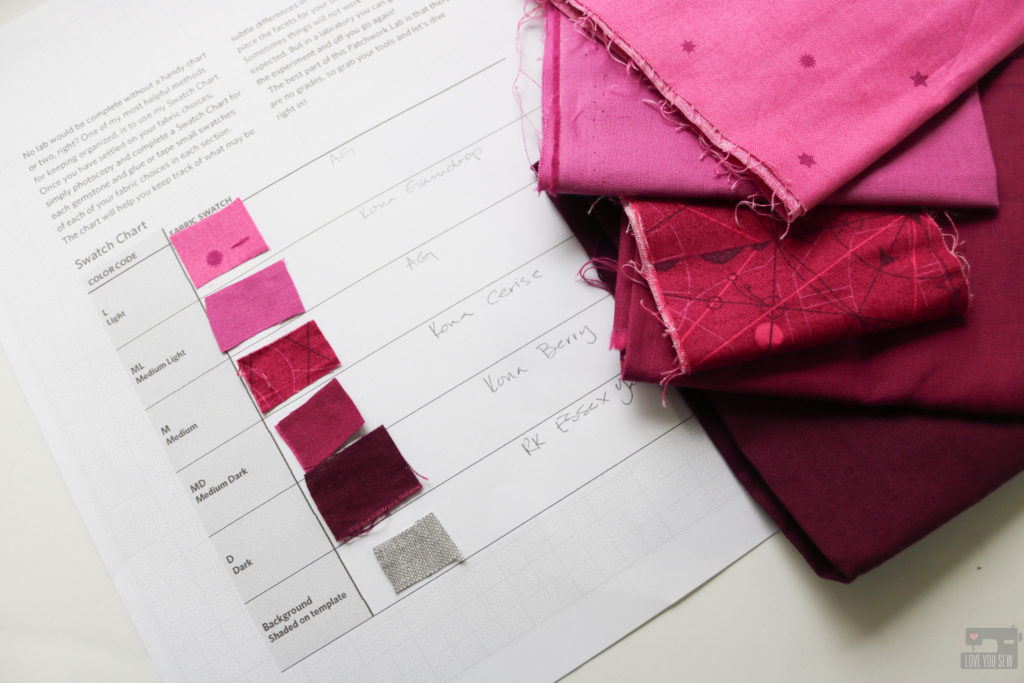
I really wanted the gem to pop on a bag so I used the following in the magenta family: (aff links)
- Alison Glass Sunprint 2018 in Cosmos Diatom
- Kona Cotton in Gumdrop
- Alison Glass Sunprint 2018 in Sangria Compass
- Kona Cotton in Cerise
- Kona Cotton in Berry
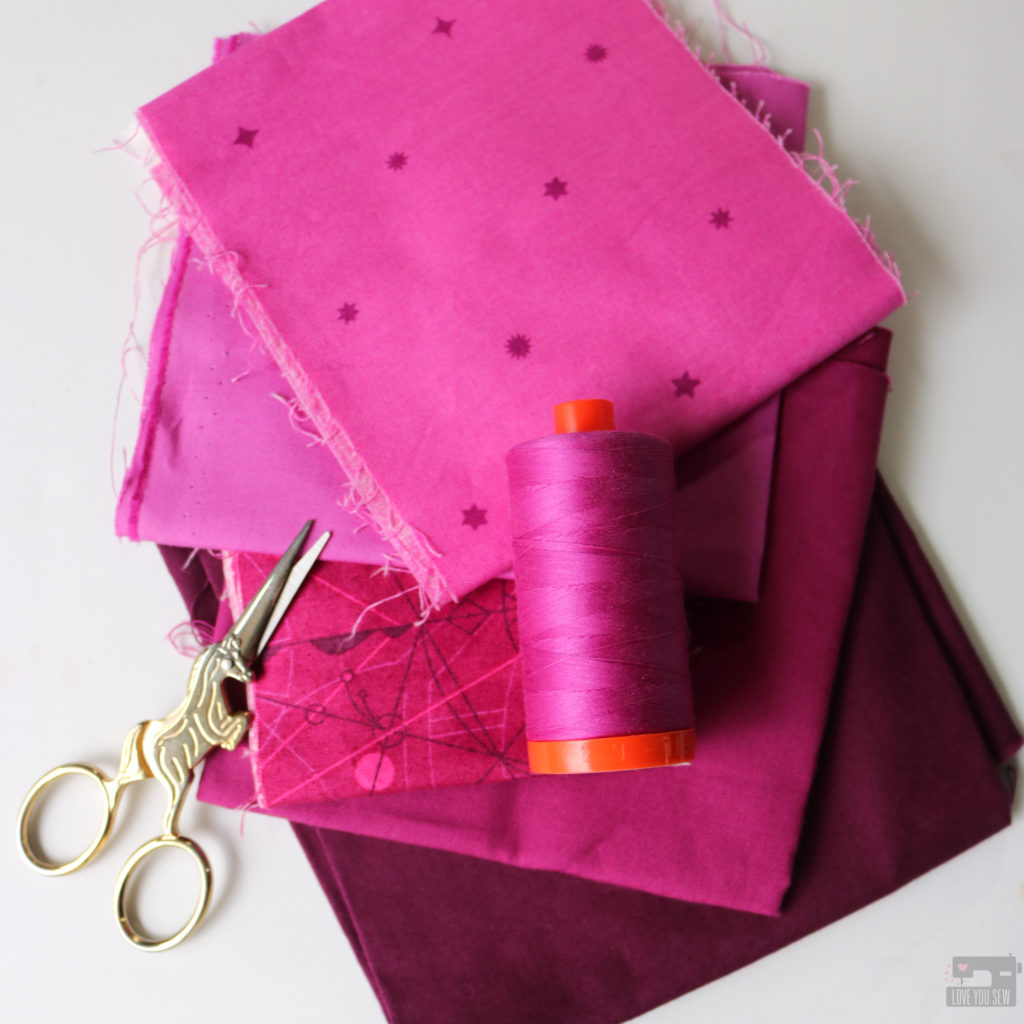
For the rest of the bag, I used:
- Background: Robert Kaufman Essex Yarn-dyed Linen in Steel
- Accents: Navy 8 oz Brushed Twill
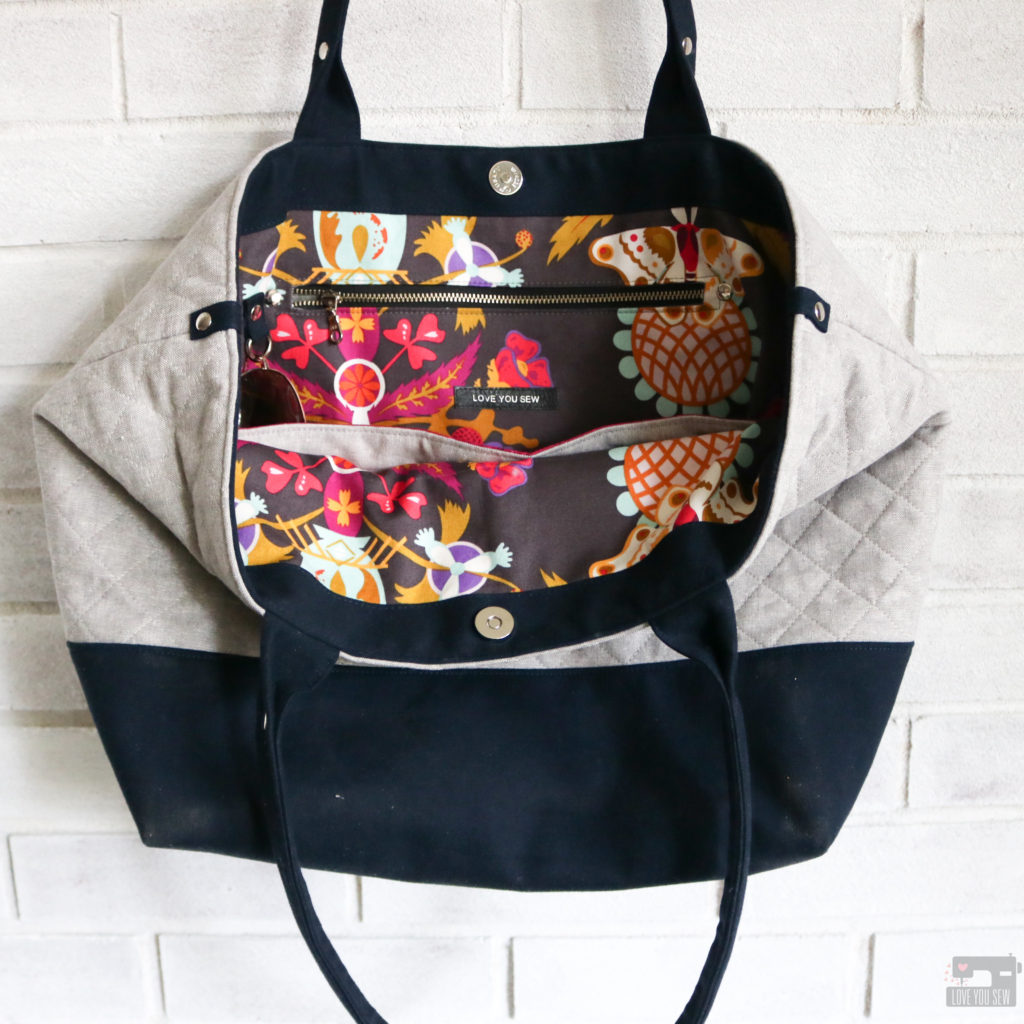
- Lining: Alison Glass Ex Libris Bookplate in Charcoal
To Make the Side Panel with Gem Block
With this bag, I knew I wanted the exterior to be quilted for the texture and also to help secure the block to the interfacing. When doing this for a bag, it is always important to cut the fabric larger than what is needed, quilt it, THEN come back and cut it to size. Quilting will always shrink down a block and can become pretty significant difference if you are using more lofty batting or interfacing.
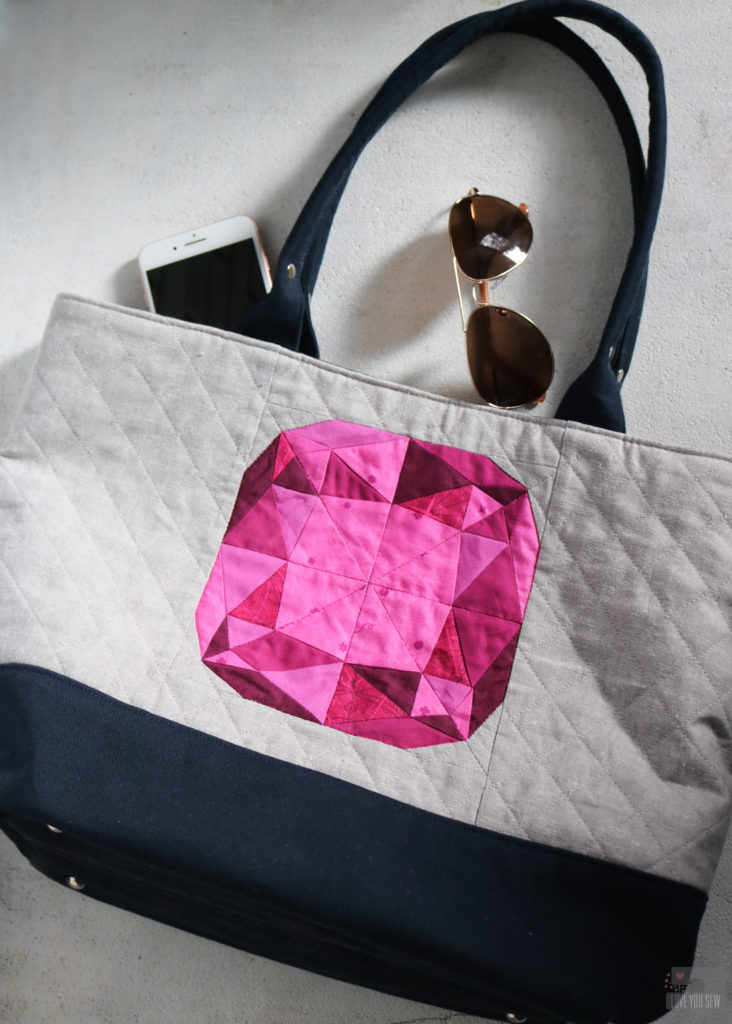
Since the finished panel would be 20 1/2″ x 10″, I added 3″ wide borders to the top and bottom (referred to as the “sides” in the book) and then 12 1/2″ x 7″ to the sides. Instead of using fusible fleece as the interfacing, I swapped it out with Pellon 988 Sew-in Fleece.
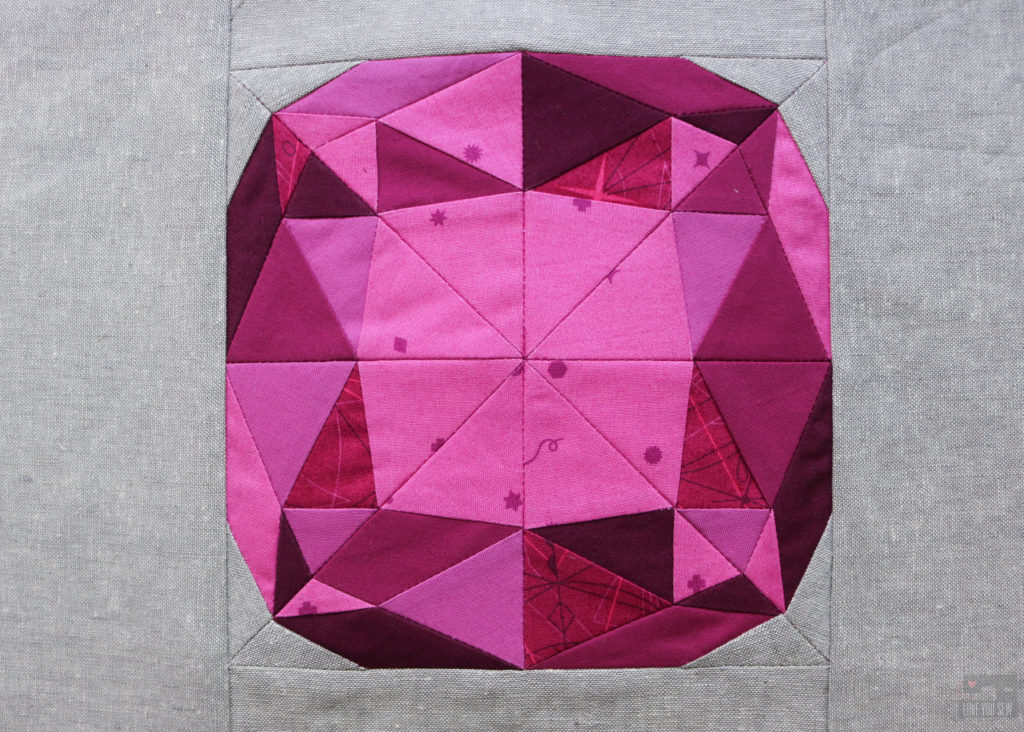
I used matching Aurifil 2535 to stitch-in-the-ditch around the gem and then on all the intersecting seams that ran completely across the the pattern. For the background, I used Aurifil 2615 to sew 1″ blocks at a 45* angle, stopping when I hit the gem. The nice part about quilting a bag panel is that you can leave the thread tails and just tie them off without having to bury any of them!
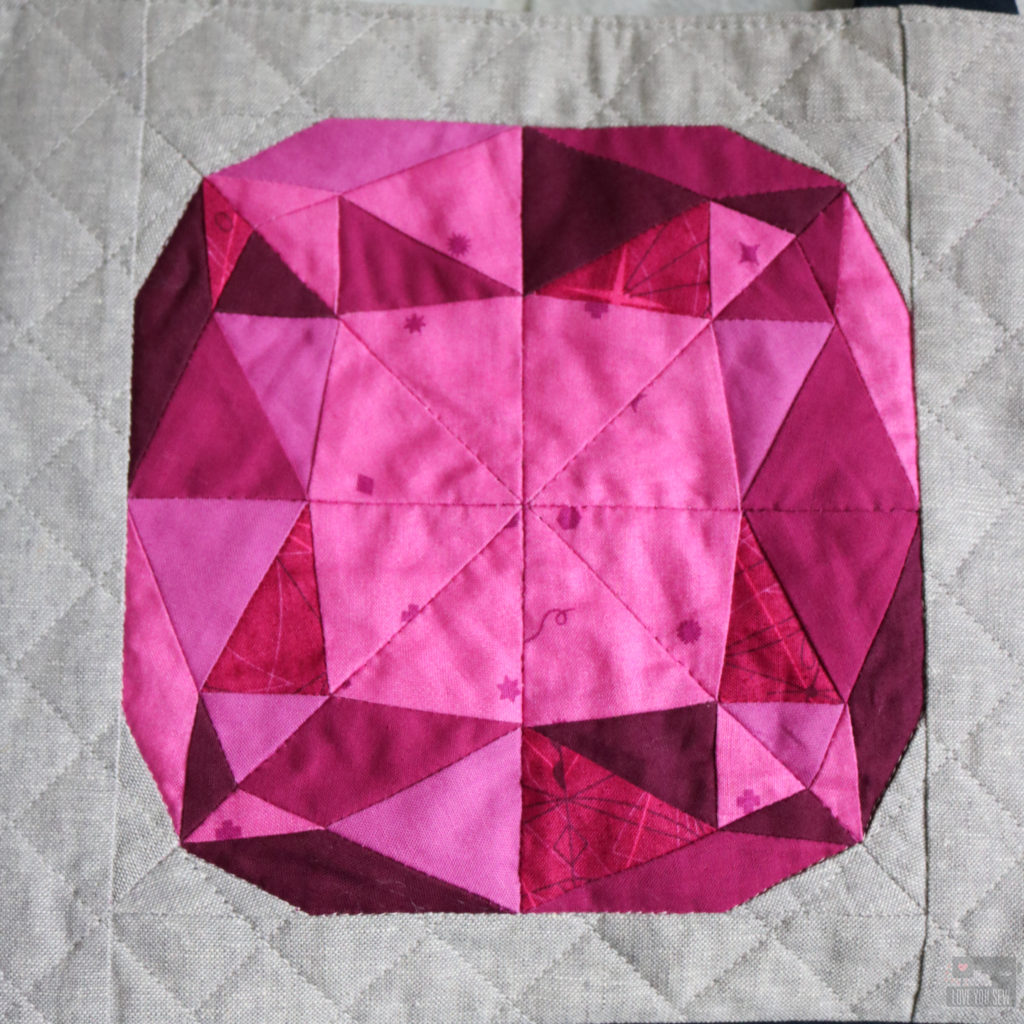
To cut the panel and create equal spacing above and below the block, you find the center horizontally and cut 4 3/4″ below the line and then 5 1/4″ above the line. The measurements are not equal to account for the different seam allowances as written in the Colleen Tote pattern.
Other Modifications
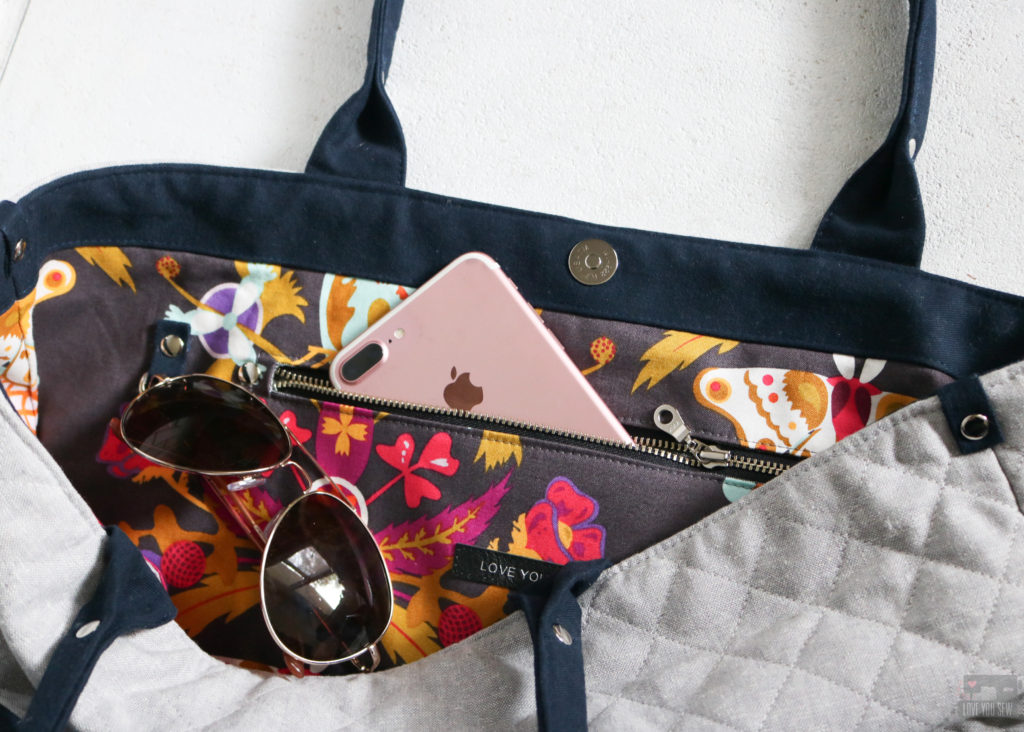
Every time I make a pattern (whether my own or someone else’s) I can’t help but add some different features so each one is unique. I believe that every bag has it’s own personality and calls out for different features. I made the following changes to this Colleen:
- Extended the key fob to 16″ in total length
- Added a interior D-ring
- Added a magnetic snap to the interior band
- Pieced the line with some of the Sangria Compass to bring some of the Gem colors to the interior
- Added Purse Feet following the add-on instructions here.
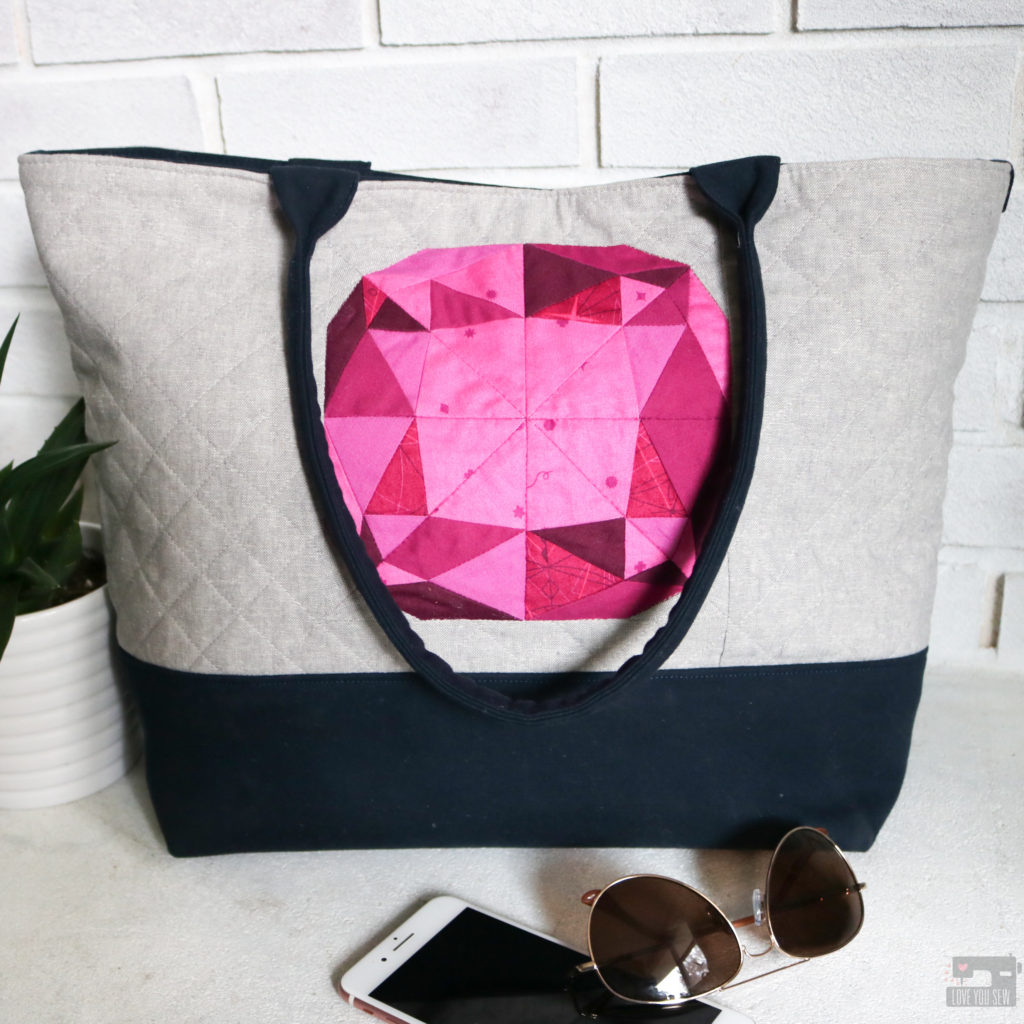
- Broke up the gray a little more on the exterior with some accent tabs and rivets.
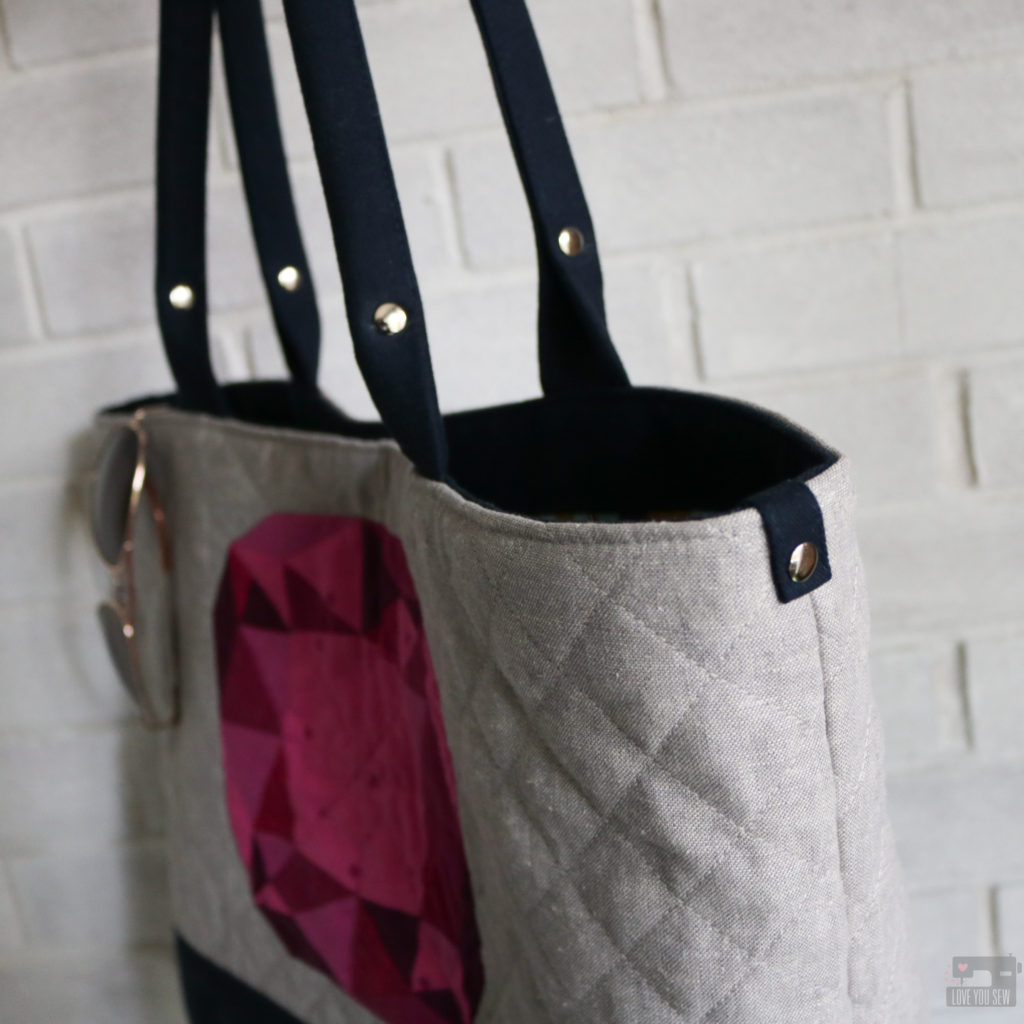
I did this by using the scraps I cut out of the bottom accent fabric. You will need (2) 3 1/2 x 1″ strips. Fold each long side to the center creating a single-fold tape and top-stitch 1/16″ along each side. Fold down each short end by 3/4″ with wrong sides together.
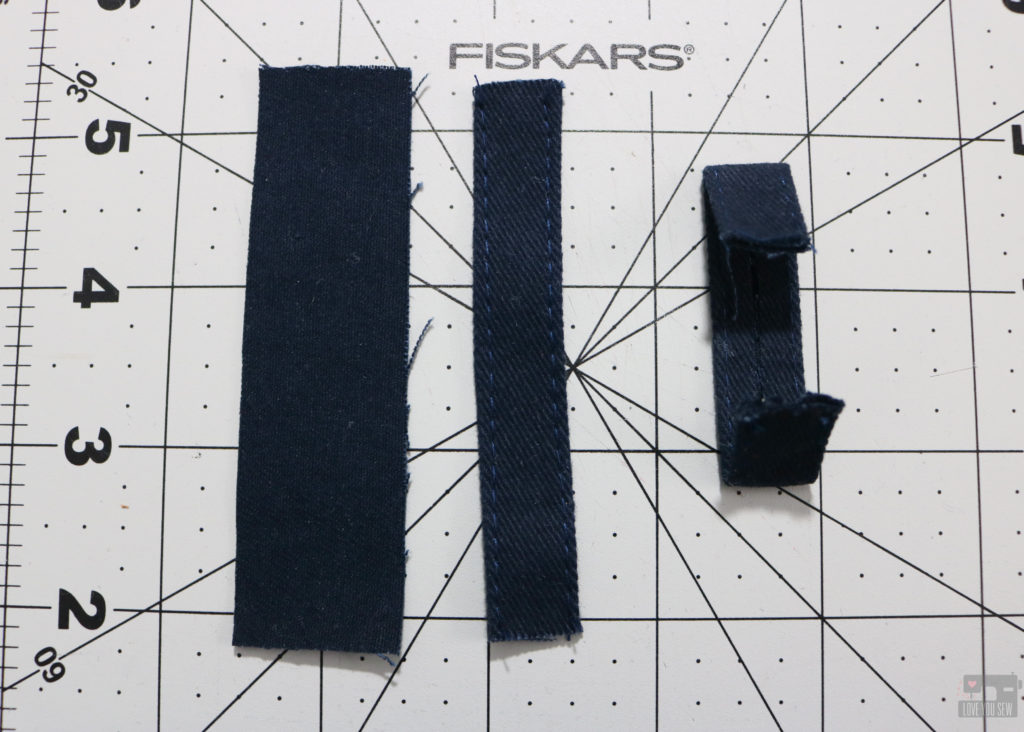
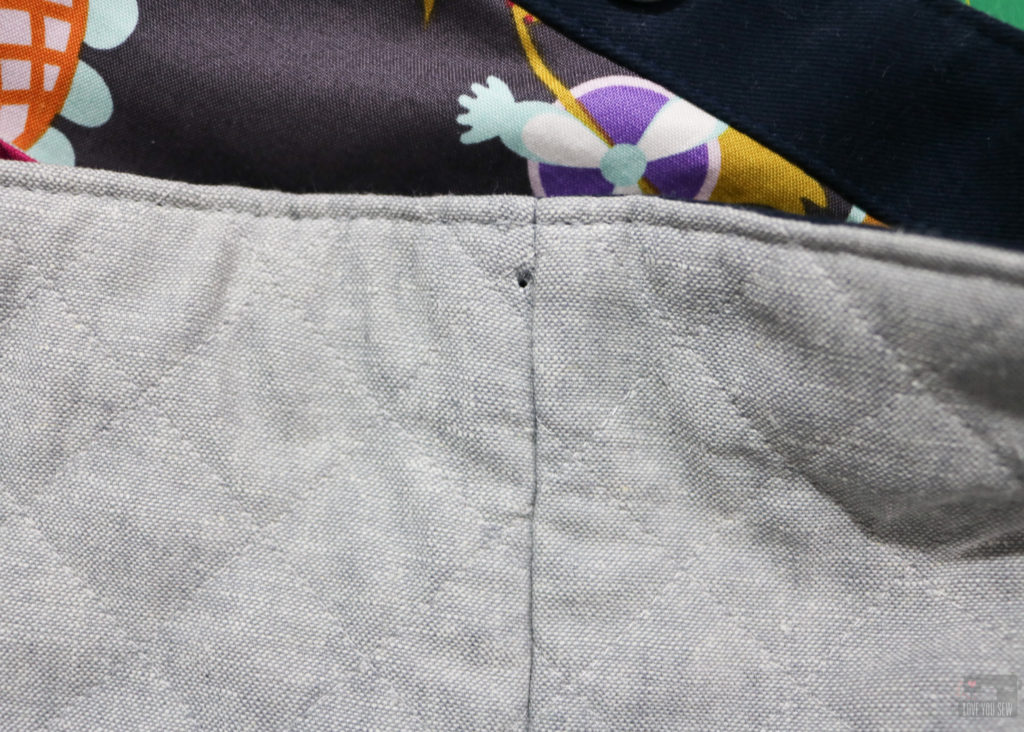
The trick to adding these tabs over the top of the bag is to fold the tab and cut those holes first. Then place it over the edge of the bag and mark it just to the left of the side seam and cut the hole in the bag. By moving the hole you won’t cut into the side seam but it will appear that the tab is centered from far away! Add the rivet and now you have a cute tab that makes this look more high-end.
Please make sure you follow Andrea @3rdstoryworshop to keep up with the rest of the Gemology Blog Tour. You can find her blog and shop her book here.
Tomorrow, Rebecca Makas is up with her Gemology Project. Click to find her here.
I hope you enjoyed the new spin on the Colleen Tote Bag and all of the gemstone inspiration from Patchwork Lab – Gemology!
Hugs and Stitches,
Cristy
This post is in collaboration with Andrea Tsang Jackson for which I received a complimentary copy of her book. // This post may also contain affiliate links and you can read all the details in my Disclosures here.

Cristy, I found you from a link in Andrea’s Instagram post of your beautiful tote. This is a very lovely bag! Thanks for taking the time to show us step by step how you incorporated a Gemology Lab block into your pretty Colleen Tote Bag. I love your additions/customizations… you’re right, it totally *does* look “High End” ! 🙂
Thank you so much for stopping by! Andrea’s block add the “wow” factor for sure!!!