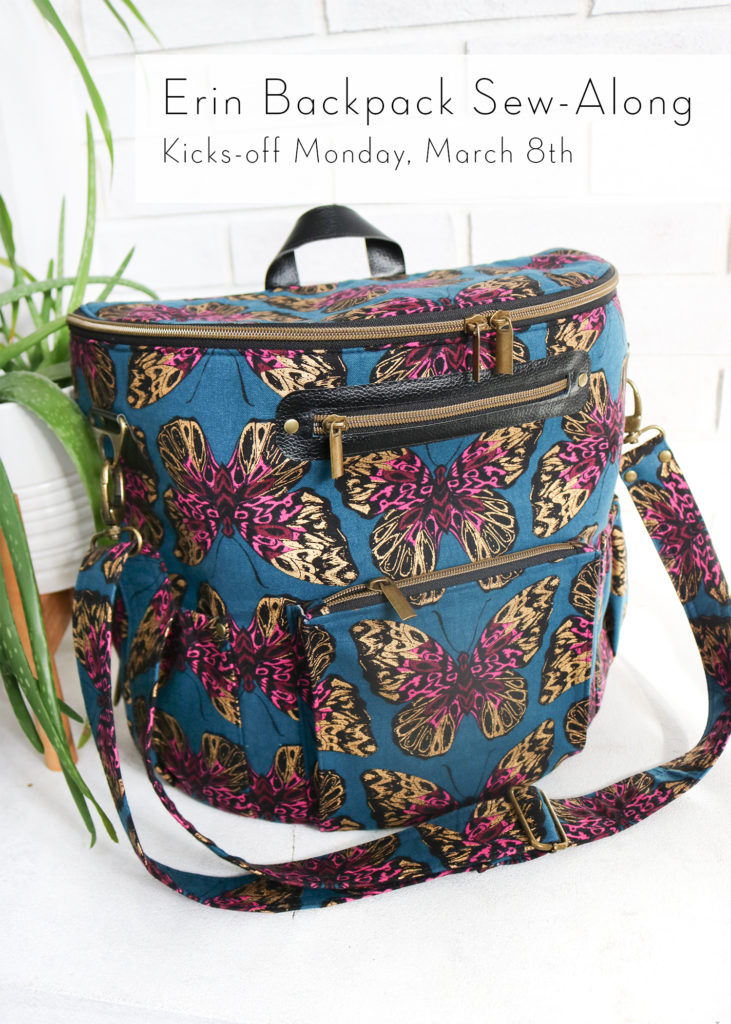
Announcing the Erin Backpack Sew-Along!

Welcome to the Erin Backpack Sew Along! 

Since all of my bag and accessory patterns are all digital, I have the luxury of unlimited pages and love the fact I can add more details into my instructions…but I know one photograph is not nearly enough for some of the more complicated steps.  I was asked by YOU to provide a sew along and HAD to oblige!  So if you already have some questions or comments, please post them below so I can address them during the month!

DETAILS
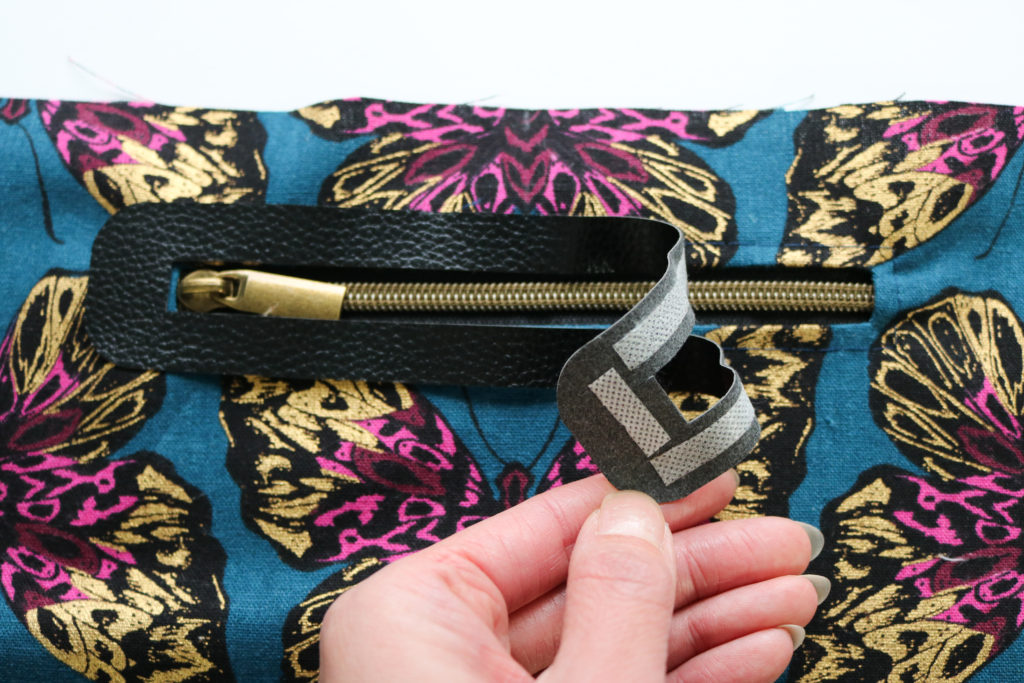
This sew along will be broken down into 6 parts as listed below and will be posted every Monday and Thursday throughout March, starting March 8th. 

  1. Prepare the Fabric + Hardware tabs (including cutting, interfacing and basting)
  2. Make the Convertible Strap and Key Fob + a hack for Permanent Backpack Straps
  3. Create the Back Panel
  4. Create the Front Panel
  5. Make the Lining
  6. Final Bag Assembly 

For some added fun, I have prizes for participating in this sew along on Instagram.  Post any picture of your progress whether it be a fabric pull or the finished product and use the hashtags #loveyousewpatterns, #erinbackpack and #erinbackpacksewalong to be added into the pool of entries.  I’ll randomly select a winner for $25 shop credit, a copy of all of my digital bag patterns, and a package of my favorite bag notions at the end of the month.  It’s that simple!  Don’t forget to tag me @loveyousew_ so I can see your makes along the way!

>> To get you going, you can grab the Erin Backpack pattern for 20% off  and Hardware Kits for 15% off in my shop,  here, all month long.

If you are ready for a little pre-work, you can checkout the introductory post of the Erin Backpack here and find lots of inspiration in the tester versions here.

Now let’s talk a little more in depth about fabric and supplies you need before we officially start next week!

FABRIC

As you know, the selection of fabric is KEY with any bag.  You have to look a little into the future to see how you really want to use your Erin Backpack.  Will it be used outdoors, for home, or maybe for the family?  The answers will help you decide what fabrics you want to use. Below are the fabric notes (as written in the instructions of the pattern – in blue italics) along with some extra guidance.
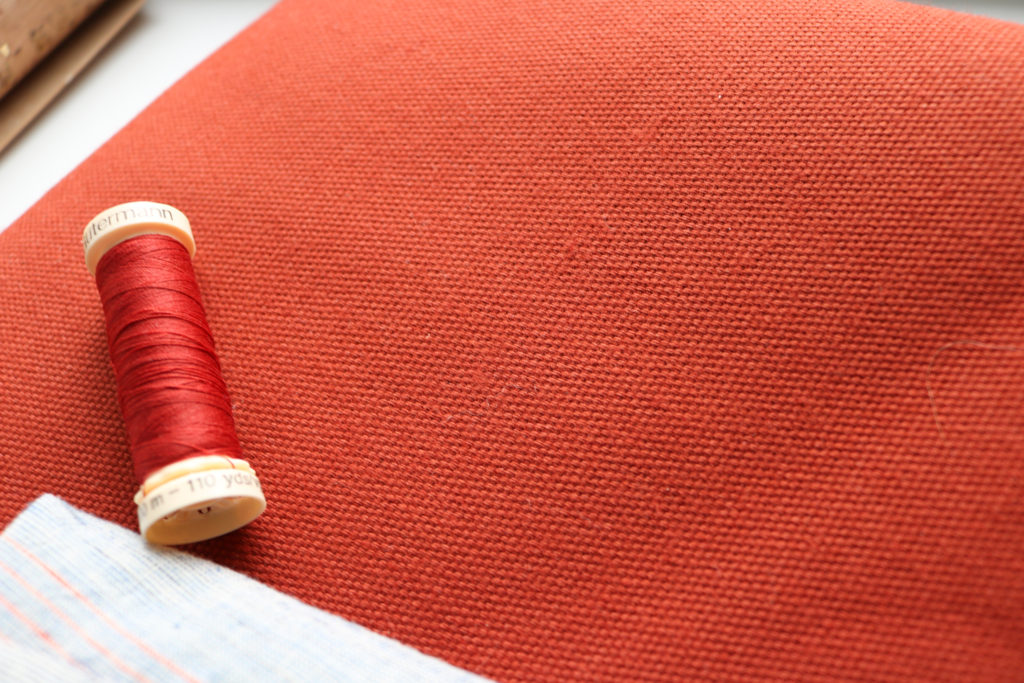
This pattern is written for bottom-weight fabrics such as canvas, duck cloth, and denim with weights of ~ 6 oz per square yard or more.For large bags like the Erin Backpack, you want a heavier and more durable main fabric that can withstand some beating.  The last thing you want to do is make a bag with fabric that ends up wearing away before you want to stop using it.  For the sew along, I will be using a heavy and durable 9 oz Expedition dry oilskin canvas by Merchant and Mills.  I chose this fabric for the weight and color, but also for its water resistant properties which is PERFECT for an everyday backpack.  On the flip side of heavy duty fabrics, you also want to be cautious with selecting a fabric that maybe TOO thick for your personal home machine.  (I sew with a semi-industrial Juki and am confident it can handle this fabric.) There are points in the construction where you will be dealing with several layers of fabric, interfacing and accent fabric all combined.  Always test the layers BEFORE sewing the actual bag.

*As a side note, since I’m using a treated fabric, the manufacturer states I cannot use heat or iron this fabric and will be adjusting interfacing in the first part of the sew-along (which is fine given the weight of the fabric.)  So if you are using something like a waxed canvas or a vinyl, you will have to make sure the weight balances out the fact that you will have to omit some interfacing.
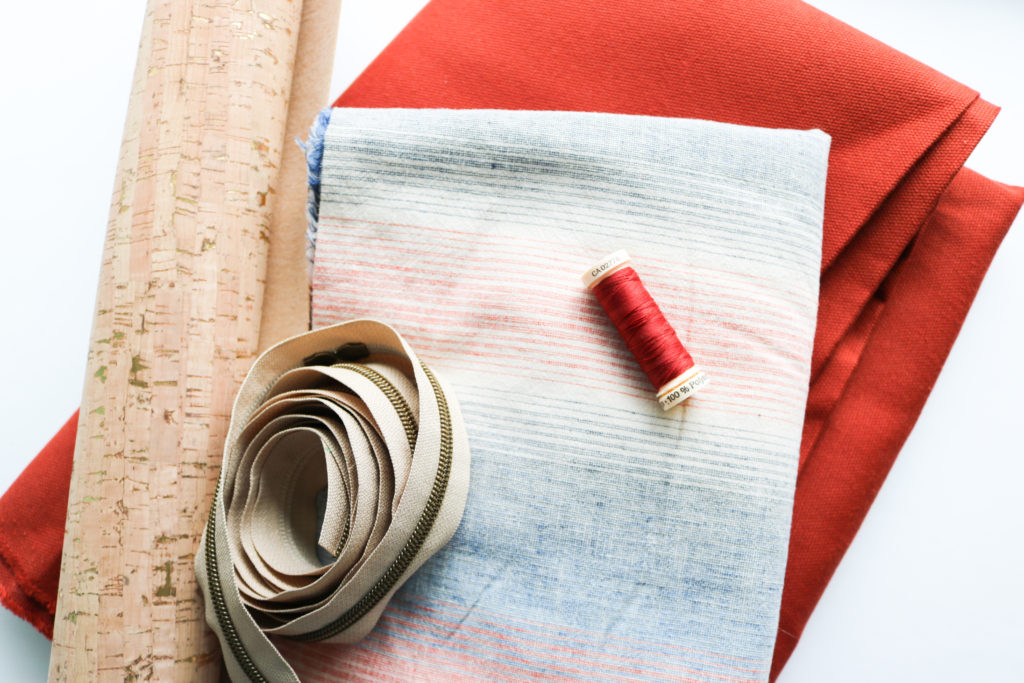
The lining is based on quilt cotton and any other fabric with the same weight (~4 oz) can be used such as linen, chambray and twill. — Since the lining does not get nearly as much wear as the main fabric, you can have more fun with a tight woven quilt cotton.  This would also be a great place to use a light laminate like these from Cloud 9.  If you want the inside to be wipeable, this is a nice laminate that is easy to sew through.  I have such a deep stash of fabrics from old projects that I will be using leftovers from a linen blend fabric I used on a dress years ago….But doesn’t it look great with the canvas?!?
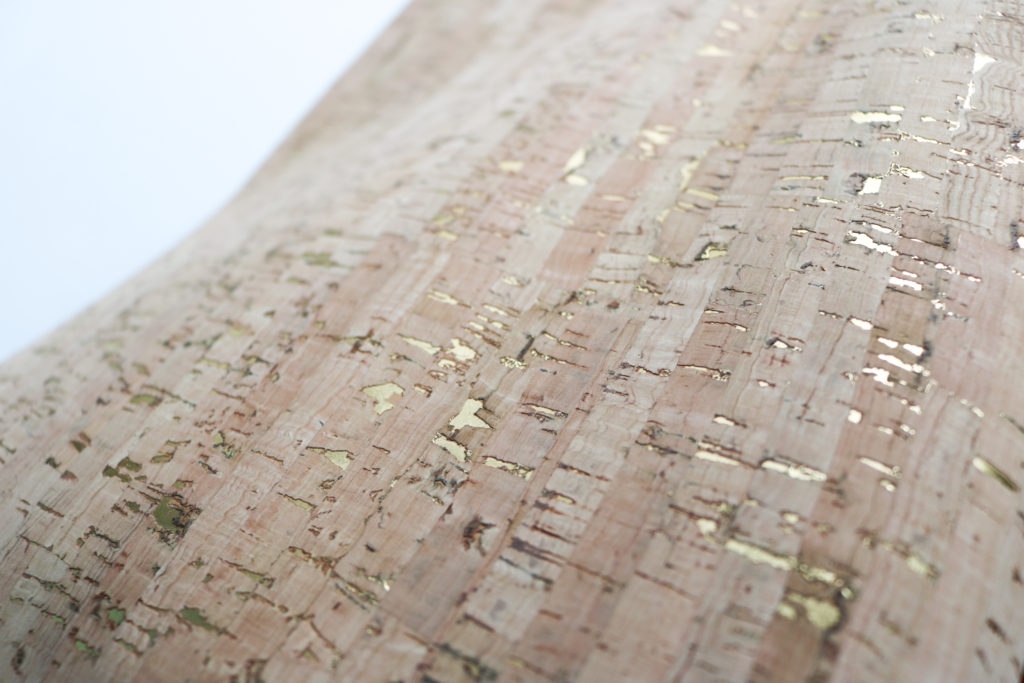
The accent fabric is intended to be left with a raw edge, allowing you to use leather, suede, vinyl, cork or another non-fraying substrate. This allows you to add some high-end details to elevate your bag. The Erin Backpack assumes the use of thicker 2-3 mm accent fabric. *If you use a thinner accent substrate like some corks or a lambskin leather, you may want to cut two handles for a sturdier finish. For this bag, I’ll be using some gold flecked cork fabric from Sew Sweetness and will show you how to finish this substrate, as well as how to reinforce some areas.

If you are looking for other sources of faux leather/vinyl Big Z Fabric’s has a nice selection and I’ve used the Terracotta DuroLast vinyl in a Megan Bucket Bag, here.  This brand is great for a beginners with a more basic home machine because it’s thinner and MUCH easier to sew through. The pebbled finish makes it look like real leather too!  Sew Sweetness also carries thinner faux leather as well…including the black I used for the pattern photography.


INTERFACING

The interfacing mix is based on these suggested fabrics and the foam is crucial to holding the structure, while still being pliable.  

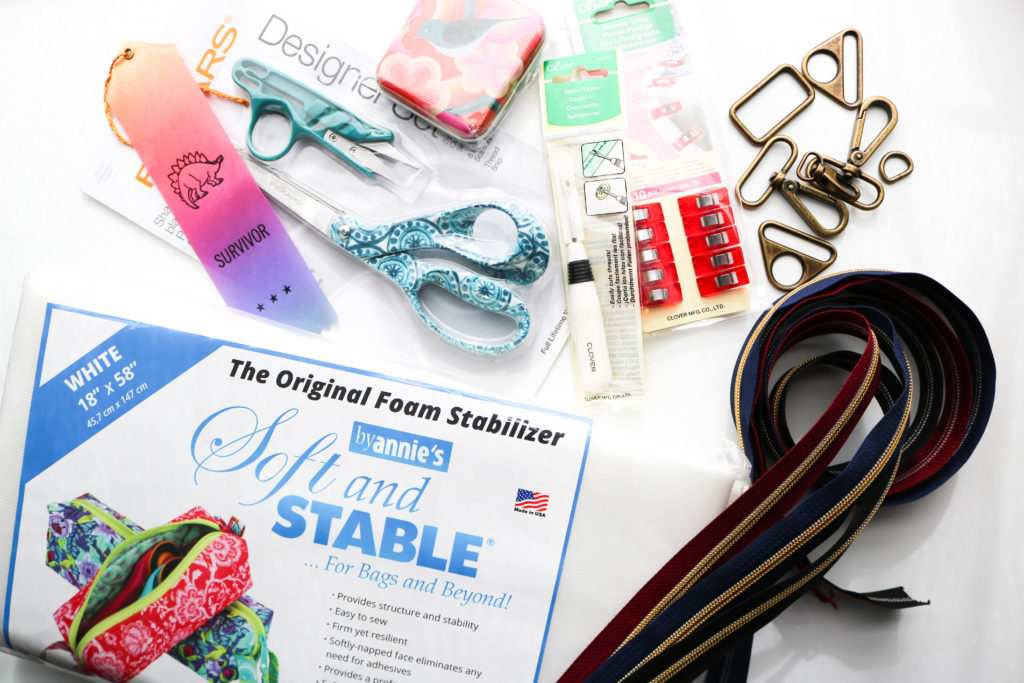
  • Please make sure you are using a non-fusible foam to avoid wrinkles on the main fabric as the bag wears.  By Annie’s Soft and Stable is my preferred foam which is denser and thus, provides more structure than Pellon foam.  You can grab it in my shop here.  But if you can only get Pellon, it works well too.  
  • For woven interfacing, I generally use 60” wide Pellon Shapeflex SF101, but I just tried out Barb’s Bags Interfacing (which is great too…just have to see how it wears before a full endorsement) to block fuse (when you fuse the interfacing to the fabric first and then cut out the pattern pieces…but we’ll get into more of this next week!)  It’s allows me to use the entire width of fabric, but you generally can only find 20″ WOF in stores….which IMO is more wasteful.
  • For the firm stabilizer, Pellon Peltex sew-in interfacing is a great choice.  It provides a stronger base for both the lid and bottom of the backpack.

If you would like to use other types of fabrics, please test interfacing with fabric swatches to see what you like before cutting.

HARDWARE
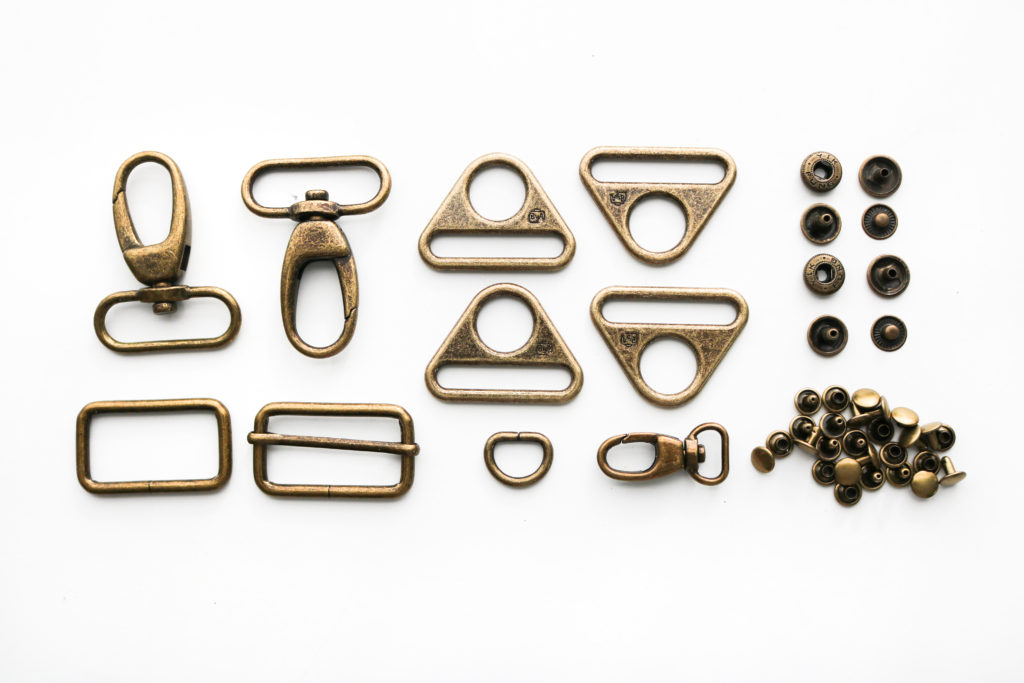
With a full-size backpack of this nature, there is a good bit of hardware involved.  This helps the bag look more polished and gives the ability to be be a convertible bag.  I’ve sourced some amazing hardware from Emmaline Bags and By Annie’s as part of a full kit you can find here in my shop.

The kit includes:
(4) 1 1/2″ Triangle Rings
(2) 1 1/2″ Swivel Clasps
(1) 1 1/2″ Rectangle Ring
(1) 1 1/2″ Strap Slider
(1) 1/2″ Swivel Clasp
(1) 1/2″ D-Ring
(3) Sets of 12.5 mm Double-Cap Spring Snaps
(5) Sets of Medium Double-Cap Rivets (9mm cap x 8mm post)
(20) Sets of Small Double-Cap Rivets (8mm cap x 6mm post)

Will we be going through some hardware installation?  Yes!  I know this is a tricky part for many folks and you can refer back to the Intro post for some links to videos I already have.

ZIPPERS
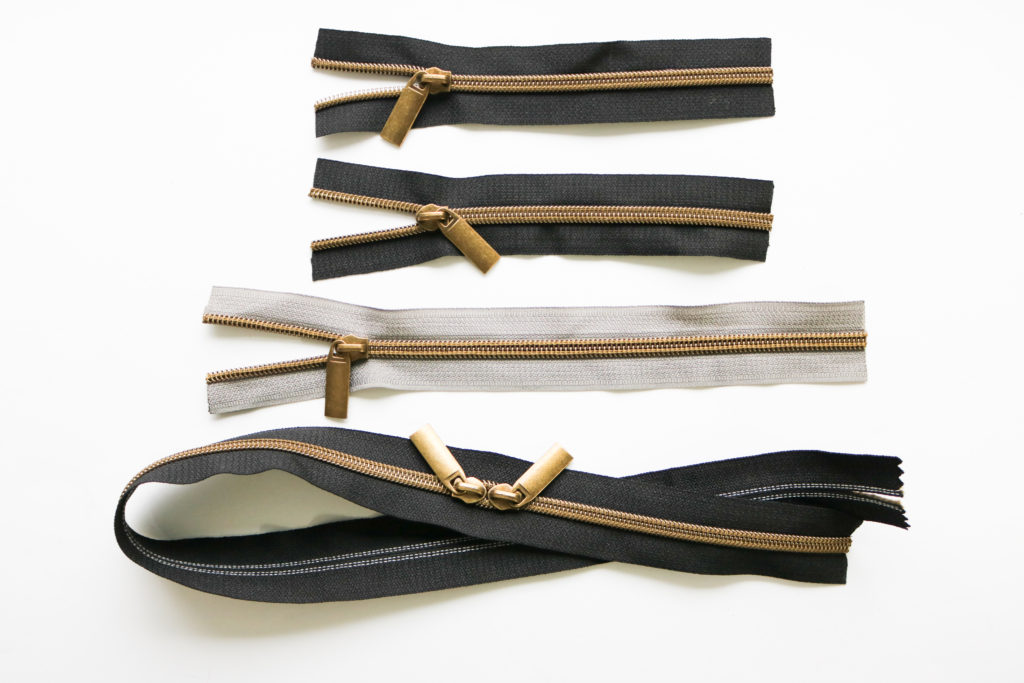
With four zippers in the Erin Backpack pattern using three different sizes, it’s a great idea to use zipper tape to cut exactly what you will need.  I used metal zippers for a long time for their polished style, but have fallen in love with these nylon ones that look like metal!  You can cut through them with craft scissors (don’t use your special fabric ones!) and sew right through them as well.  There is no laborious effects to cut away teeth with these zippers!  I love the ones from Emmaline Bags (if you are looking for basic colored tapes) and My Handmade Space for more variety in both tape color and teeth finishes.

Other Supplies
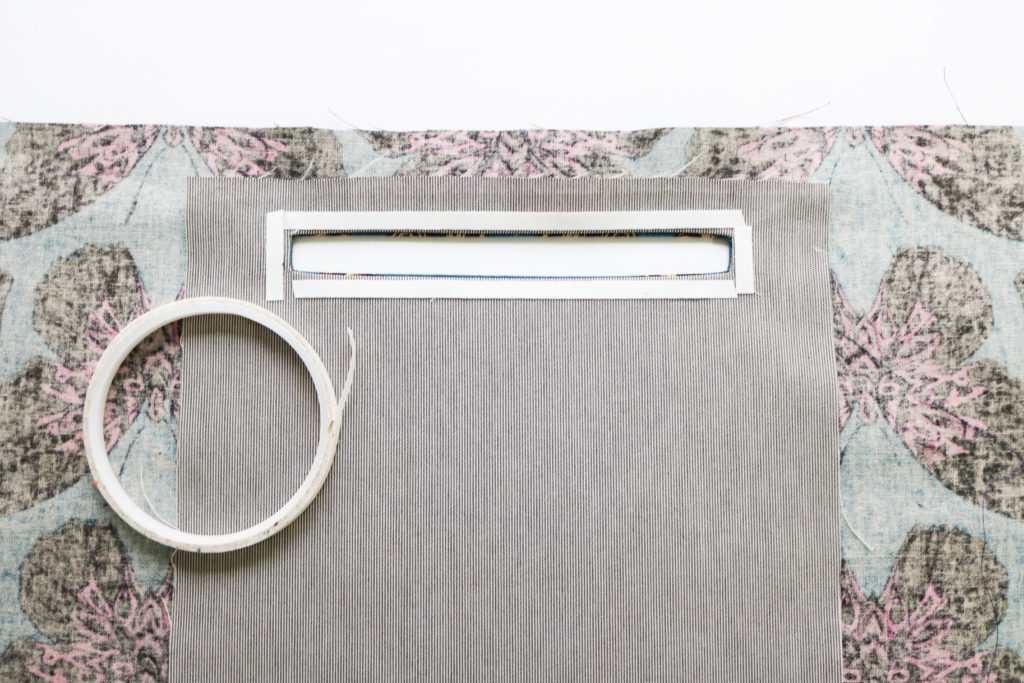
There are plenty of other supplies and notions I reference in the Erin Backpack pattern.  For your ease, I’ve added them all onto an “Idea List” below through Amazon.  It’s included my favorite glue, fabric punch, hardware setting tools, and also the interfacings mentioned above.  I continue to add to all of my list as part of my Storefront all the time as I test out new products in my projects….so don’t forget to “like” it!

>> Making the Erin Backpack list on Amazon


I hope this is enough information to get you started on the Erin Backpack.  Again, please post any questions and/or comments below.  I’ll be sewing along with you so that I can address any concerns along the way!


Happy Sewing!

Cristy


Please note, this post contains affiliate links.  Please refer to my Disclosures for additional information.
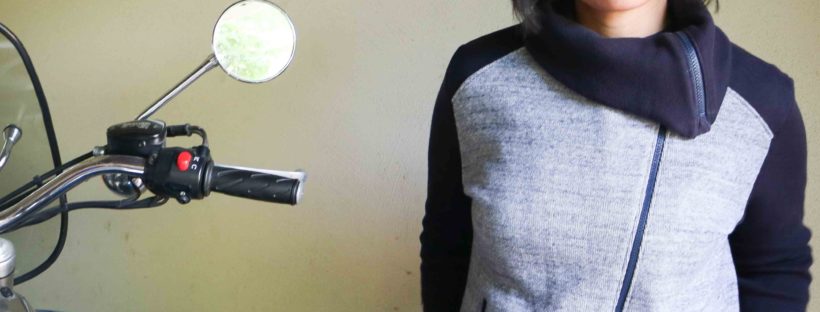
Moto Sweatshirt with Indiesew

What you might not know about me is that I’m an “Old Lady”…a very proud one, in fact.  As you can probably tell, it’s not by age or because I quilt (ha!), but because I love my husband AND his motorcycle.  I really enjoy riding with my guy and even though I haven’t gone very much after having kids, I still love that moto style.  So when I saw this collaboration between Indie Sew and Seamly for the Moto Sweatshirt, I knew I HAD to make this pattern!

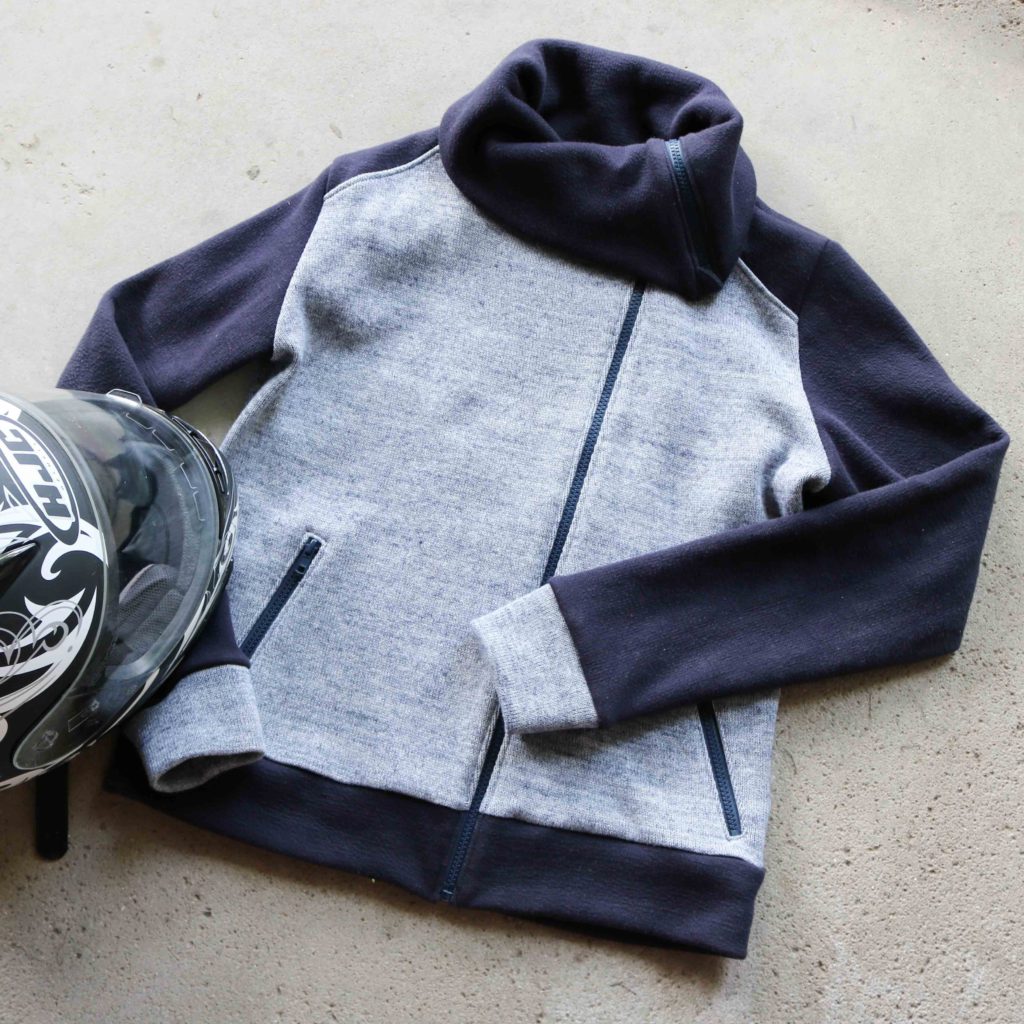
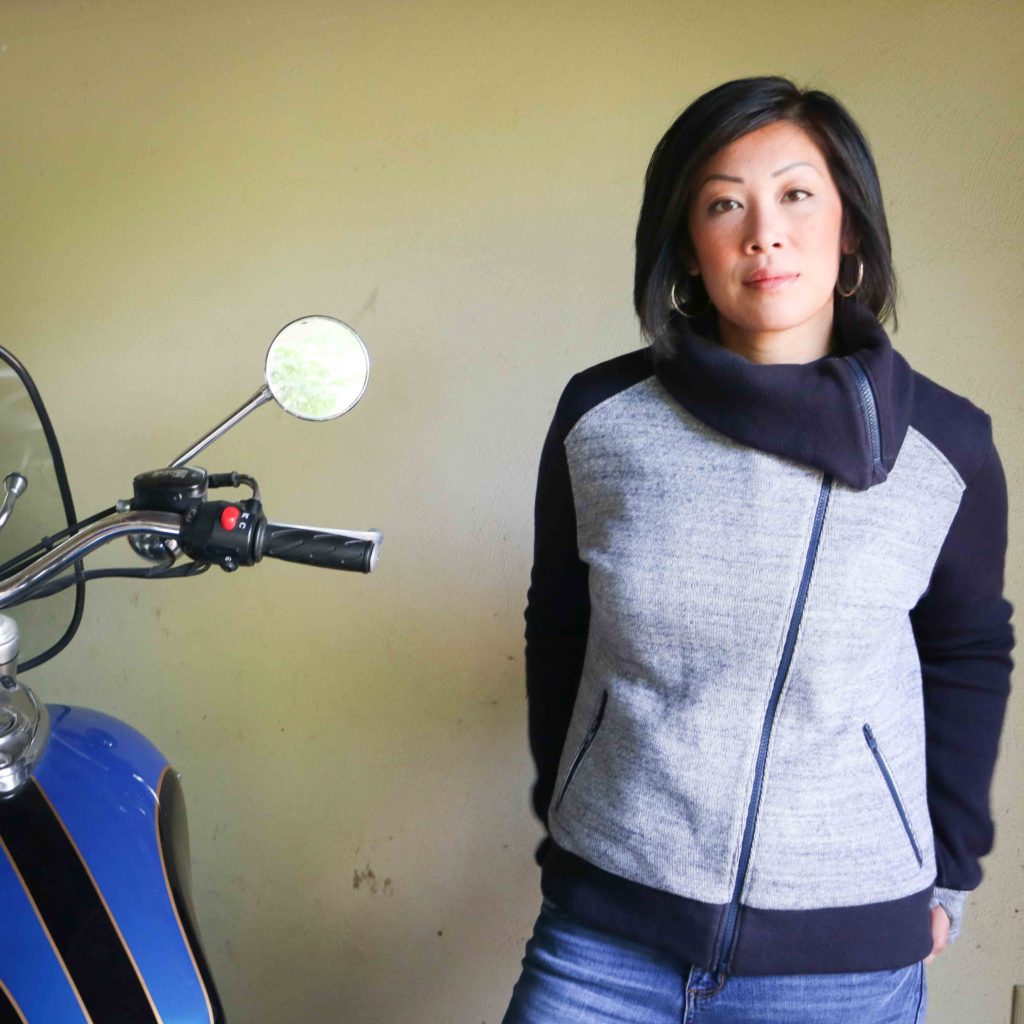
The Moto Sweatshirt is such a great stylish and edgy jacket designed for knit fabrics.  After seeing Allie Olsen’s tester version, I knew I wanted the same double-knit from her shop.  There is so much more versatility with a double-faced fabric (you can use either side of the same fabric) and it is perfect for some color-blocking.  Since this is also a sweater knit, it makes the jacket SO comfy and warm for those cool summer rides.

It’s usually not a good idea to procrastinate with a project, but in my case, it turned out to be the best thing I did..er…didn’t do 🙂  I wasn’t aware there would be a sew-along of the Moto Sweatshirt when I picked this garment to make.  Needless to say, I was so pleased to see it announced and you know I read through every post before starting on my own project.

The first recommendation I took was to make a narrow shoulder adjustment.  I saw how the shoulder seams were low on many of the testers and other versions online.   I’m pretty narrow in the shoulders as a 5’3″ woman and knew this was for me.  However, the next time I make this sweatshirt, I would probably will take in another 1/4″ off the shoulders.  You can read about how to make the simple changes here.

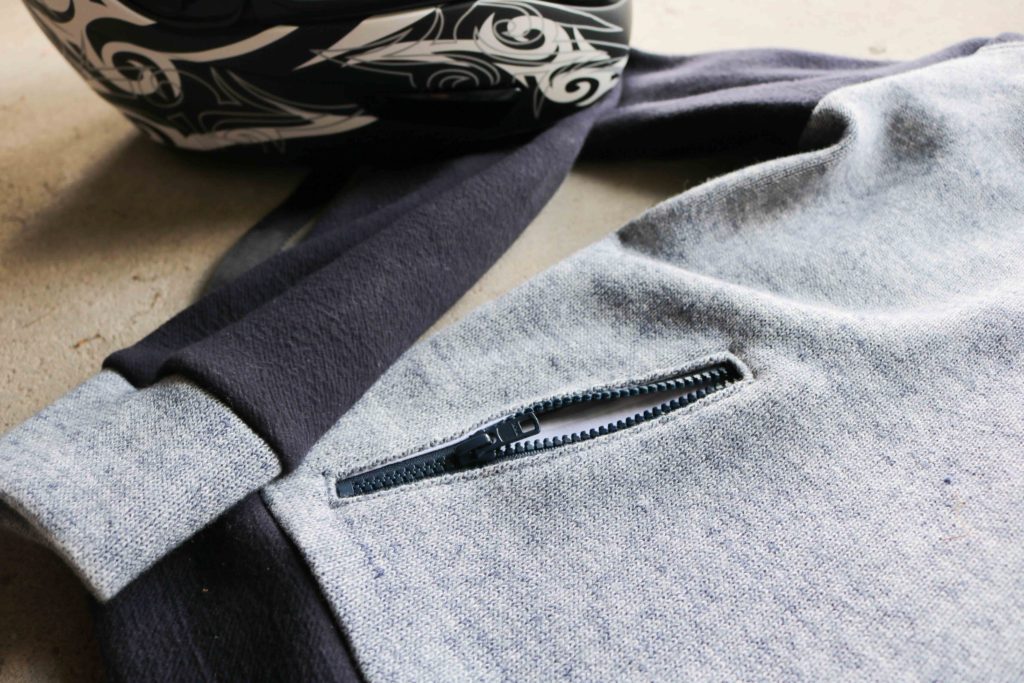
If you have never used a double-faced sweater knit before, it’s thicker than most jersey knits.  That’s why I decided to use a quilt cotton for the pocket linings.  Not only does it provide a thinner fabric to sew through, the woven nature makes it MUCH more stable.  If you have not sewn a zipper welt pocket before, I would highly suggest using the quilt cotton to save the stress and potentially extra time with your seam ripper…

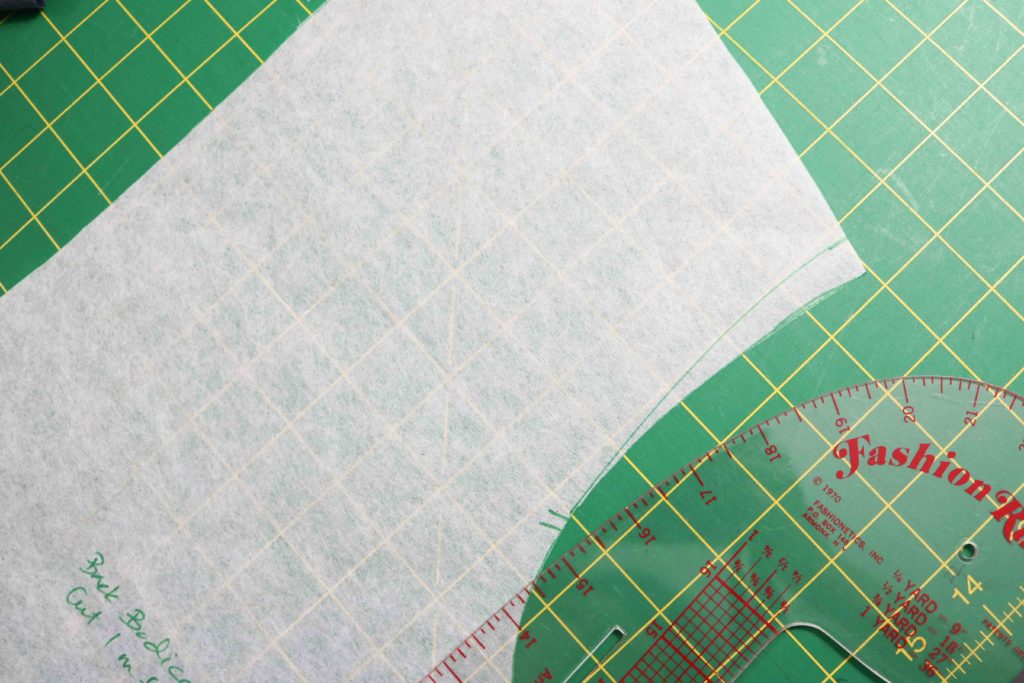
One of the biggest changes I made to the bodice patterns, although still very subtle, is the shoulder accent.  I blocked out each shoulder (front and back) with the dark navy side of the sweater knit.  This is a safety and design feature in many moto jackets in case you may fall off a bike.  I made my own pattern pieces by drawing the shoulder line, cutting out the pieces and then added the seam allowances back in.  I was pretty nervous doing this type of hack, but it worked…after many tests against the original pattern pieces. (It’s always good to check and to re-check!)

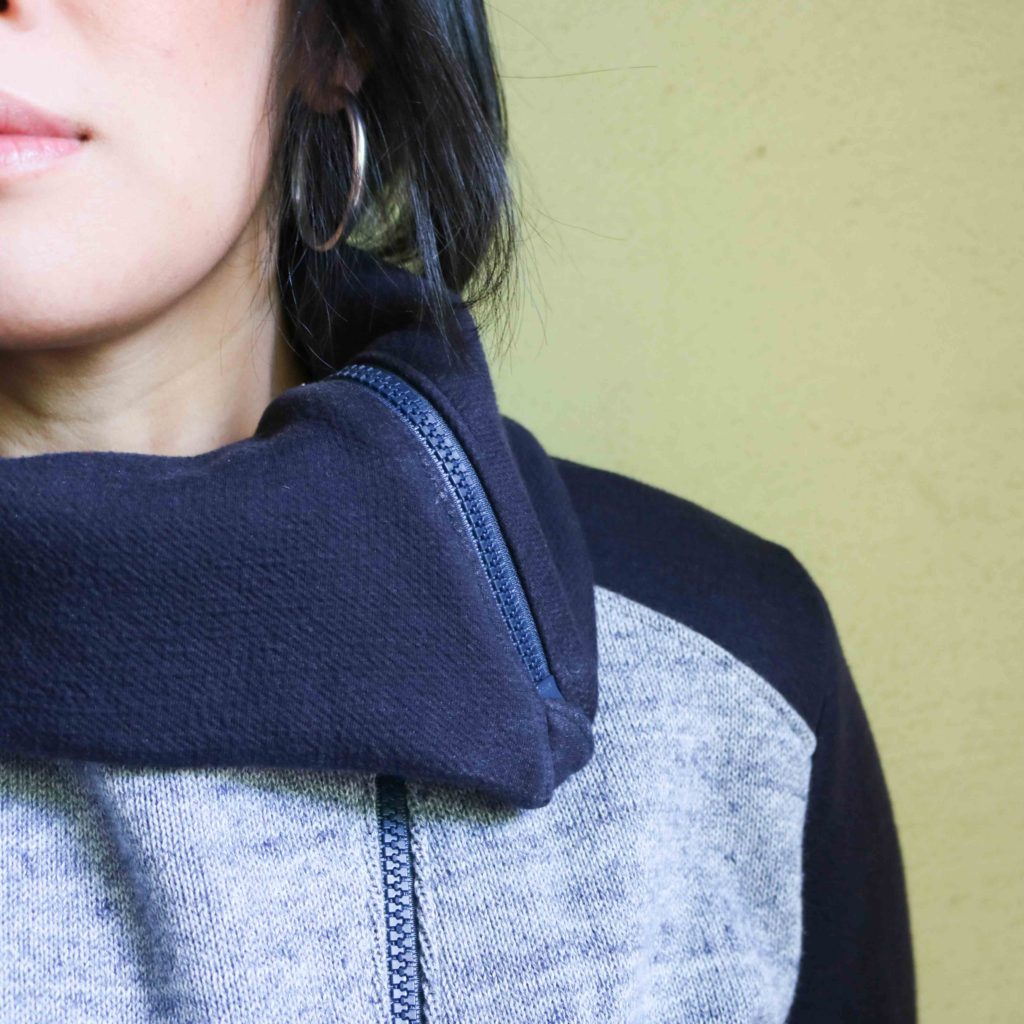
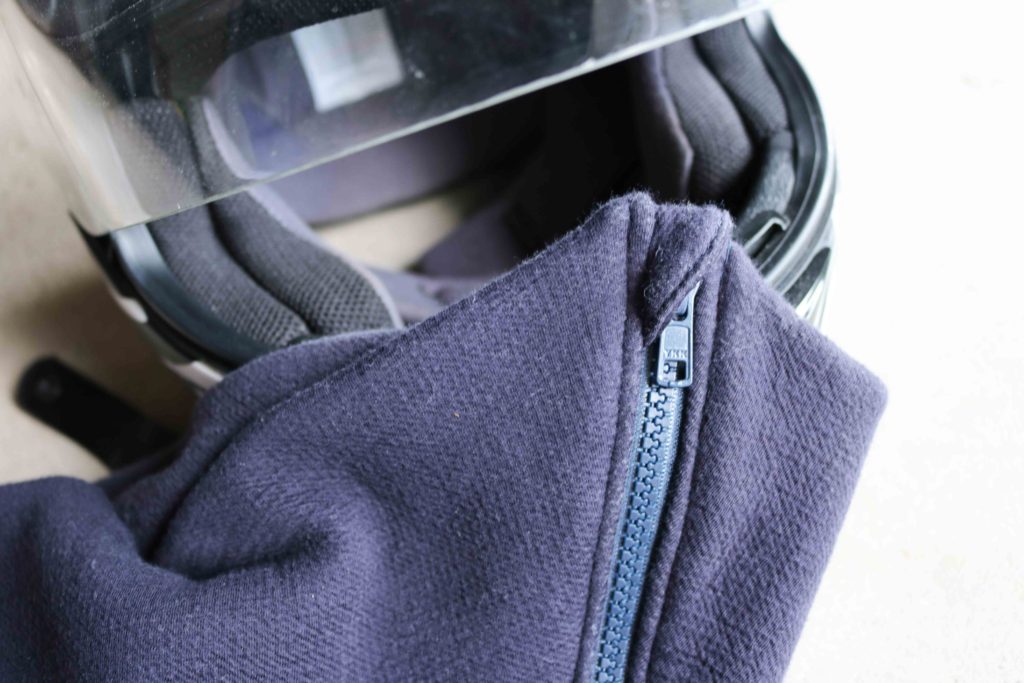
Since I made this sweatshirt for actual motorcycle riding, I wanted to make sure this was safe enough for the road.  The large folded collar is great for sun protection and for warmth, but I was afraid the zipper may have the potential to flip up depending on our speed and weather conditions.  That’s why I made sure to add in a cover for the zipper head.  When pulled all the way closed, the zipper’s pull is completely encased and isn’t dangling down.

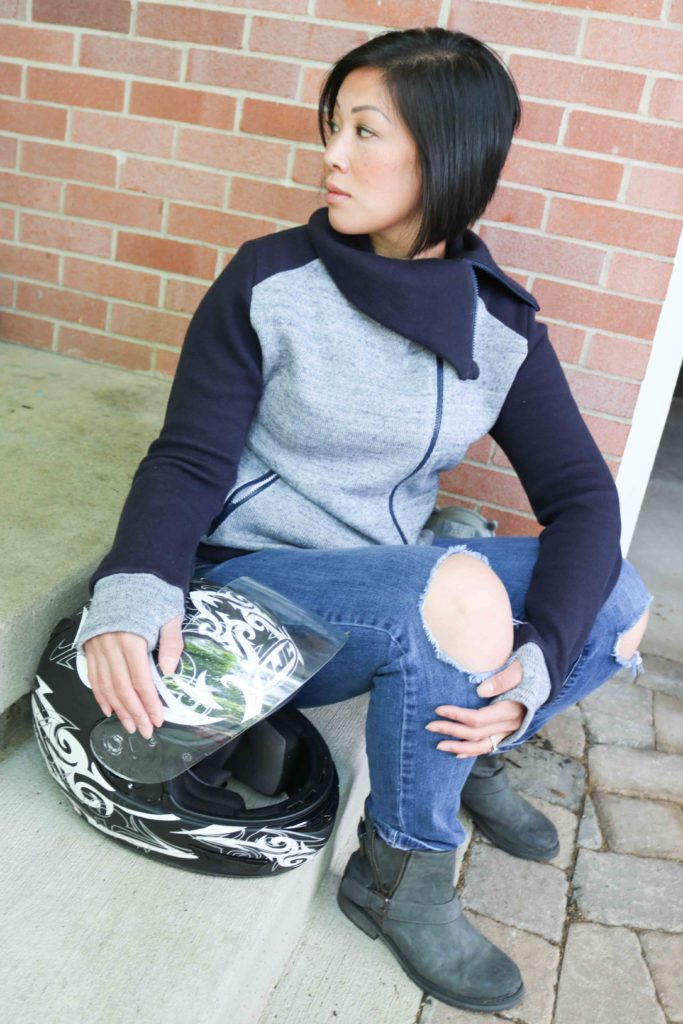
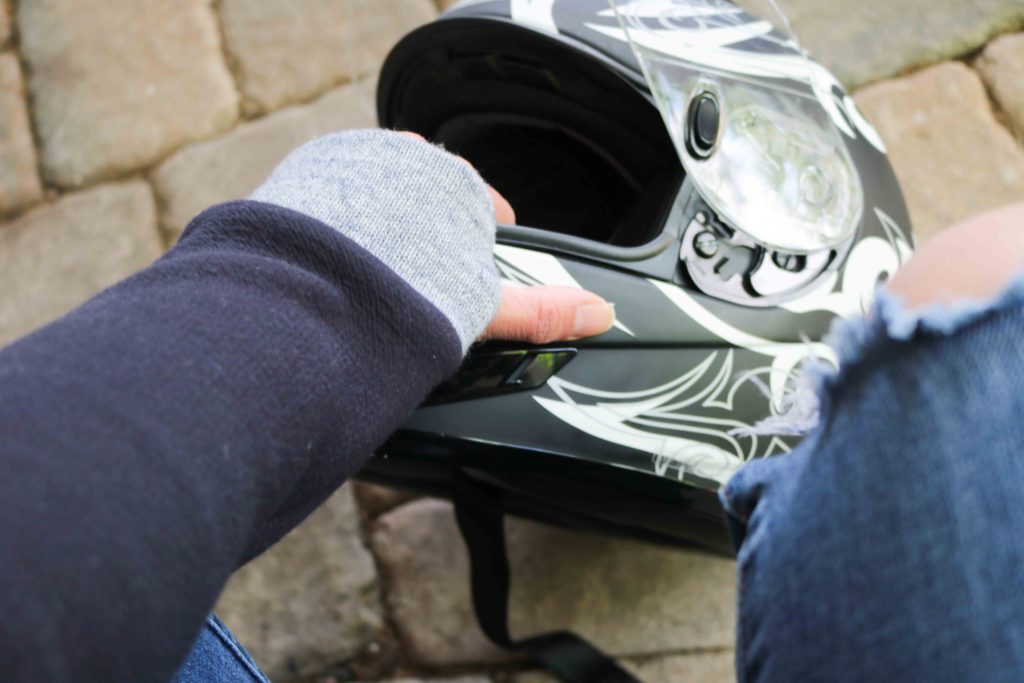
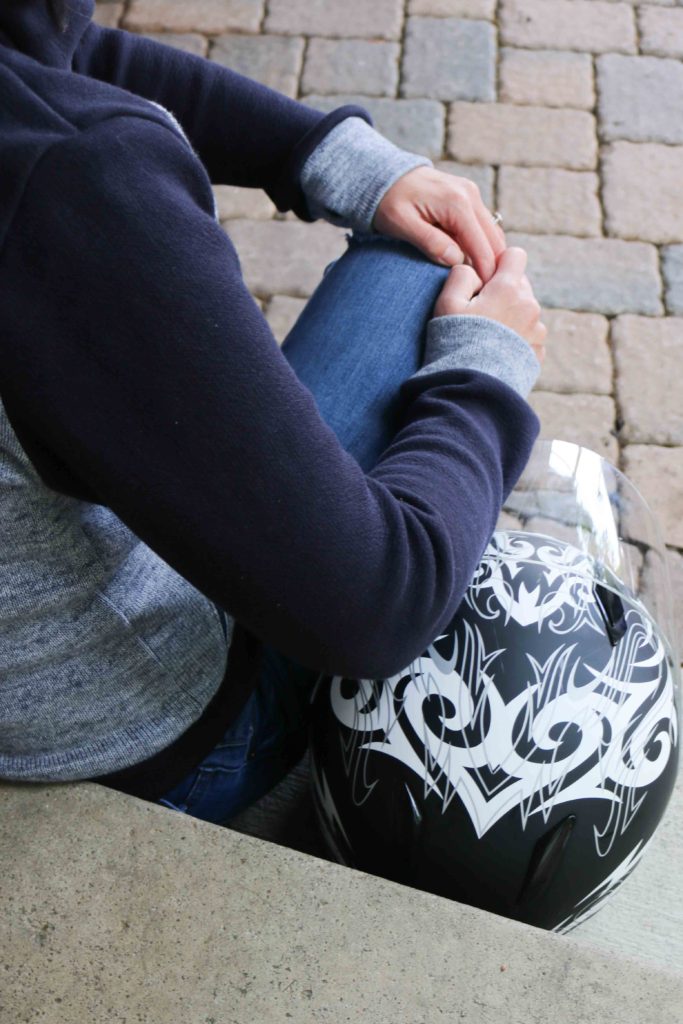
With almost all sweatshirts I make now, I like to add in thumbholes.  They are so great if you are like me and always cold.  But from a functionality standpoint, these are also perfect features to help keep my sleeves down.  Sometimes the air flow can push things back and I certainly won’t let my husband go just to readjust sleeves!

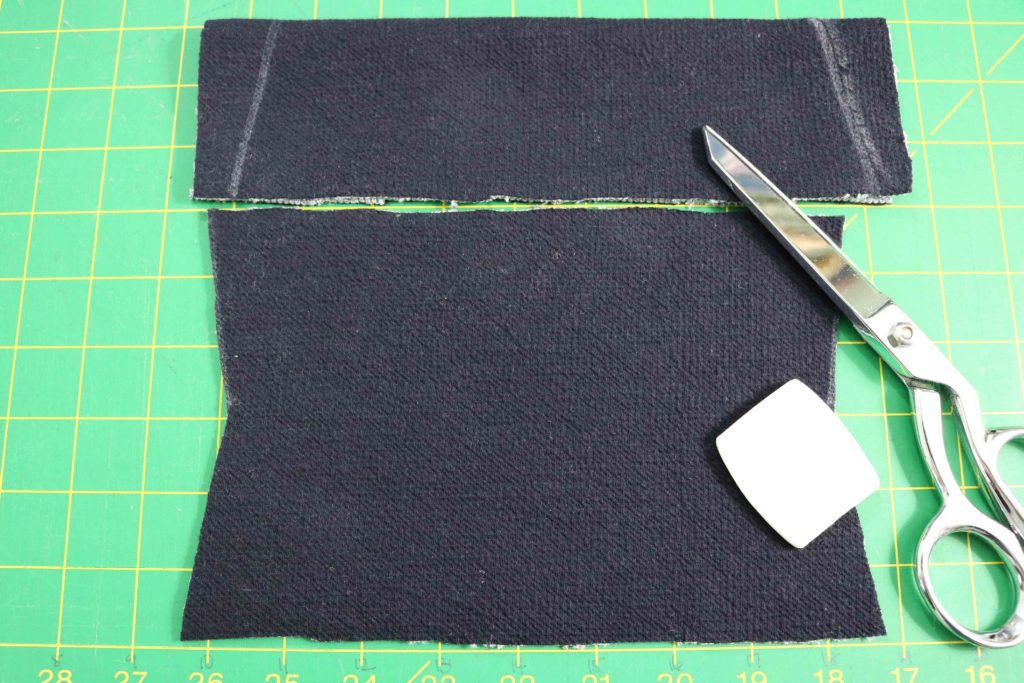
And with that in mind, I made sure to narrow out the entire cuffs themselves.  Again, with air pushing against me as I ride, I wanted to make sure these were more snug on my wrists.  I took 1/2″ off both sides and angled in 1″ where the cuff folds for a cleaner look.

Overall, I’m very pleased with the sizing and fit (after adjustments) with this Moto Sweatshirt.  The instructions and graphics were pretty clear, but it’s always nice to have extra visuals.  The sew-along on the Indiesew Blog was very helpful with showing additional pictures of each step.  I’m very grateful it was available and it made this project go much faster than anticipated. Yay!!!

Project Summary:

  • Pattern:  Moto Sweatshirt – If you want to grab the pattern, click here.
  • Fabric:  Double-Faced Japanese Sweater Knit from Indiesew
  • Zippers:  Molded Plastic Jacket style from Wawak
  • Thread: Gutermann
  • Machines:  Juki MO-2000QVP Serger and Juki TL-2010Q


I hope you enjoyed this review and my hacks to the pattern.  Will you wear your Moto Sweatshirt while walking or while riding???

Happy Sewing, Friends!

Cristy


The Seamly Moto Sweatshirt pattern and Double-faced Sweater Knit were both discounted by Indiesew for this blog post.  But as always, the make is my conception and all thoughts and opinions are my own.

FREE Woodland Mushroom Quilt Block :: Fabric.com Fall Block Party

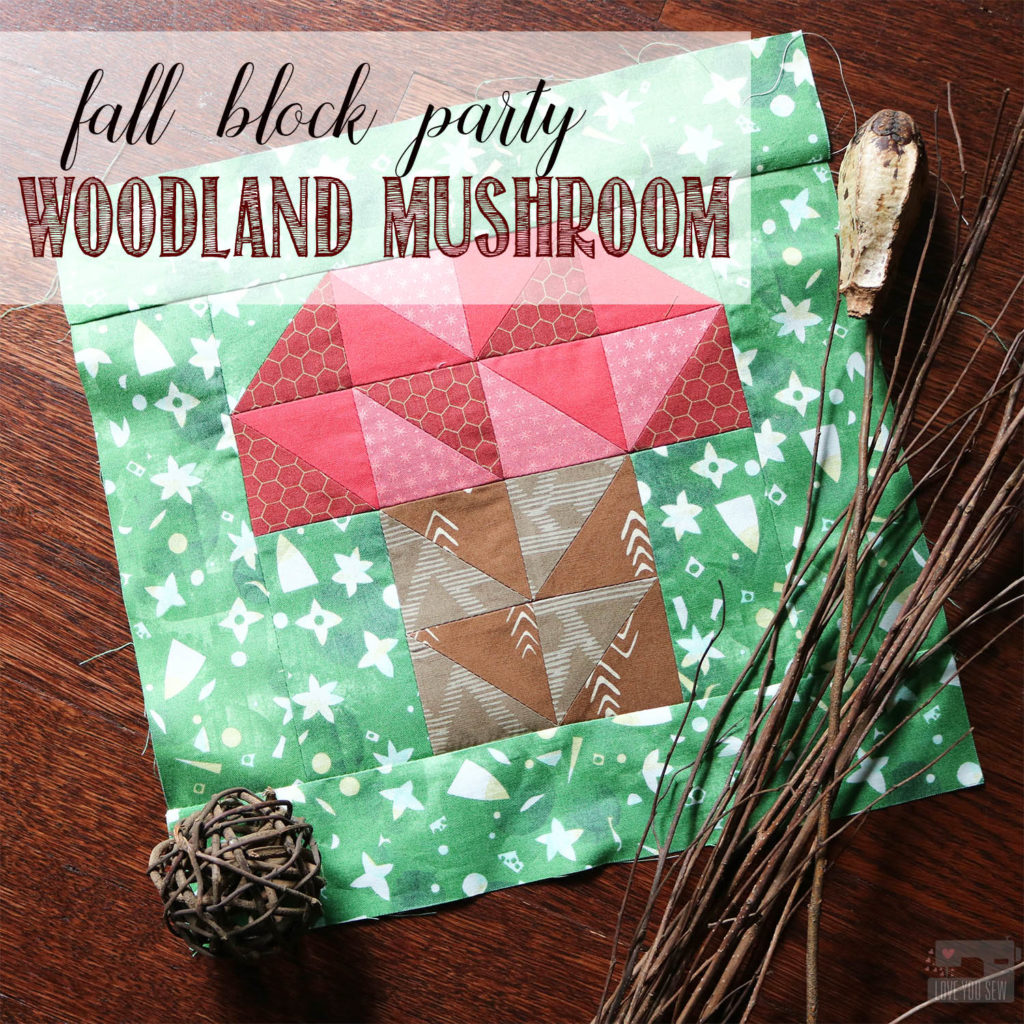
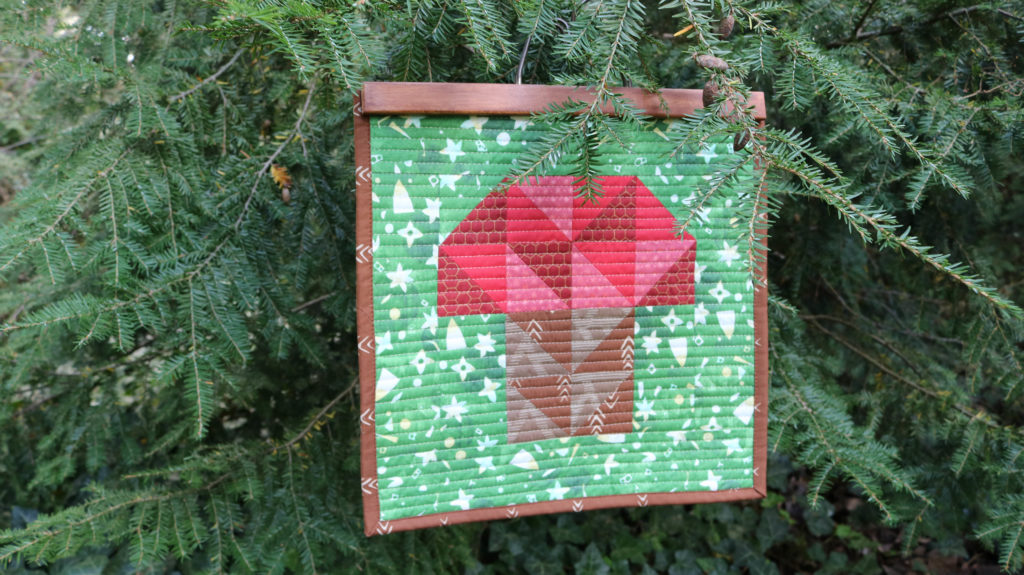
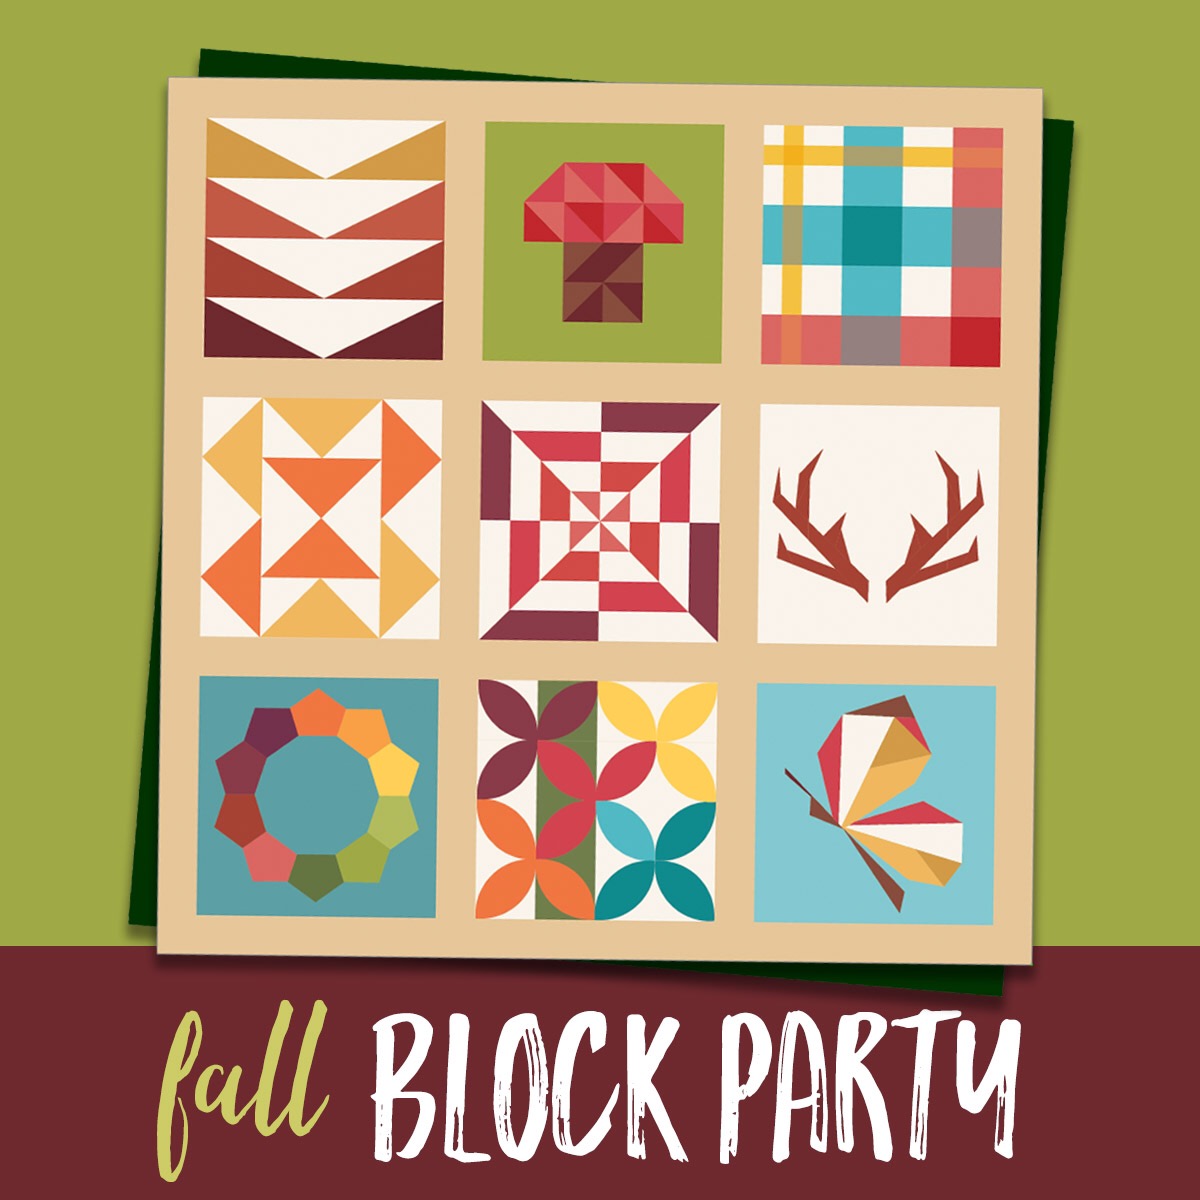
It’s Week #2 of the 9-week Fabric.com Fall Block Party and I’m ready to take you into the deep woods…  I just love this season with the air getting crisp, the foliage changing colors, and the weather is cool enough for a good long hike.  It’s so much fun to explore the wilderness, especially with my young boys.  We find so many little critters, unique leaves, and lots of different plant-life.  Our own discoveries made me think of the quintessential Woodland Mushroom.

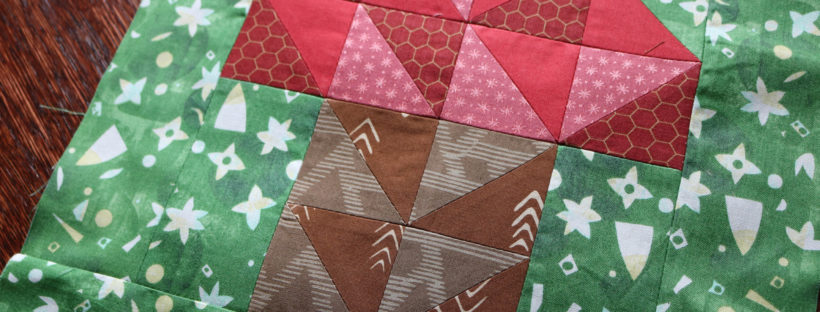
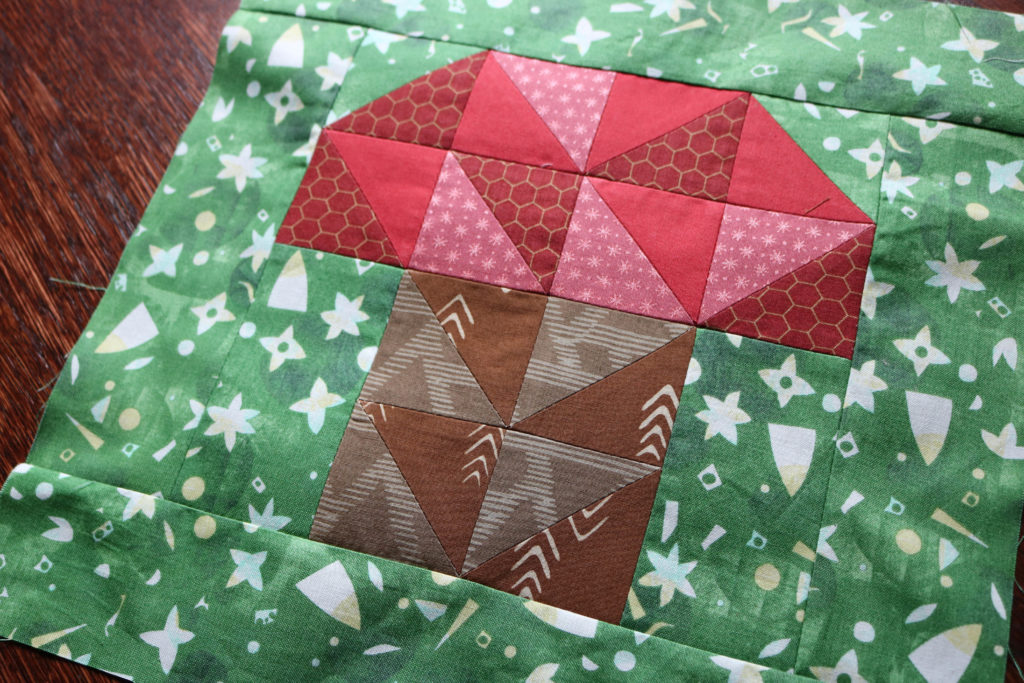
For this design, I wanted a fun scrappy mushroom to go along with all the different colors and textures we see out in nature.  The 12.5″ x 12.5″ (unfinished) block is based mainly on half-square triangles and you will love how just a little rearraging can give your block a new look.

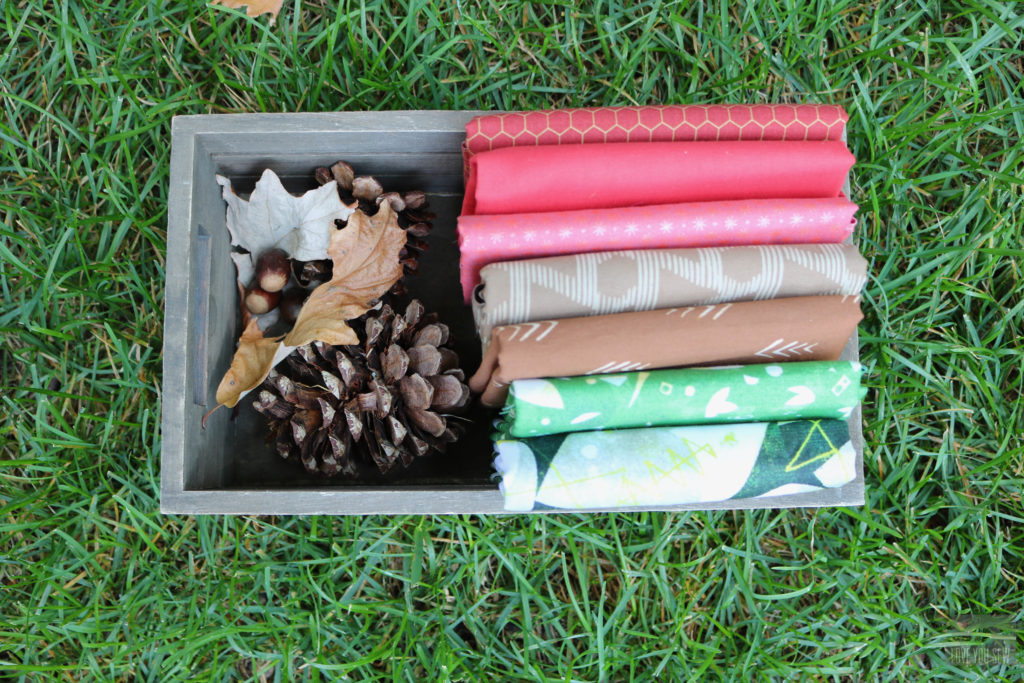
For the Woodland Mushroom, I stuck to the Kona party theme found here, but prints are my key to scrappiness 🙂  These are the fabrics I selected (from top to bottom):

As I was making the block I was thinking of all the ways I could the mushroom as decor….because my house need some help!  I thought of all the fabric signs we see in big box stores with witty sayings all bound together with living picture frames (just a piece of wood at the top and bottom.)  Then it dawned on me to use pant hangers!  I know a lot of you already use them to display blocks, but I thought I would turn it up a notch and refinish a few.

I found these two pant hangers for a total of $0.60 at my local thrift shops.  Both were blonde wood with the same nickel finish on the wire.  With a little fine sandpaper, I took the shine off the entire hanger and used materials I had around the house to refinish it.  A watered down brown acrylic craft paint gave me the “stain” and I happened to have this gorgeous hammered bronze spray paint leftover from another forgotten DIY project.  A few layers of clear coat topped it off to protect the fabric against any paint which may rub off.

The hanger makeover really makes the piece more modern with an industrial rustic feel.  It works well with this fall palette and displays my Woodland Mushroom mini perfectly!  It will be easy to change out mini’s over time and through the different seasons.

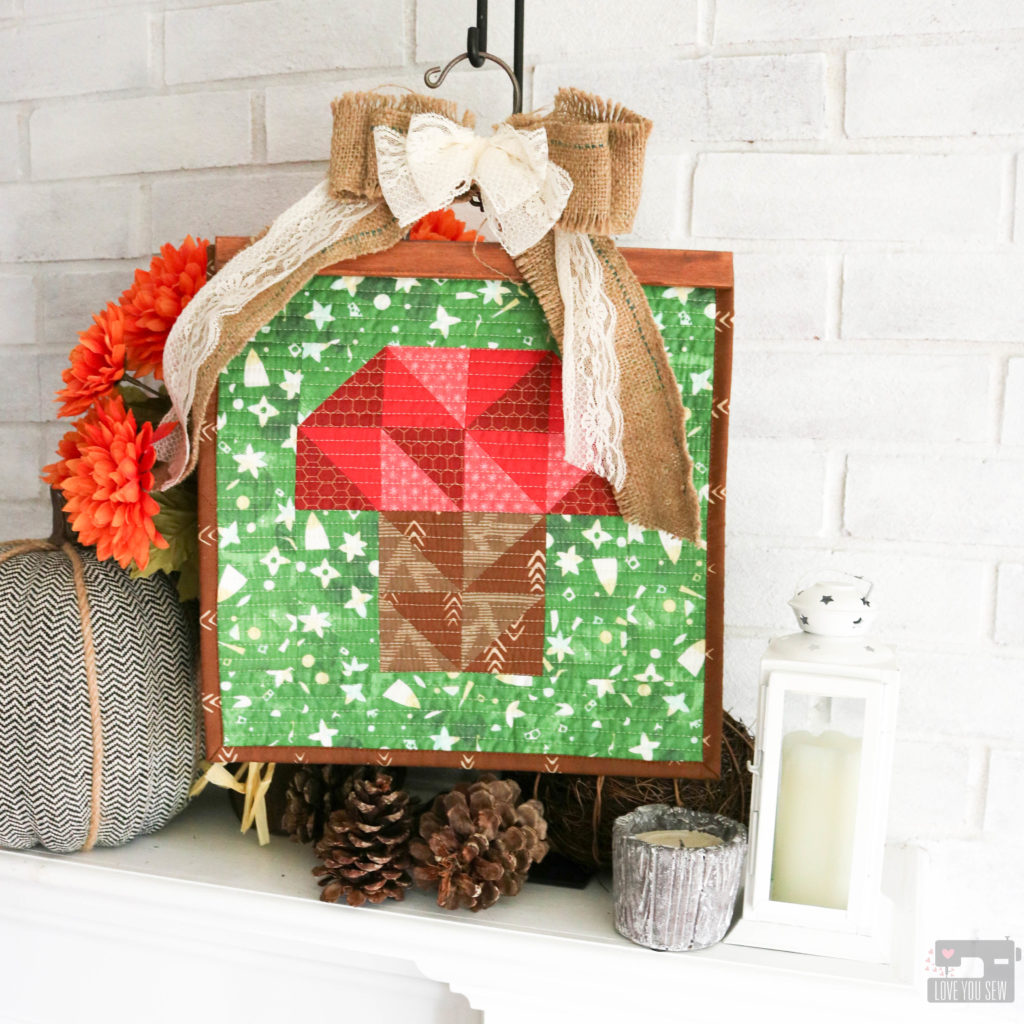
Here is the mini displayed with some upcycled “ribbon” cut from a burlap coffee bag and leftover lace from my sister’s wedding.  It is displayed on a mantle with a wreath hanger and helps to bring the random decor I had around the house together.

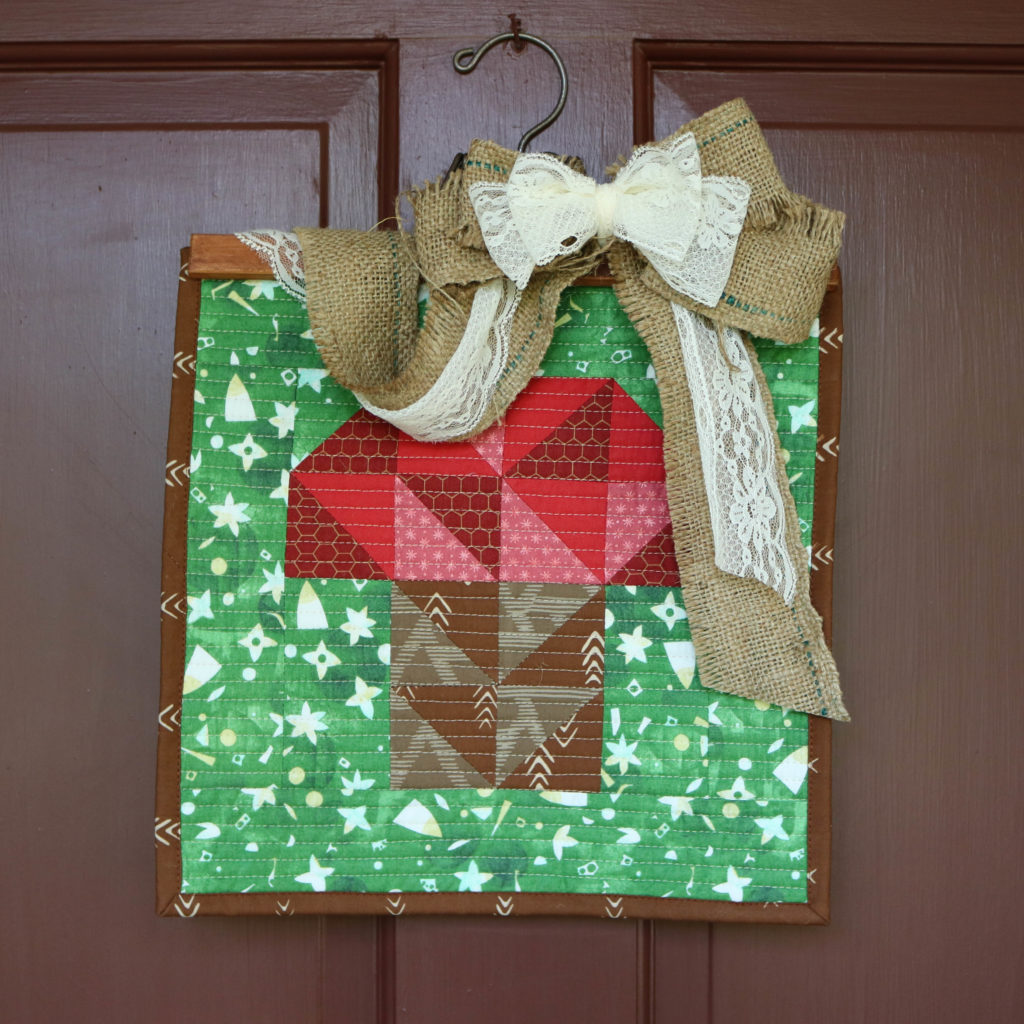
And if mantle or table-scapes aren’t your thing, the pant hanger make it easy to display a mini quilt on your front door.  I think quilts should be the “new” wreaths, don’t you think?  We should get on that movement!

I hope you enjoyed our walk in the woods!  To make your own Woodland Mushroom block, visit Fabric.com’s blog here.


Don’t forget to keep sewing along and follow the rest of these amazing designers and their Fall #fabricdotcomblock party patterns!

Sept 12 – Fall Geese

Kristi Schroeder – Initial K Studio – @initialkstudio

Sept 19 – Woodland Mushroom

Cristy Stuhldreher – Love You Sew – @loveyousew_ (You are here!)

Sept 26 – Mod Tartan

Jenn Rossotti – Ginger Peach Studio – @jennrossotti

Oct 3 – Time Lapse

Christopher Thompson – The Tattooed Quilter – @thetattooedquilter

Oct 10 – Double Windmill

Haley Anderson – Happiness in the Making – @happinessinthemaking

Oct 17 – Antlers

Lisa Hofmann-Maurer – Sew What You Love – @sewwhatyoulove

Oct 24 – Gather

Elise Baek – Elise & Emelie – @eliseandemelie

Oct 31 – Forest Floor

Sarah Thomas – Sariditty -@sariditty

Nov 7 – Flutter By

Nicole Young – Lillyella – @lillyellasworld


Happy Foraging!

Cristy


***This post was sponsored by Fabric.com and there are affiliate links.  The block design, instructions and post are my own original work with my own opinions.

Simple Zipper Bag Sew-Along

Zipper Pouch Sew Along

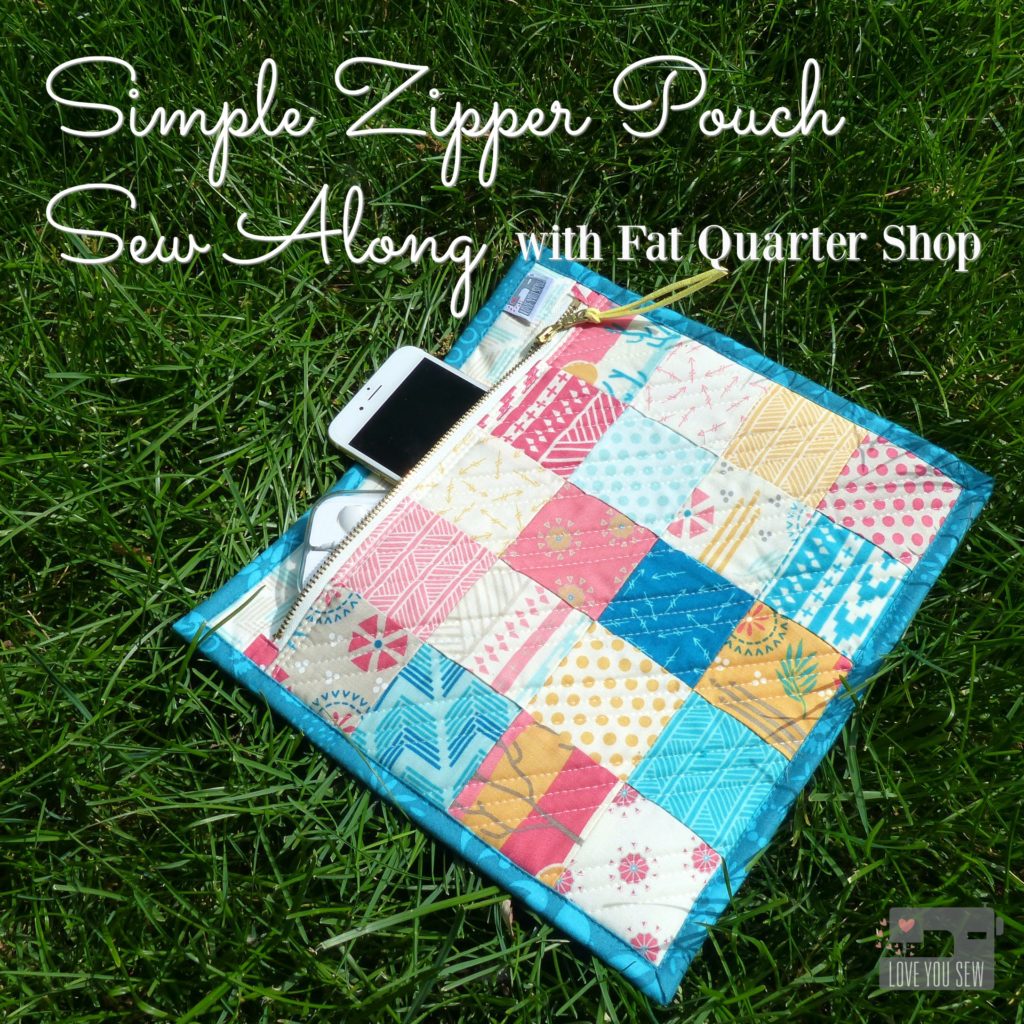
Who loves a great stash-busting project?  Well, Kimberly Jolly of Fat Quarter Shop, along with Sherri McConnell of A Quilting Life, have a great new tutorial of a super simple patchwork zipper pouch.  This project is also mini-charm friendly which makes it even easier.  Check out their easy to follow video below.

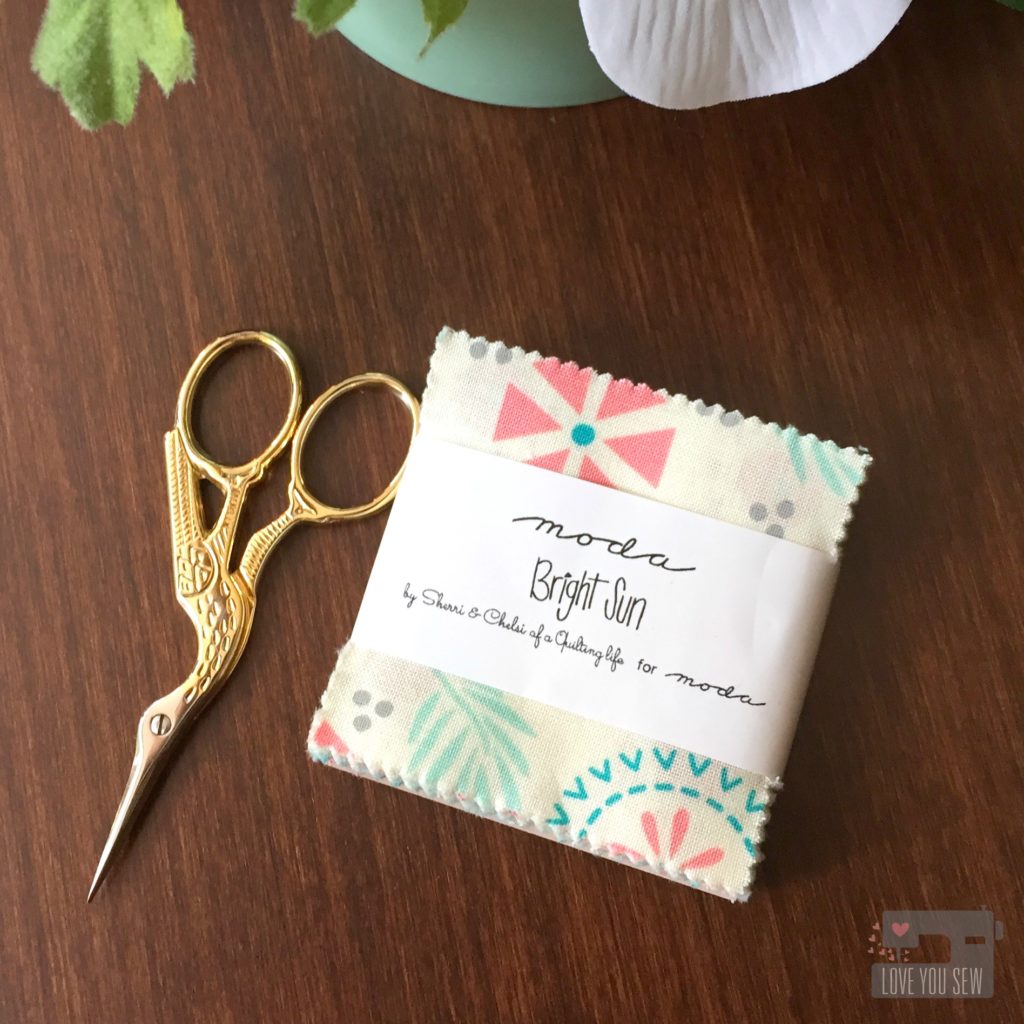
I went the mini-charm route and used Bright Sun, also by Sherri, for Moda Fabrics.  With the unofficial start of summer this week, I thought these fun and cheery fabrics were perfect for the pouch.

Charmpack

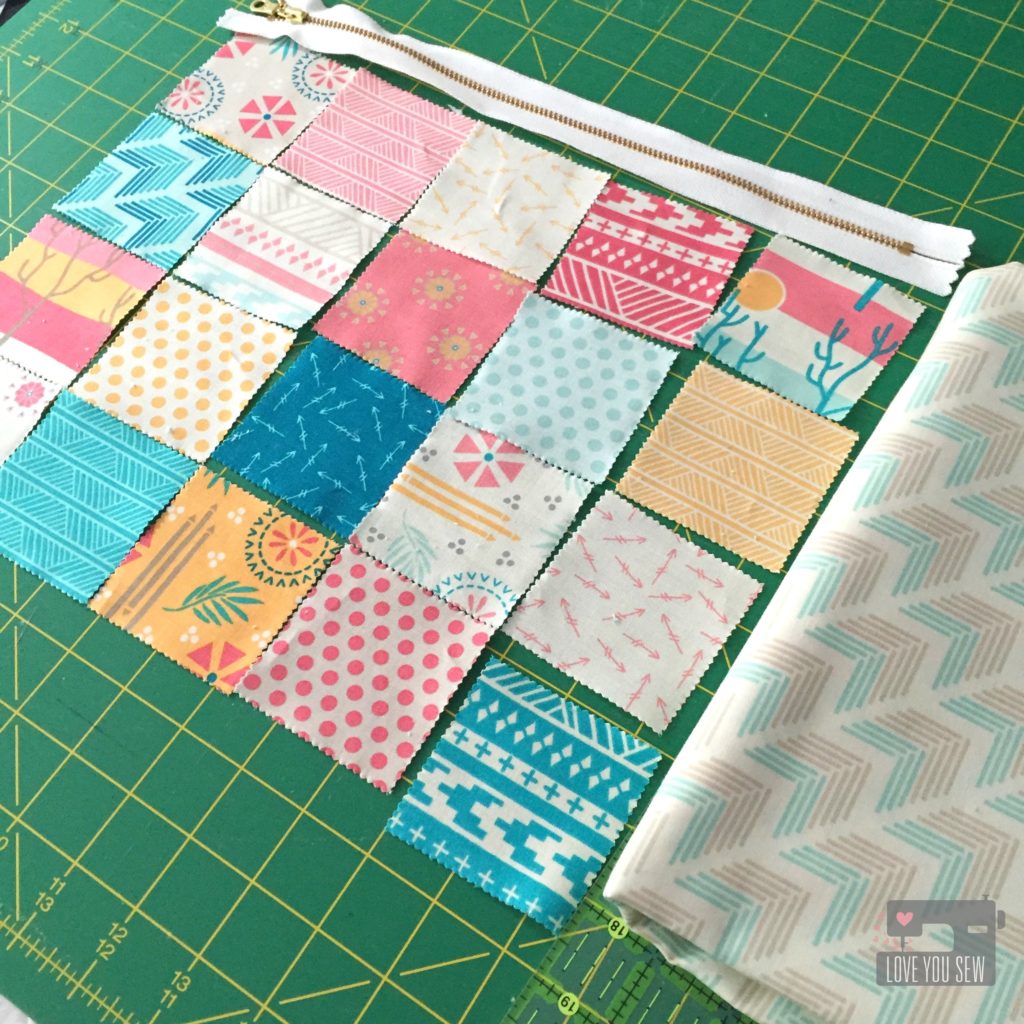
This charm pack had 42 prints which is more than enough for two large pouches.  (I have plans to make a second one as a future gift!)  After a little playtime, I settled on this arrangement and had the Dusk on Bisque print already in my stash.  So I used that for my backing, linings, and zipper top.

Layout

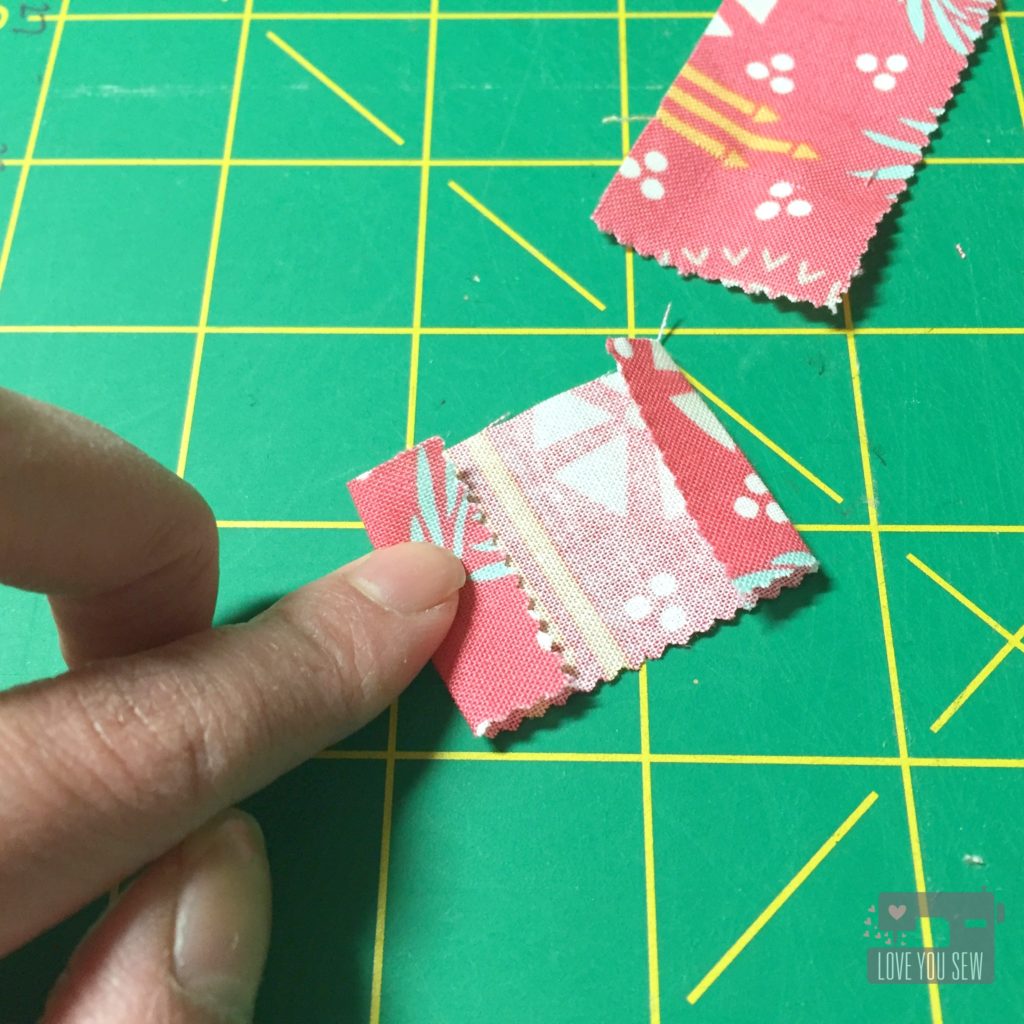
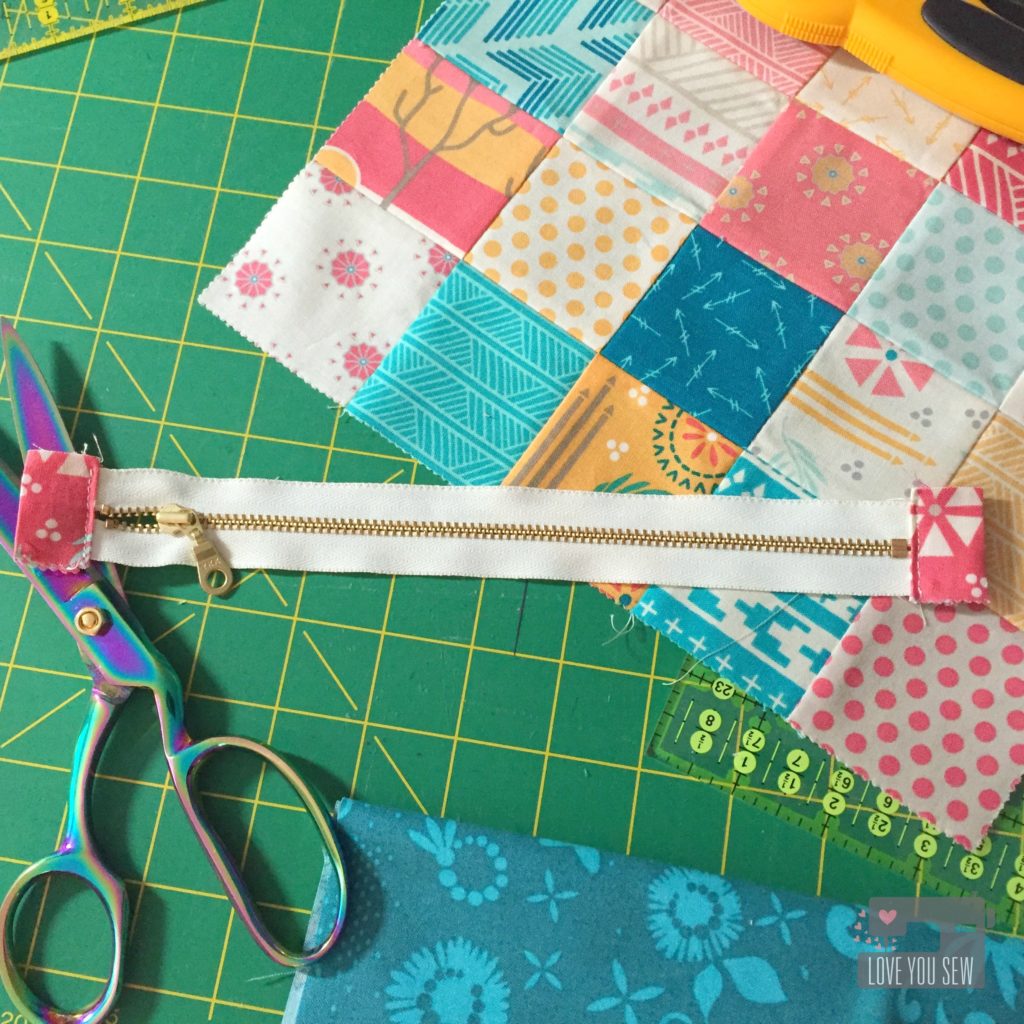
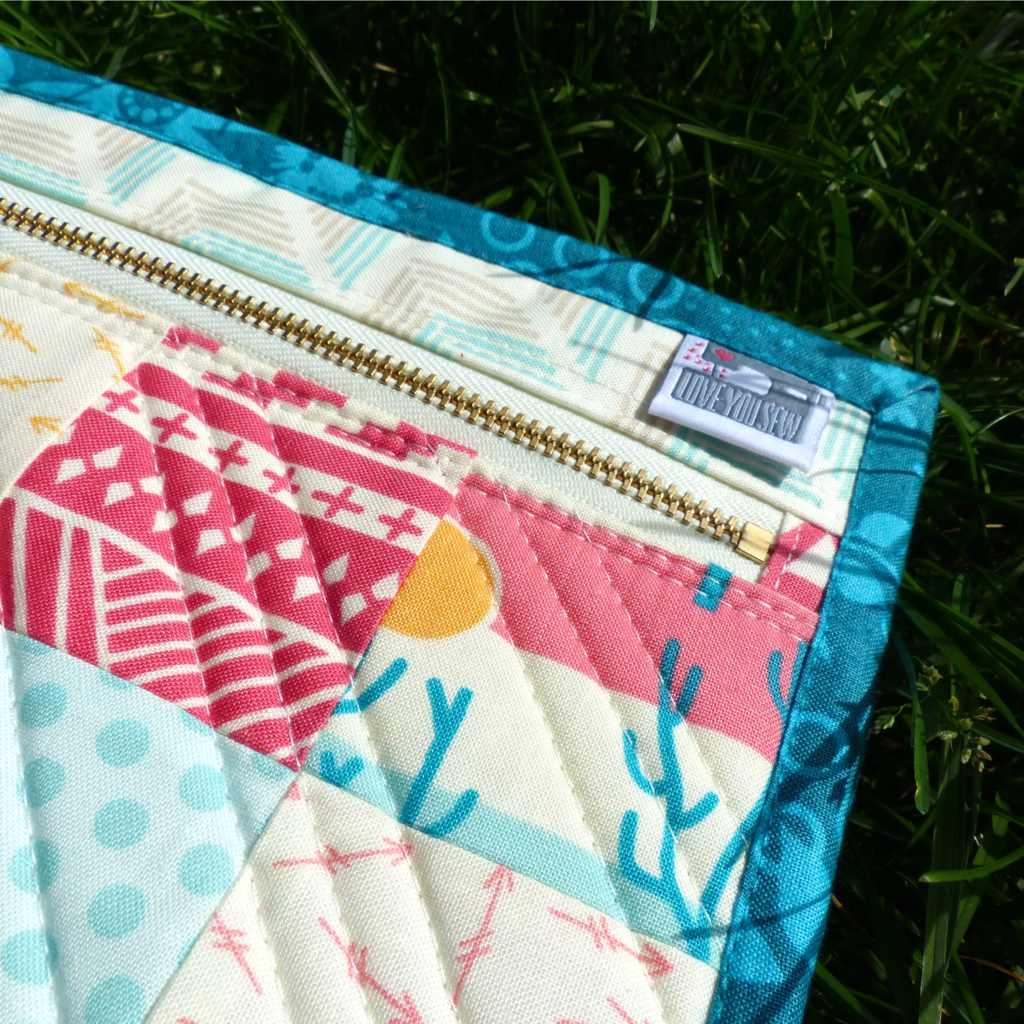
For this pouch, I thought I would have a little fun and add a metal brass zipper for some flare.  I used a 10″ metal one.  This length is a little short for the pouch, so I needed to add tabs on both ends to account for it.   I cut a mini-charm square in half to make each tab.

Zipper Tabs

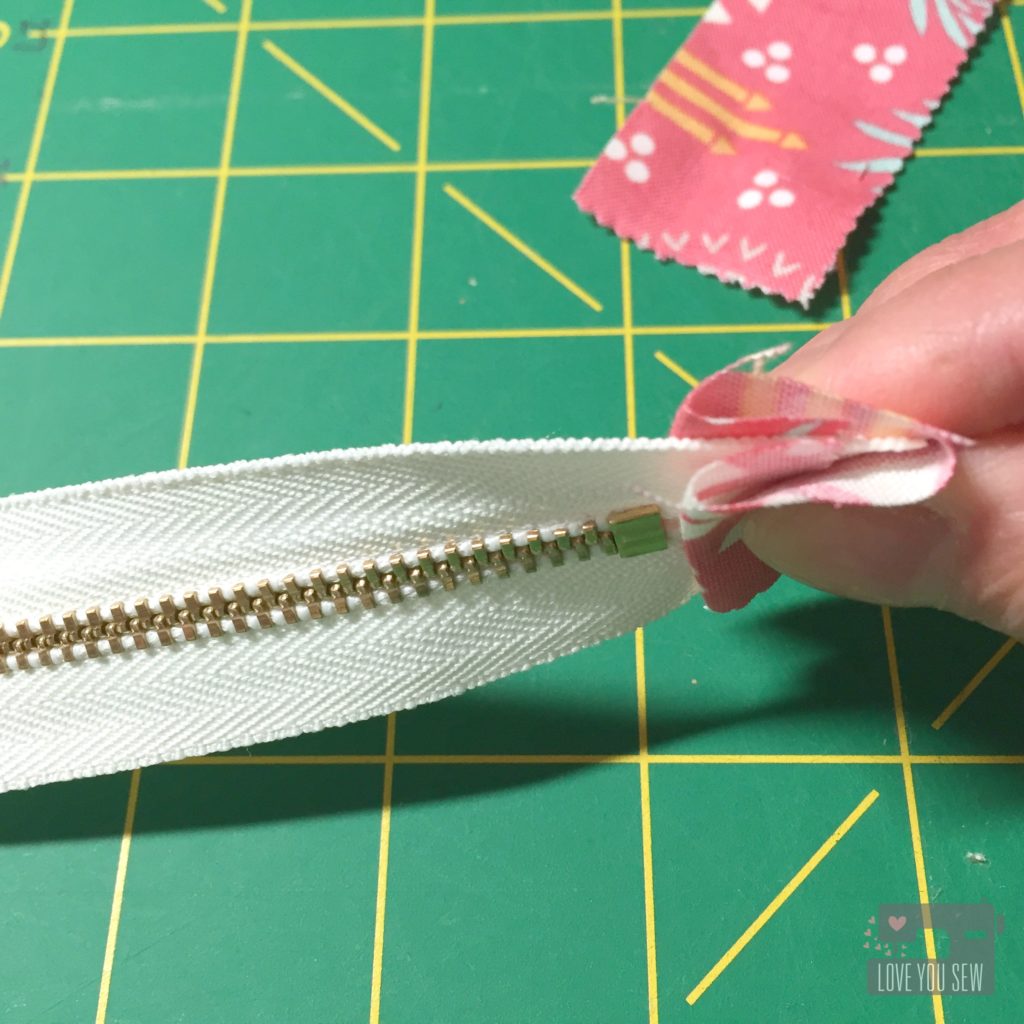
With each half charm, I folded down both short-ends of the tabs by 3/8″ and then in half to sandwich around the zipper.

Zipper End

I sewed on the tabs with a zipper foot, making sure to get both the top and bottom of the tab sandwich.

Zipper Tabs Complete

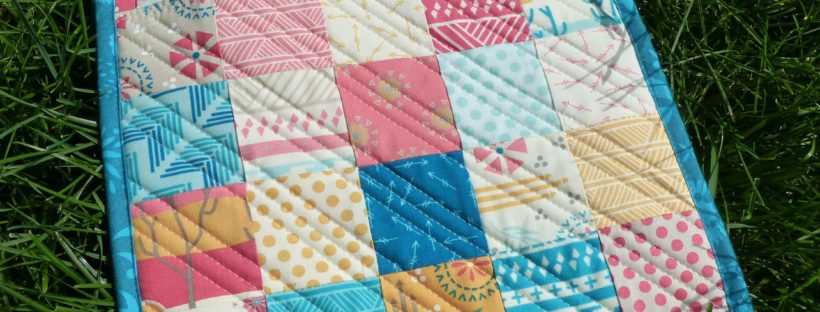
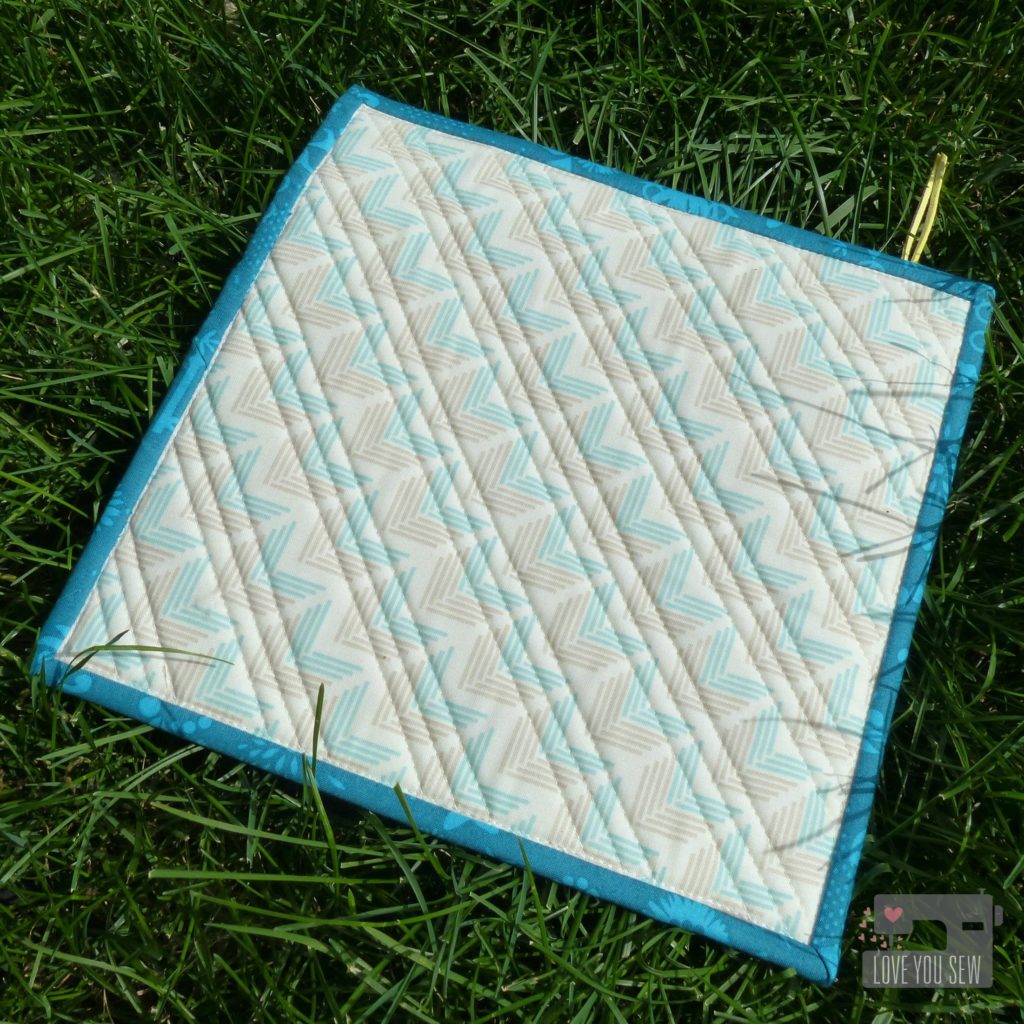
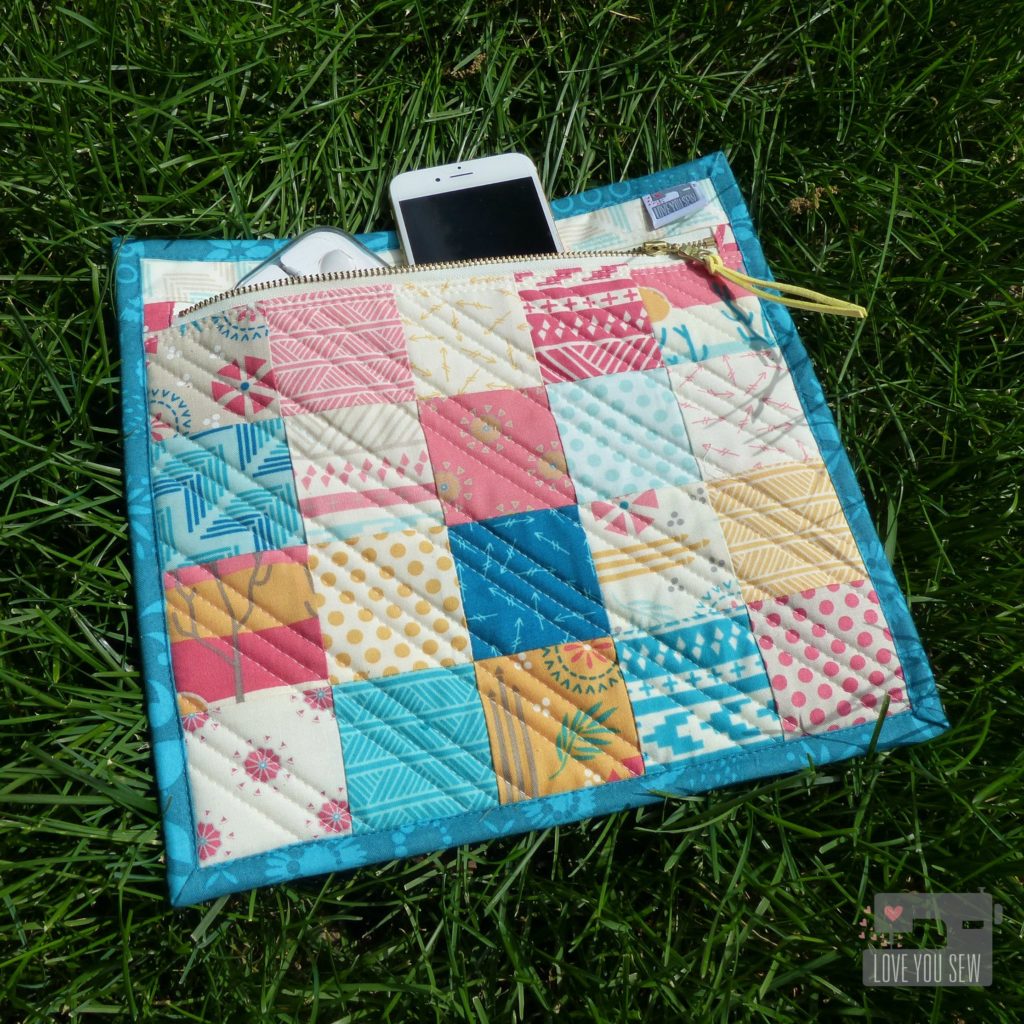
For the quilting, I used trusty Aurifil 2021 to sew straight diagonal lines on the front patchwork and on the backing.  The simple straight lines keep with the fun modern fabrics.  With such a small piece of quilting, I used some basting spray to keep all the layers from shifting.  It makes for faster work than pinning 😉

Back Profile

As I machine bound the pouch with Alison Glass‘s Corsage fabric, I added one of my labels in the front which can double as a key ring fob for more versatility.

Label Close Up

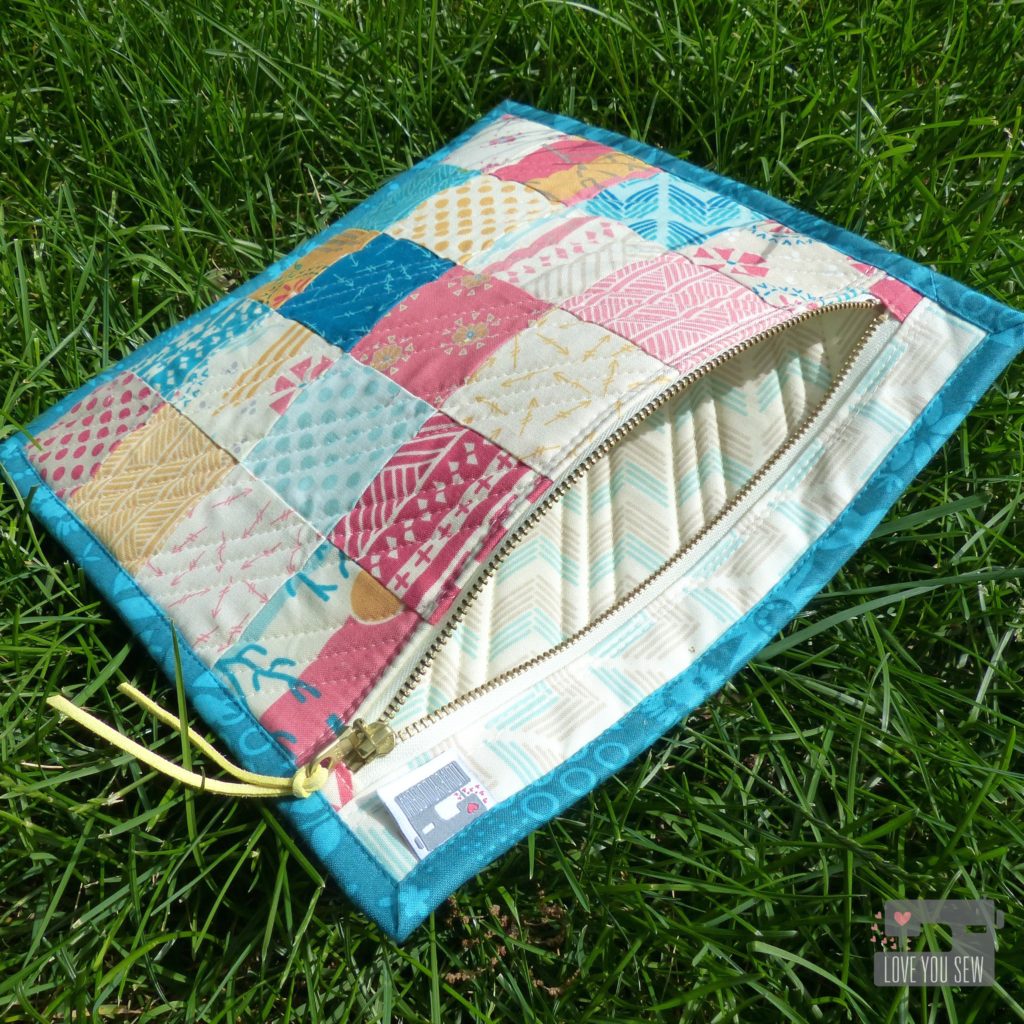
On the zipper, I omitted the fabric pull and instead, used some faux suede cording I had on-hand.  I thought the additional punch of yellow worked with the pouch better than more of the same background and interior fabric.

Interior

I love the structure and feel of the quilted Soft and Stable which make for a nice durable pouch.  It is perfect for personal electronics and/or for books you want to carefully protect.

Front Profile

The simplicity of this project and use of scraps makes it a MUST sew for any traveler this summer!  Do you have any fun vacation destination(s) coming up?

Don’t forget to visit all of the Simple Zipper Pouch Sew-Along bloggers below for more ideas:

Tina from Emily Ann’s Kloset
Jessee from An Art School Dropout’s Life
Erin from Why Not Sew?
Kitty from Night Quilter
Leanne from She Can Quilt
Vanessa from Lella Boutique
Amanda from Jedi Craft Girl
Sherri from A Quilting Life
Cristy from Love You Sew (you are here)
Leslie from Seasoned Homemaker
Tiffany from Tiny Seamstress


Happy Sew Along,

Cristy


This post was sponsored by Fat Quarter Shop and I was compensated for time and materials.