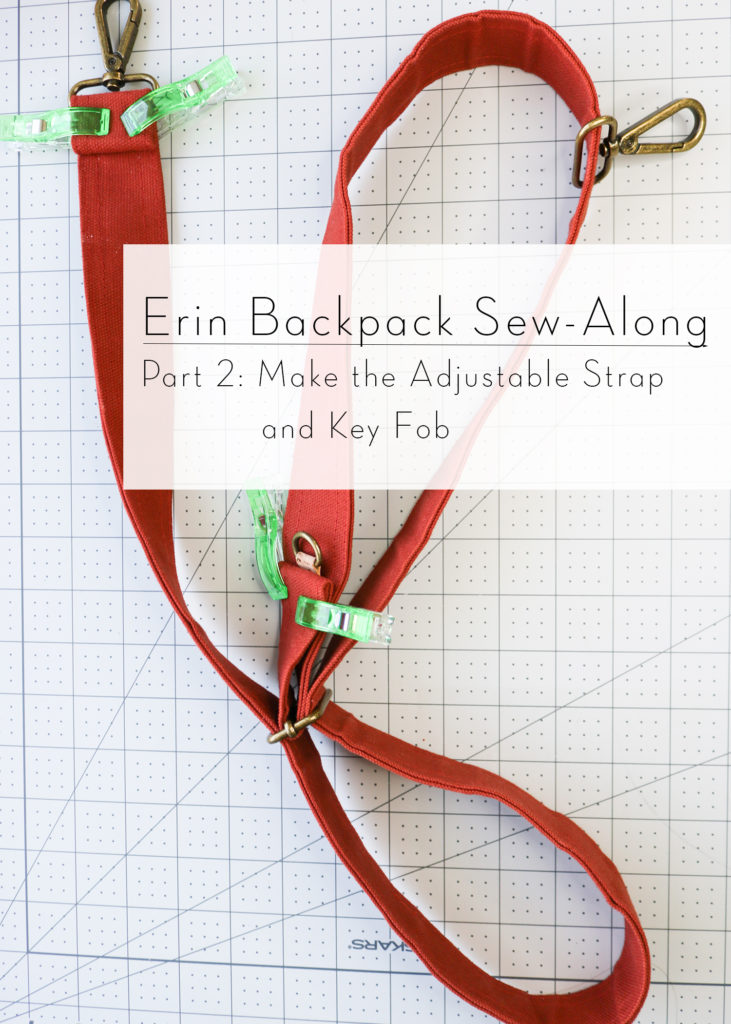
Welcome Back to the Erin Backpack Sew Along! We are now on Part 2: Making the Strap and Key Fob. If you missed any of the prior blog posts, you can find them below:
- Erin Backpack Introduction
- Sew Along Announcement with Fabric and Supply Information
- Part 1: Cutting, Interfacing and Hardware Prep
Now let’s get to it!
MAKE THE STRAP
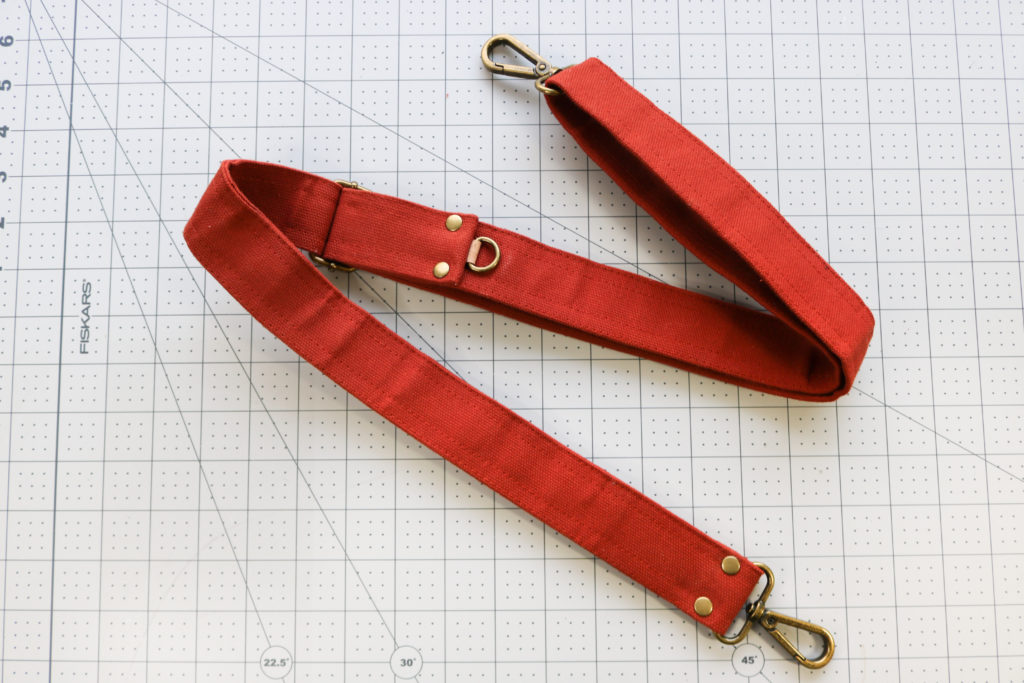
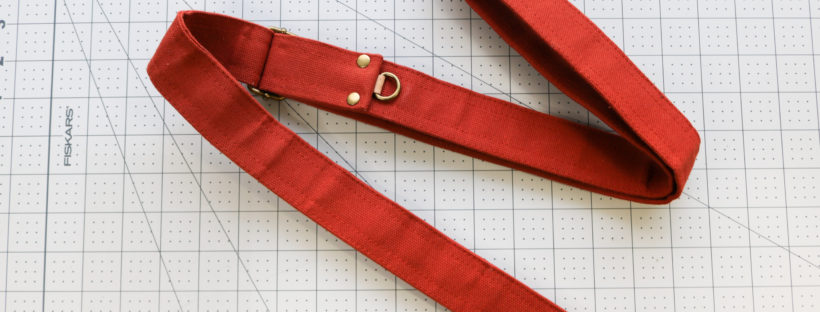
For the Sew Along, I have this great Expedition Dry Oilskin Canvas that is 61″ wide. So, I’m happily skipping steps 9-10 to piece the strap together. Again, since this is a treated canvas, I cannot use heat and fuse woven interfacing to it. At 9 oz in weight, it’s okay on it’s own!
[Steps – ] Click into the video above to watch the entire Strap making process. As you watch, please note the following:
- Adding nylon webbing is a great way to add strength to a strap, especially if you cannot interface it (like with laminates and waxed canvas.) I show the option in the video, but do not add it to my project due to the thickness of my fabric already.
- If you are worried about bulk at the end of your straps, one of my bag testers recommends this technique –>
- Use Fray Check to help seal the ends. I like to add the seam sealant, let it dry and then come back to trim it.
- If you need additional help setting Rivets manually, go to this post.
MAKE THE KEY FOB
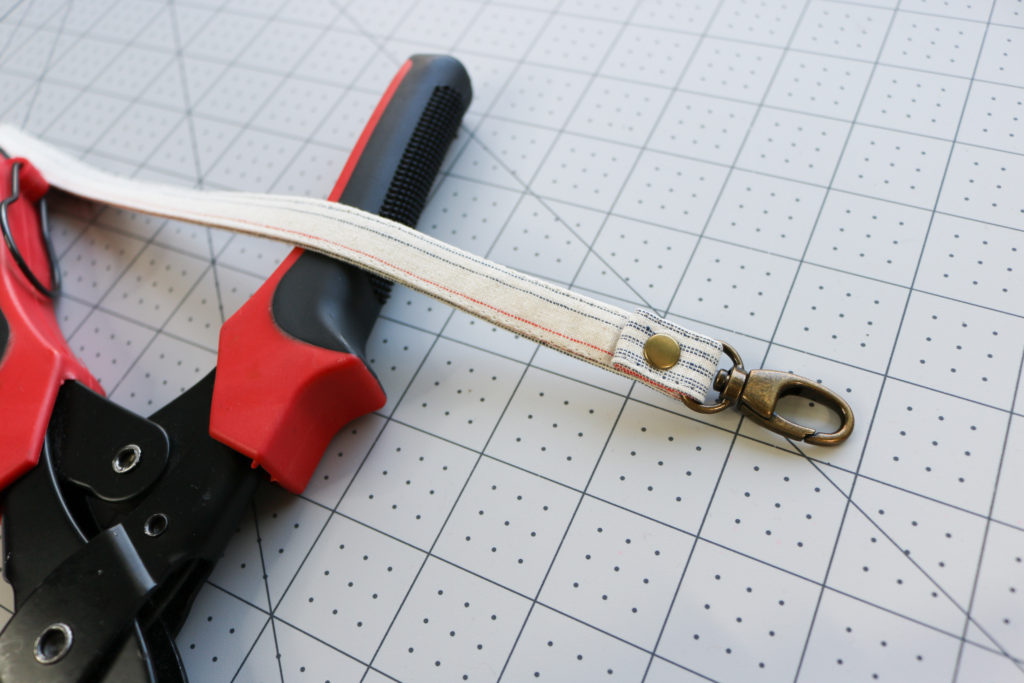
With the Dry Oilskin canvas being so thick, it would create such a big folded knob relative to the 1/2″ Swivel Clasp. So, for this the sew along, I used the lining fabric instead.
[Steps 18-20] Click into the video above for the entire Key Fob making process.
- If you need additional help setting Rivets manually, go to this post.
Hope you are doing well with this short Part 2! Drop any questions you may have in the comments! Now I’ll see you next week for the Erin Sew Along Part 3: Making the Back Panel.
Hugs and Stitches,
Cristy
This post may contain affiliate links. For my full Disclosures, read here.
