Add a Phone Zipper Pocket to the Abbey Convertible Backpack

The Abbey Convertible Backpack is my go-to bag when taking day-trips with my kids. I like having it out of the way but still being able to hold the essentials. But being a designer, I constantly have new ideas and wish there were different features with every bag I own.
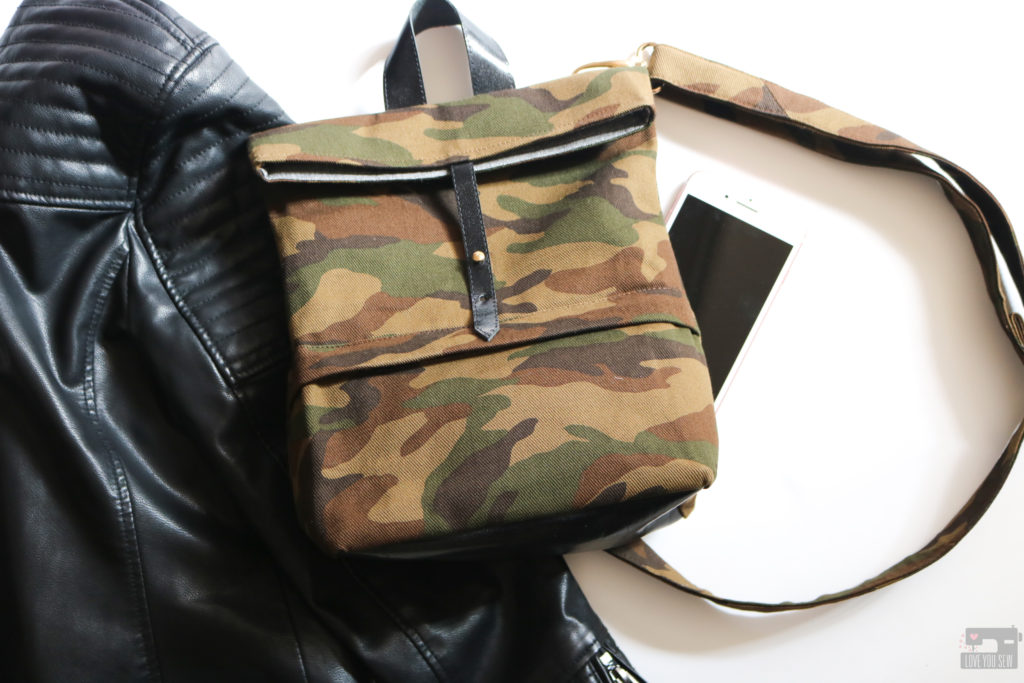
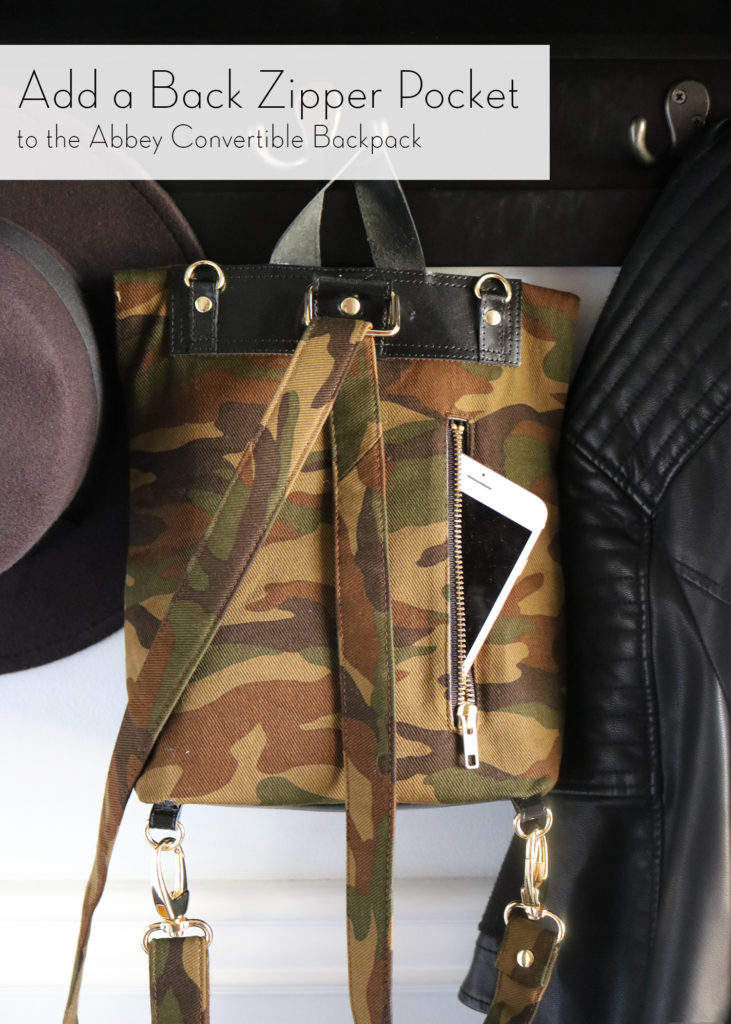
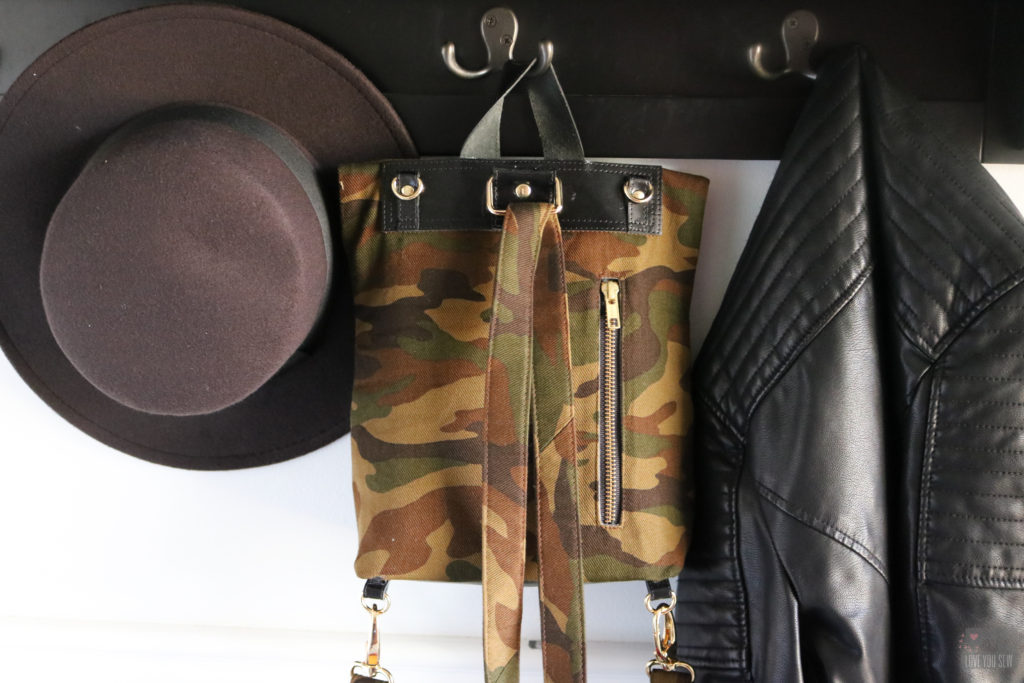
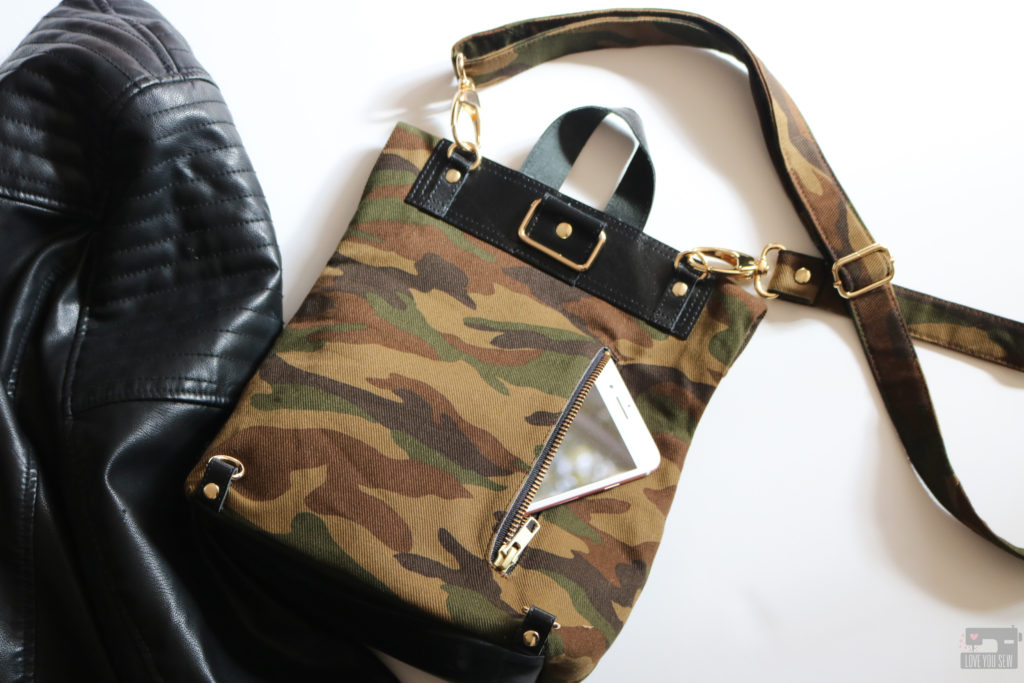
On the back of the Abbey, there is a slip pocket. I added the feature with the intention that it would be a quick spot to hold your phone or keys without having to open the main compartment as frequently. But since I happen to wear my bag more as a backpack, I have to swing it around to access the pocket and felt that a slip pocket just isn’t as secure for an expensive smartphone — and BOOM, I have the idea for the back welt pocket hack.
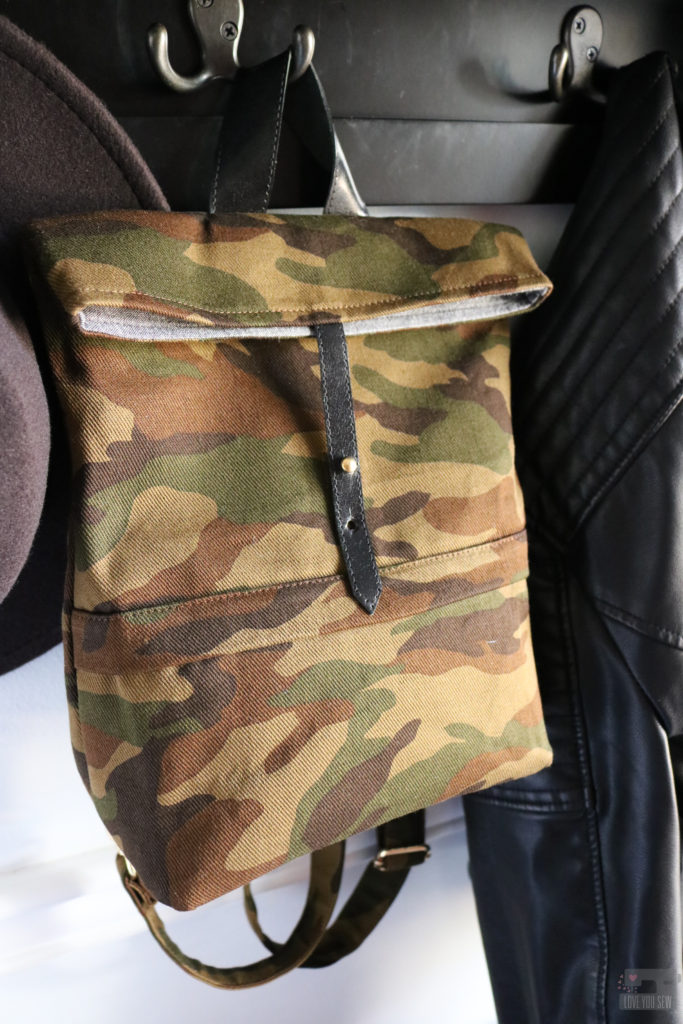
Back Welt Pocket Tutorial
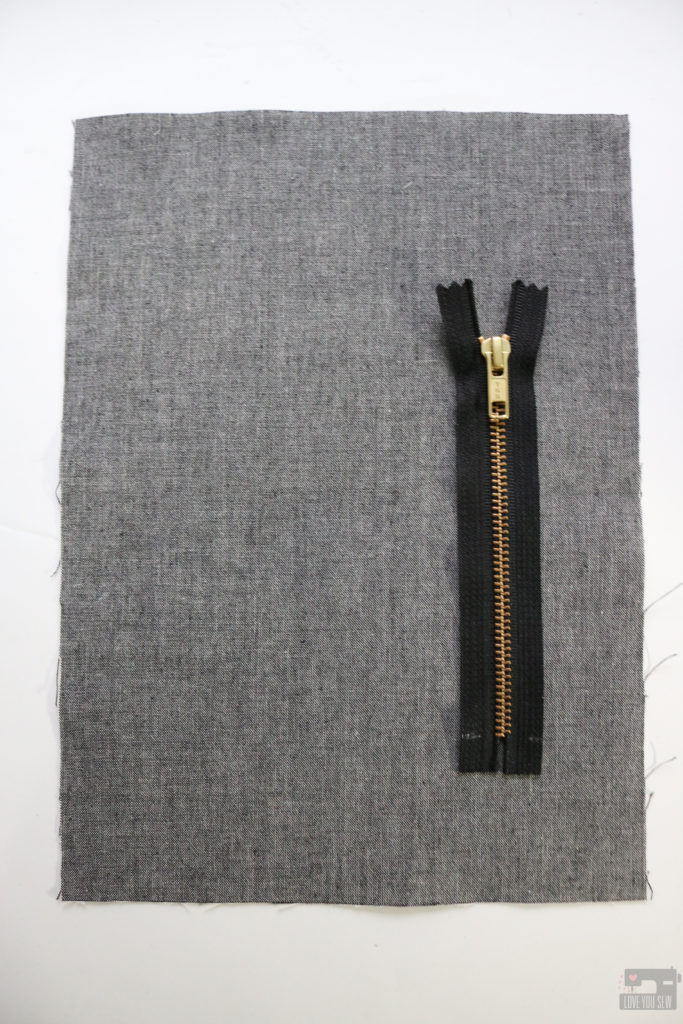
You will need the original instructions and templates for the Abbey Convertible Backpack which you can find here. Additionally you will need:

  • 6″ Zipper
  • 8 3/4″ x 12″ Lining Fabric + Interfacing (this is large enough to fit an iPhone 7+ with a thick Otterbox case.)
To make the Back Zipper pocket, you will omit all of the fabric and interfacing for the Slip Pocket and move through Step #41. (Please note I don’t have connectors added to my handle base at this point since I used leather and added them later.)

Draw a rectangle measuring 6″ x 1/2″on the wrong side of the Pocket Lining centered and parallel to the short side as shown. The Zipper will run vertically.  There should be 1 3/8″ above and below the rectangle and 3/4″ space to the right. 
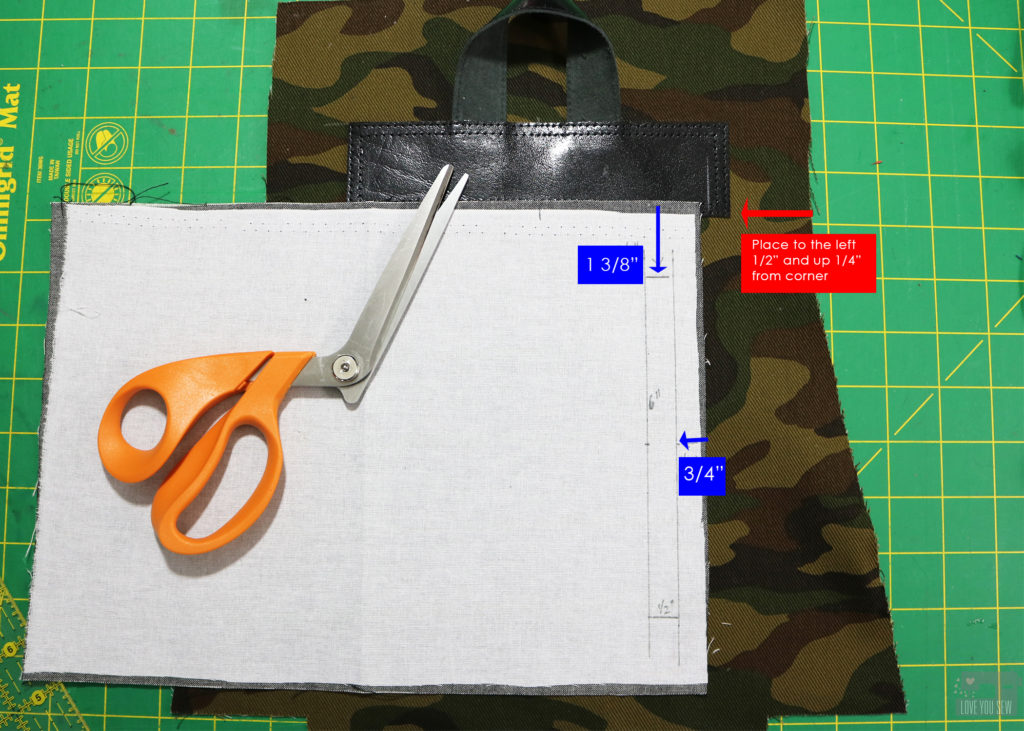
Line up the Pocket Lining as shown with the right edge 1/2″ in and up 1/4″ from the sides of the Handle Base. Pin the Pocket Lining in place. Go back and follow Steps #21-28 to finish the pocket! Voila – a chic looking vertical zipper pocket to keep your phone or other valuables a little more safe as you sling the backpack around.
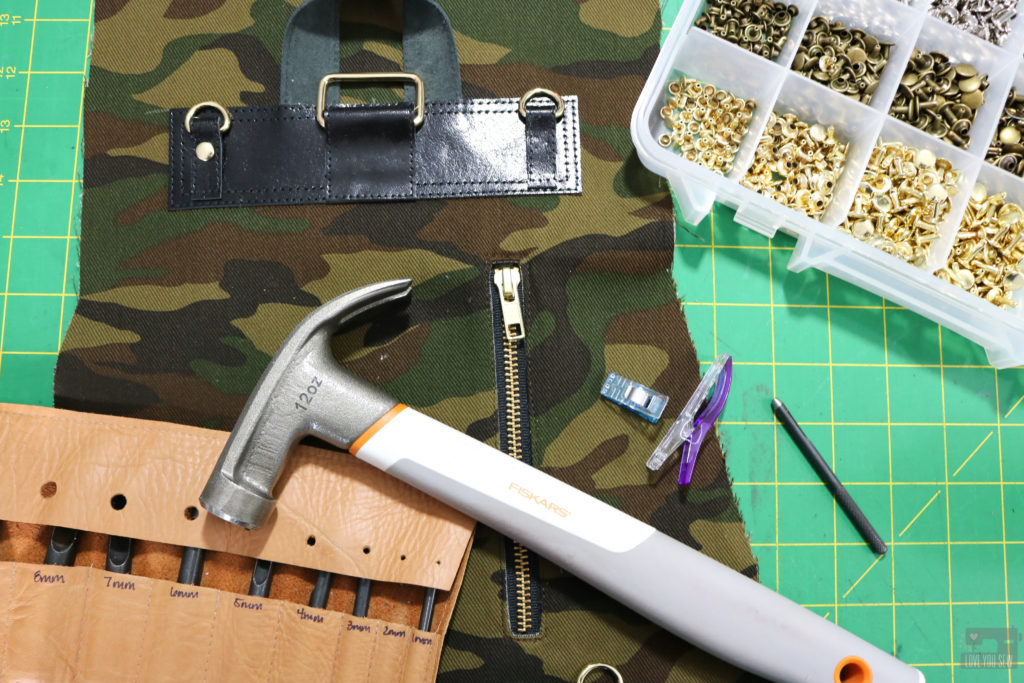
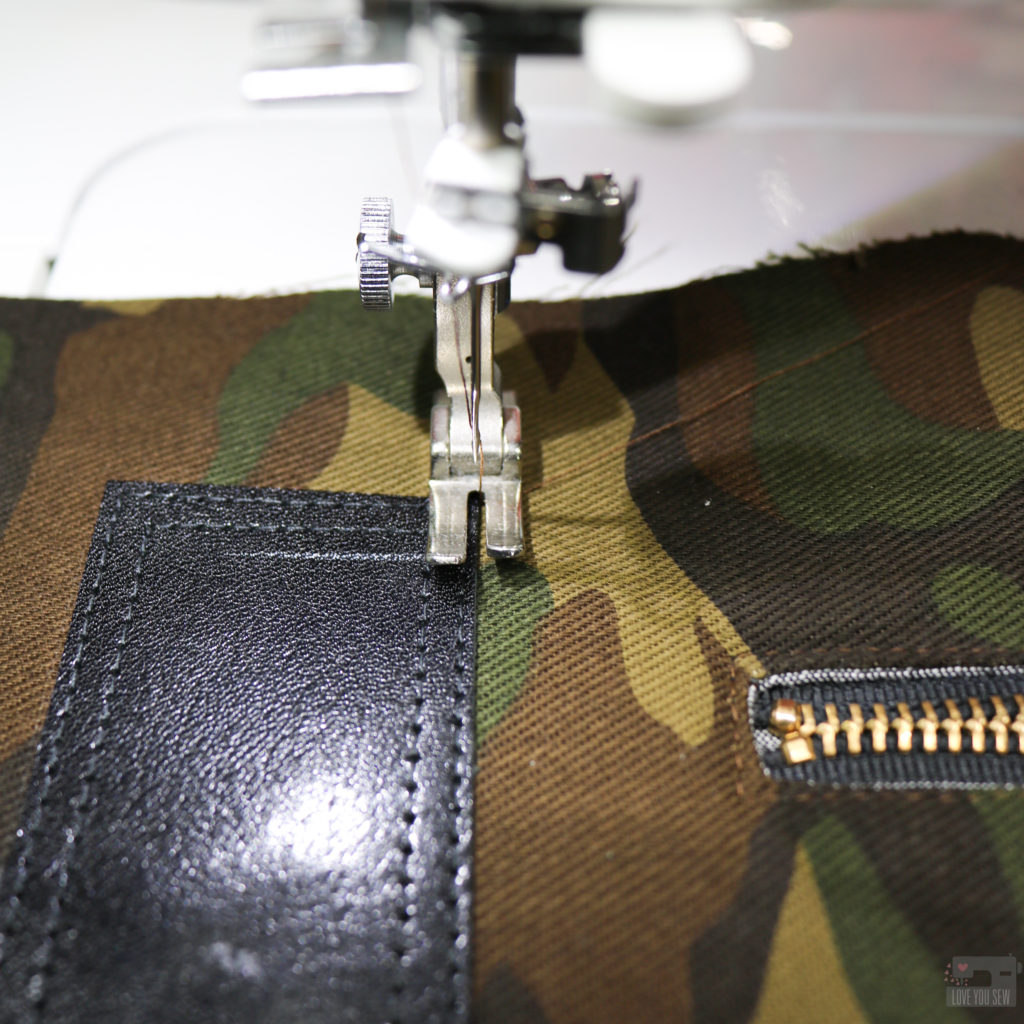
Since the Pocket Lining hangs vertically instead of horizontally, the weight of a phone would make it drag awkwardly and pull on the zipper.  So, the Pocket Lining needs to be anchored horizontally so the weight can hang straight down naturally.  To do this, flip the back of the bag right side up and sew directly below the Handle Base from corner to corner catching the Pocket Lining.  Back-stitch well.
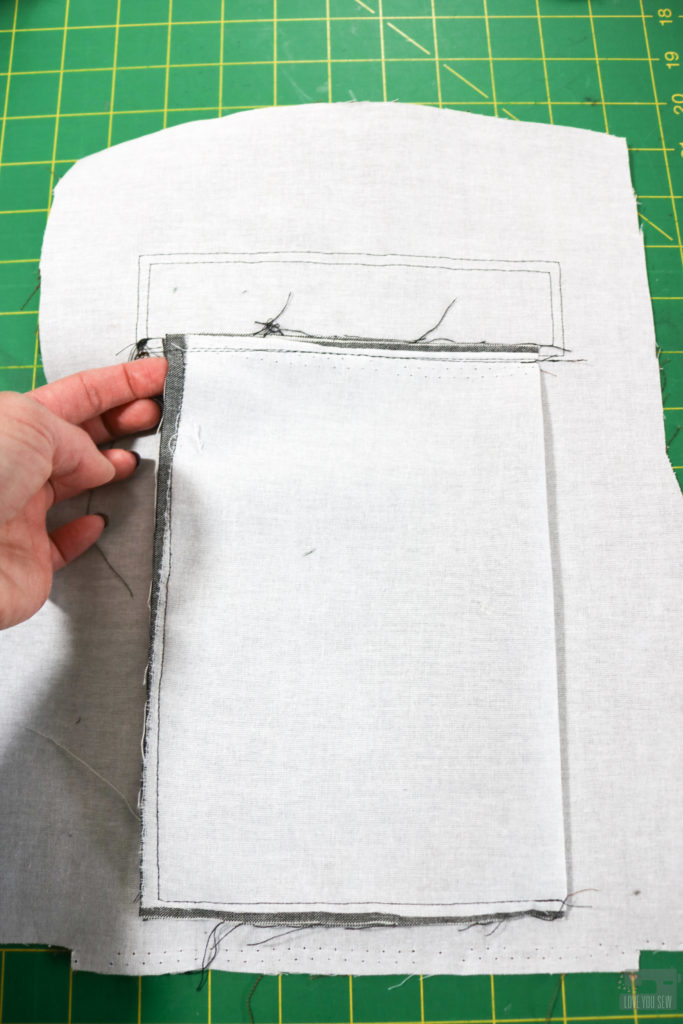
This is the wrong side after securing the Pocket Lining.  The weight of the phone is evenly distributed and won’t distort the structure of the bag.
Additional Modifications

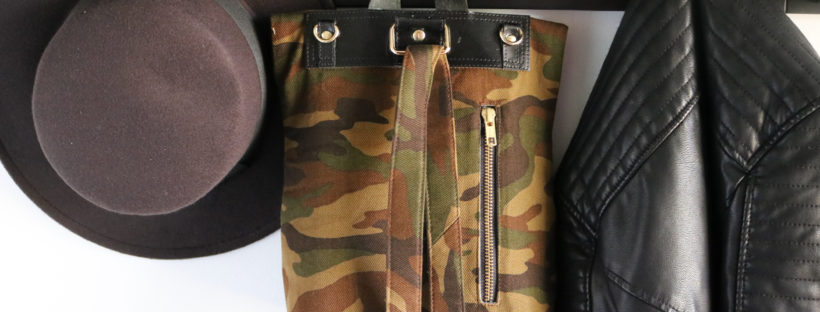
You know I cannot resist using leather in my personal bags!  I had this great glazed black upholstery leather I got from Tandy which I used to make a few Kelly Waist Bags.  The scraps are great for all of Abbey’s accents like the connectors, handle and closure tab.
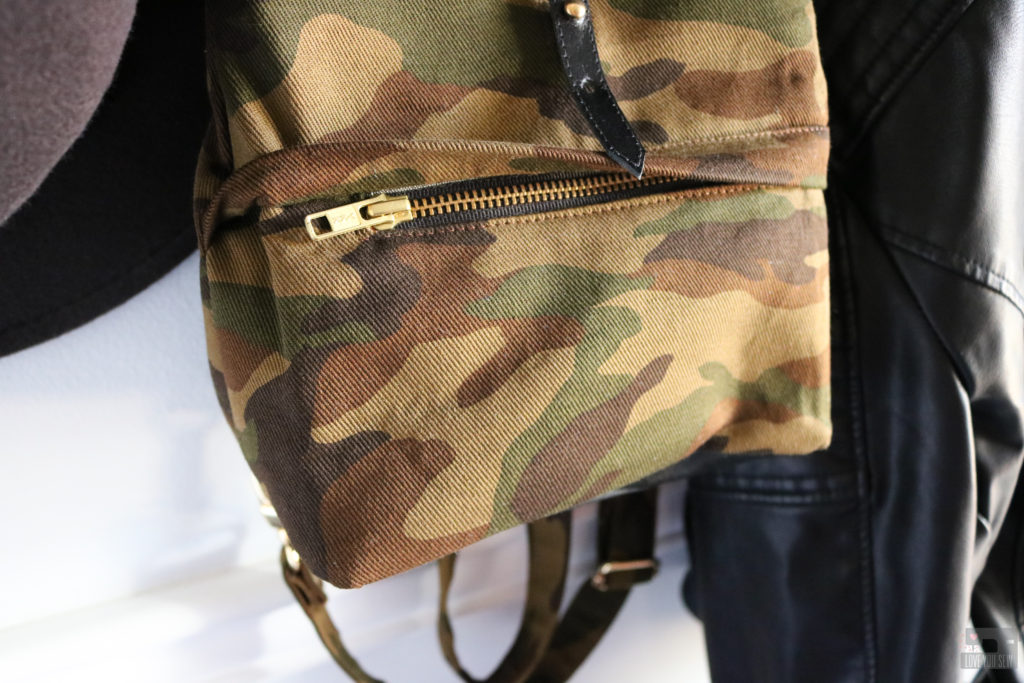
I also used my other Abbey Backpack Zipper Cover and Button Stud Hacks which you can find here.  I like the clean look from the front and just love using button studs with leather.
Project Details

I hope you enjoy this hack and even use it for other projects!  Don’t forget to use #abbeyconvertiblebackpack and #loveyousewpatterns on social media so everyone can see your fabulous makes!

Hugs and Stitches,

Cristy


This post may contain affiliate links which I use to keep this website pumping along.  Please visit my Disclosures page for all  the info on my affiliate relationships.
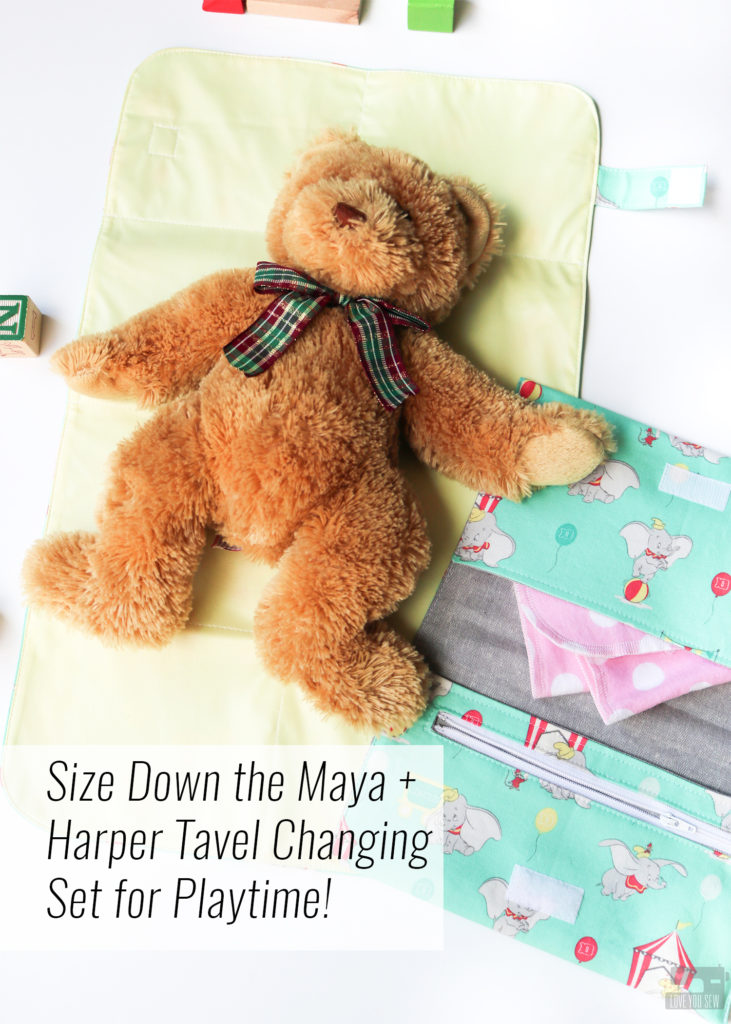
Size Down the Maya + Harper Travel Changing Set for Playtime!

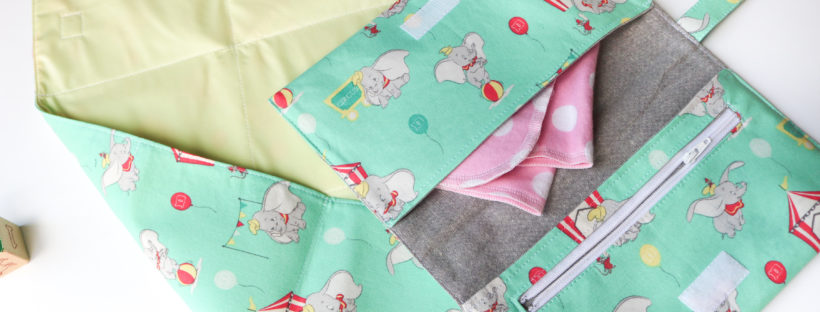
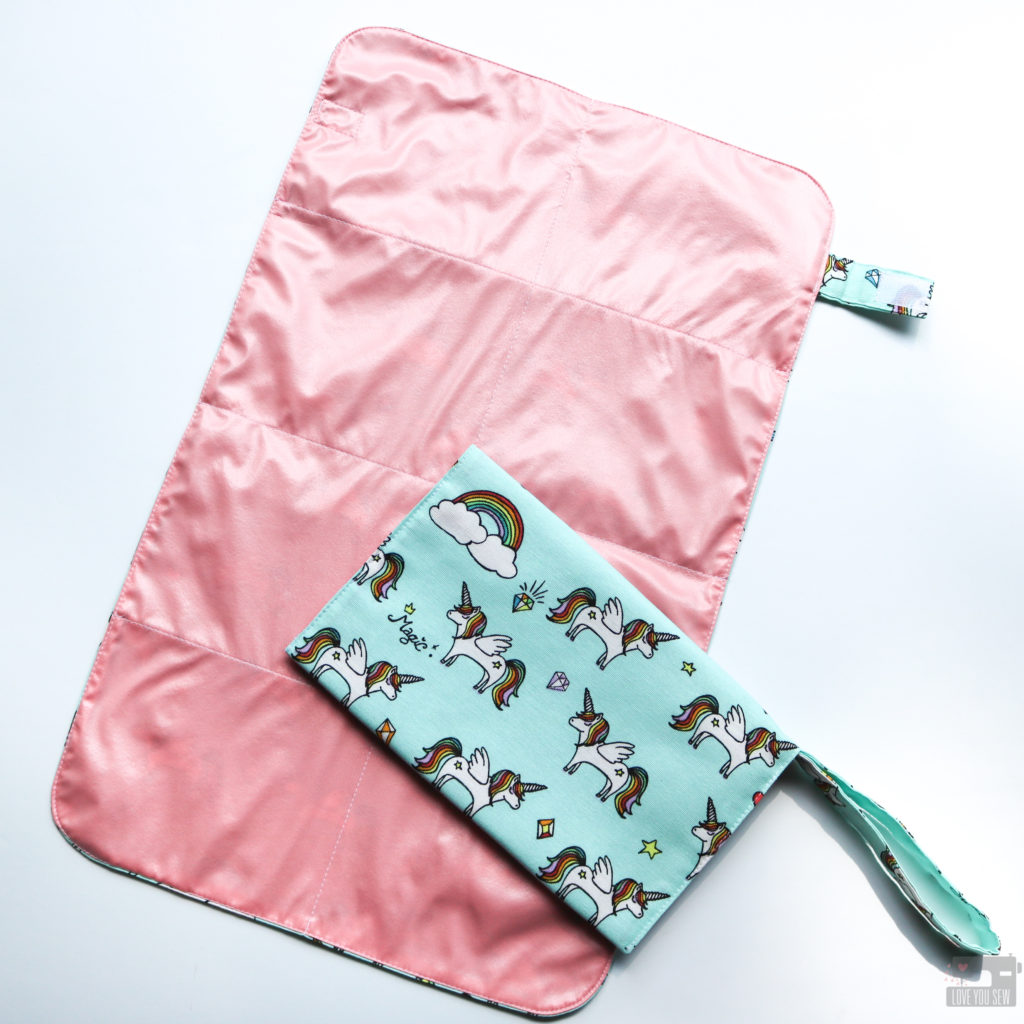
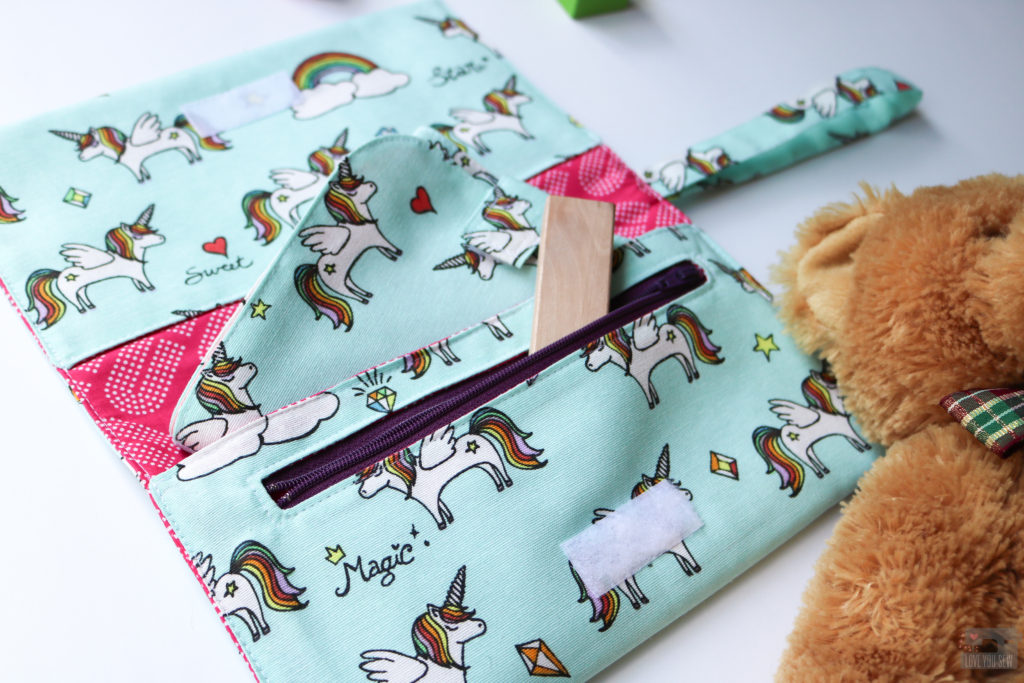
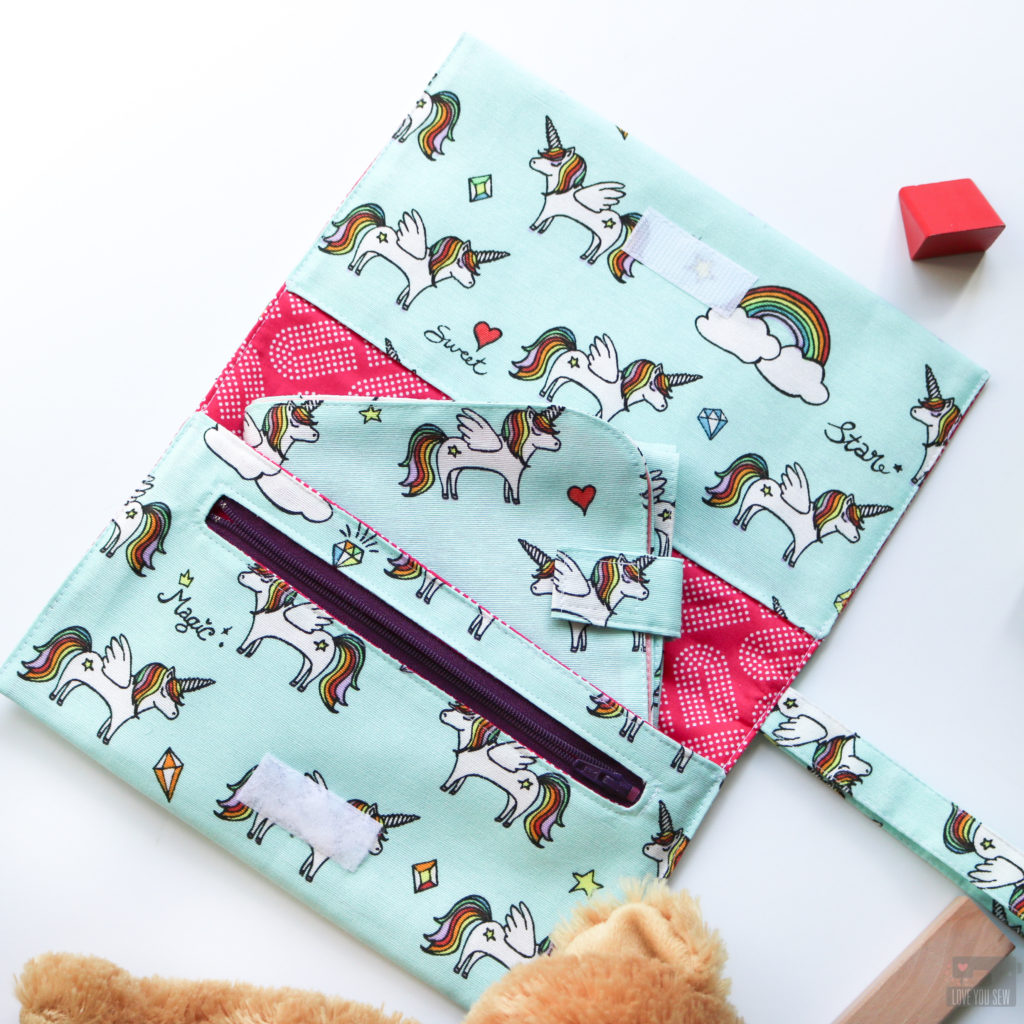
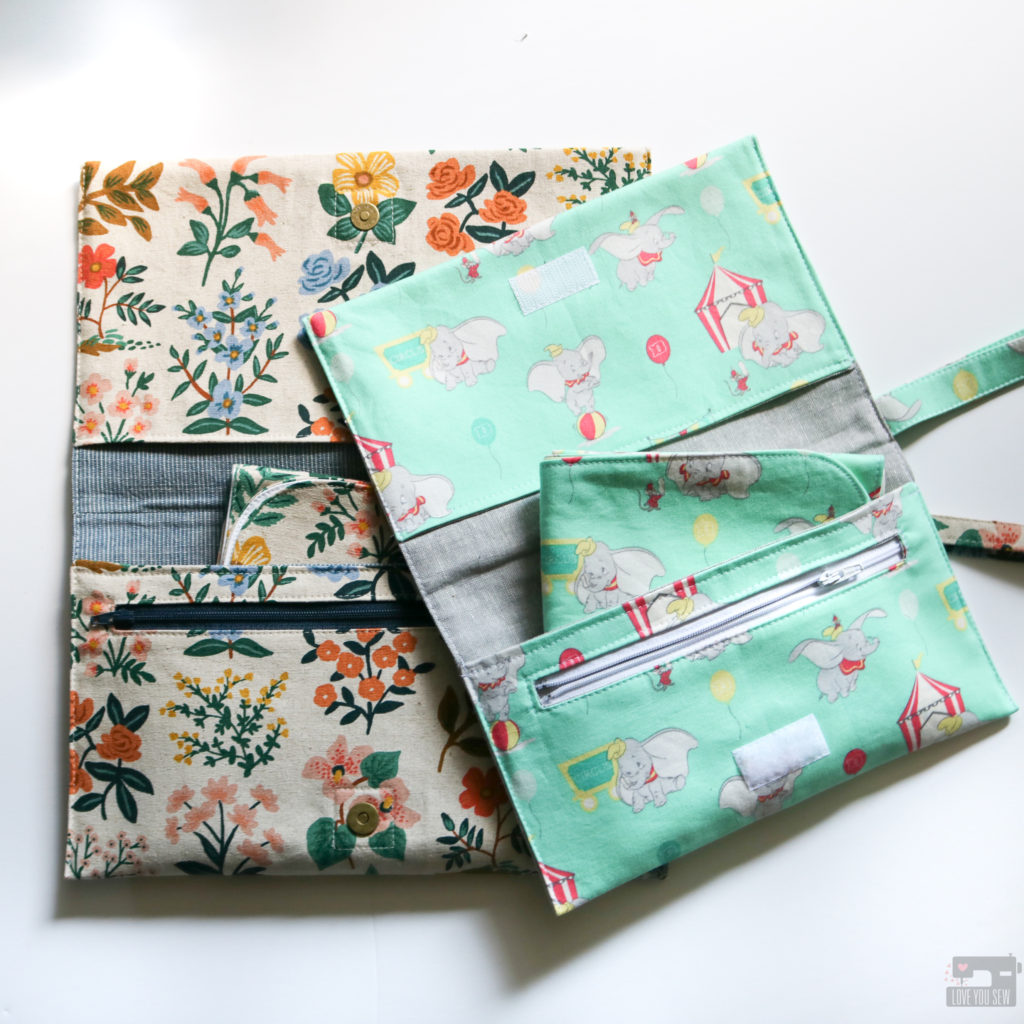
All of my sewing patterns are named after my nieces. Once a pattern releases, the namesake always gets a complimentary bag of her very own. But then, I was in a bit of a predicament when I named the Maya + Harper Travel Changing Set after my 4 and 2 year old nieces. What were were they going to do with full-size diaper changing sets???

I checked with my sister and she assured me there would not be a need for additional sets for her personal use. (Haha – Wishful thinking on my behalf!) But shortly after the pattern’s release, my nieces got their first Bitty Babies and the light bulb went off. I would make Maya and Harper “play” versions for their little babies!

First, you will need the Maya + Harper Travel Changing Set found in my pattern shop here. You will need the instructions for reference and the pattern templates. I highly suggest you make a full Changing Set first to understand the construction and assembly of the Pad and Clutch. Once you get comfortable, you can make the following changes to make this pattern kid-friendly.

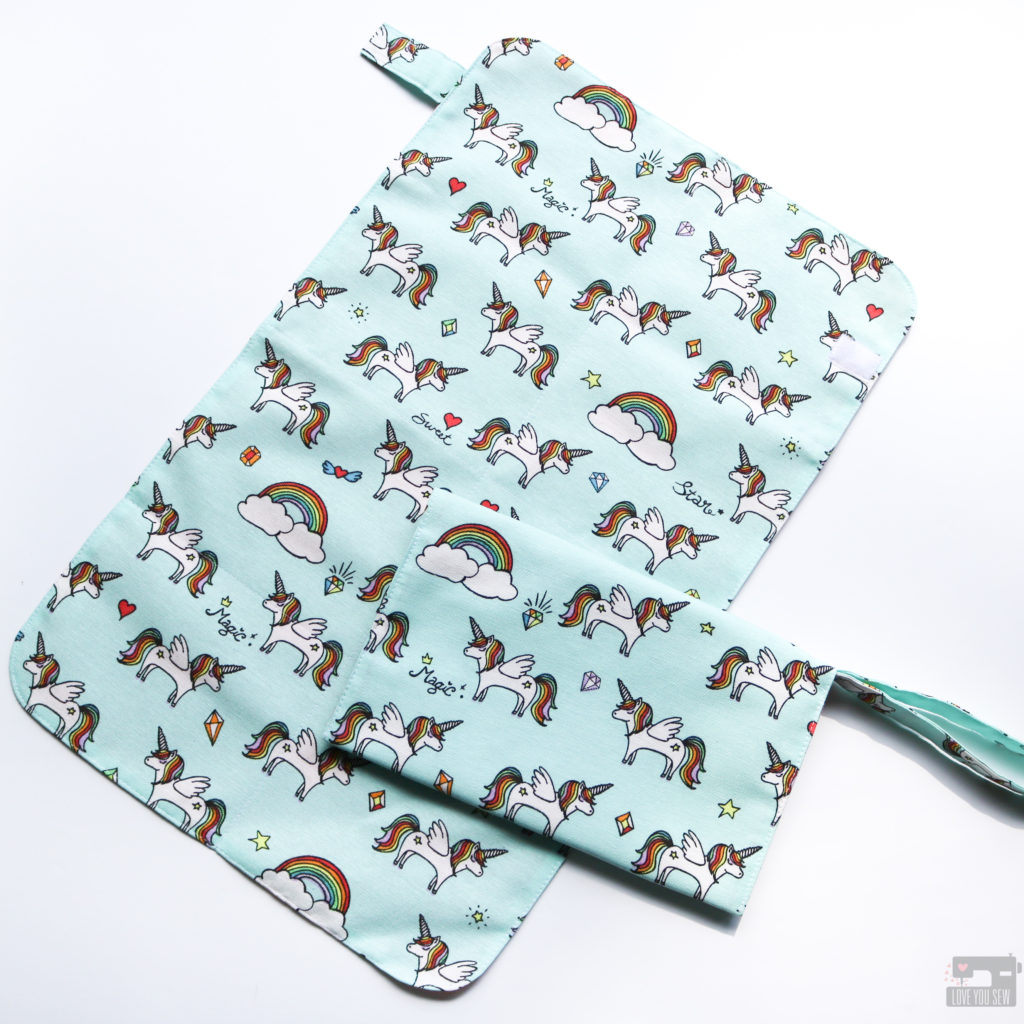
Make the “Play” Changing Pad

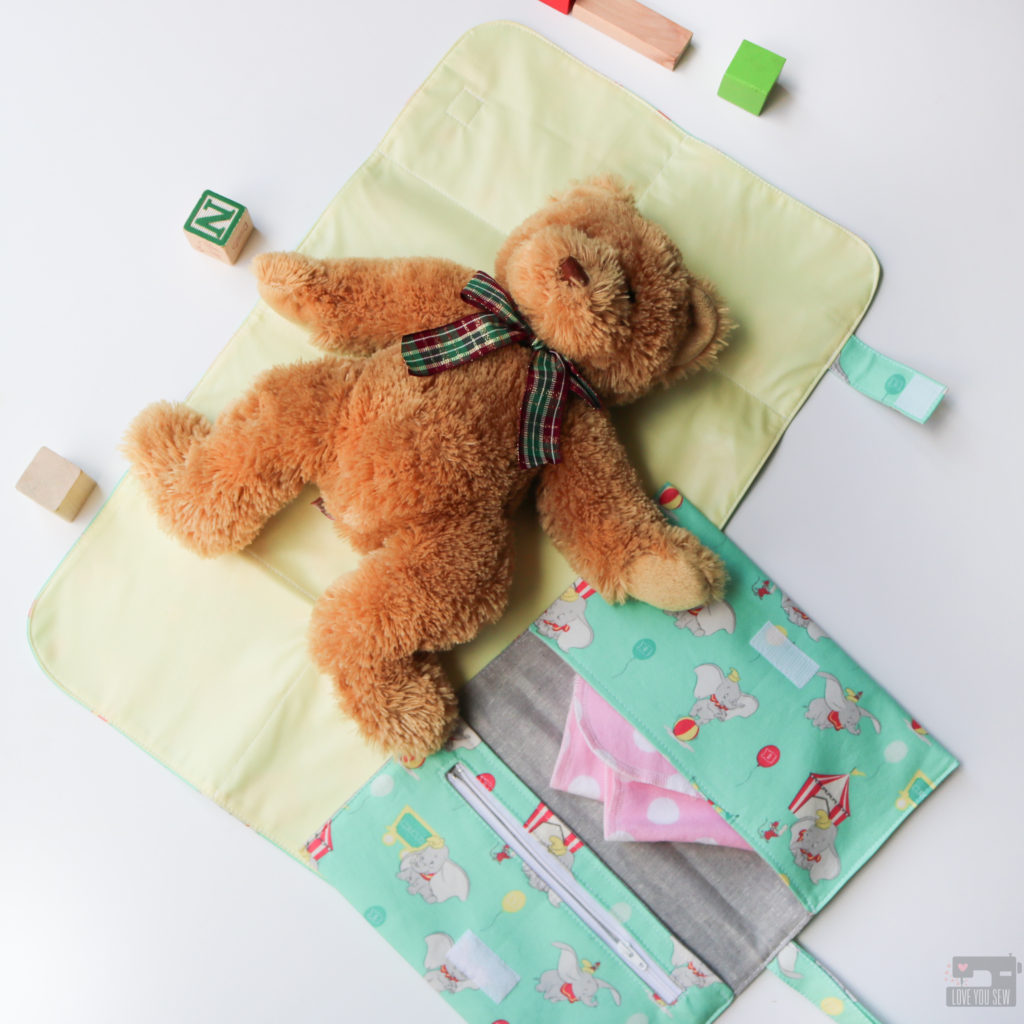
First thing’s first. You will need to print out the pattern templates at 85%. This will shrink down the pattern enough for most typical baby dolls. Unfortunately, my kids were more into stuffies than dolls, so this 12″ bear will need all the diaper changing 😉

All construction steps remain the same. You will align the closure to the bottom line of the “Tab Placement” and cut your hook and loop fastener to match the Tab width. The finished measurements of the Pad should be approximately 20″ x 12″.

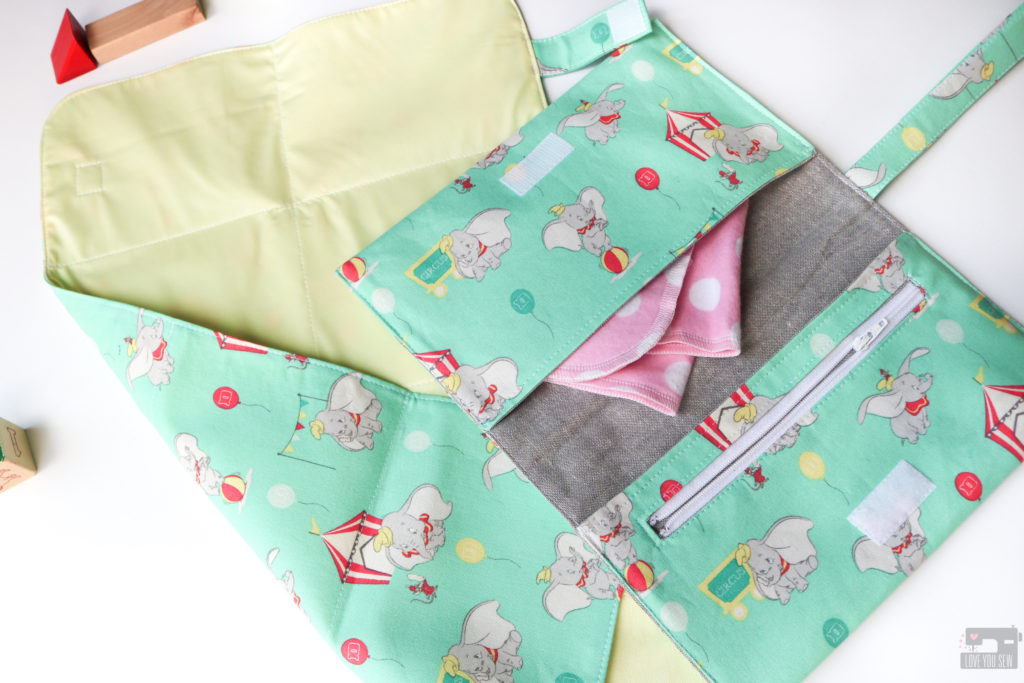
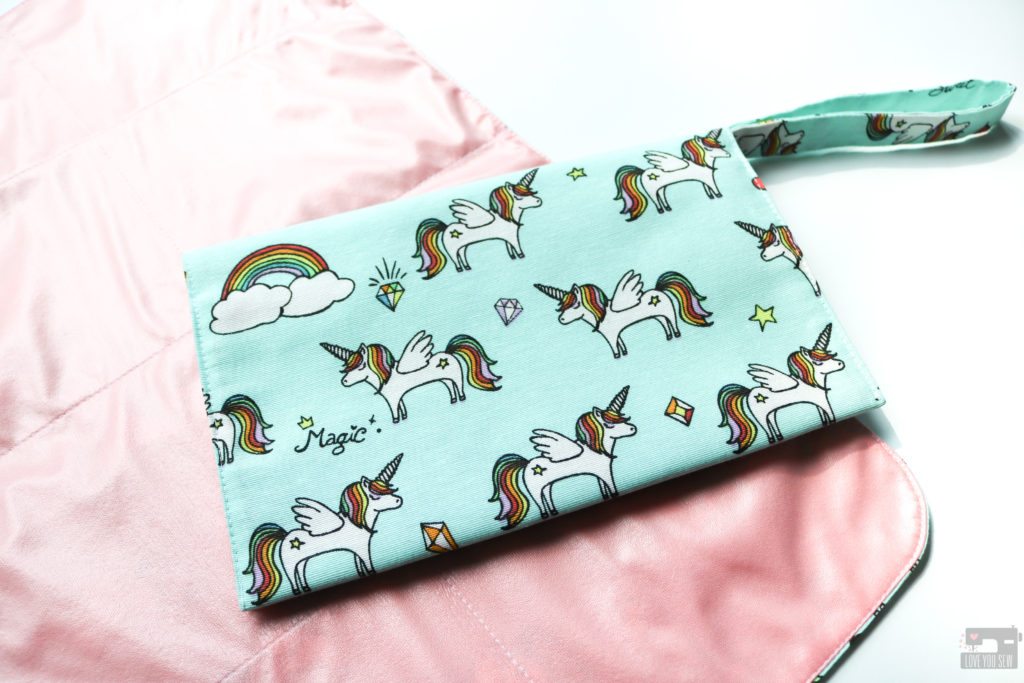
Make the “Play” Diaper Clutch

As with the Changing Pad, you will print out the pattern templates at 85% and cut out all the pieces except for the Strap (you will cut an entirely new piece.)

For Supplies:

  • Use a 7″ Zipper (at least 8″ overall) and omit the 9″ Zipper
  • Omit the D-Ring, Swivel Clasp, and Magnetic Snap (for a less fussy look, but feel free to add them back in for a fancier set!)
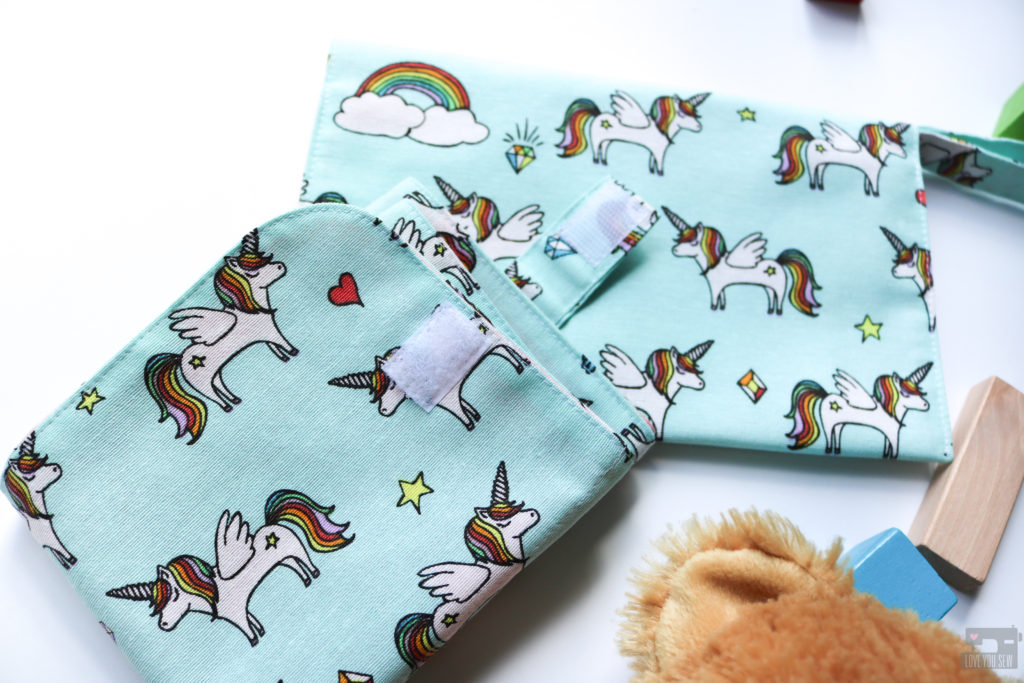
  • Add 2″ piece of hook and loop fastener
  • Cut 13″ x 3″ fabric and interfacing for a sew-in Strap

To make the Strap, follow steps #1-5 to double-fold and top-stitch it. Fold it in half with raw edges aligned. Baste ends together at 1/8″ and set aside.

Starting at step #12, make the Welt Pocket as instructed with a 7″ x 1/2″ Zipper opening and use the 7″ Zipper.

Since the Magnetic Snaps have been omitted, start at step #22 to center the hook and loop fasteners at the snap placement points with the length running parallel to the Zipper. Sew 1/16″ all-around the fasteners.

At step #26, replace the Strap with the D-Ring Tab. Keep the raw edges aligned so the Strap will be completely sewn-in later.

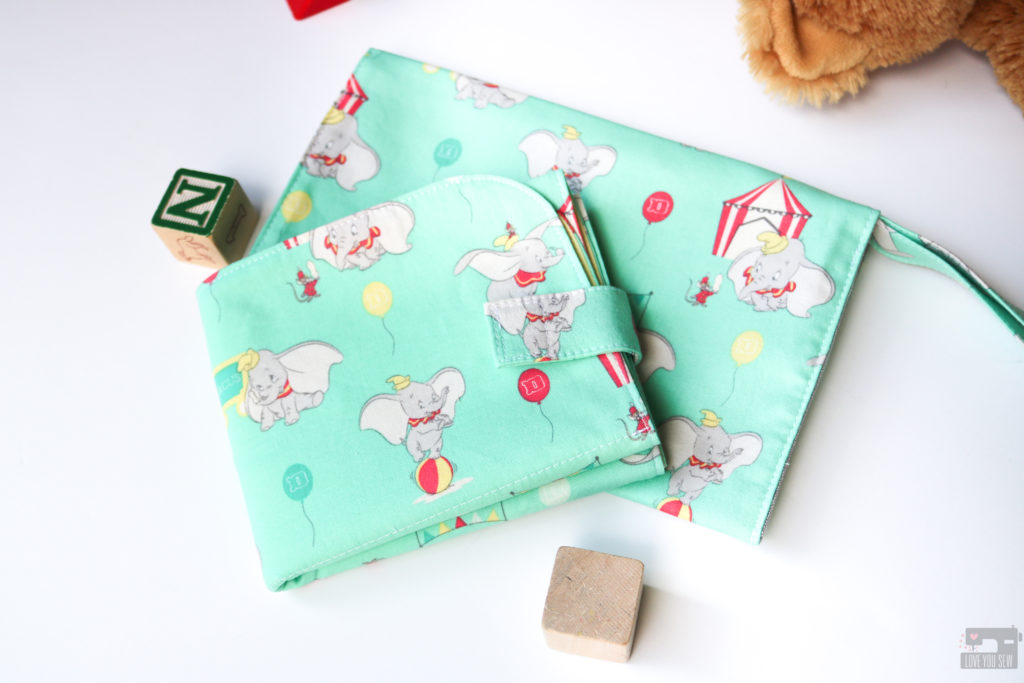
Finish the rest of the clutch by folding up each pocket by 4 1/2″ instead of 5 3/4”. Top-stitch, press and you’re little one is ready to practice parental duties!

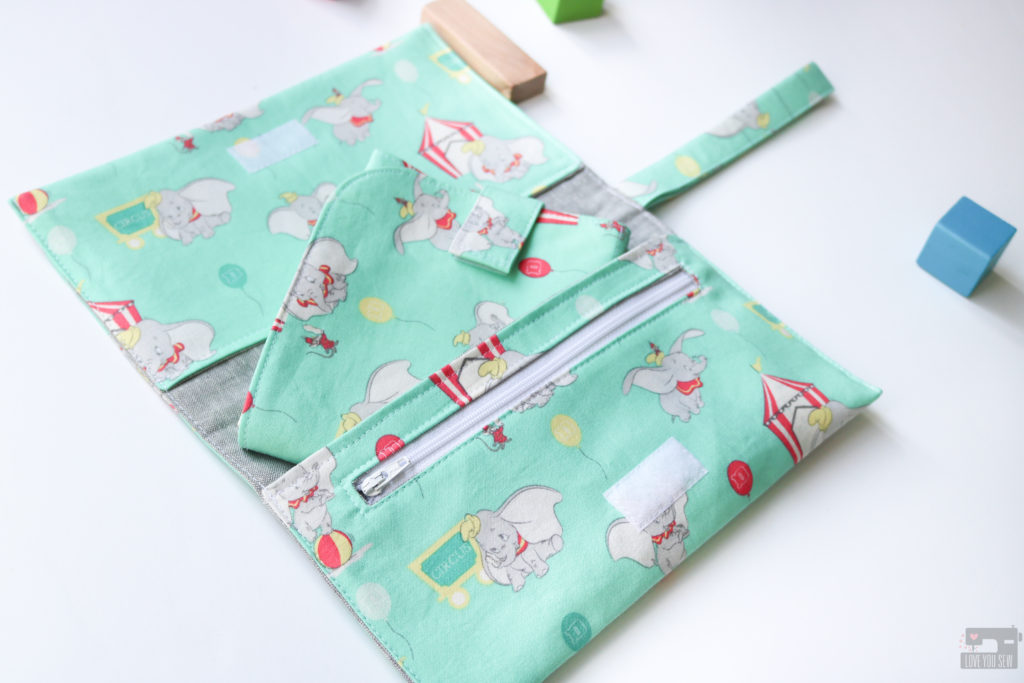
Although my sister didn’t need another Travel Changing Set, I think this would be a great Mommy and Me set for yourself or for a friend who is expecting her 2nd+ child! I hope you enjoy making Maya and Harper Changing sets for all the kids (and parents) in your life!

Hugs and Stitches,

Cristy


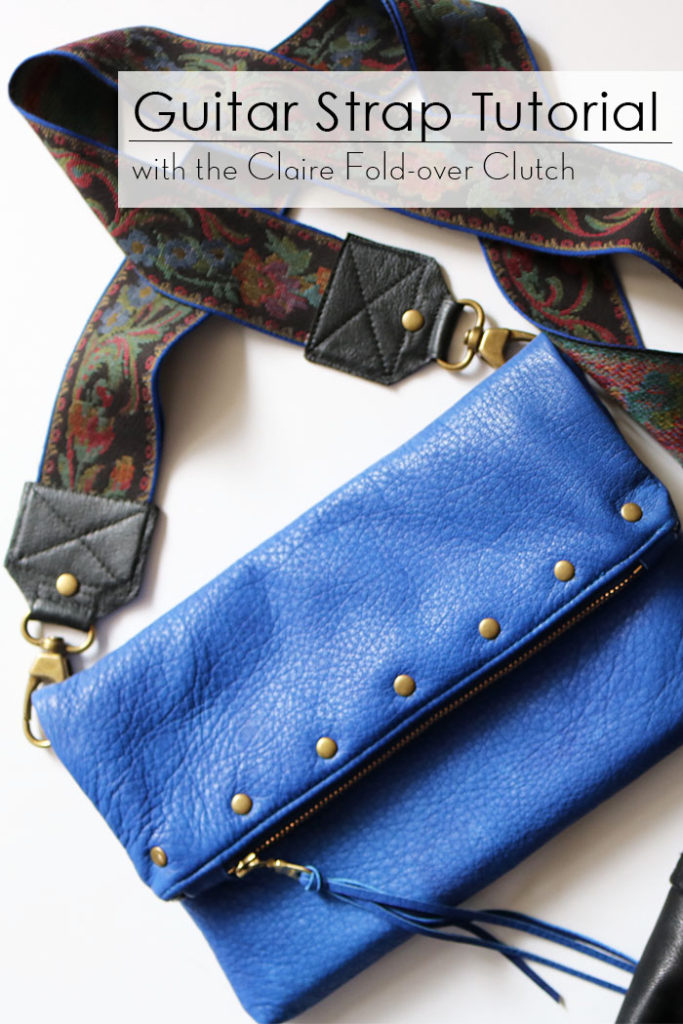
Guitar Strap Tutorial with the Claire Fold-over Clutch

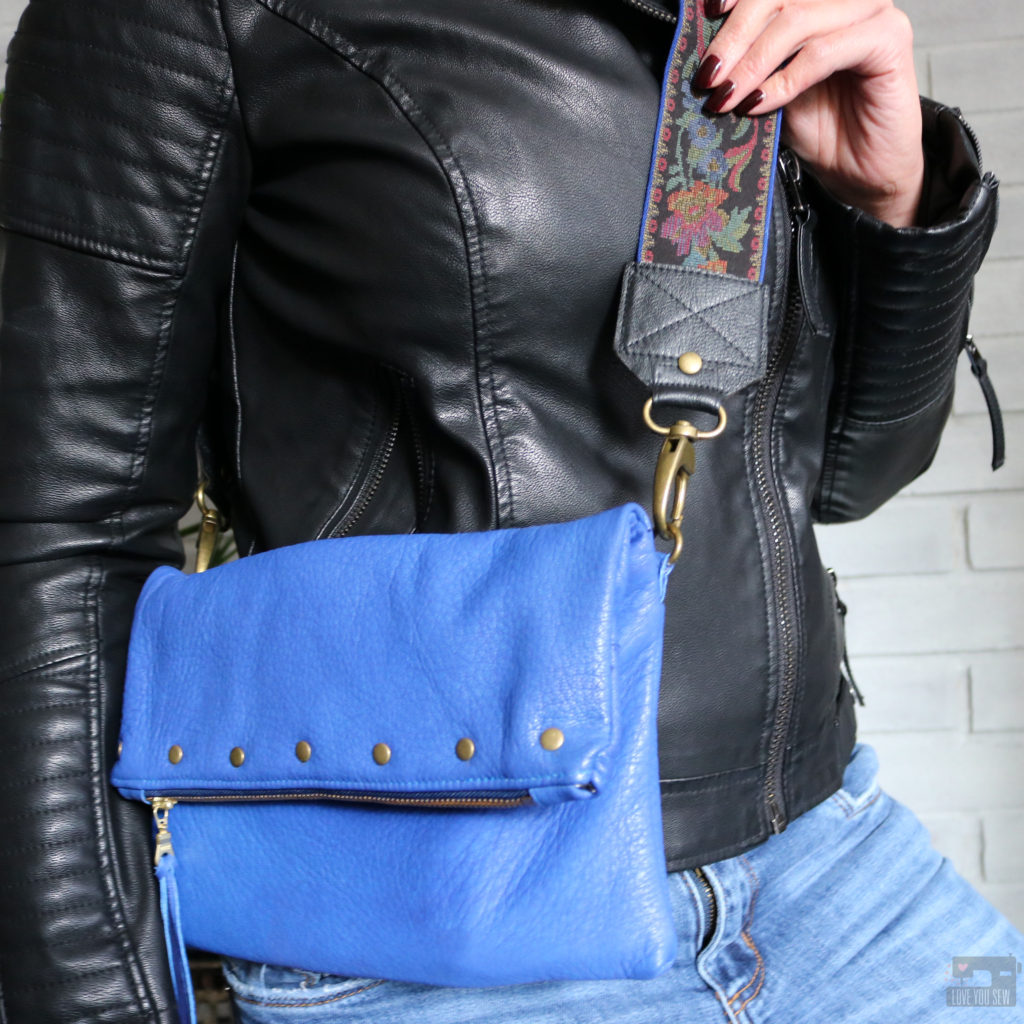
Guitar Strap Tutorial by Love You Sew
The Claire Fold-over Clutch was my very first published pattern just over a year ago.  I can’t believe it’s been that long already.  I put my own twist on the popular bag style with a large easy access pocket on the back and the simple use of leather one side of the bag – making it easier to sew.  You can read more about my design here and see lots of different versions with #clairefoldoverclutch on Instagram.
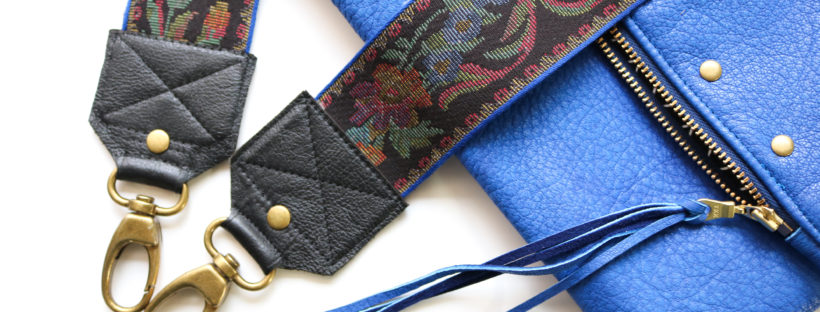
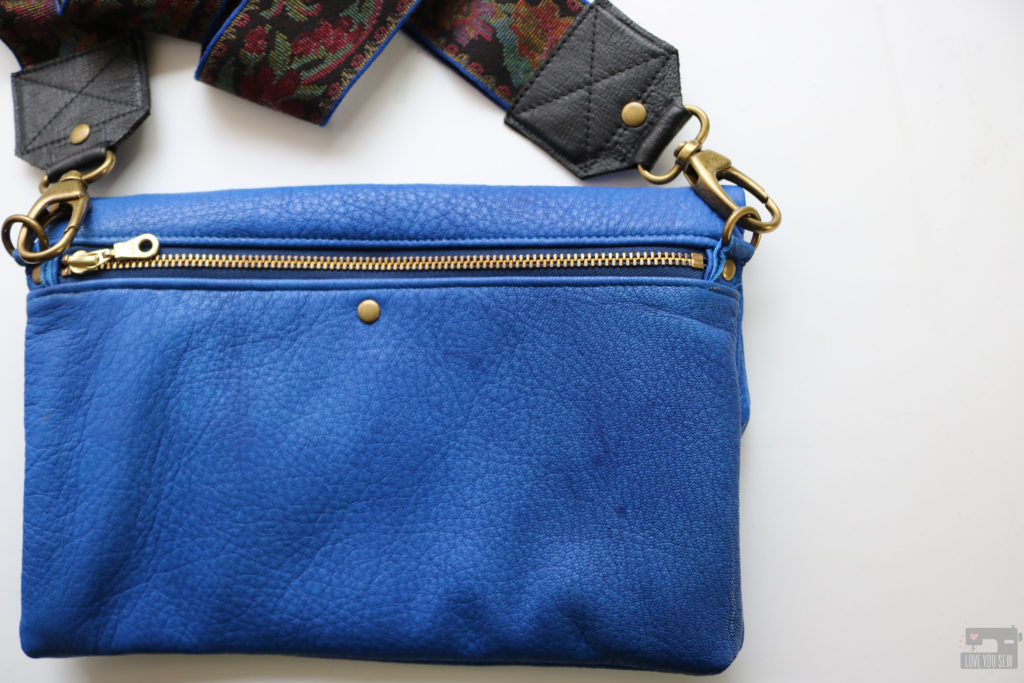
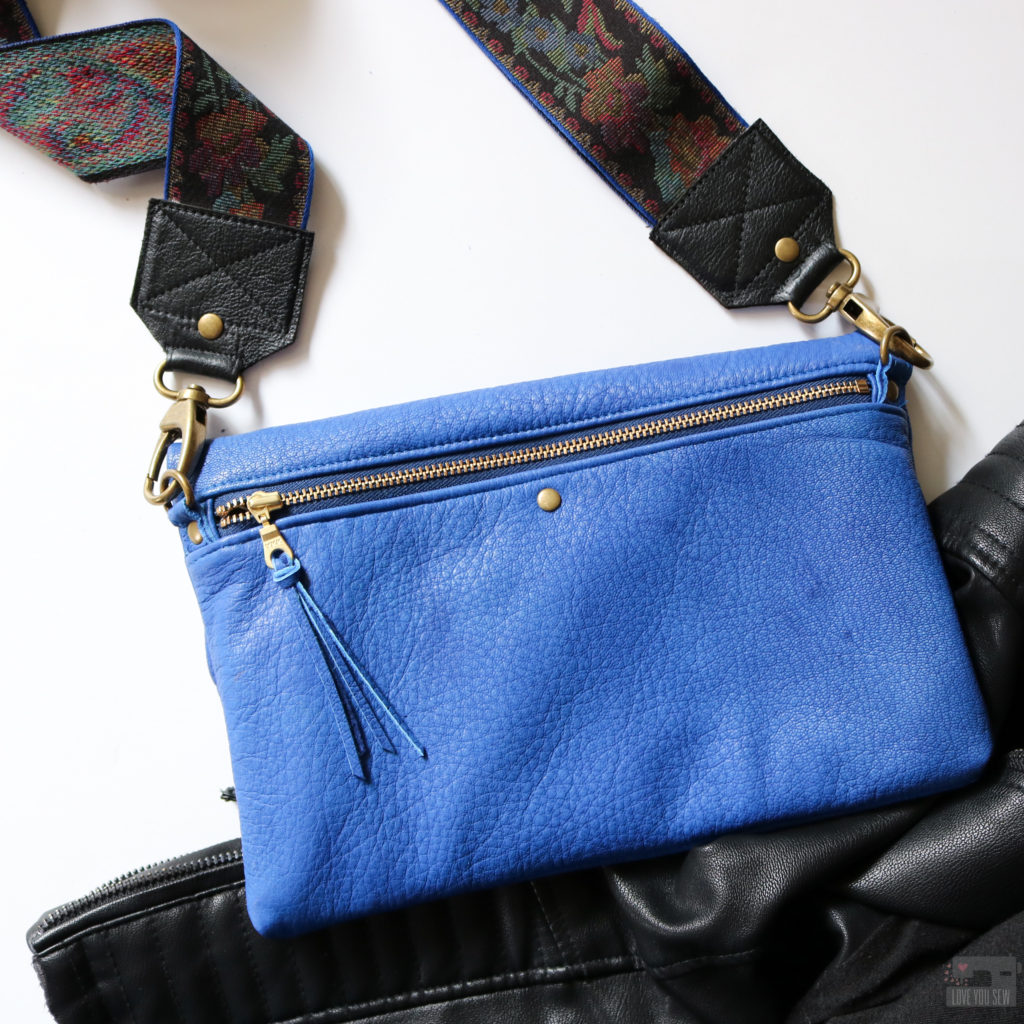
My designs are meant to be practical, but also chic enough to work with new trends and fashion with just a change of fabric.  This is the case with the Claire.  Although it was written to use both fabric and leather, I thought it would be fun to make a full leather version — in cobalt blue for a real statement bag.  This blue leather is pretty edgy and gave me rock ‘n roll vibes right away.  So, I thought a guitar strap would give the bag a new look all on it’s own…even after making dozens of other Claire Fold-over Clutches!
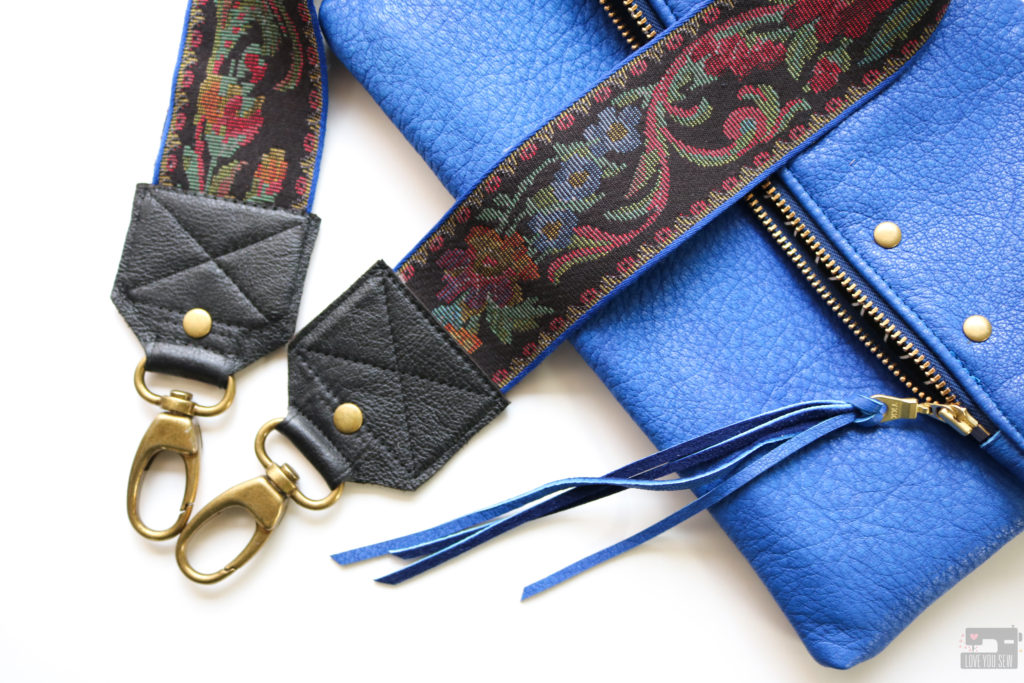
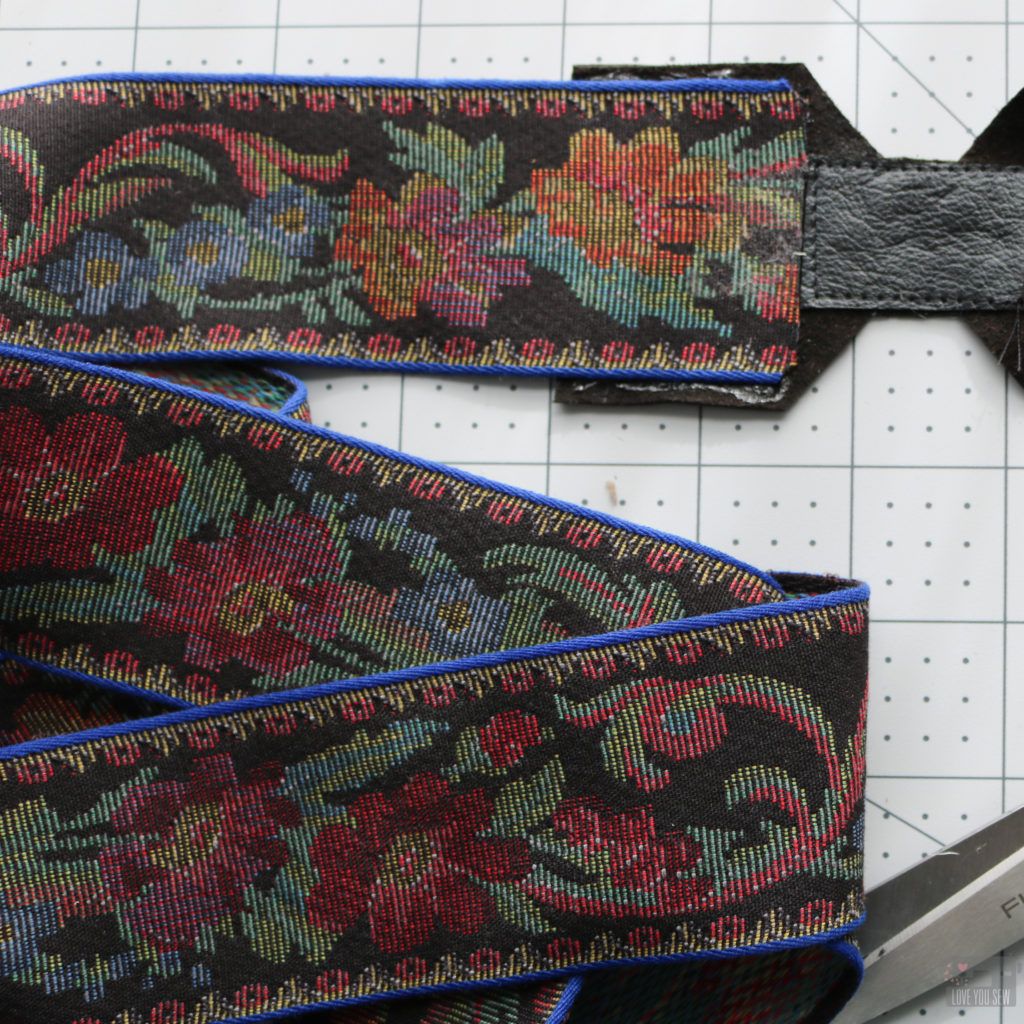
This amazing woven tapestry-like ribbon was found at a yard sale a few years ago.  I think I bought it for $1-2 and was drawn to the bright blue edges contrasting against that moody floral motif.  I like mixing up new and old looks, so this trim was definitely all me.  The leather was picked up from a destash group and so I was able to grab an amazing deal.  The seller was getting out of her baby shower business and had so many pretty pieces of leather to get rid of.  Her loss was definitely my gain!

Make the Claire Fold-over Clutch

To make the bag itself, you will need the pattern and instructions from my shop here.  The main modification I made was to use leather on both sides of the exterior, instead of just one.  (I would only recommend this ONLY if you have a machine strong enough to handle all of the layers.) But if you are just beginning, try out an all fabric version or one with very thin leather/vinyl.
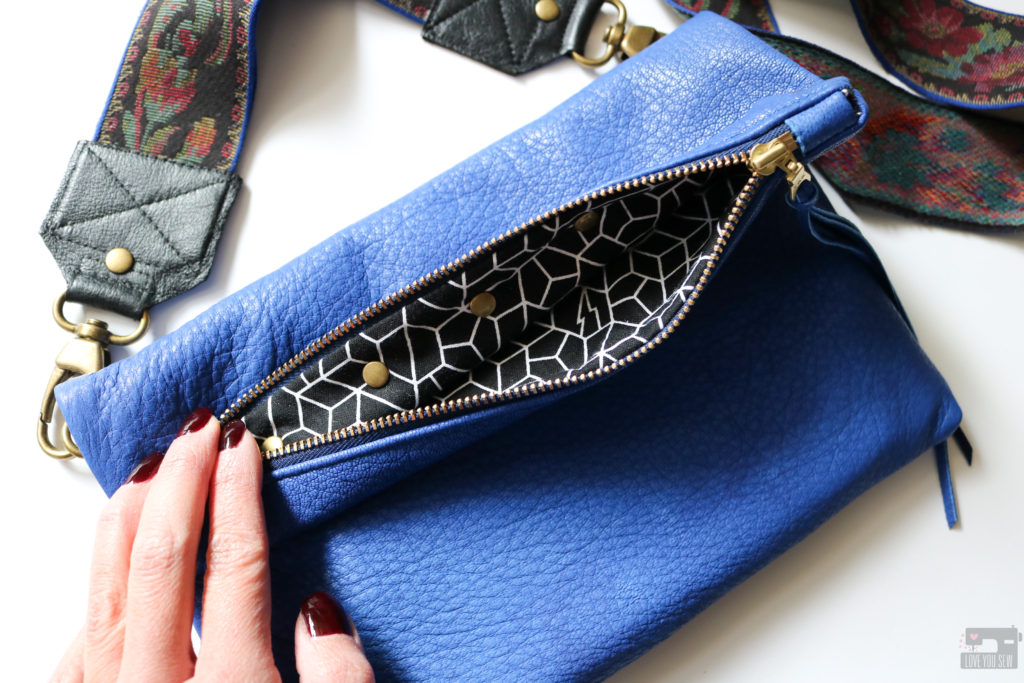
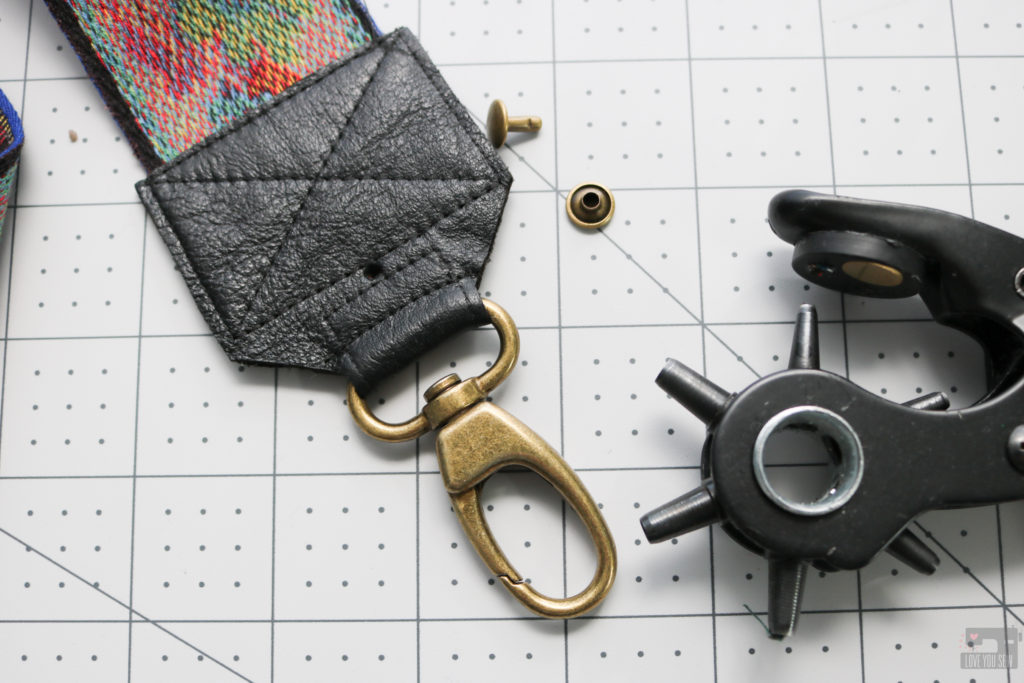
Since the bag is made of solid color all around, I made sure to add in some accents and interest with metal. I used metal zippers (which I actually installed at the wrong places — I should definitely remember to read my own instructions…but I thought going from memory was good enough. Wrong!)  If I was using fabric, I would have swapped out the zippers, but with leather, the needle holes are permanent and I didn’t want to mess with all of that and just moved on! In light of my zipper faux pas, I added a line of rivets along the top zipper (through the lining) to play with the same edgy feel of the cobalt leather.  What do you think?

Make the Guitar Strap

For the strap, you will need the pattern pieces below.  I drafted the ends for 1 1/2″ or 2″ wide straps.  Anything else more narrow won’t give you that guitar-strap, but feel free to widen/narrow the pattern for your own look!

Click here for Strap End Templates

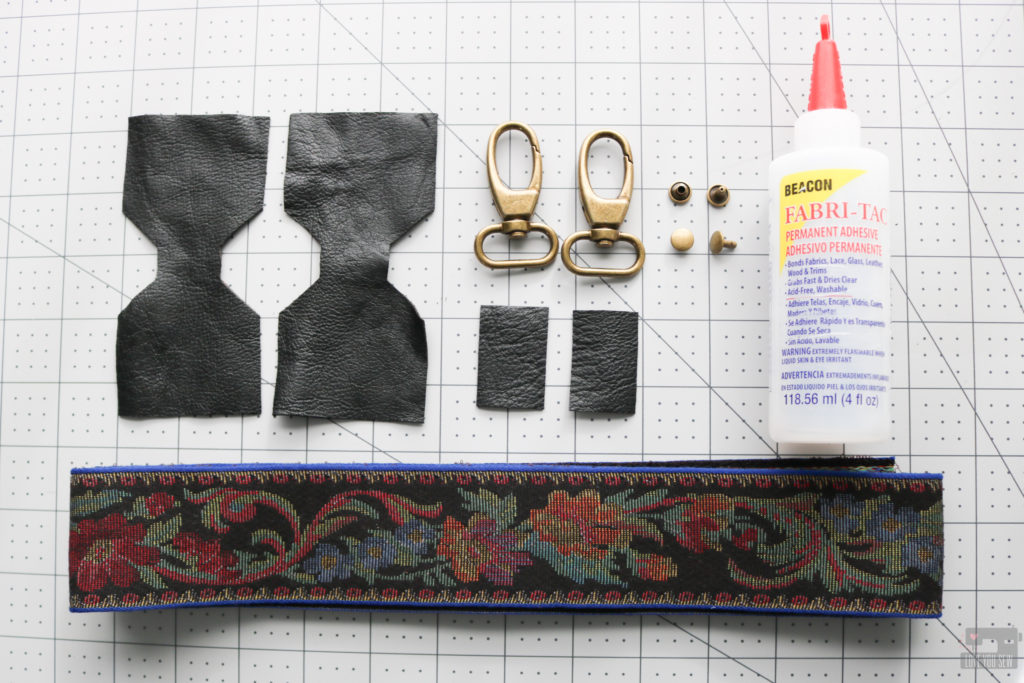
In addition to basic sewing notions, you will also need:
  • 1 1/2″ or 2″ wide ribbon/finished strap, cut to desired length
  • approximately 8″ x 5″ leather scrap
  • Leather Needle
  • (2) 1″ Swivel Clasps
  • Zipper Foot
  • Walking or Telflon Foot
  • Clover Clips or Fabric Glue (aff link)
  • (2) Sets of Rivets (optional) + Setting Tools
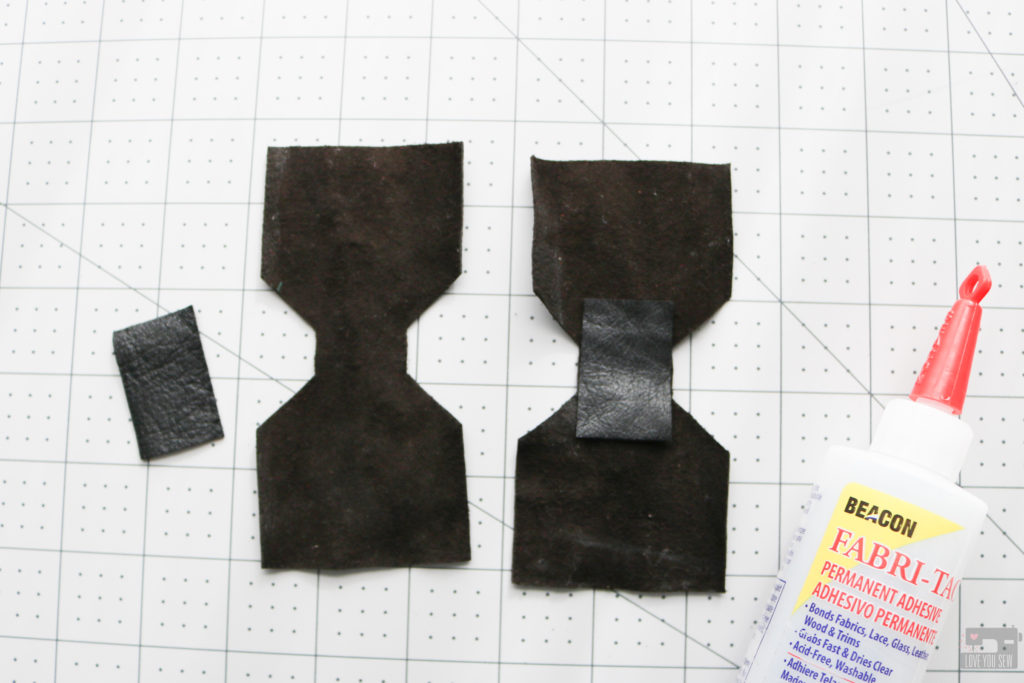
Instructions: 1. Use the templates to cut out pattern pieces based on whether you have 1 1/2″ wide or 2″ wide strap.  You will have (2) Strap ends and (2) Reinforcements.
2. With each Strap End wrong-side facing up, center a Reinforcement as shown with wrong sides together.  Glue baste in place.  It’s tempting to skip this step, but this will help your leather from stretching and distorting with time and wear.
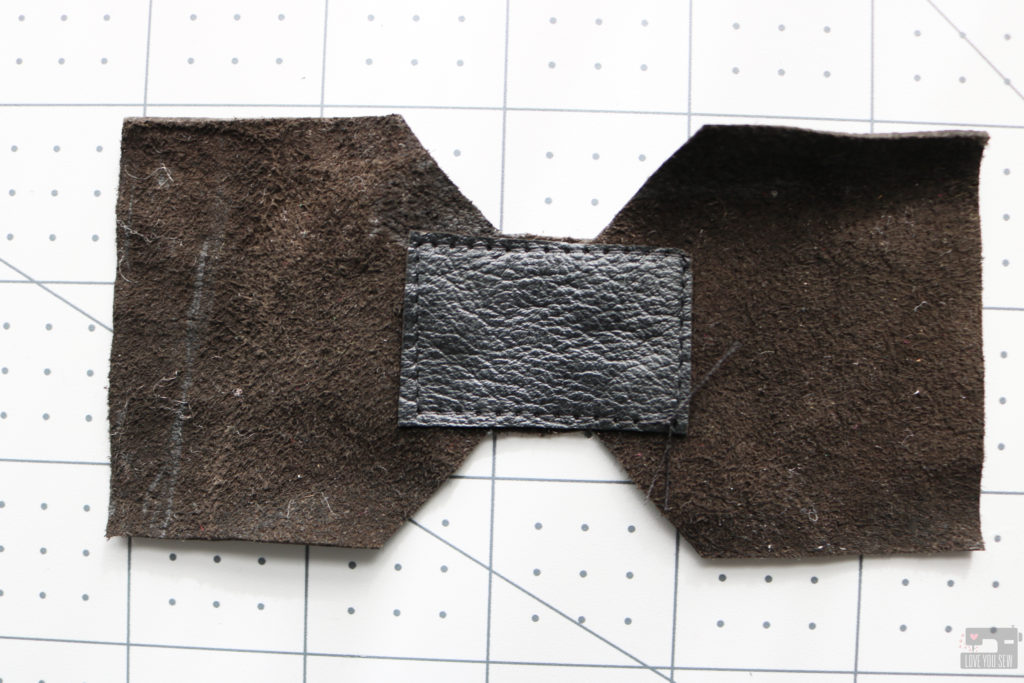
3. With the leather needle installed, stitch 1/16″ around all four sides of the Reinforcement. Repeat with other Strap End.
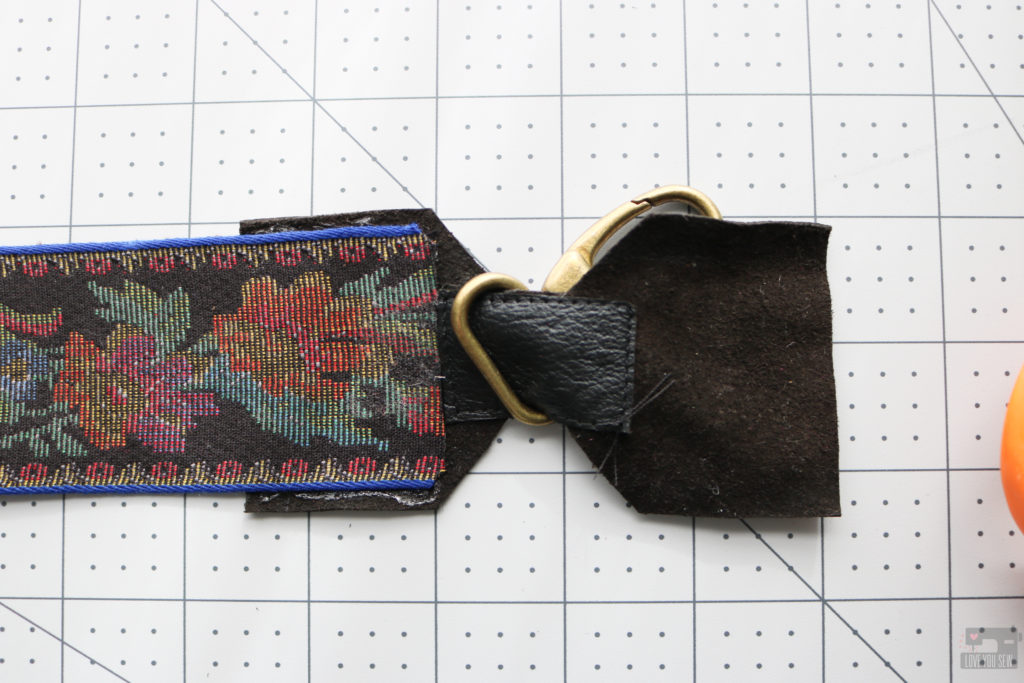
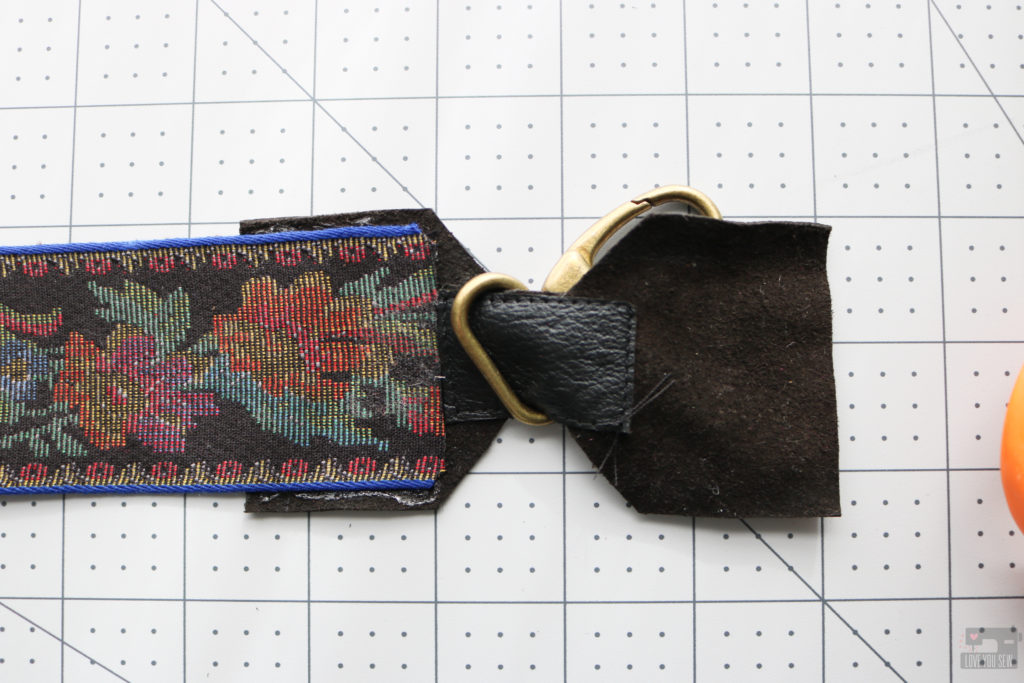
4. Take Ribbon and center it on one half of the Strap End with wrong sides together, aligning it to the Reinforcement. (You may need to cut off the ribbon’s corners so they don’t hang out of the Strap Ends.)  Clip or glue into place. Repeat with other Strap End.
5. Slide one Swivel Clasp onto the Strap End. Repeat with other Strap End.
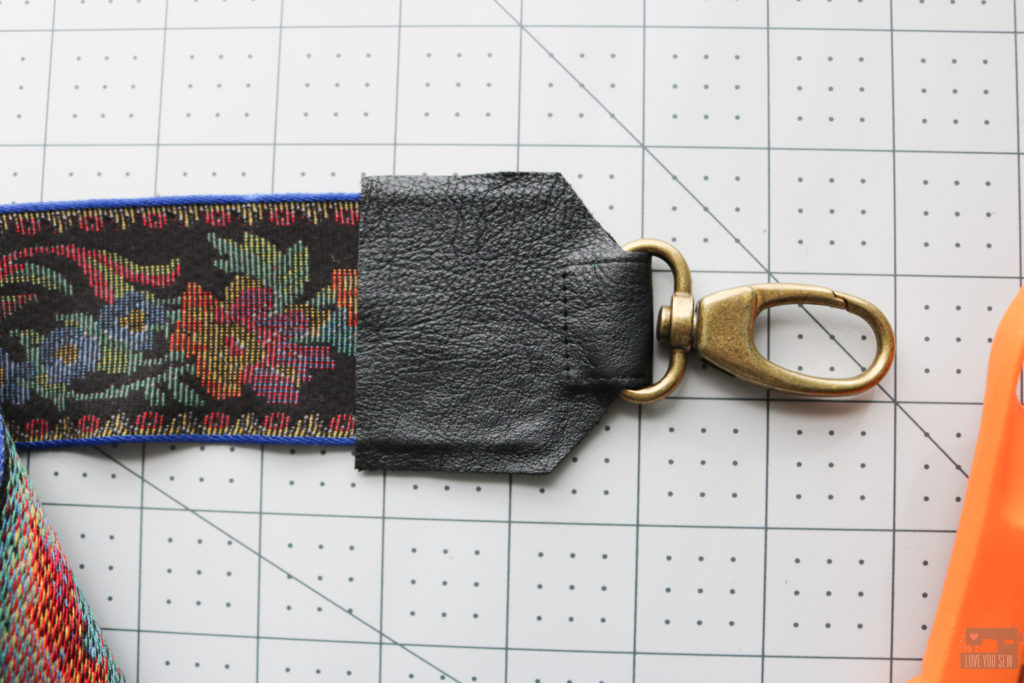
5. Flip the other side of the Strap End up so it is folded in half with wrong sides together, encasing the clasp.  Clip or glue together. Repeat with other Strap End.
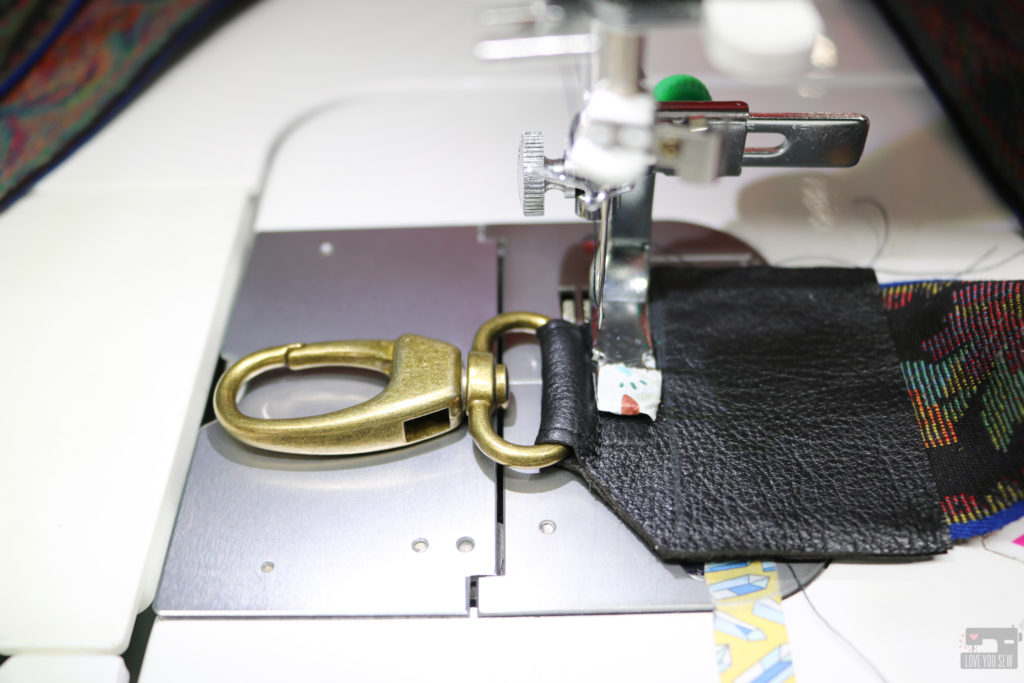
6. Use your Zipper Foot to sew a seam to secure the Strap End onto the Swivel Clasp, sewing as close to the clasp as possible.  Back-stitch well. Repeat for the other Strap End. TIP: Add washi tape under the foot if you don’t have a Teflon Zipper Foot like me.
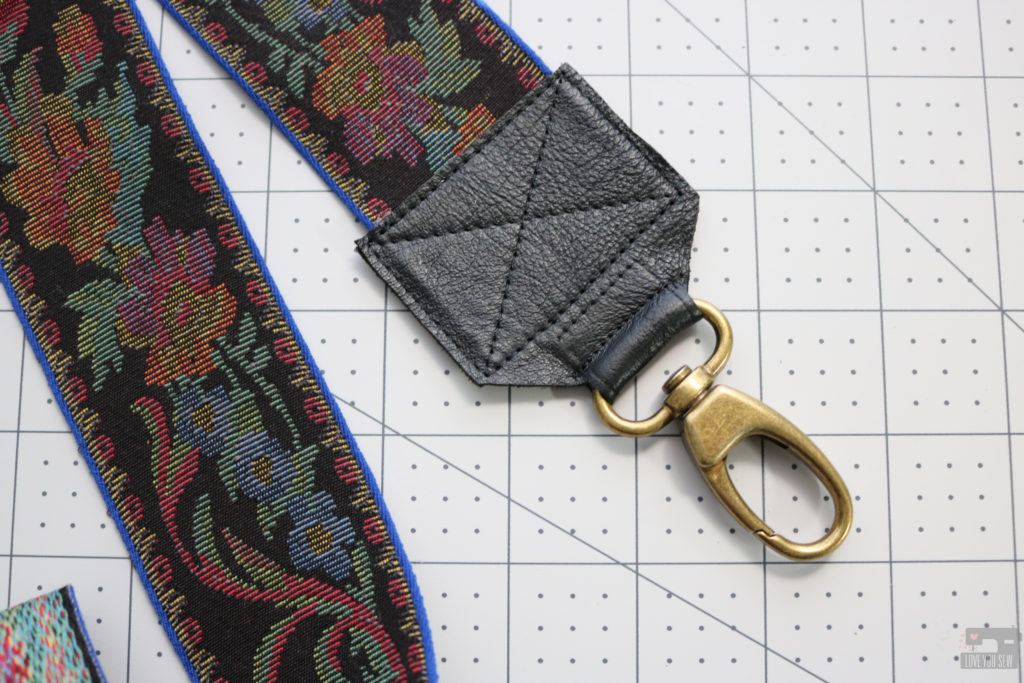
7. Switch to a Teflon or Walking Foot and top-stitch each Strap End together with the Ribbon using the stitch guide on the template. Repeat with other Strap End.
8. Finish with rivets, if desired.  Congratulations on your new guitar strap!
It doesn’t stop here!  I’ve been seeing beautiful striped belt strappings used on designer bags like here on my Pinterest page.  I’m already planning out my spring bags with these looks!  You can use this same method to easily update any bag for the changing seasons or add new life to a great hand-me-down or thrifted find.  The options are really endless.  Enjoy and let me know how you like the tutorial!!!
Happy Sewing Friends! Cristy
This post may contain affiliate links.  Please visit my Disclosures page for all details.
Emma Stadium Bag by Love You Sew

Tips and Tricks – Sewing with Clear Vinyl

Expanding your sewing repertoire is always so exciting, but there can also be some challenges along the way. As I wrote the Emma Stadium Bag, I included some tips with construction specific to my pattern, but thought you might appreciate more general guidance when sewing with clear or other see-through vinyl!

First, let’s talk about vinyl. This term is used for a lot of different flexible plastic substrates, but I am referring to sewable 100% PVC (polyvinyl chloride,) which is generally polished on one or both sides and you can see through it. Vinyl is a tough and durable substrate that can be used to provide moisture and/or humidity protection. This type of vinyl is available it many different colors and even thicknesses.

20 gauge (above) vs 12 gauge (below)

Vinyl is measured by gauge number. This refers to the thickness of the vinyl sheet. Most big box craft stores carry from 8-20 gauge and hardware stores can carry even thicker products. But for our sewing purposes, I think 8-20 gauge is within our wheelhouse. The 8 gauge is the thinnest at 0.008″ which is the most flexible and the easiest to sew. I think this is a great size if you are using this for a window in a pouch or organizer project. I wouldn’t recommend this for the body of a bag or pouch because it would be able to hold it’s shape well (unless you are going for the slouchy look!) On the opposite end, the 20 gauge is thickest at 0.020″ and is more rigid, but still flexible. I would recommend this thickness for projects which you want to keep the shape intact, like a tote or pouch. However, not all domestic sewing machines will be able to handle the thickness. My semi-industrial Juki 2010Q can handle this after some tension adjustments, but I think 12 gauge is the best bet to start for most machines IMO. Please test the gauges and see what you like best!

Let’s start with vinyl prep and handling. The following are a few tips to get you started:

  • Do NOT use your Favorite Fabric Scissors – Use your “paper” or “all-purpose” scissors to cut through the vinyl because it could dull your fabric ones – especially if you are using a higher gauge. I have an old rotary cutter marked for all-purpose use. Generally, when my fabric rotary blade gets dull, I move it over to the “all-purpose” Fiskars cutter and use that on these special projects and when I’m trimming PDF paper patterns.
  • Use Clips to Hold Vinyl Together – Whether you like to use Clover Clips or binder clips, these all do the same job. They hold vinyl together without leaving a permanent hole like a sewing pin would. I’ve also heard of others using paper clips and even bobby pins too.
  • Do NOT Directly Iron onto Vinyl – This will melt and leave permanent marks on the plastic. If you do have deep creases that you would like smoothed out, you can hover the iron above the vinyl or use a pressing cloth with light and quick presses. A heat gun or a hair-dryer (on low setting) can also help. Make sure you don’t have multiple layers of vinyl directly touching each other as you use heat or they can melt together.

Now, let’s get into sewing with vinyl! Below are tips from my own experience. Please let me and other readers know if you have any additional tips of your own in the comments section below. I would love to read them!!!

Left to Right: Teflon Foot, Walking Foot and Zipper Foot (with washi tape)
  • Use a Teflon Foot (preferred) or a Walking Foot – Vinyl is notorious for it’s “stickiness” when rubbed against a metal presser foot. A smooth Teflon foot doesn’t create the same friction as a metal one would and allows the vinyl to pass through the feed dogs. I prefer this foot for it’s slim profile and the ability to maneuver around more than the clunky Walking Foot. However, the Walking Foot does do a great job with the extra set of feed dogs to help shift the vinyl through. Other machines may have leather/vinyl specific feet as well with rollers. I don’t have these with my Juki and can’t speak to them specifically. Relieving presser foot pressure (if available on your machine) will also help reduce friction.
  • Grab some Washi Tape – If you don’t have any of the feet mentioned above, you can try to use washi tape (available at most craft stores) and adhere it to the bottom of your regular foot. I use this method with my zipper foot (pictured above) since I rarely have the need for a Teflon one. I will caution that you do need a higher quality tape where the sticky side remains where it’s suppose to and doesn’t transfer to the non-sticky side. $1 bin tapes are usually like this and if you have any tackiness on the right side of the tape, it pretty much negates it’s use.
  • Reduce friction on your Sewing Machine Bed – Some vinyls are stickier than others when moving across the painted table of your sewing machine. (It glides over smoothly on the bare metal plate.) You should test how the vinyl glides against your machine before starting. If there is quite a bit of sticking, I recommend detaching the extended table and/or laying down several pieces of washi tape on top of it. This will allow the vinyl to glide a bit more. You may also have to lift the vinyl as you sew to avoid contact with your machine, working a few inches at a time.
  • Use Regular/Sew-All Polyester Thread – You want a nice strong thread with the vinyl, but you don’t want anything that is too thick because it will create more rubbing. This is the same if sewing with faux or real leather. There is more friction when you use a thicker thread and although you can also switch to a larger needle, sometimes you just can’t get a needle large enough and will end up with skipped stitches.
  • ALWAYS use a Brand New Sharp Needle – Since you are puncturing plastic, a brand new needle is essential. If it is dull, this can effect timing and can lead to skipped stitches.
  • Practice sewing on scraps – Vinyl will leave permanent holes, so it’s important to get your tension and stitch-length right before sewing. As you increase thickness, you may also have to increase your stitch-length to compensate.

As for the care of vinyl, it is always a good idea to keep any type of it away from prolonged sun exposure. This will keep your vinyl the same color as purchased and keeps it malleable. You can use a damp cloth to wipe away messes.

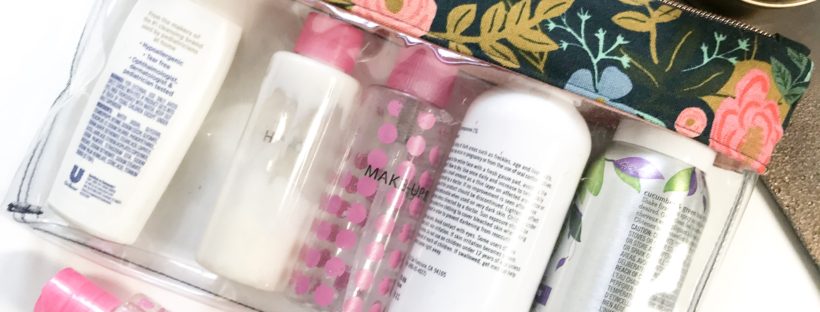
Now that you have the tips and tricks down, are you ready to sew with vinyl? All of the clear vinyl bags in these images are 12 gauge clear from JoAnn Fabrics (aff link.) If you stop by the store, you can ask for swatch samples in the other gauges. You can also order clear vinyl from Fabric.com (aff link) which ships to many countries. If you are into some of the specialty vinyls, I LOVE Sew Hungry Hippie’s shop (aff link.) This is where I bought the rainbow vinyl in the pictures above and I’ve been eyeing up all the glitter offerings.

You can grab the Emma Stadium Bag digital pattern here for your first clear vinyl project 😉

Hugs and Stitches,

Cristy


This post may contain affiliate links. You can read my full disclosure here.

Derby Dress by Love You Sew

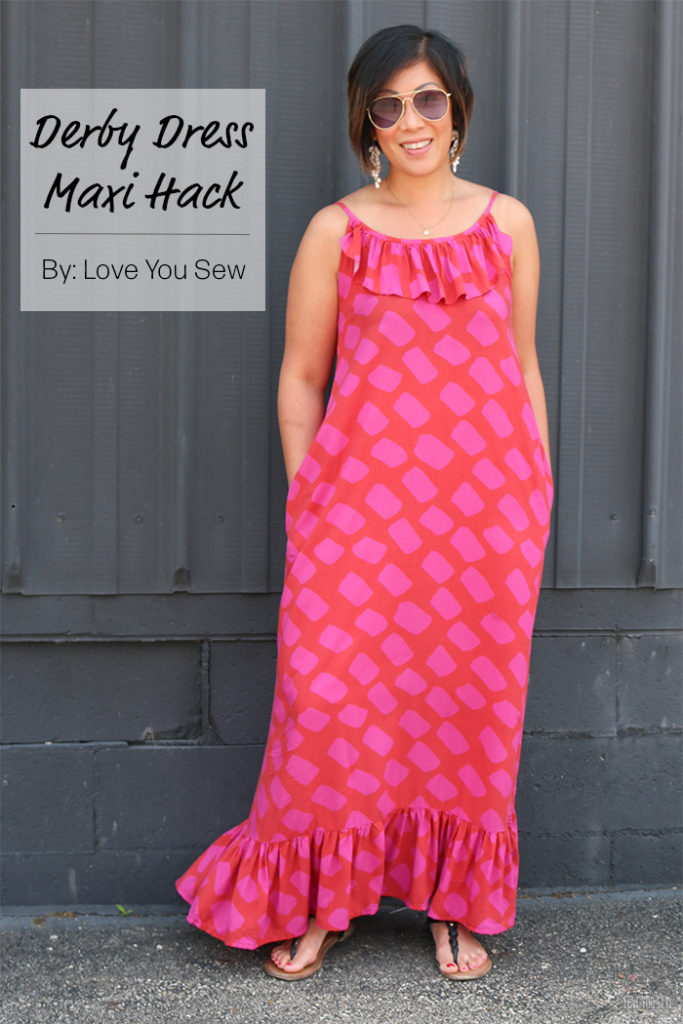
Derby Dress: Maxi Hack

Derby Dress Maxi Hack by Love You Sew

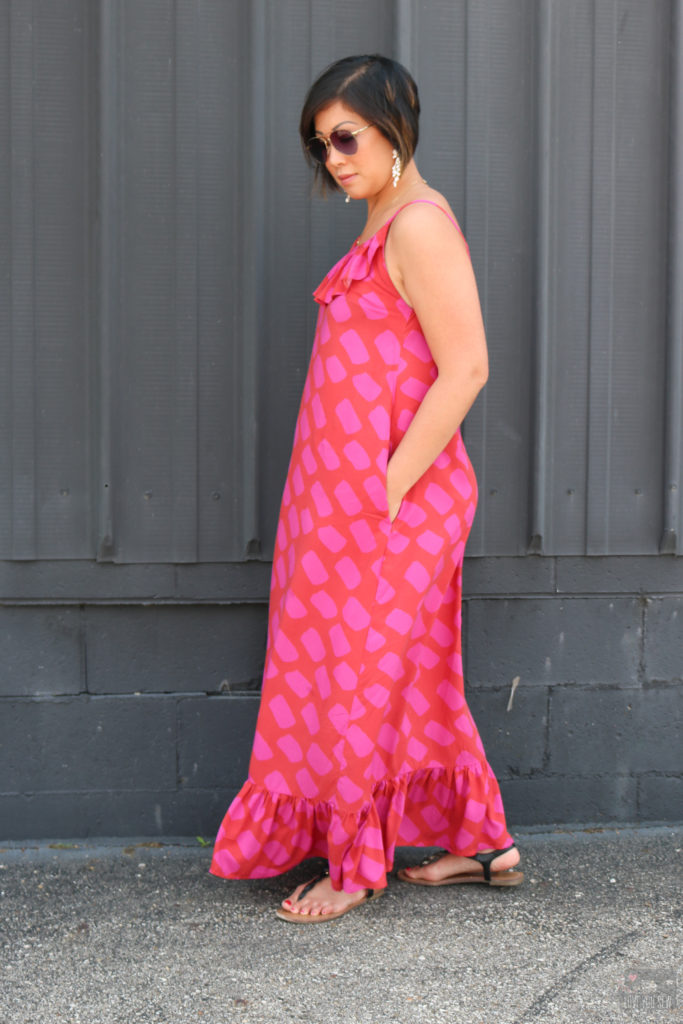
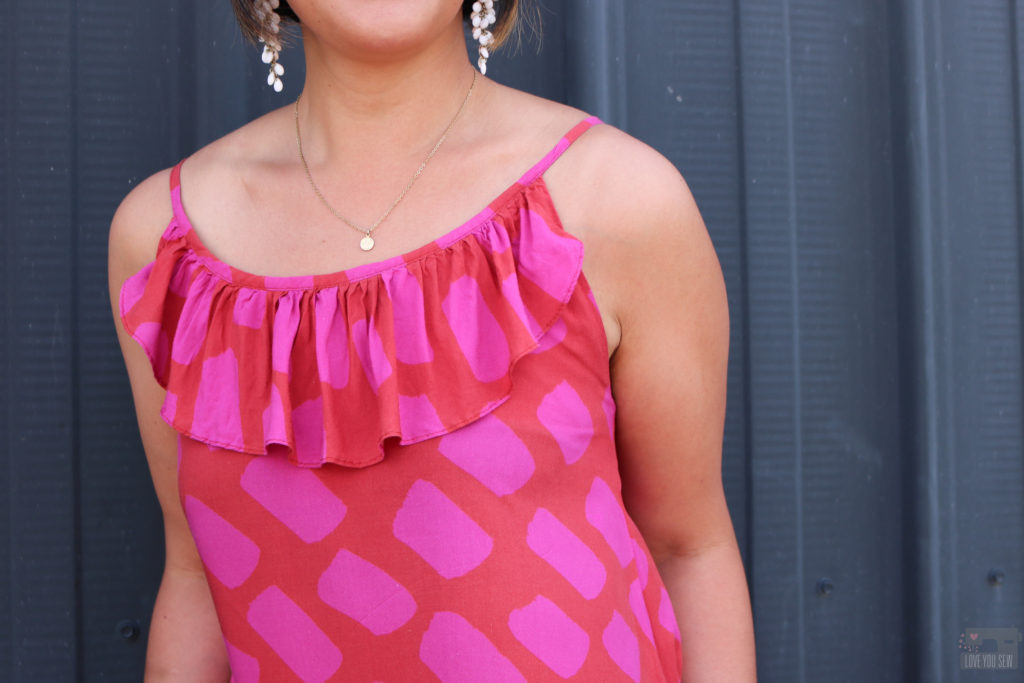
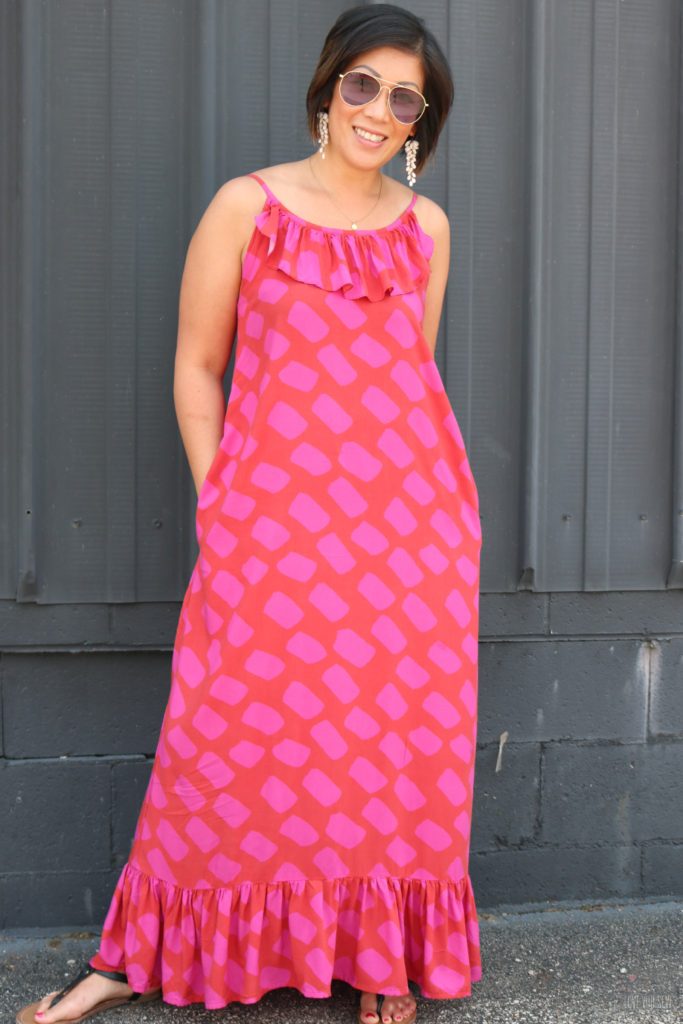
I was so excited when D&H Fabrics approached me to collaborate with their exclusive fabric collection with Katie Kortman.  I was asked to make something using one of the three available prints and I knew I would have to make a statement maxi dress using the Dash fabric with the Derby Dress pattern by Christine Haynes.  Katie’s designs are always so colorful and dramatic.  I wanted to make a garment that’s also fun, bold, yet approachable – like the designer, herself!

The Derby Dress (aff link) pattern has been in my library for awhile now.  I’m a sucker for the classic feminine styles which Christine has in her patterns.  I made the knee-length version a few years ago with a rayon challis and it’s still on rotation in my closet.  So I knew a full maxi version would get the same wear…if not more!

Fabric

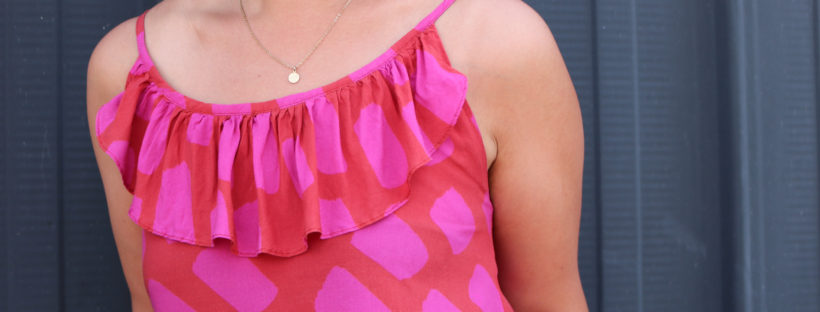
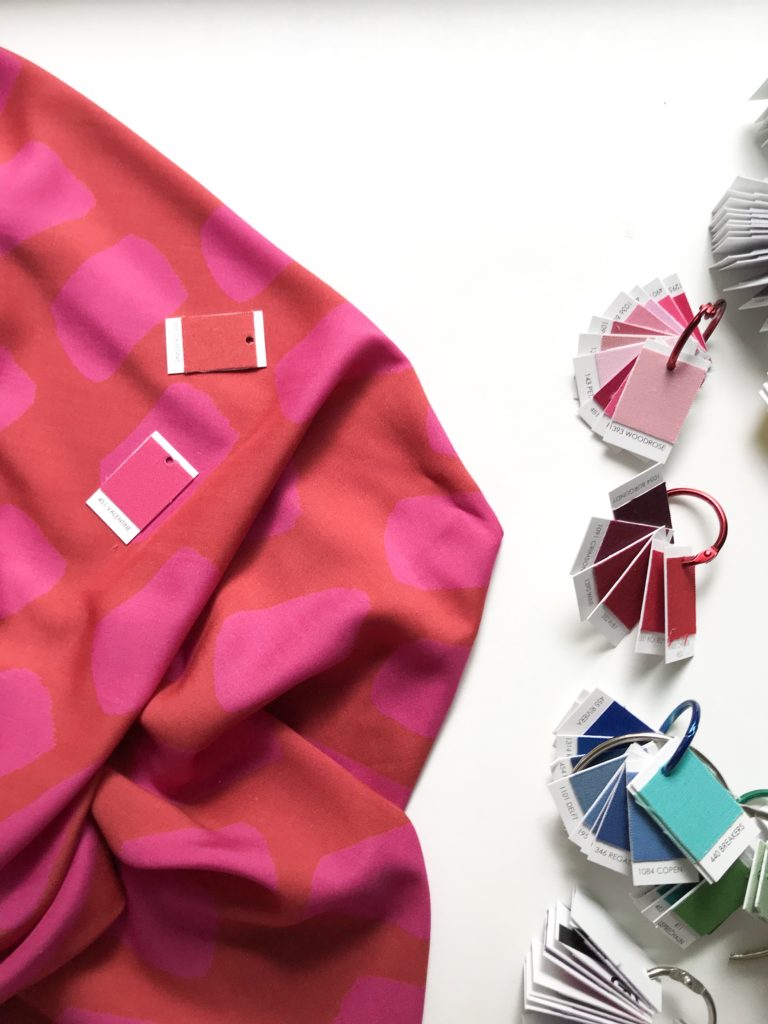
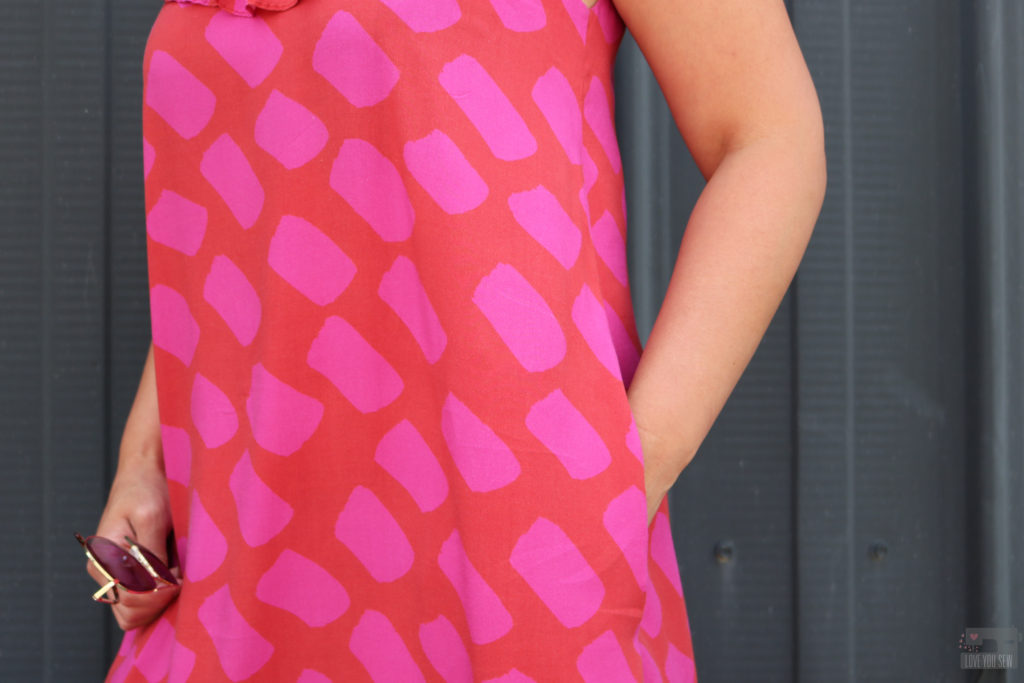
After checking out the available prints at D&H Fabrics, I fell in love with the vibrant pink and red Dash.  There was just something about these analogous colors that pulled me in.  I admit my garment fabric game is a bit neutral (aka boring) so it felt good to step out of my comfort zone a bit…especially for summer!  If you follow Katie on IG, you know she has her own personal movement to get more of us sewists to use fun color combos.  I SO appreciate the extra fun inspiration and color push 😉

This gorgeous print is made of a 56″ wide lightweight rayon poplin which is incredibly soft with a soft hand and beautiful drape. The tight poplin weave makes the fabric easier to handle than a rayon challis which is much more slippery. With this more delicate fabric, I like to use a smaller universal needle sized 75/11 or 70/10.

The fabric design is printed directly on a white basecloth and washes very well. Most of these pictures were taken after three washes and yes, even with delicate tumble-dry.  (I wash my handmade garments along with my RTW.)  The colors remain saturated and I even sweat through this for hours in 90* heat.

Pattern & Modifications

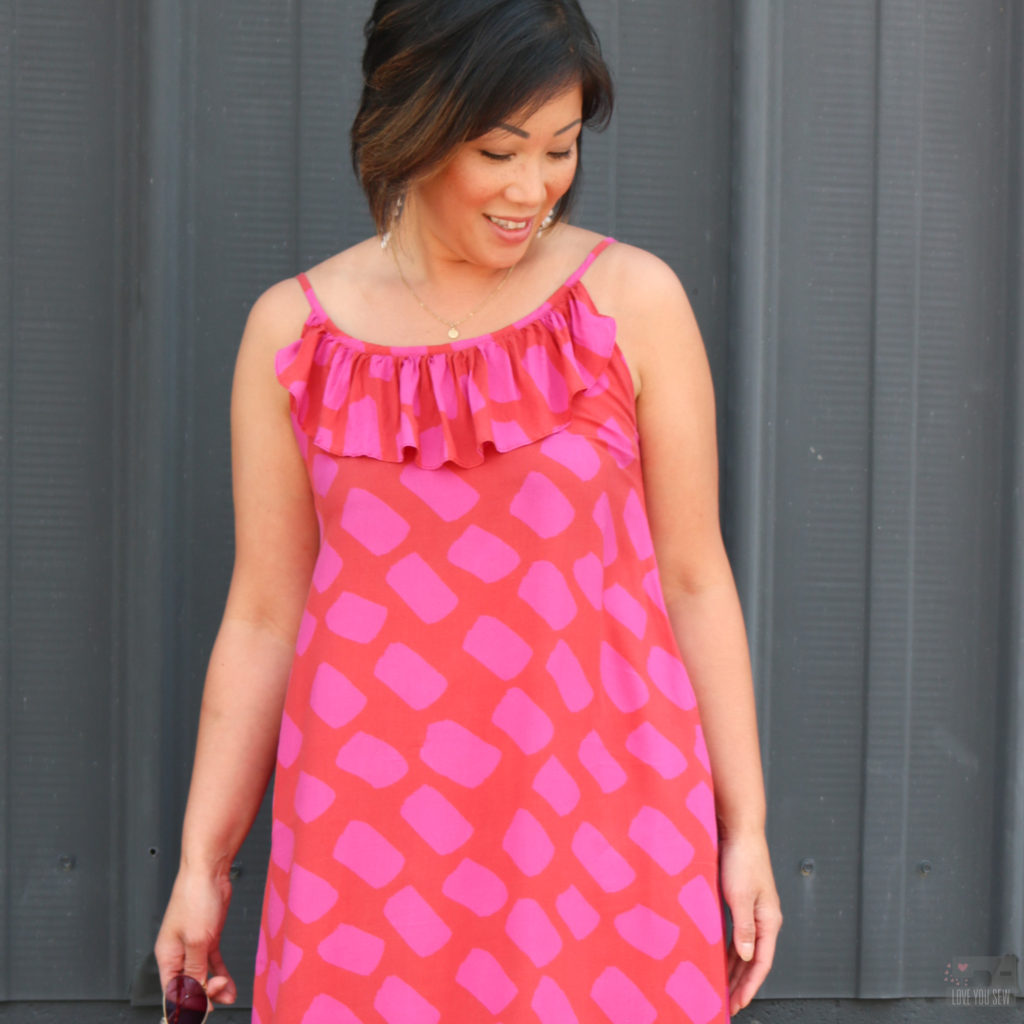
As I mentioned above, I’ve made this Derby Dress by Christine Haynes before and love the flirty ruffle feature — plus it has pockets!  I actually use this pocket pattern as my go-to for any dresses which need an in-seam pocket.  It’s just a nice shape and perfect size for my hands.  I’ve used these pockets on my Sylvie seen here, and my Alix dress found here.

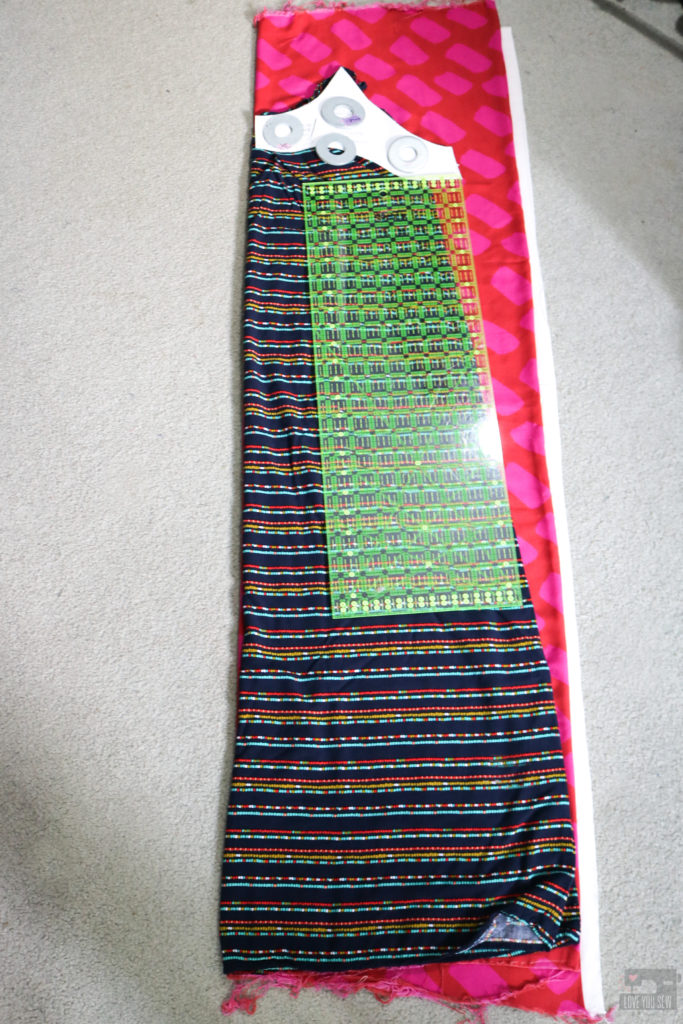
The front of the Derby is drafted with 3 separate panels for princess seams and the back has 4 panels for additional shaping.  This is great for a solid fabric or a busy print, but I didn’t want to disrupt the dashes in this fabric design.  I definitely did not have enough fabric for all of the pattern matching either…nor the time! So, I used a RTW maxi dress from Target (aff link) I have to work out the width and length of the dress.

I laid the RTW dress over the fabric on the fold and used the facing of the Derby to cut the top of the dress (of course, adding in seam allowances.)  The Derby uses two different facings for the front and back, but I took the easy route and made my front and back pieces identical since all of the panel seams we eliminated.   I then cut out two of the front facings on their own to match the front and back of the Derby.  The straps were later shortened to account for these changes to the neckline.

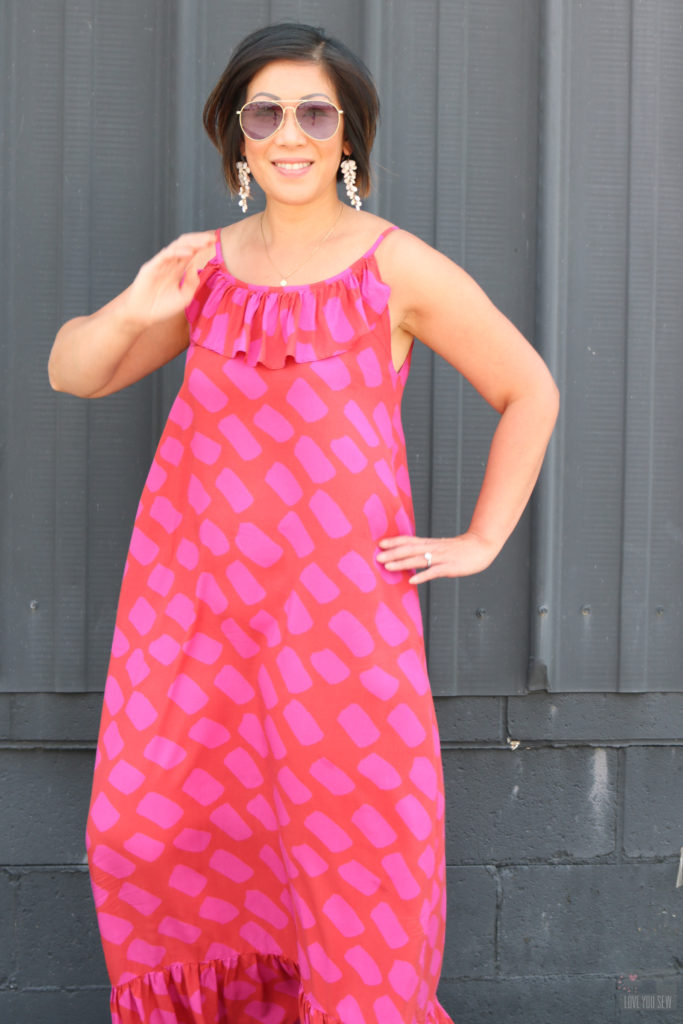
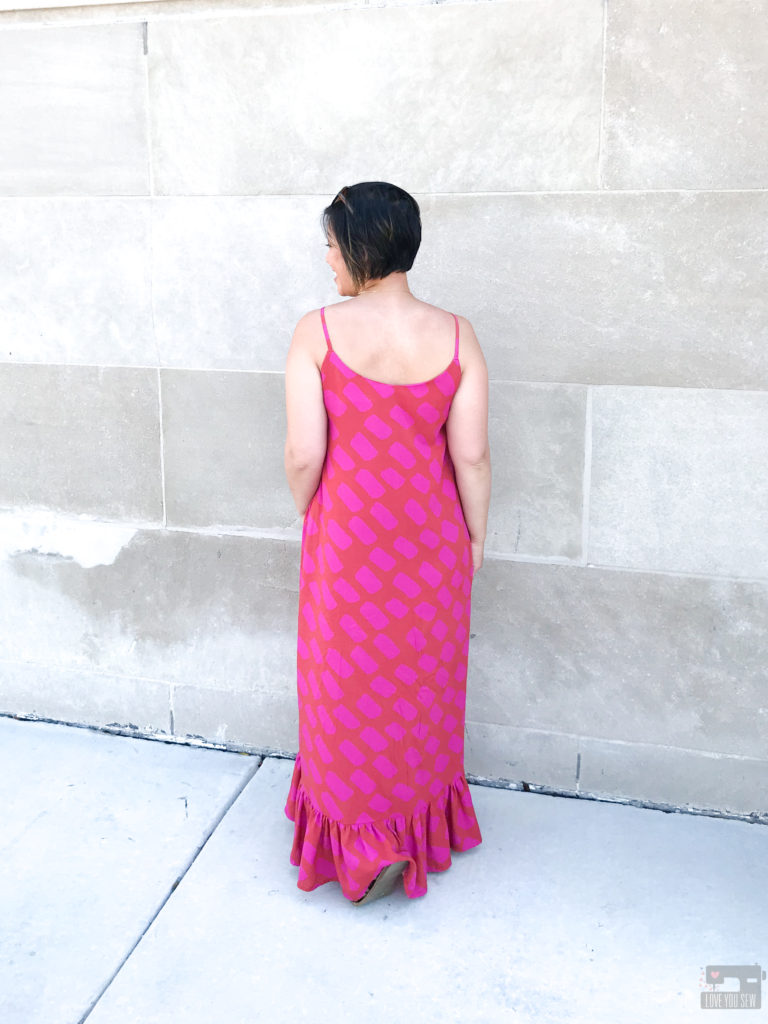
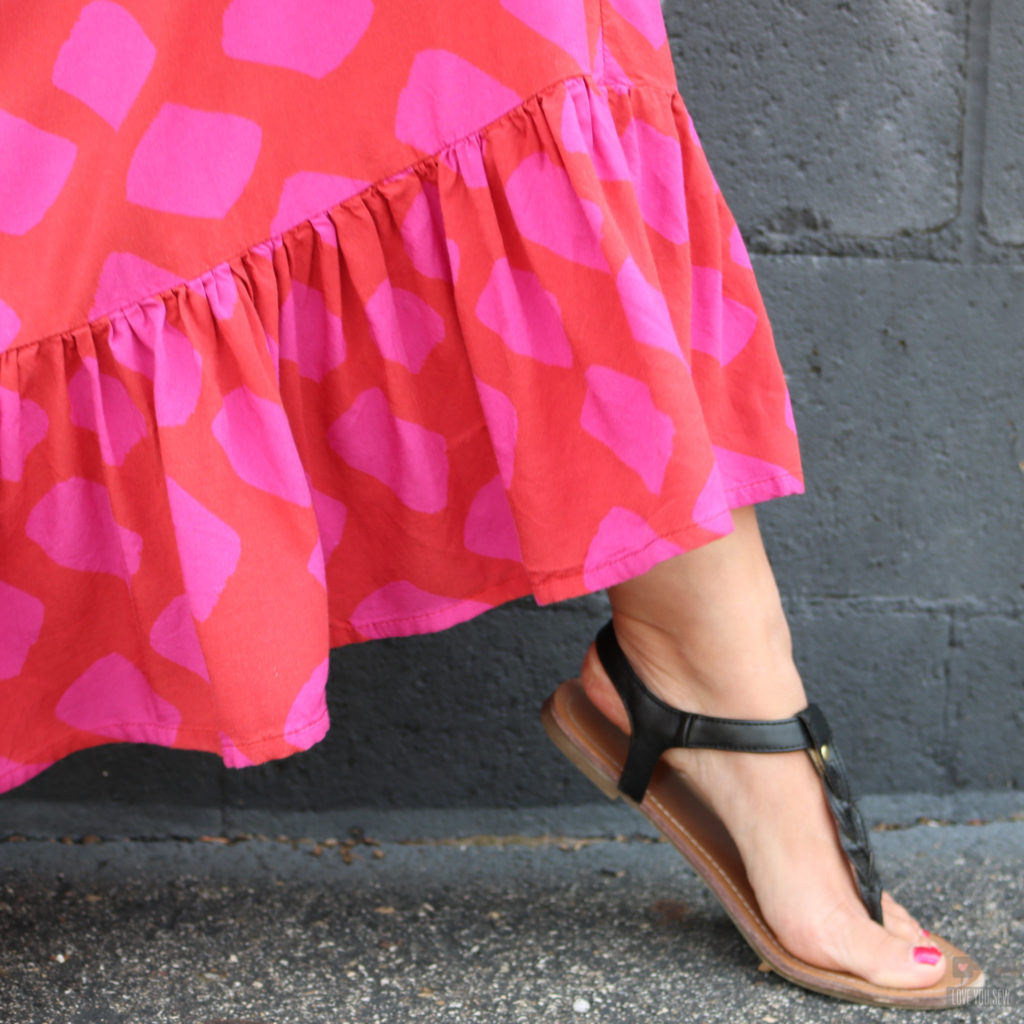
With the dress lengthened out to a maxi, I also extended the length of the neckline ruffle by 1″ to balance the proportion.  I though the ruffle would be cute on the back as well, but it ended up being  a bit “too much.”  Sometimes you have to know when to edit, and the back looks much better with a clean line.  To play with the neck ruffle, I also added a 7 1/4″ (finished) x WOF ruffle to the bottom of the Derby to make it as close to the ground without touching as possible.  It adds to the flirty feel of the dress and adds some extra swing.

I LOVE how this maxi version of the Derby came out.  The print needed to become a statement dress and I can definitely tell you it turned a lot of heads at the airports!  The lightweight rayon poplin was just perfect with the dress pattern for all the great movement.  It’s the perfect summer dress for travel and pairs beautifully with my vintage denim jacket….so that means I can also extend the season on this make! Yay!!!

Derby Dress by Love You Sew

Project Summary


Are you a bold and colorful person or usually a bit more reserved and neutral like myself?    I have to admit that stepping out of my usual color scheme was a lot of fun and I’m reaching for this dress a lot more than I thought I would!  Try it out if you haven’t already!!!


Hugs and Stitches,

Cristy


The fabric for my dress was provided by D&H fabrics for advertising but I was not contracted to write a blog post.   As always, I like to share my makes and good fabric finds 🙂  There are affiliate links in this post and you can read up about my disclosures here.