If you are looking to really make a bag look CLASSY, a rolled handle can instantly add that sophistication. That’s why I added them into my Colleen Tote Bag pattern! It adds more durability and strength than flat handles and the round style makes it SO much more comfortable in the hands!
The instructions for rolled handles in the Colleen are manageable on home machines….as long as you are going through fabric and not other substrates. EIGHT layers of canvas can be managed with a heavy duty needle and increased stitch length. However, if you want to make the same kind of handles with cork, vinyl or leather….you can pretty much forget about it — unless you have an industrial machine. Well, now, you can still have these type of handles with your DOMESTIC MACHINE!!! This tutorial will take you through an alternative method to make rolled handles with only 4 layers — perfect for those thicker raw edge substrates!
Tutorial
Please note this rolled handle example is for the Erin Backpack, but the same technique would be the same for the Colleen Tote.
 1. Cut the width of your handle 2x what you want the finished ends to be. In this case, the ends need to be 1″ wide and the cork is cut 2″ wide. (If you are making the Colleen Tote, you would want your handle to be 3″ wide and not 6″.)
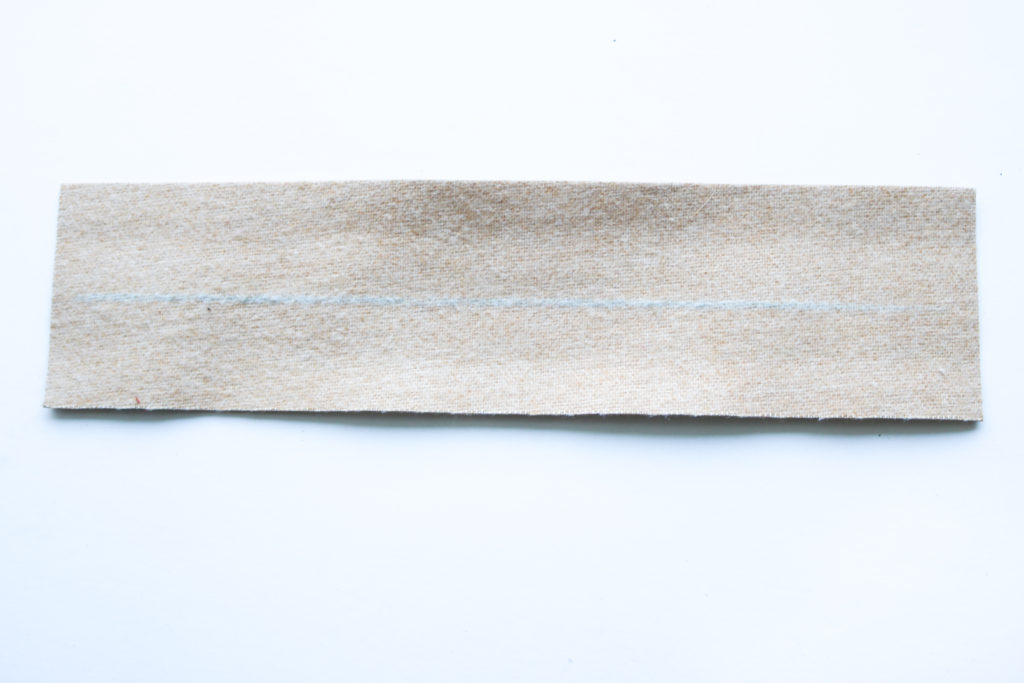 2. Mark the center of the strap lengthwise
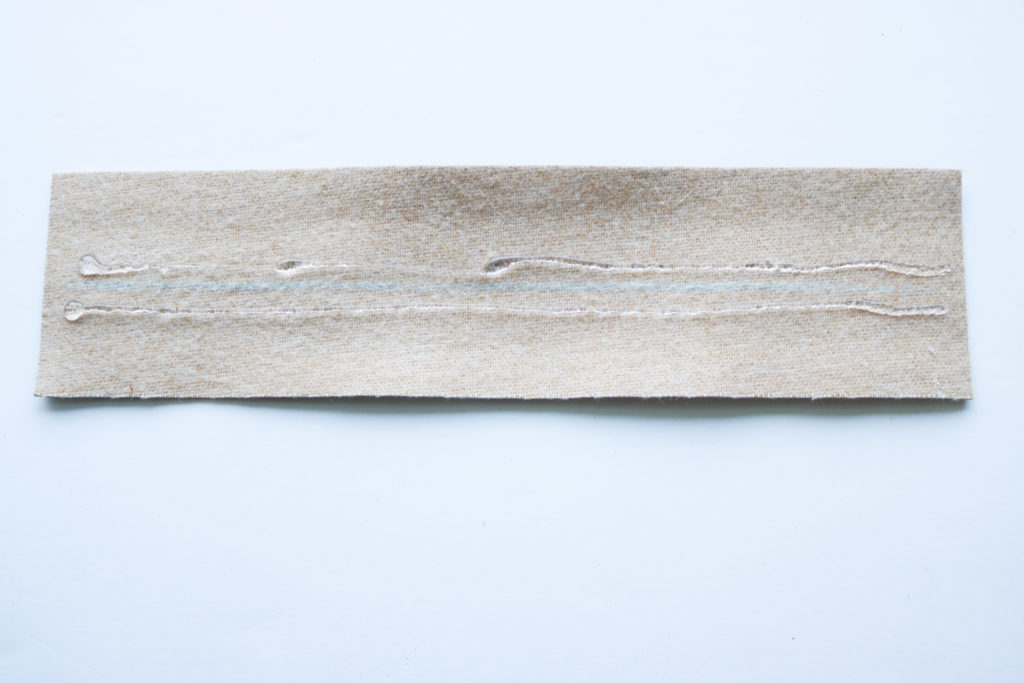 3. Add a very thin layer of glue on each side of the line you marked.
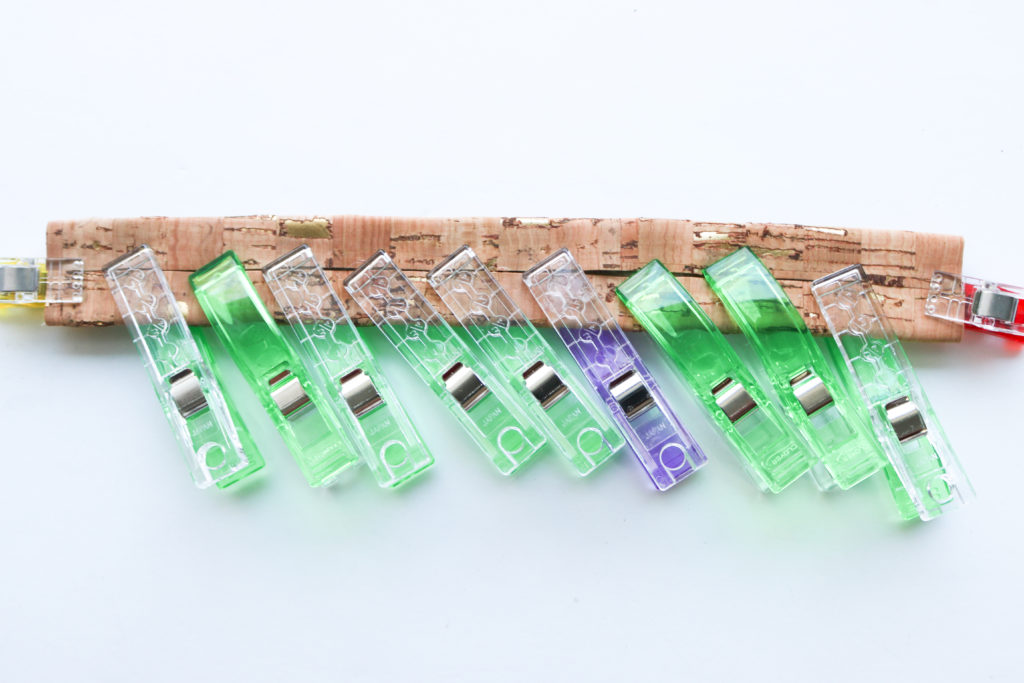 4. Fold each long side into the line you drew and clip to secure. Make sure the sides meet each other in the center. Wait until all glue has dried.
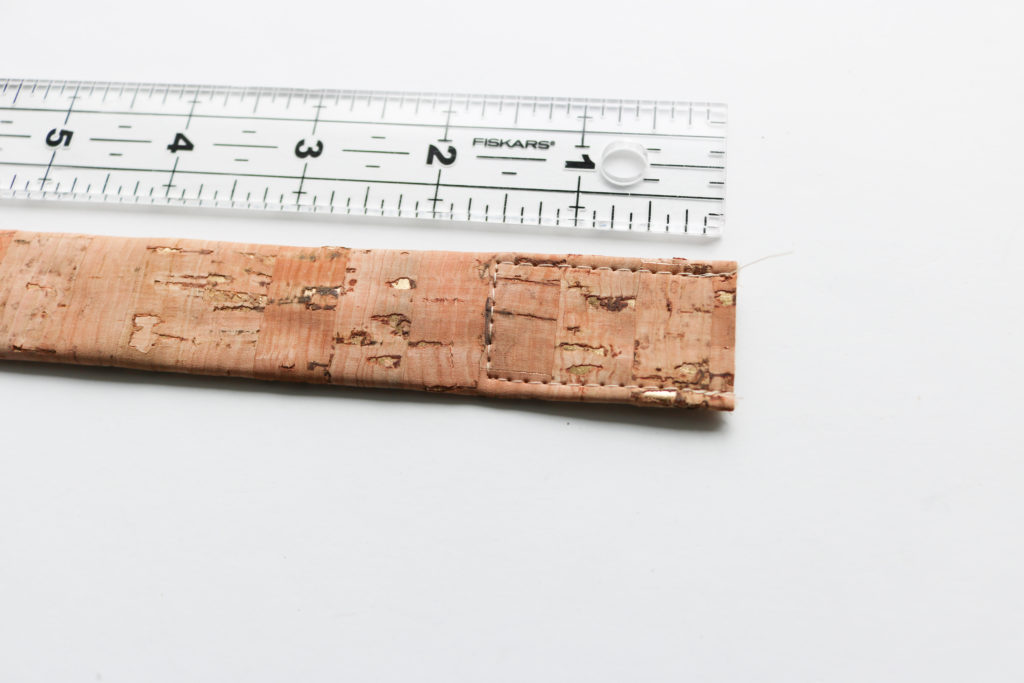 5. Mark how far up you would like the roll to start/stop. For the Erin Backpack, I marked 1 1/2″ from each short end. For the Colleen, it would be 2 1/2″. Sew the Strap together 1/8″ along the folded sides and then crossing over at your mark.
 6. Place a thin layer of glue along the center fabric seam, in-between the top-stitching. If you are making the Colleen Tote, this is when you would add your cording. Since this handle is more narrow for the Erin, I’ve omitted any cording.
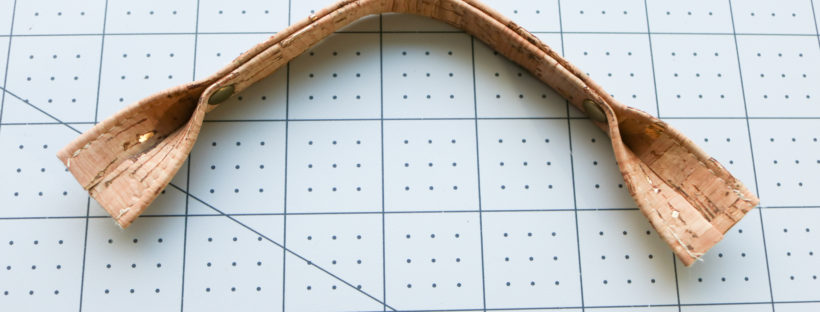
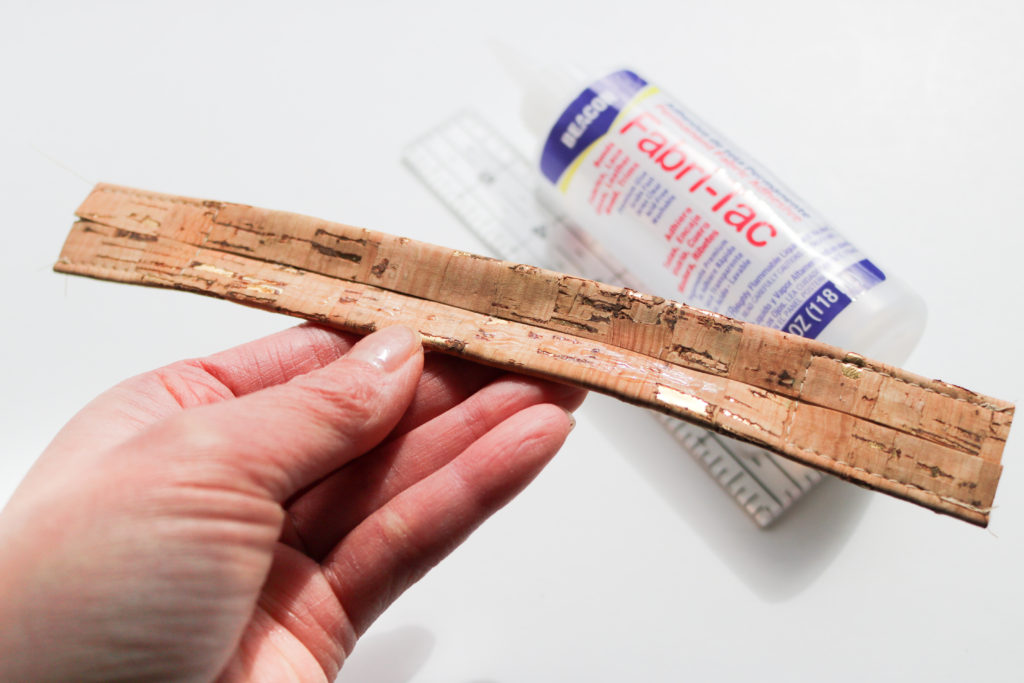
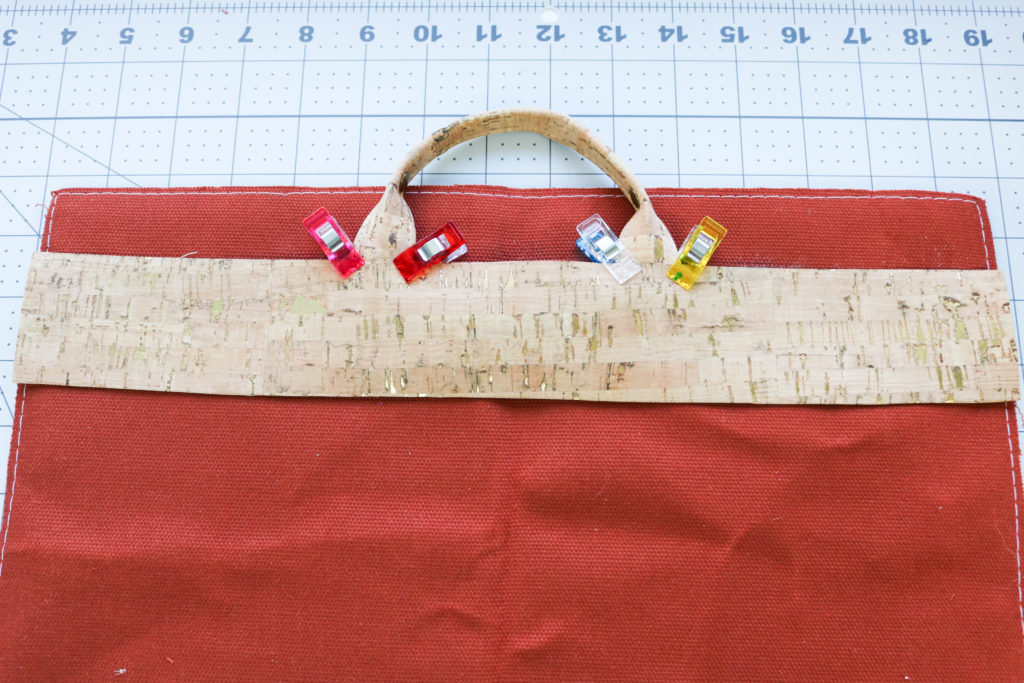
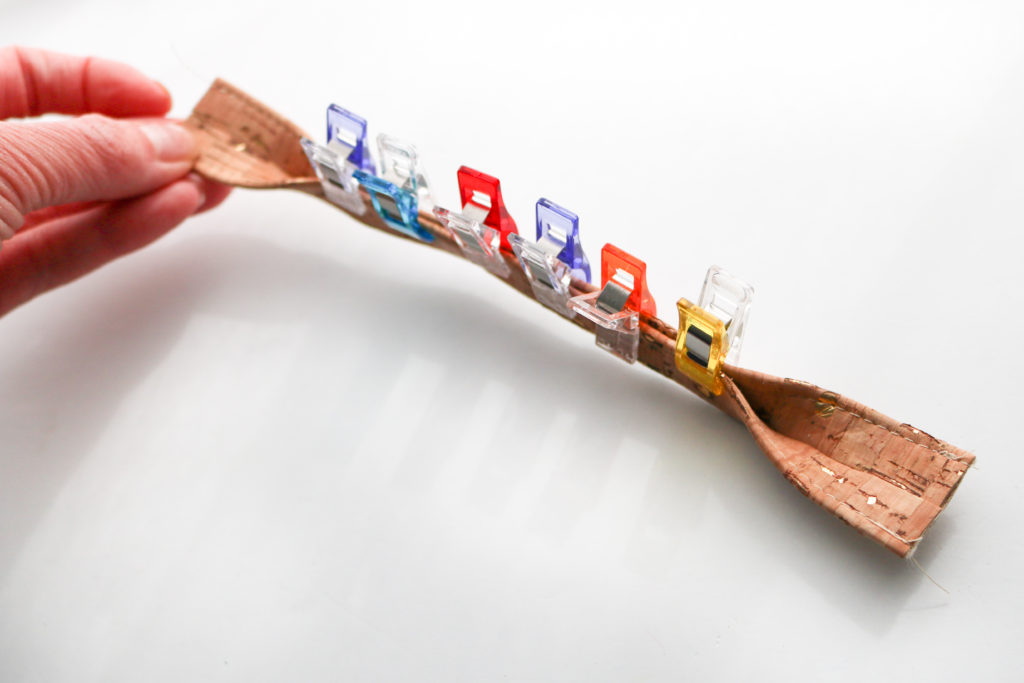 7. Fold long sides together , encasing the fabric seam but only in-between markings. This created the “roll” of the handle. Clip in place and allow to dry completely.
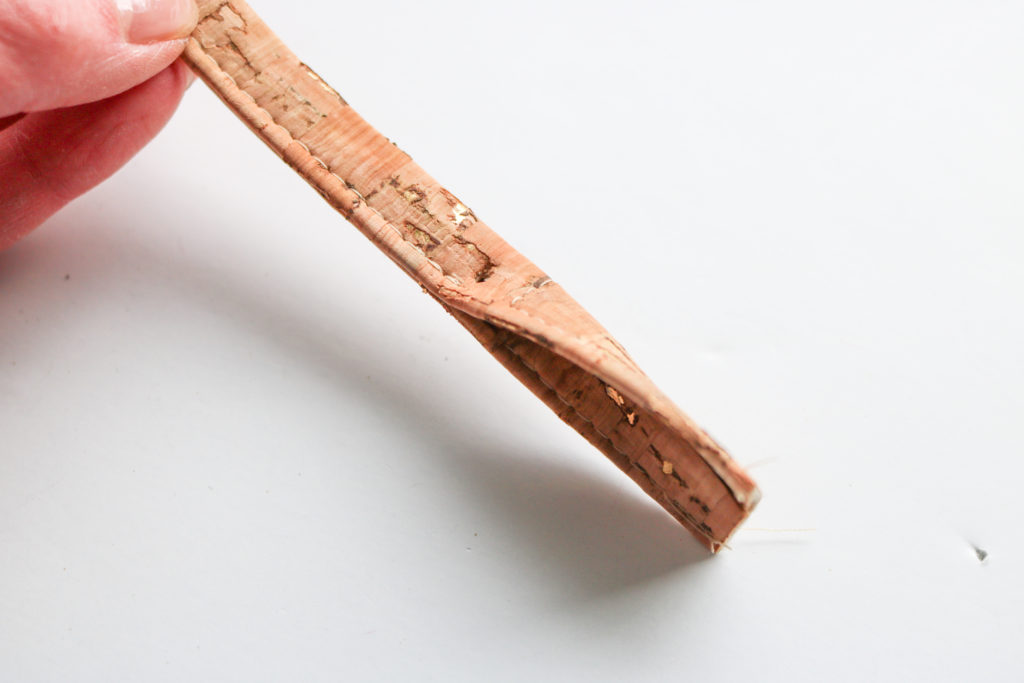
*Note how the handle ends have the fabric seam exposed lengthwise. The glue and stitching will keep the strap intact but this is why this method is meant for non-fraying substrates only.
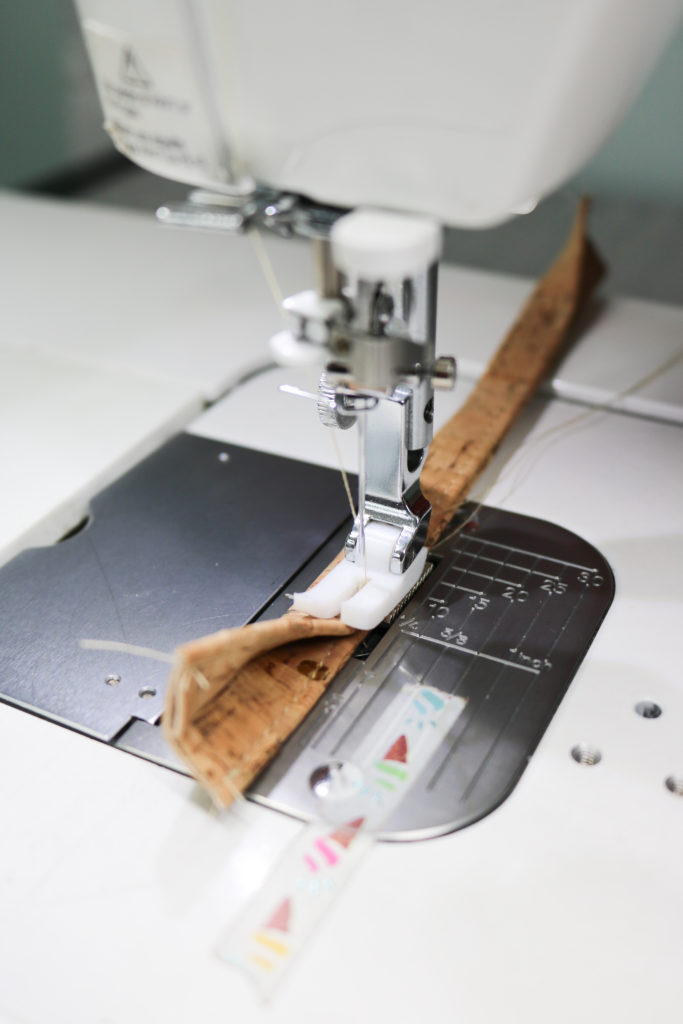 8. Top-stitch along the double-fold side in between markings. (You may need to increase stitch-length to handle the extra layers.) Backstitch well at the start and end of your stitching.
 9. Double check that all stitching is secure.
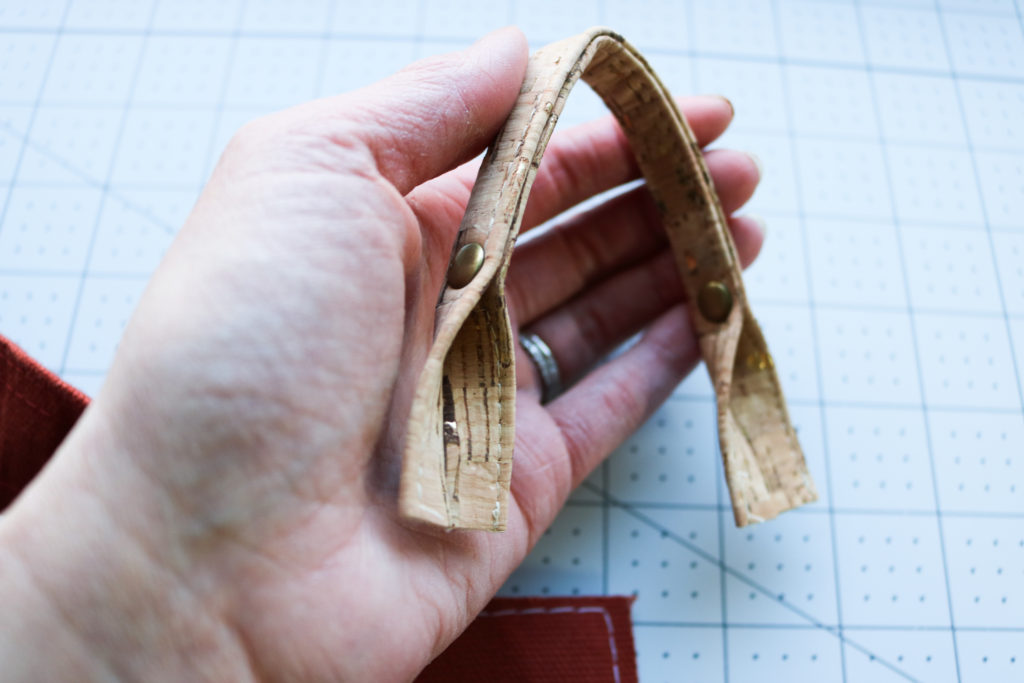
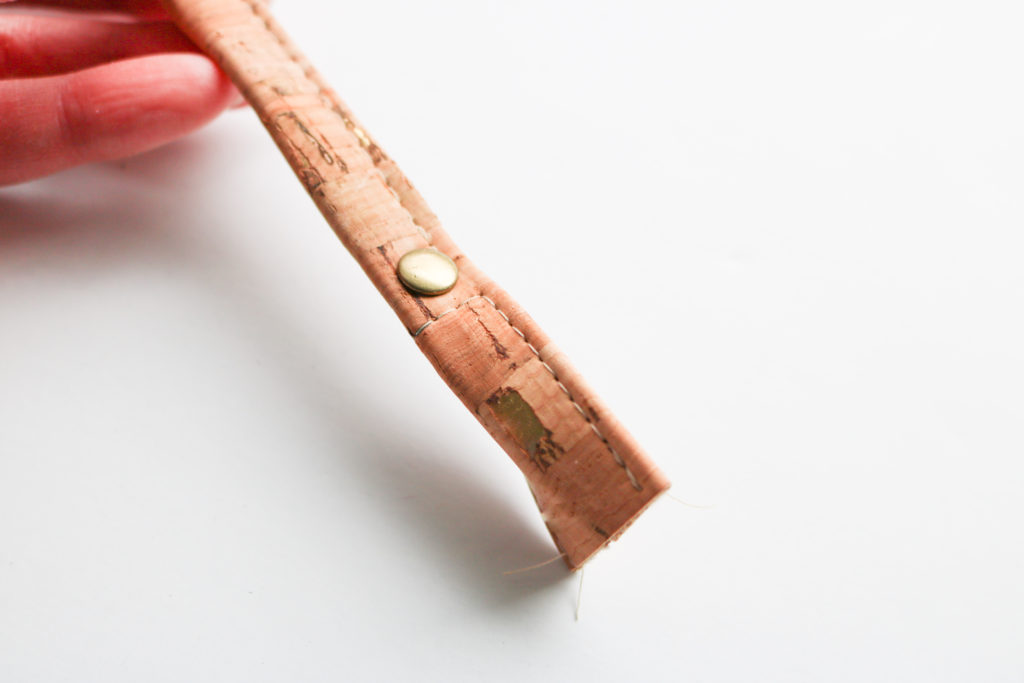 10. Optional – Add a rivet right above the end markings to keep the Rolled Handle extra secure.

Congratulations! You have a rolled handle ready for any bag!!!
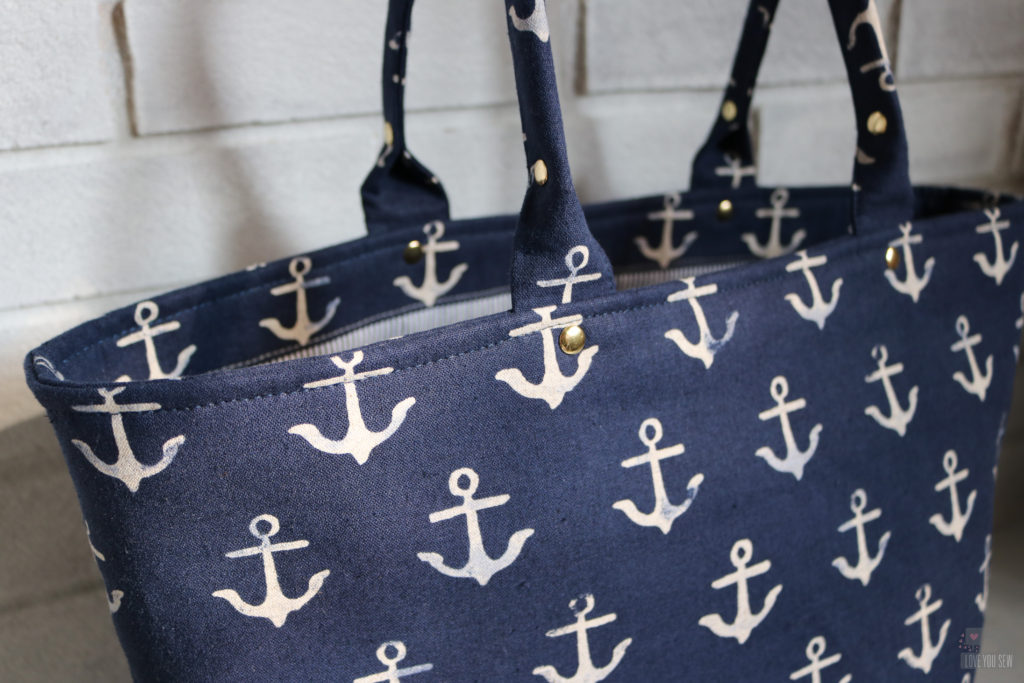
This is how the handle looks placed on the back of the Erin Backpack as part of my Sew Along you can find here.
I hope you enjoyed this easier alternative method to making rolled handles with your favorite cork, leather, or vinyl!!!
Happy Sewing!
Cristy


