Split Hem Sheridan Sweater

Winter finally hit here in the midwest.  And by winter, I mean the below-freezing temps with wind that just bites at your face!  Since I walk my dog everyday, I’m out in this cold whether I like it or not.  In the mornings, I usually just throw on a sweatshirt over a few layers, but for 2022, I feel like I need “nicer” cozy clothes.  Don’t get me wrong, the dog walks will probably always include a sweatshirt, but I would stay in them all-day long and that’s the cycle I want to break.  It’s been two years of sweatsuits and I’m ready to get out!  So, with this sweater knit I bought last year and  my TNT, Sheridan Sweater, I’m working to get out of this rut.
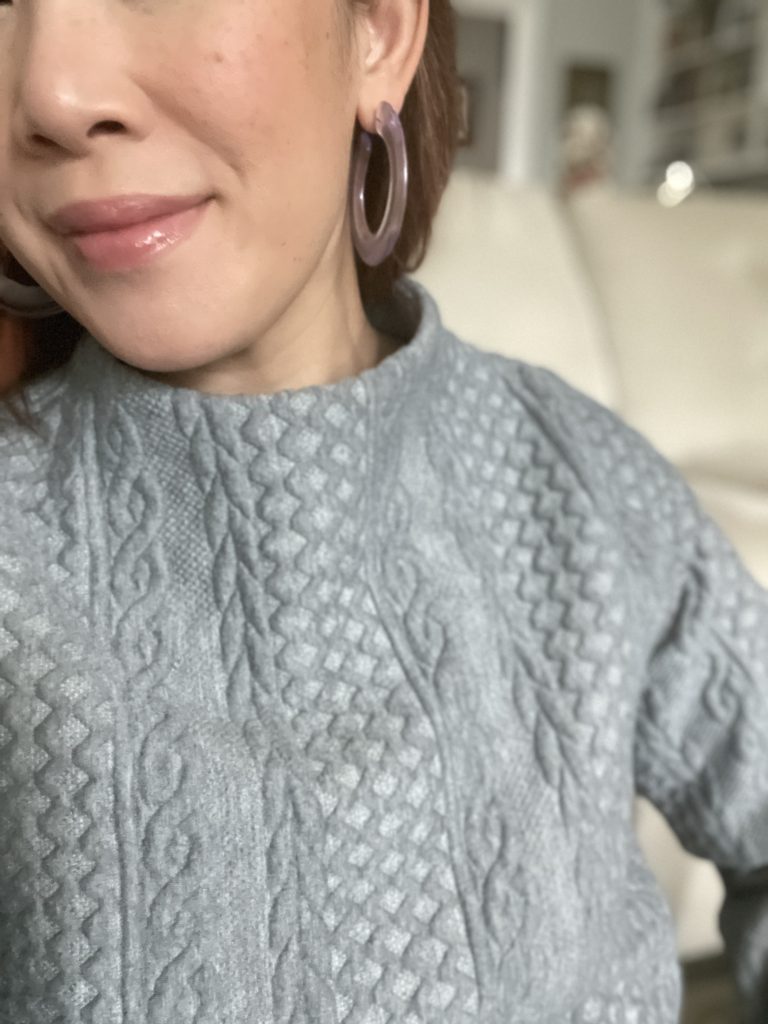
I know I need more texture in my tops (not just the knit sweatshirt/jersey look) and sweaters would bring it in.  But since I don’t knit or crochet, I have to bring it in through other ways.  For sure, I have to do some thrifting, but I also had this incredible cable knit-look fabric in my stash. I bought this from Fabric.com  after seeing so many other makers use it and it certainly delivers.  The fabric is a really nice thick knit that isn’t too heavy but has the feel of a real sweater.  While the inside “stuffing” frayed a bit depending where you cut the fabric, I was able to use my regular sewing machine, serger, and even cover-stitch to make this top.
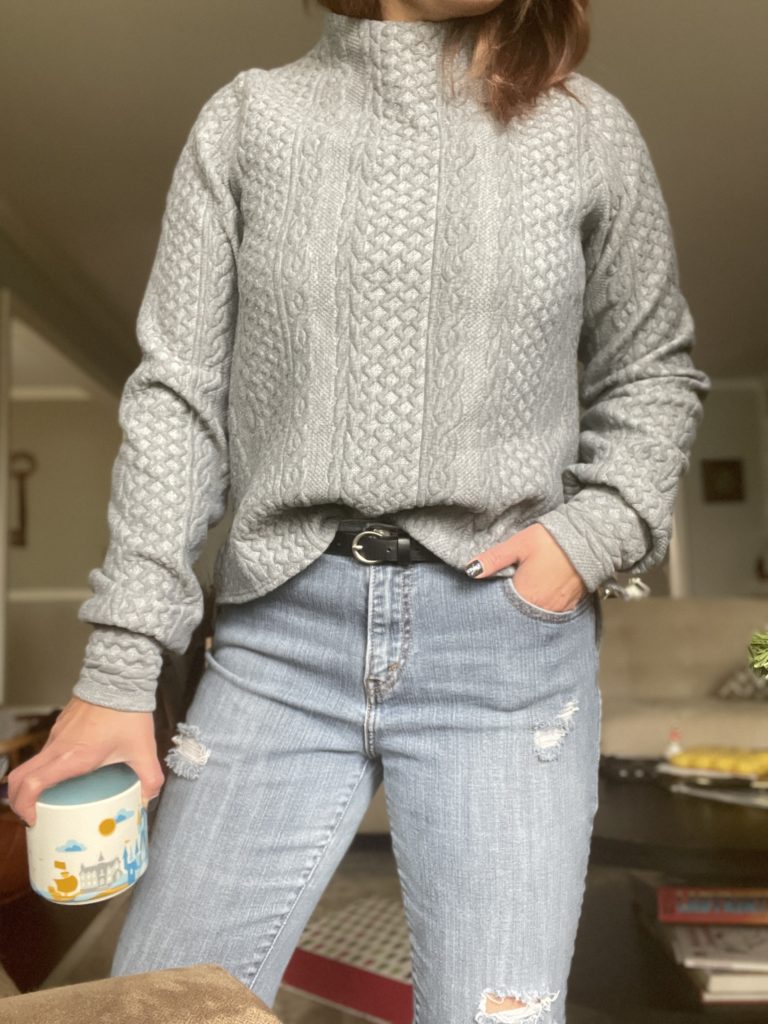
This is the fourth time I’ve made the Sheridan Sweater, a pattern by Hey June Handmade.  You can check out two I made on this post.  I’m a big fan of this pattern and really love the funnel neck view.  I’m always the “cold” one in the family and I like to have my neck covered, but I’m not a fan of turtlenecks.  My skin is pretty sensitive with fabric textures, so I always like some kind of loose covering like a cowl seen here in my Halifax Hoodie or this funnel neck.  Since I already have two Sheridans that are identical with the exception of color, I knew this one had to be different.  In addition to the fabric, I also hacked the pattern to make an uneven split hem, which is perfect for to half-tuck into my jeans.
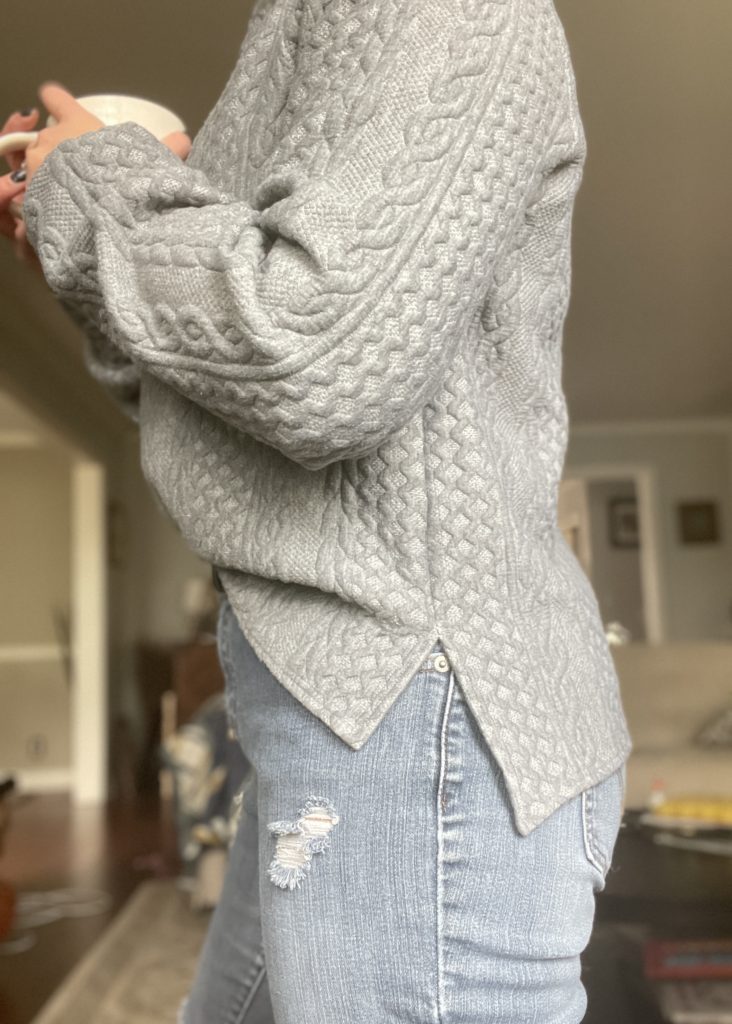
These are all of the modifications on my size 10, view B Sheridan:

  • Increased the funnel neck by 1/2″
  • Omitted interfacing on the neck facing (fabric is thick enough)
  • Lengthened full front by 1″ and the back by 2 1/2″
  • Marked 3 1/2″ from the bottom front for the split hem
  • Used 3/8″ single fold with cover-stitching for hem
  • Made a 1/2″ narrow shoulder adjustment (typical for me with HJ patterns)
  • Narrowed out the sleeve 2″ on each side (4″ total) for a less formal balloon sleeve
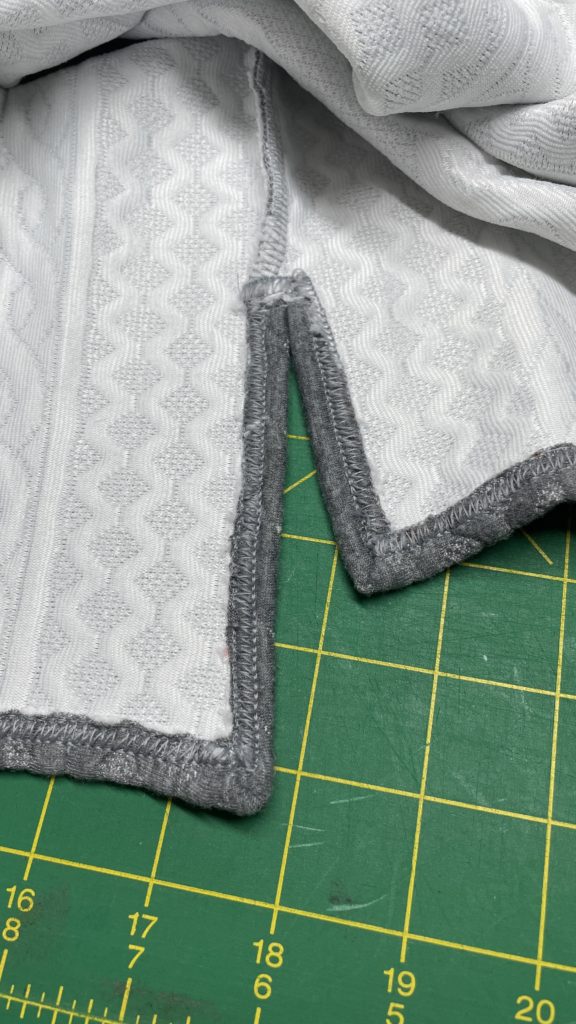
I was “winging” the split hem (which I kinda regret now) and wished I added more length to the hem and especially at the side seams for the split.  While this isn’t the prettiest cover-stitching, you can’t really tell from the outside (thank goodness!) it worked out in the end.  I used some Mettler Seraflex to help tack down the hem right at the split (on the side seams) and after using my cover-stitch, realized I should’ve just used it on the hem this whole time — Lesson Learned! It’s a great thread that has stretch which you use with a straight stitch.  Since the hem is loose and not getting much strain, the Seraflex would’ve been a good alternative to cover-stitching.  I also used it in the cuffs (for less bulk than my serger) and also for tacking down the funnel neck to the facing.
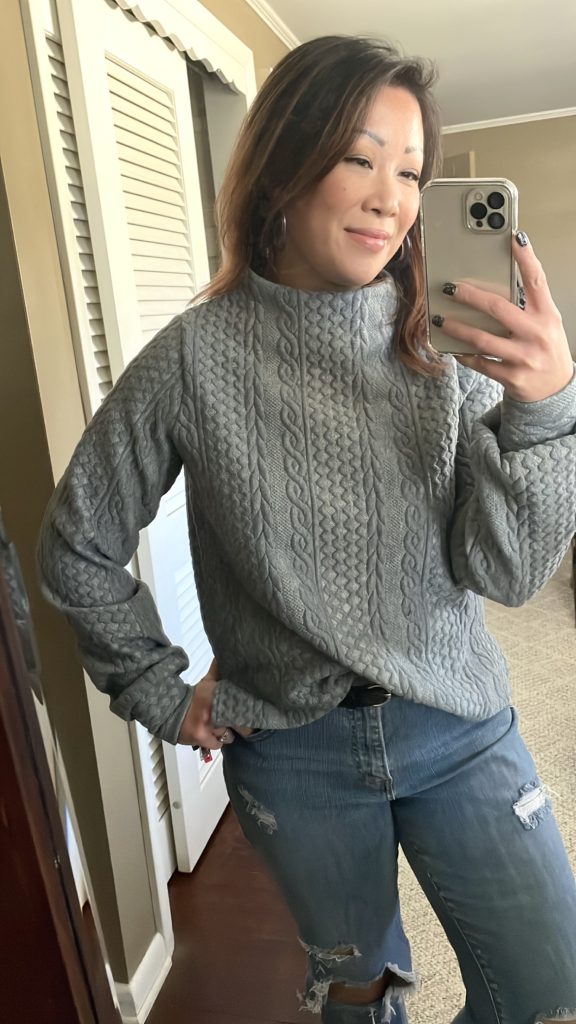
Despite the small regret with the hem, I’m really pleased with this Sheridan Sweater.  It has the comfy-cozy, cable knit look I needed and it’s VERY warm too!  This was a great wardrobe addition  while I brace this bitter cold!  Do you like this knit-look without being a real sweater?  I think I may have to invest in some more of this fabric!

Happy Sewing,

Cristy


This post may contain affiliate links.  You can read my disclosures, here.
#SewPink 2021 Blog Hop with the Christine Sling

It’s October again and I’m so pleased to be a part of By Annie’s Annual #SewPink Initiative for Breast Cancer Awareness Month.  This is my second year in a row participating in the blog hop to help bring attention to this initiative within the sewing community.  If you want to check out what I made last year, you can find my 2020 post here.

With this past year, I feel that the effects of Breast Cancer are hitting even closer to home ever than before.  I made the milestone birthday of 40 years and made sure to get an appointment for a screening.  But the harsh reality of getting older is also seeing more friends diagnosed with breast cancer and then seeing them go through treatment.  The story that hit closest to me this year was hearing about my “big sister” from my college sorority start her fight to battle breast cancer.  We are the same age and she has four young children to care for.  She is such a strong and beautiful person inside and out who is staying so positive through her care.  It’s truly amazing to see what she is overcoming.


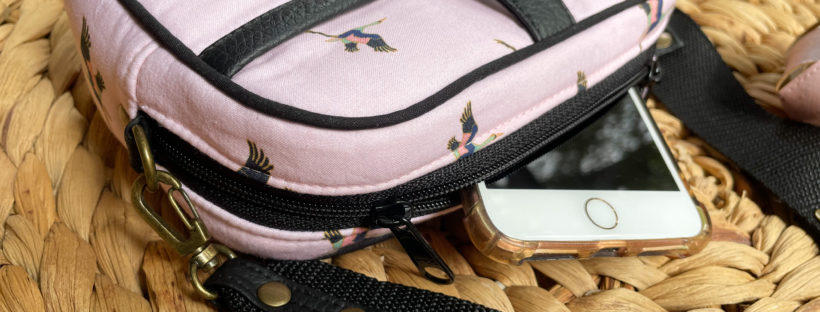
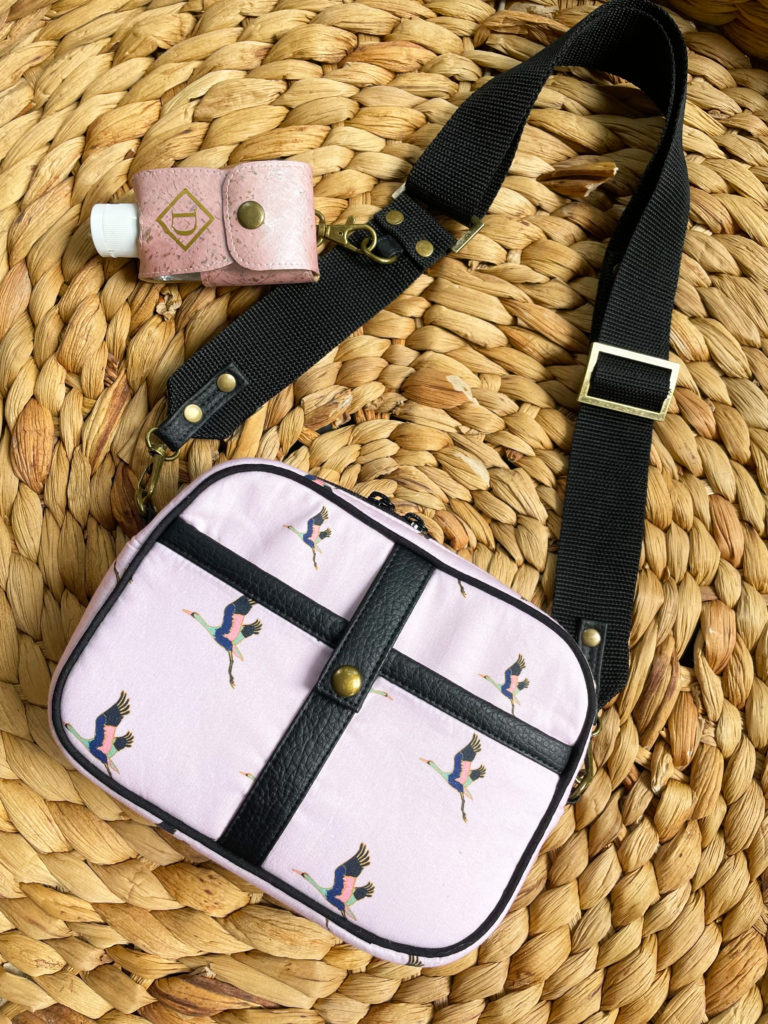
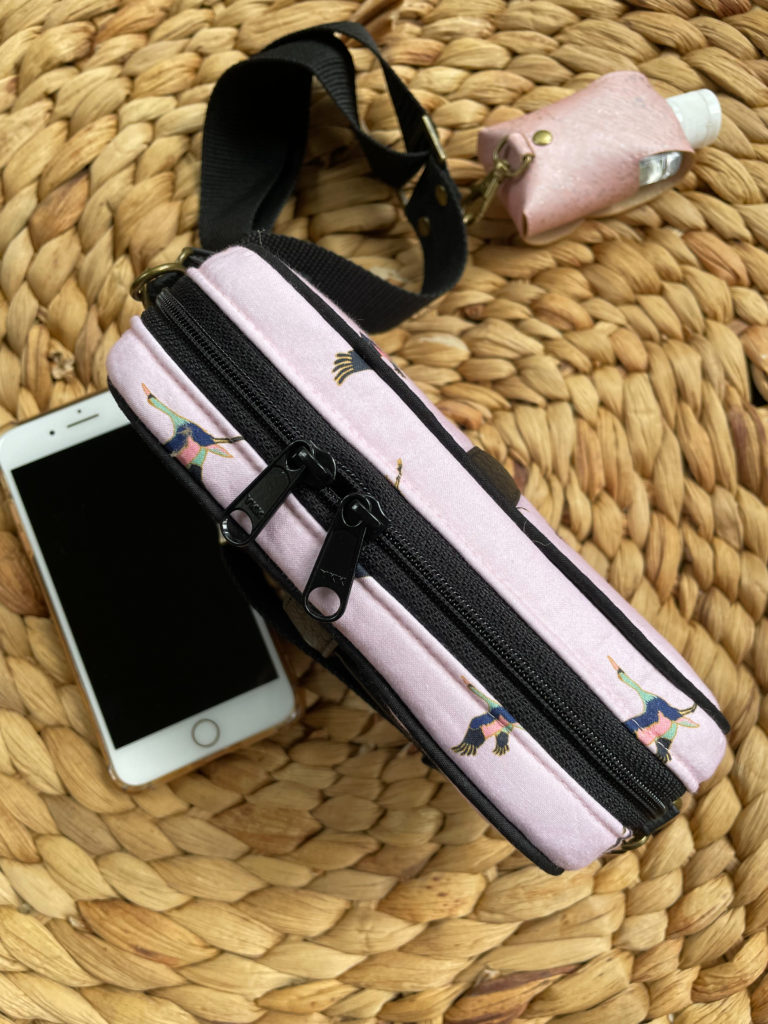
For the #SewPINK blog hop, I wanted to make my latest pattern, the Christine Sling (which was released just less than a month ago!)  You can read up all about her features here.  And of course, I couldn’t help but pick out some fun PINK fabric for the project!  I found this gorgeous Crane fabric by Teresa Chan and it’s symbolism really spoke to me.  In Chinese culture, the crane is the prince of all feathered birds only second to the Pheonix.  It symbolizes longevity and peace – which is what everyone is searching for when struggling through cancer.  They want a long peaceful life and these cranes will hopefully bring that to my “big sister.”

Since I’m using quilt cotton (and NOT following my very own fabric recommendations) for the bag,  I had to make some construction adjustments.  Luckily, I knew I could use some Soft & Stable foam to help build in some pliable structure to the Christine Sling.  I fused woven interfacing on all the quilt cotton before basting it onto Soft & Stable, and then cut out my pattern pieces.  In addition to Soft & Stable, I used the following By Annie products in my bag:

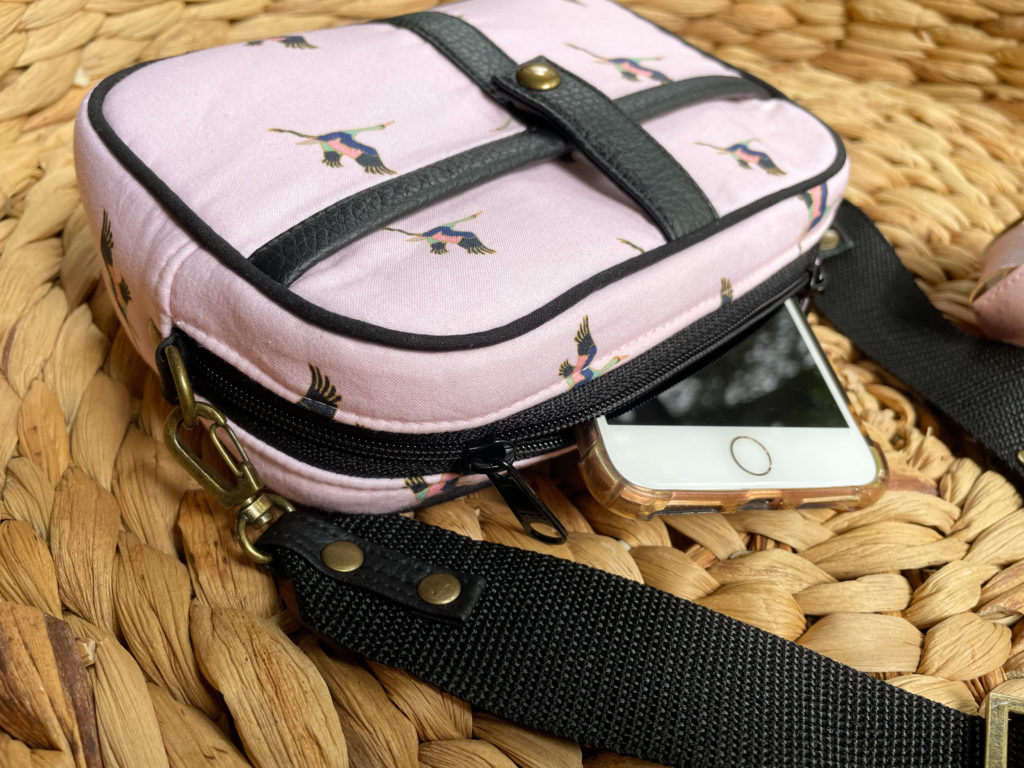
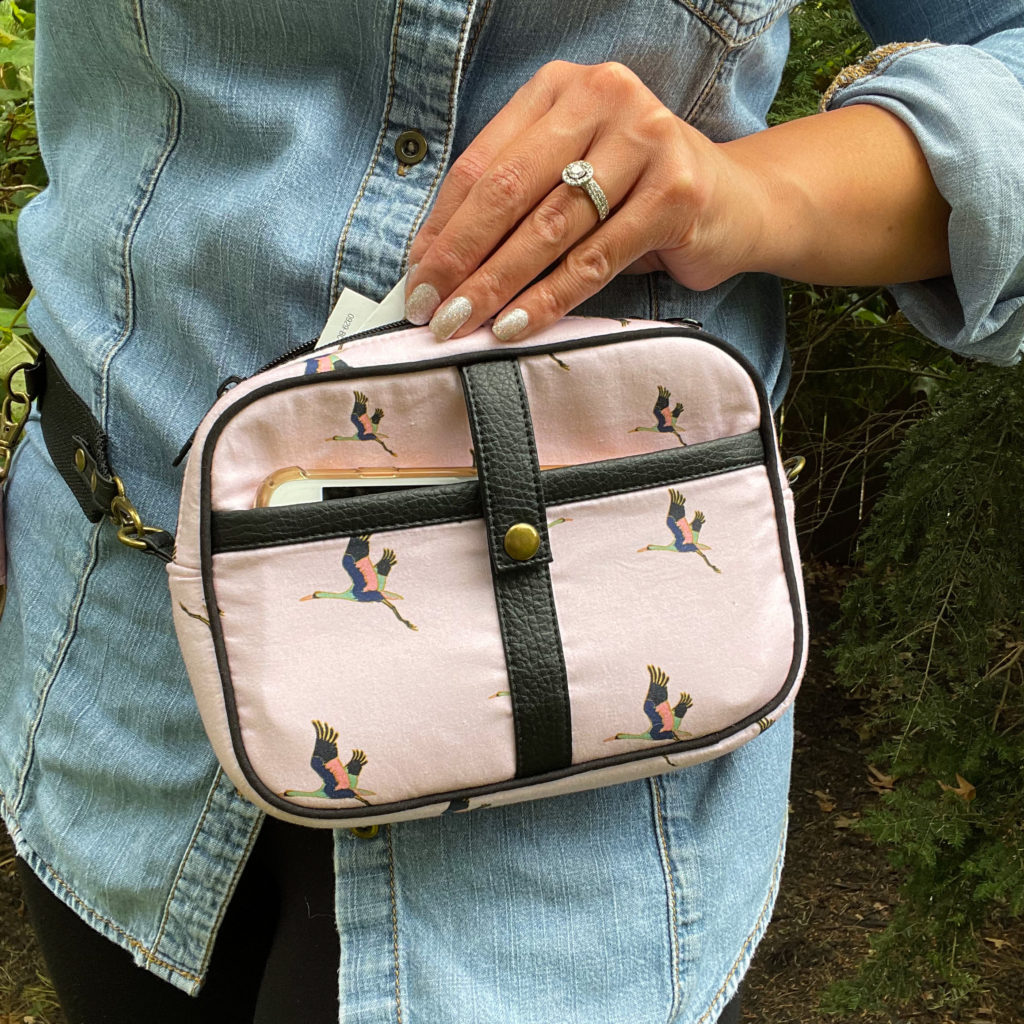
I love all of the black accents to contrast with this soft pink fabric.  The strapping is wonderful to speed up the making process and is durable for everyday wear.  Who doesn’t love how easy nylon is to keep clean as well?!  The antique hardware helps to bring out that ochre outline of the cranes and brings depth to the bag.  I think these elements all help to keep the Christine Sling fresh and modern.  What do you think?

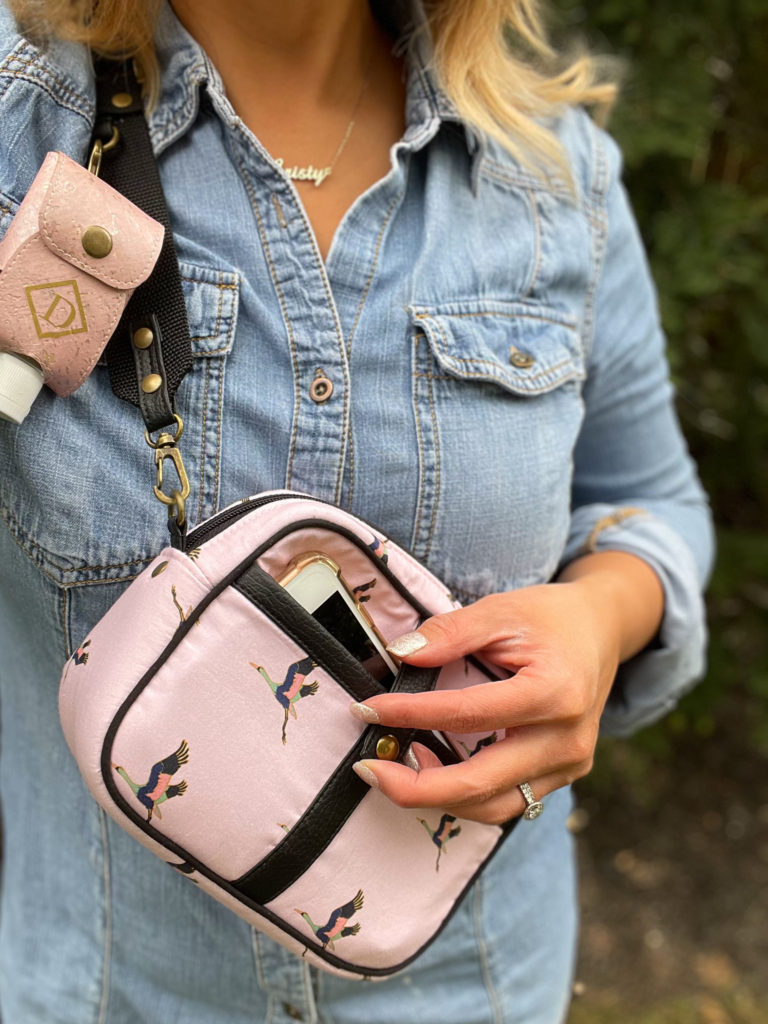
The Christine can be worn over-the-shoulder and across the body.  But for those whose chests maybe tender post surgery, it can also be worn as a fanny pack!  The strap just needs to be adjusted to reflect your waist size when you make it.  I love wearing the Christine this way and the wide strap makes it so comfortable!

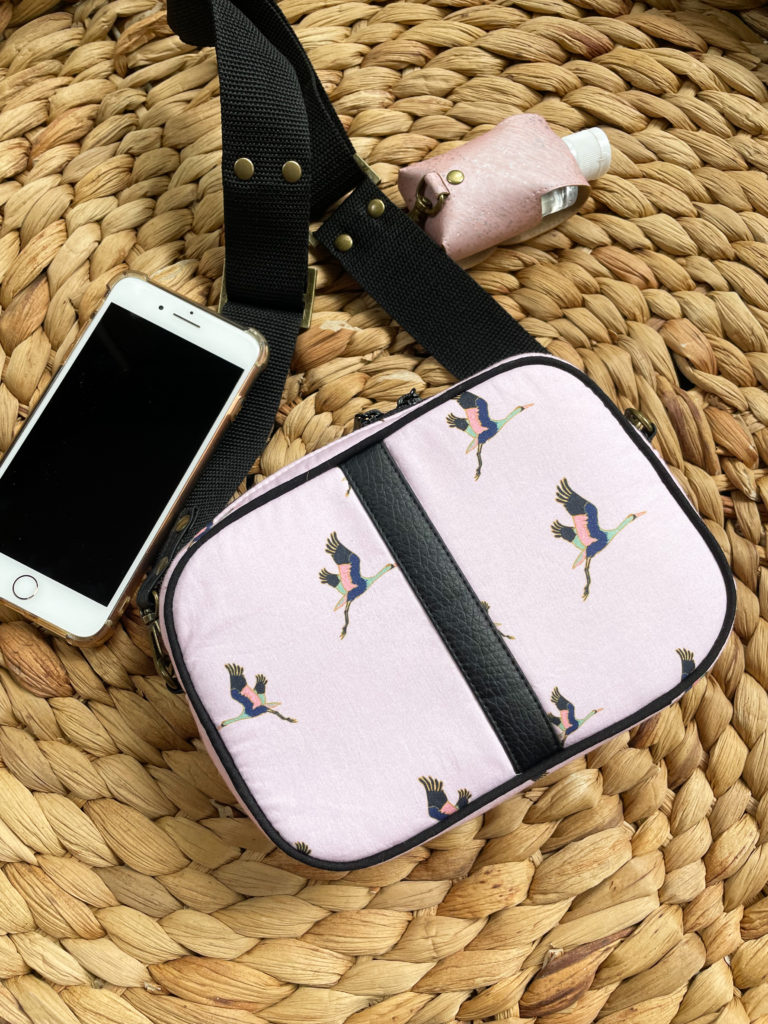
The Christine Sling is a great compact bag to carry all of the essentials — especially for doctor appointments and running errands.  In addition to the use of Soft & Stable foam and using the nylon webbing for the strap, I also omitted the back zipper pocket since I knew this bag would be worn more around the waist.  But to add visual interest, I added a 3/4″ accent stripe with faux leather on the front and the back of the Christine.  I also used the same faux leather to bind the front slip pocket.  With the use of quilt cotton, these little additions help to keep the bag elevated.  What’s your favorite detail from this bag?


Don’t forget to check  out all of the other #SewPINK Blog Post participants listed below:

✂ Oct. 1 (Fri):Fat Quarter Shop – The Jolly Jabber

✂ Oct. 2 (Sat):Sallie Tomato

✂ Oct. 4 (Mon): Hugs ‘N Kisses

✂ Oct. 6 (Wed): Sewfinity

✂ Oct. 11 (Mon):Beyond the Reef

✂ Oct. 13 (Wed): Great Heron Thread Co.

✂ Oct. 15 (Fri): Love You Sew [You are here!]

✂ Oct. 15 (Fri): Emmaline Bags

✂ Oct. 16 (Sat): Meadow Mist Designs

✂ Oct. 18 (Mon): OklaRoots

✂ Oct. 20 (Wed): Suzn Quilts

✂ Oct. 20 (Wed): Teresa Coates

✂ Oct. 22 (Fri): Knot and Thread Design

✂ Oct. 23 (Sat): Shannon’s Studio

✂ Oct. 25 (Mon): The Littlest Thistle

✂ Oct. 27 (Thur): Mister Domestic

✂ Oct. 27 (Wed): Sookie Sews 

The #SewPink Initiative was created by ByAnnie.com LLC to raise awareness for breast cancer throughout the year. Our efforts culminate in an annual blog hop during October’s Breast Cancer Awareness Month to promote self-care, awareness, early detection, and support for those affected by breast cancer. 

To learn more and see the calendar of events visit: https://www.ByAnnie.com/SewPINK

To find screenings available near you: 

In addition to participating in the #SewPINK Initiative, Fat Quarter Shop invites you to support the National Breast Cancer Foundation with the goal of raising $10,000. 

To find the Fat Quarter Shop fundraiser visit: https://fundraise.nbcf.org/FatQuarterShop

To learn more about the Breast Cancer Research Foundation visit: https://www.bcrf.org/ 

I hope you all take the time to check out these links and check into your own health.


Happy Sewing,

Cristy


All By Annie’s products used were gifted as part of participation in this blog hop.


Erin Backpack Sew Along || Part 6: Final Bag Assembly

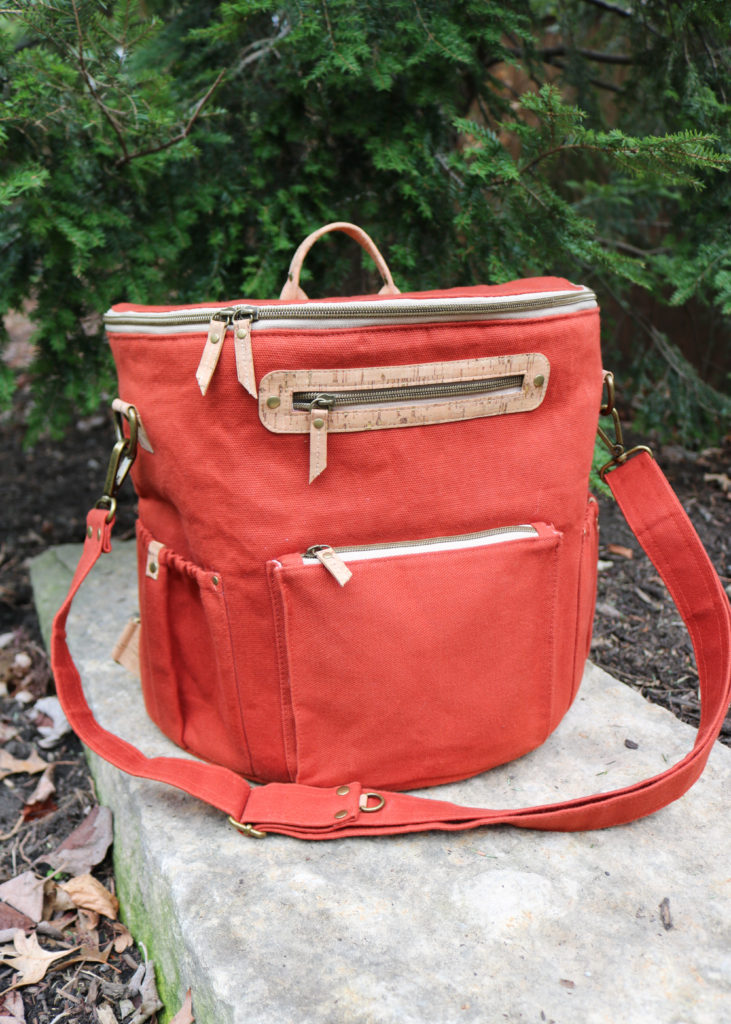
Welcome Back to the Erin Backpack Sew Along!  We are now at the FINISH —  Part 6: Final Bag Assembly!  If you missed any of the prior blog posts, you can find them below:

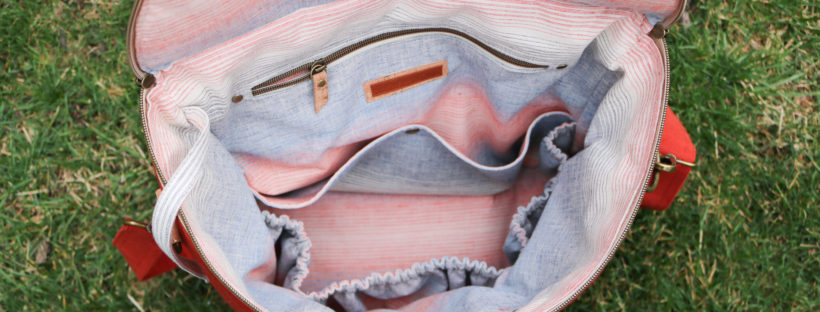
It’s now time to put the bag altogether and add all the dimension.  To make sewing a little easier, remove the sewing machine table to better maneuver the bag around the free arm.  Take time sewing even though the videos are short…most segments have been sped up 4x-6x the normal speed!

ASSEMBLE the exterior

To assemble the exterior part of the bag, click into the video above.  Note the following as you watch:

  • You can always unzip zipper to help ease the bag under the machine
  • Don’t be afraid to  use finger and arm muscles to keep thick layers together.  Move up to a larger needle, if needed
  • Backstitch well over pocket seams
  • Go back and stitch Y-seam corners, if needed.  I have to go back all the time!
  • With Main bottom, trimmed SA in half instead of notching due to thickness of canvas and foam.

ADD LINING To FINISH BAG

Items to note:

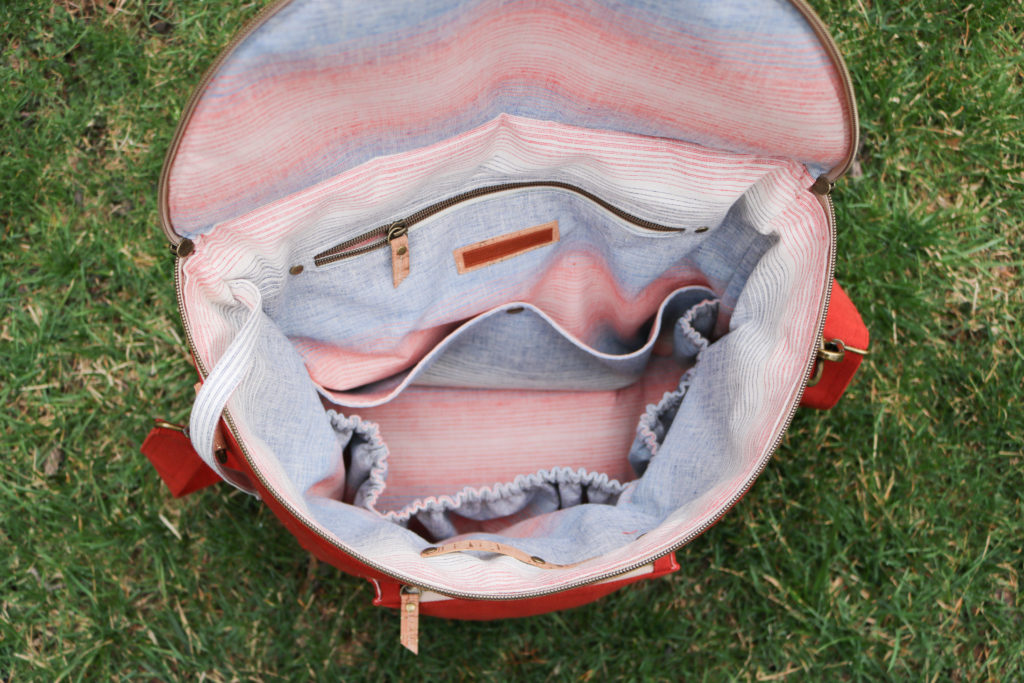
  • I added the Craft/Wonder tape to the Lining while it was free and unattached to the bag.  This makes it a little easier than waiting later as instructed in the pattern
  • Trim back any foam or fabric that maybe creating bulk, especially at the zipper ends.
  • When attaching the Lining, fold in the seam allowance  to see where placement should be BEFORE gluing.
  • Again, move slowly for even stitching around the zipper
  • If you are looking for the Jumbo Clips or thimble I use, you can find them on my >> Amazon Erin Backpack Supply List.

If you haven’t added the rivets onto the Back Strap Tabs, you can add them on now.  (I’ve decided to leave them off of my version.)


CONGRATULATIONS on your new Erin Backpack!  Make sure to post your pictures on Instagram using #ErinBackpackSewAlong #ErinBackpack and #LoveYouSewPatterns to win the prize pack!  Entries are open until the end of the month!

Thank you to everyone who has joined along for my very first sew along!  I’ve learned quite a bit about video editing while trying to provide you the right content to navigate through this pattern.  I hope you enjoyed it!  Let me know your thoughts in the comments.


Happy Stitching!

Cristy


This post may contain affiliate links.  Please read here for all of my Disclosures.

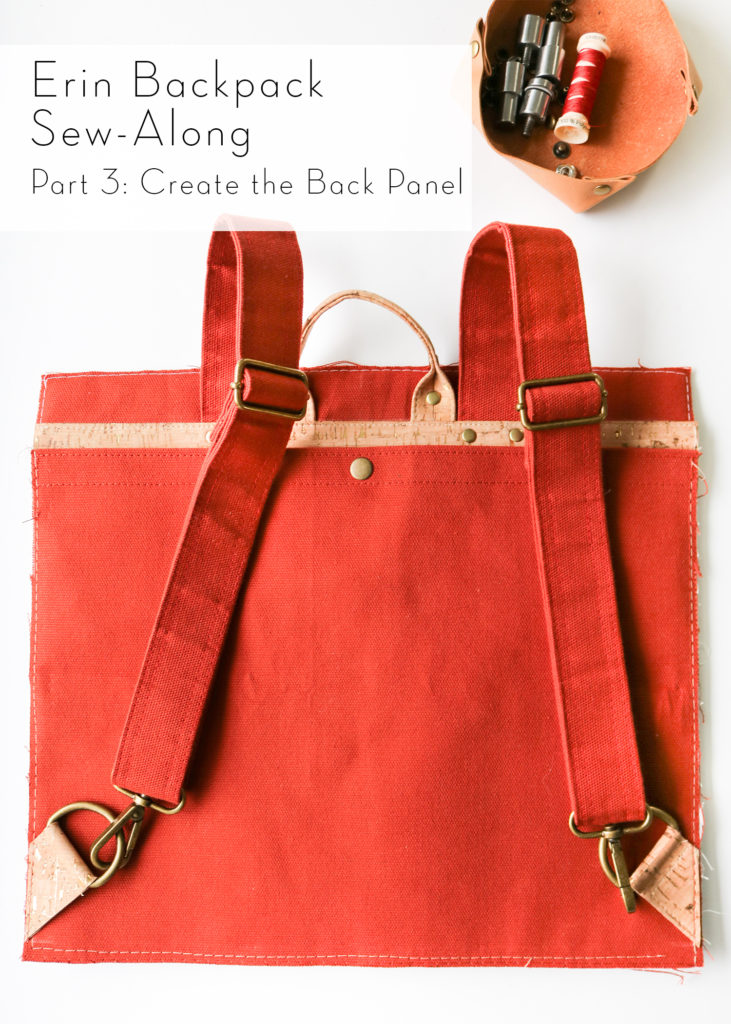
Erin Backpack Sew Along || Part 3: Create the Back Panel


Welcome Back to the Erin Backpack Sew Along!  We are now on Part 3: Create the Back Panel.  If you missed any of the prior blog posts, you can find them below:

Time to get started!

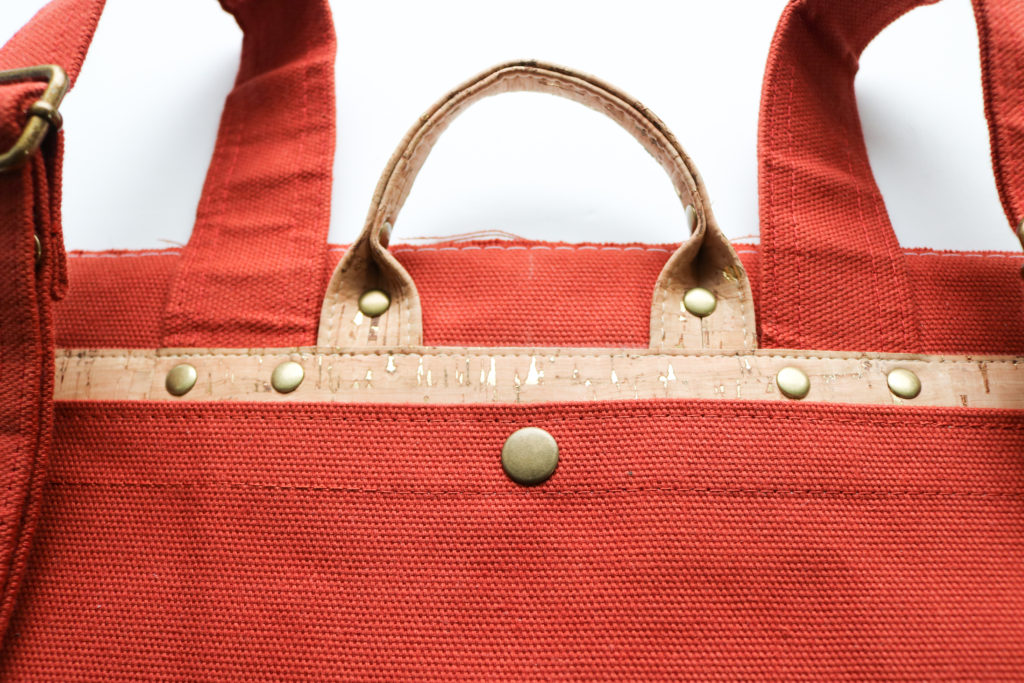
MAKE THE BACK SLIP POCKET

Notes:

  • I like to press the lining of the Pocket inward so that it doesn’t show when you look at it.
  • Remember that I’m using a treated canvas, so really, I’m finger pressing all of my seams when I  mention “pressing.”
  • The Snaps I use (and also in my hardware kits are 20 ligne / 12.5 mm Double-cap Spring Snaps. However, you can ALWAYS use any kind of snap on hand. This includes: plastic, magnetic, ring, and even sew-in styles!
  • The Snap was added using a press, but if you need to add them manually, scroll to bottom of this post for resources.


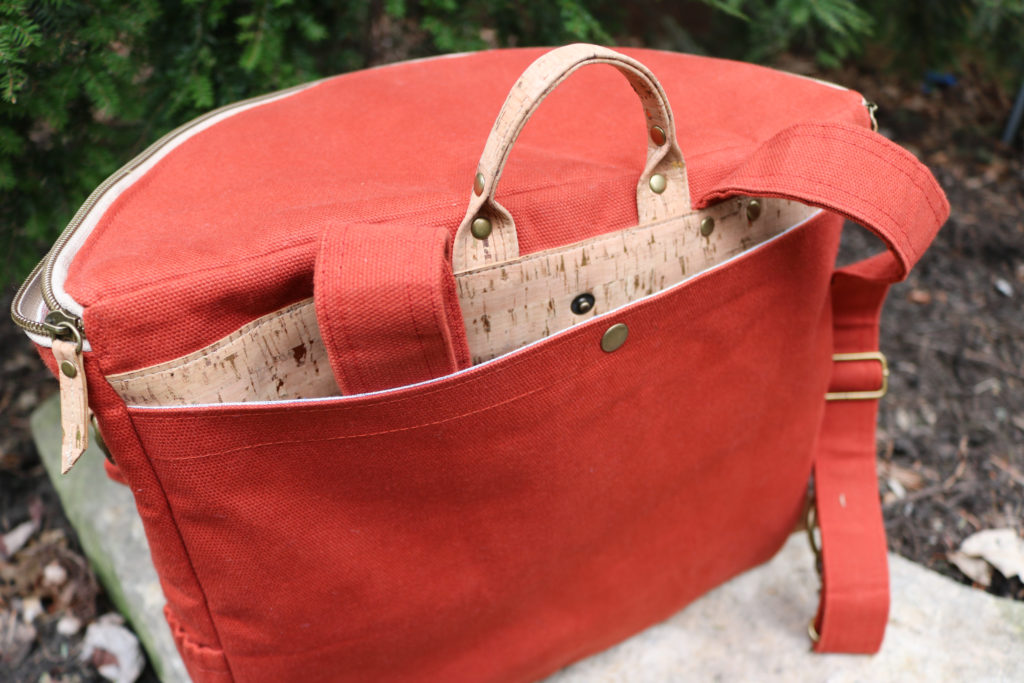
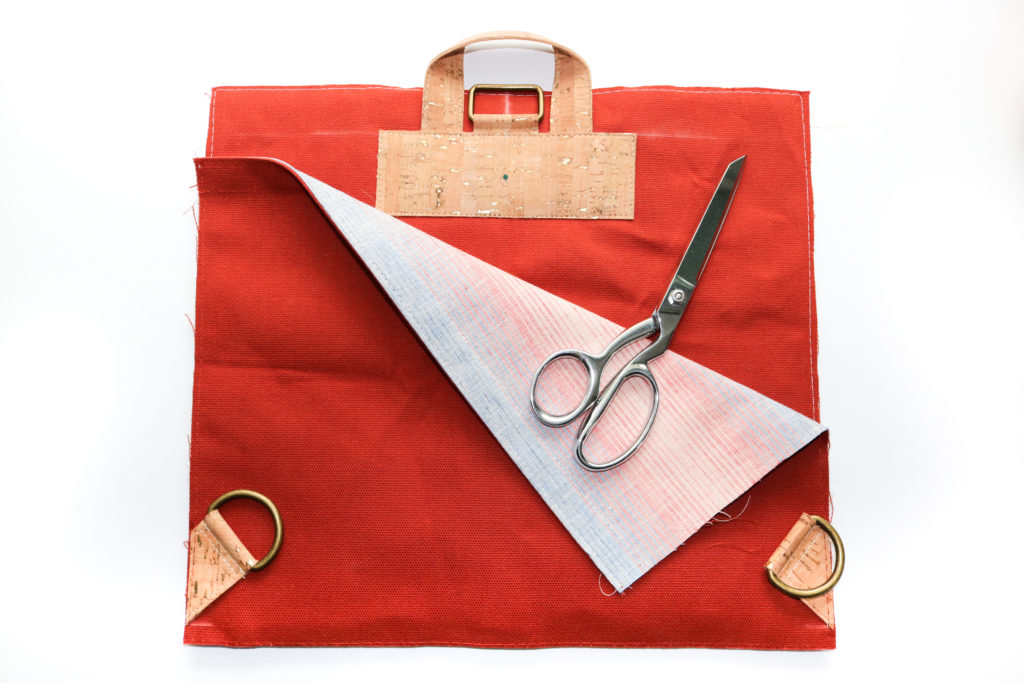
ADD HANDLE BASE

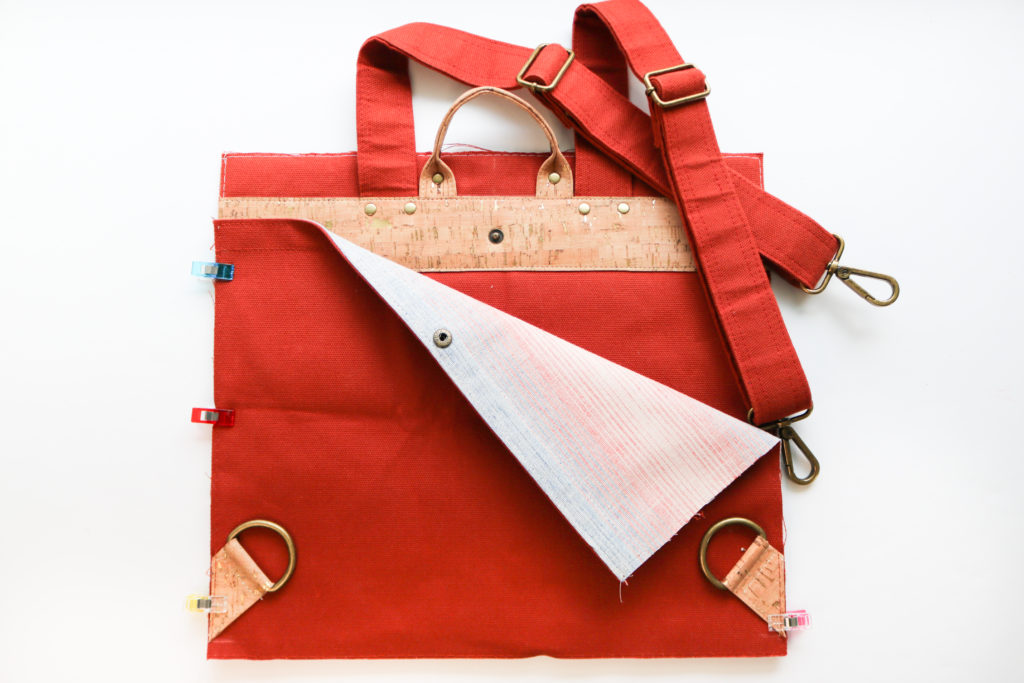
As mentioned before, I am making my version of the Erin Backpack with the Permanent Back Strap Hack, so the end result looks different from the pattern instructions.  However, I STILL (yay!) created video to help you visualize these steps if you are sticking to the pattern as written.

If you are following the pattern, you will watch the video from the beginning to about 3:04.  Then you can come back around 3:57 for the hardware installation and watch until the end.

If you are following the Sew-In Back Strap Hack, you will watch the video from about 3:57 through until the end of the video.  Feel free to watch all of it though for extra learning points 😉


Click into the video about to watch how the Handle base is made and attached to the Back Panel.  The Slip Pocket is then attached and basted together to enclose.


Additional Resources

If you need help with any of the hardware installation.  Check out the posts below:


I hope you enjoyed Part 3 of the Erin Backpack Sew Along.  Catch me back in just a few days for an intensive Part 4 where we coincidentally, also make 4 pockets for the Front Panel.


Happy Sewing!

Cristy


This post may contain affiliate links which help keep this website running .  For my full affiliate Disclosure, click here.

Erin Backpack Hack || Make Sew-in Backpack Straps

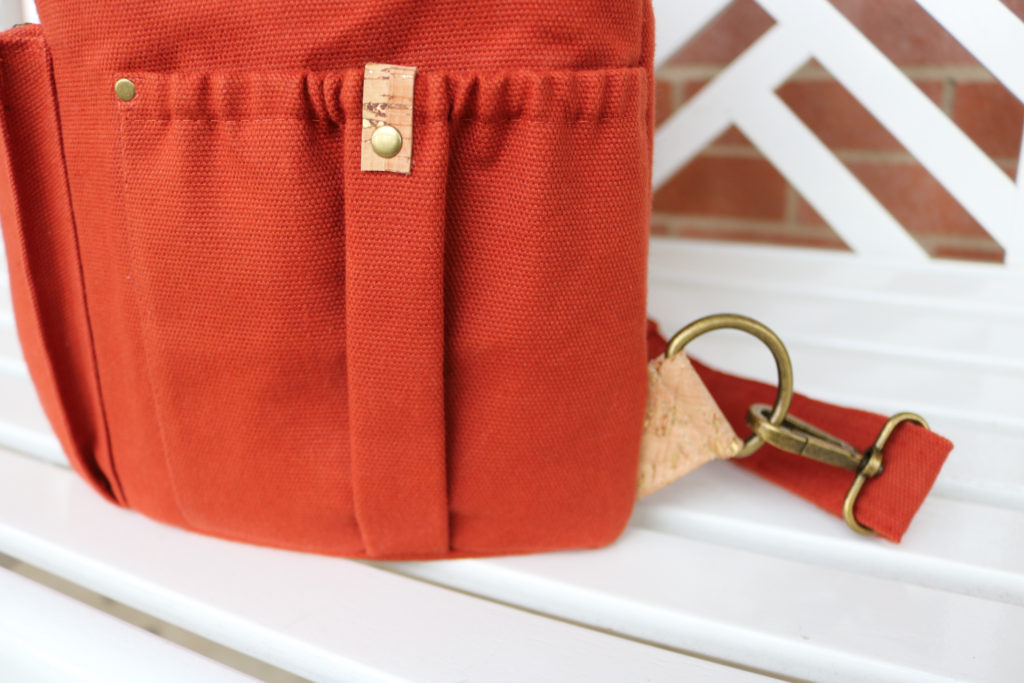
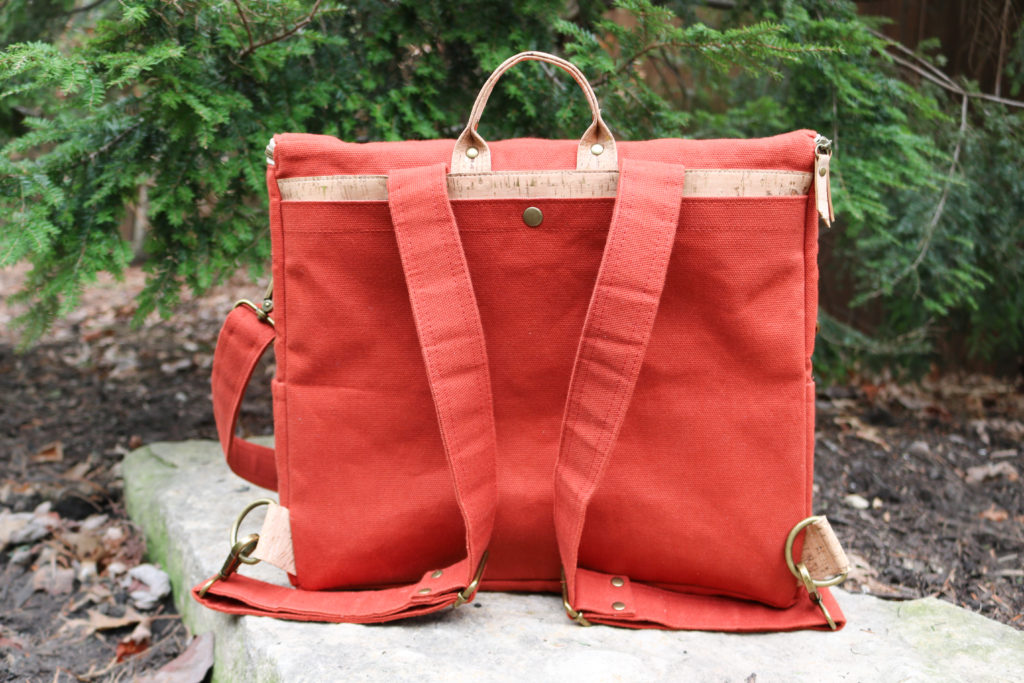
I get it!  Not everyone wants to continually switch out the Erin Backpack straps for the over-the-shoulder/cross-body style.  I also understand that the convertible nature of the backpack strap leads to uneven shifting on the strap as well.  So, if you find yourself wanting the Erin Backpack to have permanent double back straps since that’s how you wear it the most, then this hack is for you!!

TUTORIAL

This tutorial assumes you will still make the strap as drafted in the pattern for over your shoulder and/or cross-body needs.  All materials needed will be IN ADDITION to the original supply list.

Materials Needed:

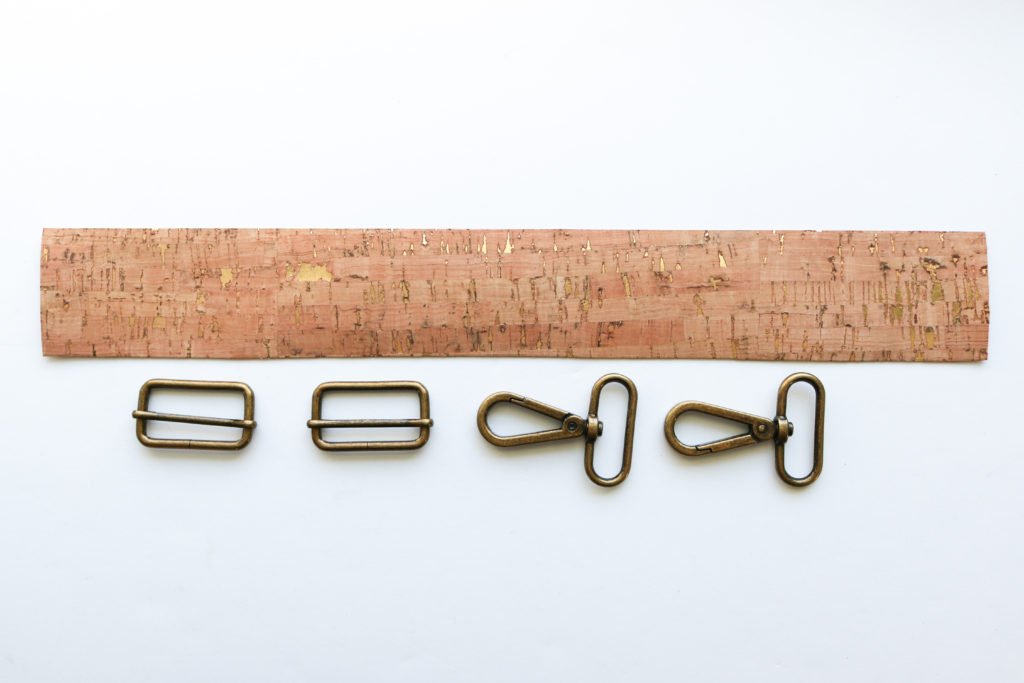
  • (2) 36″ x 6″ cuts of Main Fabric + Woven Interfacing
  • (2) 1 1/2″ Strap Sliders
  • (2) 1 1/2″ Swivel Clasps
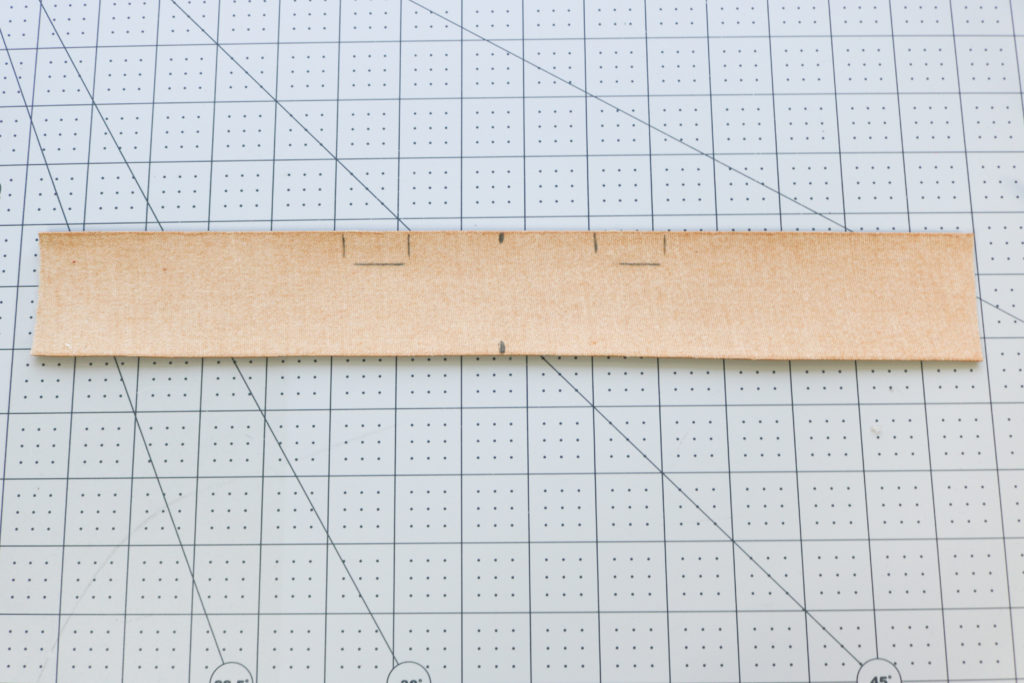
  • Lengthen #17 Handle Base to 14 1/2″ x 2″

Material you can omit from original pattern:

  • #19 Rectangle Ring Accent Fabric
  • (1) Rectangle Ring

INSTRUCTIONS:

  • Make straps according to the pattern following Steps #11-12. You will have (2) separate 36″ x 1 1/2″ straps.

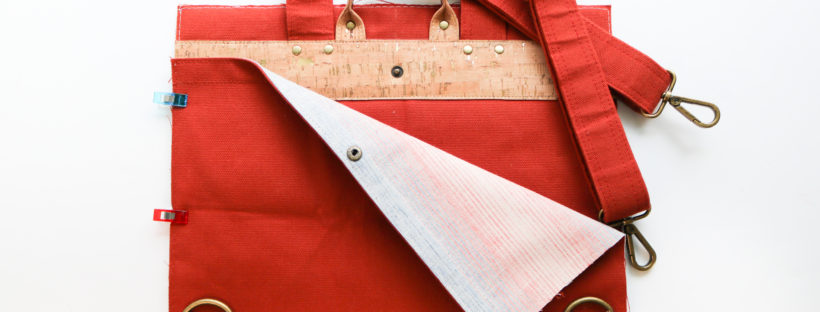
  • Click into video above  to add the Slider and a Swivel Clasp to each Strap.  Each Strap will have one raw end which will later be sewn into the handle base.


  • Mark the Handle Base using the original template centered on the back, but omitting the Rectangle Ring markings


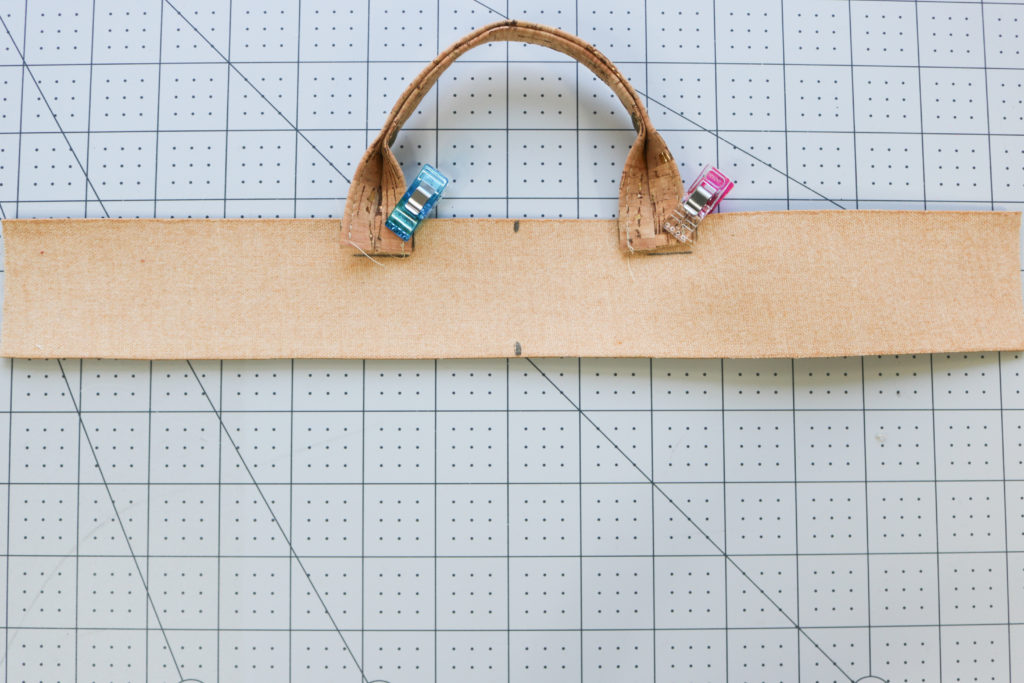
  • With the wrong side of the Handle Base facing up, glue the Handle into place.  If you like the look of the Rolled Handle instead of the flat style in the pattern, you can find the tutorial to make it here.


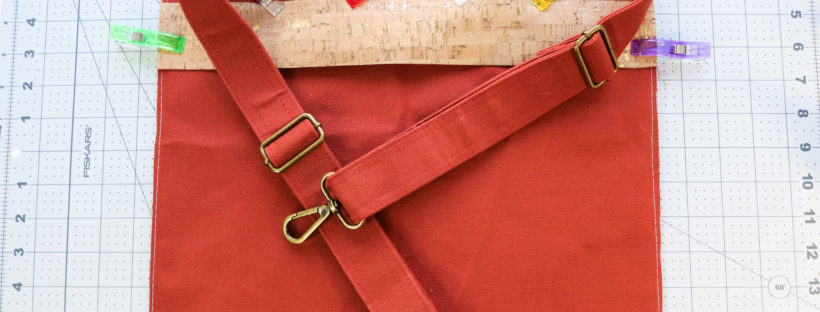
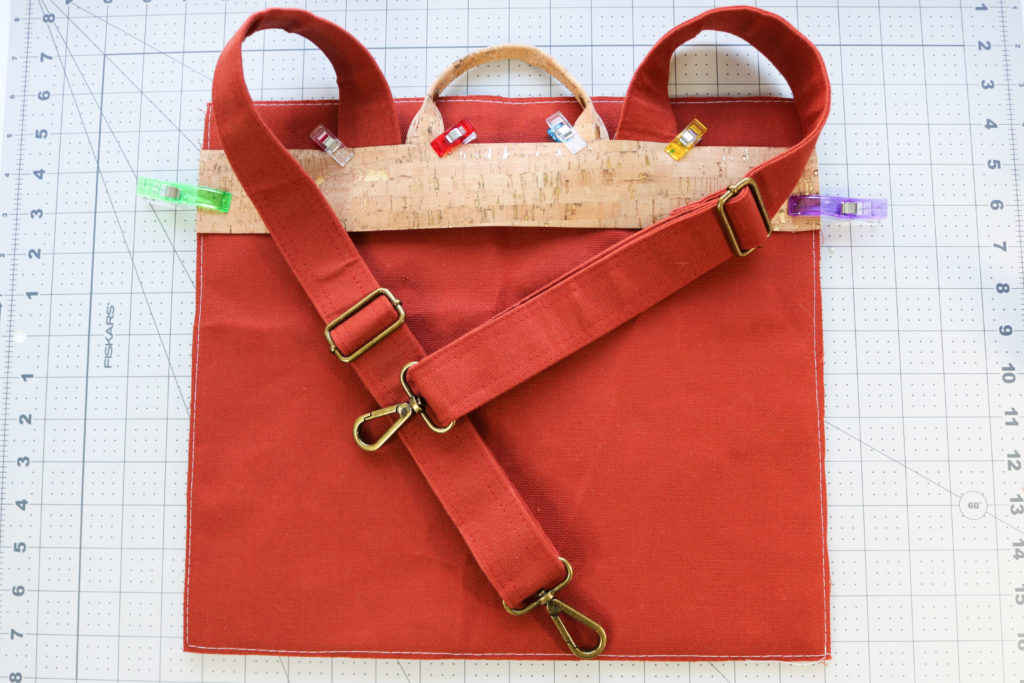
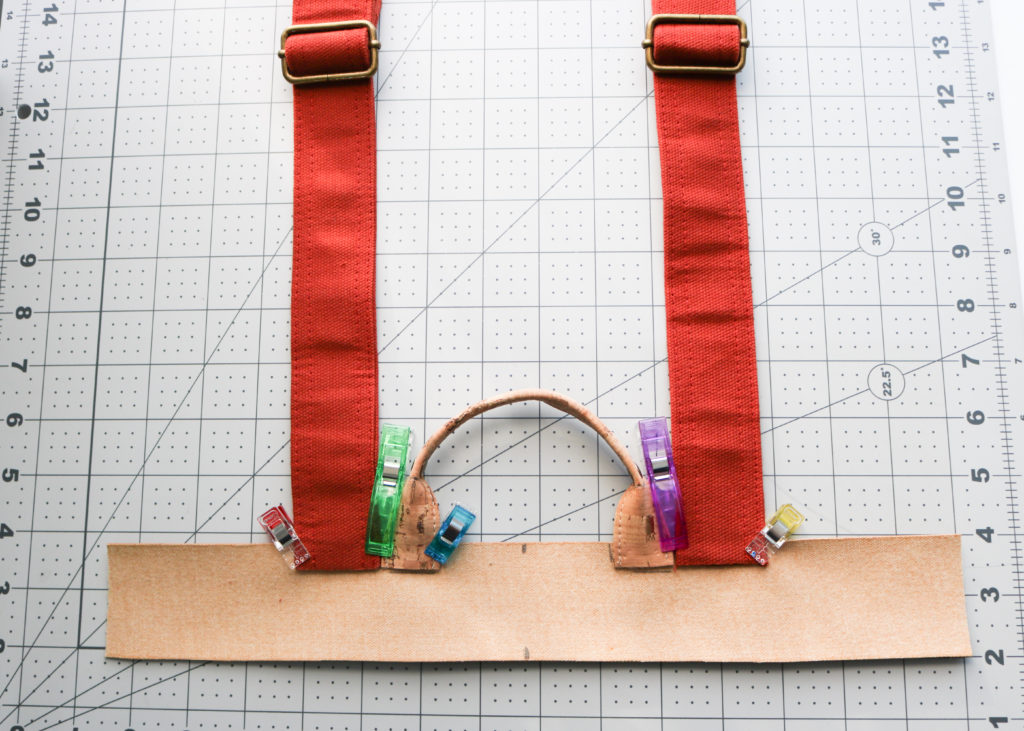
  • With the wrong side of the straps facing up, glue the raw short edges to the outside of each handle, aligning the raw edges. (Please note, I was playing around with which direction the handle should face, so that’s why it’s different in this pic.)


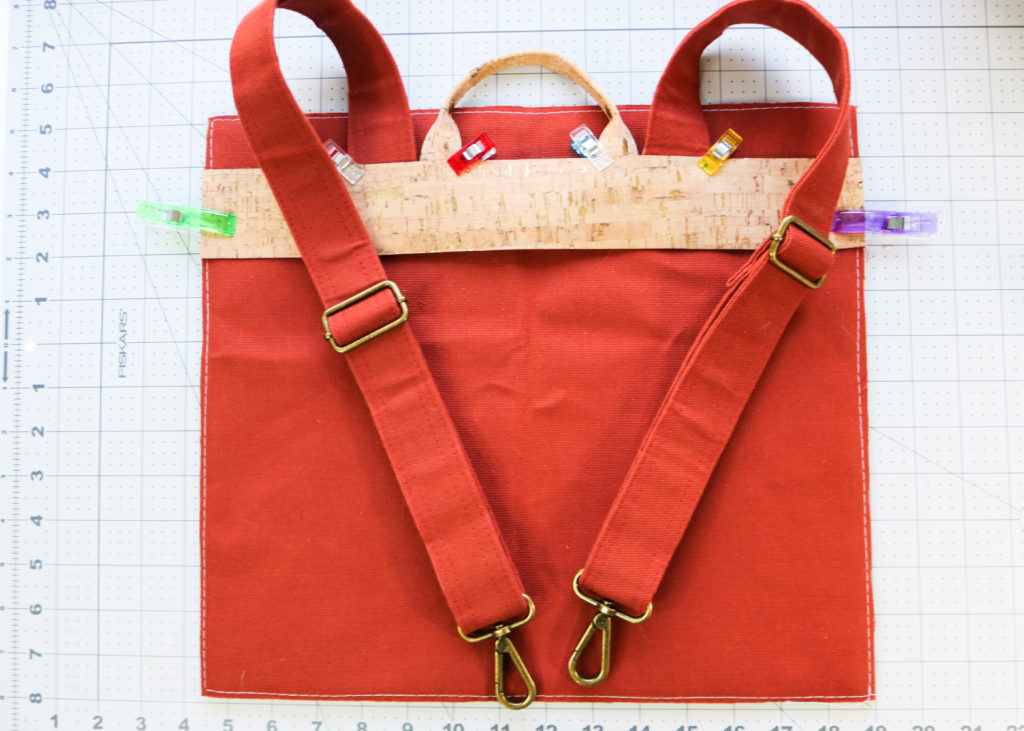
  • Now you can flip the base right side facing up and continue at Step #24 of the Erin Backpack pattern.  Remember to keep the straps out of the way as you continue construction for the rest of the Erin Backpack.


I hope you enjoy this hack!  If you decide to just use the shoulder strap, these double backpack straps can easily be tucked into the back slip pocket!


Happy Sewing,

Cristy