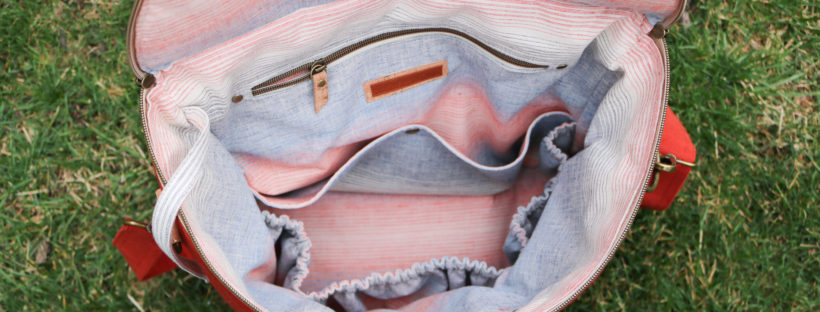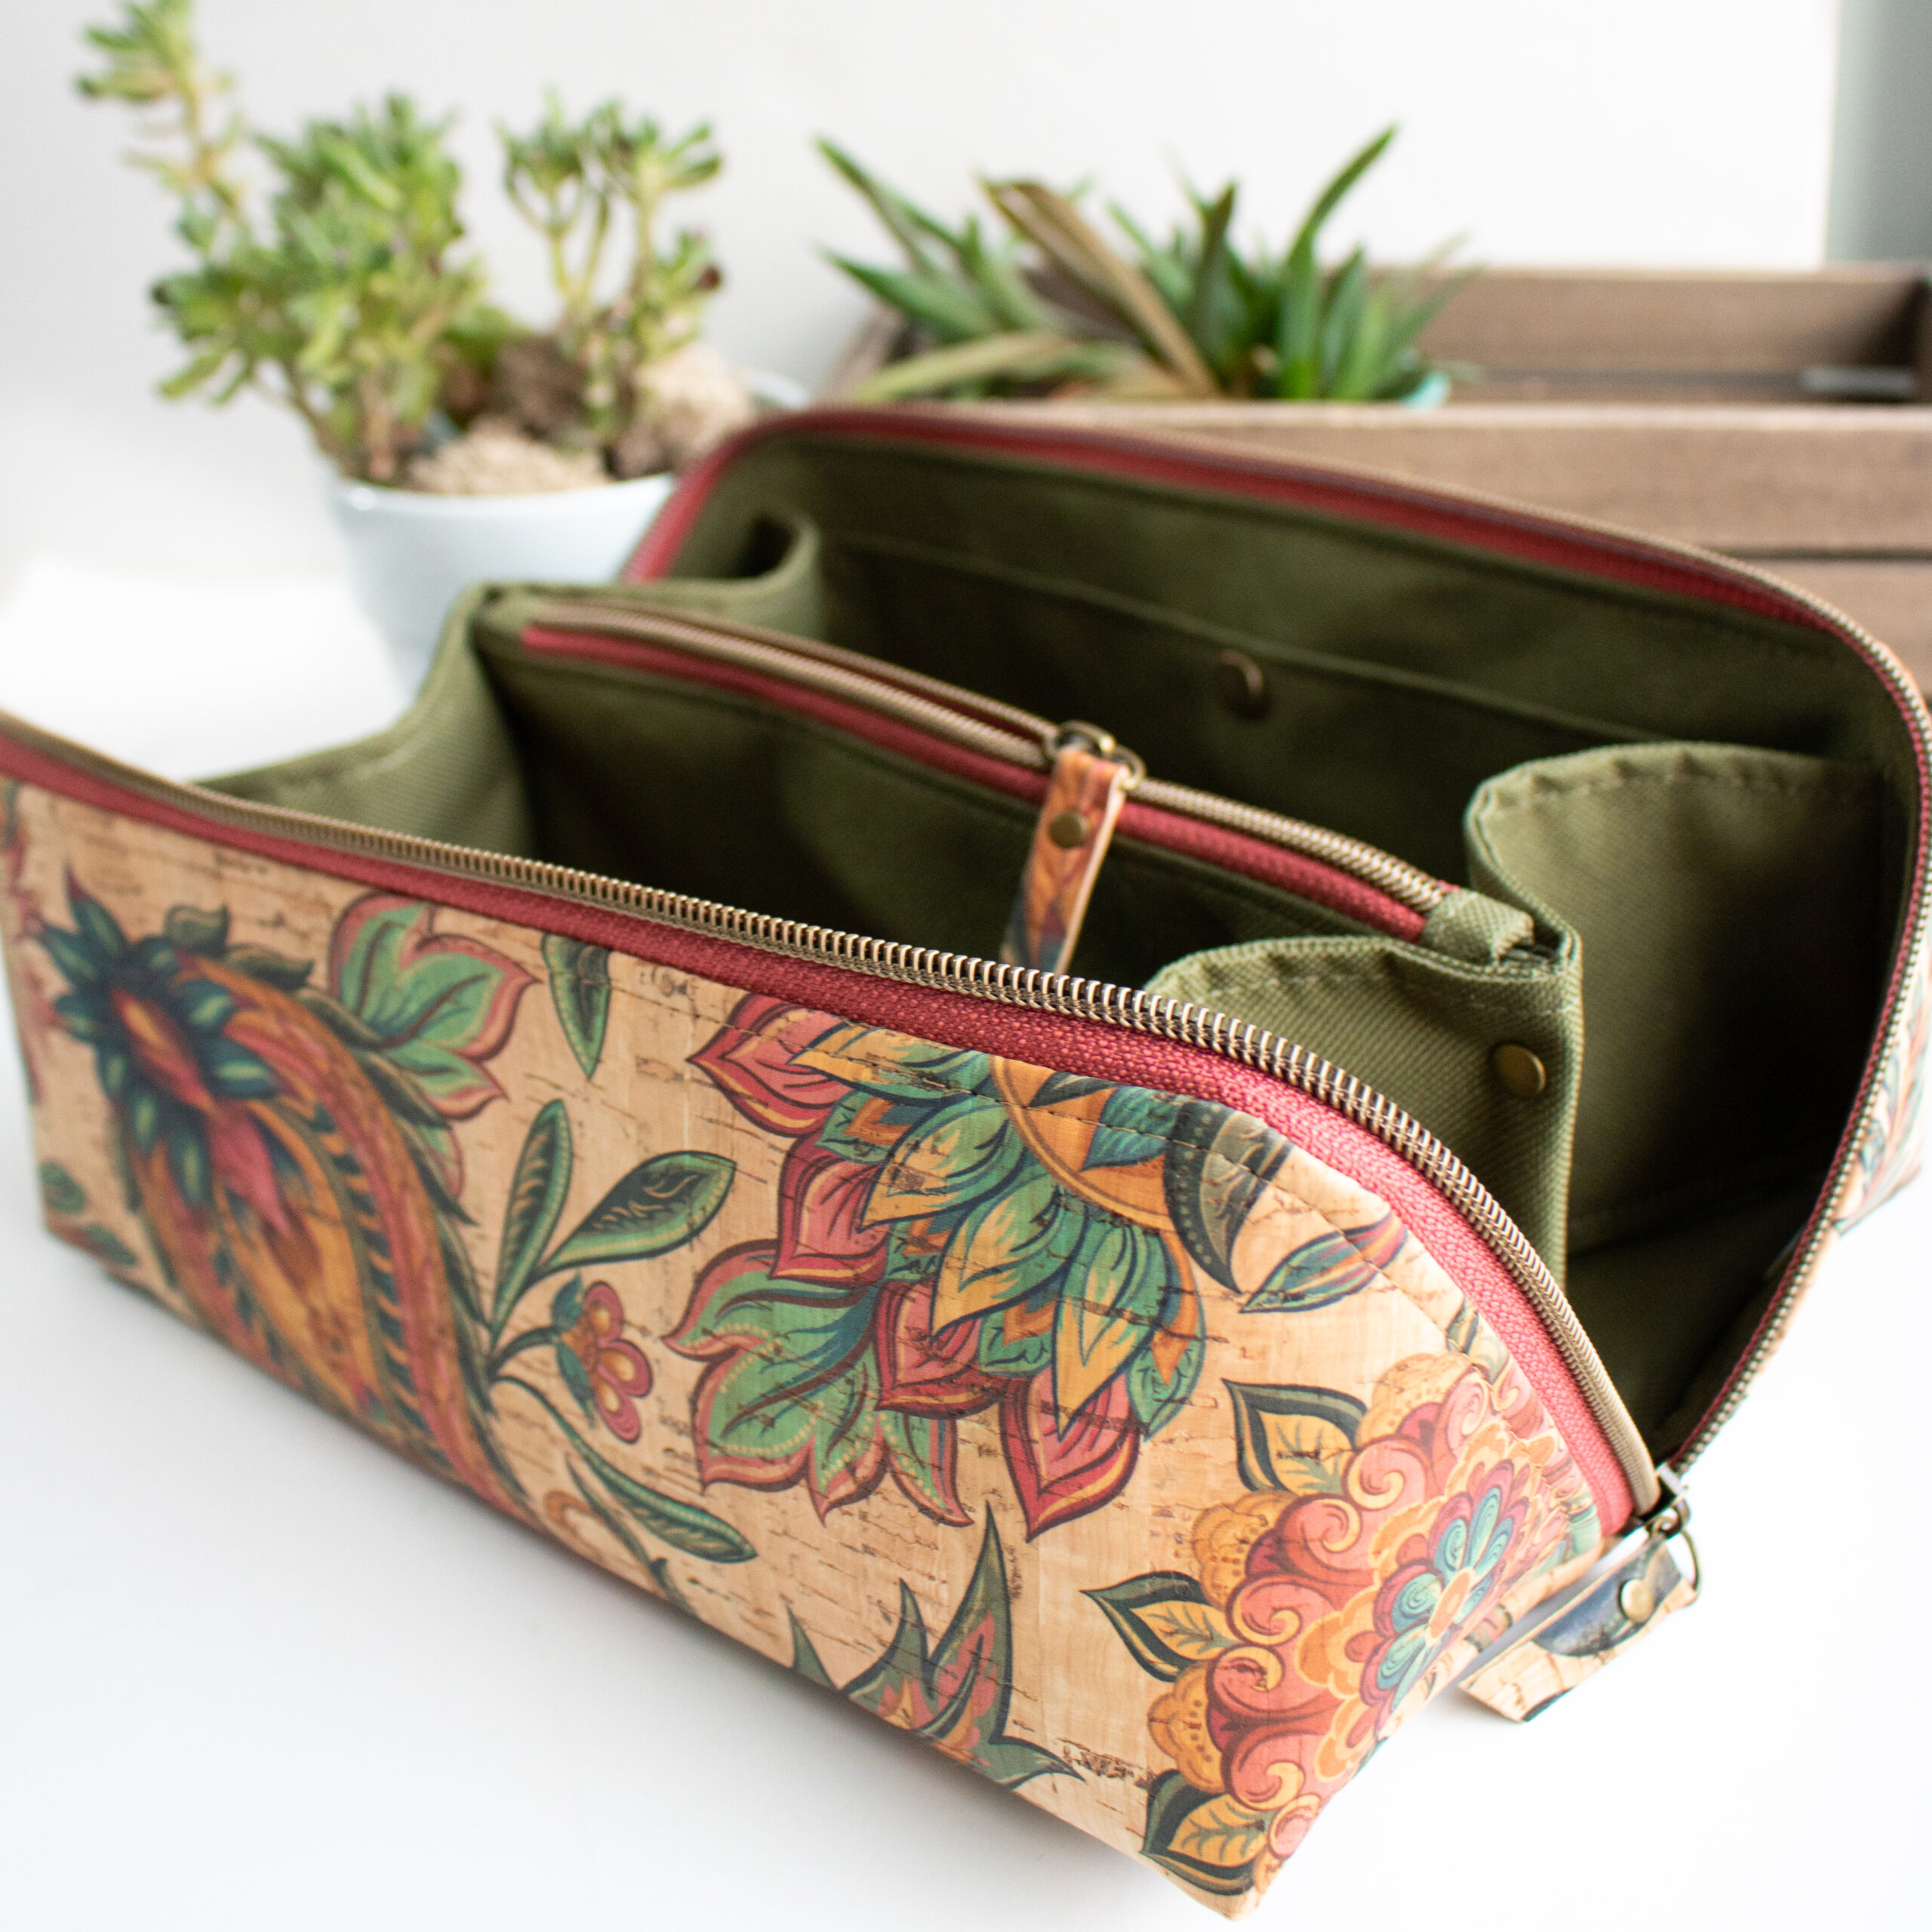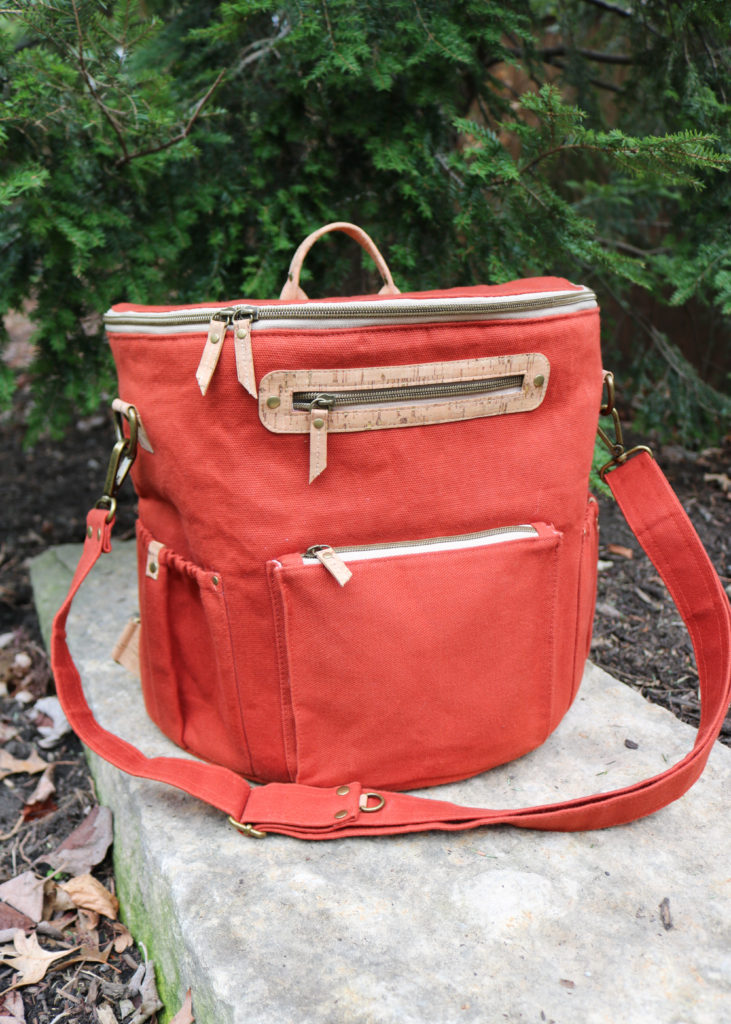
Welcome Back to the Erin Backpack Sew Along! We are now at the FINISH — Part 6: Final Bag Assembly! If you missed any of the prior blog posts, you can find them below:
- Erin Backpack Introduction
- Sew Along Announcement with Fabric and Supply Information
- Part 1: Cutting, Interfacing and Hardware Prep
- Part 2: Make the Strap and Key Fob
- Part 3: Create the Back Panel
- Part 4: Create the Front Panel
- Part 5: Make the Lining
It’s now time to put the bag altogether and add all the dimension. To make sewing a little easier, remove the sewing machine table to better maneuver the bag around the free arm. Take time sewing even though the videos are short…most segments have been sped up 4x-6x the normal speed!
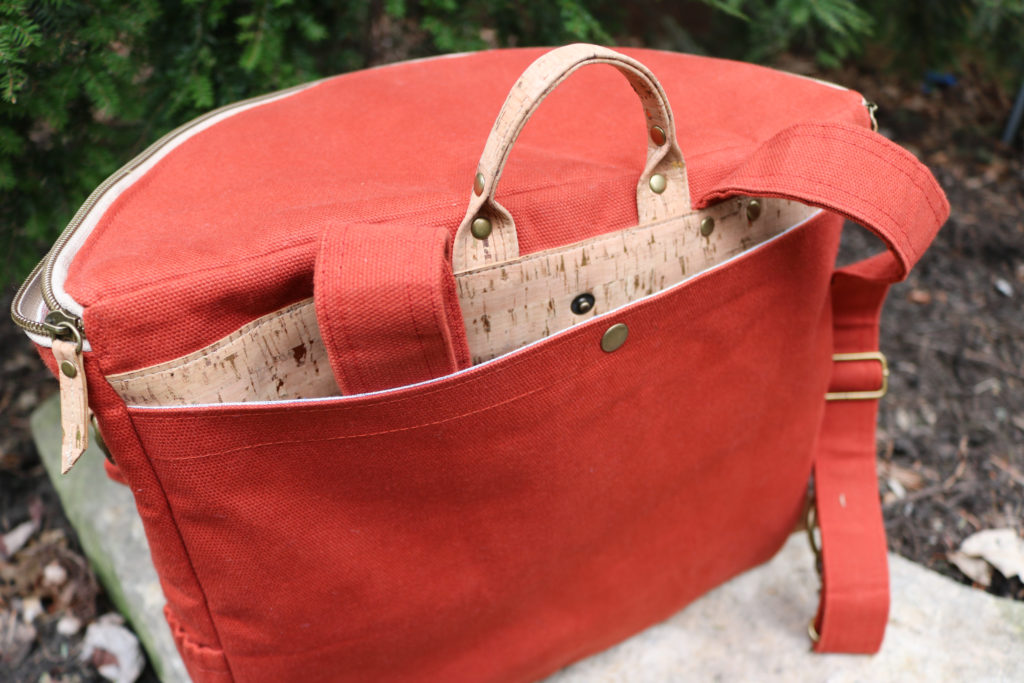
ASSEMBLE the exterior
To assemble the exterior part of the bag, click into the video above. Note the following as you watch:
- You can always unzip zipper to help ease the bag under the machine
- Don’t be afraid to use finger and arm muscles to keep thick layers together. Move up to a larger needle, if needed
- Backstitch well over pocket seams
- Go back and stitch Y-seam corners, if needed. I have to go back all the time!
- With Main bottom, trimmed SA in half instead of notching due to thickness of canvas and foam.
ADD LINING To FINISH BAG
Items to note:
- I added the Craft/Wonder tape to the Lining while it was free and unattached to the bag. This makes it a little easier than waiting later as instructed in the pattern
- Trim back any foam or fabric that maybe creating bulk, especially at the zipper ends.
- When attaching the Lining, fold in the seam allowance to see where placement should be BEFORE gluing.
- Again, move slowly for even stitching around the zipper
- If you are looking for the Jumbo Clips or thimble I use, you can find them on my >> Amazon Erin Backpack Supply List.
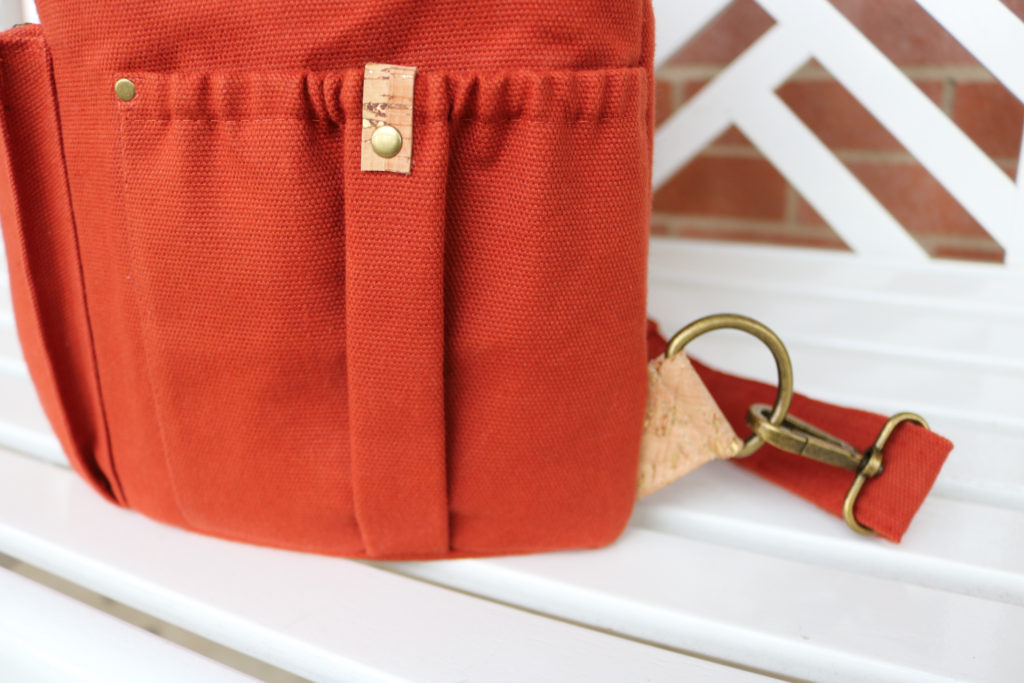
If you haven’t added the rivets onto the Back Strap Tabs, you can add them on now. (I’ve decided to leave them off of my version.)
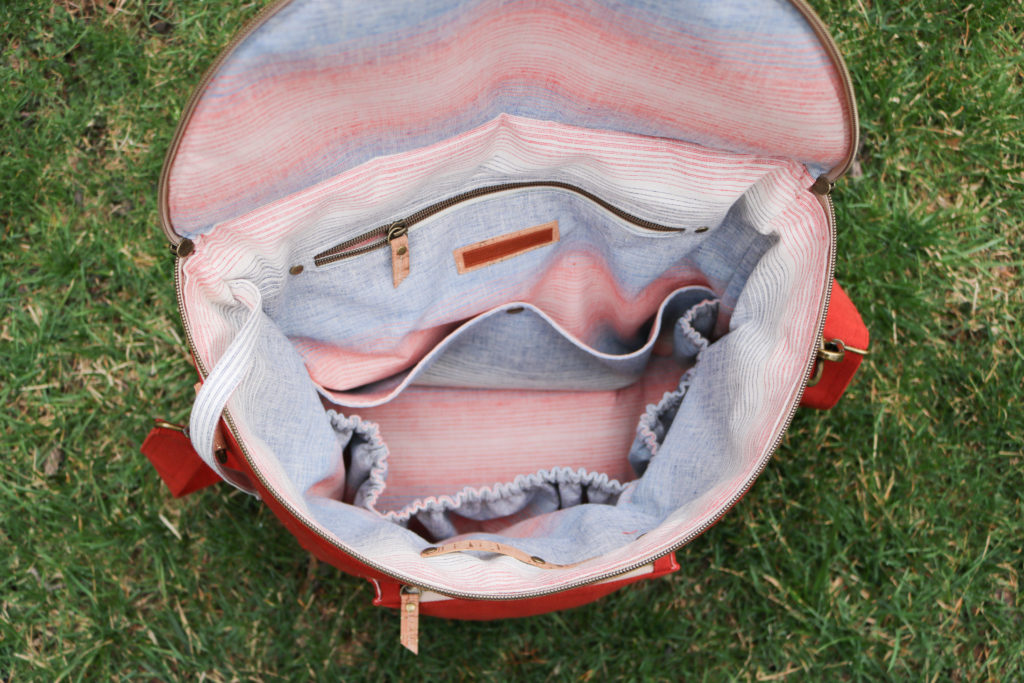
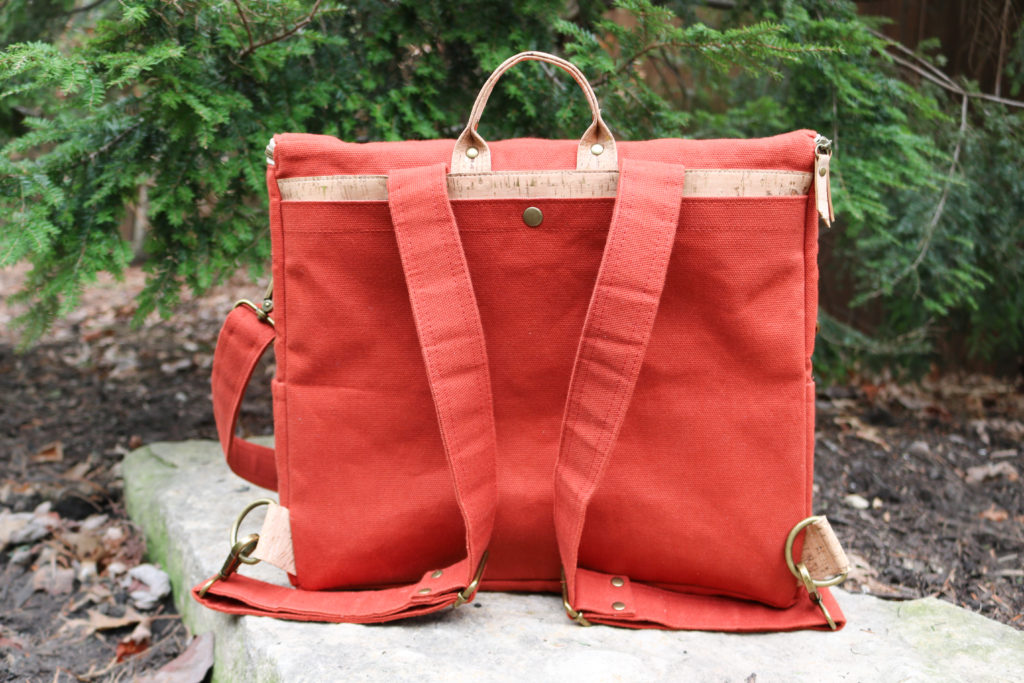
CONGRATULATIONS on your new Erin Backpack! Make sure to post your pictures on Instagram using #ErinBackpackSewAlong #ErinBackpack and #LoveYouSewPatterns to win the prize pack! Entries are open until the end of the month!
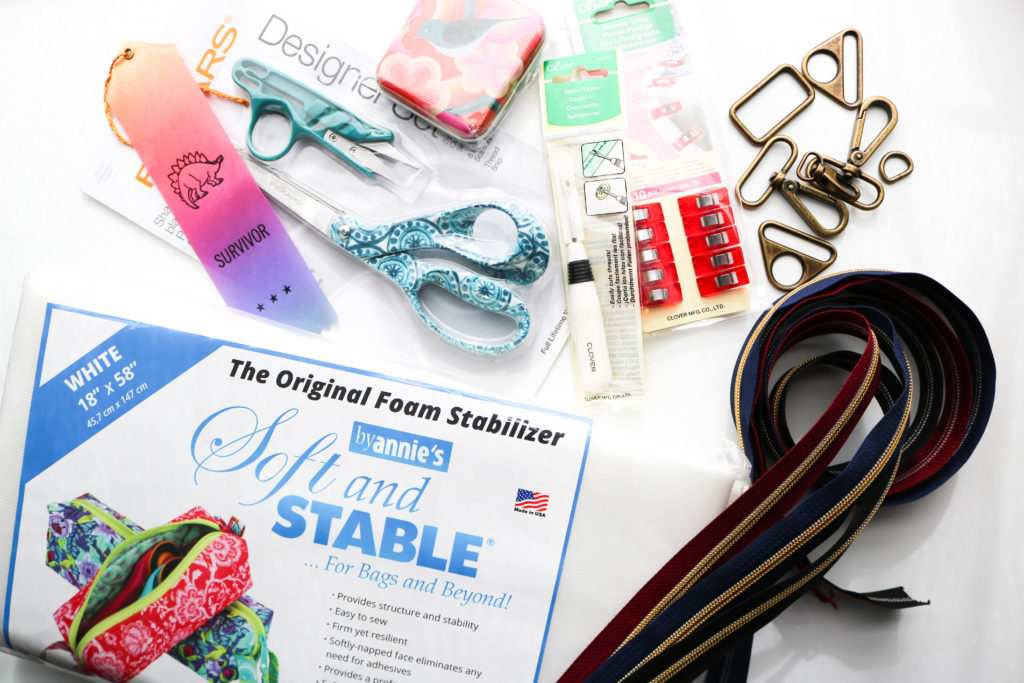
Thank you to everyone who has joined along for my very first sew along! I’ve learned quite a bit about video editing while trying to provide you the right content to navigate through this pattern. I hope you enjoyed it! Let me know your thoughts in the comments.
Happy Stitching!
Cristy
This post may contain affiliate links. Please read here for all of my Disclosures.
