Installing snaps by hand isn’t as hard as it looks! The Double-Cap Spring style snaps are my personal favorite for bag-making and for garments. I’ve tried many different kinds of snaps over the years, including plastic KAM style ones for baby accessories and then Ring Style ones for bags. Out of all the ones I’ve tried, I think these Doubled-Cap Spring snaps are the most forgiving with manual setting tools and produce the BEST results with minimum investment. Check out my video tutorial below to see how easy it really is!!!
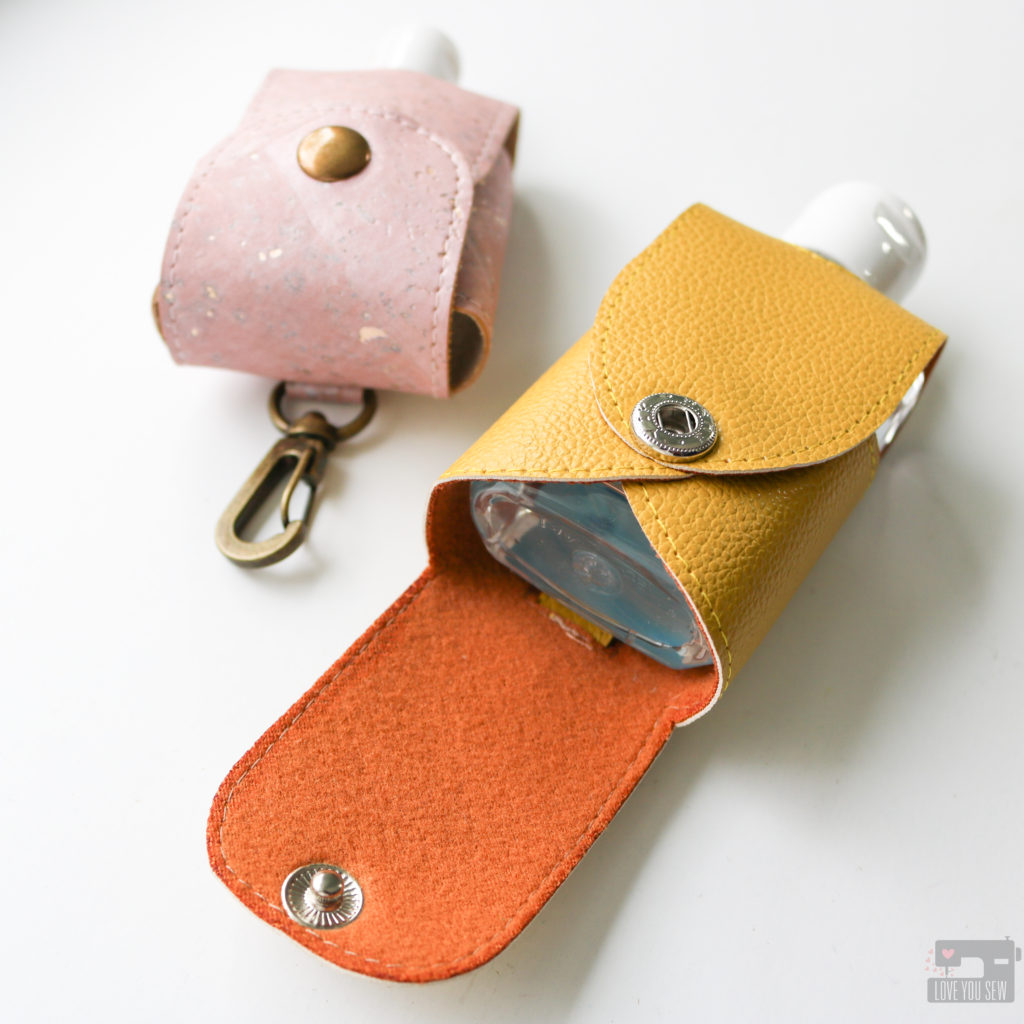
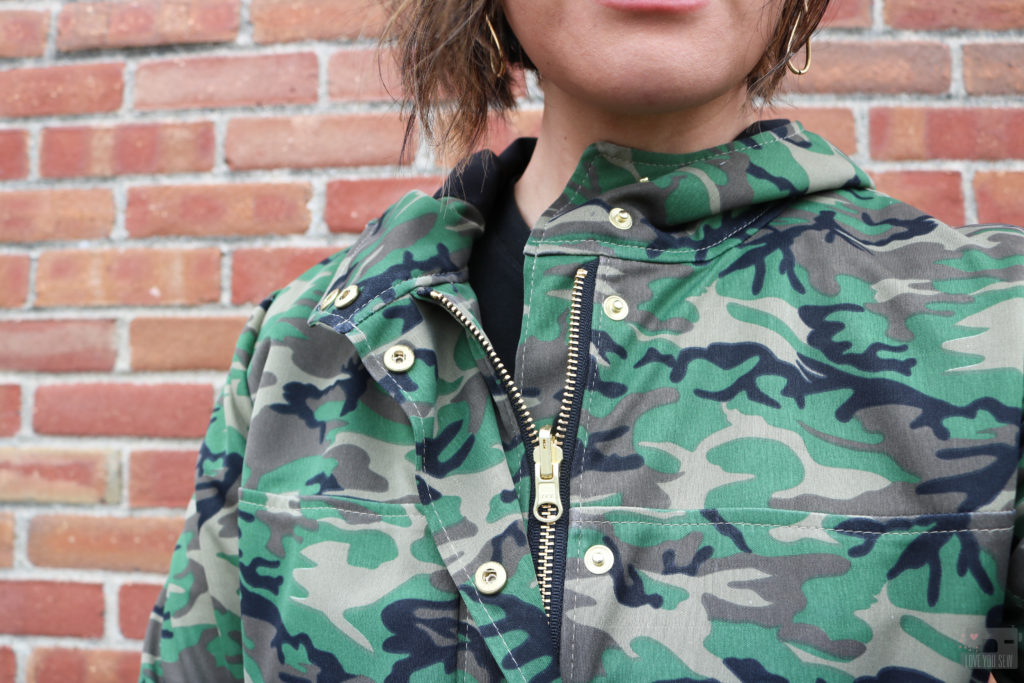
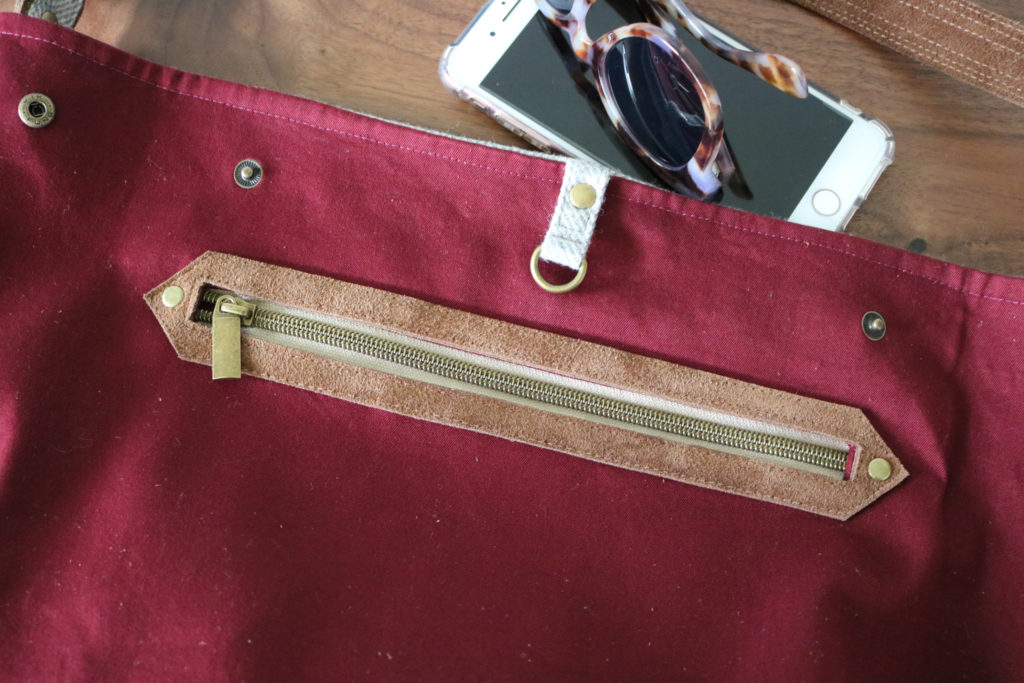
I love using these snaps in my patterns like The Tiny Sophia Bag (shown above,) the Megan Bucket Bag and the Erin Backpack. You can also use these in shirts like my Holly Jumpsuit, and in jackets, like with my Kelly Anorak.
Materials needed:
- Your project!
- Double-Cap snaps – 12.5 mm/20 : These are my preferred size to handle most of my needs and I personally like the Double-Cap for extra strength even though they are slightly more expensive than the single cap style.
- Setting Tool Set (use “633” tools for 12.5 mm snaps) – For the price, I bought this whole set on the off-chance I would need other size tools for future snaps. They have held up well so far with lots of use
- Punch Pliers – These are my preferred style with the ability to change hole sizes and punch to either a rubber or metal bed.
- Jeweler’s Bench – This tool maybe underrated, but this is actually key in getting a nice firm hardware install
- Hammer – Everyone has one at home and with all my bag and garment making, I had to get one specifically for the sewing room so my husband wouldn’t have to keep looking for the one from our toolbox!
Tutorial:
Click into the video above to watch the entire snap installation process. As with anything new you learn, make sure to practice before moving onto your actual process. You’ll get a feel for the swing of the hammer and how much pressure is needed for the posts to attach to either the stud of the socket.
Even though I do own a hardware press along with the right dies for these snaps. many times, I’ll still go the manual route. Sometimes, it’s just a little bit quicker when I just need one or two snaps installed. The application is more forgiving, and that’s what I appreciate versus other snaps which have to be SO perfect to work….ugh….
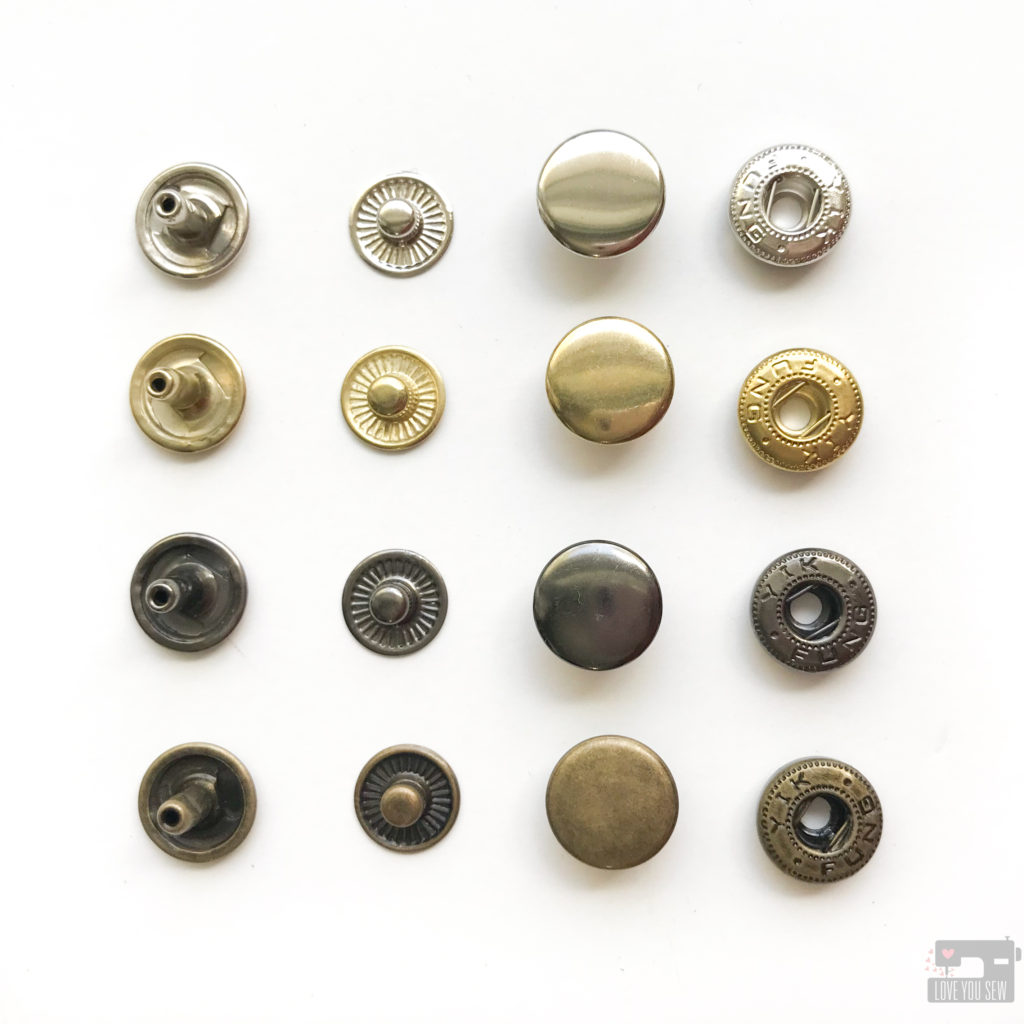
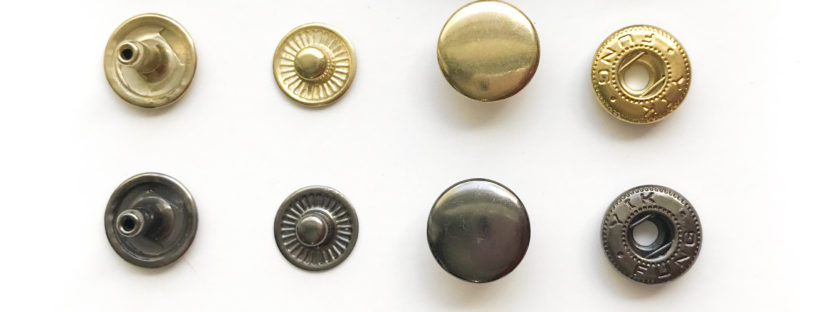
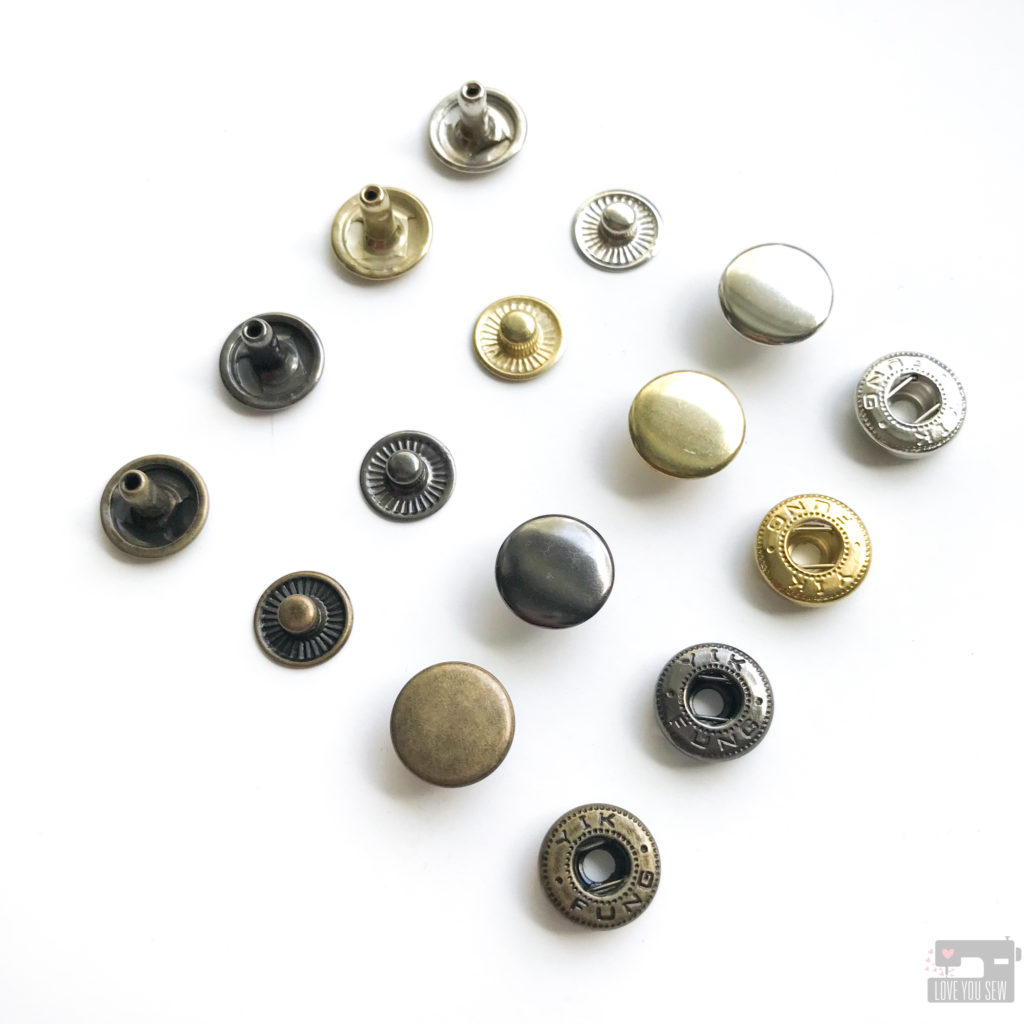
These snaps are paired correctly going from left to right [Stud Post + Stud] [Socket Cap + socket]
- With Double-Cap Spring Snaps, the caps can be confusing to figure out. But you will see that only one post can fit through the socket. Make sure you pair those together. The remaining cap will then be paired to the socket
- Use a solid work surface like a thick sturdy table
- Work at natural waist height – when a project is on the ground, the swing of the hammer is thrown off and can lead to angled application
- Again, practice, practice, practice!!!
I hope this helps to alleviate your anxieties around hardware snaps. Once you assemble a few, you’ll be an expert in no time! In just a few weeks, I’ll also share my hardware press details 😉
Enjoy hammering away!
Cristy
This post may contain affiliate links which help keep this website running . For my full affiliate Disclosure, click here.


