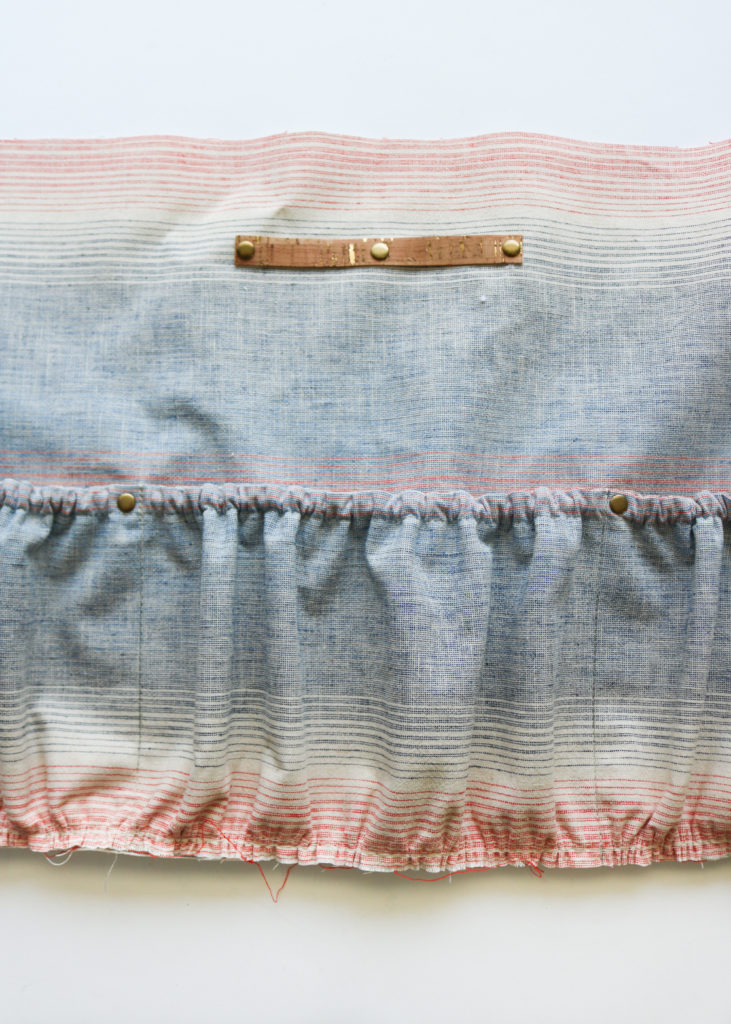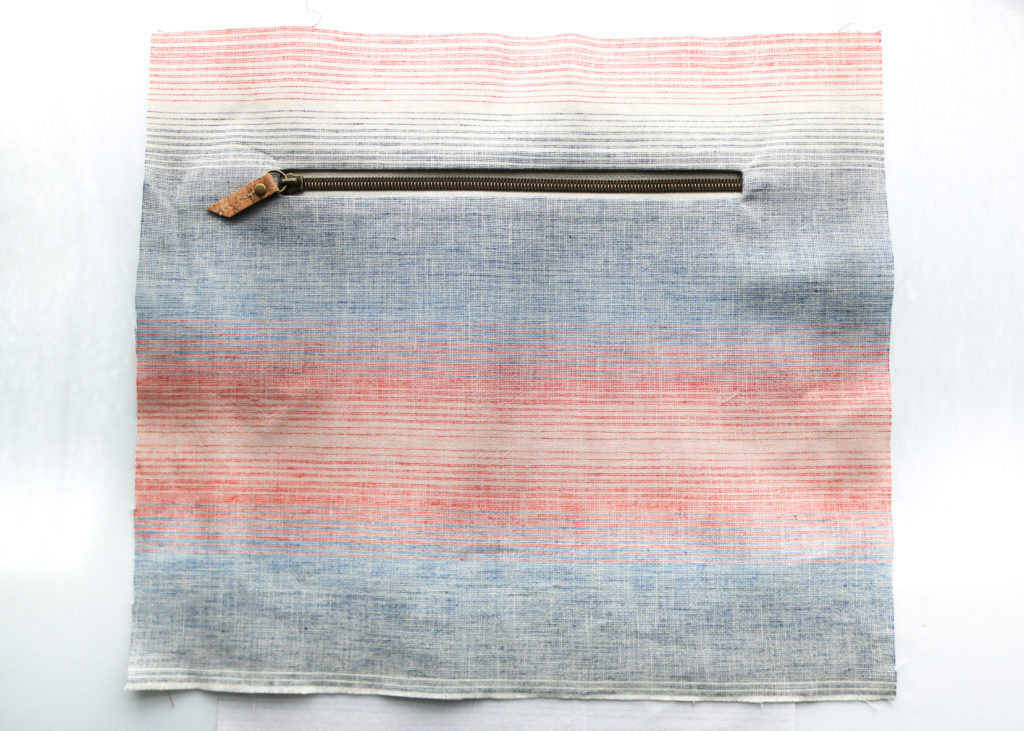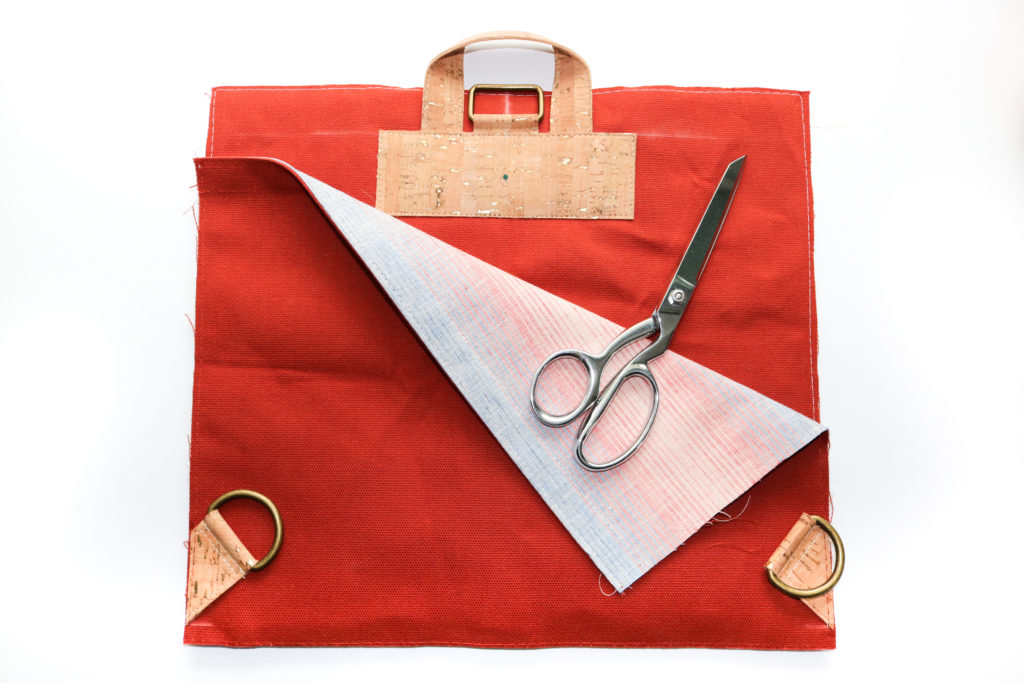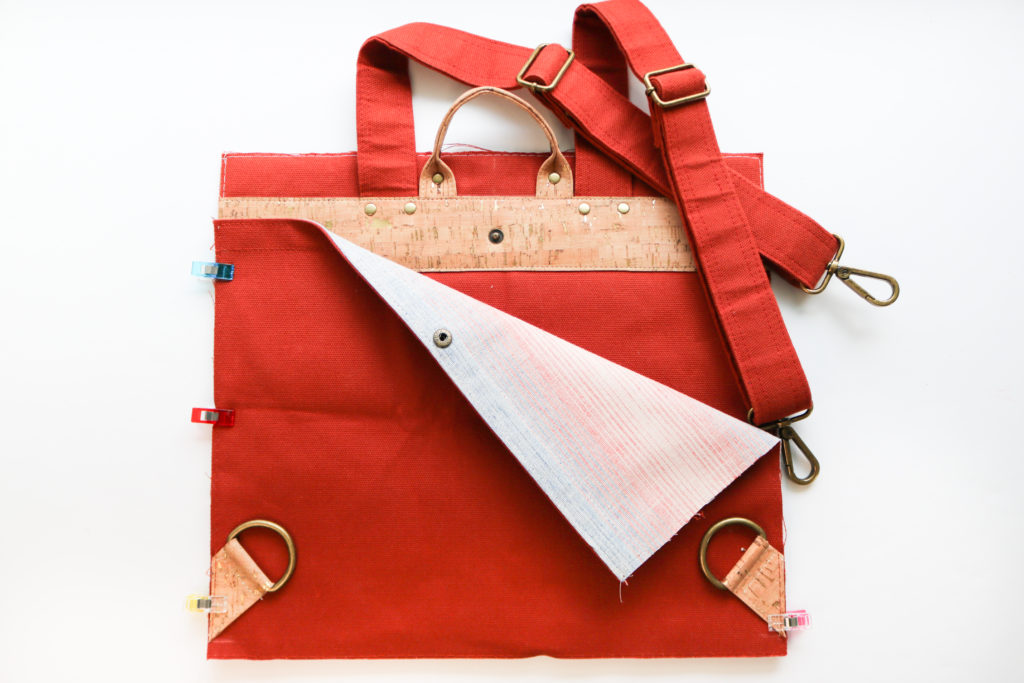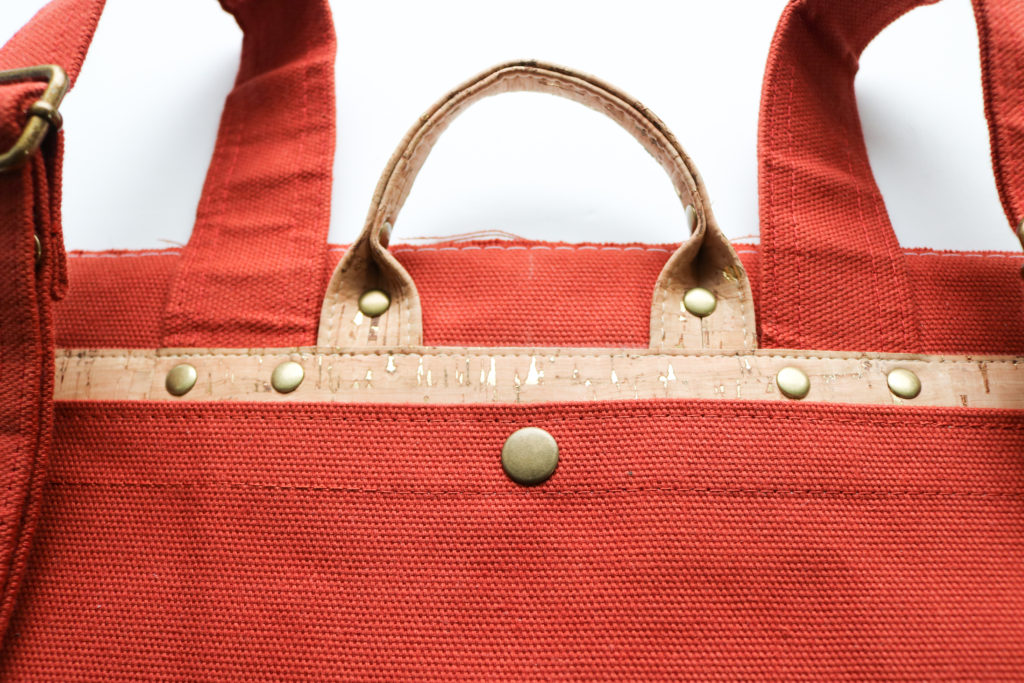
Erin Backpack Sew Along || Part 5: Make the Lining

Welcome Back to the Erin Backpack Sew Along!  We are now on Part 5: Make the Lining.  If you missed any of the prior blog posts, you can find them below:

With this part, we will tackle the entire lining and even assemble it!

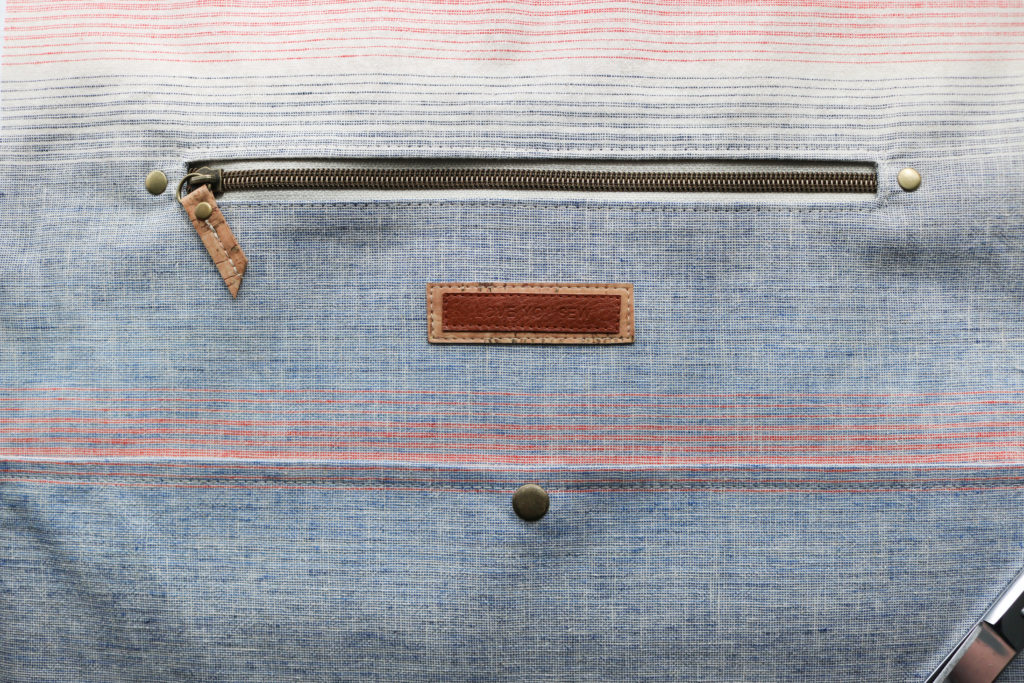
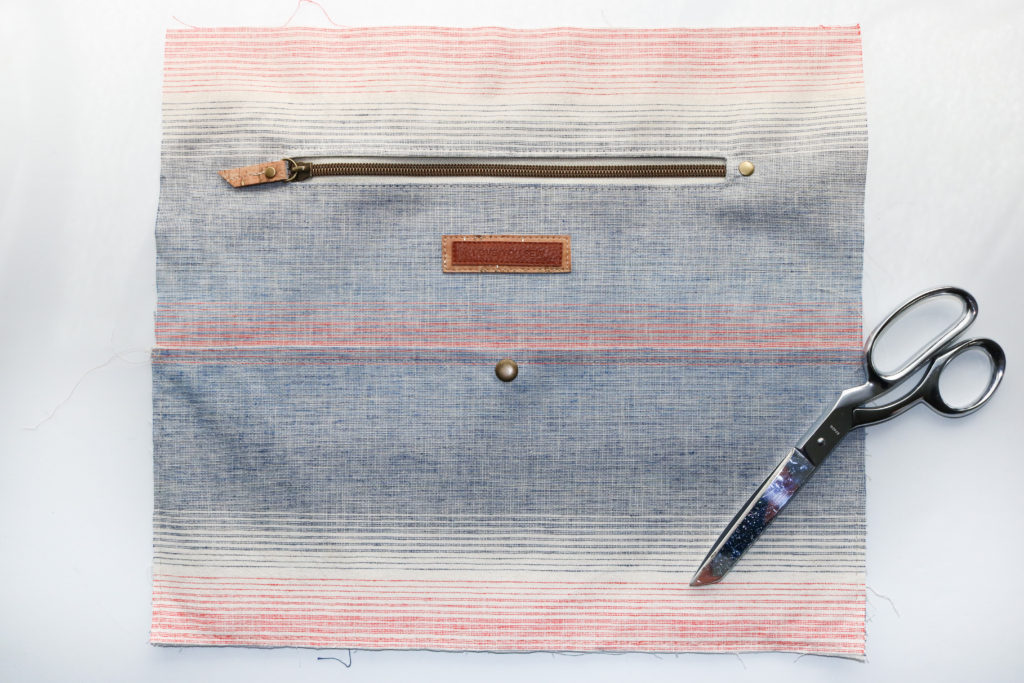
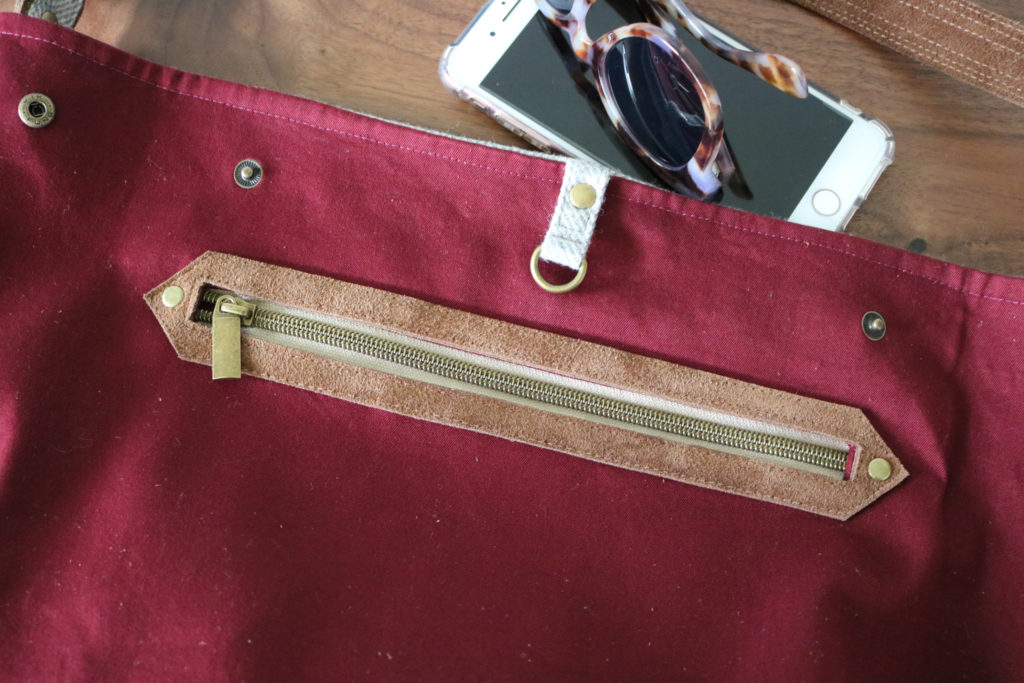
Zipper pocket

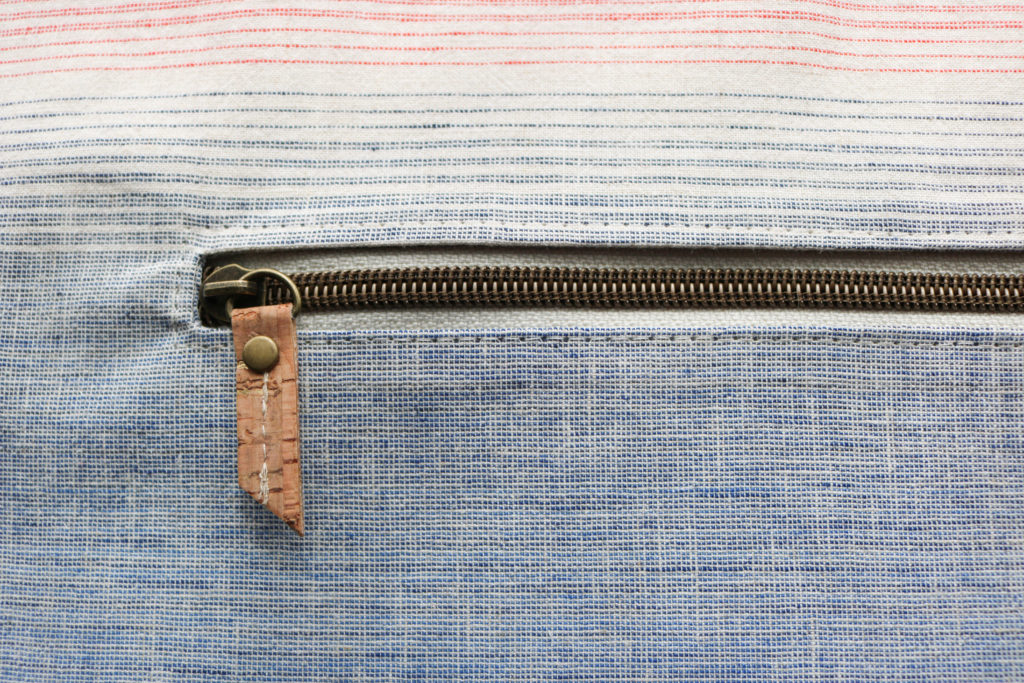
The interior Welt Zipper Pocket is constructed the same way as the outside one, except without the Zipper Plate.  So, we don’t have to go through all of the steps again.  If you need a fresher, you can head back to Part 4.

With this pocket, there is no basting, just a regular topstitch to secure the zipper to the lining (as shown above.) .

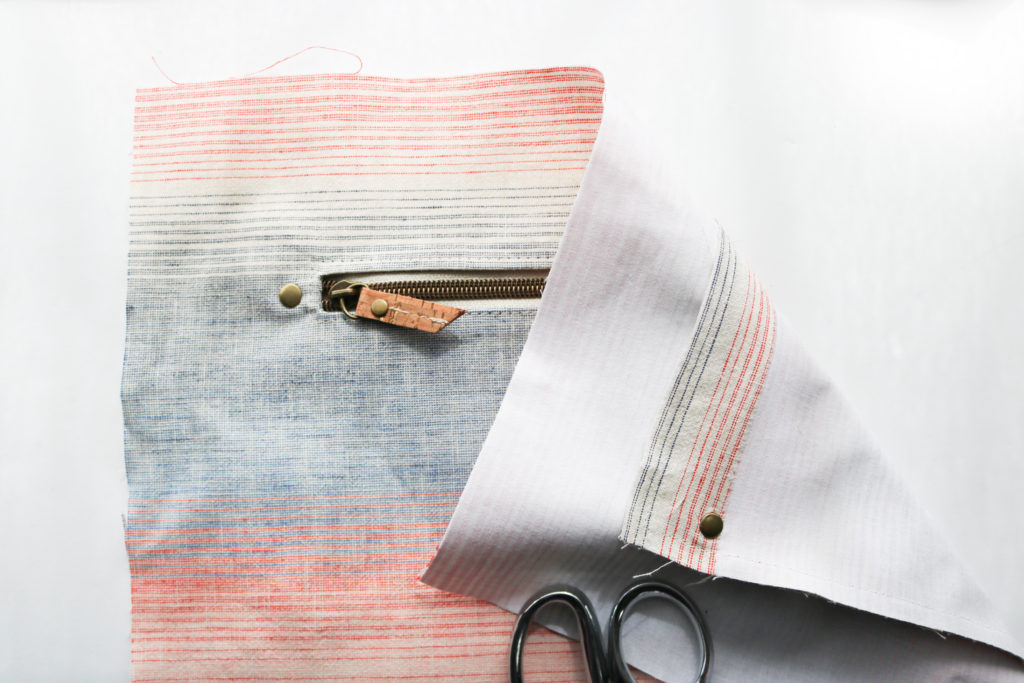
For some more visual interest, you can always add another Zipper Plate or add in some rivets.  I placed one on with side of the zipper opening,  3/8″ from each end AFTER pocket has been closed up.  This helps add a little more security to the pocket lining.

You may have noticed that I added in a branding tag.  This is not apart of the instructions, so I skipped it in the video.  But if you would like to add one in this same spot, I sew the tag after finishing the Welt Zipper Pocket.  The leather stamped tags are from ViVi in Oz.

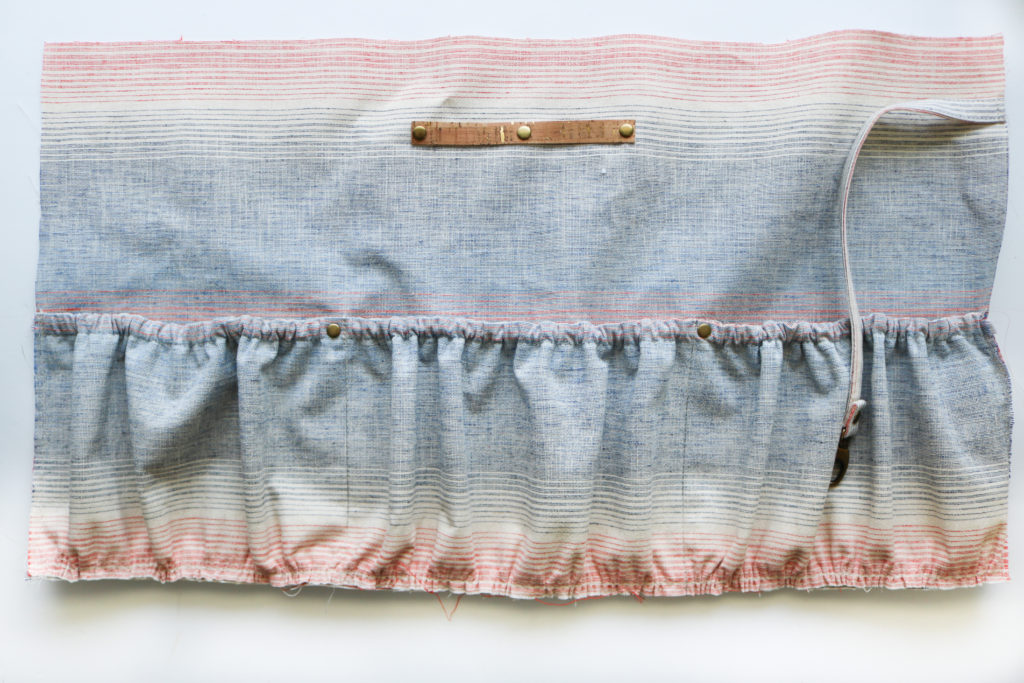
Slip Pocket, Elastic Pockets and assembly

The rest of the Lining construction and assembly can be found in the video above.  You can view the different sections timestamped as follows:

  • Slip Pocket  (00:10)
  • Elastic Pockets (01:35 )
  • Accessory Strap (04:25)
  • Key Fob (04:58)
  • Assembly (05: 06)

Items to note:

  • You can get extra hardware help by clicking on these posts -> Rivets  -> Spring Snaps
  • May need to adjust the length of elastic based on what type/style you are using.  You want to have enough pulled in so that the Elastic pocket is bunched up enough to equal the length of the Front Lining.
  • DON’T skip the 2nd line of baste stitching for the gathering.  It makes life MUCH easier –especially when trying to gather stiffened fabric from the interfacing.
  • If you would like to take the option of adding rivets to the Elastic Pockets, make sure to NOT punch the holes directly on a seam.
  • Yes, the Front Lining IS suppose to be shorter than the Back Lining.  This takes the width of the zipper into account and incorporates it as part of the backpack’s front wall.


Can you taste the finish?  The very last of the Erin Backpack sew along comes later this week, Part 6:  Final Assembly.  I hope you have been enjoying the process.  Don’t forget to use #erinbackpack #erinbackpacksewalong and #loveyousewpatterns on Social Media!  I’m so excited to see your finished bags!


Hugs and Stitches,

Cristy


Hardware || Install Double-Cap Spring Snaps by Hand

Installing snaps by hand isn’t as hard as it looks! The Double-Cap Spring style snaps are my personal favorite for bag-making and for garments. I’ve tried many different kinds of snaps over the years, including plastic KAM style ones for baby accessories and then Ring Style ones for bags.   Out of all the ones I’ve tried,  I think these Doubled-Cap Spring snaps are the most forgiving with manual setting tools and produce the BEST results with minimum investment.  Check out my video tutorial below to see how easy it really is!!!

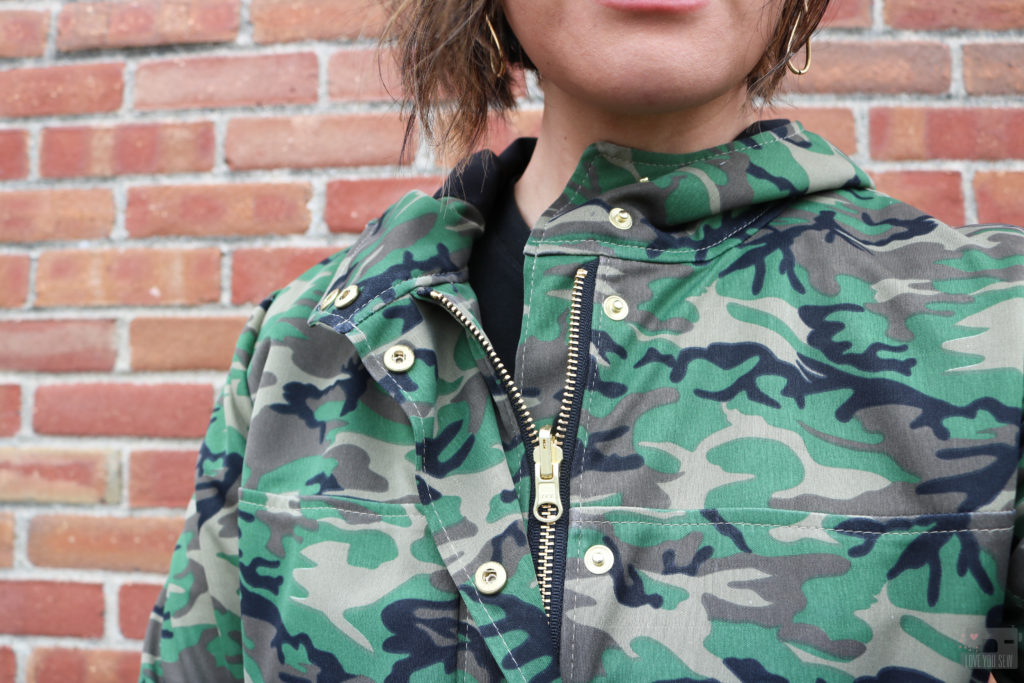
I love using these snaps in my patterns like The Tiny Sophia Bag (shown above,) the Megan Bucket Bag and the Erin Backpack.  You can also use these in shirts like my Holly Jumpsuit, and in jackets, like with my Kelly Anorak.

Materials needed:

  • Your project!
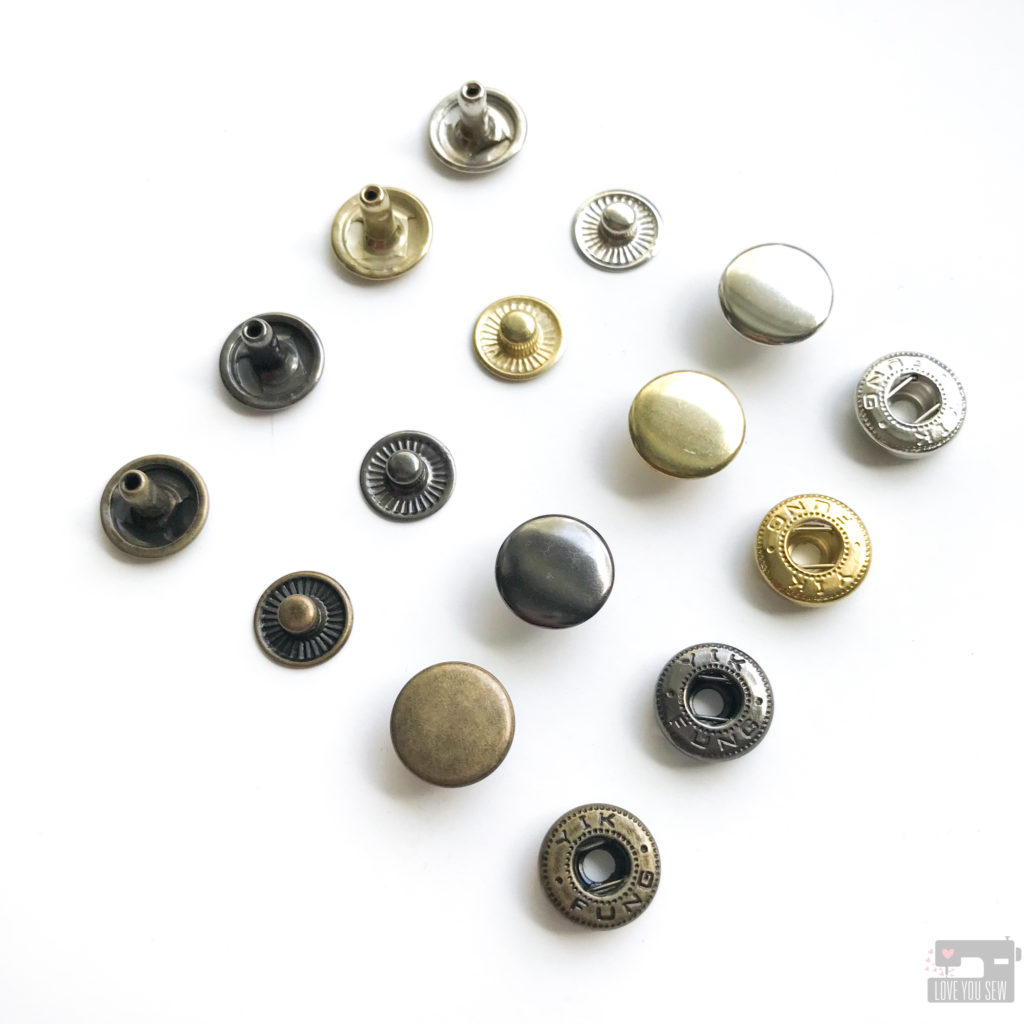
  • Double-Cap snaps – 12.5 mm/20 : These are my preferred size to handle most of my needs and I personally like the Double-Cap for extra strength even though they are slightly more expensive than the single cap style.
  • Setting Tool Set (use “633” tools for 12.5 mm snaps) – For the price, I bought this whole set on the off-chance I would need other size tools for future snaps.  They have held up well so far with lots of use
  • Punch Pliers – These are my preferred style with the ability to change hole sizes and punch to either a rubber or metal bed.
  • Jeweler’s Bench – This tool maybe underrated, but this is actually key in getting a nice firm hardware install
  • Hammer – Everyone has one at home and with all my bag and garment making, I had to get one specifically for the sewing room so my husband wouldn’t have to keep looking for the one from our toolbox!


Tutorial:

Click into the video above to watch the entire snap installation process.  As with anything new you learn, make sure to practice before moving onto your actual process.  You’ll get a feel for the swing of the hammer and how much pressure is needed for the posts to attach to either the stud of the socket.

Even though I do own a hardware press along with the right dies for these snaps. many times, I’ll still go the manual route.  Sometimes, it’s just  a little bit quicker when I just need one or two snaps installed.  The application is more forgiving, and that’s what I appreciate versus other snaps which have to be SO perfect to work….ugh….

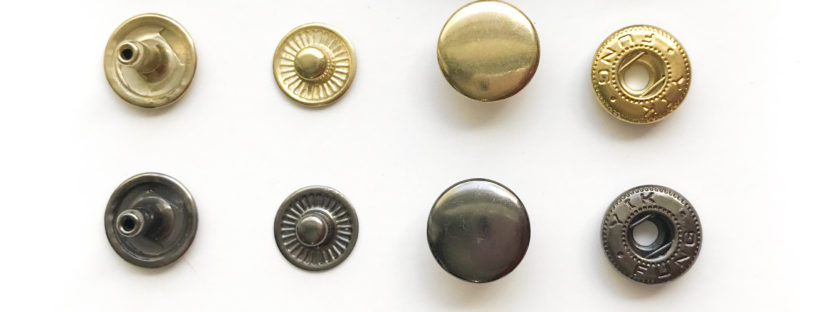
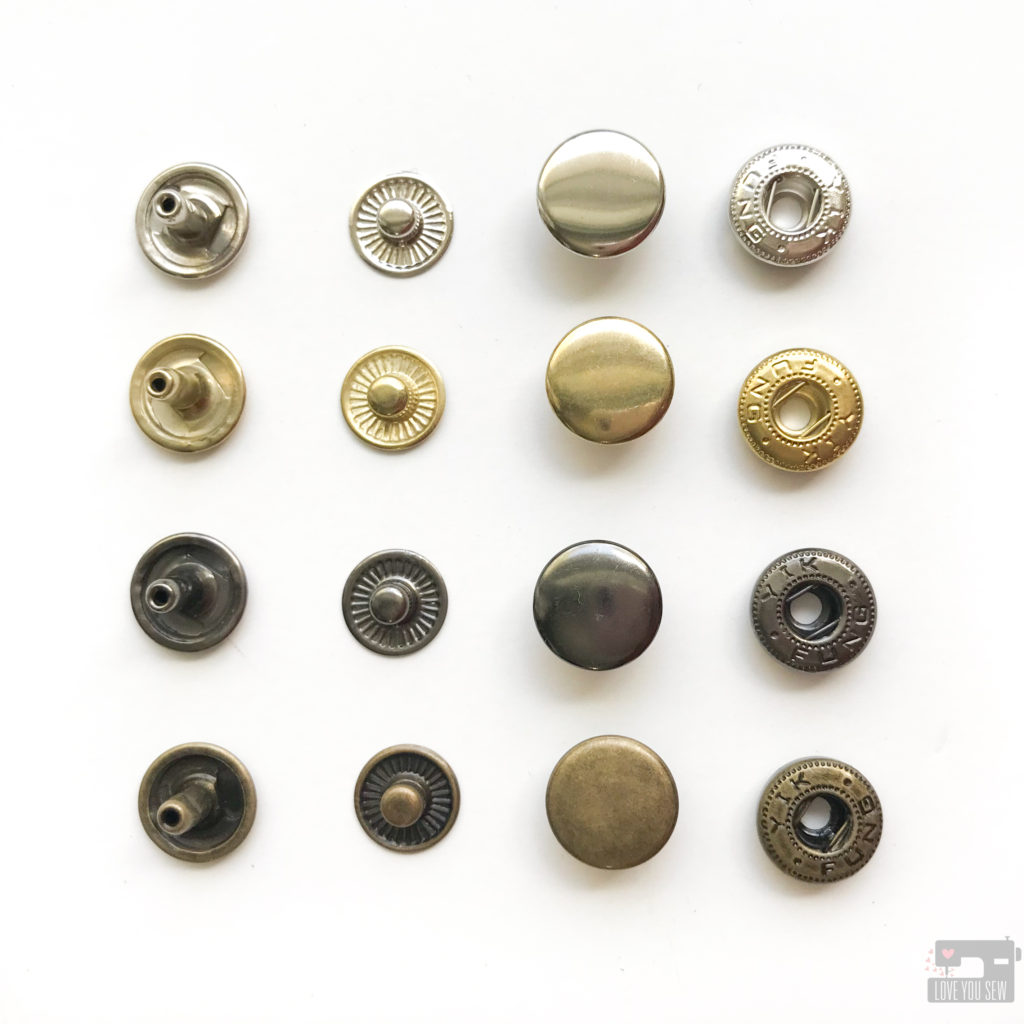
These snaps are paired correctly going from left to right [Stud Post + Stud] [Socket Cap + socket]

After watching the video, take note of these TIPS as well to help:

  • With Double-Cap Spring Snaps, the caps can be confusing to figure out.  But you will see that only one post can fit through the socket.  Make sure you pair those together.  The remaining cap will then be paired to the socket
  • Use a solid work surface like a thick sturdy table
  • Work at natural waist height – when a project is on the ground, the swing of the hammer is thrown off and can lead to angled application
  • Again, practice, practice, practice!!!


I hope this helps to alleviate your anxieties around hardware snaps.  Once you assemble a few, you’ll be an expert in no time!  In just a few weeks, I’ll also share my hardware press details 😉


Enjoy hammering away!

Cristy


This post may contain affiliate links which help keep this website running .  For my full affiliate Disclosure, click here.

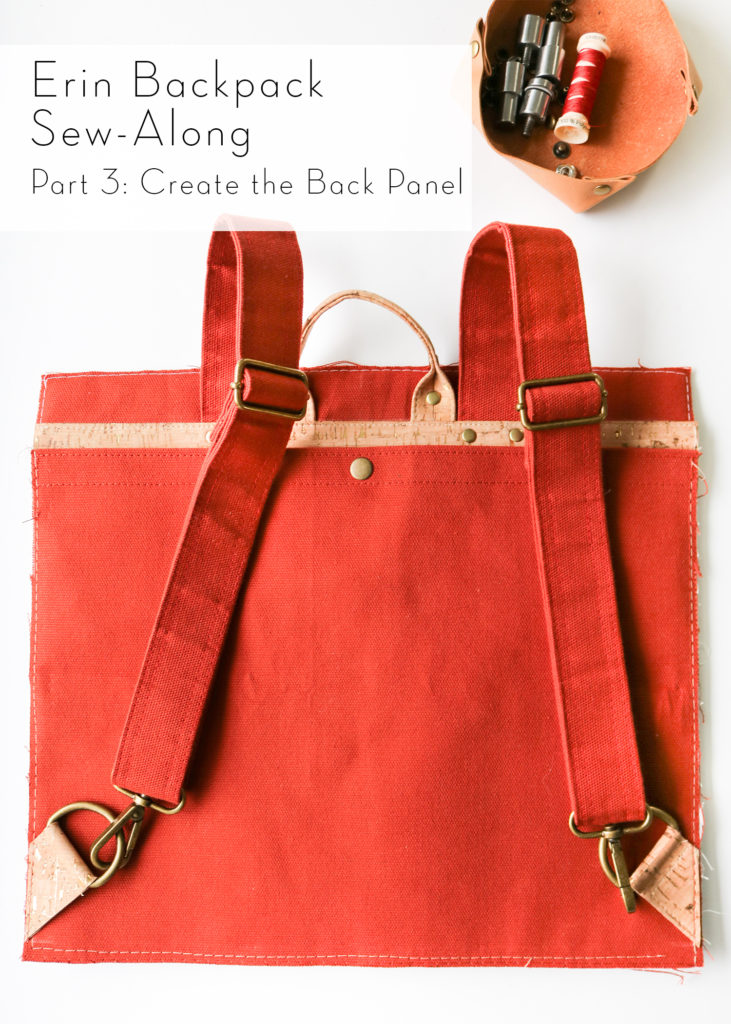
Erin Backpack Sew Along || Part 3: Create the Back Panel


Welcome Back to the Erin Backpack Sew Along!  We are now on Part 3: Create the Back Panel.  If you missed any of the prior blog posts, you can find them below:

Time to get started!

MAKE THE BACK SLIP POCKET

Notes:

  • I like to press the lining of the Pocket inward so that it doesn’t show when you look at it.
  • Remember that I’m using a treated canvas, so really, I’m finger pressing all of my seams when I  mention “pressing.”
  • The Snaps I use (and also in my hardware kits are 20 ligne / 12.5 mm Double-cap Spring Snaps. However, you can ALWAYS use any kind of snap on hand. This includes: plastic, magnetic, ring, and even sew-in styles!
  • The Snap was added using a press, but if you need to add them manually, scroll to bottom of this post for resources.


ADD HANDLE BASE

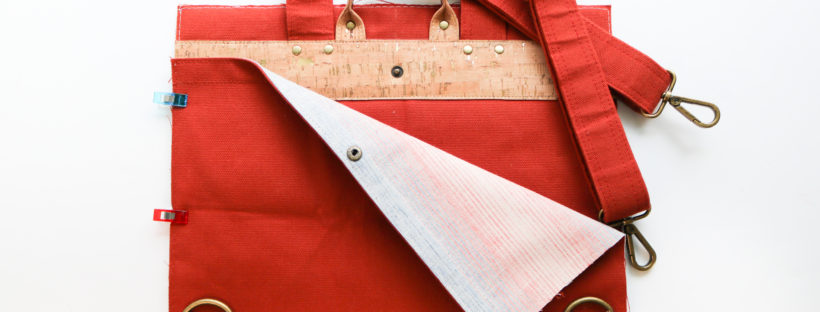
As mentioned before, I am making my version of the Erin Backpack with the Permanent Back Strap Hack, so the end result looks different from the pattern instructions.  However, I STILL (yay!) created video to help you visualize these steps if you are sticking to the pattern as written.

If you are following the pattern, you will watch the video from the beginning to about 3:04.  Then you can come back around 3:57 for the hardware installation and watch until the end.

If you are following the Sew-In Back Strap Hack, you will watch the video from about 3:57 through until the end of the video.  Feel free to watch all of it though for extra learning points 😉


Click into the video about to watch how the Handle base is made and attached to the Back Panel.  The Slip Pocket is then attached and basted together to enclose.


Additional Resources

If you need help with any of the hardware installation.  Check out the posts below:


I hope you enjoyed Part 3 of the Erin Backpack Sew Along.  Catch me back in just a few days for an intensive Part 4 where we coincidentally, also make 4 pockets for the Front Panel.


Happy Sewing!

Cristy


This post may contain affiliate links which help keep this website running .  For my full affiliate Disclosure, click here.

Introducing The Tiny Sophia Bag

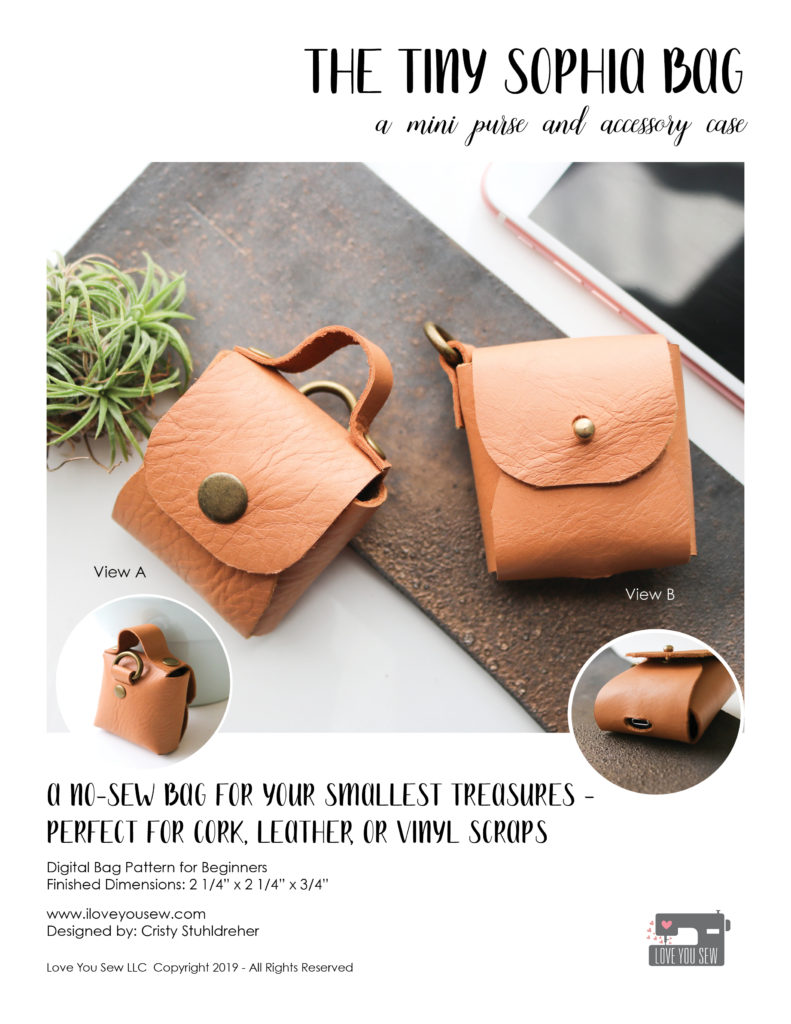
We are in the thick of the holiday season and I thought I did some pretty good seasonal planning.  I made gifts for my nieces and nephew early since I went to visit them in November and even got my fancy holiday dress finished by my husband’s birthday a few weeks ago.  But then I shared my Tiny Sophia Bag with all of you on Instagram and my feed (DMs too!) filled up with requests for this pattern.  You caught me in a moment of weakness because I said, “Sure, why not?!  This is probably the time when you would like this pattern the most!”  So why not add another “thing” to the list…famous last words. Lol!

You can purchase the Tiny Sophia Bag here.
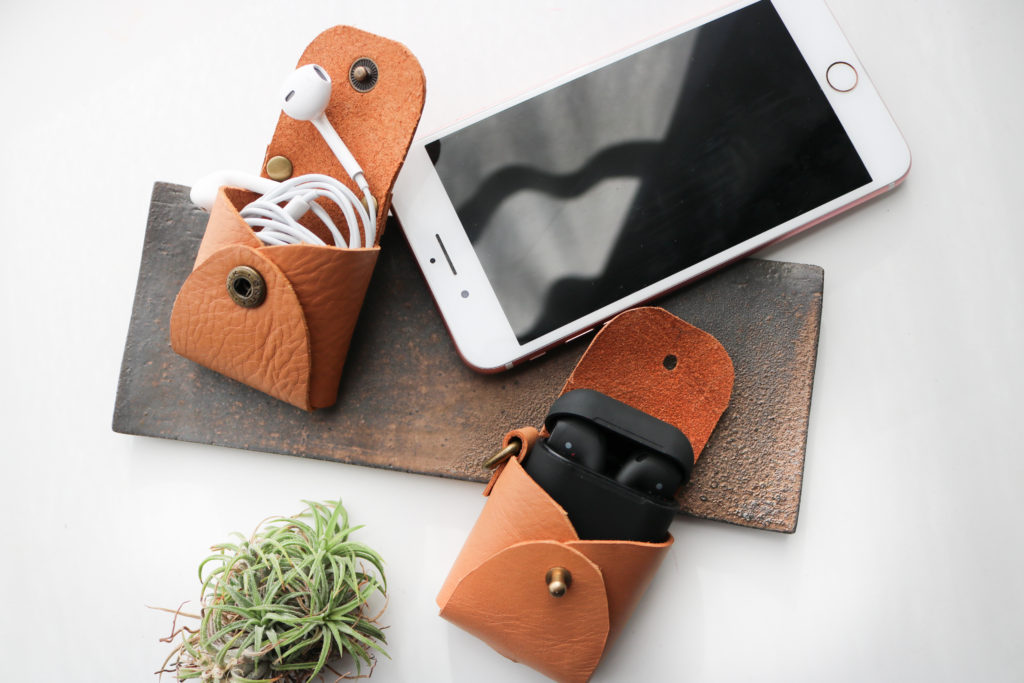
If you have been following my stories on IG, I shared these itty bitty purses by Jaquemus which I’ve been seeing all over the fashion reports.  Although completely useless as an actual purse (and WAY too expensive *eyeroll*) I still wanted one…but of course, in my own DIY way!  Spoiler alert – my way is MUCH more cost effective.
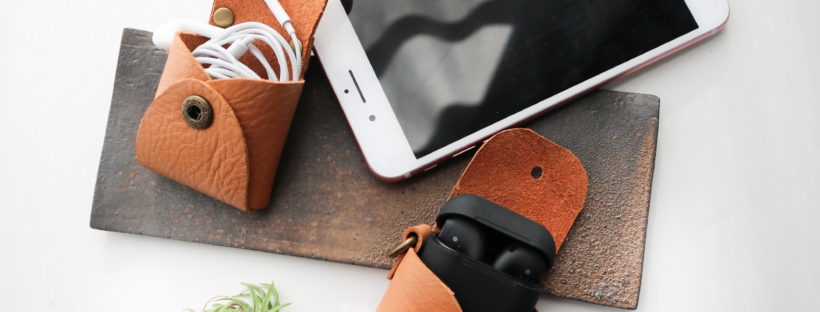
Over the summer, I toyed around with some paper templates to make a tiny bag for fun, but nothing really came out of it.  Then a visit back east to see my family made me really notice the wireless ear pods my brother was wearing.  Shortly after that, Lizzo came out on the red carpet with a tiny Valentino bag!  Combine these events and it made me wonder if the pods had a carrying case…aaaand if that case could also be a purse!

Namesake

As I was developing this pattern and making all of the prototypes, I knew this bag would be named after my niece, Sophia.  (All of my bag patterns are named after one of my nieces.)  Miss Sophia is a petite lil’ lady and the absolute CUTEST…just like this bag!  She is always game for a little fun and adventure, which makes her a great travel companion.  Since her dad was also part of the inspiration, it’s only fitting that this bag is named after her.
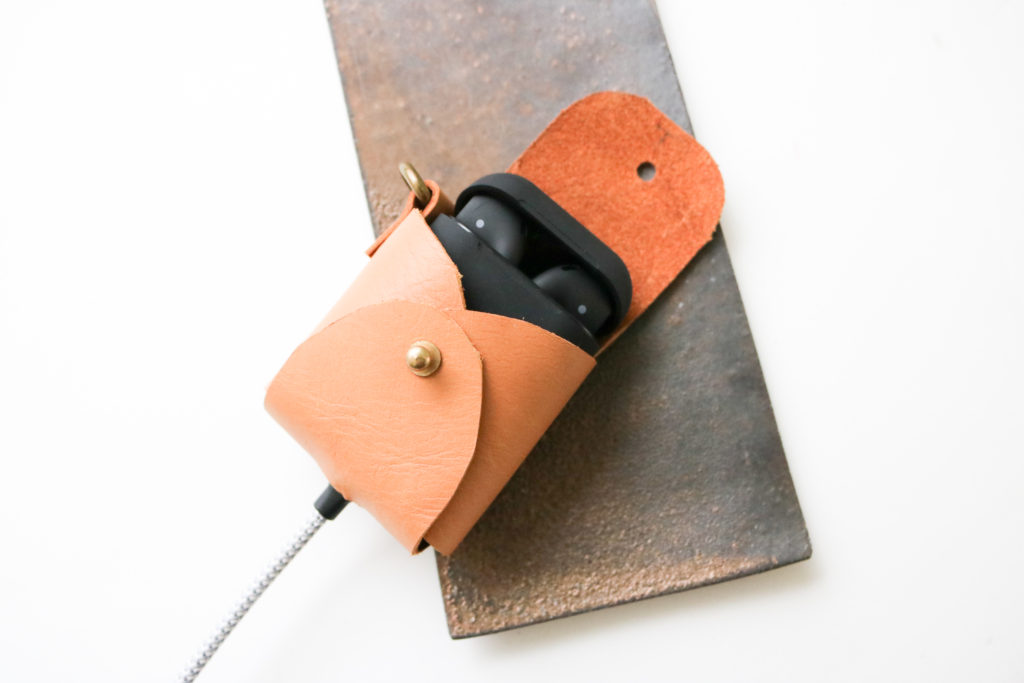
View B

Features

I know there are a ton of aftermarket pod cases out there and I thought a leather one would be chic and beautiful.  After a few hours (with my husband and boys at basketball practice,) I was able to draft a headphone case AND a bag by switching up the options.  This is no-sew pattern with two different views and the features can certainly be mixed and matched!

  • View A  “Mini Purse” – This has a strap on the top flap with a D-ring on the back and a snap closure.
  • View B “Accessory Case” – This has a bottom slot opening for a charger and the D-ring is set on the side.  A button stud is used as the closure.
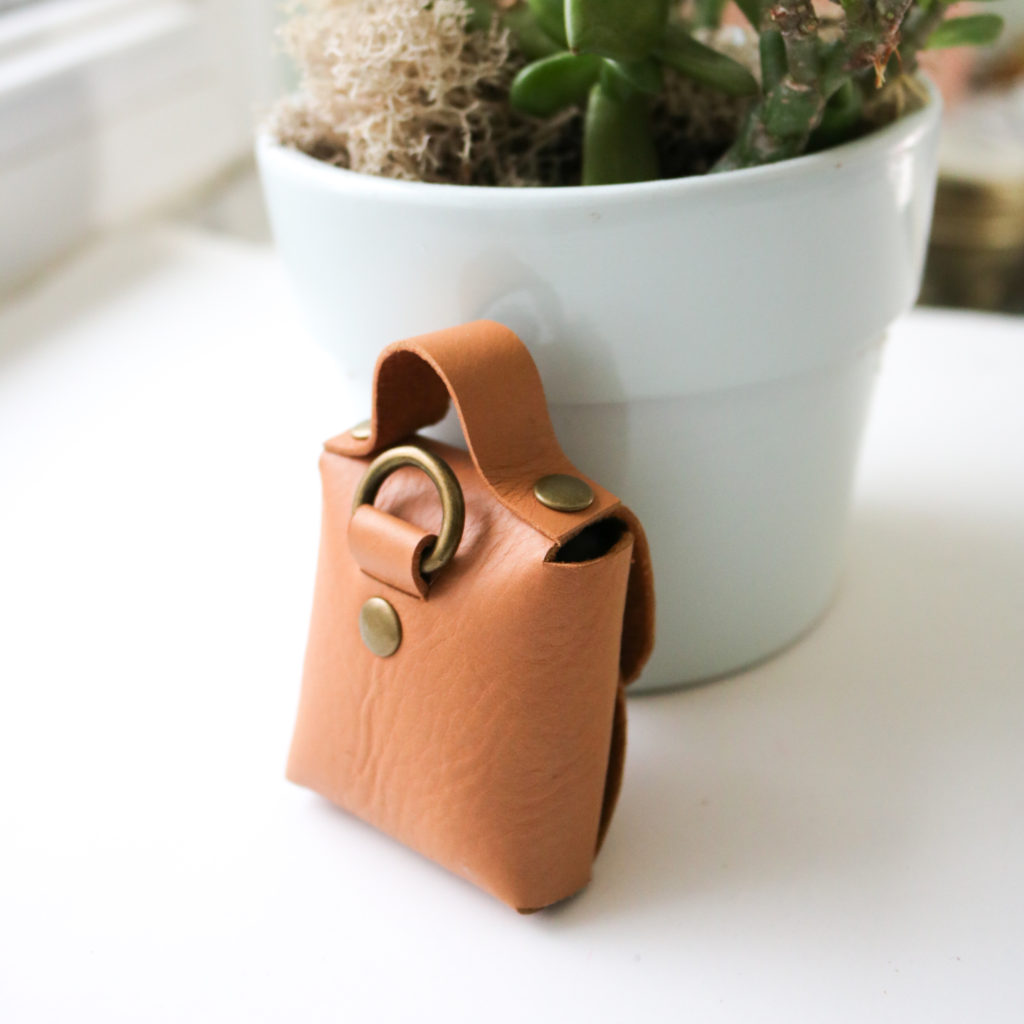
View A

Hardware

The Tiny Sophia Bag requires rivet and snap or button stud installation.  This is assumed in the pattern (and I promise I will add more posts about how I install.)  I want to let you know my favorite suppliers:

  • Rivets:  For a long time, I set these just using just a hammer and anvil.  You can find these tools  in my shop, here.  Emmaline Bags carries a wide variety of sixes in different finishes. (Pictured above are the “small” rivets in Antique brass.)
  • Snaps: I’m a big fan of double-cap spring snaps from Gold Star Tool.  These are the same ones I used for my Kelly Anorak which you can find here. (On the cover photo, I have a size 20 ligne brass snap.)
  • Button Studs (screw on): These are THE best, since there are no special setting tools needed…just a screwdriver.  I grab most of mine from Amazon and I like the Tandy ones (when I’m in a pinch for timing since there is a store nearby.)  I think the 6mm/7mm head ones are a good proportion for this small bag.  (The 8mm head studs are used in my Kelly Waist Bag pattern)
New SVG Files

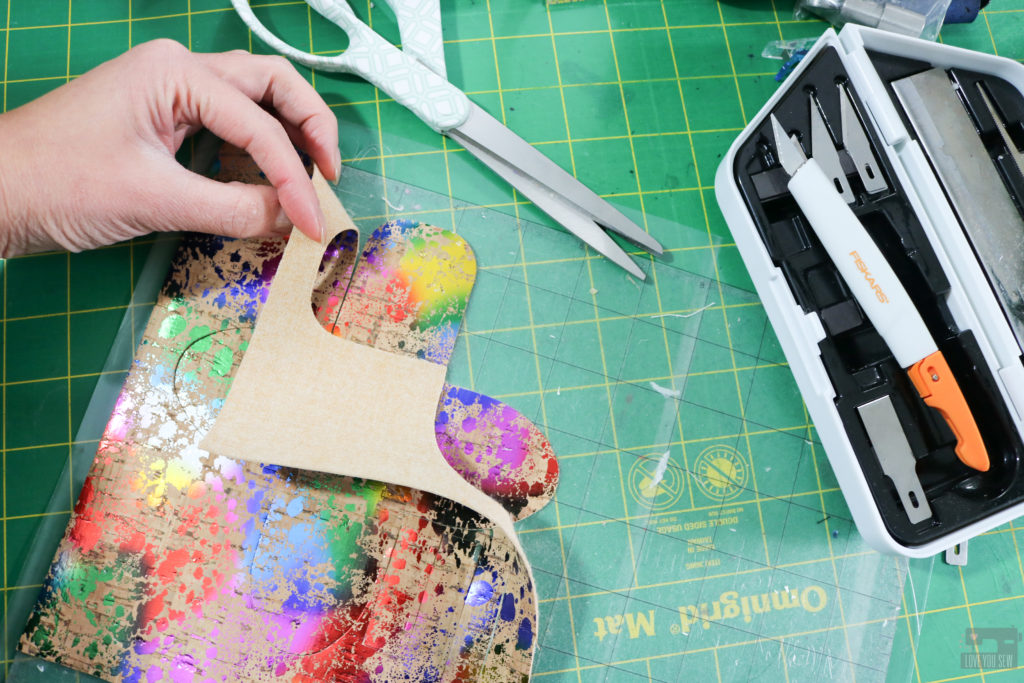
A big addition to this pattern release is the inclusion of SVG (scalable vector graphic) files which you can use with most electronic cutting machines.  I’ve always imported images and traced my own files, but have never created ones from Illustrator before.  So, I was pleasantly surprised to see how this pattern cut on my machine!  I have an old Silhouette Cameo with a straight knife and the cork cut so well on setting #7.  It did not like leather though…I’m hoping the rotary blades do much better.  There are three files for the different views and an extra one to combine all of the features together.  Please let me know what you think about this new feature!
Cutting by Hand

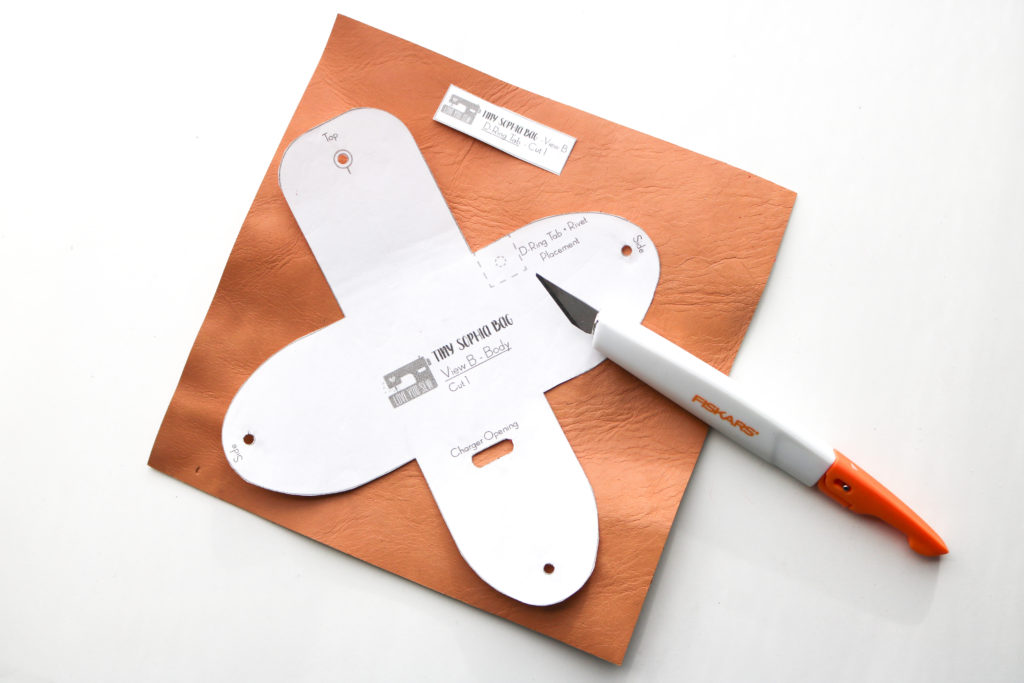
For those who don’t have a cutting machine, please know that I made all of these Tiny Sophia Bags by hand.  After making lots of leather bags and over a dozen of these minis, here are a few tips and tricks that will help you though.

  • I LOVE this heavy duty multi-blade craft knife set by Fiskars.  The different blades are great depending on the type of cut you need to make…my fave is the 1/2″ straight edge one.
  • The pattern essentially looks like a cross, so the edges are right angles.  If you match up the sides with a ruler, you’ll have a smoother (and more accurate) cut.
  • Use a metal ruler with a craft knife for the straight edges.
  • For thicker leather/suede, you might want to use a box cutter for a stronger blade and press down on the ruler so it doesn’t drag.
  • Speaking of blades, remember to use a new one that’s nice and sharp for clean cuts.
  • With the curves, try to find household objects like bowls that match to balance your knife against.
  • For the back D-Ring opening, one of my testers said a button-hole cutter like this one is great for cutting the edges.
Customize

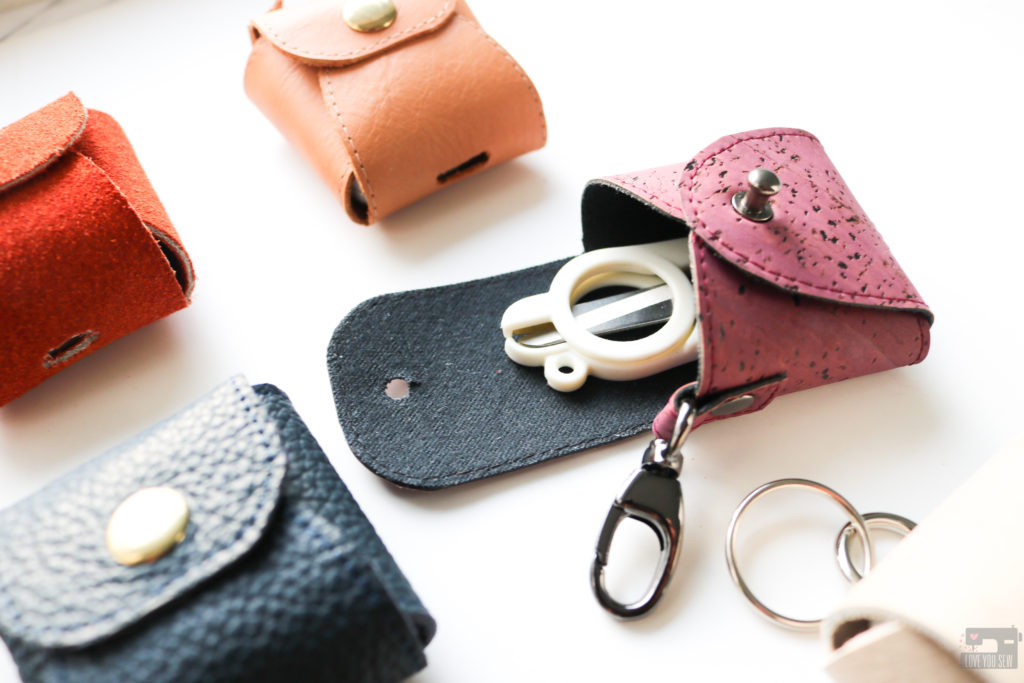
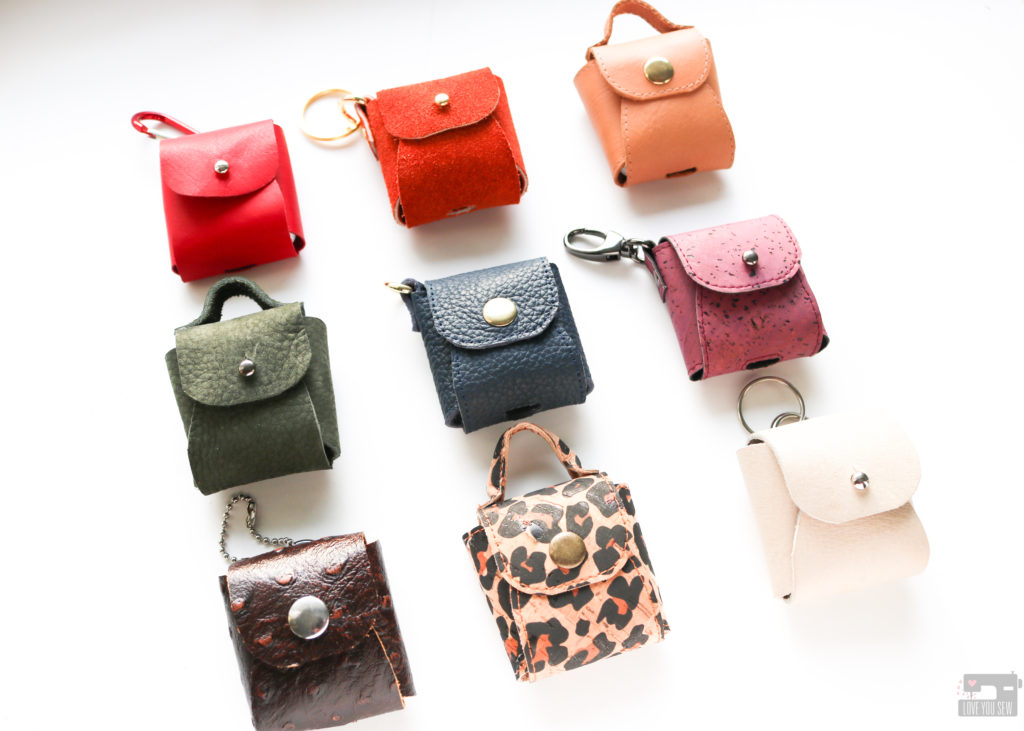
There are so many different ways to customize your Tiny Sophia Bag.  Luckily, I have a nice stash of leather scraps from thrifting and from friends.  You can use leather, suede, faux leather, and even cork!  Based on the thickness of your substrate, you may have to adjust the position of the holes which is also covered in the the pattern 😉

Check out #TheTinySophiaBag on social media to see all of the different versions.  I like the extra stitching around the edges to make the bag look more polished (don’t forget to use that leather needle and teflon or walking foot!)  Many of my testers used decorative hardware too.  I can’t wait to see what you do!
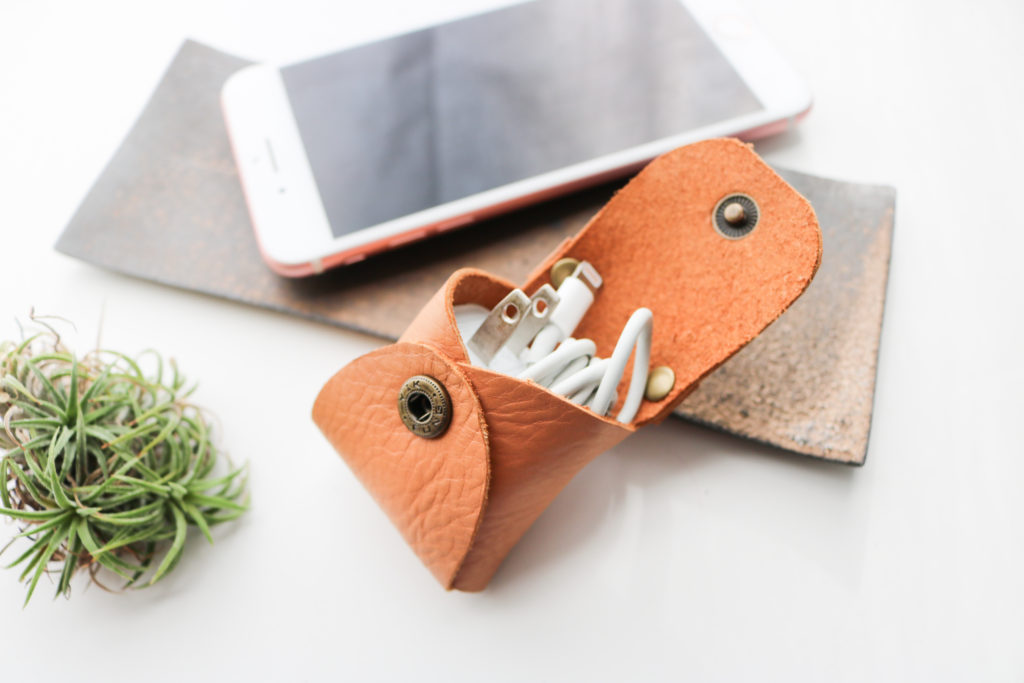
If you are ready for the cutest little purse, you can grab the Tiny Sophia Bag pattern, here.  Use it to carry your trinkets, coins, and all the smartphone accessories.  One of my testers mad bags for her daughters’ dolls!  I’m adding one of these on my Christmas tree and will use it later to hang off my purse for my own headphones.

How would you use your Tiny Sophia Bag?


Happy Sewing!

Cristy


This post may contain affiliate links.  You can read about my Disclosure, here.