The Christine Sling is definitely the bag I’ve worked on for the longest time. For many reasons, the development would keep getting pushed, but I always knew it would have some kind of compact cross-body silhouette. This bag first started off as a very slim phone holder, but with the passing of time, phones kept getting bigger and styles kept changing. But when bags were being worn more across the chest and mid-back, I knew the sling had to be re-tooled a bit. I made her a little larger than just a phone holder but still small enough for life on the go.
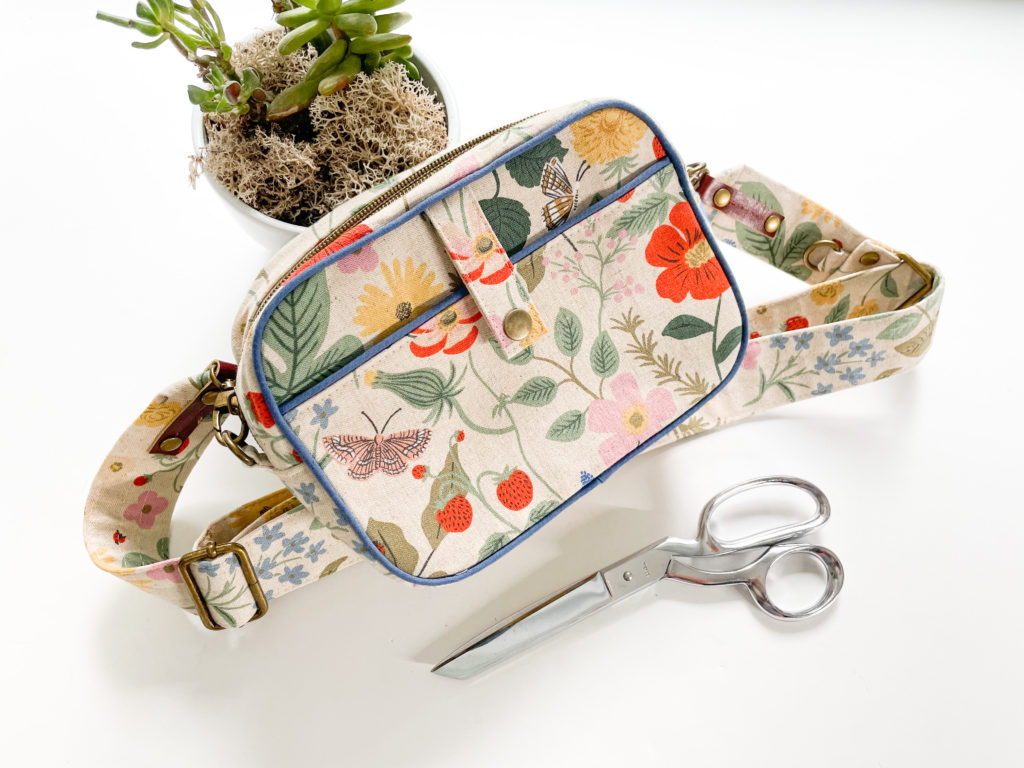
View B with added Piping
Inspiration
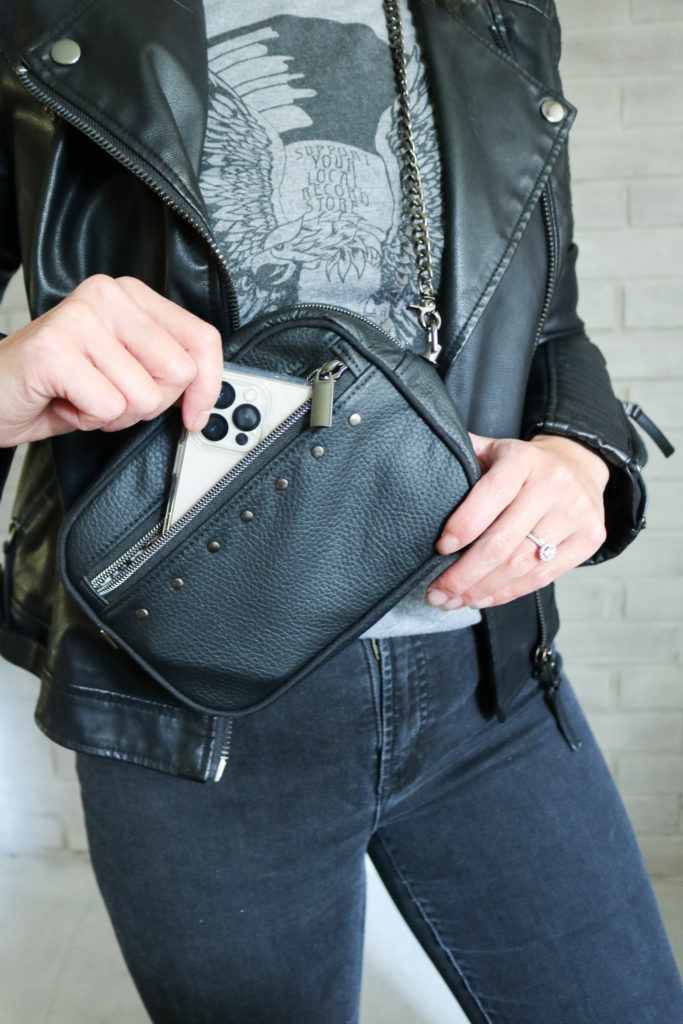
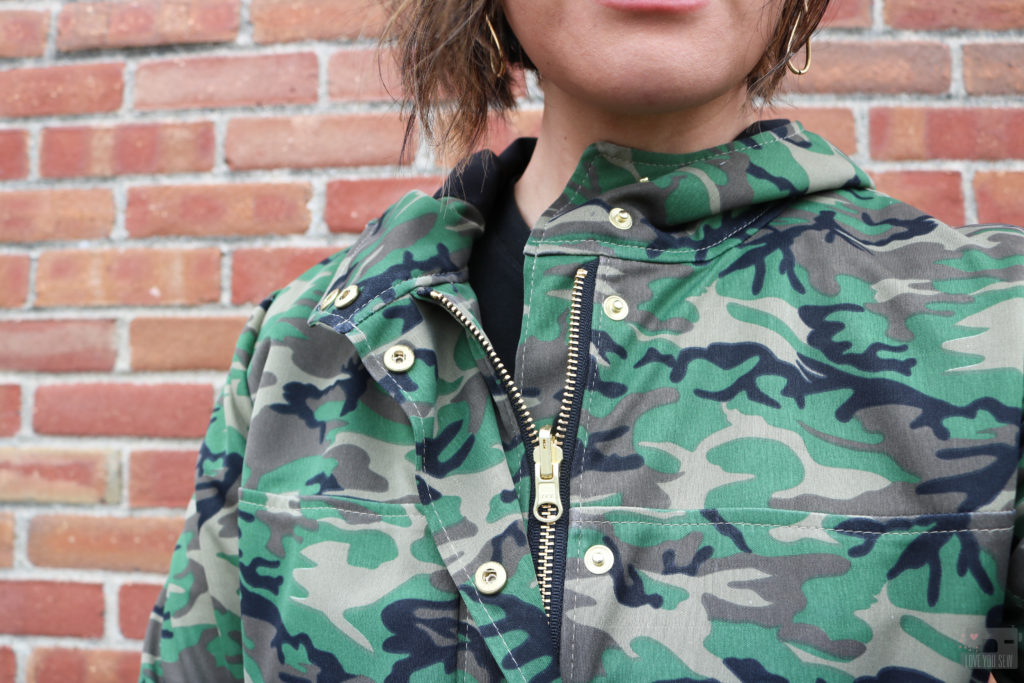
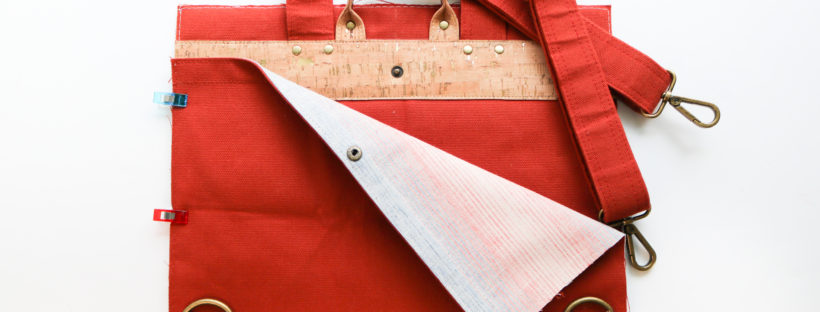
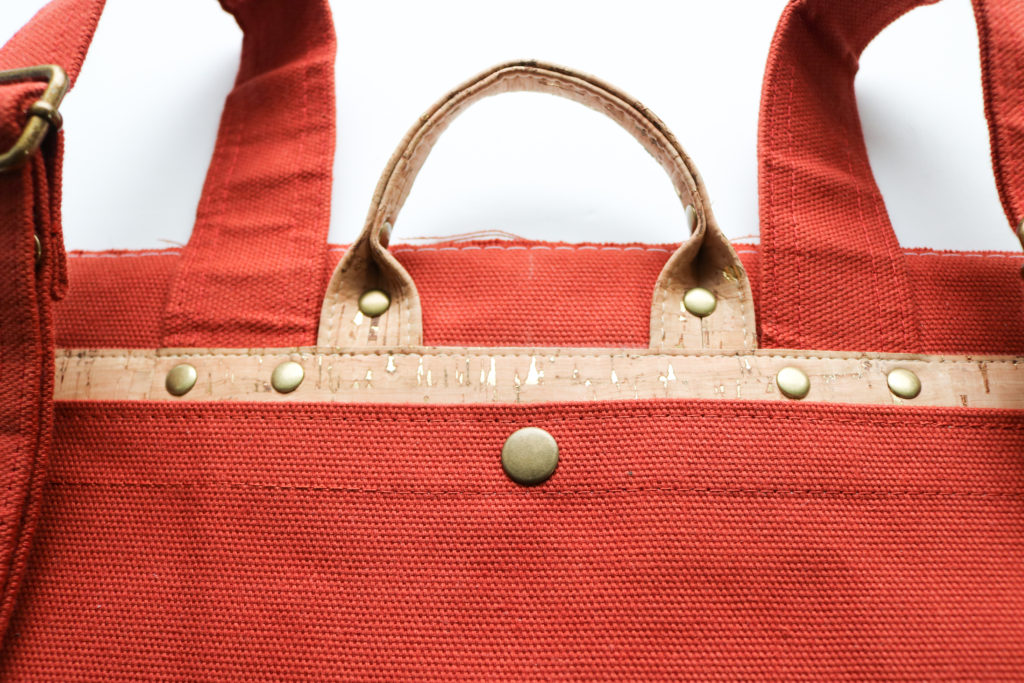
View A with rivet embellishments
With the slowly world opening back up with COVID-19, I knew I still wanted to have a small bag to run in and out of stores quickly. But now, our essentials of keys-wallet-cell phones have expanded to include masks and lots of sanitizer. The depth of the bag had to expand with our needs.
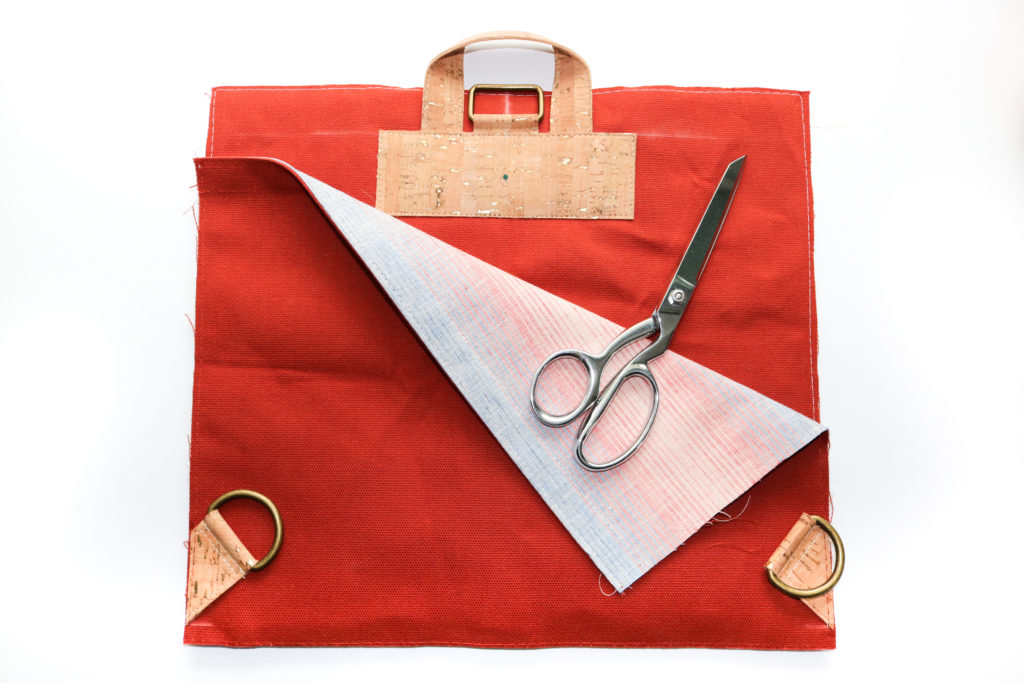
View A with angled tab
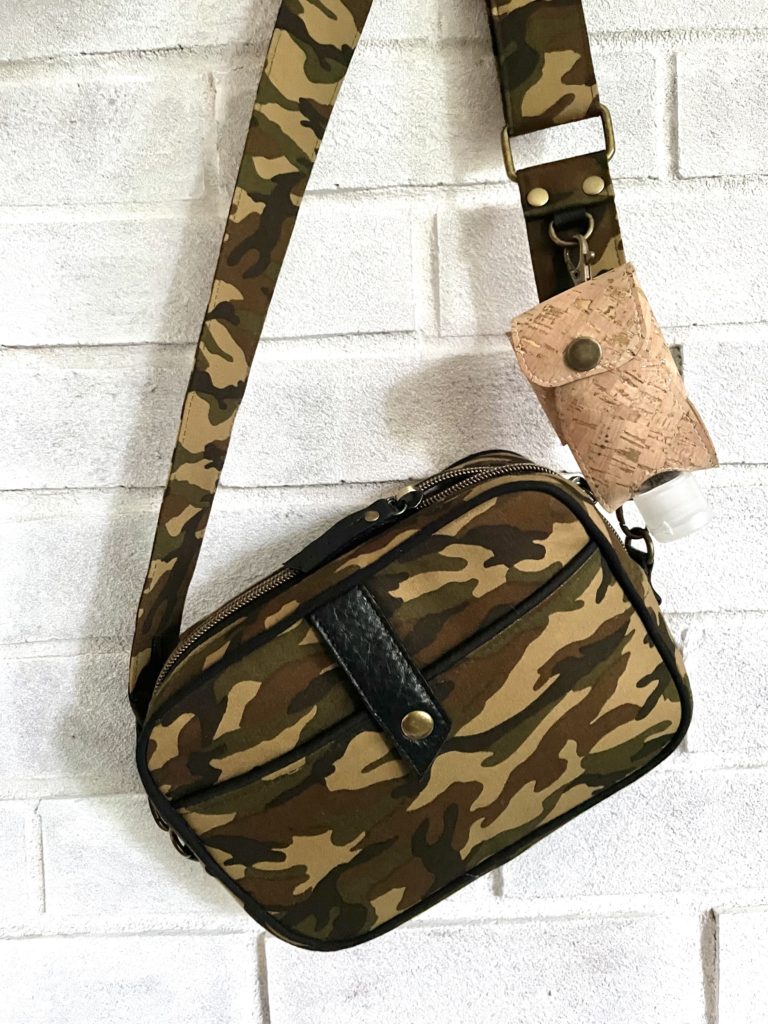
On top of this, belt bags are definitely sticking around and I just love the sling look — especially with the accessory strap. All of my bag patterns teach a different way to make/use a strap and this pattern is no exception. With everyone using their phones and earbuds, I wanted to keep a quick pocket to hold a phone and the accessory strap to hold a Tiny Sophia Bag with either earbuds or that sanitizer!
Namesake
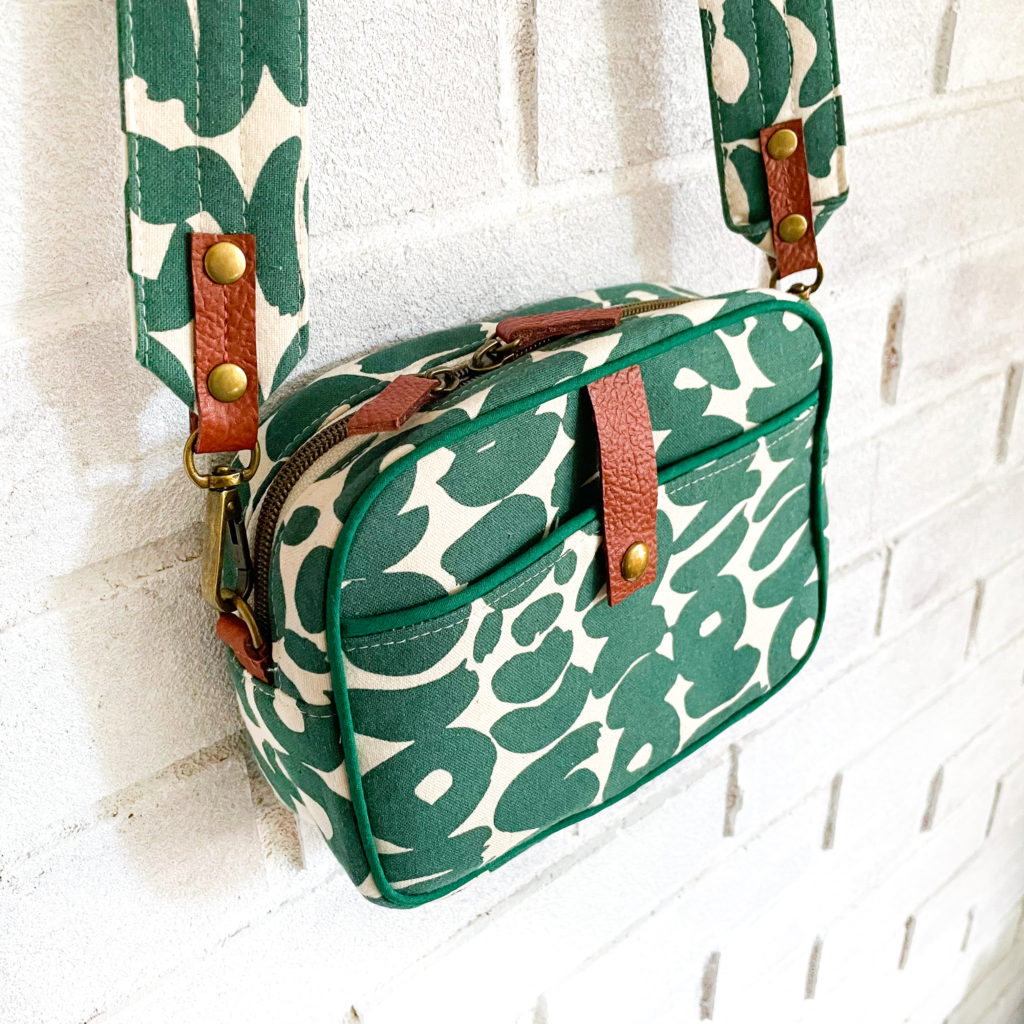
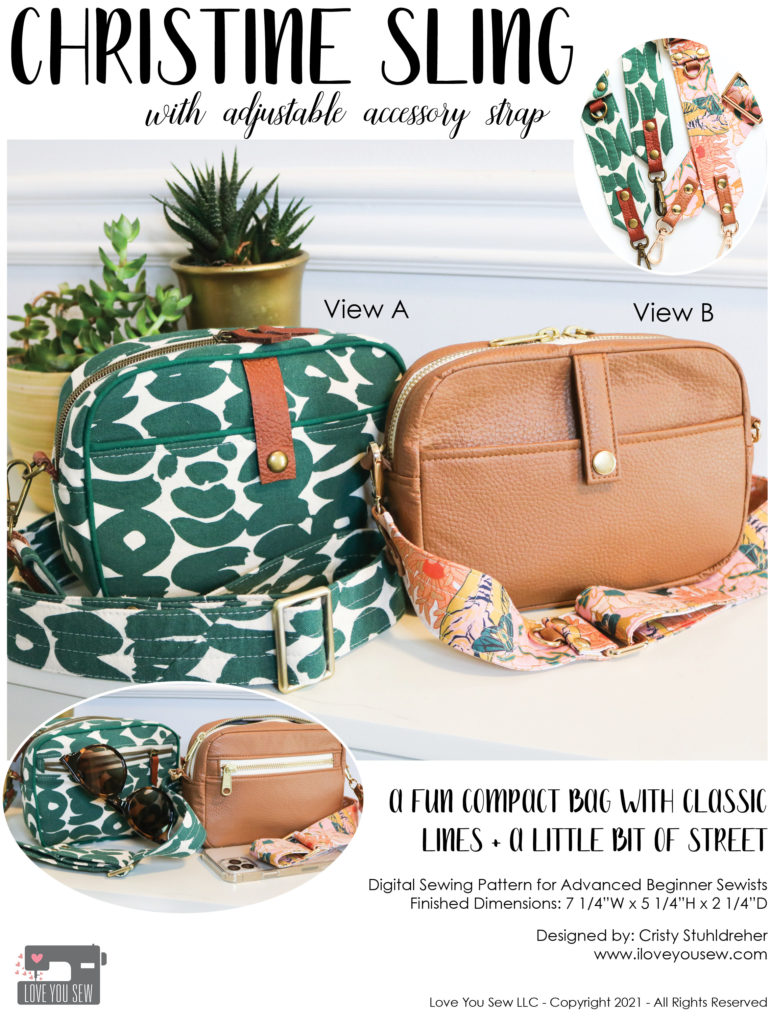
View A
As with all of my bags designs, they are named after my nieces. Early on, I knew that Christine’s bag would always be a sling. One – because it works with her name so well! And two – when I started designing her bag, she was still in college. I wanted to design a bag that could be a part of that care-free lifestyle while still being modern and on-trend. That bag would also HAVE to work with a busy lifestyle (Christine is also a nurse!) yet, would always be fun and cute like her <3 This bag is a perfect representation of my super funny and incredibly caring Christine.
Features
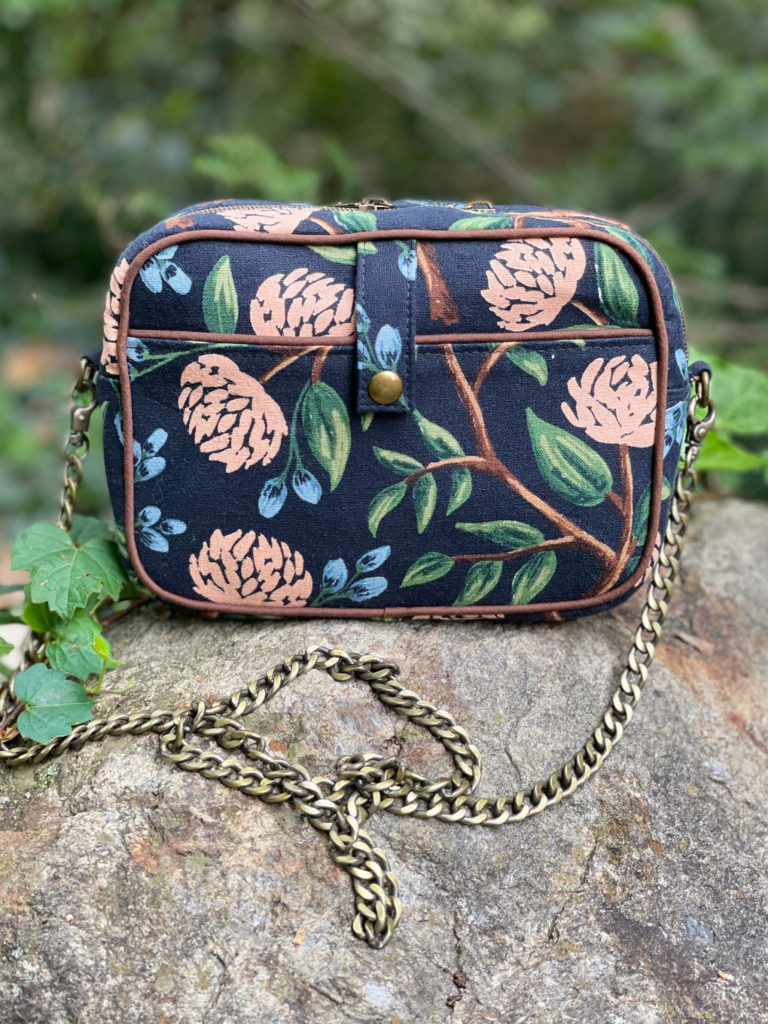
View A with chain strap
The Christine Sling is a small compact bag perfect for everyday. It follows what I love in bag design — simple, clean lines with versatile styling and a modern twist. As the “Sling” part of the name entails, this bag is meant to be worn across the chest or swung around the mid-back. However, with a quick change of the accessory strap, the Christine can go to a full cross-body or even as a belt bag with adjusted length. I am ALL about bag versatility!
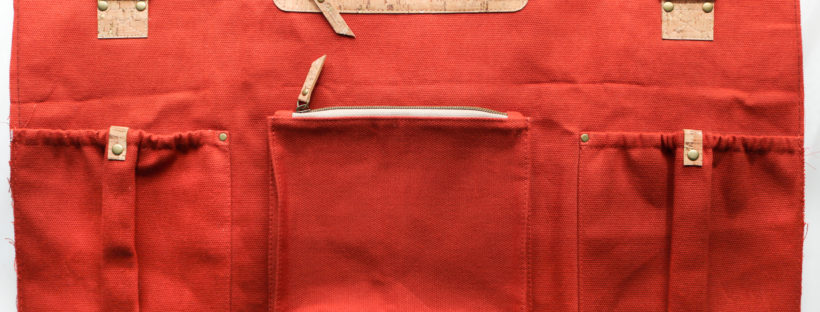
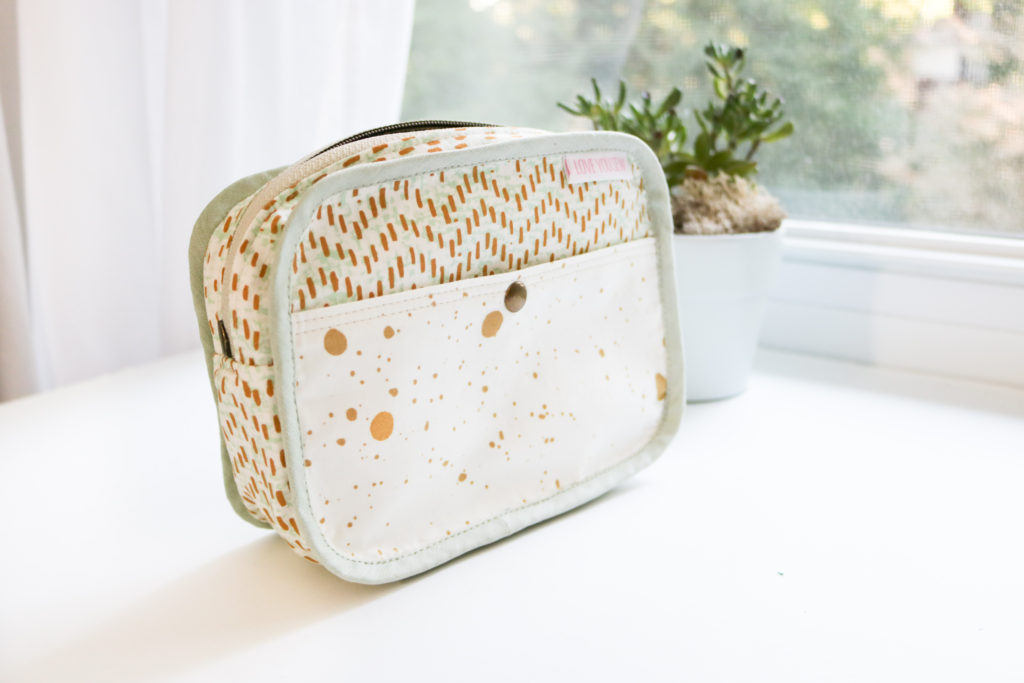
- Two Views – This bag includes instructions for two separate views. View A includes piping and accent fabric for some fun raw-edge contrasting looks. View B uses the same main fabric throughout for a sleeker look and comes together very quickly without the piping.
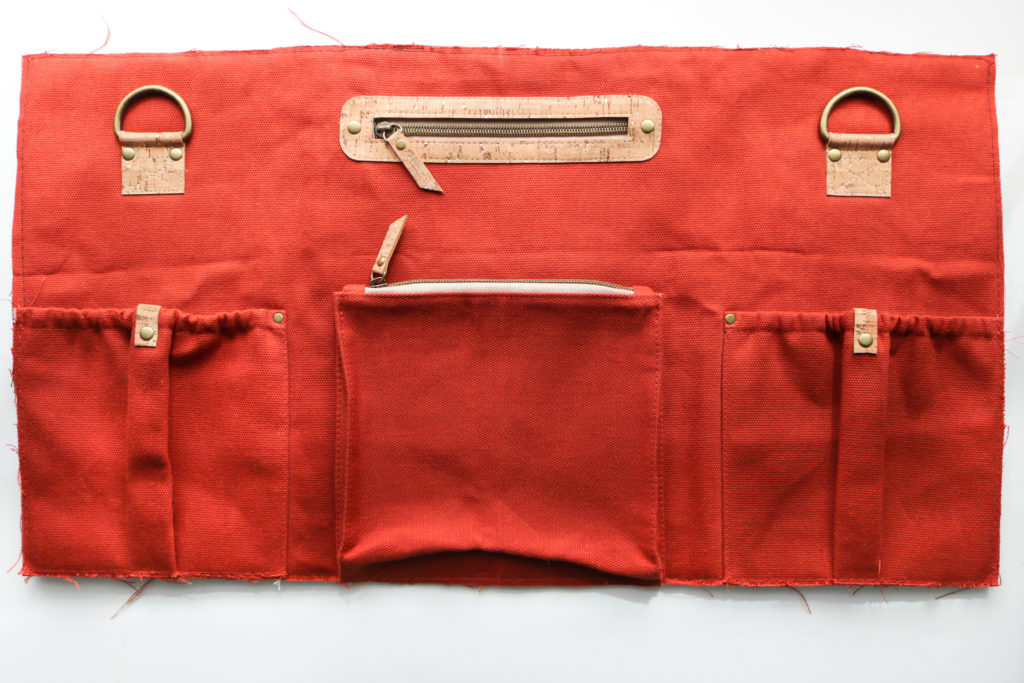
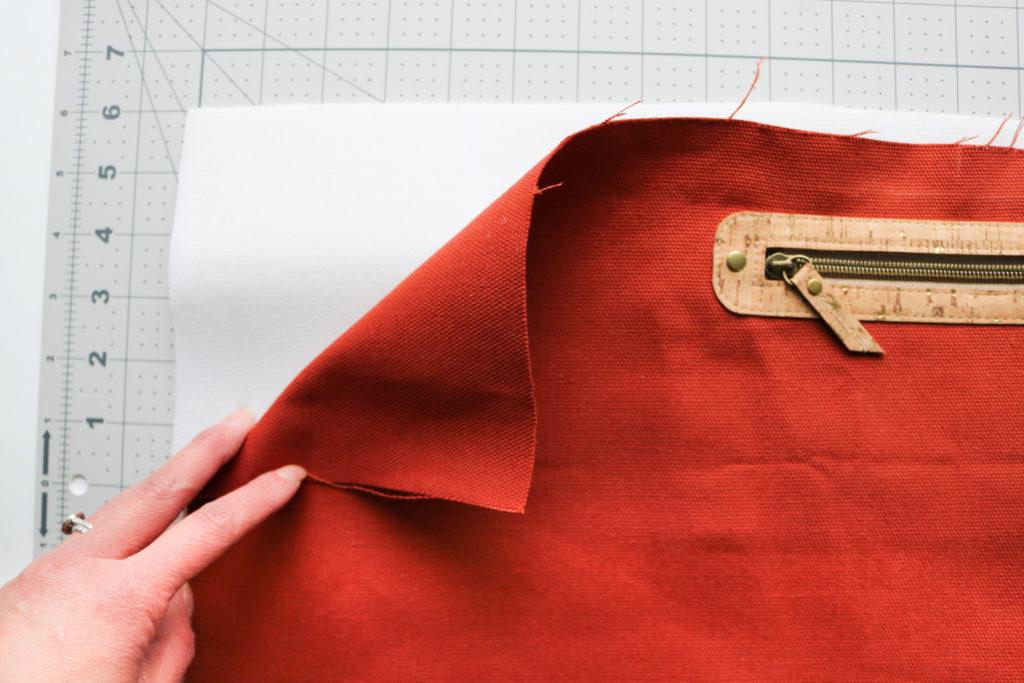
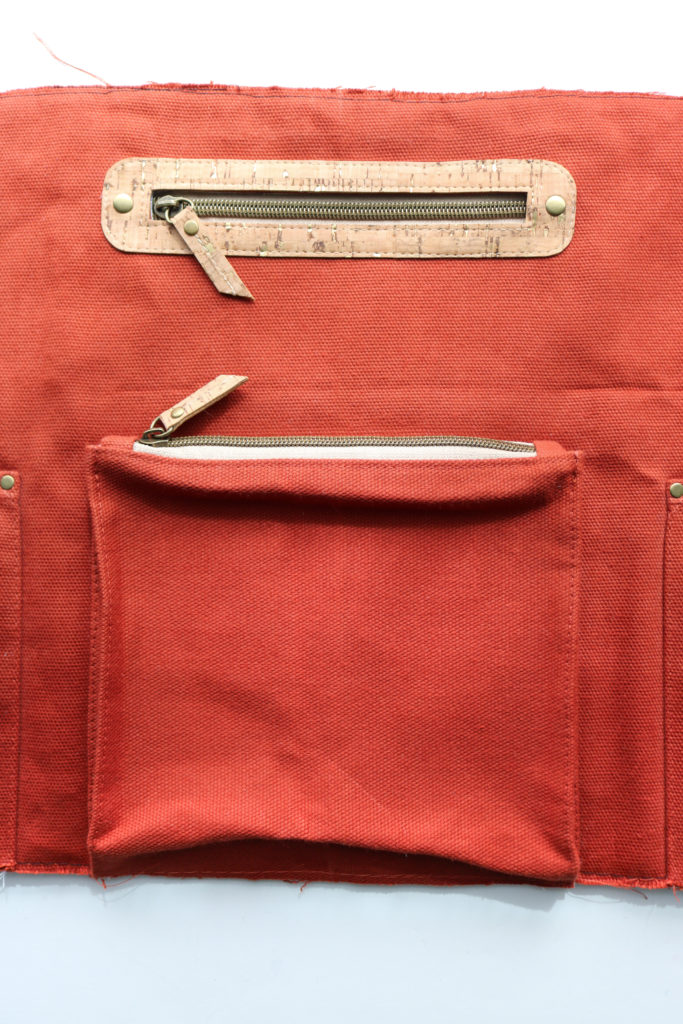
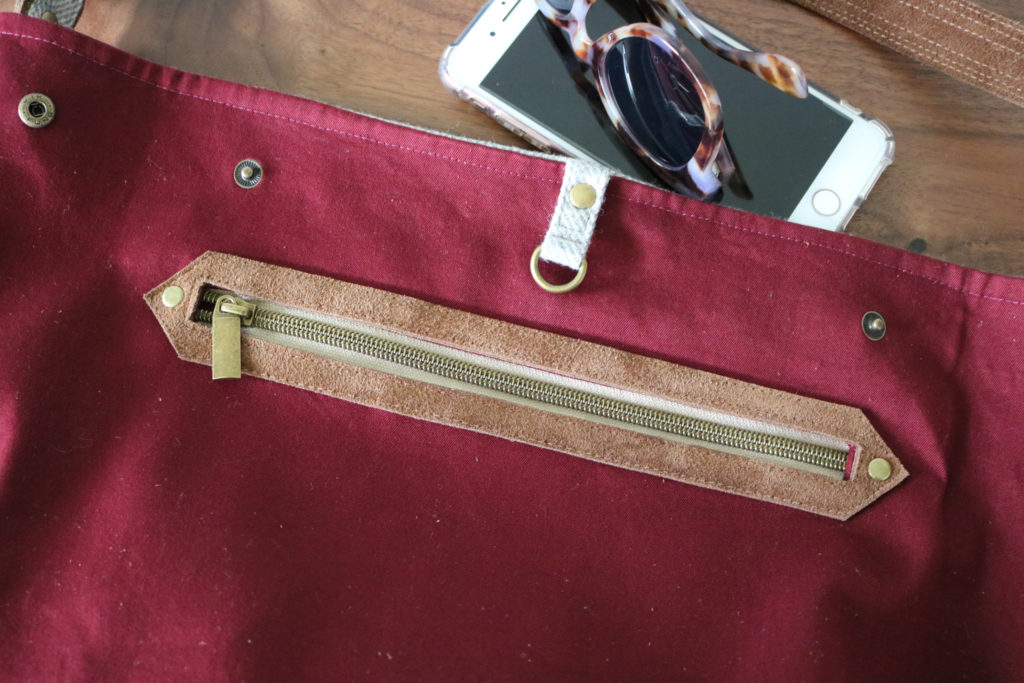
- Pockets – Both views have zipper and slip pockets which are the same for the exterior and the lining. They are the perfect size to keep your phone or keys accessible. You can even omit the pockets altogether on the exterior for a classic look or double up the zipper pockets for extra security.
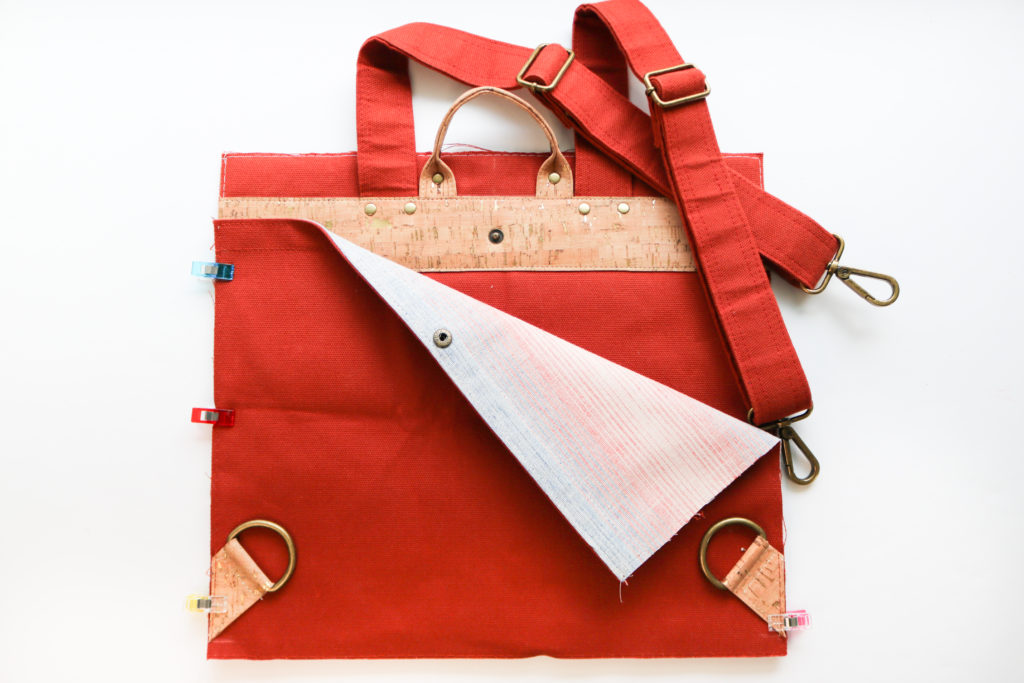
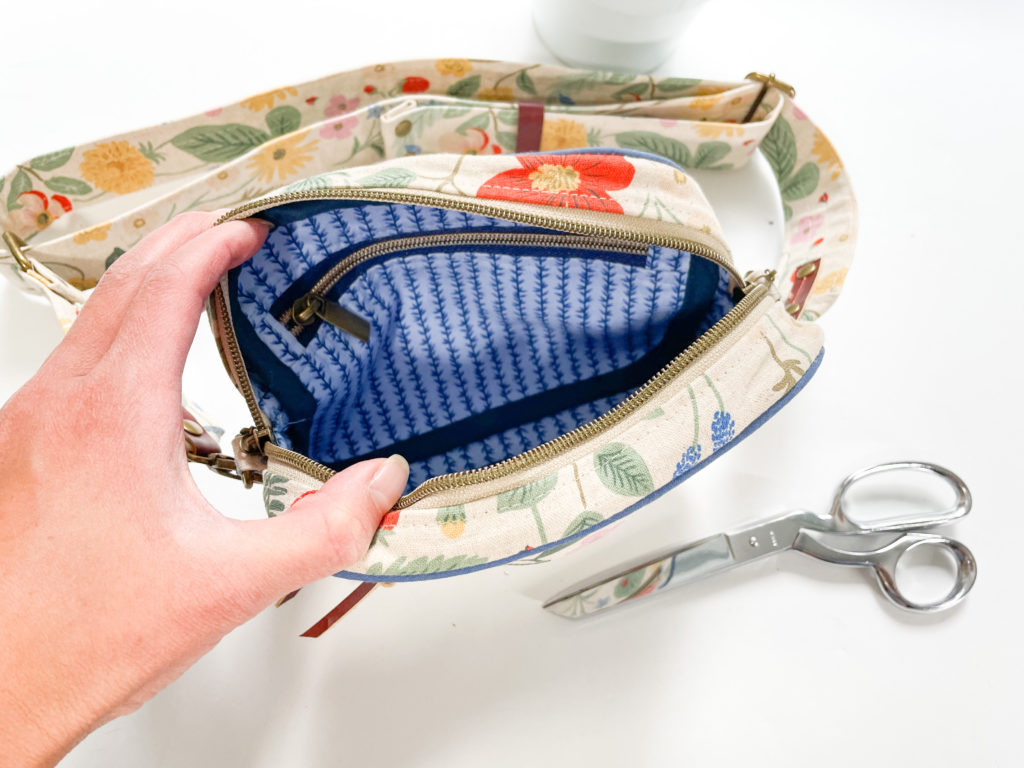
View A inside out
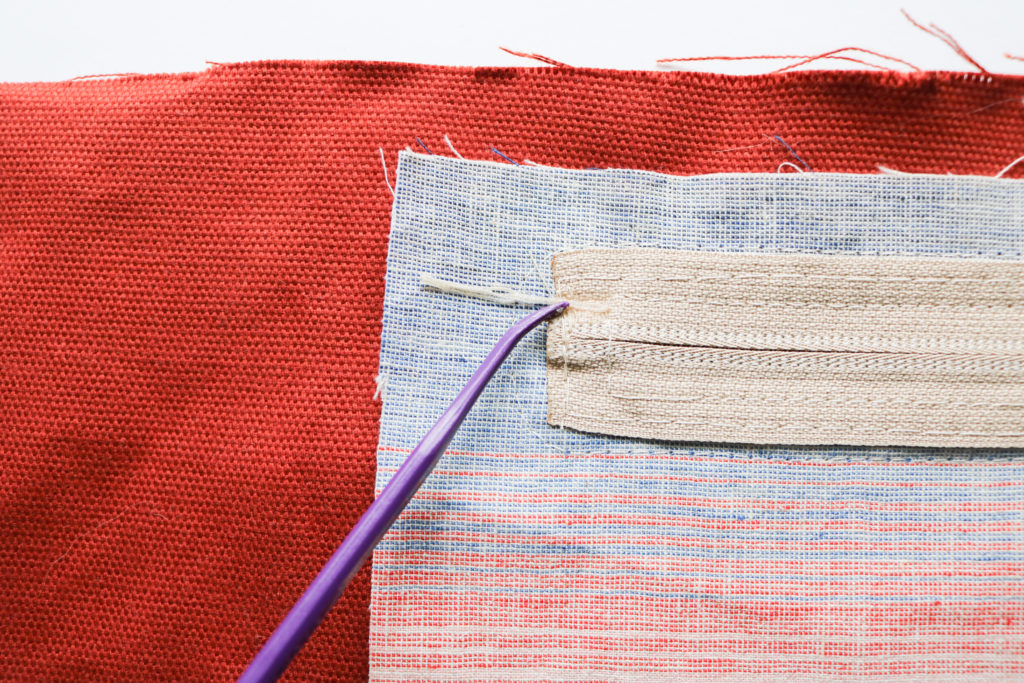
- Lining – The lining uses bias tape to keep seams clean while also providing extra structure.
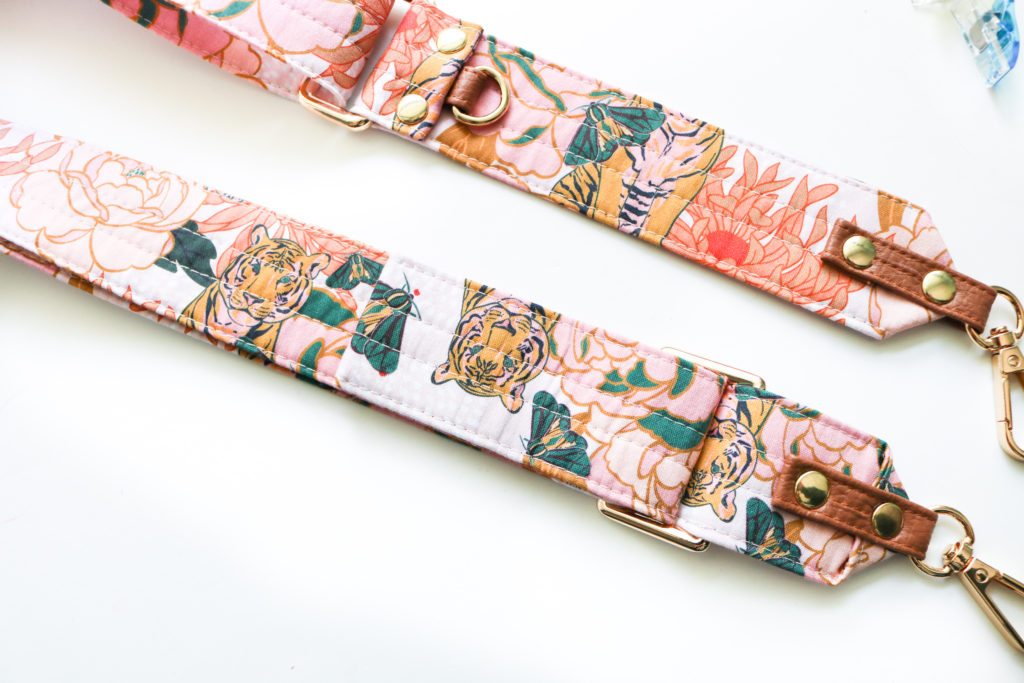
View B Strap
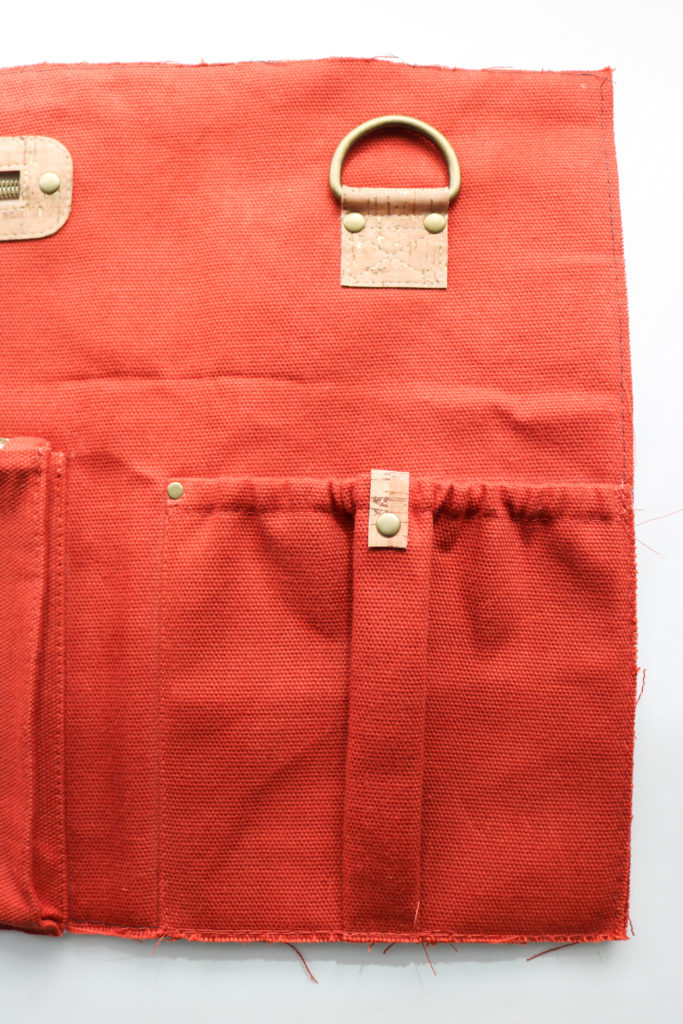
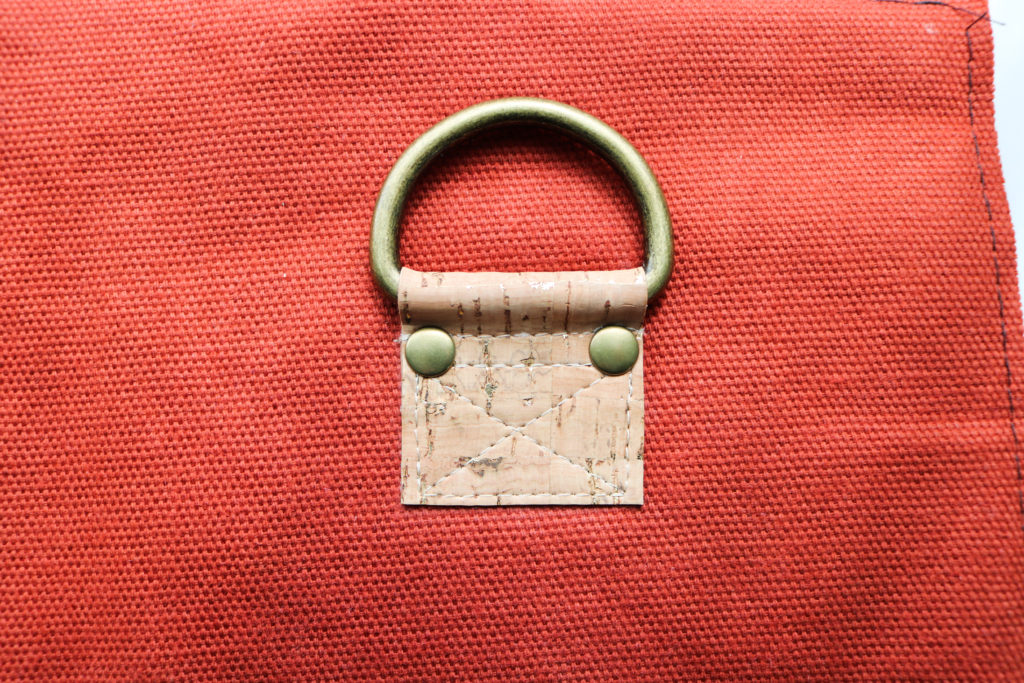
- Strap -Both views also include a wide accessory strap for comfort and a D-ring to hold your ear pods or sunglasses. Use contrasting fabric or even some pre-made webbing for a fashionable statement strap!
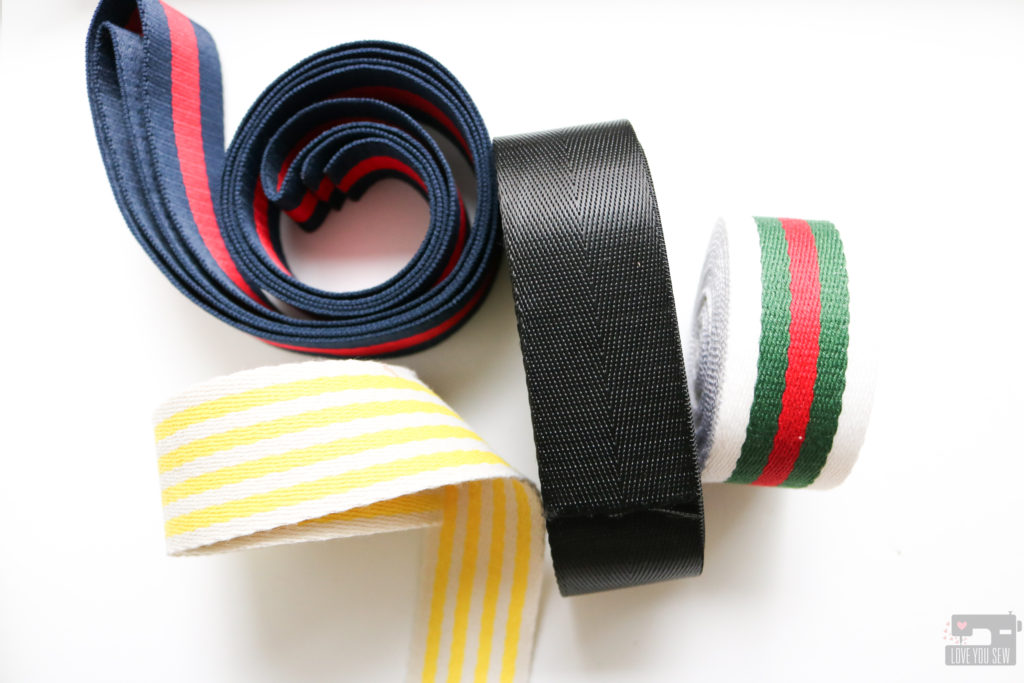
Assorted Webbings
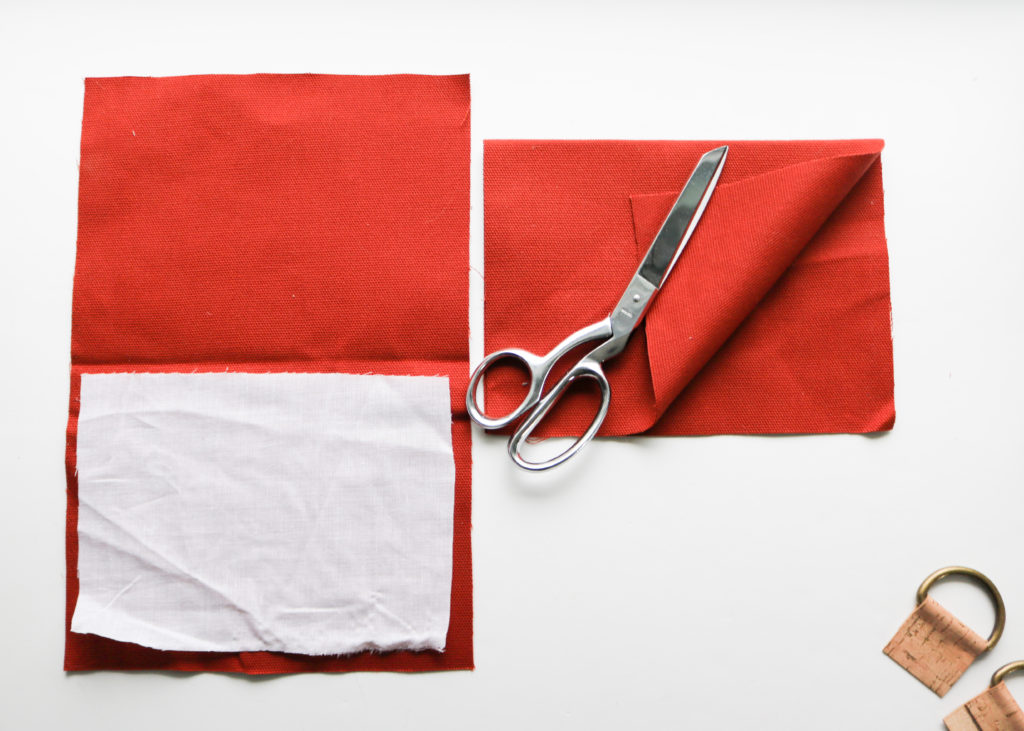
Fabric
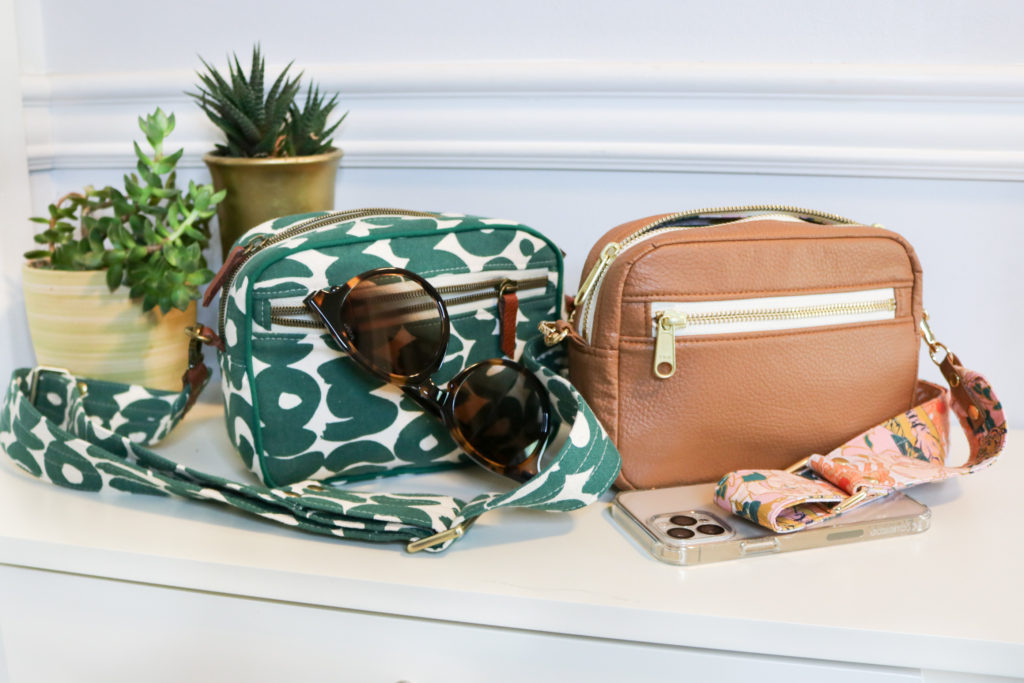
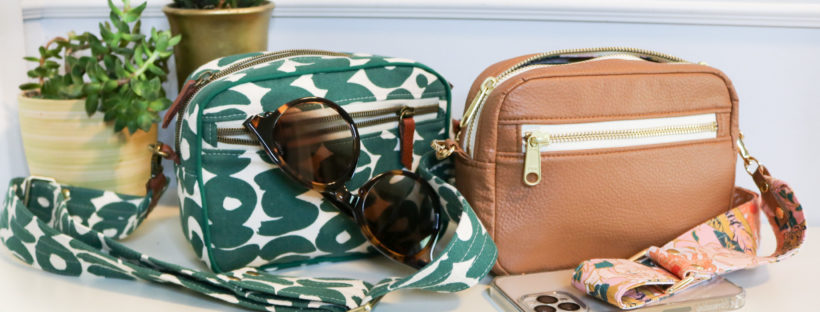
View A + View B
Fabric Requirements:
- 3/4 yd Main Fabric
- 1/2 yd Lining Fabric
- Scrap Accent Fabric
- 2 1/2 yd Woven Interfacing (e.g. Pellon SF101)
- 1/2 yd Firm Stabilizer (e.g. Vilene or Pellon Decovil light)
This pattern is written for home decor and/or bottom-weight fabrics such as canvas, duck cloth, and denim with weights of ~ 6 oz per square yard or more. The lining is based on quilt cotton and any other fabric with the same weight (~4 oz) can be used such as linen, chambray and twill. The accent fabric in View A is intended to be left with a raw edge, allowing you to use leather, suede, vinyl, cork or another non-fraying substrate. This allows you to add some high-end details to elevate your bag.
In my samples bags for the pattern, I used Kokka canvas and Art Gallery Fabrics quilt cottons as my lining and bias tape for View A. For View B, I used faux leather from BigZ Fabrics. I like the thickness of this for bag making with pliability and it’s the same product I used for the Megan Bucket Bag. The interior lining for View B is from Teresa Chan and I’m a big fan of her designs. Be on the lookout for many future projects with her fabrics 😉
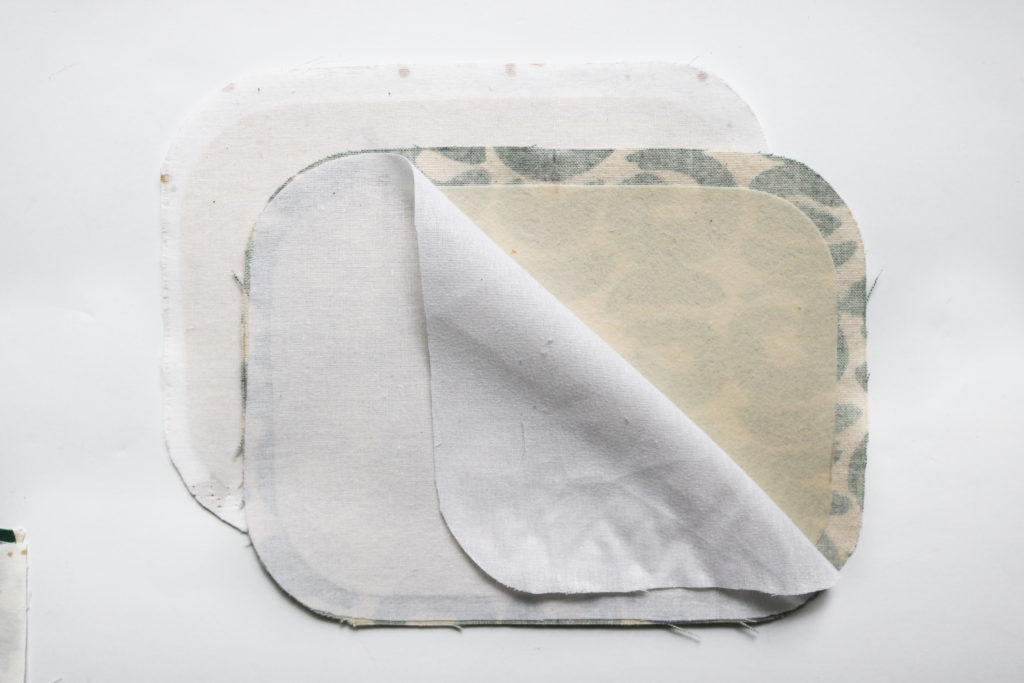
I feel a little behind on the times, but I finally got the chance to try out some interfacing I bought from a little while ago*. Let me tell you, this stuff is A-MAZING. I used Vilene Decovil light (which is similar to Pellon Decovil.) Let me tell you, the quality and adhesion is really nice. I’m definitely a fan from the jump-off and have already ordered more! But if you can only get material from the big box stores, Pellon products are fine but they won’t have as much structure and strong fusing as these other interfacings. I say all of this, but it’s all to your own preference. Always make sure to test other interfacing mixes with fabric swatches to see what you like before cutting.
*You know I always love to share where I source products, but it has recently come to light (11/2021) that this interfacing business has some polarizing views which I do not support in any way. I have deleted mention of them from this post.
Hardware
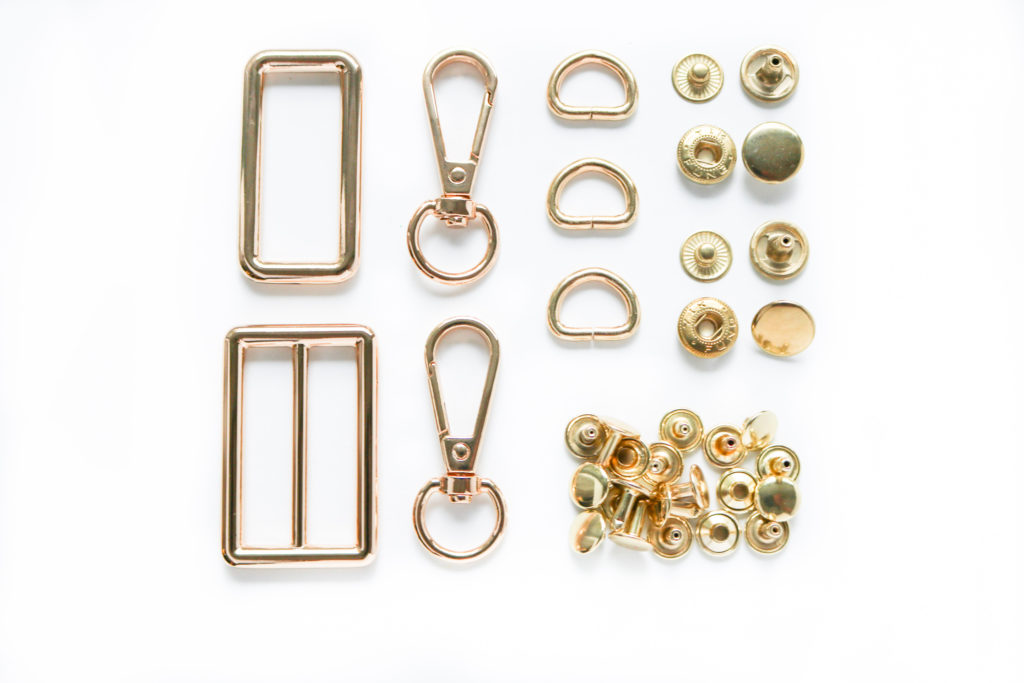
Requirements:
- (2) 1/2” Swivel Clasp
- (3) 1/2” D-Rings
- (1) 1 1/2” Slider
- (1) 1 1/2” Rectangle Ring
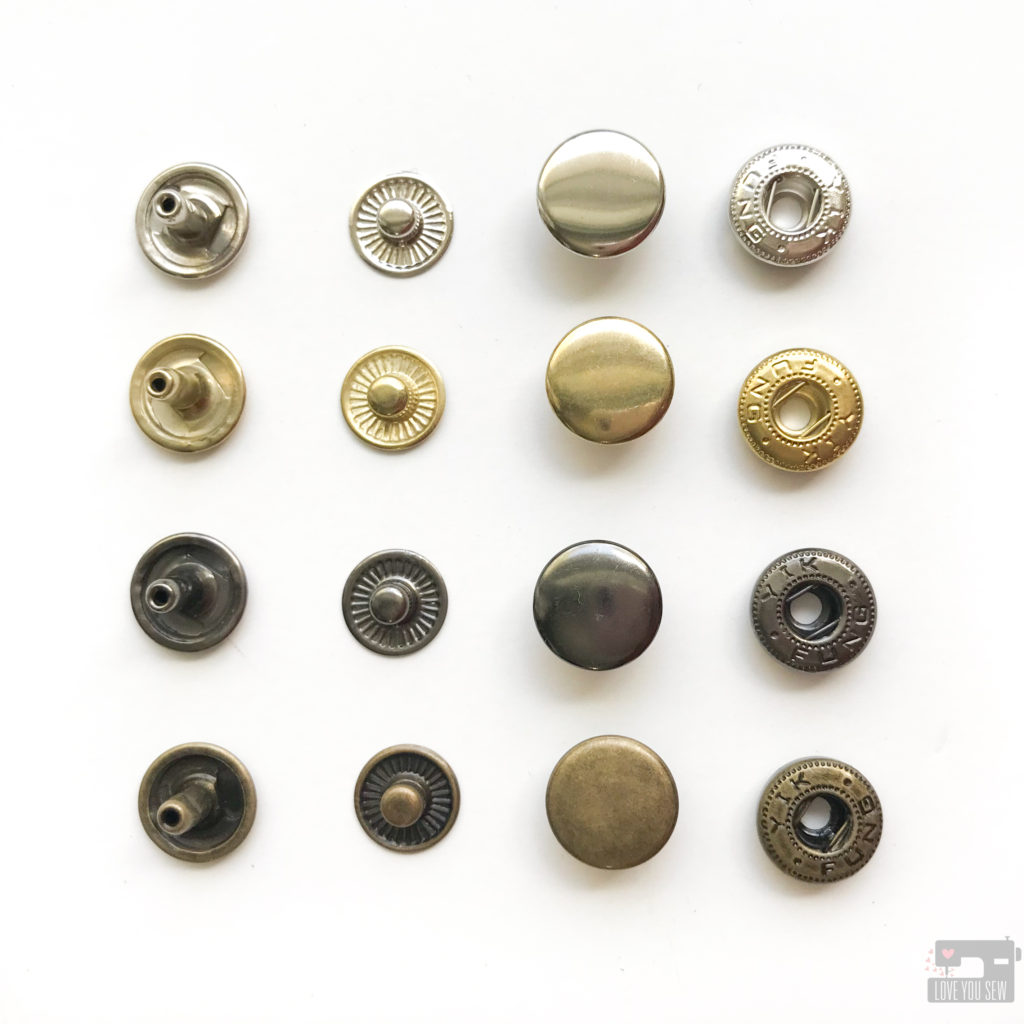
- (10) Sets of Rivets (8 mm post length) + Setting Tools
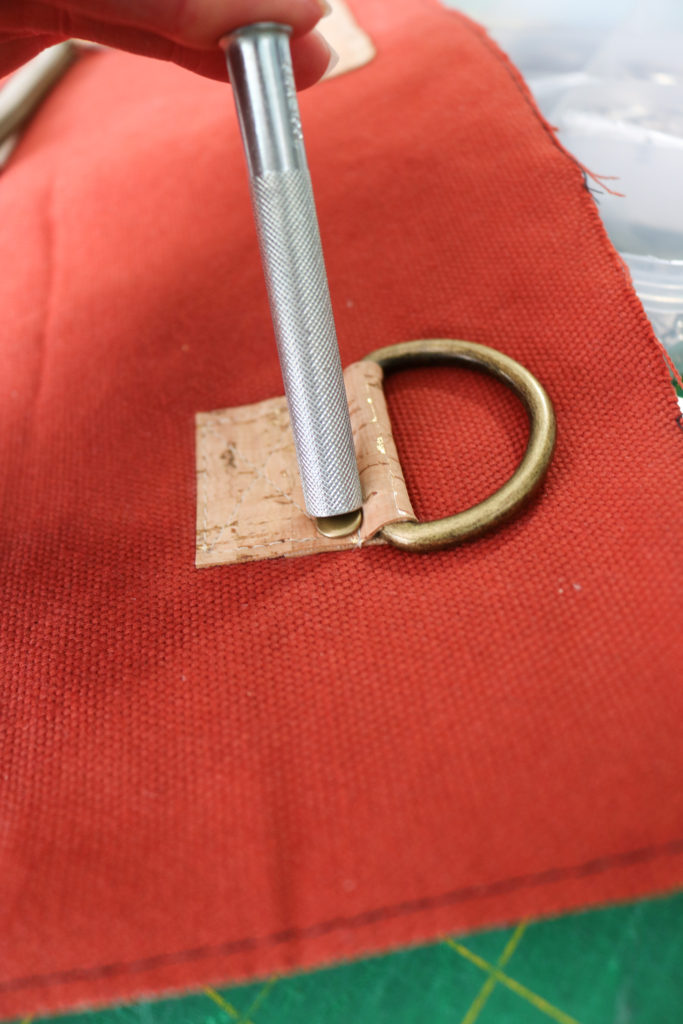
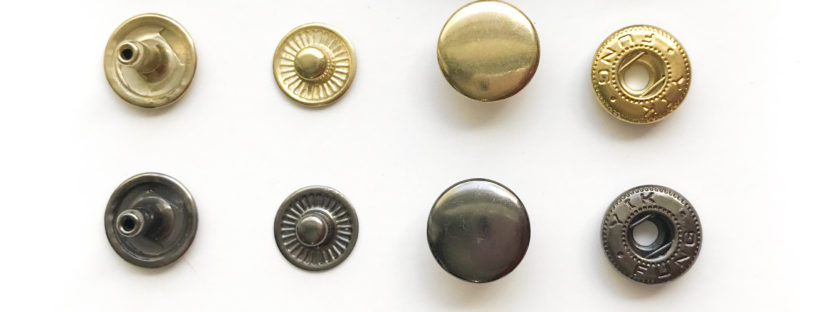
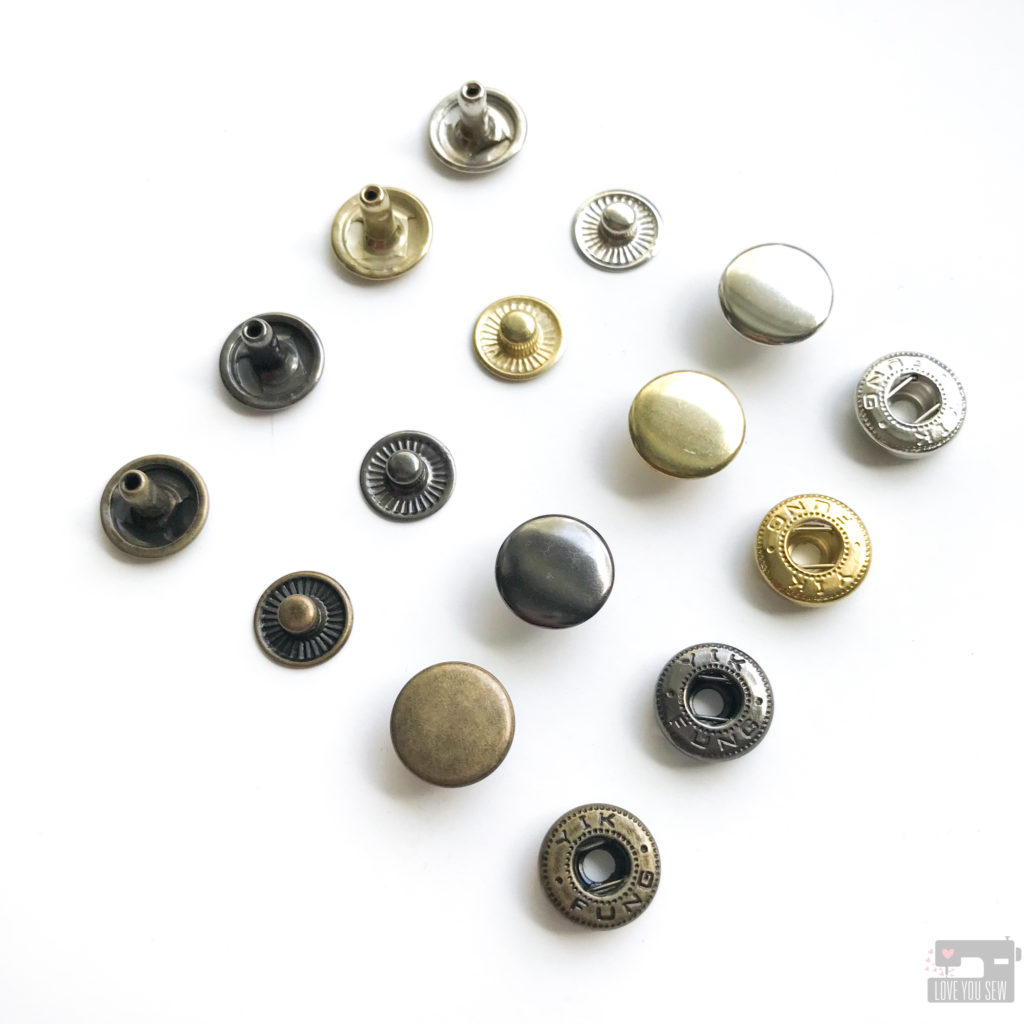
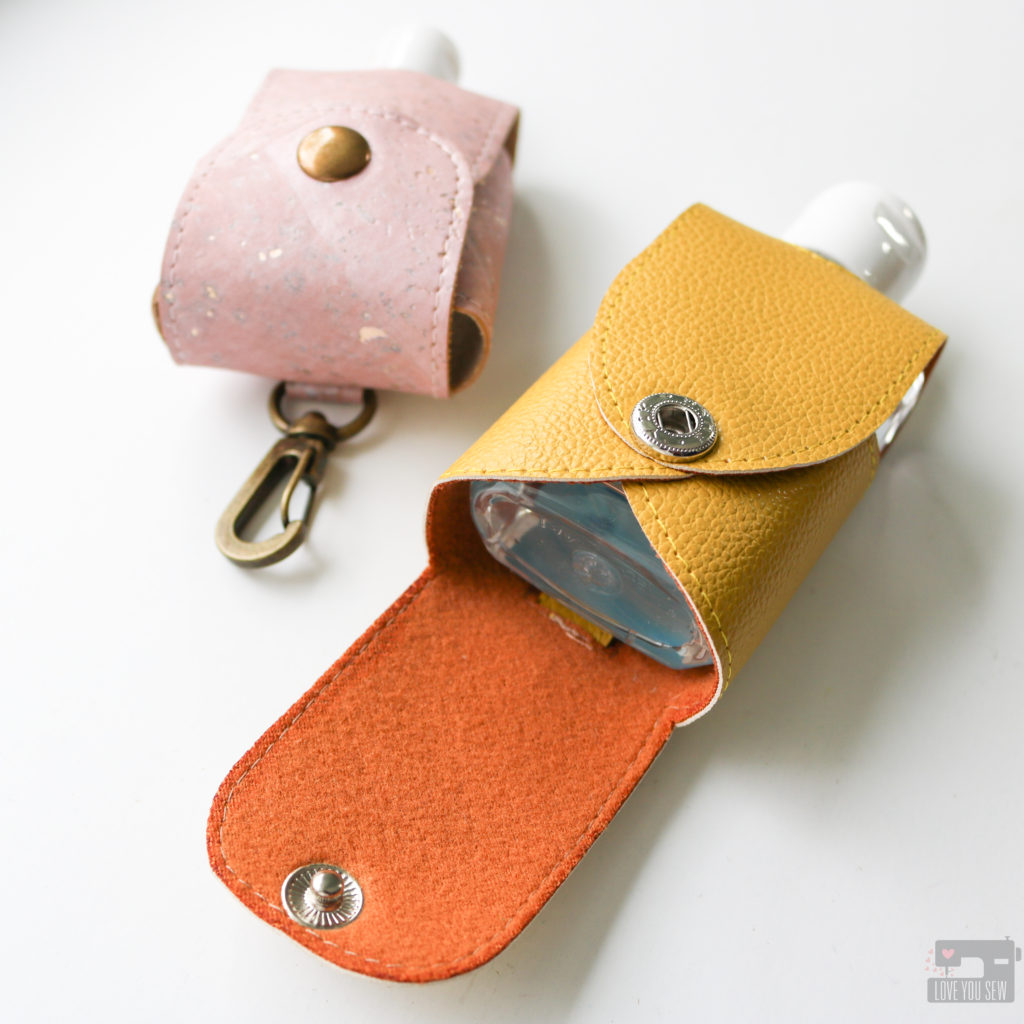
- (2) Sets of 12.5 mm Snaps + Setting Tools
The pattern requires the following hardware listed above. You can grab full kits in my shop here.
If you need help setting rivets, check out my video here.
If you need help setting the snaps, you can head over here.

View A with strap connectors
As a BONUS add-on to my Christine hardware kits, I’m also offering these incredible screw-in strap connectors. I found them when I was ordering hardware for myself and thought they would be a great thing to introduce to you! A video to install will follow, but essentially you completely finish the bag minus the (2) D-ring tabs at the zipper. Once you turn out the bag, you punch holes right below the side gusset stitching and screw on these connectors, adding a little glue to the bolt. That’s it! This is a great way to have a professional looking bag.

Notions
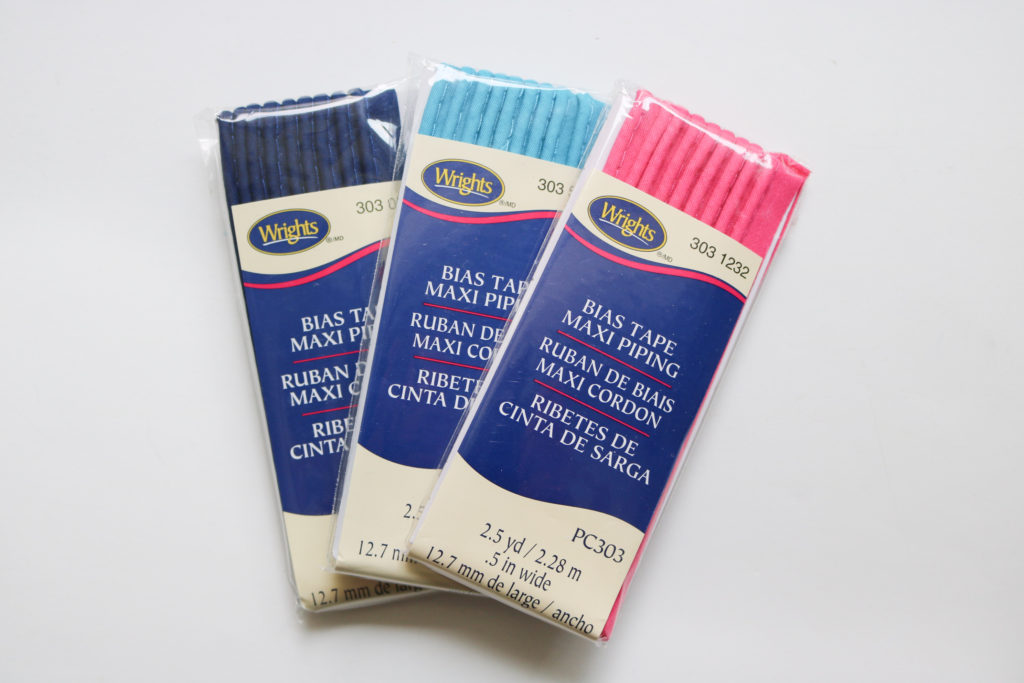
View A uses piping which I think really finishes a bag nicely and instantly takes a bag up a level. Although it take a little more time and patience to sew it in, it’s worth the effort, especially if you can just purchase it. These ready-made packs are great from your big box stores or from my favorite place for notions, Wawak.
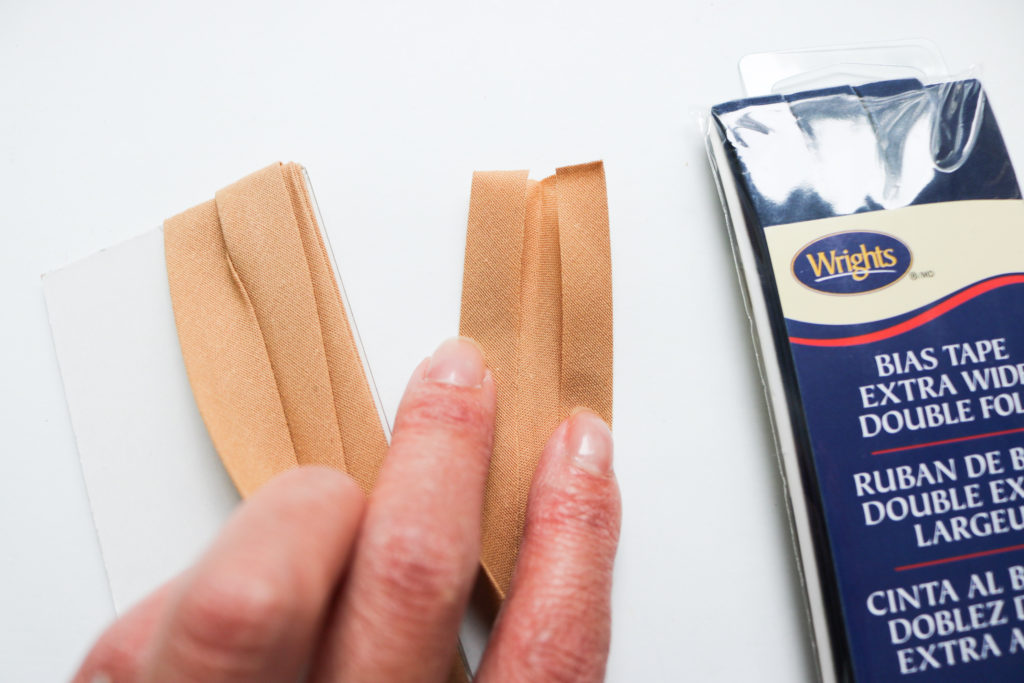
With the Christine, the lining is finished with bias binding which is a first for my bag patterns. I went through several construction techniques and this is the best way IMO for this type of bag. With the piping, you want to sew each side separately to feel where you are sewing. A drop-in lining is possible (I tried it!) but it’s very difficult given how small the bag opening is. I want you to have a good experience making this bag and I’ll save you the pain! While sewing the binding takes longer, it is the easier method overall. The pattern calls for 3/8″ bias tape and you definitely need to use this size because anything bigger will obstruct your zipper opening. However, you can still purchase the ready-made 1/2″ double-fold packages seen above. The beauty of this manufacturer is that not all parts of the folds are 1/2″, so you can open up the tape and re-press so the long sides meet at the center crease. This will give you 3/8″ double-fold bias tape!
Zippers
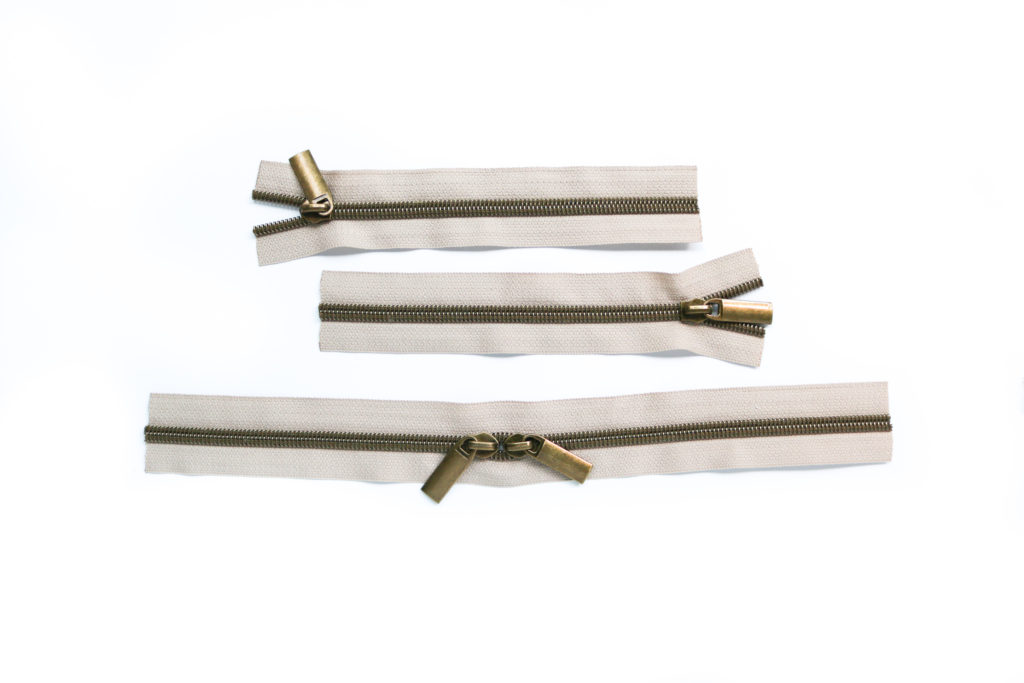
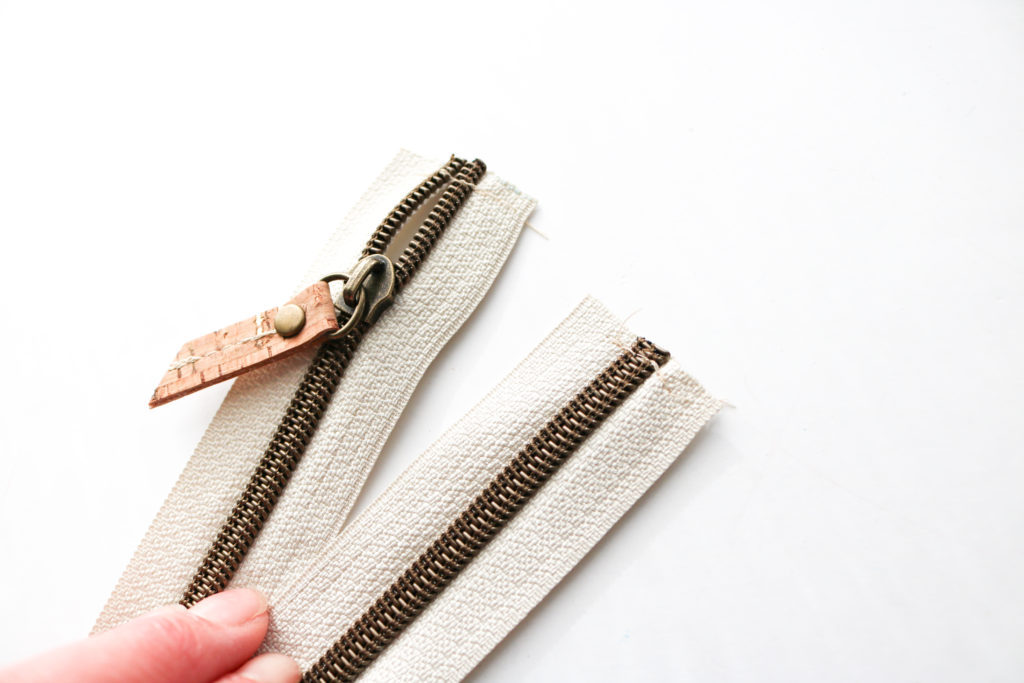
I am a HUGE fan of metal-look nylon zippers. They have the high-end look fo metal teeth, but have all the ease of nylon –which means you can easily cut and sew right over the teeth! My Handmade Space is one of my favorite spots for zipper kits and Wawak just started carrying them as well, but not with as many color and zipper pull options.
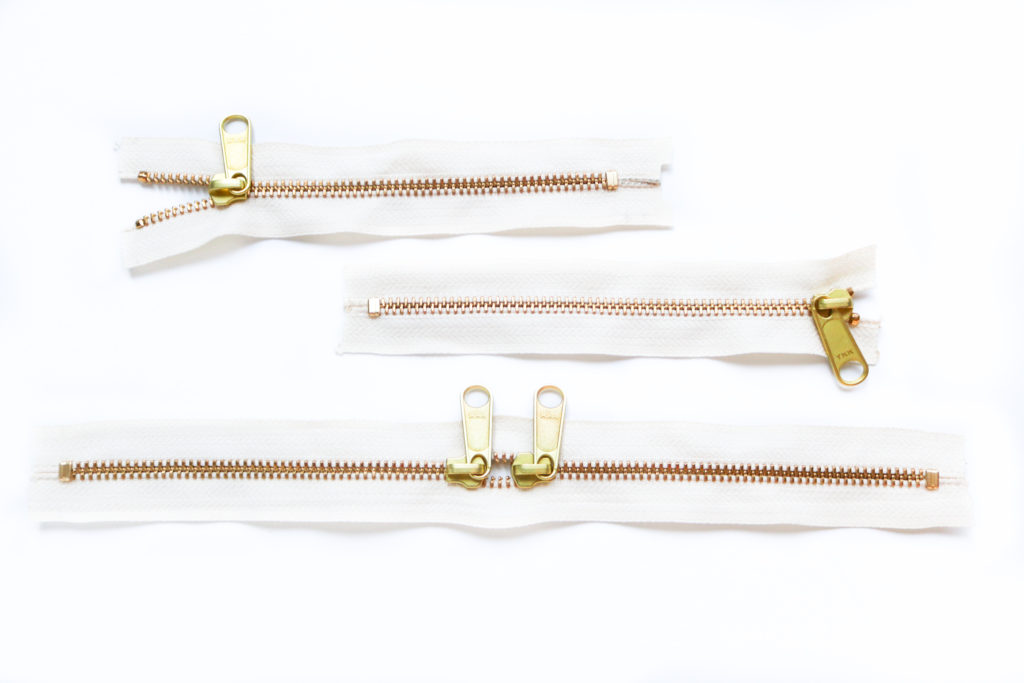
But the only finish I don’t like in nylon is brass. (For some reason, it’s just way too bright yellow for me.) I always go back to metal and like these long pull zipper from Wawak. To make the double pull zipper, you do need to buy a coverall zipper (that zips in both directions) and I replaced the pulls to match.
I hope you enjoy making and wearing the Christine Sling as much as I had designing it! Please tag me on Instagram with your makes and post with #ChristineSling so we can enjoy all of these bags!
Happy Sewing!
Cristy